Pafetikbazerkas foray into 15mm Flames of War
Recommendations: 700
About the Project
So a couple of my long term gaming crew have been getting into 'Tanks' with thier kids and flirting with 'Flames or War' so after watching a bit of the recent FOW bootcamp I checked out pricing with my local supplier and thought lets do this. I've also been keen to get into some 15mm wargaming. Though the minis are often awsome at larger scales playing on a typical size table with a game like Dust feels difficult to get to grips with when I think of the scaled ranges 28-32mm guys are firing at.
Related Game: Flames of War: The World War II Miniatures Game
Related Company: Battlefront Miniatures
Related Genre: Historical
Related Contest: Flames of War Hobby League 2019
This Project is Active
How not to write a Battle Report
FYI I don’t expect readers to get much from this as it is more or less a simple reminder for me of a cracking afternoon. But some may like to take note of our novel approach to introducing new players to FoW.
Essentially it was on of those rare moments when all the old school buddies travel from far and wide and get together for a spot of gaming. Most of us had varying degrees of experience with FoW but there were a couple who had never tried it and wanted a taste. Needless to say I wanted to give every one something to do and learn a bit, while not giving them too much and bogging things down.
I also thought it would be good to give it a grounded theme and with all the talk of D-D anniversaries going on I thought it would be cool to do a Normandy theme.
I then set about creating a manageable force for each player based on the units I had to hand. Though we could have pooled units and terrain it was simply more stream lined for me to pre plan and organize so I could rock up, set up and roll dice.
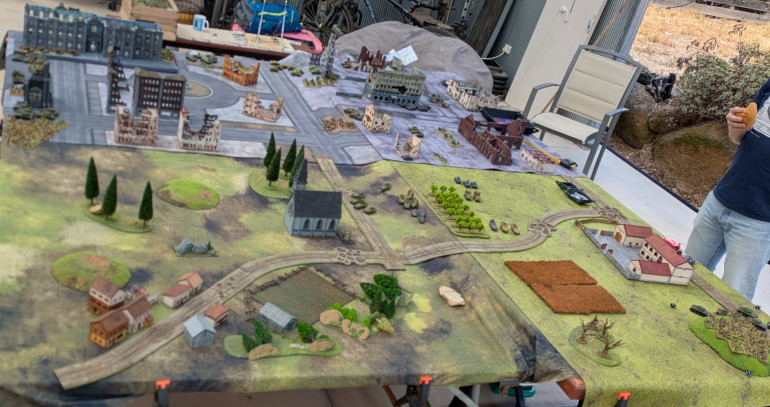
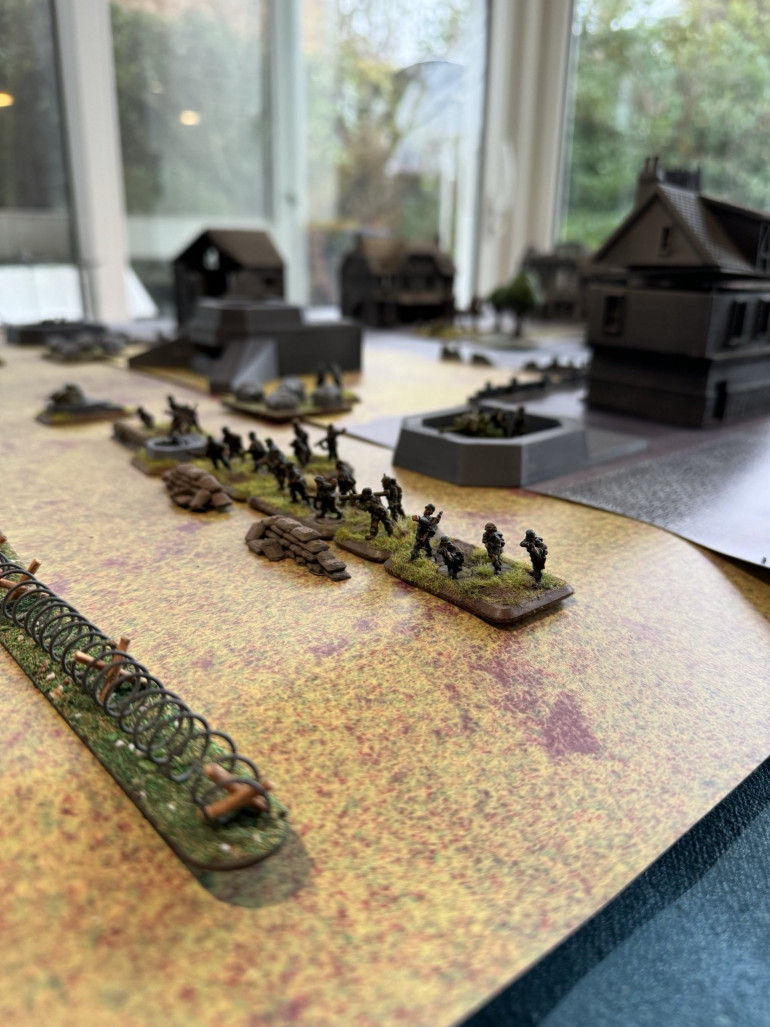
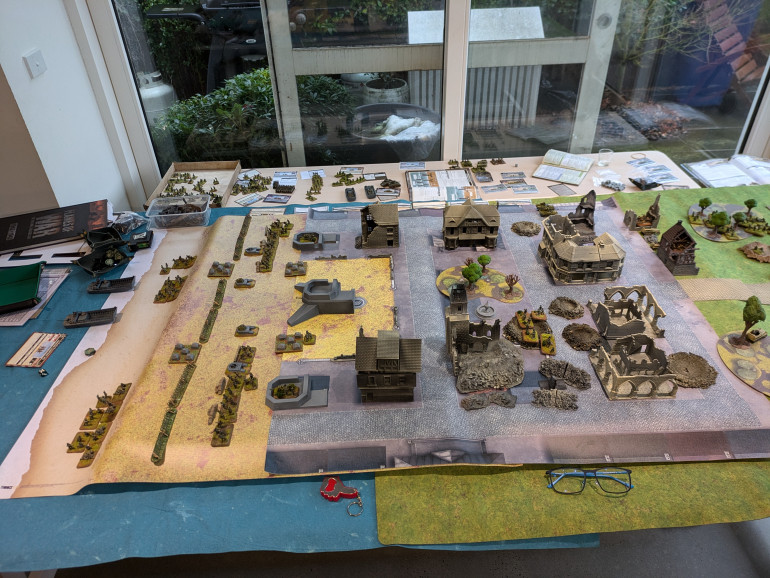
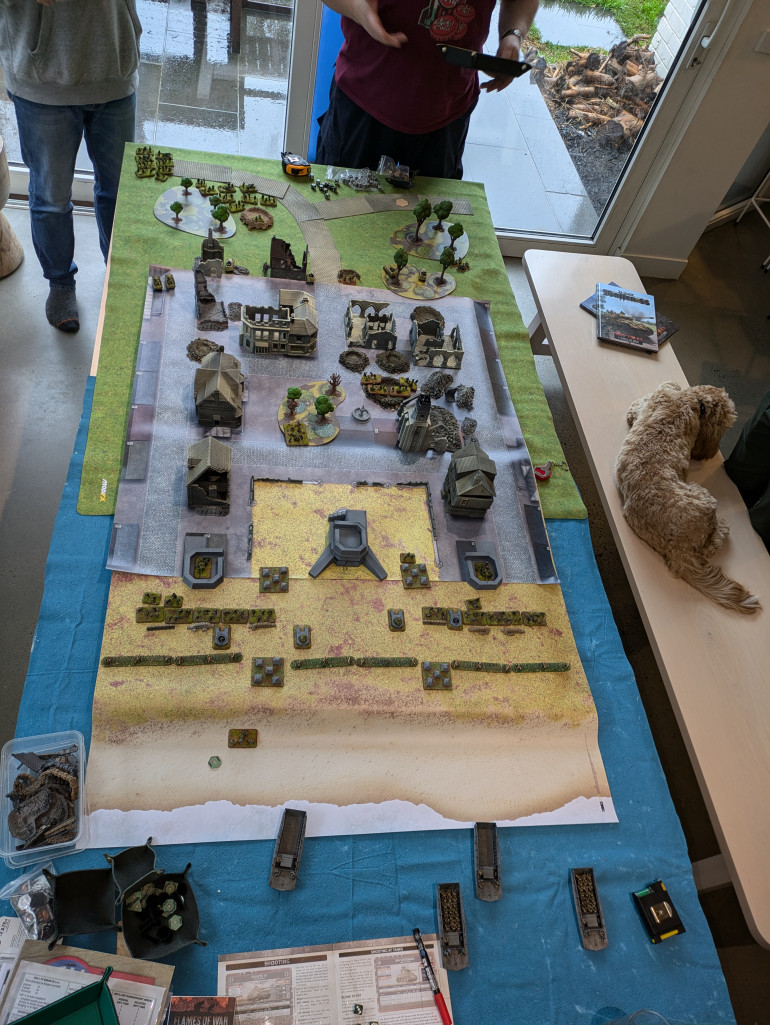
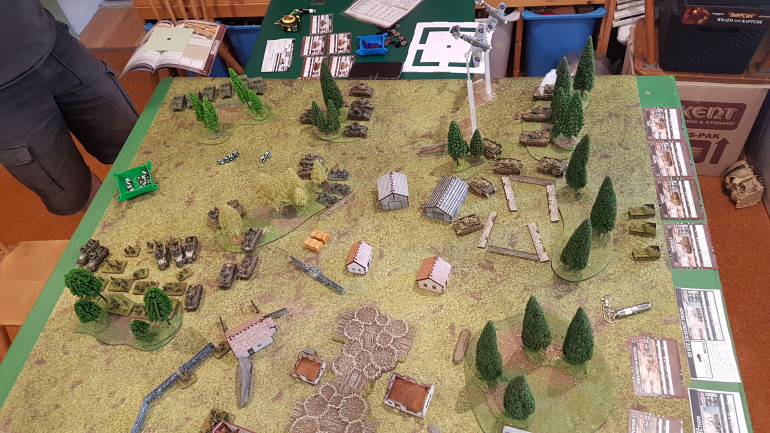
I decided with 6 players it would be fun to imagine a German occupied town by the coast getting pressured from both a beach landing and paras falling in behind.
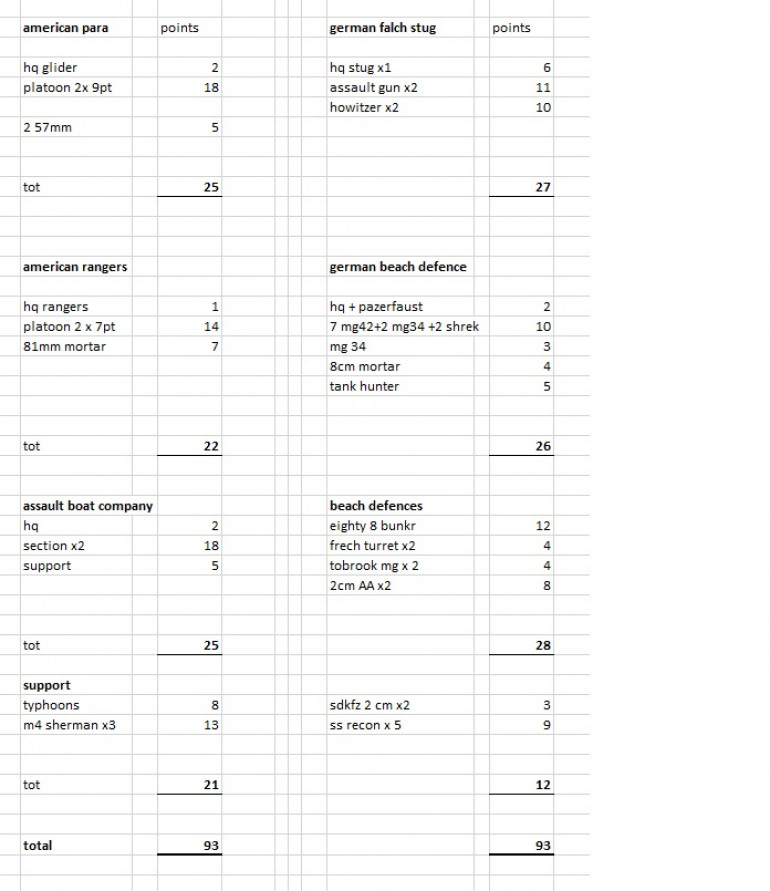
Every one received a formation, each scraping the minimum requirements but comparable in weight and then I threw in some support units to balance the sides and address some shortfalls.
In the end the list looked like this. I think by the rules there’s some limitation to how much fortification you can have but it was atmospheric on the table and made it easy for me to divvy up the points.
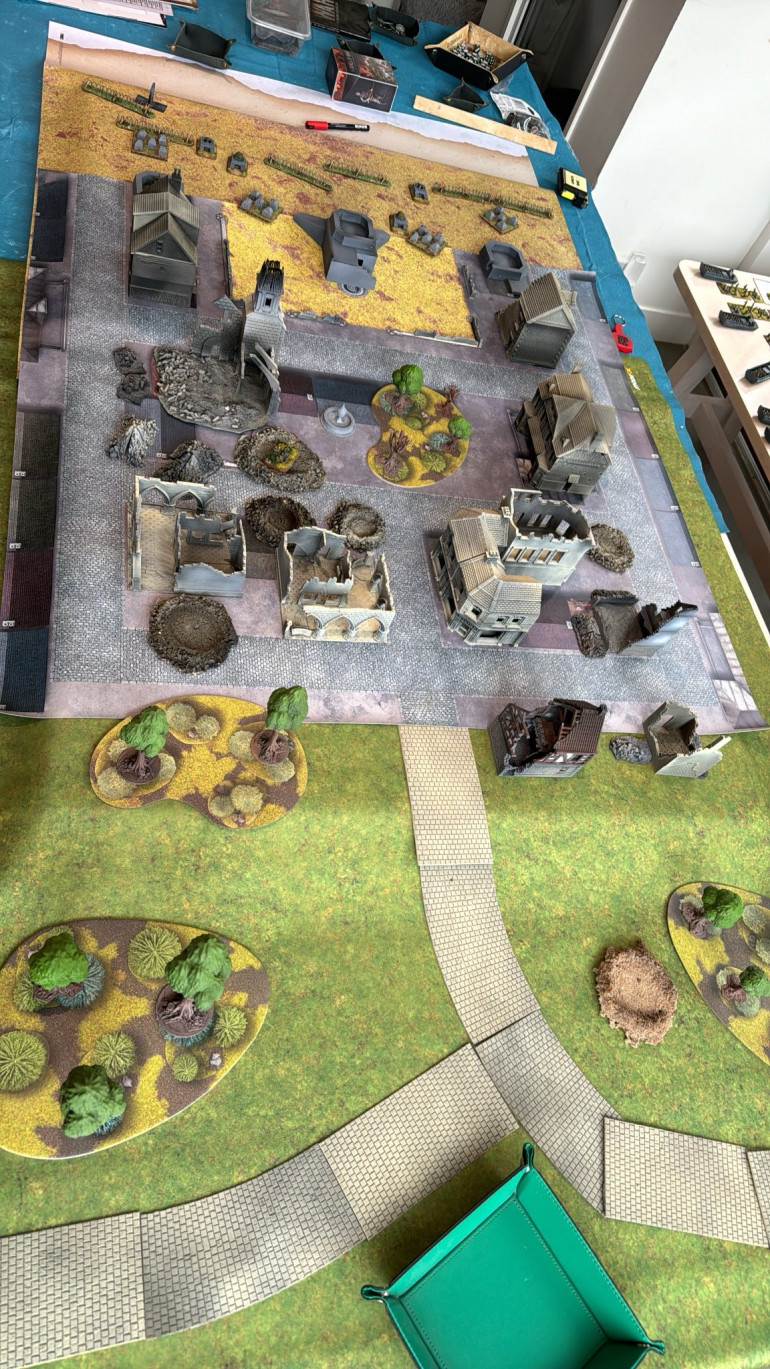
For the table I opted for a long narrow setup, plenty of perimeter for folks to gather around and the narrow field kept things focused and moving in the right direction
We loosely followed Help is on its way from the American D-Day book but forgot the Over whelming force rule which may have weakened the landing attempt but we only gave the Americans 6 turns to reach the center of town to keep the game length in check.
I didn’t record every blow by blow accounts and to be fair the afternoon gradually turned into a whisky tasting and I wasn’t following every move.
In essence after the Stugs went down the Sherman’s landed on the beach and the tide started turning but we figured the Americans were still 2-3 turns away from decisive victory so we called the Germans victors and cleaned up for dinner.
After dinner we sat down to a good few hours of the Free Leagues latest Twilight 2000, and a few more whiskies. So great to spend a whole day and night gaming with my gamers.
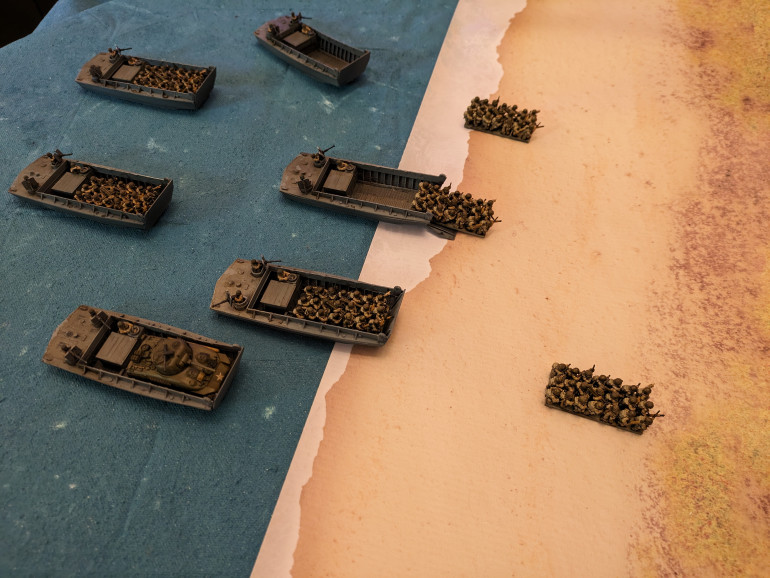
Actually hitting the beach
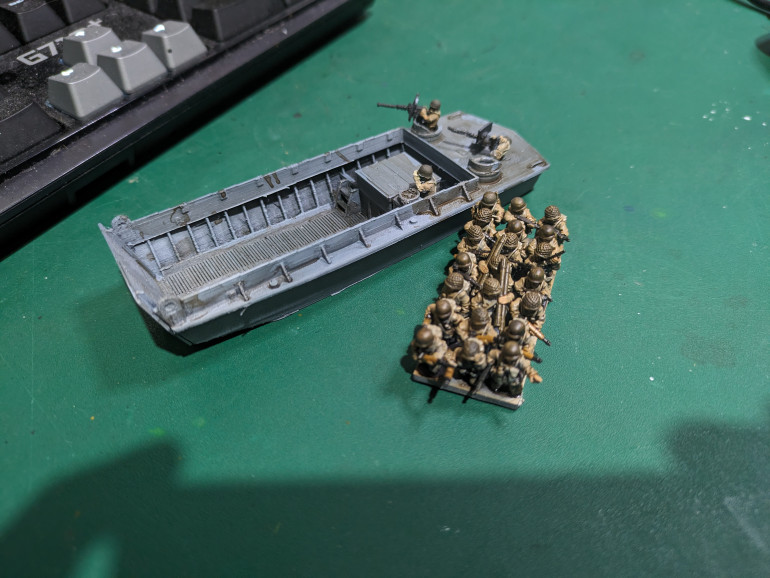
The Higgins boast dowloaded from thingyverse then widened at key points to accomadate tanks
https://www.thingiverse.com/thing:4766369
Soldiers are resin printed models from 3d breeds March to Hell Europe in Flames series. There was a Higgins in that kickstarter collection but it felt a little too simplistic.
Basicaly I just aranged the unsorprted models as ablock in blender and auto supported in chitubox. I magnetised the gunners for resiliance, means I’m not dealing with breakages if they catch or bump,
Keeping The Flame alive
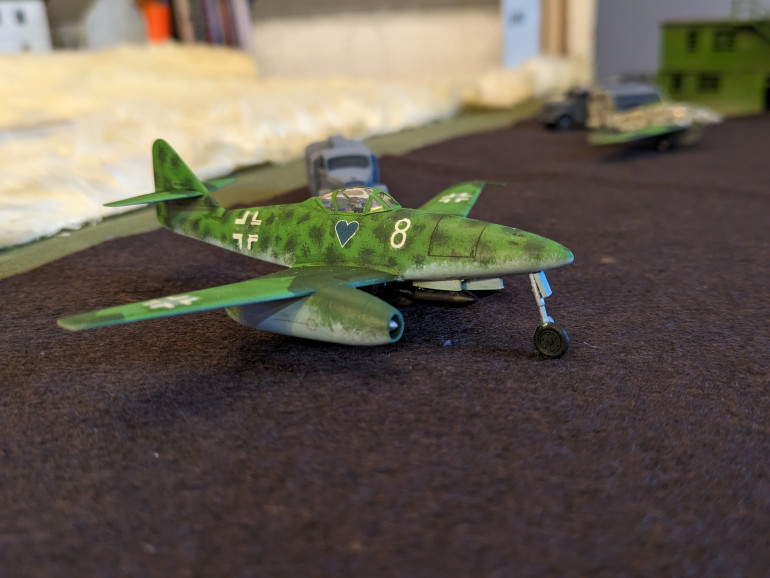
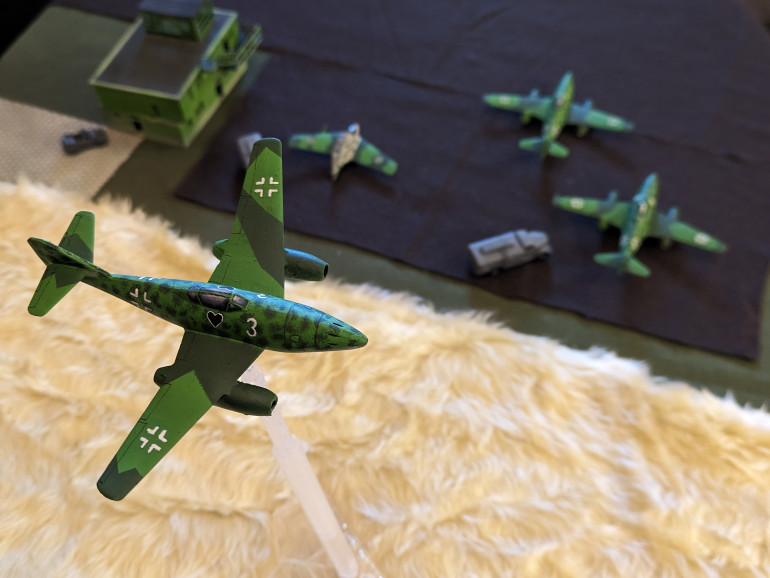
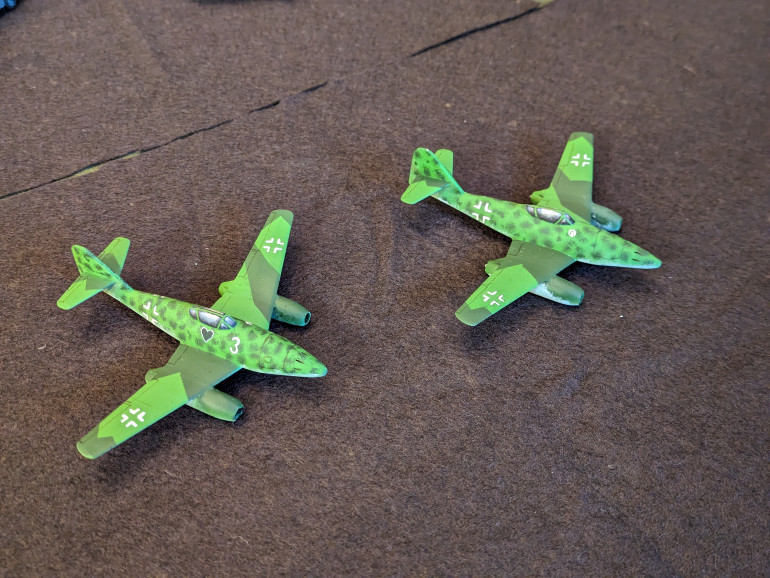
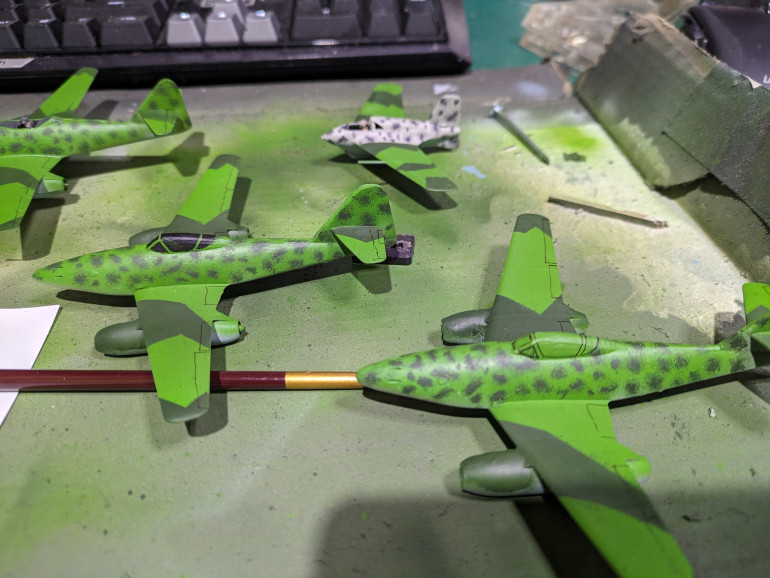
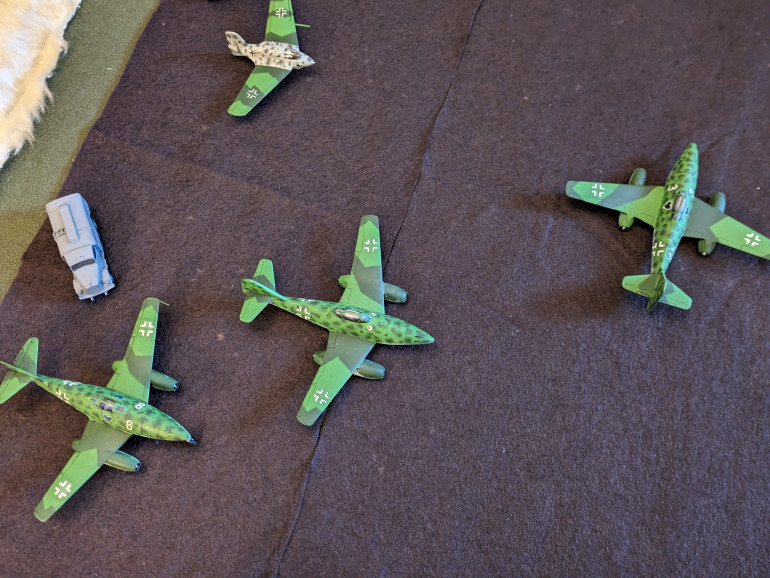
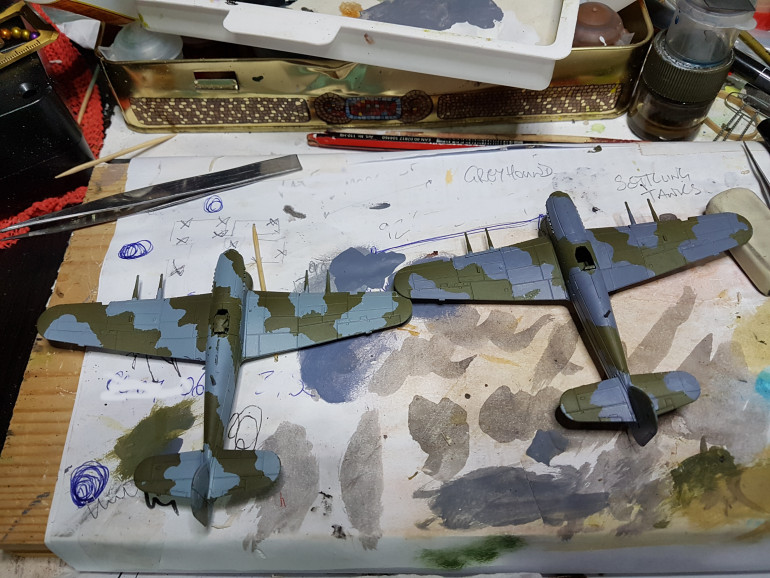
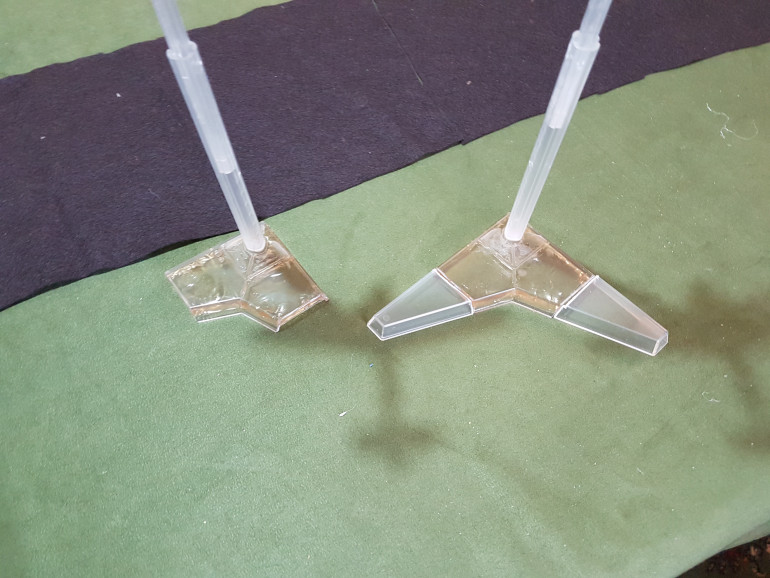
Too lazy to start another project for my FoW stuff but truth is I never realy stopped expanding my Flames over the last few years. Only it resembled more and more a bundle of half finished projects which started to get under my skin a bit. One of more interesting piles that had been taking up too much of my desk space the last 6 months was a plastic Tamyia Me262 with Me163 @ 1/100 scale an air control tower printed on my old FDM just before it blue smoked and a collection of resin bits that kind of resembled a pair of Me262’s also @1/100 scale that were tweaked to work my Vitrix flight stands
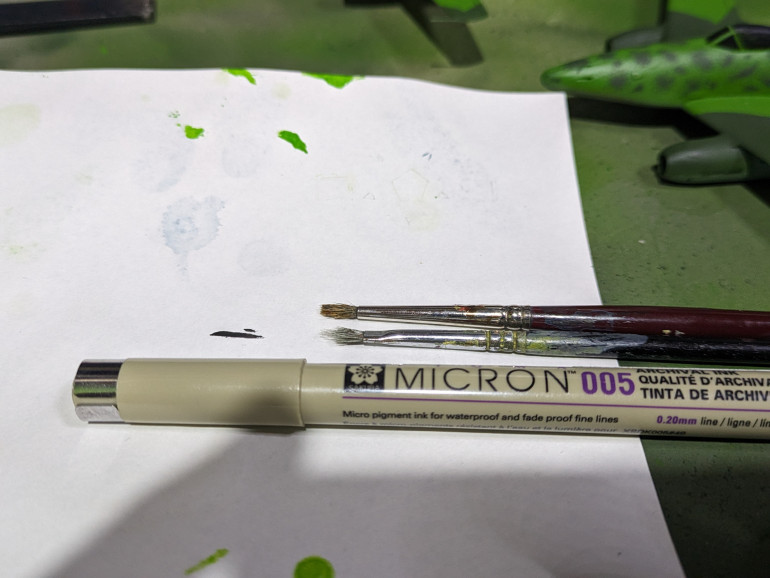
I wont go over the how to’s of putting a plastic kits together or detail painting step by step but I did employ a few new tricks to get the resin models to match the Tamyia kit as close as possible.
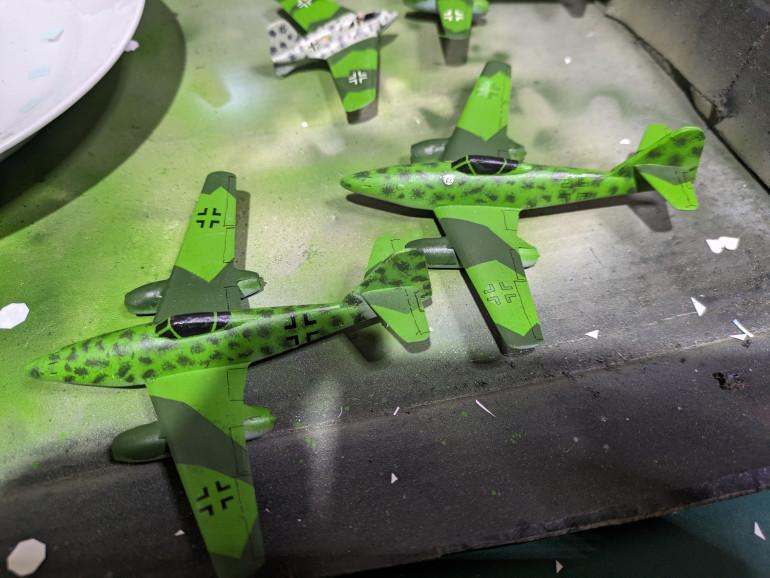
In hand I had 3 aircraft but only 1 set of scale decals. Answer turned out I had to make my own…kind off. Sourcing decal paper for my ink jet epson was easy enough and I had scale decals in hand as a template but standard printers dont print white.
So I resorted to trying both solid black and a black out line on transparent paper as a basis to then paint over.
End of the Foray
Played my third game today, 120 points. Infantry, tanks, aircraft, artillery , the works. Still learning many of the rules and probably still getting some others wrong but my sudden, impulsive ‘foray’ into this game has now definately settled into a long and lovely tussel.
In terms of how the game went, I folded after 5 turns. My mate cleaned up my tanks , using my tanks. (my minis his terrain) but we declared a draw as we figured he wasnt going to reach his objective by teh end of the 6th turn.
Combining Arms
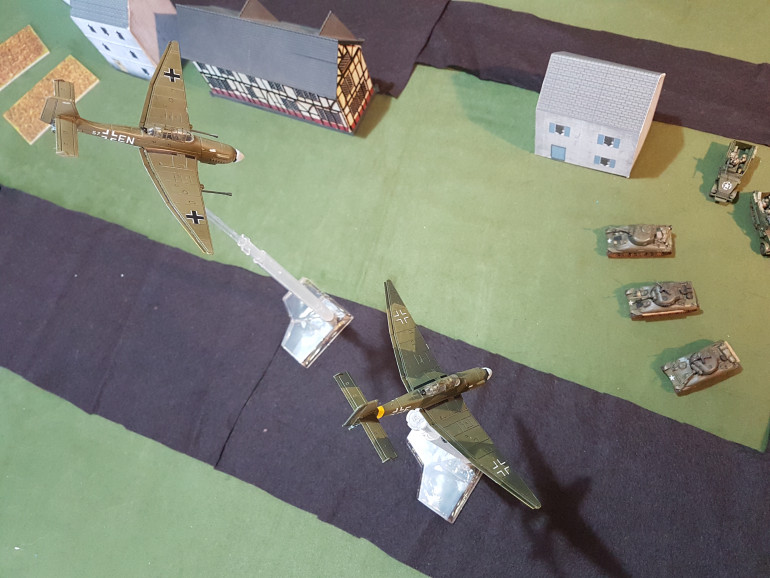
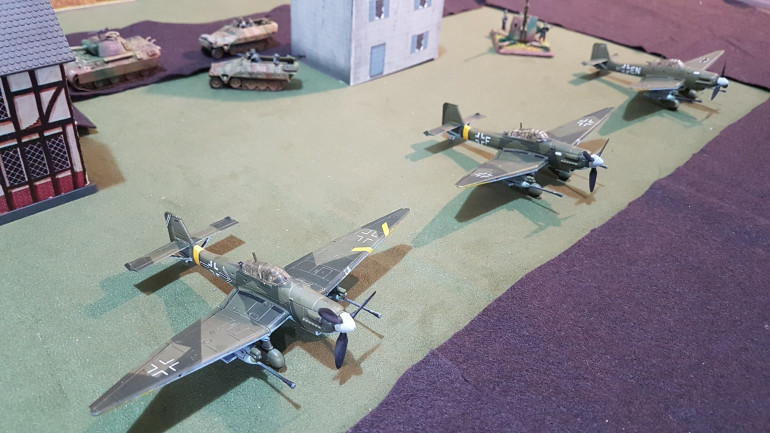
So with nothing left to paint or put together in terms of ground forces for my Germans or Americans it’s time to start the air war!.
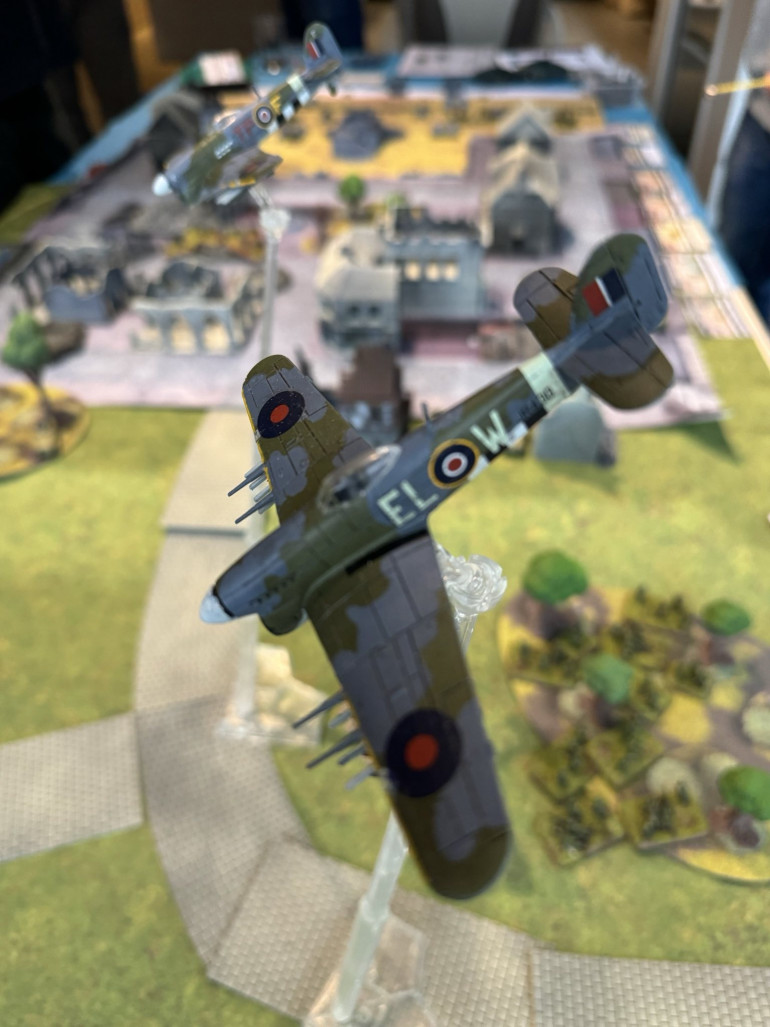
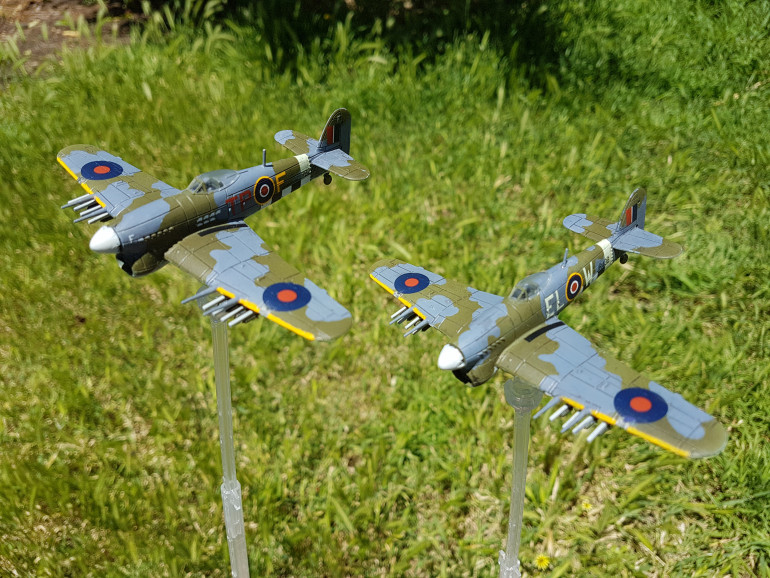
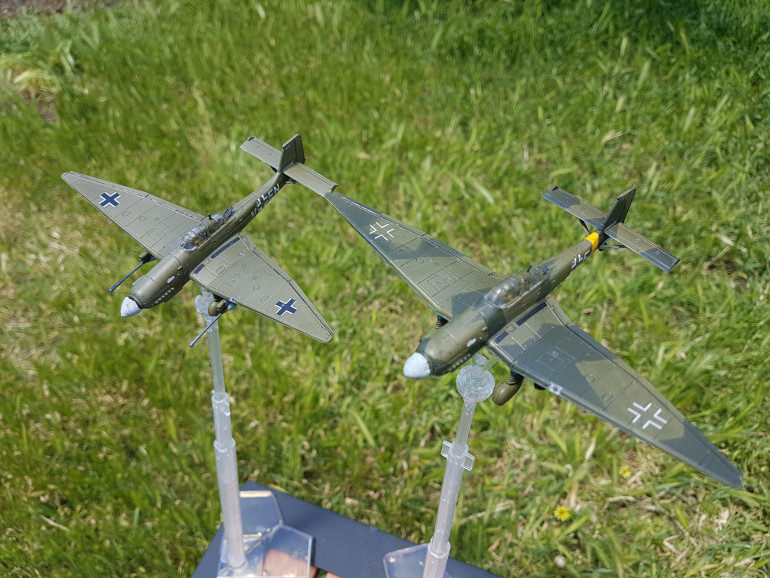
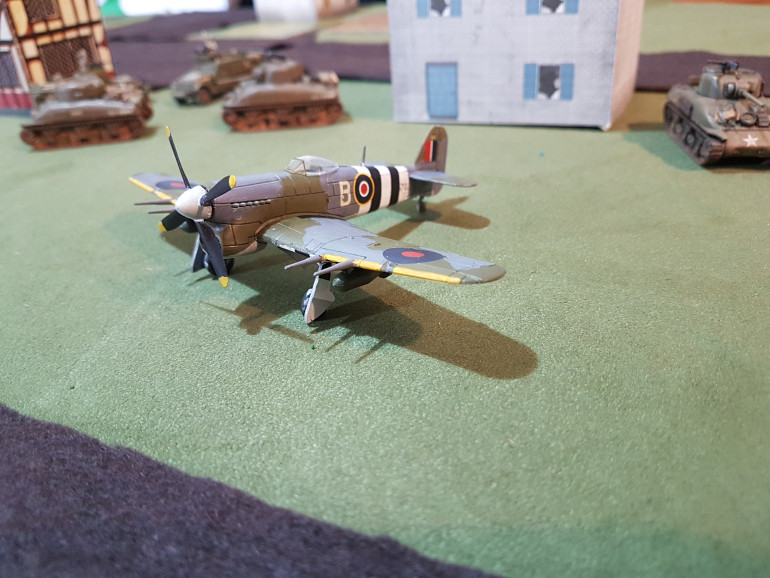
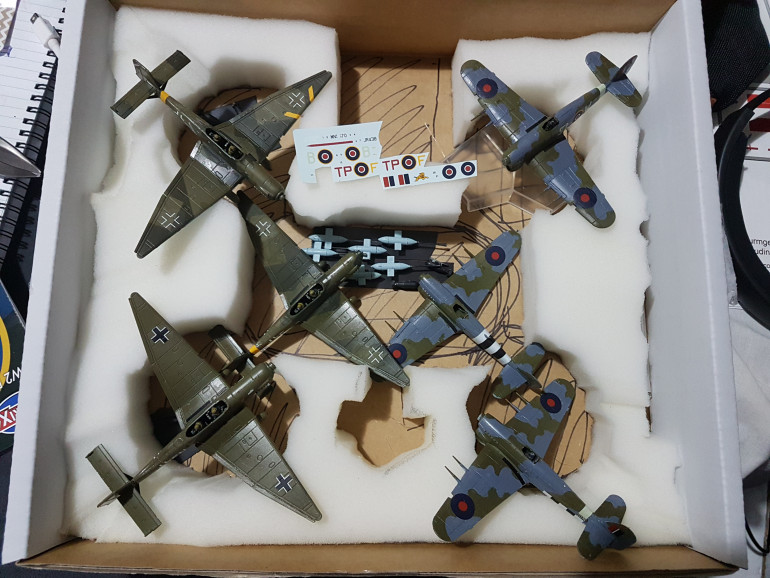
I had initially thought to get some allied close air support to balance against my German force and it seemed a relatively historic way to do so. But while I was in the Vitrix store buying 1/100 scale Typhoons I couldn’t help myself and purchased a box of Stukas as well.
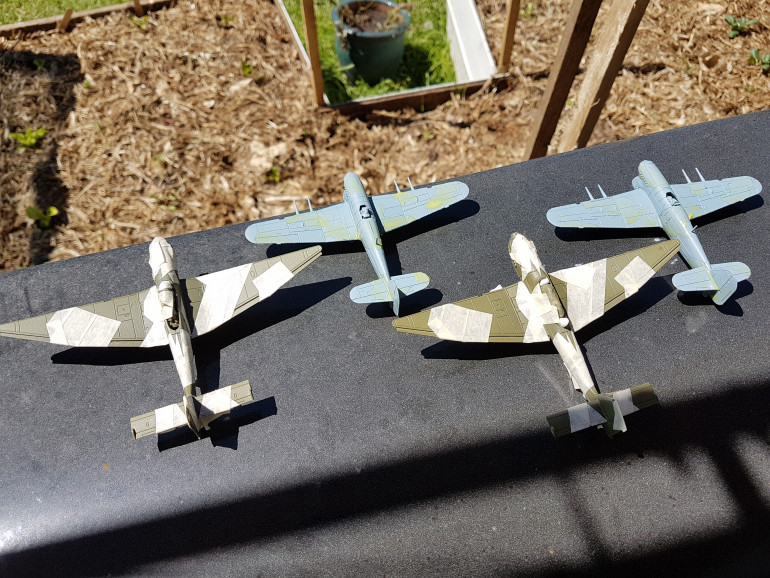
To get the most of out of the models I decide to magnetize the load outs. As FoW Typhoons only use rockets and FoW Stukas can be armed either with gun pods or 500lb bombs I decide to take the 500lb bombs from the Typhon box and make them swappable with the gun pods on the Stukas.
Free hand practice
If I wanted be historicaly acurate it would never make the table so I thought it was the perfect canvas to have some fun.
At this point I’m wondering if the real test is mirroring it to the other side.
Now I'm hooked
It’s been a little while since I’ve updated any of projects but I havn’t been sitting still by any stretch. Last update had me and my mates decide that I’m going to be the one that expands upon the Germans. Shortly afterwards I’m sitting playing Dune (great game) in my local games store one Friday night ,between lockdowns, when a I can’t help but feel the call of some of the stock, glaring at me from the shelves. A box of plastic soldier 250’s ,a box of Panthers and , a box of Stugs come home with me that evening. And Soon after 88’s, 251’s and Panzer grenadier HQ arrive from OTT (thanks Spring Clean Challenge). And I feel my German army nearing complete.
One of the more frustrating things about both plastic Soldier Co, and Battle front is that their plastic kits tend to have a great selection of variations and armaments in them, I nearly burst with indecision but determine to try reconcile it all with magnets.
Some very careful drilling and filing and some 1x2mm magnets mean I’ve now got a few options to play with.
I can switch between early or late Stugs, and my 251’s can be either transport or 7.5cm guns and my 250’s can be transports, mortars or scouts.
I settle on straight up yank versions of the jeeps and m3’s but after spending so much time trying to understand the variations available I decide to consolidate my findings and put it in a video.
Played My First Game evaaaa!
Got a golden oportunity to drive 2 hrs and play my first ever game of Flames of War. It was my mates first game as well so we spent a little time running through a little encounter involving some shermans running into a 7.5cm gun ambush then stepped up to a small 25 point encounter to help us get our heads around command, units, teams, and see how infantry units work with tanks.
We did realise later that a few mistakes were made with declaring targets and we missed the rule on turned turrets but got a flow up and going by the end, to the point where we could see why the smallest games recomended are generaly 50pt games . We really enjoyed it. My Mate wants to focus on Brits, his brother is thinking Russian so I’m going to look at expanding my Germans with some mid war stuff
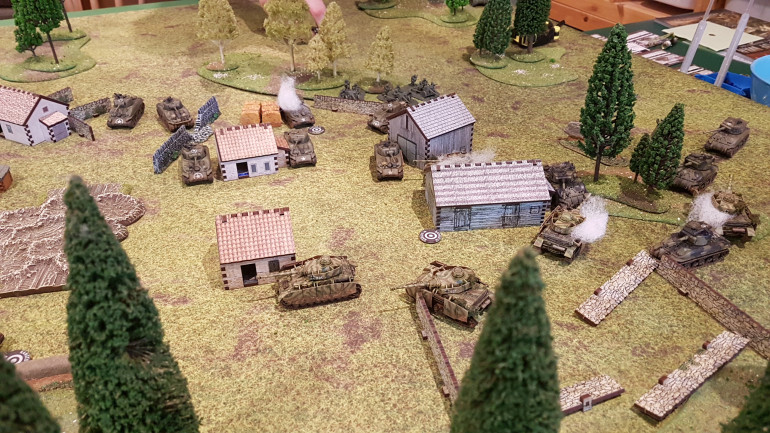
A few shots chonological to the battle , starting at opposite side of the board we closed on each other till he was behind a wall and I was hunkered down the forest. He took out my stugs with tank fire while I got most of his Shermans with Panzershrecks. His charge across the field into the forest was painfull to the Americans but they still had enough to repel the Germans whan I returned the favour. I dont think tactics was high on our list this game, but it was a lot of fun creating situations then seeing how the rules worked.
Also recieved some more toys for the BoW store and Vitrix in the last couple of weeks so it appears this project will be active for a while yet
The Knights who say 'Ni!'
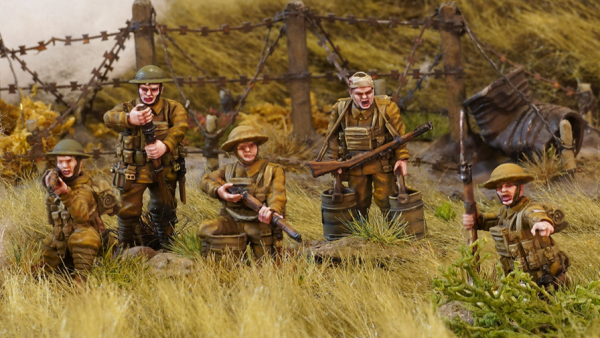
Finally all Flames of War miniatures in my possession are complete.
Weathering process prceeded as follows.
sepia wash
pinpoint black wash
pale sand vertical wash lines
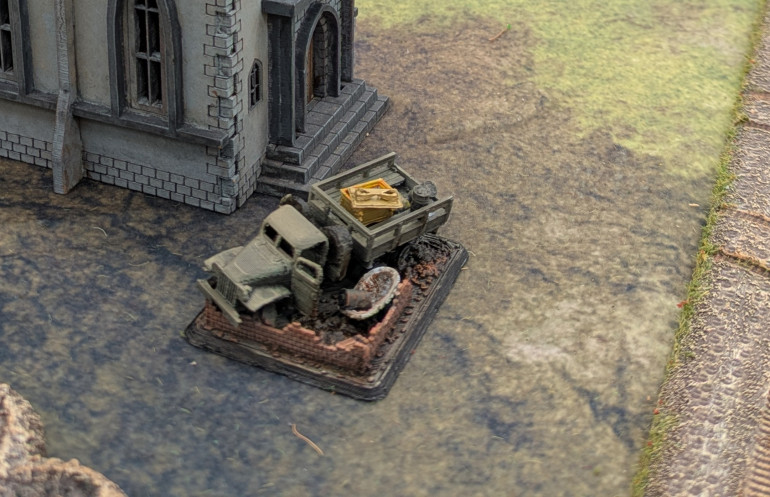
homemade weathering powder from soft pastels scraping lots of brown and adding ochre, red, yellow & white till I was satified it looked like typical Normandy. Puffed powder on liberally with brush then dripped a isopropyl on to set before matte varish spray
Lines are for detention
I supose I shouldnt complain , I only have myself to blame for Striping all my panzer IV’s and tigers at once. Turned out to be a good days work to stripe and then another good days worth in painting accessories, a quick coat of gloss before decals, and tiny hand painted numbers. Next step , the weathering.
Gettin' dressed
So working from home with 3 kids bouncing off the walls may equate to less time for hobby, but I’ve realised that as long as keep my plates spinning no-one is much minding when I spin them and , as we know, all work and no play makes Jack a dull boy. So best make time for the things that keep you sane and maintain balance.
I’ve reached a point where I’m pretty happy with the stowage on the Shermans but I want to weather all the tanks together as they’ll have been rolling in the same muck. To that end I’ve added skirts to the germans and preping myself for camo patterns. Still havent decided on the exact method, airbrush or bristle. Maybe I’l try both and see which I prefer.
Blue fin and Ravioli
With all the impending chaos of the last month I haven’t been as focused on this project and instead trying to get in as many games with folk while we can. But there has been some progress
So focusing my research on Shermans took me down a great many rabbit holes and I collected many screen shots of stowage and markings and almost settled on an historic unit to portray.
Turns out the 2nd Armored Div’ (Hell on Wheels) saw pretty much every European theatre and from what I could find had all sorts of Shermans in all sorts of configurations and markings. The one thing I’m missing is an easy way of reproducing the 2nd div unit markings as the decal set I have appears to cover the 4th div. I decided instead to leave the unit insignia off, go a bit generic, but utilize what I had found to inspire stowage.
The tank sprues came with a few useful items including Jerry cans (Yes…he can), track, ammo boxes (I think) and spare wheels. The canvas rollups, felt a little off to me but I found if I cut them down they did pass as smaller rolls.
What I didn’t have that seemed to appear everywhere was lengths of timber, large canvas rollups that looked believable, boxes of stuff and back packs and sand bags bags
I had some square-ish profiled sprue lying about which served for boxes. A toothpick, BBQ skewer and a match or two gave some variety in lumber and split matchsticks work pretty well as planks.
I had a bit of kids Crayola modeling putty laying about so thought to see what I could make out of it.
Turns out its soft and squishy but not overly sticky and found it very good for making rolls of canvas and sand bags (ravioli). It does seem to take days to dry hard and there is a little shrinkage but the super glue still held it fast.
Focused pics of blue fin is really difficult apparently
I still needed a few individual backpacks to round out the effect and remembered I have squads of them and as long as the blue stuff was out I also pressed a few molds of jerry cans and track.
Currently I’m satisfied with about half my tanks and will aim to be satisfied with the remaining stowage sometime this weekend so I can finish painting and start weathering.
Flockn Hell
So finally a weekend with enough spare time to post my progress.
I thought the flocking process was going to be pretty straight forward and easy but this was first time with static grass
On my first few bases I tried some thinned down PVA, the thinning I think, my first mistake. It didn’t take very well to the base or the static grass and ended up with a mangy, balding effect on a layer of glossy PVA. So I think to myself, maybe some super glue. I source myself a bottle of superglue with brush applicator and set to it.
The super glue was much improved over the PVA but the end result wasn’t exactly what I would call lush and still showed a lot of gloss finish. Certainly didn’t evoke images of the fields of Normandy and by now I’m feeling a bit frustrated.
So I do a little internet searching to work out where I’m going wrong and I come across an observation about how you shouldn’t matte coat after placing static grass as it will stick to your minis in bad places. So I flip the concept and think to dab some Liquitex matte medium down and press my grass to it. Getting my matte finish and lush grass in one.
This actually worked quite well I think in part because I already a bit of grass on for the process to cling to. Annoying though I did end up with a bit of grass in unwanted places and had to back track and carefully pick and pry. Some of this I just covered with bigger tufts later.
Once I was satisfied that I had enough grass down I dry brushed the balder areas with a little Zandari Dust to make it look a little dry then shaved a bottle caps worth of soft pastel. At first I mixed a little red and brown and dabbed it on in and around my dry areas then made a darker mix and dabbed it around randomly. Then I took a syringe of Isopropyl alcohol and drop by drop set the powder in place.
Lastly I threw down a scattering of grass tufts, used my airbrush to scour any lose grass off, and gave it a another coat of Matte for good measure.