Flames of war DAK
Recommendations: 49
About the Project
Me building and painting a flames of war DAK (deutsche Afrika korps) force
Related Game: Flames of War: The World War II Miniatures Game
Related Company: Battlefront Miniatures
Related Genre: Historical
This Project is On Hold
Panzer IV progress report
Progress report on my Panzer IV’s for my DAK army.
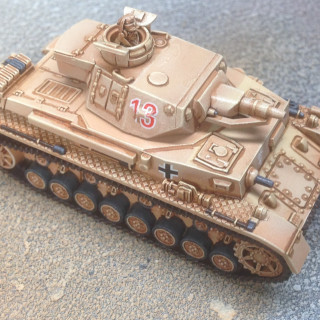
I decided to be fancy and try some colour modulation. Here is the reference picture I used. With this technique your not trying to be realistic you’re just trying to add visual interest.
I used vallejo brown sand as a basecoat and Vallejo iraqi sand as the light colour. The colour modulation sort of works if you look carefully. Not really sure if its worth the extra effort. Anyway… still WIP. Still have to add chips to the paint and paint the tracks and exhaust and general weathering.
I did have some trouble with getting the decals down properly. There is a little bit of damage but I think I got them down in the end with multiple layers of vallejo decal softener. I have applied a thick layer of gloss varnish over the top to seal them in.
I will paint a Tiger next so if anybody wants I could do a little tutorial on colour modulation. Let me know if anybody is interested.
Almost forgot
Panzer Vor!
Update on the project so far!
As you can see I’ve been hard at work building panzers for my DAK force. The new plastic panzer III’s and IV’s where a joy to build. The panzer II’s hold up well for older kits. The Tiger is just there for fun.
I’ve also spend a bit of time thinking about my army list. Here is what I have come up with
- 1x Panzer III (short 5cm)
- 1x Panzer III (short 5cm) 3x Panzer III (long 5cm)
- 3x Panzer IV (short 7.5cm)
- 5x Panzer II (2cm)
- 1x 8.8cm AA gun
- 2x Ju 87 Stuka
Only downside on the project so far is that my box of Rommel’s Afrika korps came without any of the heavy Aa guns but that problem should be fixed soon as replacements are on their way!
Flames of war DAK force
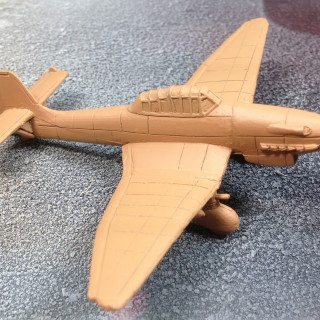
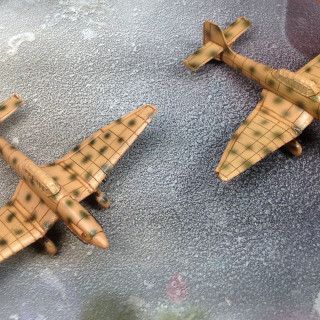
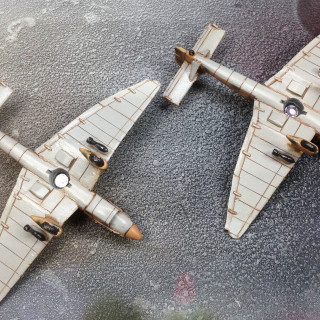
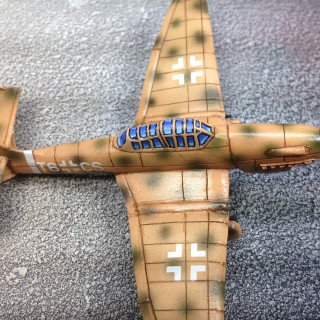
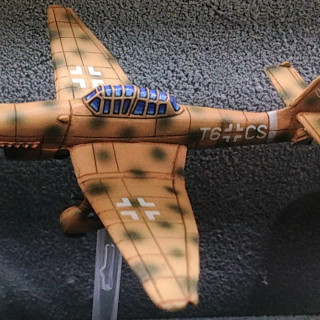
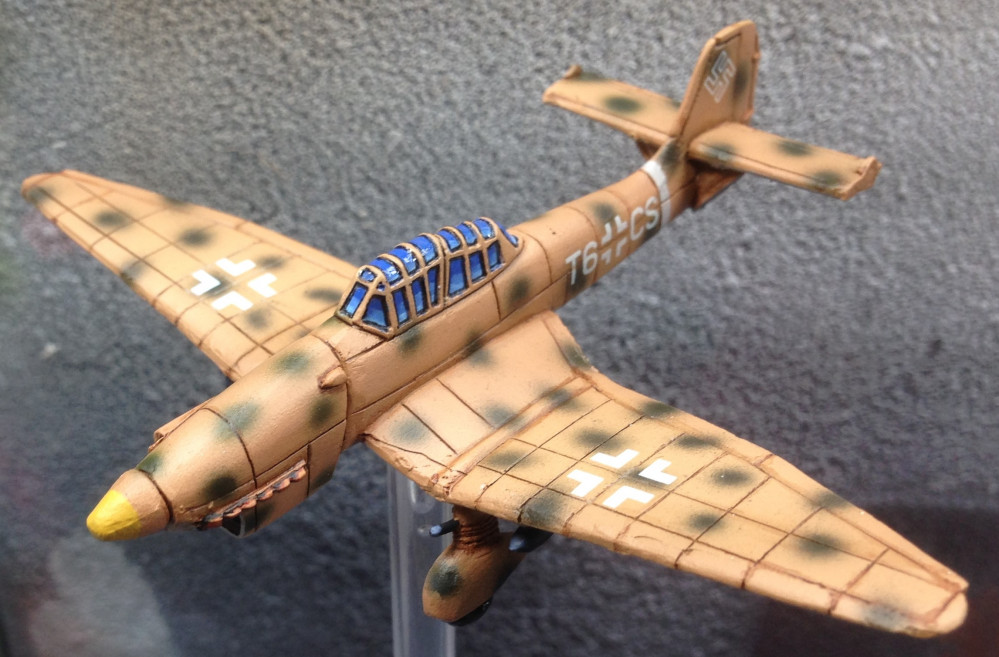
I am getting back into flames of war and decided to start with something cool so I picked up some Stukas because they are such an iconic warplane.
I’ve decided to document my step by step progress.
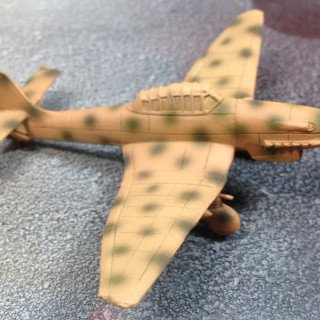
- Airbrush: After a layer of vallejo grey polyurethane primer I sprayed the top of the plane with a mixture of Vallejo brown sand and iraqi sand.
- Airbrush: camouflage dots of Vallejo camouflage olive green
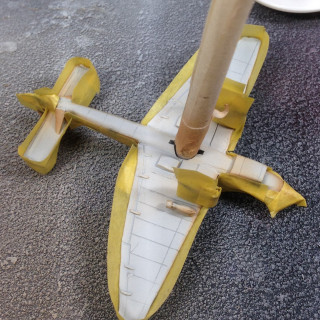
- Masking everything but the bottom and applied vallejo sky grey
- Applied a gloss coat and used Vallejo model wash brown
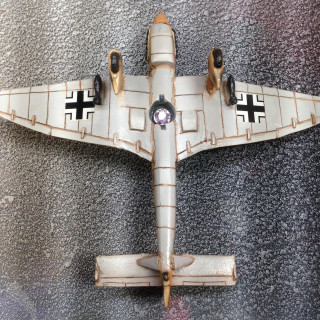
- The underside
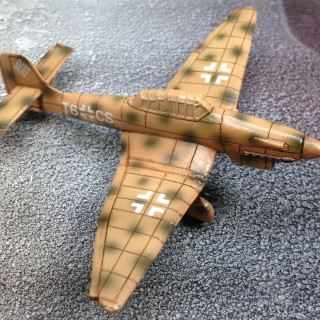
- Applied decals with Vallejo decal fix and decal medium
- The underside
- Painted the windows first with ultramarine blue and then lightened with sky blue. Used a micro pen to give a black outline to all the windows.
- Gave the whole model a coat of army painter matt spray
- Painted gloss on the windows.
Please let me know if this guide was usefull to you. Any comments are welcome.


