Lloyd’s Varangians / Kevin Rus’ Army Build
Recommendations: 194
About the Project
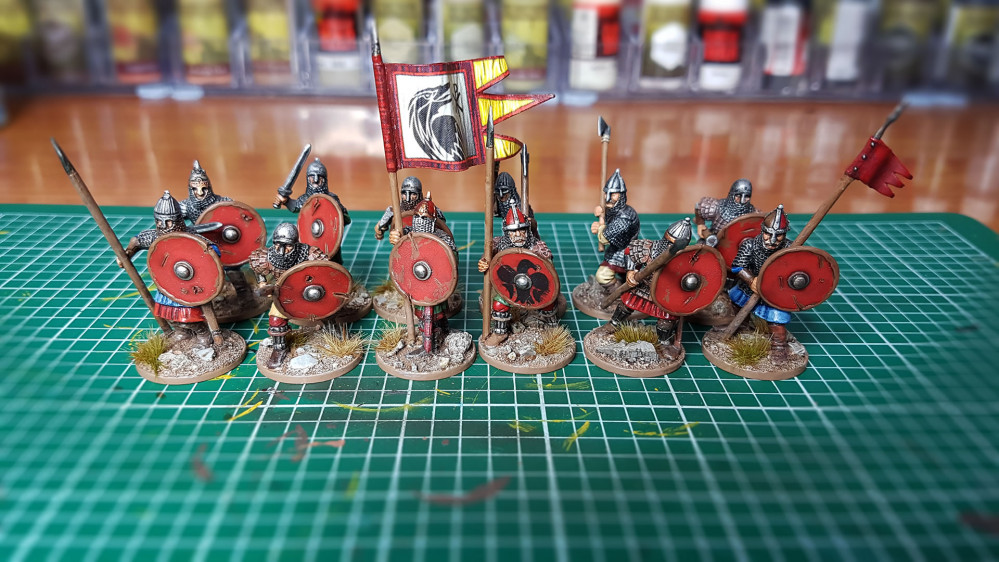
This a log of the building of my Varangians / Kevin Rus' army which I'm going to use for epics games of SAGA!
Related Game: SAGA
Related Genre: Historical
This Project is Active
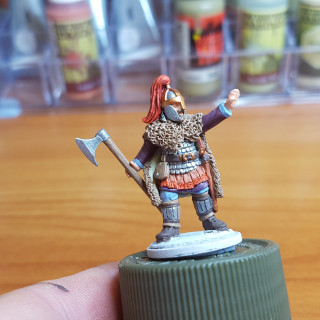
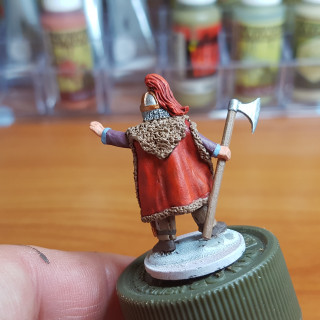
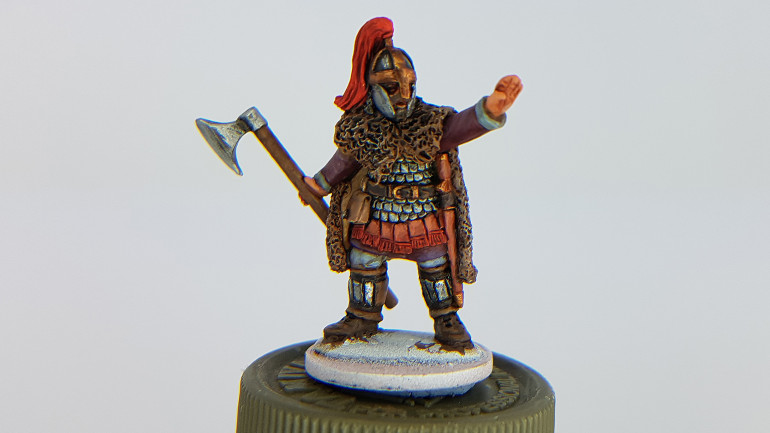
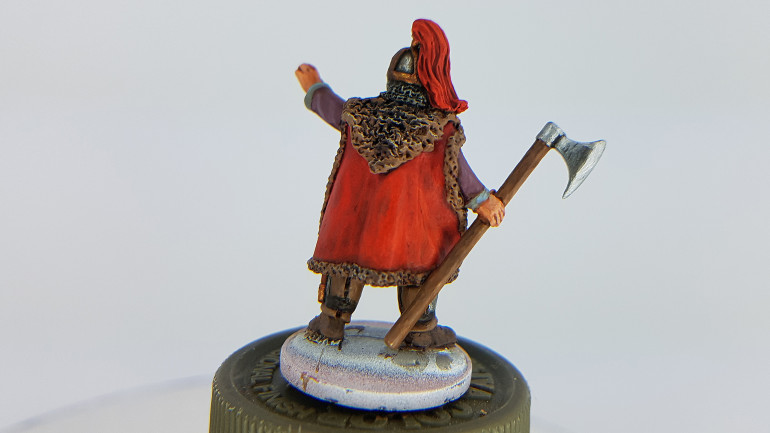
Getting Harald Hardrada Ready for Battle - Part 3
Time to getting painting, I would really like to get this guy ready for gaming this Sunday. There’s nothing more satisfying than seeing your hours of hard working going into battle 🙂
A Quick Way to Paint Red
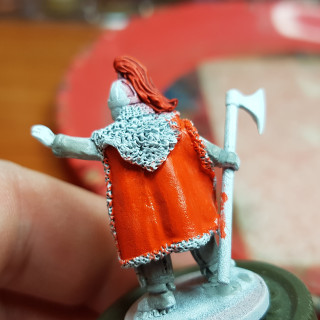
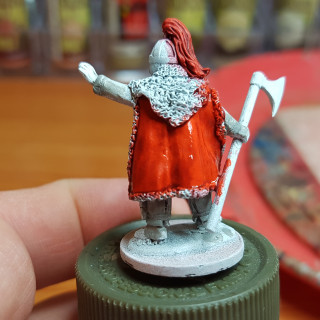
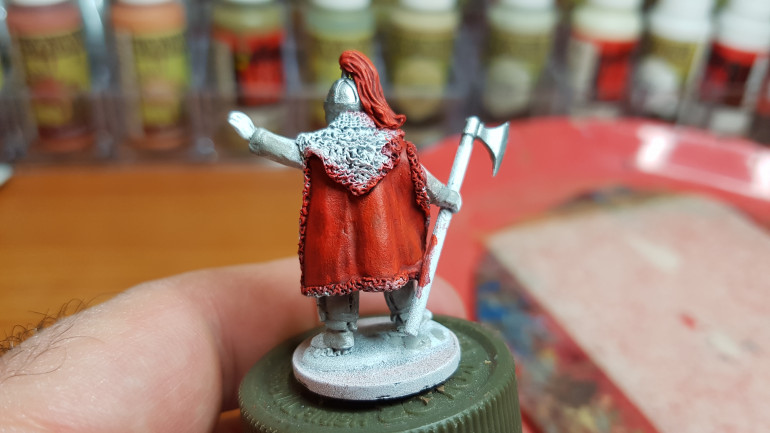
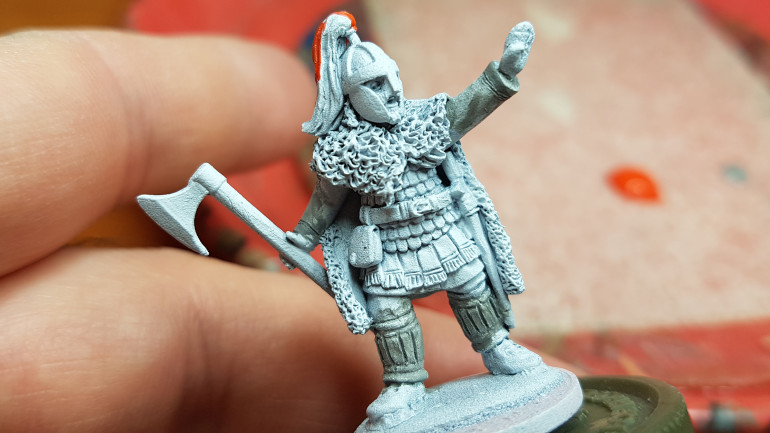
If your after a quick way to paint a punchy red I have found that painting with Lava Orange and then washing with a couple of coats of Red Tone (both from The Army Painter) works a treat.
The Lava Orange goes on really well/fast and the Red Tone dose a really nice job of changing the whole shade into red (funny that) but leaves some orange showing through for highlights.
You can then paint some Lava Orange back on to highlight here and there giving you three shades for colour providing some depth without much hassle. But be subtle with thin coats on large areas, you still want the colours to look red. If it turns to orange you can try a bit of Pure Red over it to knock it back again.
Finishing Up the Paint Job
To finish I just flat coated all the other areas with the colours I wanted and then used a combination of different washes (Soft Tone, Strong Tone, Dark Tone, Red Tone and Flash Wash) and then just added some highlights here and there.
The washes where particularity useful on the pelt, providing an easy was to give it a few different shades getting darker towards the centre.
Getting Harald Hardrada Ready for Battle - Part 2
Added a Nose Guard
While looking at reference images it became clear that I would need to make once last change to my Footsore Miniature to make him into my own version of Harald Hardrada and turned my attention to working on his helmet.
In the pics I was looking at most of the time Harald had a helmet on as you would expect but the helmet’s always had a noise guard. So I remedied disparity by using the handle from a knife which I super-glued to his face and then filled down so it was nice and thin and flush with the rest of the helmet.
Also if you look closely at the cuffs you will see I used the craft knife again to score in a little detail. I thought this might help when it came to painting a different colour on the cuffs but I’m not sure if I would bother again as it was hard to get the scored lines to meet up.
With the conversion done it’s time to moved on to painting. Below is a quick snap showing how he looked just as I got started. You might notice a few grey areas, these where parts I removed a few mod lines etc. from that I didn’t spot before spraying I then painted on some Brush-on Primer. Also I lost a little detail on the face due to some supper glue over run.
Getting Harald Hardrada Ready for Battle - Part 1
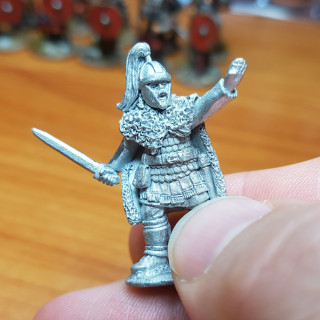
I’m taking a break from working on the Mounted Warlord to get Harald Hardrada ready to lead the charge, I use this guy as my warlord to unlock the Varangian option on both the Viking and Last Roman battle boards in Saga. But until now I’ve not really had a mini set aside for this and have been using a standard-bearer as a stand in.
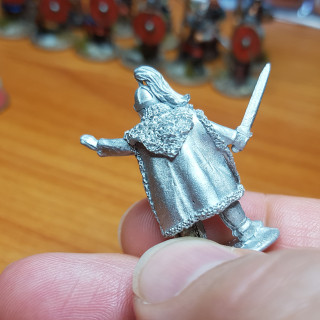
All that changed about 2 weeks ago when Gerry ( @avernos ) rocked into Sunday gaming with this guy from Footsore Miniatures suggesting he might be a good option, as he’s Dark Age with a touch of a Roman look to him. I think Gerry said he was a Visigoth.
I got to say, I think he was right so was more than happy when he handed over the mini for free!
Plate Metal Shin Guards
Once home with the mini I did some internet searching to get an idea of what sort of Harald Hardrada I could make and decided to make a few alterations.
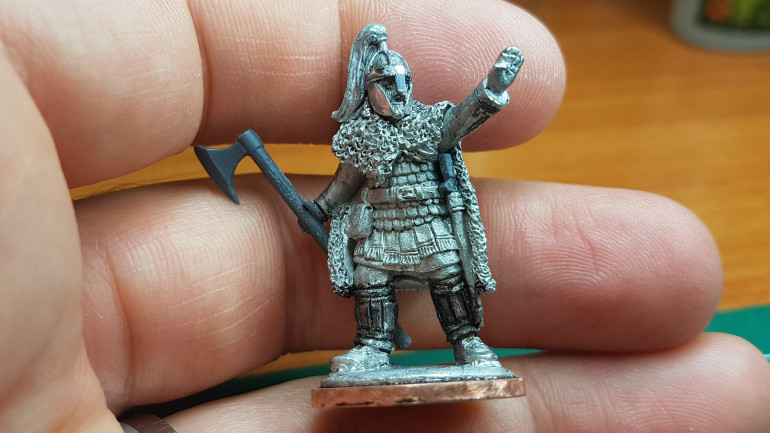
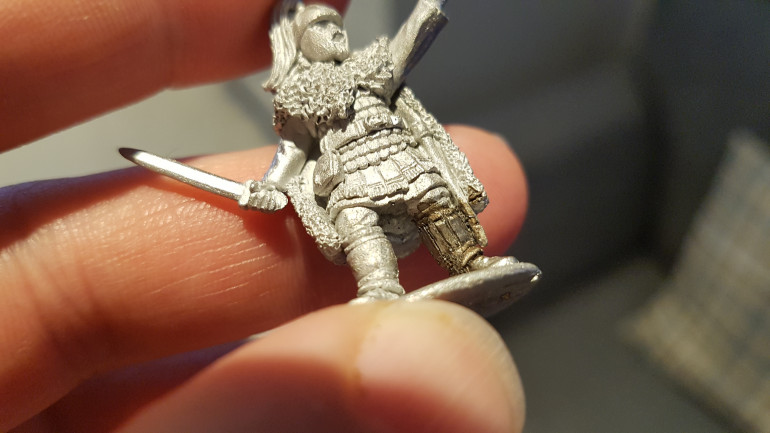
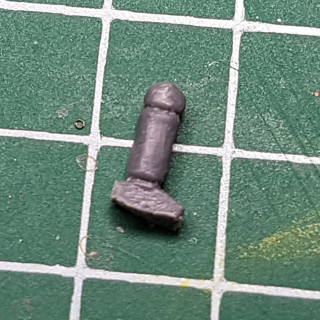
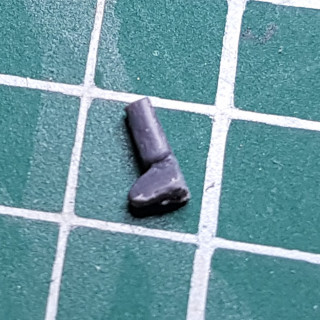
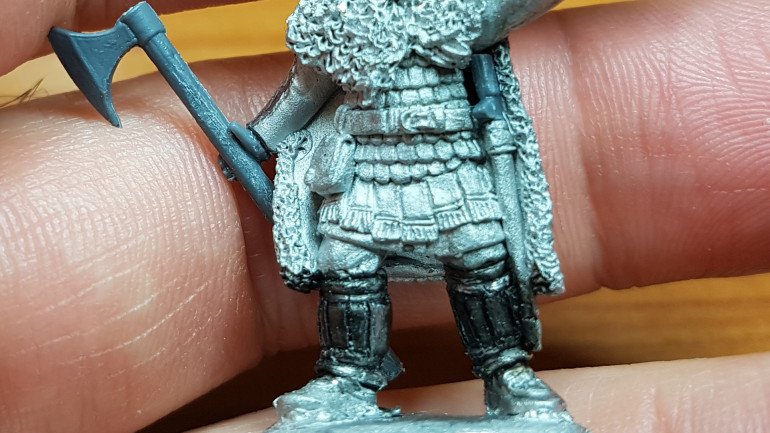
First up I cut some lines into the front of the padded shin guards so they would look like the plate metal type you see in images of Varangians. I basically did this with just a hobby knife but found it was easier to use one that was more on the blunt side than sharp as the metal was actually pretty easy to cut into and a blunter blade made a wider gap/line.
I left the backs of the guards as they where. The metal on these sort of guards didn’t go all the way round, you still need to be able to move after all.
Also I used some wash as I was doing it because it was hard to see what I was doing with everything shining bright under the hobby light.
Time for a Big Dane Axe!
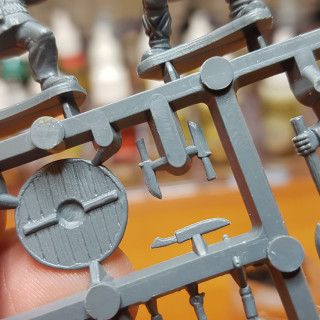
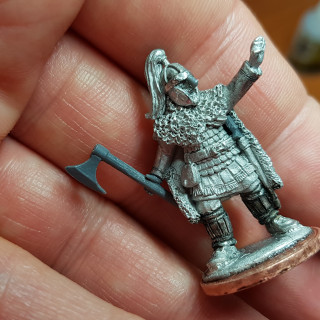
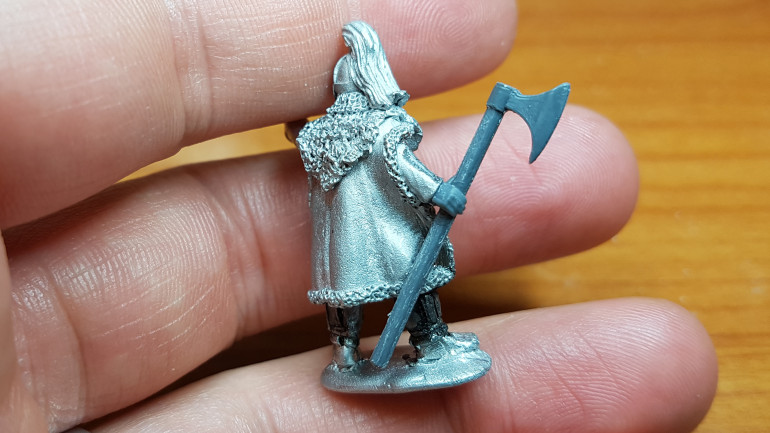
Although the mini looked class with a sword I needed to give this guy an axe, a BIG AXE. In Saga Harald is listed as having a two handed heavy weapon, so I grabbed the biggest Dane Axe I could find from my spare sprues and chopped off his hand.
This bad boy pictured below was a left over from a box of Plastic Vikings from Gripping Beast.
Sheathing His Sword
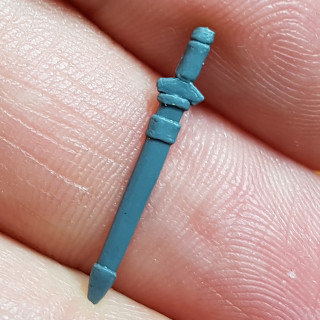
With the change to an axe I needed to fix the fact that he now had no sword in his sheath. So it was back to the left over bits to grab a one which I cut the hilt and handle off and then cut down some more so it would fit on top of the sheath and under his arm.
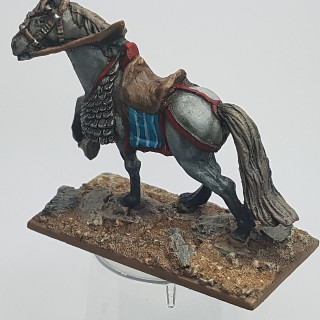
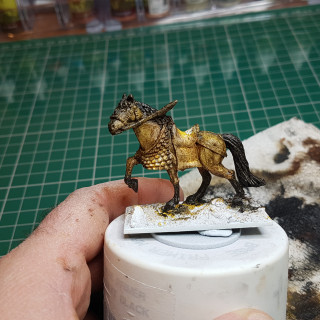
Finishing the Base on the Warlord's Mighty Steed
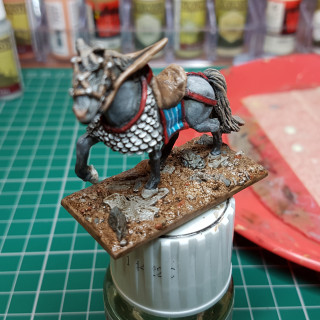
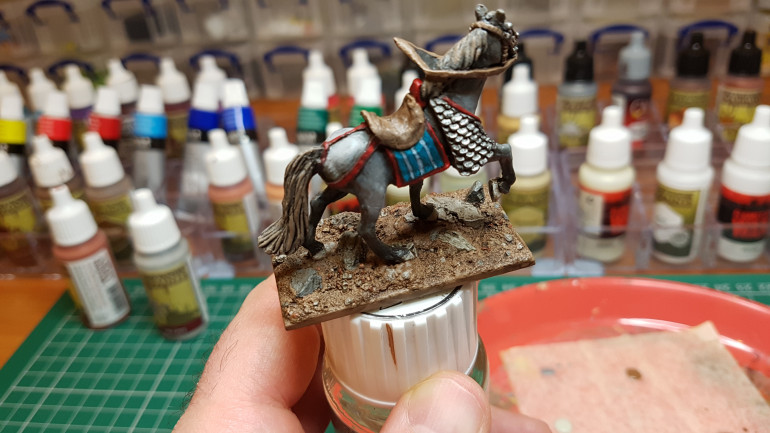
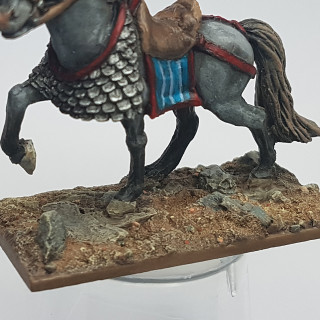
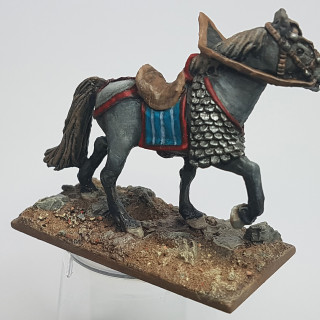
With the horse pretty much done (I might highlight a few edges etc.) it’s time to get the base painted up. In the previous post you seen the base get it’s first lick of paint which is Monster Brown from Army Painter. One of my favourite colours, which might seem a bit weird as it’s just a brown but I find it to be a very useful colour and great for my basing scheme.
Painting More Colours on the Base
If you look at any patch of ground you will see lots of colour/shades. If you leave a base painted one flat colour it’s going to look very strange, because you just don’t see that in the real world/nature.
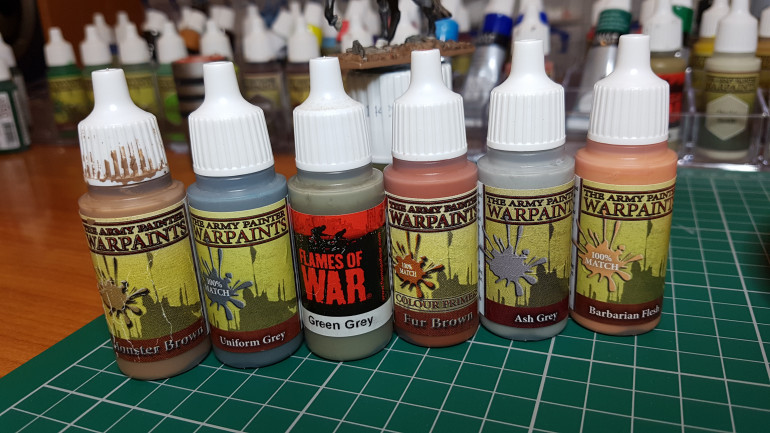
With this in mind it’s time to get some colours going on, so this base looks more interesting. Here’s a list of paints I used and pic so you can see most of the colours (all from The Army Painter).
- Monster Brown
- Uniform Gray
- Green Gray
- Fur Brown
- Ash Gray
- Barbarian Flesh
- Skeleton Bone (not pictured below)
With my colour set I started picking out individual rocks using Uniform Gray, Green Gray and Ash Gray on the large rocks and Fur Brown, Barbarian Flesh and Skeleton Bone on smaller rocks in amongst the large one.
Time for a Wash and a Dry Brush
I gave the whole base a wash so the rocks would get some shading and all the little gaps etc. and the base would end up with an array of different shades on it.
For this you can use a Soft Tone or Strong Tone from The Army Painter but pretty much any sepia colour wash will do the trick (there’s loads on the market).
Once it’s dry you have a base that you could call done as it will have lots of different colours and nice shading which helps blend the whole thing together and stops the coloured rocks sticking out like a sore thumb.
For me there’s two more steps to finish the painting.
- Dry brush the whole base with Skeleton Bone
- Paint some of the colours back on to some of the rocks
Step 1 – Picks all the high points out so you can see them blending the look of the whole base together even more and makes the base look a lot more like dry ground.
Step 2 – Is to boost the colours on some of the smaller rocks so they pop little more but I just do the smaller ones or this step would undo some of the work of step 1.
Anyway that’s the painting done and to finish up I will be painting on some gloss varnish around the edge of the base, usually two coats and once dry one coat of Anti-shine Matt Varnish all over the base.
Oh and I will also be adding some tufts of grass here and there too.
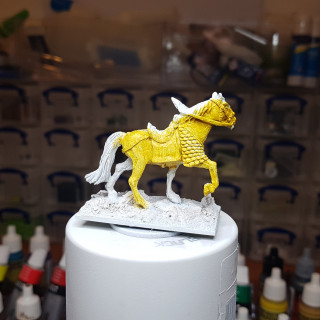
Painting Up the Warlord's Mighty Steed - TAKE 1
I’ve moved on to getting my Warlord’s horse painted up, I’ll come back to the man himself later.
Tried a New Painting Technique
As I’ve not really painted a horse before I went in search of tips on how to do it. It just so happens Gerry is also painting horses and pointed me in the direction of using oil paint on top off the standard acrylic base coat.
The idea being that the oil paint works a bit like a wash but sticker so it shades more area and not just the deepest recesses it manages to cling to.
Rather than me trying to explain it have a watch of theses videos and if you know of other video tutorials about this method I’d love to here from you in the comments.
Painting Horses With Oils
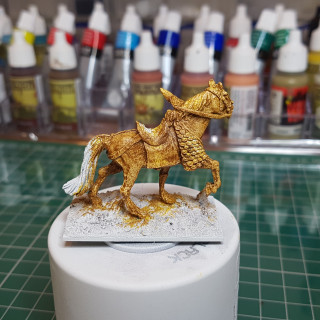
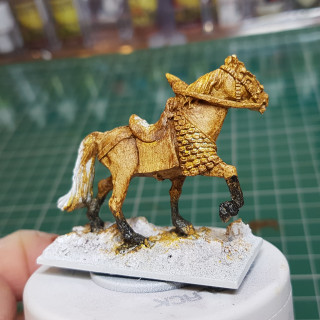
Ultimately I Messed it Up
I gave the Technique a try but ultimately screwed it up in the following ways:
- Used too many different oil paints. I tried to have lots of shades but they just mix together.
- Used too much paint. Related to the above as I had way to much oil paint on the model as I used more than one colour, 3 if I remember right. This showed up the brush strokes mentioned in one of the videos above.
- Didn’t want to wait 2 day’s for it to dry.
I’m going to revisit this technique in the future with a more simplified approach using just one colour over a base coat that is the main colour I want.
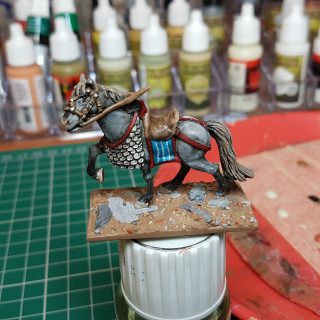
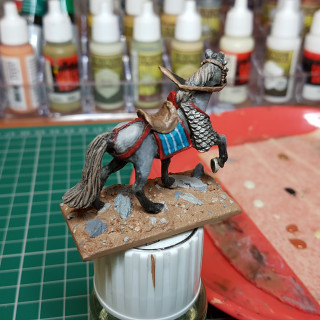
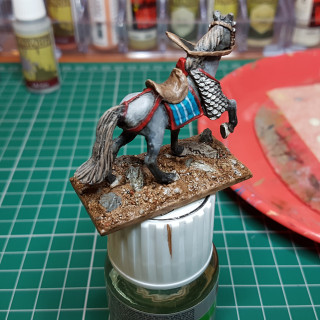
Here’s some pics of how it played out.


