Making Your Convergence Pop With Day Glow Pigment Techniques!
July 24, 2013 by anateus
So with the Convergence of Cyriss (CoC) breakdown Finished, Gav shows us a fast and effective way to get your new clockwork horrors off the painting table and onto the battlefield !
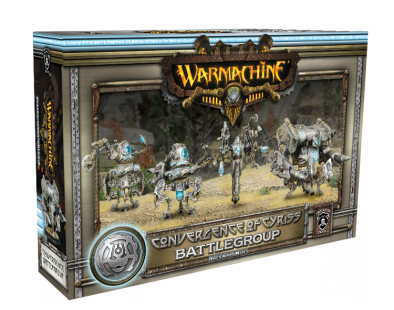
We've read through the rules, we've seen what's in the CoC box, and even run through how best to expand the CoC from their Battlebox and Beyond... now it's time to get these clockwork horrors onto the battlefield where they belong!
If you've seen some of my forum posts you'll have seen that I've been experimenting with the day glow pigments from Forged Monkey on a number of bases for infinity to great effect, so its time to try the technique on miniatures!
These pigments should lend themselves really well to the CoC and if you've never considered OSL (Object Source Lighting) and glow effects before, or thought they were only for experts or airbrush users then it's time to think again !
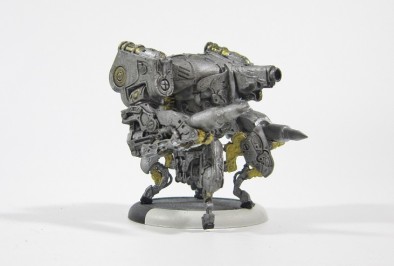
Using the CoC Battlebox, I'll run through sprucing up the Heavy Vector, using Plasma Blue day glow pigments for that great blue CoC glow..
Tools of the Trade:
For this scheme you'll need the following:
Vallejo Light Sea Blue
Vallejo Ivory White
P3 Brass Balls
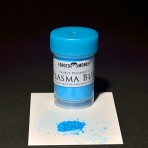
Forged Monkey Plasma Blue Day Glow Pigment
Army Painter Plate Mail Metal Spray
GW Nuln Oil Wash
Spray Varnish
Technique:
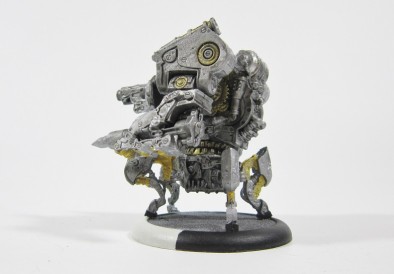
First off, my beautiful assistant Justine has assembled (blame him for the mould lines!) & base coated the model, using one of Army painters coloured primers - in this case Plate Mail Metal. These primers are great when time is short and getting things painted is crucial (and as an avid last minute painter, I don't know when time is ever not short!) as they prime the model and also put down your main basecoat colour in one go! The range of colours available is extensive, giving almost all armies a good jumping off point.
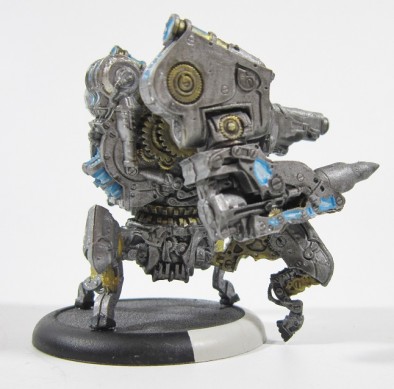
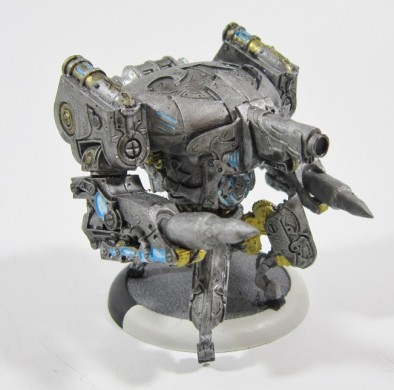
Following the Plate Mail Metal, my beautiful assistant Justine has followed it up with some P3 Brass Balls paint to the cogs and gears of the model, and then given the whole model a wash of GW Nuln Oil, to give it some definition to the details and bring down the shade of the colour so it's not quite so bright. At this stage the model is very, very basic and to really get it to stand out on the battlefield could take a lot of work. Or we could do the following...
Starting with a watered down Vallejo Light Sea Blue I've given each of the areas where I want the blue glow to appear a light coat of paint. This gives the glow a point of origin. This doesn't need to be a perfect coat, just enough to get the blue into the area.
Now at this stage, we're aiming just to get the glow origin painted, not the glow itself so try not to go outside the lines though that's easy enough to clear up later if it does happen (no ones perfect!).
For the next stage, we're looking at adding the "hot spots", essentially the centre of the light source. For this we want to paint on some Vallejo Ivory White, again watered down as we don't want the paint going on too strong. This should be just enough to show the colour, but not too heavy, so it has some translucence to it.
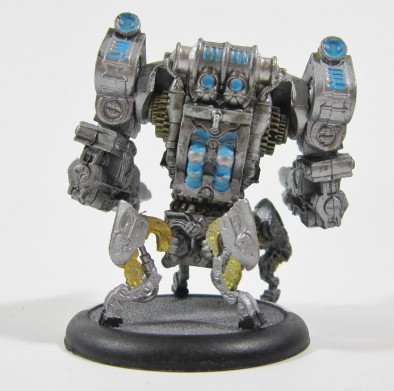
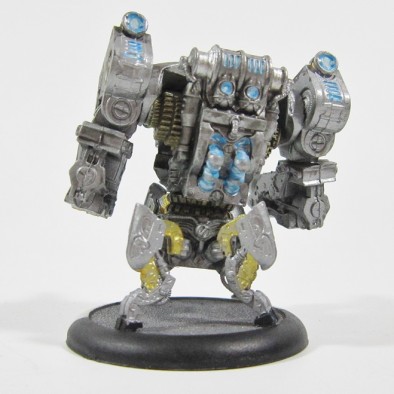
For this we're aiming to get colour to the central points of each of the glowing areas or in the case of the generator on the back, the raised areas of the coils.
Next comes the fun and indeed messy part. You'll want to put down some newspaper and use a couple of old brushes as it'll take its toll for sure!
Using the Forged Monkey Plasma Blue day glow pigment and an old brush, dab the brush into the pigment several times so that the brush is loaded with it. Next, brush the pigment over the areas on the model that you wish the glow to be, so the point of origin to begin with and then any surrounding surfaces where the light would likely fall.
Aim to have the greatest concentration of pigment on the point of origin, and lighter use of pigment on the area where the glow would fall.
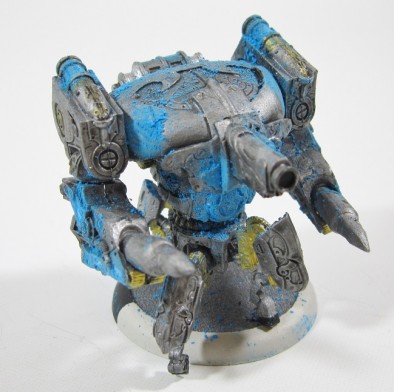
Really grind the pigment into the model (this is where your brush starts to suffer. Sorry brush!) so that it stains the area.
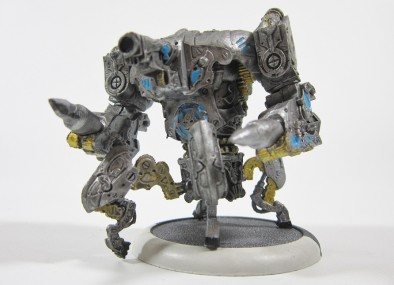
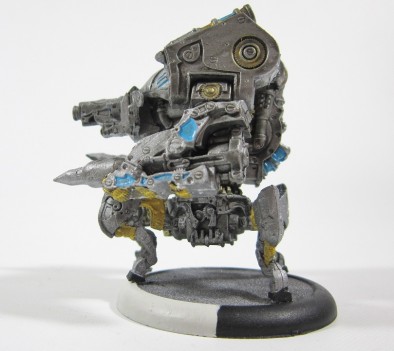
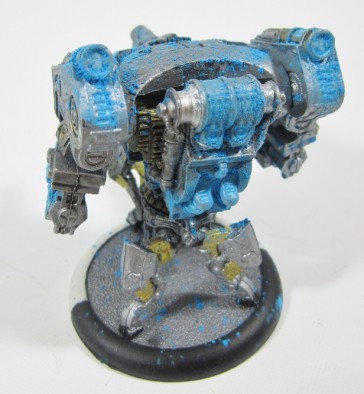
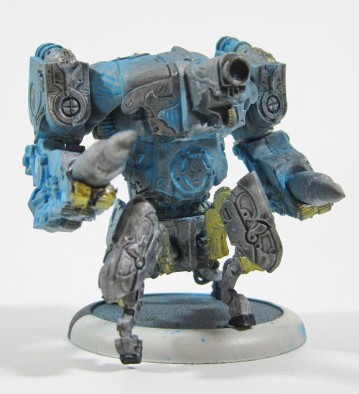
It should end up looking like this:
Once your happy you've covered the area you want to glow give the model a quick blow removing the excess pigment. Obviously don't do this onto your priceless cream sofa or anything else you don't fancy being stained blue.
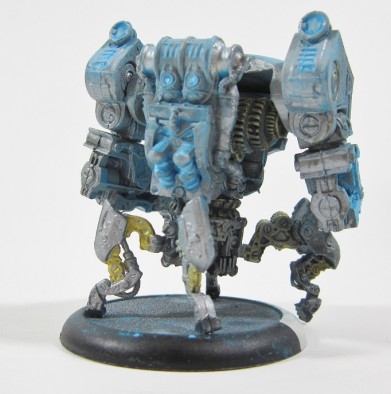
Once blown clear, you should have something resembling the following:-
If you require heavier glows, repeat the pigment process until happy.
Once your happy with the model, or have fallen unconscious from hyperventilating while blowing the pigment off the model you can go about cleaning up the model.
Using a brush, dampen the end in some water (enough to wet the brush, but not drench it, you don't want it dripping water on the model) and simply use the damp brush to move the pigment off the areas you don't want to glow. It's that simple!
Once your happy with the model, I'd recommend giving it a varnish to lock the pigment into place (otherwise it'll rub off onto your hands or model case every time you use them). You can do this via canned varnish spray, though this might take away some of your lighter coats of pigment. I'd recommend lightly dusting the model with the canned varnish (or if you have access, use an airbrush and varnish for the much lighter coats) and your done! Simple, fast and effective.
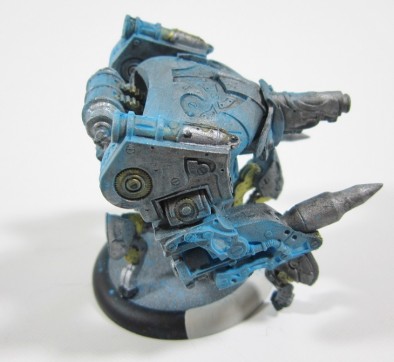
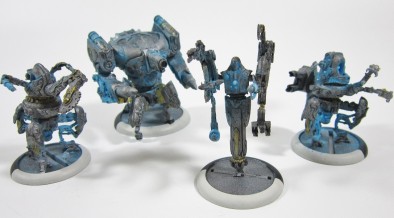
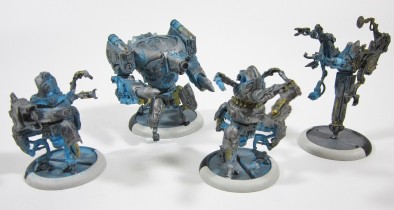
Using this technique I was able to turn finish off the entire battle group in the space of about an hour and as you can see, they really are quite striking for table top quality miniatures!
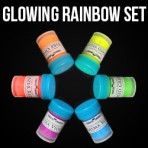
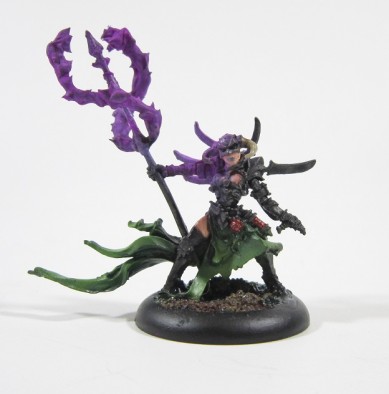
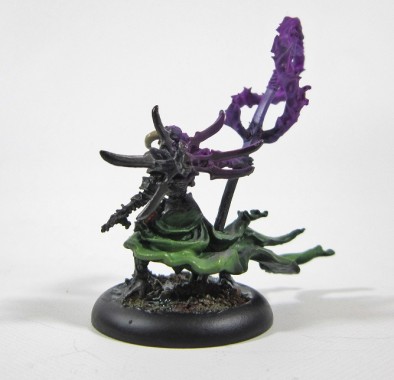
The pigments are available in a wide range of colours, suitable for a variety of glow effects. Here are a few examples of some other models that have benefited from the pigments:
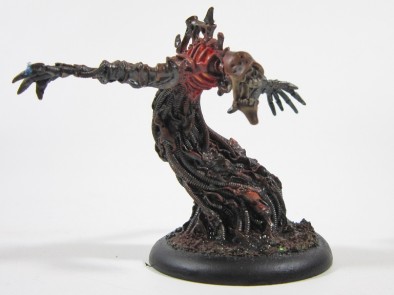
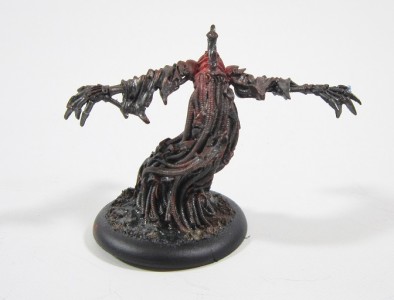
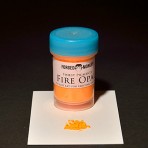
Cryx Machine Wraith using Fire Opal
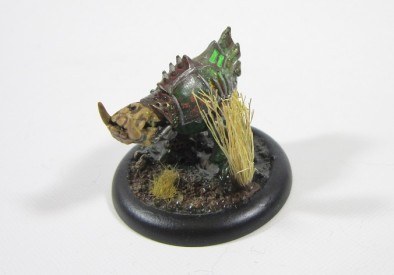
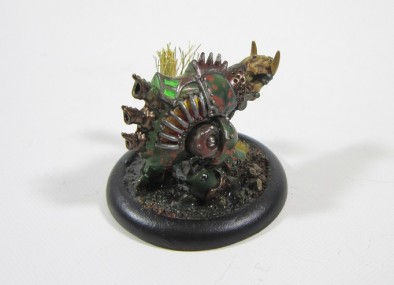
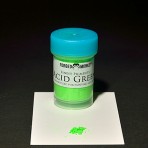
Cryx Death Ripper Bonejack using Acid Green
Cryx Warcaster Deneghra using Ultra Violet
The great thing about these pigments is the wide range of ways they can be used, either as in the technique above or mixed with water for a wash effect. You could even mix them with matte medium or other mediums to become a paint !
Hope this helps and speeds up the amount of Convergence of Cryiss we see on the gaming tables in future !
Links:
Forged Monkey
Army Painter Sprays
Vallejo Model Colour
Citadel Paints
P3 Paints



![TerrainFest 2024 Begins! Build Terrain With OnTableTop & Win A £300 Prize! [Extended!]](https://images.beastsofwar.com/2024/10/TerrainFEST-2024-Social-Media-Post-Square-225-127.jpg)






Nice CoC, dude 🙂
Justin! Mold lines are an abomination. Missed deadlines and delays are acceptable if it means fewer mold lines in the world.
Damn my fat fingers! Tried to rate you up not down!
I was tempted to have Justine flogged, but its just too damn hot ! (The weather, not Justin)
Corrected it through the poweh of administration lol.
The studio that made Pacific Rim must have bought a ton of this stuff.
Nice effect – would like to see a video or demo of the pigments.
Warmed my heart to see the arc markings already on the battle group 😀
did like how these turned out, cant wait for more to come out for the faction. 🙂
Any thoughts on making a cygnar arcane blue glow? Would I be right in thinking photos cant do this stuff justice. You need to see the way the light hits it in the flesh to truely see the benefit?
Yeah the photo’s don’t do the effect justice… its much more prominent and brighter in the flesh..
It could be done on Cygnar.. you might be better off mixing it in with matte medium and instead using it as a paint, to make it really show up… though if you did use it as above, if you don’t like the effect it can just be washed off !
Great idea to achieve OSL without the need of a airbrush, top marks!!, can you tell me what varnish you used, because in my experience matt varnish turns silver a tad white and gloss isn’t ideal.
Your models don’t seem to show any of those flaws, I can only assume you used a pot varnish and painted it on the day glow pigment areas to lock it in then a light spray for the rest.
I used matte varnish through a airbrush, lighter coats, to stop the lighter areas of the glow getting washed away… you could do the same if you used a can and just very lightly dusted it on.
Has anyone tried mixing these pigments? If I mixed some of the blue and green, or blue and yellow together carefully would I end up with something suitable to work with the cygnar book paint scheme? I’ve yet to try OSL but my Stormwall could really use some.
I’m guessing this stuff really doesn’t photo well, but I’m kind of digging on the technique.
I recall in my old resin model days doing up a Deunen Knute kit with a pearlescent red pigment in the army green to try to simulate the way Masamune Shirow paints that ultra high gloss. It came out awesome. I am thinking the posted technique might translate to some other interesting effects.
example:
http://www.animebox.eu/wallpapers/d/6134-3/masamune+shirow+-+018.jpg
Sounds cool, don’t suppose you have any pictures of the pearlescent pigments in effect? Might be another tool to add to my painting arsenal..
It’s been years (and many moves) ago, but I’ll see what I can do. If you want to see some photos of pigments in use, I discovered them on model car hobby pages. Here’s something I quickly googled up:
http://img827.imageshack.us/img827/5955/ivw4.jpg
I’ve been waiting for this after warren mentioned about it, I’ve just tried to do some light source effects but fined it hard to to get a lighter enough blend but these look realy good even tho the picks don’t look that great. Cheers gav on enlightening me to monkey pigments what’s the retail ? Your wonder women cuff links of power are mighty strong 🙂
Depends where you are in the world, its a german company.. so prices are in €, and then differing postage costs as well…
In terms of value though… priceless… it makes things sooooo much easier…that anyone can achieve a decent glow effect with them !
You can achieve exactly the same effects using simple chalk pastels bought from any stationers. Simply shave the colour pastel down with a hobby knife into dust and apply. If you’re talking about value for money, that’s how to do it on the cheap. I live near a discount ‘The Works’ book store in the Uk you can pick up 20 chalk pastels (including fluro ones) in a set for about £2.99… My set has lasted a year already and still heaps left.
That is a cracking piece of info.
Any chance you would have a go at writing an article about it for us?