


![Very Cool! Make Your Own Star Wars: Legion Imperial Agent & Officer | Review [7 Days Early Access]](https://images.beastsofwar.com/2025/12/Star-Wars-Imperial-Agent-_-Officer-coverimage-V3-225-127.jpg)


Hobby Lab: Siege Tower – Shading Metal and Rope
April 30, 2019 by johnlyons


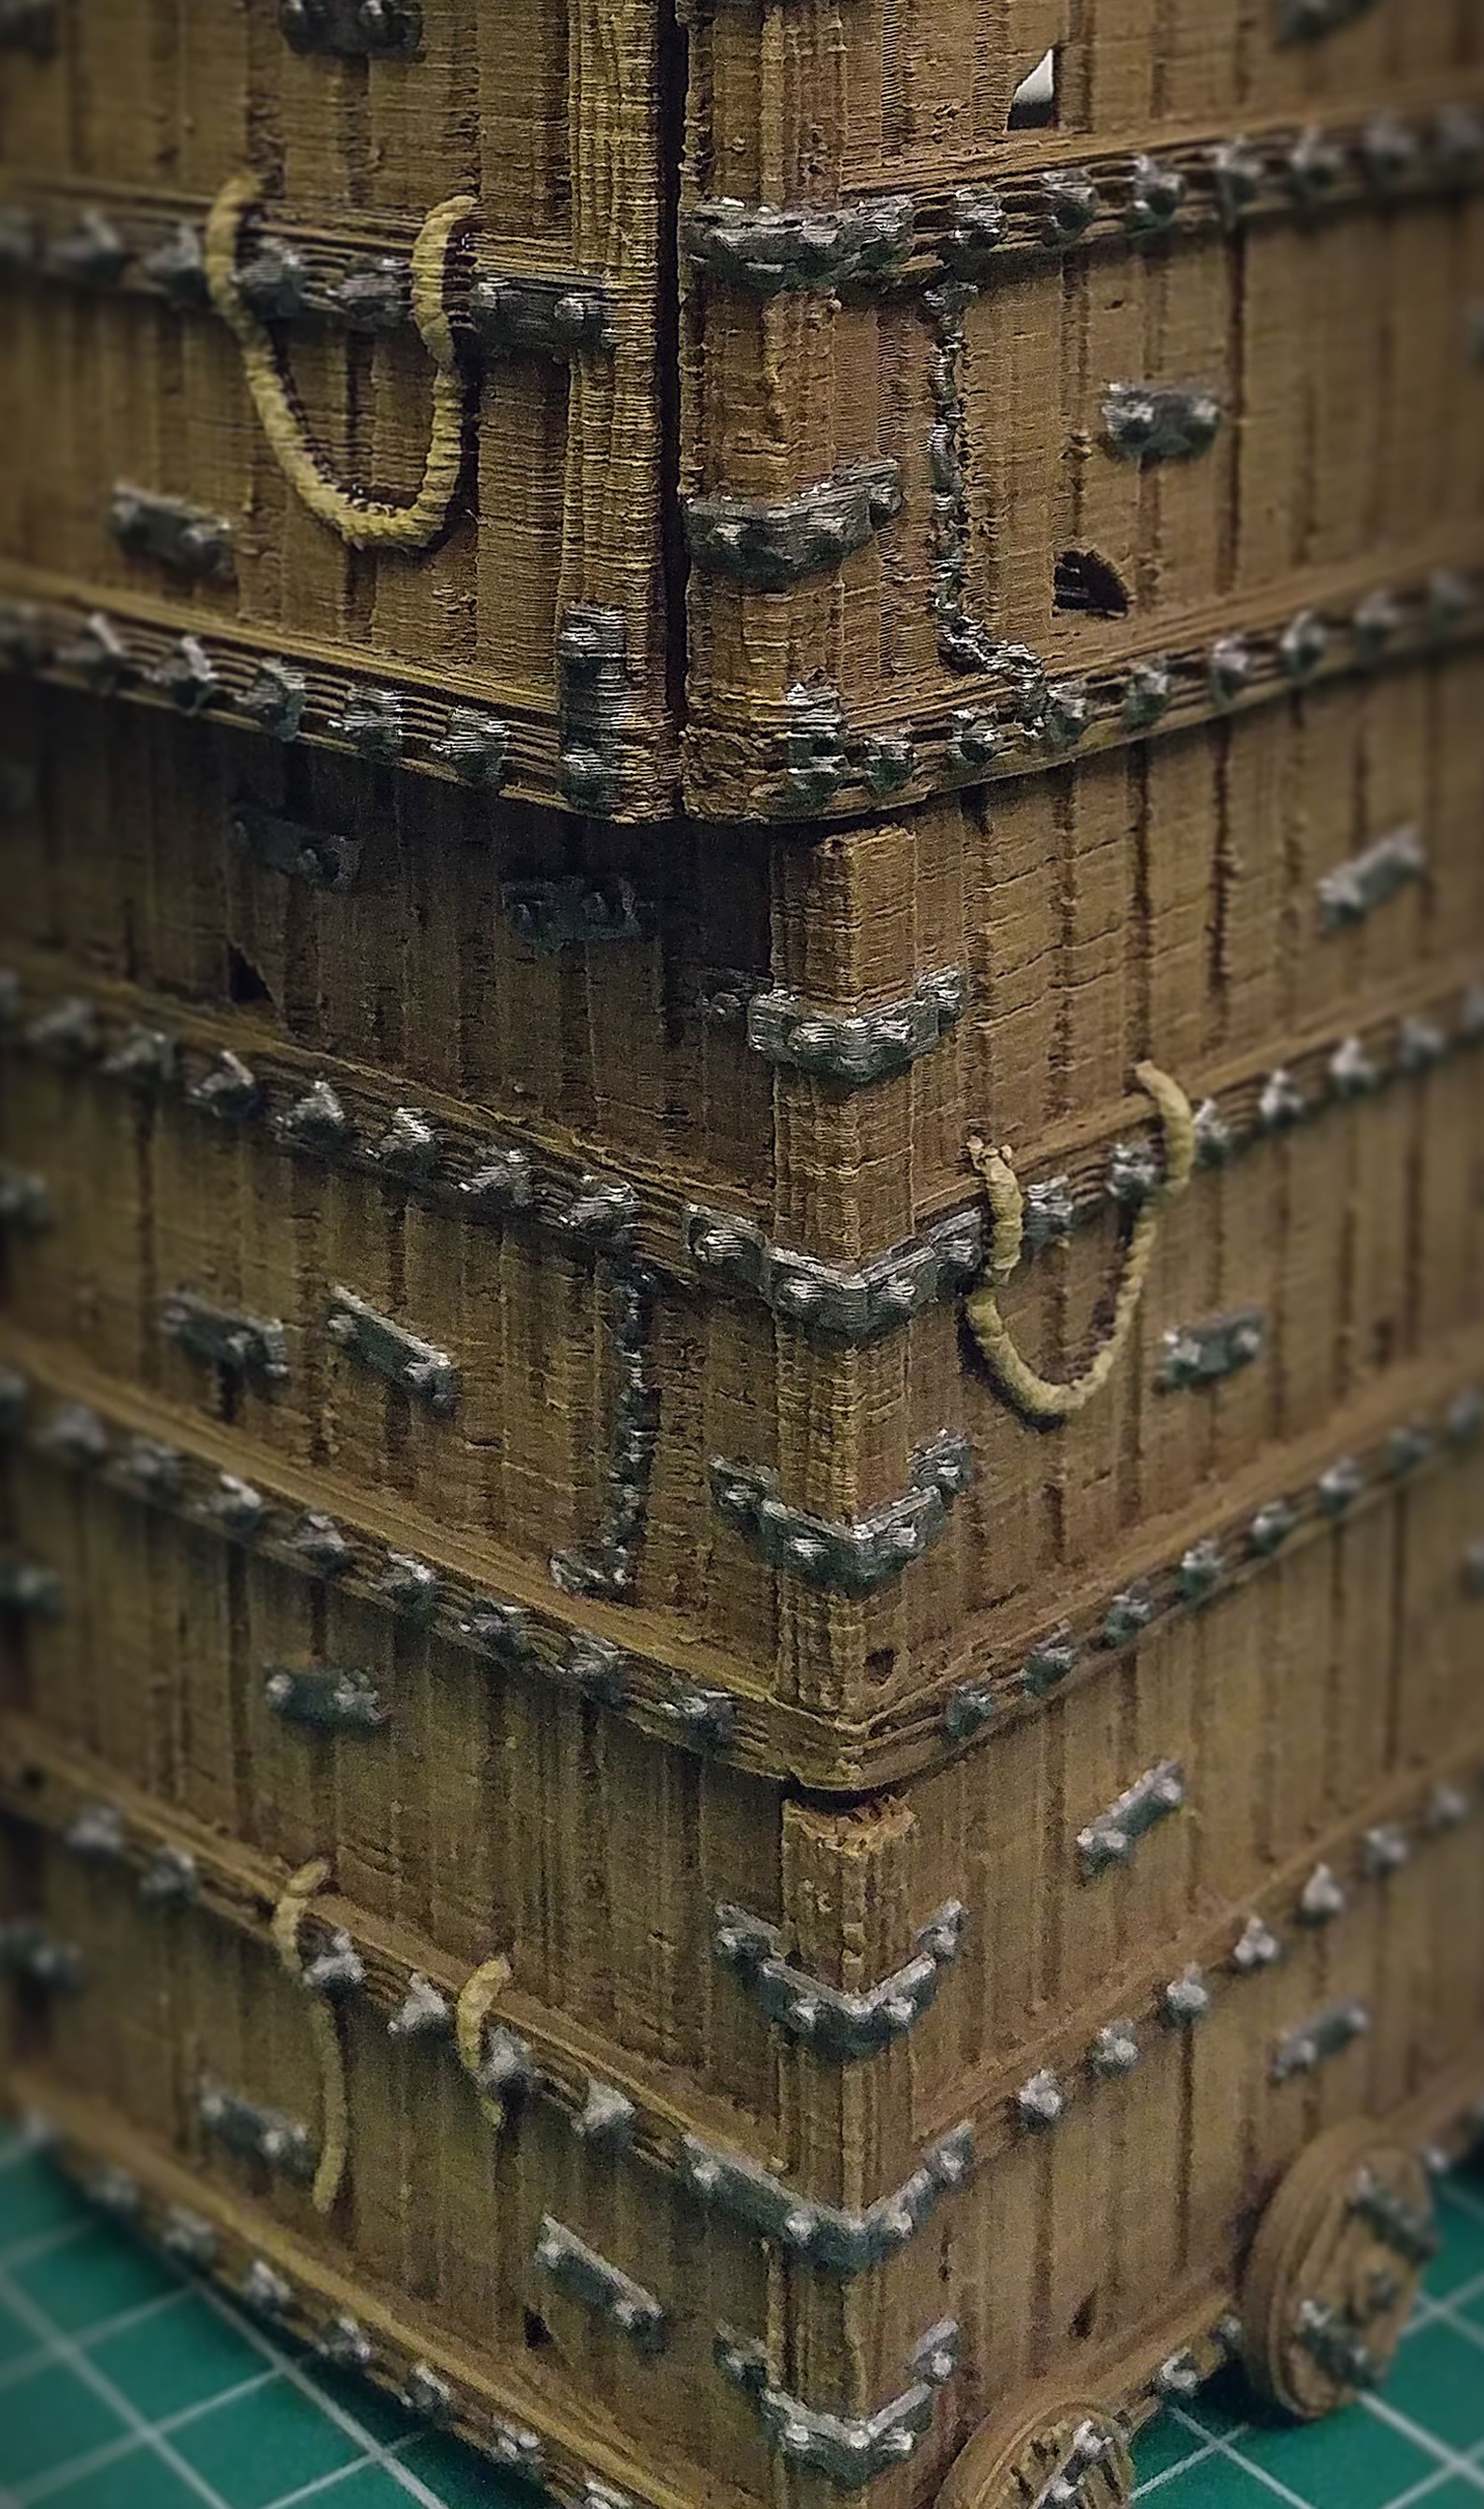
Adding Contrast To The Metal
Now we move on to adding some shade to the details that we basecoated in the previous steps. For this, we use Army Painter Dark Tone for the metal details.
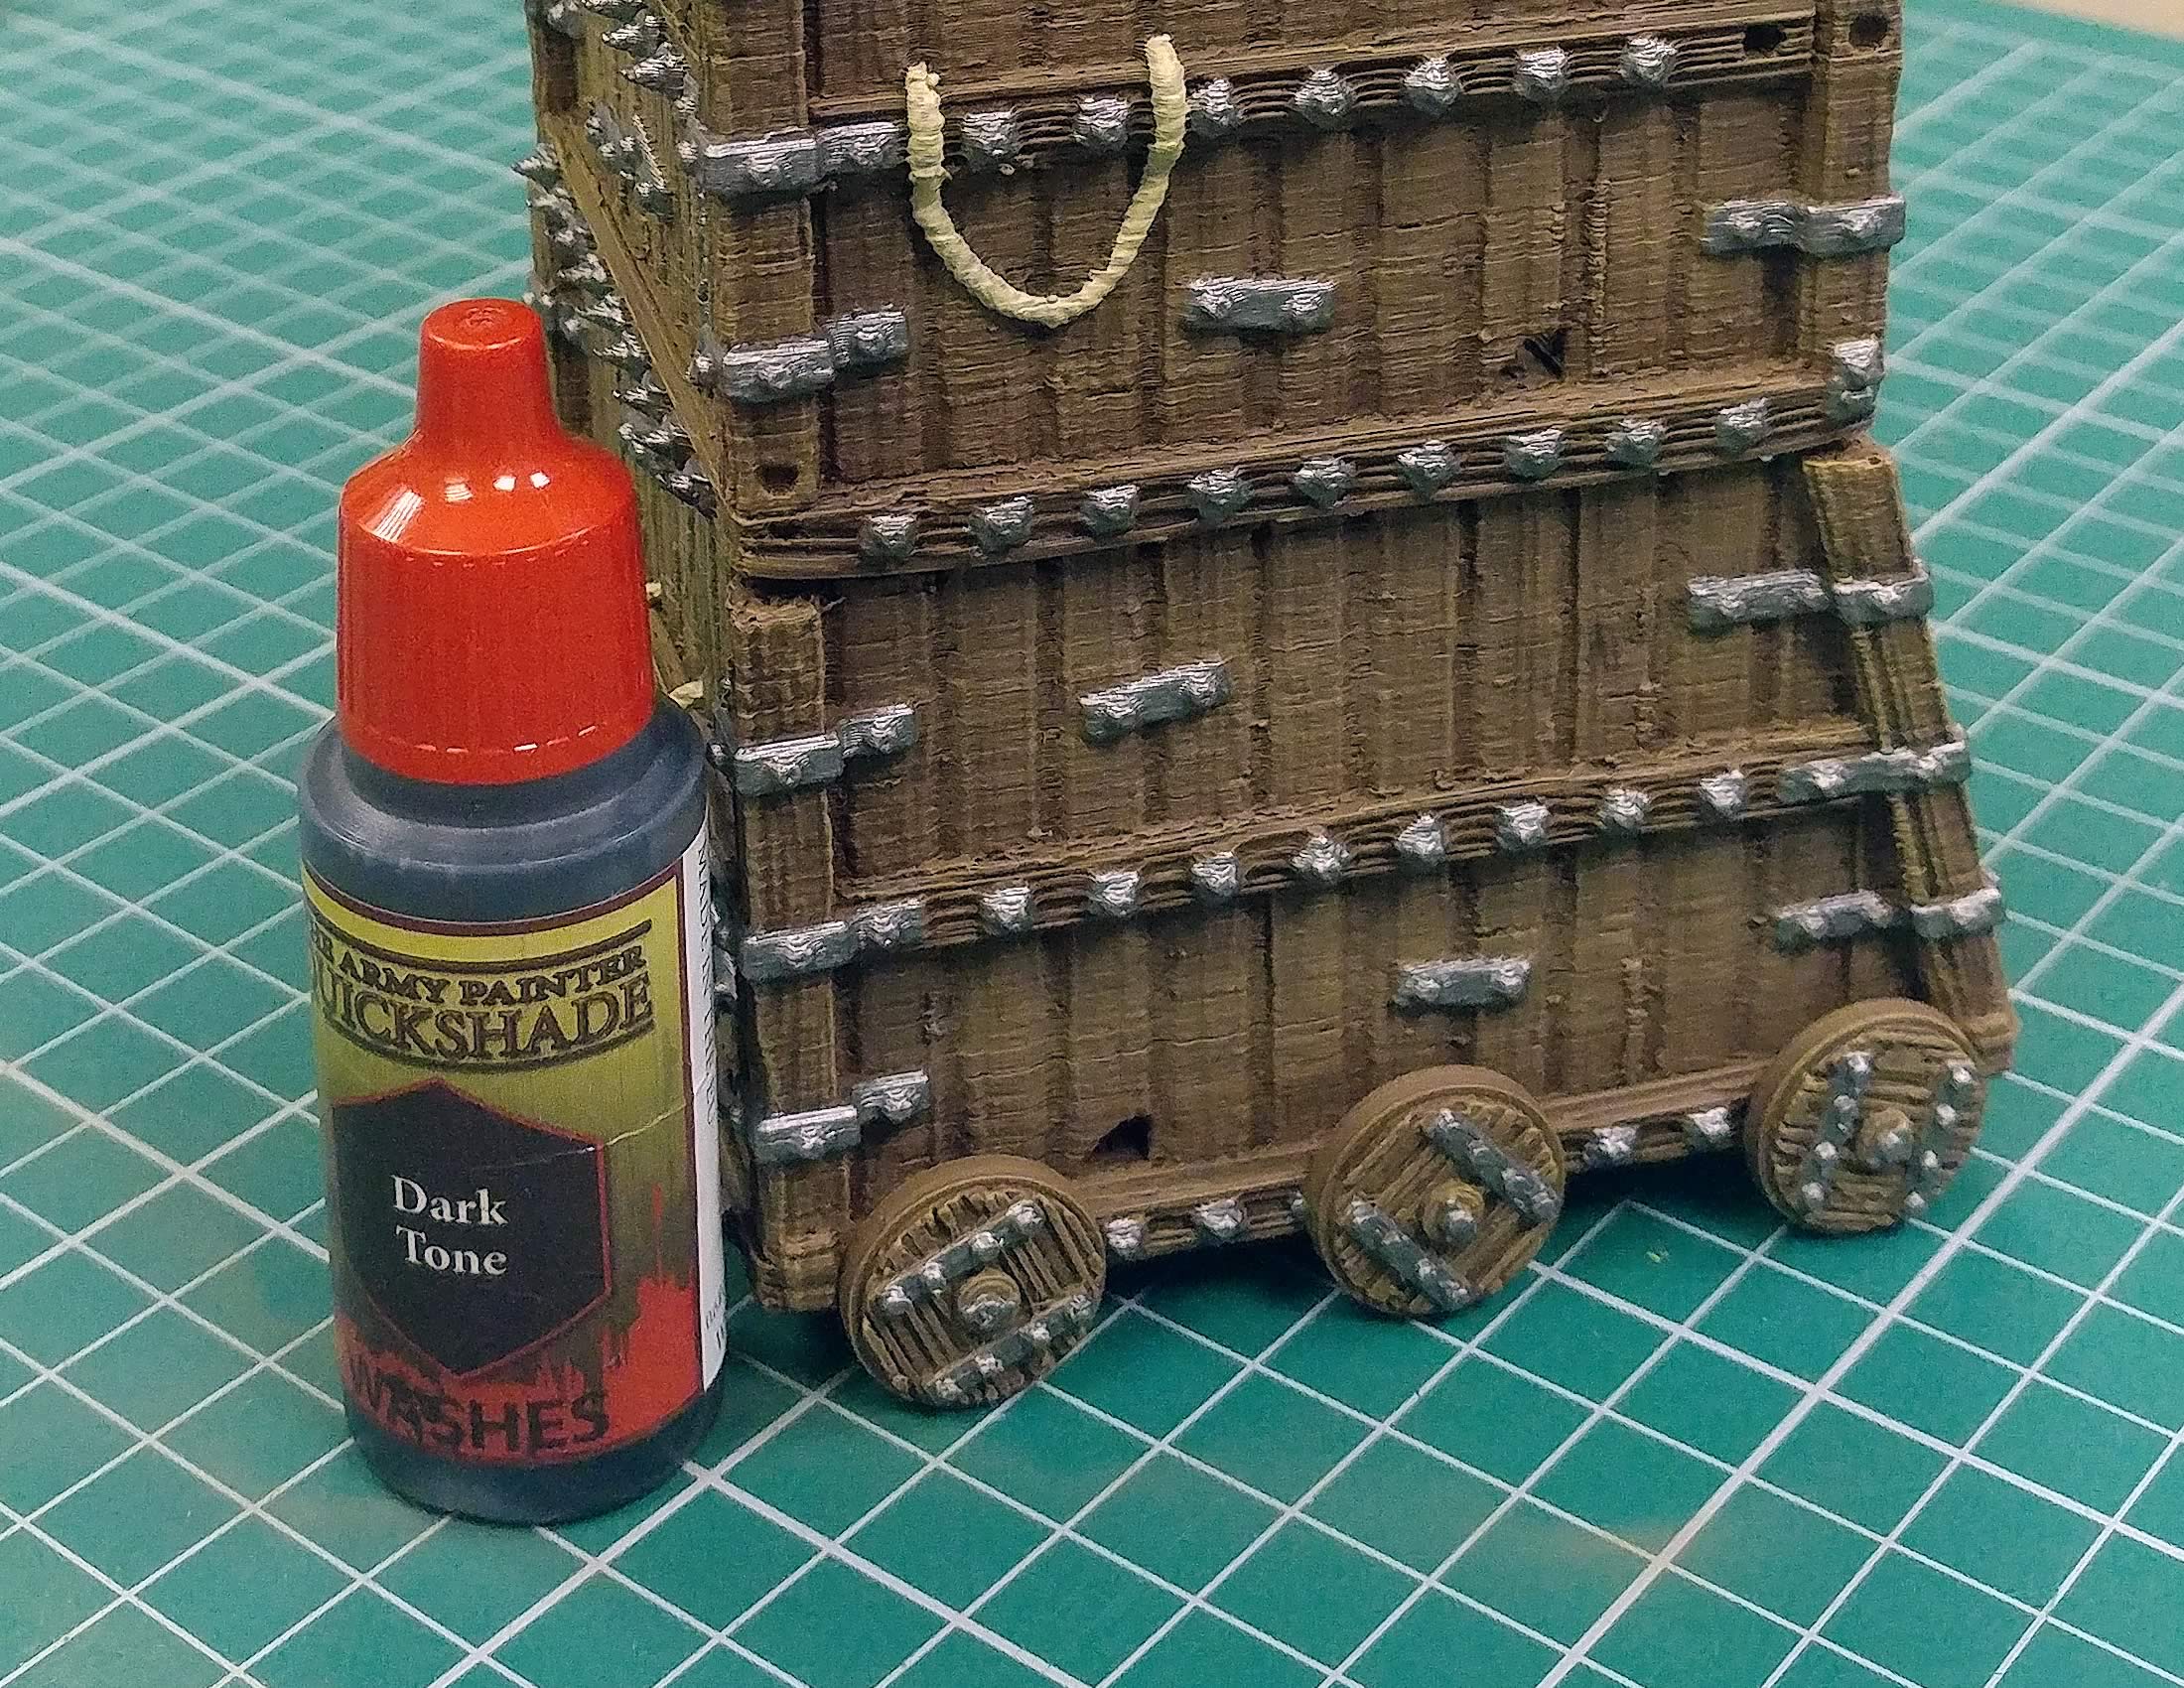
Using this darker shade for the metal gives the parts some more contrast and really helps to add a sense of weight and lighting to the model.
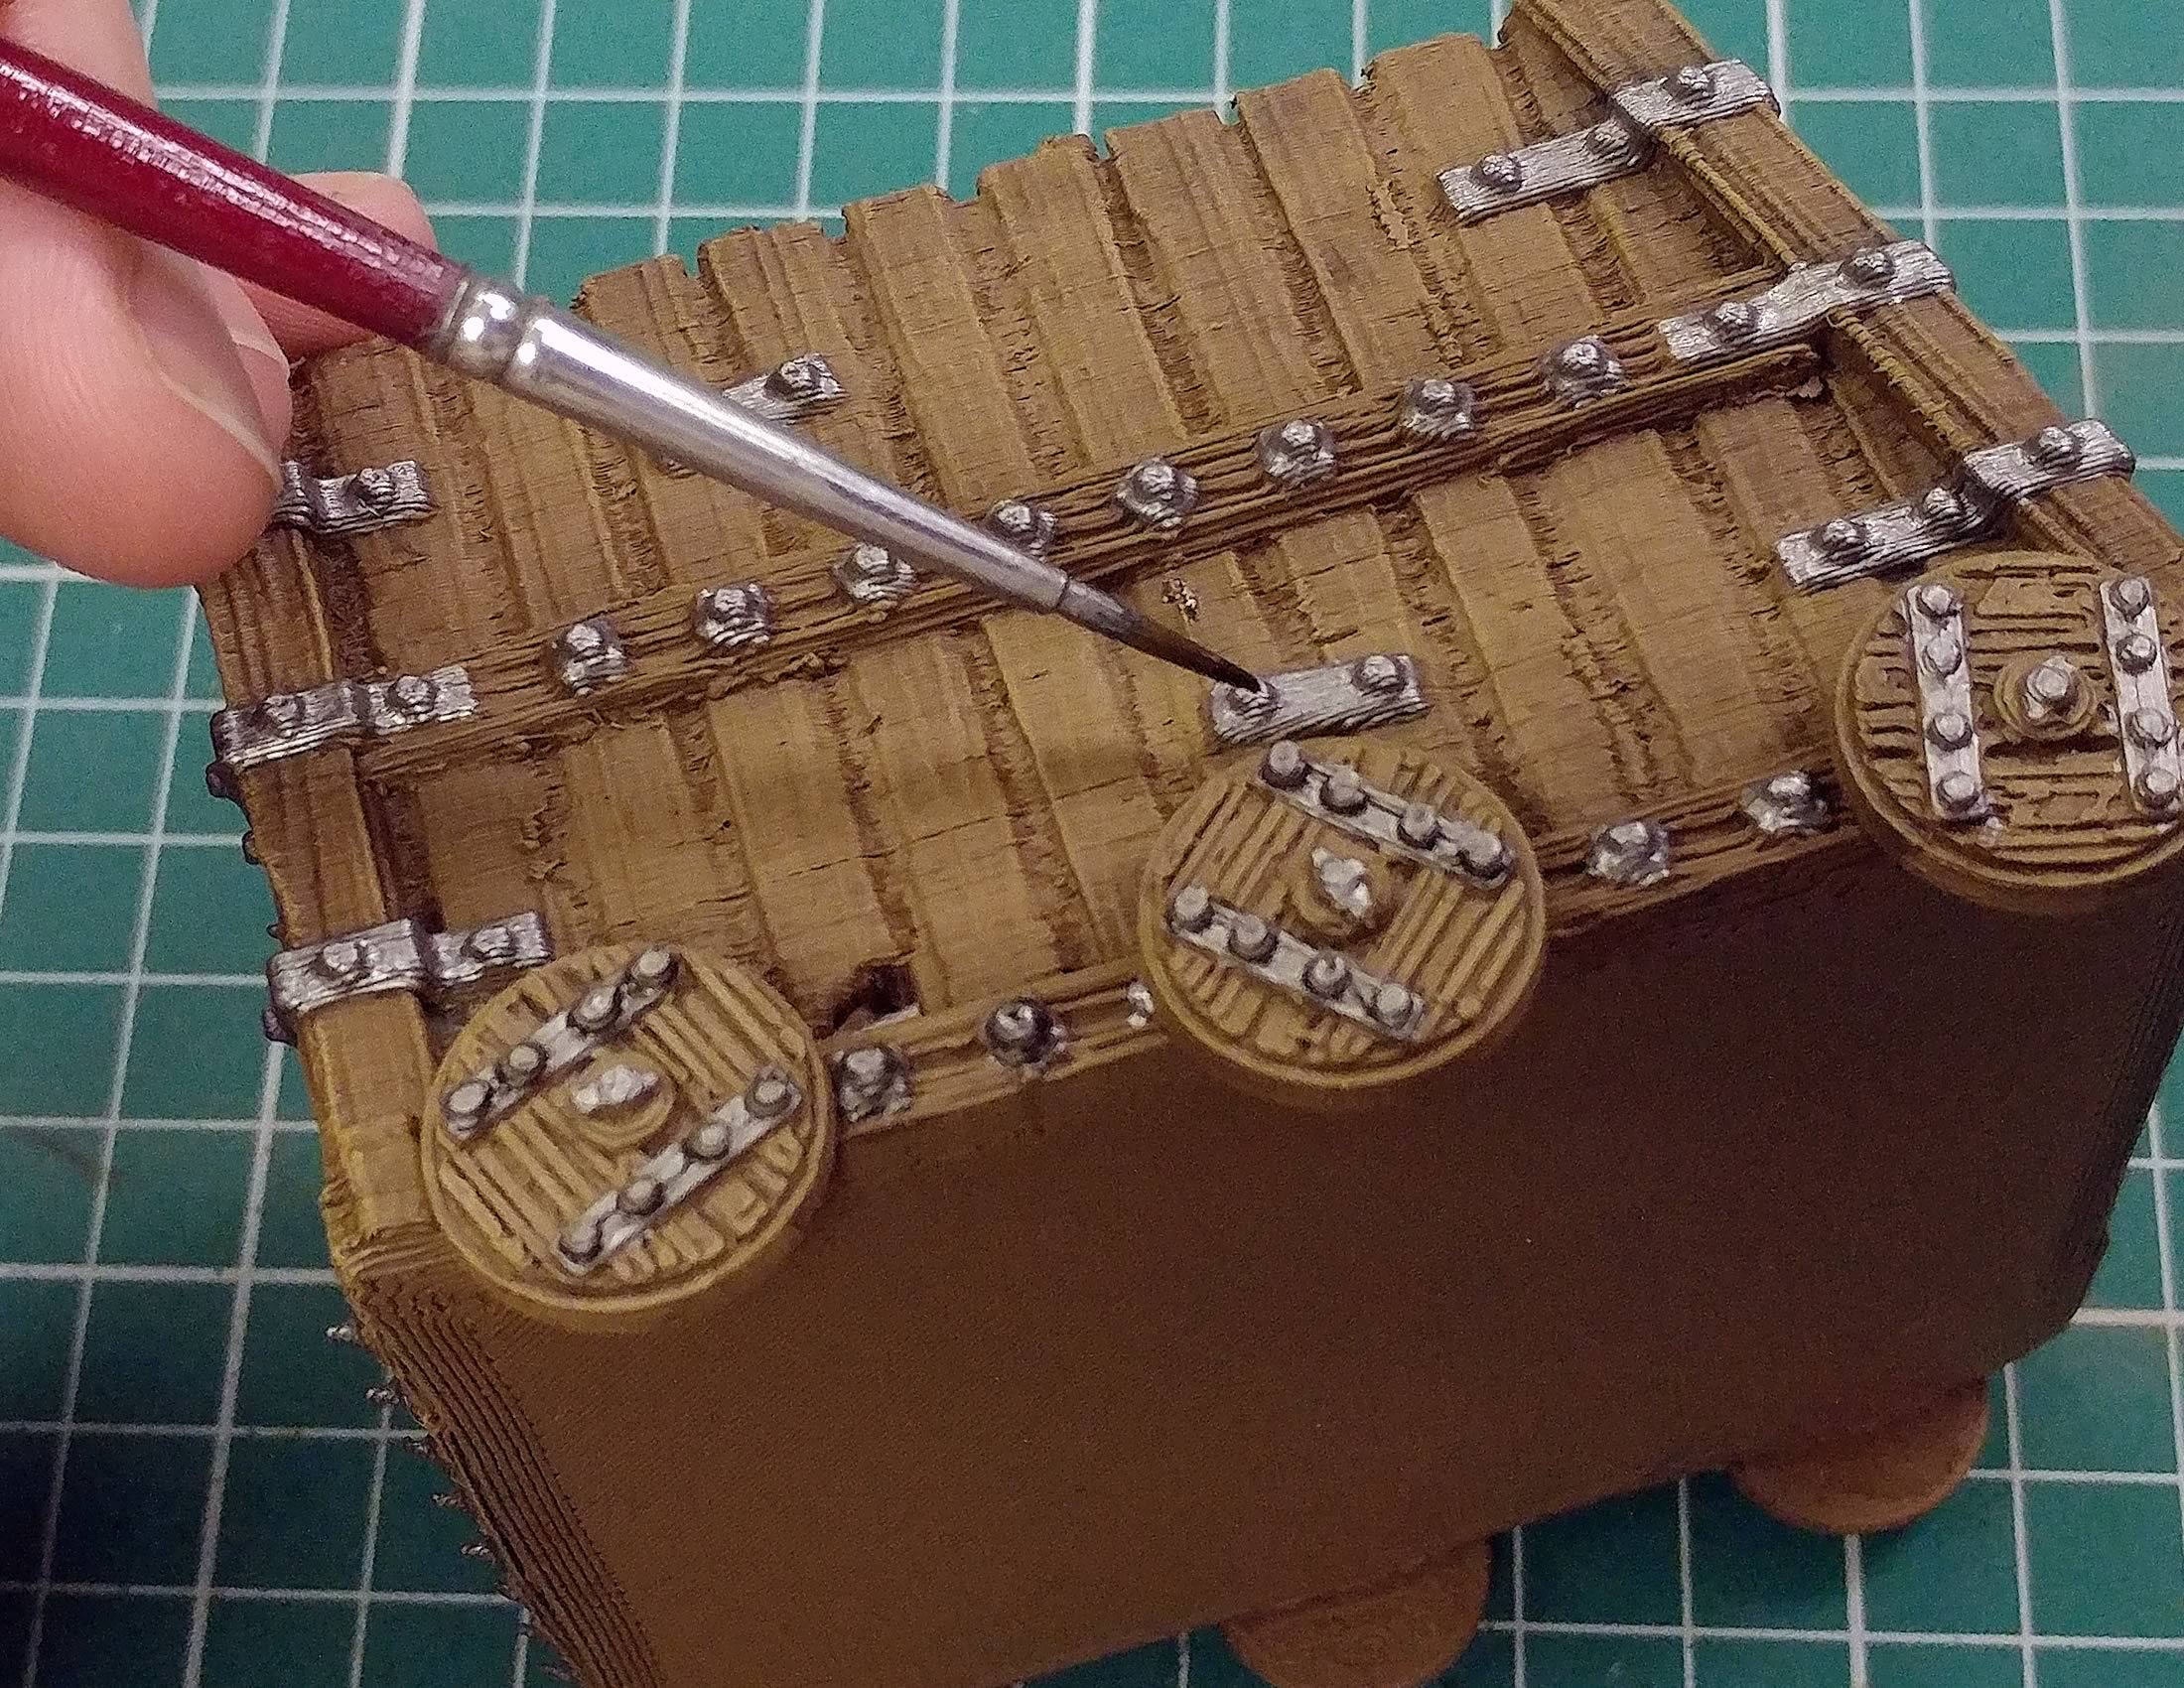
It is not as apparent while applying the shade, but once it's dry the difference will become much more noticeable. Remember to take your time and apply the tone with a small brush, circling each bolt or rivet and not to cover the whole part.
If our progress feels a little slow, do a piece and set it beside another, we can now see the difference in tone the metal has gained.
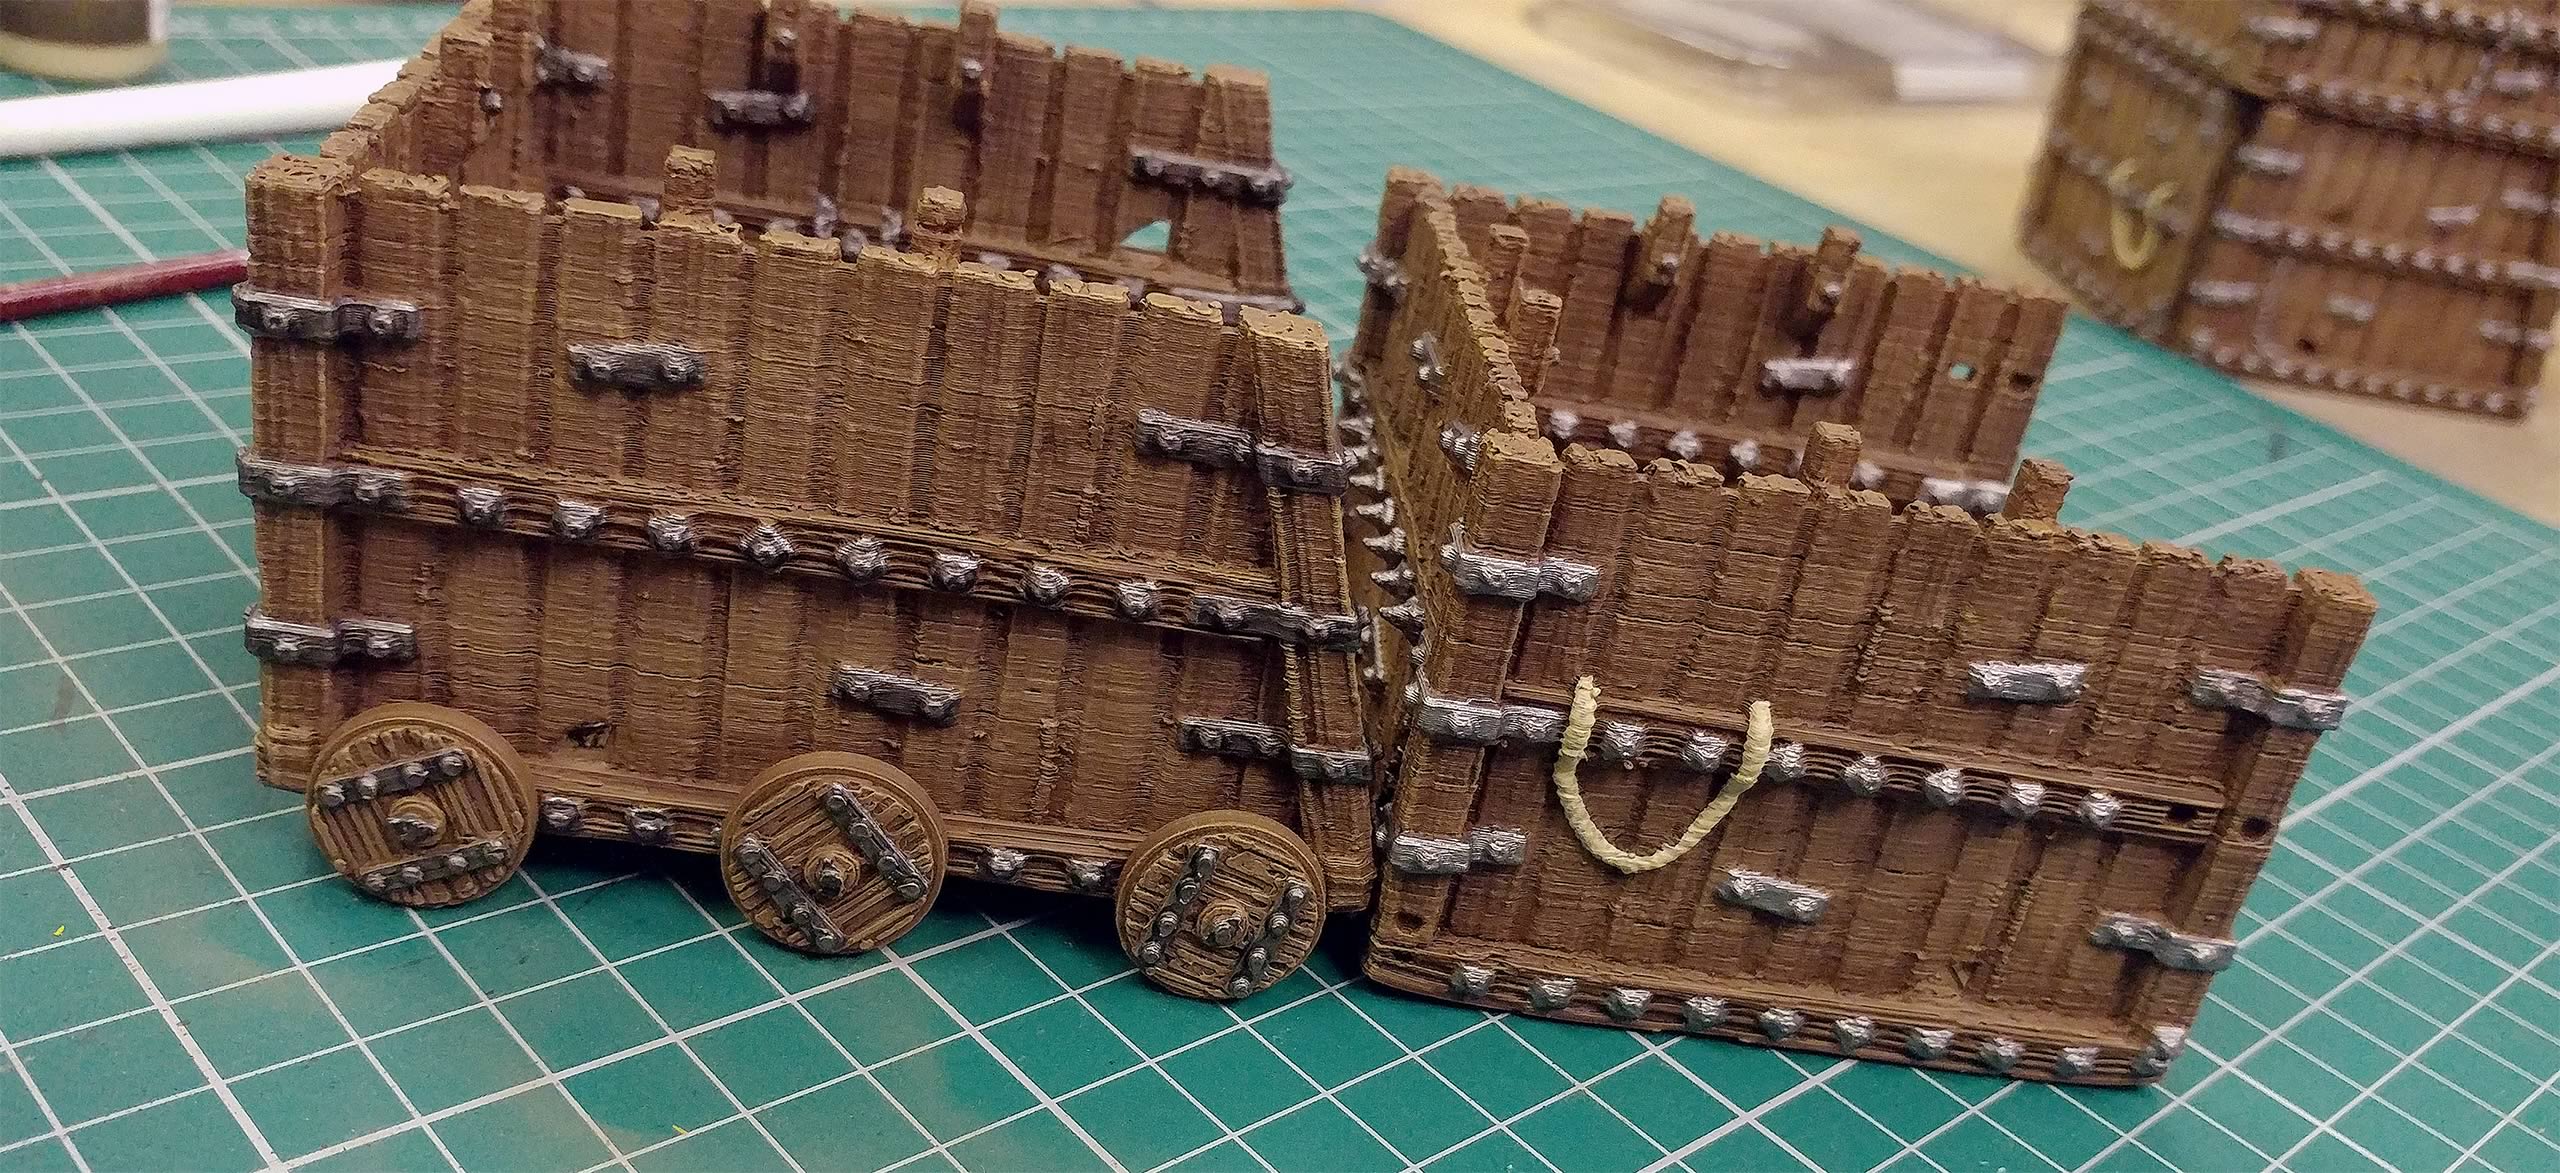
After Right / Before Left
Defining The Shape Of The Ropes
The process for the rope details is the same, except we use a different wash and it takes much less time!
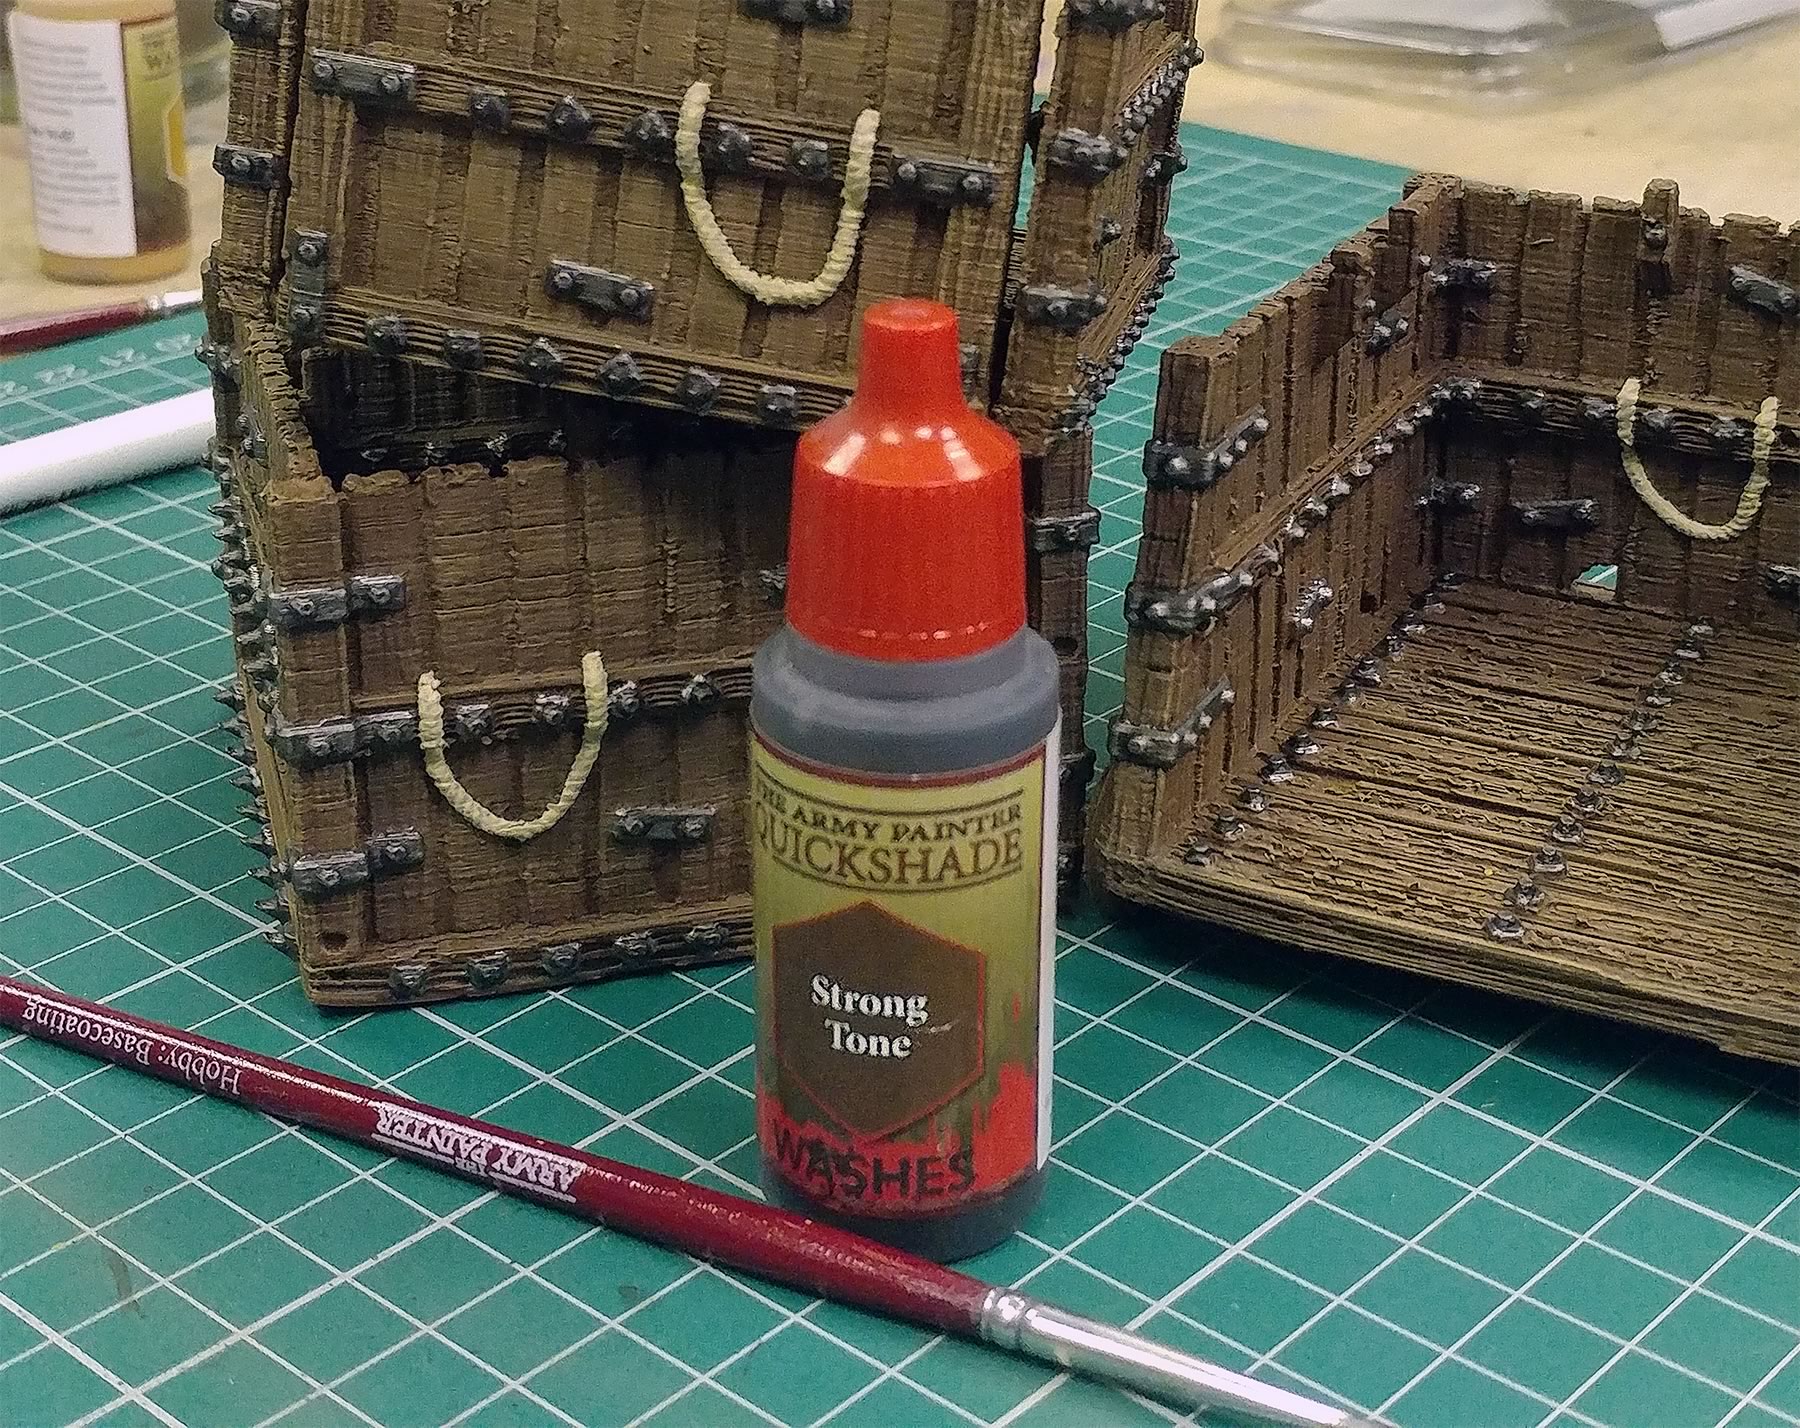
We use Army Painter Strong Tone this time and apply it is a similar way to the metal parts.
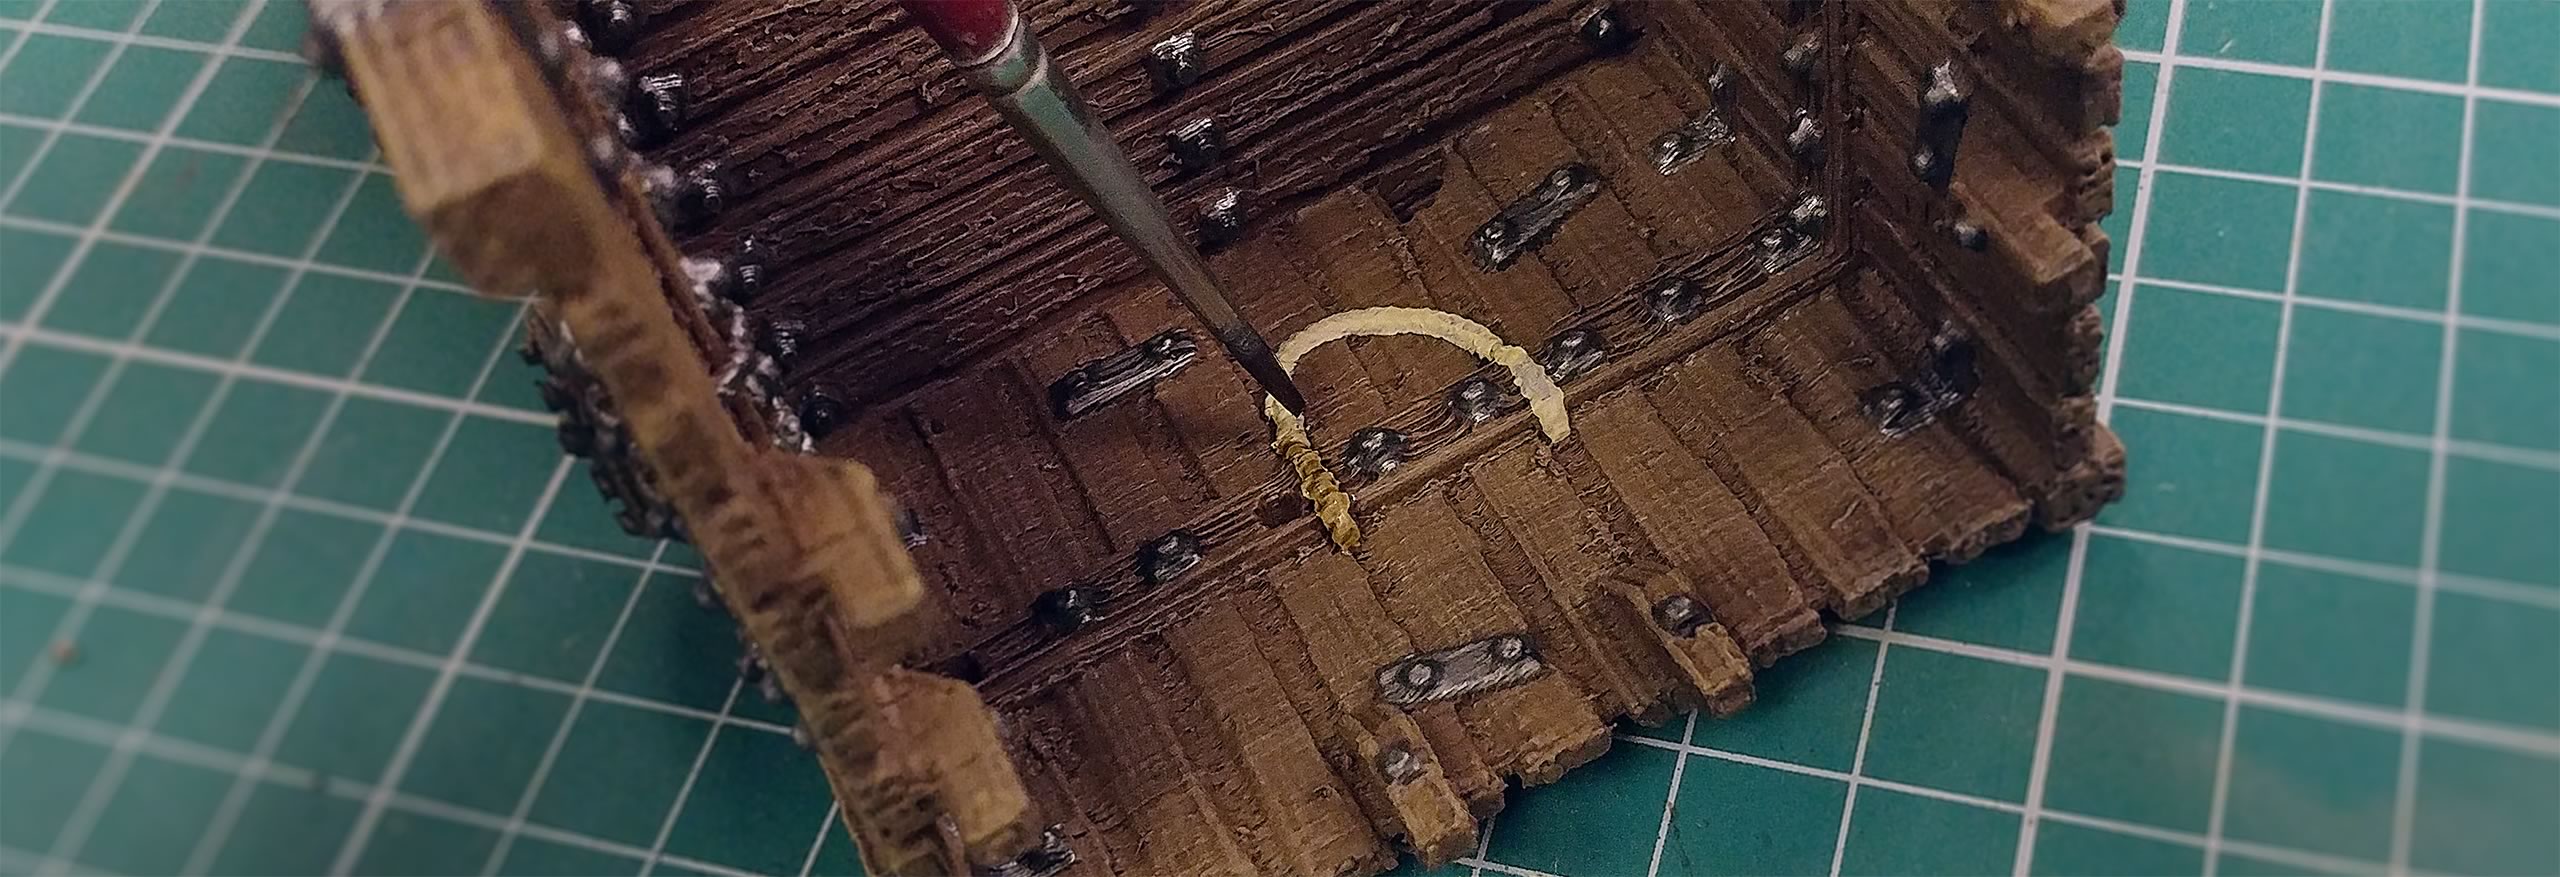
Painting On Strong Tone
Applying a fairly heavy coat will ensure the wash settles into the winds of the rope, don't be scared to apply the wash either side of the rope too, as this can add a little extra definition to the part.
Our Seige Tower is really starting to look "heavy" and have a real presence. It will be exciting to see how the model looks after a little more highlighting!


