Hobby Lab: Siege Tower – Prepping
April 19, 2019 by johnlyons
Cleaning Up Excess Material
Before we prime the parts for the Siege Tower, we have to clean up each piece, removing excess material and slight defects that are caused by the printer itself.
We will approach this in three steps to keep it simple and accessible.
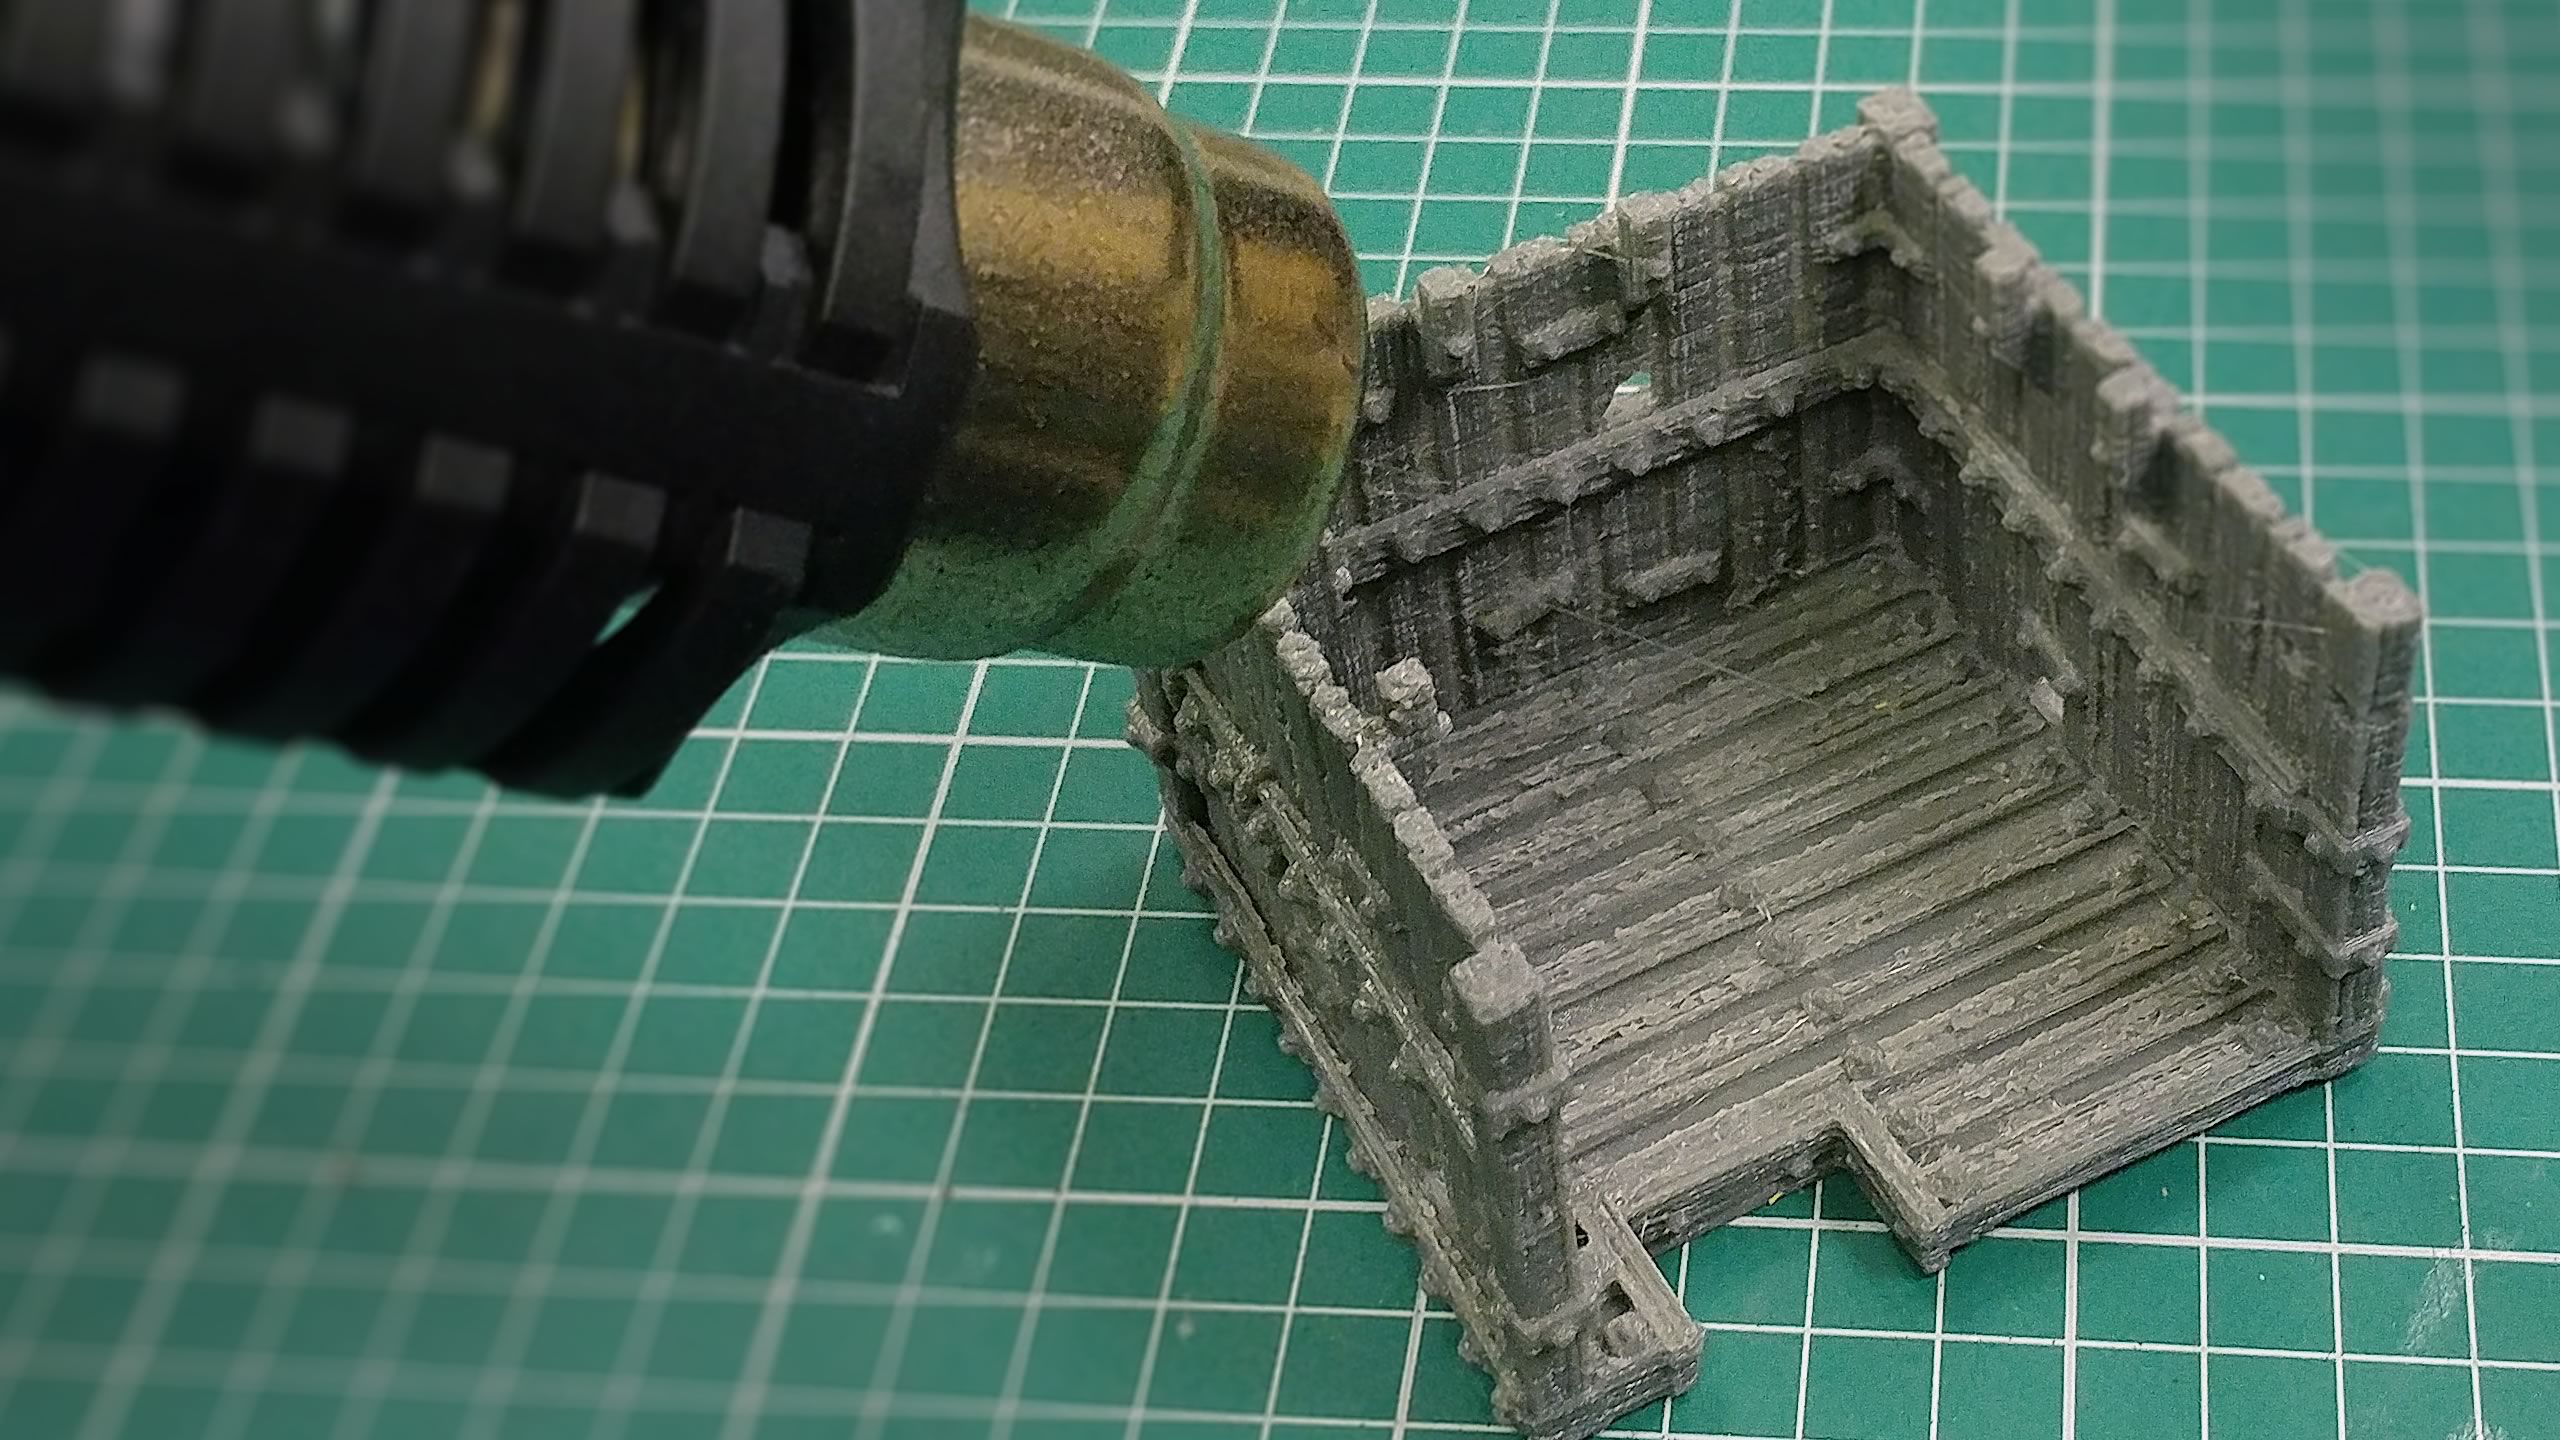
A Heat Gun Is Great To Remove Strings
Step 1: Using a heat gun will shrivel up the small, stringy residue in one fell swoop. However, you have to be very careful as the material will become soft if you put too much heat to it and will remain hot to the touch for several minutes afterwards.
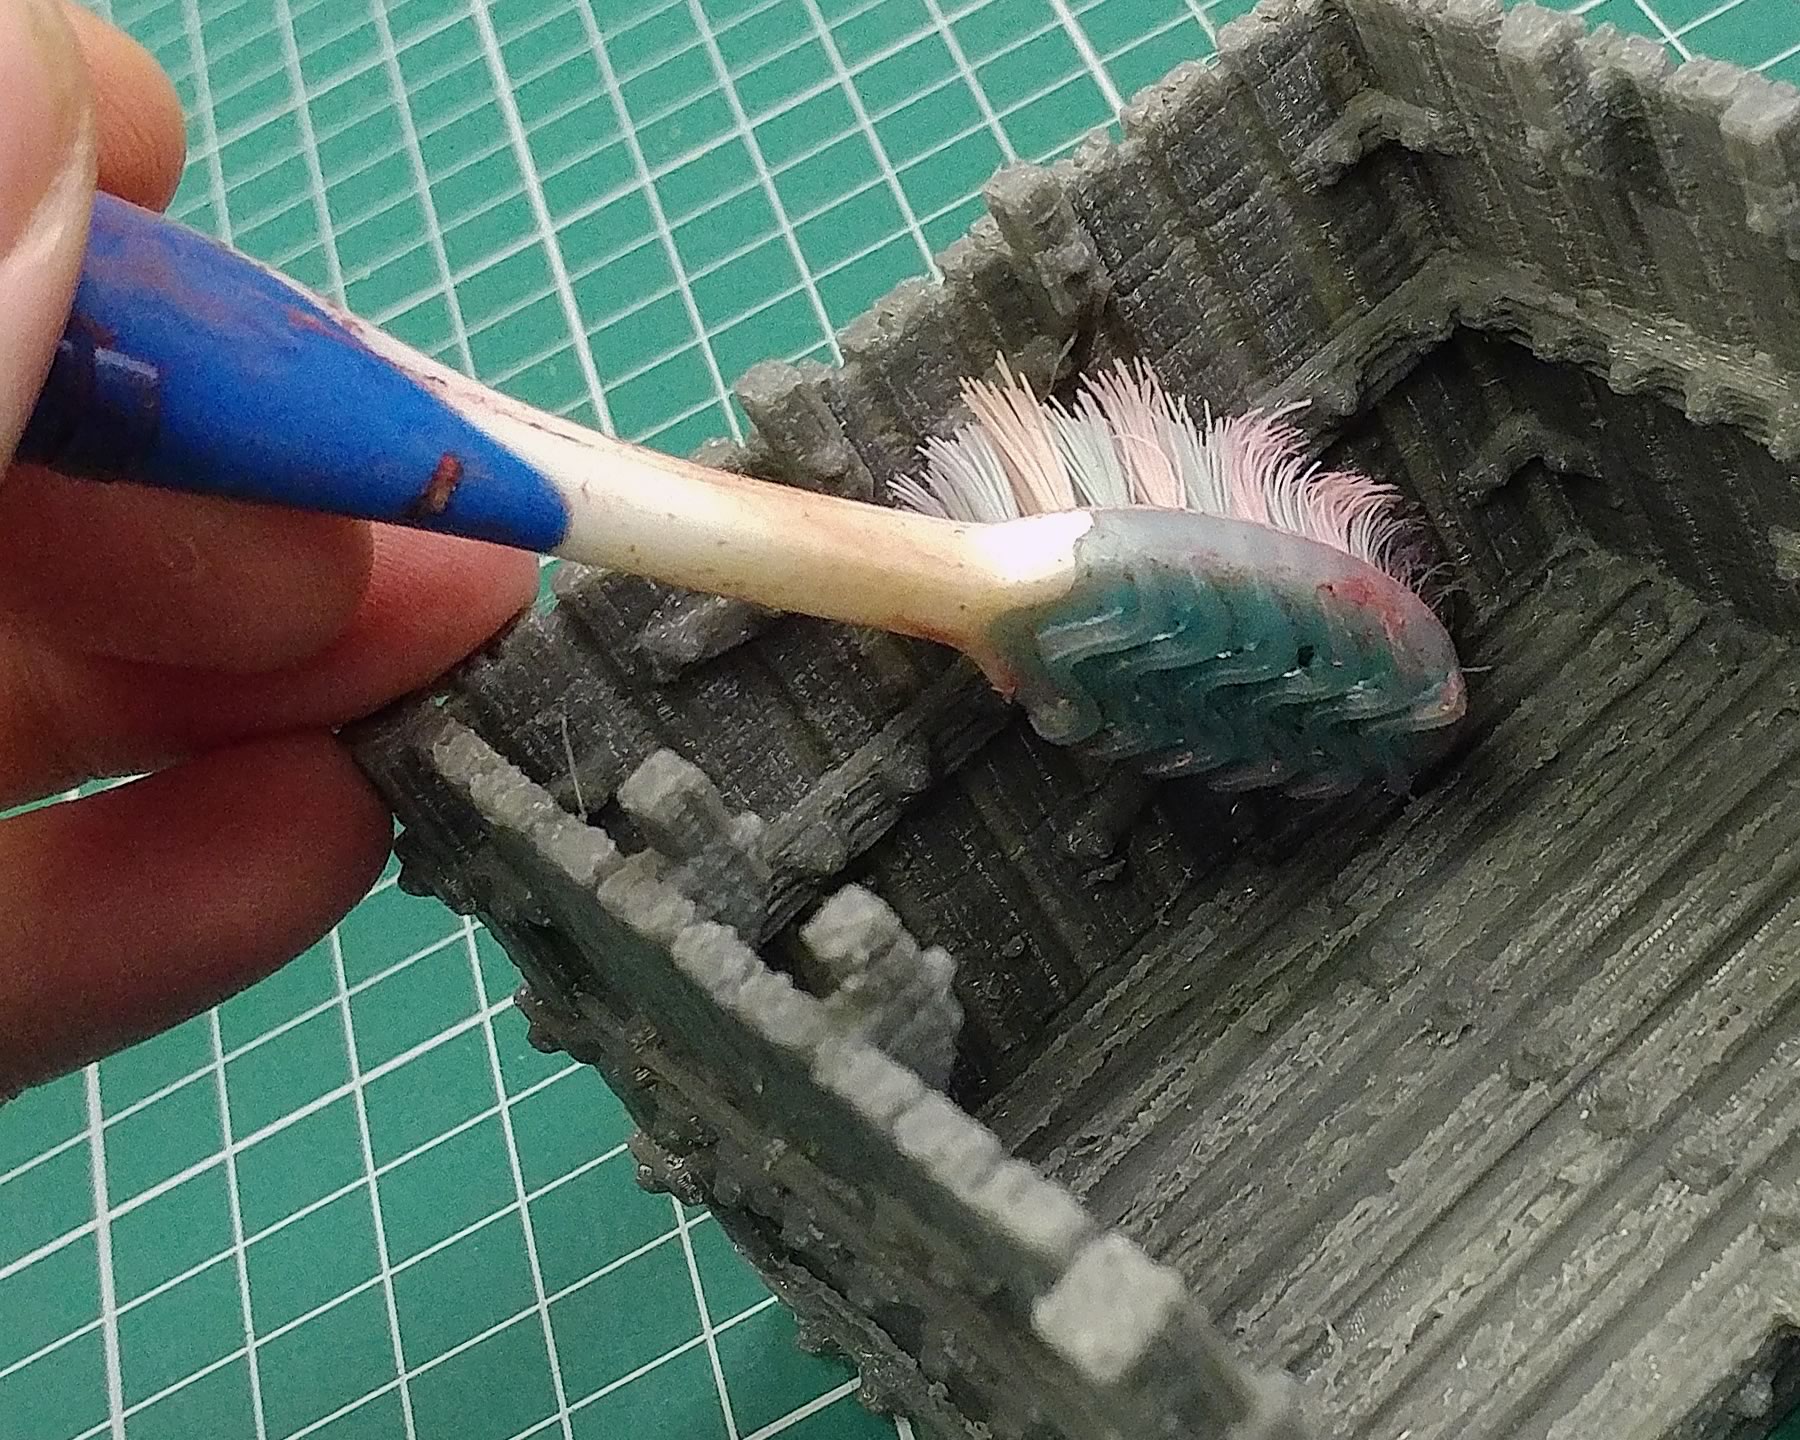
Step 2: We can then use a toothbrush to scrub away the remaining stringy residue and any other loose parts of material that might remain.
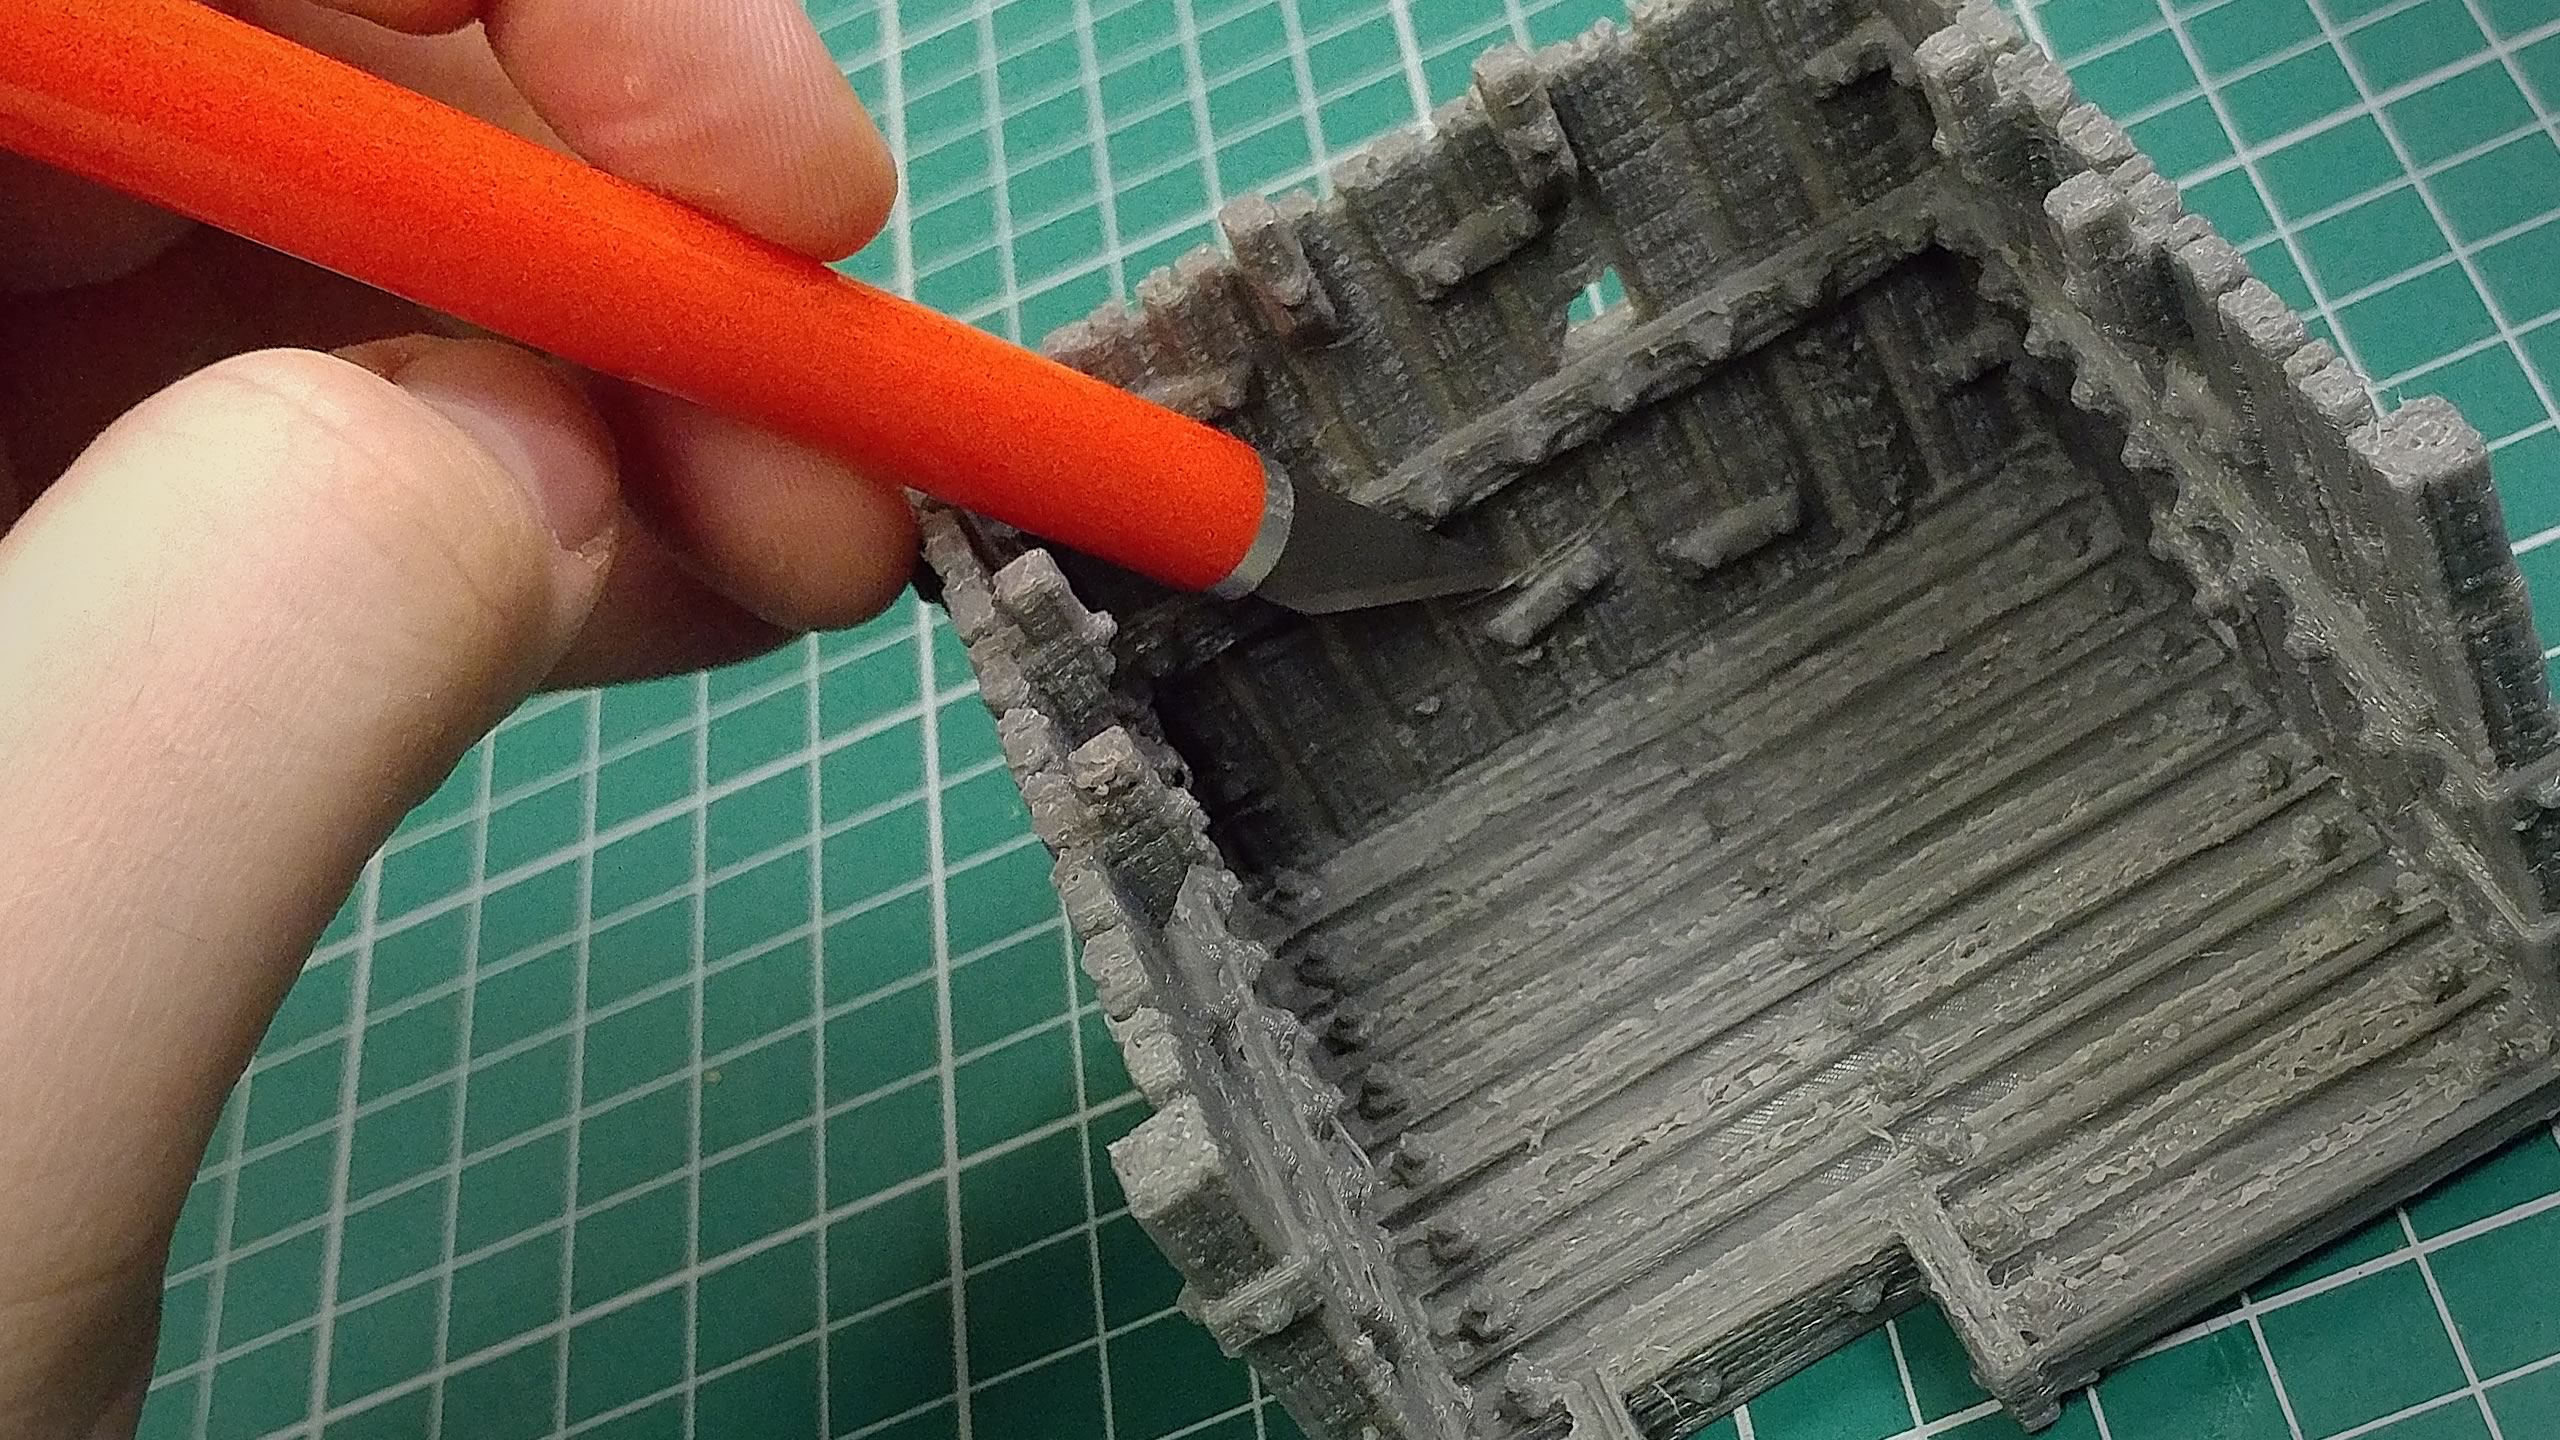
Step 3: Lastly, we use a craft knife to cut away any defects and excess material we do not need. Pay particular attention to the underside of any overhangs on the parts, as that is where you will most likely find excess material.
See Prep in Action
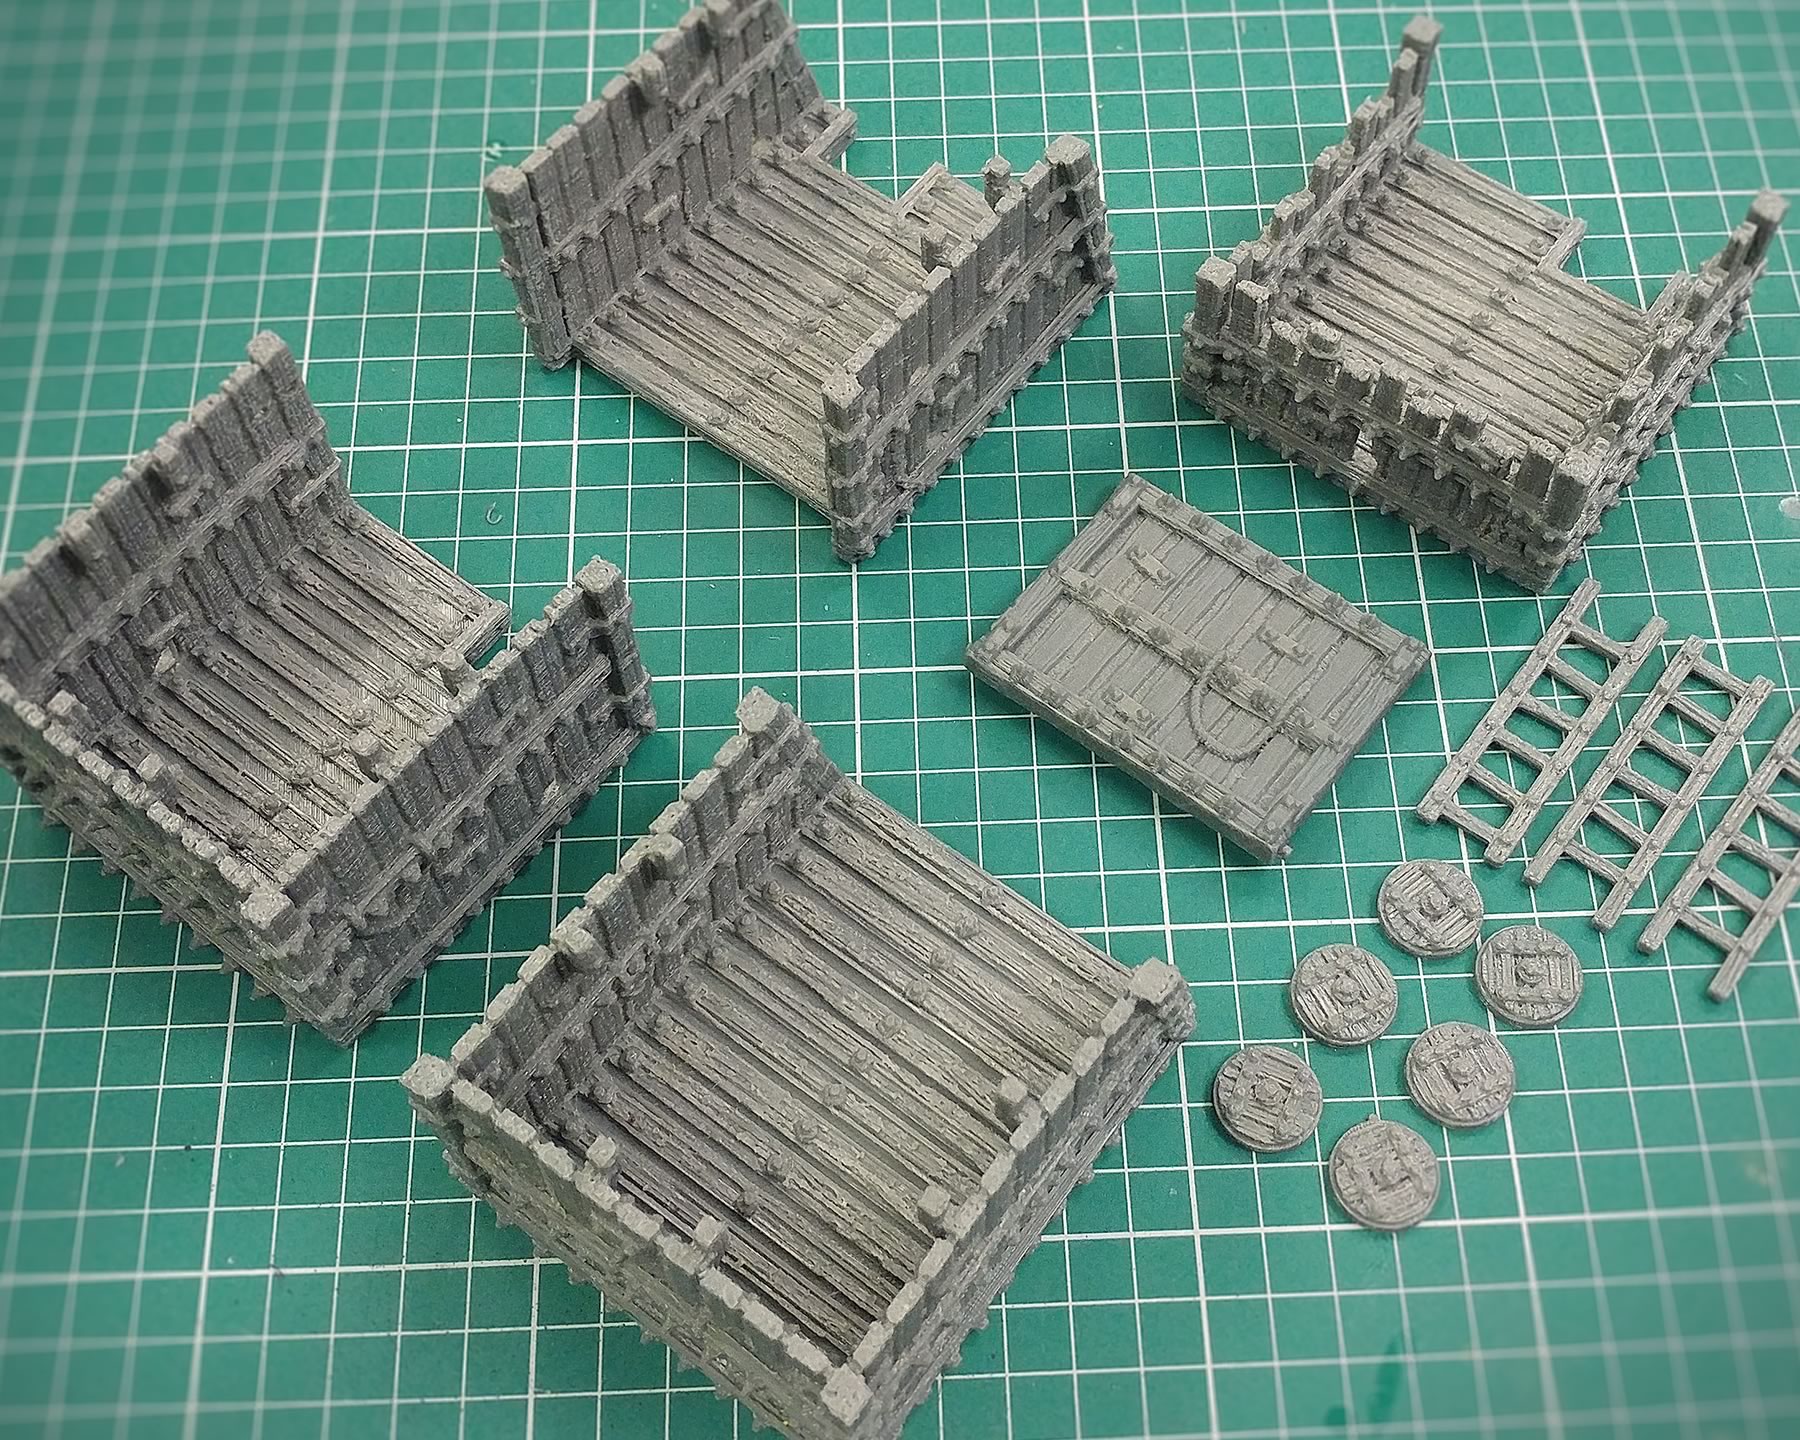
All Parts Cleaned Up
Let's Get The Wheels On
With all the parts prepped, it's time to glue the wheels on. Using a file, we first flatten down the areas designed to take the wheels to allow room for them to be fitted. We also file the back of each of the wheels to help the super glue adhere to the material more easily.
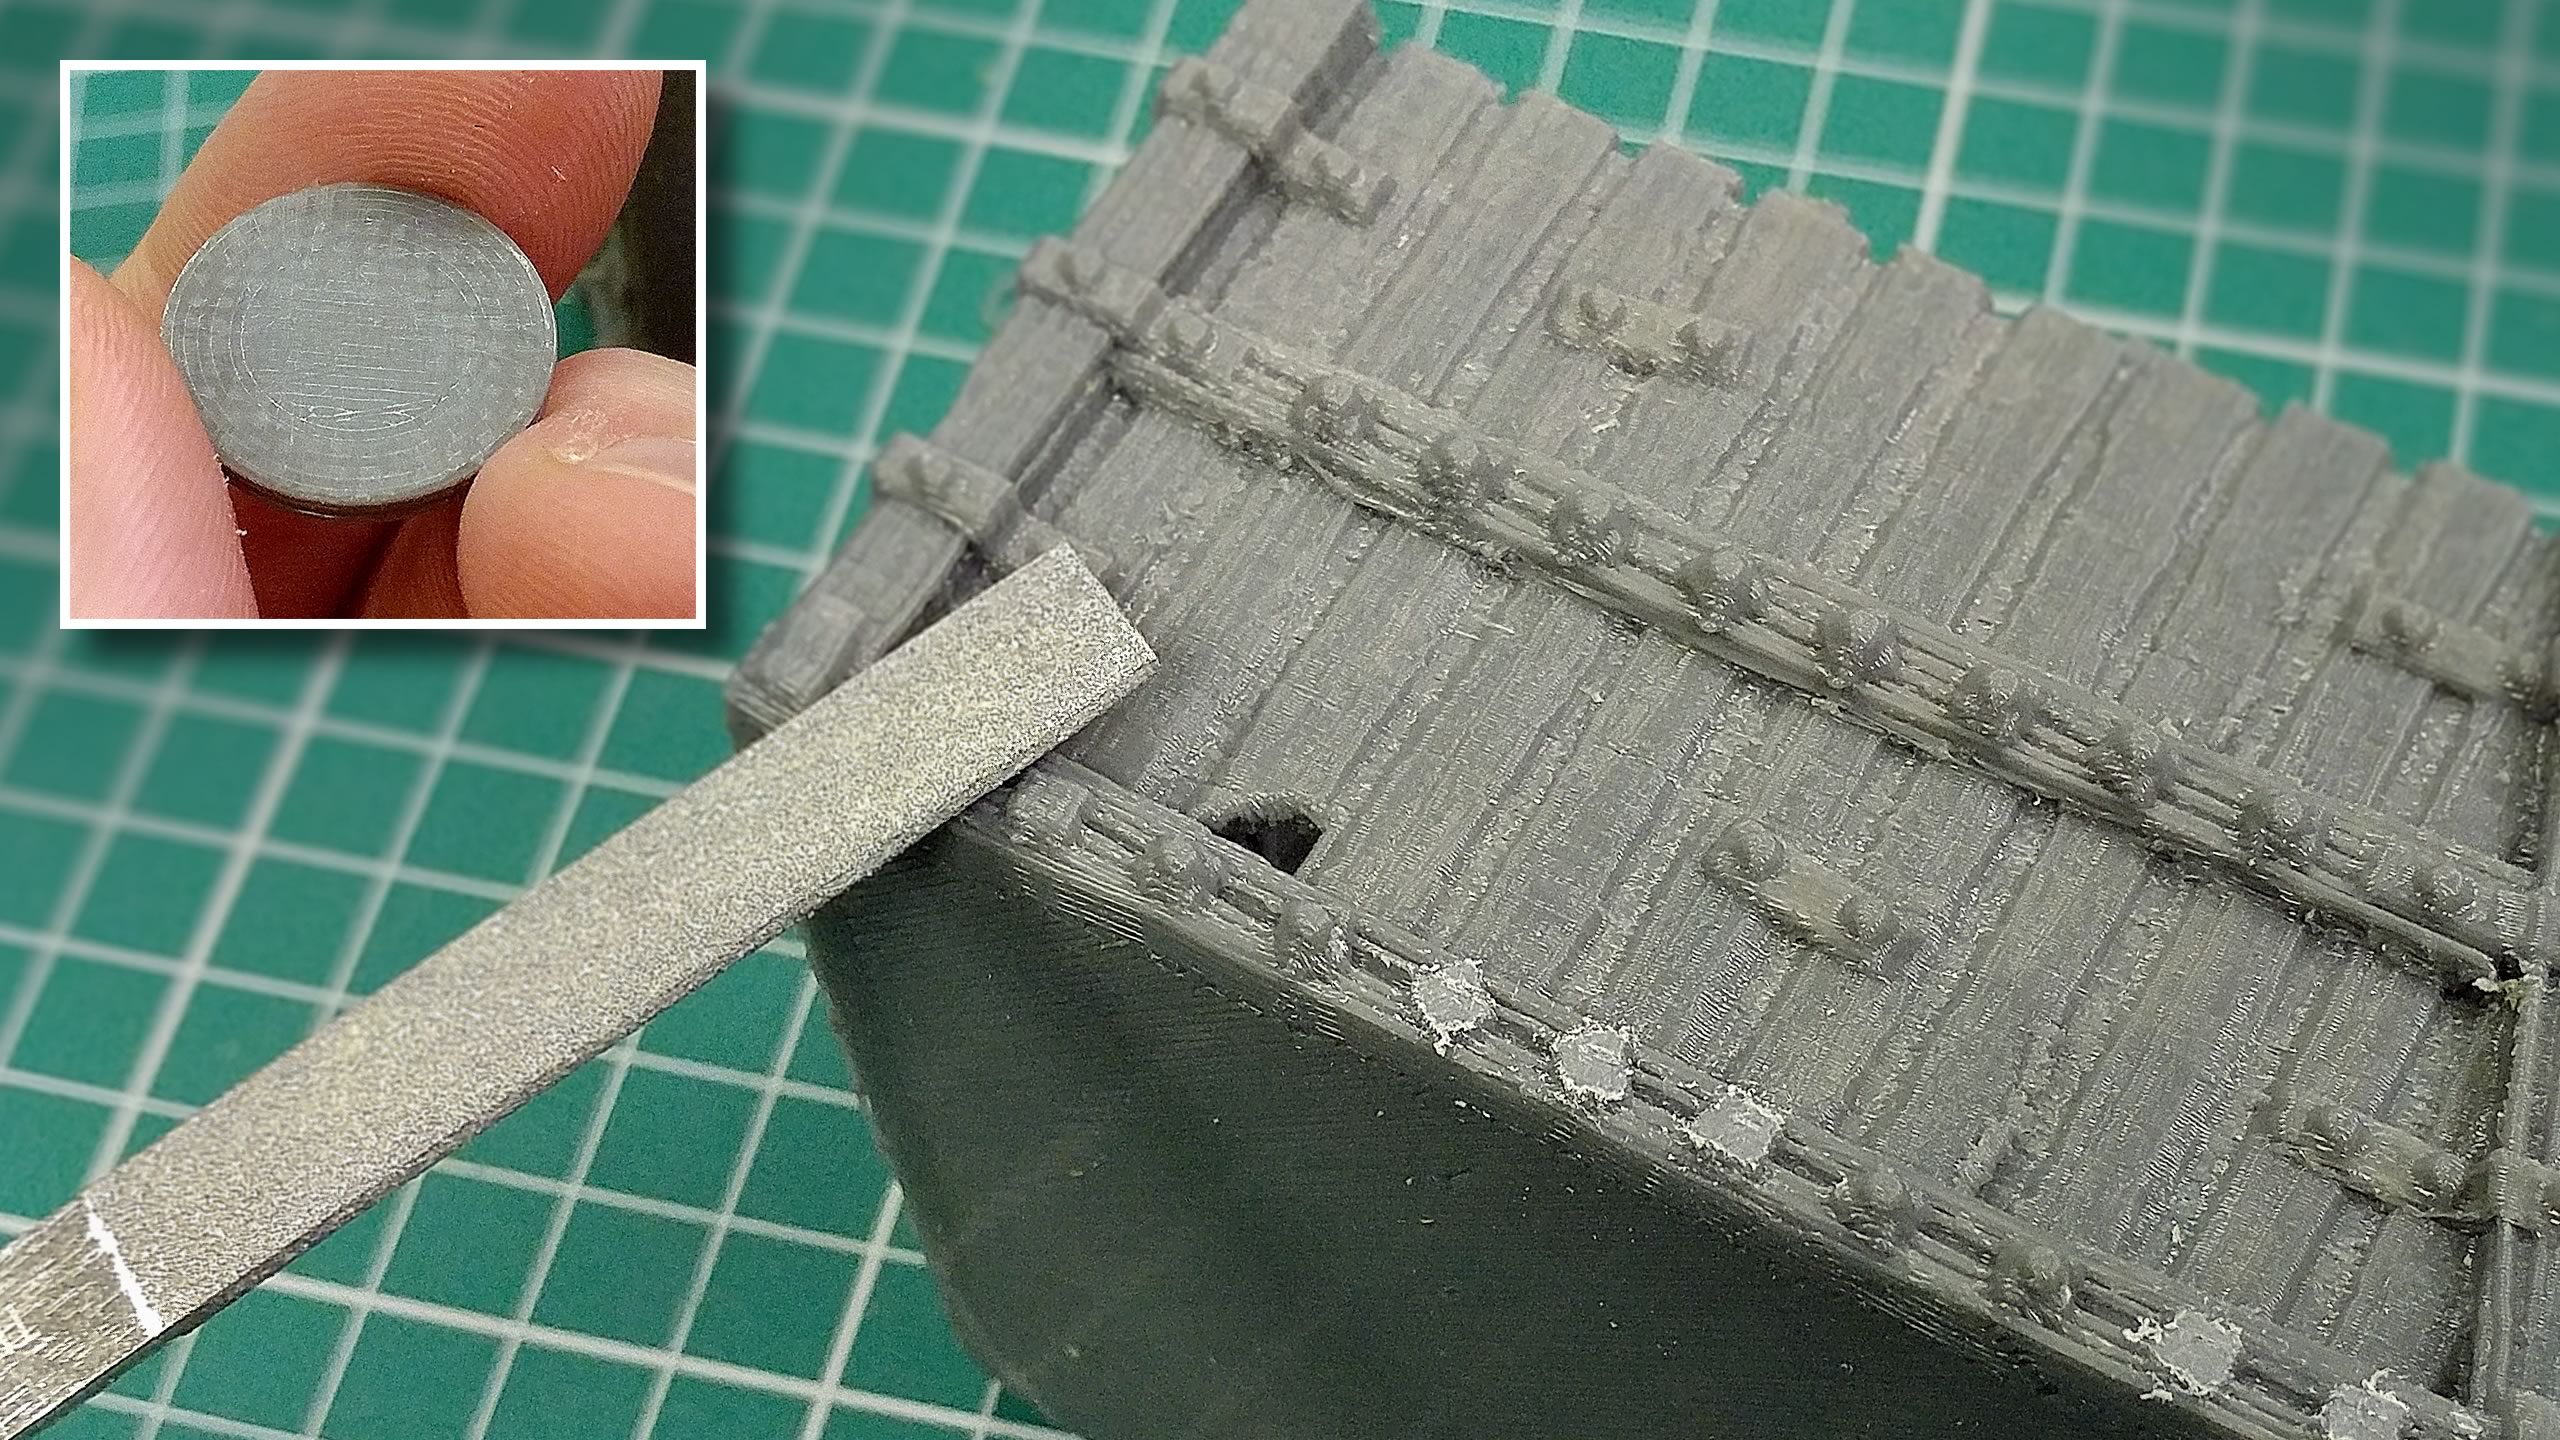
File For A Good Fit
****Then it's just a matter of popping a spot of glue on the back of each wheel and placing them onto the filed parts. THEN???? to DRY FOR HOW LONG JOHN?****
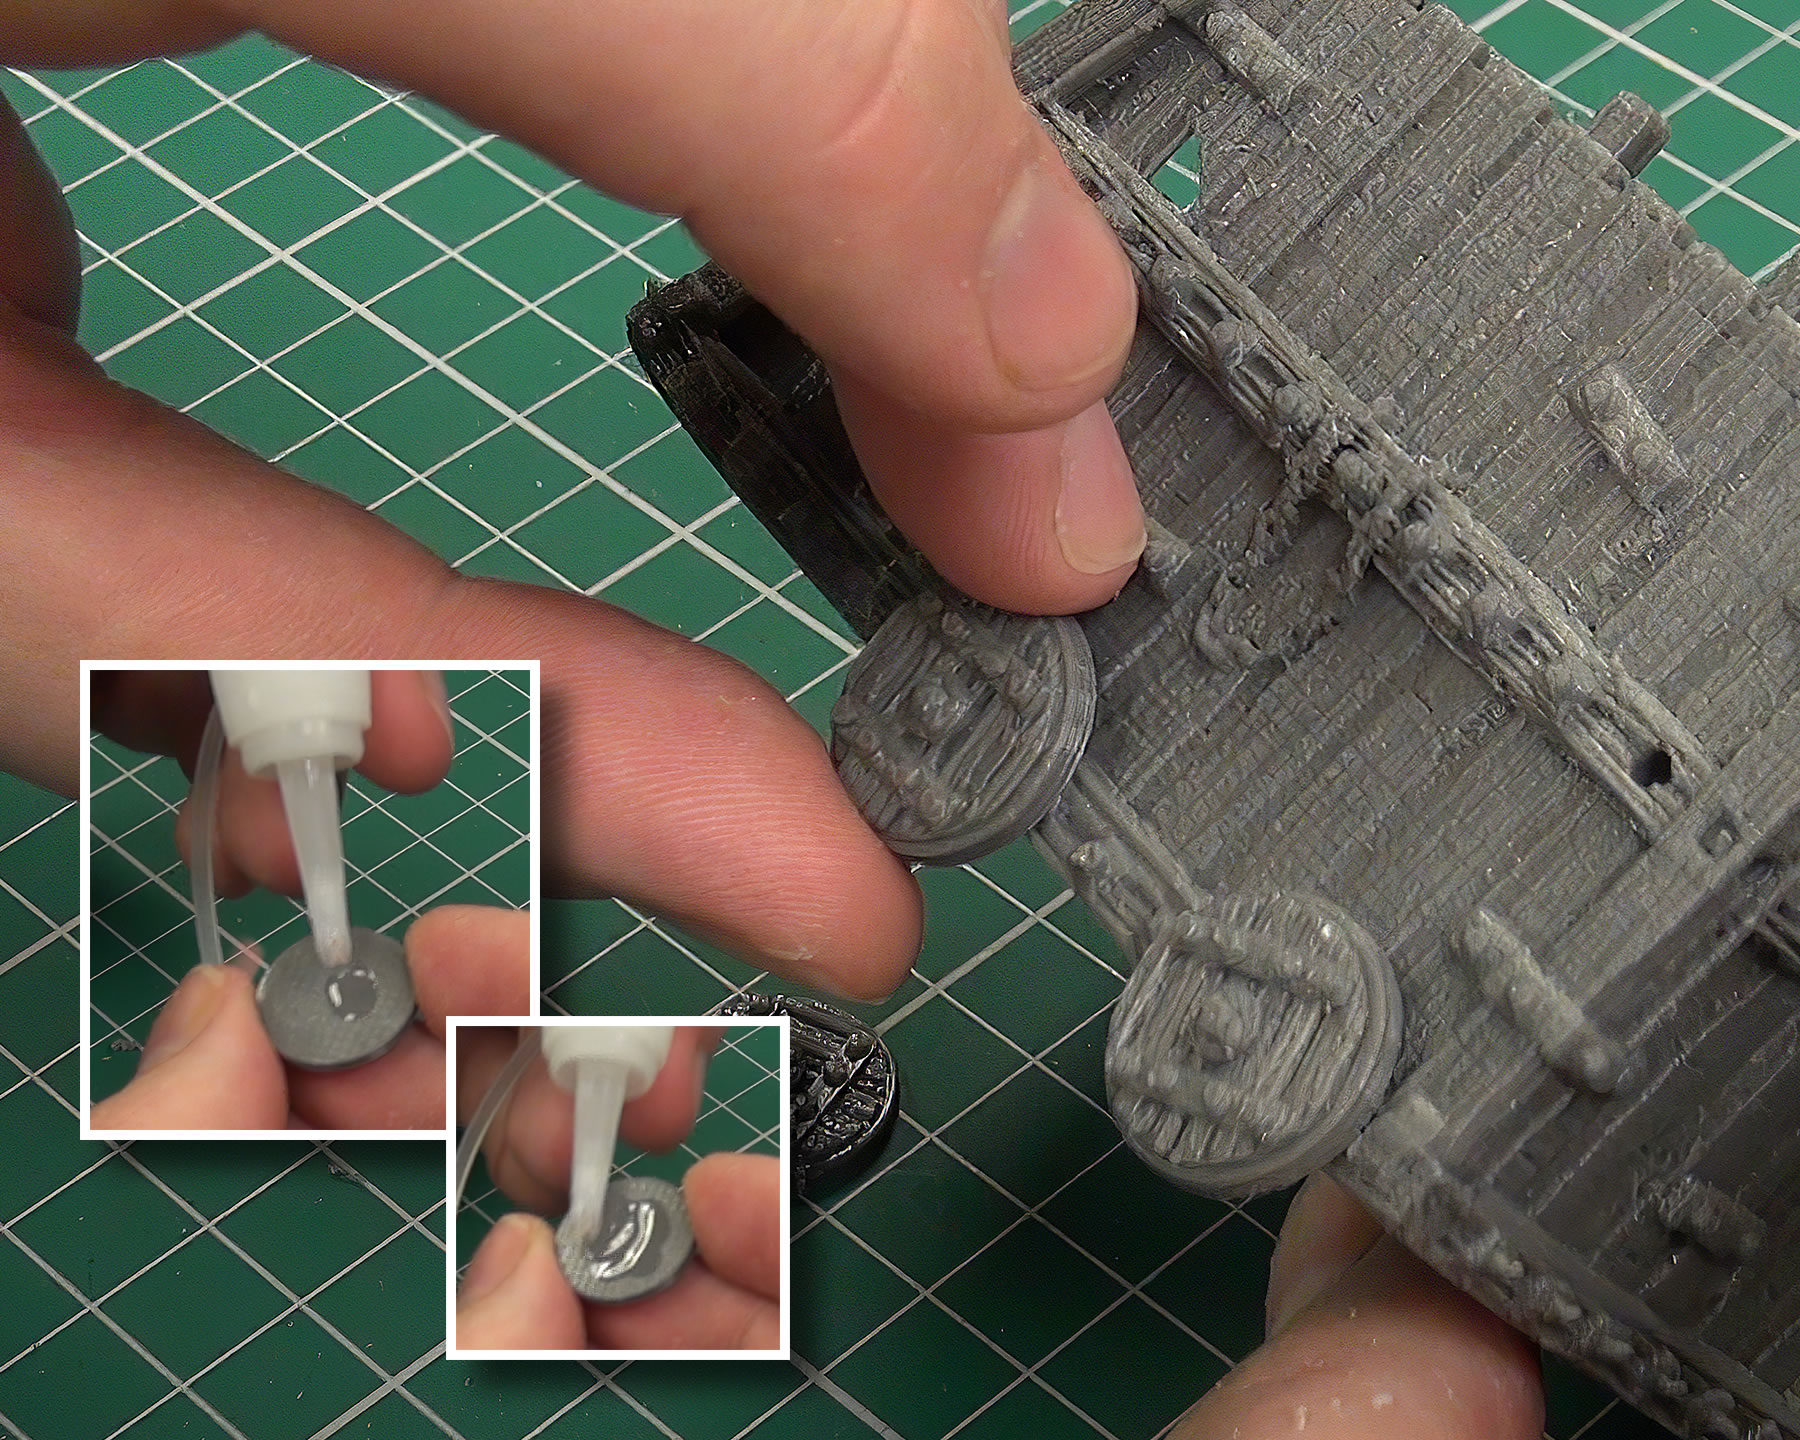
See The Wheels Being Glued On
With the wheels glued on and the tower placed together again, we can see the quality of what we have to work with before we add any paint.
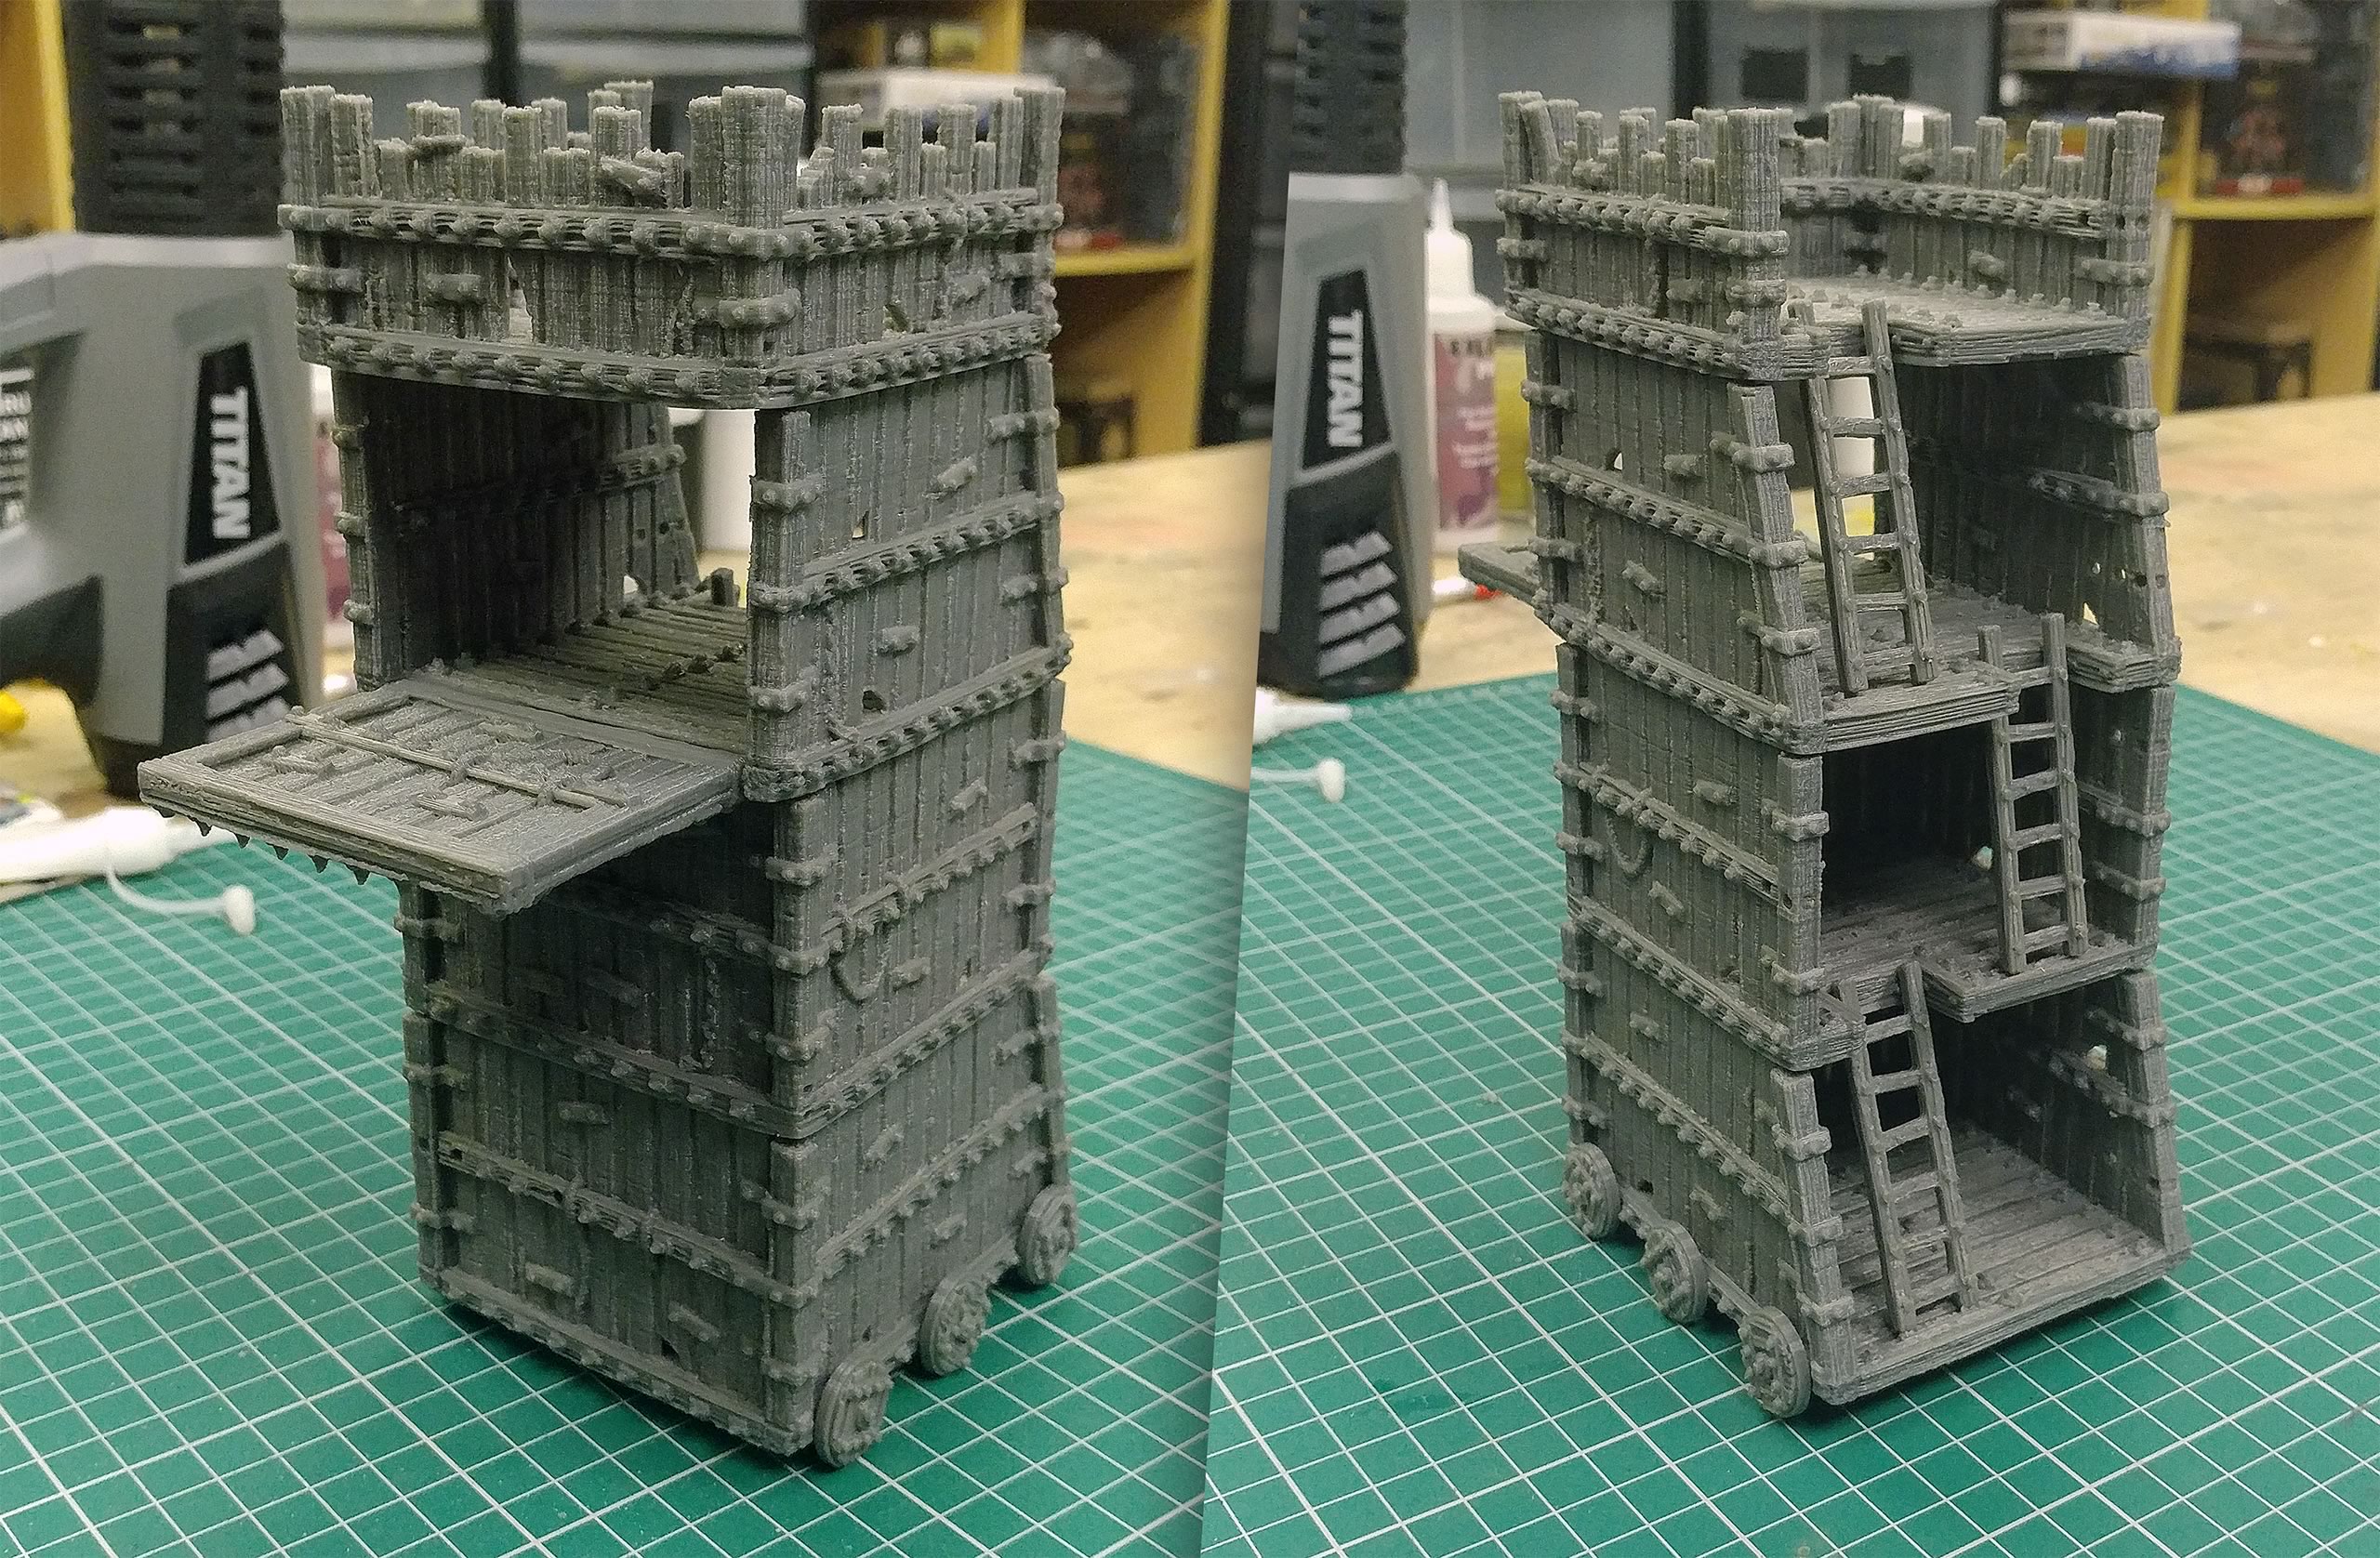
Final Dry Fit Before Paint


