


![TerrainFest 2024! Build Terrain With OnTableTop & Win A £300 Prize [Extended!]](https://images.beastsofwar.com/2024/10/TerrainFEST-2024-Social-Media-Post-Square-225-127.jpg)


Hobby Lab: Winterdale Watchtower 12, Weathering with an Airbrush
July 10, 2019 by johnlyons


Before we begin, let's talk about Airbrushes and the "fear" of buying and using them. An Airbrush is a tool, nothing more, nothing less, practice will trump any kind of "natural talent" or how much money you pump into the "best" equipment. So if you are reading this and have been intimidated away from getting an airbrush, do try and find one within your price range and just play with it until you feel your control is at a point where you can apply paint to a model. Many of us would strongly recommend starting with using your brush to apply a primer, or a single basecoat colour over your models, just to get used to how your Airbrush works and what you can do with it. Airbrushes are not "elite" and with a couple of hours using one, you will find your primers or basecoats will be improved greatly by using one. So do not be scared or warned off getting one, they are simply a tool that is very versatile and can be applied to any project, where fitting.
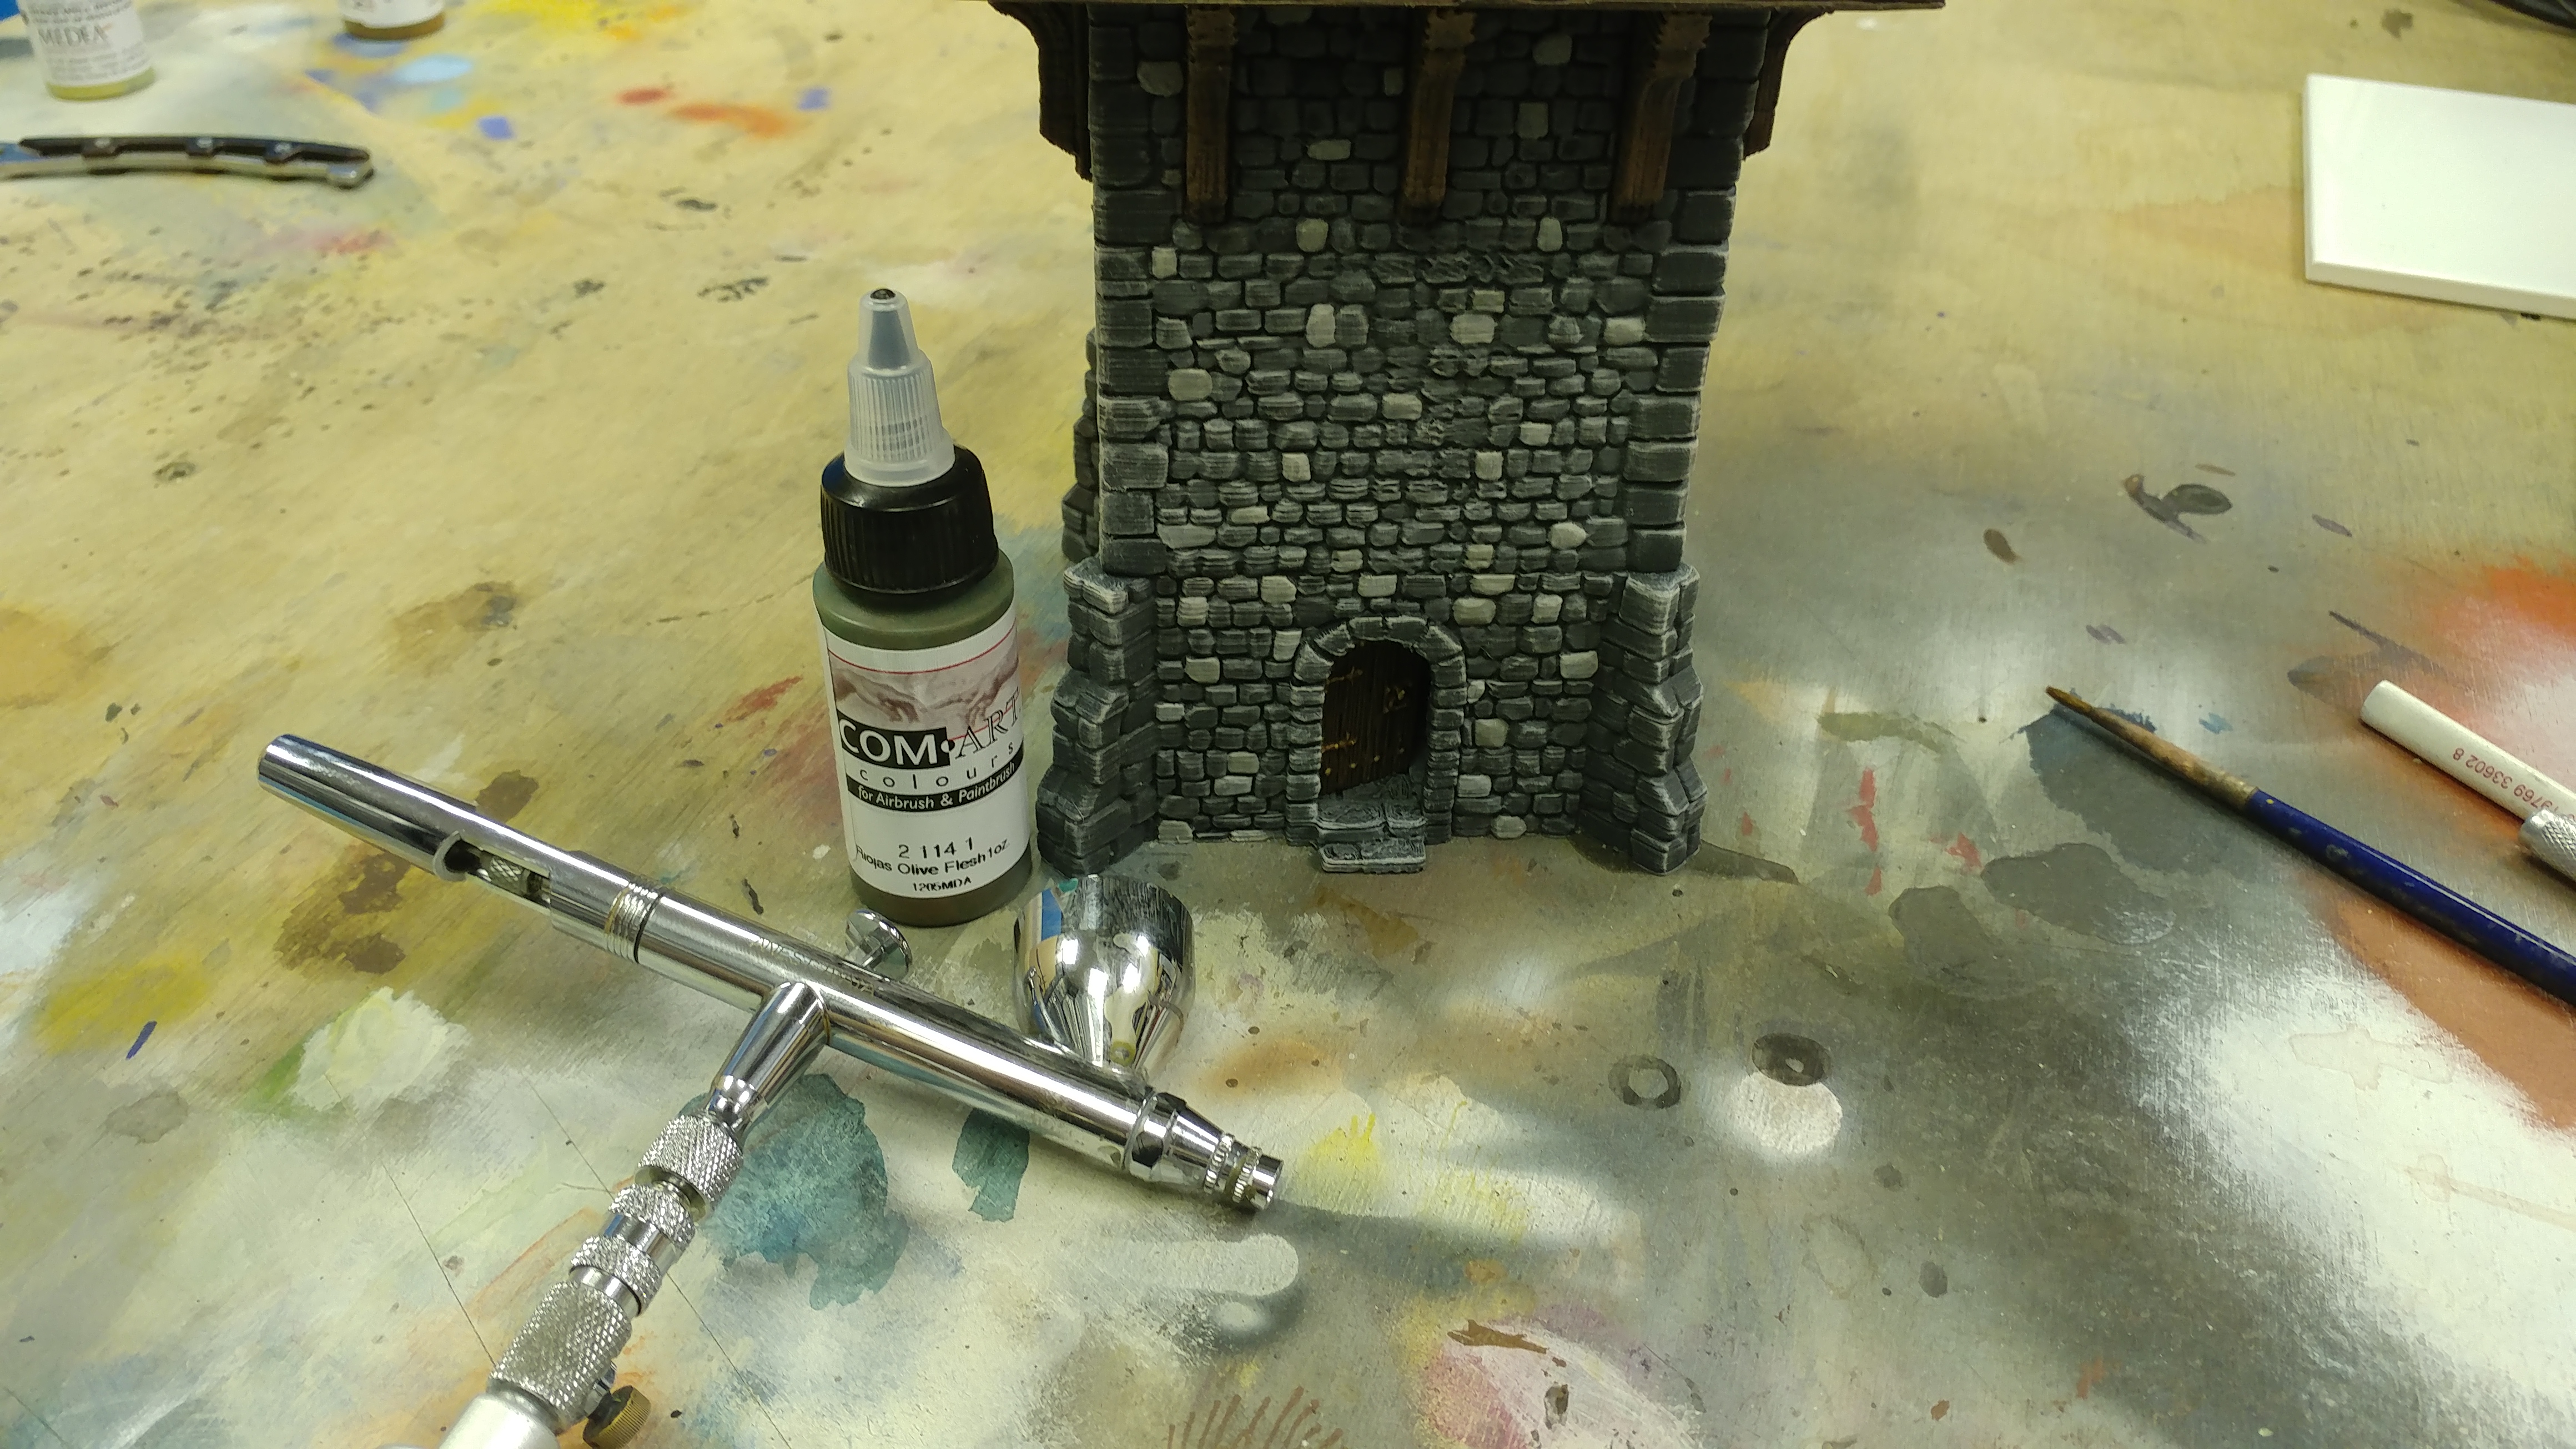
So, we will begin by using the Airbrush to apply staining on the stonework. This will be applied in three areas. Firstly, the bottom of the base of the tower to represent general dirt buildup, inside the tower on the floor and stairs to represent people frequently using the interior of the building. And, finally, we will add stains round the wooden supports of the upper tower, this is to show water runoff form these areas that would stain the stonework with a little bit of water damage as well as a buildup of algae and moss.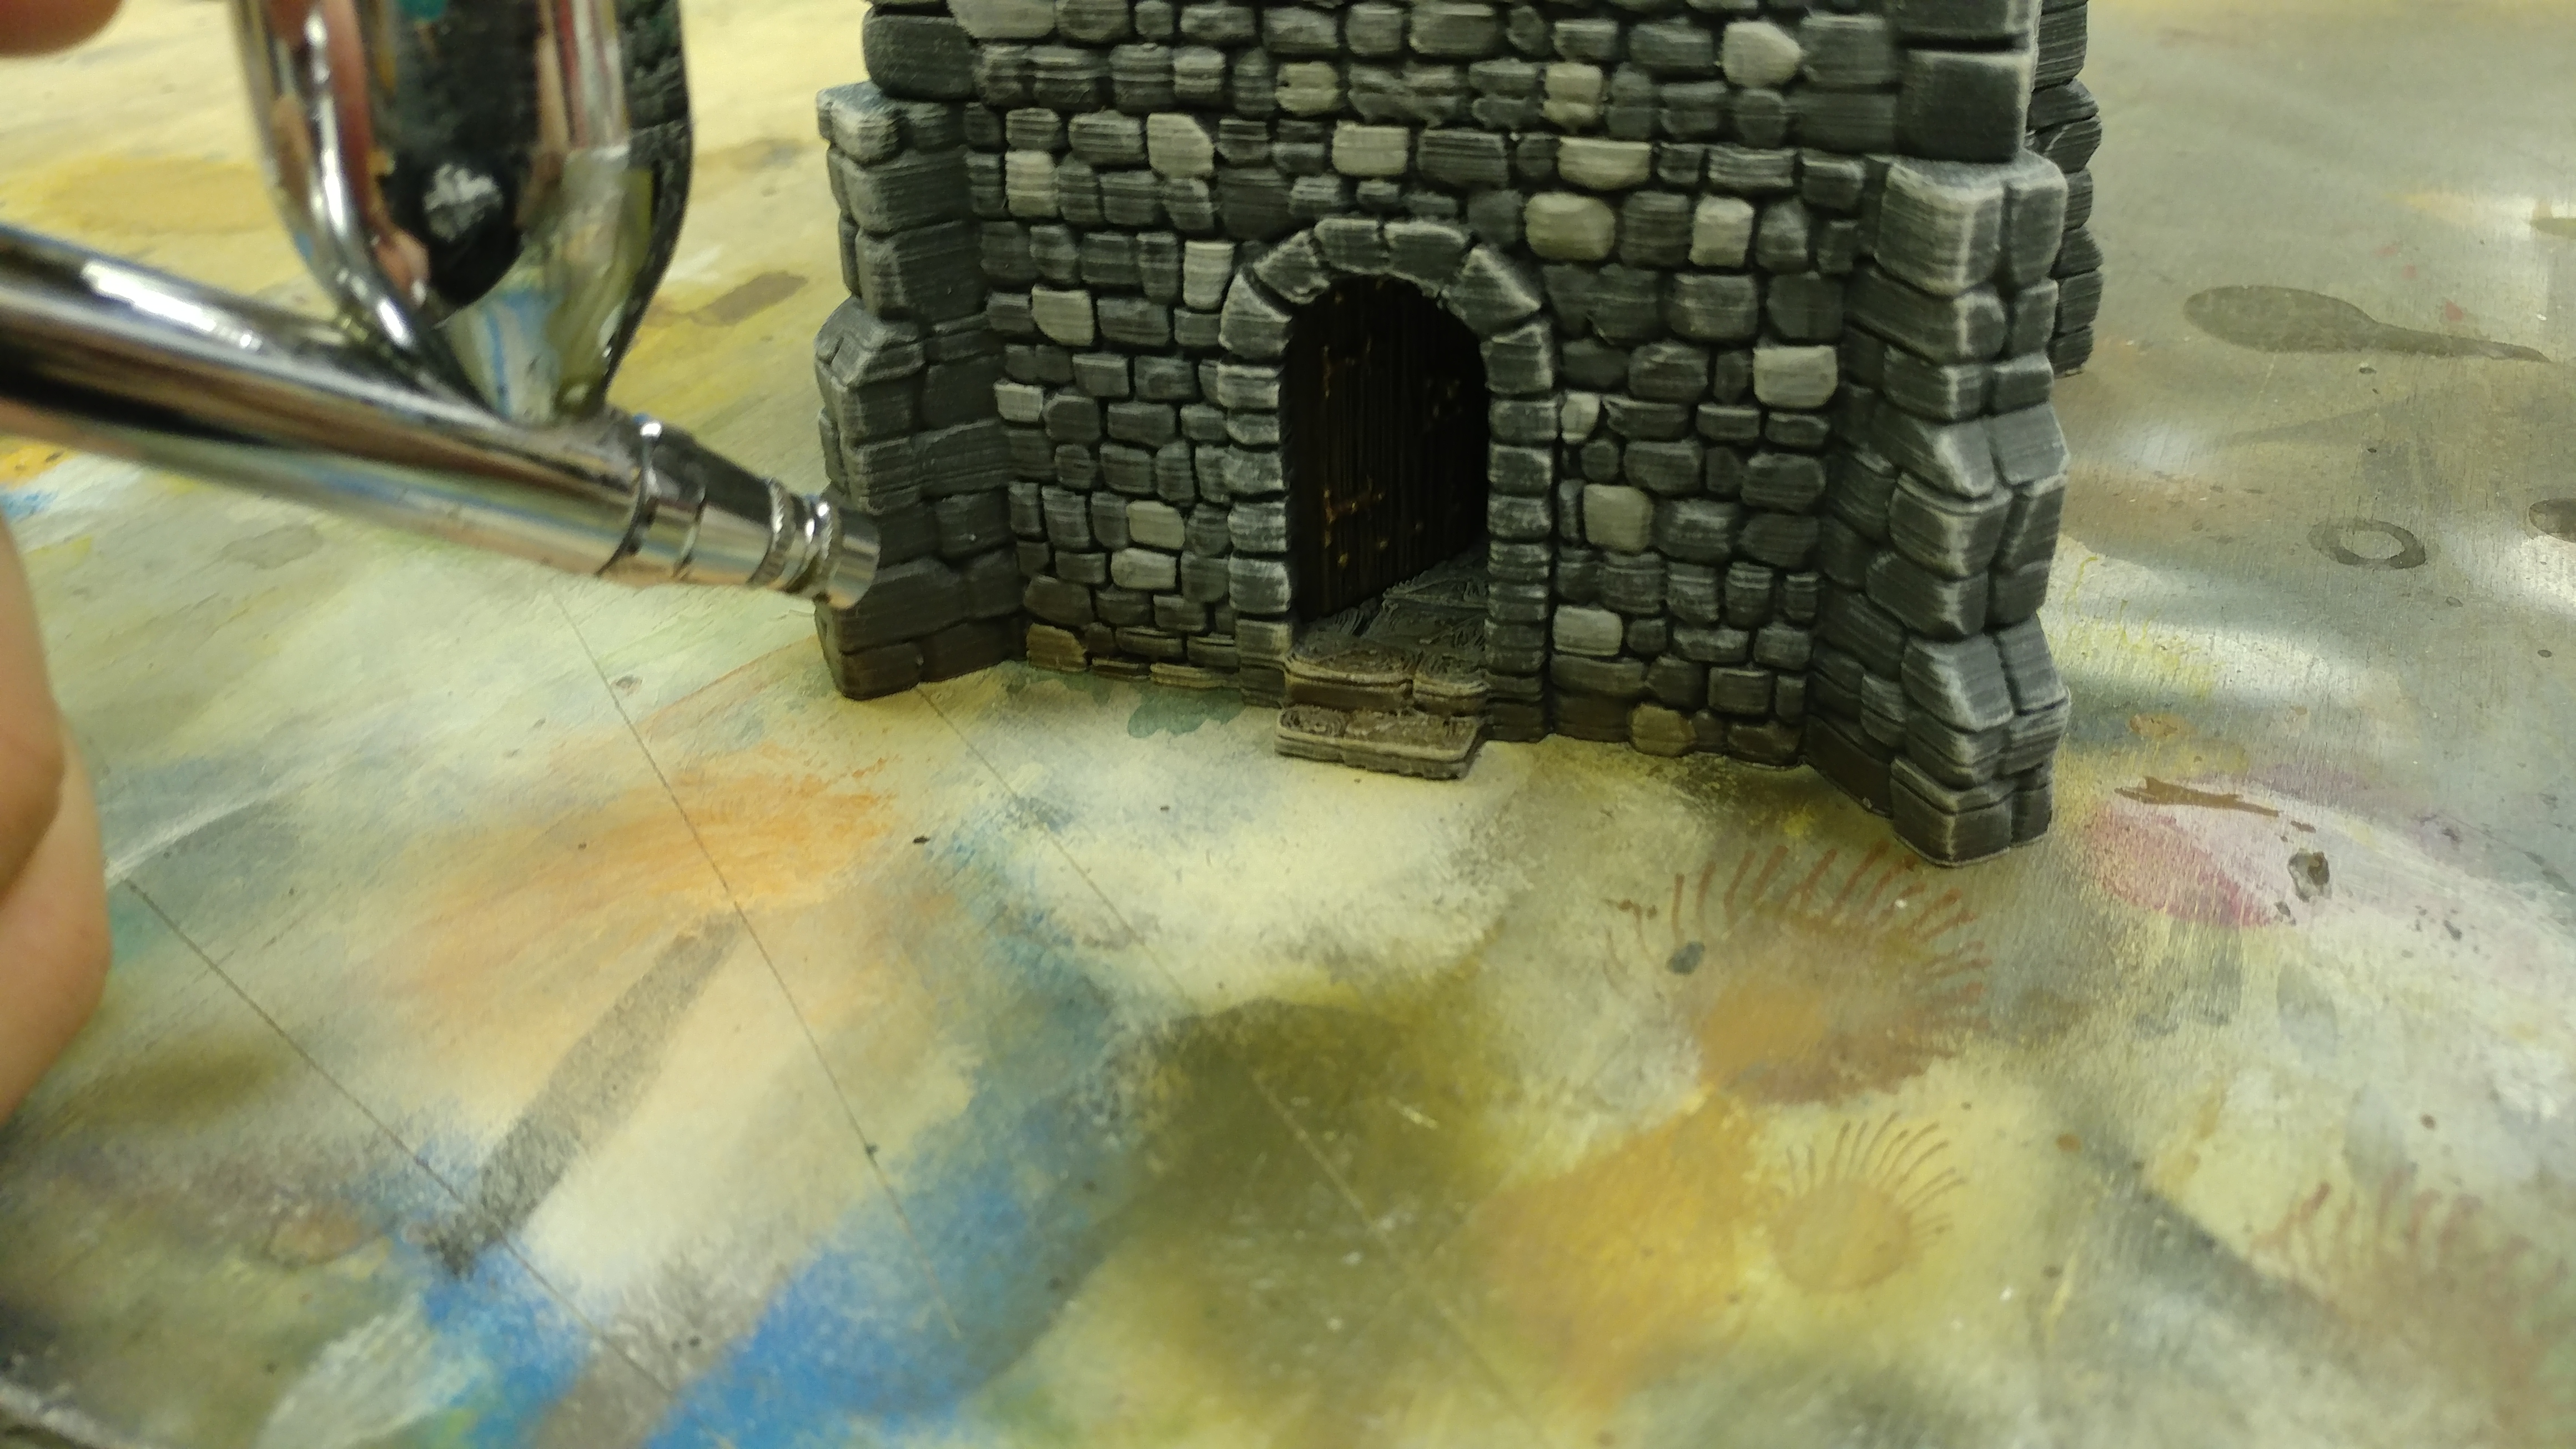
As we can see, the airbrushing of ComArt Olive Flesh is helping to create the effect of dirt buildup around the base of the tower. It would be good to note not to take this effect up very high as the effect will not look as believable, so it is recommended to not take the effect further than the top step of the ground floor doorway.
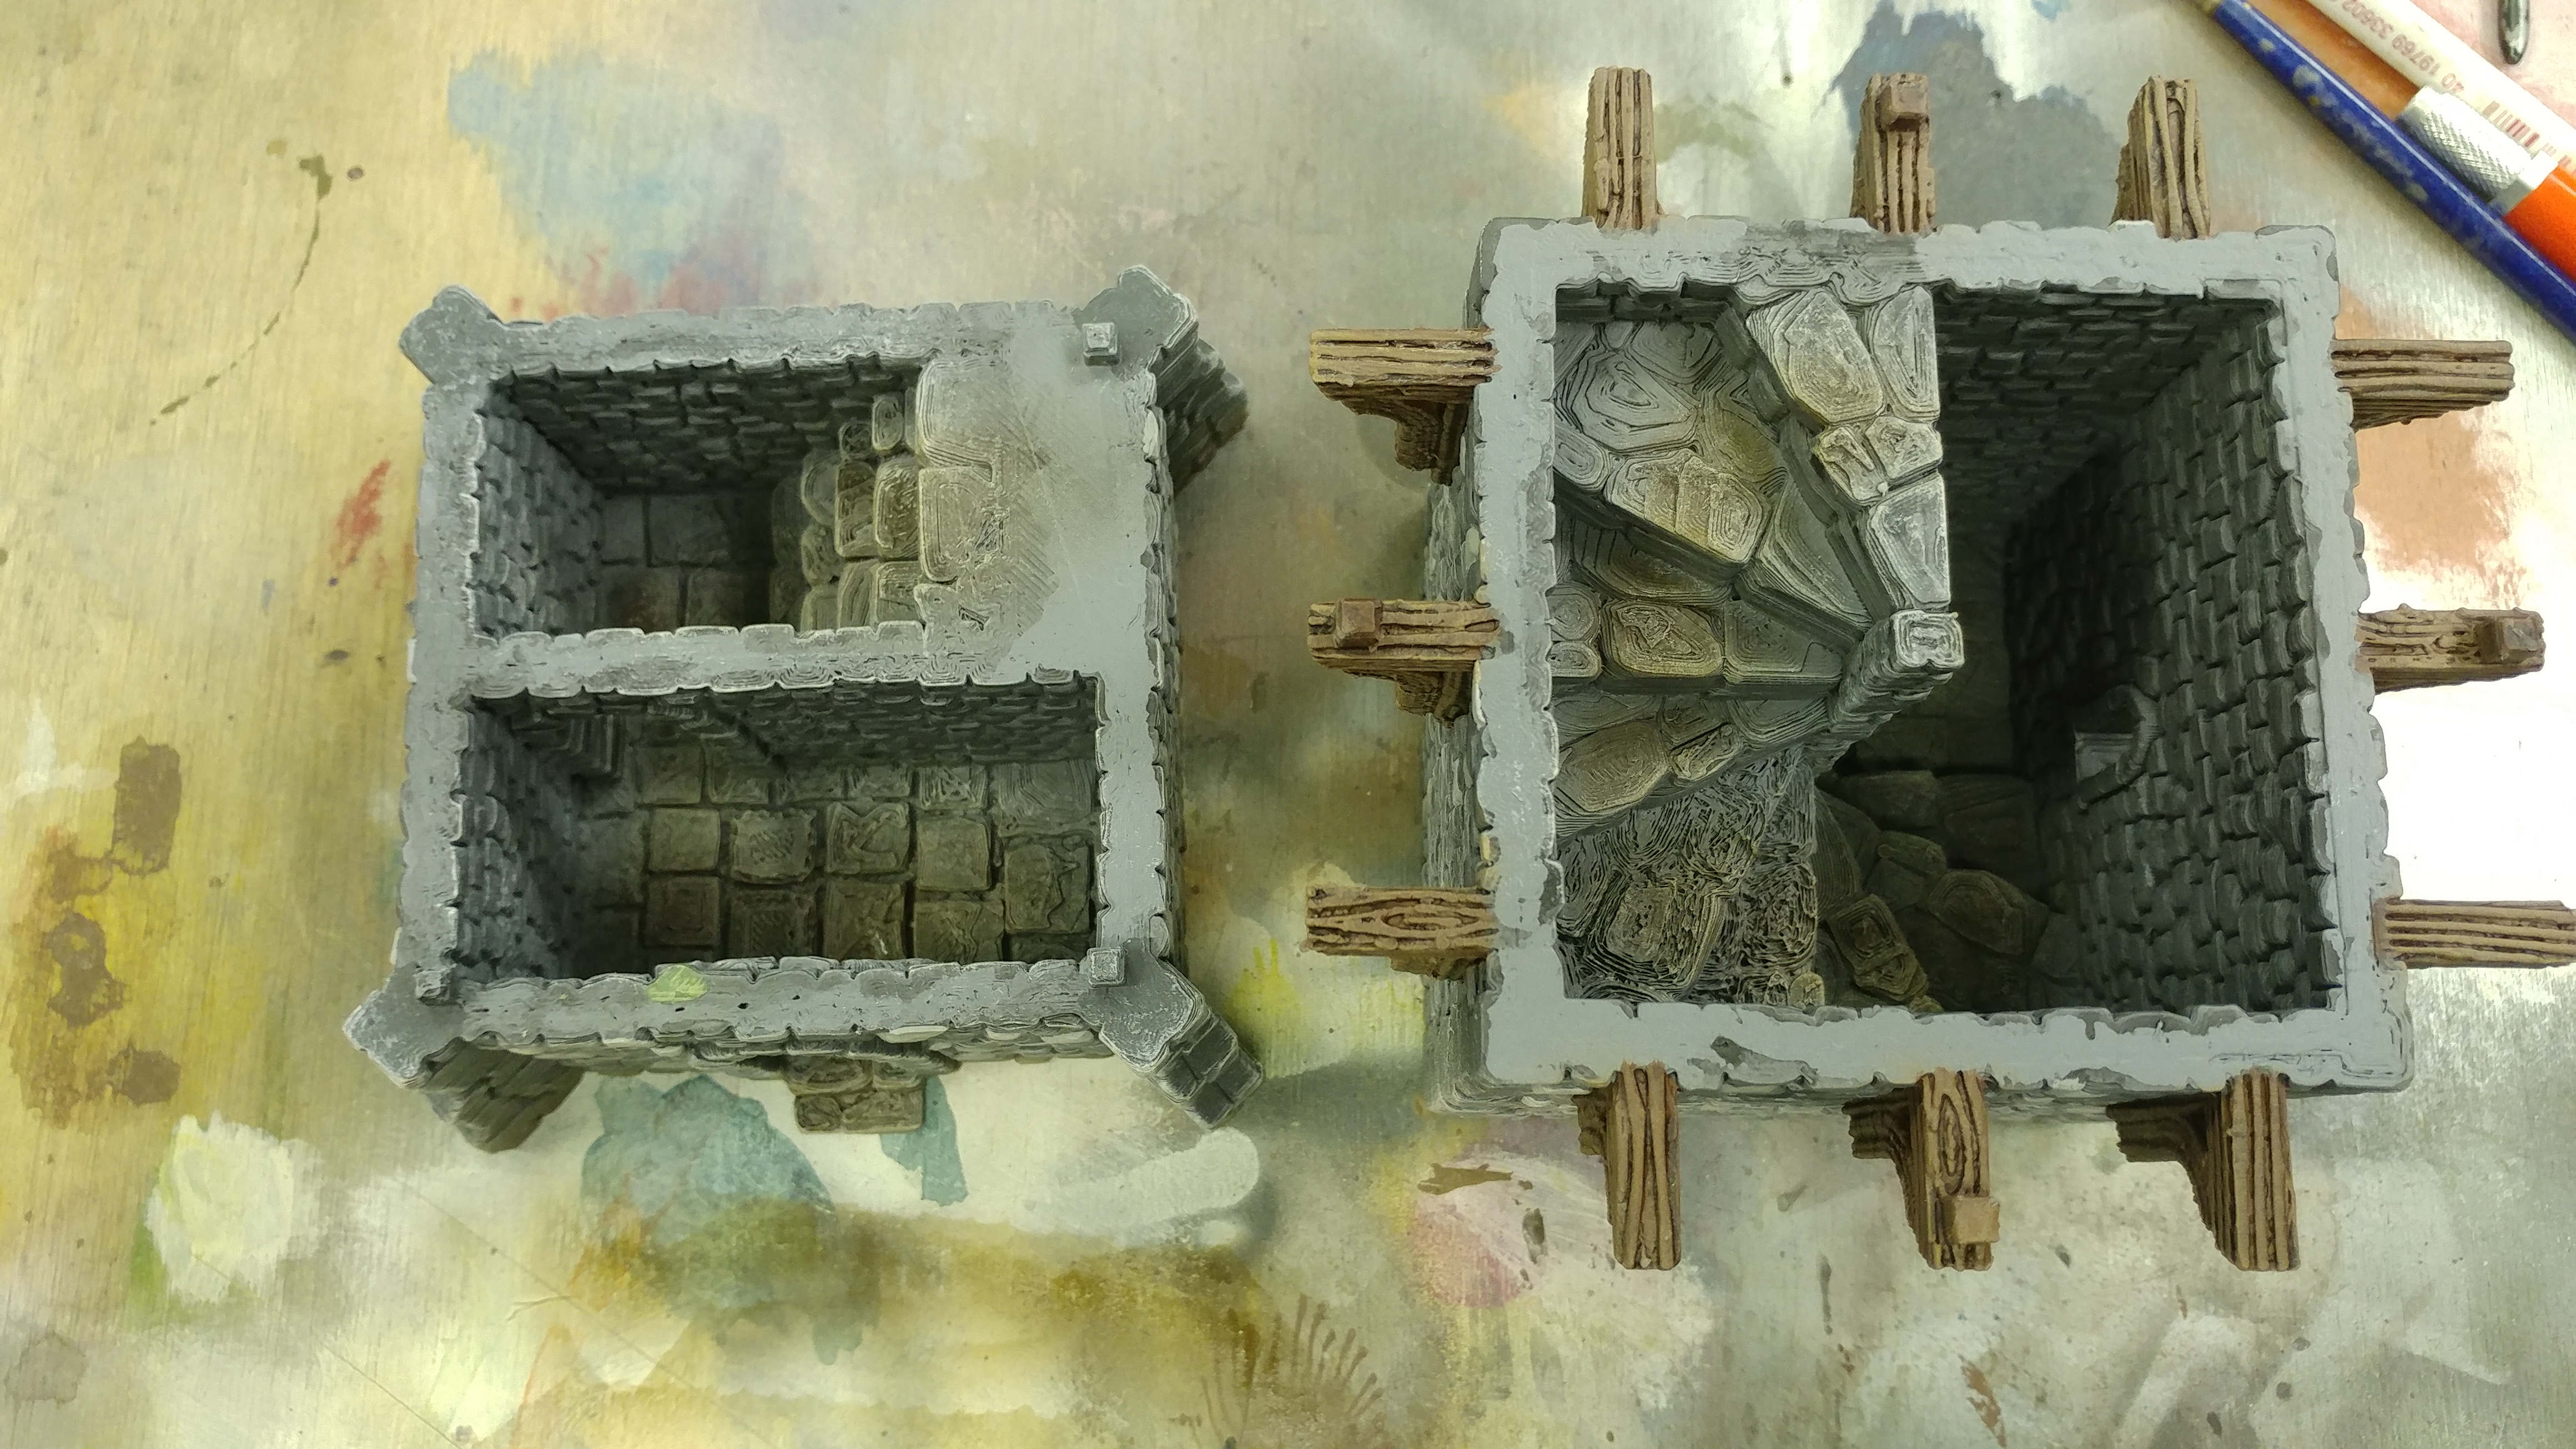
Continuing the Olive Flesh to the interior is a simple matter of giving the floor and stairs a light pass with the airbrush, focusing on the middle areas, representing the areas of "high traffic"

Moving on to ComArt Raw Sienna now, which we will use to add the water staining under the wooden supports. This is only the first step in creating this stain effect. 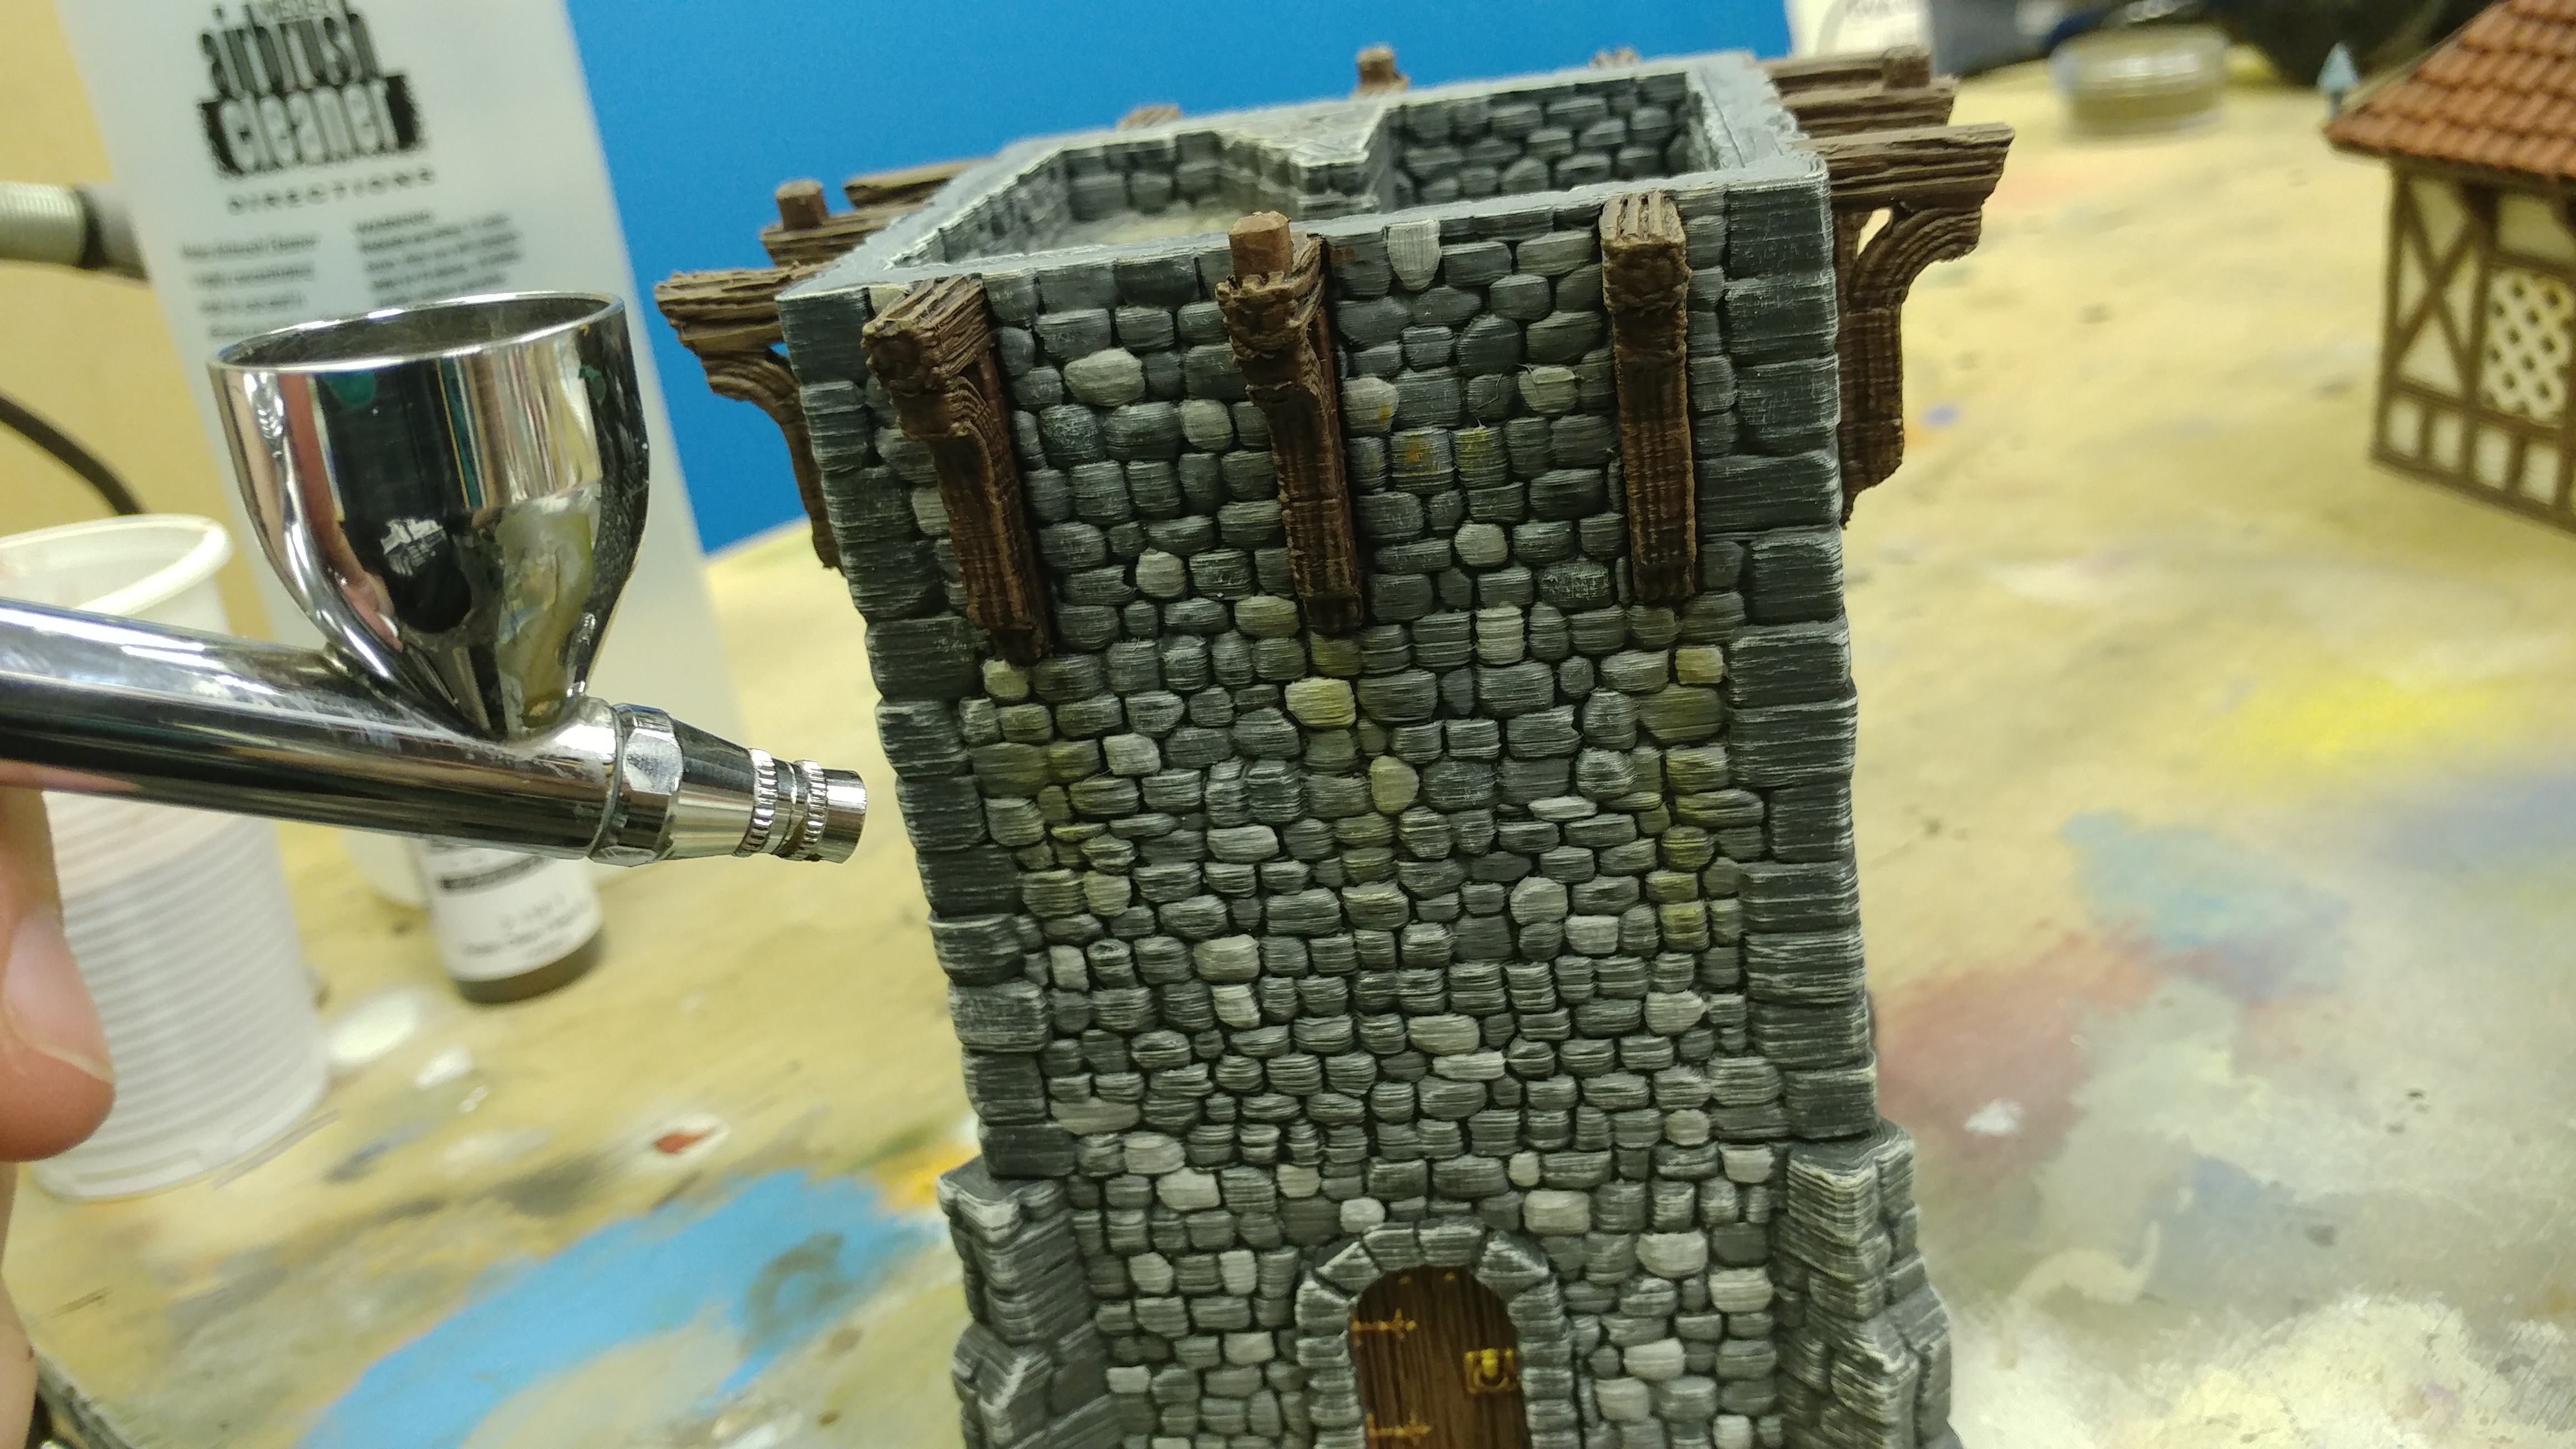
As we can see, adding a short line of this colour, aiming the brush so the paint "feathers out" towards the bottom, gives us a nice base layer for this effect. And that does it for the Airbrush in this project. Remember not to be intimidated, and give it a go yourself!