Hobby Lab: Siege Tower – Adding a Banner
May 7, 2019 by johnlyons
Time to Make a Banner
Adding an extra detail such as a hanging banner will give the Seige Tower an eye-catching flash of colour, as well as show off your alliegance!
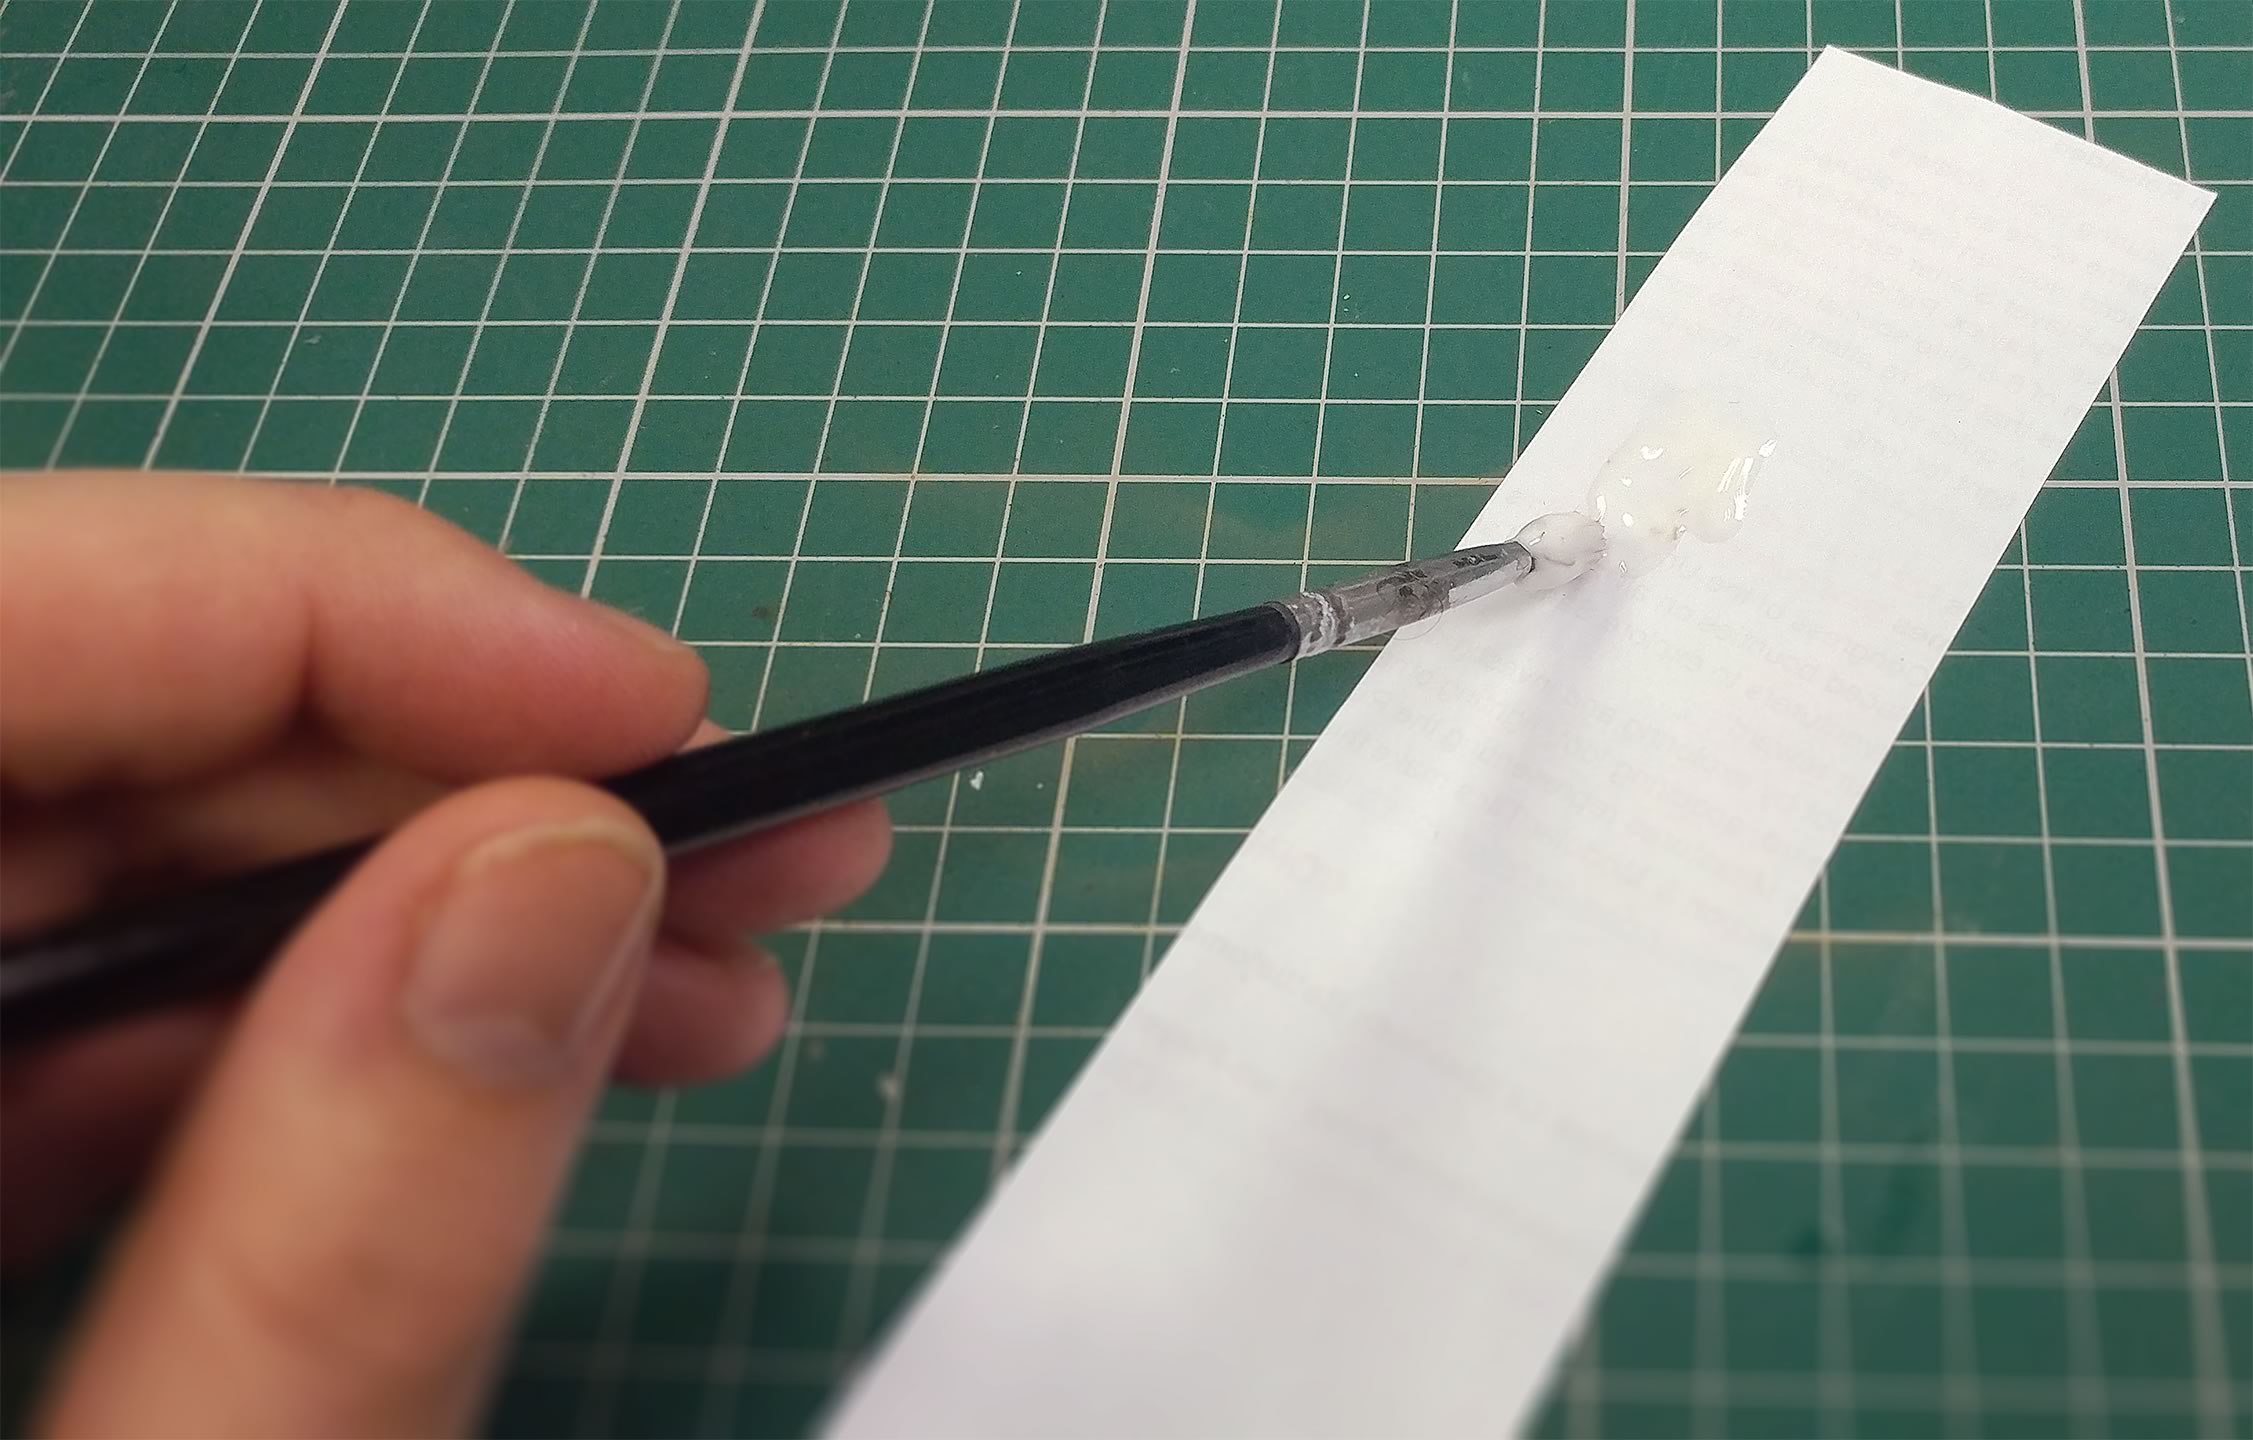
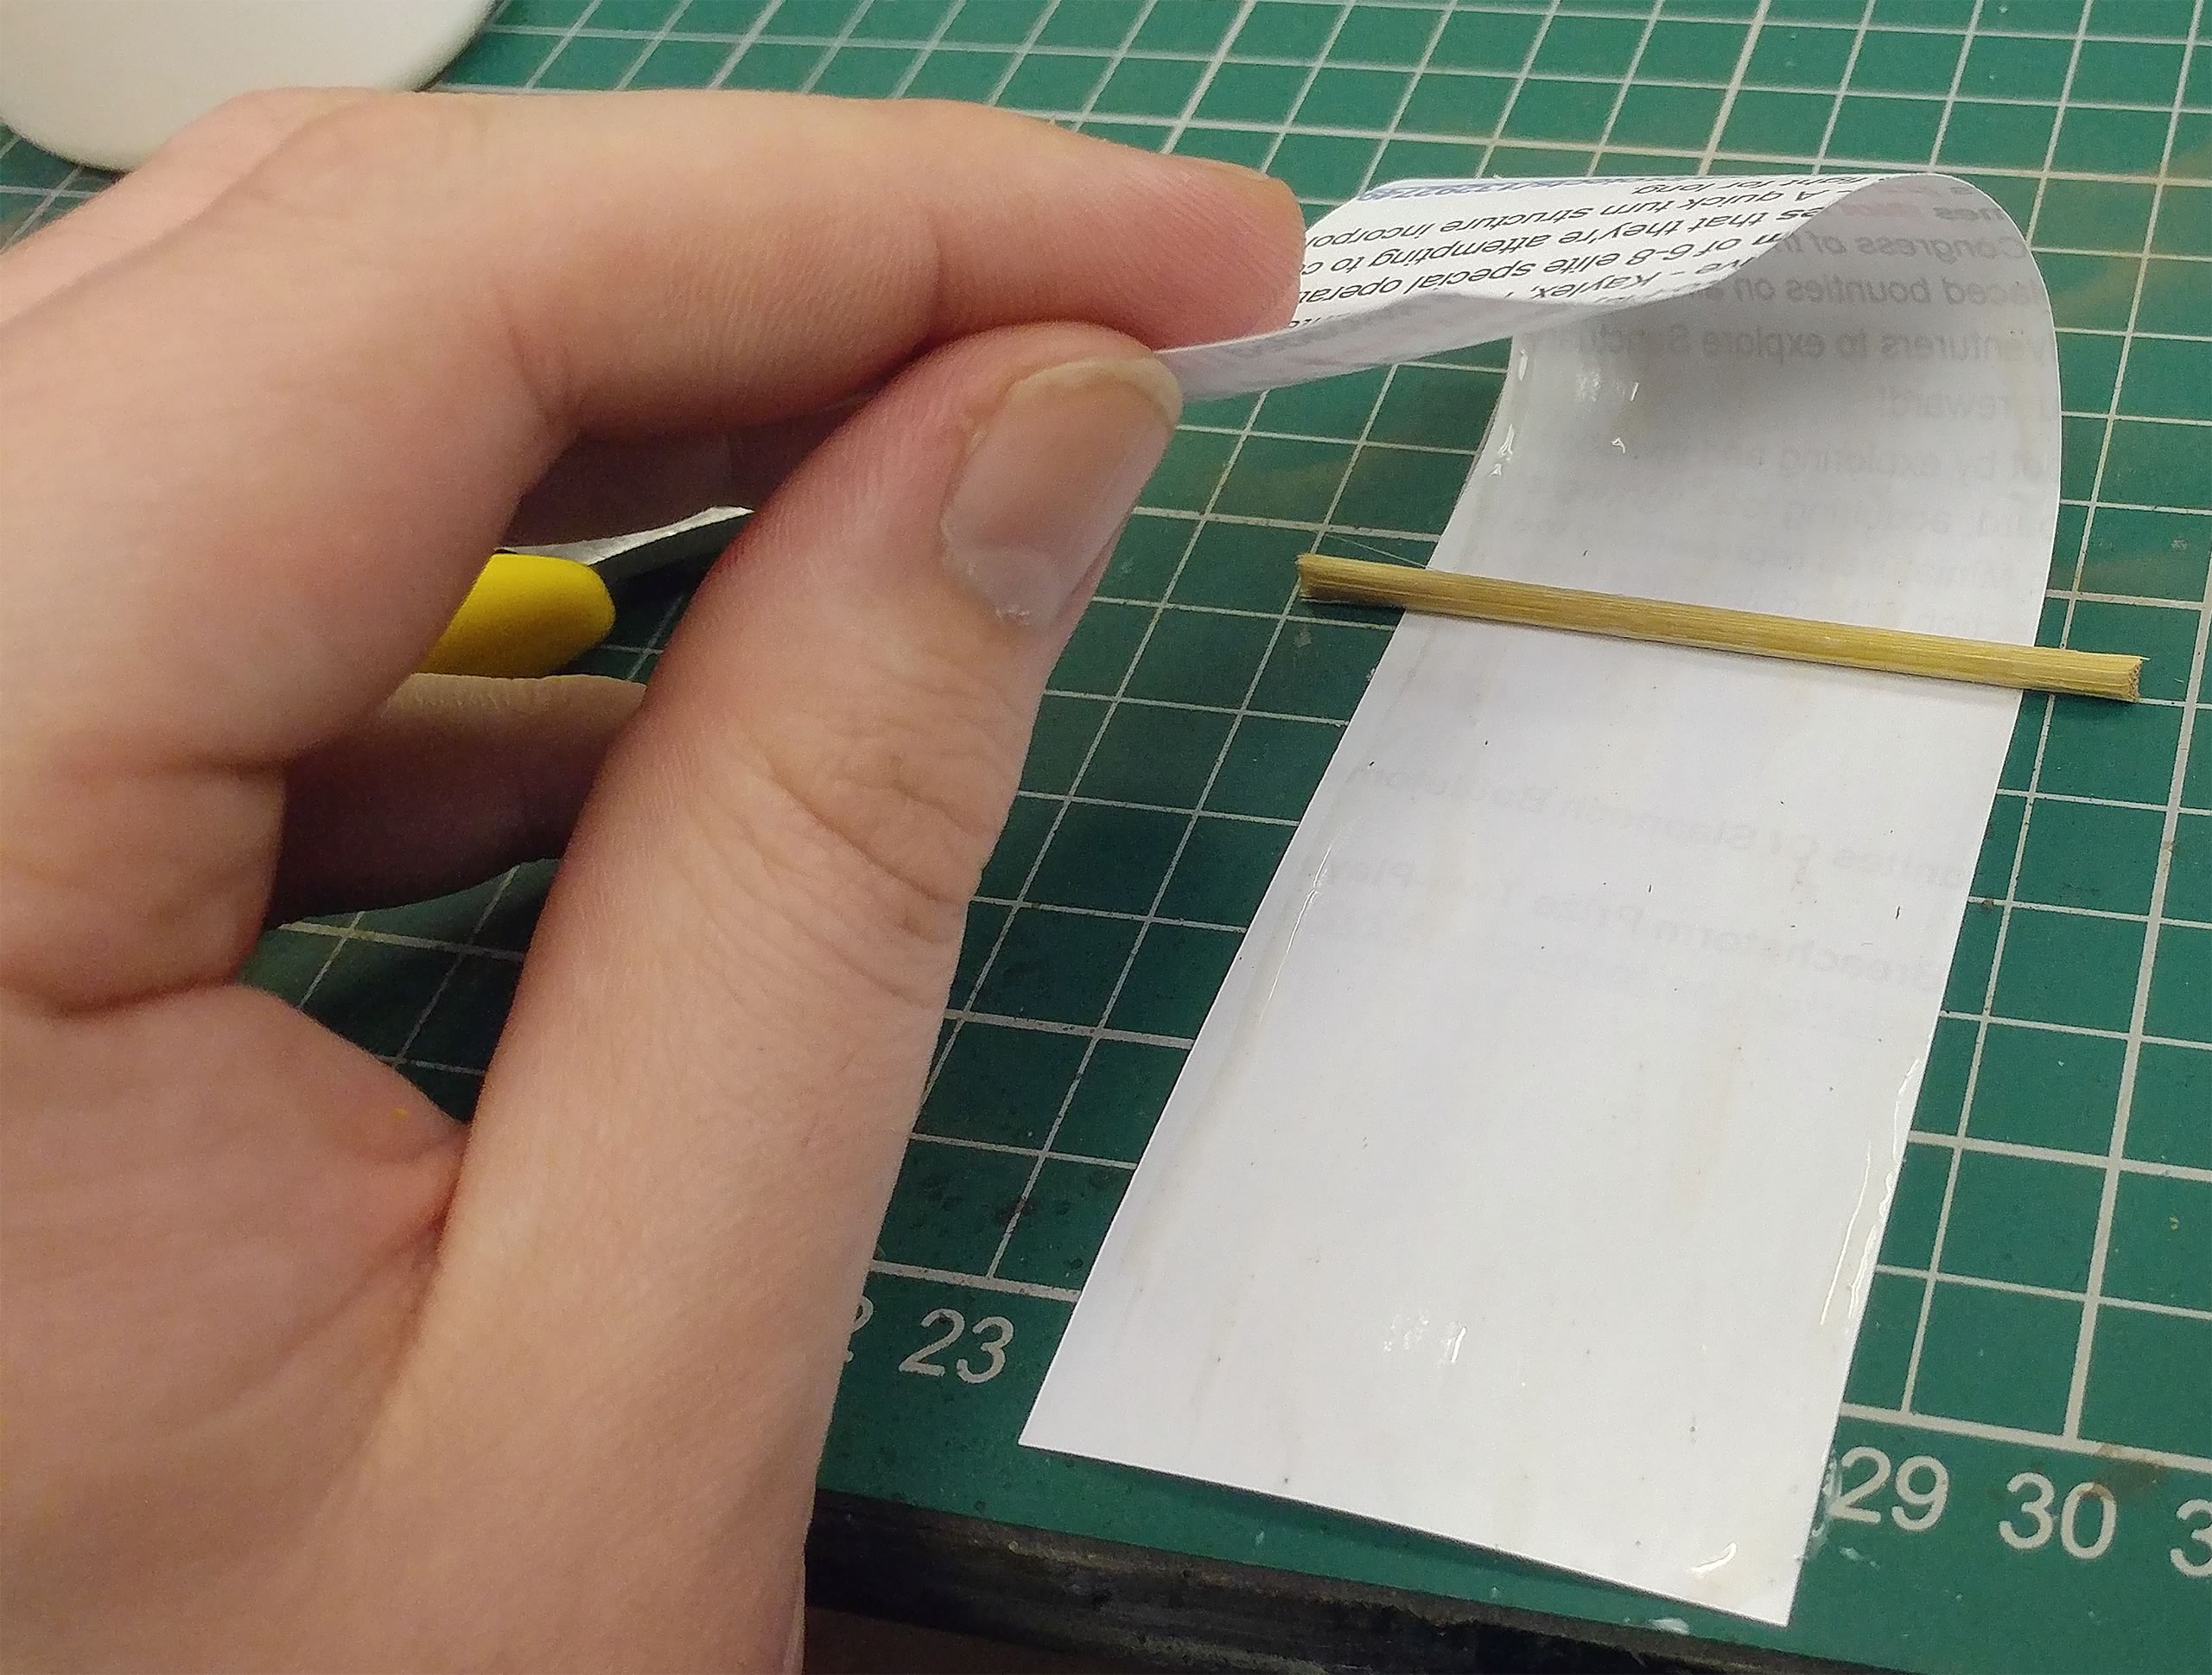
We first start with a strip of paper, we're using scrap paper found around the office in this case, and give it a coat of PVA glue.
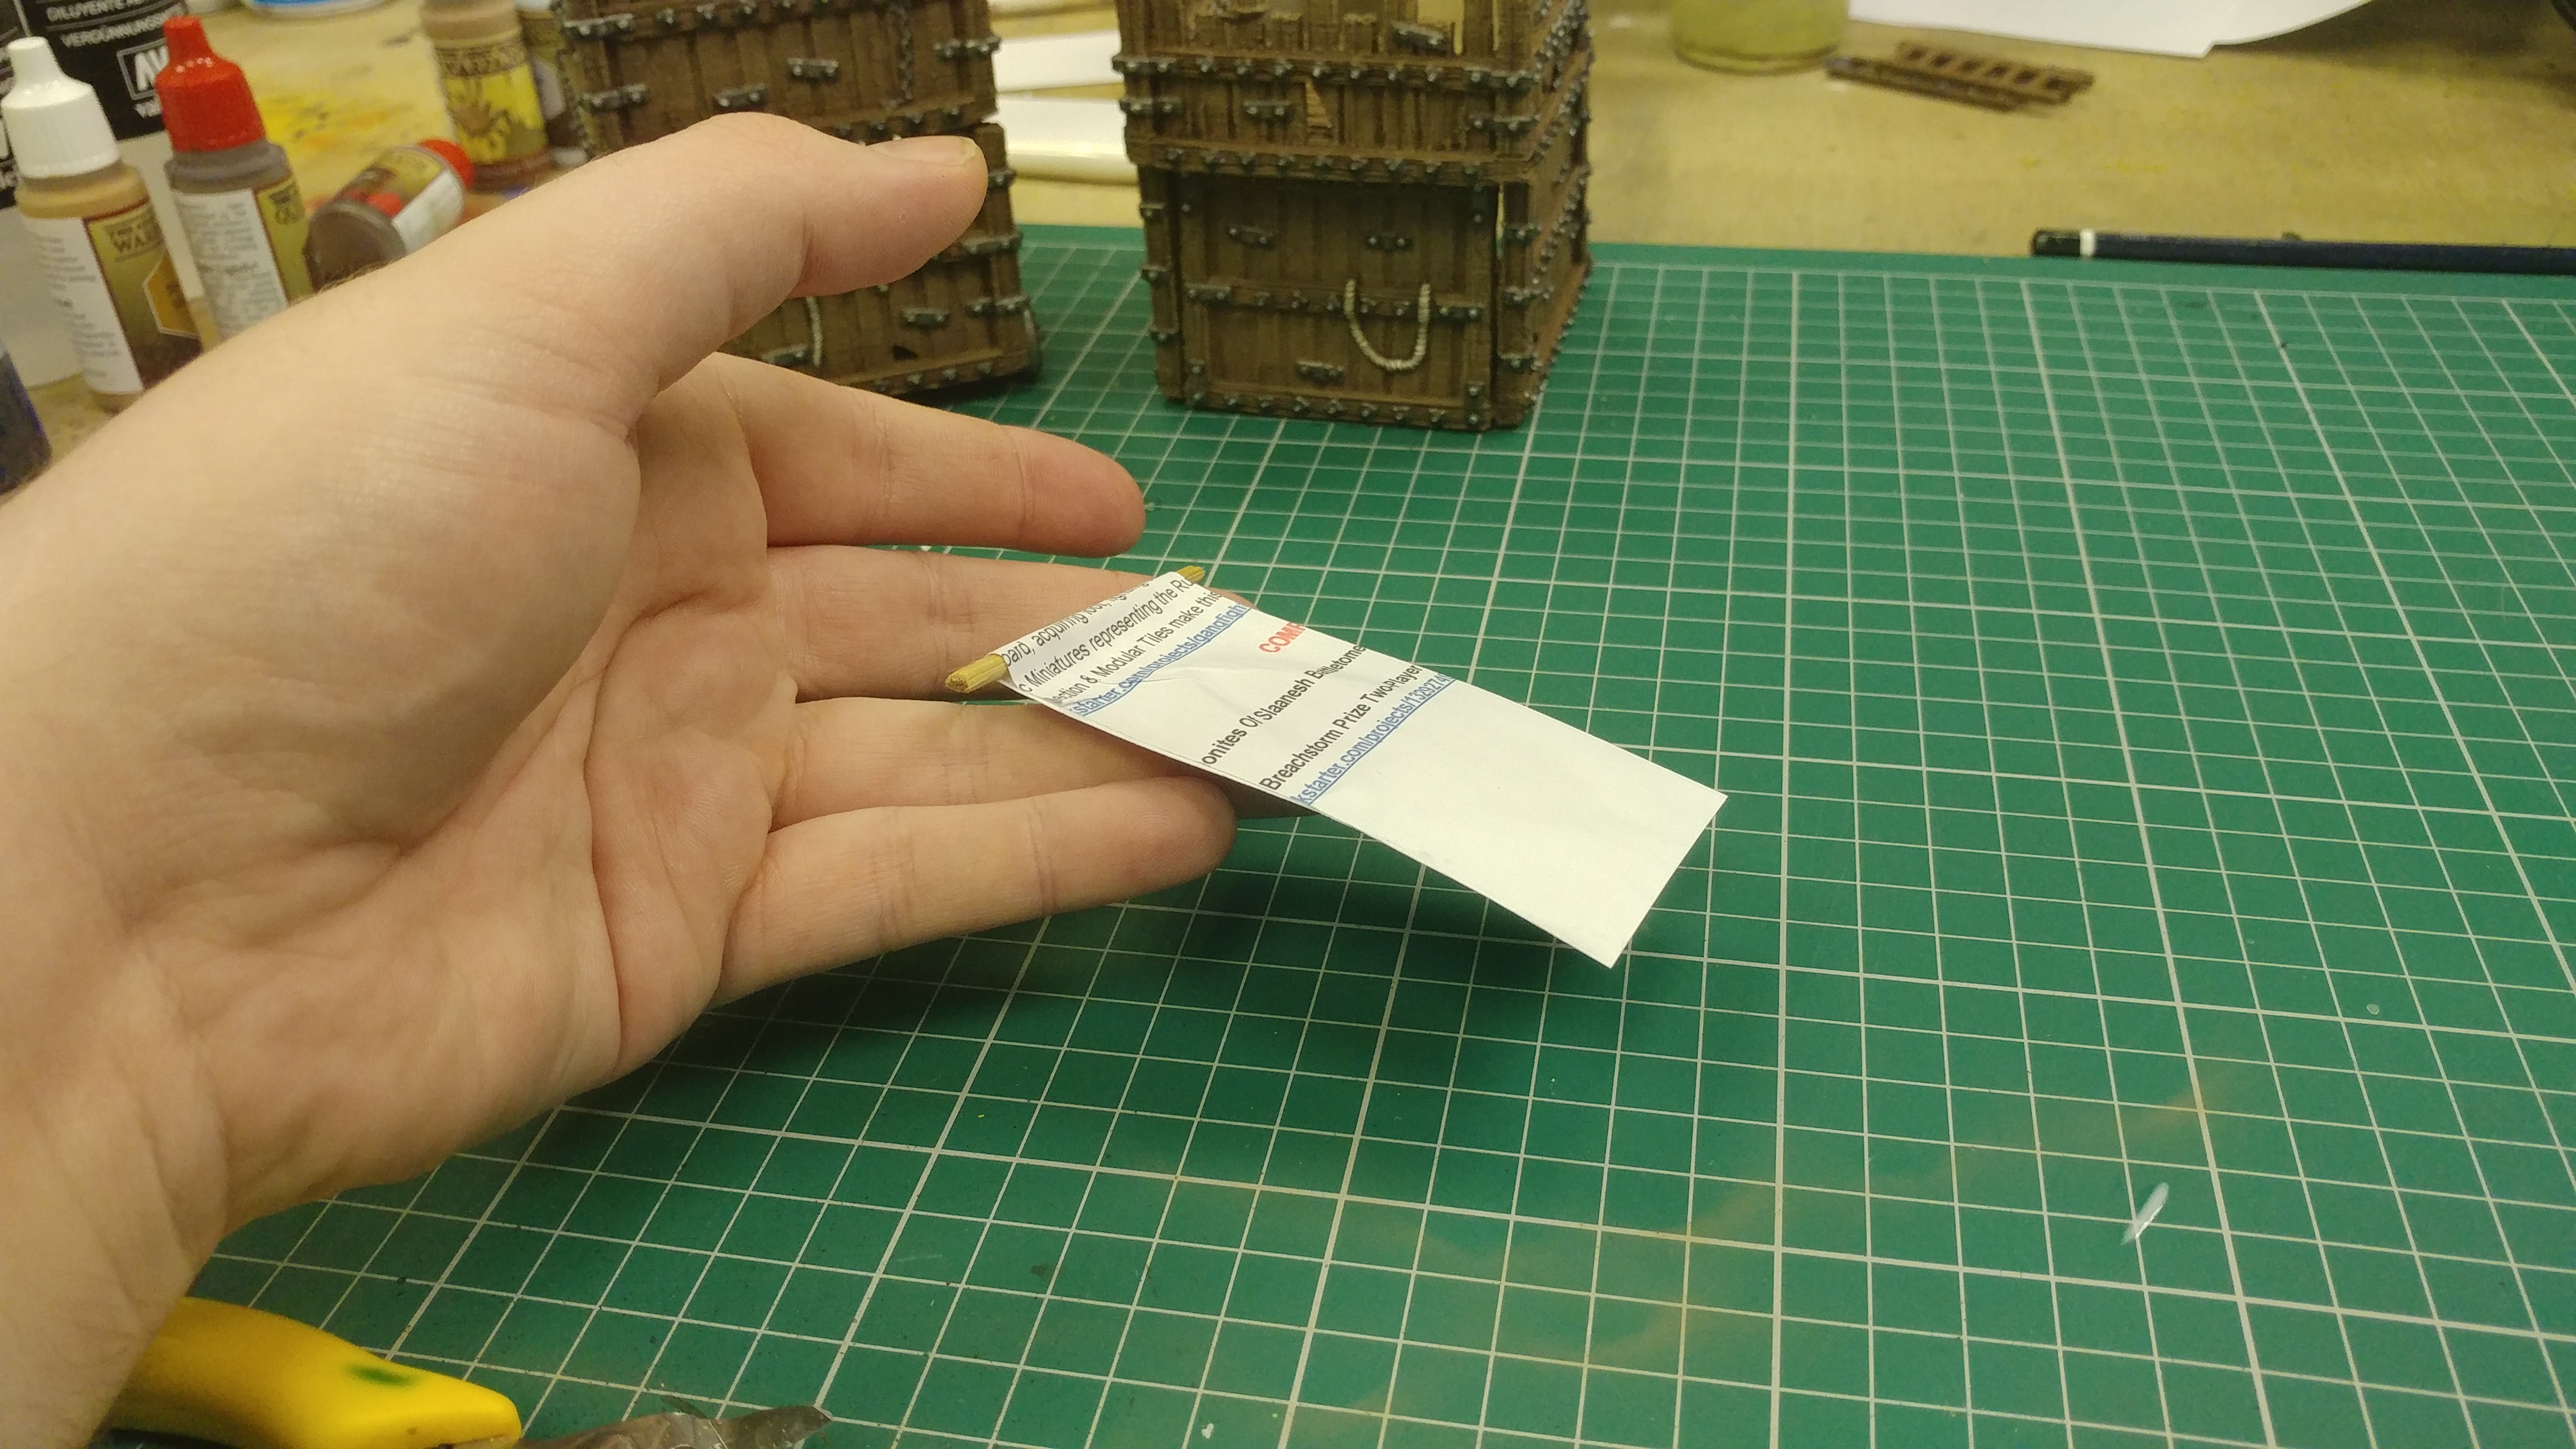
We then place a cut down length of BBQ skewer, which has been pre-measured and cut to fit, and fold over the paper to make the peice of wood our crossbar for the banner.
At this point, we can give the whole banner another coat of PVA glue and let it dry, or use a hairdryer to speed up the process. This leaves the banner tough and flexible.
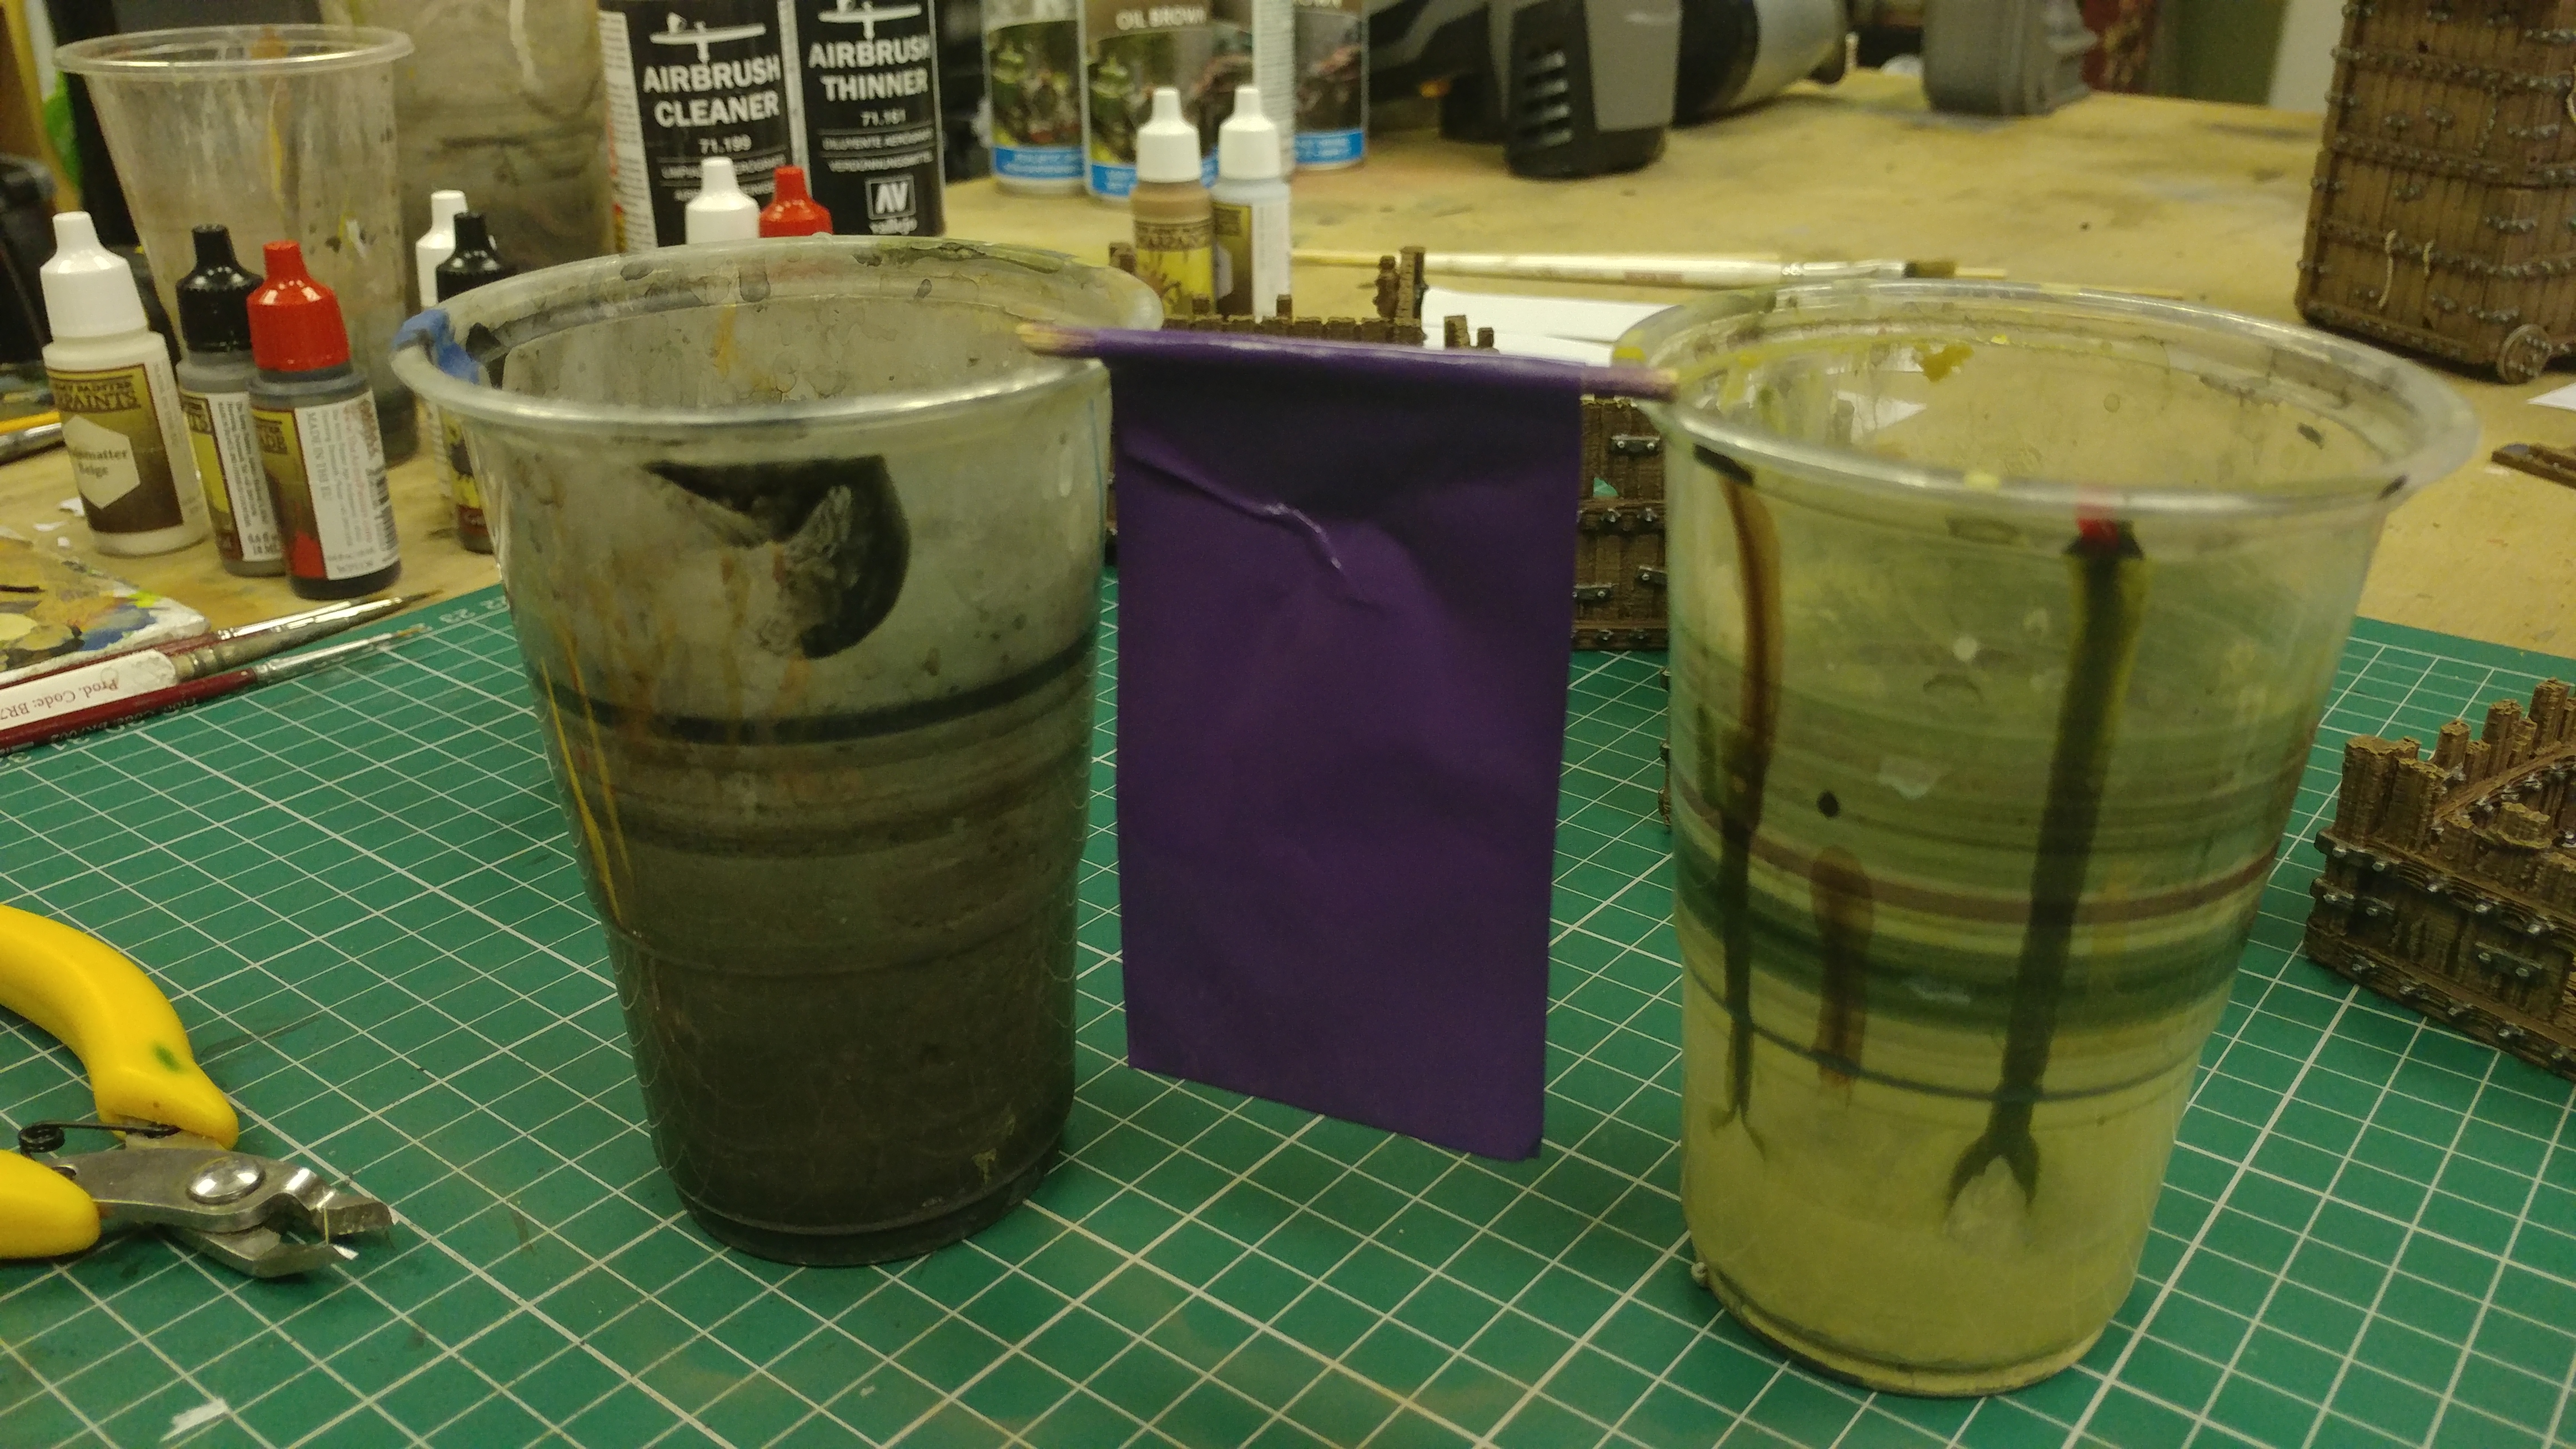
Once dry we can prime the banner in any colour we like, Army Painter "Alien Purple" spray primer was used here.
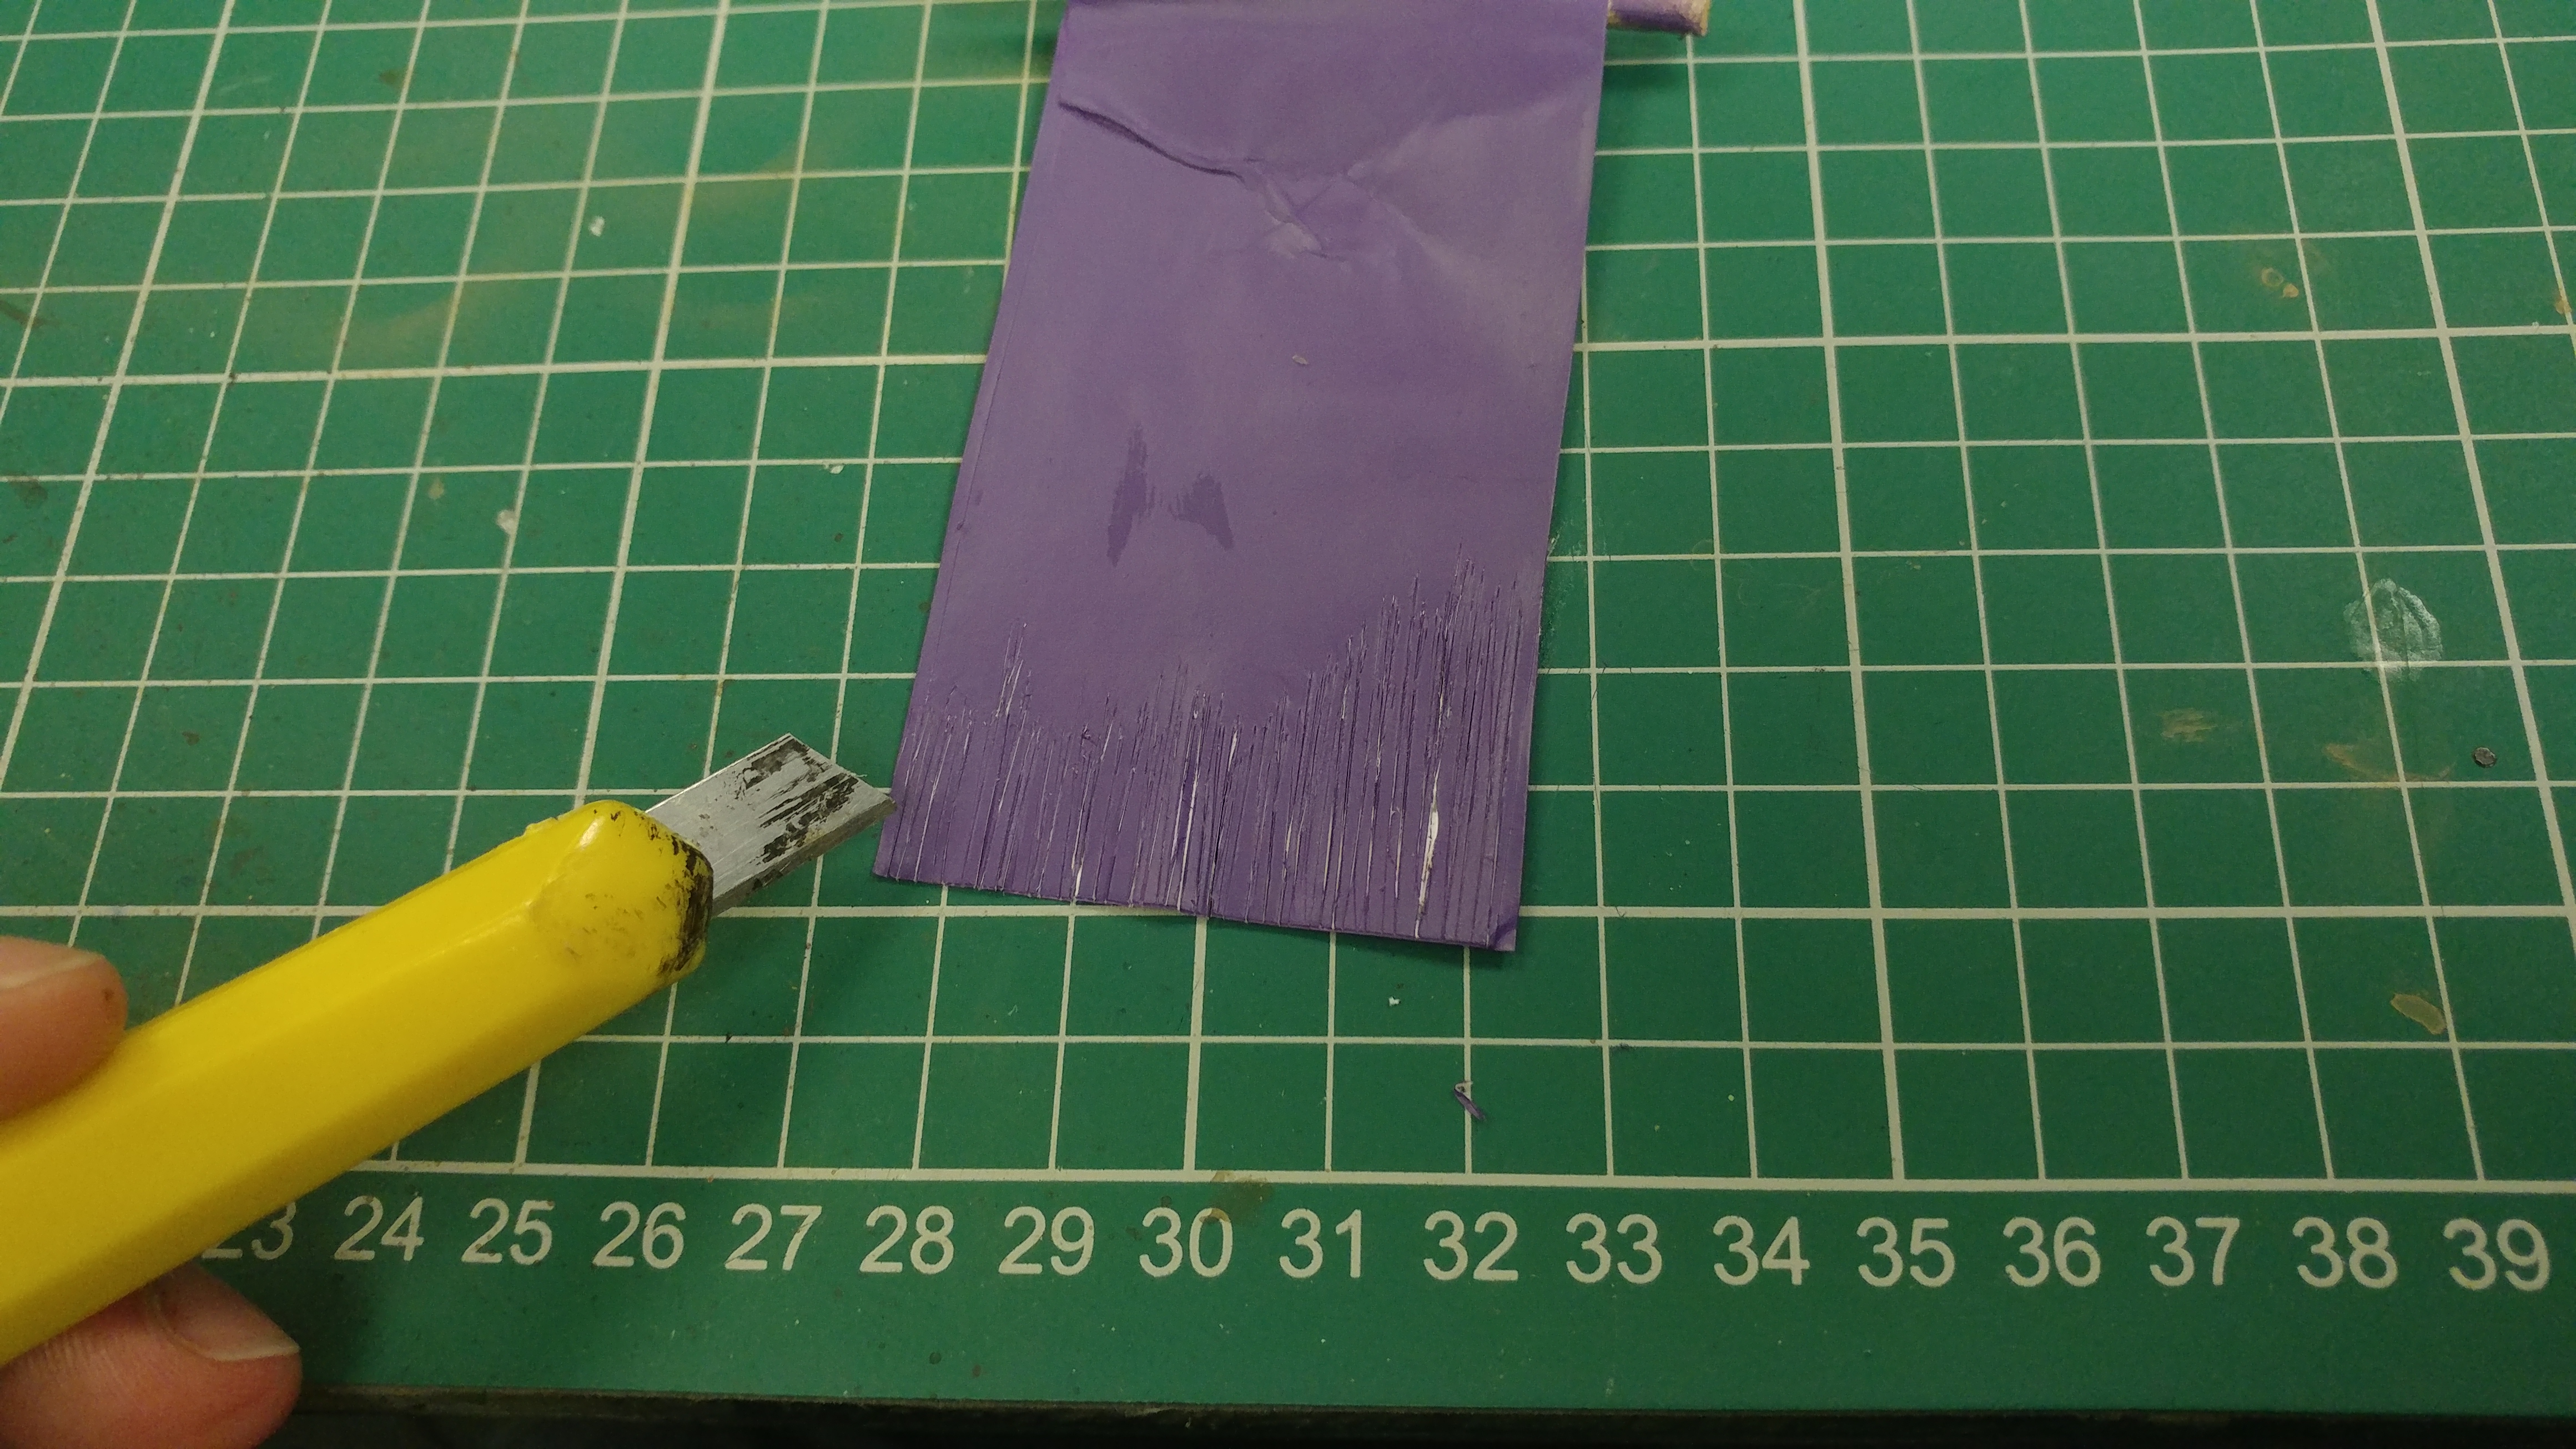
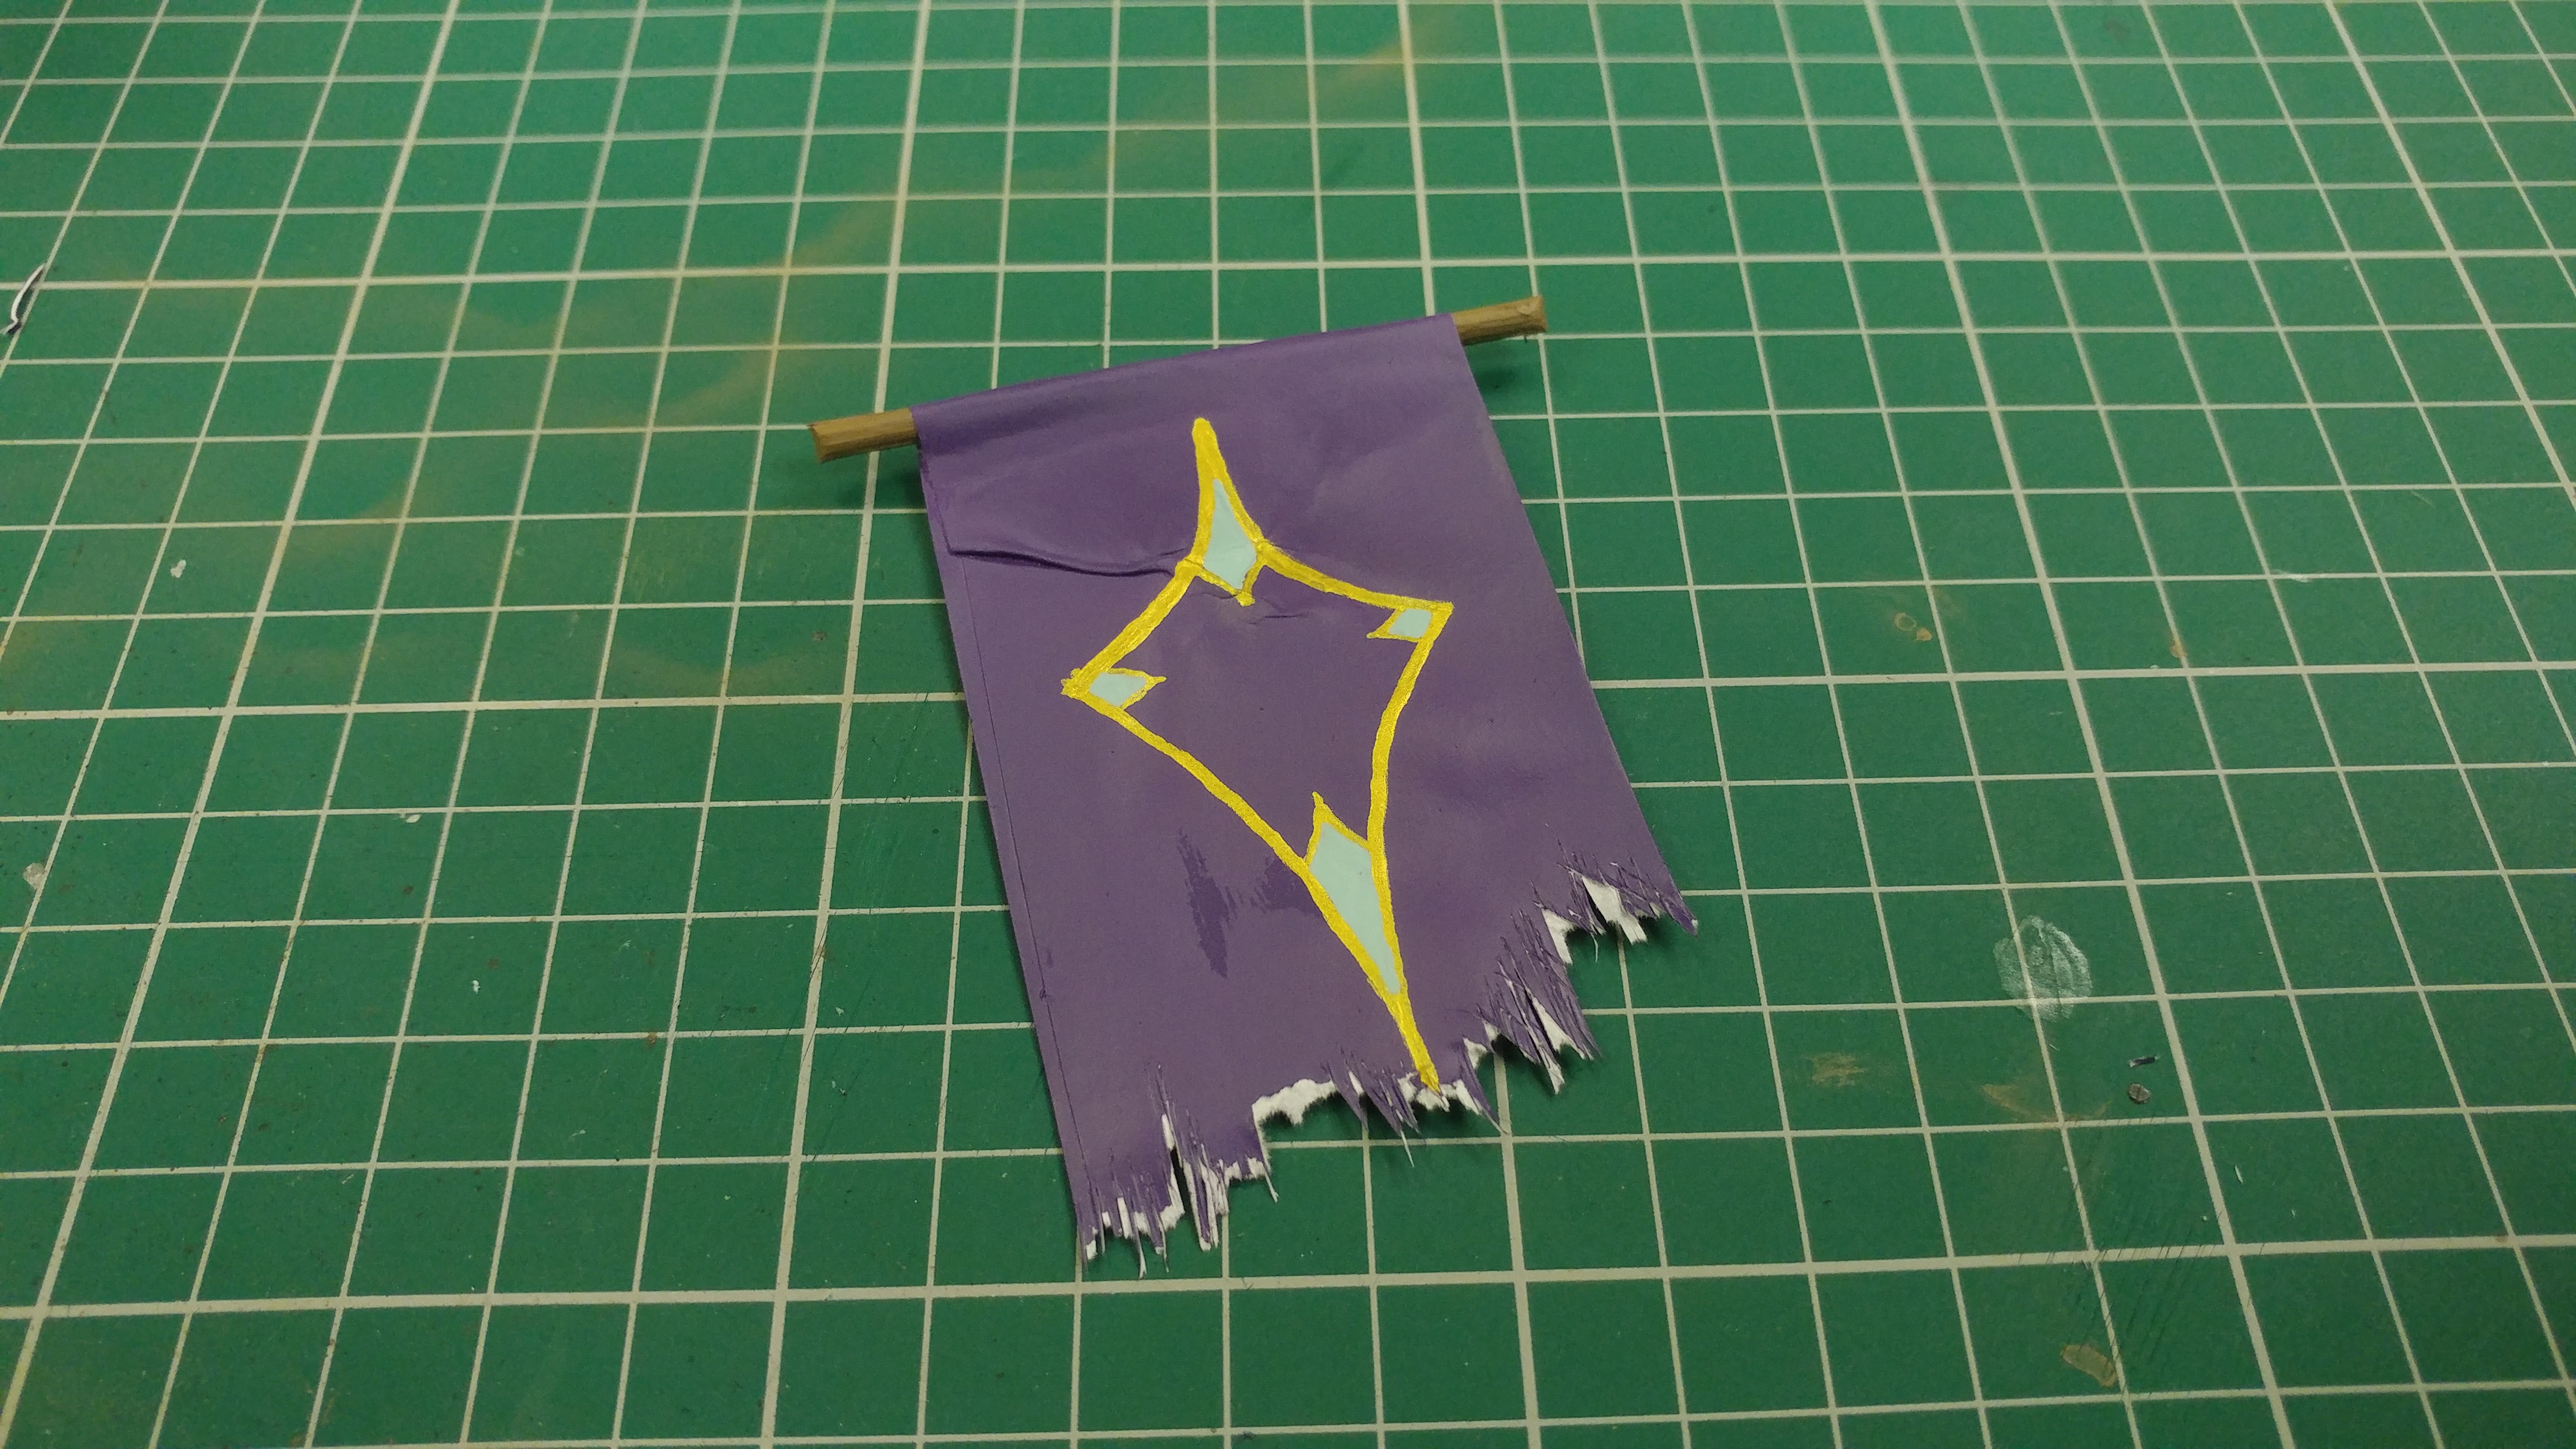
To add some more interest to our banner, cutting many, thin lines in the material will allow us to create a torn cloth effect. Cutting the lines close together and at different lengths gives us a great deal of control of how the torn effect comes out.
After tearing the material away, we can decorate the banner in any way we like, poor example of freehand painting excluded! The visible parts of the crossbar have also been painted and now the banner ius ready for some weathering.
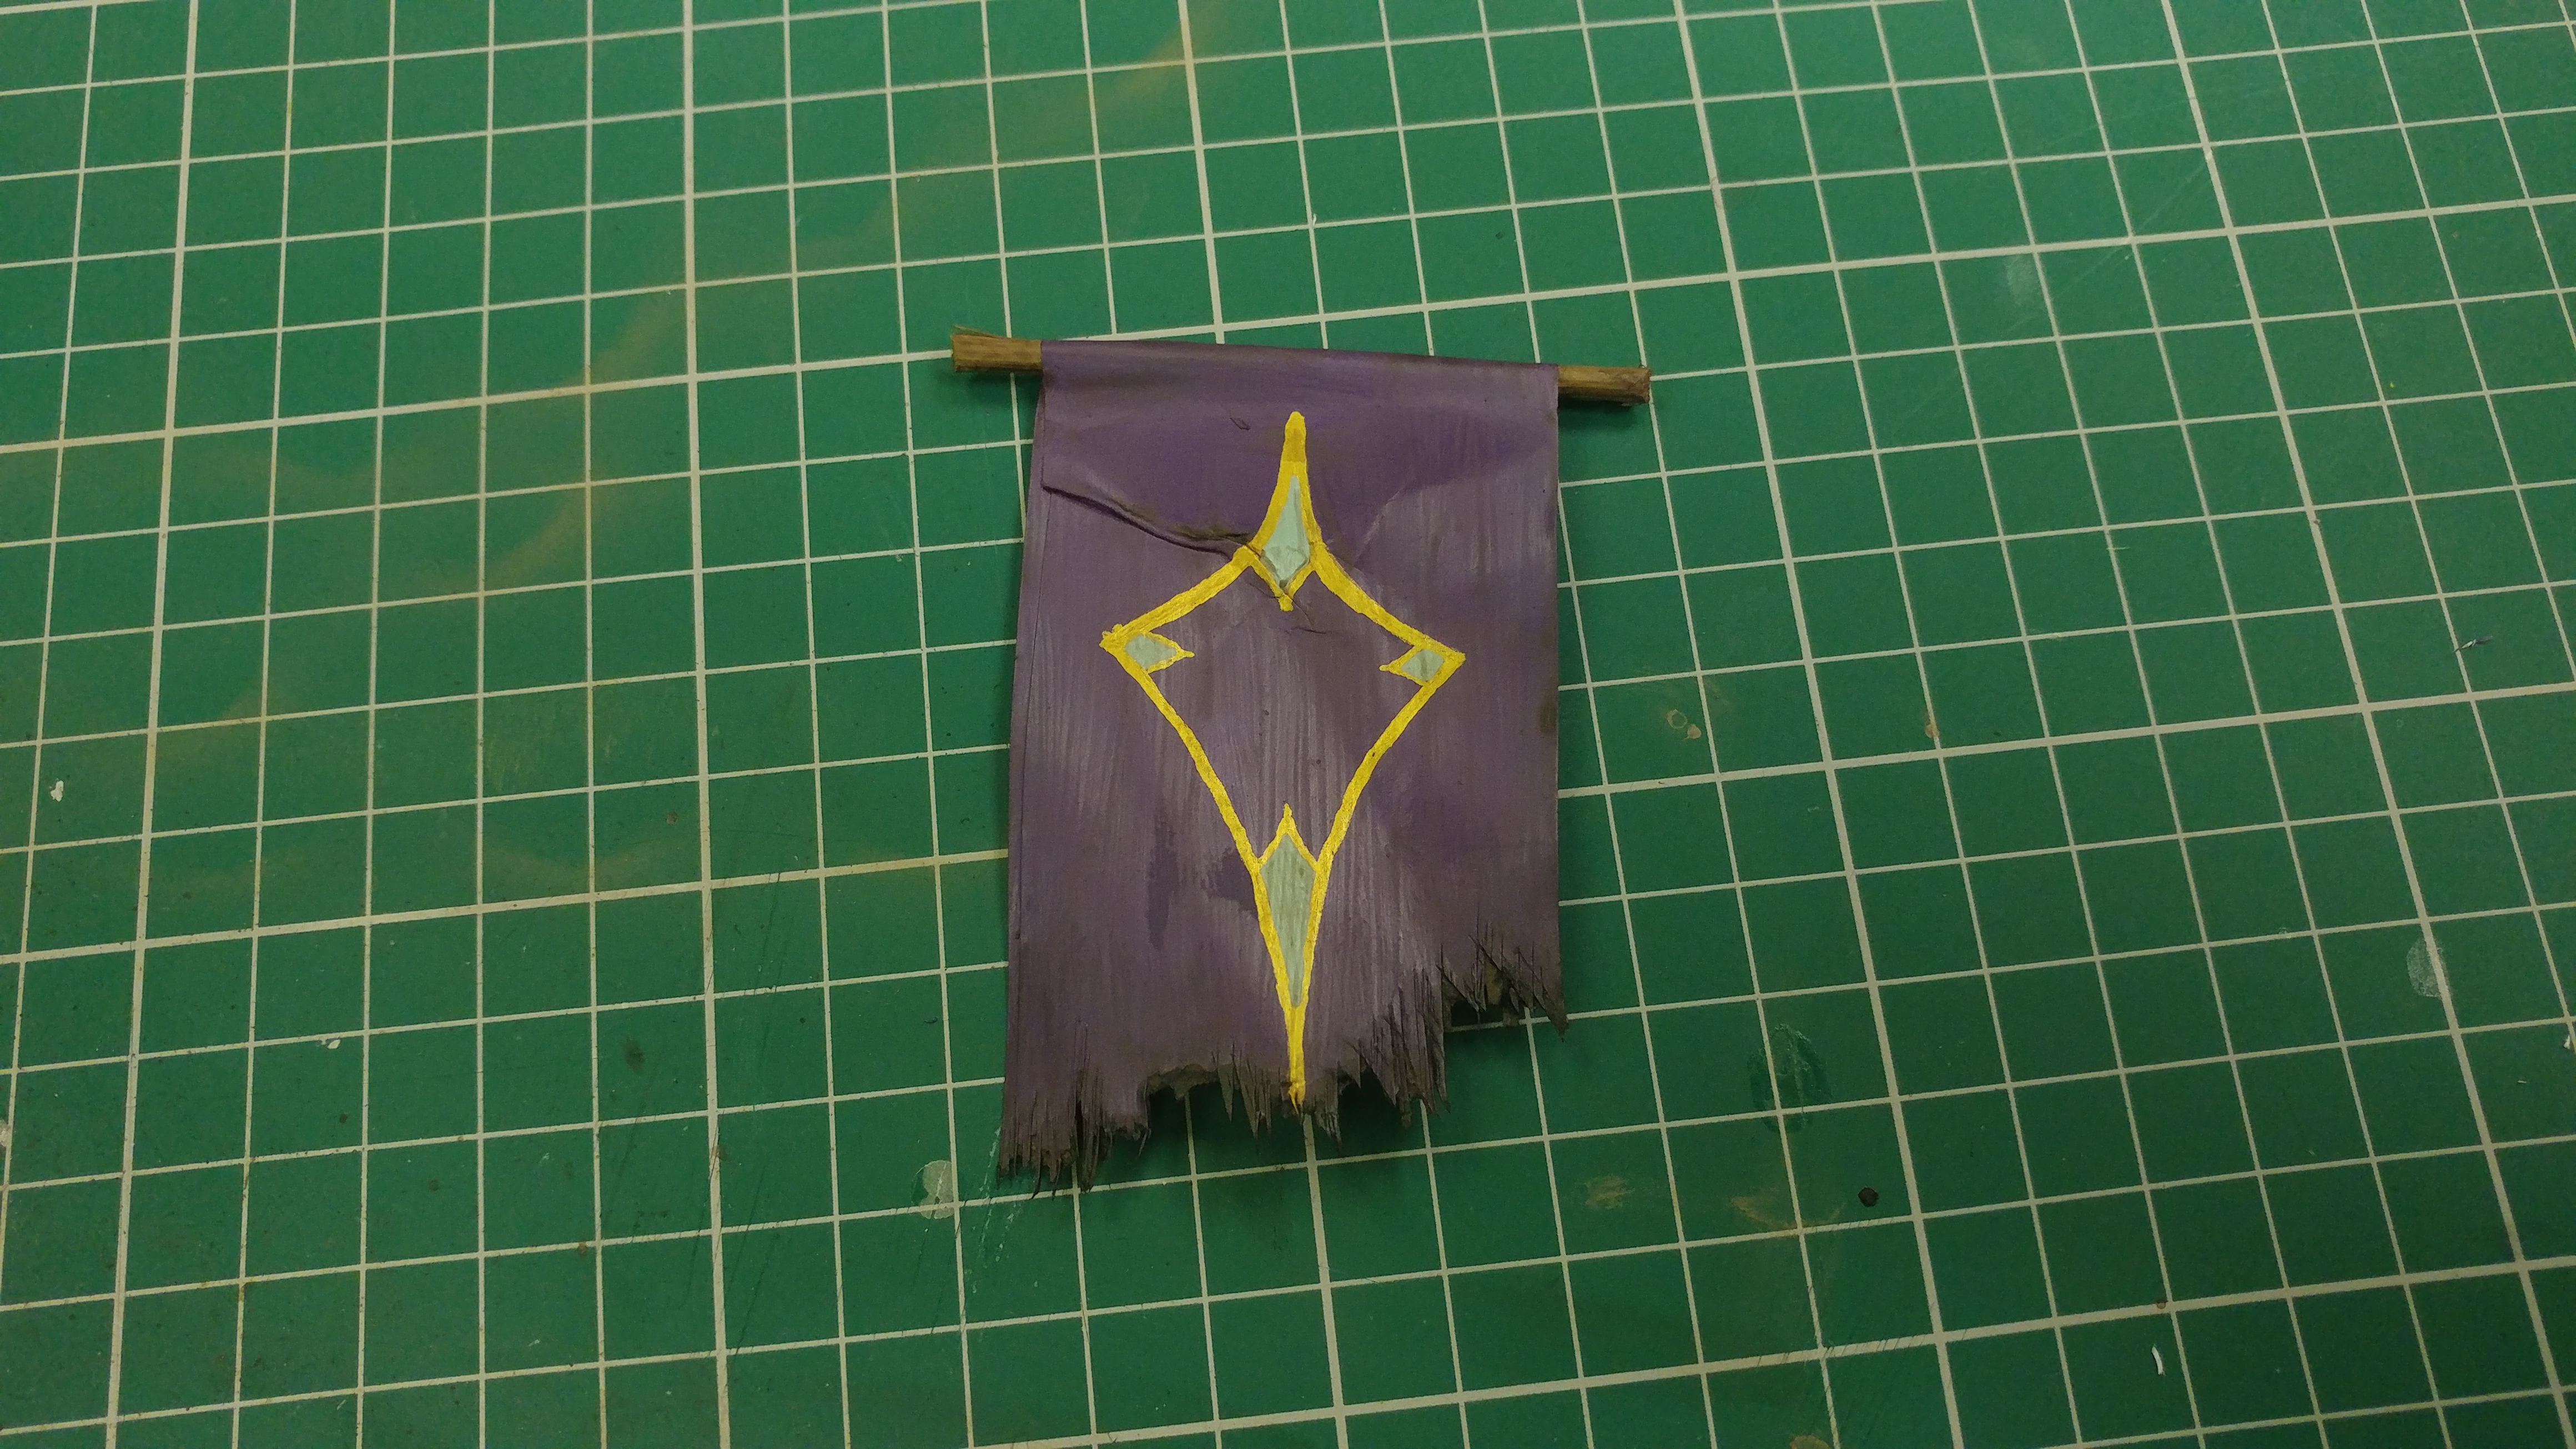
Using Army Painter "Strong Tone" for the cloth and adding some Army Painter "Dark Tone" around the torn area helps to blend the torn area down and give it a more gritty apperance.
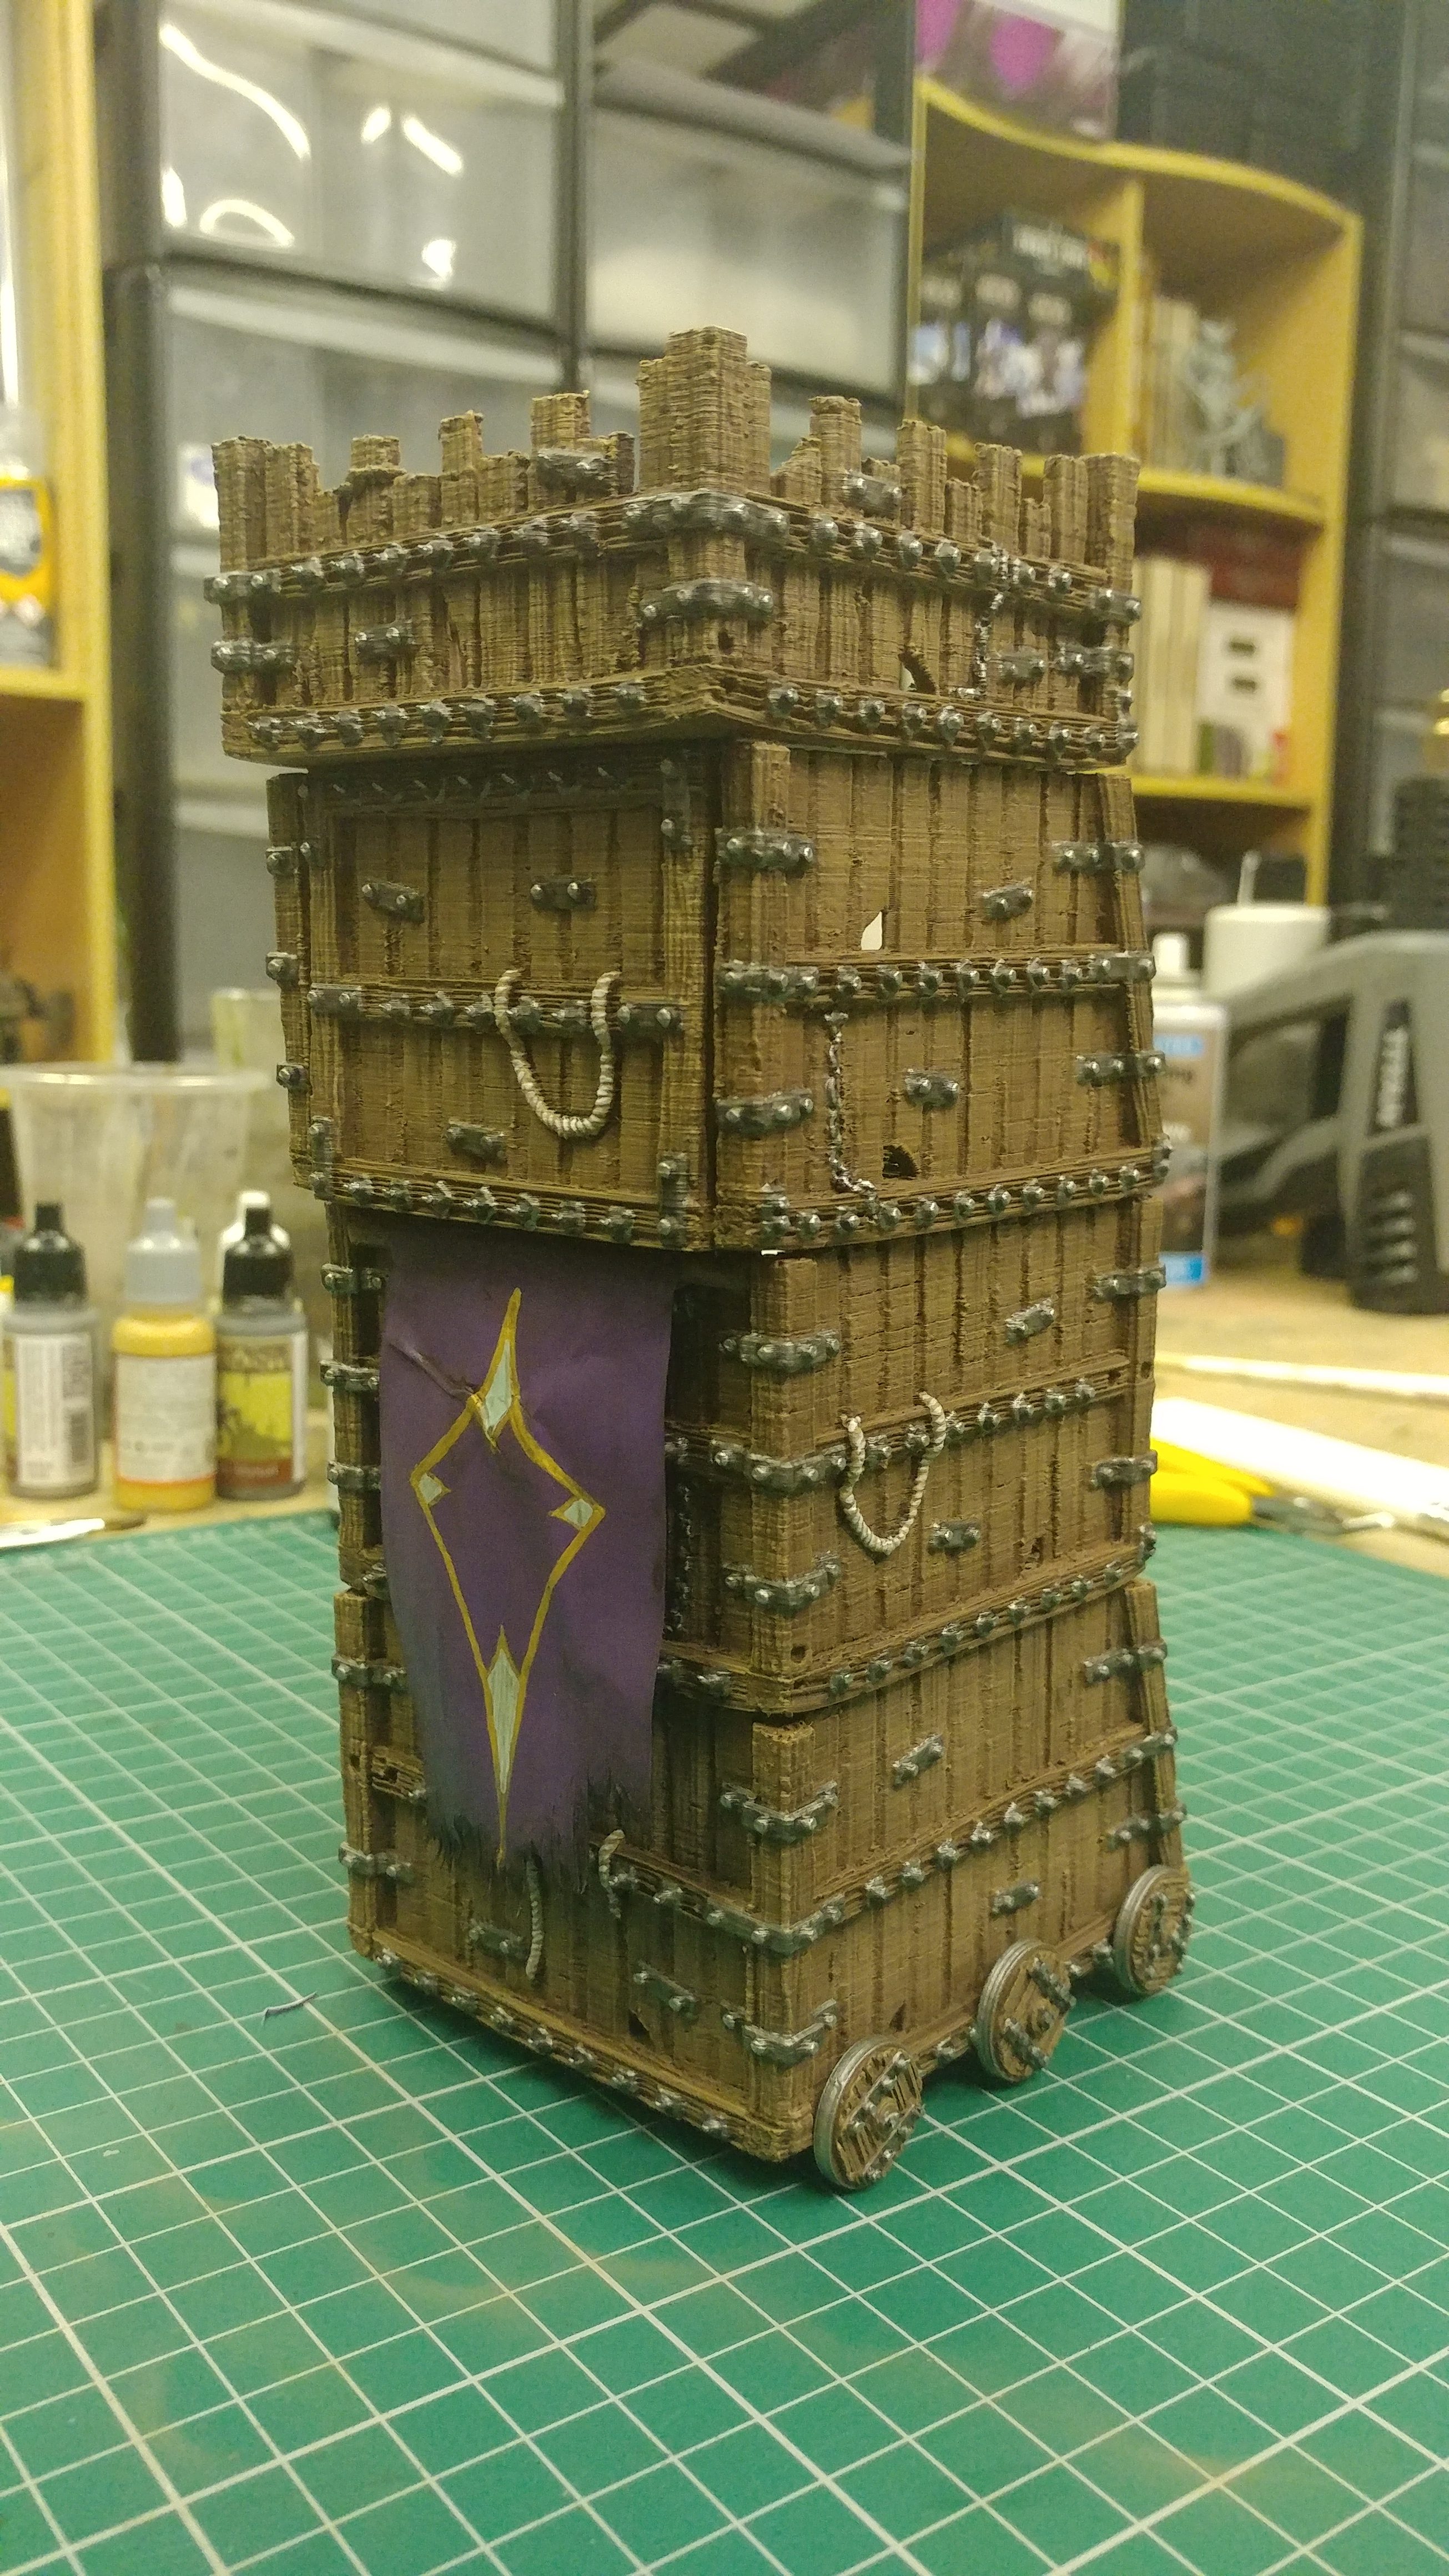
With the banner places below to ramp of thew tower, we now have our completed war machine, displaying our alliegance and ready to storm the castles of our enemies!


