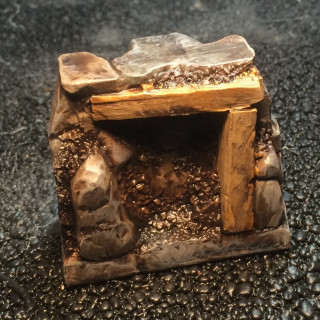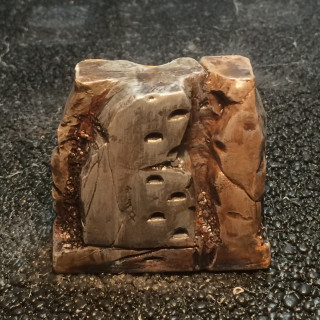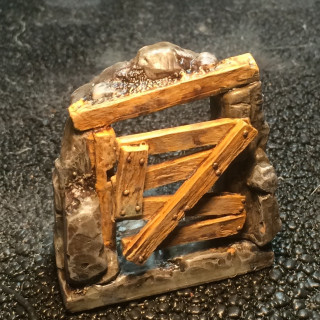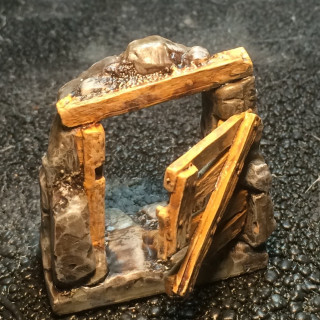
Painting my Secret Weapon Dungeon Tiles
Recommendations: 70
About the Project
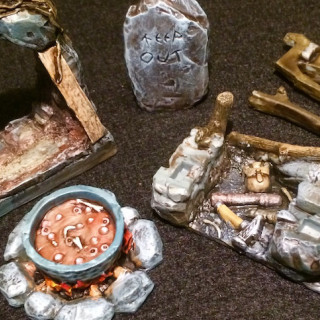
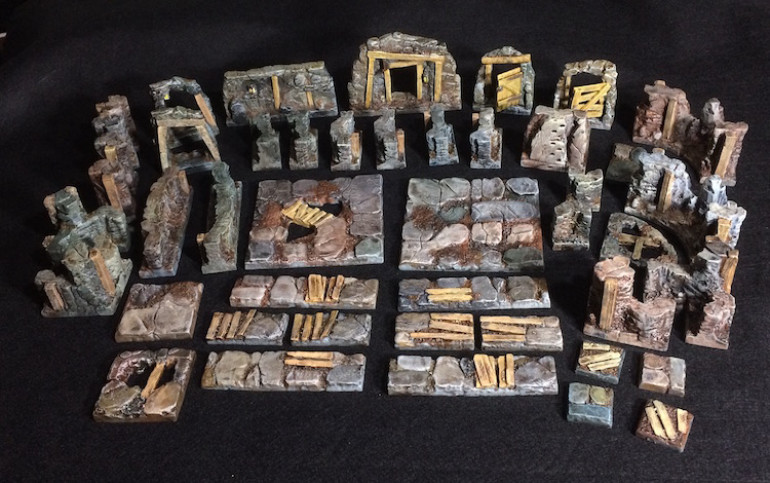
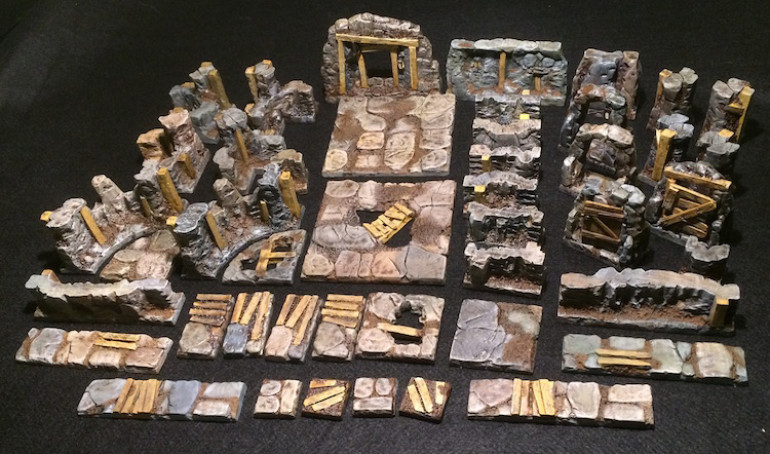
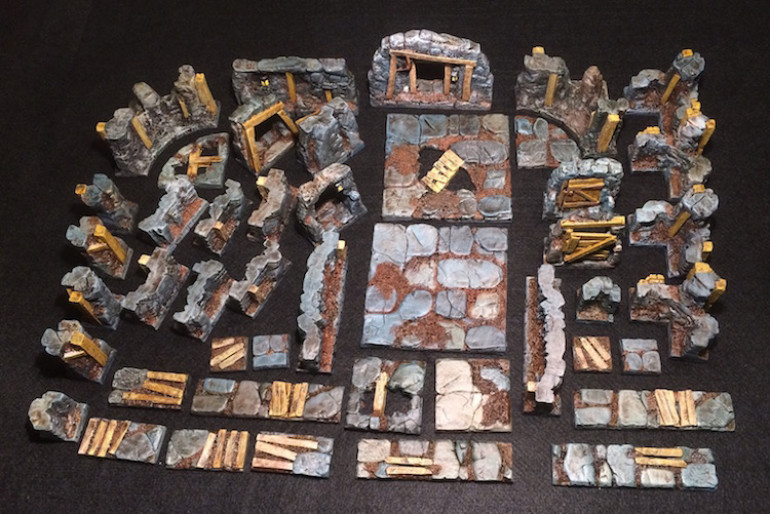
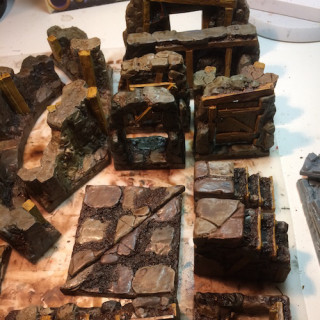
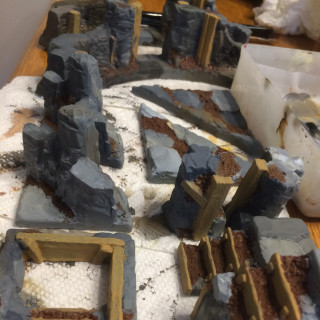
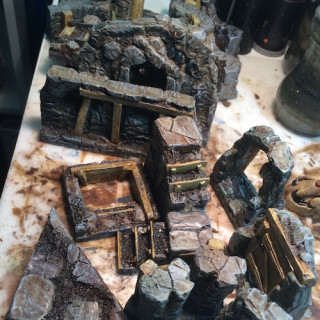
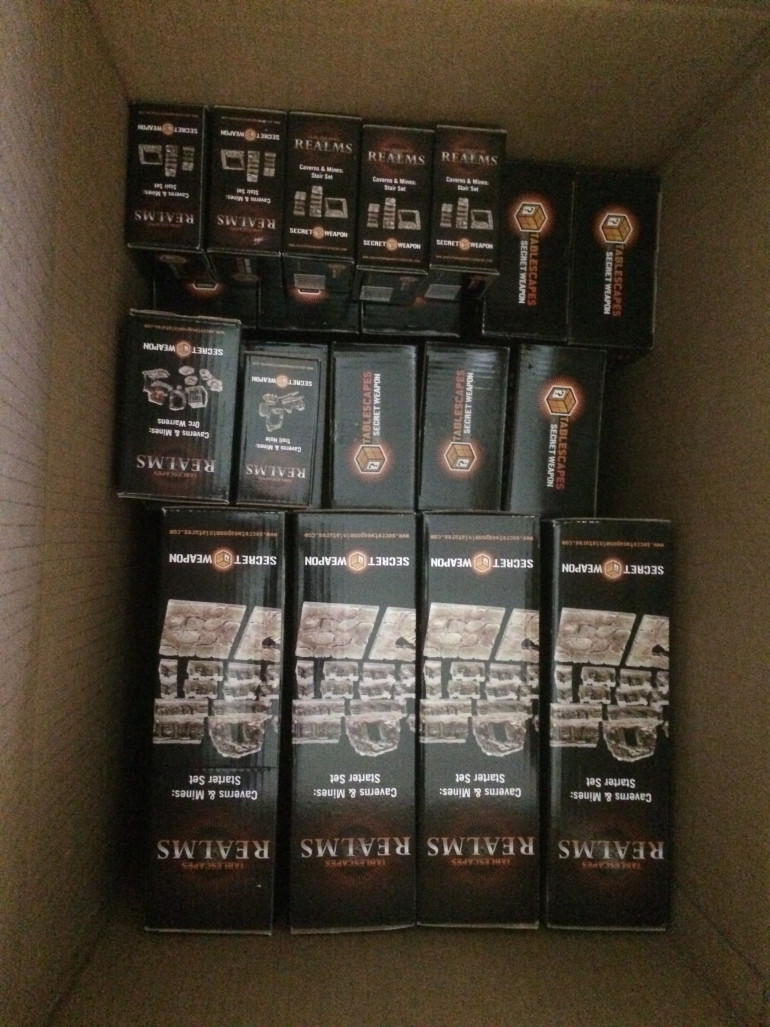
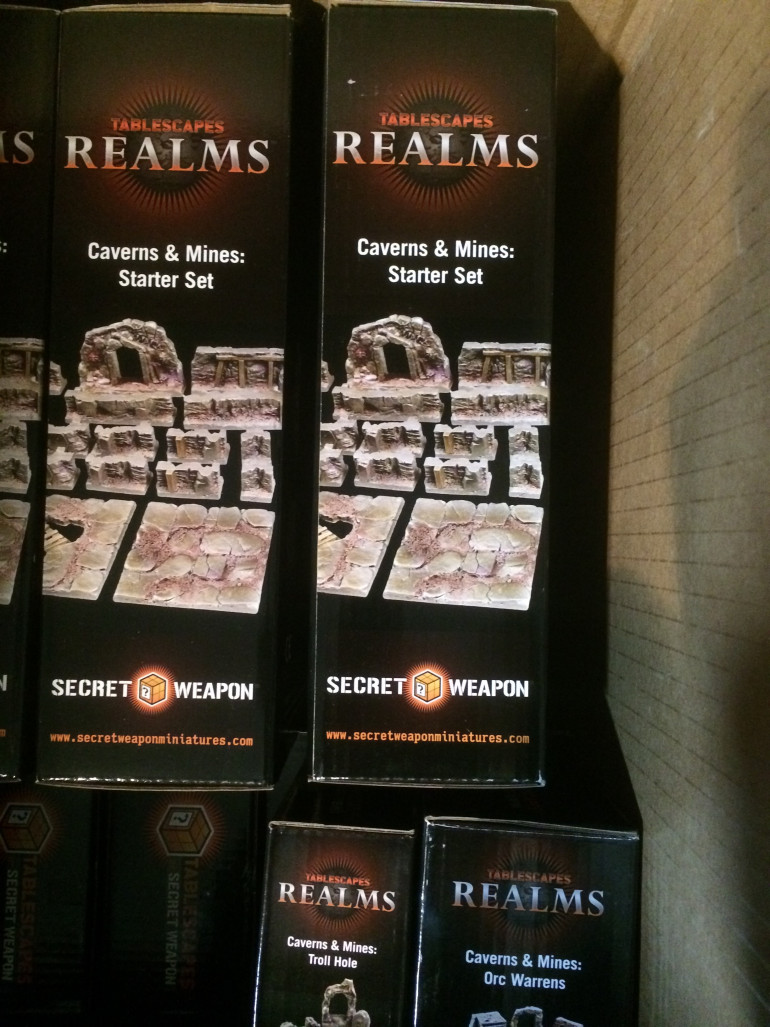
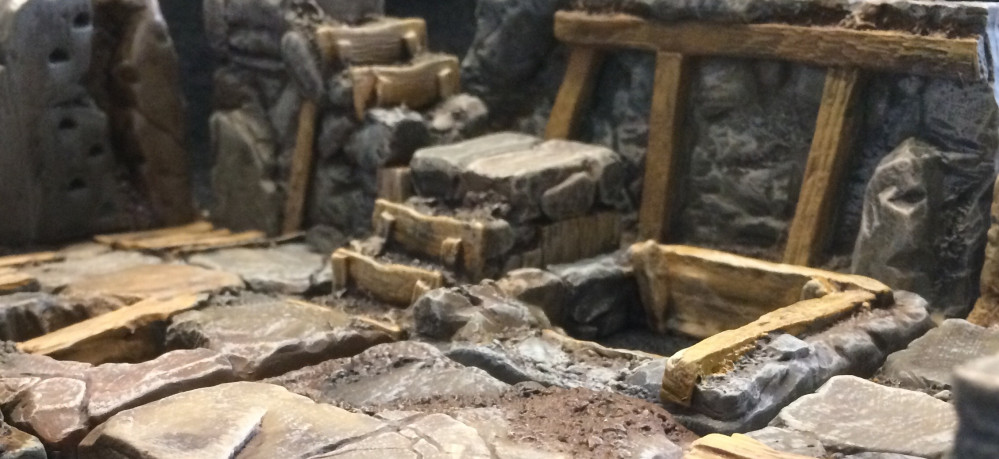
With the arrival of my Secret Weapon Miniatures Kickstart rewards I was faced with quite a collection of dungeon tiles from their new Tablescapes range. To avoid the trap of "getting to them later" and because I'd much rather store things painted than not I began work on them right away. I decided to start this project blog to help maintain my motivation. Let's hope it works because I have a lot of bits and bobs waiting for paint.
Related Genre: Game Aid
This Project is Active
First game use!
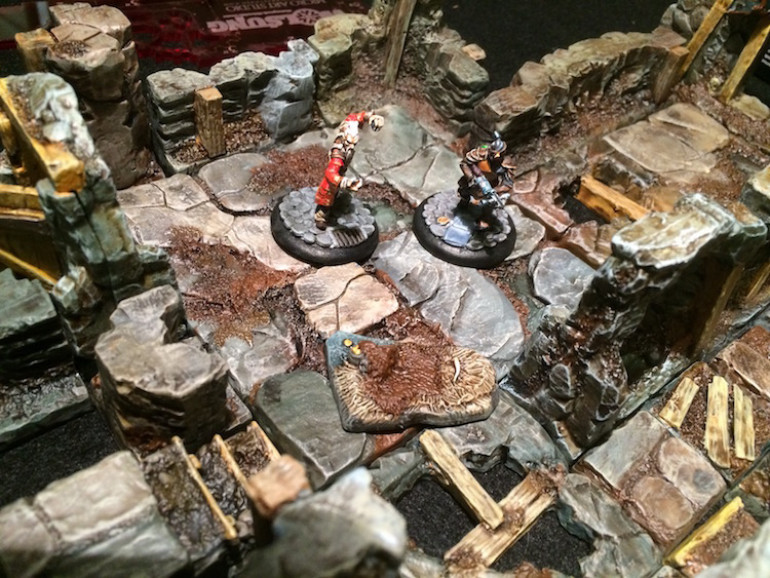
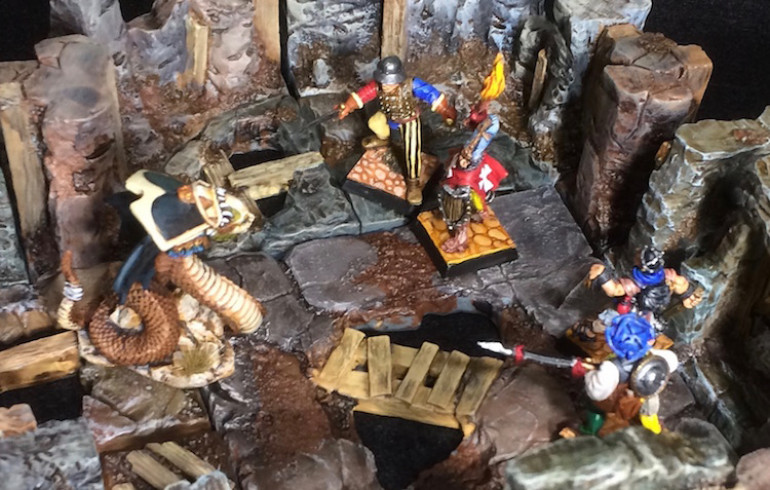
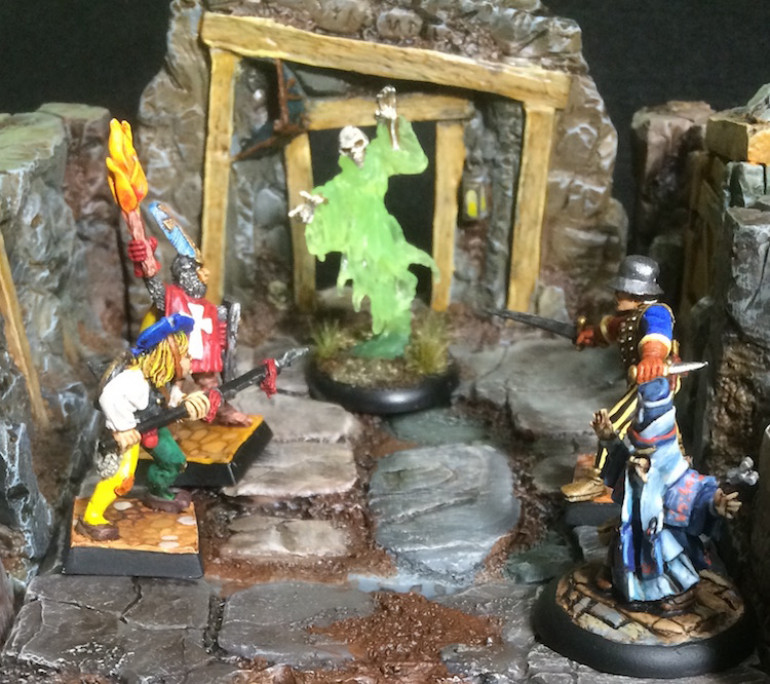
My friend, necron099, came over the other day to show off some of his wonderful Wolsung paint jobs. Since a gift from him was what finally got me into the game I showed off my few completed Ash and Oak members as well as my newly completed dungeon tiles. Well, all things being in the right place at the right time we set up a game of individual heroes moving through the catacombs beneath Lyonese. Using the Pothill Market scenario set up from the rule book we decided there was recently discovered in the catacombs some long dormant seismic sensors, control of which would greatly aid in defending one’s club. With our objectives set, minis placed, and cards dealt we were ready to head into the darkness.
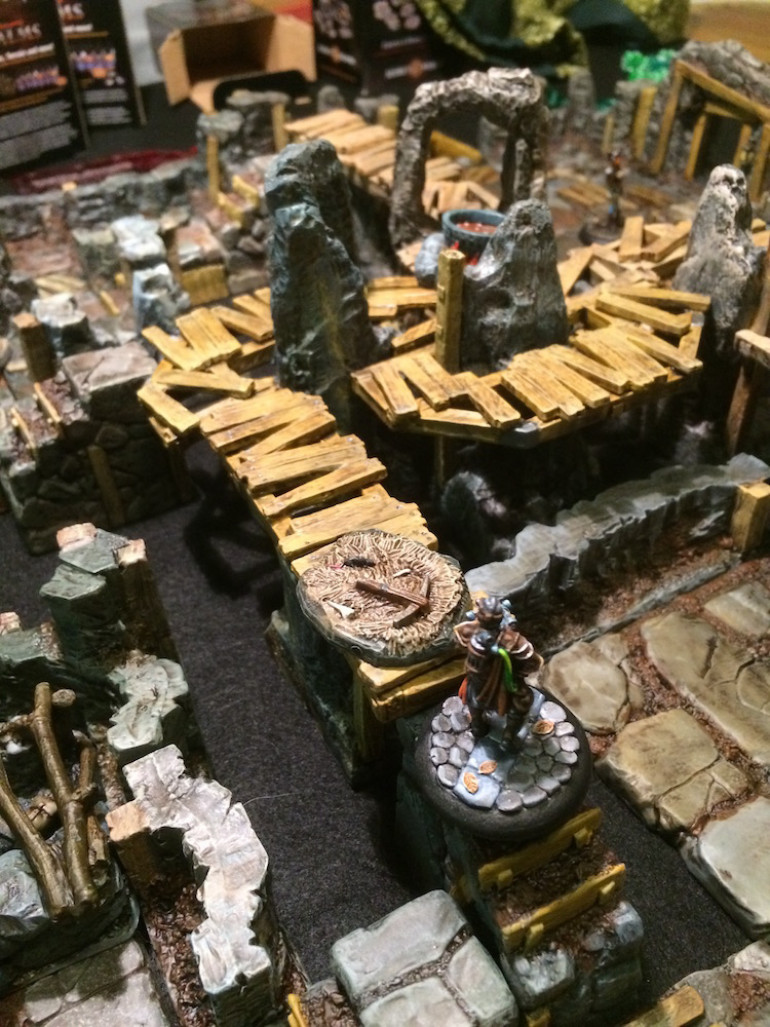
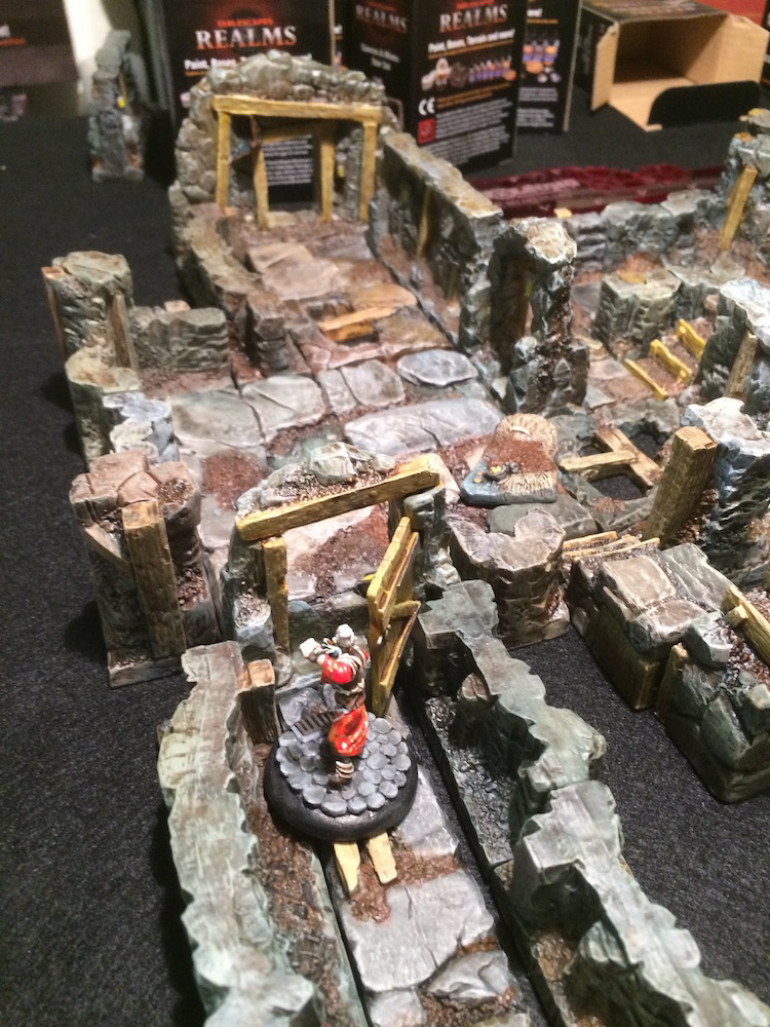
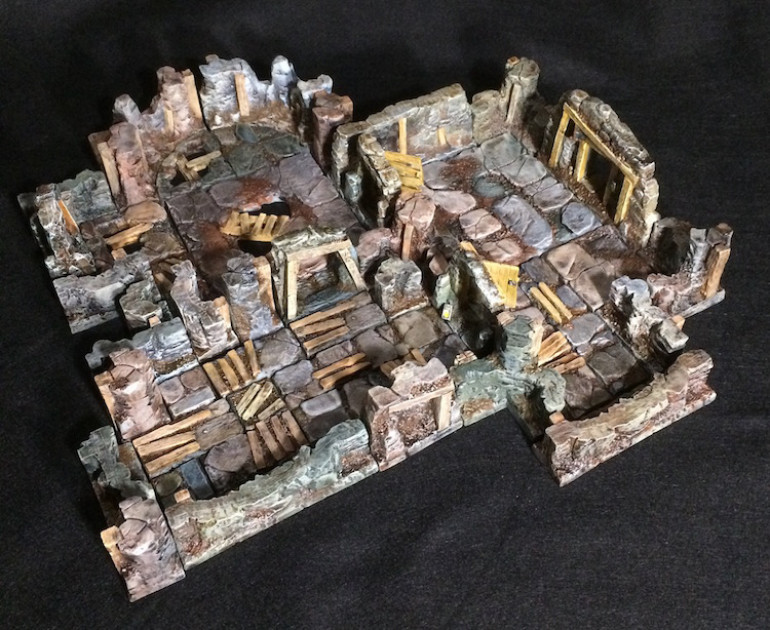
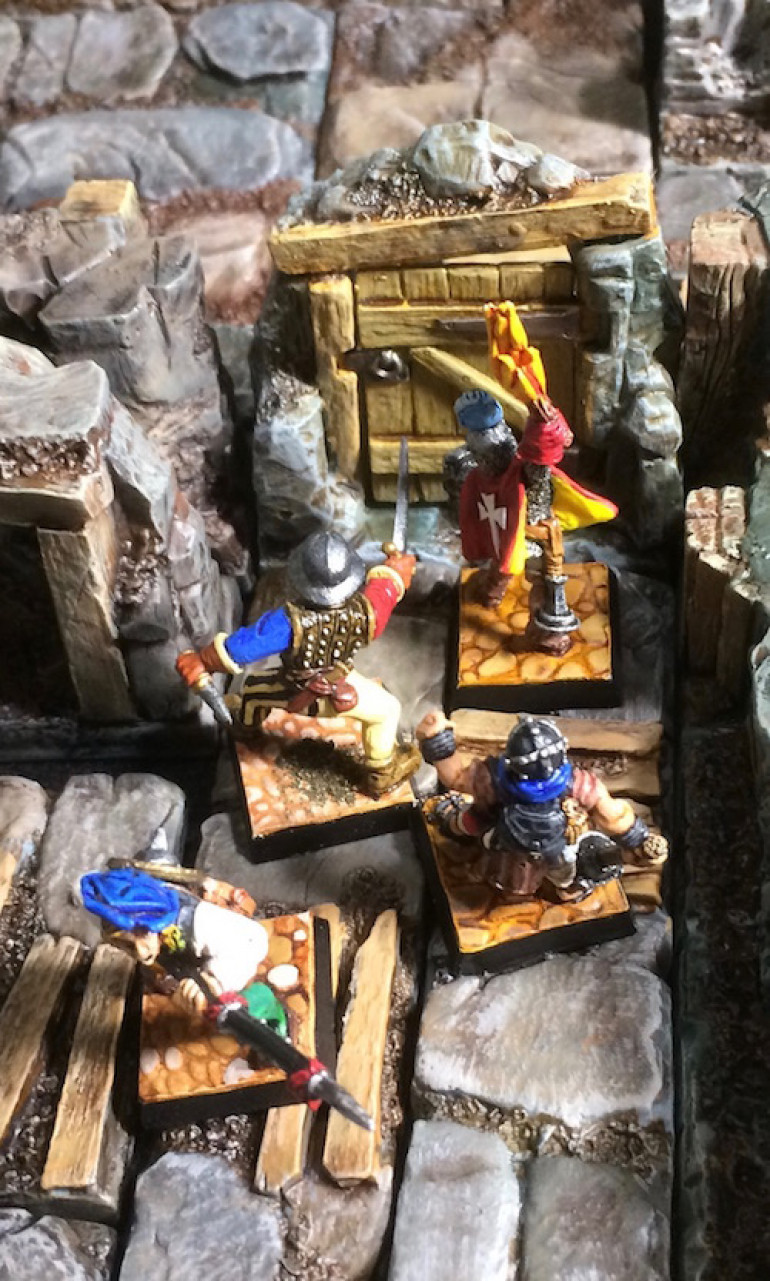
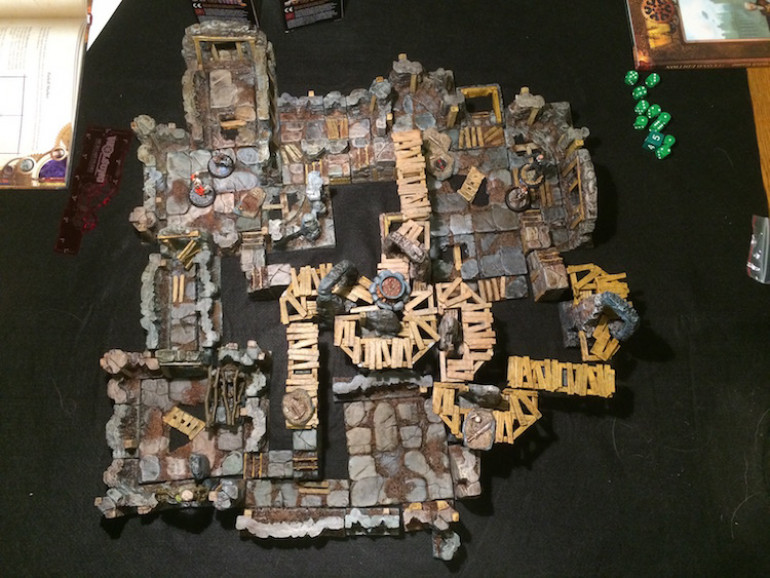 Using two starter sets, three bridge sets, and four stairs we built this battlefield. A few details agreed upon and we were throwing cards and dice.
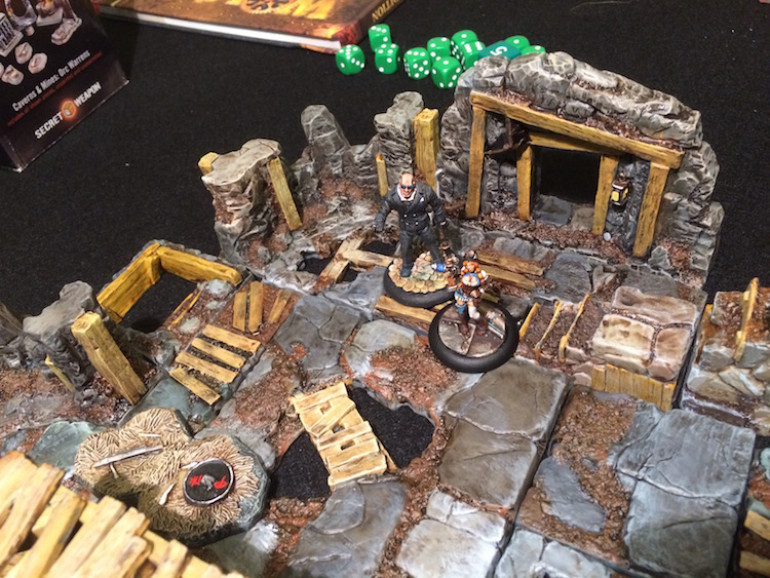 I decided to use my Hasslefree Steam Boudi as Mary Fearless who was flanked by her dedicated ogre bodyguard, Mr. Arnold.
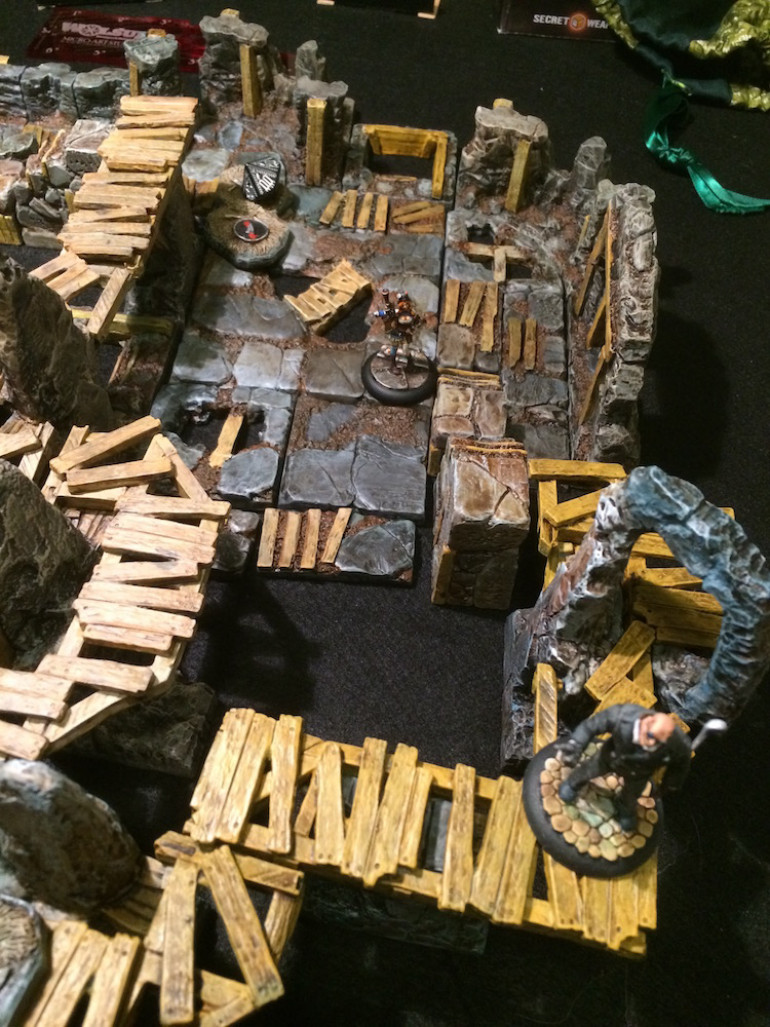 Mary combines good rolls with a Joker to fully Activate the first objective while Mr Arnold climbing onto the rickety catwalk to close in on another.
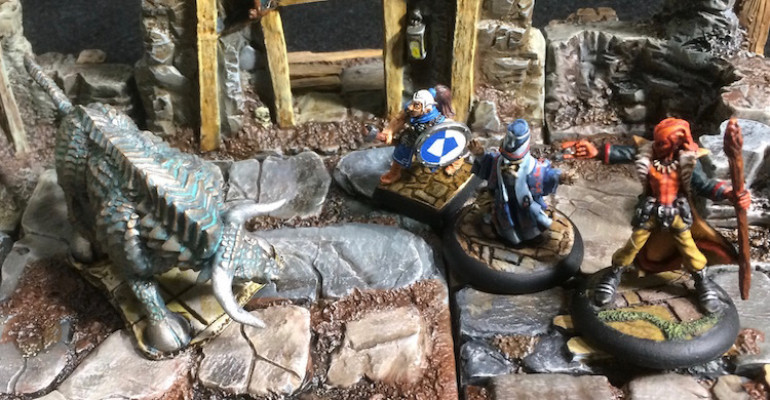
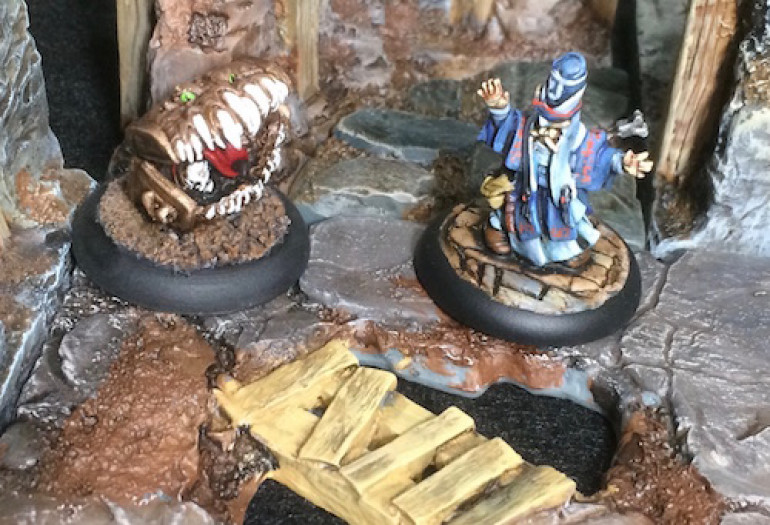
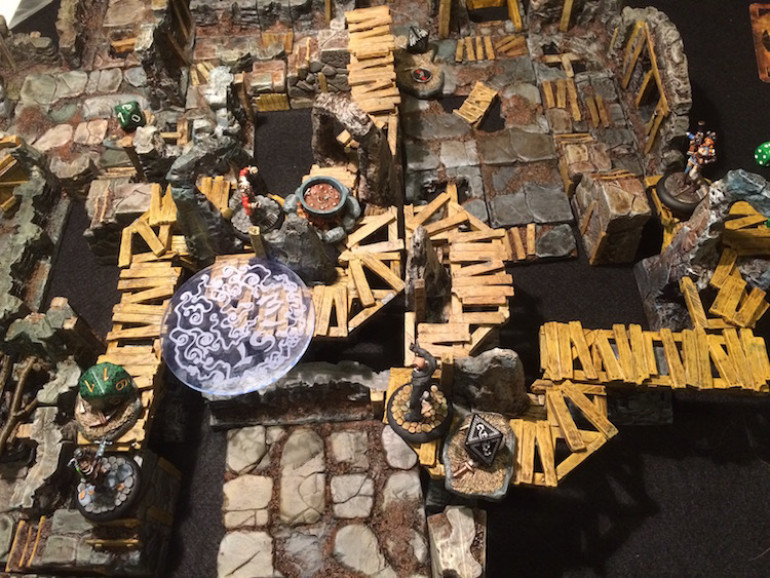 With Mary's shots ricocheting harmlessly all around everyone descended upon the final, unclaimed objective in the middle of the catwalks. Xen summoned mists and cast a spell on Shadow that allowed the ninja to step through and shoot Mr Arnold in the back.
 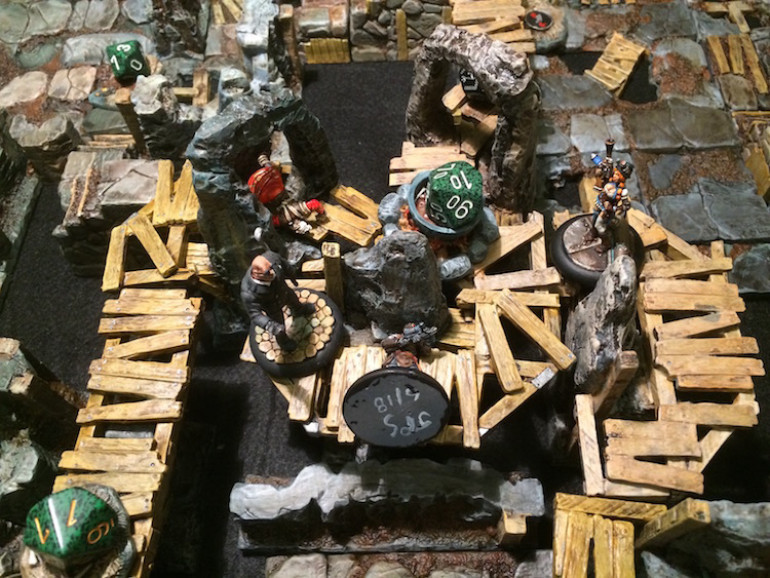 A bolt protruding from his shoulder blade, Mr Arnold set about him with his nine iron killing both of his opponents while Mary raced in and using, again, some lucky rolls and a saved Joker fully activated the last objective, claiming the Seismic Sensor System for Oak and Ash.
What a blast! First off, I am really loving the Wolsung system. In fact, my attempt to both acquire and paint more for my Ash and Oak club is my next project blog. Thanks to necron099 for joining me in breaking in my new terrain and getting me hooked on Wolsung.
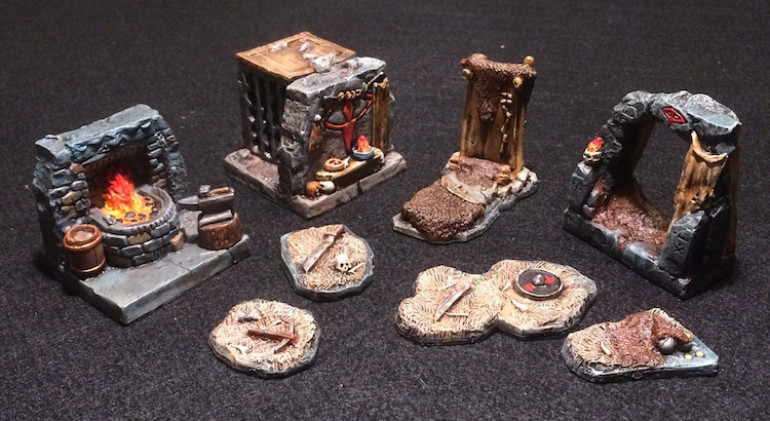
Details from the Orc and Troll sets
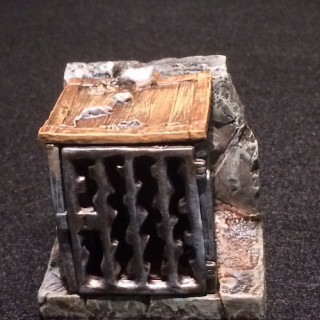
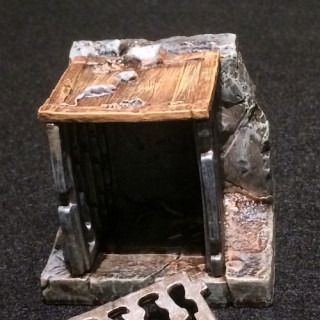
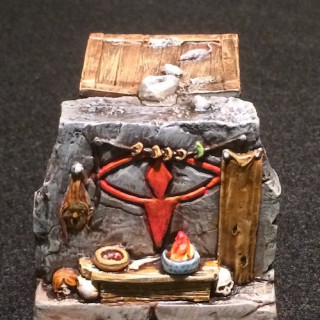
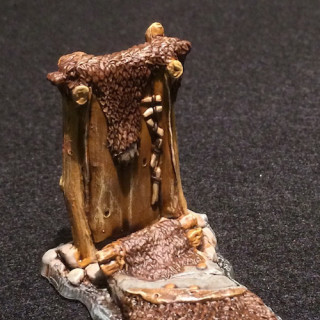
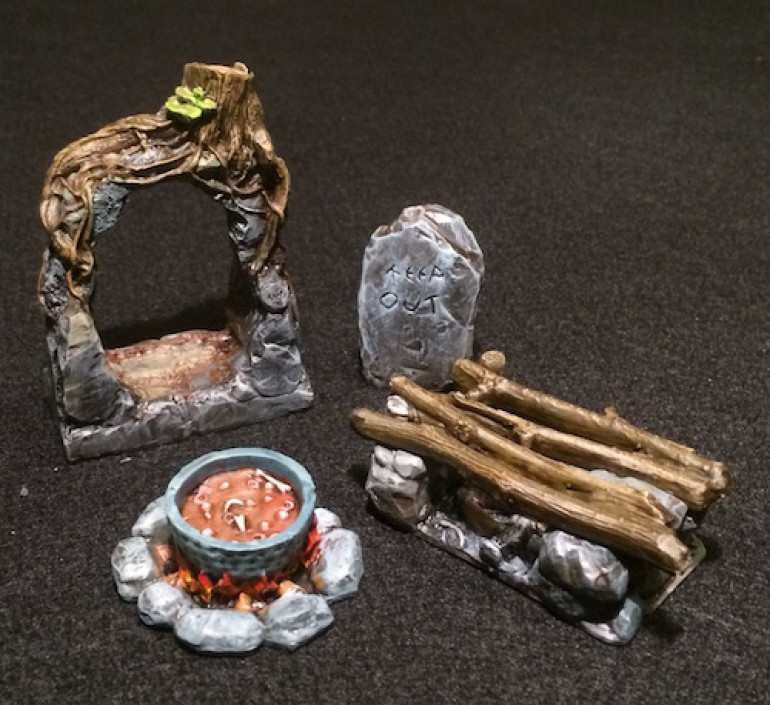
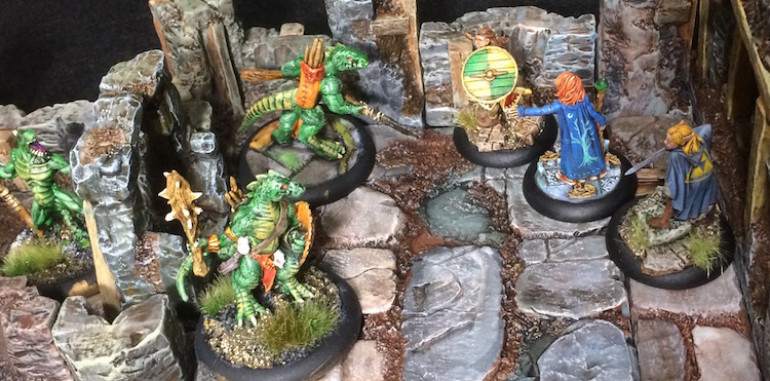
Here are some more pictures of the Orc Warren and Troll Hole sets. Mr Justin really has an eye for detail and these were a blast to paint. I’m especially fond of the cage with removable door as well as the string of ears on the torture wall. There is a pile of treasure under the troll’s bed. Must be the remains of less fortunate adventurers. I wouldn’t suggest trying the stew.
Drop the brushes and step back
Alright, it’s done. I’ve completed the entire collection of Kickstart rewards from Secret Weapon Miniatures that were delivered last month and within my time limit even. I will be shooting a lot more photographs over the next several weeks especially as all I have today are shots of the four Starter Sets and the last two Add-Ons I finished. As soon as I can find the right storage bin they will all get dumped in together so this is probably the last time they will seem like individual sets.
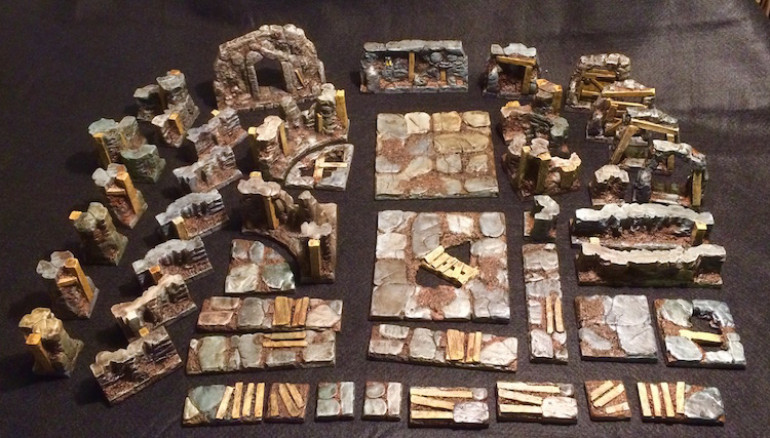 The palatte shifted into yellows and greens with this set in part because that's what was dominating my travel set.
The next job on my list is to complete the visual inventory by photographing all the other sets followed by example dungeon set ups and more details with minis, got some ideas for the bridges…
Oh, and play some games on them as well. Got enough painted minis to play some Wolsung so my Ash and Oak club might be heading into the darkness soon.
Into the Depths
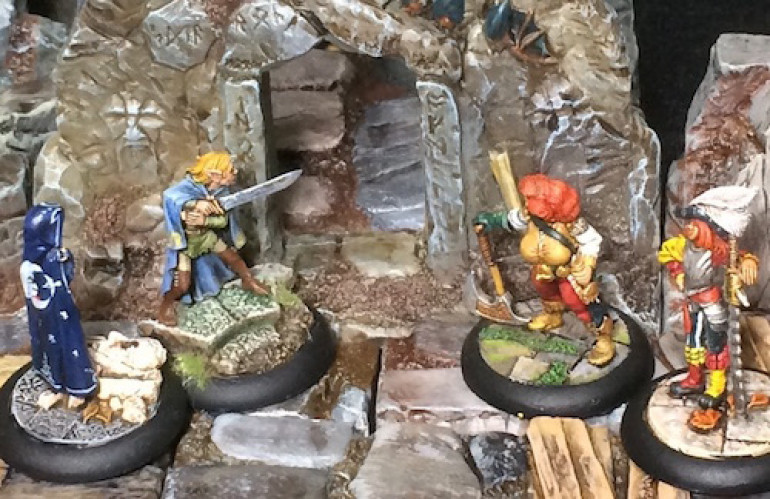
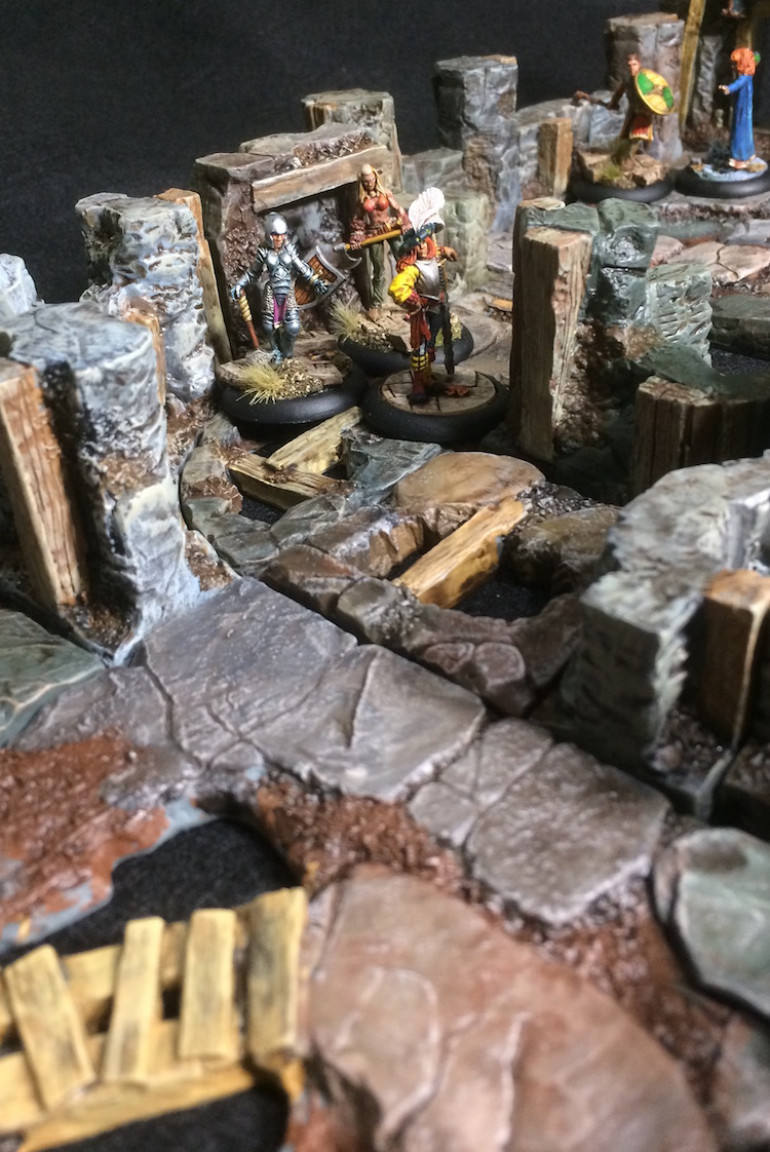
So I played around with a single Starter Set and a handful of my minis. These pieces are just a blast and I found myself rearranging set ups as a different angle would catch my eye. Going to be even more fun once I add in mine tracks, stairs, and bridges. Hmmmm, what if I actually created a full narrative?
Something to think about later as that last batch of stained bits look ready for highlights and details.
Progress Report
Okay, I’m right at two weeks since I scrubbed my first dungeon tile. I also picked up some larger felt so it seems a good time to check in with where I am at the time of this posting.
As a refresher, I gave myself one month to get as much of my Secret Weapon Realms pledge painted as I could though really hoping for finished. A slightly arbitrary time limit but it seemed a reasonable amount to devote to a project, there is a game convention in September I want to use them for, and I have a number of Mantic Terrain Crates arriving about then so will need a clear desk.
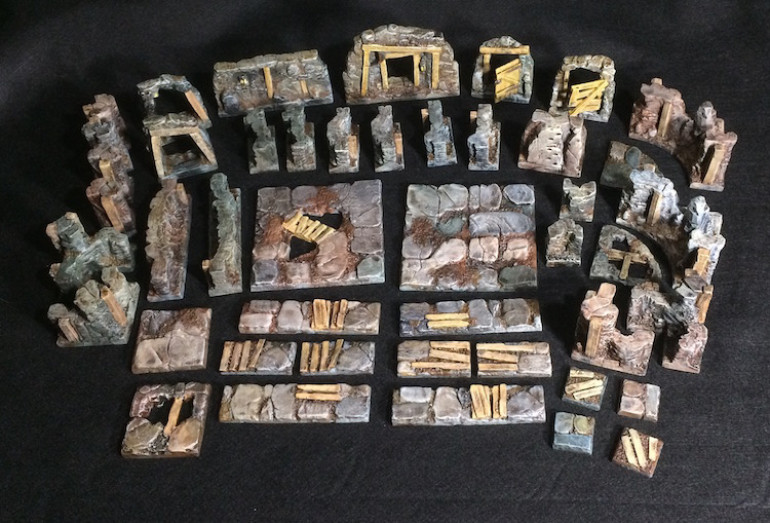 Here is one of the completed Starter Sets. I have painted two of the four sets though a third is over halfway there.
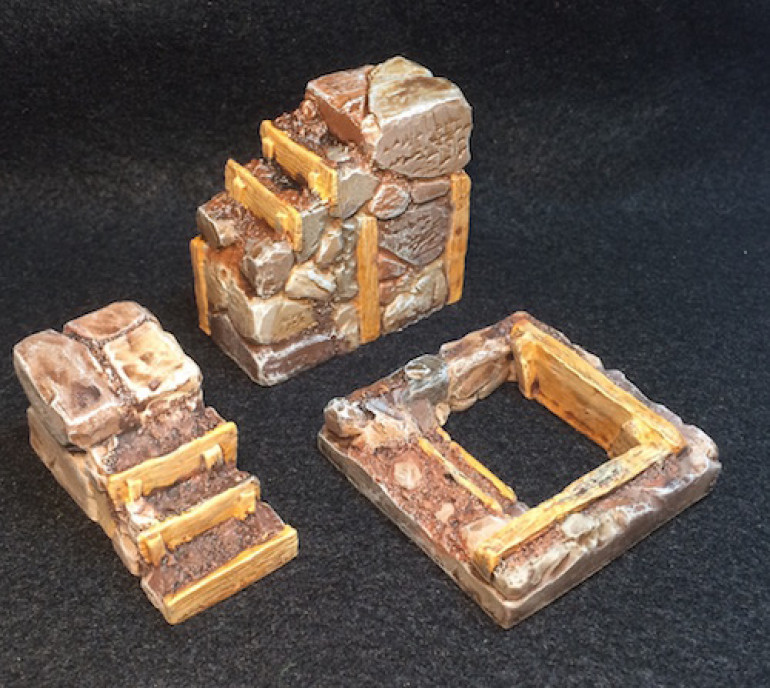 All five sets of these are complete. I love how Mr Justn sculpted the flight descending into the floor..
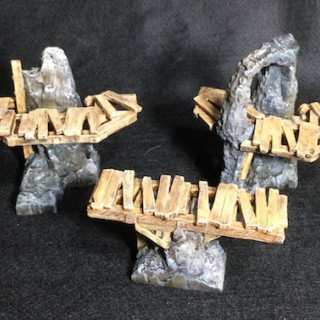
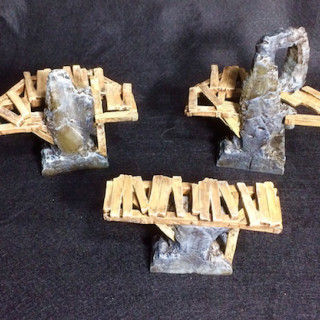
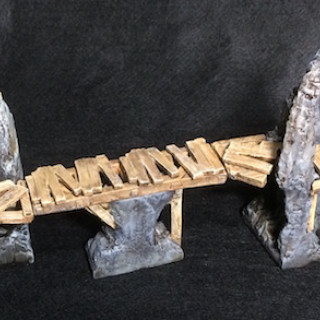
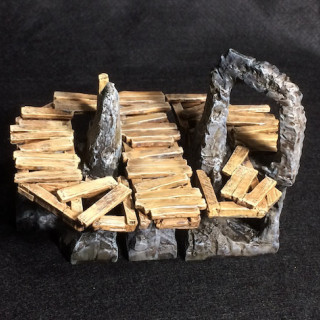
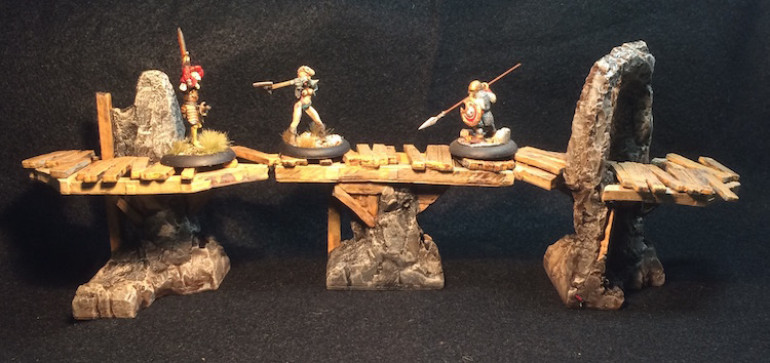
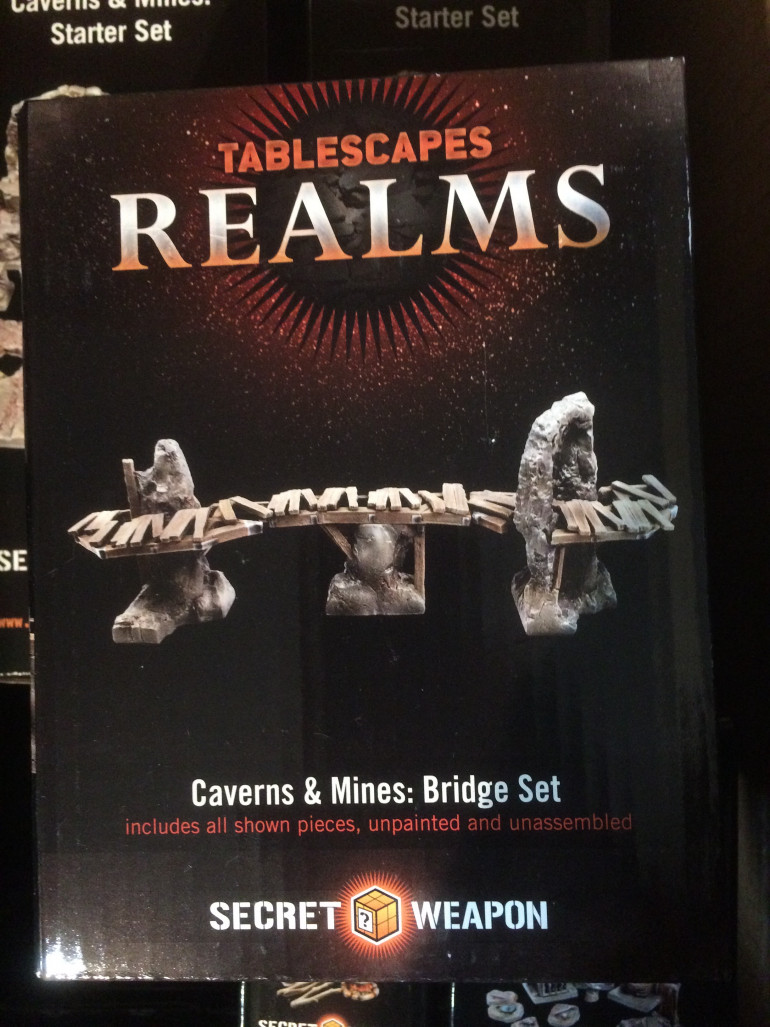
I just completed the second of my four Bridges Sets and love this kit the more I play around with it. They have a lot of uses outside the dungeon crawl genre. I can even see these making an appearance along a pirate coast and putting them together gives one a nice little cannon platform.
The final Starter Set is soaking in a bowl of watered down dish soap as are the Orc Warrens and the Troll Hole. There aren’t any boxes left to open. If I don’t lose focus I could meet my challenge. No turning back now, just got a fresh bottle of Agrax Earthshade after all.
Next up: Narrative pictures with minis
Crossing Bridges
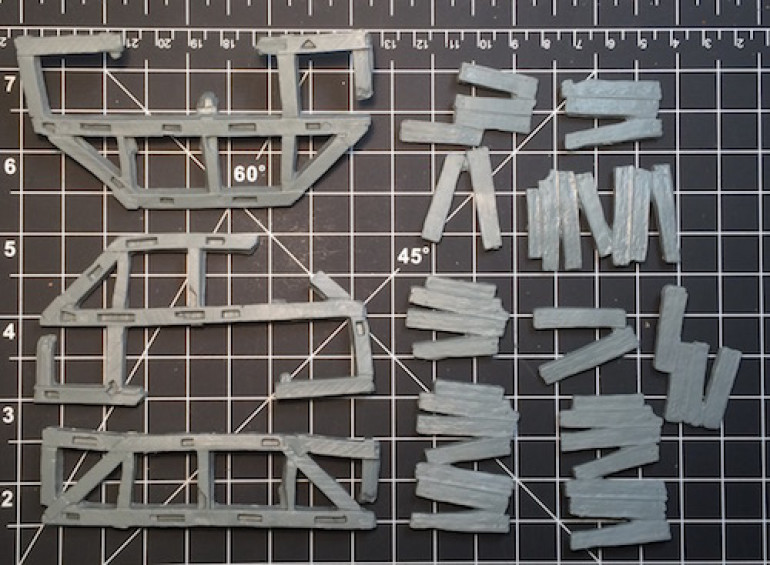
Just finished painting my second bridge set. These were another source of distorted pieces though not as much as I anticipated. I assumed that half of the small planking pieces would be warped, based on my experience with the doors. I only found one piece in four sets needed the hot water treatment. The main support pieces, on the other hand, were all slightly warped. A soup bowl of hot water (two minutes in my microwave) for them to soak in followed by shaping in a pie tin of cold water and they were fine.
For some inexplicable reason I painted all the parts of the first set separately, not gluing them together until after they were sealed. For the rest I have assembled the supports and planking before painting them and can heartily recommend the latter over the former. So much easier to deal with and has lead me toward not gluing the bridges to the rocks when they are finished.
And now for something completely different...
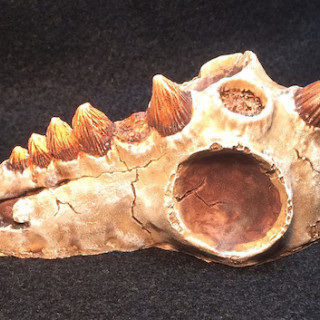
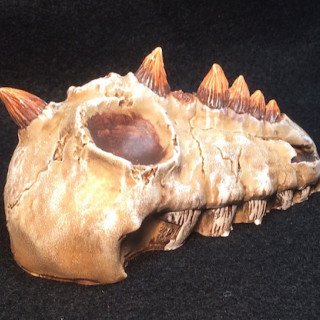
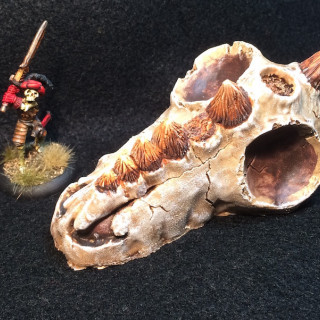
Okay, this gigantic skull didn’t come with the dungeon tiles, in fact it’s made of resin. I won it recently in a speed painting competition so primed it up immediately (remember how I hate to store unpainted toys?). It is, however, made by Secret Weapon Miniatures so seemed a natural addition to this project. Besides, I know I’ll be using it in a dungeon as an objective.
Skull and Crown miniature for scale.
The Process Unfolds
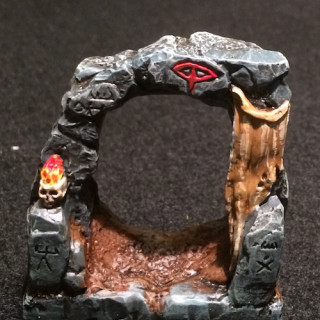
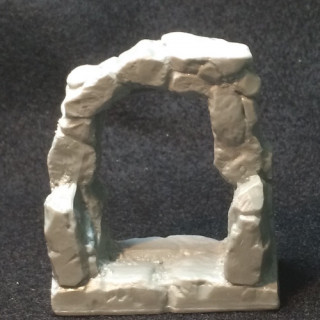
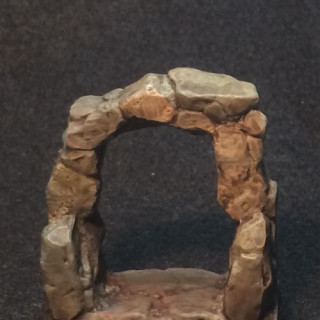
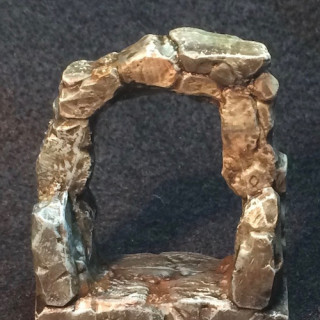
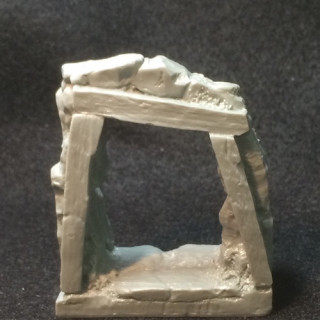
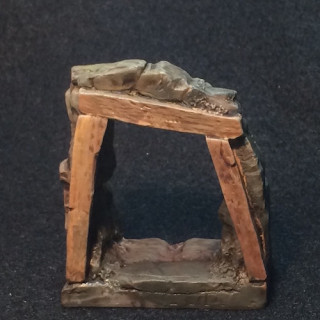
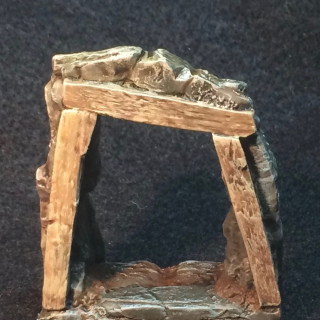
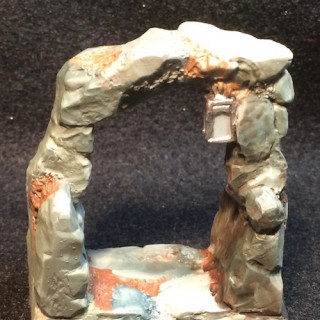
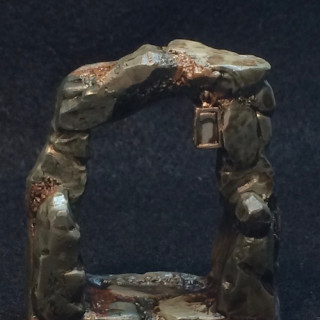
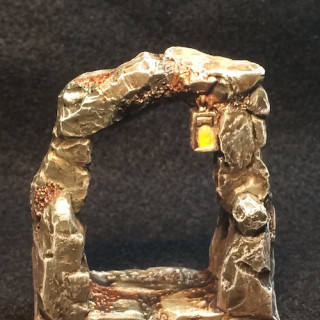
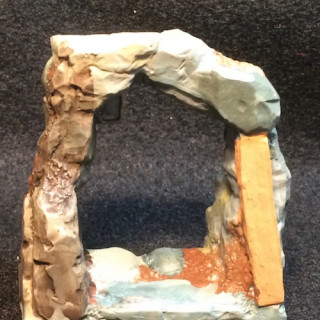
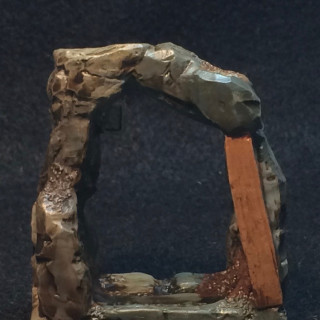
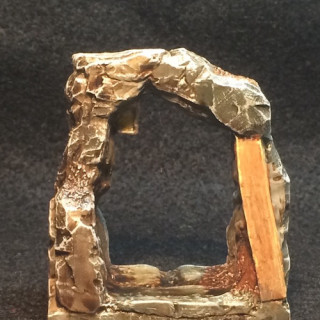
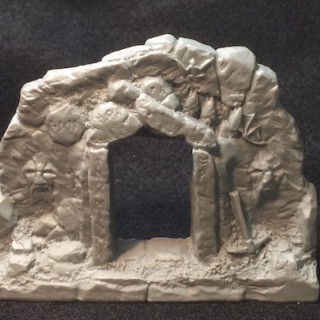
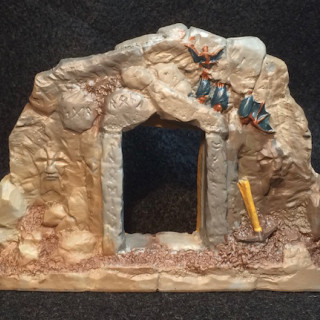
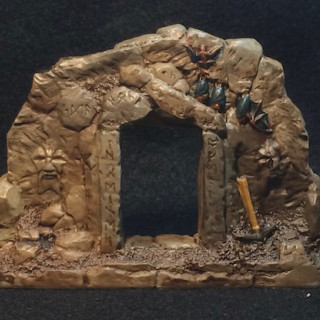
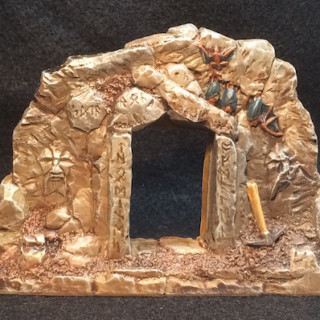
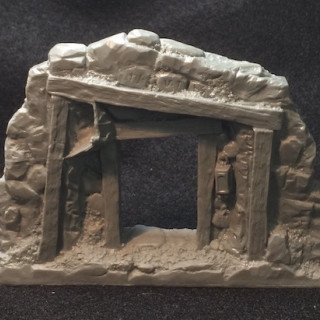
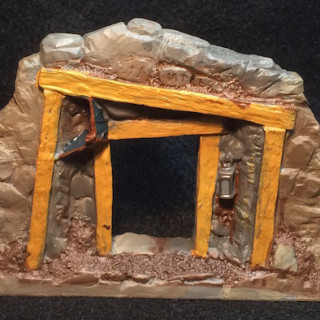
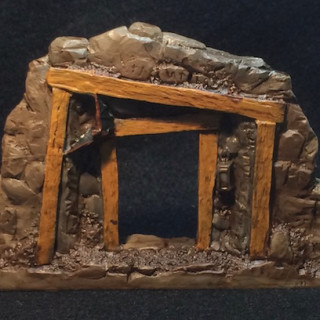
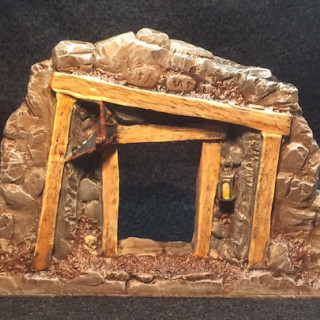
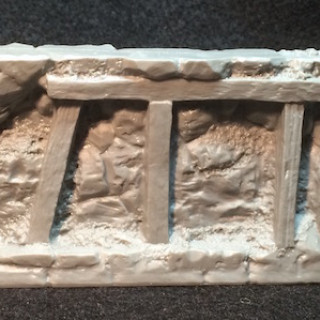
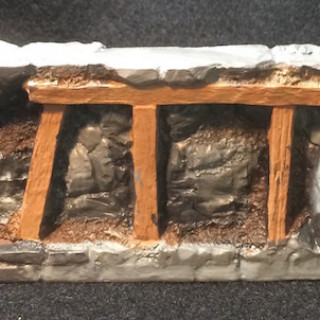
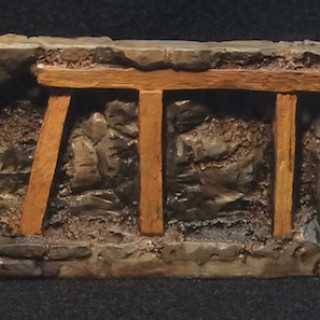
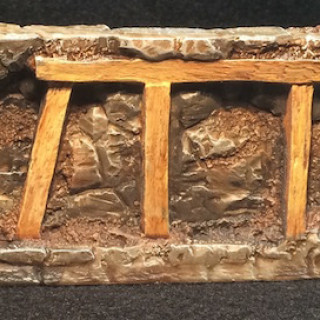
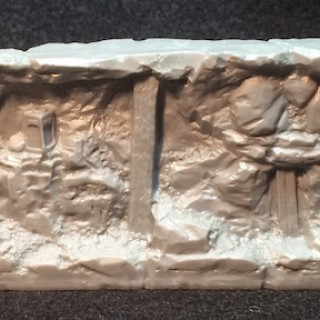
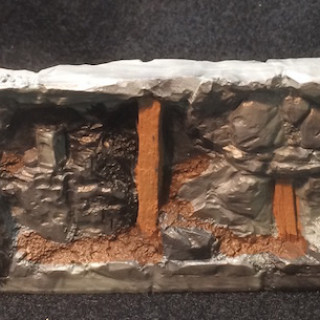
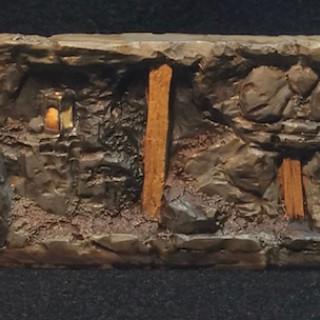
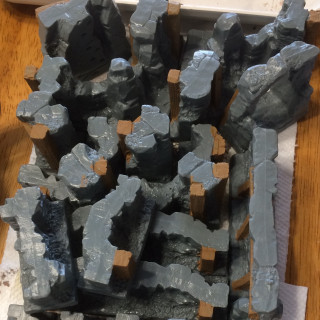
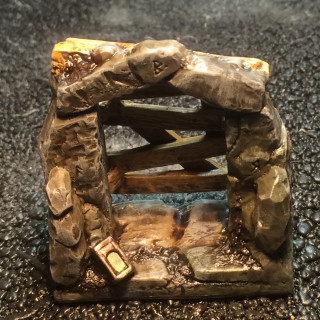
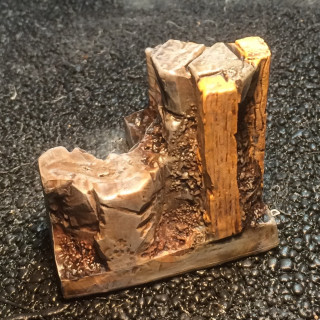
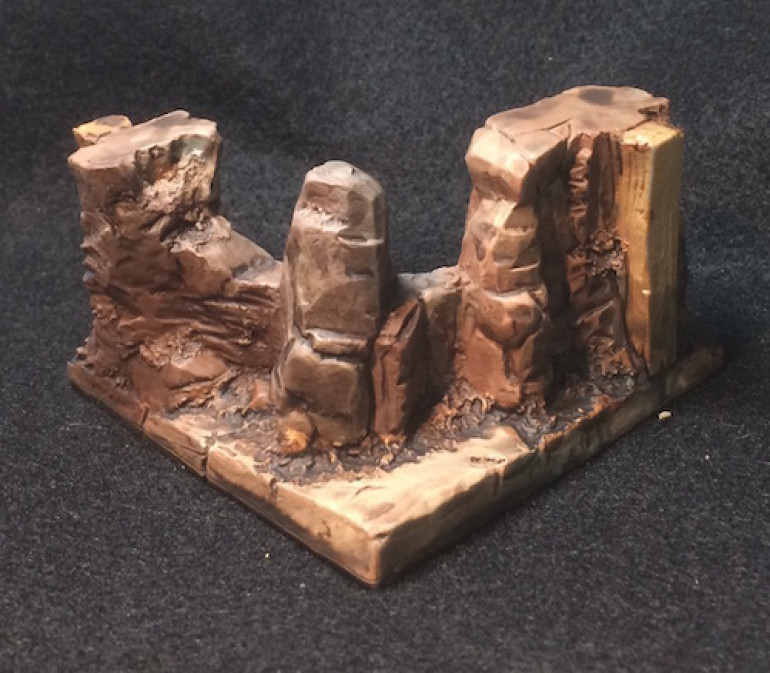
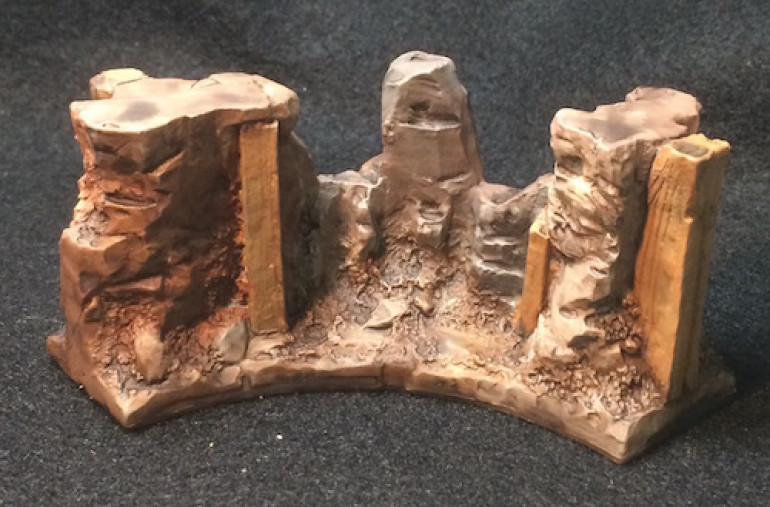
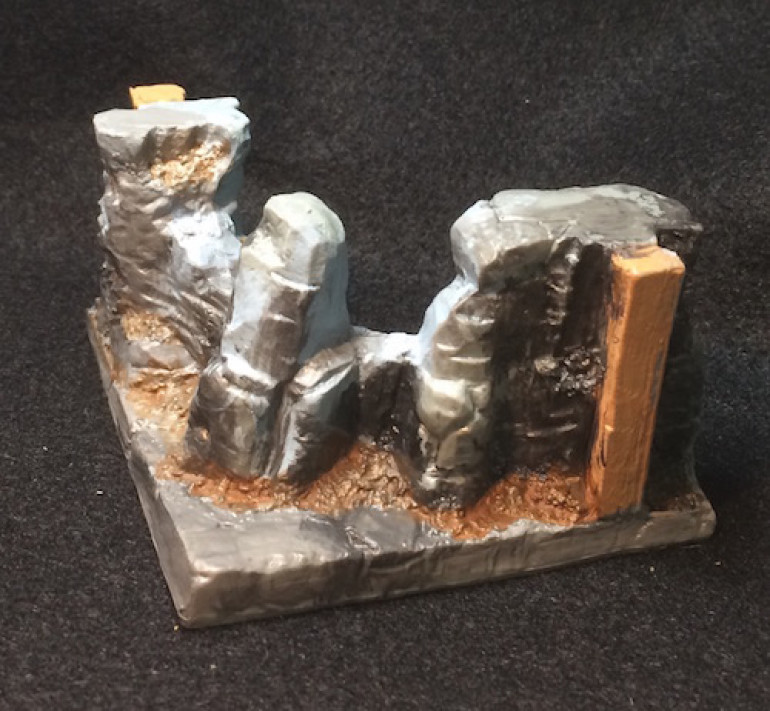
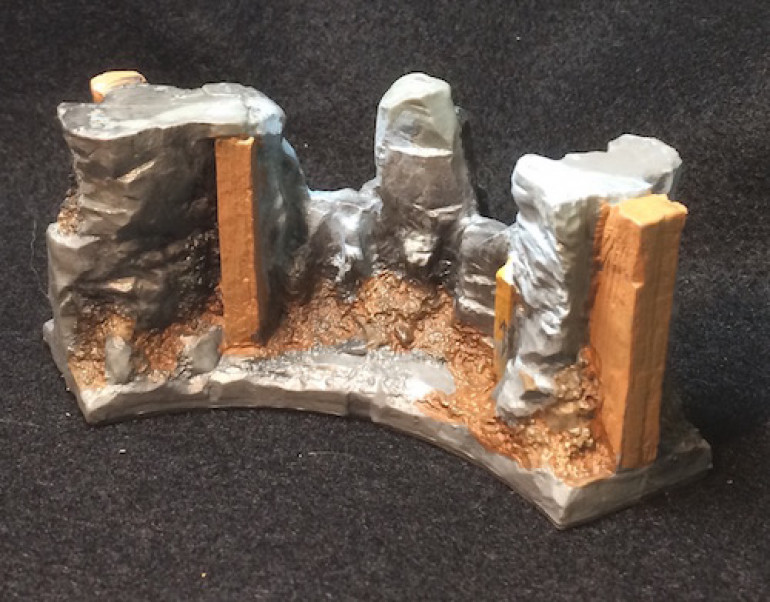
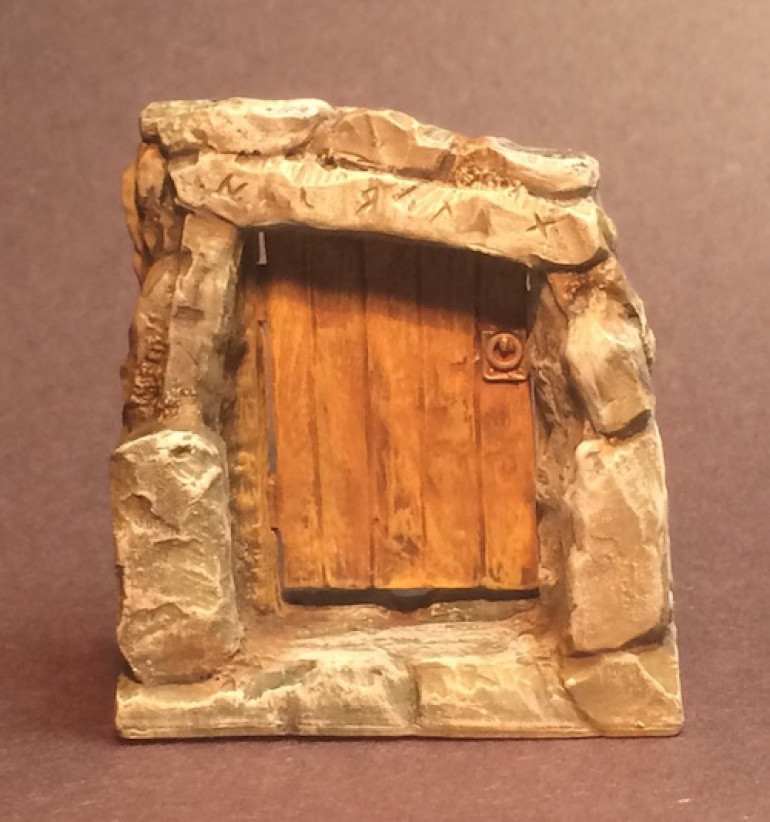
Here we have the main entry piece, both front and back (or outside and in depending on perspective) showing the four stages the pieces go through. The first picture is the bare Bones plastic though it is darker in person. The second is the base coats and the third is after the stain. The fourth picture is the finished piece mostly dry brushed but details are picked out carefully.
As with army painting, I find neatness really speeds up the entire process. I probably do paint a little slower but don’t spend any time cleaning things up except some details in the final stage.
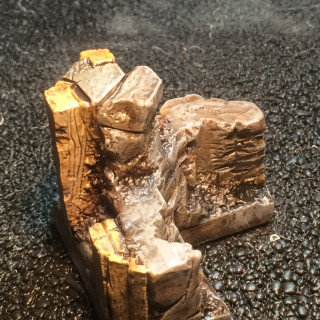
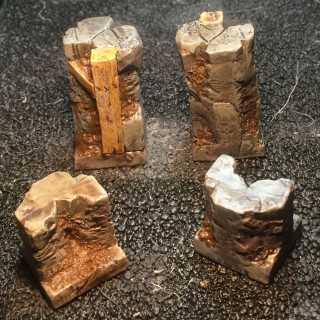
Here’s another piece illustrating the same process. I’ll be photographing the individual sets after I pick up a larger piece of black felt.
The Mines are mine
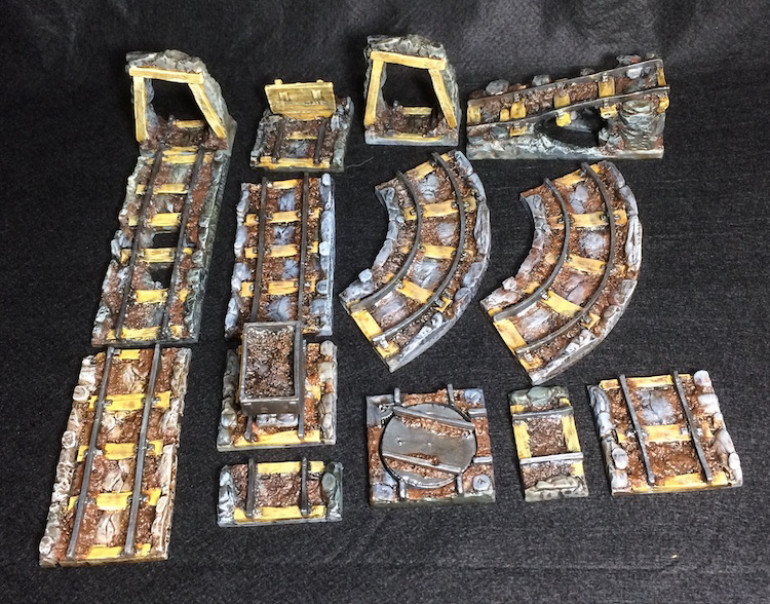
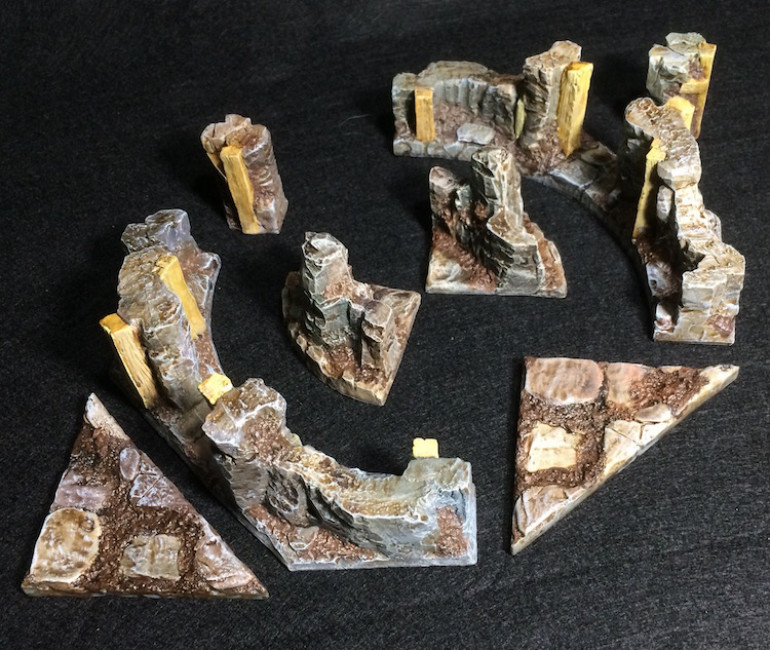
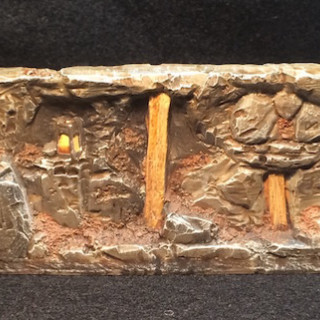
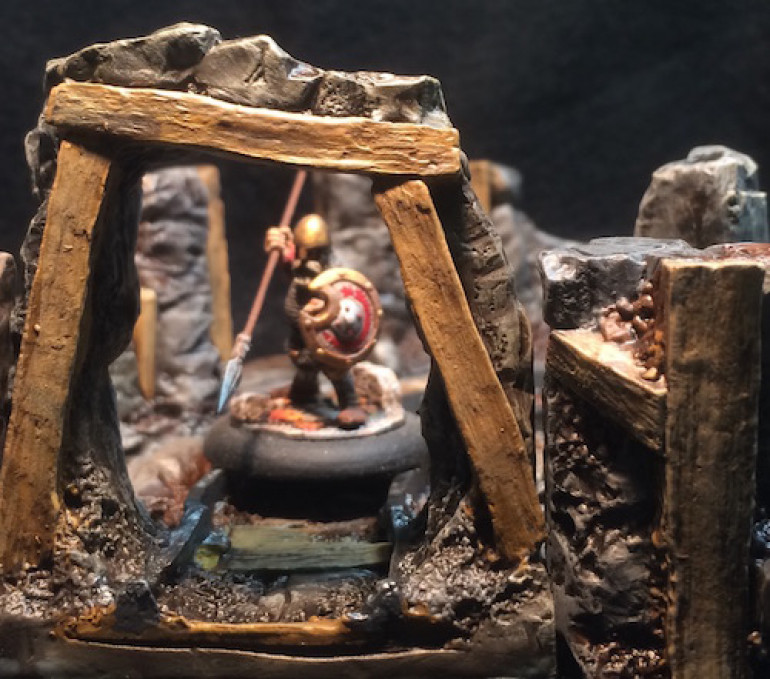
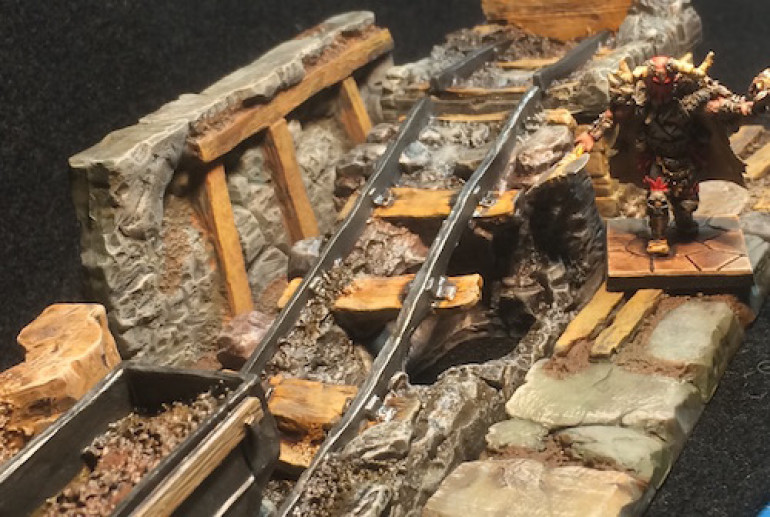
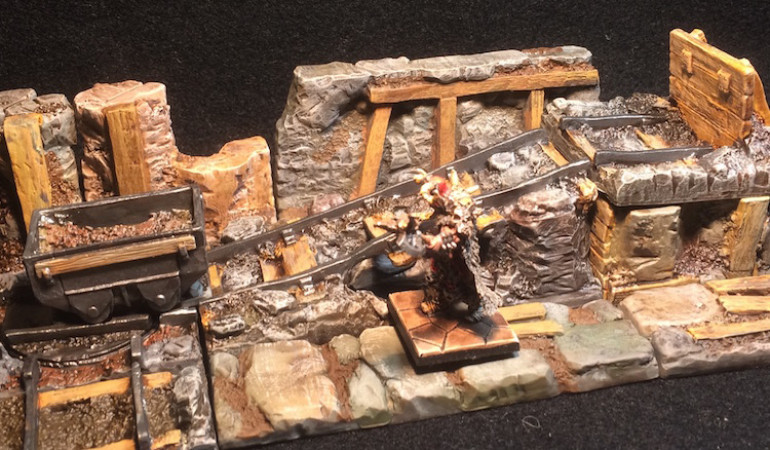
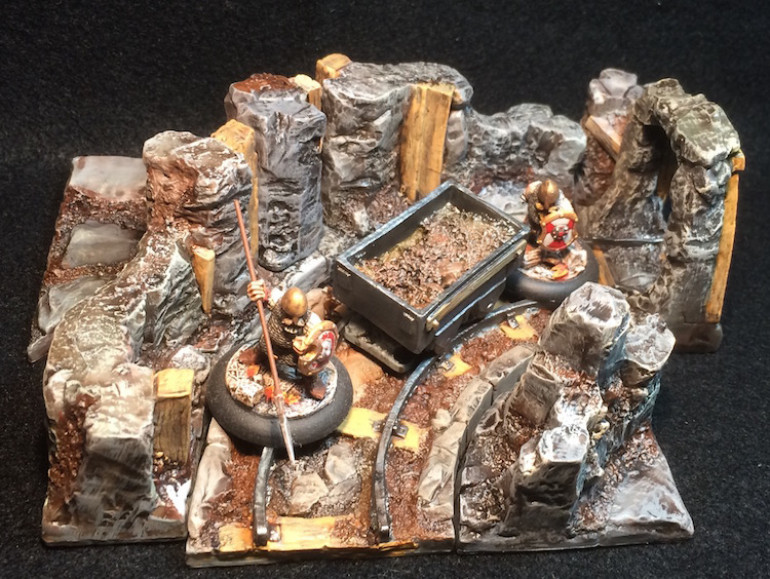
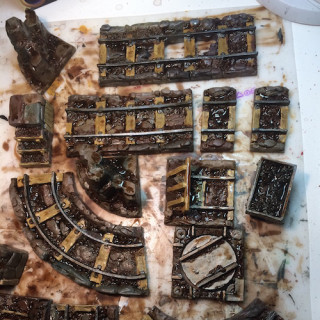
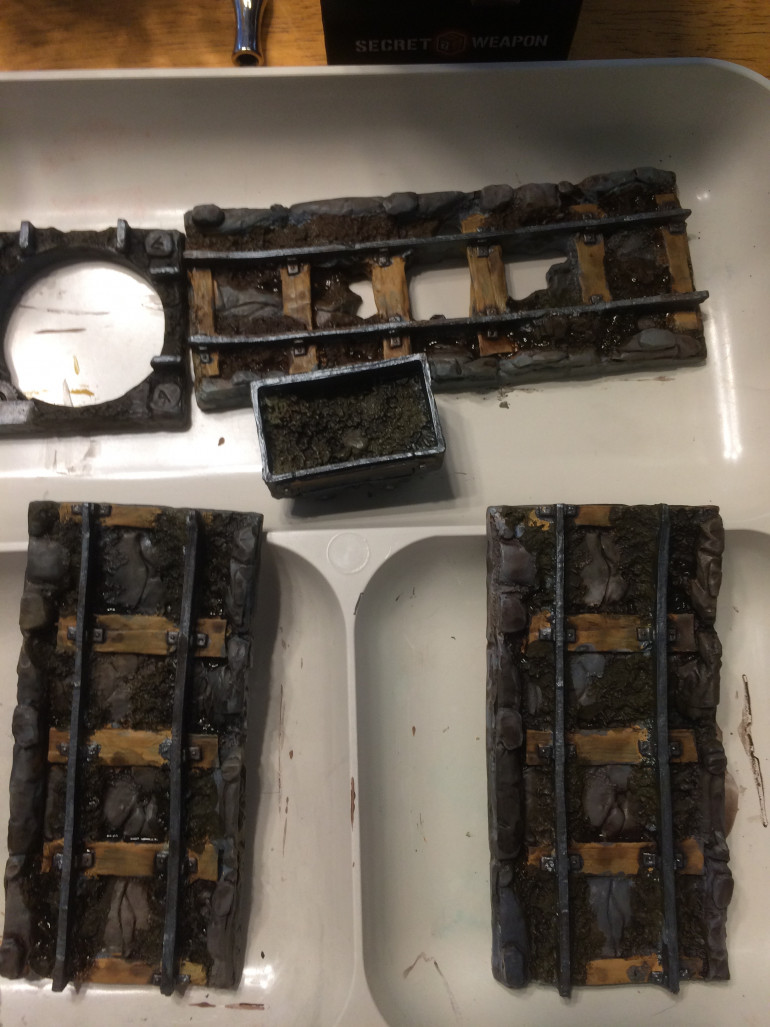
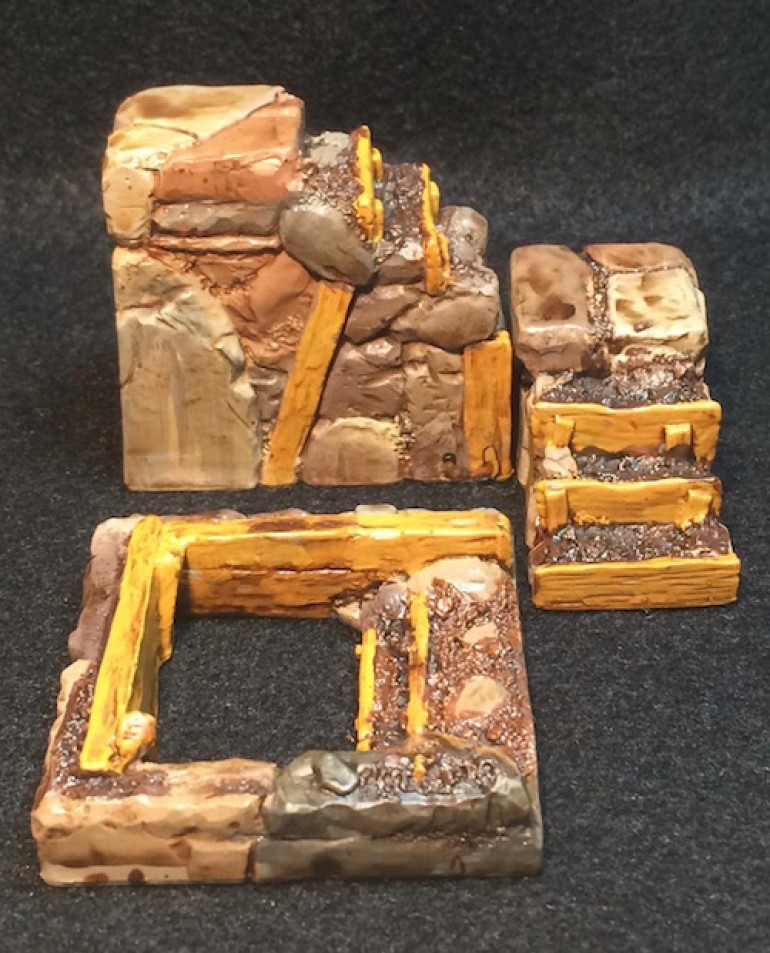
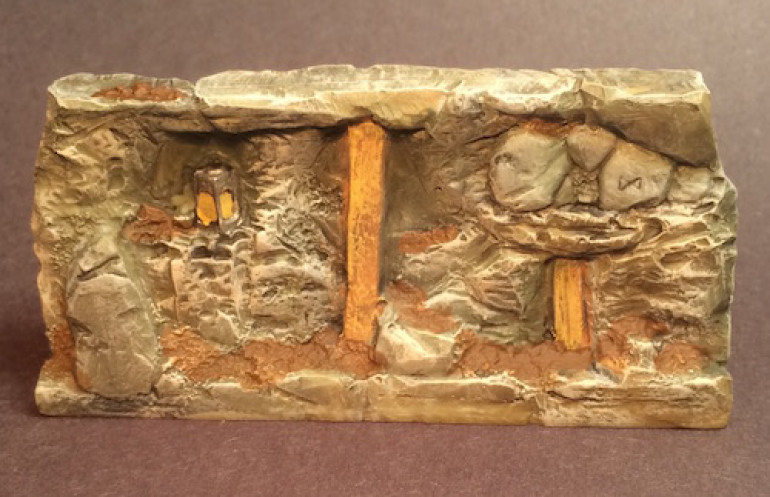
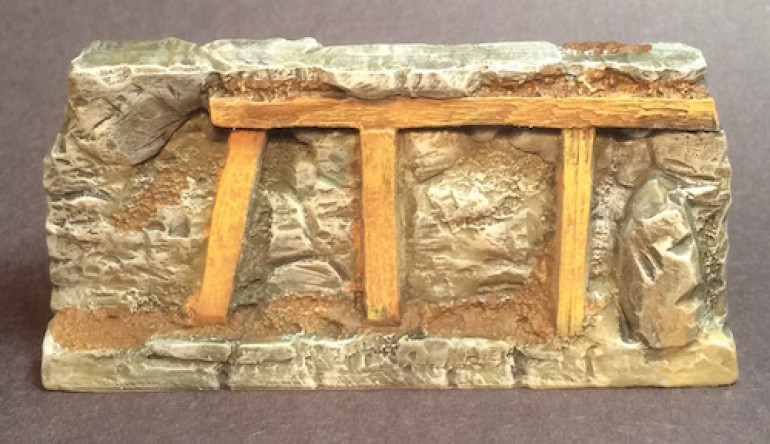
The Mine Tracks and Mine Walls were the next two sets I tackled after the first starter box was complete. Being a lifelong dwarf player, both RPGs through to mass wargames, I was looking forward to these pieces and have three sets to build with. Like just about everything I have seen so far from Secret Weapon Miniatures the pieces are well sculpted, nicely cast, and full of fun details. I love the turntable and how the cart slides along the tracks.
Production Line Painting
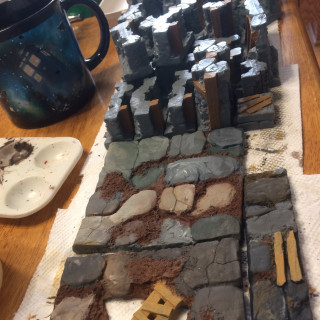
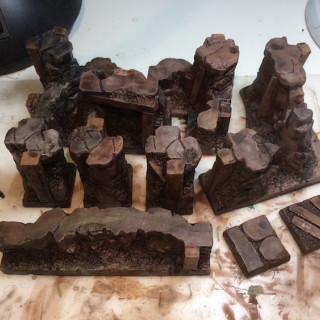
Once I had figured out my process I’ve started working though pieces in batches, washing one set while another dries, base painting a batch as the stain dries on the previous one. I’m currently sealing a batch every day so I’m on track but I can’t waver now. Those Wolsung minis and Dwarf adventurers are calling out from the edge of my desk but I fear any distraction will slow my progress so I will resist their siren call. So here a few pictures of various batches at different stages.
Now then, looks about time to open another Starter Set and start scrubbing…
Some of the early pieces
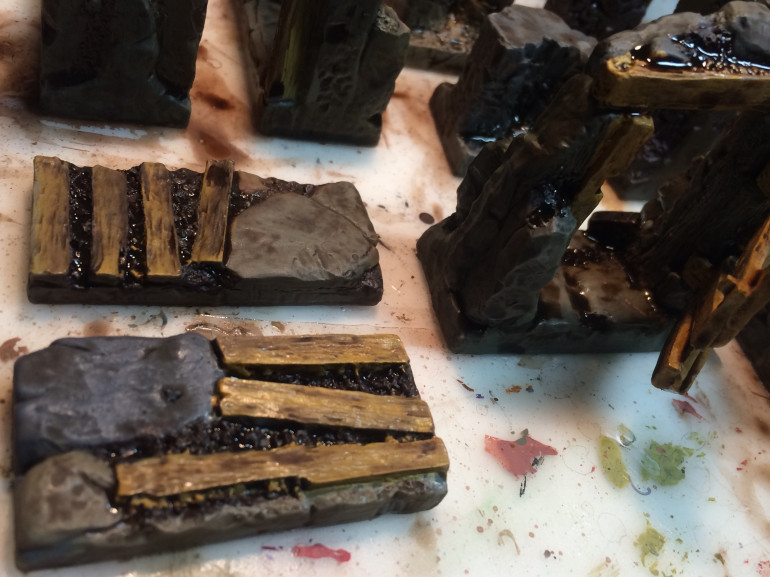
I ran out of GW’s Purity Seal so went with some of the Army Painter Satin on a batch of finished pieces. No complaint with either product but I decided I prefer the flatter look of the GW sealant. Here are some of the pieces before I softened the shine with a coat of Purity Seal. It is a great look if one wants a wetter looking mine (so I wanted to show how they came out) but the flatter ones are easier to photograph as well.
Awash in dungeon tiles
After the base coats have dried completely they need a good wash to bring out their details. I went with straight Agrax Earthshade for my test pieces which worked fine but lacked some variety. The pieces I completed using my “travel kit” were done with Reaper paints and Army Painter Washes (Dark Tone mixed with Mid Brown). My latest were all washed with Agrax Earthshade and Seraphim Sepia not mixed so much as poured one atop the other. As the well in my palette empties I refill it randomly so it is rarely the same twice.
Some Basics
Secret Weapon Miniatures used the same plastic that Reaper Bones are cast in. This makes for some lightweight, flexible, tough pieces that take acrylic paint beautifully. They don’t even need primer. Being a flexible plastic some pieces can come out bent or distorted. A few of the smaller pieces (doors, planking) were a little warped but only one of the larger castings showed distortion. It was the largest curved wall from the Mine Walls set and didn’t fit snugly against the curved track pieces.
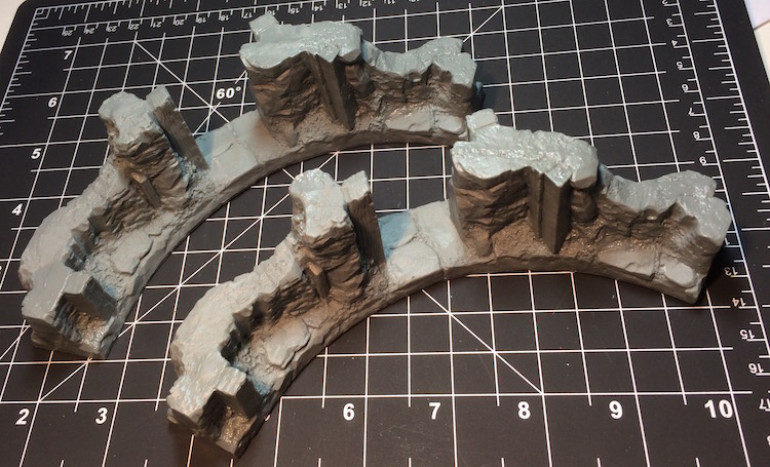 Luckily a soak in a bowl of warm water (same as a hot cup of tea) and the pieces are soft enough to press against the track piece to cool for a minute. After that it's ready for paint.
Some Floors
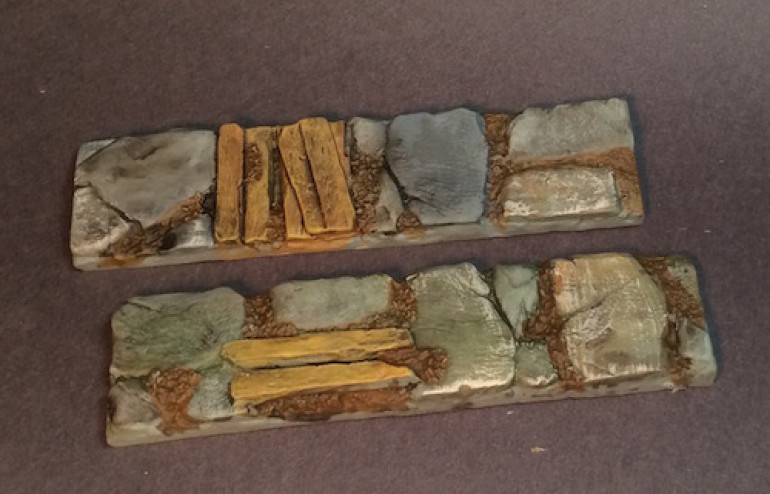
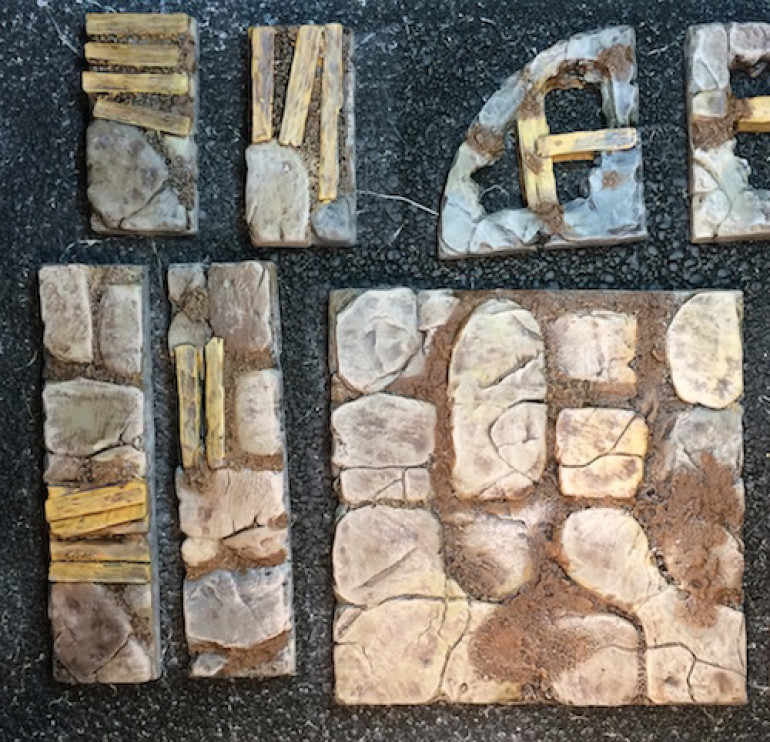 Seems a good idea to start at the bottom and work my way up. With that thought in mind I began with the floor pieces from one of the Starter Sets.
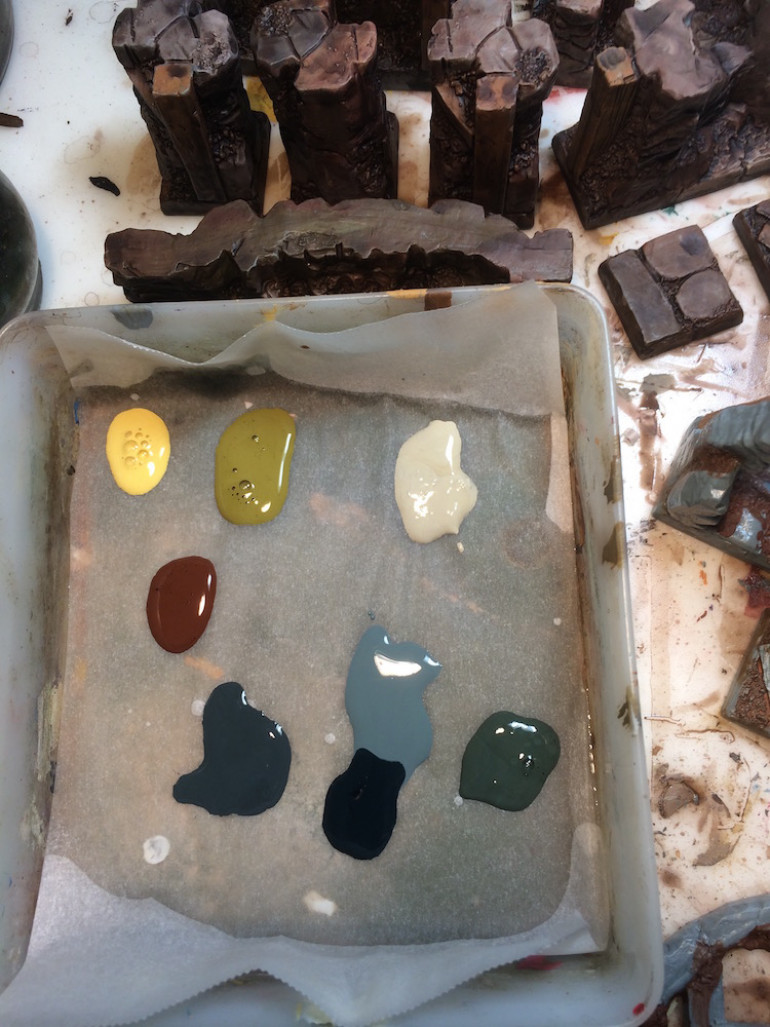
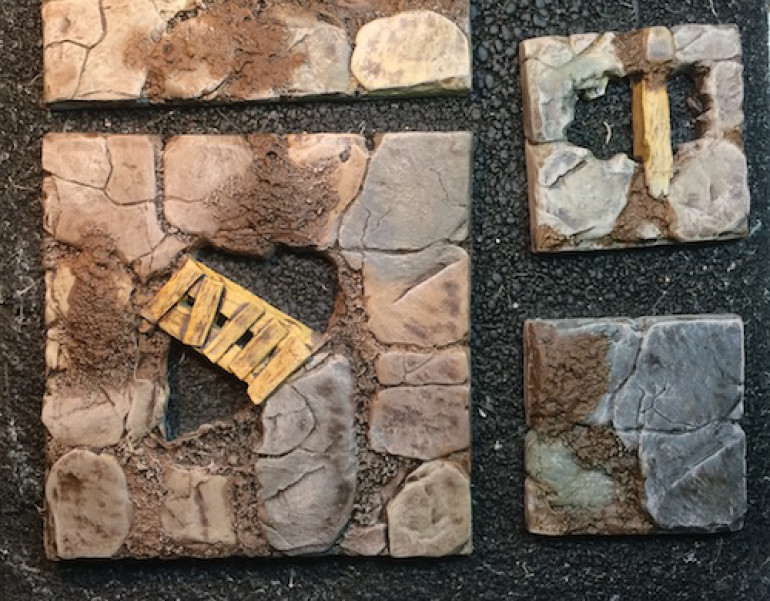 Using a wet palette loaded with earth tones I wet blended base coats, washed with Agrax Earthshade, and drybrushed with my starting palette.
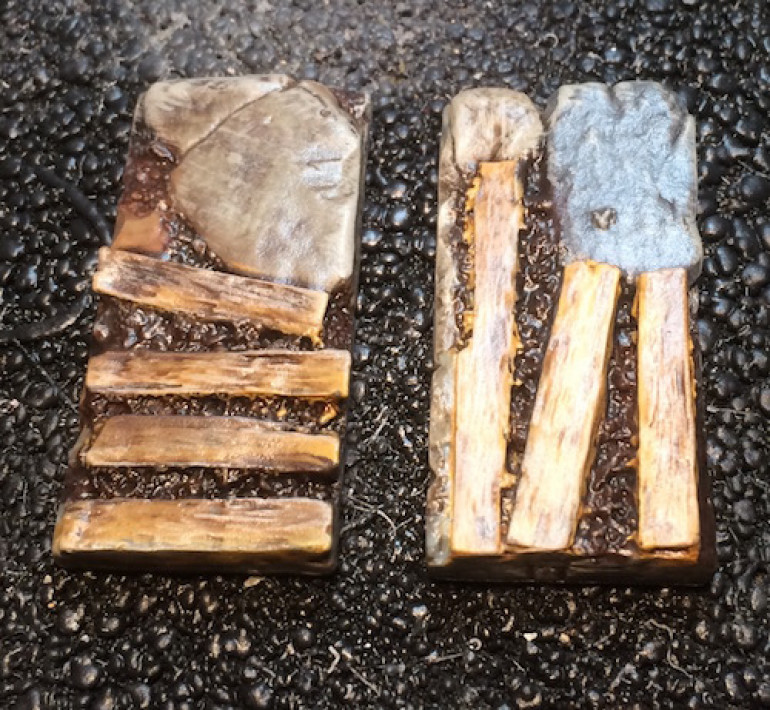 Army Painter Satin Seal is just a bit shiny for my tastes so I will be sticking to Games Workshop's Purity Seal
I’ve decided to paint one of each set to begin with, saving the Orc and Troll warrens for last. While I was waiting for parts of the first Starter Set to dry I washed down a Mine Tracks, Mine Tracks Walls, and a Bridges set. I also scrubbed down all of the stairs sets as they are small and seem quick to finish.


