Manda’s (Amachan) Cheap & Cheerful Dice Tray
Recommendations: 87
About the Project
Since I'm building a (hopefully) really nice table for Fallout: Wasteland Warfare I don't want it destroyed by dice. So I decided to make a simple dice tray using a picture frame and some felt. I found the idea somewhere on the internet and as the internet is a big place I don't remember where. If you remove my mistakes from this project and think about how to improve on what I did wrong, you could get yourself a cheap & cheerful dice tray as well.
Related Genre: Game Aid
This Project is Completed
My Dice Tray Disaster
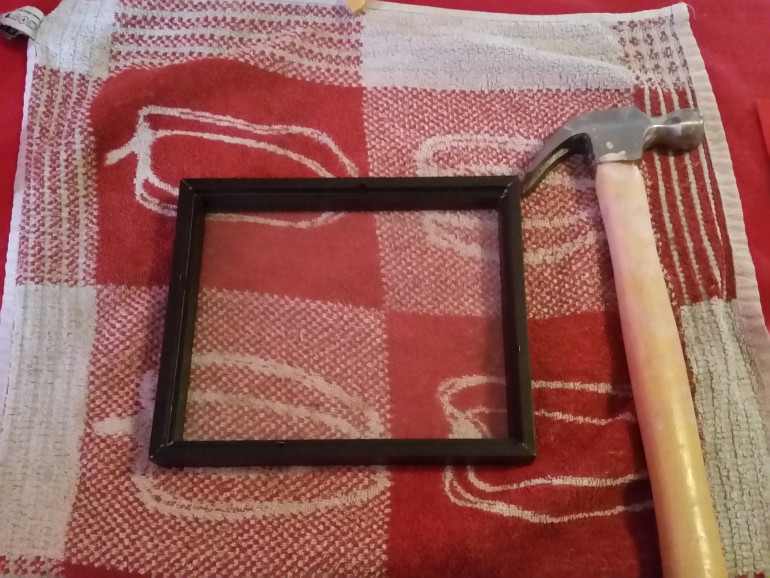
To start of this project I picked up this cheap picture frame and some felt, I think in overall that cost me less than €3,-
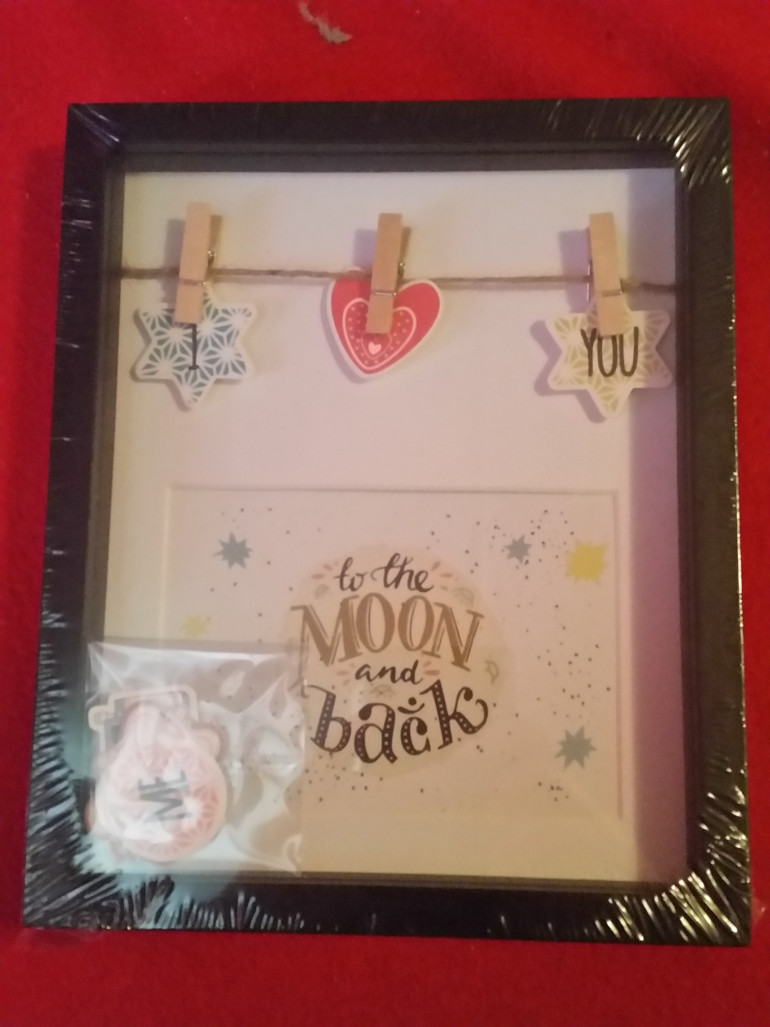 I love you too picture frame, but you won't love me when you know what I'm going to do with you.....
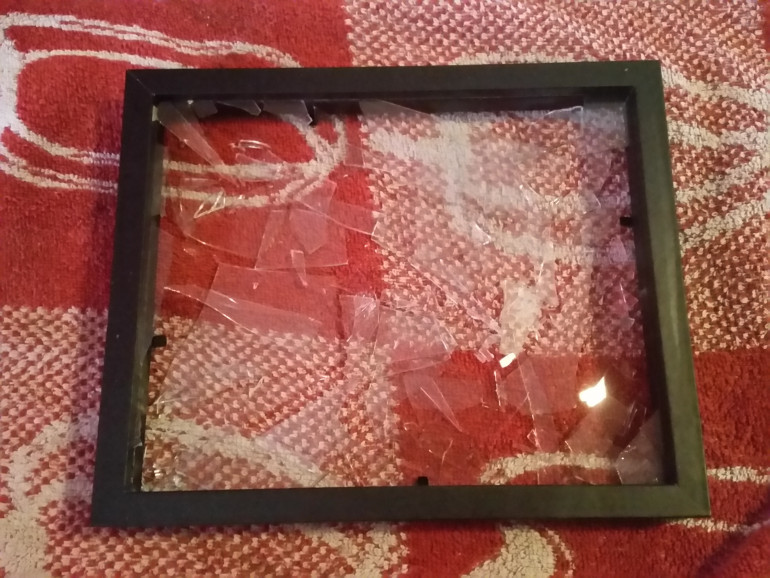
After unwrapping it and getting the back board out which is quite simple, I removed the inserts. Now to the glass. I did notice the glass was not glued in and just fits in grooves on the side. So now I have to get that out.
Note that I smash in the glass on a towel on a sturdy table. Glass needs quite a bit of force to break, especially when it’s a small plate that isn’t fixed in place. I placed the towel there to easily clean up the glass once I shattered it and I don’t have to go hunting for every small bit of glass that is still laying around. The sides of the picture frame also keep the glass quite confined to a very limited space.
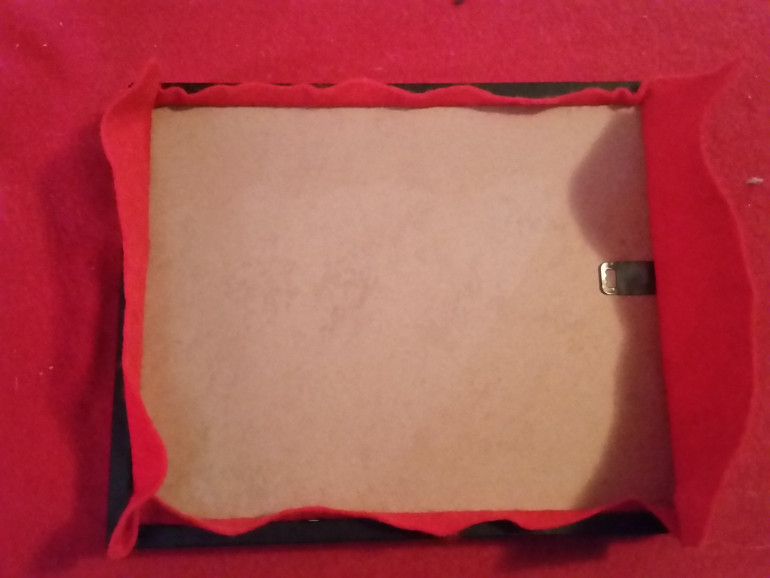
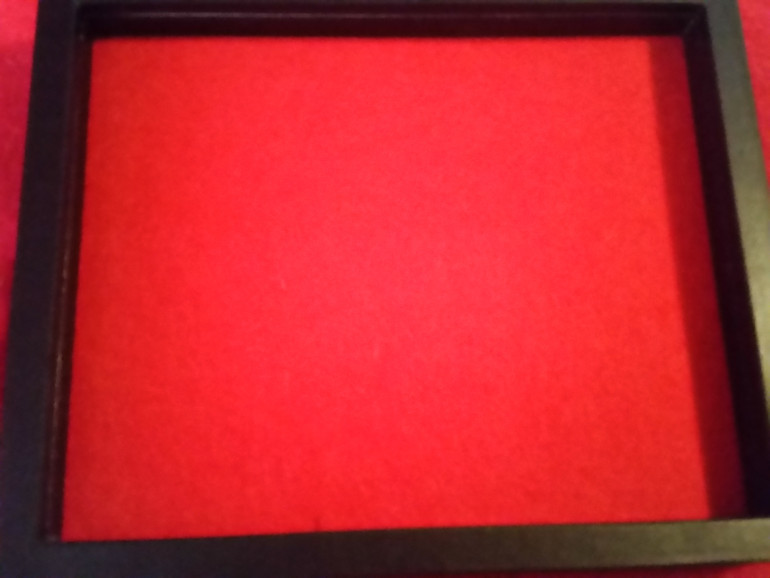
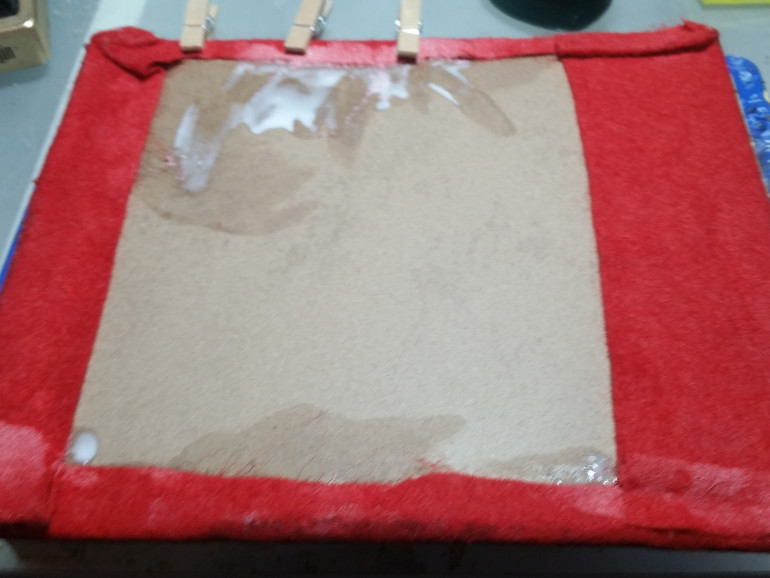
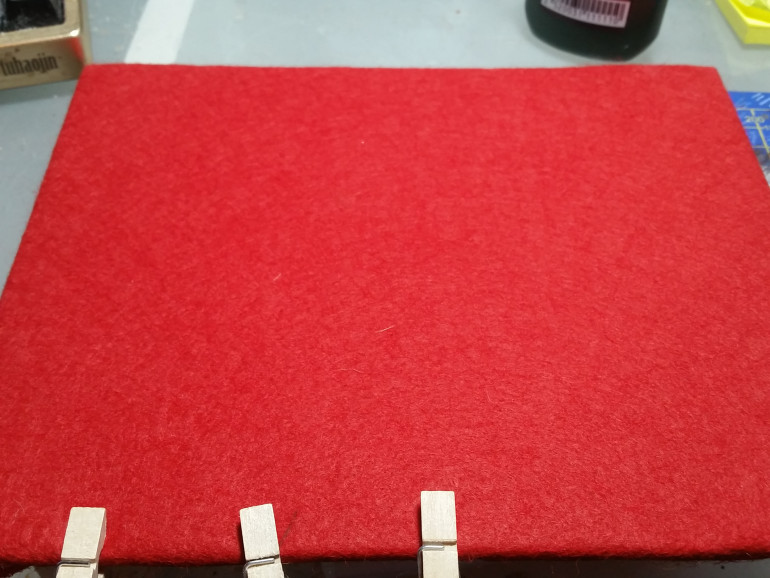
After I cleaned up the glass I put the felt in the frame and pressed in the back board. I got it nice and smooth by pulling it. With the back board still in the frame I rand a line of super glue around the edges to make sure the felt sticks to the board like that. I’m not sure super glue was such a good idea for this though. I did get the board out, but the edges of the frame did get a little damaged. Now I’m planning on painting the frame anyway and you won’t see it when the back board is in, so not much of a problem I guess.
Having learned a bit of a lesson with super glue and still having bits of felt stuck to my fingers, don’t use super glue it soaks through the felt, I decided to glue the excess of the felt onto the back of the back board. This time I used PVA and I’m just giving that time to dry.
Hiding the glue.
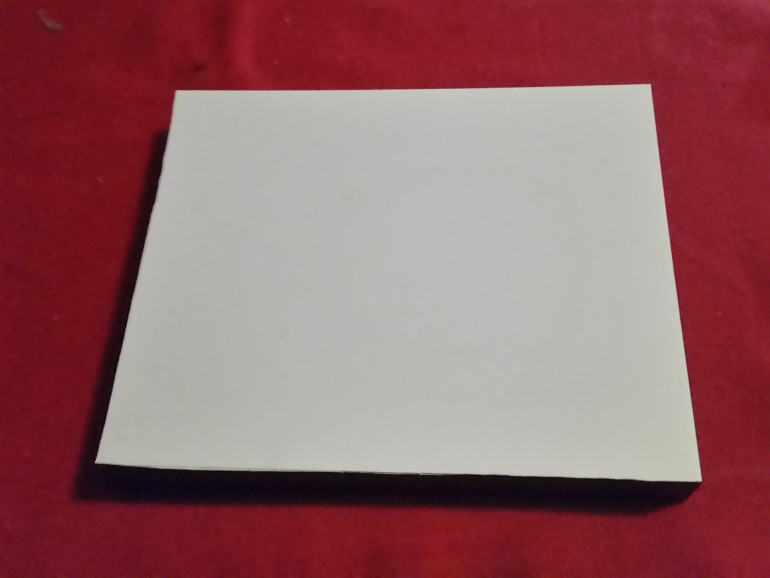
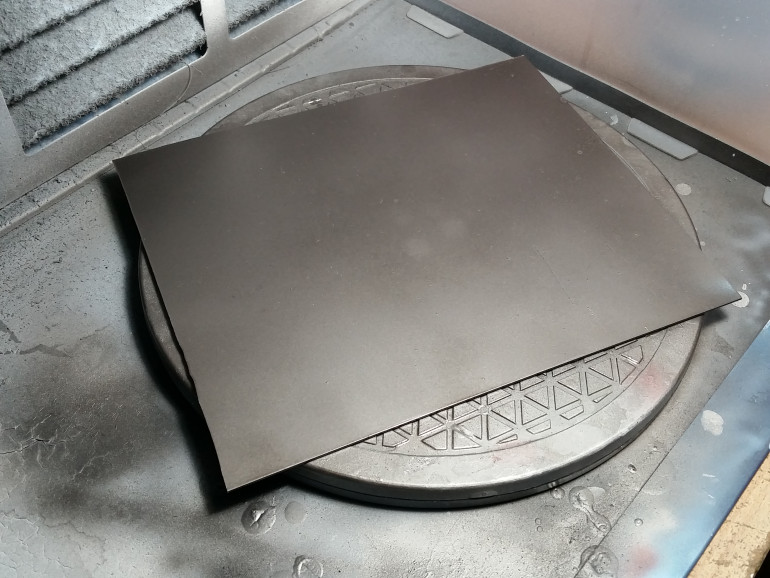
Because of the bad glue job I’m going to hide it. I cut a backplate for it out of some plasticard I had laying around that I will glue on the back after it’s all been painted. The backplate will be painted in the same colour as the frame so it won’t be easy to spot.
Groovy!
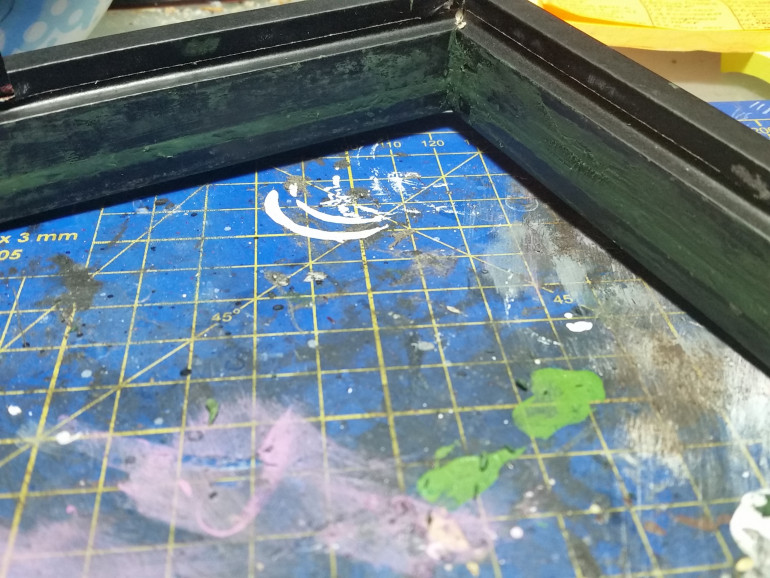
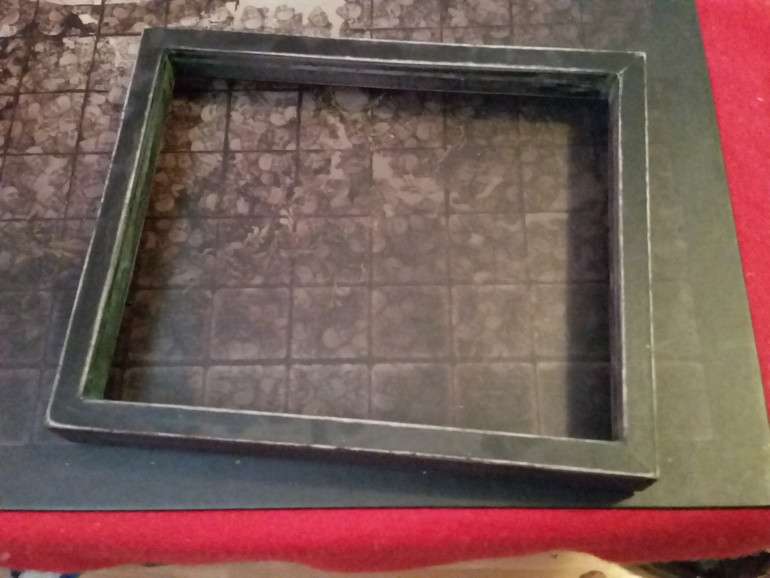
I filled out the grooves where the glass sat in with greenstuff. I think my greenstuff might be going off since the yellow doesn’t want to mix well and remains kind of clunky for some reason. And yes I do cut out the middle bit where the blue and yellow meet. So some small gaps and were left and smoothed it all out with some liquid greenstuff. When this is all dry I’ll sand it down and then it’s ready for painting.
Things are moving along.
I sanded down the greenstuff and the surfaces of the picture frame. I’ll blow off dust first with the airbrush before priming it.
The plasticard backplate has been painted just need a bit more varnish and then that is done and ready to be glued on when the frame is painted and done. The main colour I’m using for this and for the frame as well is Vallejo Metal Color Burnt Iron (77.721).
Throwing paint at it and seeing what sticks.
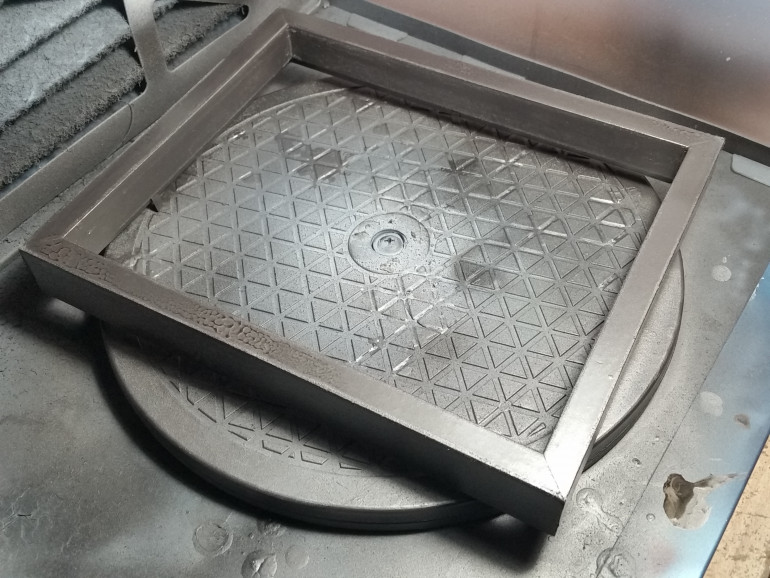
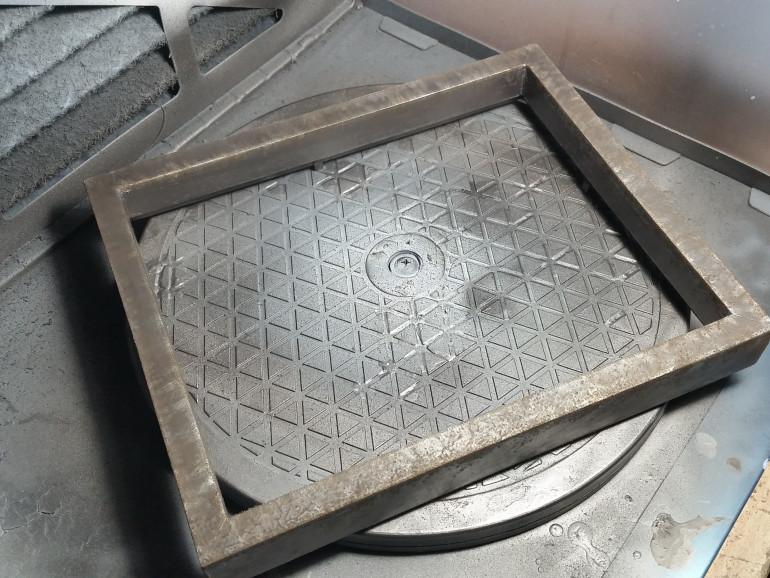
I primed and a couple of hours later base coated the frame in the same Burnt Iron that I used before on the backplate. If this is dry later today I can start painting it, which will mostly be weathering.
Weathering it up.
!!! At the bottom of this entry is a list of all paints used in this stage !!!
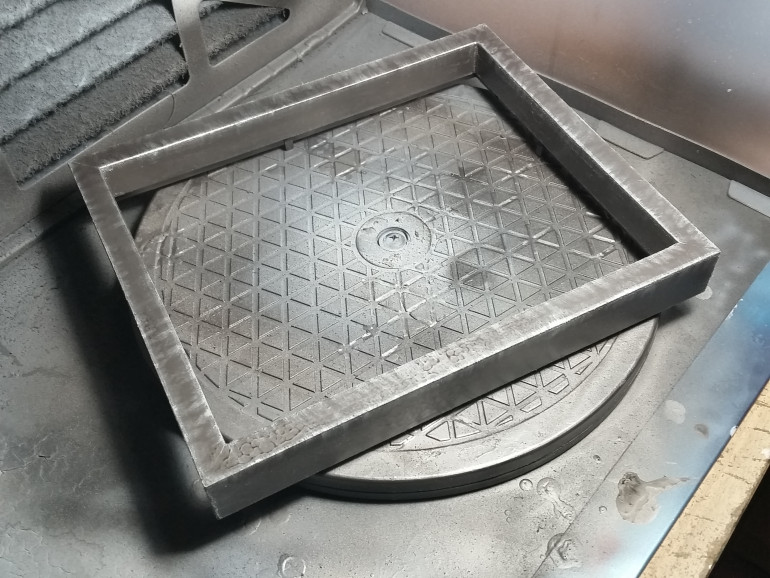
I started by applying a dry brush of Steel around all the edges of the frame.
I then stippled on (sponged or whatever it is called) Typhus Corrosion around all the edges of the frame. I made sure not to have too much paint on the sponge and worked it in the the sponge and the excess off before I applied it.
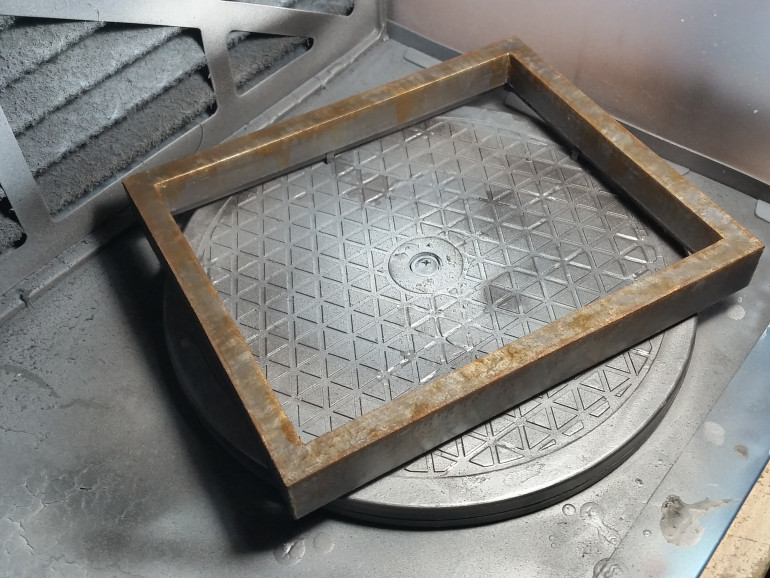
After this I started to line the top edges with a Rust wash. I then made streaks down on both the inside and outside of the frame with the same Rust. And finally I stippled on some of the Rust on the top of the frame, but I did not remove paint or worked it into the sponge this time.
And that’s the painting done. Some varnishes and then the final assembly and done.
-
Citadel - Technical - Typhus Corrosion (99189956010)
-
Vallejo Model Air - Steel (71.065)
-
Vallejo Model Wash - Rust (76.506)
Ready to roll.
After all the varnishes were applied and cured, I put a thin line of PVA around the inside of the frame (The bit where the original back plate rests in). It fits in quite snug, so not sure that was necessary but you never know. I then put a thin line of super glue around the bottom of the frame to put on the plasticard back plate.
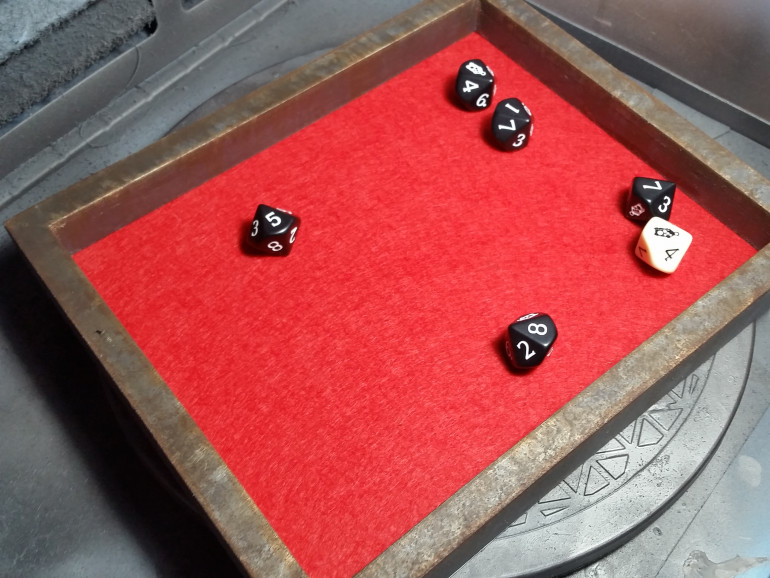
And the dice tray is done, quite a simple and quick built. Of course the painting was not entirely necessary and neither was the plasticard back plate, but they do add something to it. If anyone plans on doing one of these themselves, just follow the steps that you feel you want to take to make your dice tray.


