Collins Does Star Wars Legion
Recommendations: 1126
About the Project
This project is all about me documenting my journey through painting my Star Wars Legion models. I'll explain the steps I take, the paints I use, any conversions I do and also other cool stuff I've found out there that I like or am inspired by. Although some of this painting was done for my FLGS (Friendly Local Gaming Store) most of it is for me and my own enjoyment. Im not brilliant but I am certainly happy with the results I get, I just wish it didn't take so long!
Related Game: Star Wars: Legion
Related Genre: Science Fiction
This Project is Active
This princess doesn’t need protection
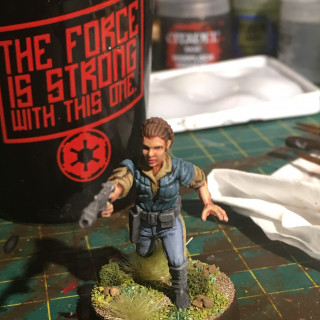
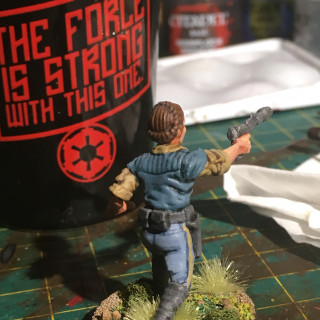
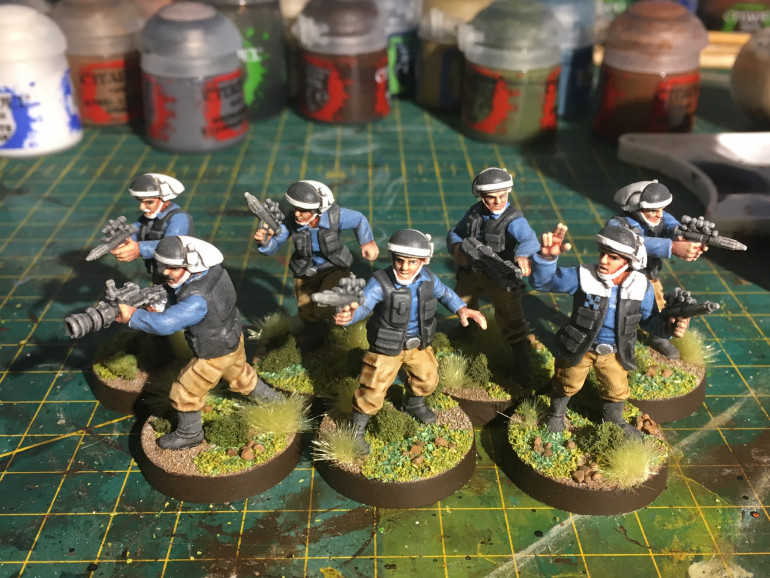
The latest models the have been painted are Leia and the fleet troopers.
I’m quite happy with Leia and not so happy with the fleet troopers. I’m not so unhappy to actually want to do anything about it yet though but that niggle will get to me in the end I’m sure.
Leia’s outfit is missing the camouflage smock so she stands out quite a lot.
I started by trying to figure out what colours I wanted to use for the two blues in her outfit. I decided the lighter paler blue of her trousers was similar to hoeth blue and for her jacket which is darker I went with thunderhawk blue.
Once that was decided I primed Leia in white and but down the base colours. In addition to the above I used mechanicus standard grey for the boots, belt and pistol. The pistol was then dry brushed necron silver as usual. For her shirt I decided tallarn sand was a close enough match.
during the wash stage agrax was used on the brown areas, nuln oil on the grey area and then I used a heavily watered down drankenhof nightshade wash on the blue areas. In the end I put two or three layers of this on the blue areas to get the level of shade I wanted, better this way than put it on neat and have to start over again.
Once the washes were done each area was highlighted back up. Again this is a simple scheme to meet the tabletop standard I’ve chosen to meet. Not top work but works for me for this game!
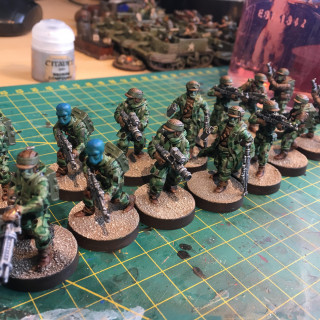
Now, having decided I was happy with Leia I have to say I’m a bit meh with the job I did on these guys. Didn’t help that when I varnished them some of the guns and feet misted up, urgh!
The trousers I think are also a disappointment, I went with karak stone with a sepia wash and it hasn’t come out grey enough. Perhaps a diluted nuln oil would have been a better choice.
The blue I went with is hoeth and the same diluted wash used on Leia.
i won’t go into anymore detail about these guys until I either redo them or come to terms with my muck up.
i will however prempt the ‘where’s Captain Antilles?’ Questions. I decided not to single out the squad leader for such a lofty position as corvette captain. This guy is more ‘Dave from D rota’ as he is only leading a few people rather than the whole crew of the Tantive IV
You know it’s all about that base
So let’s talk about the basing (finally! I hear you say)
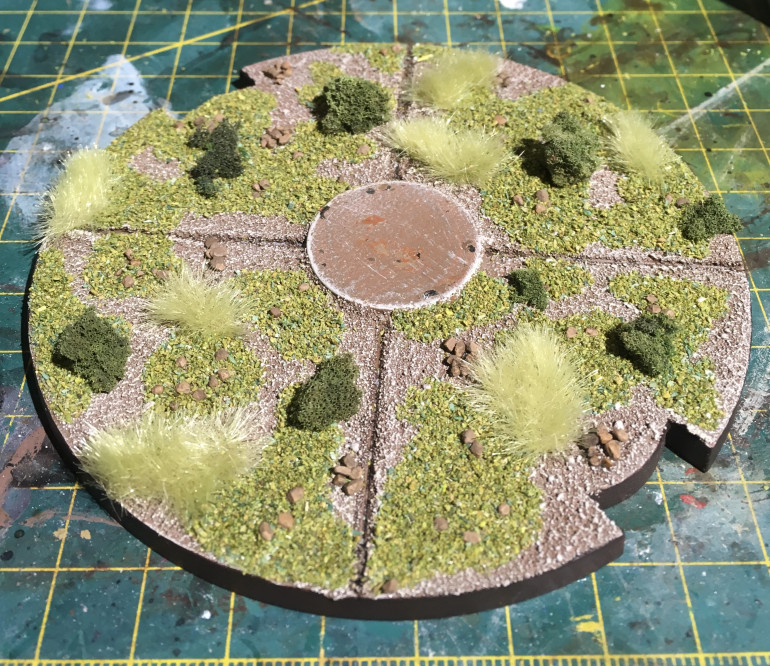
I base everything using PVA and sand. It then gets primed in whatever primer I’m using for the model (obviously this differs). The first base paint is watered down Steel Legion Drab. Usually two coats to get a good coverage. Then I lightly drybrush over Terminatus Stone.
If the model is a vehicle and has an arc of fire i then add a little Agrax Earthshade to the arc recess as a pin wash. I find it subtle enough to stand out for gaming use but not so much it looks stupid.
I then add 5 types of basing material to each base… because you know, I’m a mad man.
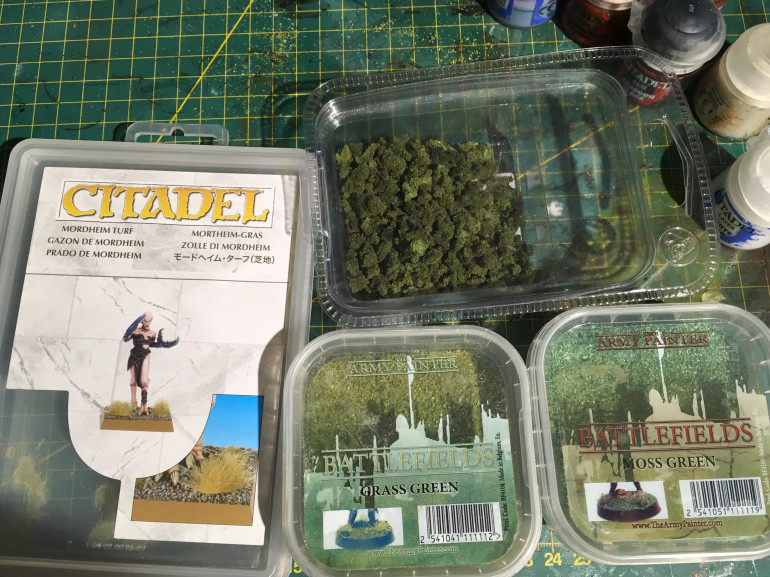
I PVA the base in a random fashion and never cover the whole thing or cover the fire arcs. I then sprinkle on some mini rocks in groups. These rocks are called ballast and are from the model train world. Then sprinkle on some Moss Green flock from army painter and then dunk The model in grass green flock to cover the remainder of the PVA.
When all that has had a chance to settle I then add a home made foam clump foliage and some Mordheim Turf from citadel. The lime of the turf and the dark green of the clump contrast nicely on the tabletop, if not in the picture.
All my models got this treatment. The ones I painted for the FLGS didn’t get the turf and extra rocks though.
I finally hit that painting PLOG wall...
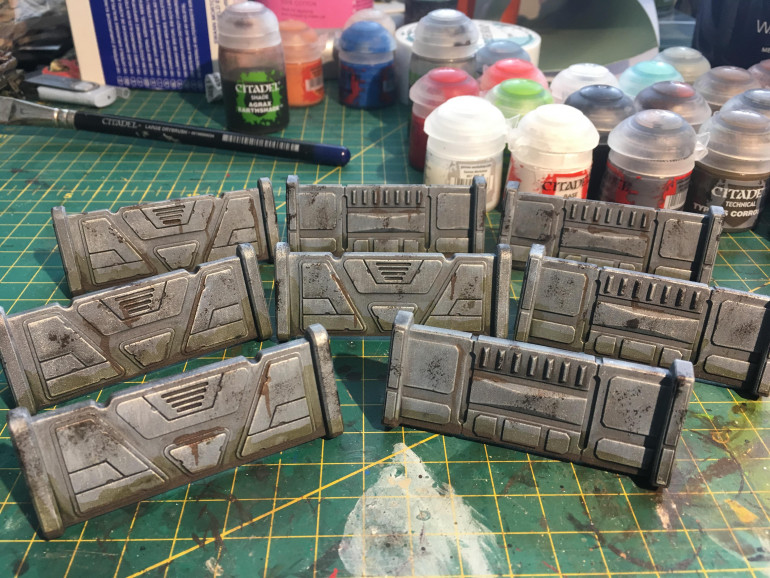
The final thing from the core box was the 8 barricades.
These are super easy and the steps are as follows
Prime in uniform grey from army painter
Drybrush Russ Grey
Drybrush Fenresian Grey
Drybrush Necron Compound
Wash Nuln oil
Wash the bottom Athonian Camoshade (to make it look grimey)
Add Typus Corrosion in streak marks and to the bottom to make it look like water and dirt have been collecting in those areas
finally add some of the black/bronze mix from the ATRT dabbed on using a sponge to replicate battle damage, scorch marks and general pitting.
Not including drying time of the washes, if you spend more than 30-40 minutes on these then you’re investing too much time in my opinion. They are really that fast to do as as you can see, look great!
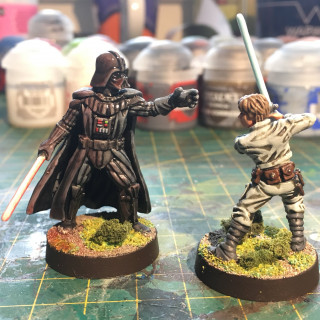
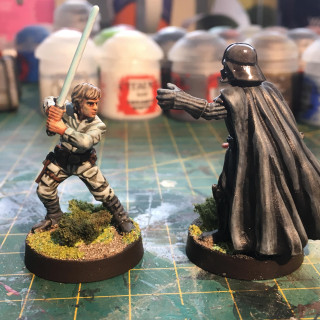
Vader and BabyVader have unresolved family issues
So to finish off the models i painted the two leaders from the core set.
I started with Luke.
Most of his jumpsuit was painted with Celestra Grey, washed with a Lamian Medium diluted Nuln Oil and Athonian camoshade mix. Then highlighted with Celestra Grey again.
The skin was painted with Cadian Fleshtone, washed with Reikland Fleshtone then highlighted Cadian Fleshtone and Kislev Flesh.
the boots were painted Mechanicus Standard Grey and the washed Nuln then highlighted Mechanicus again.
The belt and holster were painted Mournfang Brown, washed Agrax Earthsafe then highlighted Mournfang again.
You’ll note that this is quite simple and easy, some may say lazy. And they’d be right, but I’m happy with this scheme and it didn’t take me too long to do either. win win for me i feel!
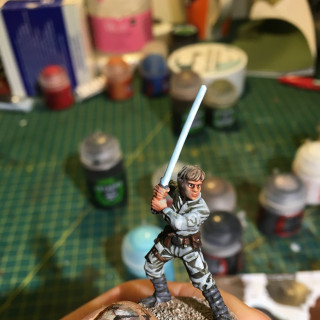
The lightsabre is the cool bit IMO. I painted it white so i had a fresh base to start with. I then made a super thin glaze out of Lahmian Medium and Baharoth Blue. This takes lot of mixing. I then (mentally) broke the lightsabre into 4 sections lengthways. I then painted the opposites the light blue glaze in very thin layers so that it gradually got stronger in the middle of the blue section.
When happy with the lightsabre i then went on to add blue glaze to the model and base to give a little object light source effect.
When the model had been varnished I put gloss varnish on the lightsabre to enhance the shiny bright special laser sword
After Pukey Lukey i painted Daddy Vader.
He was primed Black and then i tried to zenethal highlight him with spray cans… It turned out to be more work than it was worth. I wouldn’t be doing it again until i get an airbrush.
For the most part all the highlights were done before washing this time.
All these highlights were done using Russ Grey and the top highlights done with Fenrisian Grey.
The chest plate had a few colour put on it, compared to the movies and picked appropriate colours. Mostly red, green and grey.
Vaders lightsabre was done in the same fashion as Luke’s except i used Bloodletter Red Glaze. Including putting glaze on vader and the ground to make it look a bit like its giving off light.
When varnished I added Gloss Varnish to the sabre, helmet, shoulder armour and the shinpads.
Again, a simple scheme but i feel its effective. The light sabre is the focal point and takes a lot of the attention.
Rebellions are built on hope.... hope of rolling zero blanks
After i’d effectively tested out by rebel paint scheme on the ATRT i cracked on the with rest.
These geezers will form the core of your army so you’ll get a lot of enjoyment out of making a good job of them.
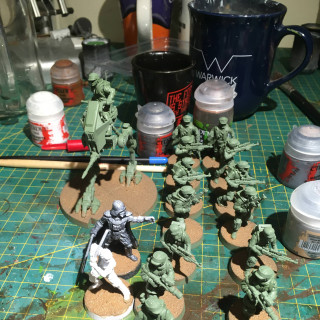
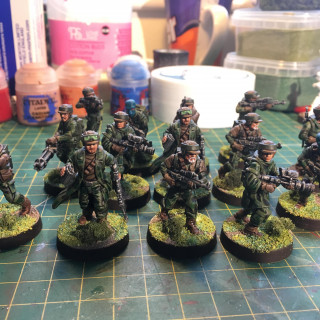
They were primed army painter army green spray paint.
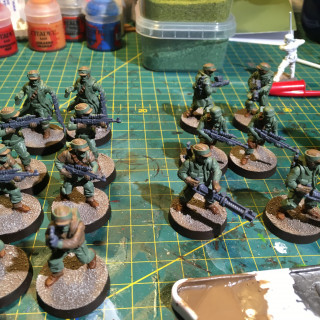
The guns were all painted mechanicus standard grey and then drybrush necron compound.
boots and bandoliers we painted Mournfang Brown
the gaiters/spats, selected jackets, helmets and gloves were painted using Steel Legion Drab
the backpacks and helmet bands were painted using Castellan Green.
After all the base colours are down the cool camo pattern occurs. I used two washed, Agrax Earthshade and Biel-Tan Green to block it out. Basically i put lots of splodges of the shade on the base green areas of clothing in a random pattern. if they overlap, fine, if they don’t, also fine. The objective is to make it represent a camo pattern and thankfully we don’t need to faithfully replicate a real pattern and then break it.
Once the camo pattern was dry i used Agrax Earthshade on the brown parts of the model (mainly clothes and boots), Athonian Camoshade on the green and camo areas (clothes and backpack) and Nuln Oil on the guns.
The faces were based, Cadian Fleshtone. Washed Reikland Fleshshade then highlighted with Cadian Fleshtone and Kislev Flesh. Beards were added in different colours with Agrax being the general shade for them with exception to white beards which were washed with a thinned Druchii Violet.
The Duros (alien) head was painted using Sotek Green and then washed using a thinned Drakenhof Nightshade. Although a Coelia Greenshade would probably have been a better choice.
I realised that ive forgotten to tell you all about how i protect the models. Army Painter matt spray varnish. Done. (although don’t use it when its hot, cold, wet, dry, windy, inside or outside… spray varnish is finikerty stuff. Normal not rainy weather in the UK will be fine)
Get that Va Va ZOOOOM!
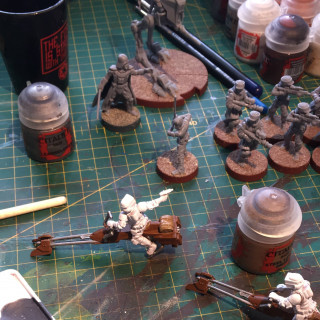
In a bid to keep the project rolling I cracked on with the Speeder Bikes. You probably saw already that i based them alongside the stormtroopers (and everything else), standard PVA and sand then quicken the drying time on a radiator if you want.
When you build these models (a bit fiddly) be very aware that the flight stand only fits into the model one way and given the game mechanics it is possible to muck it up and be eternally frustrated with yourself. I would recommend not gluing the rider to the bike until you’ve painted them separately, makes life a bit easier.
That then lets you prime the bikes and riders separately. I primed the riders using army painter white just like the stormtroopers and bikes and base in army painters fur brown. Having done this i’d say it isn’t a necessity to go out and buy a different colour primer, but i found it speeds up my painting time and I am fortunate enough to have enough disposable income to be able to afford extra primers (i have no children!). Big tip! mask the flight stand so it doesn’t lose its clarity during priming, use sellotape, masking tape, blue tac (poster putty), heathens souls or even your wife’s favourite teddy. Anything! I always think its a shame that we’re provided with clear flight stands to help make models look like they’re flying and then people end up priming them and ruining that look.
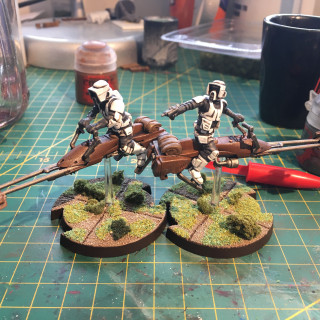
The riders were painted following the same rules as the stormtroopers, just with a lot more grey used as their armour is sparse. I won’t go into more detail as ill just repeat myself.
The bikes can be completed very quickly. I didn’t go into too much detail on them. I basically painted them mournfang brown for the main body and front fins, leadbelcher for the front frame pylon thingys, handle bars, engine bits at the rear end and weapons. The leading edges of the fins and front end of the bikes were then drybrushed with necron compound to show a little wear and tear.
Then two washes were used, nuln oil on the metal areas and agrax earthshade on the main body of the bike. very simple.
The final touches were random colours for the control panel buttons etc and another light drybrush of the necron compound on the leading edges to give a freshen up to the wear and tear.
The final touches were the basing. Again to be covered at a later date.
The speeder bikes are very simple and quick to paint but also super effective on the tabletop, consider using at least 2 units and maybe even 3!


