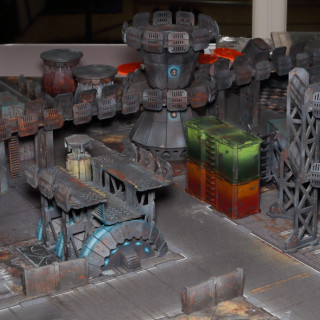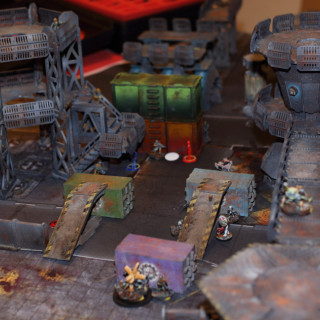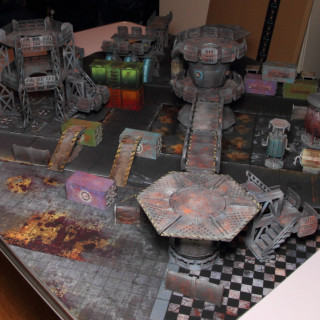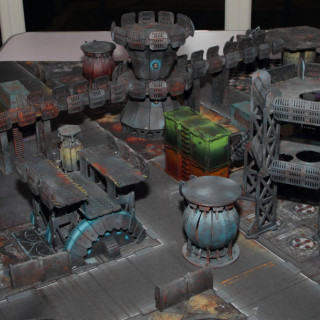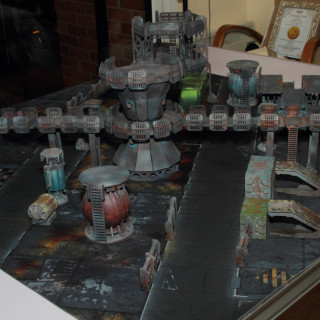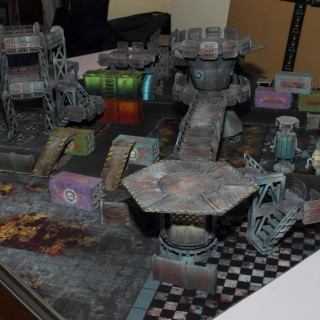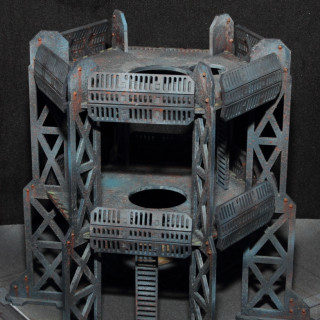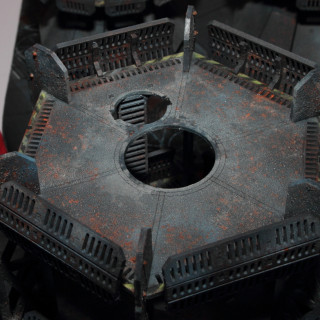
Building An Industrial Hive Table
Recommendations: 628
About the Project
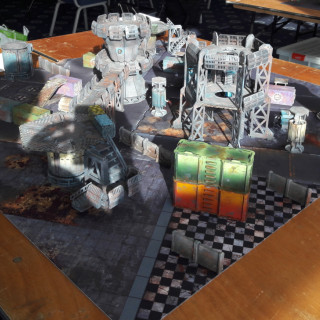
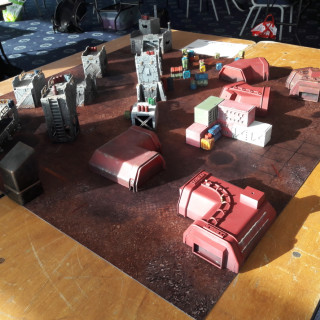
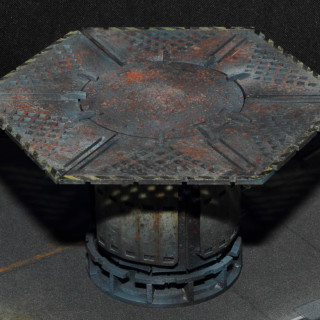
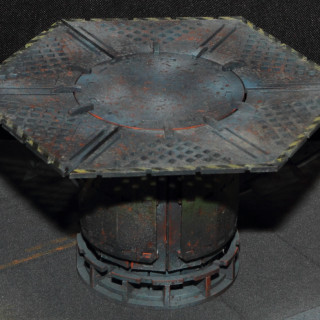
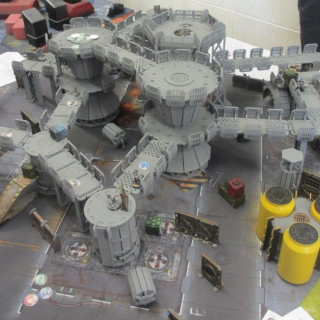
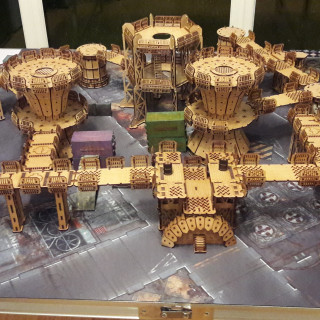
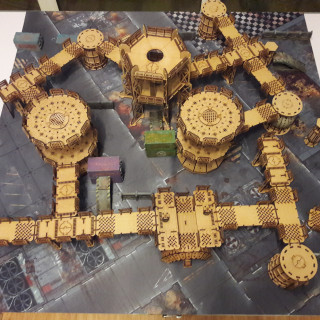
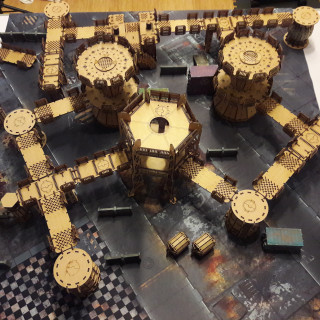
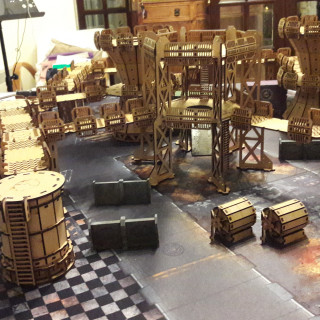
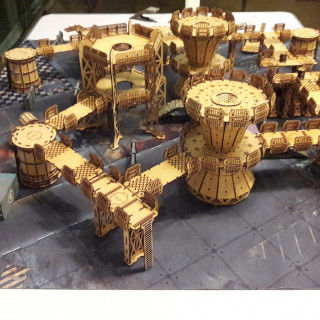
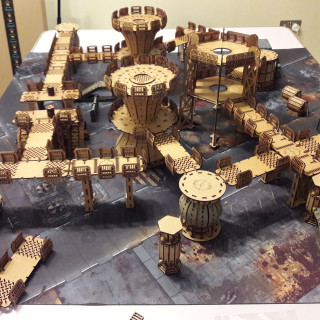
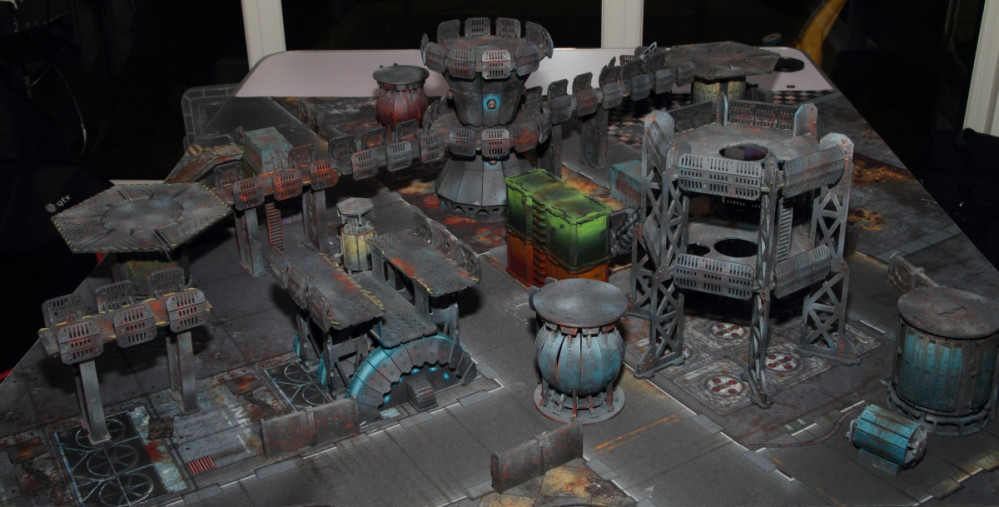
I started this project to make a table mainly for Necromunda but also for other skirmish games I play. I saw TTCombat's table deals at Salute and bought one on the spot. This is my project log for the build and paint.
Related Game: Necromunda
Related Company: TTCombat
Related Genre: Post-Apocalyptic
This Project is On Hold
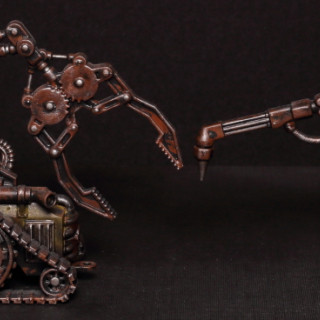
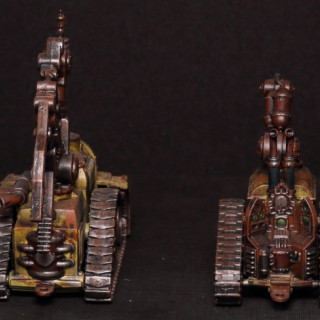
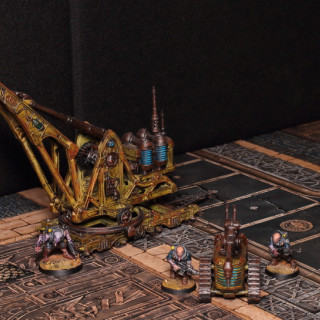
Galvanic Servohaulers Finished
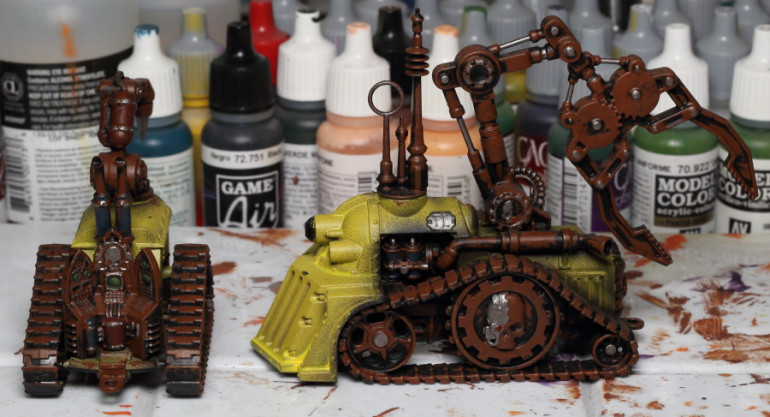
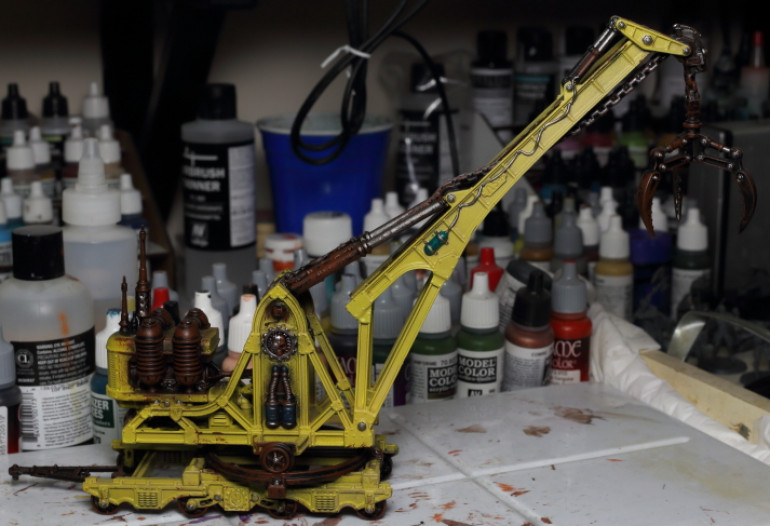
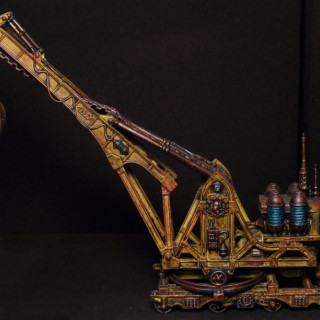
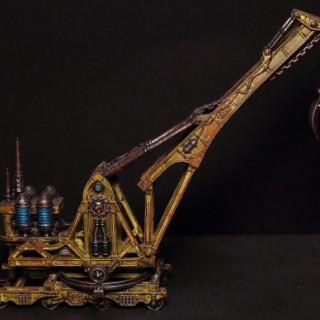
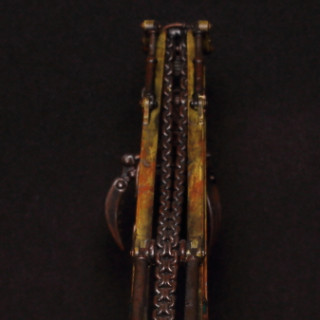
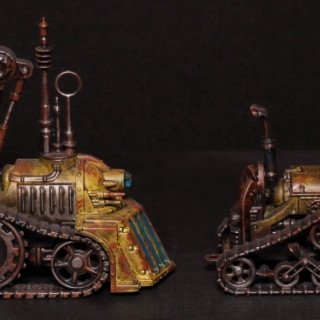
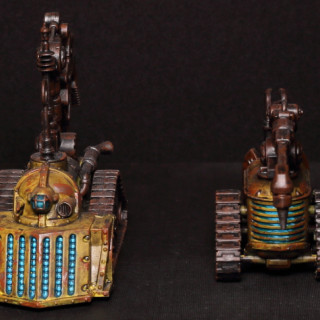
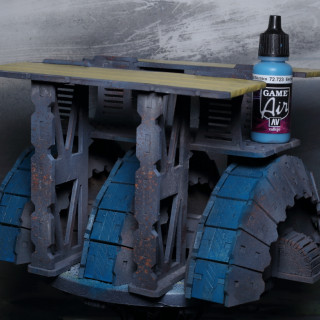
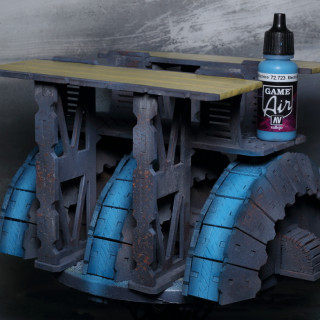
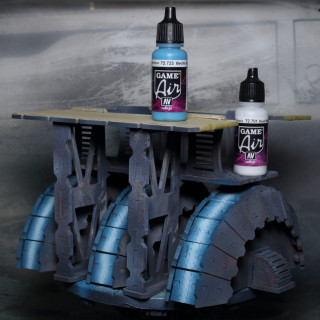
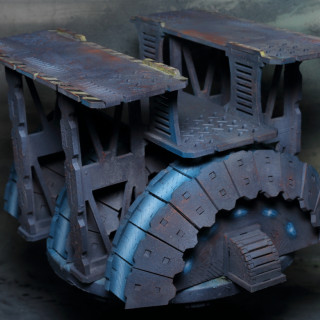
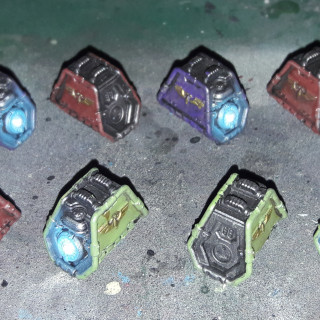
More progress on the Galvanic Servohaulers. I’ve been a bit slow updating this project but there’s more to come. Previously I’d worked through several layers to get a yellow base. Then I moved on to repainting non-yellow areas black before roughly overbrushing exposed parts with P3 Bloodstone and P3 Khador Red Highlight. Other details were roughly painted with leadbelcher. After that I slapped Nuln Oil and Agrax Earthshade all over them.
Next I worked on the power glow on certain area. This was done by painting the lit areas in steadily narrowing layers of:
– Vallejo Panzer Aces 70.309 Periscopes
– Vallejo Model Colour 70.808 Blue Green
– Vallejo Model Colour 70.844 Deep Sky Blue
– Vallejo Game Colour 72.001 Dead White
Finally I glazed all the glowing areas in Badger Ghost Tint Plasma Fluid. Since it’s terrain I don’t want the glow too stand out too much.
After this I sponged on some P3 Bloodstone to make rusty patches with the odd part having some GW Leadbelcher painted in.
I finished with a drybrush of Leadbelcher in a few areas.
Infinity at Colours 2018
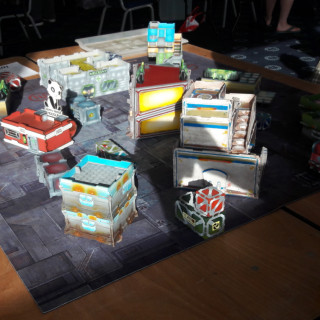
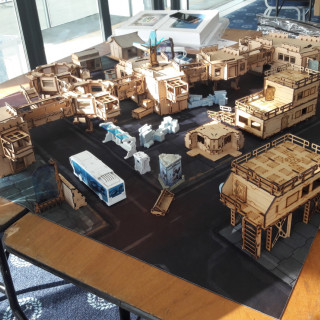
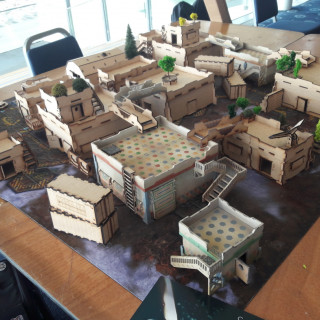
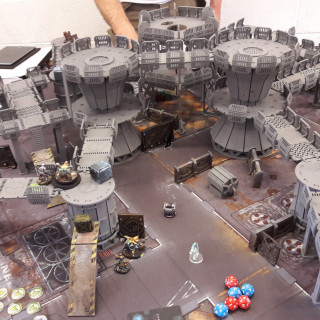
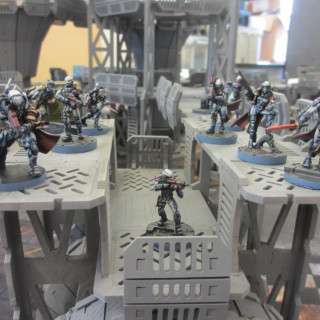
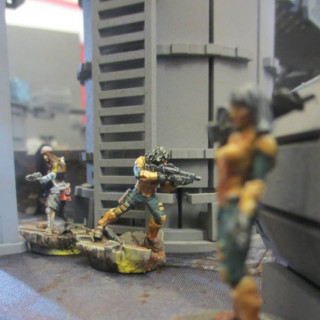
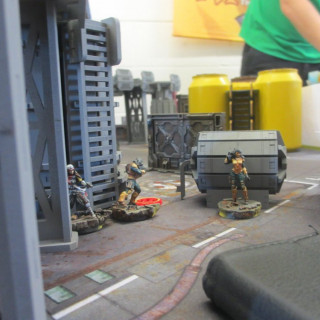
It’s tournament day! Here’re some pics of the tables. The first two are mine. My first two games were on my tables so I had the opportunity to ask my opponent how they’d change them. The feedback was generally good and the only recommendation was extra scatter terrain in each deployment zone. That was a good point and I’ll be looking to bring in some more when I get the chance. The tournament organiser added an opportunity for each player to rate the table they were on so I’ll be keen to see how they rated.
The tournament was held at Newbury racecourse as part of a bigger sales event. We got some time at lunch to look round all the stalls and after vowing I wouldn’t buy anything I bought a few bits. It’s a superb day out and I recommend it.
For anyone interested I came 9th out of 18 with a win, loss and draw. All the games were close and very tactical. A thoroughly excellent days gaming. I’ve finished last at the other tournaments I’ve attended so this was welcome upturn in form.
Table Setup for Infinity
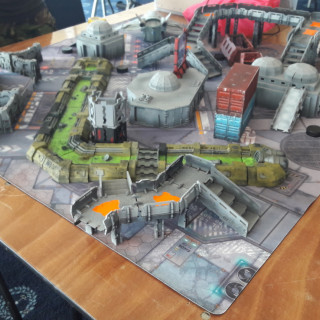
Recapping on the table used at the first, local Infinity tournament the problem players had was the table being too crowded. This time we dropped one of the chimneys and just had one, long walkway crossing the whole board. It worked well for me and my opponent so that was the layout set.
I have many more walkways in the set and if I played Necromunda I’d probably roll out more of the set.
It's Done!
It’s done! Here’re some pics of the main pieces I haven’t shown yet. The were plenty more walkways to show but I don’t think we need to see more of them. I could do more but I’m a little burned out on this project and I think it’s got enough.
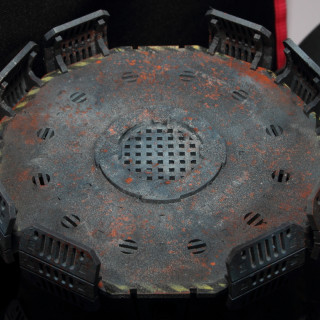
I might come back for some extra details on the chimney. I’m still undecided on the drain covers.
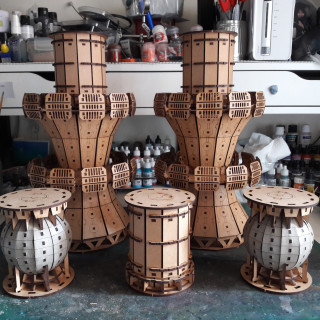
Card Detail on Silos and Chimneys
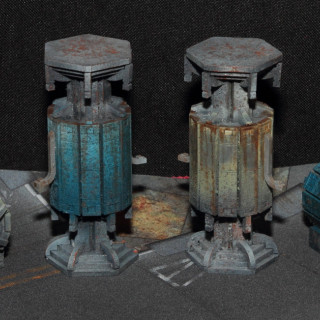
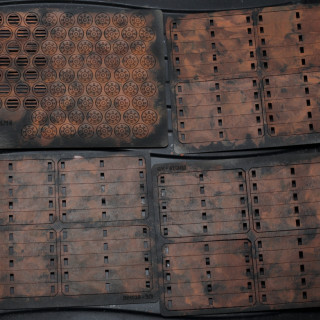
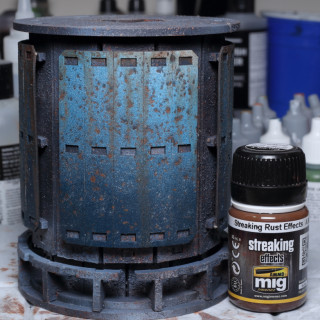
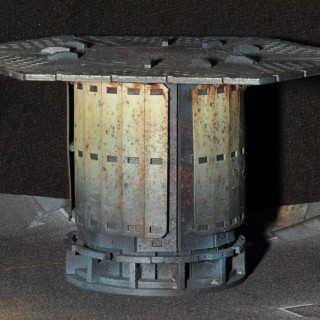
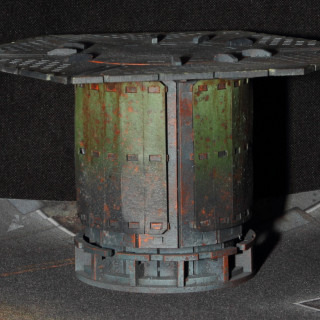
Some of the silos and the large chimneys had card pieces to add for detail. I used the salt / hairspray technique once again and added some rust effects with Mig products.
The silos’ pieces were fine and went on. Two of the silos have pieces to attach to make a large platform.
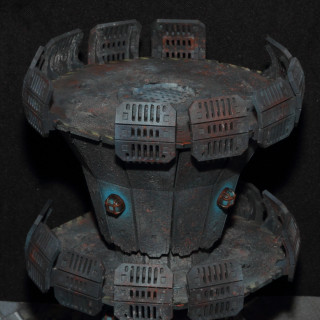
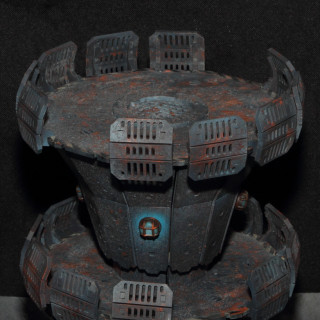
I left the detailing off the chimneys for the moment. They had drains and some kind of etched handle. I’m in two minds about them and have left them off. I prefer the big, grey slab of chimney for the moment. However, I did add some lamps to the chimneys with a quick airbrush blue behind them.
Nut And Bolts
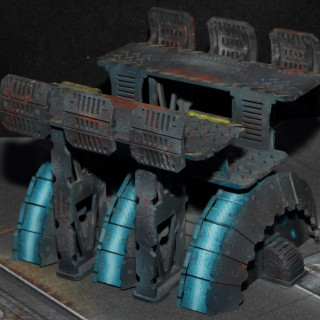
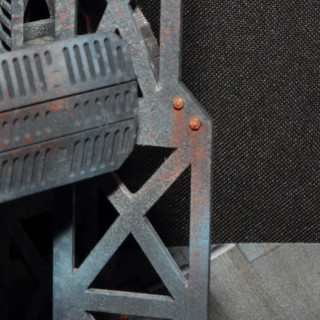
I used some moulds from Green Stuff World to cast some small nuts and bolts. I glued these to the leg sections of a larger building. It’s legs were a bit featureless and I thought they’d break up the long, flat surface.
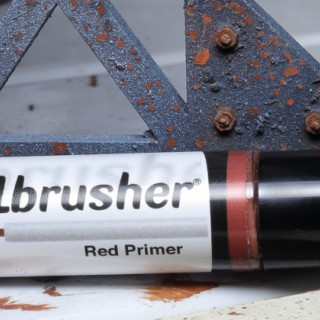
To further embellish the bolts I tried adding rust streaks using the rust oilbrusher by Mig.
The Power Generator
Hello everyone. I haven’t posted for some time but I haven’t been slacking. I signed up for an Infinity tournament – Infinity at Colours 2018 in Newbuy – and promised to bring a couple of tables. So that meant my time’s been spent trying to finish this table as quickly as possible. I did it but have only had time to post the latest updates now.
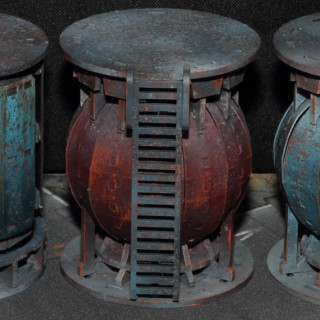
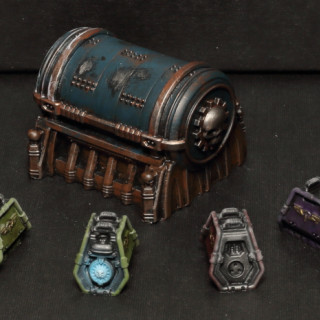
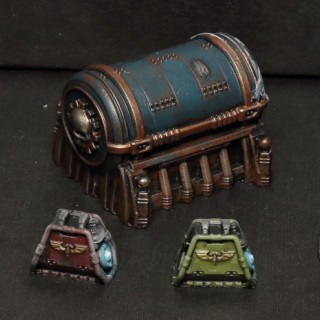
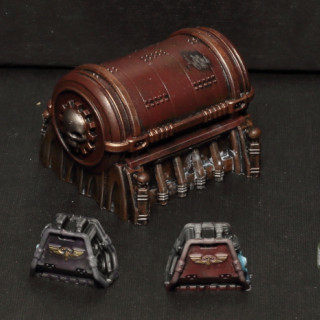
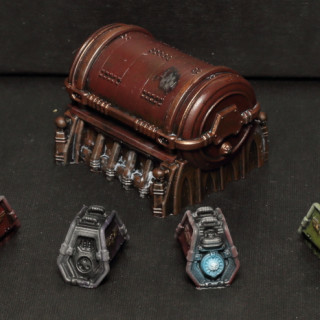
First up is the power generator. Hazards and the hairspray / salt rust technique were done as detailed before. The blue power view was done by progressively airbrushing narrower coats of Vallejo 70.966 Turquoise, 72.723 Electric Blue and White.
TTCombat Resin Scatter Finished
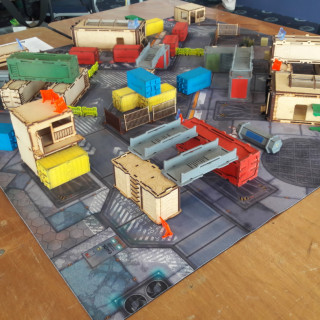
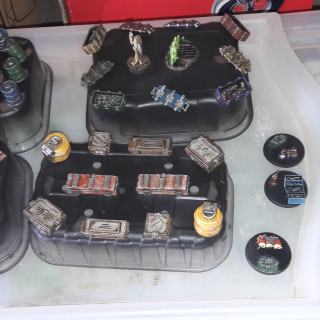
The TTCombat set came with a bunch of resin scatter terrain. I bought some extra to give a nice pile of obstructions and objectives.
On the large, red generator there’re some out of place white markings along the bottom. I didn’t notice these till editing the photos. I’d guess it’s the feared frosting effect. Not too sure though. I’m using a new primer and I’m slightly fearful it’s not adhered to the surface.
Necromunda Box Terrain Complete
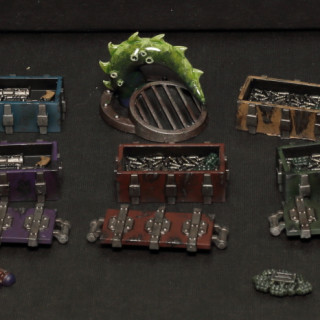
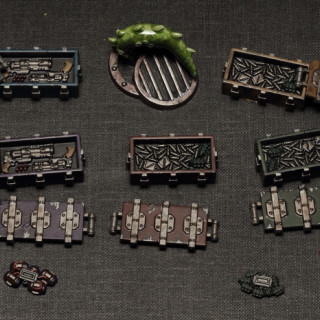
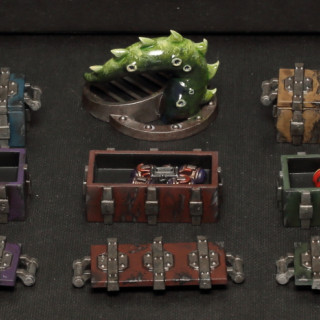
I’ve finished the Necromunda Underhive Box’s plastic terrain.
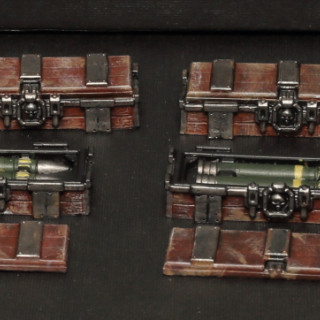
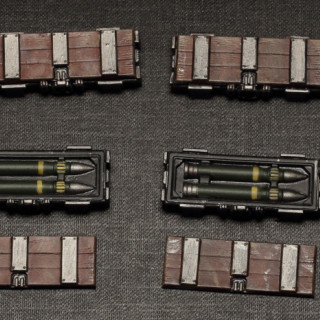
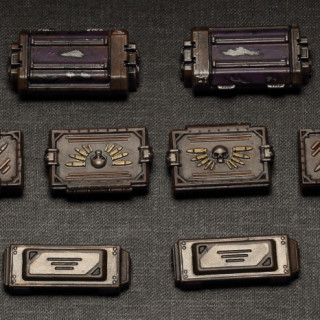
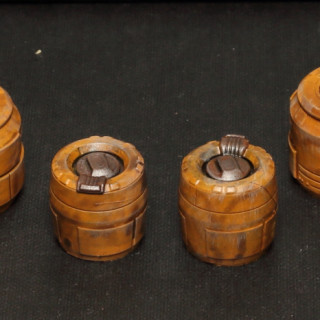
The ammo crates have two sides. The obvious side is filled with ammo or guns. The other side is empty but can fit the rigged explosives left loose.
I tried adding some large areas of peeled off paint. I think the result is a bit too large but it works from a distance.
The tentacle was finished pretty quickly by stippling purple, green and finally yellow over black. A couple of glazes of green to tie it all together and only a gloss coat to finish for the slick look.
In addition I added some rust to the ramshackle barriers I’d finished earlier in the month.
Resin And Plastic Scatter Terrain
I’ve been painting up the plastic objectives in the Necromunda box and the resin pieces I got with my TTCombat box. Most have just had their varnsh applied.
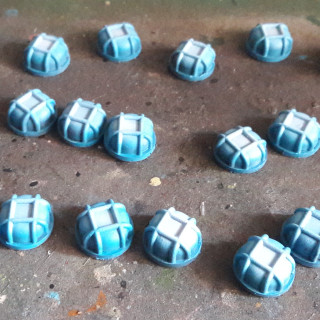
The final pic has some lamp pieces I bought from Zinge. My plan is to add them to some terrain pieces casting a weak, promethium blue light. They’ve only had a coat of Vallejo Game Air Electric Blue and a quick burst of white in the centre. I’ll Add a metallic to the bars on the lamps and that should do.
The Infinity Tournament
I worked late and managed to get the table primed. This meant I didn’t get to my tournament list till the early hours of the morning of the tournament. If that sounds like an excuse it’s because it is. I got mashed.
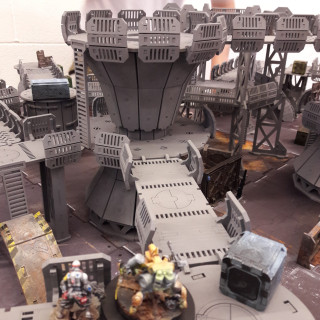
Anyway the table was a bit busy for Infinity. It could’ve done with fewer walkways ‘cos line of sight was hard to spot. Also the taller structures needed spacing further out. Otherwise it played well and the Necromunda players there were very keen to try out that game on it.
Now the tournament is done I can crack on with this at a more sedate pace.
Sample Table Layout
Here’s a sample layout I tried before the Infinity tournament. I kept the larger structures in the middle to cut down long fire lanes.
I’m very impressed by how configurable the table’s components are. It’s not hard to switch things round and covers the board better than their demo table at Salute showed.
Industrial Structures
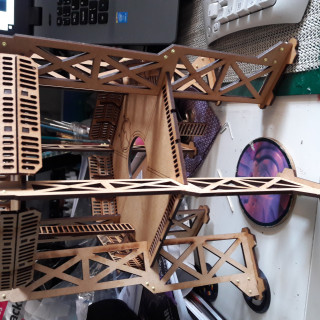
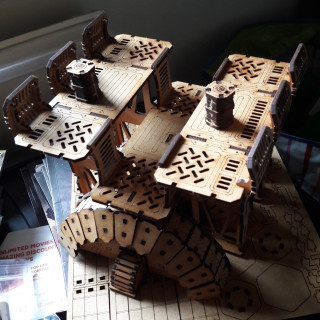
I’ve had some problems posting these pics as part of a larger entry so I’m adding them in their own post. Please bear in mind that several pieces come with cardboard detailing that hasn’t been attached yet. I’ve put them aside to be painted separately.
The TTCombat Terrain Arrives!
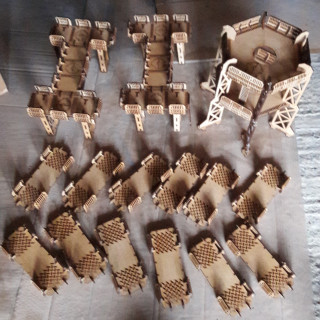
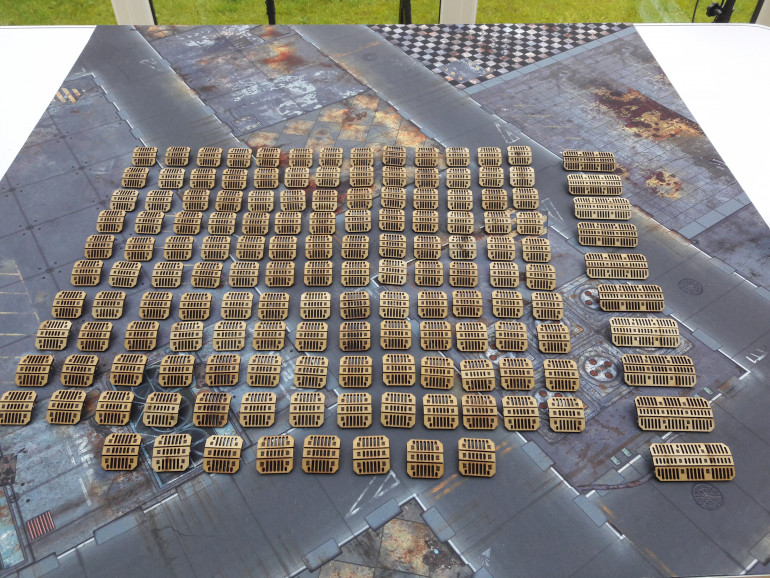
TTCombat’s terrain arrived and goodness there was a lot. I knew there’d be alot but still.
I’d like to give a shout out for Jamie at TTCombat. I was going to a local Infinity tournament in over 2 weeks and asked if there was a chance I could get the terrain to have it built in time. He got it to me in time.
That didn’t stop me understimating how much there was to build. The terrain comes with walkways you can arrange in a variety of ways. This means barriers are removable. Each barrier comes in 5 parts.
The Galvanic Servohauler
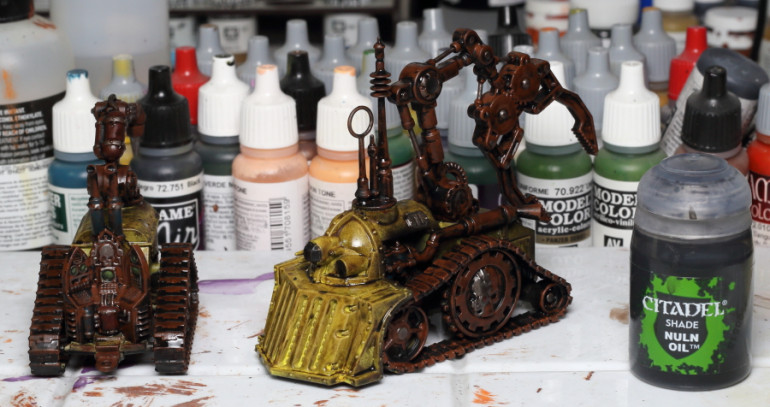
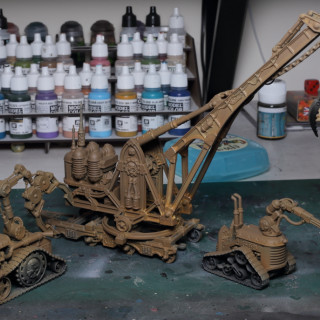
I’ve had my eye on a few of GW’s underhive kits thinking one or two might give the table an Underhive feel. The Galvanic Servohauler was a good price and a nice kit to build.
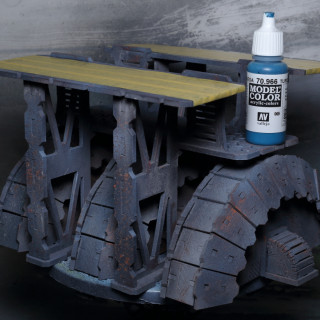
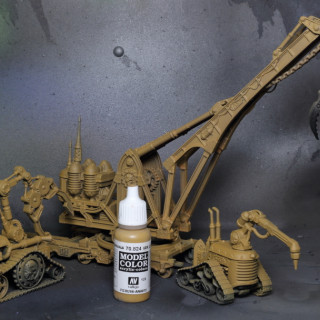
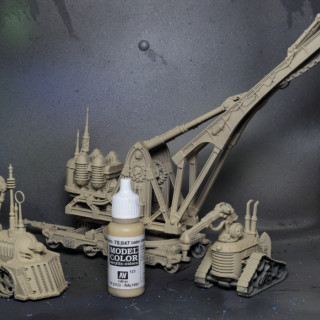
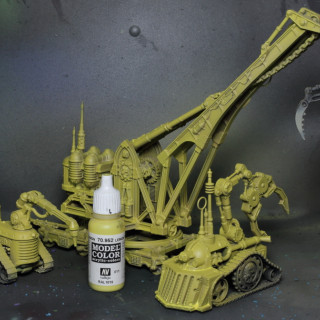
I wanted a yellow base colour but unfortunately only had black primer. Here’re the steps I took to get the colour up to a kind of hazard yellow. They required successive coats of US Field Drab 70.873, Ger C. Orange Ochre 70.824, Dark Sand 70.847 and Lemon Yellow 70.952.
Battlemat Arrives
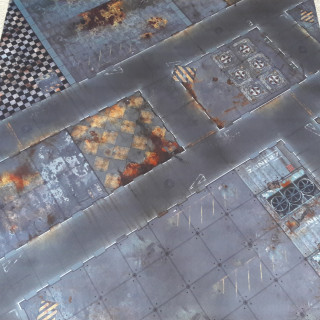
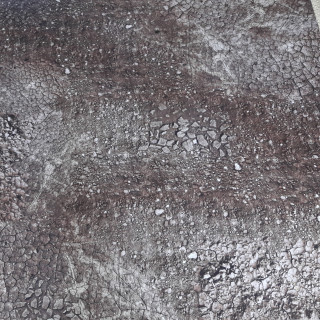
I’d ordered a double-sided mat from Gamemat.eu. One side had an industrial looking area while the other had a wastland print. I chose this because once GW haev released the old gangs they’ve mentioned expanding the game into other areas potentially including the wasteland outside the hives.
It arrived and I’m very happy with it.
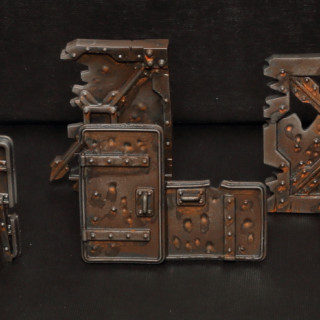
Necromunda Box Walls
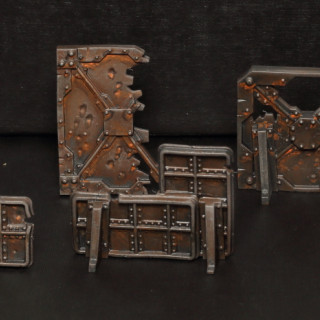
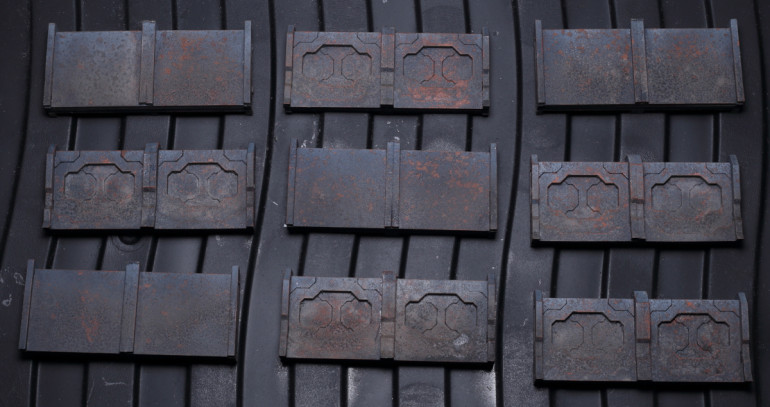
The Necromunda box has some plastic scenery which I wanted to put some colour on. The wall sections will make good scatter terrain in other games. I wanted a quick way of painting them and came across the following method.
- Prime them black.
- Using broad strokes of the brush with some stippling, loosely paint in Mournfang Brown. Don’t cover every part, leave visible black areas.
- Drybrush with a silver metallic.
- Paint in extra details.
You can see the results in the gallery. For the more ramshackle terrain pieces I might add some rust pigments but otherwise they’re done.
The hazard on the door with a circular aperture was undercoated with chipping fluid but I painted the topcoat on too thickly so it had no effect. I just sponged on some steel metallic after that.
Recap
I began this project under a normal hobby thread in BoW 1.0. I haven’t been able to reload the thread since the changeover so I’ll do a quick recap here. Please bear in mind that I’ve been flat out trying to get some of this table ready for a tournament for the last two weeks. Hence why there’s a sudden glut of updates now.
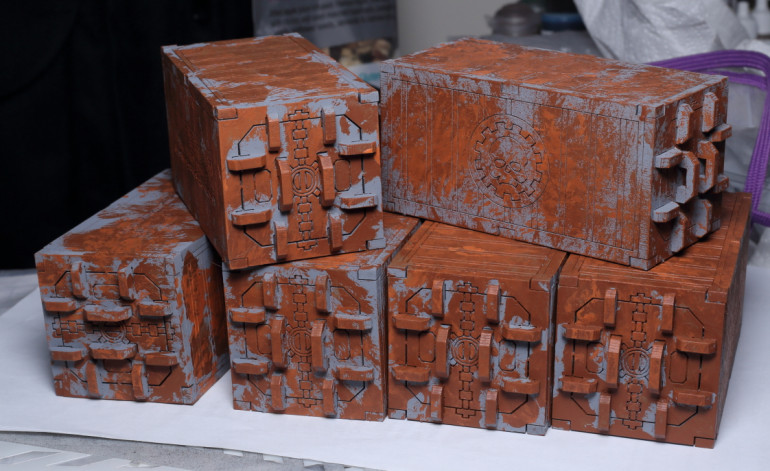
I ordered the industrial terrain set from TTCombat and while I was waiting for it to be delivered I began working on some extra bits I’d bought for it. I was looking for a quickish way to do some weathering effects and decided on the hairspray and salt technique.
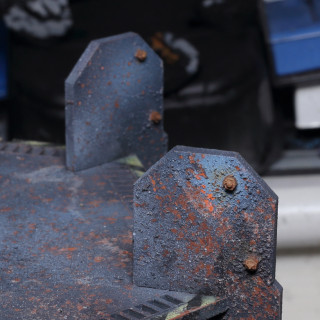
First up I primed the terrain grey. Then I stippled on P3 Bloodletter for dark rust patches followed by P3 Khador Red Highlight for the brighter patches. It didn’t need to be neat so this was a nice job I could do with my son.
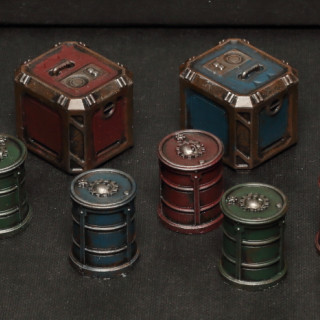
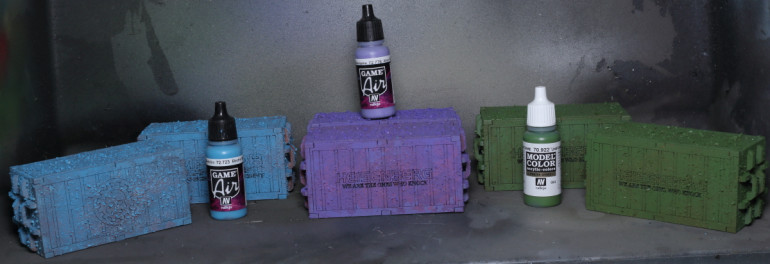
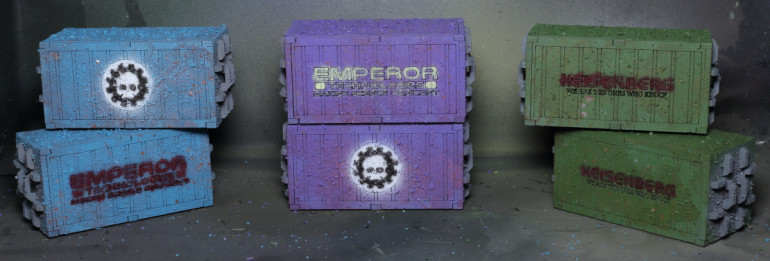
Next I sprayed them with hairspray and sprinkled varying chunks of salt all over. Once that dried I sprayed the containers with their base colours without trying for full coverage. After that I loosely airbrushed in some of the details. Since these are old containers they didn’t need to be too sharp.
Once dry I wet a firm bristled toothbrush and set to work scrubbing off the salt. I’m pleased with the result. Not too much effort for some simple scatter terrain.
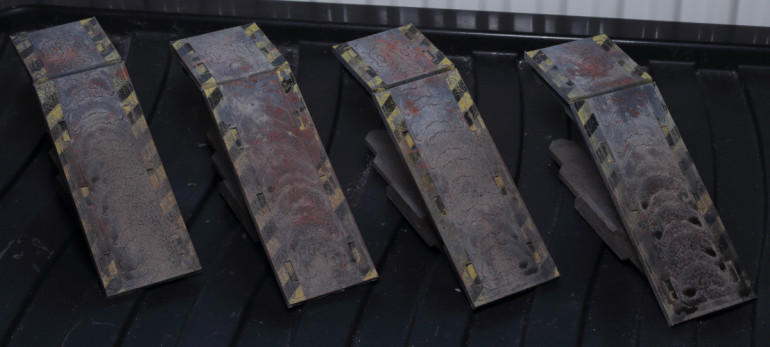
I’ve done some other pieces I’ve documented before. They were some barriers and ramps painted in the same way as mentioned above.
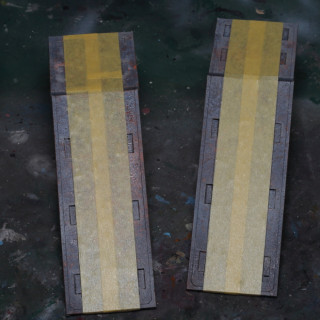
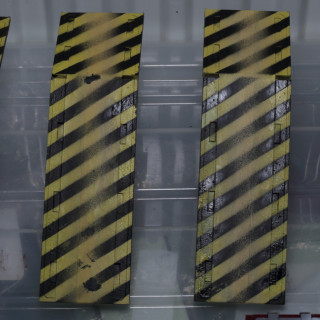
The hazards on the ramps were created by first spraying chipping fluid on the area to be weathered. I then masked using Tamiya tape, sprayed on a yellow and then used a stencil to spray black stripes. Once dry I used a toothbrush to scratch off parts of the paintjob.


