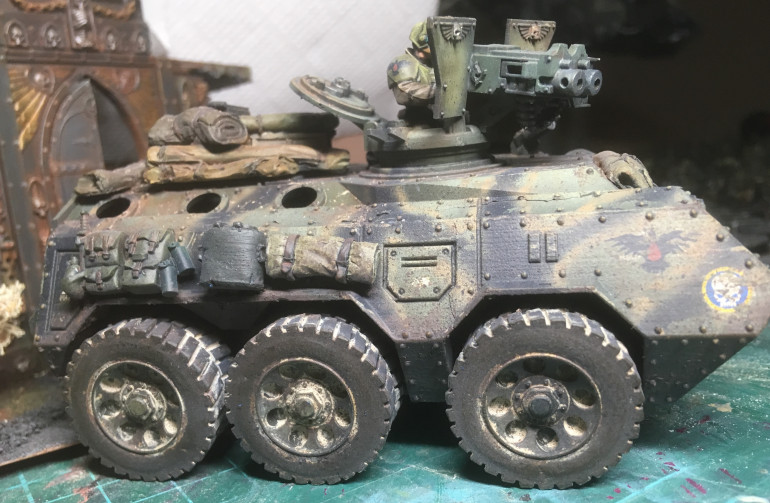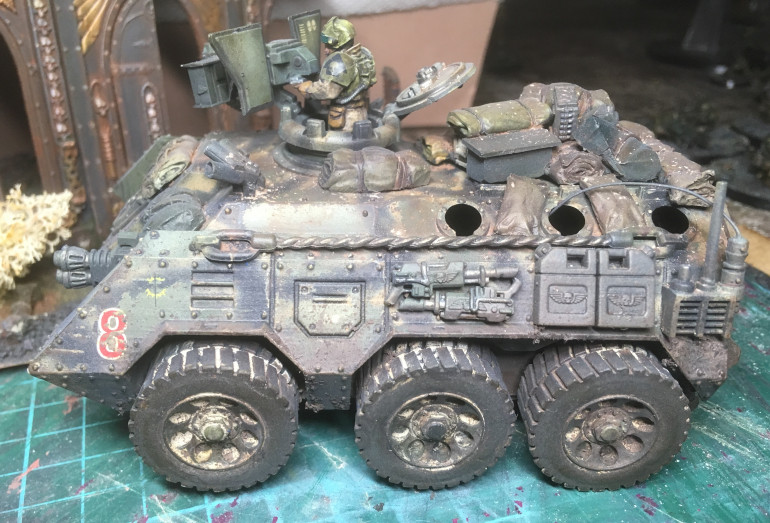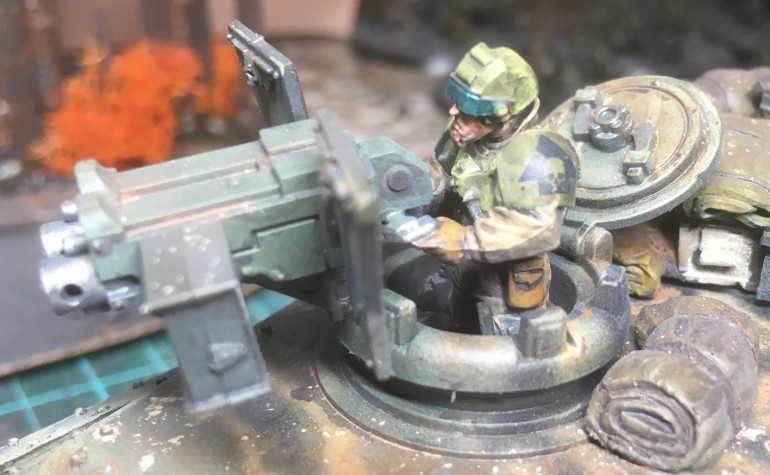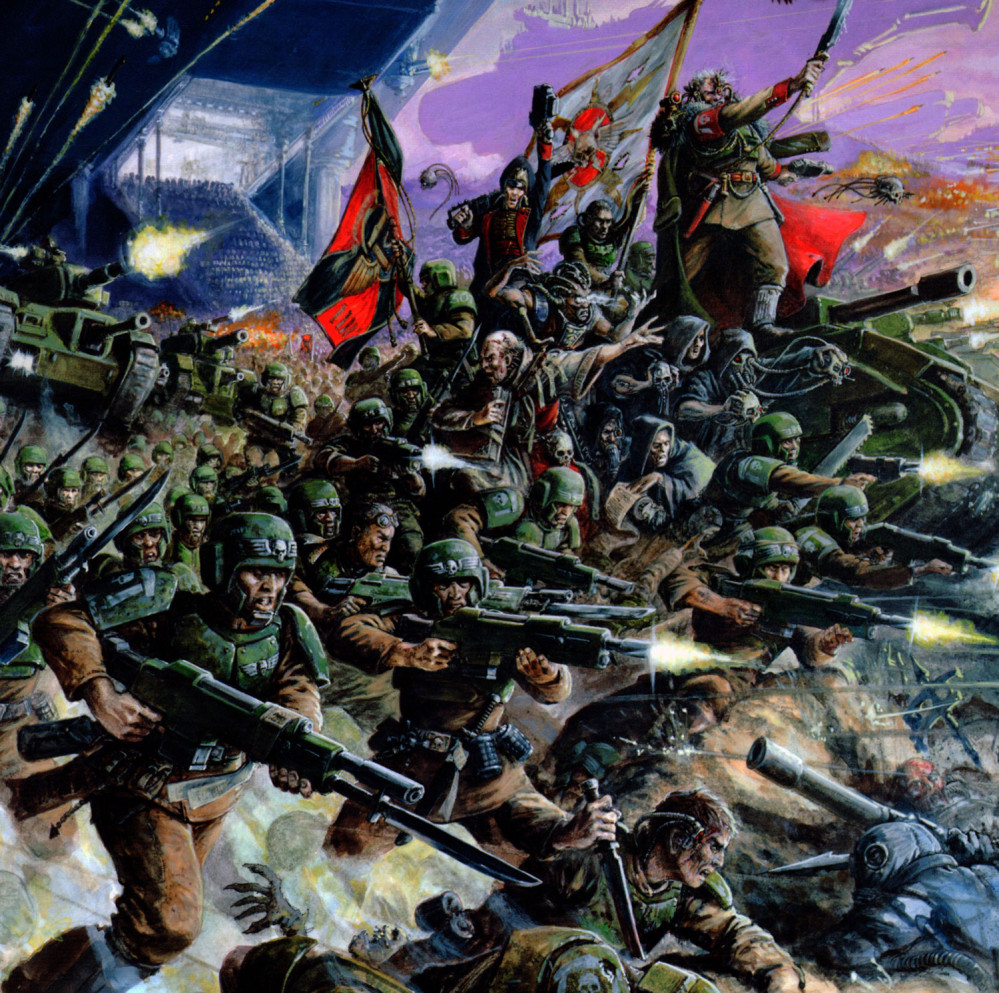
40k Imperial Guard Elysian Army ‘The Fighting 95th Talevaran Airborne’
Recommendations: 28
About the Project
I have been doing 40K from the start and have always represented the Imperium of Man and the good old Imerial Guard have been my focal point for hobbying and playing wargames on the tabletop. Since Forgeworld have produced the Elysian Army I have always wanted to theme a whole company on that concept. So over the years I have built up models to do this, but have waited till my painting skills are at the point I’m happy to do a whole Army in one go. That time is upon me and the project has started in earnest. I am slowly converting every model to get that unique look, converting and weathering every vehicle for that worn universe look and using a colour pallet that most will recognise is from WW2 and Vietnam. So enjoy as I slowly post this project up.
Related Game: Warhammer 40,000
Related Company: Games Workshop
Related Genre: Science Fiction
This Project is Active
1st Wave
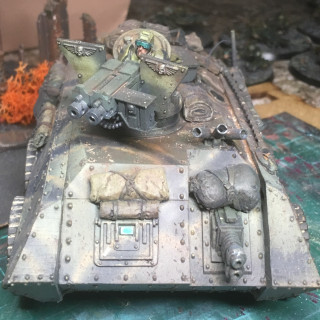
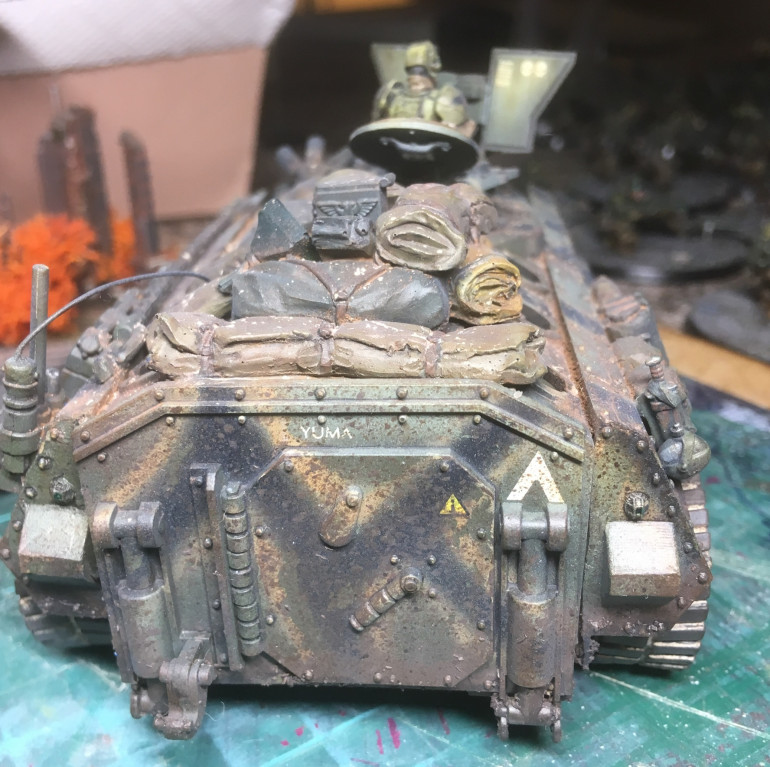
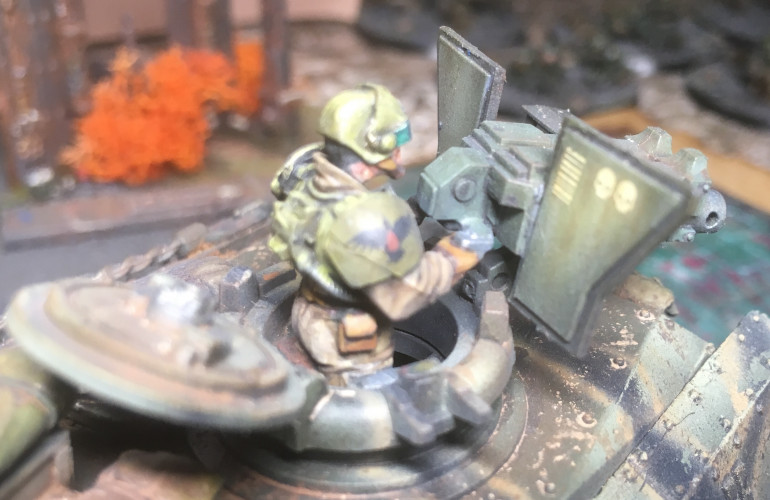
Front view of chimera. I have used Mig Ammo products for the entirety of this project for the vehicles.
The base colour is olive green for the whole chassis, Matt black for camo stripes, with a German yellow for the outside. I applied this with a H&S Infinity airbrush. This was followed by a filter of 3 tone camouflage. This ties the 3 colours together. All the add on items were then painted with base colours fitting their type. These were then washed with AP strong tone and highlighted with base colours to emphasise the shadows.
All the decals were then applied by using Micro Sol decal products to soften and fix. Once dry a gloss varnish was applied over the whole area the decal was applied. This is done to level the area out again.
All this work was sealed with satin varnish to protect the work done to this point.
The 1st part of weathering was to do all the rain effects and rust, I did this using Mig Ammo weathering effects.
The 2nd part was to apply the dust effects, again using Mig Ammo dust products.
The 3rd part was to apply the mud effects, again using Mig Ammo mud products.
This was all sealed with a flat Matt varnish. The new mud splashes where hit with gloss varnish to create that wet look.
I can’t recall who I purchased the wheel conversion front. The tyres are painted with Mig Ammo tyre colour.


![Very Cool! Make Your Own Star Wars: Legion Imperial Agent & Officer | Review [7 Days Early Access]](https://images.beastsofwar.com/2025/12/Star-Wars-Imperial-Agent-_-Officer-coverimage-V3-225-127.jpg)


