


All Natty Spring clean challenge


Recommendations: 39
About the Project
My first spring clean challenge, taking a mini from the bottom of my shelves of minis and making something cool!?
Related Game: Moonstone
Related Genre: Fantasy
Related Contest: Spring Clean Hobby Challenge 2025
This Project is Active
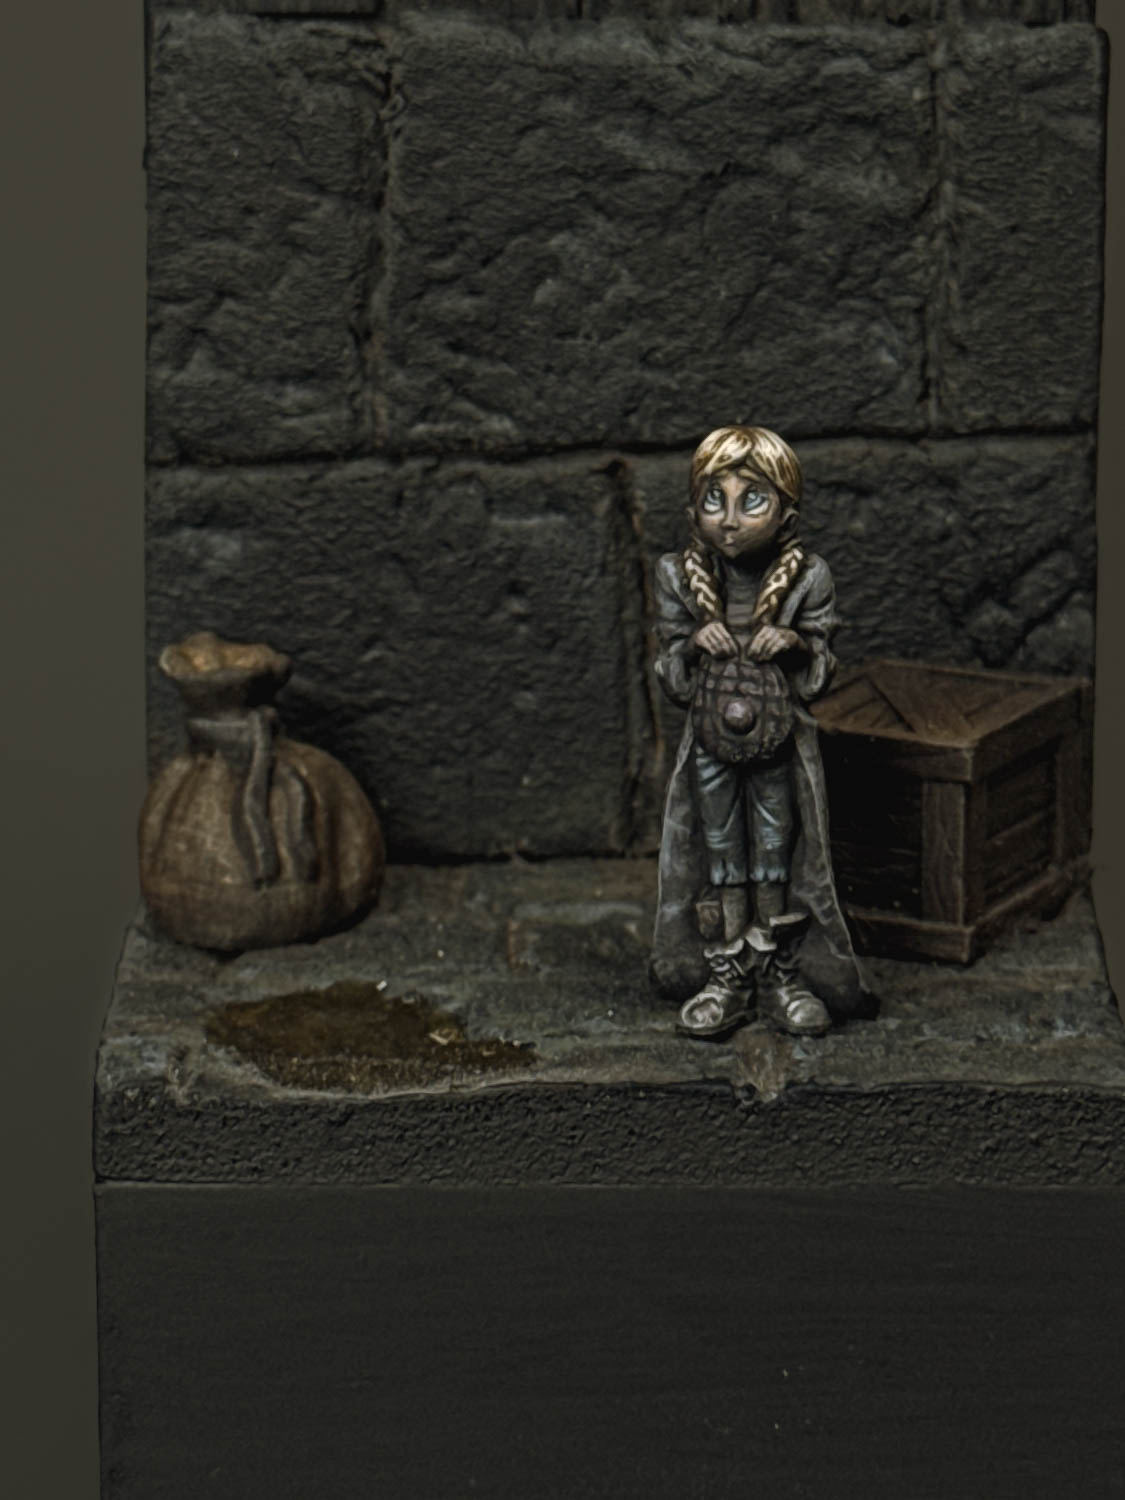
All Natty All done
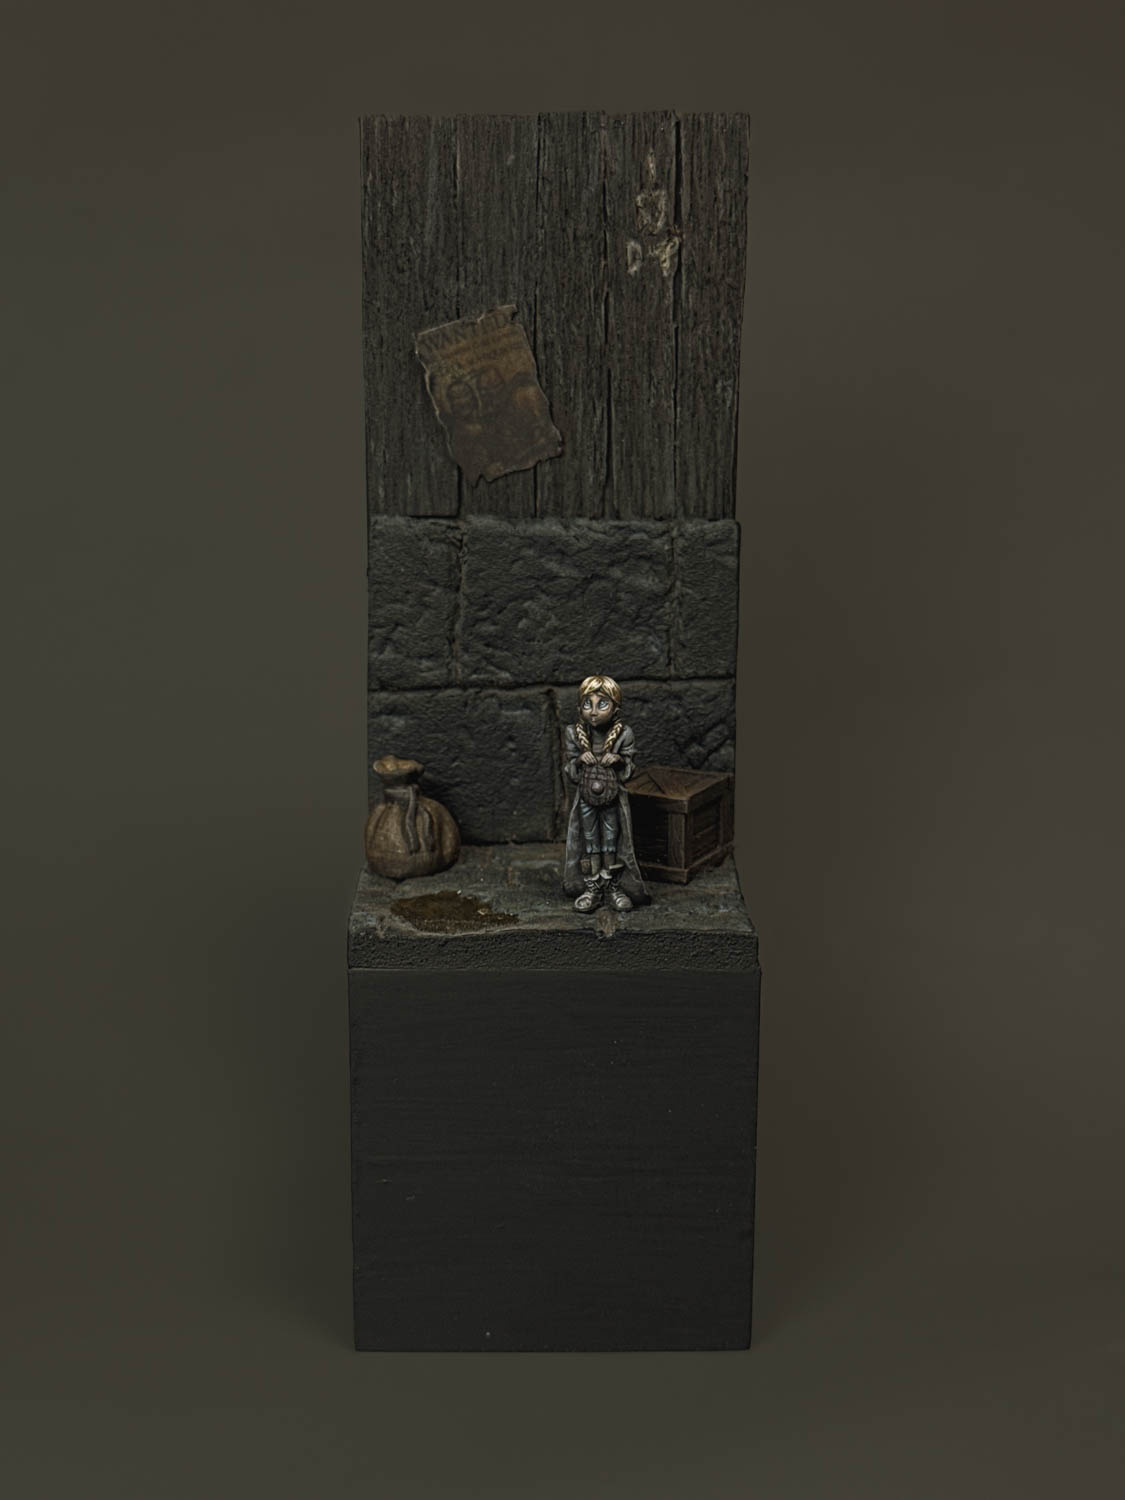
To finish this up I sanded down the plinth and painted it black to loose the 3d printed look. Did a bit of touching up and called it a mini diorama 🙂
A Sundays worth of progress
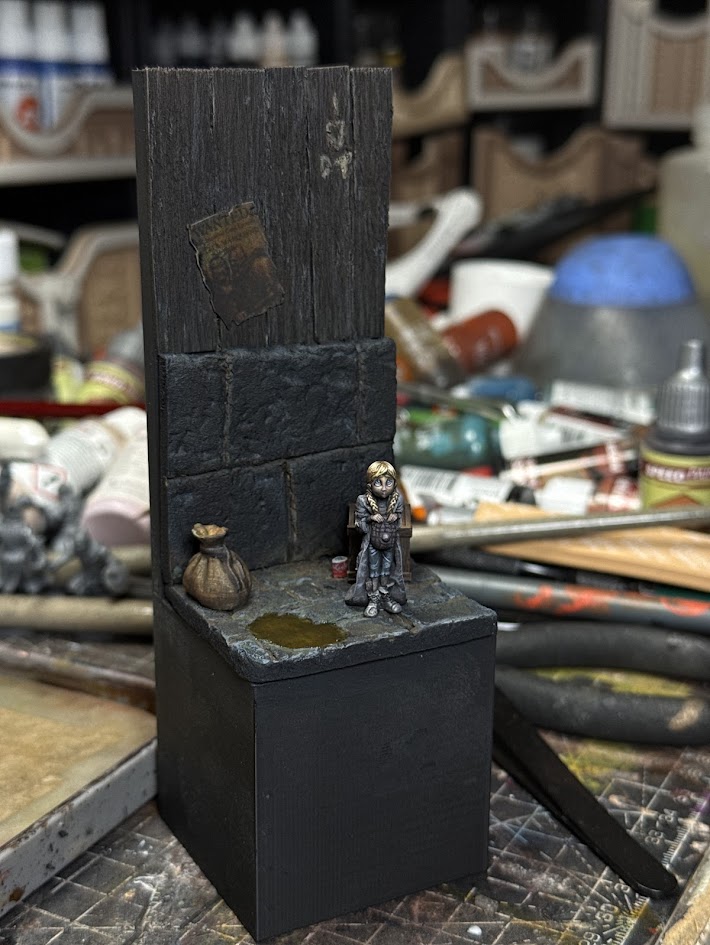
Ok so picking up from where we left off I wanted to add more to the background and give it more interest, more texture, more colours. I went looking for images of old alleyways. A couple of things came to mind from this, 1. Stones need mortar, green needs to be introduced. I then saw an image with puddles and that made sense too.
I added all the above in.
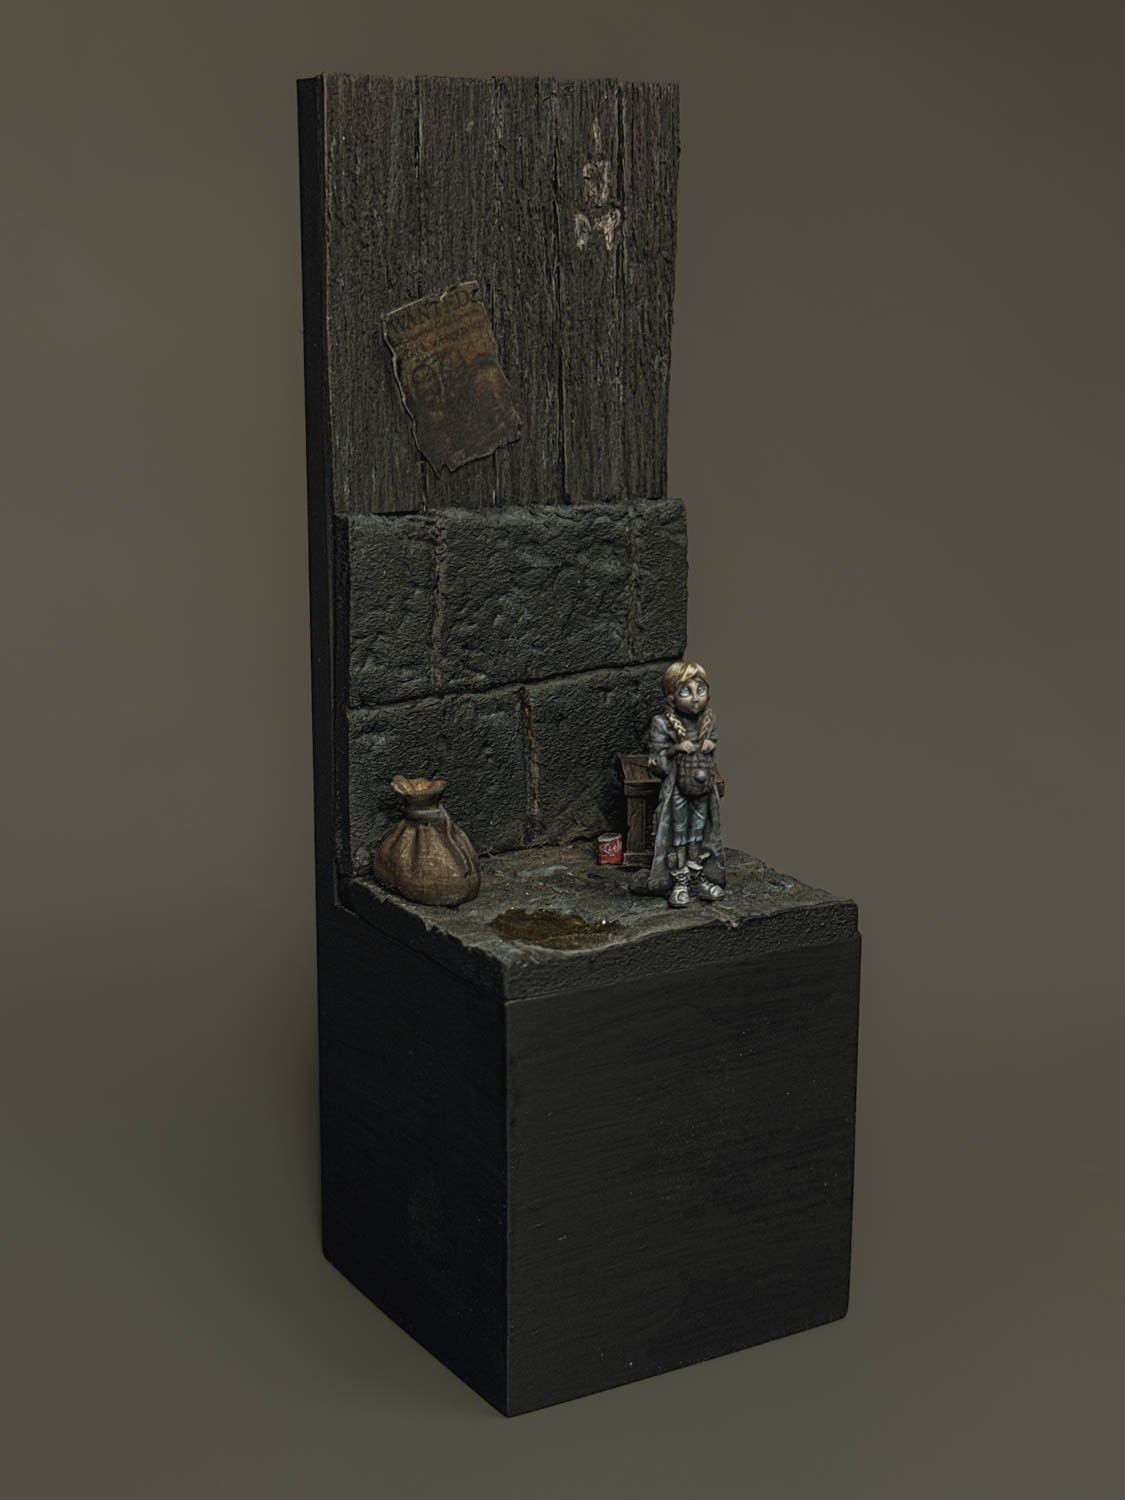
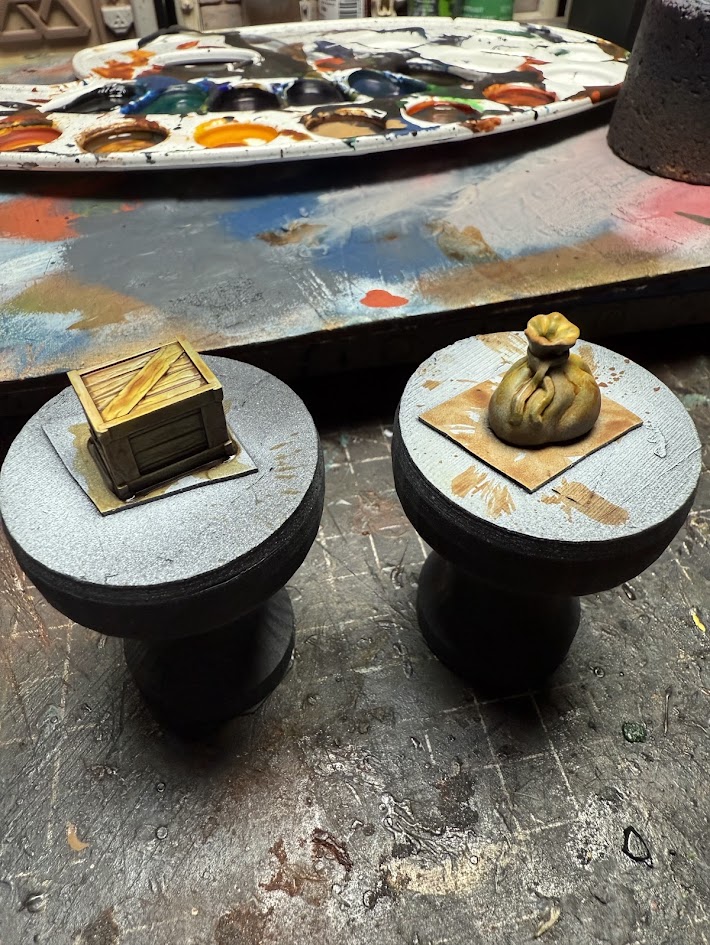
Looking at it though It was an empty scene and not interesting enough so I went looking for some scatter to make the scene feel more real. I have some printed crates and sacks for a frostgrave scenario in a warehouse and so I took a couple of small ones and got them painted up.
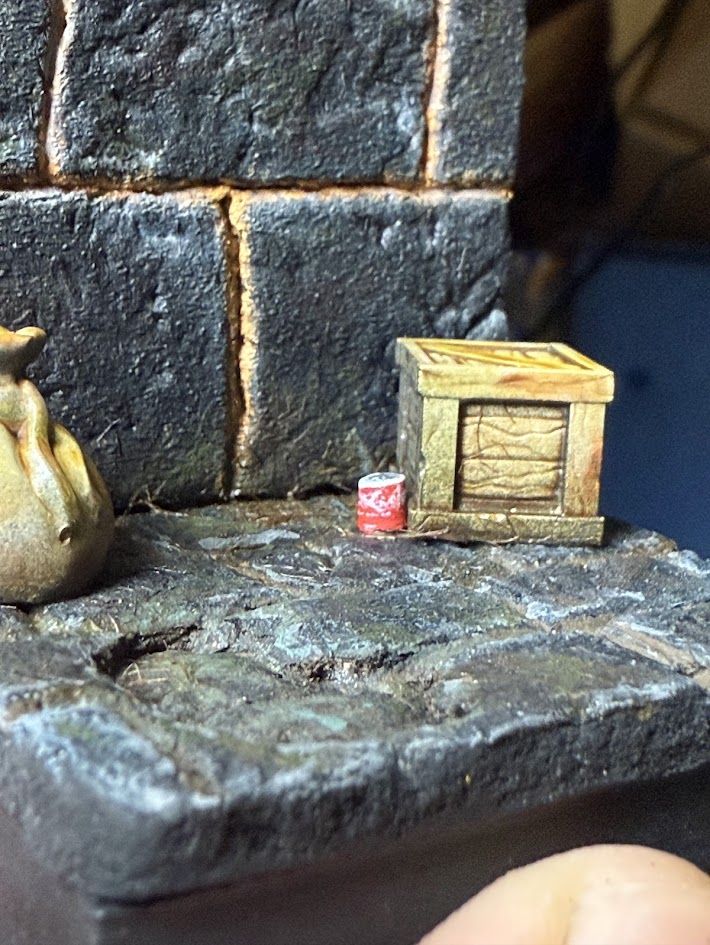
It still needed more though. I added some grass/mud texture and a carving in the wood on the top right. I <3 DC (or so it started as). I thought as well about trash to make this seem more like a back alley. And a can of coke came to mind, following this thought, what if this isn’t fantasy but sci-fi. What if this is a projection of our future? The current track environmentally and politically is globally a mess and there is a possible future where we go back to the Victorian age with further gaps in the wealth disparity. This seems inspiring to me so I grabbed this idea and ran with it.
I found some soft armature wire that was the right thickness and cut a bit off about the size of a can of coke, painted that up. I also then changed DC to DT, another small thematic addition to any paying attention. I’m also considering adding the amazon smile to the crate.
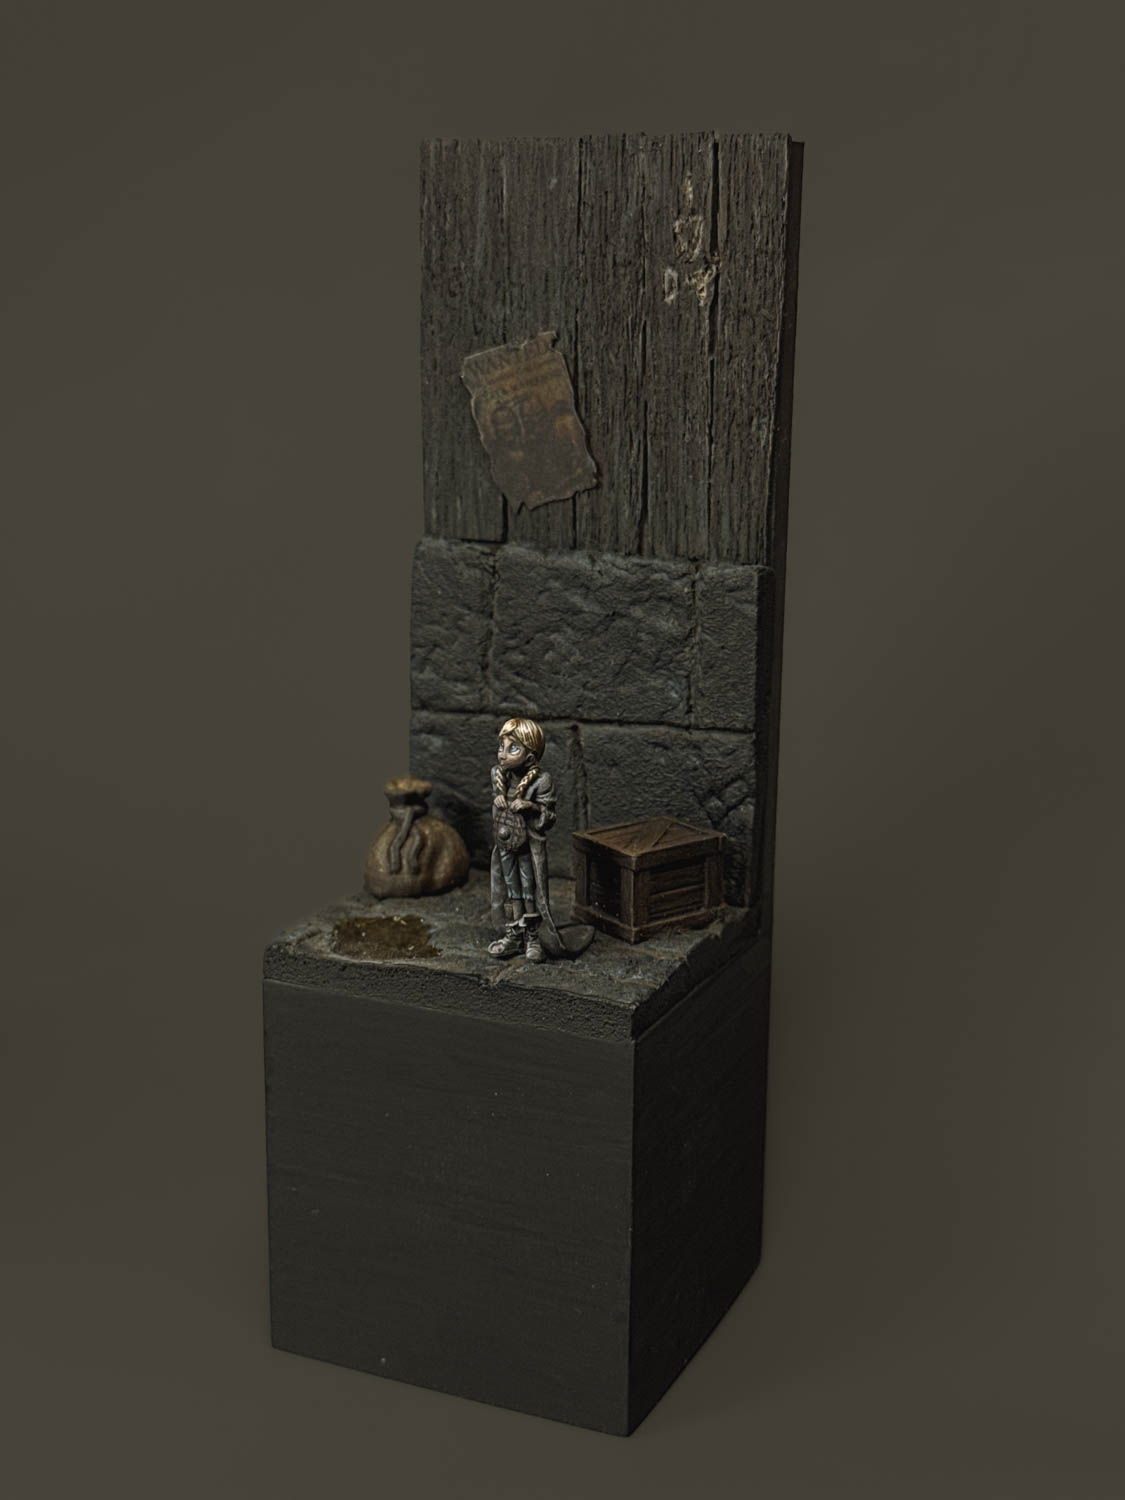
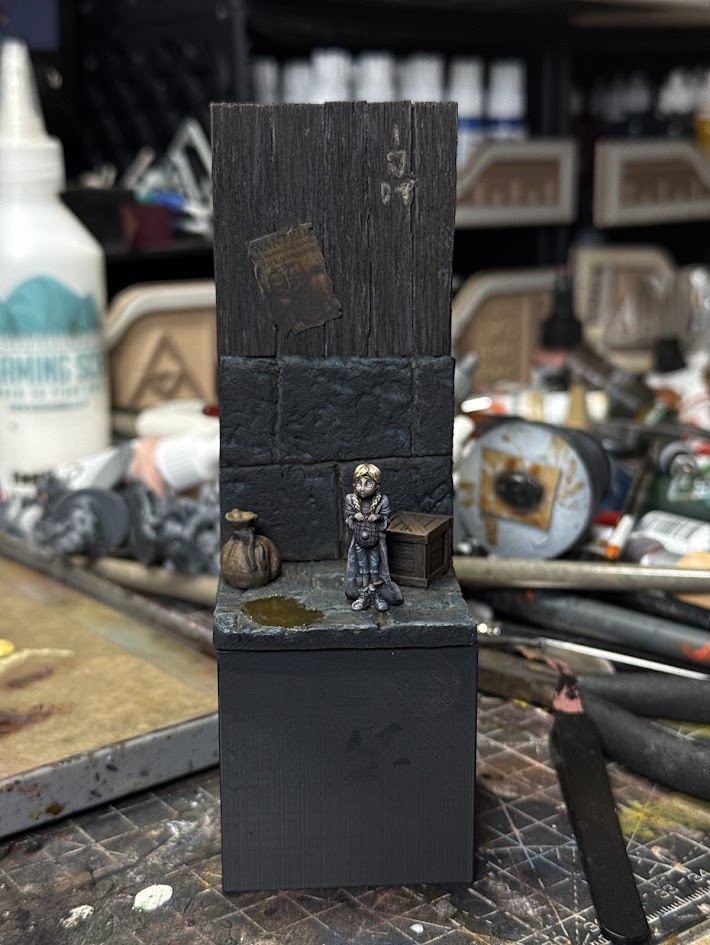
So next was to put the piece together and see where we were
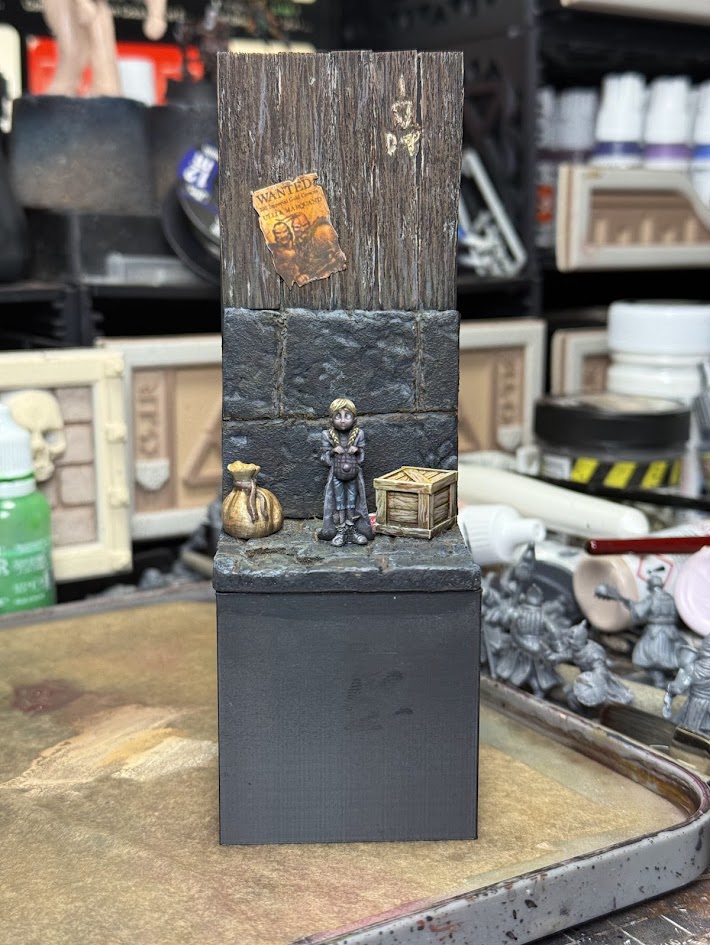
There are a few things off here:
- The figure doesn’t stand out enough
- a friend pointed out that the can of coke stands out too much
After some deliberating and playing with ideas I went with changing the position of the character to be more forward (separating further physically from the bg) in front of the can of coke (so its still Coca-Cola red but hidden from the main view), brighten the mini and add in more tone and colour contrast to the face and eyes and darken the background elements to build further contrast with the mini.
With all this done its time to put it down and live with it for a few days to see what else needs updating and improving.
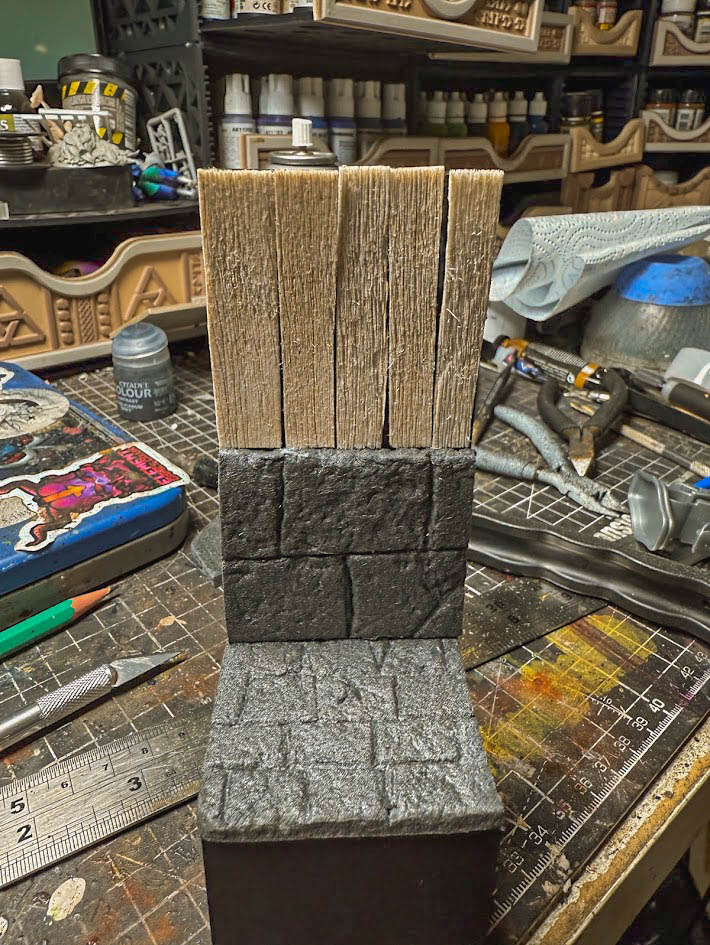
Progress
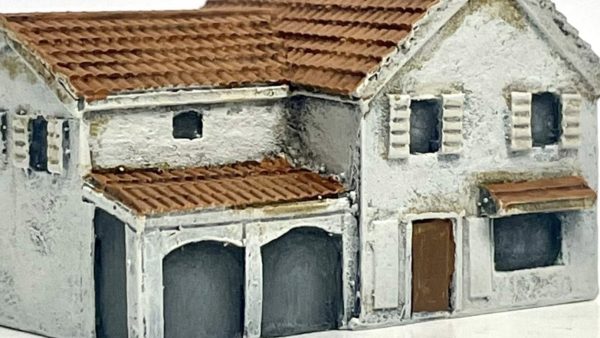
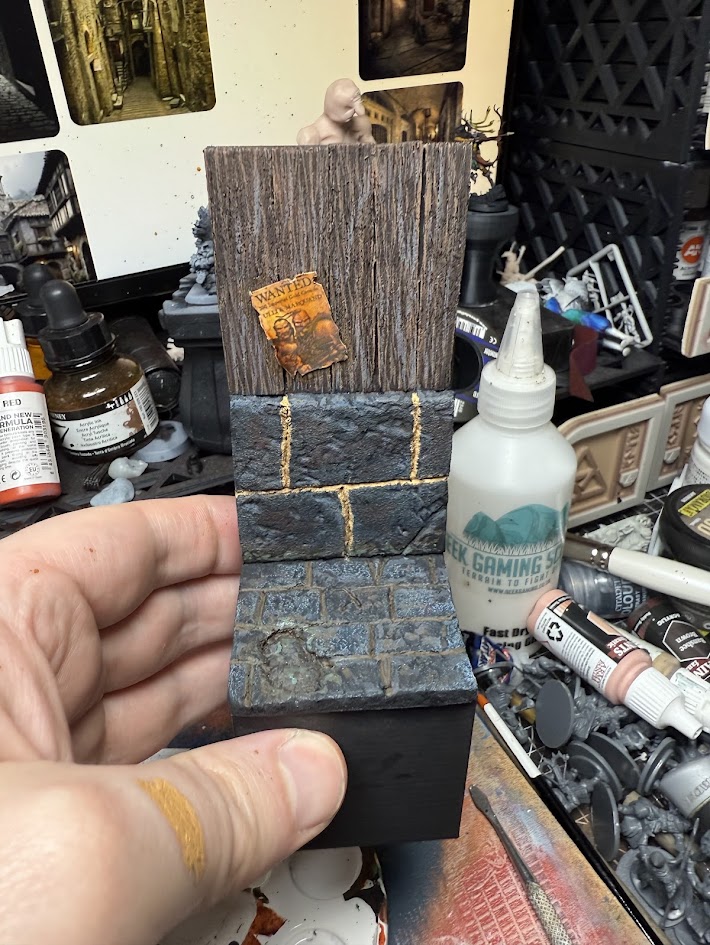
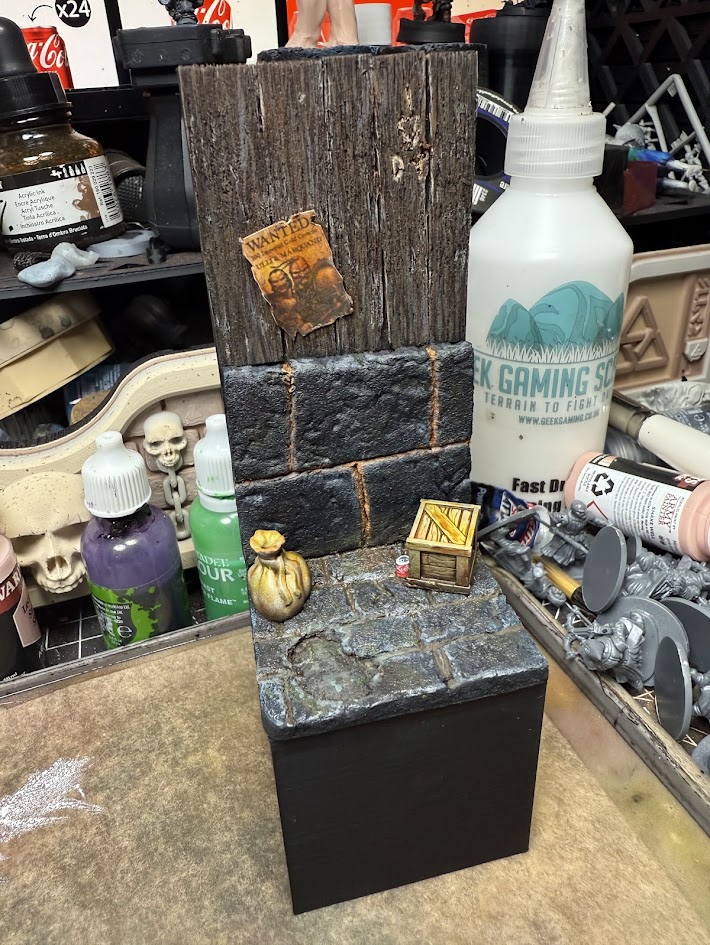
With the Plinth printed I got to work putting together the base and background. Some simple work with foam, drawing out stones with a pencil then using a scrumpled up ball of tinfoil to make the texture of stone, Two small pieces with different sized stones and I had the lower part of the wall and the floor done. I then took some balsa wood and scored it up with a wire brush, cut it into planks and glued it all onto the plinth. Simple enough.
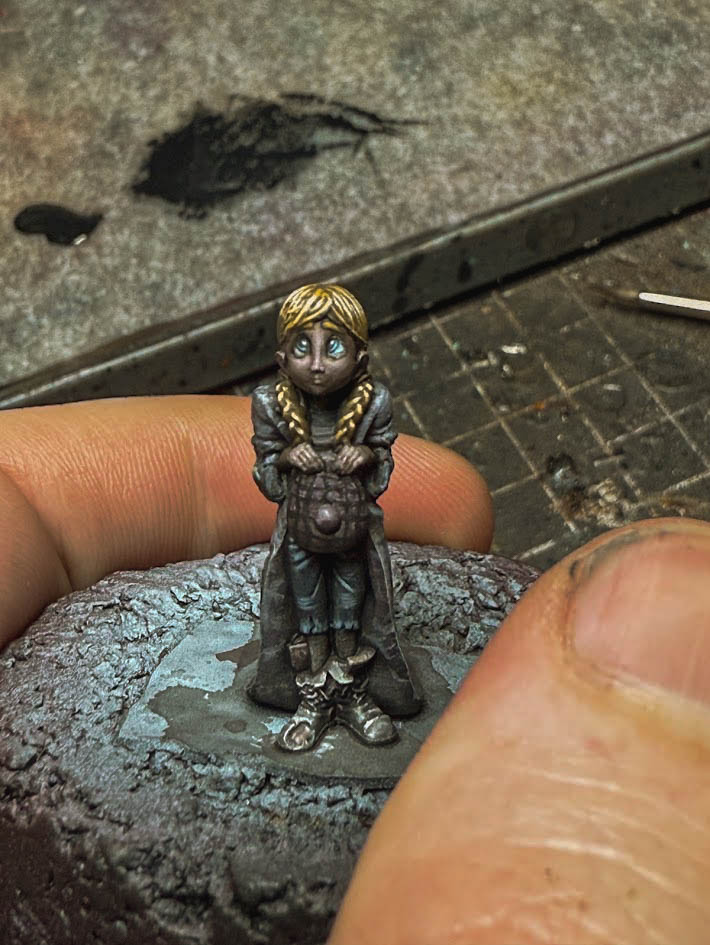
I then set to work on the mini. I decided to work with transparency and a desaturated pallet to really set the dour tone of the piece. To start I used white to set the values on the mini, working with scratches and stipples to ensure there was texture of dirt right from the start. I also made sure the eyes were very bright in comparison as I want them to be a flash of colour and the attention grabbing element of the piece.
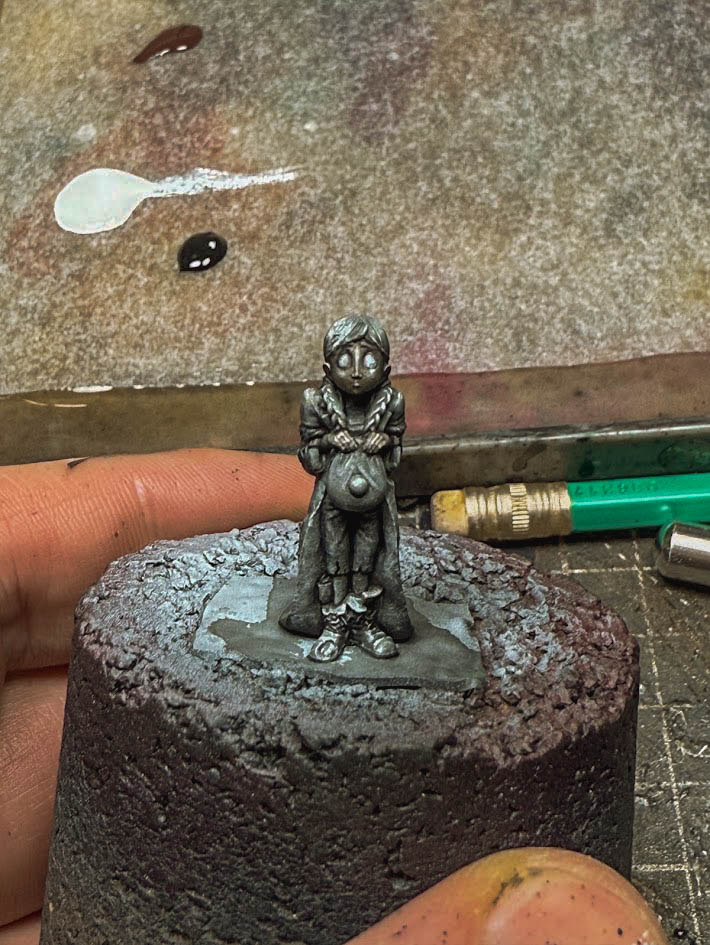
I then took some basic colours and used Vallejo dark grey wash to really tone everything down, mixing it in with the colours on the pallet to desaturate them. It also has a certain graininess to it which works well with adding a grimy look to the figure. I worked thin and built the tones up slowly over the underpainting of the white and the airbrush.
Once that was set I had the dark elements of the miniature but it needed some highlights and a little more saturation. I then worked that up still working thin to ensure all the work previously was creating a hodgepodge of texture and colour. I simply worked through each element building it up till I thought it had the right contrast across the piece.
Finally I had the eyes to paint in. The right needs fixing but with the yellow of the hair and the blue of the eyes contrasting with the sombre tones elsewhere I think I have the correct focus.
Ok putting the mini to one side for the time being lets set the base and backdrop up so we can see how they are working together.
Fairly straight forward working in the same way as the mini, painting in transparent paints, setting the tones first and building the textures and layers up.
The big idea here is to set it so that there appears to be the shadow of in between a pair of legs creating a pyramid around her and working to vignette the piece, further drawing attention to the mini. It may not work well as it could draw and arrow to the top of the piece rather than the mini but I think the contrast of her vs the background should overpower that effect and it should just work to draw the attention to her over the background and build further storytelling into the sculpt. Planning on adding that next to see how it will work.
I also added a poster to the wood for a little more visual interest, simple printed out and stuck on, will wash it later to led it meld better with the world.
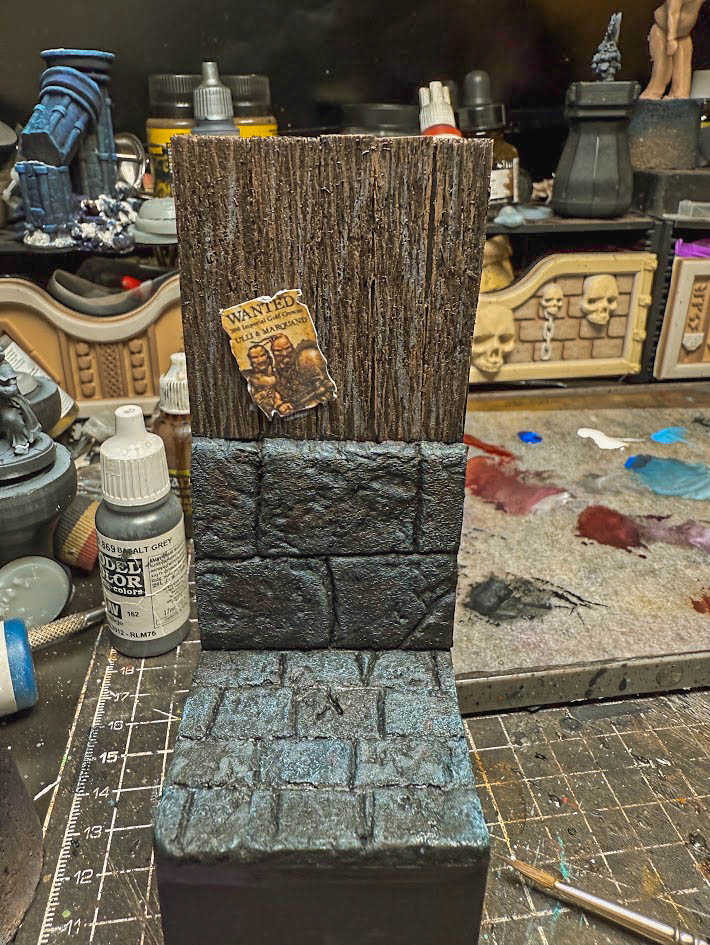
I think the plinth needs more going on, maybe a crate or trash can, something to build more scene into it but I’m going to set light next and see if adding more elements will take a way from the piece. Happy enough with the progress for now though.
First steps
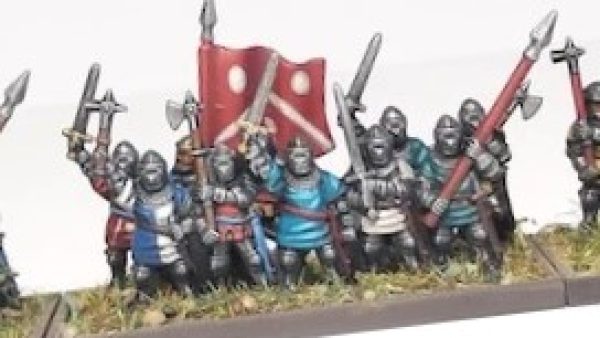
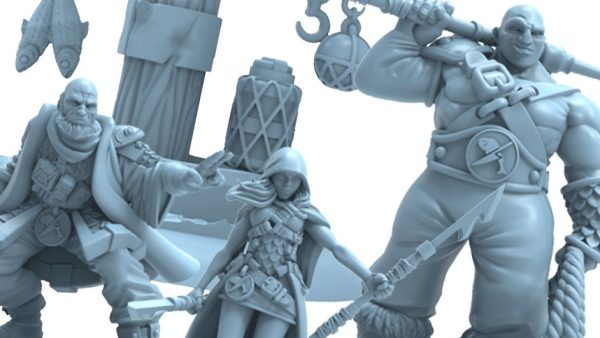
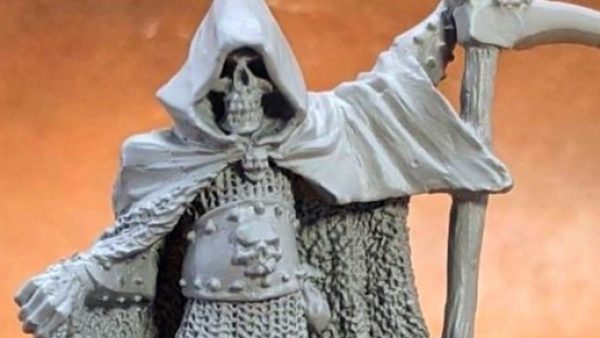
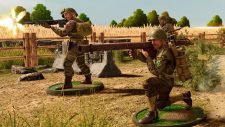
So I have to take something old and turn it into something new. at the bottom of my shelves of unpainted minis are some boxes with interesting models in them. A set of random things ive picked up as I thought they were cool to paint. There’s a mix of display busts, indie sculpts, old hammer and then some. This feels like a good place to look for this challenge so I dove in.
After digging around I selected a couple of minis I thought could be good to get painted up.
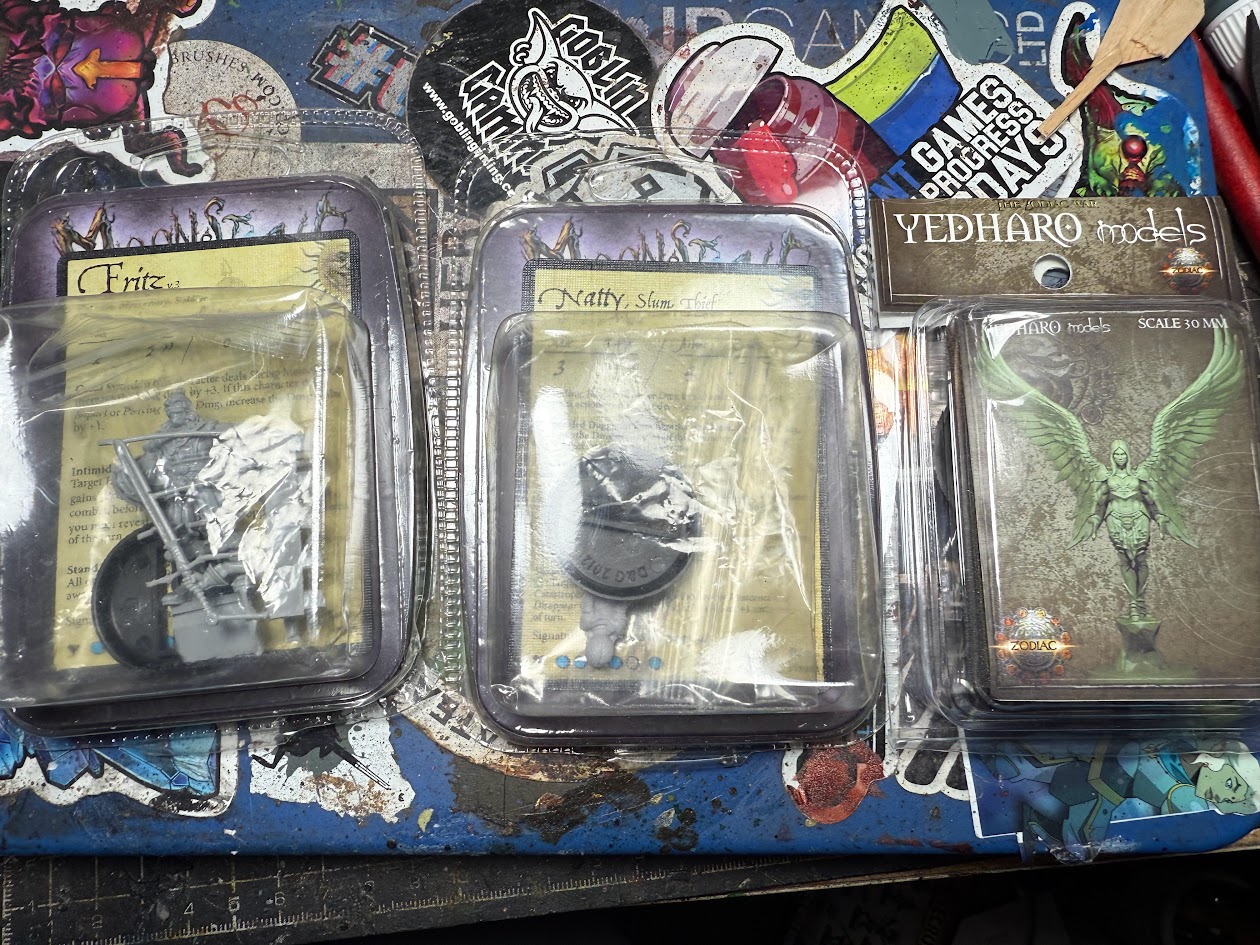
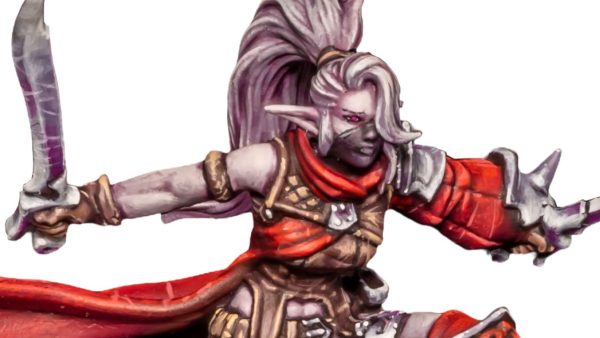
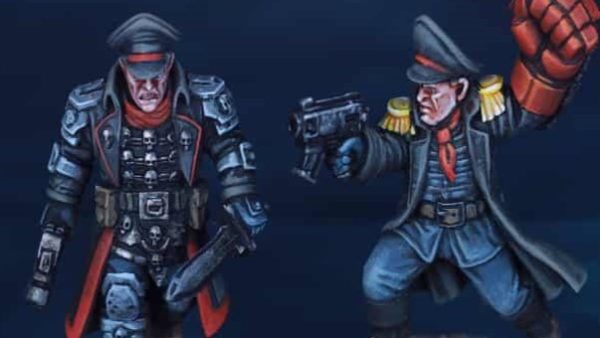
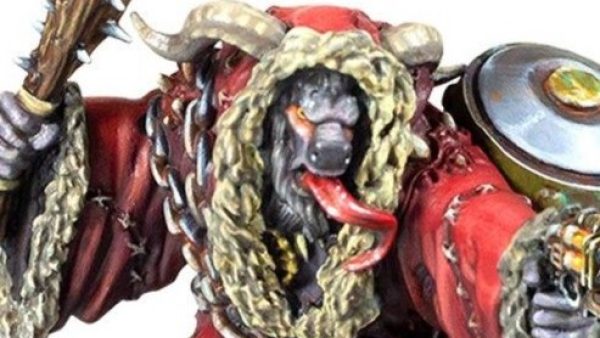
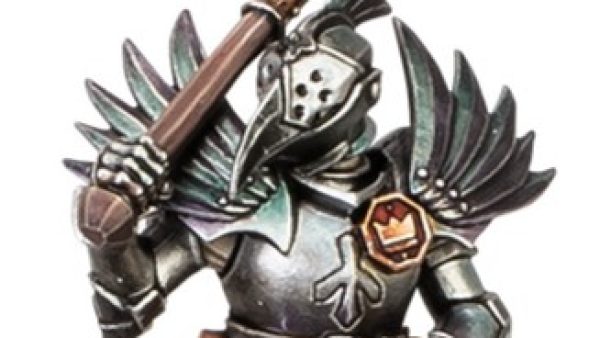
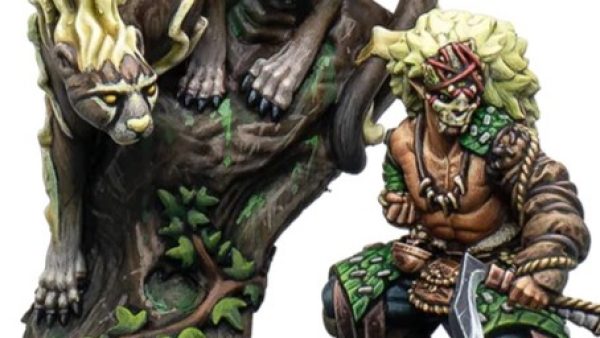
Ok so these three seemed cool, I took a look through all three. I love painting angels so that was deffs a contender but the two MAWM minis were both amazing sculpts and something I’ve wanted to paint for a while.
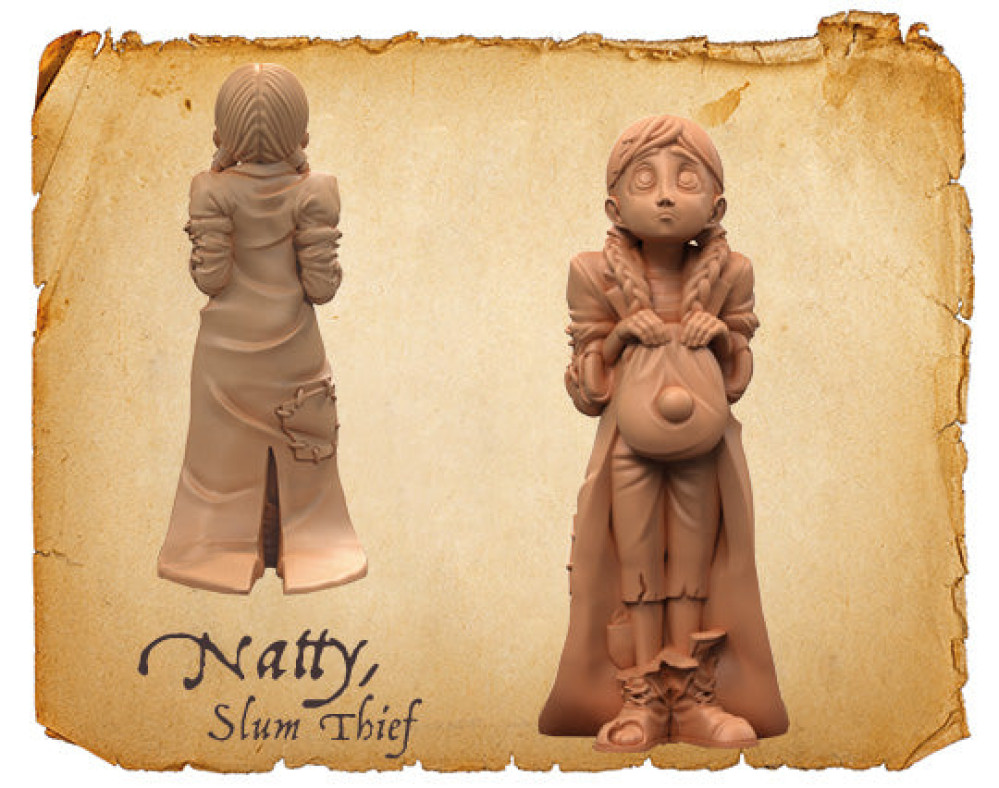
Natty quickly won out as its just such a unique sculpt and has the cartoony vibe ive been digging at the moment.
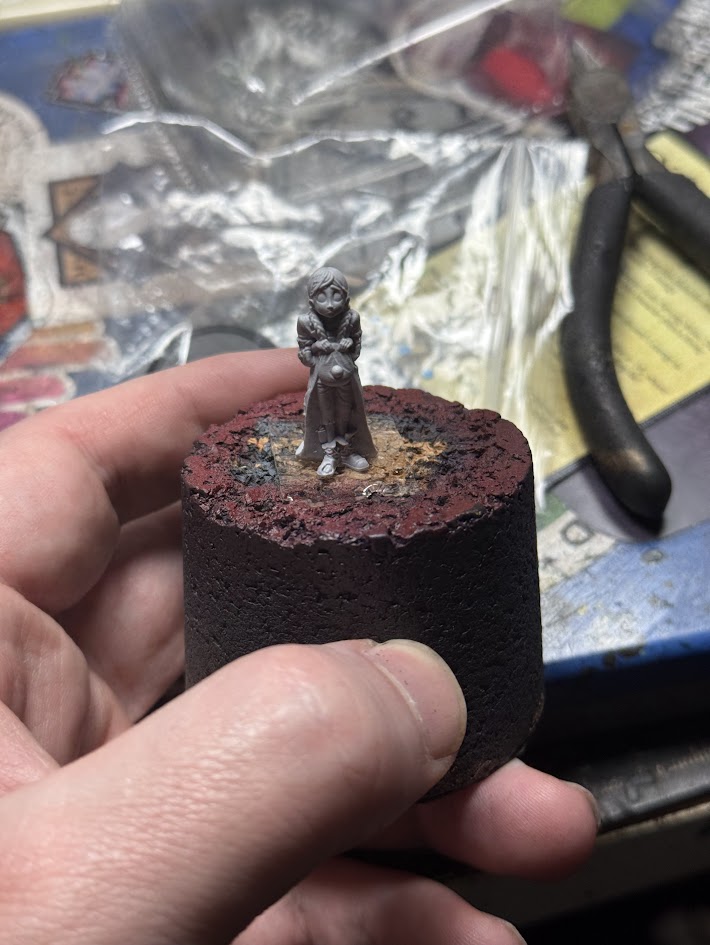
So with Natty selected I went to prepping the mini.
I cleaned some of the casting line with a sharp blade and cut the slotta off so I can mount it on a plinth. Gave it a wash in soapy water with a toothbrush, then stuck it to a painting handle.
So next question, what am i doing with it? Well Looking at the sculpt its all about the face and the big eyes looking all innocent and pleading. So light and high value colours have to be up there. Setting wise I want to play it safe and say in a town/ally and cobblestone is easy to make. So then you have to ask, on a base for playing or on a plinth for display. I’m more minded to try telling a story here so lets go plinth.
Well with that decided I put a basecoat on setting the light values where I want them.

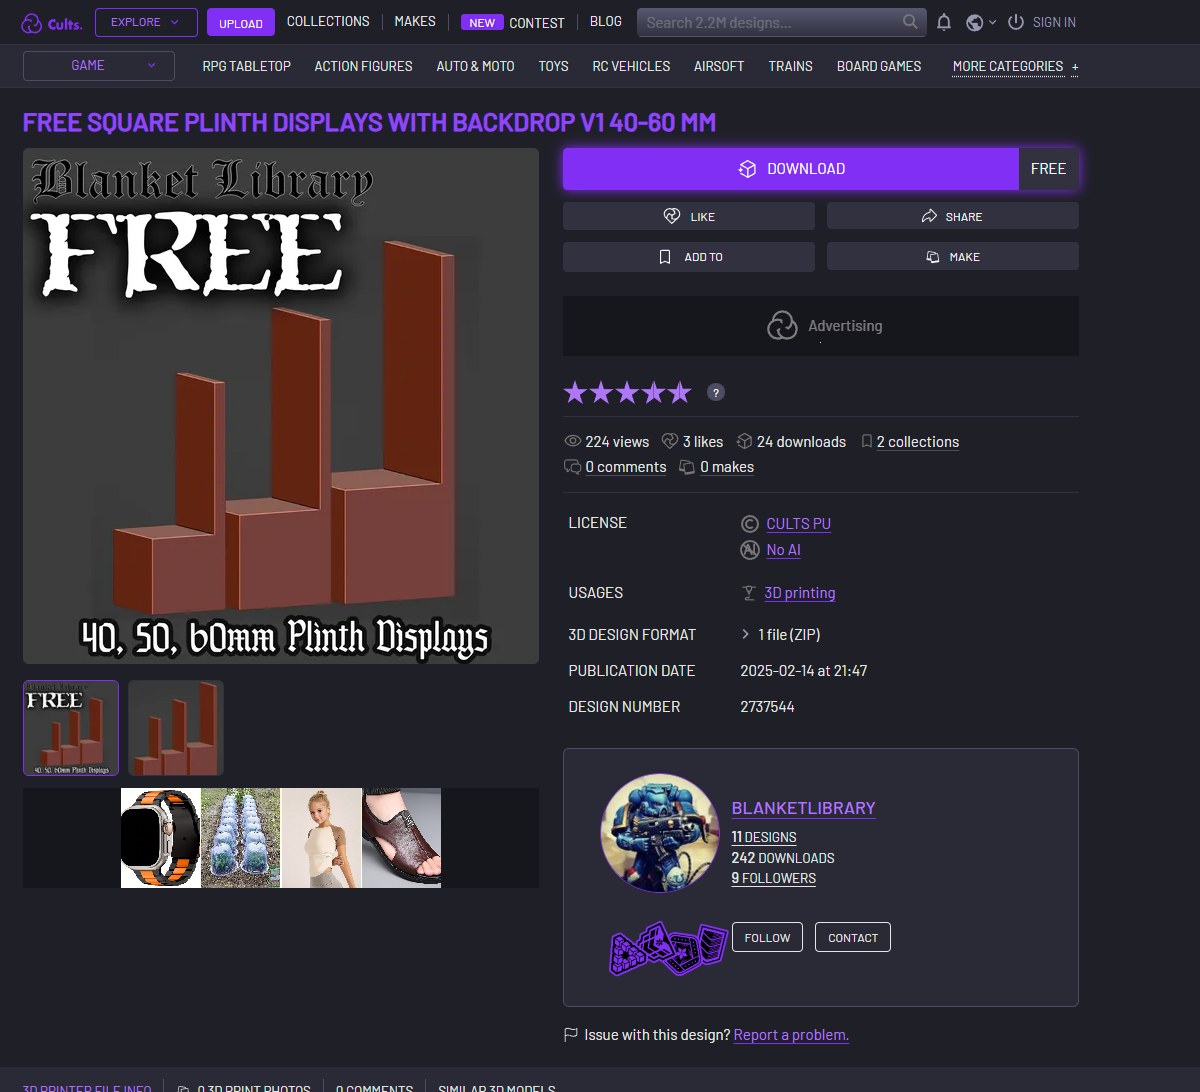
Next is the plinth, I could by one but 3d printing is a solution to most hobby problems that makes sense to me this way so lets try and get one printed. Found one on cults3d with a backdrop and voila, project is started!