


Playing games at Kirrie Wargames Club


Recommendations: 27
About the Project
Kirriemuir Wargames Club meets at the Guide Halls the last Sunday of the month January to November and the middle Sunday of December at 10am. Targe, their annual wargame show, is the first Saturday in November. These are my continuing adventures.
Related Genre: General
This Project is Active
Kirriemuir Vintage Model Railway Show 19 Apr 2025
I was helping out at the Kirriemuir Vintage Model Railway show because of a connection with the Wargames Club. It wasn’t all trains though as I got an introductory game of Clash of Steel.
As I’m no expert on model trains some of the gauges in the descriptions may be wrong. If only there was someone who loves trains and wasn’t too busy building Rome to tell me. There is also the usual shaky picture warning.
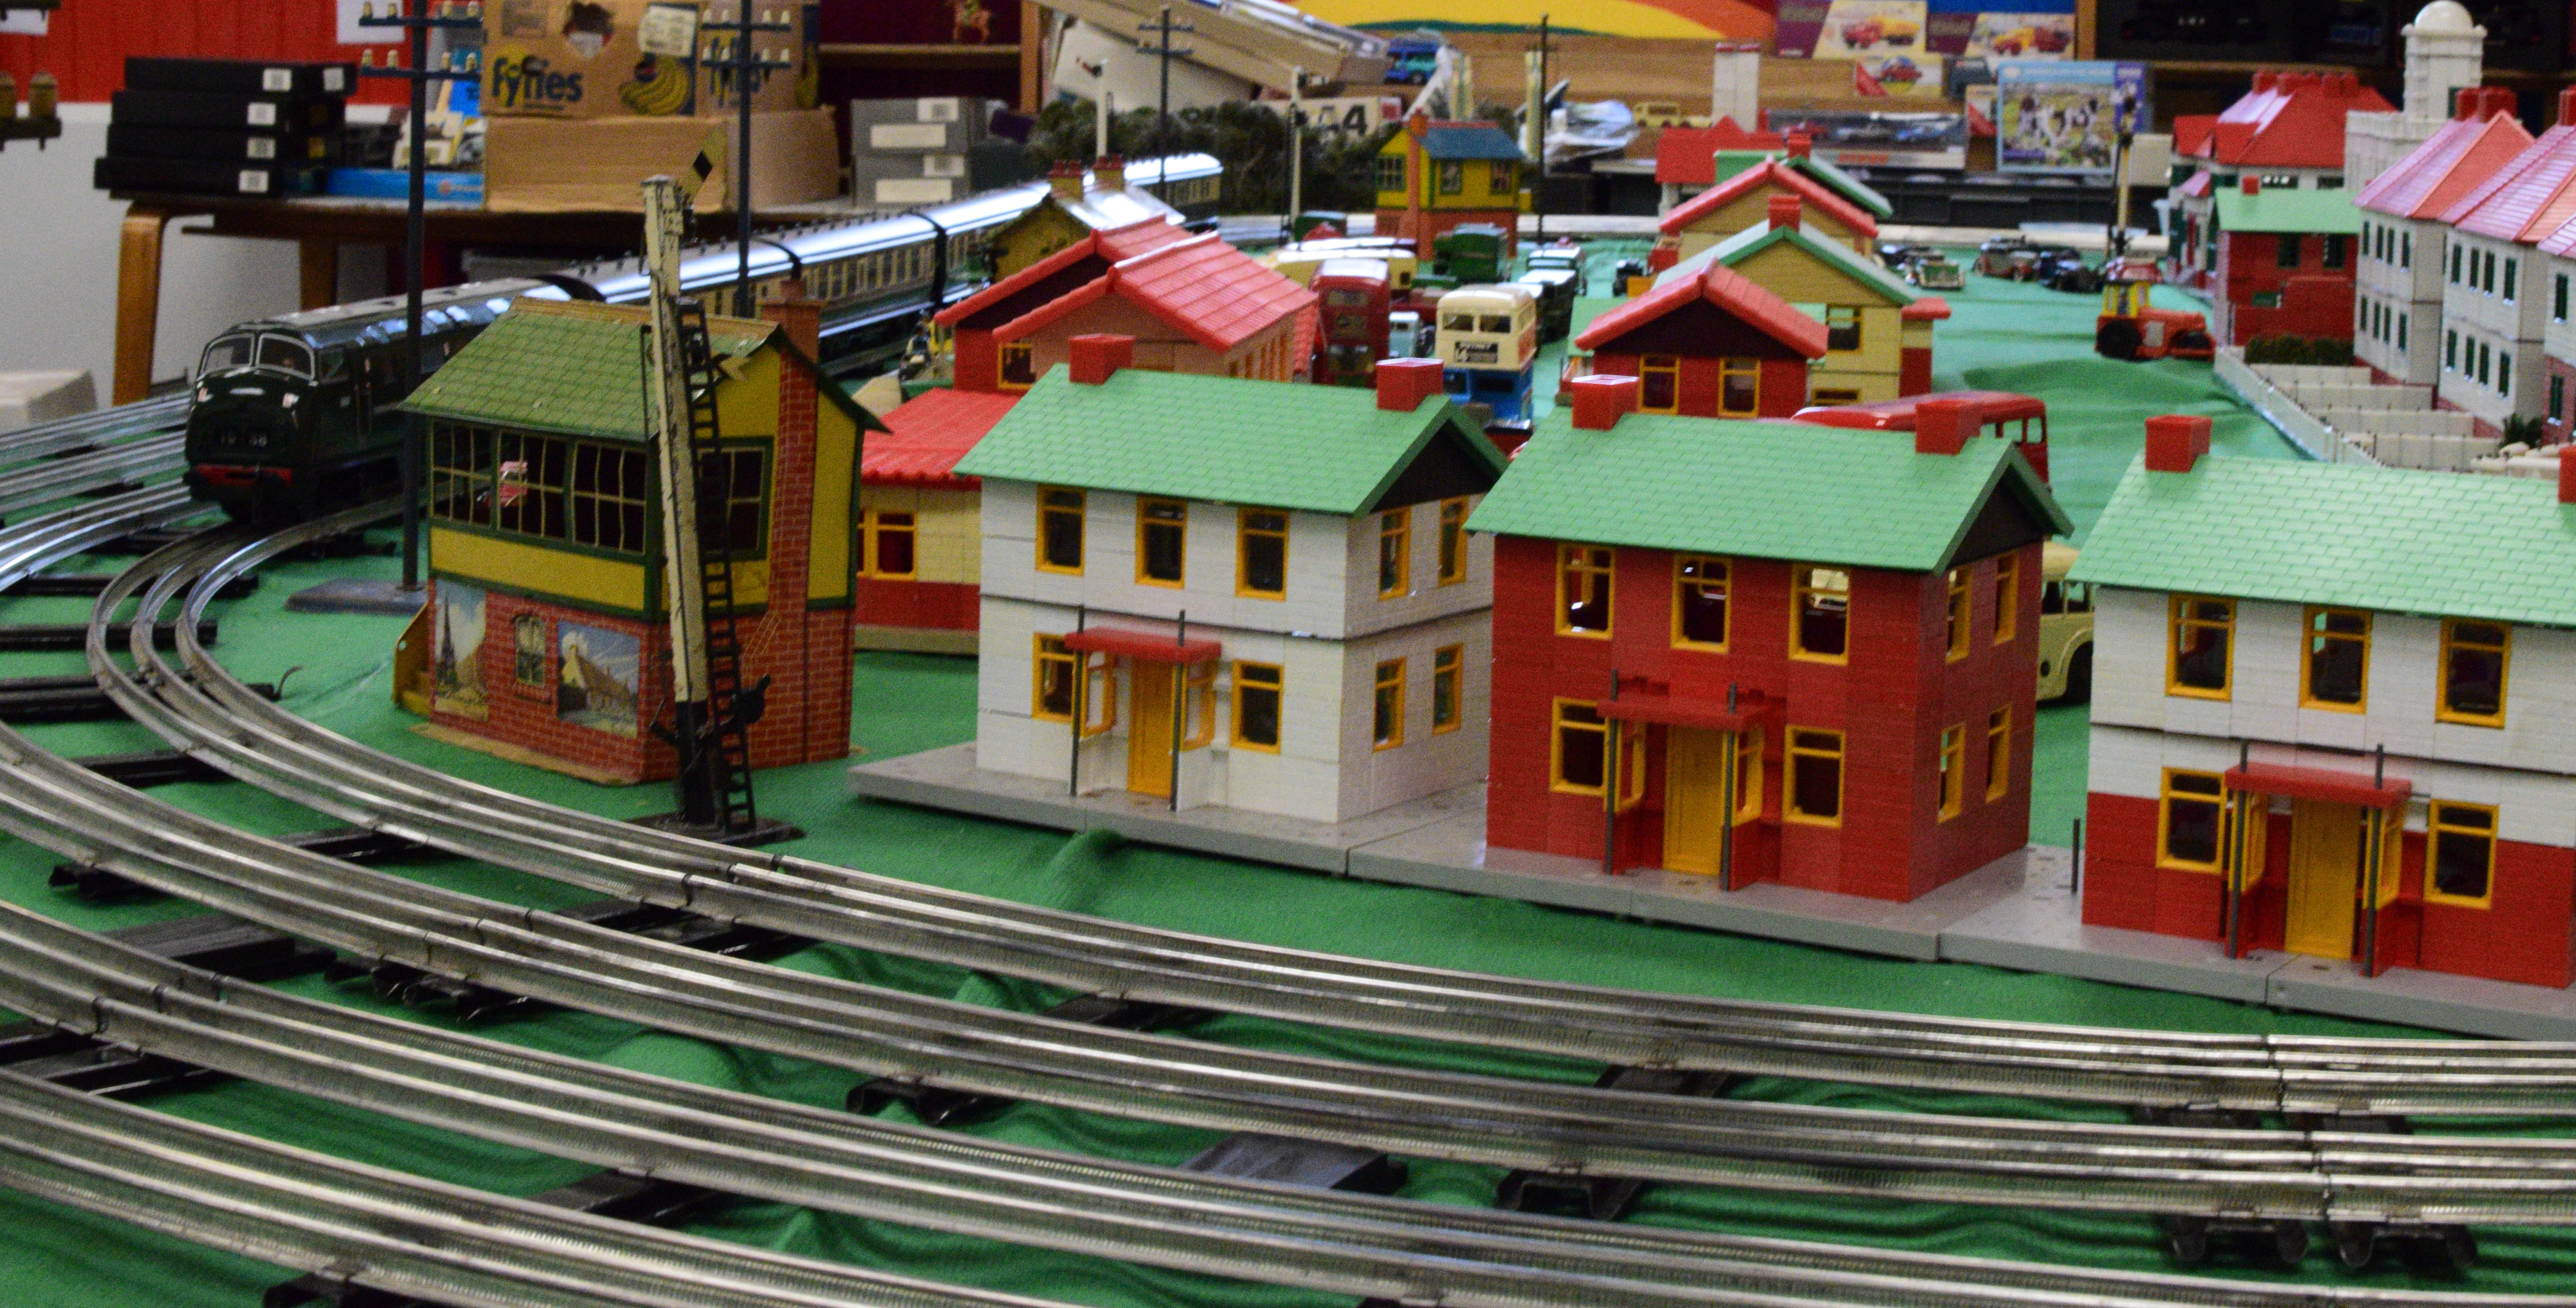
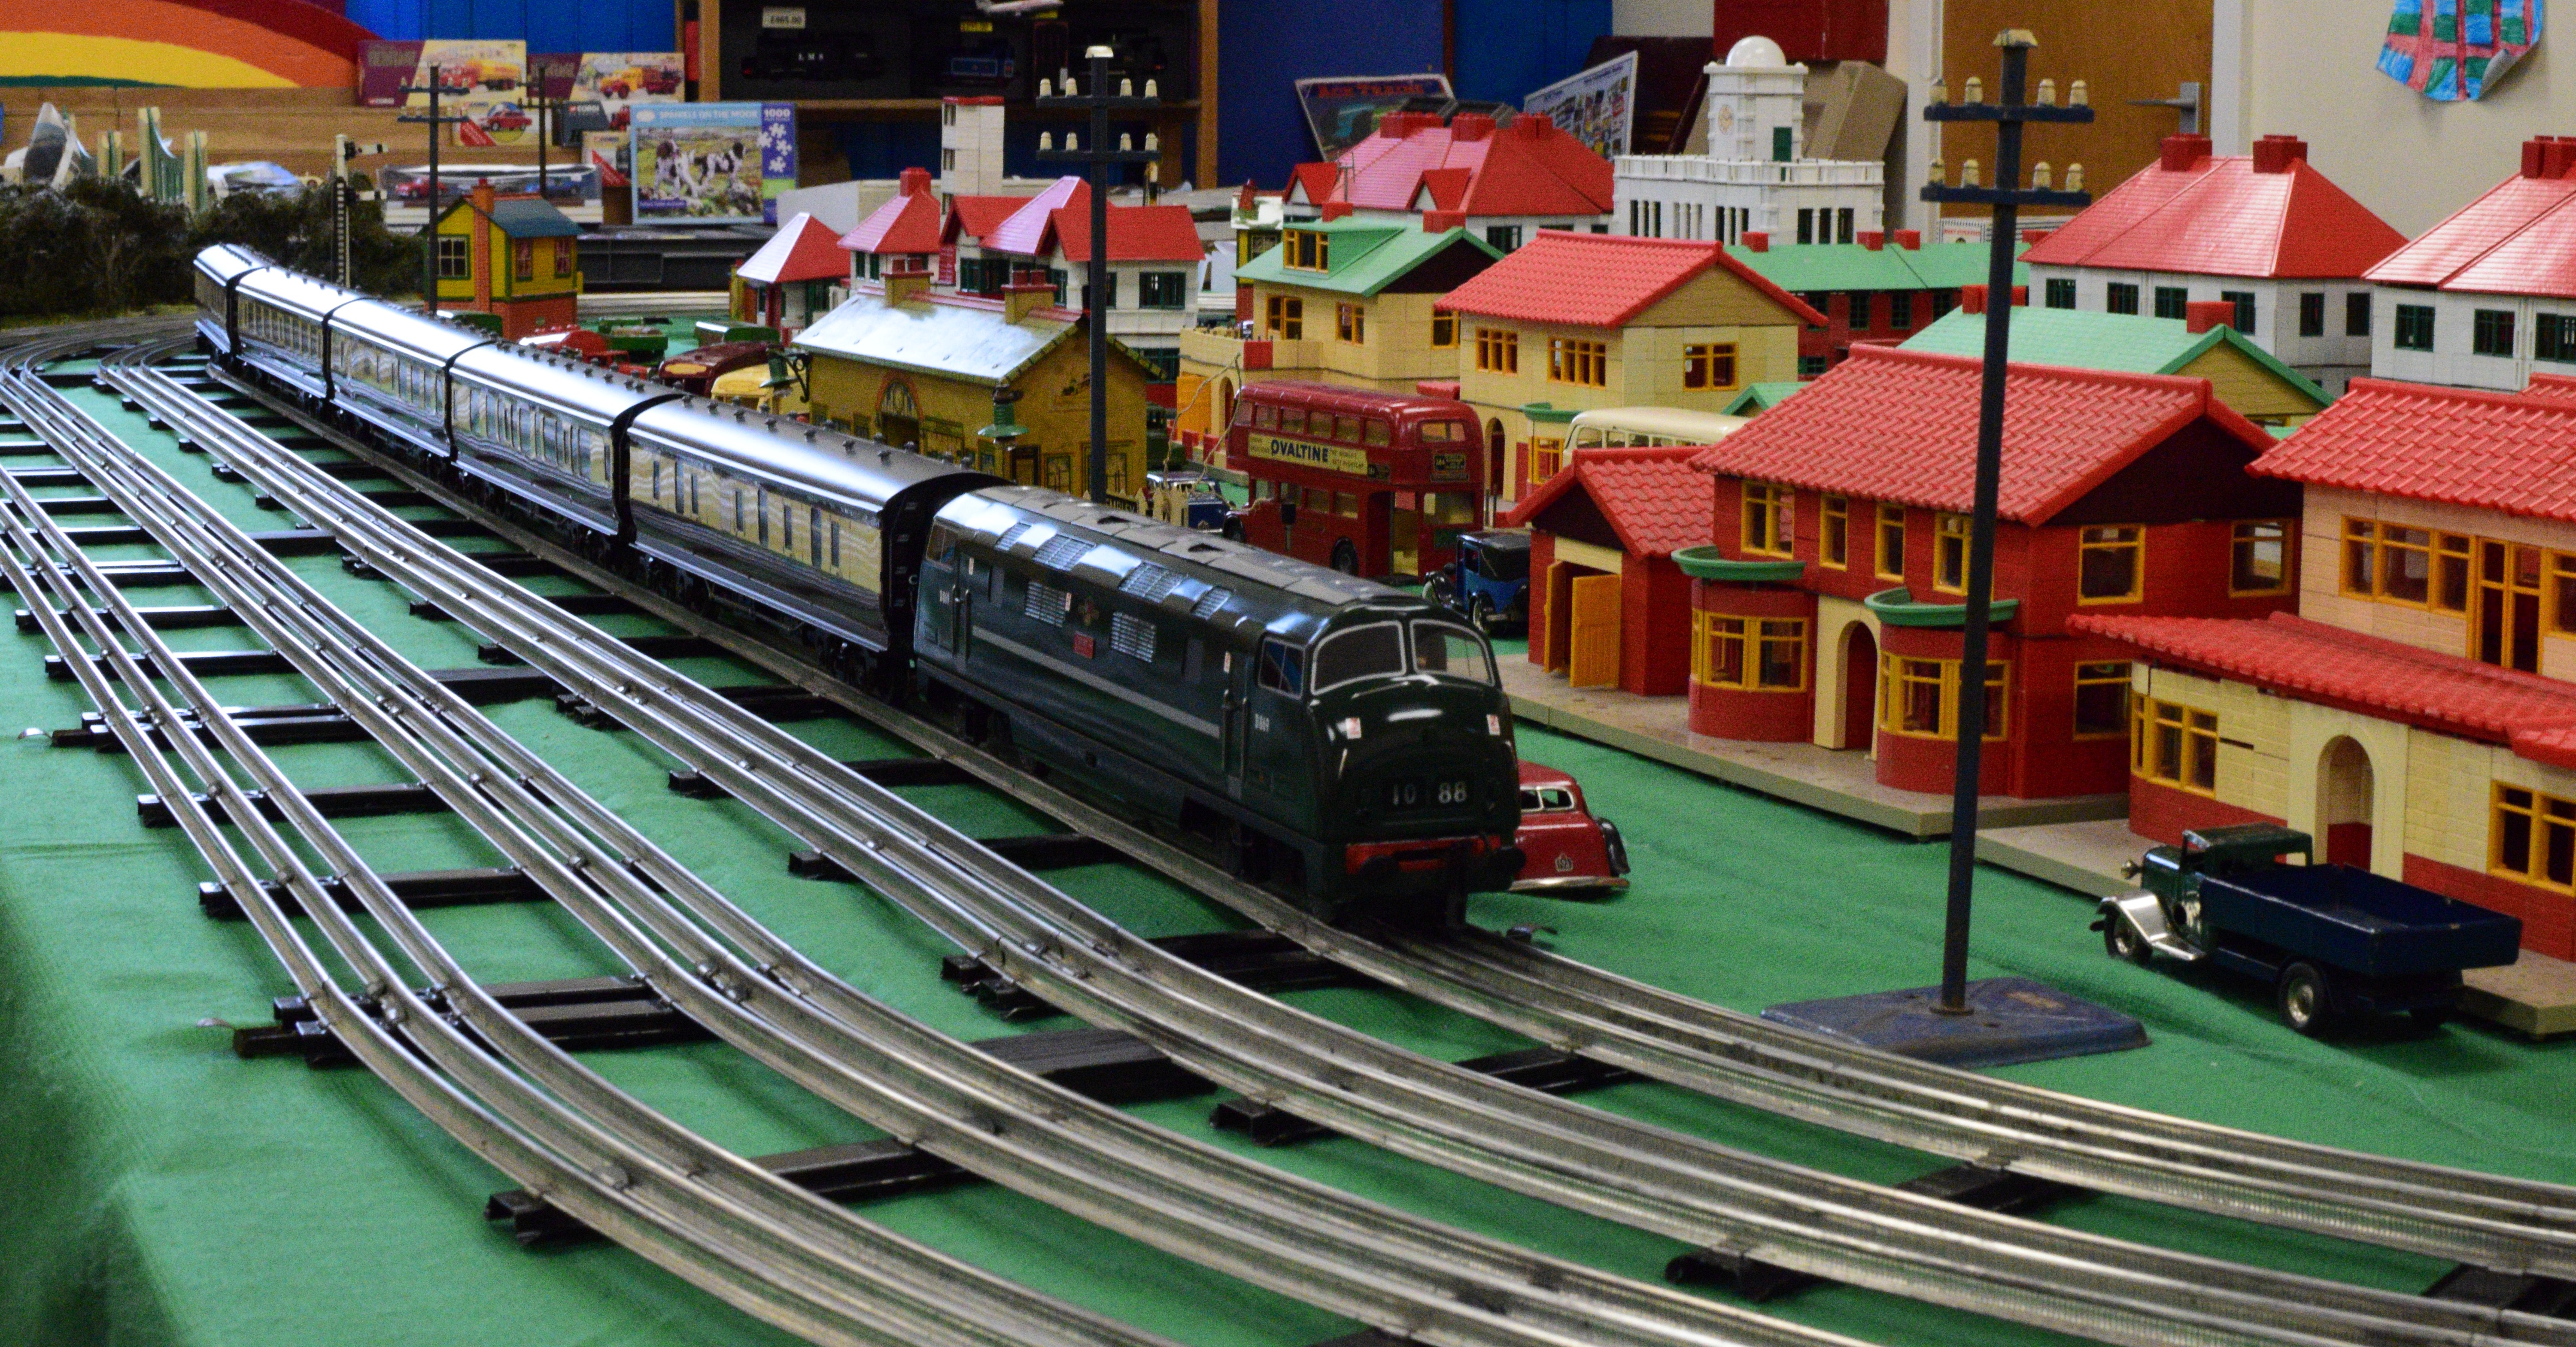
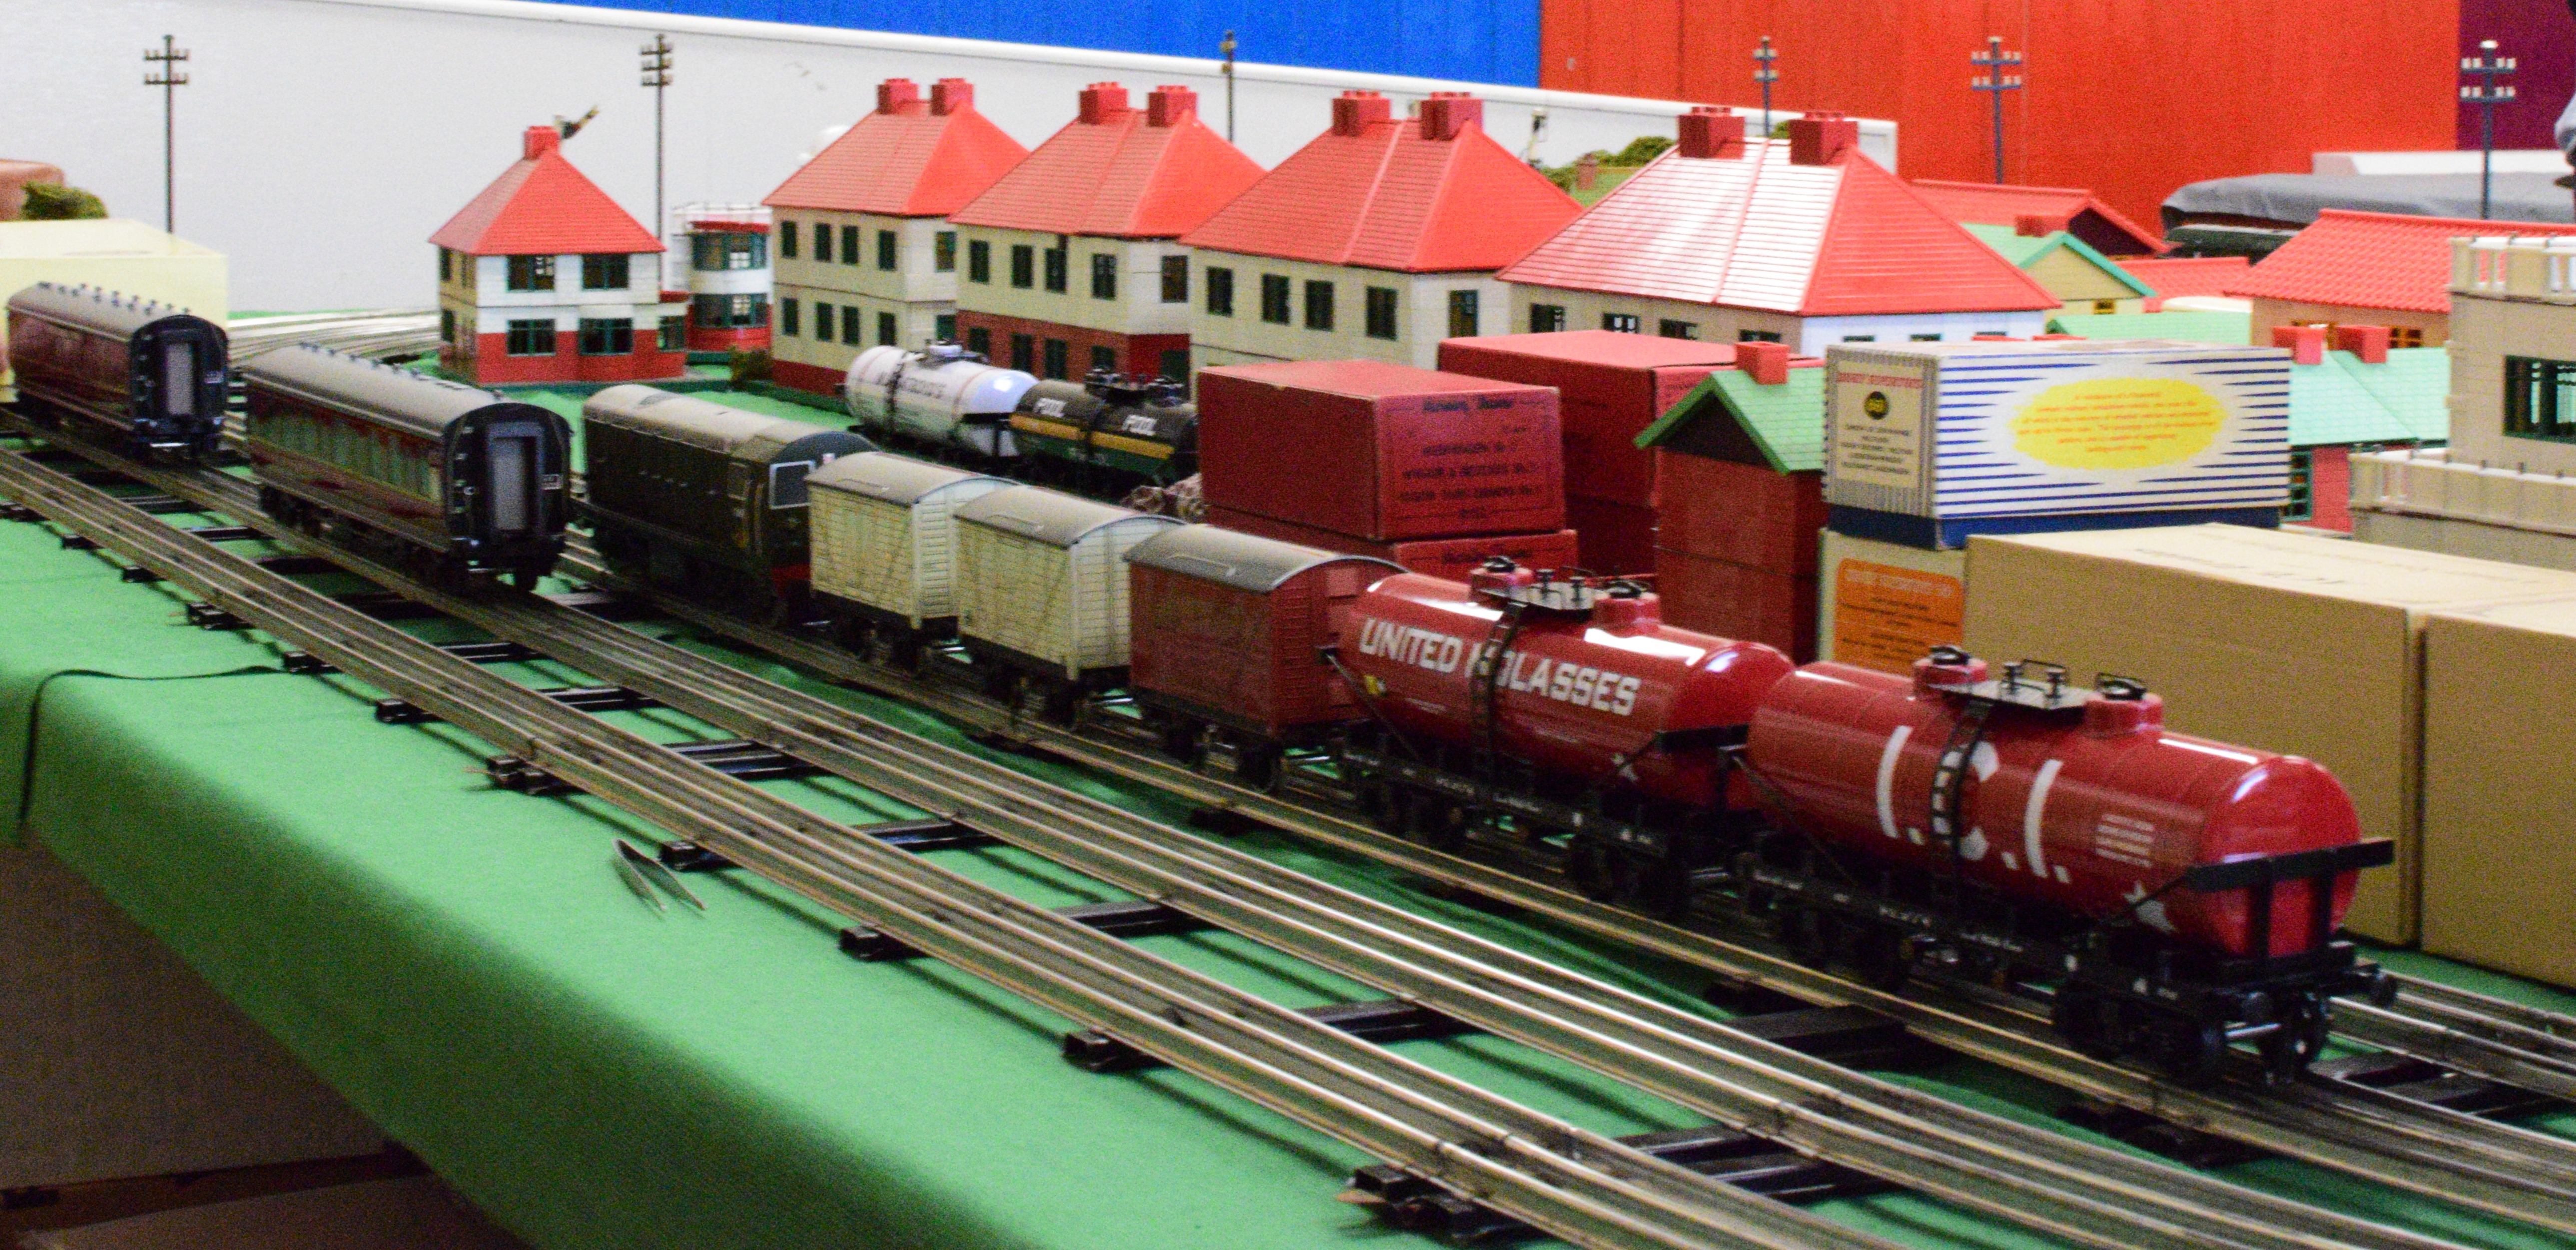
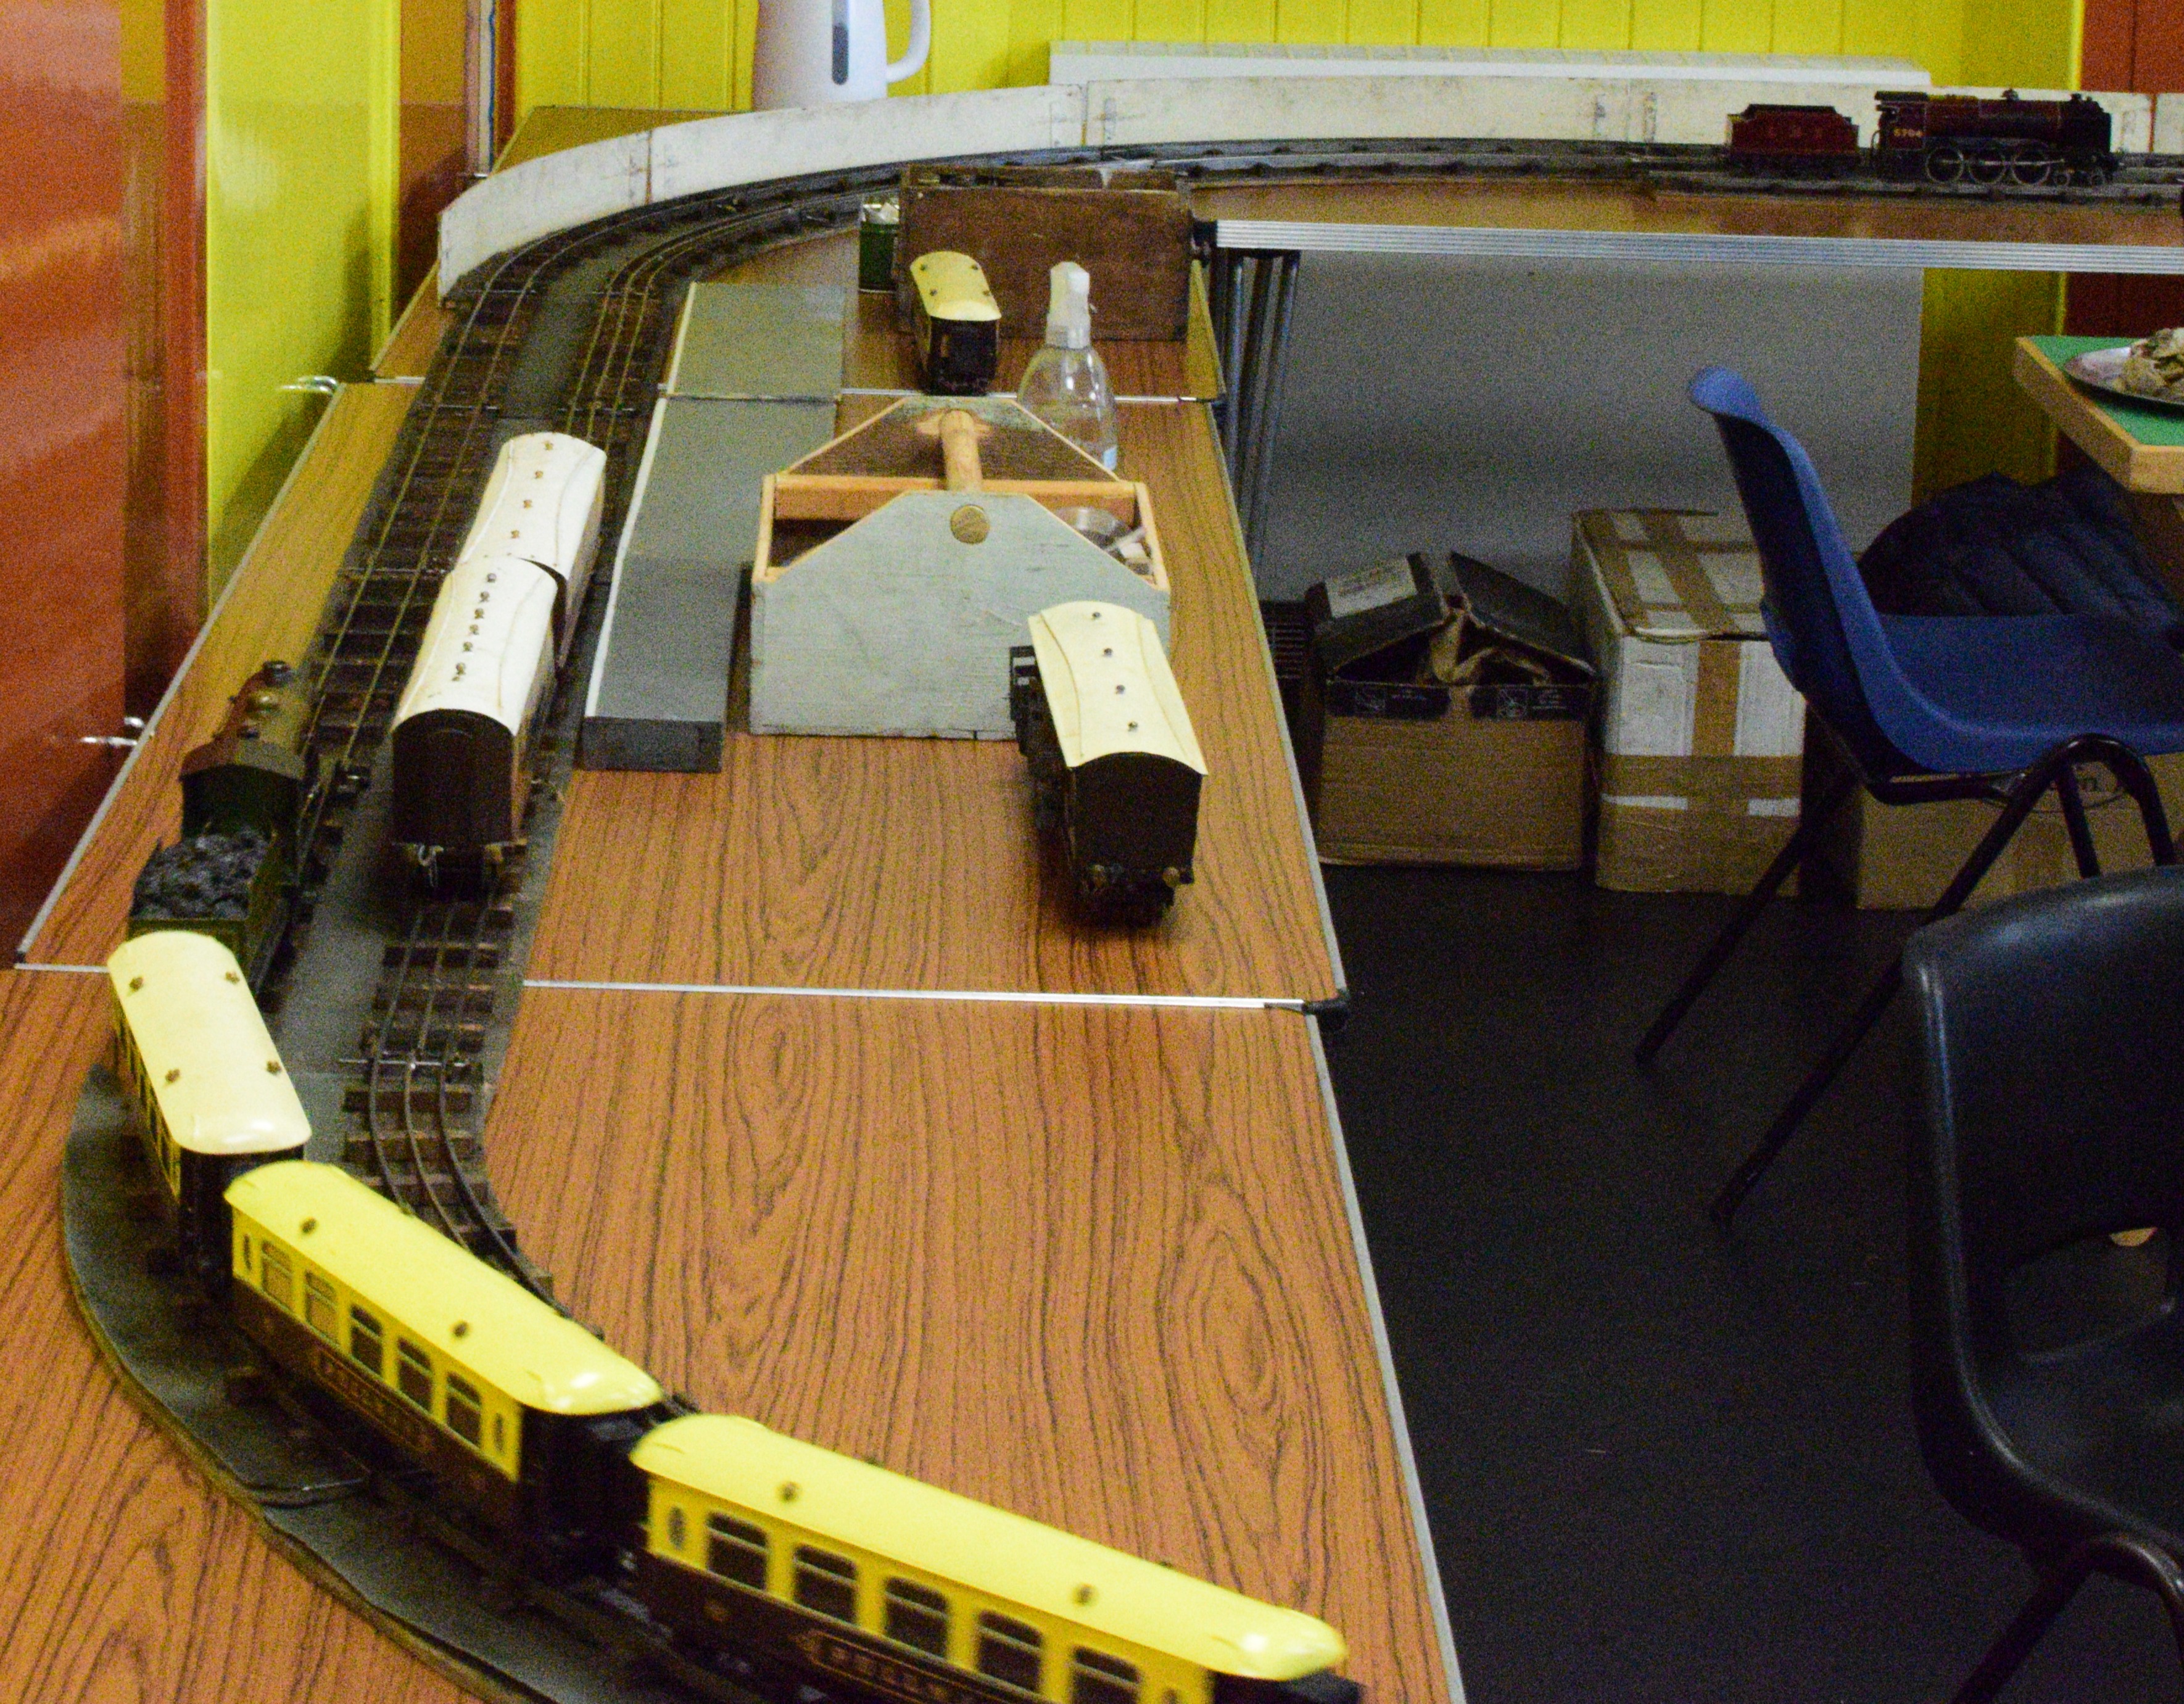
 O Gauge on a 8 by 16 feet table
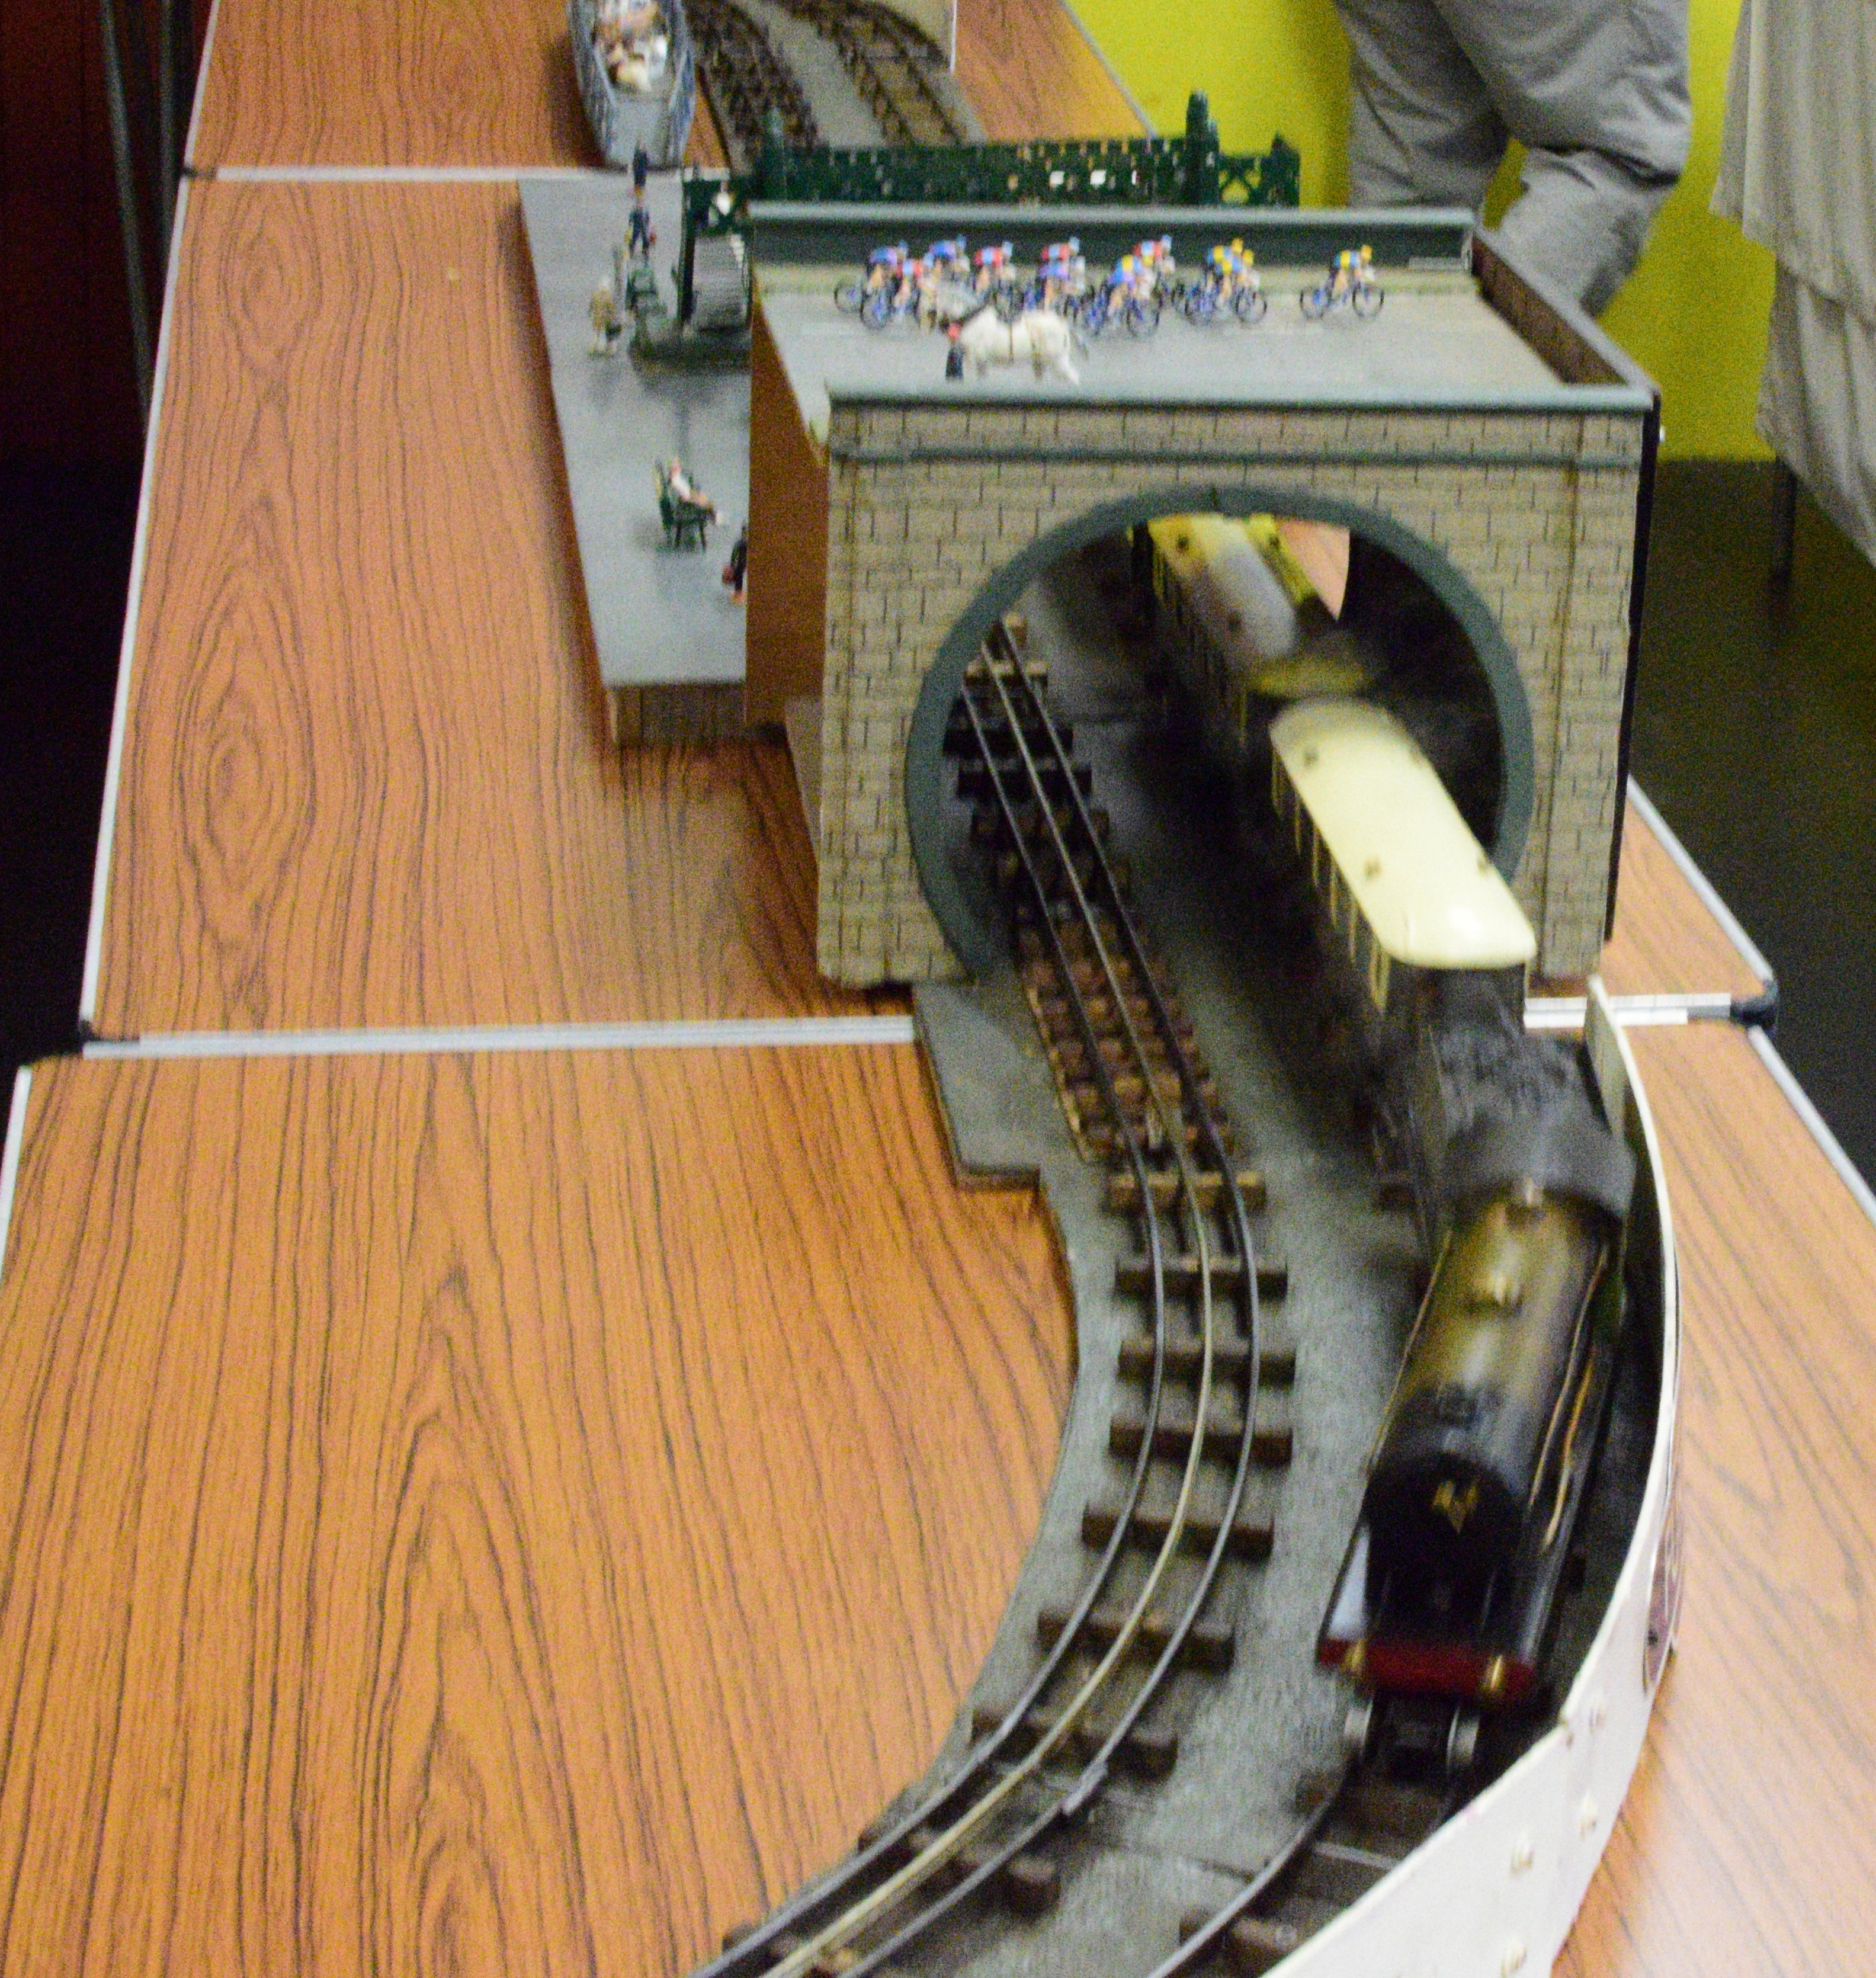
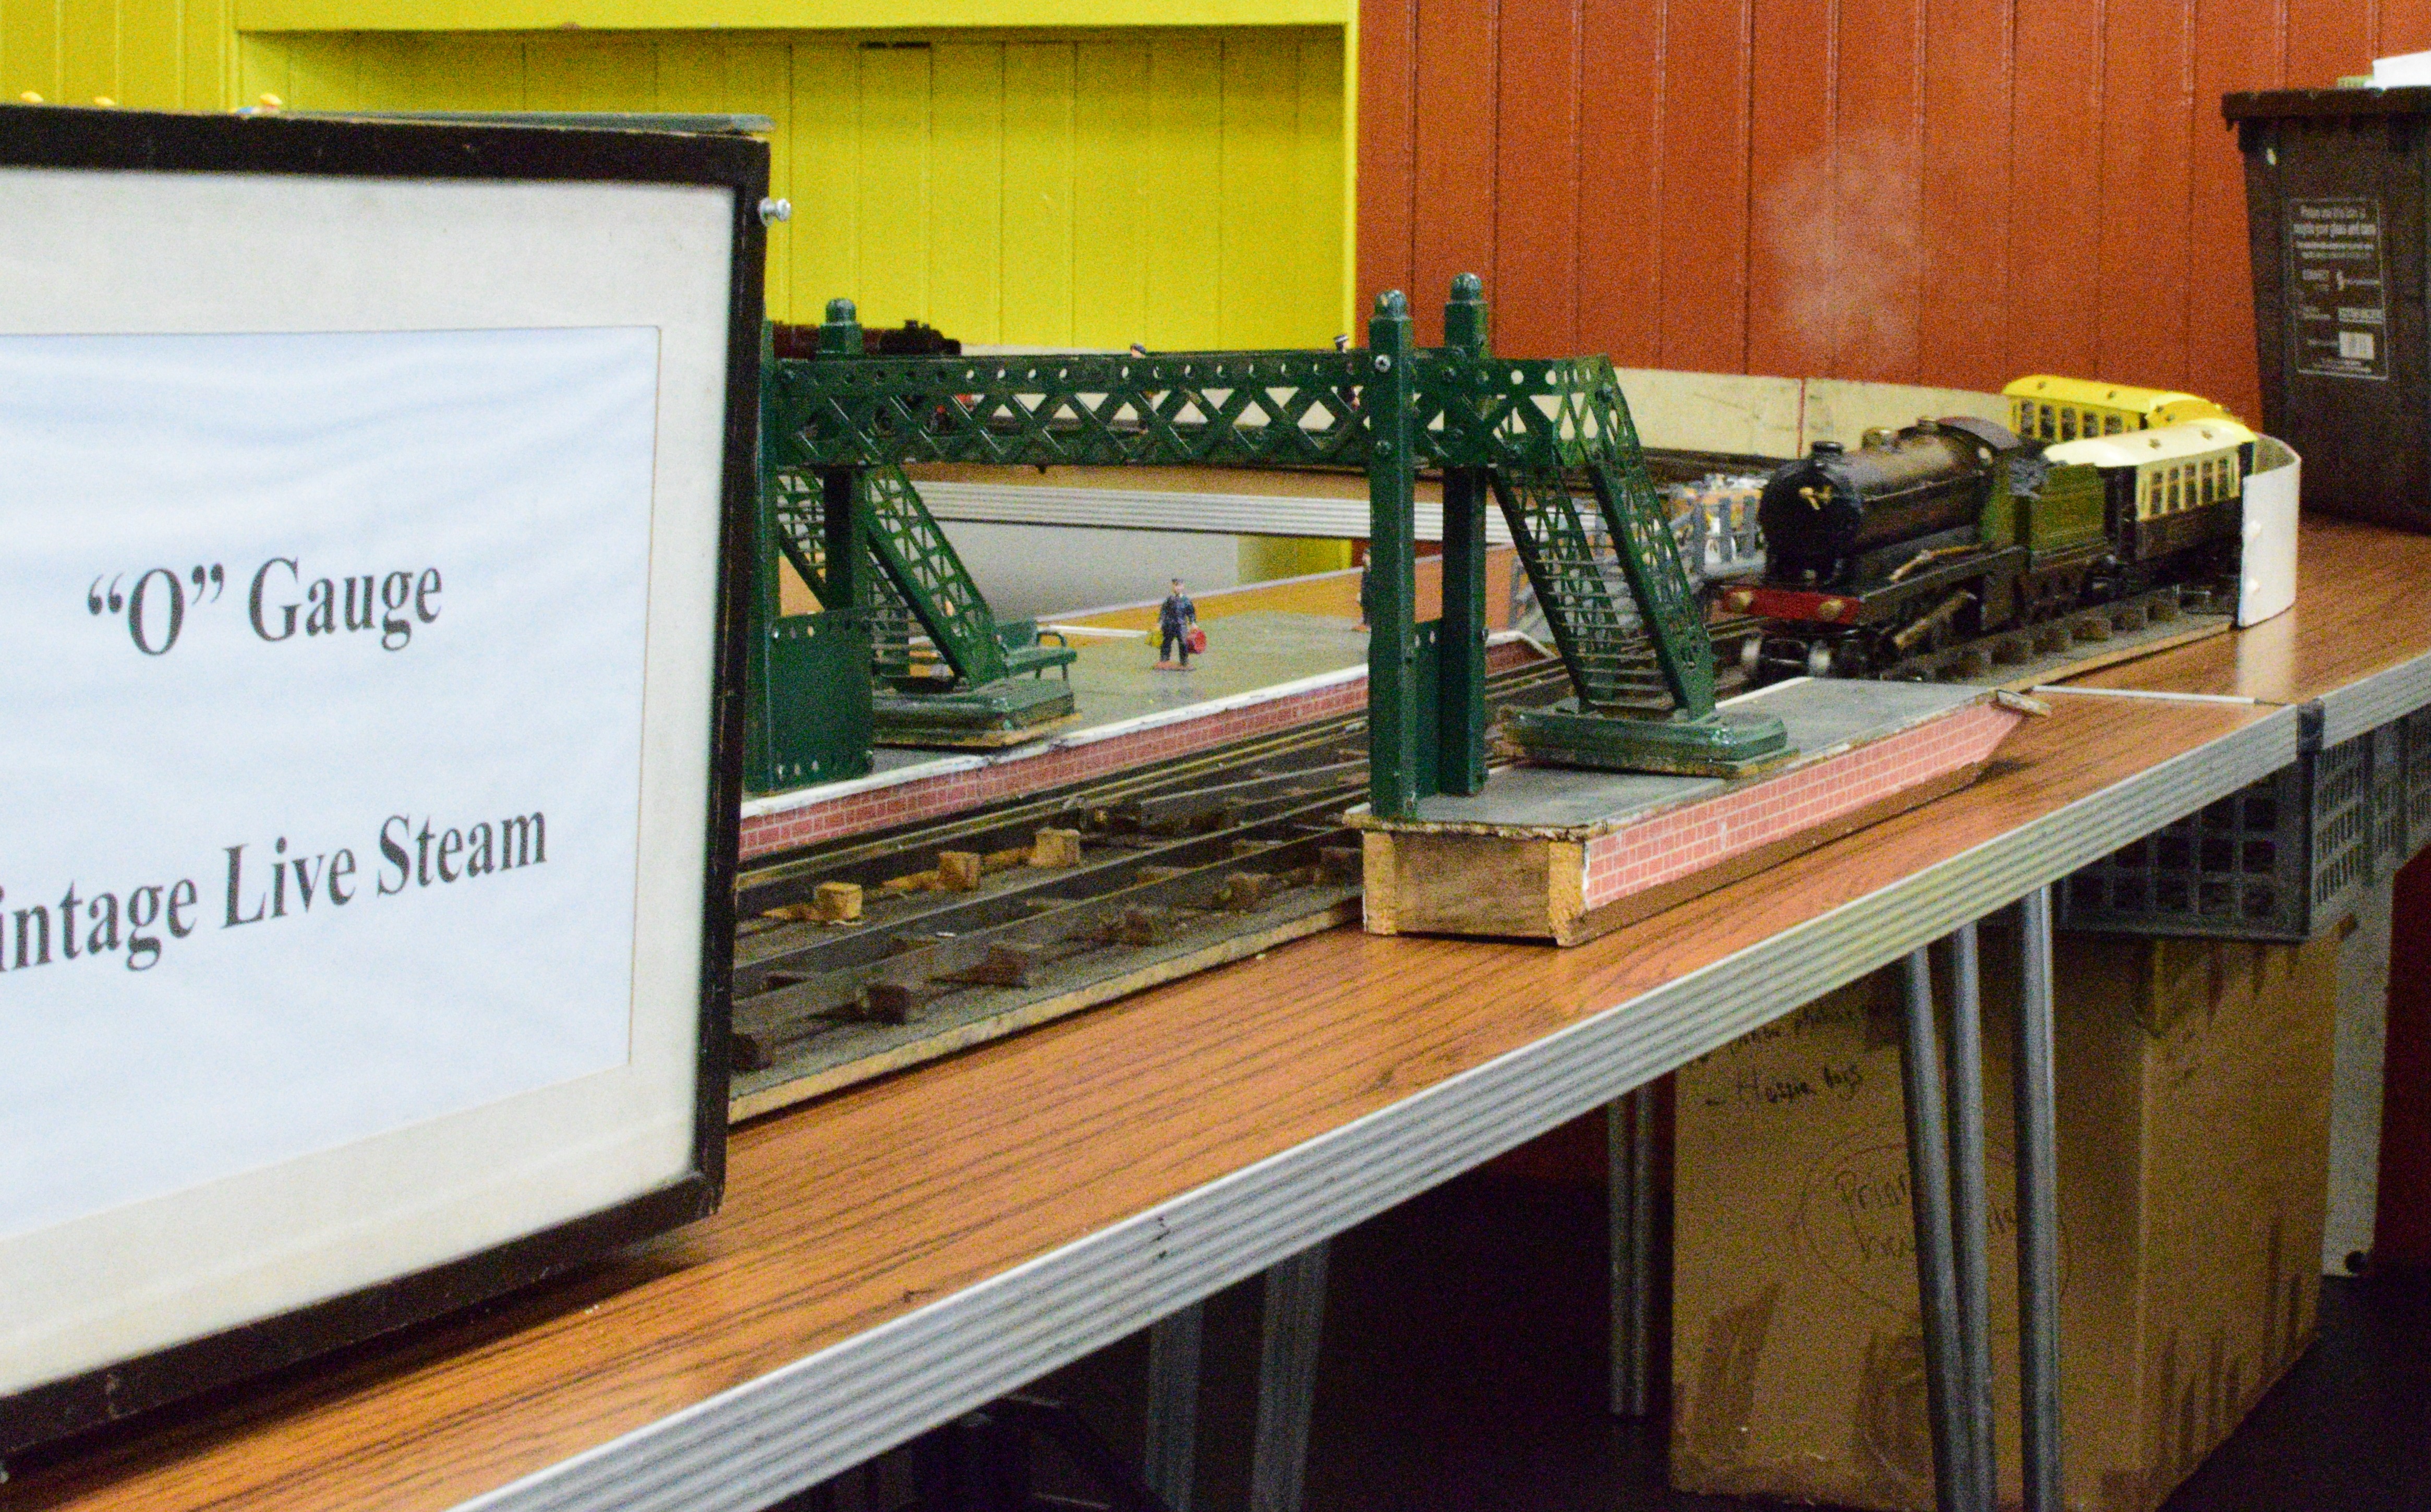 O Gauge train running on steam. Bio ethanol being used to heat the boiler.
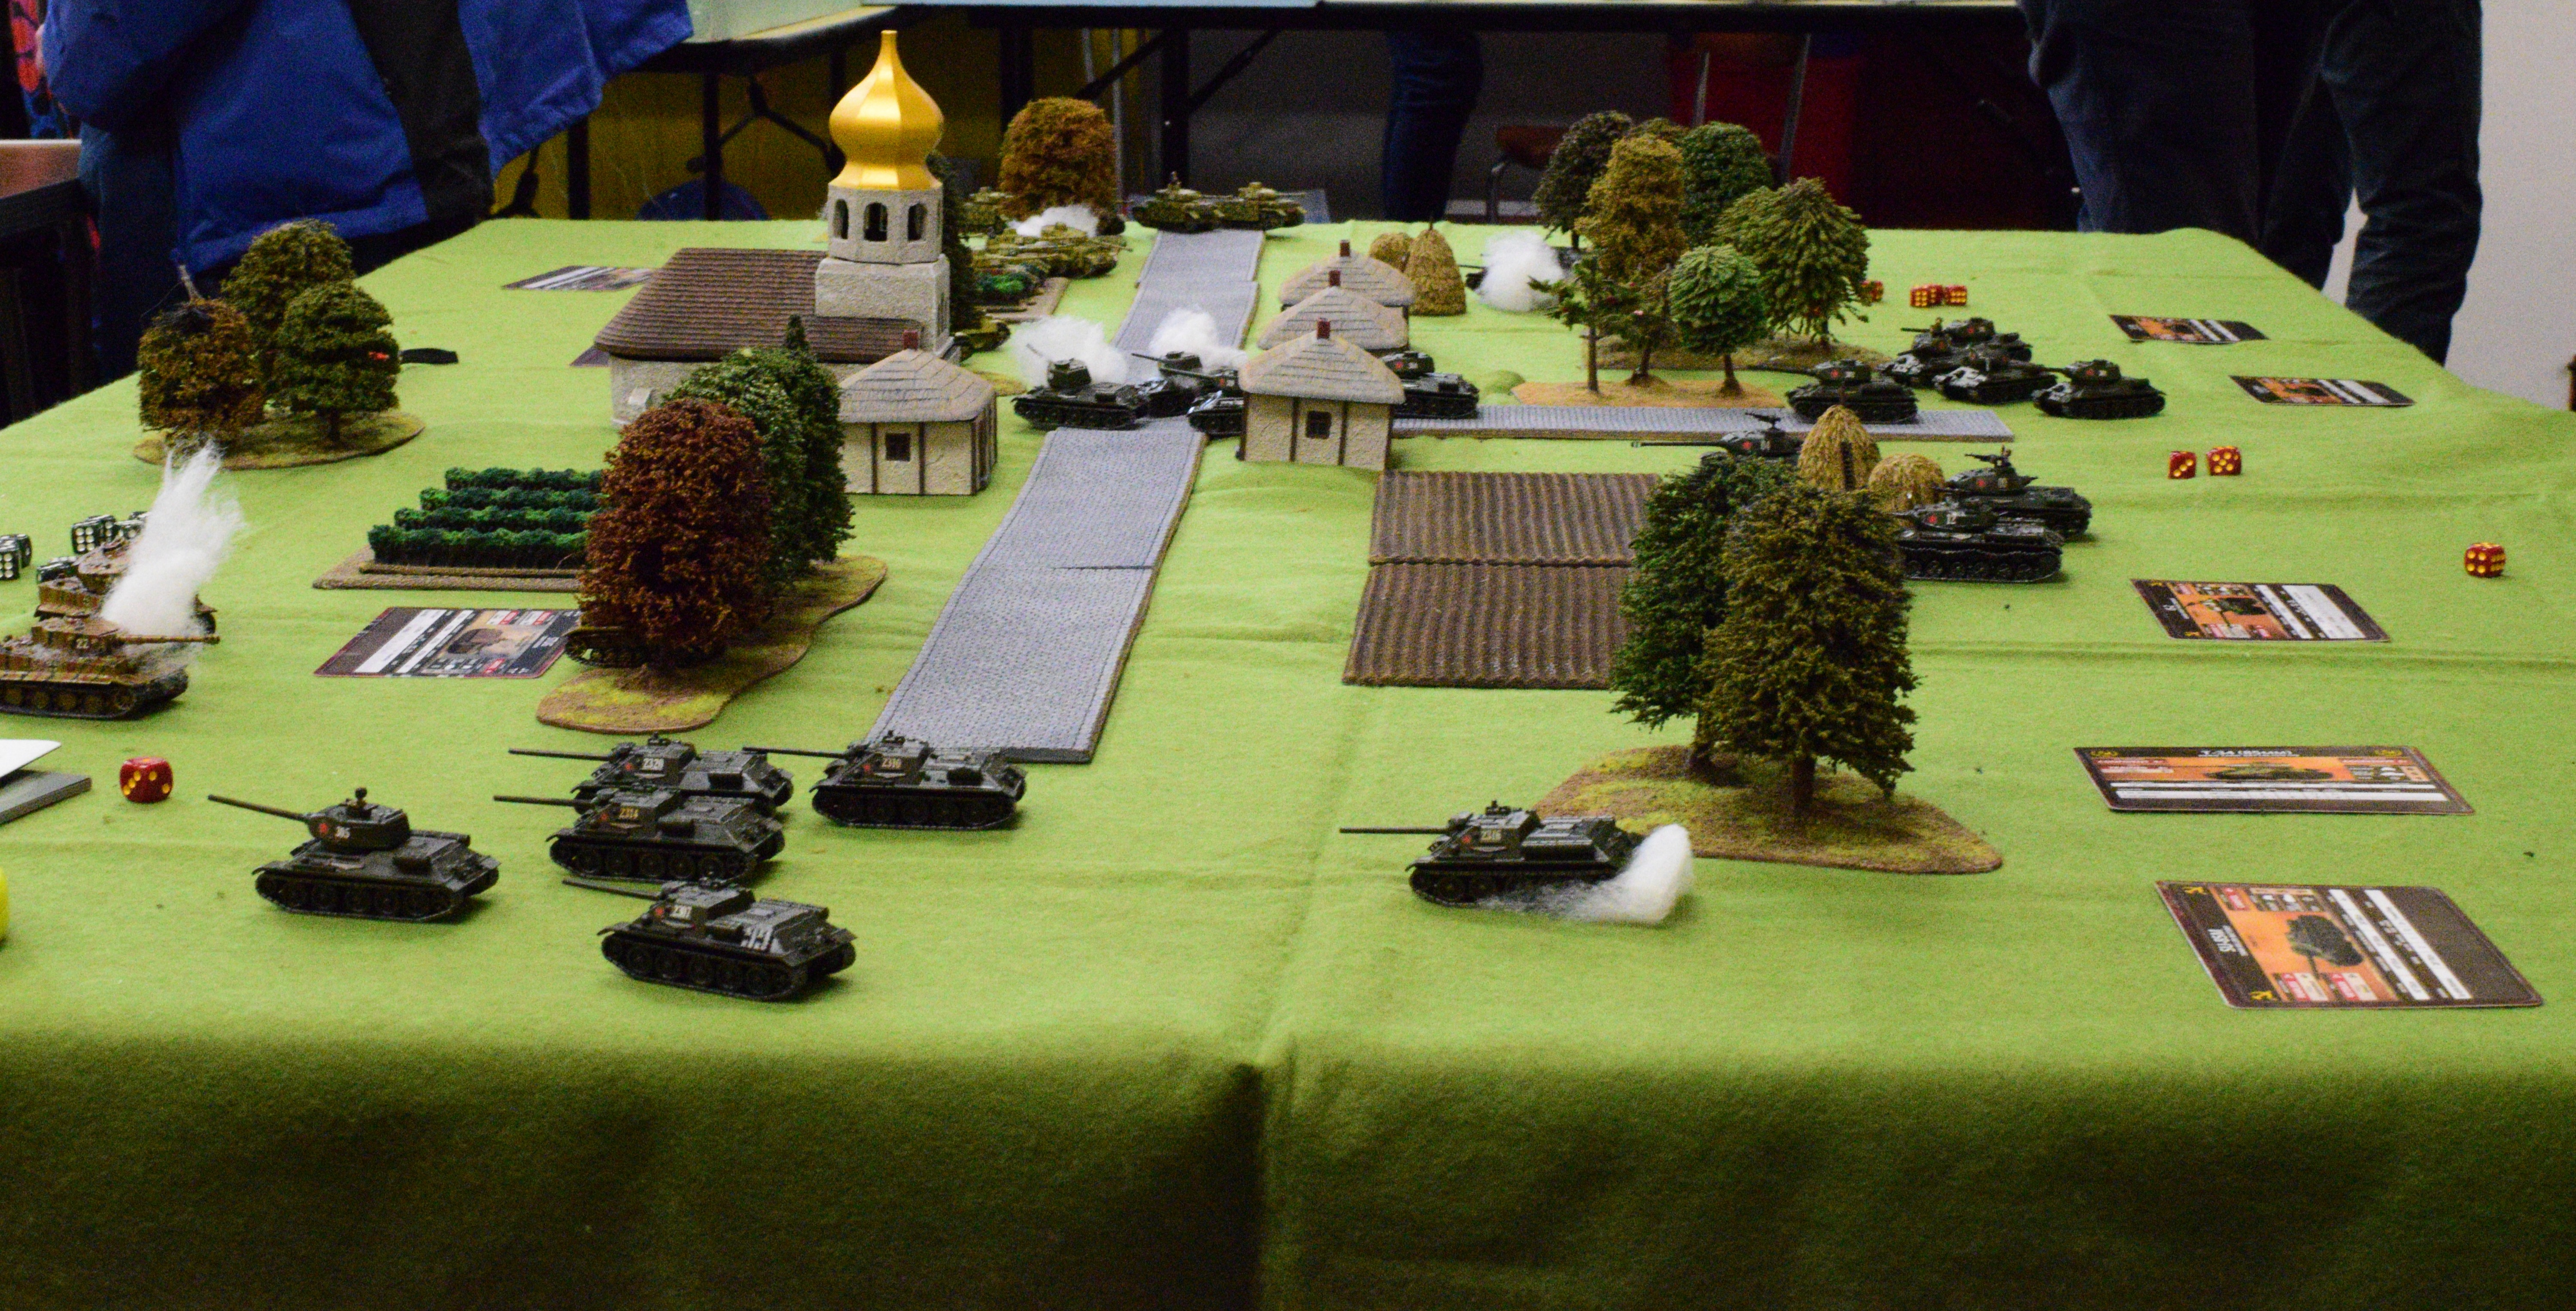 Tanks! Clash of Steel in progress
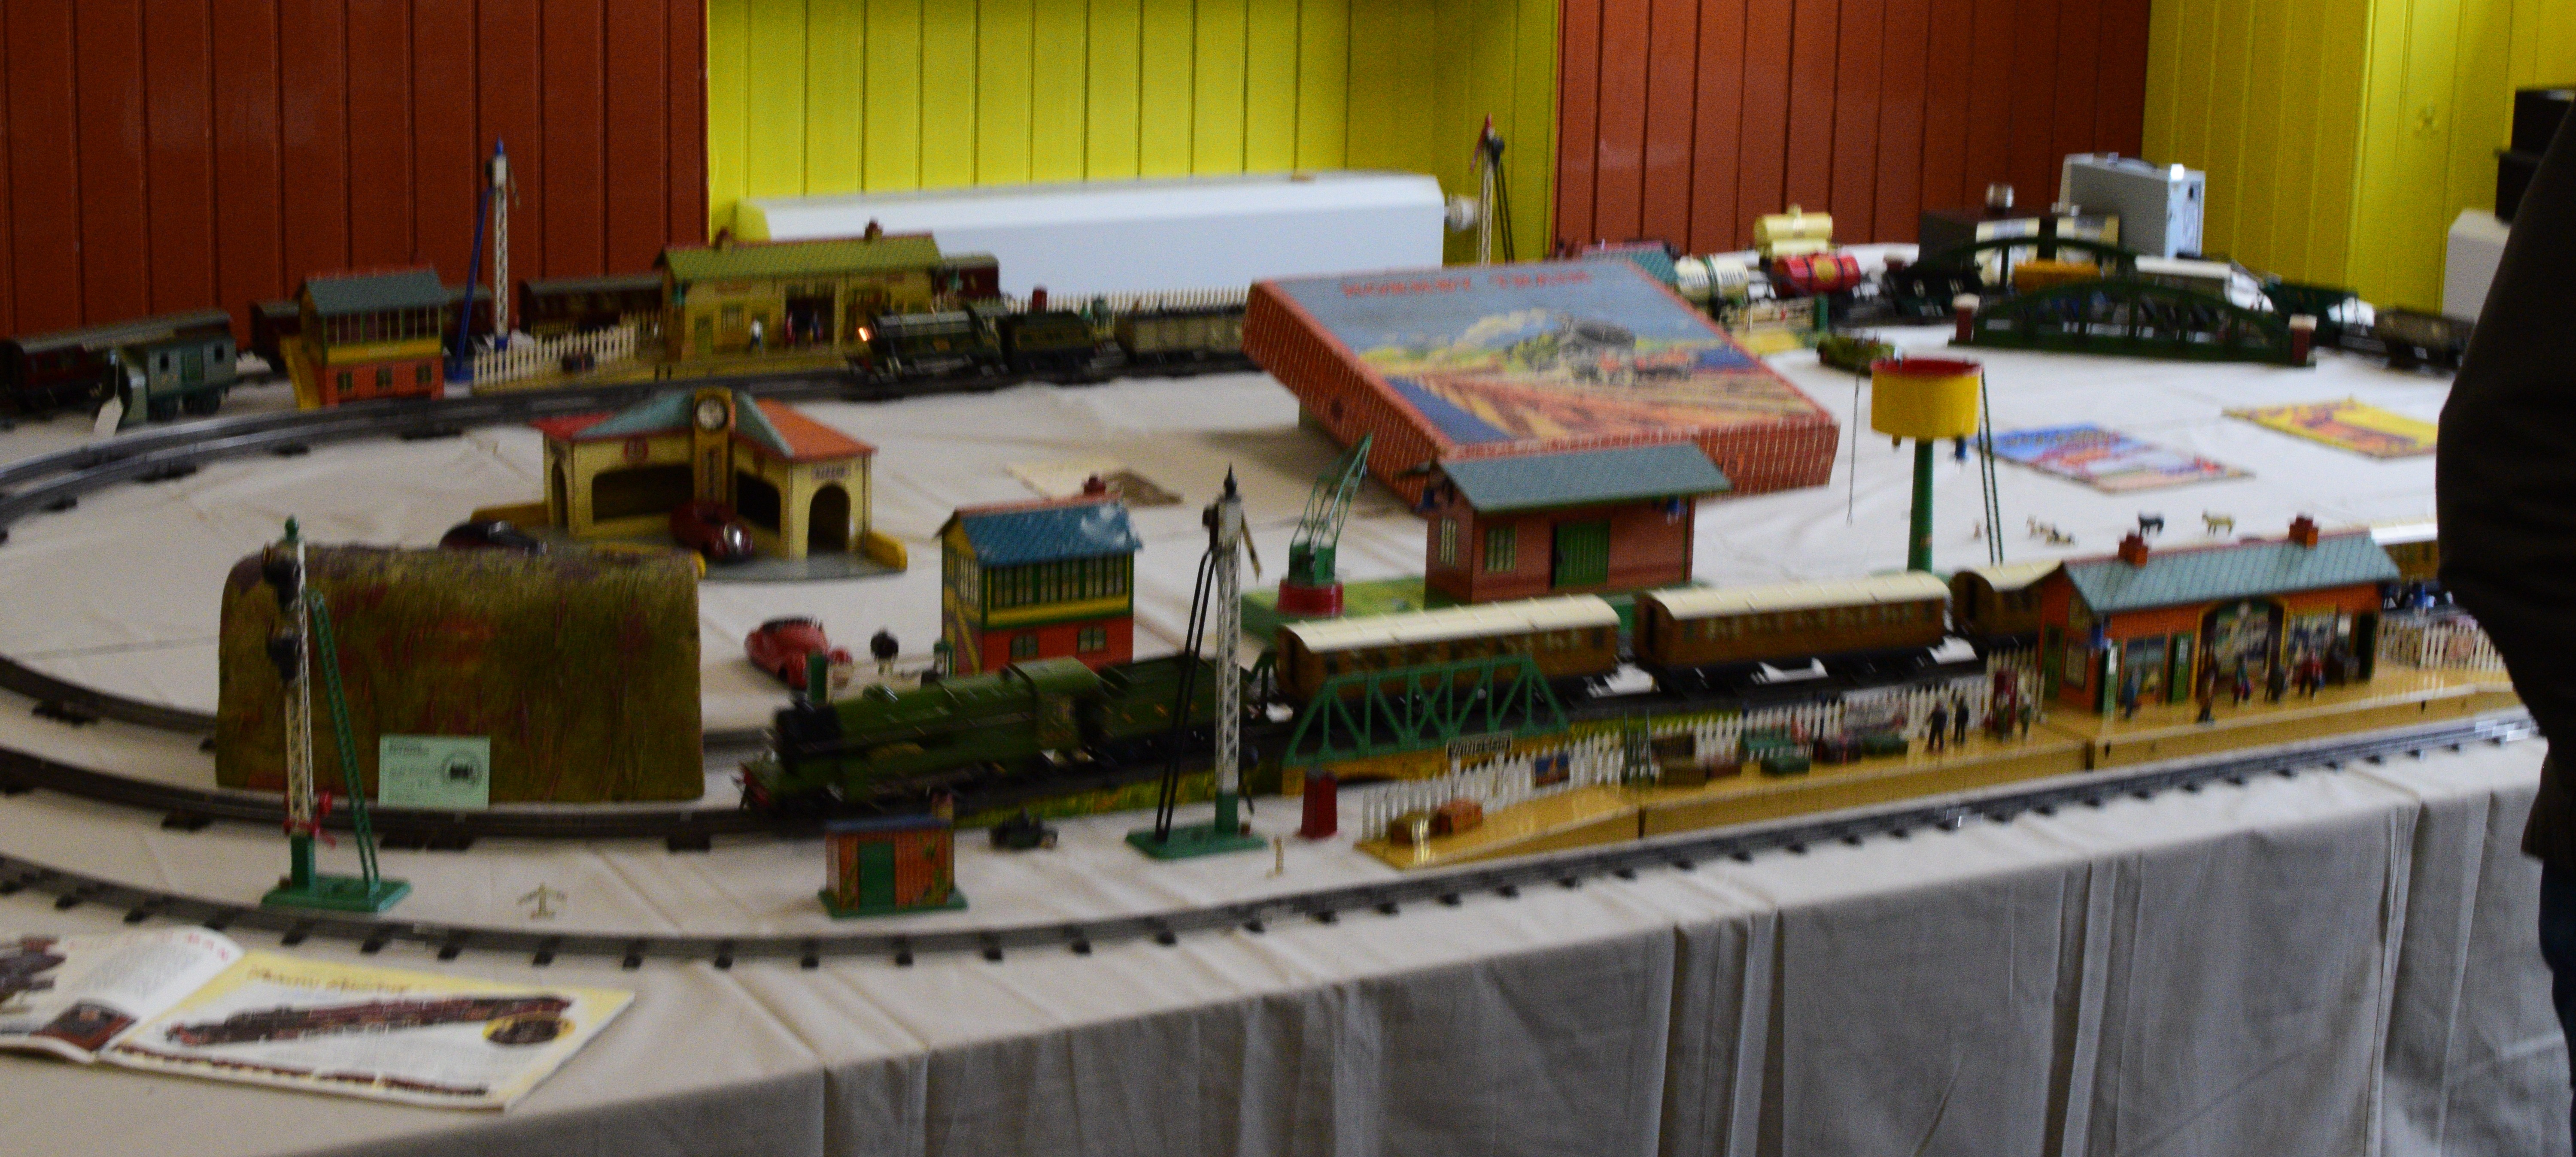 O Gauge
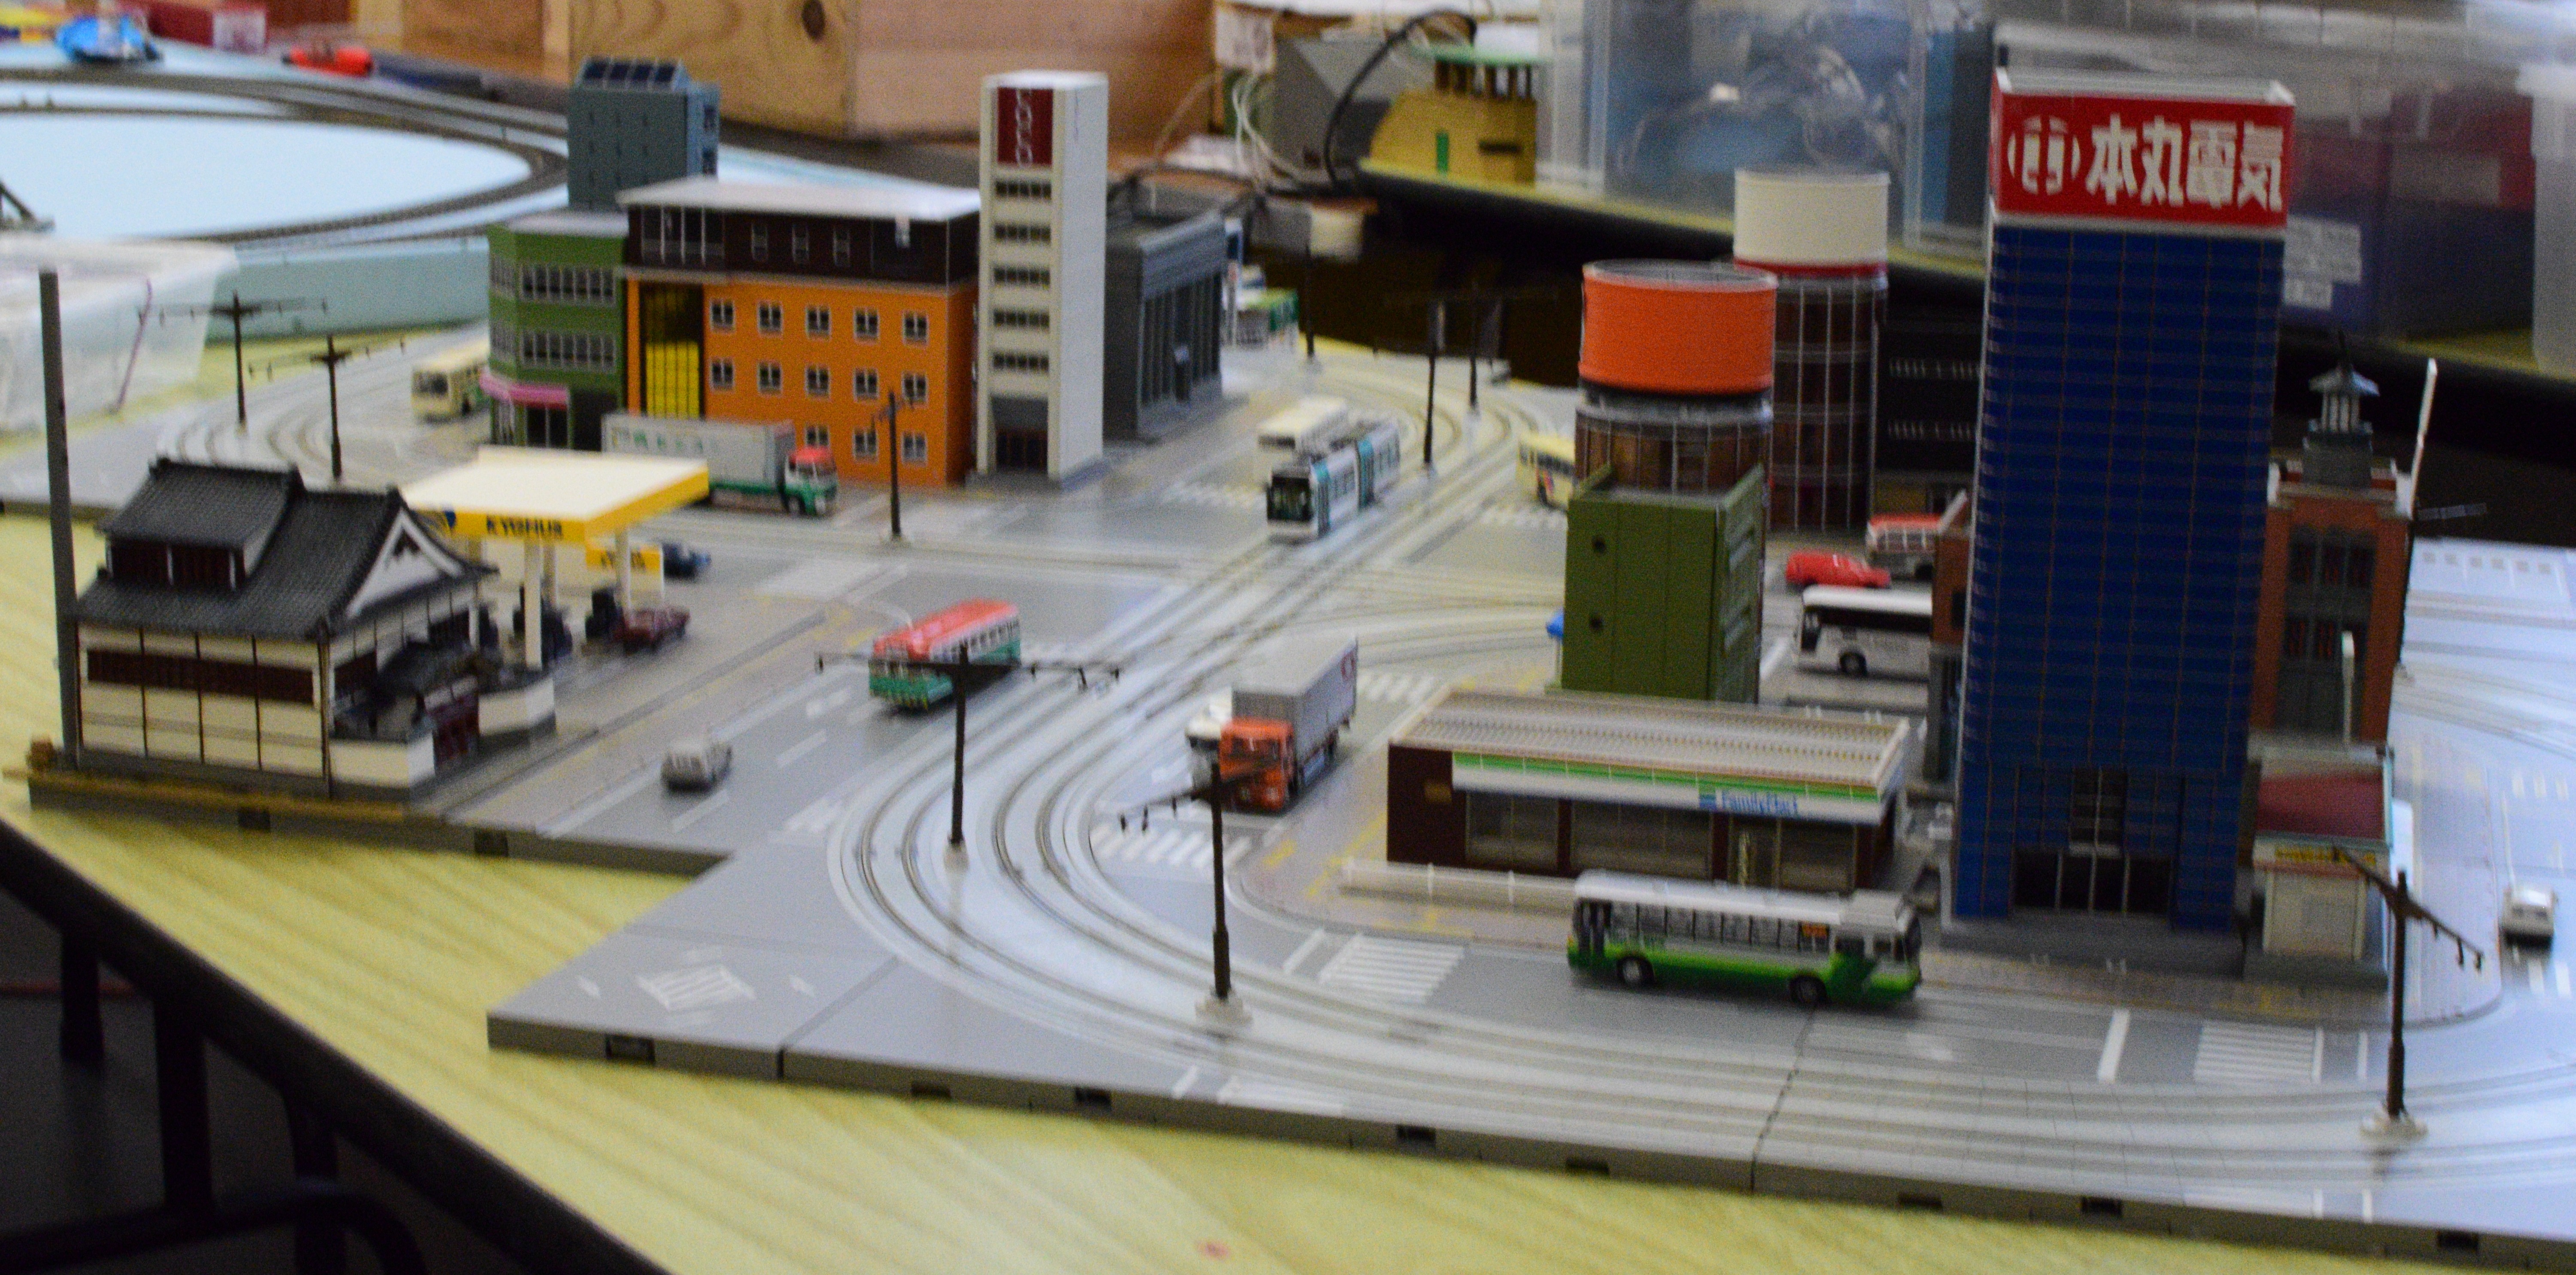
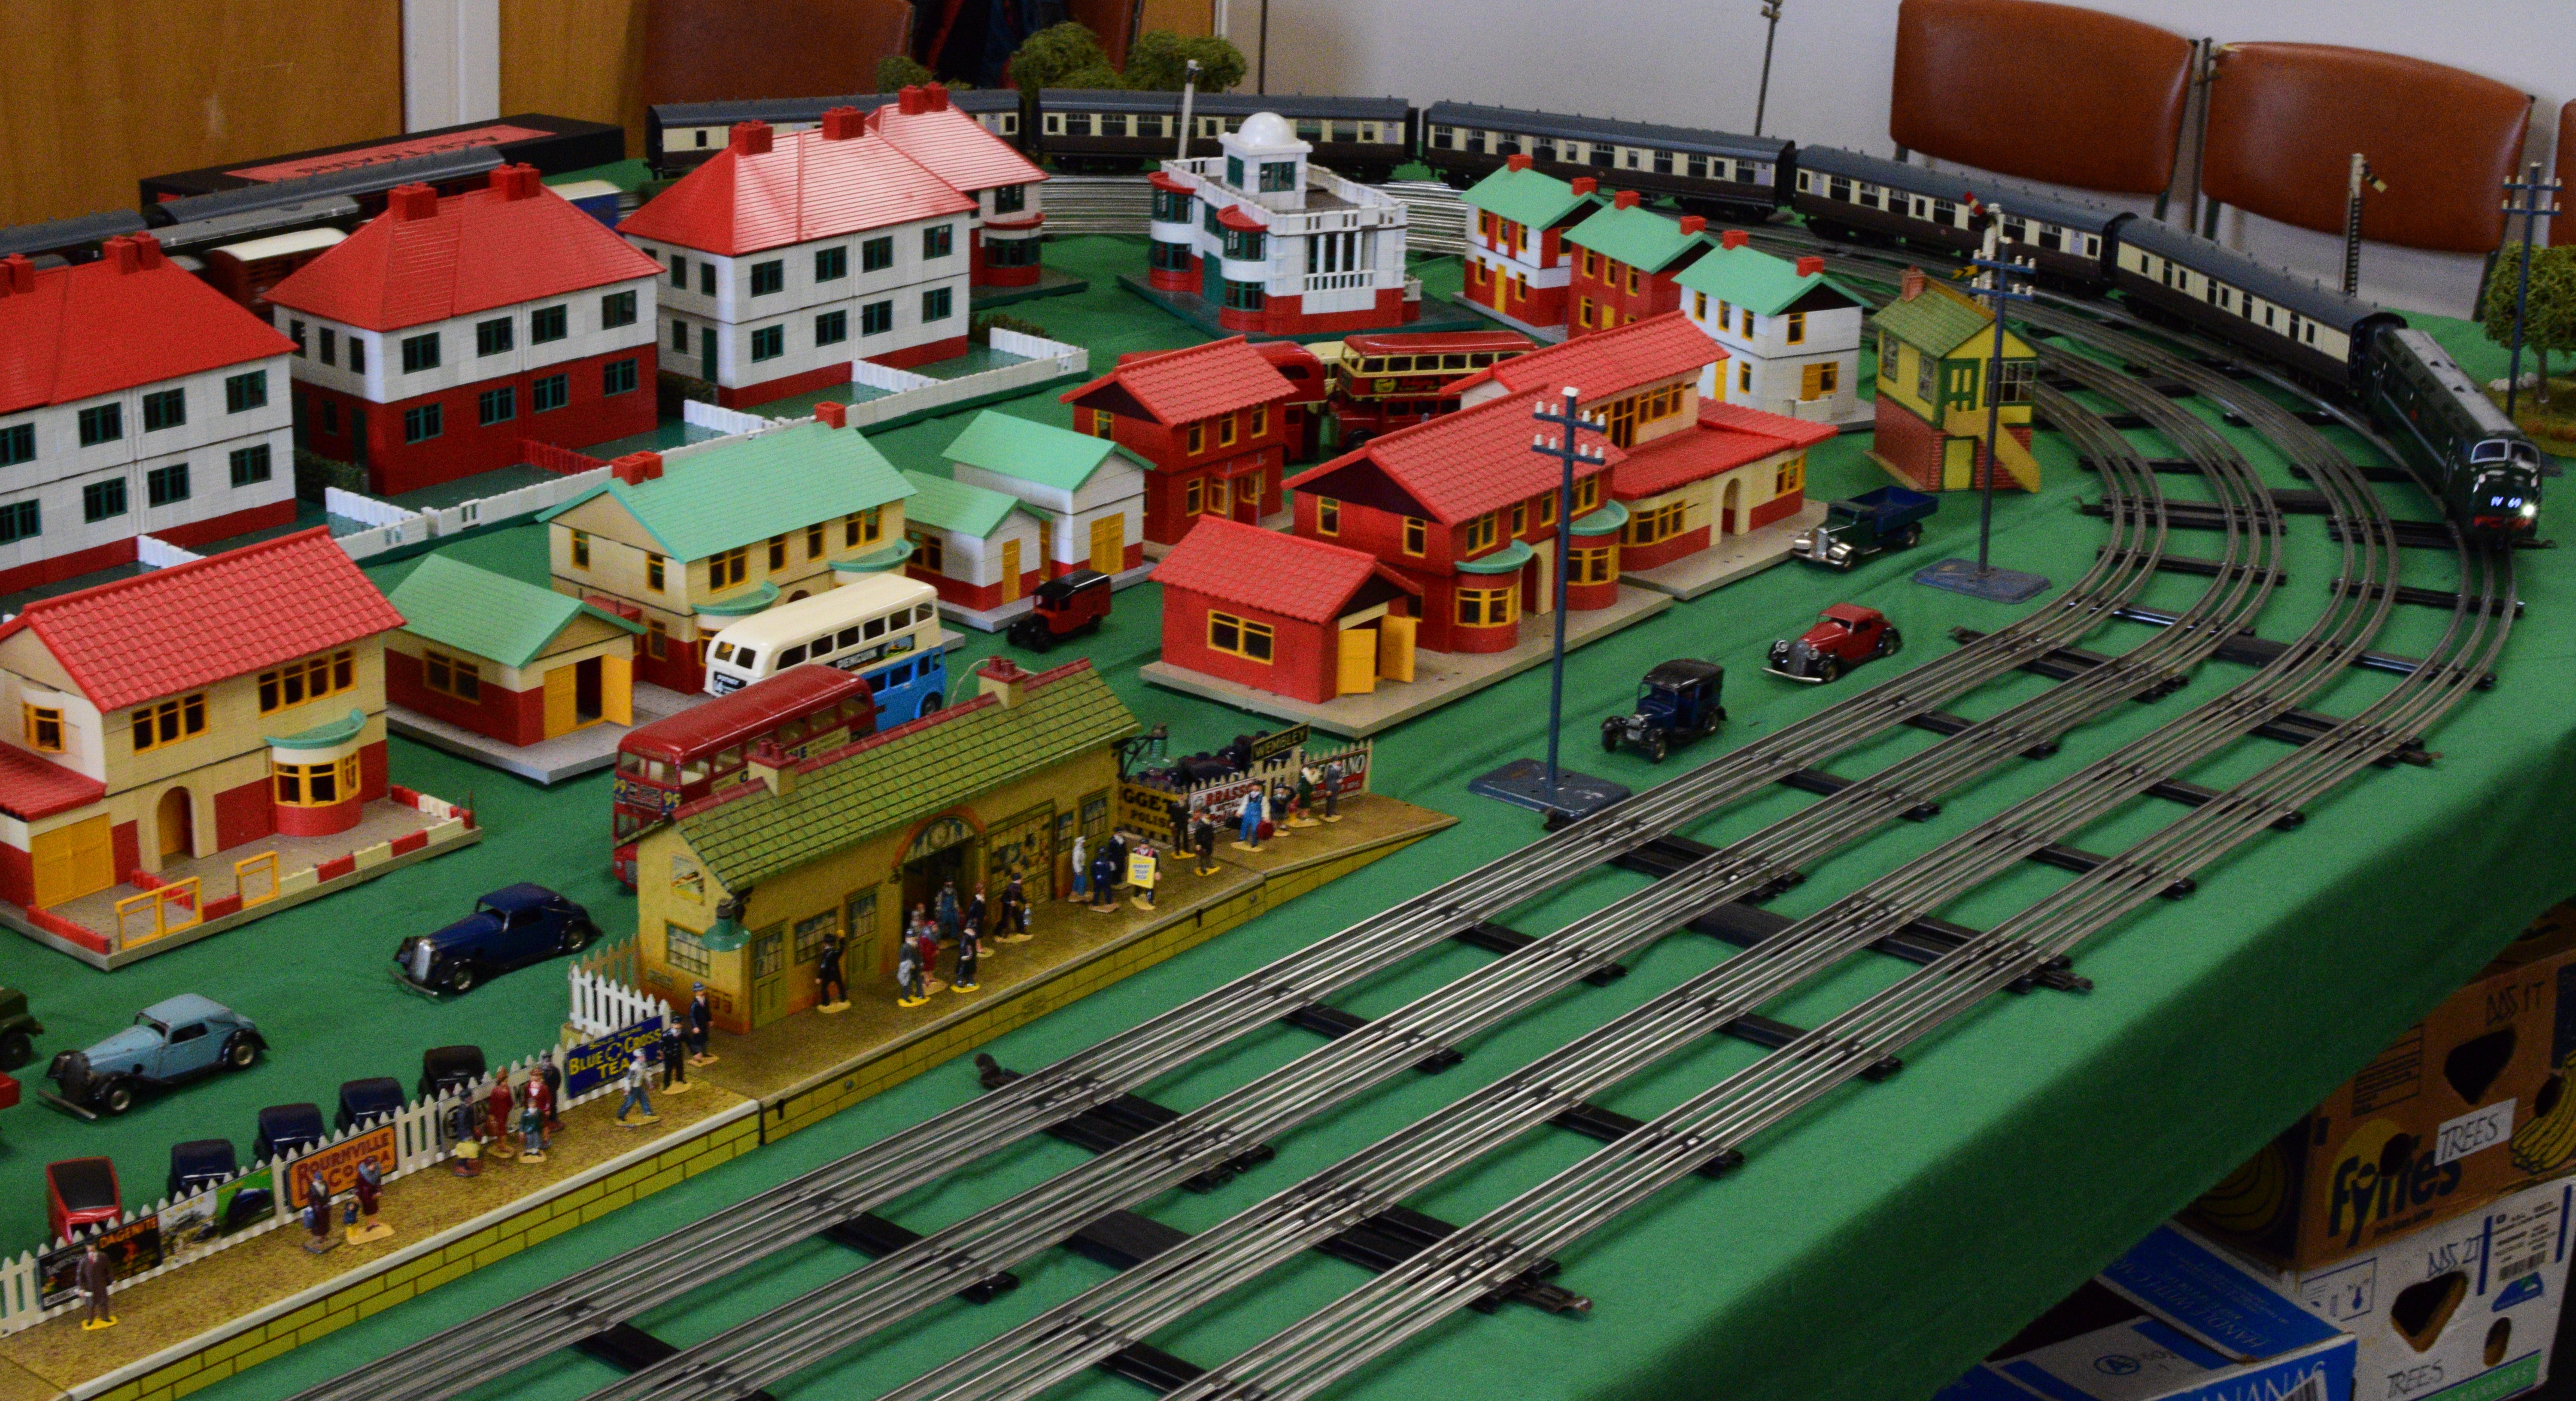
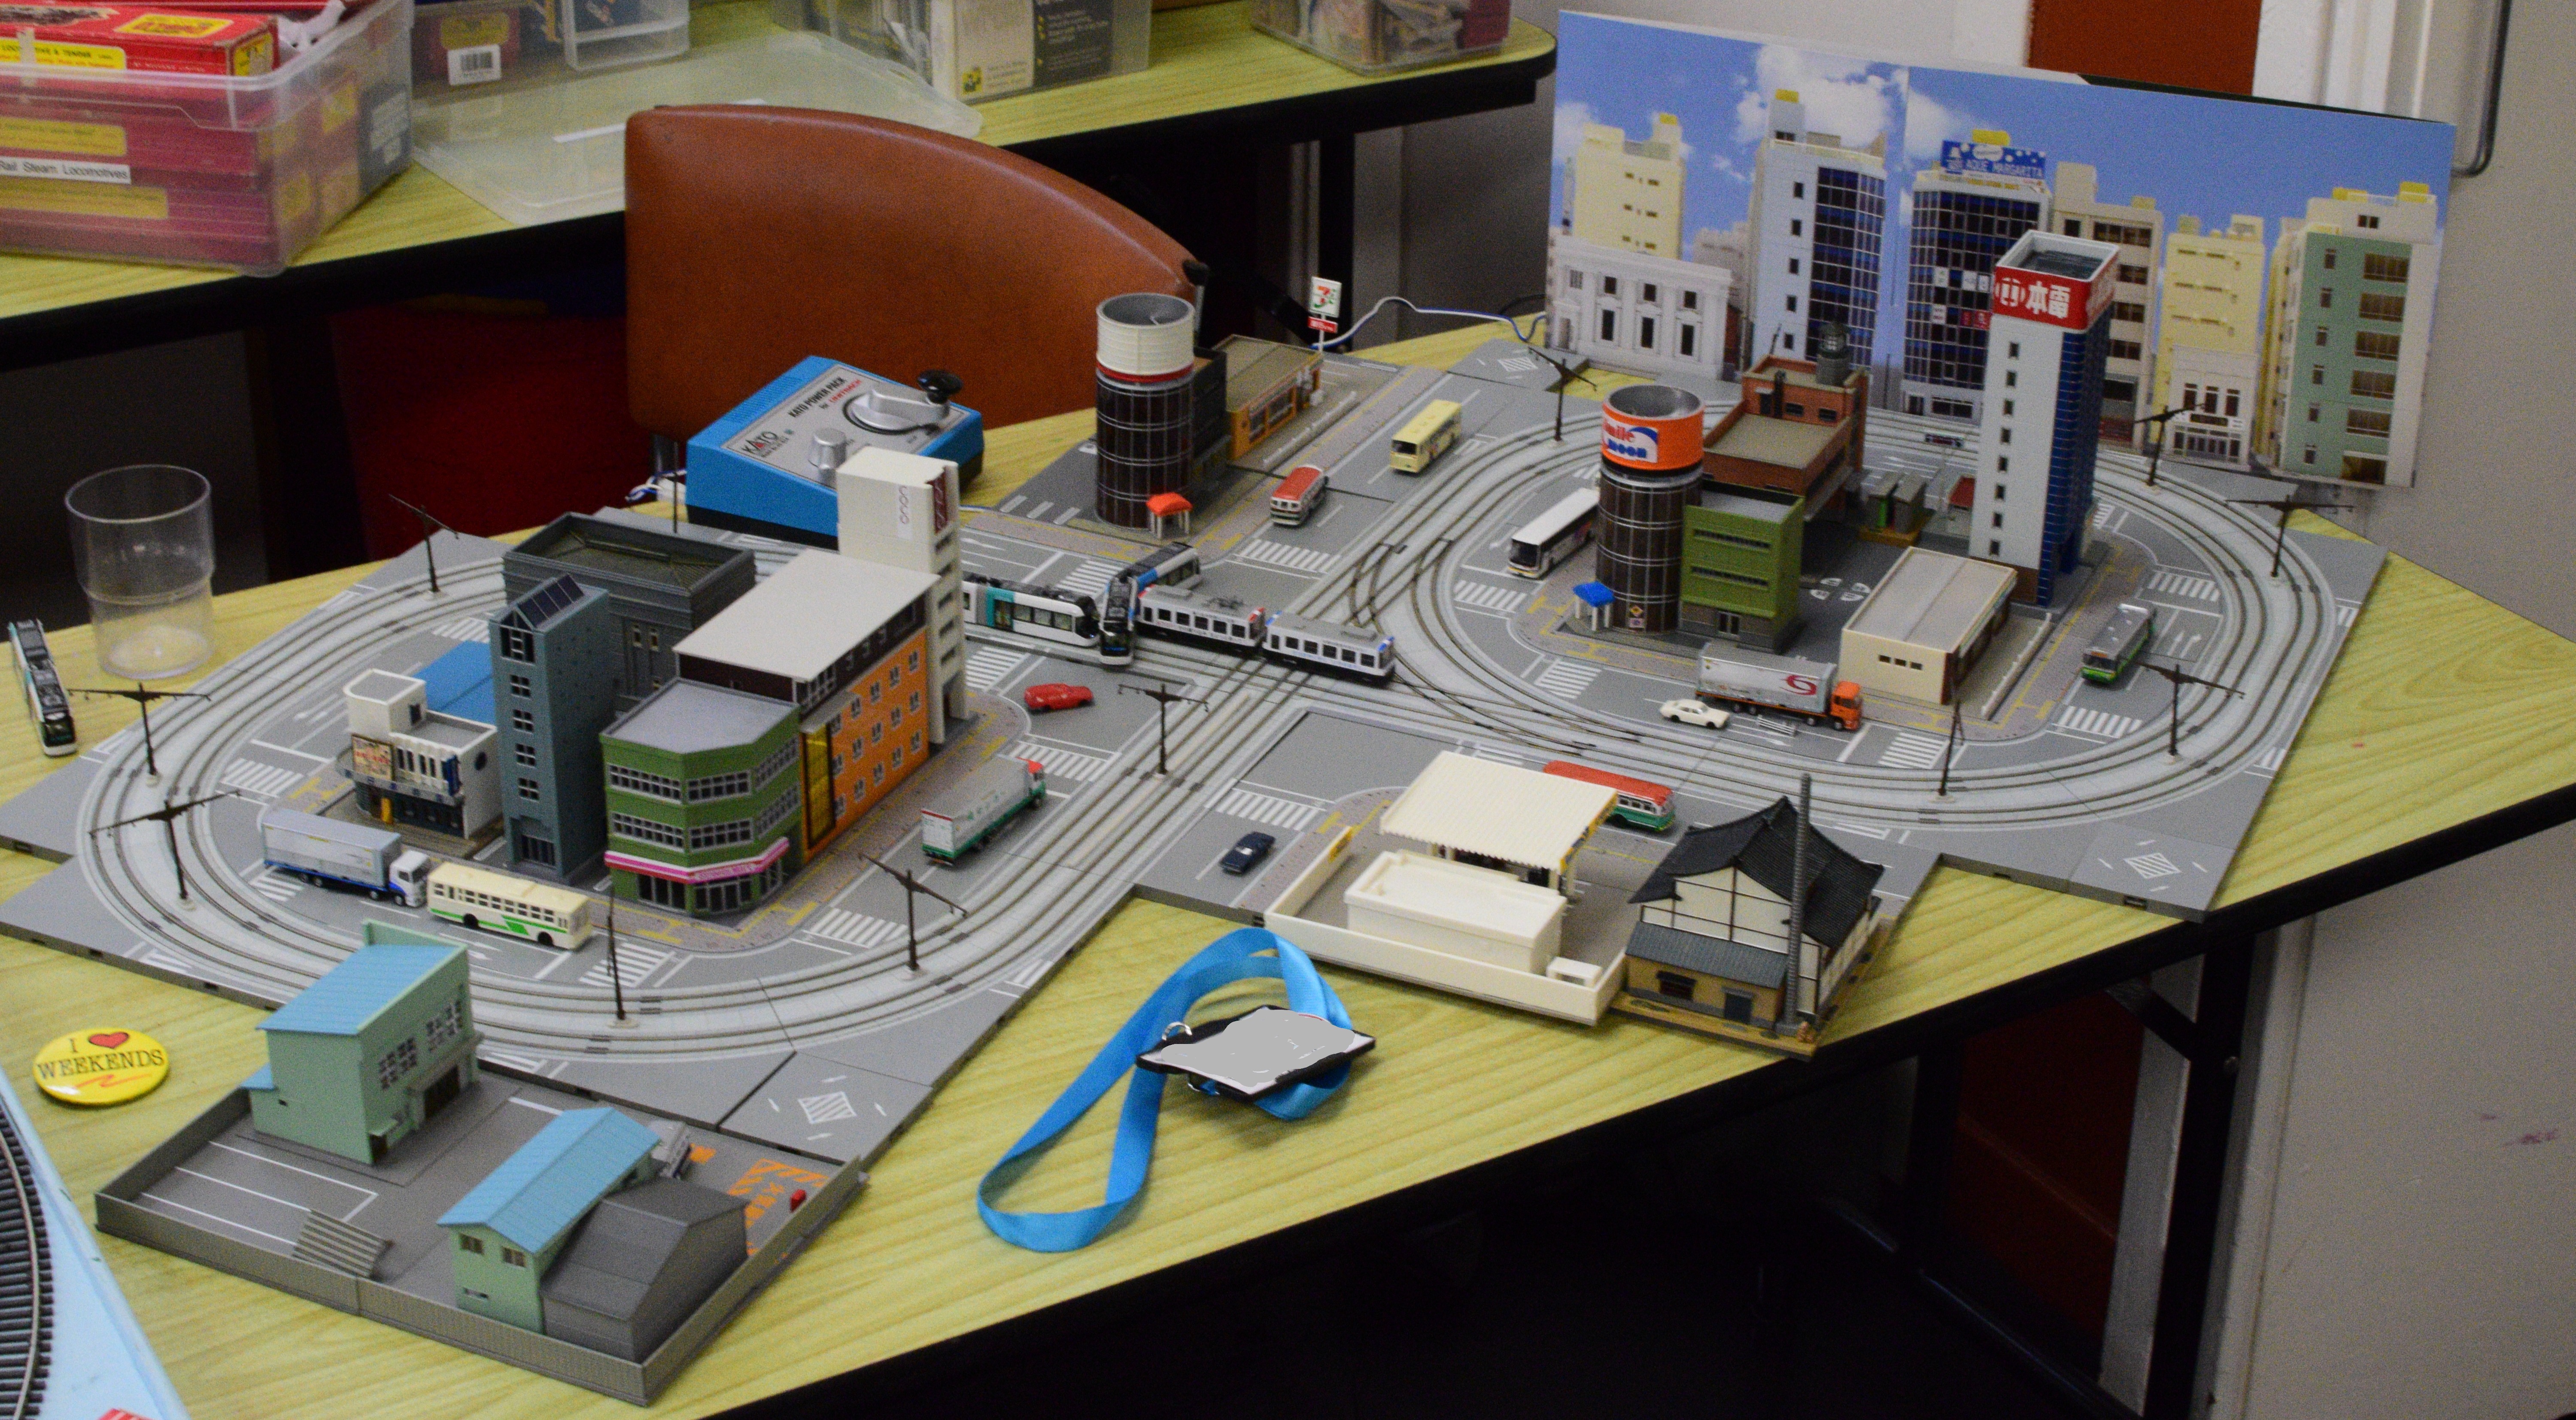 Japanese tram. Possibly N Gauge
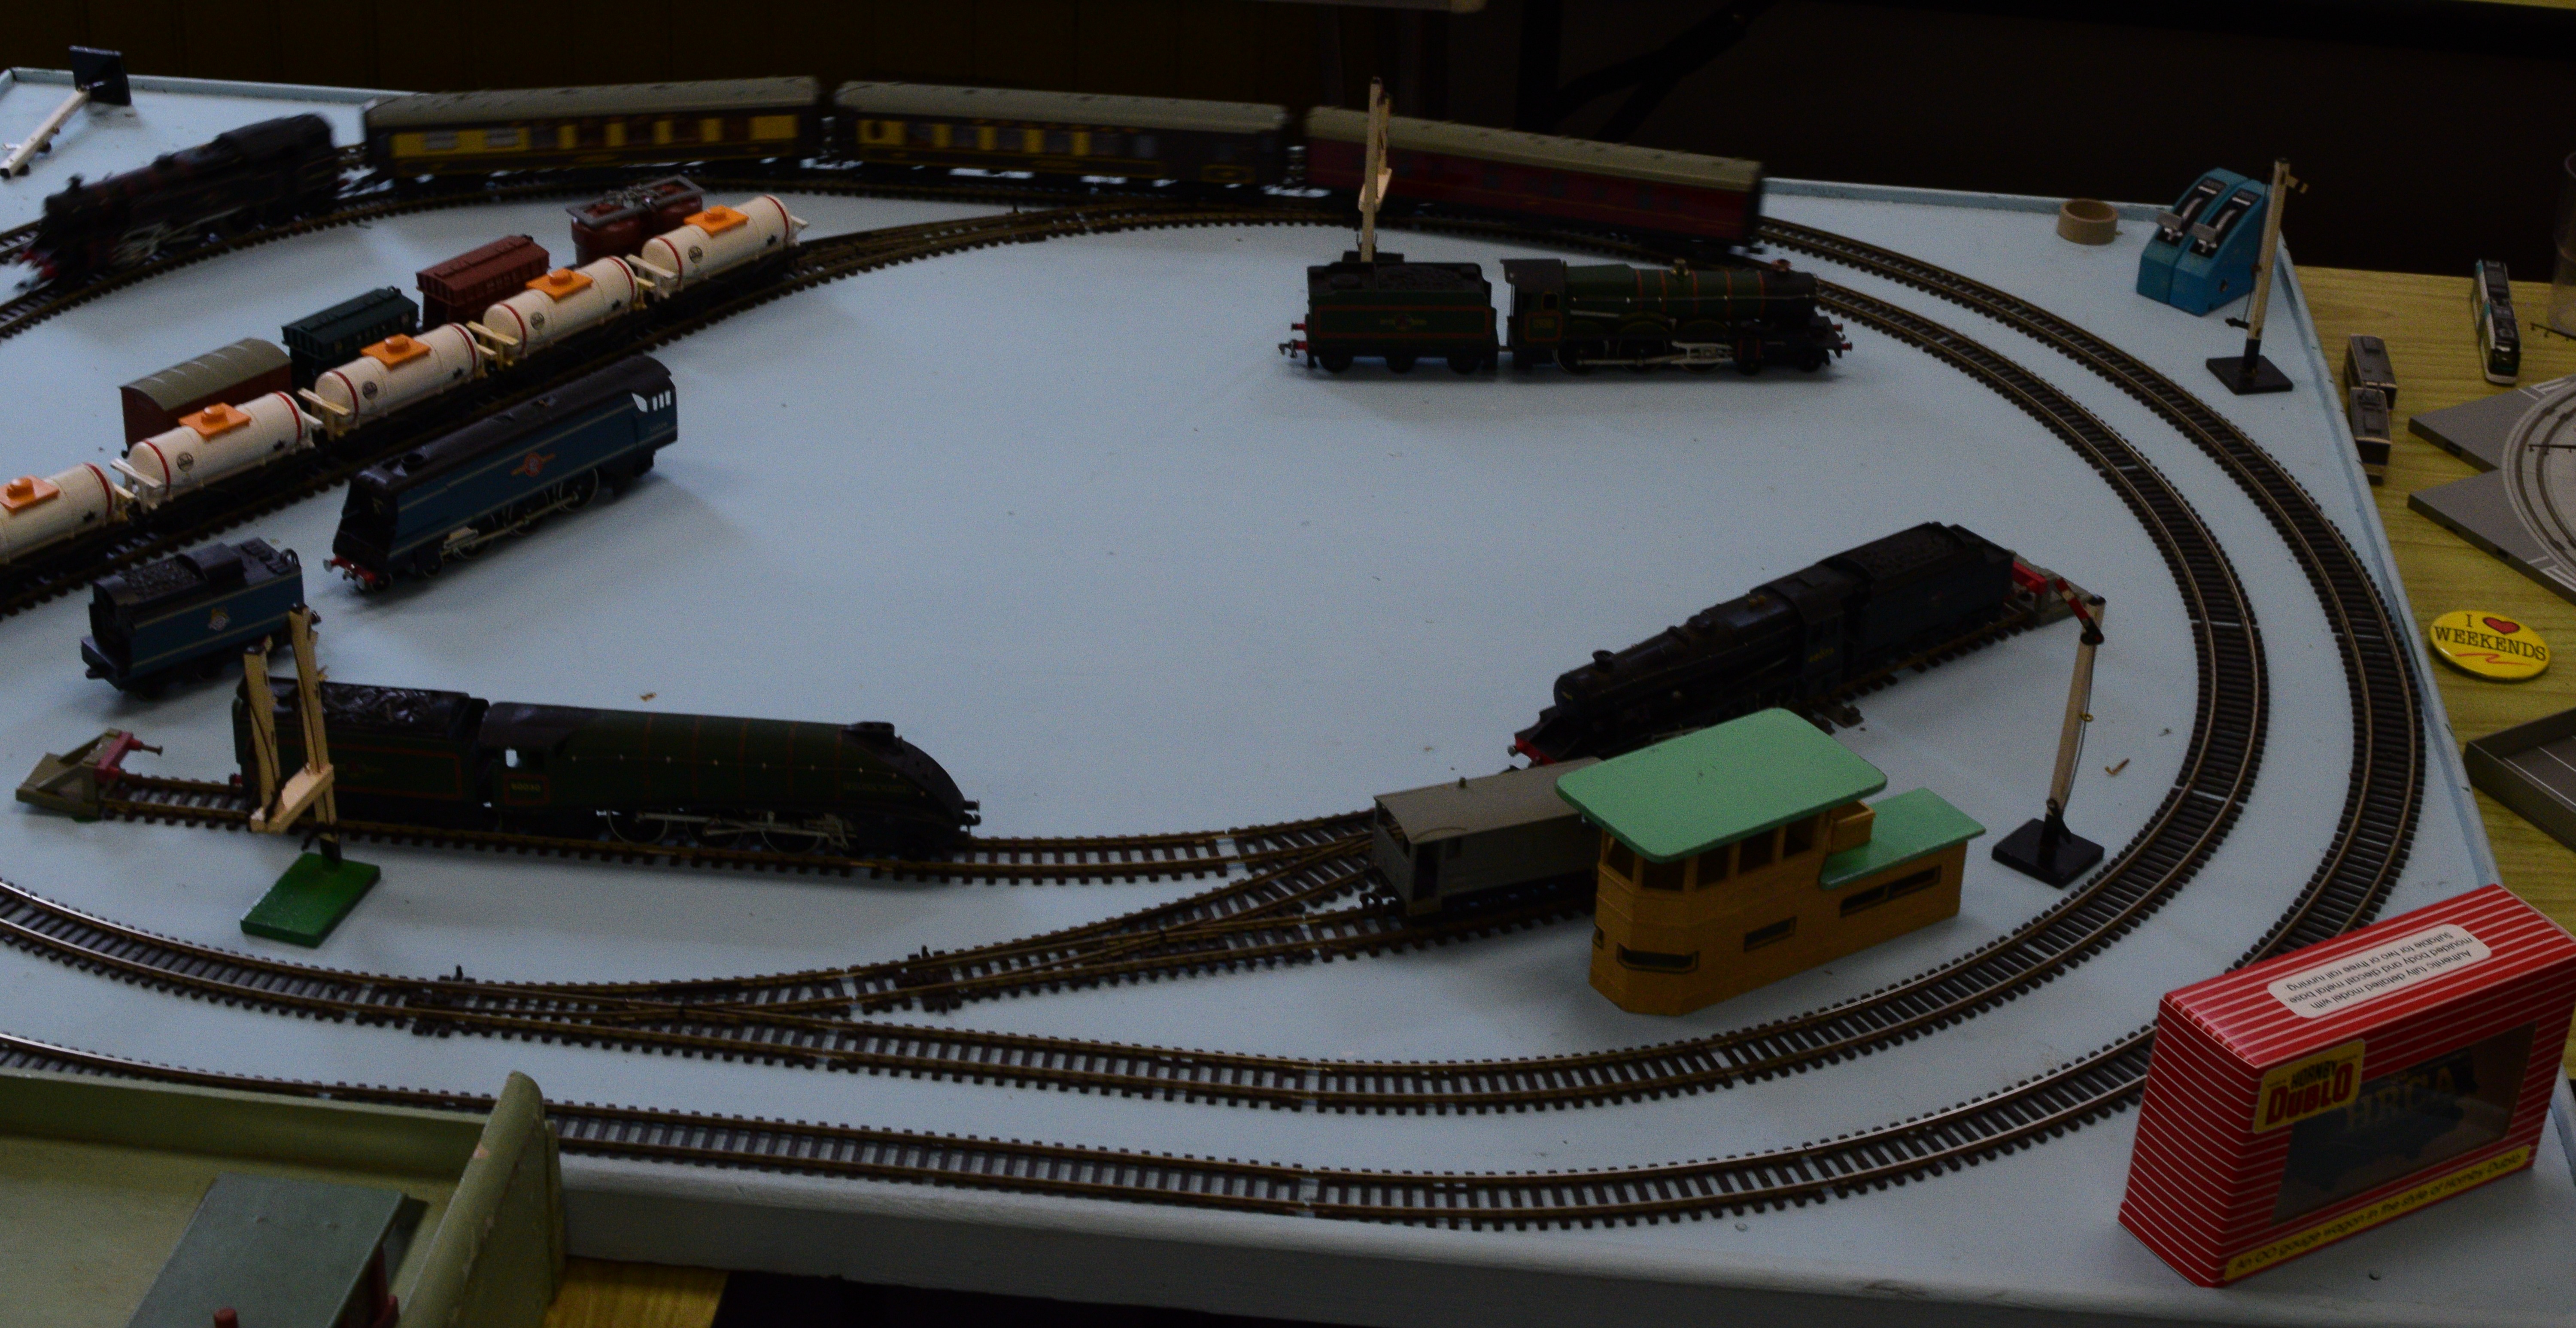 OO Gauge
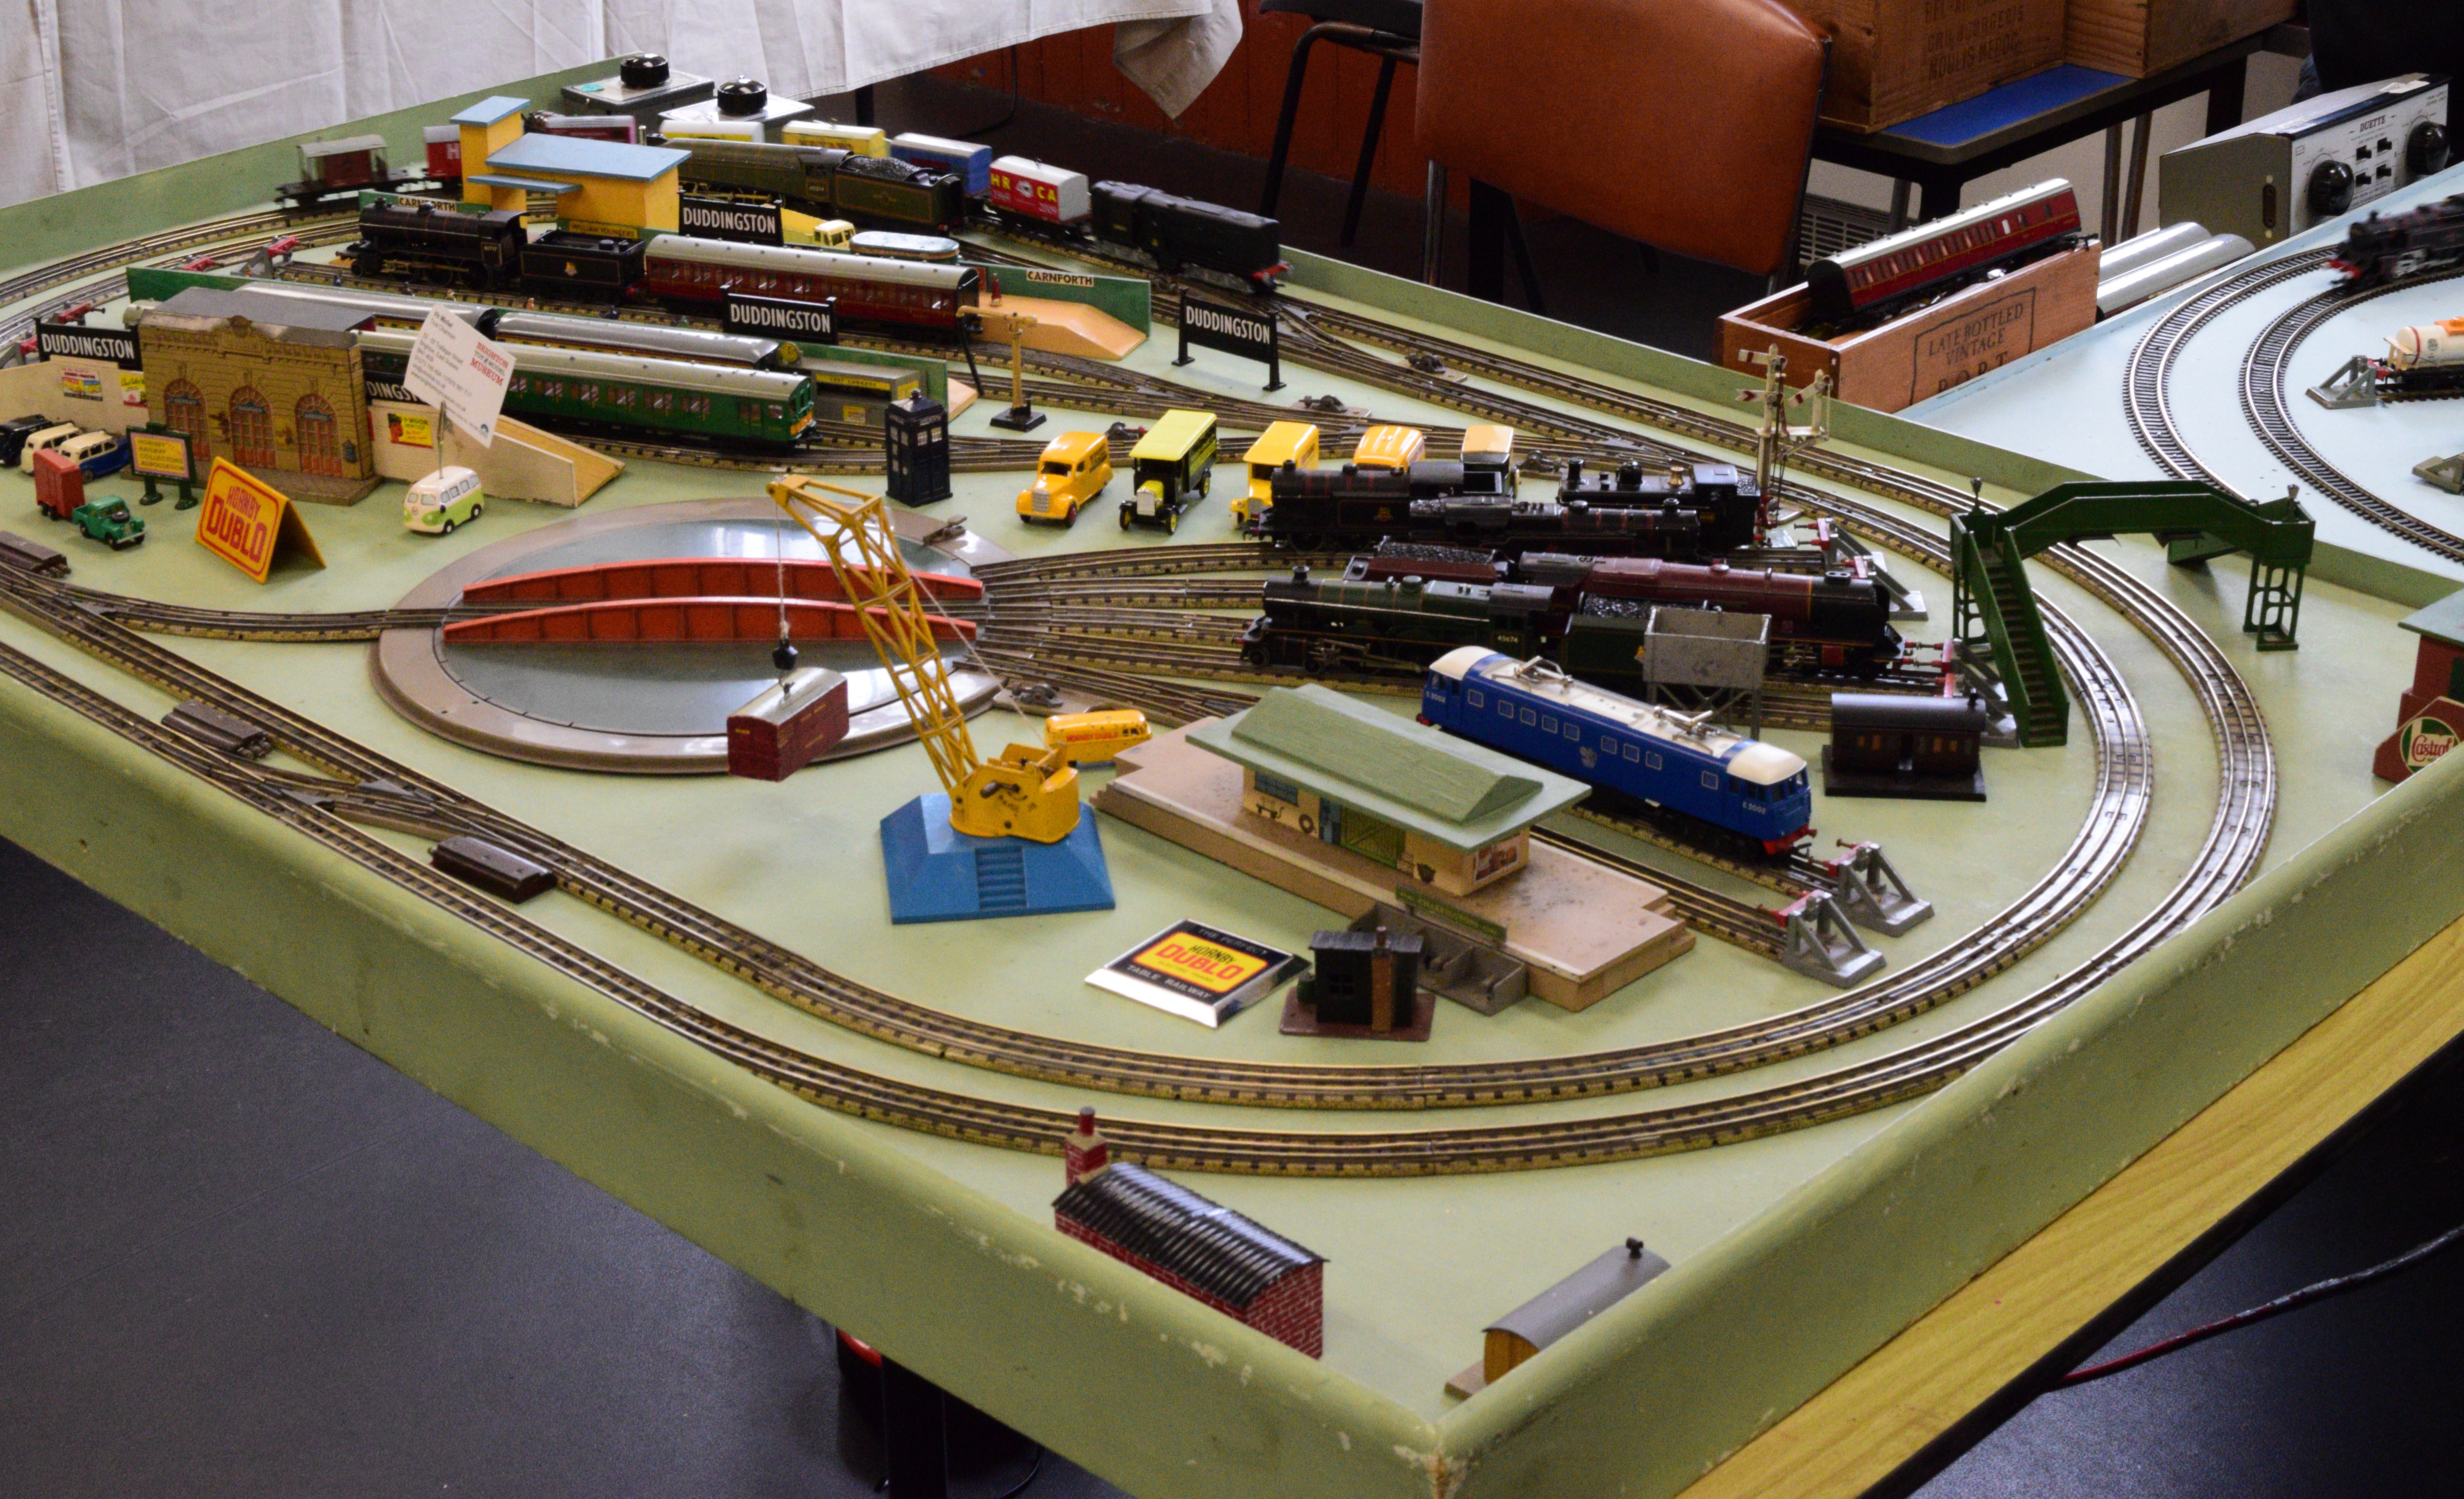 Dublo
Dublo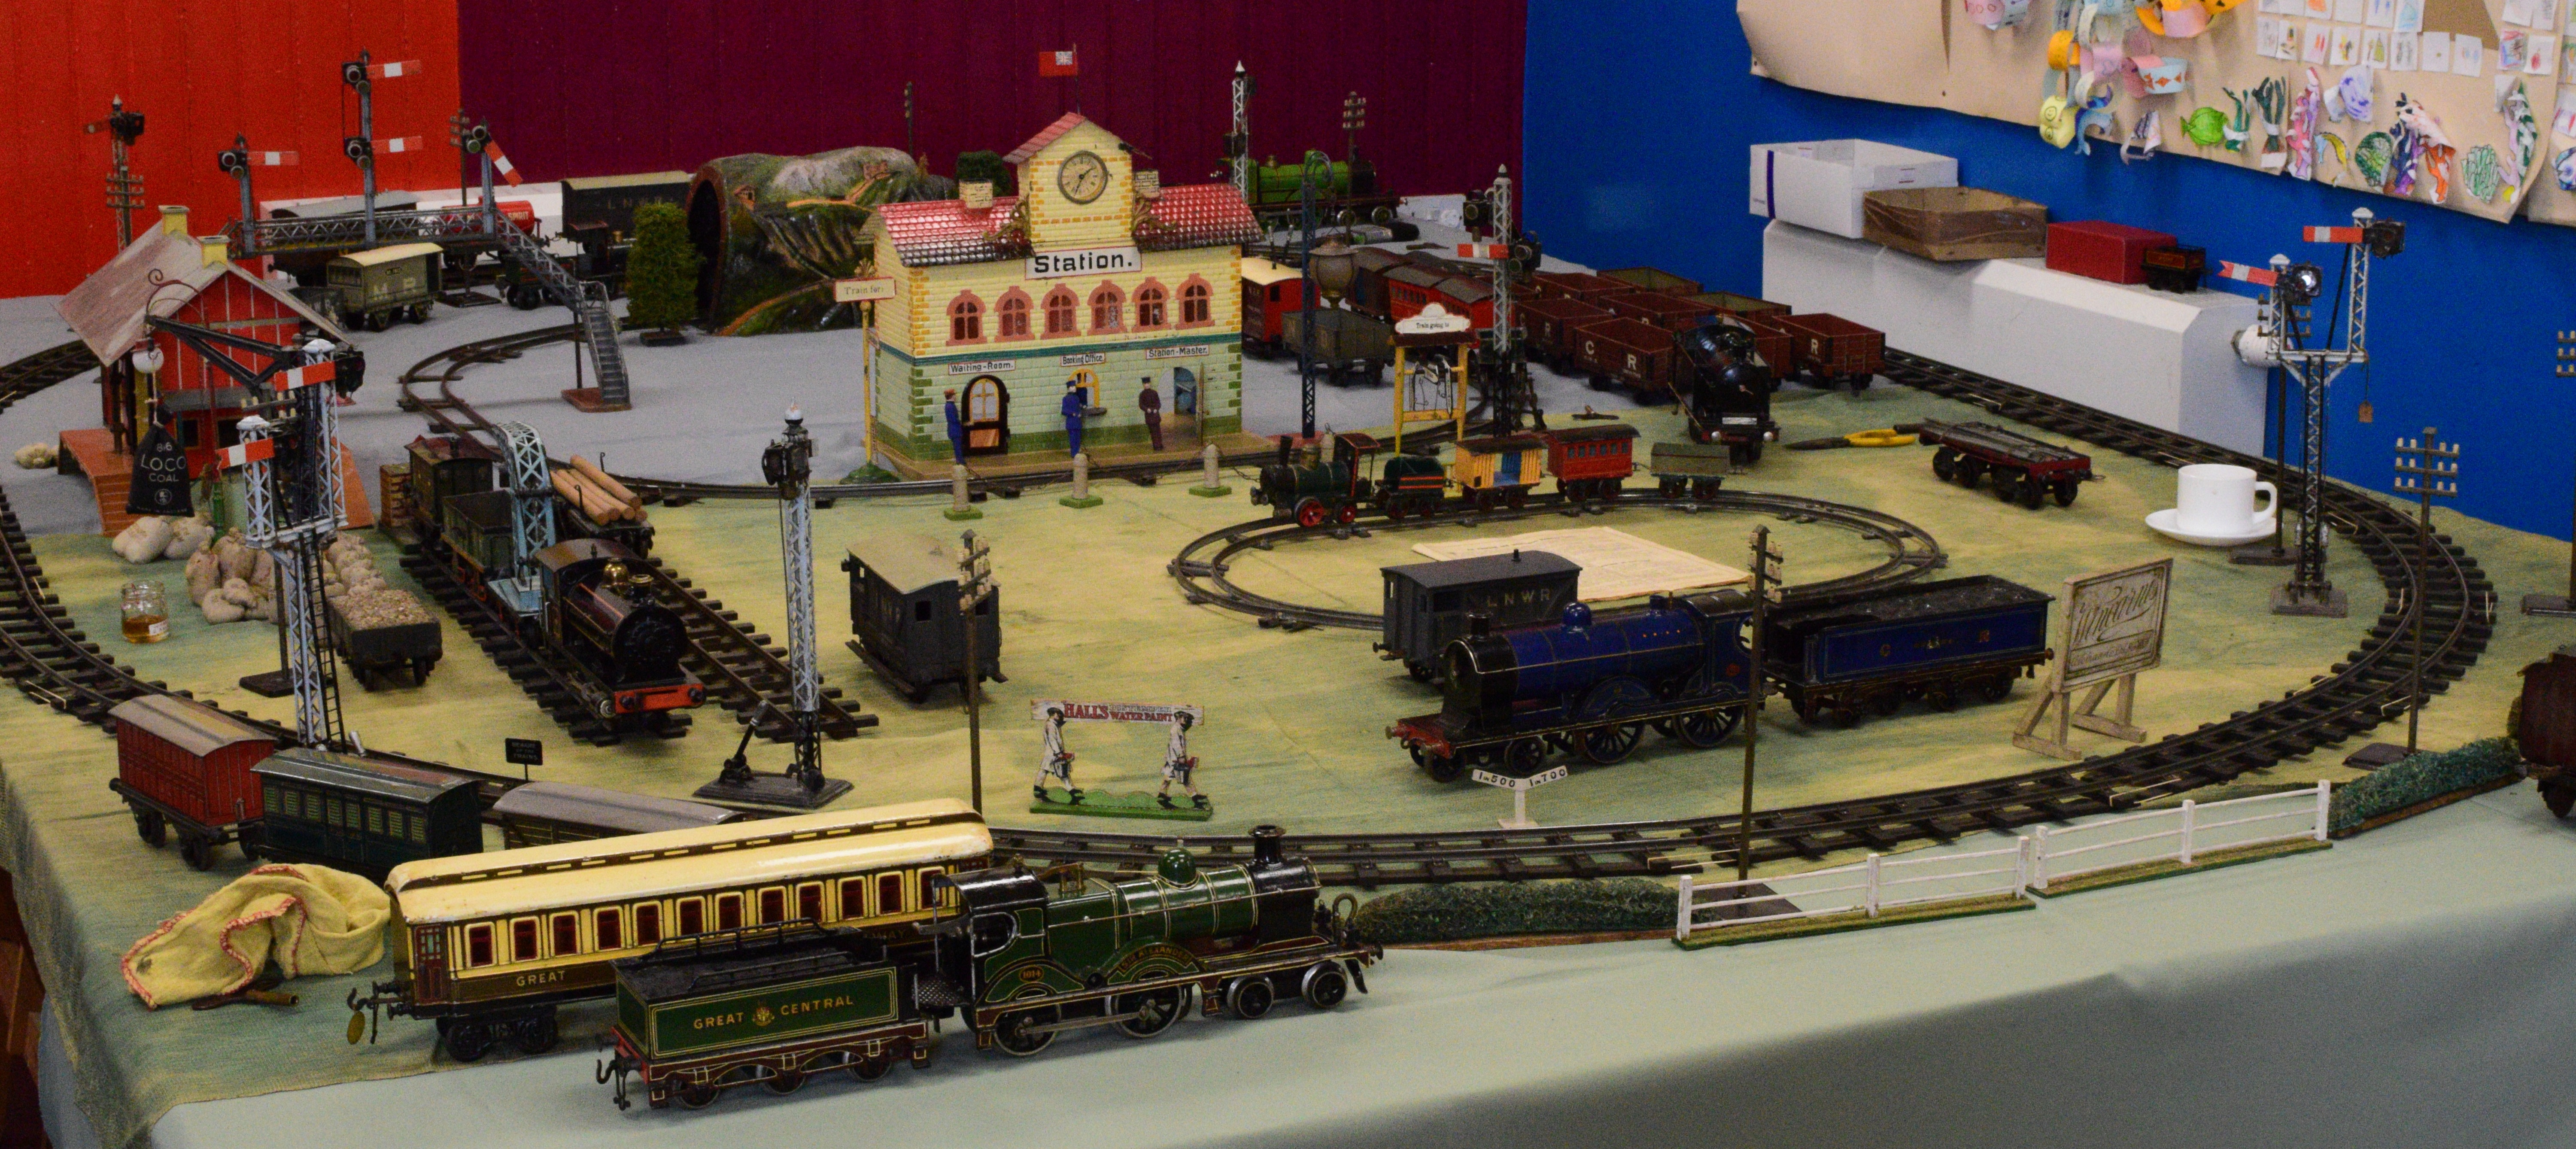 Clockwork O Gauge
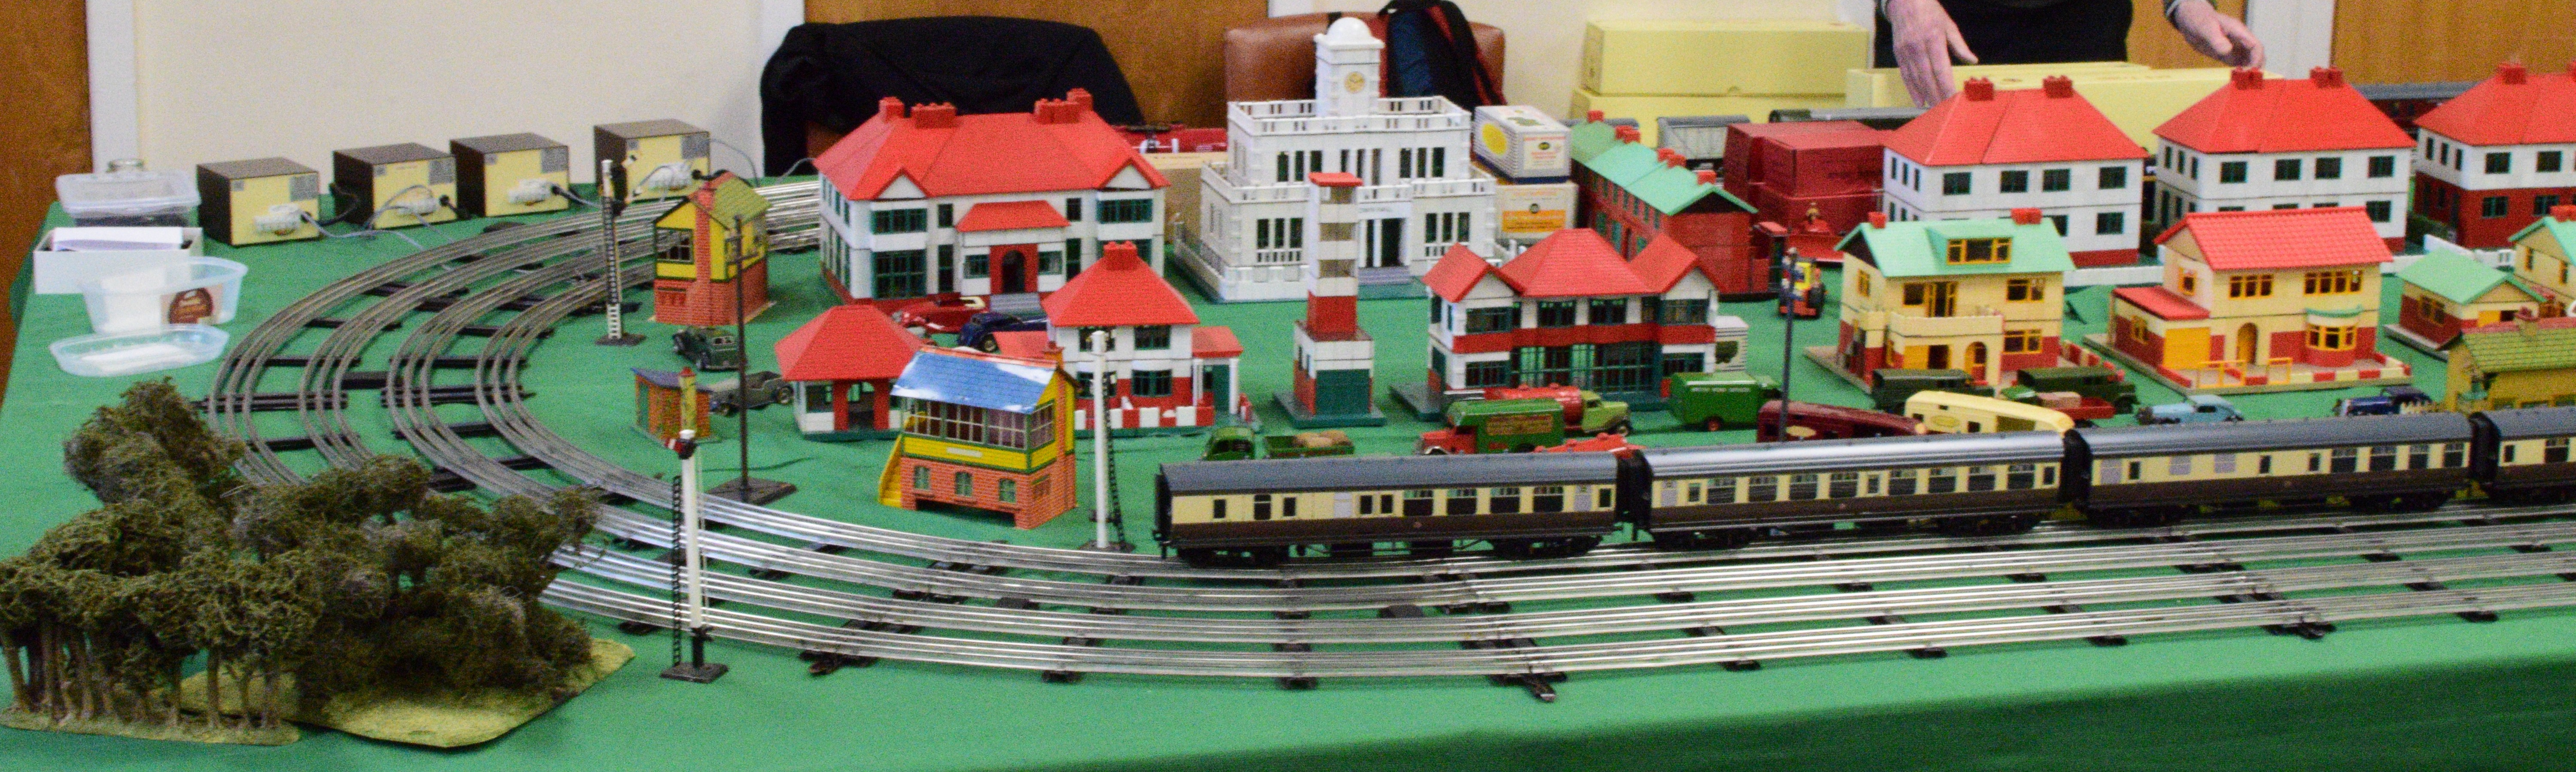
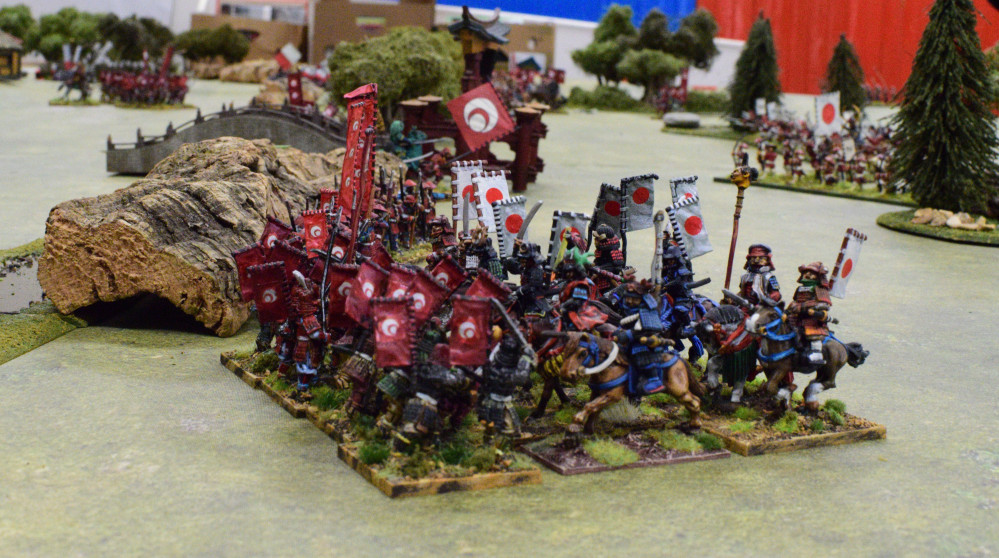
16th Century Samurai
A multiple player per side 16th Century Samurai game at Kirriemuir Wargames Club 30 March 2025.
Photos and Battle Report:
I took photos when I could during breaks in play to not slow the game down, hence there are very little actual photos of engaged units or the hero challenges that occurred (which there were a lot of). There’s also motion blur as each photo was taken quickly. Everything is from my biased point of view and mainly concerns where my units were. Clicking on the gallery photos will reveal more of the image and information.
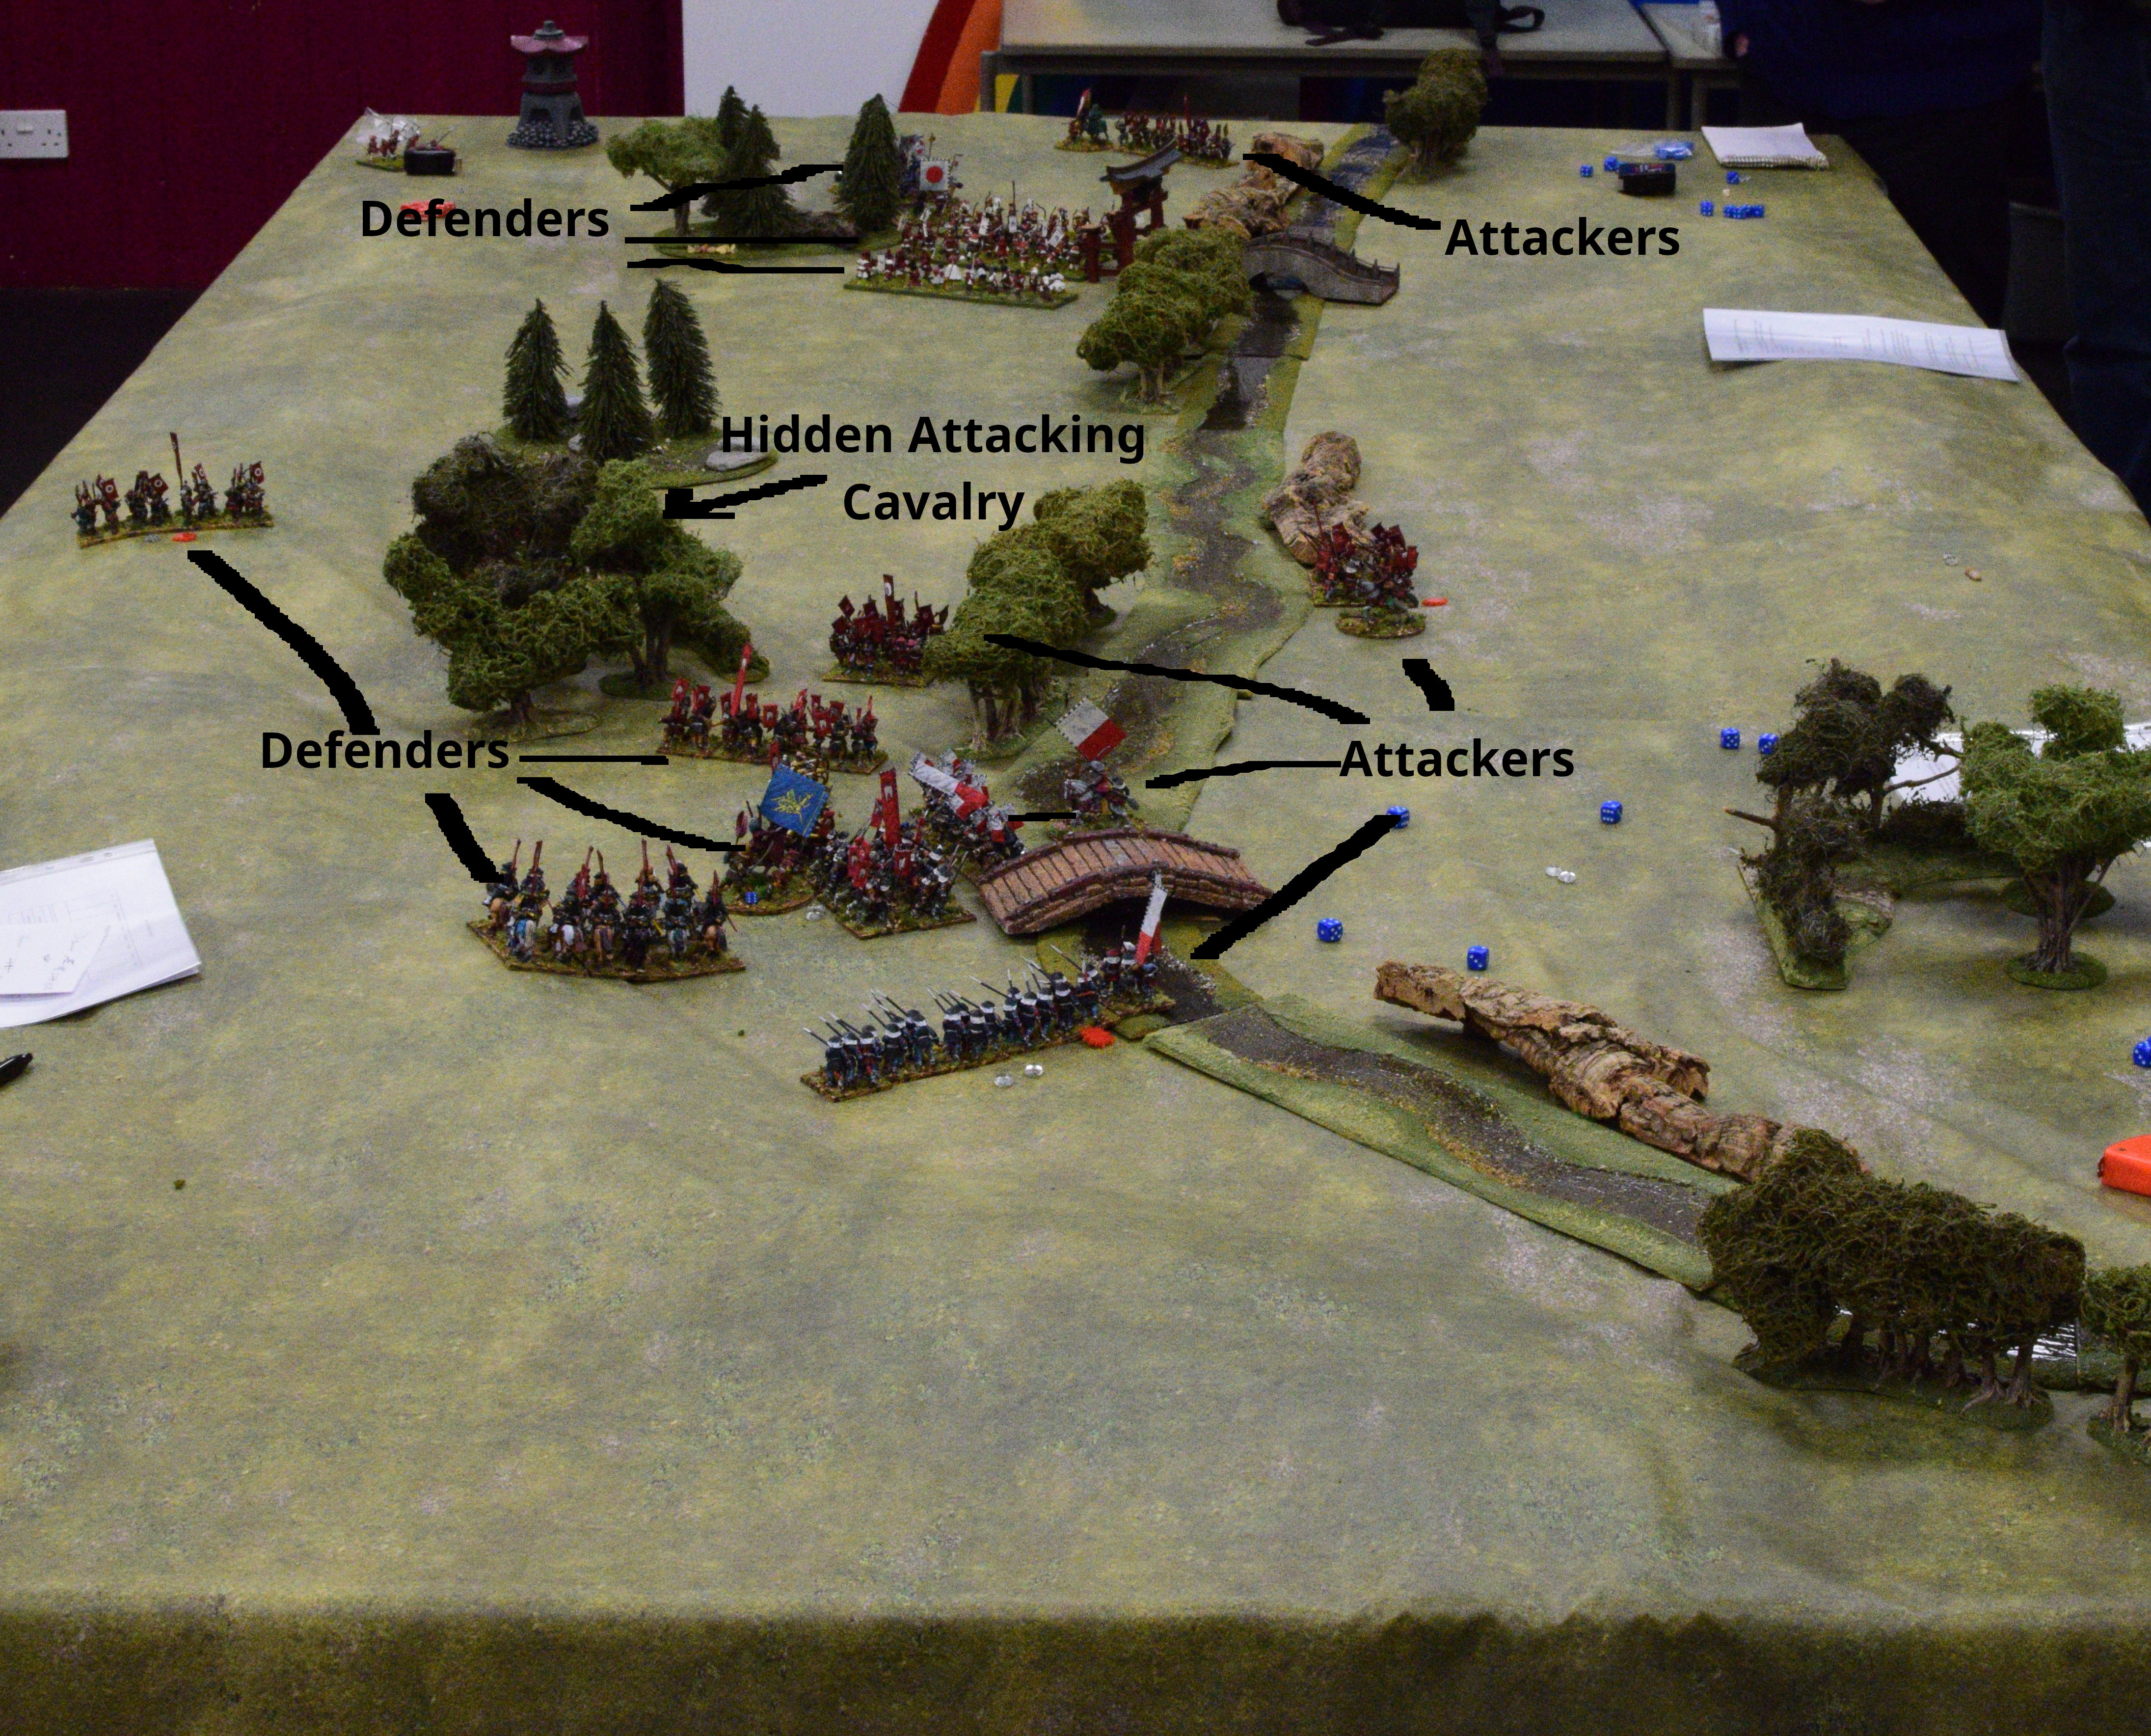
Each side had a secret discussion to decide what their plan would be. One side decided to try and defend the river crossings while the other side decided to try and get across the river as quick as possible. Although technically there was no defenders or attackers, for ease of description the side that decided to defend the crossings will be called the defenders and the other side the attackers.
Rule set:
An adaption of Gleaming Katanas which was based on Black Powder, but with the shorter movement values of Pike and Shot.
Gleaming Katanas by Rich Jones 2010 v1.2 (SESWC v1.3) Oliver’s Version, simplified March 2025v4 by Bill Gilchrist, further reductions and additions by Dale Smith.
Scenario:
A meeting engagement of two clans on the border of their territory. Each commander on the table has a number of pebbles which they can use to call in reinforcements for destroyed units and issue challenges between opposing generals’ personal heroes for honour/dishonour.
Setup:
12’ by 6’ table river valley.
Hills around the table edge, a scattering of forests and some impassible rocks along parts of the river. 2 bridges cross the river.
The river is fordable but an initial roll when the first unit touches a river section is made to find out how difficult the river section is to cross. Each unit crossing the river minuses a distance from their movement and rolls to see if they are disordered based on the river conditions of that section.
Figures:
All the figures are metal and are from Dixon Miniatures, Steel Fist Miniatures, Perry Miniatures and others. Figures supplied by Dale and Jed.
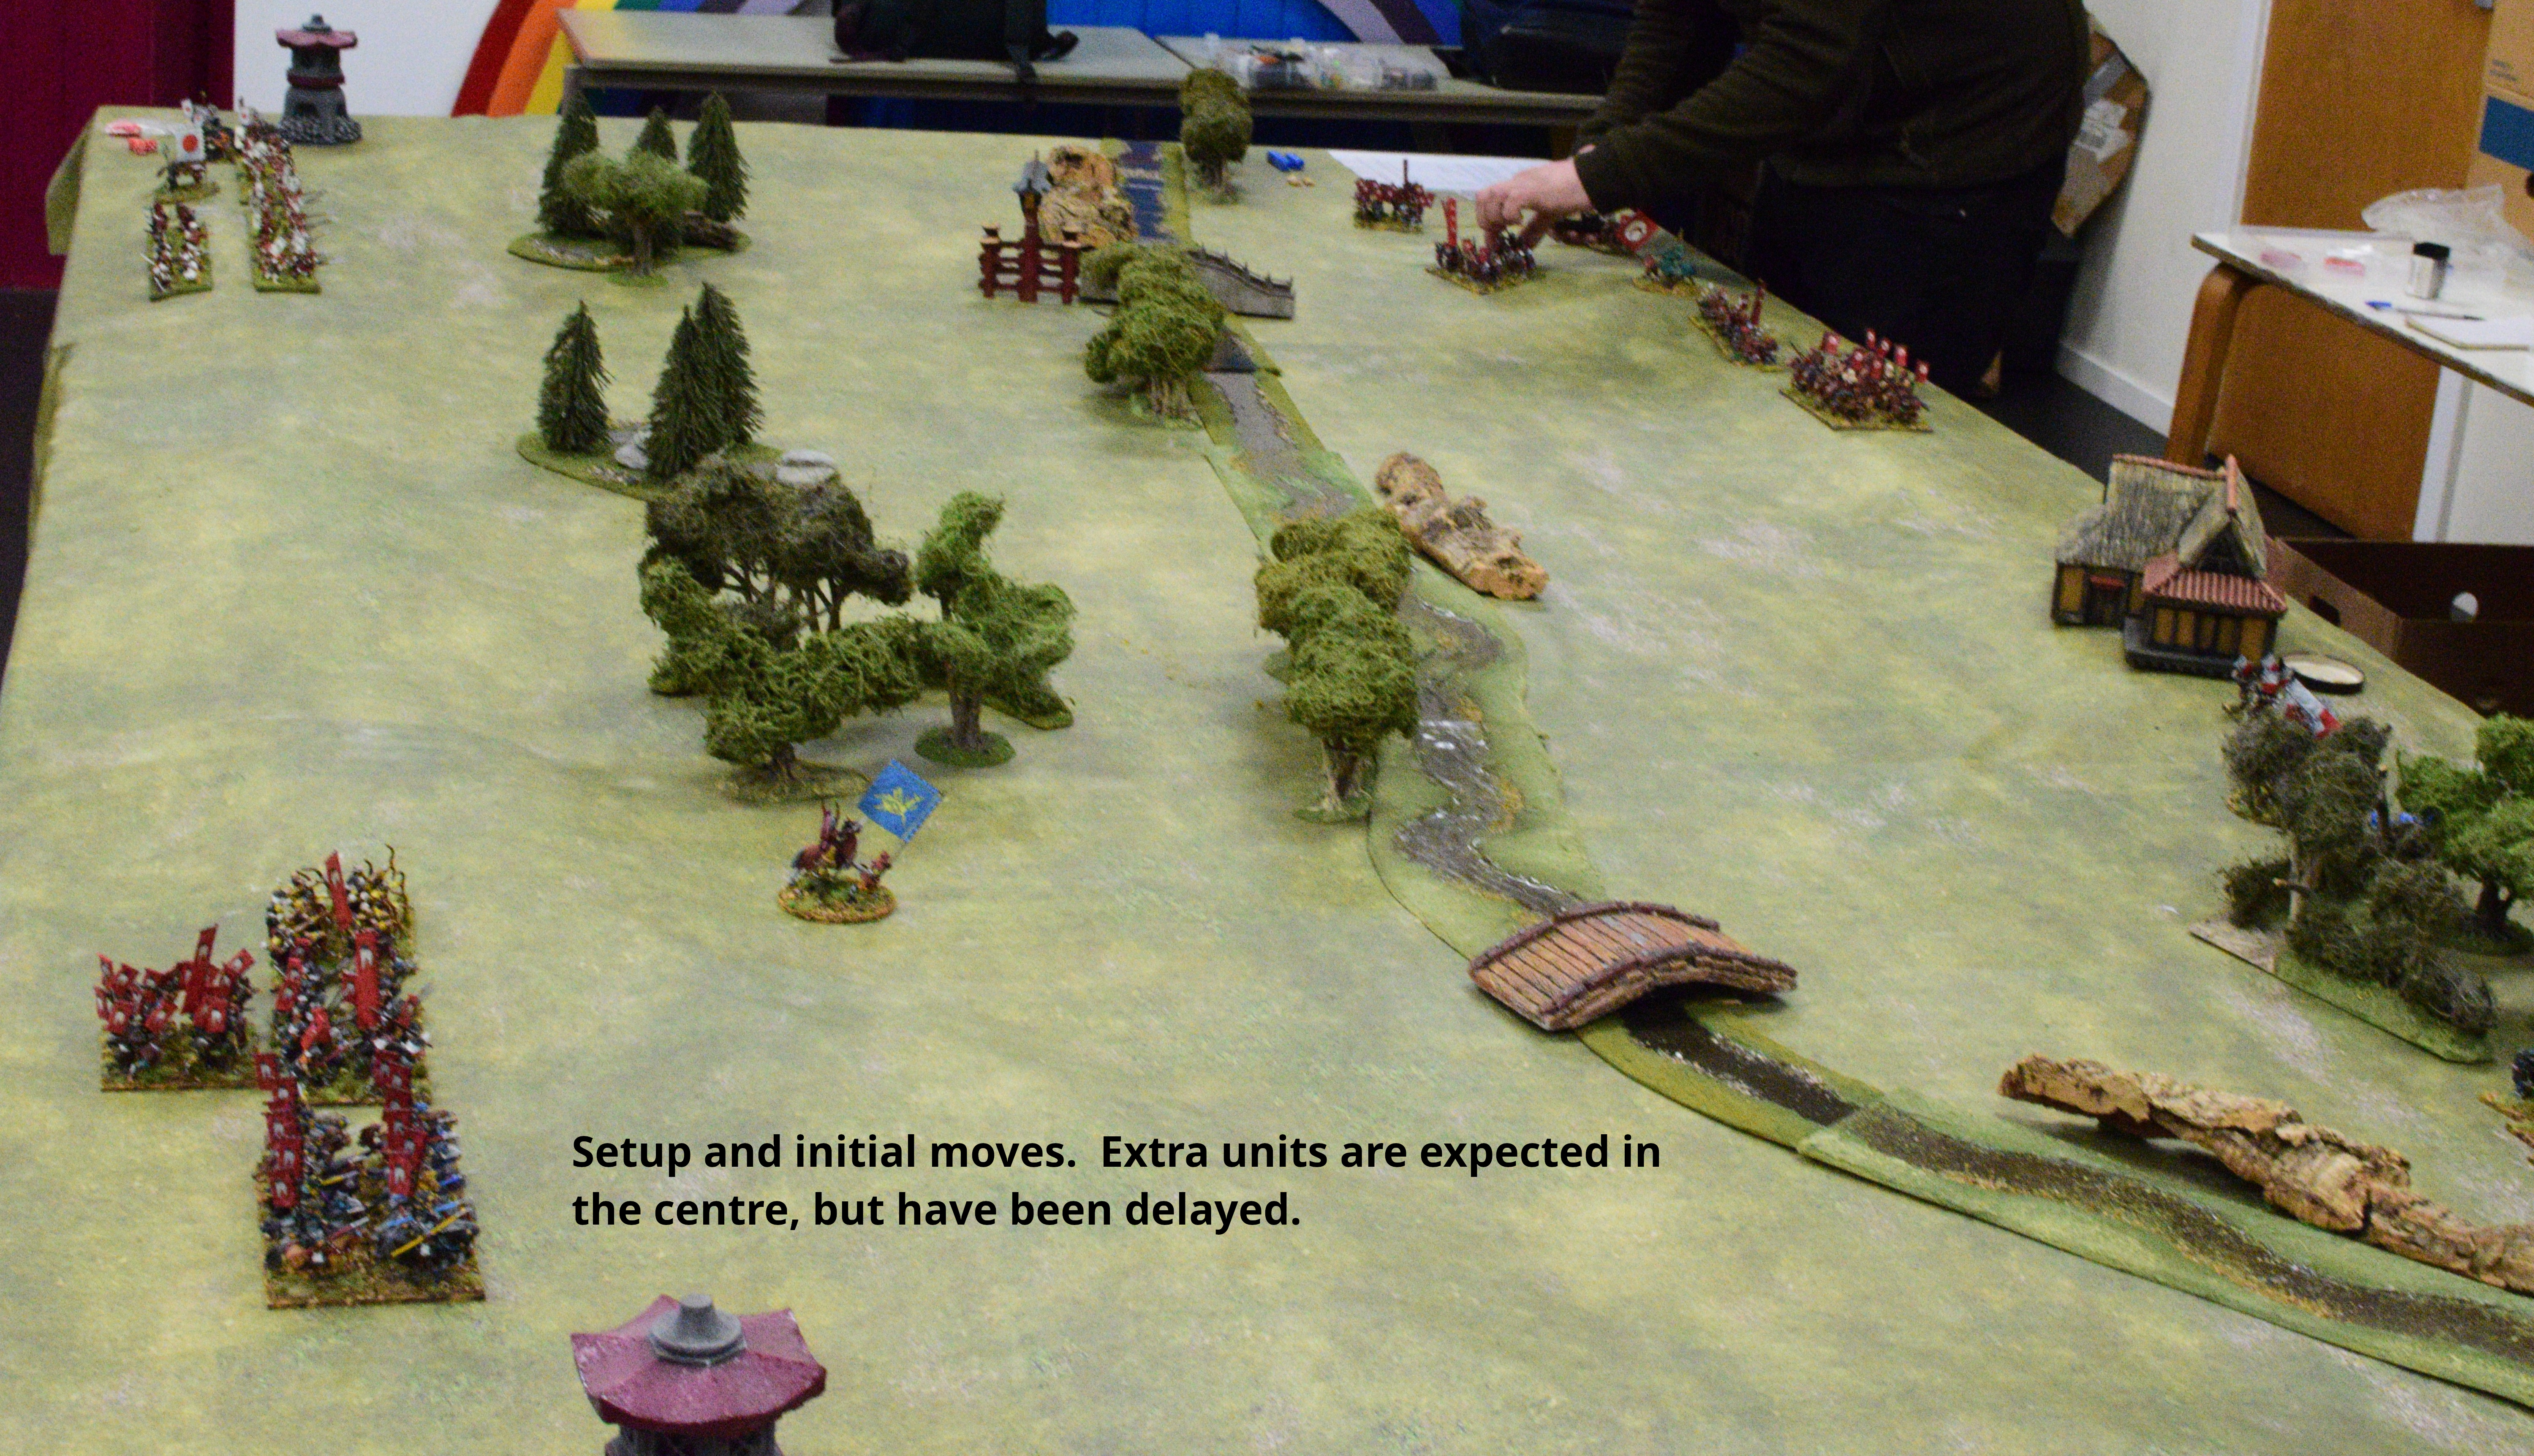
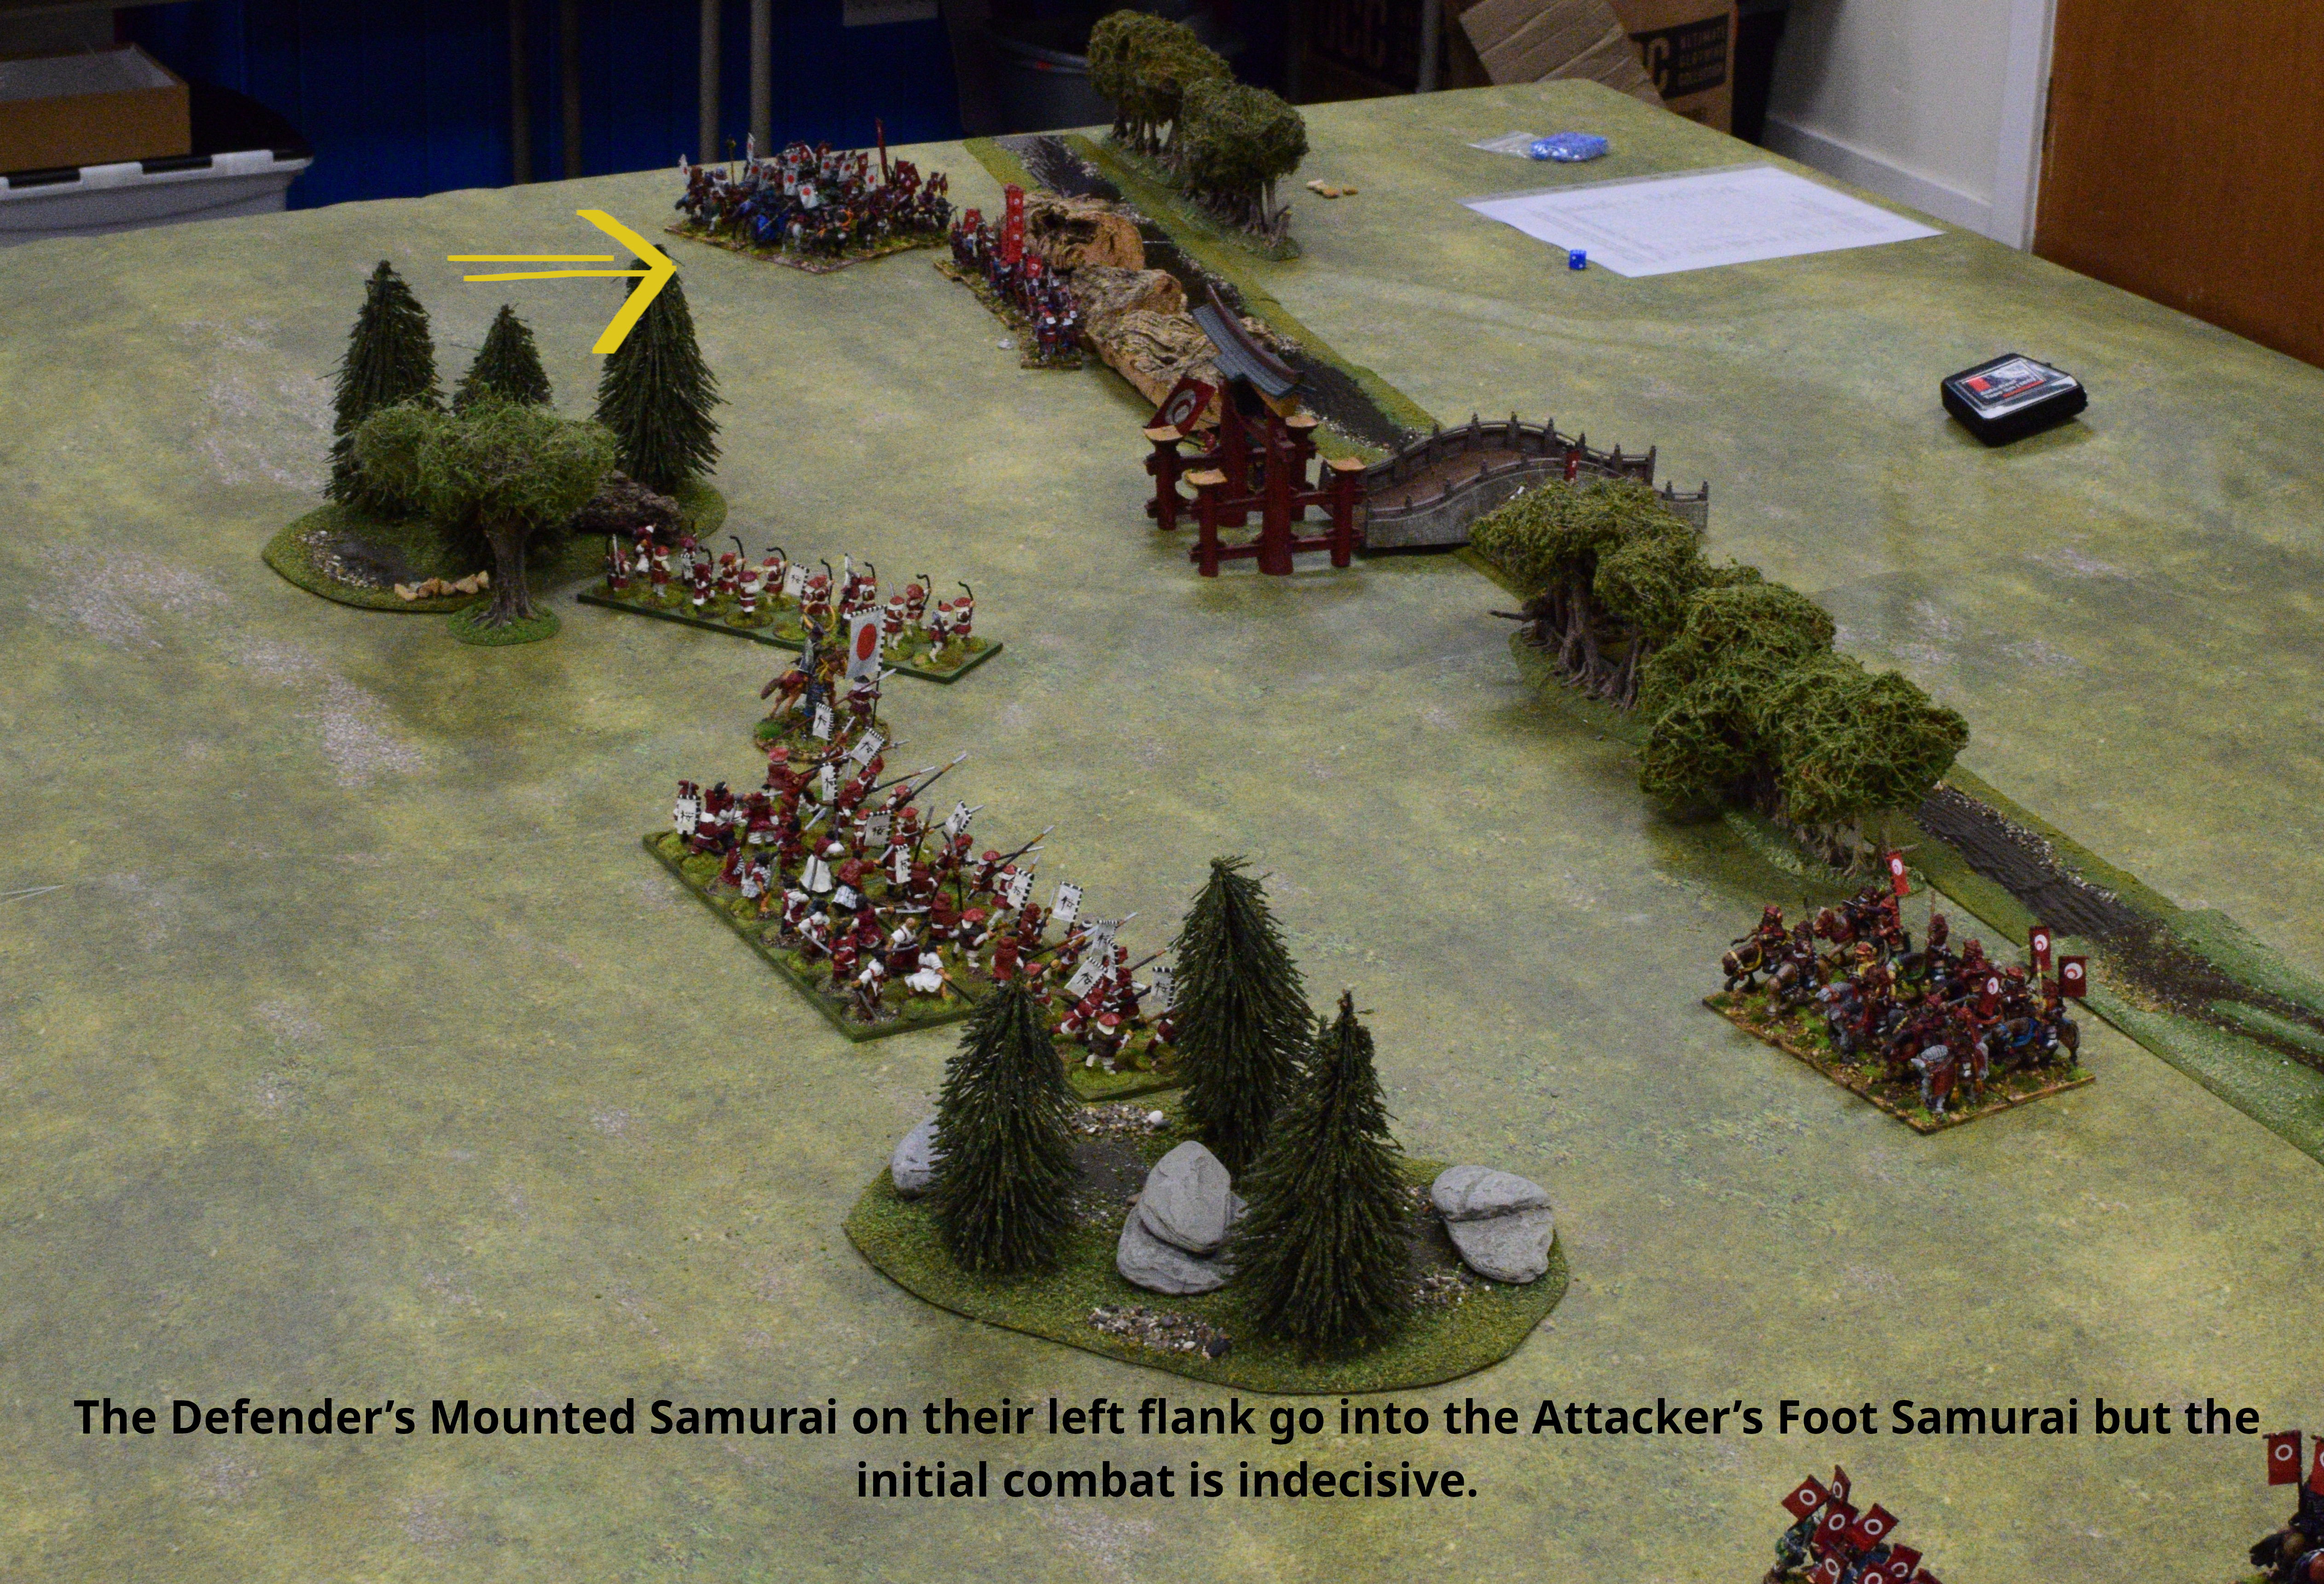
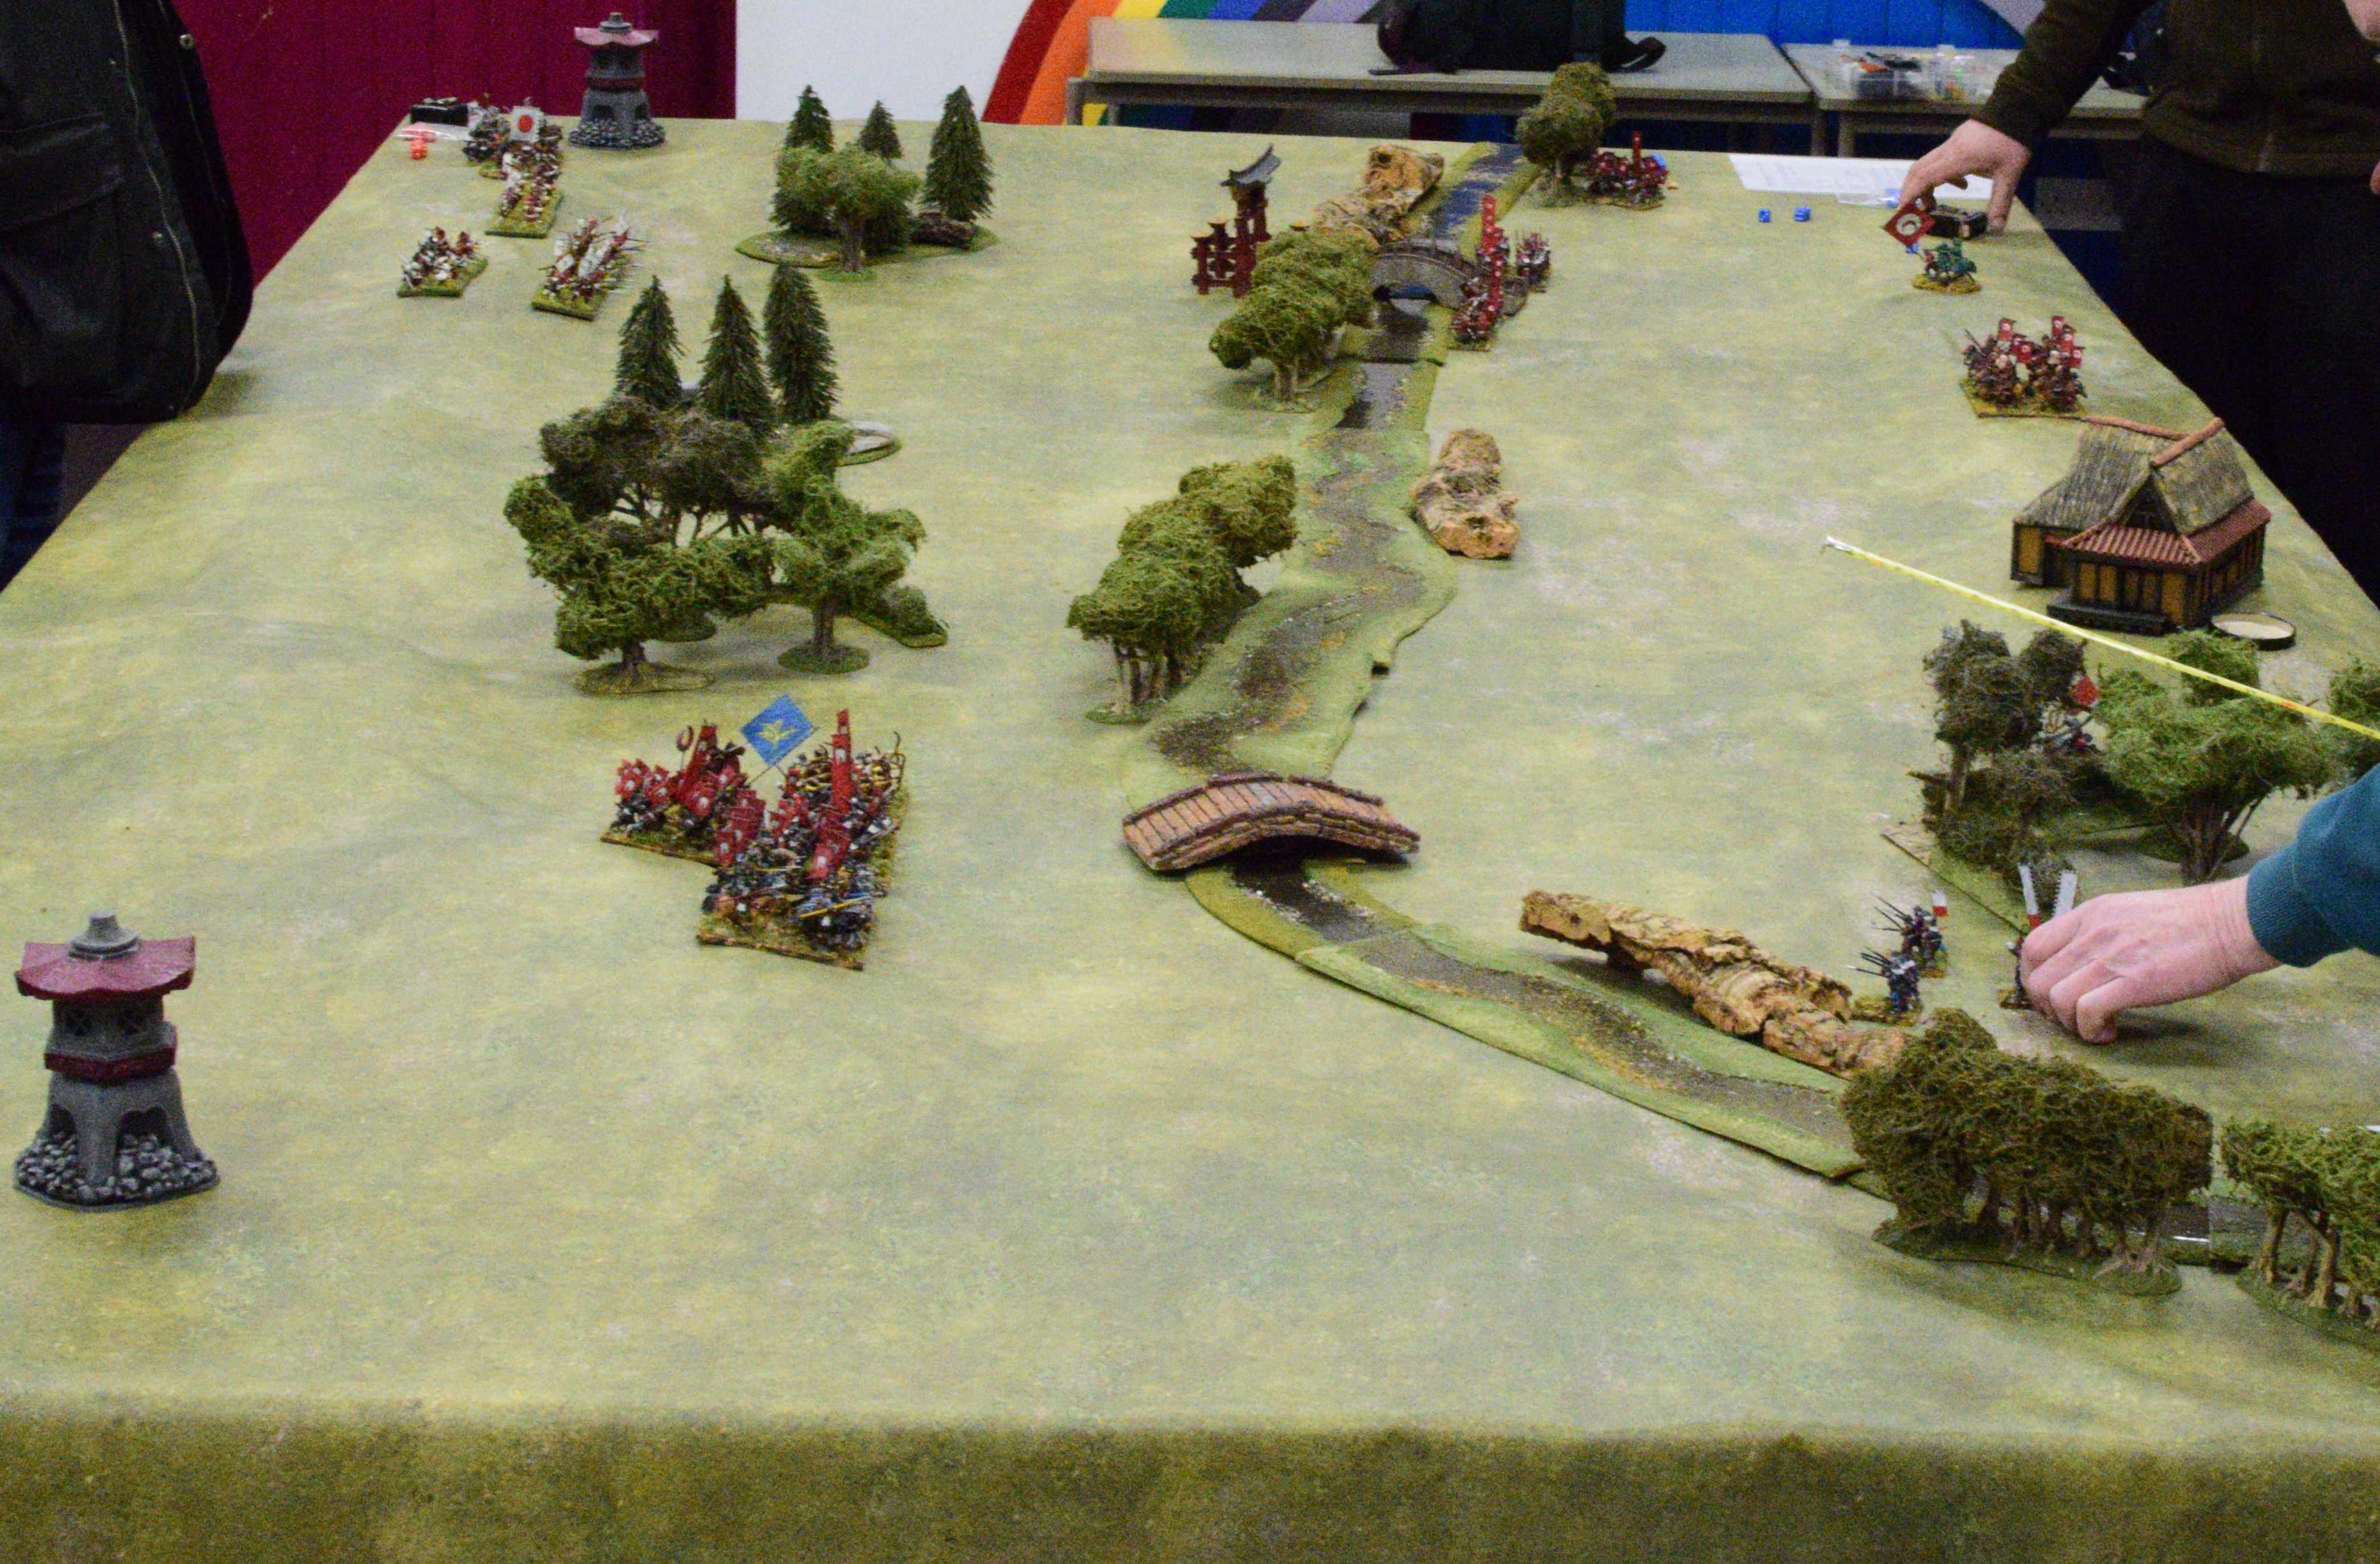 The Defender’s right flank has moved up as a group to try and protect the bridge as the Attackers start to move towards the river. The Defender’s left failed to move as the Attackers reach the river in front of them.
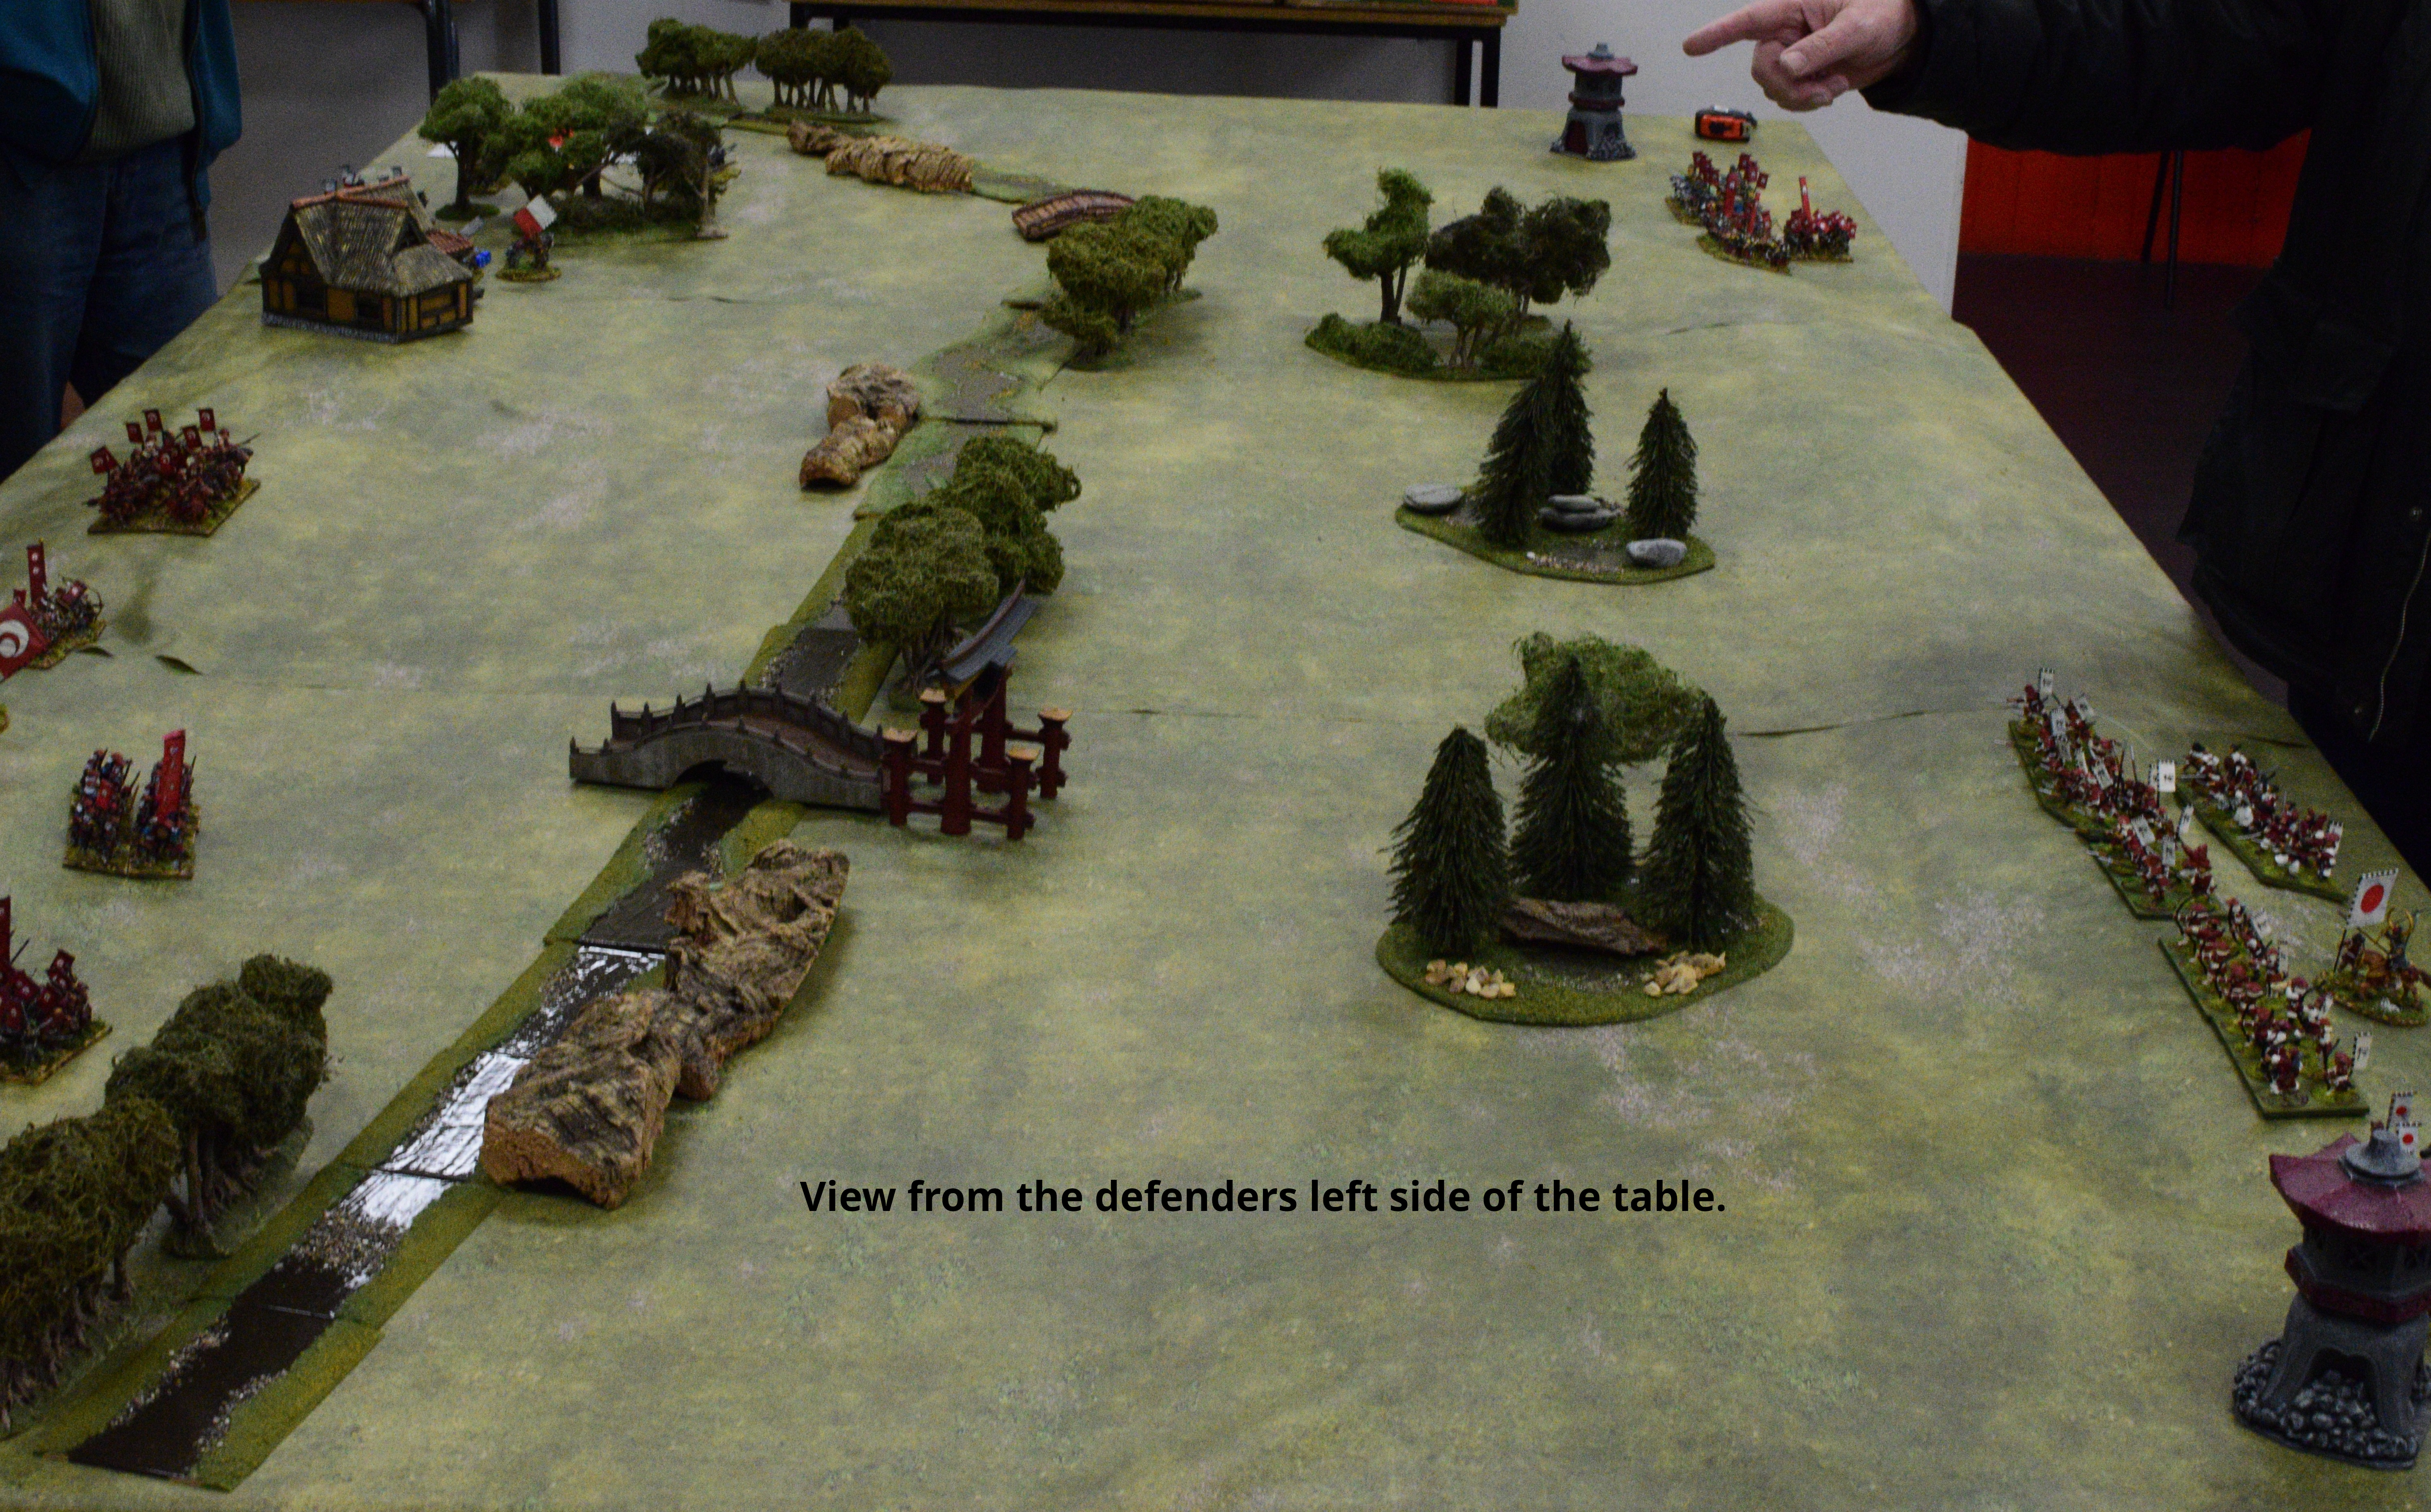
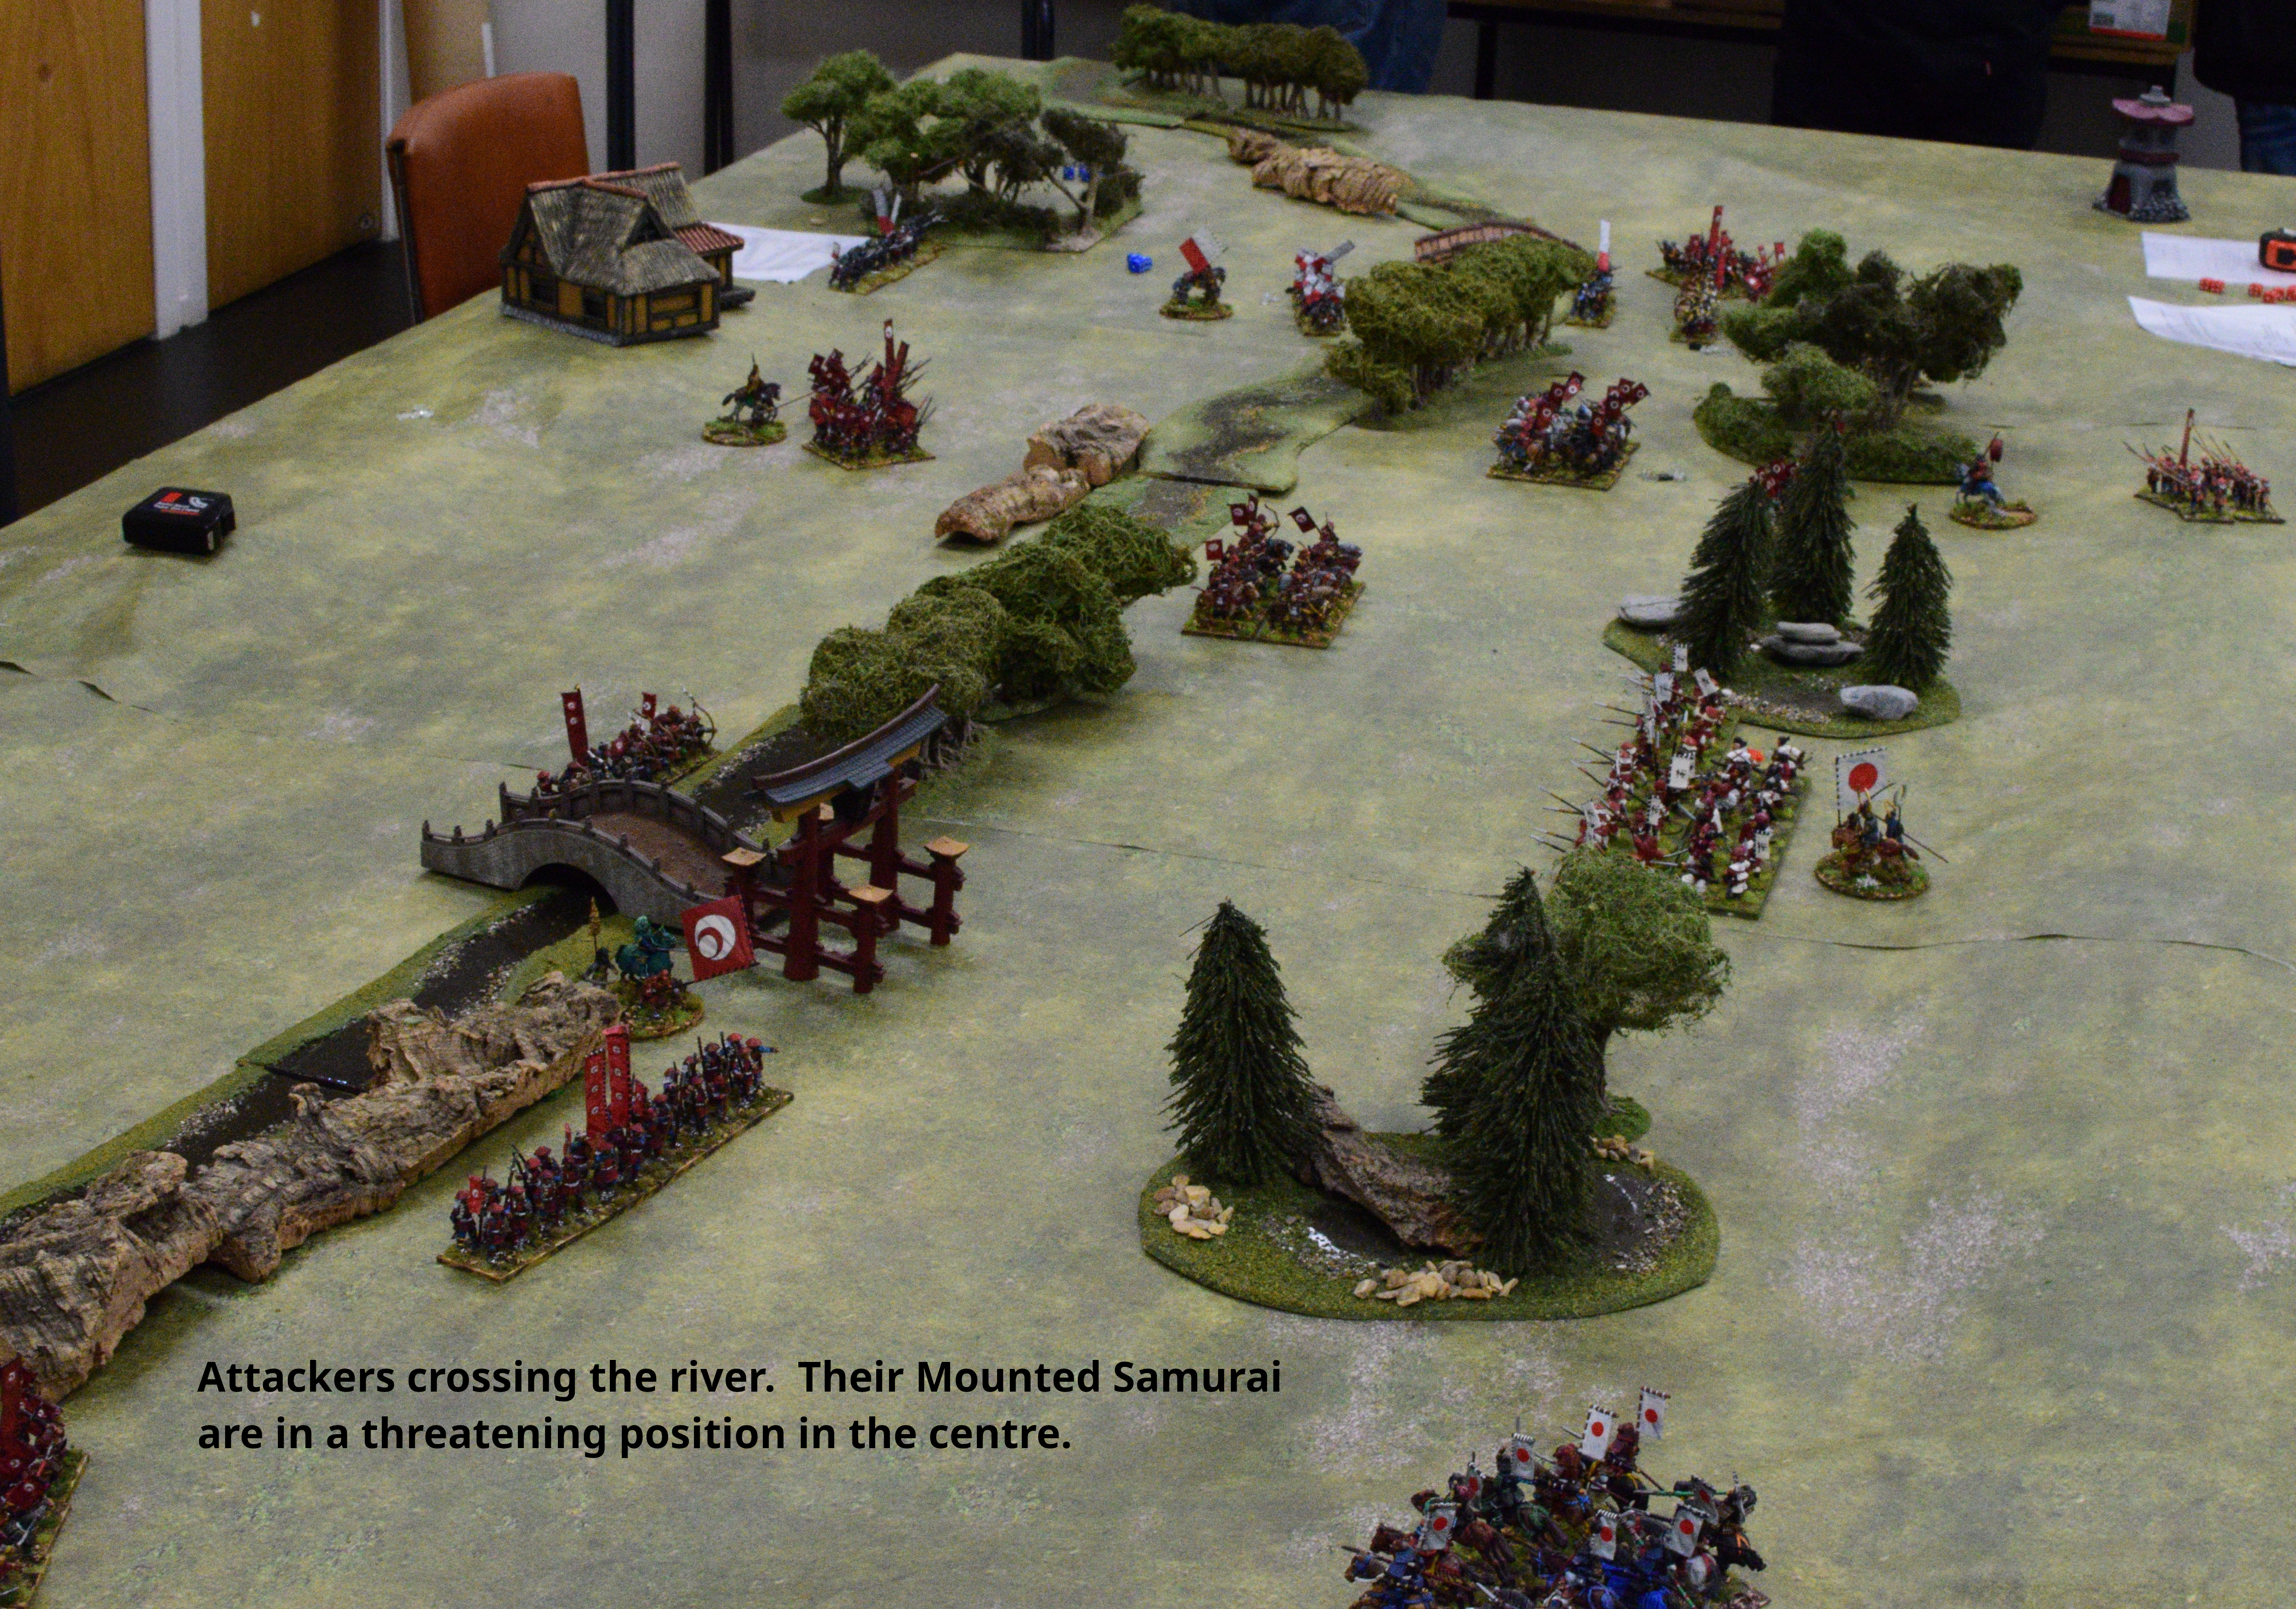
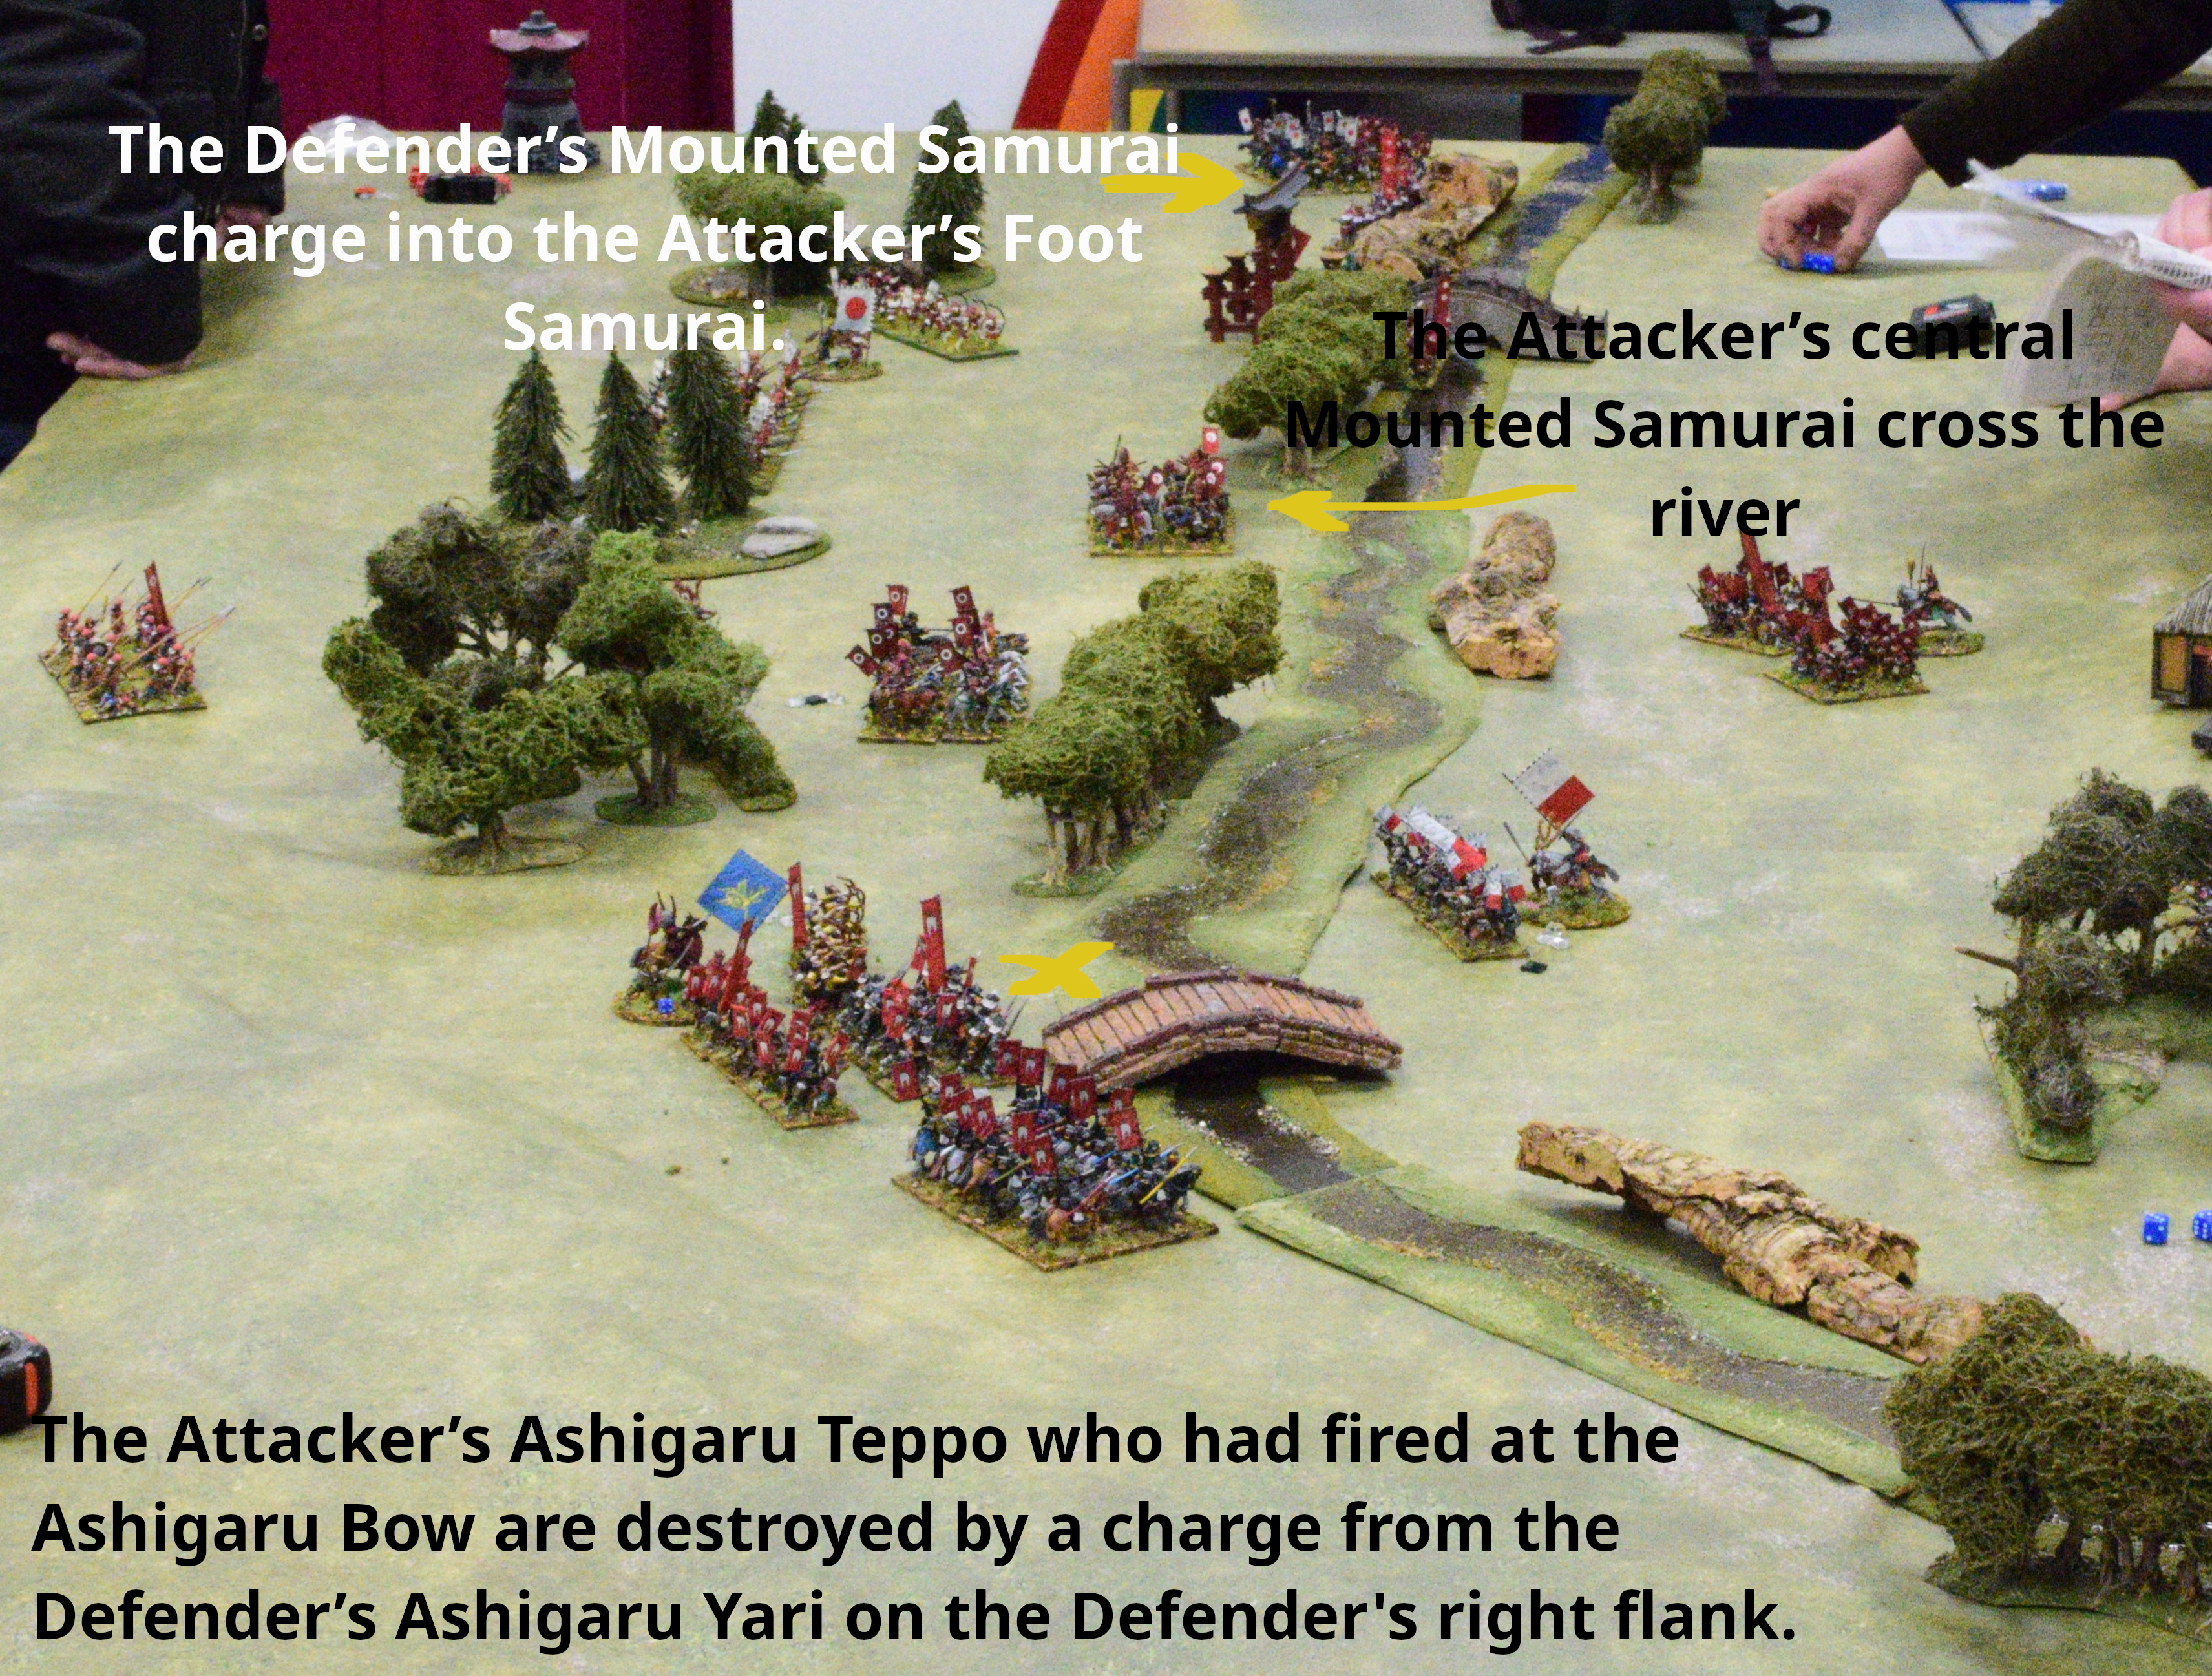
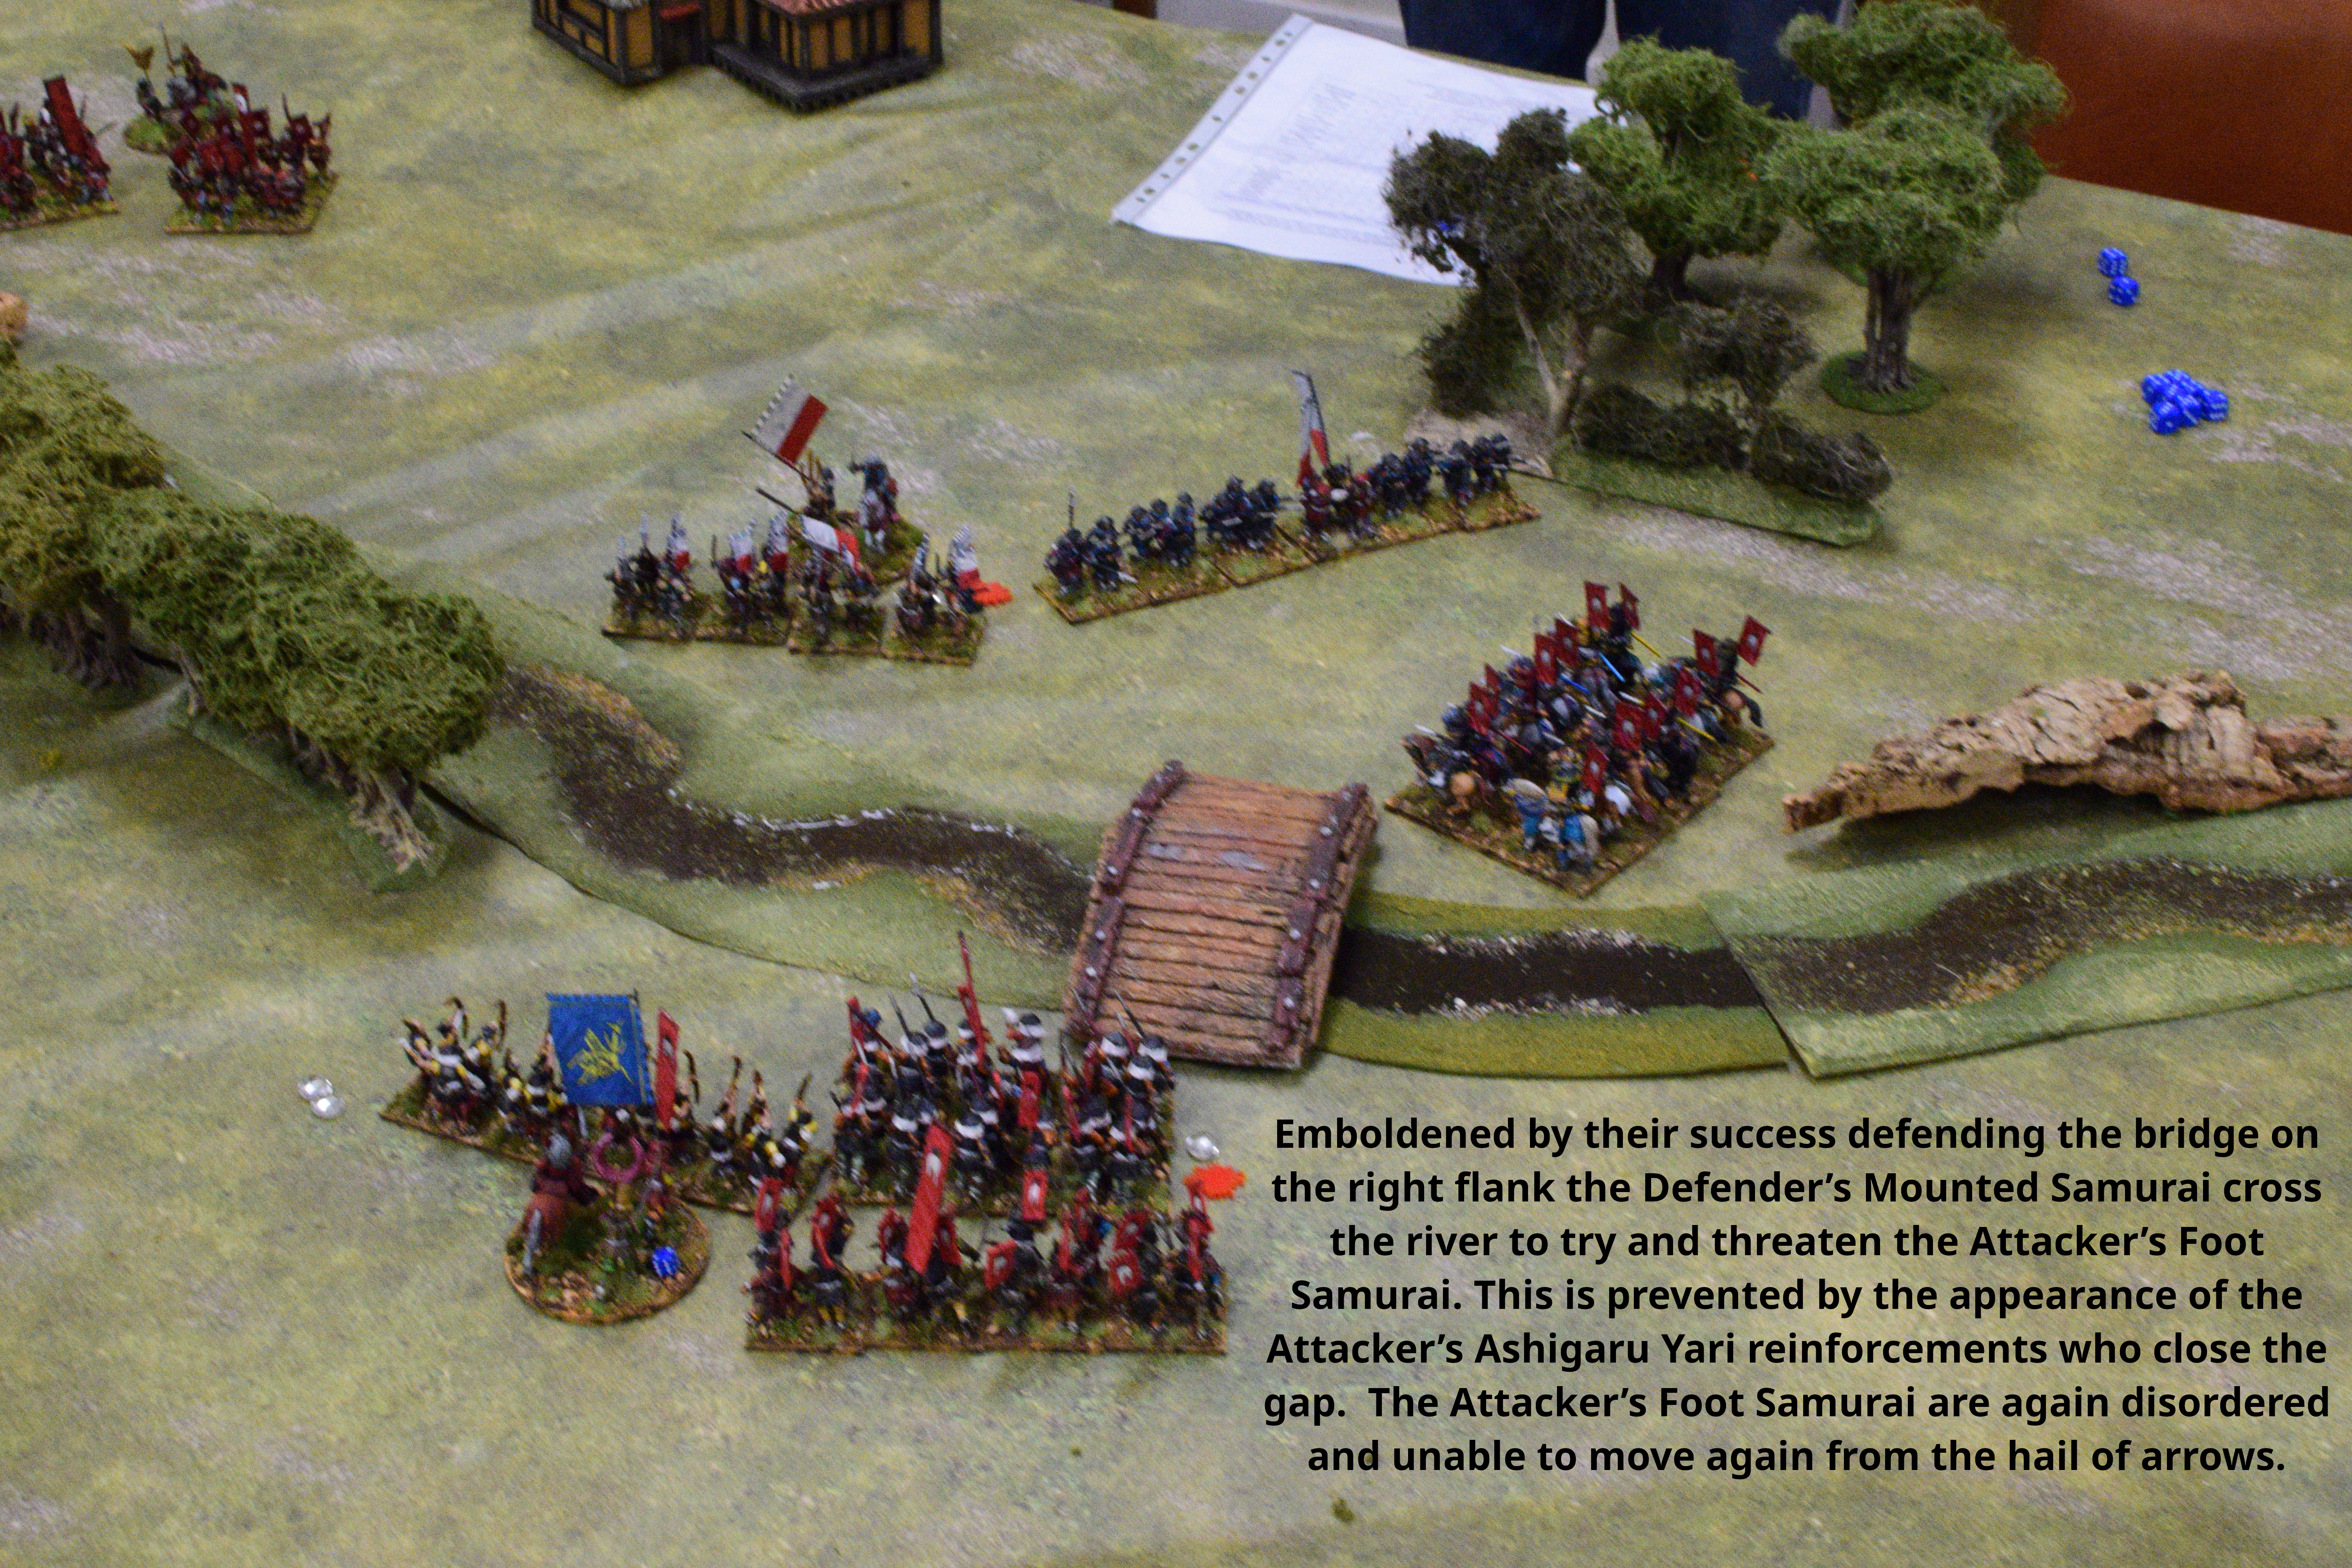
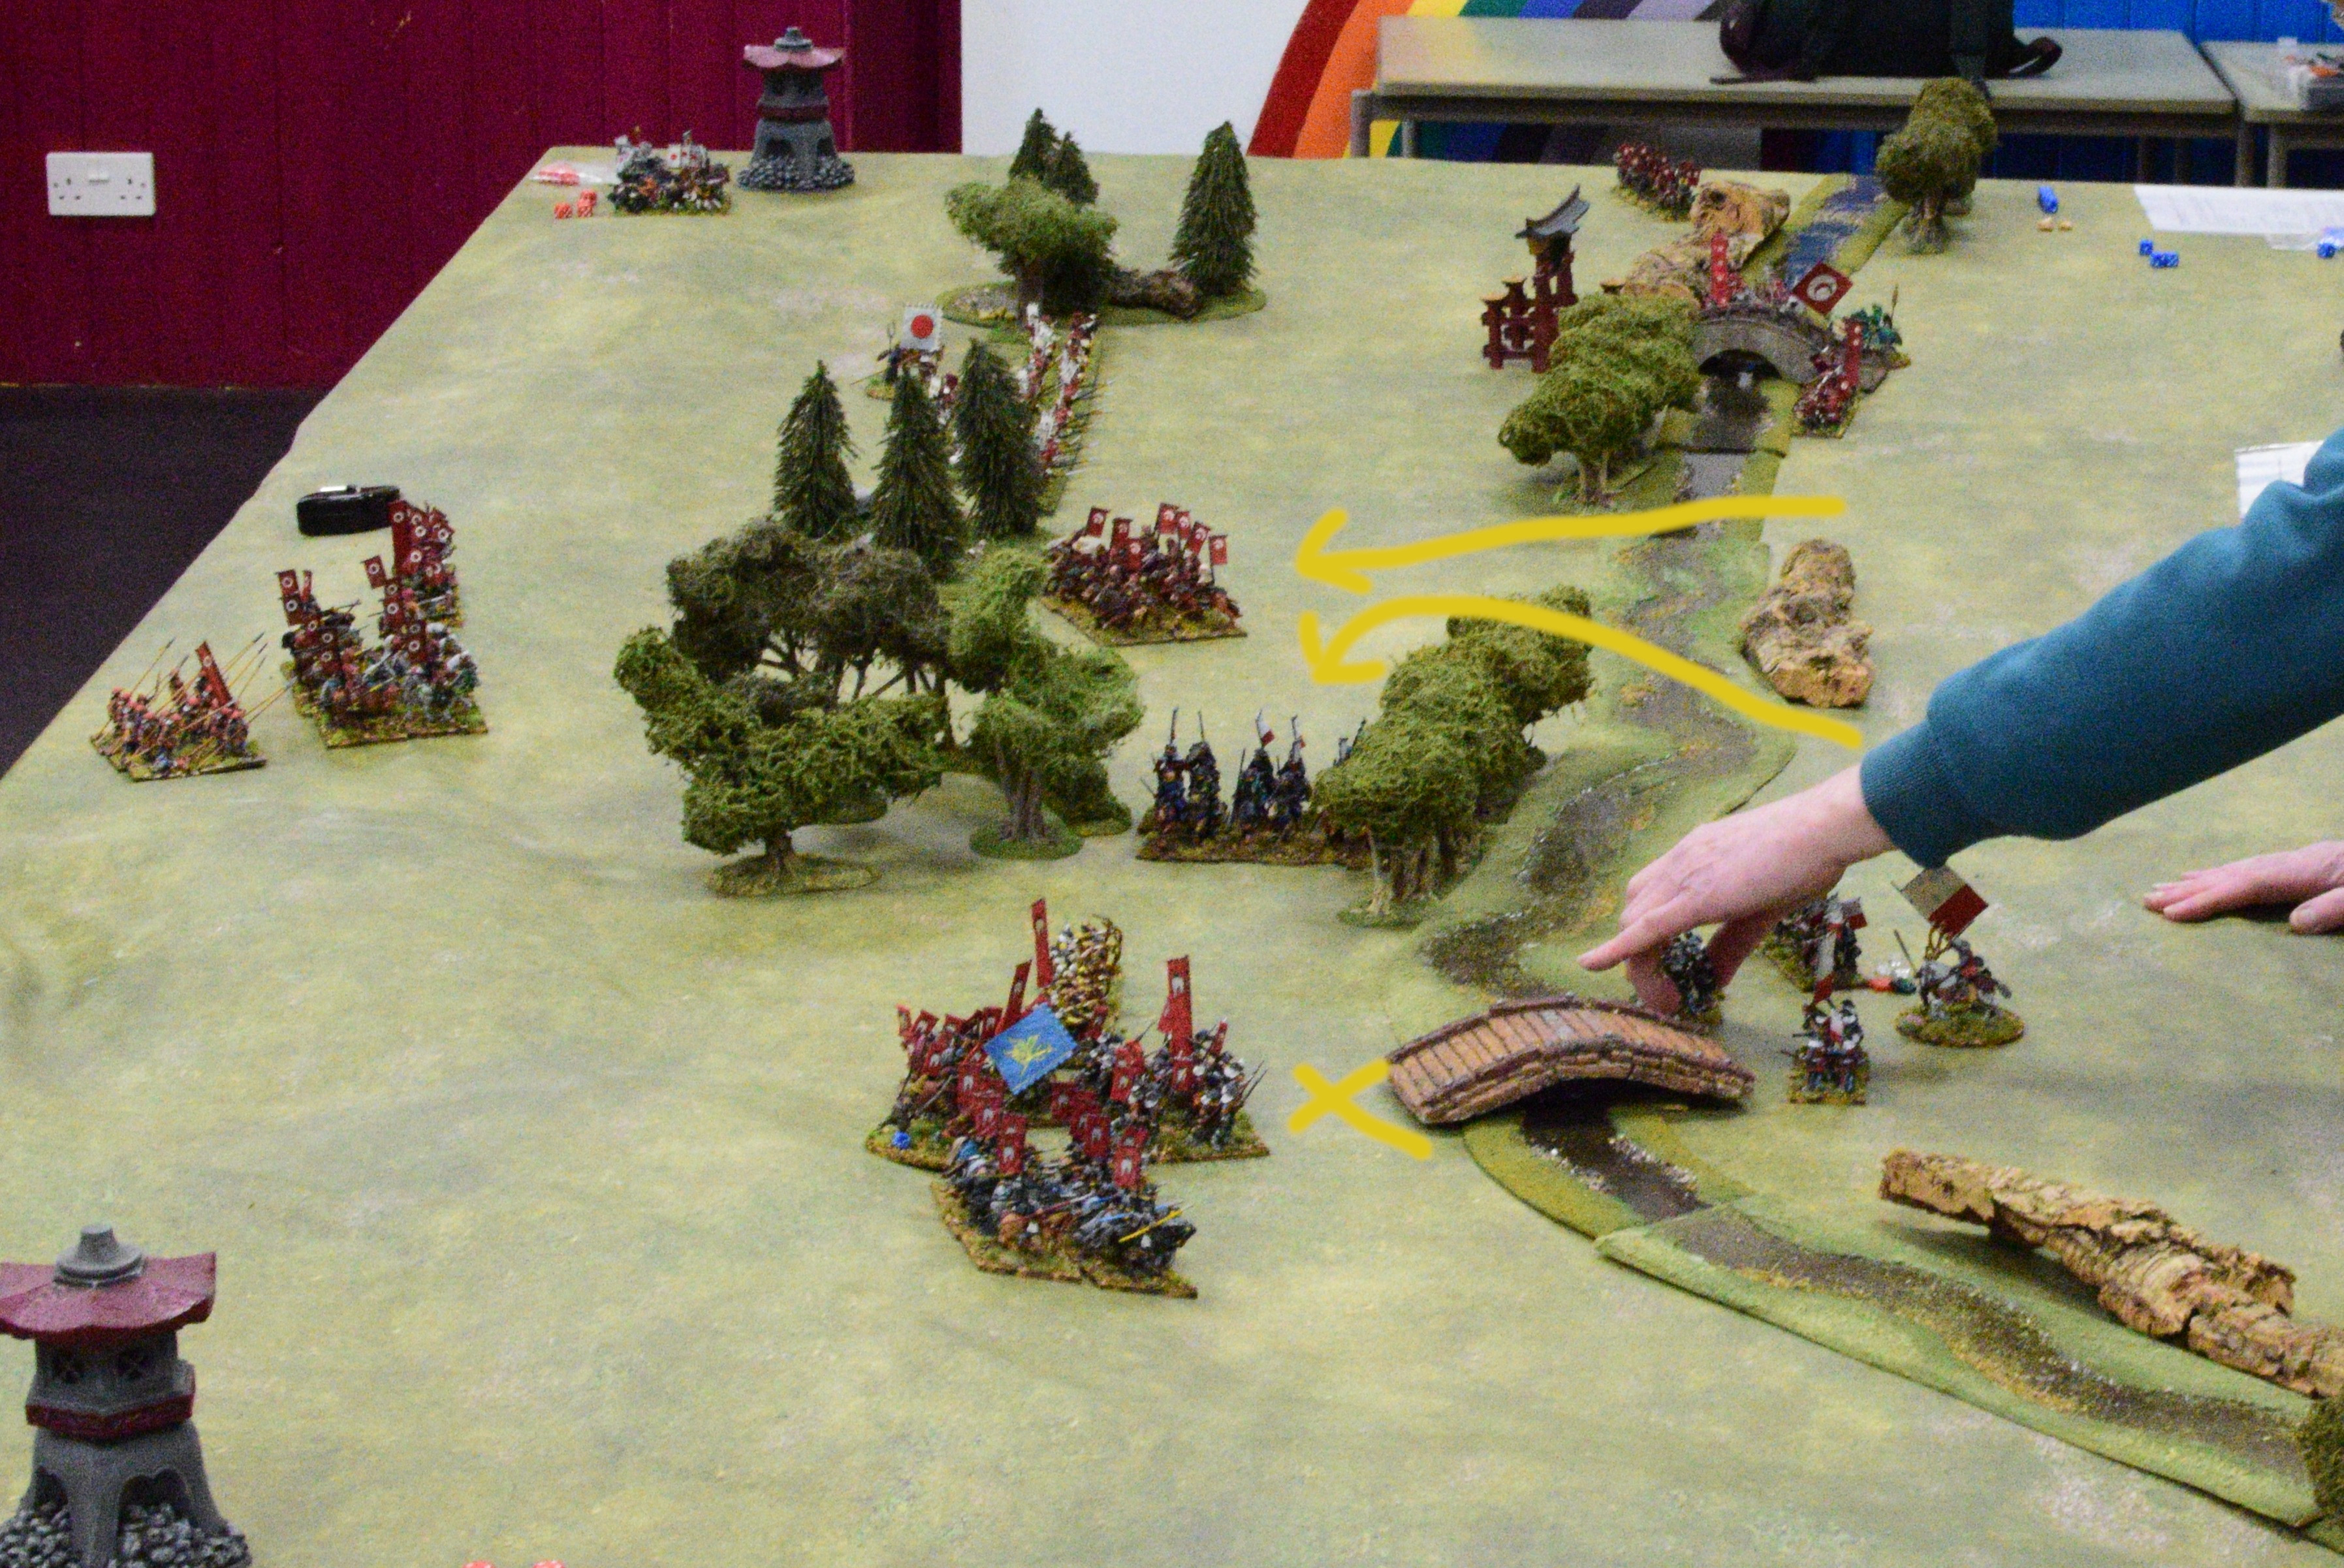 The Attacker’s Ashiguru Yari tried to get across the bridge to the front of the picture, but got stuck partially on the bridge and wiped out. Their Ashigaru Teppo don’t want to make the same mistake and move to the river edge in front of the Foot Samurai who are continually disordered by arrows from the Defender’s Ashigaru Bow. In a sweeping move the Attacker’s Mounted Samurai cross the river behind the trees to threaten the Defender’s flank. The delayed Defender’s units arrive in the centre but there is already another unit of the Attacker’s Mounted Samurai marauding in the centre. The Defender’s infantry on their left side has moved forward, but their Mounted Samurai are still stuck in their starting position. Opposite the Defender’s left the Attacker’s infantry are crossing the river.
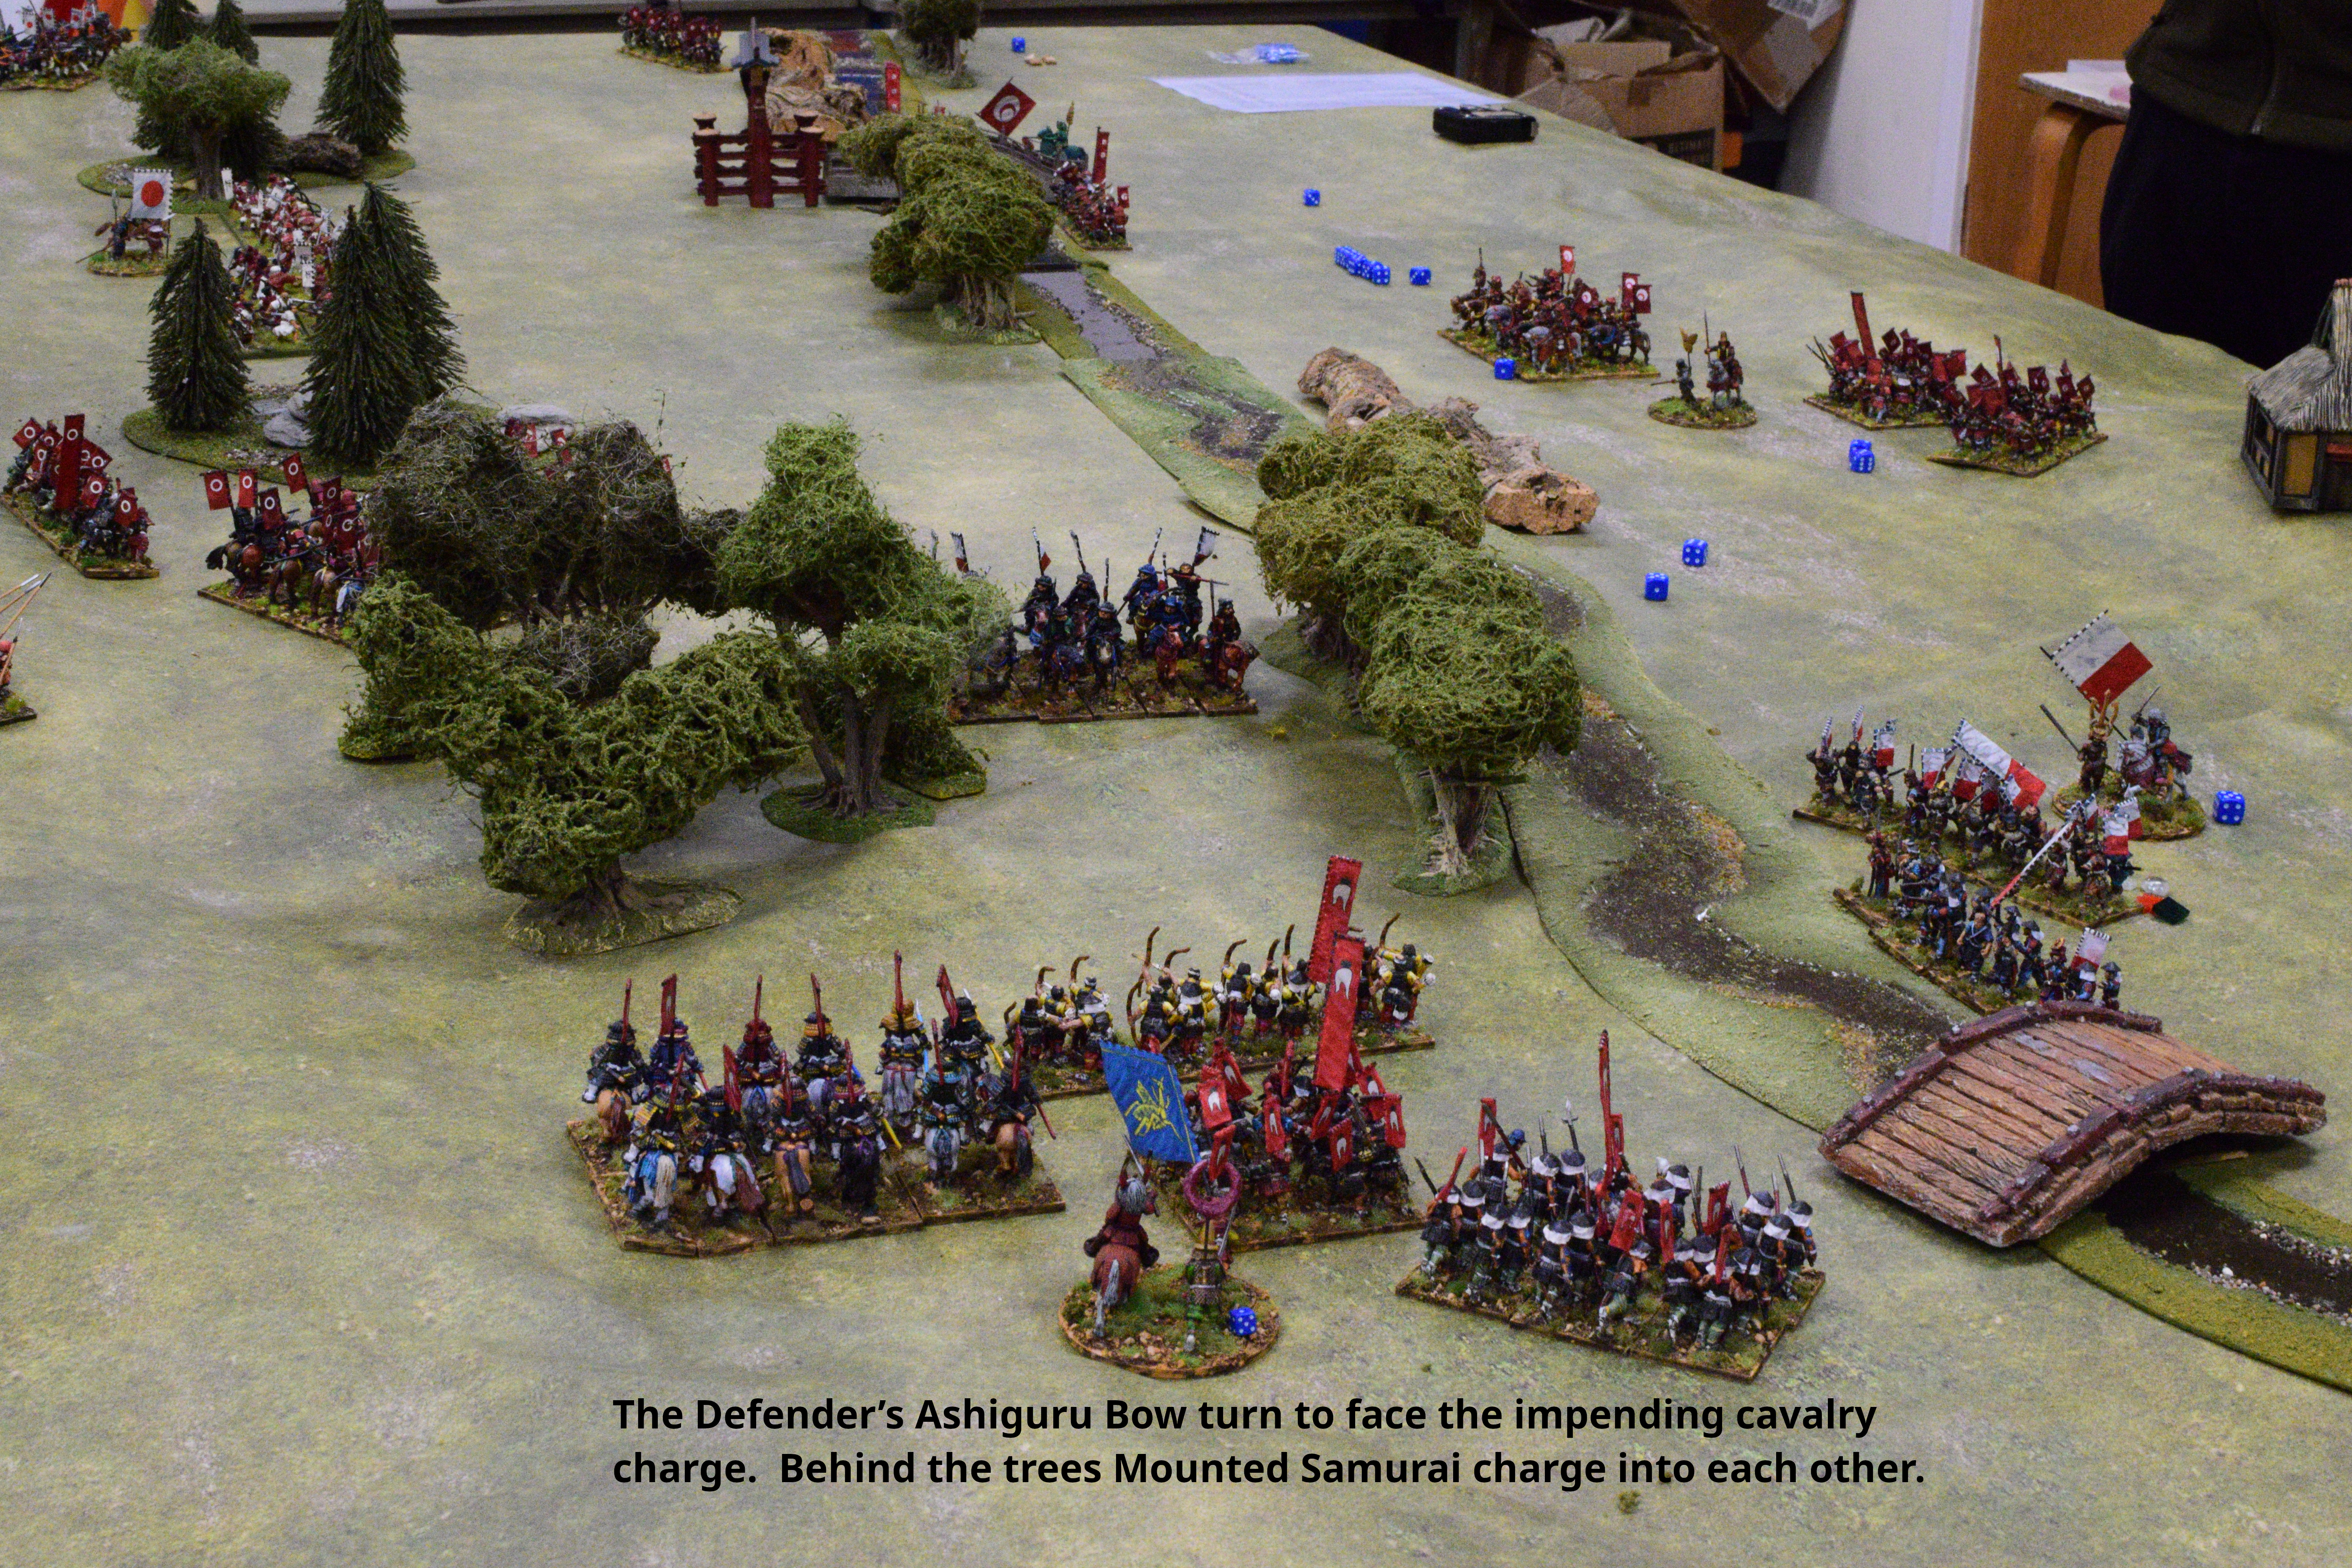
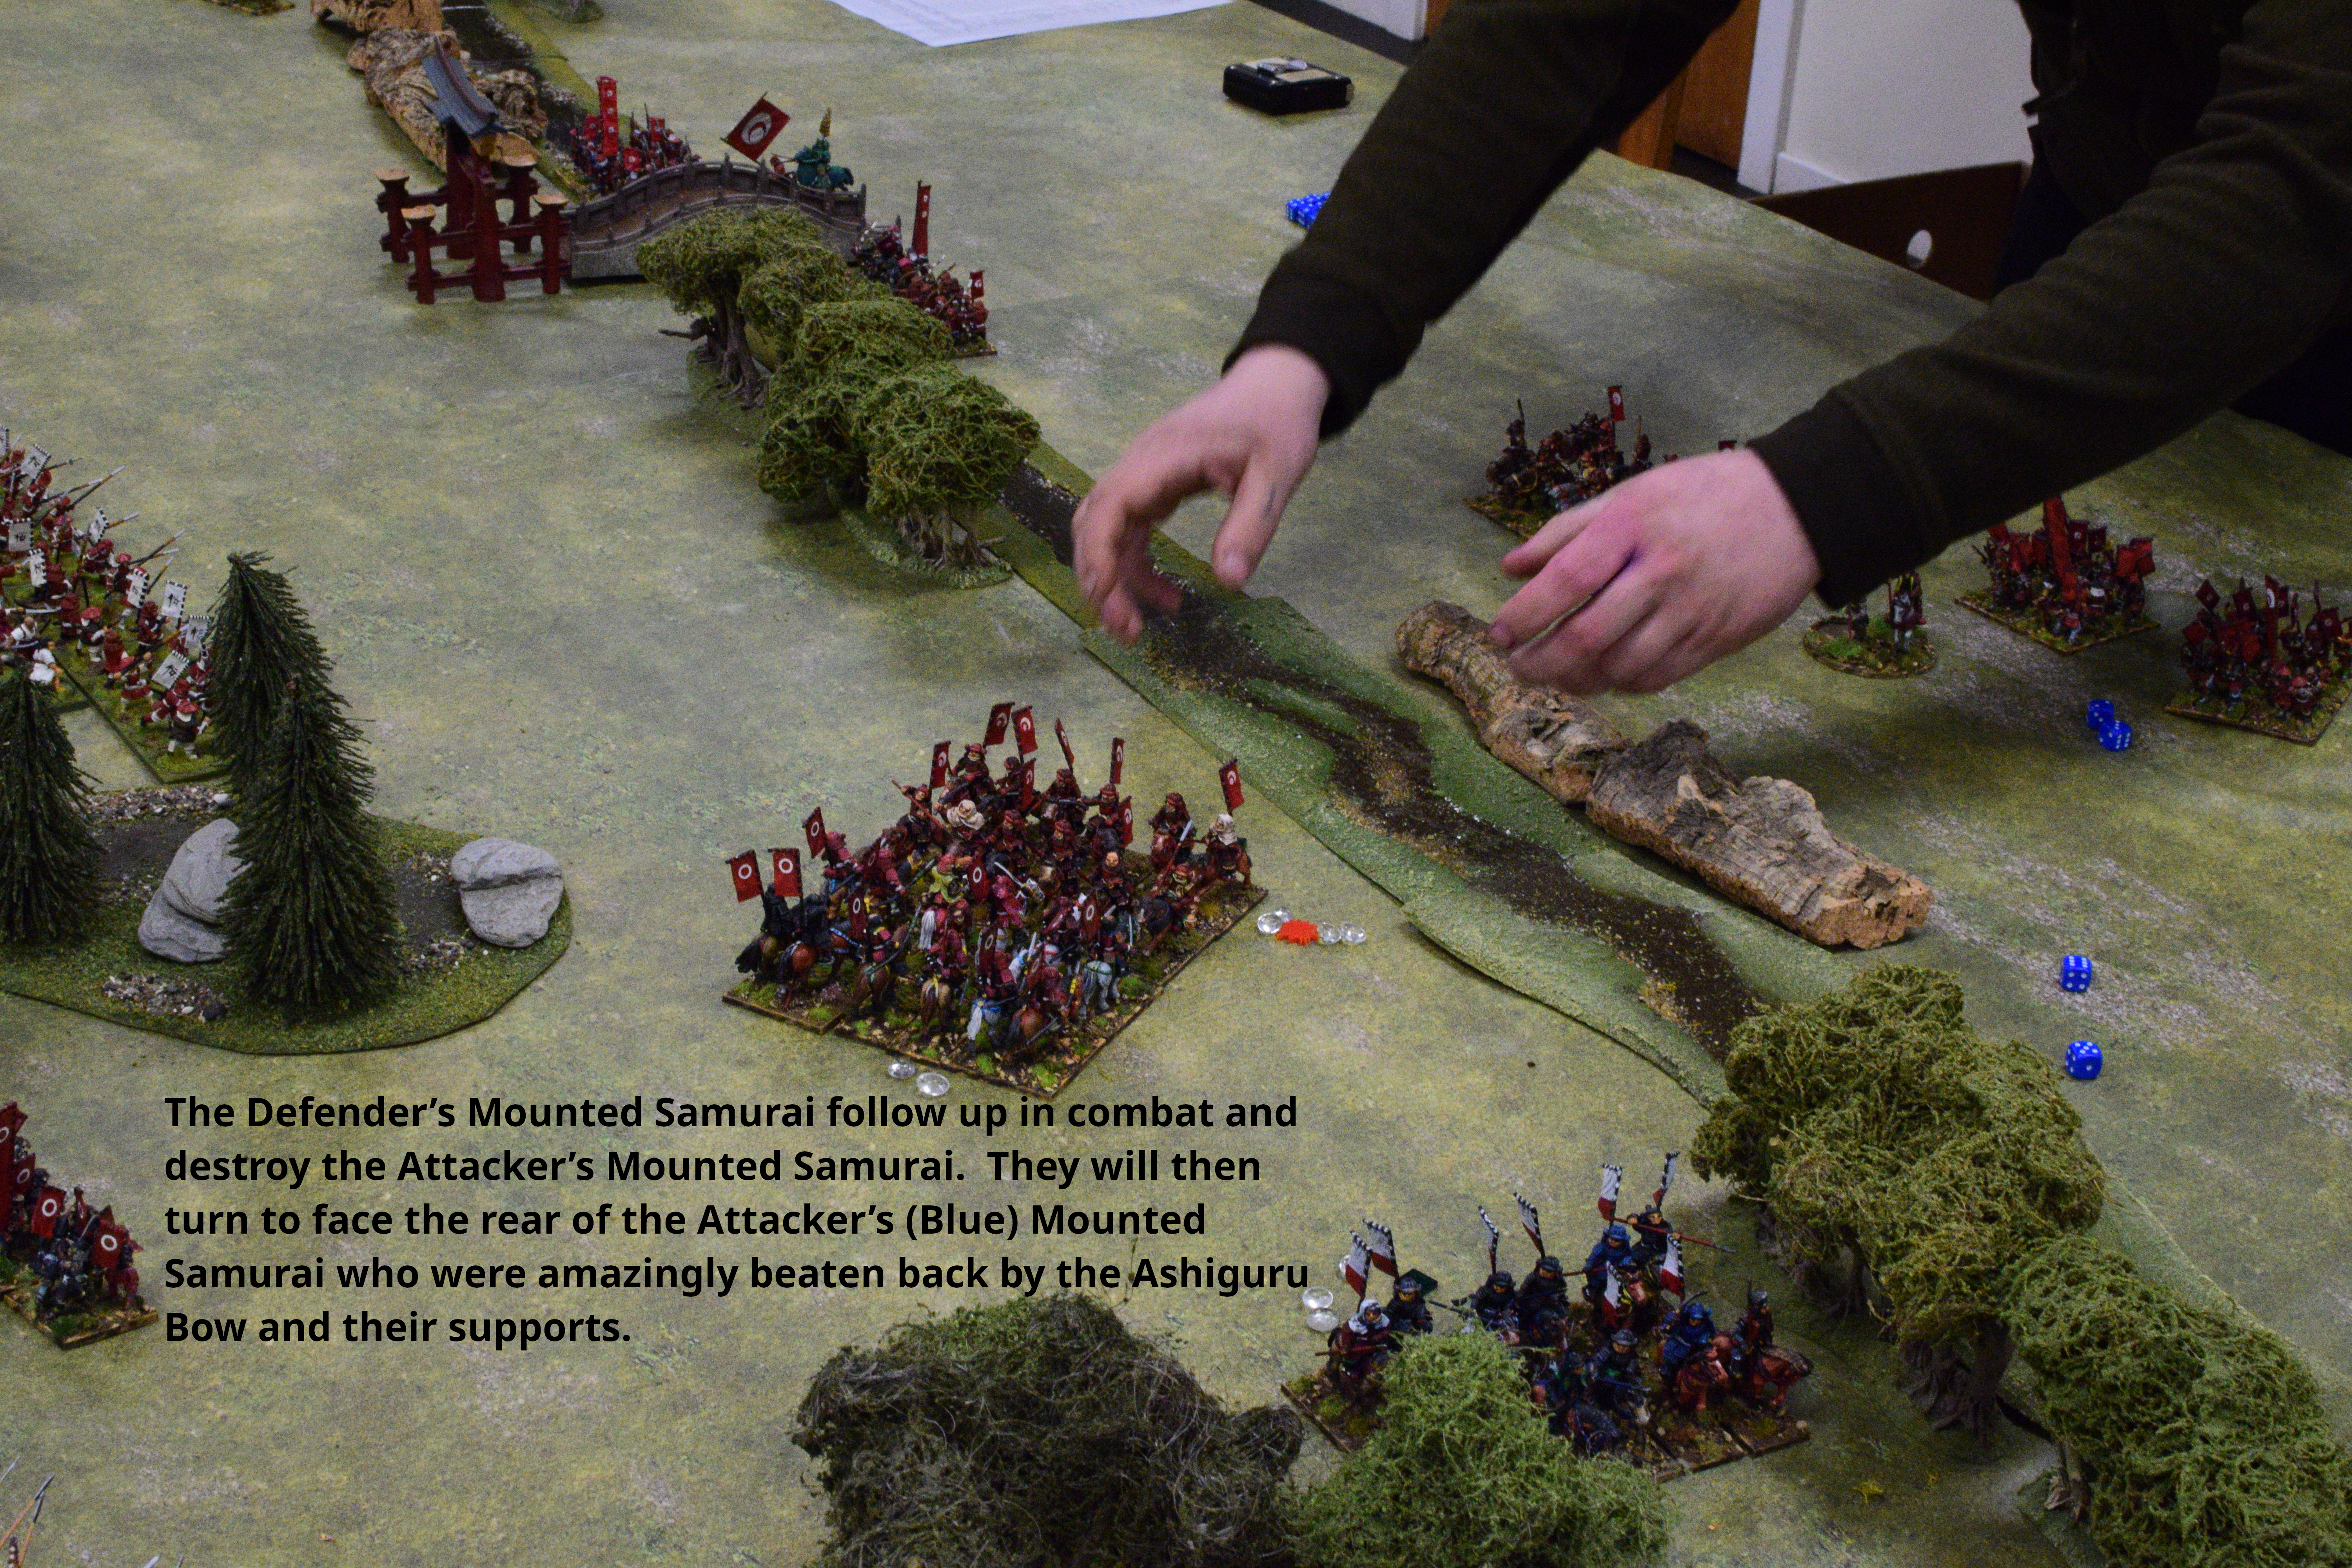
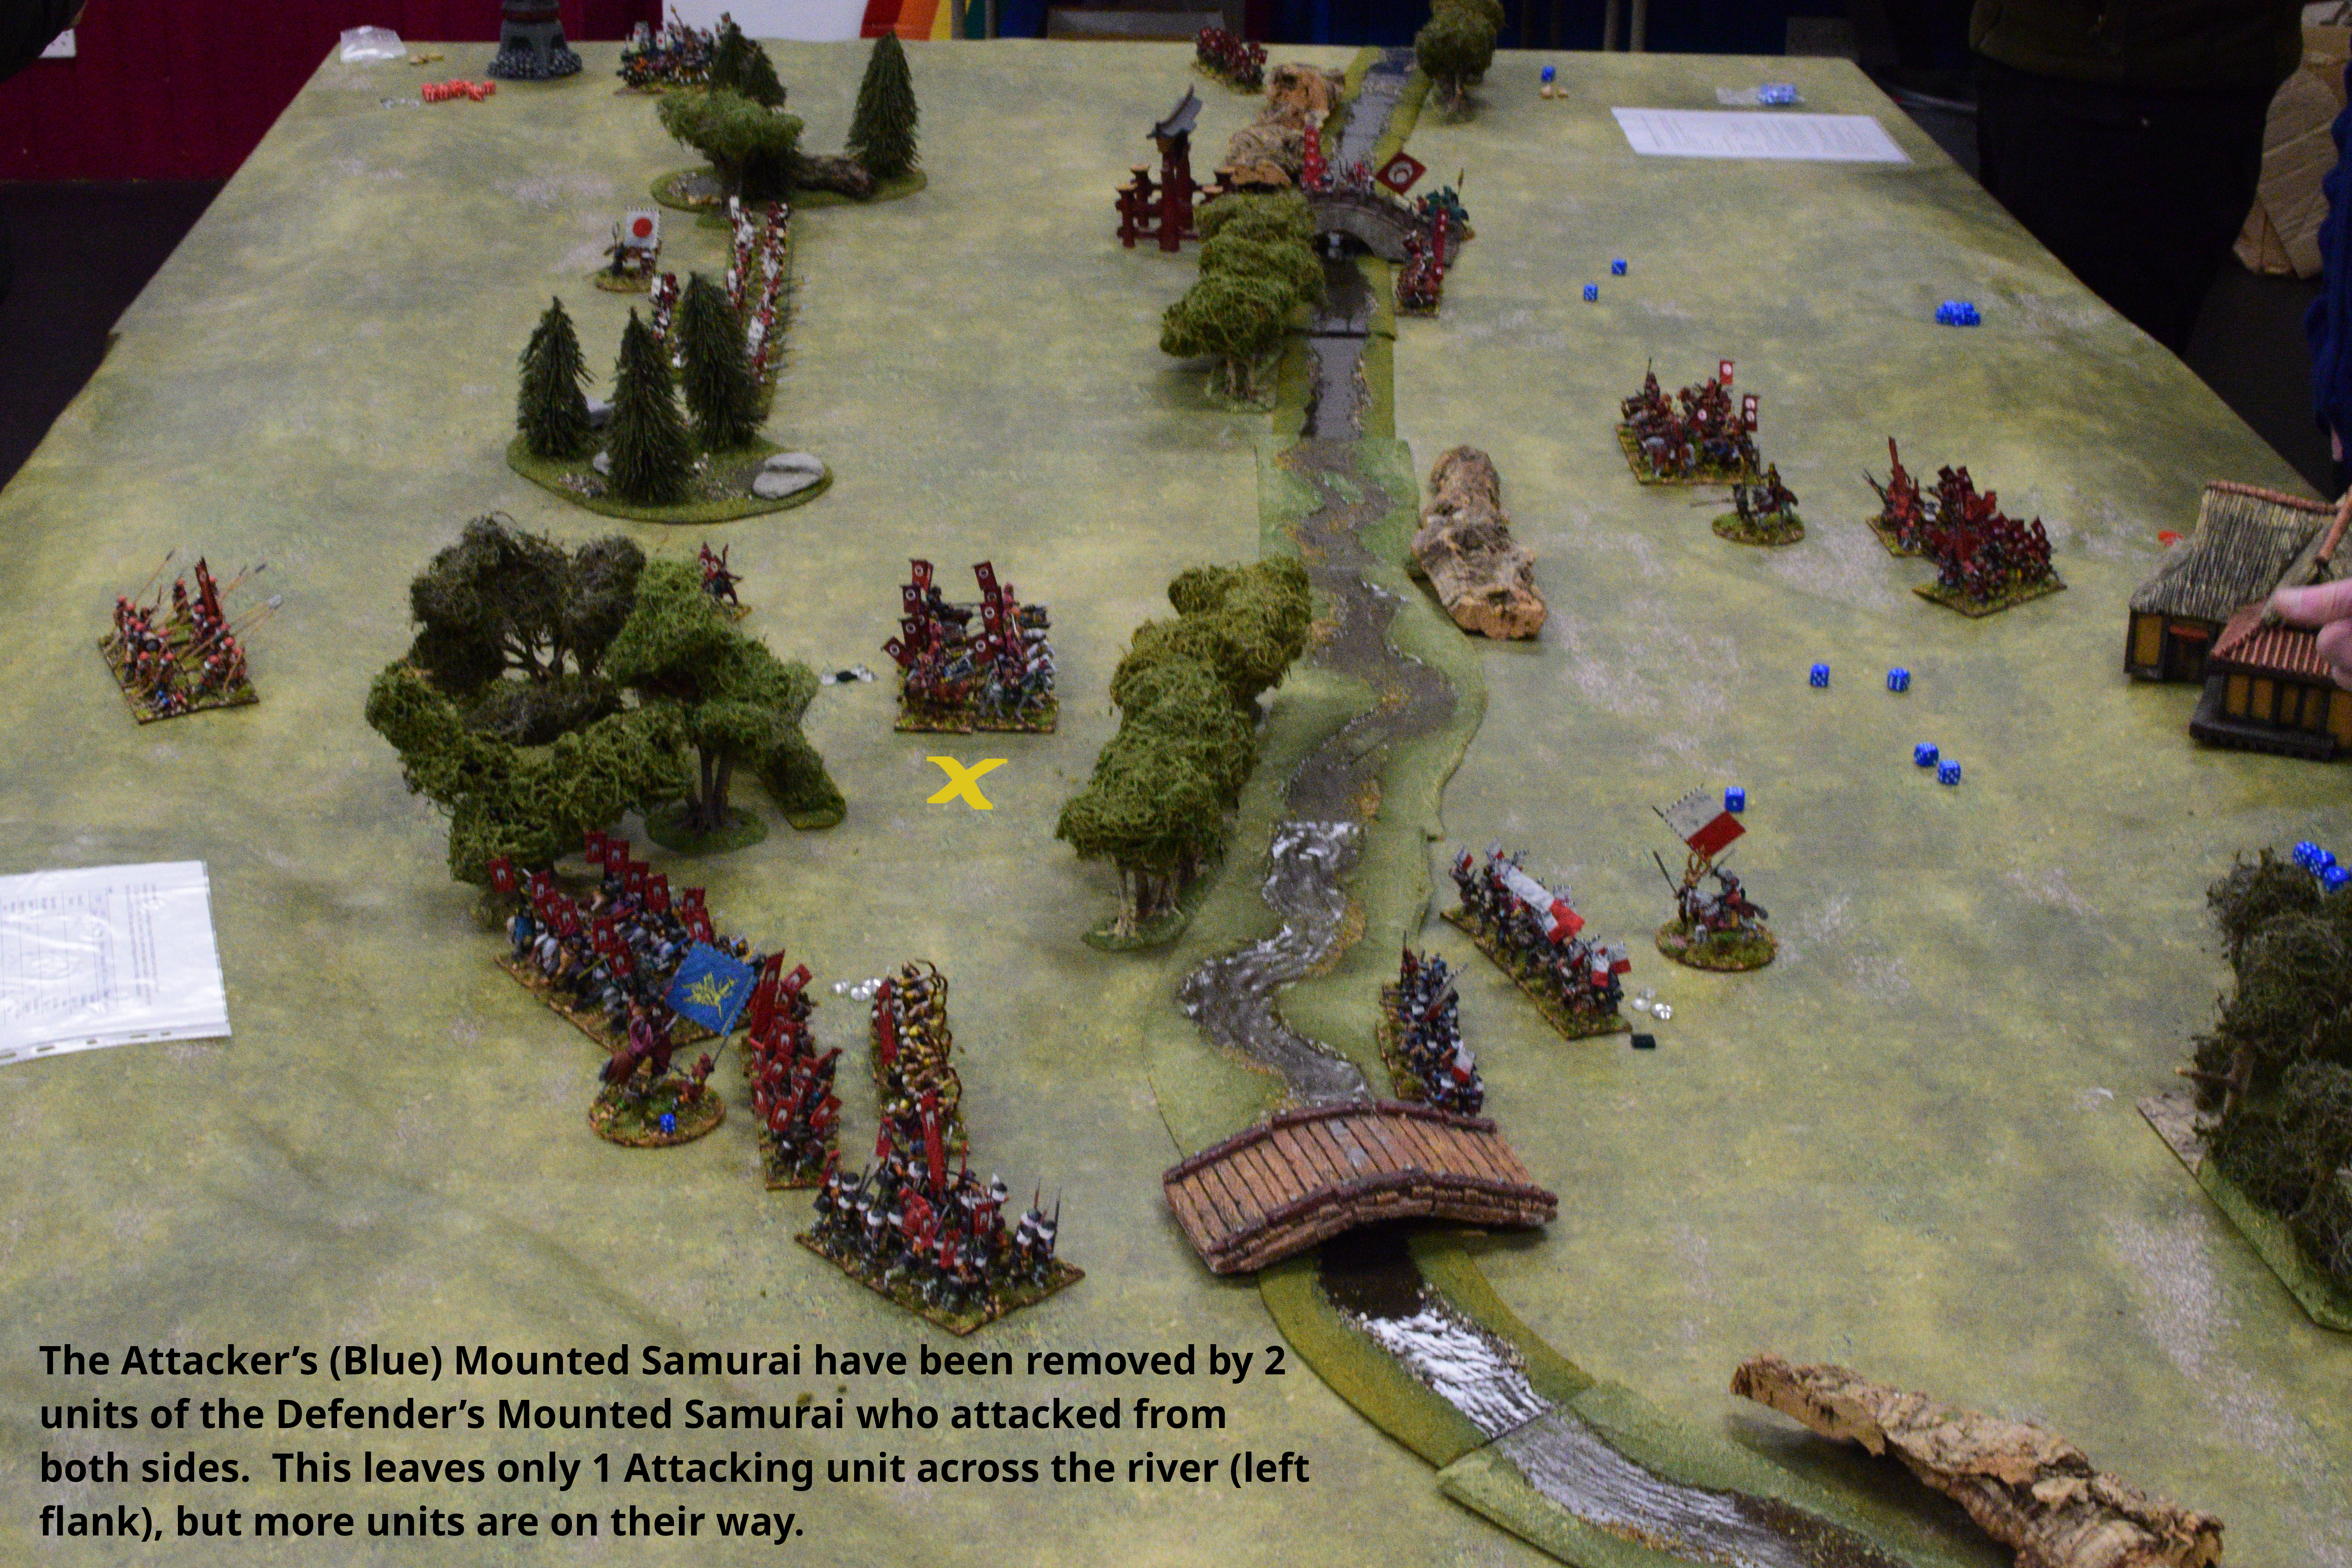


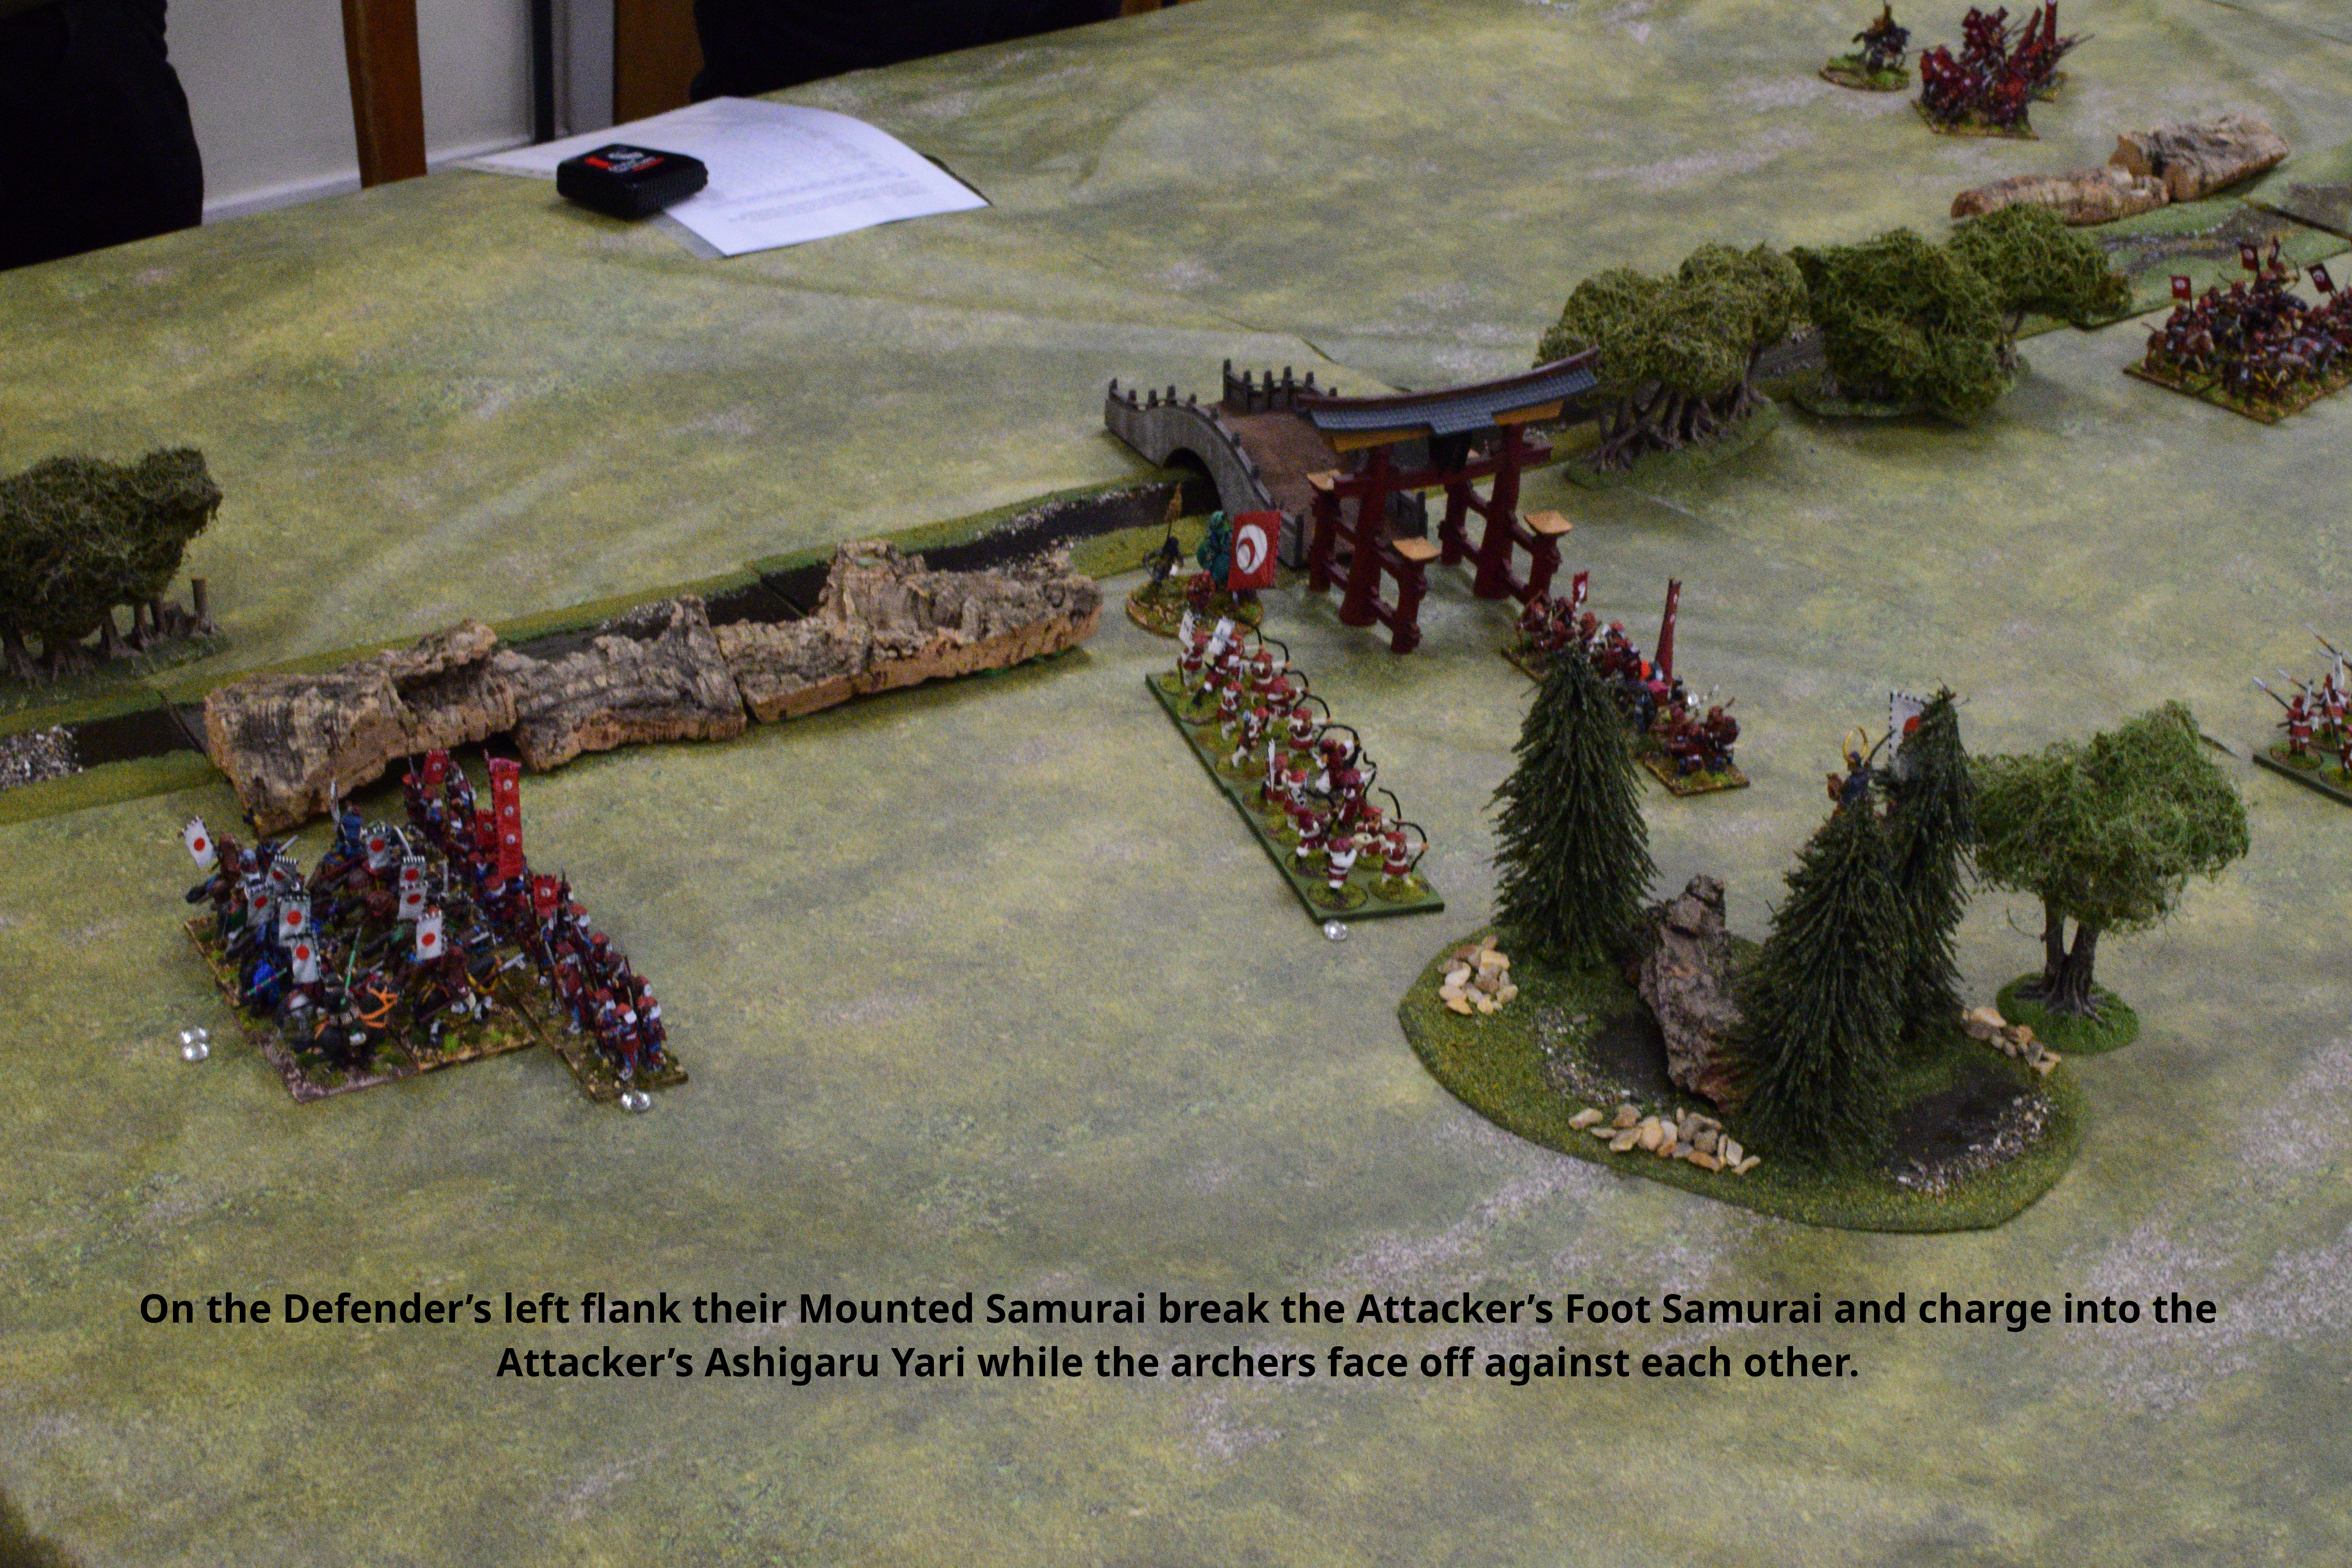
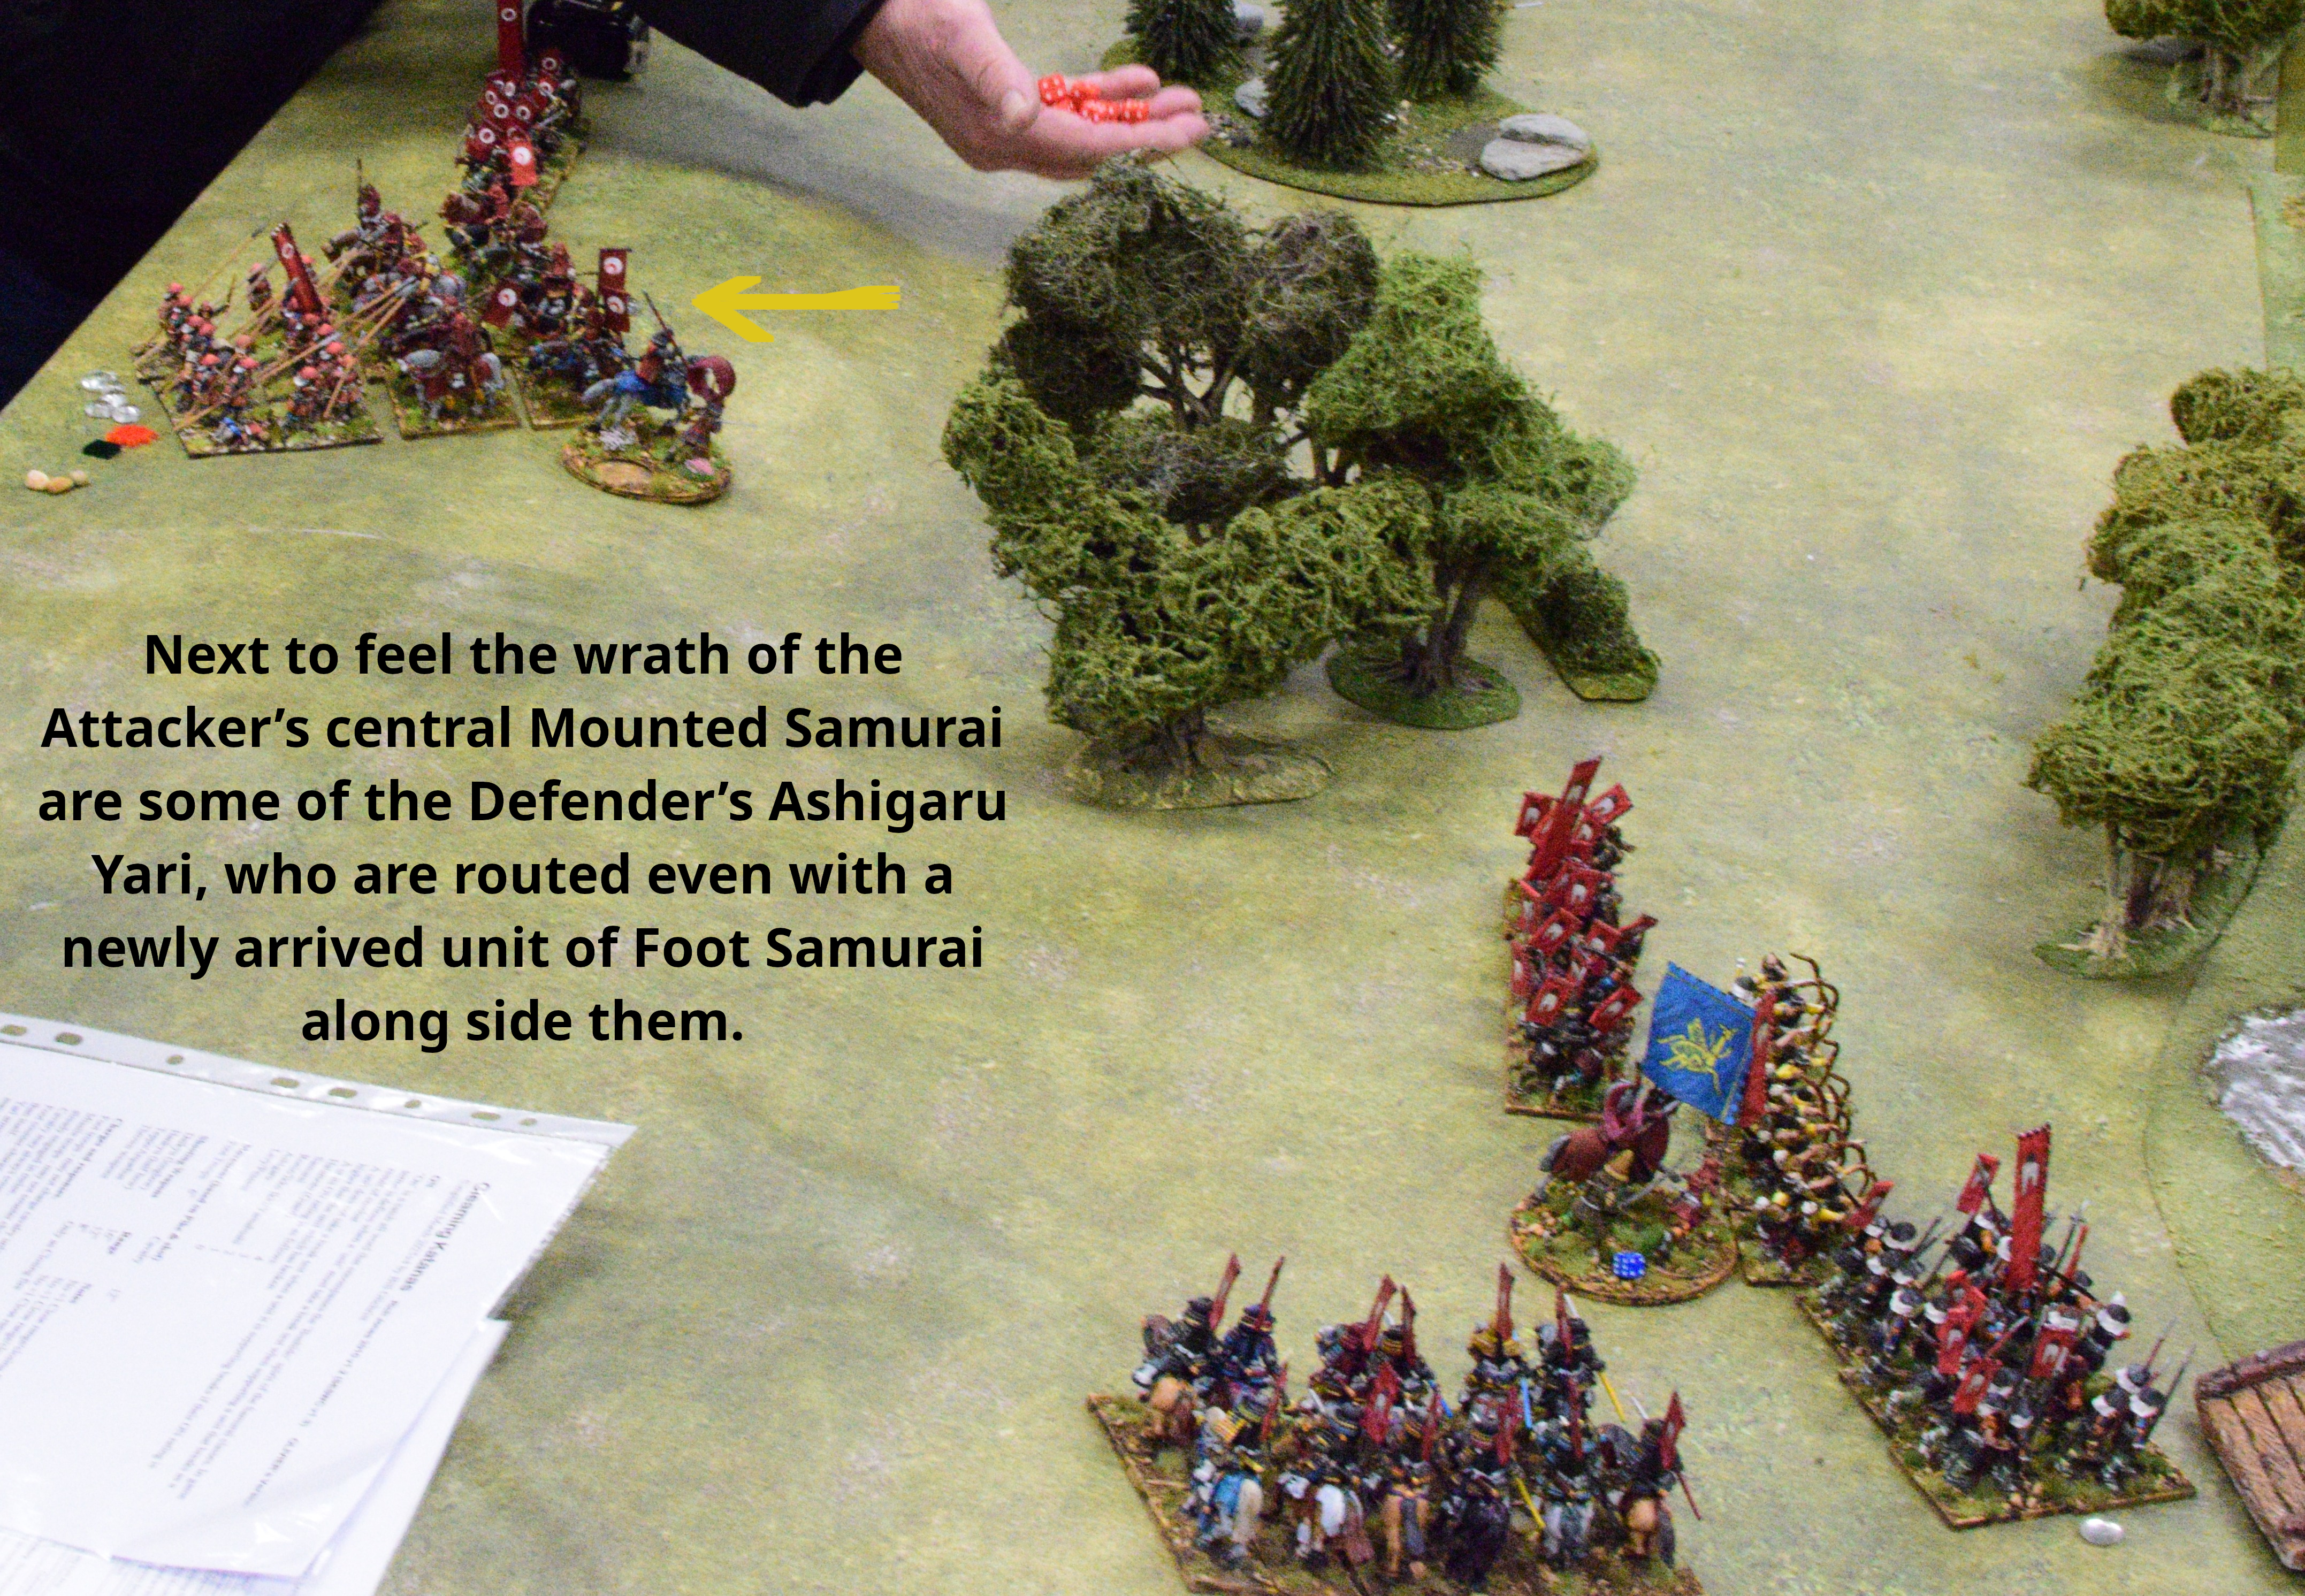
 In the centre the Attacker’s Mounted Samurai charge and rout the Defender’s Foot Samurai. The Defender’s Mounted Samurai try and get revenge, but are destroyed.
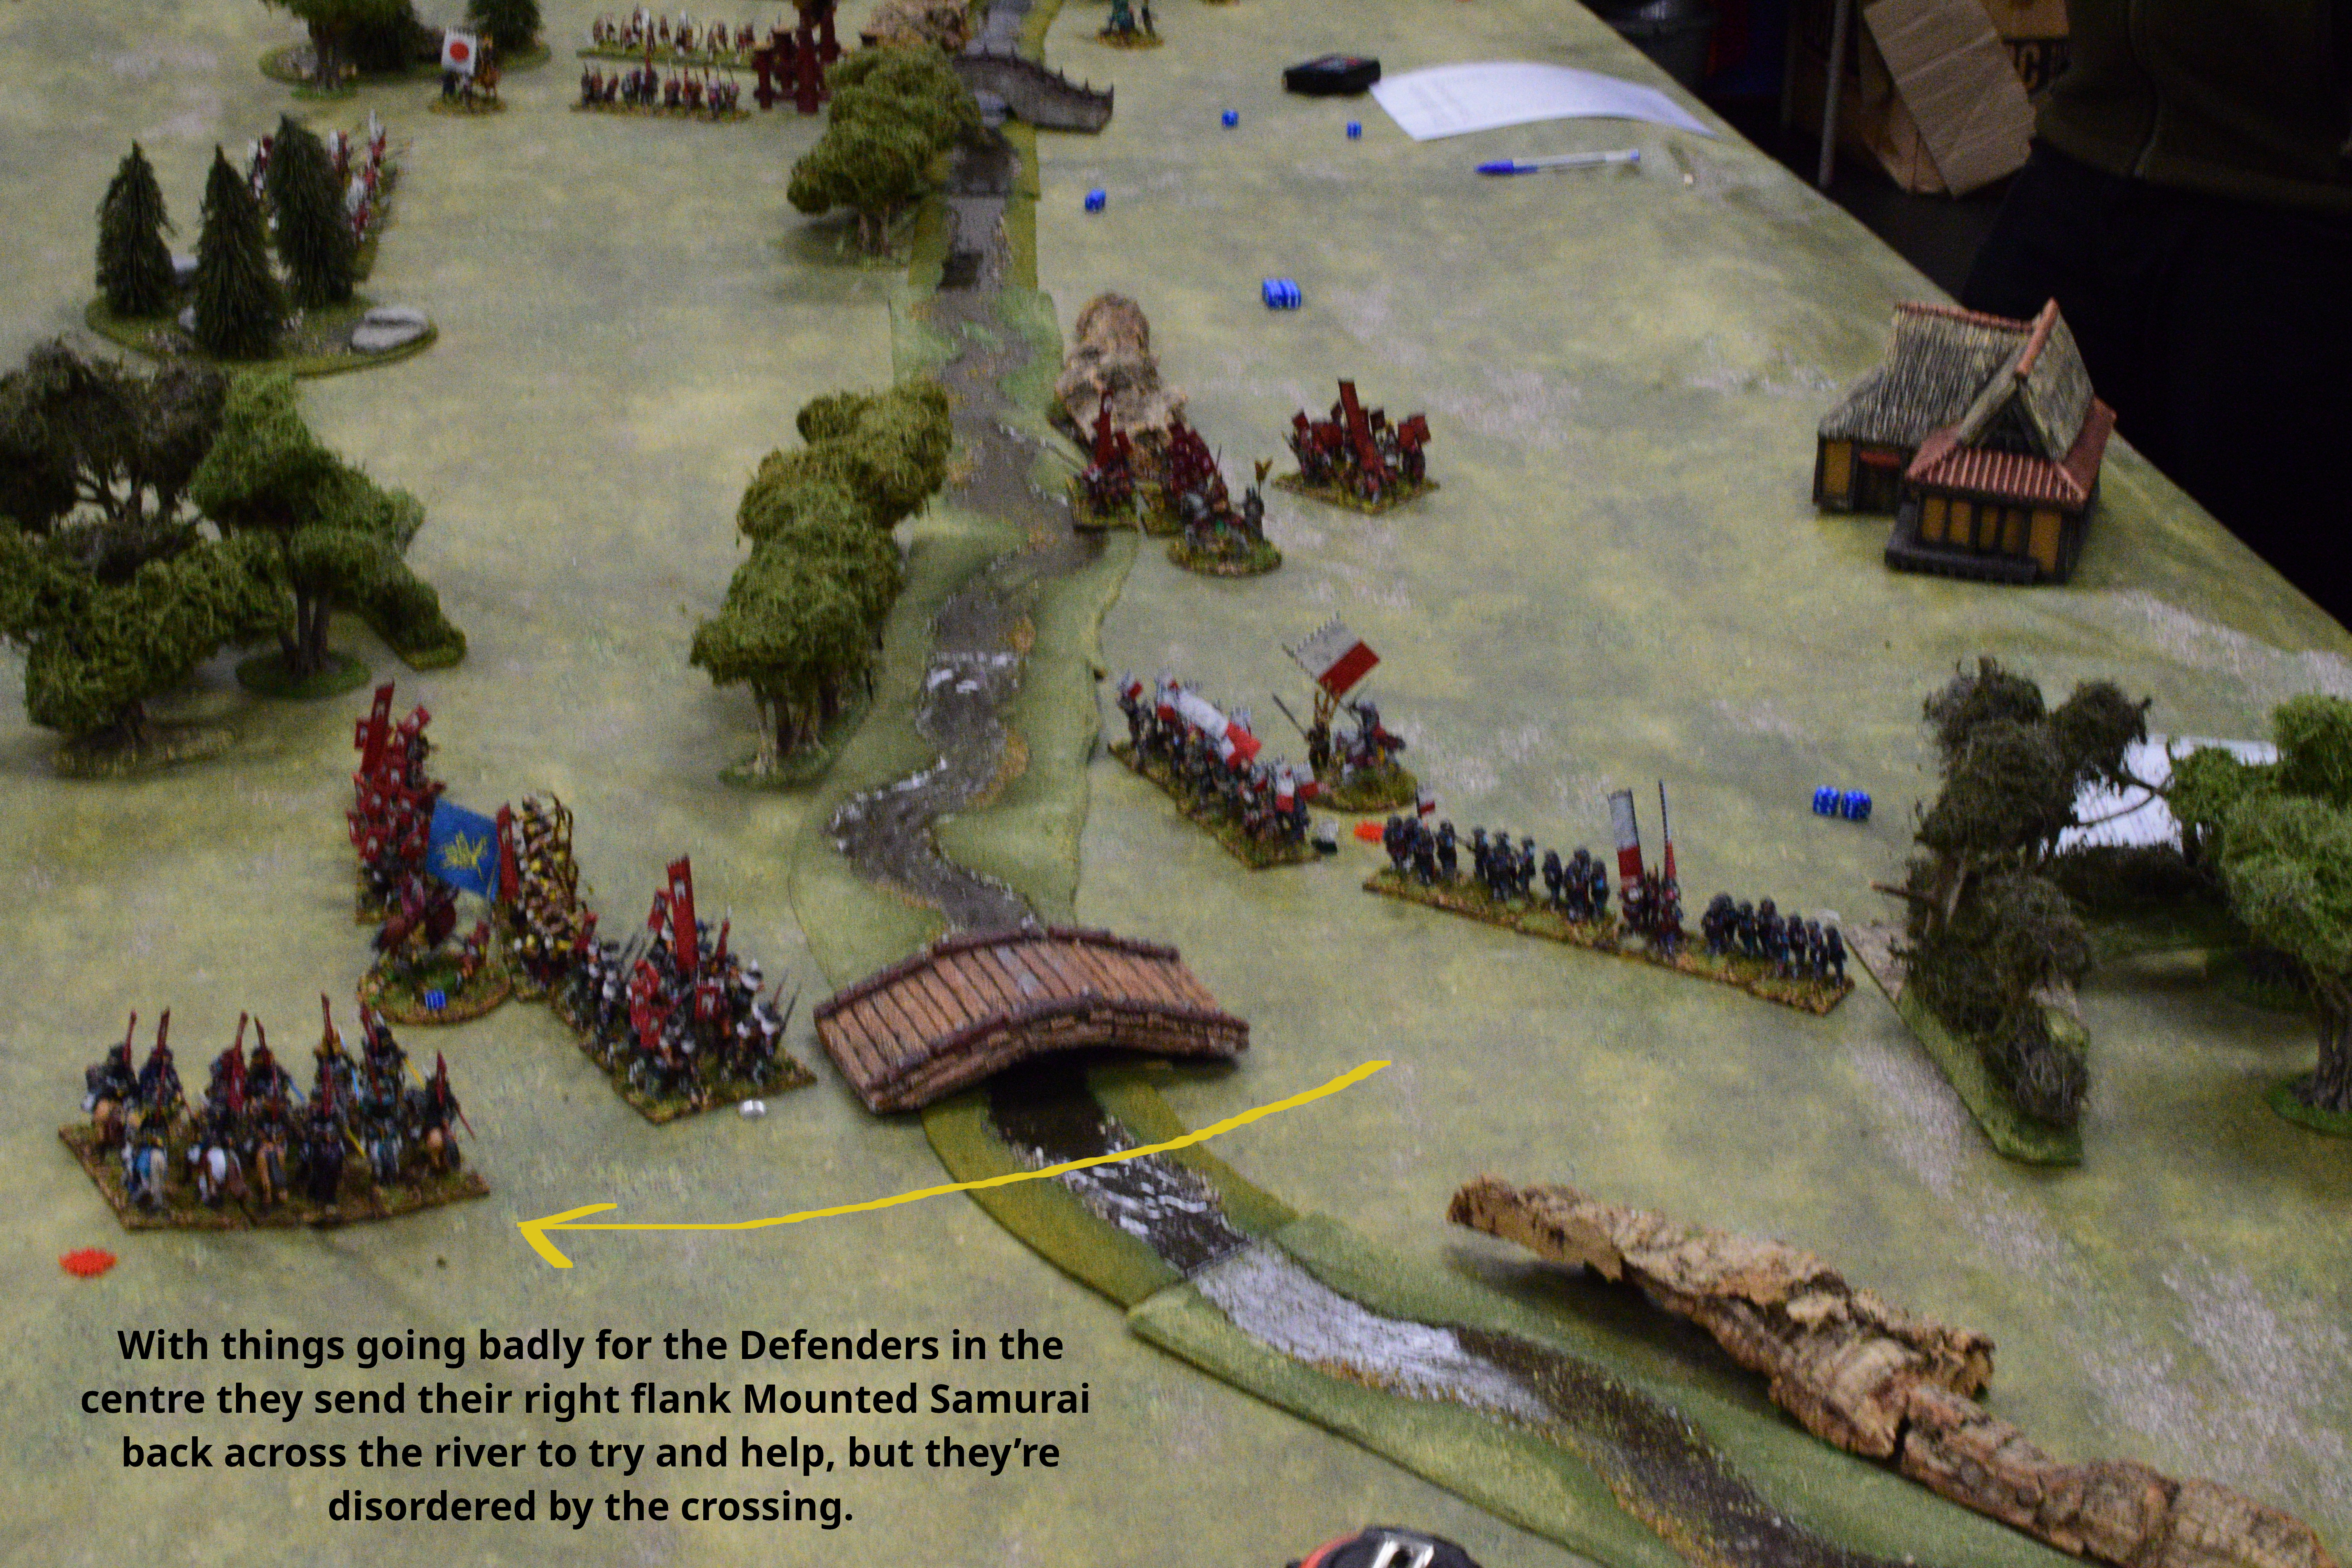
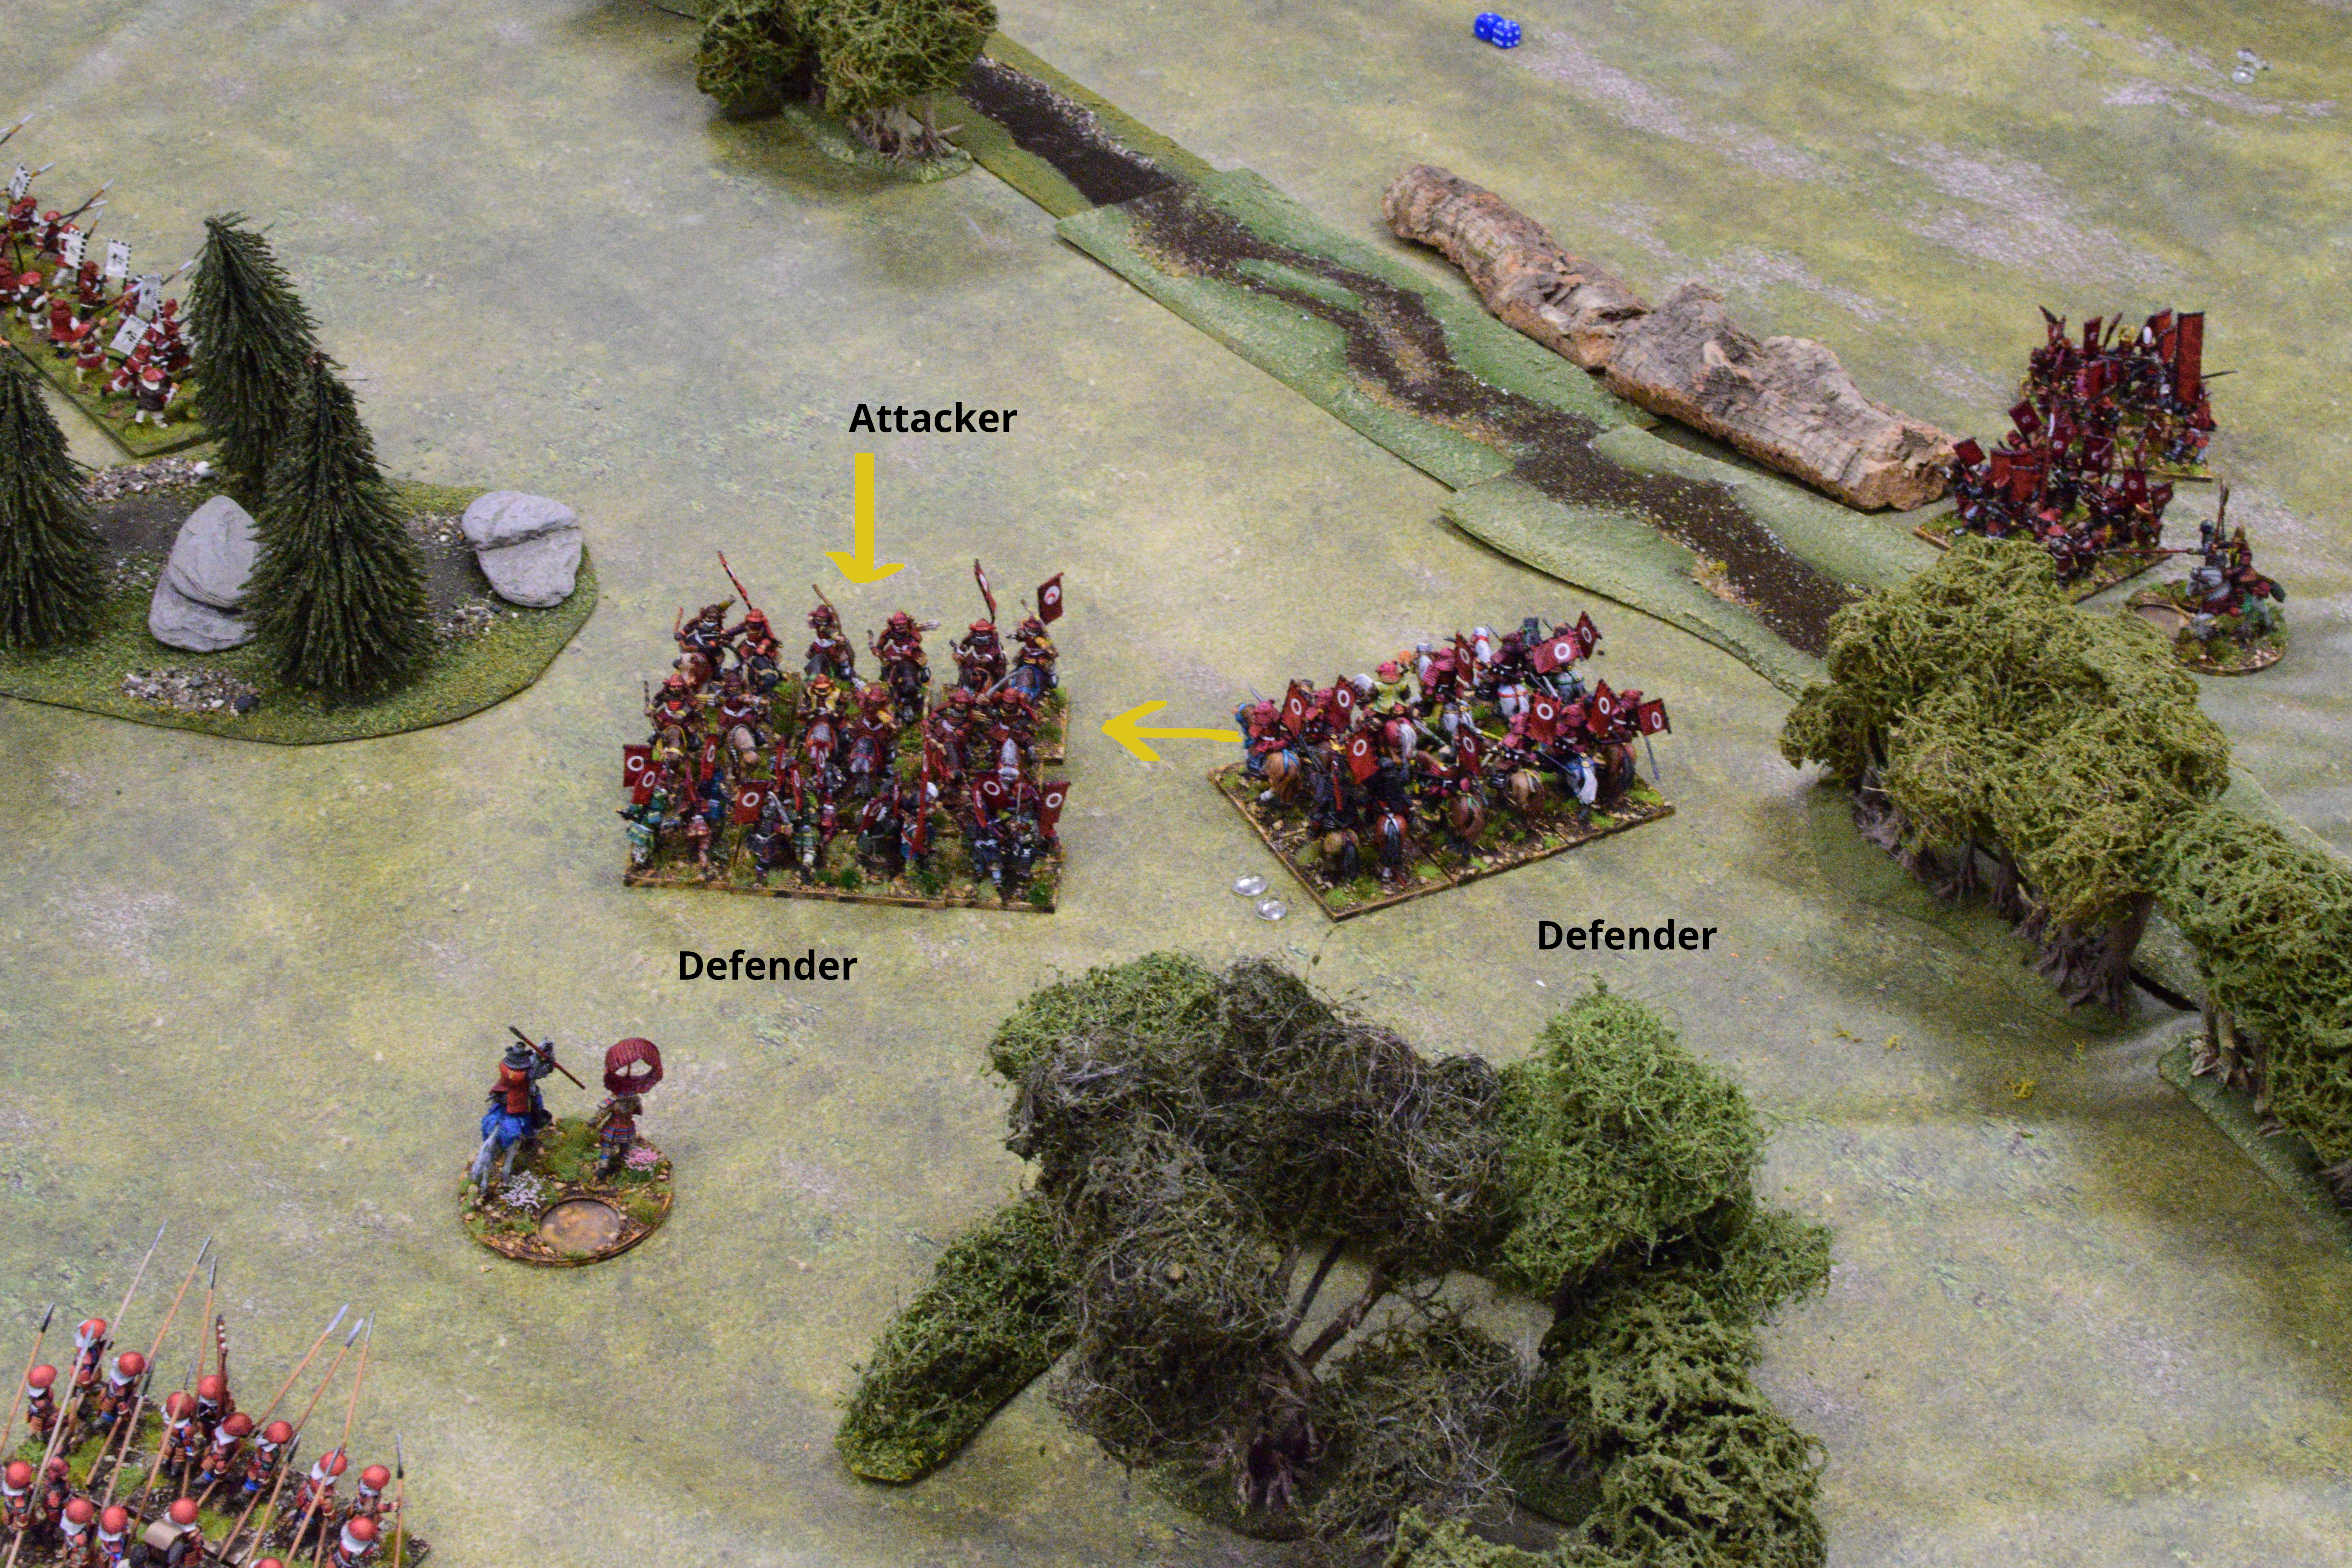
 The battle ends with the Attacker’s Ashigaru Yari crossing the river on the Defender’s right, but becoming disordered. Their Foot Samurai also cross but are disordered. The Attacker’s central Foot Samurai face off against the Defender’s right flank Foot Samurai. The Attacker’s devastating central Mounted Samurai are behind the trees and still dangerous. The Defender’s central force is barely there with only a disordered unit of Foot Samurai left. The Defender’s right flank force is still intact and their Mounted Samurai are free to move again. On the Defender’s left their forces are also intact and face a single unit of the Attacker’s Samurai. Both sides grudging agree on an honourable draw and the Attacker’s withdraw to their own territory.
Battle of Tarawa 1943
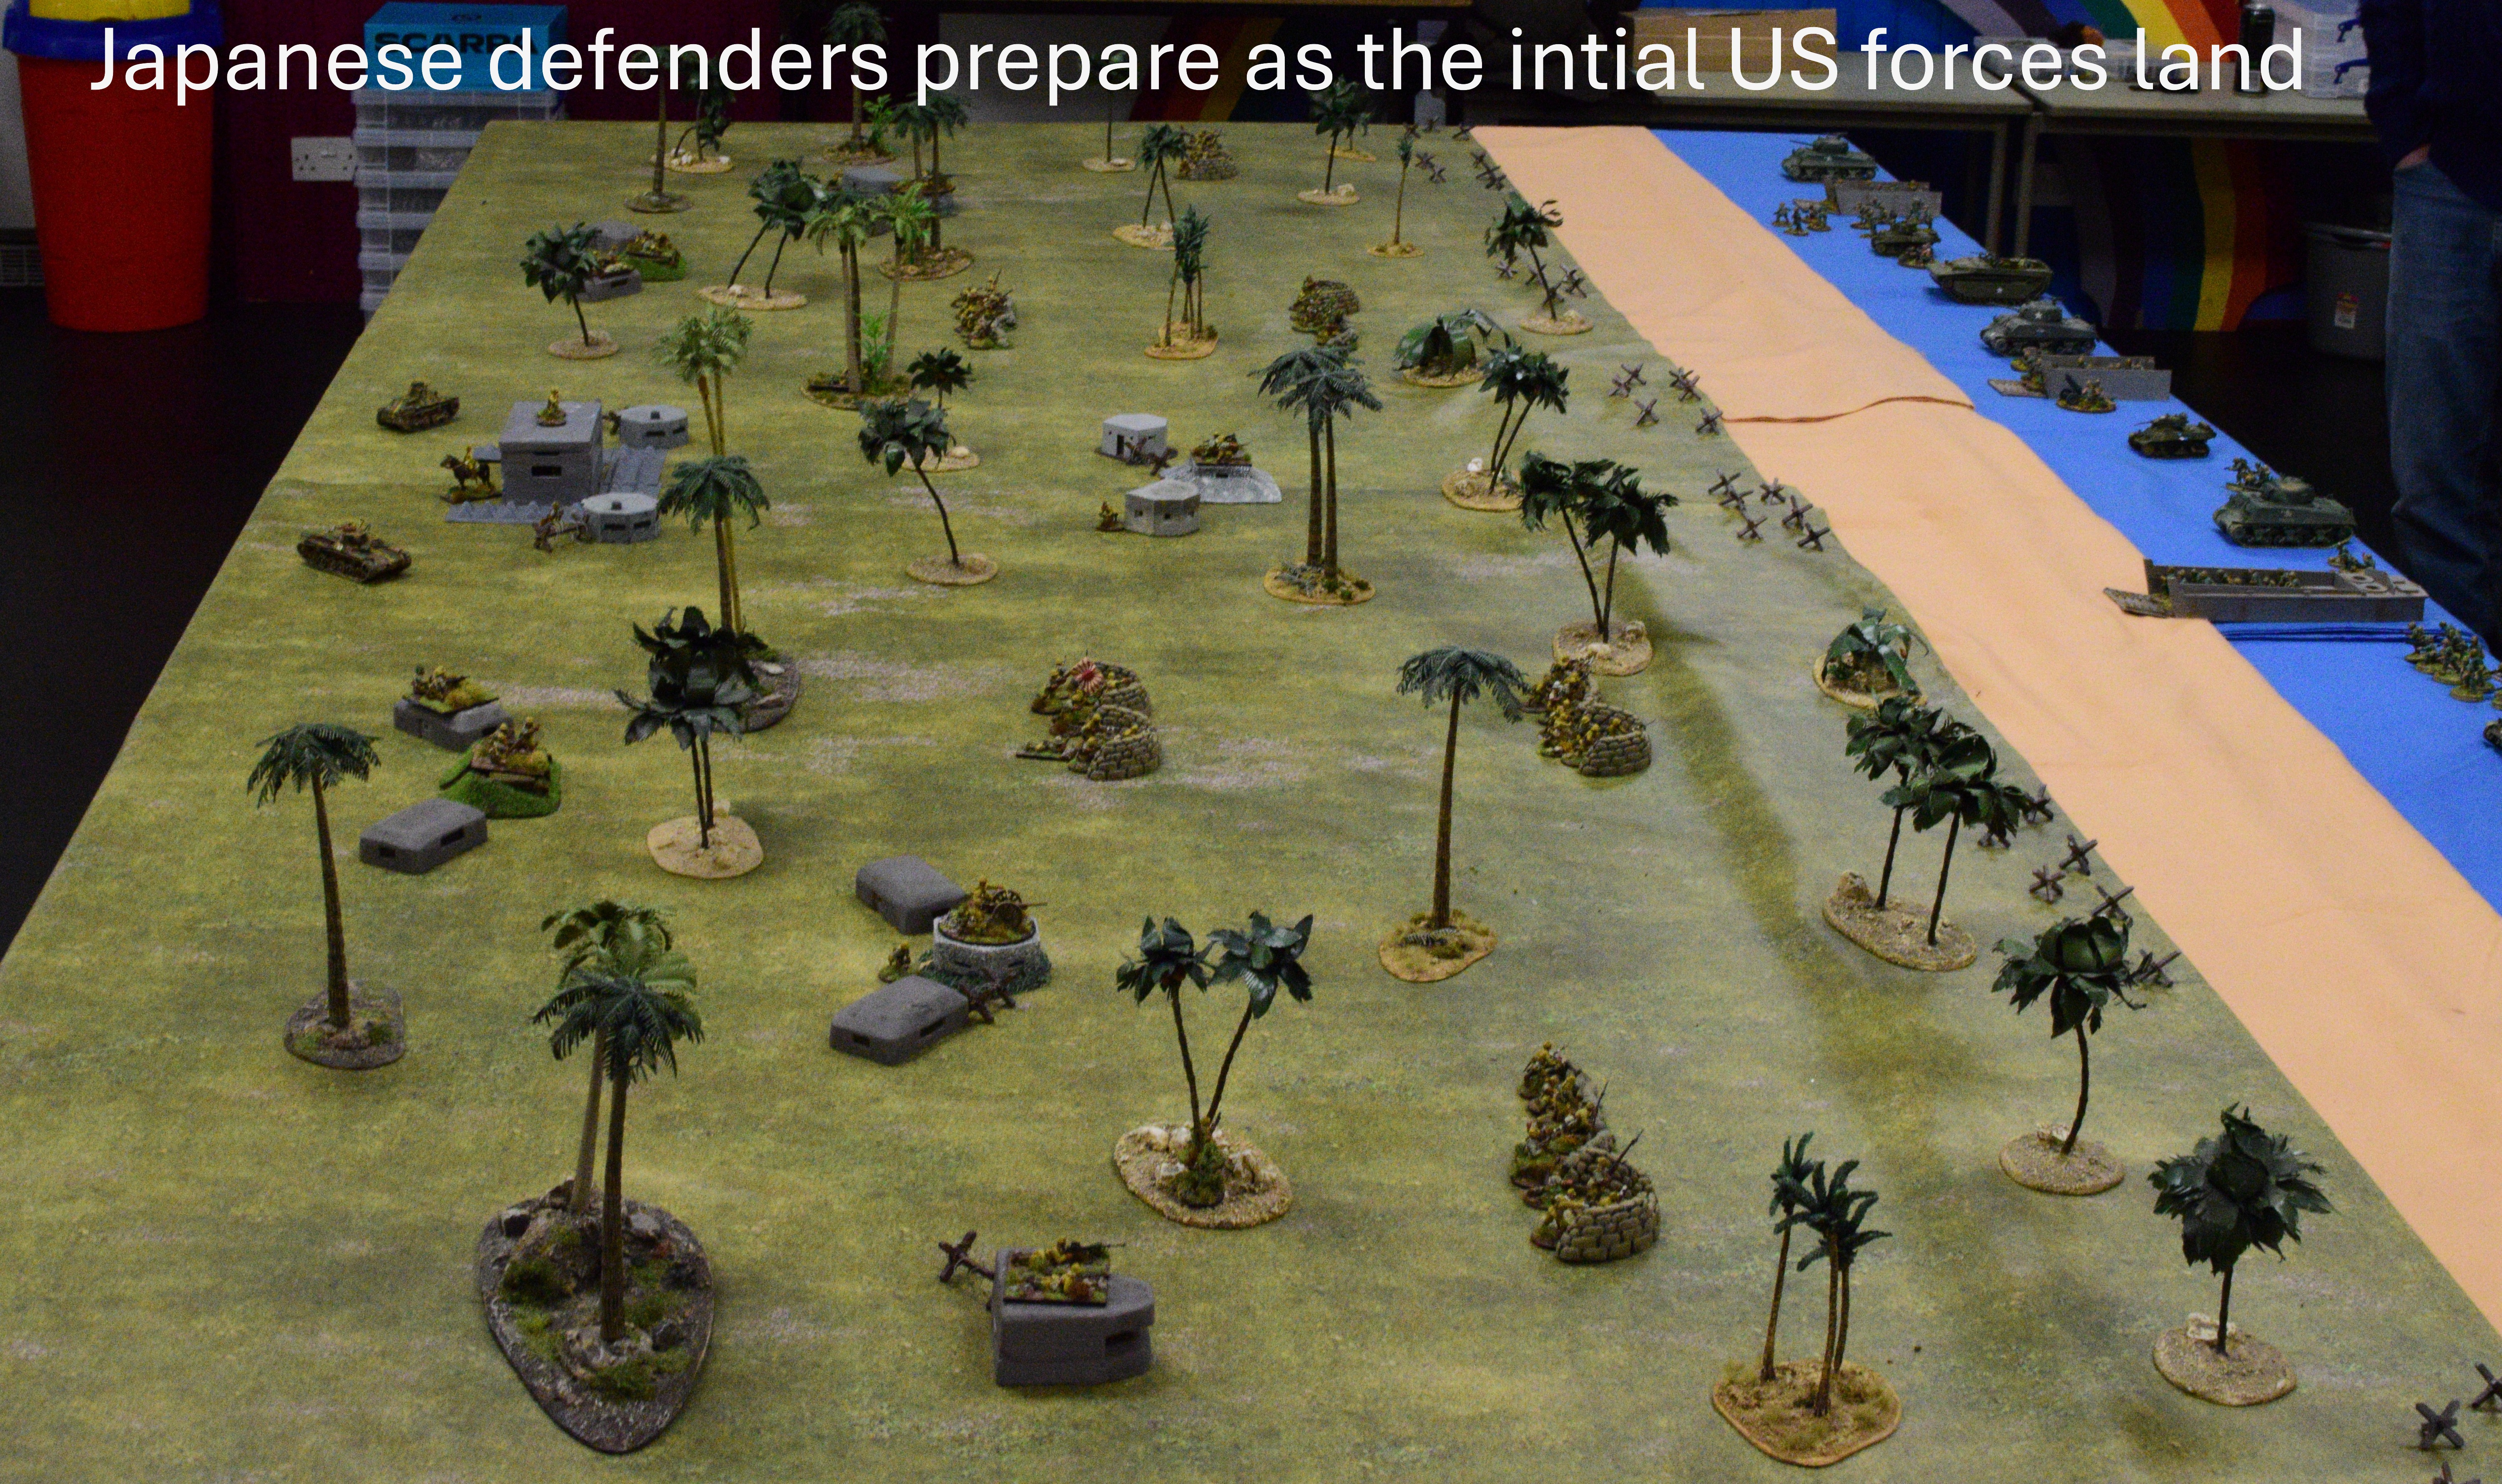
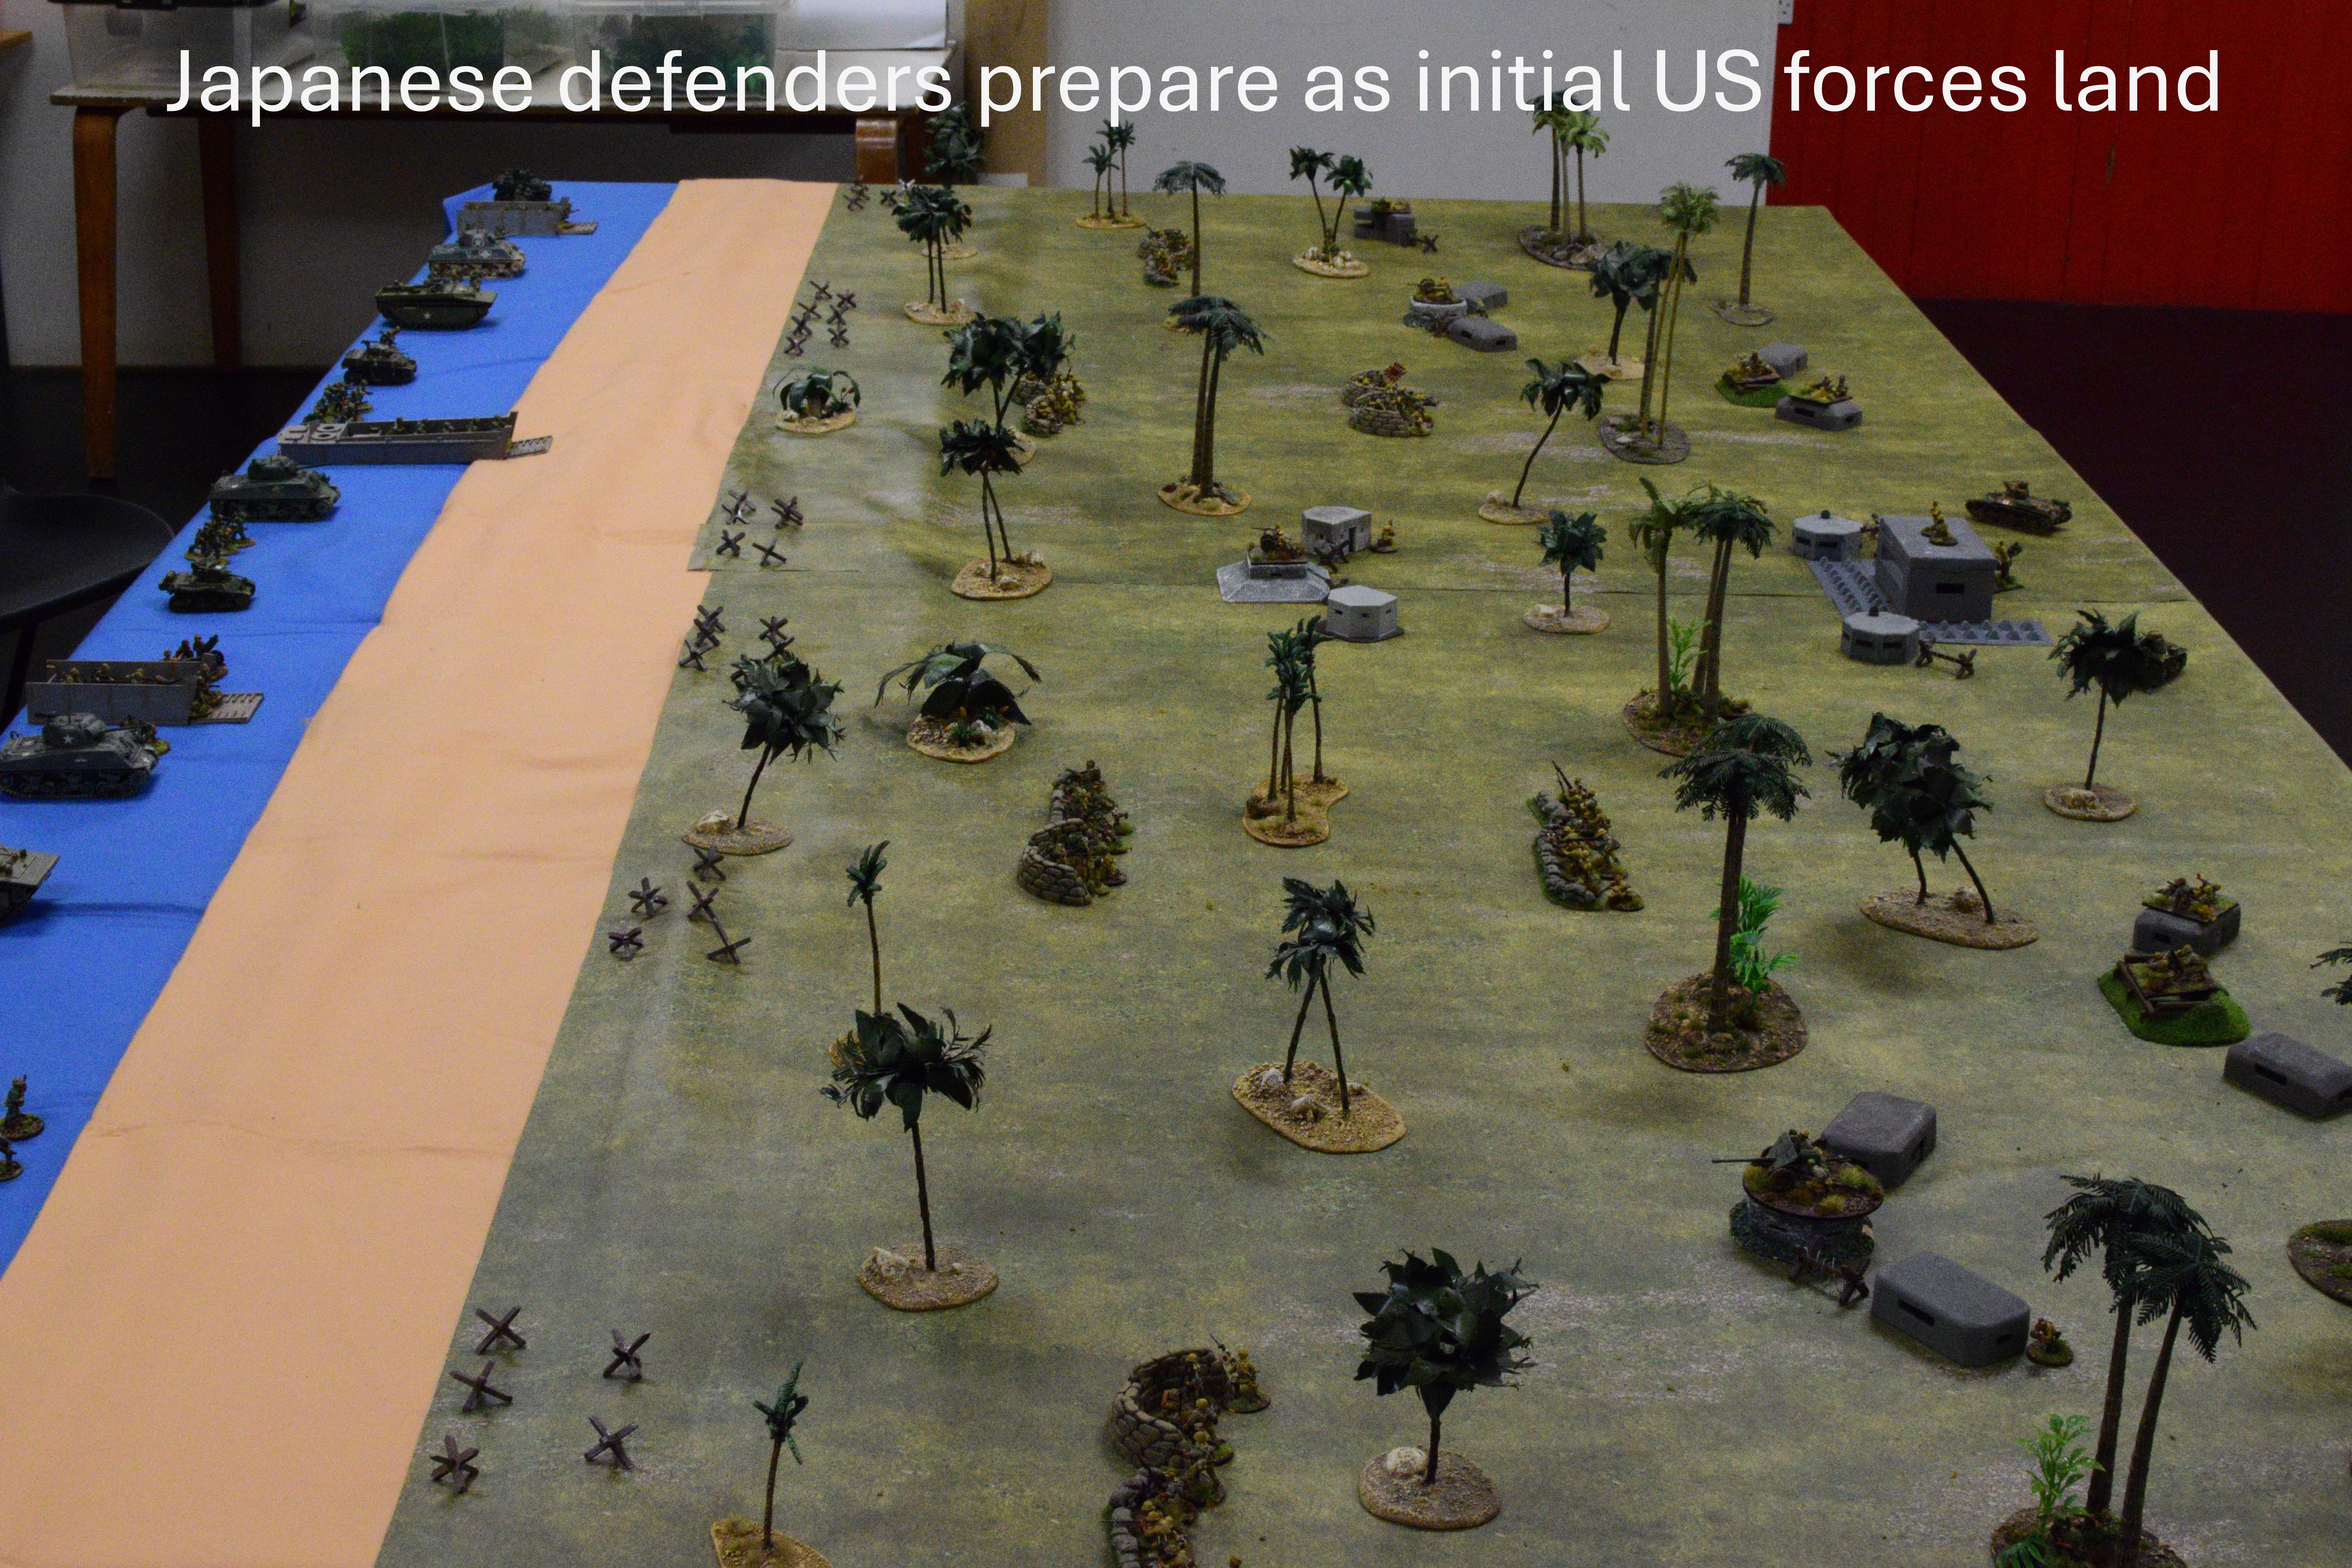
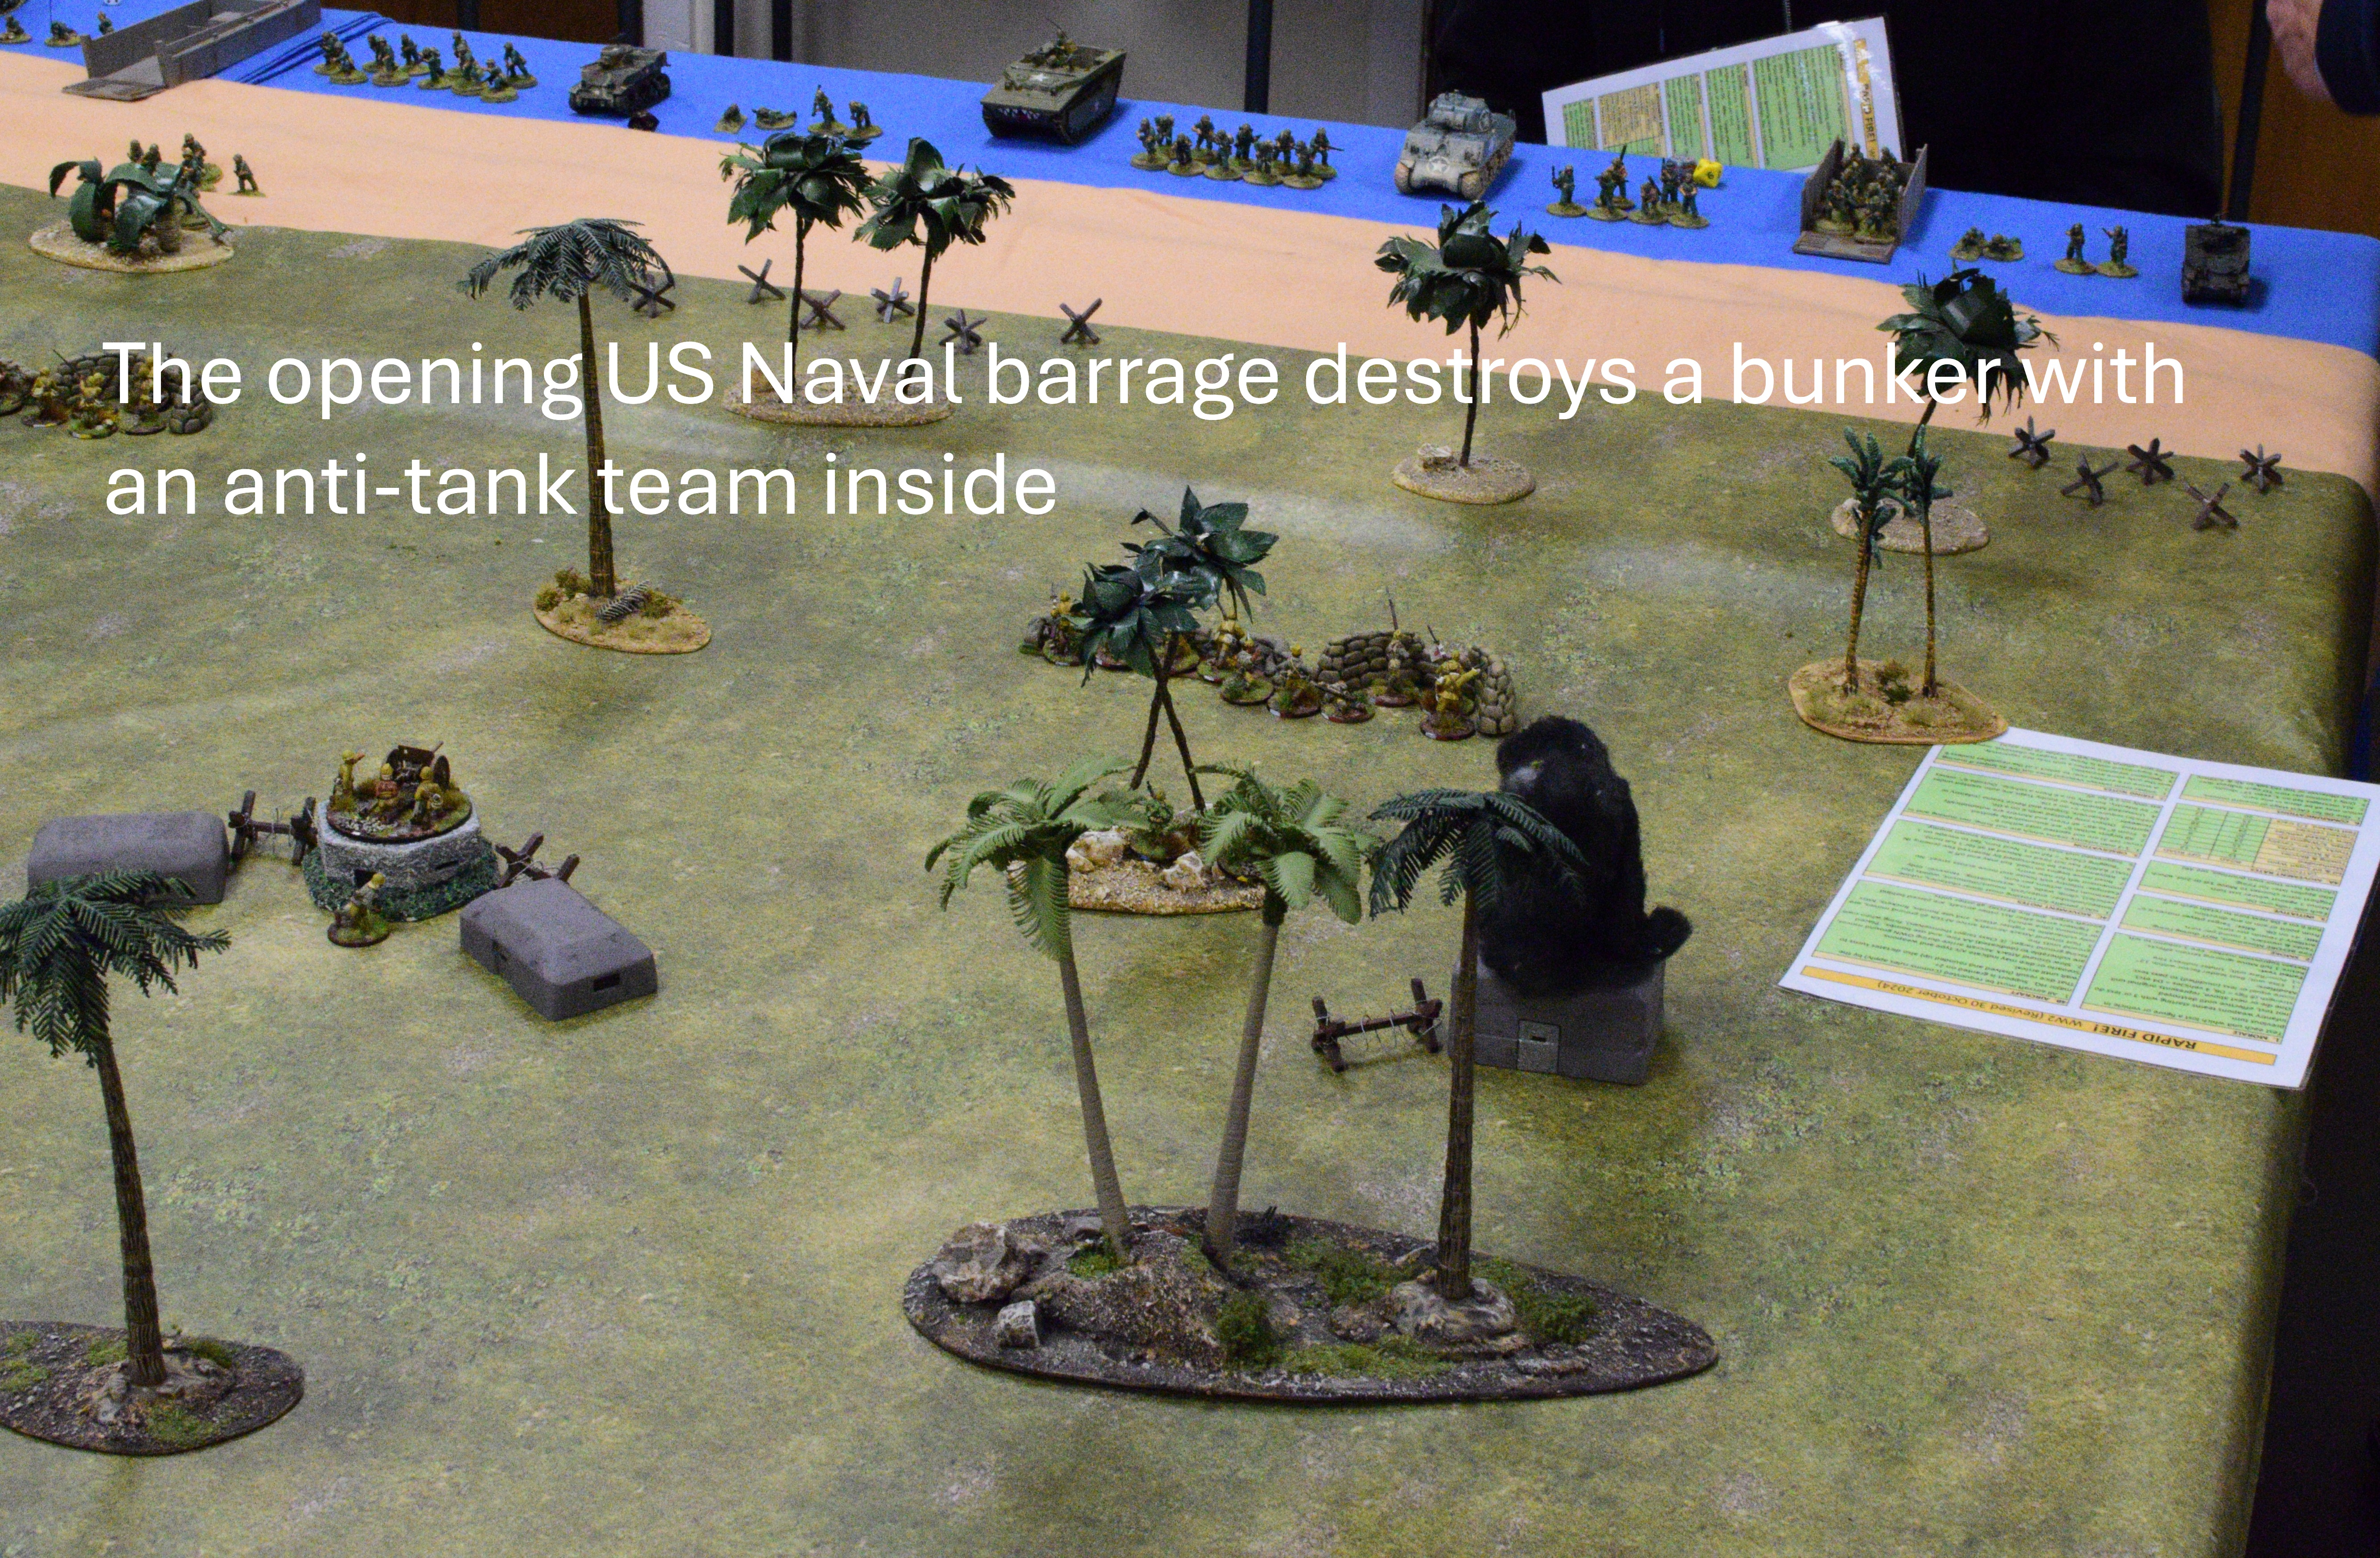
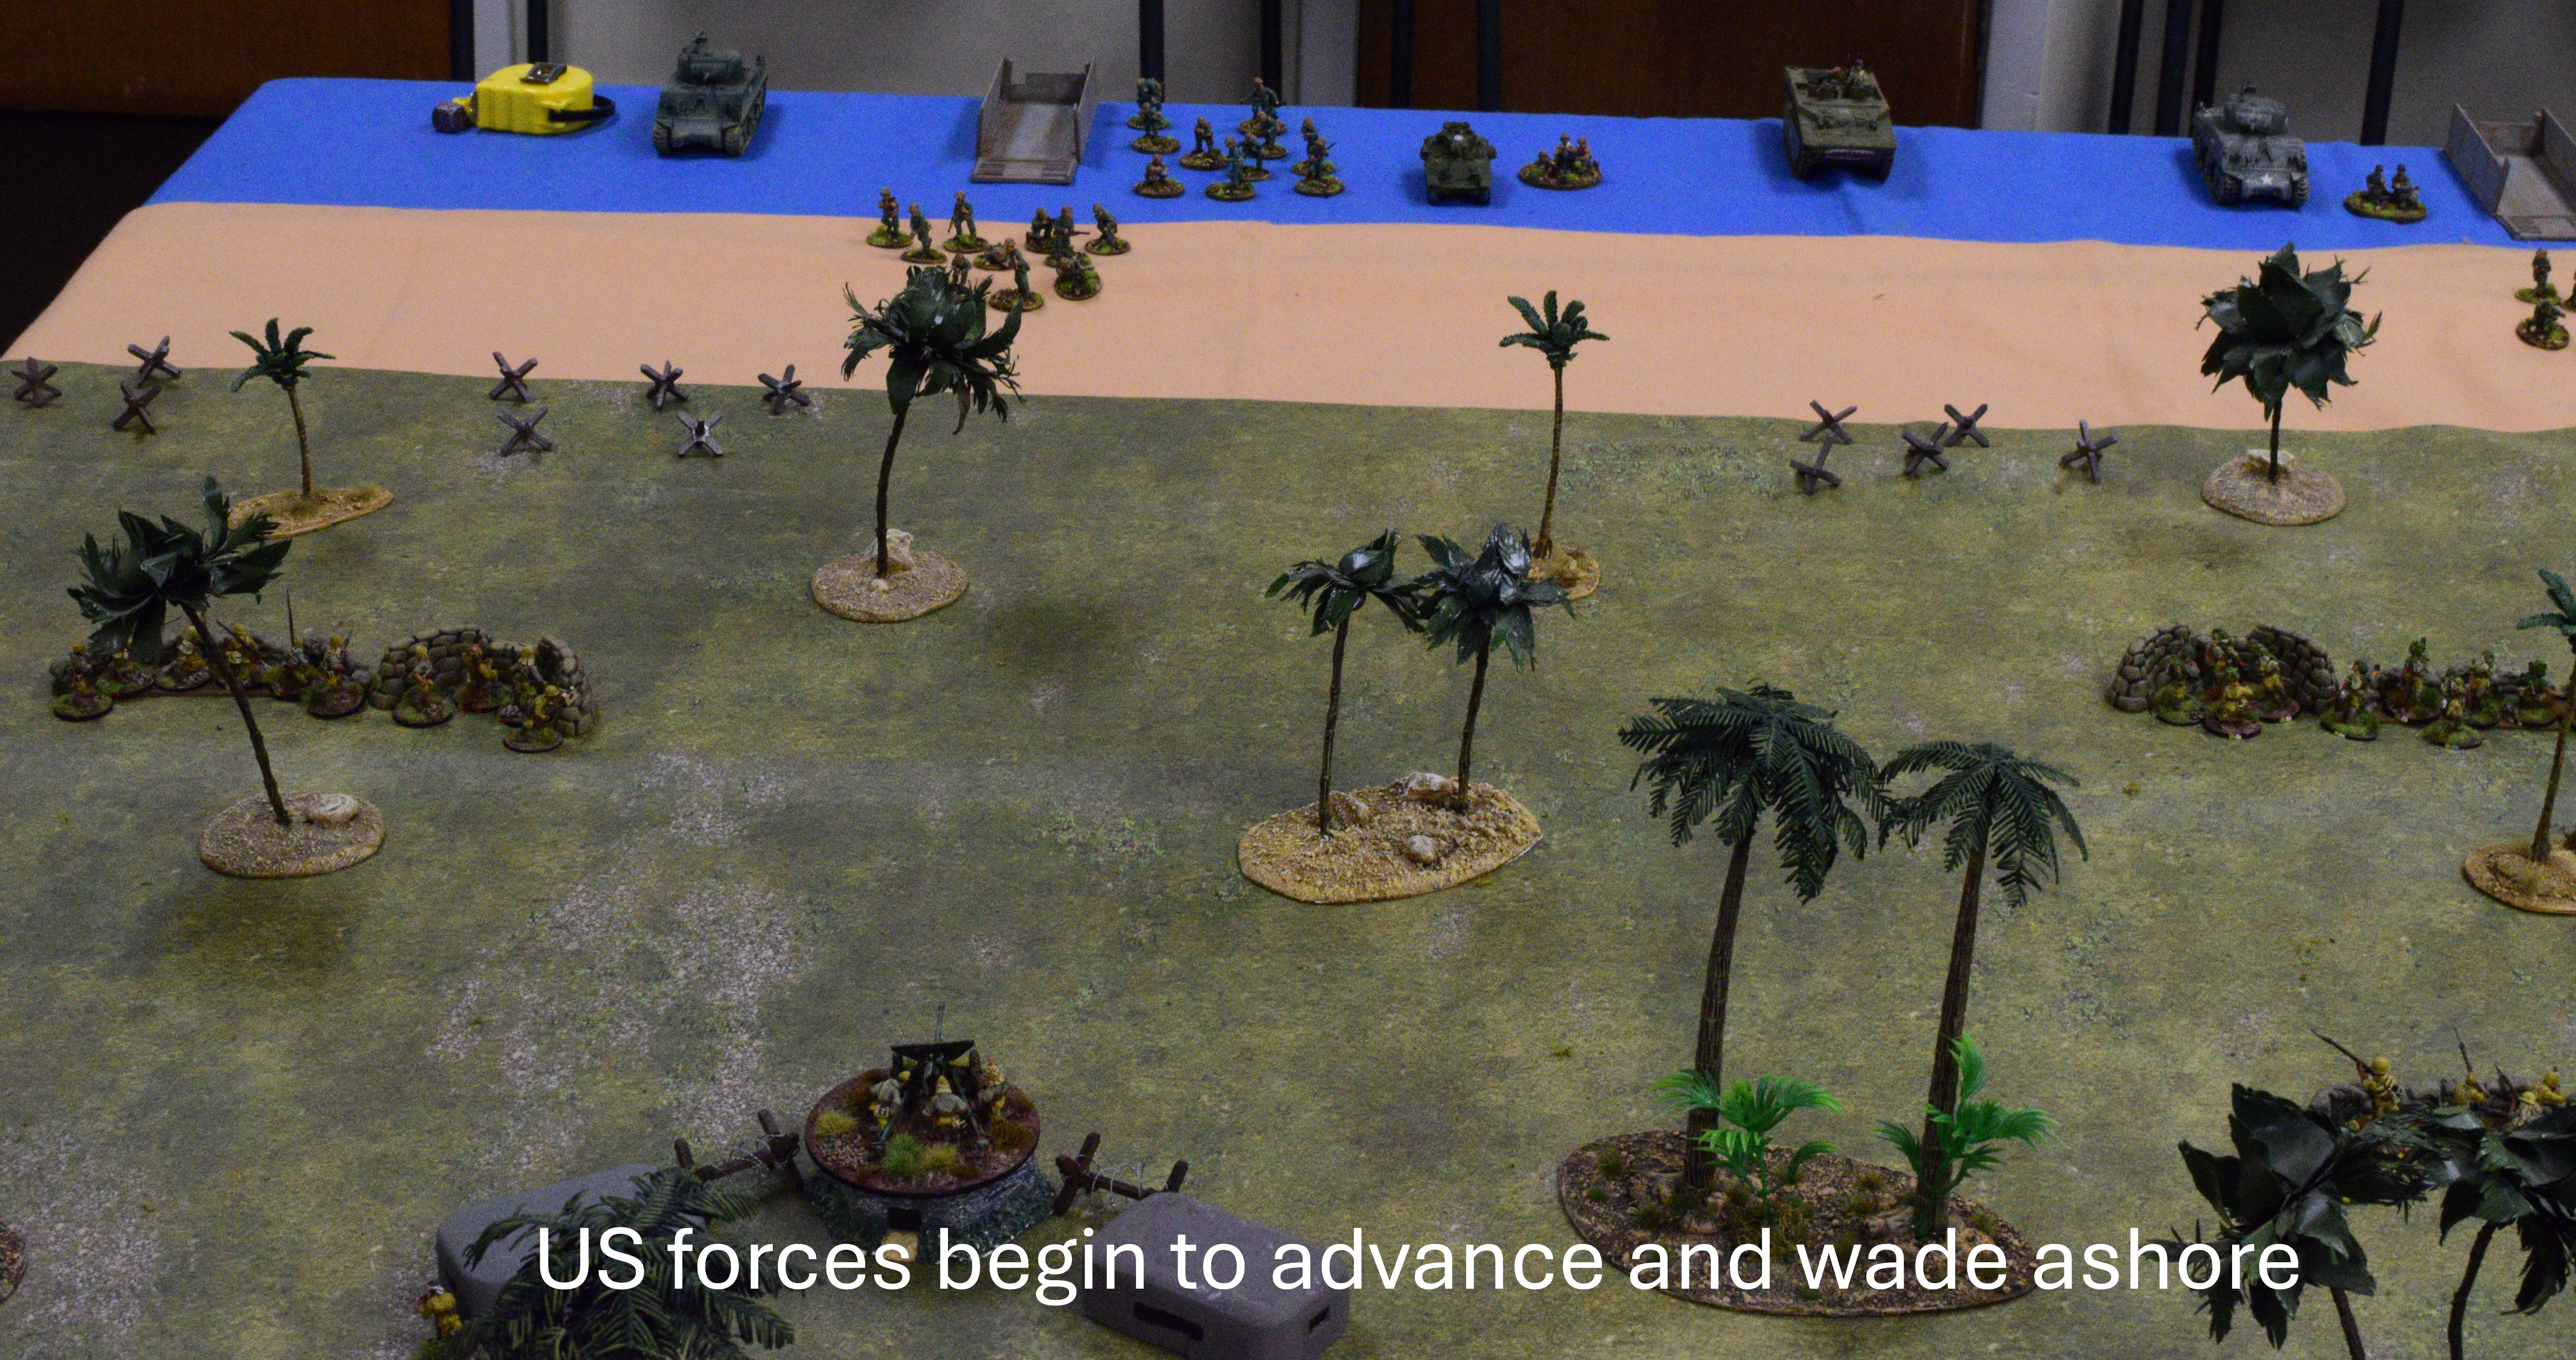
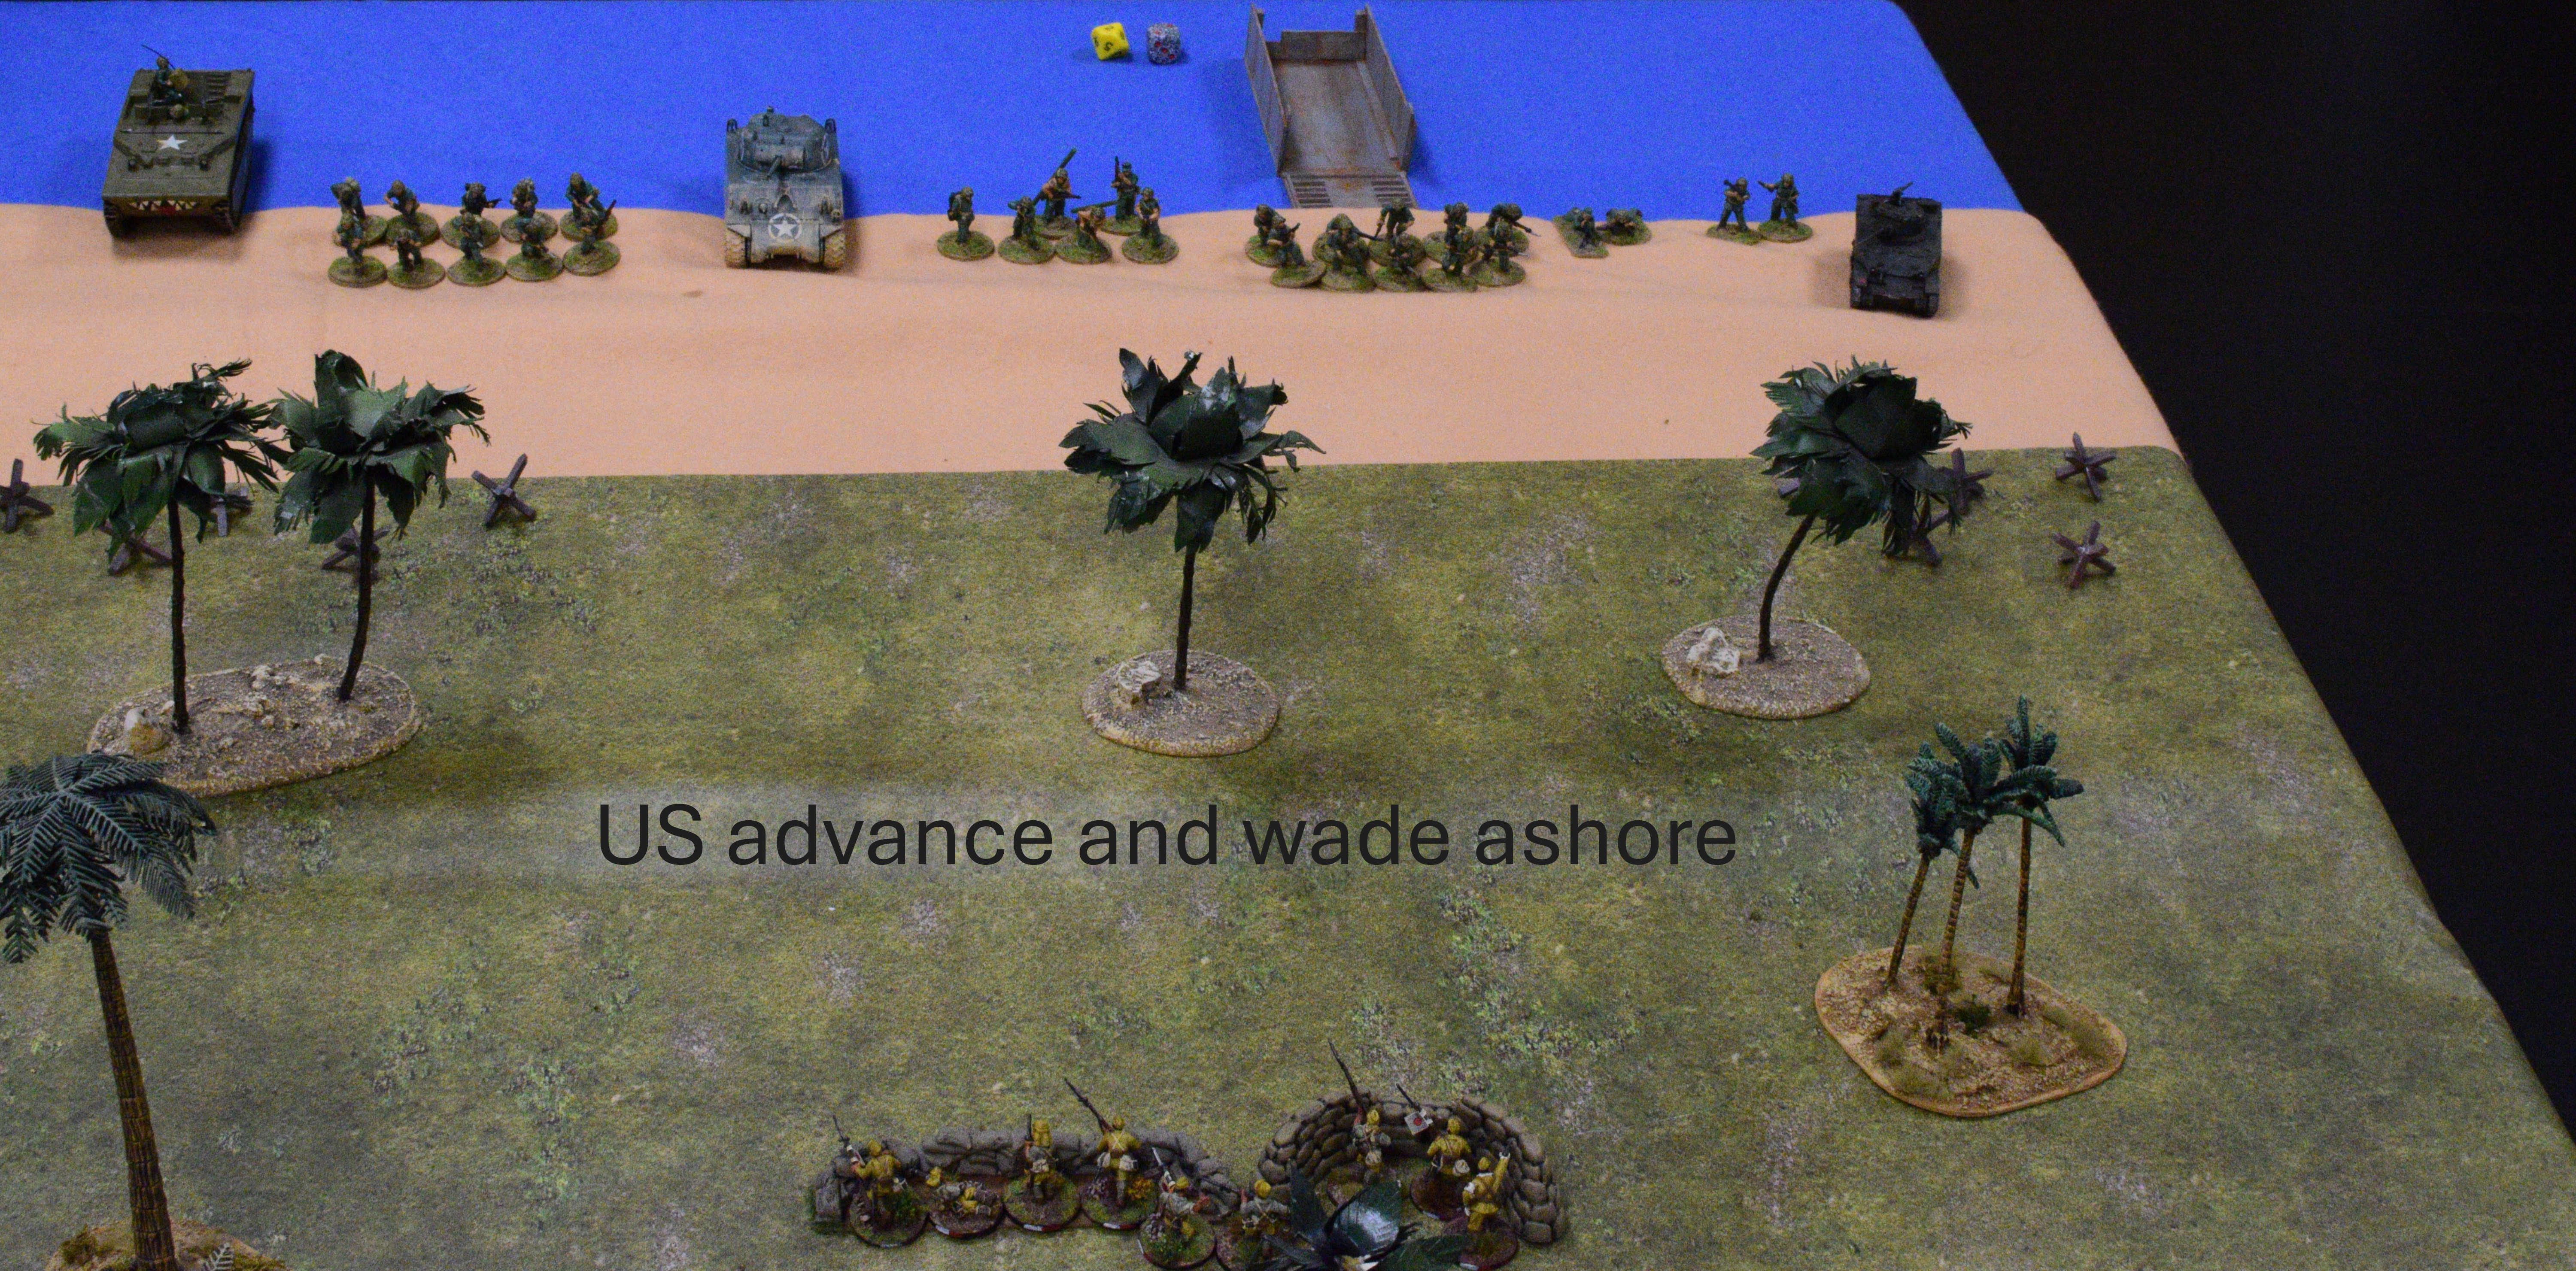
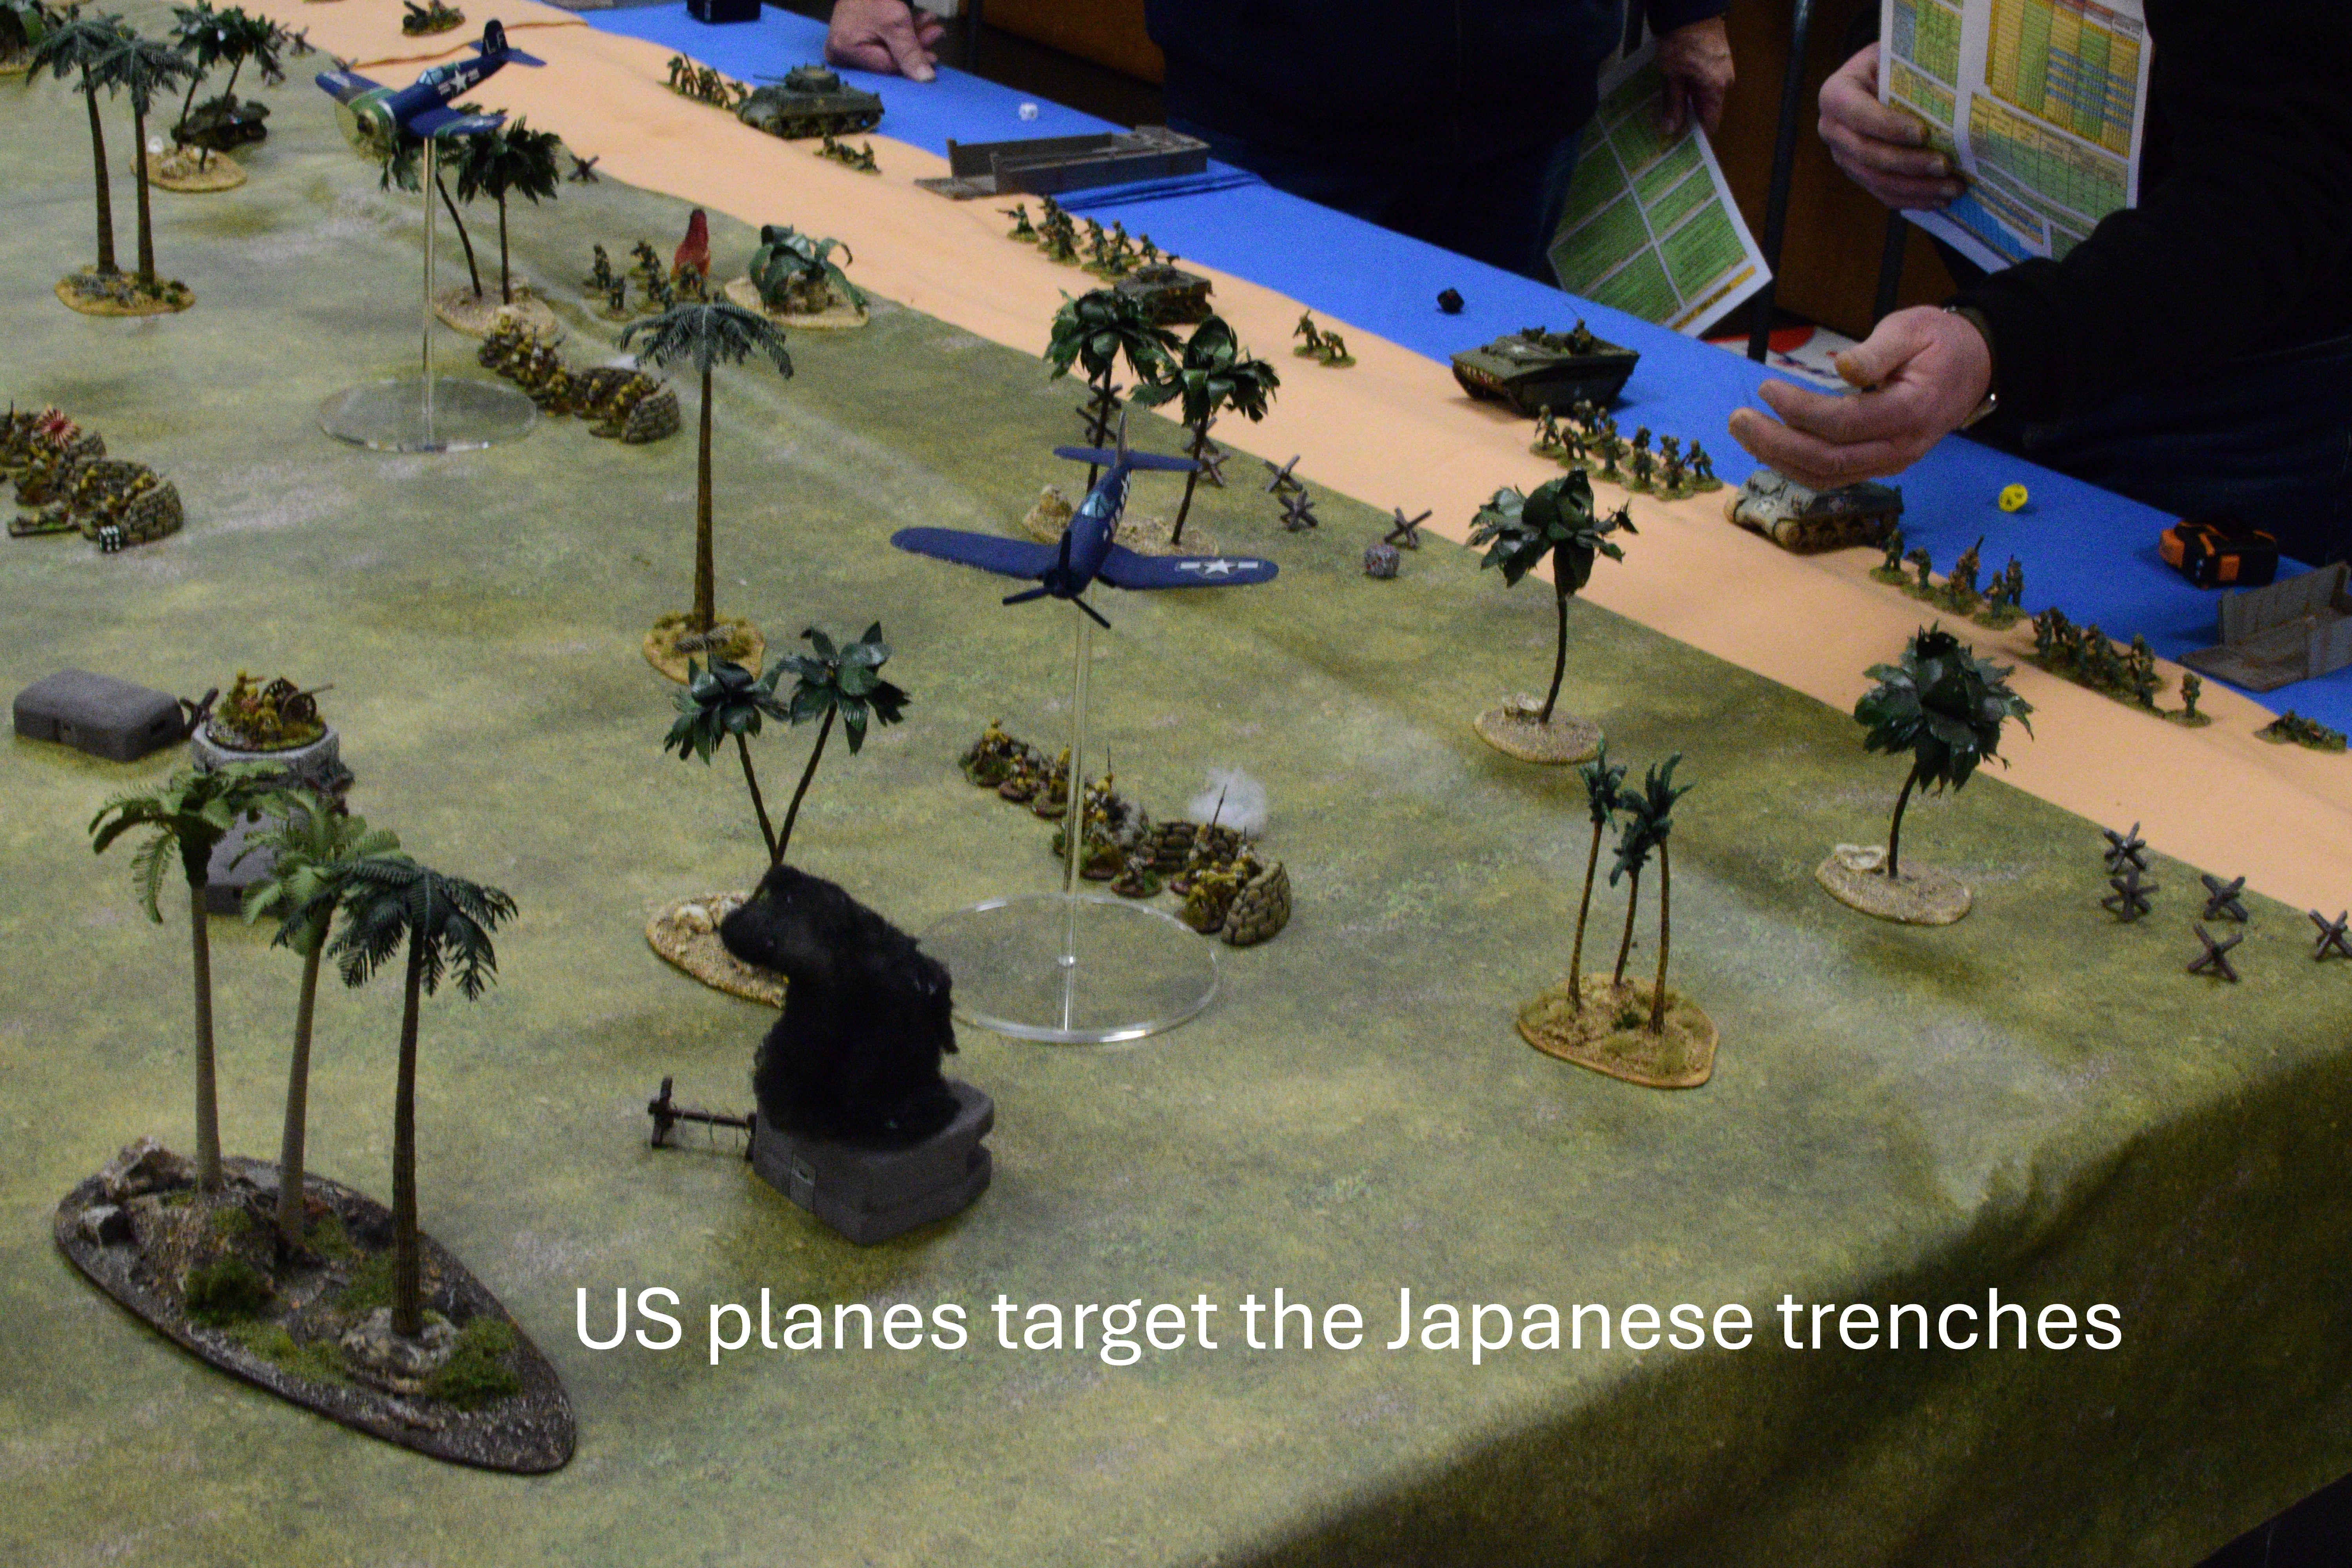
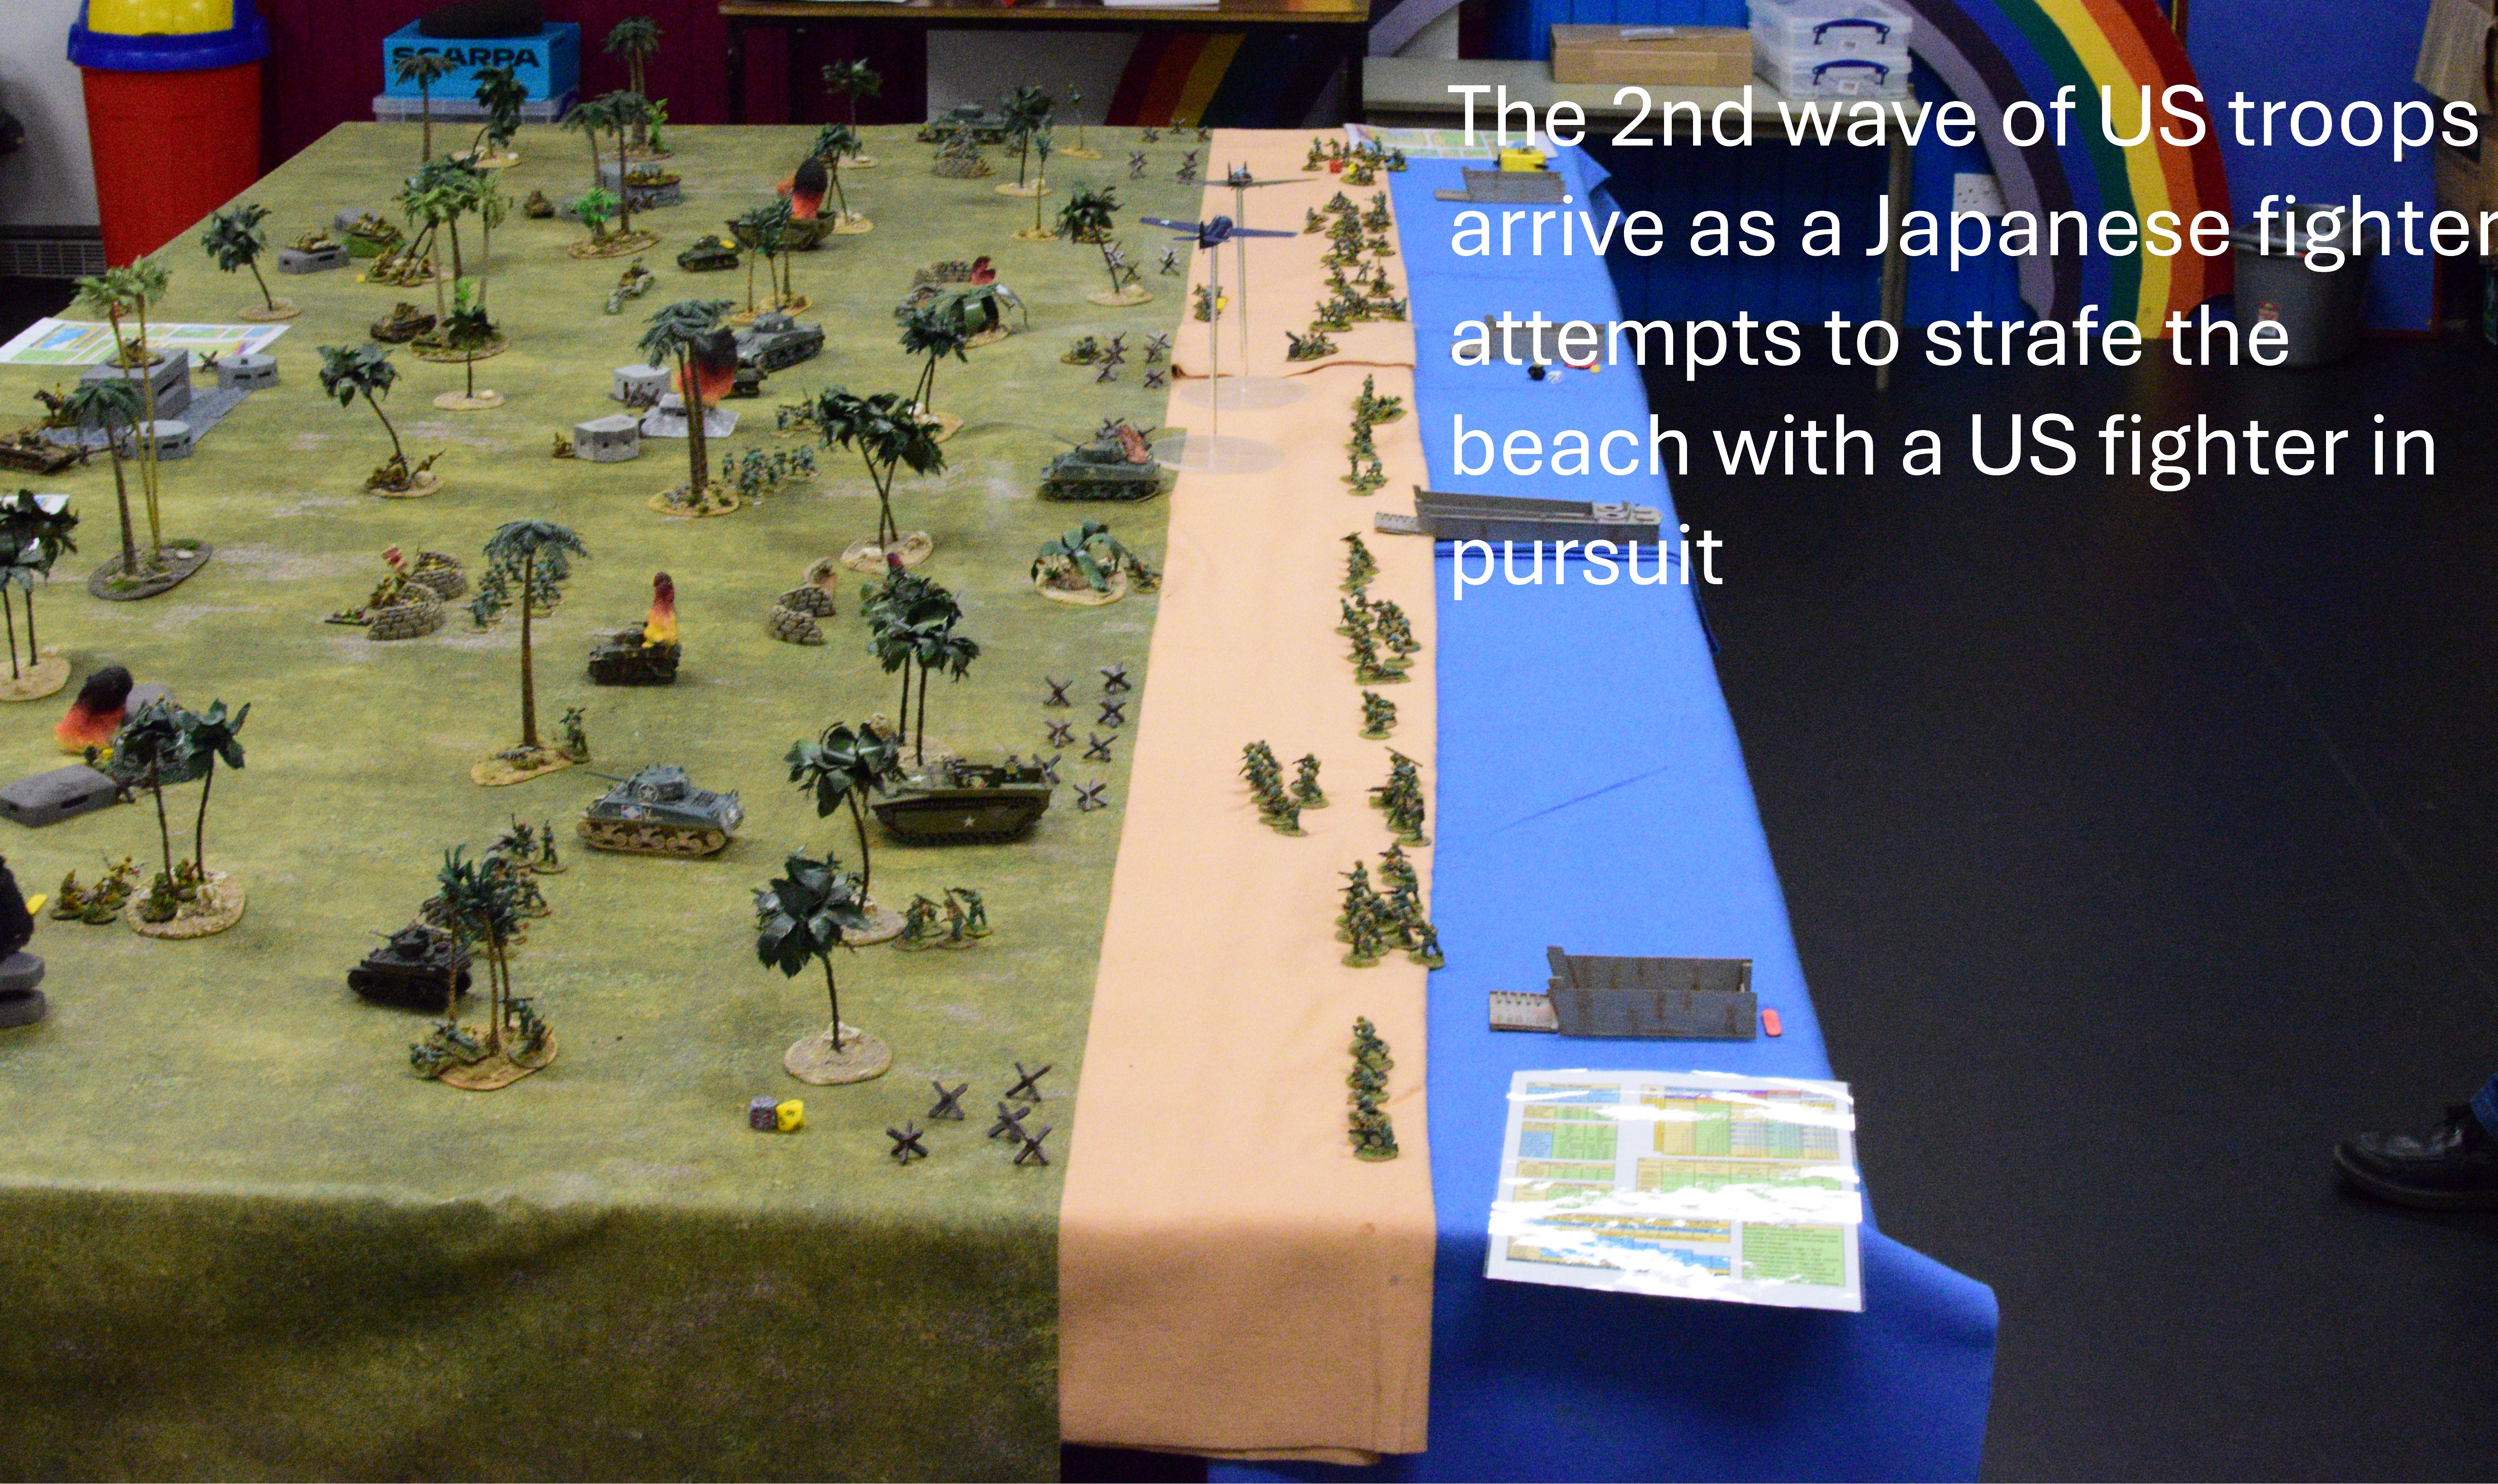
The game was based on part of the US landings on the Island of Betio during the battle of Tarawa 1943 and was run by Jed.
Objectives: US to take the central Japanese command bunker to allow further progression to the off table airfield. Japanese are to repel US forces.
Ruleset: Rapid Fire with modifications by Jed.
Figures and scenery from the collections of Mark, Jed and Dale. Mats from the club collection. 28mm on a 12′ by 6′ table.
Players – US: Dale, Jed and Steve; Japanese: Mark and Dave.
Setup: Concrete bunkers represent wooden, metal and coral concrete bunkers; Sand bag areas represent trenches that are dug in below the surface of the table; Weapons on top of bunkers represent special weapon teams in the bunkers rather than regular infantry.
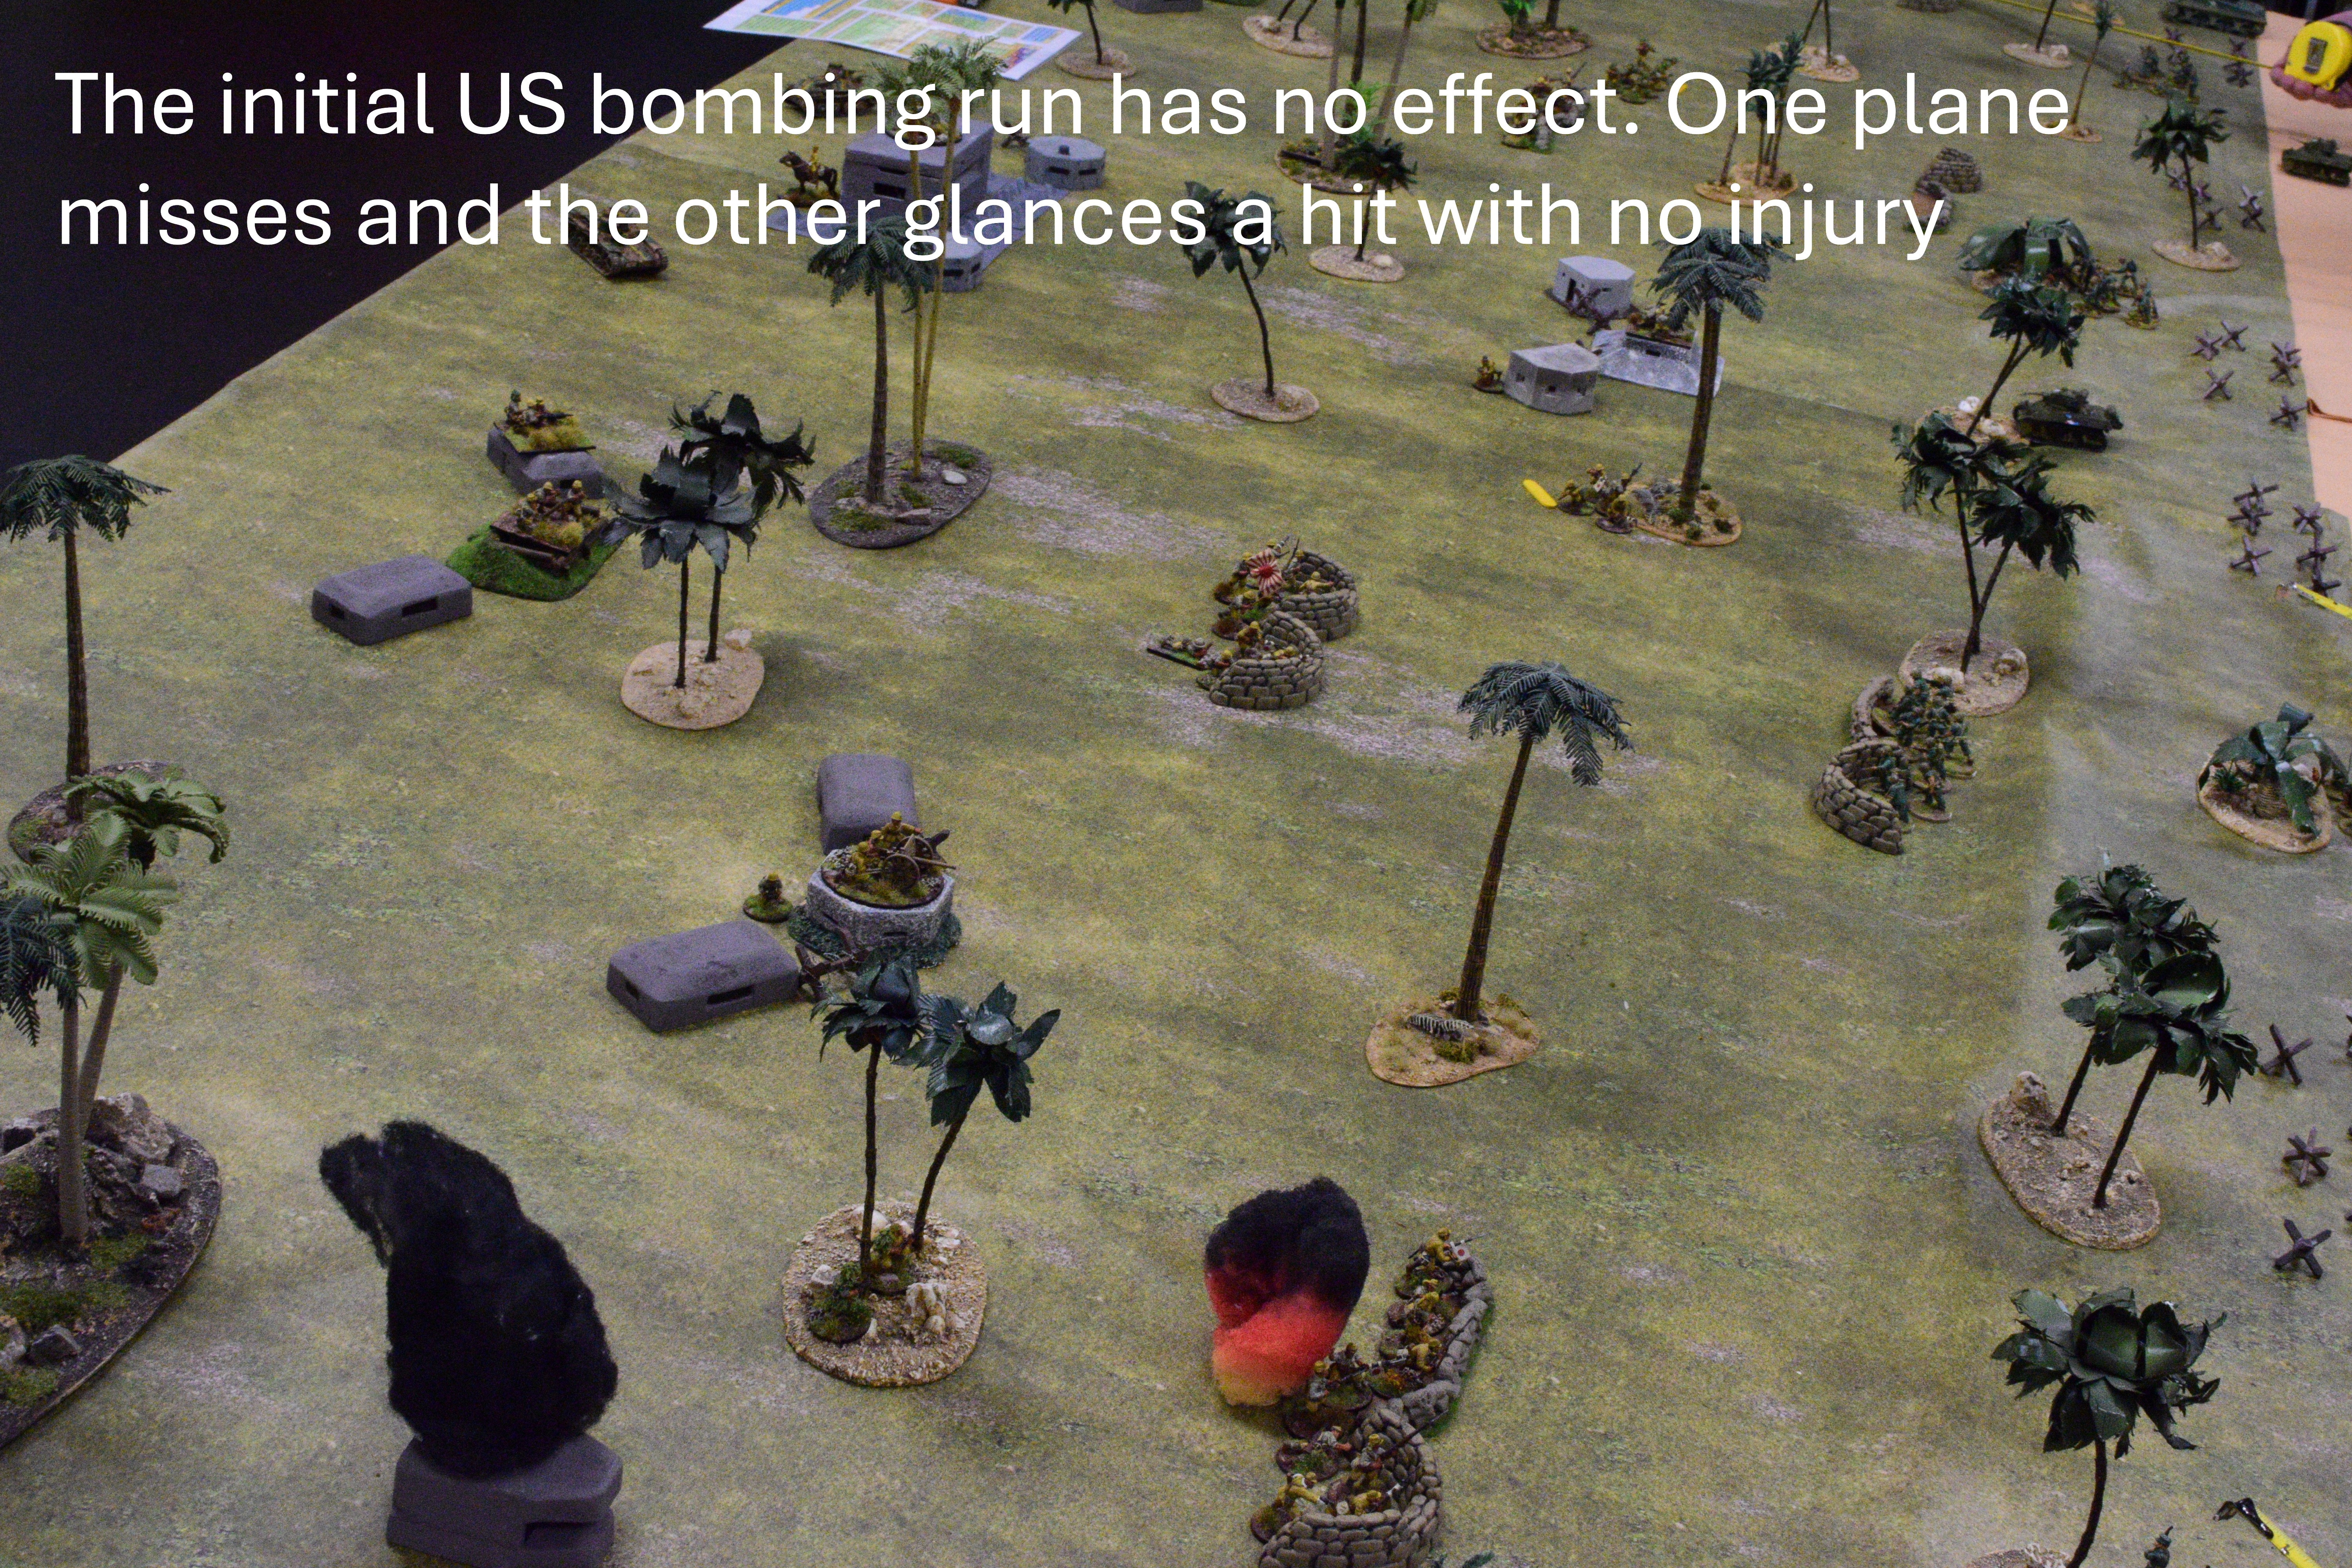
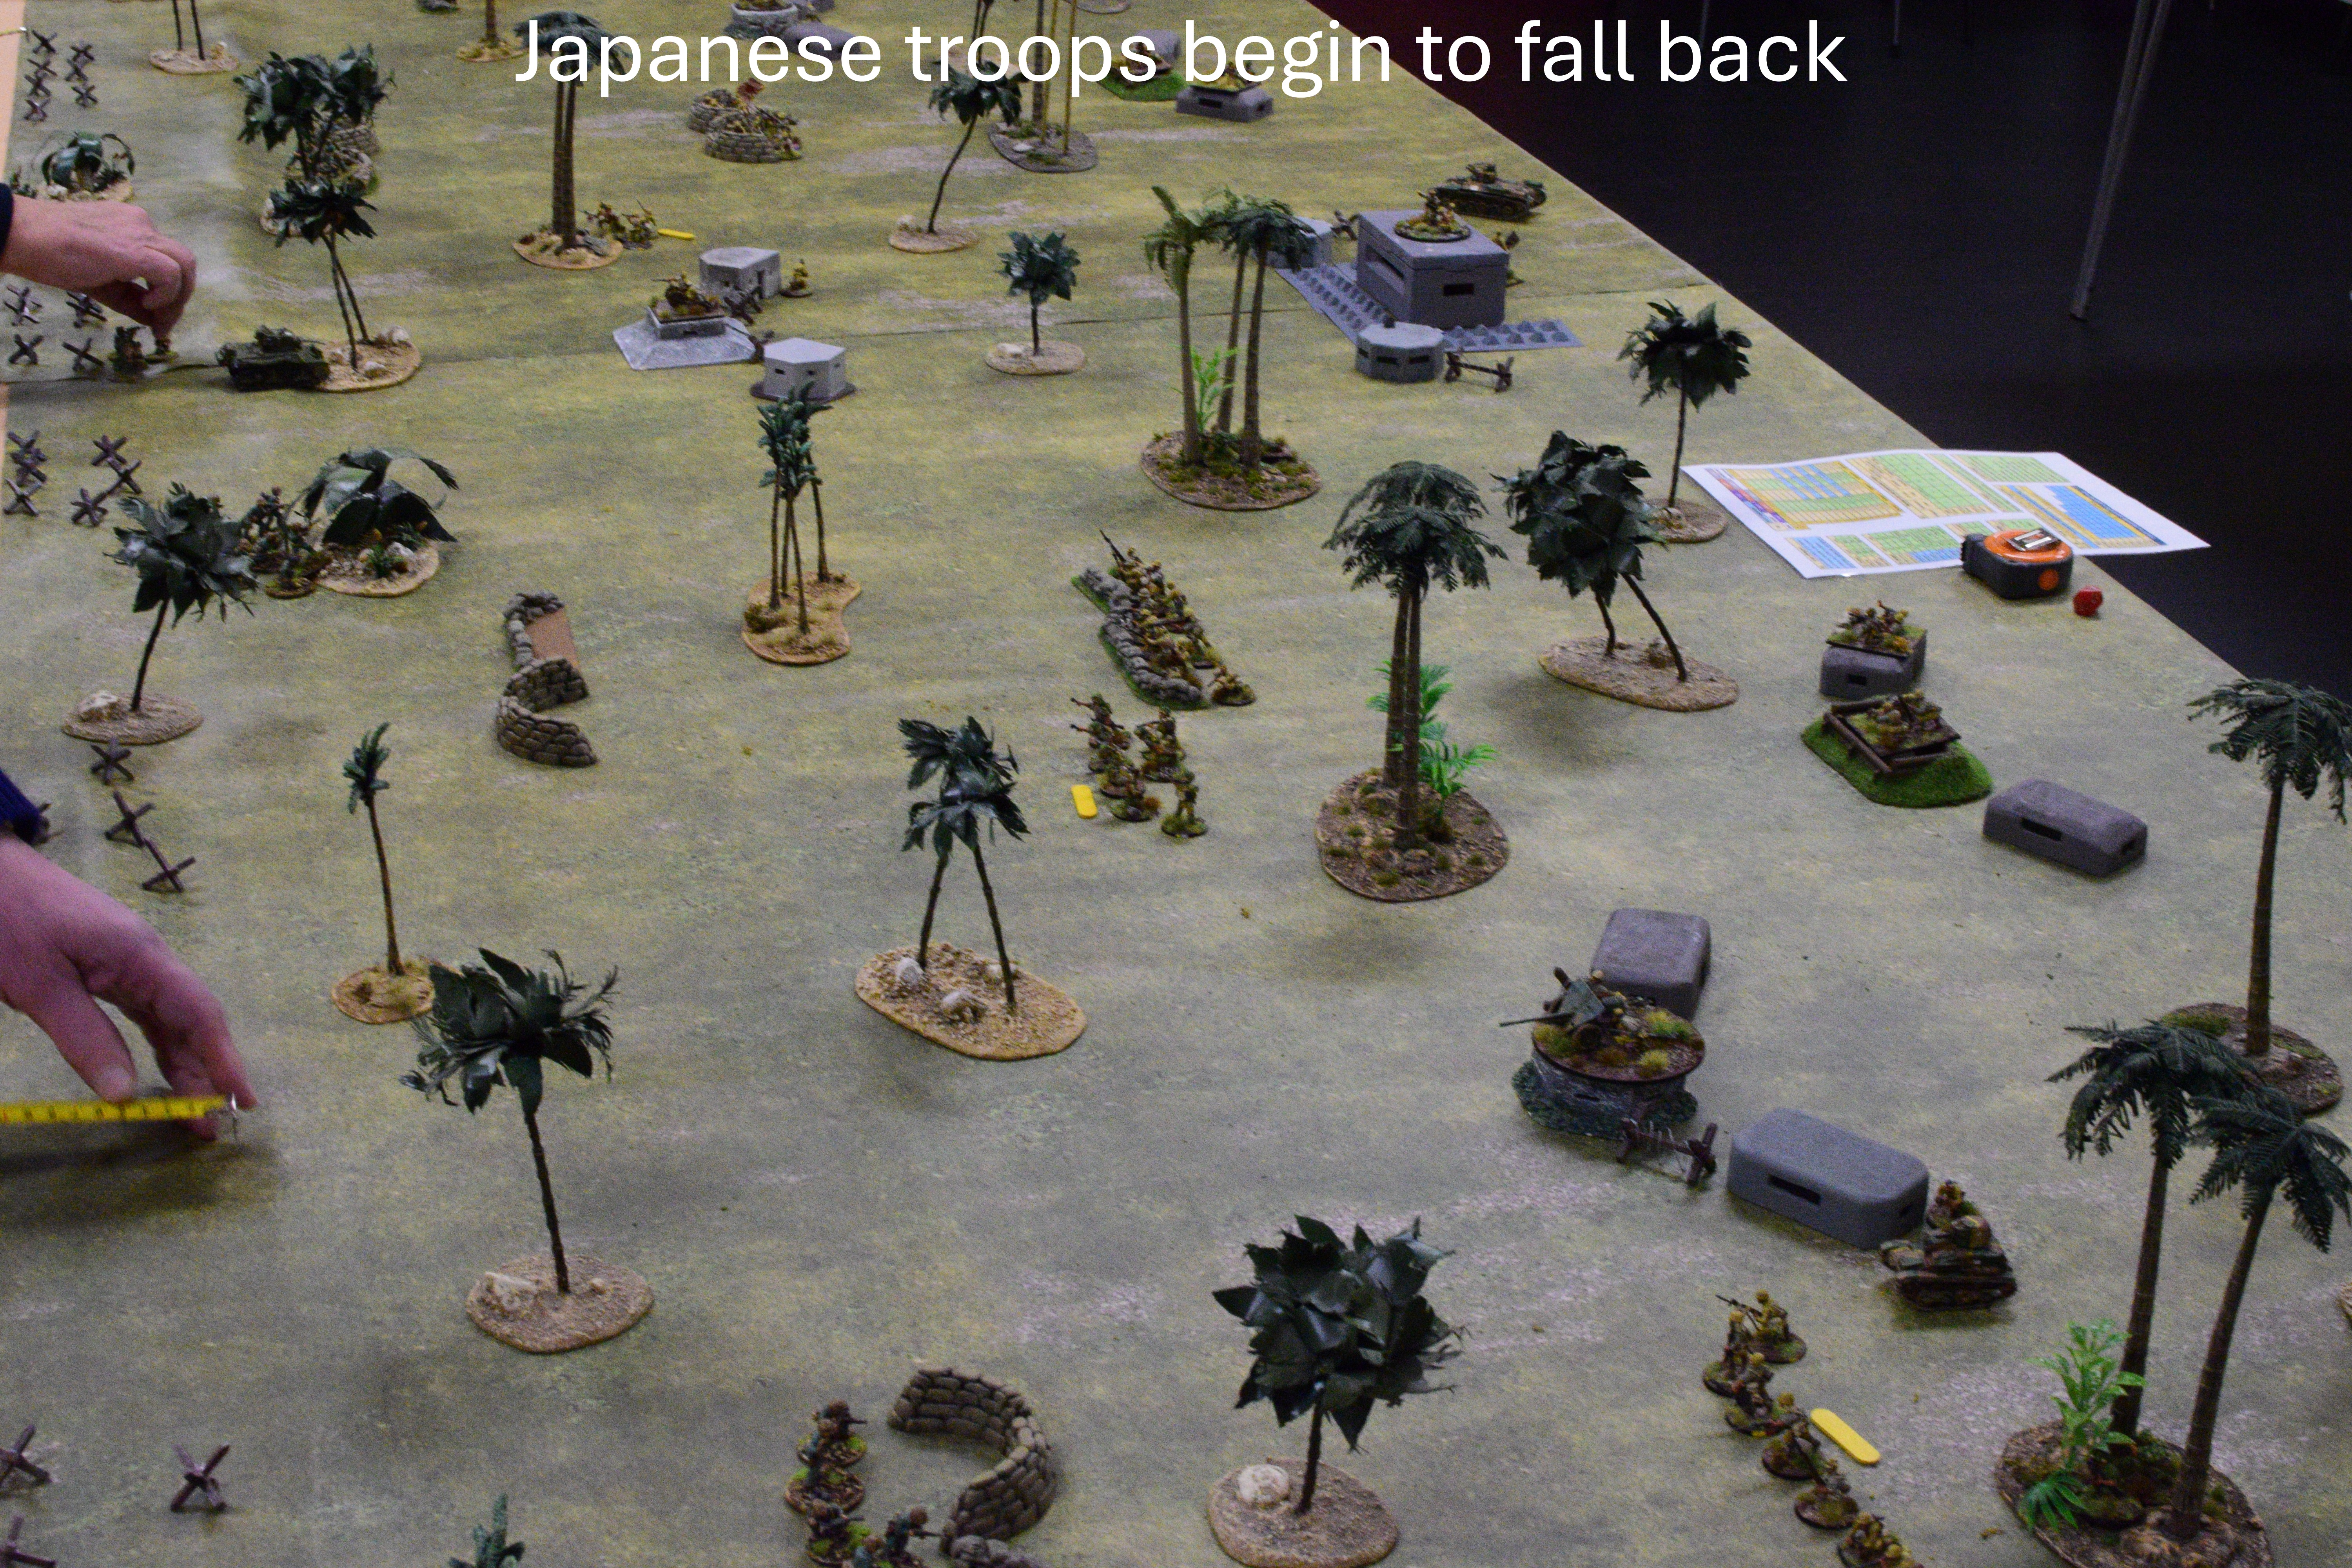
Clicking on the pictures below (or opening them in new tabs) shows the progress of our game.


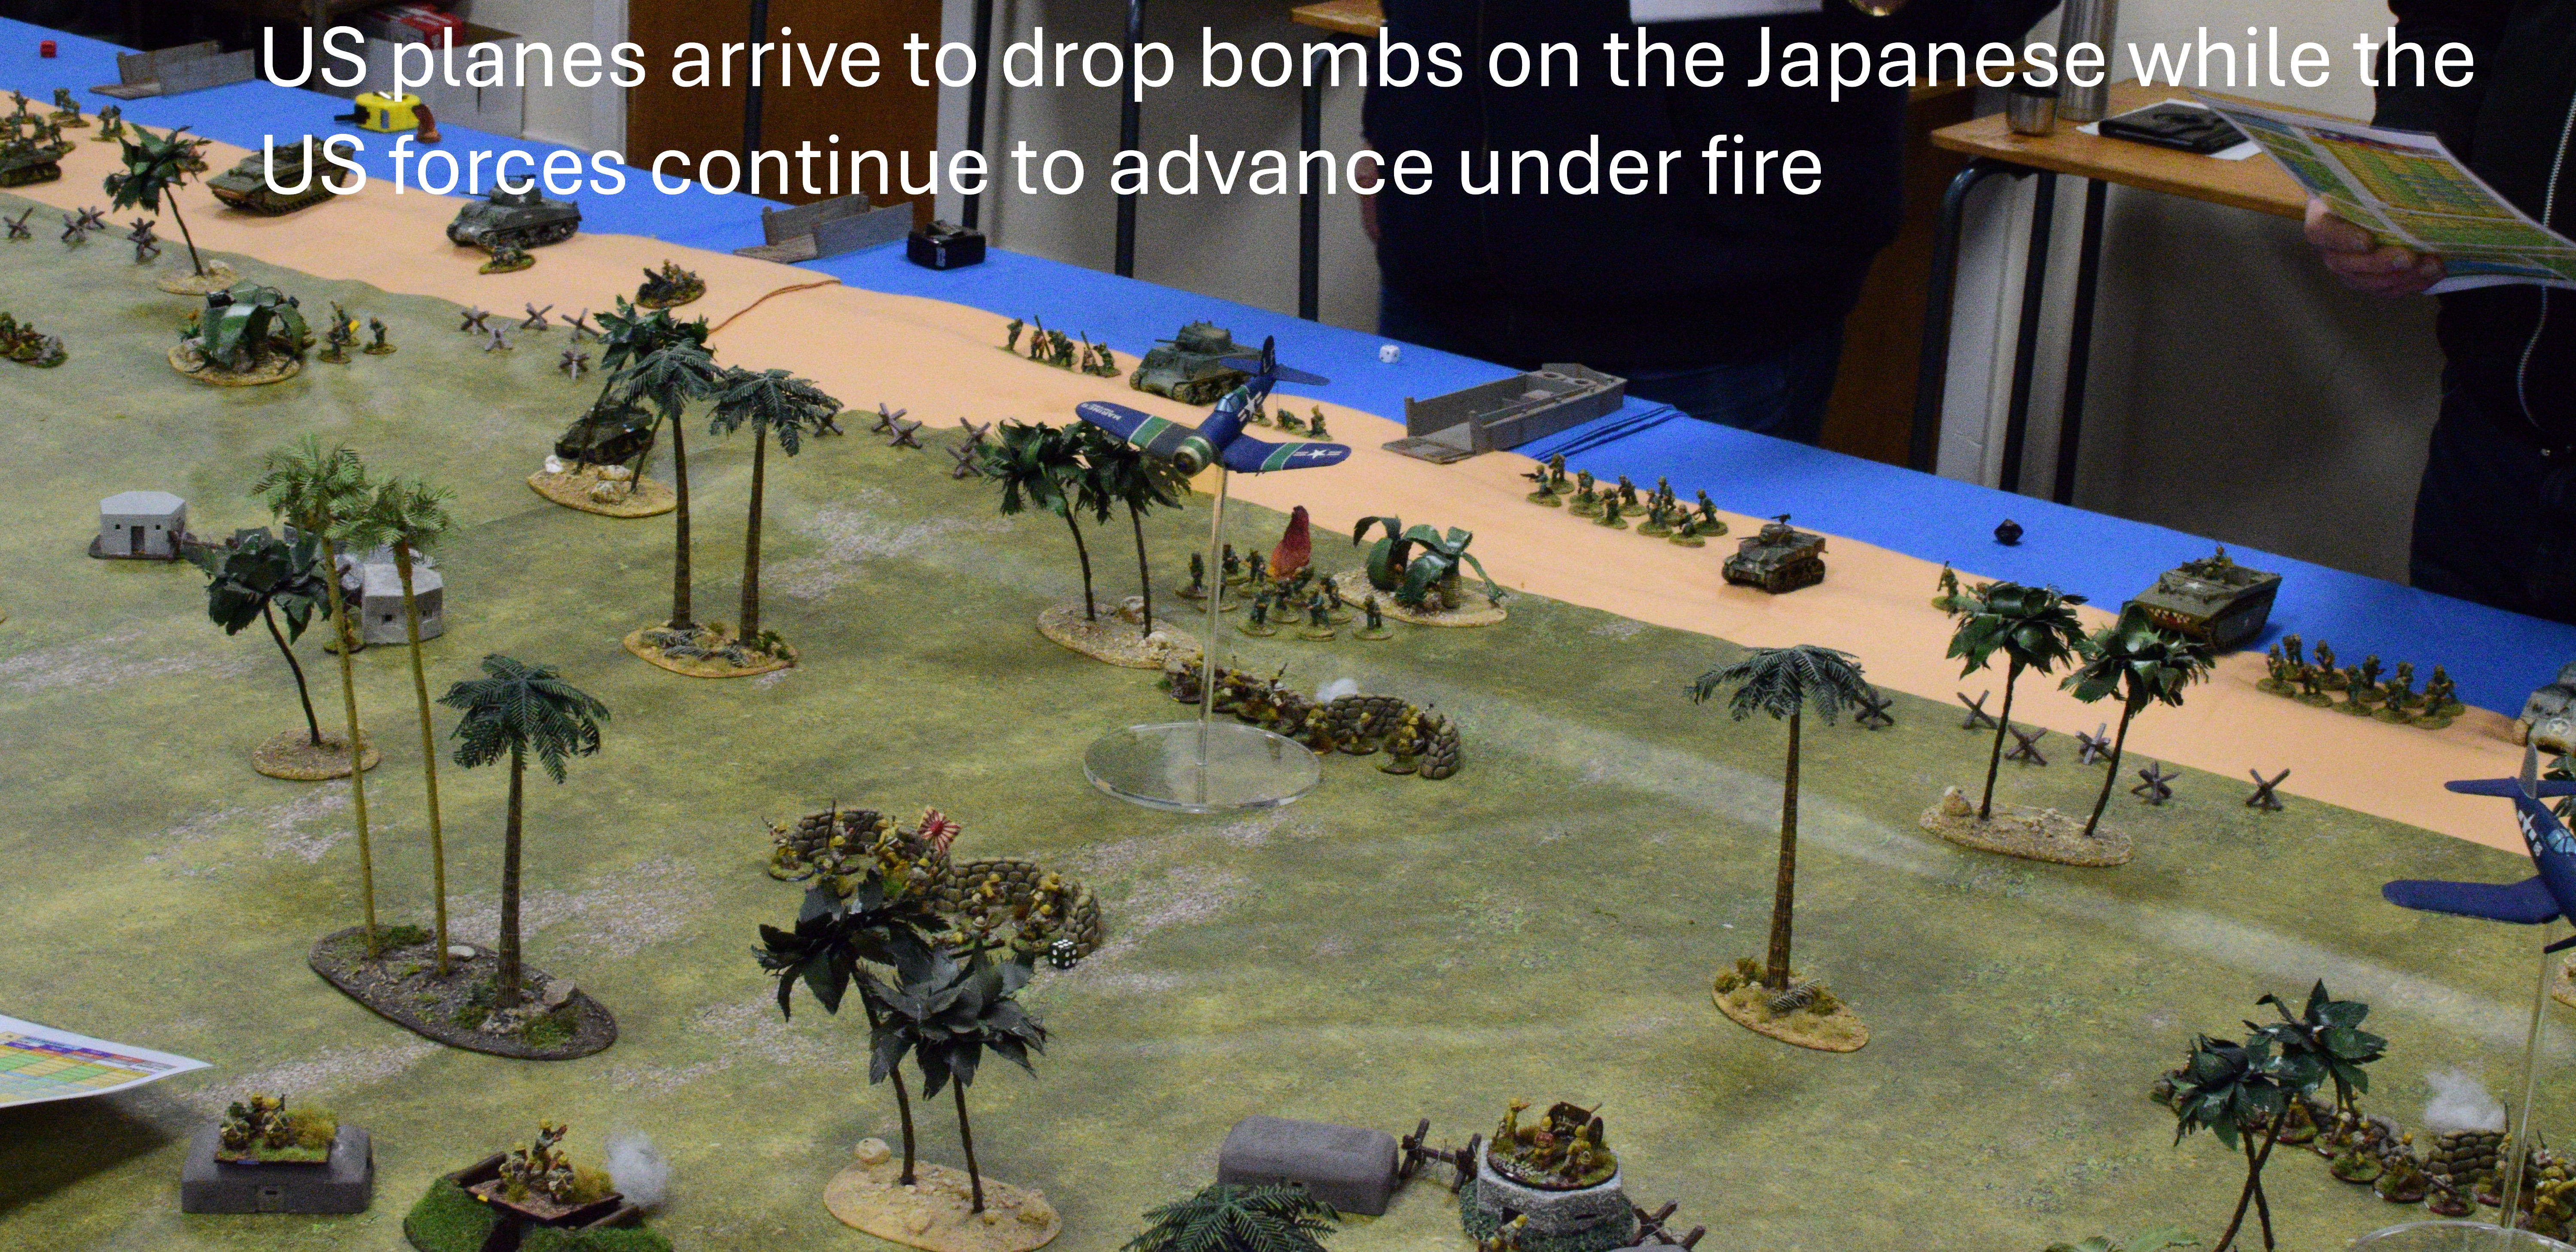
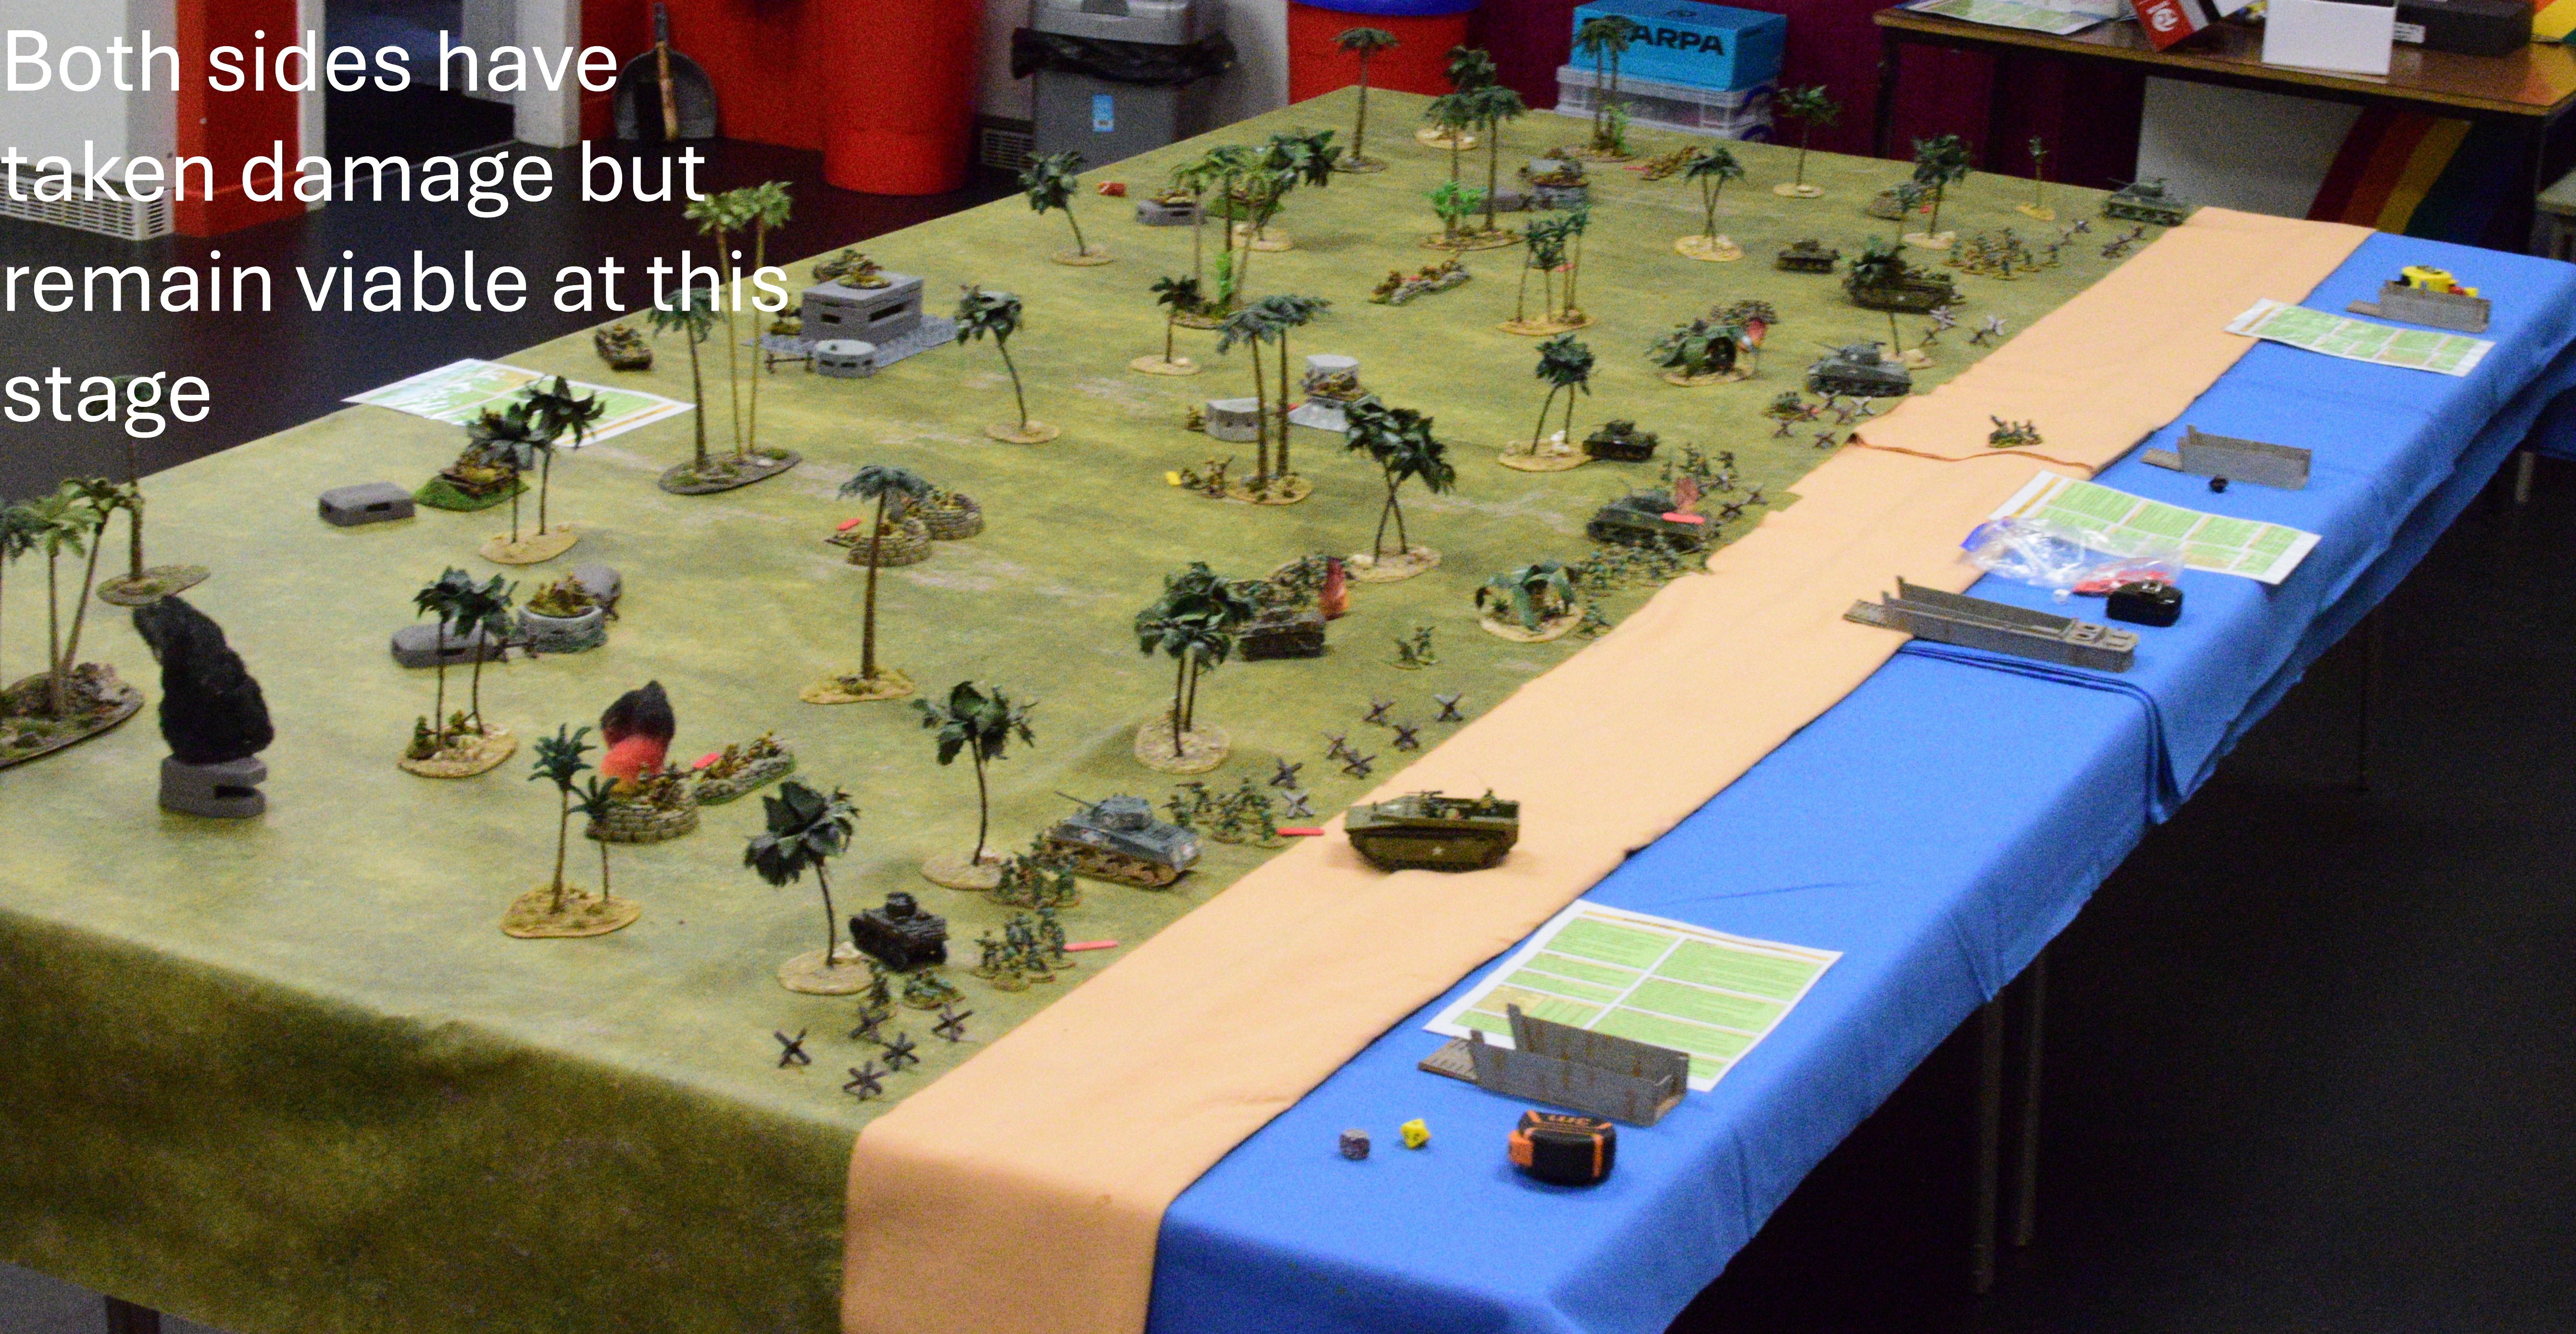
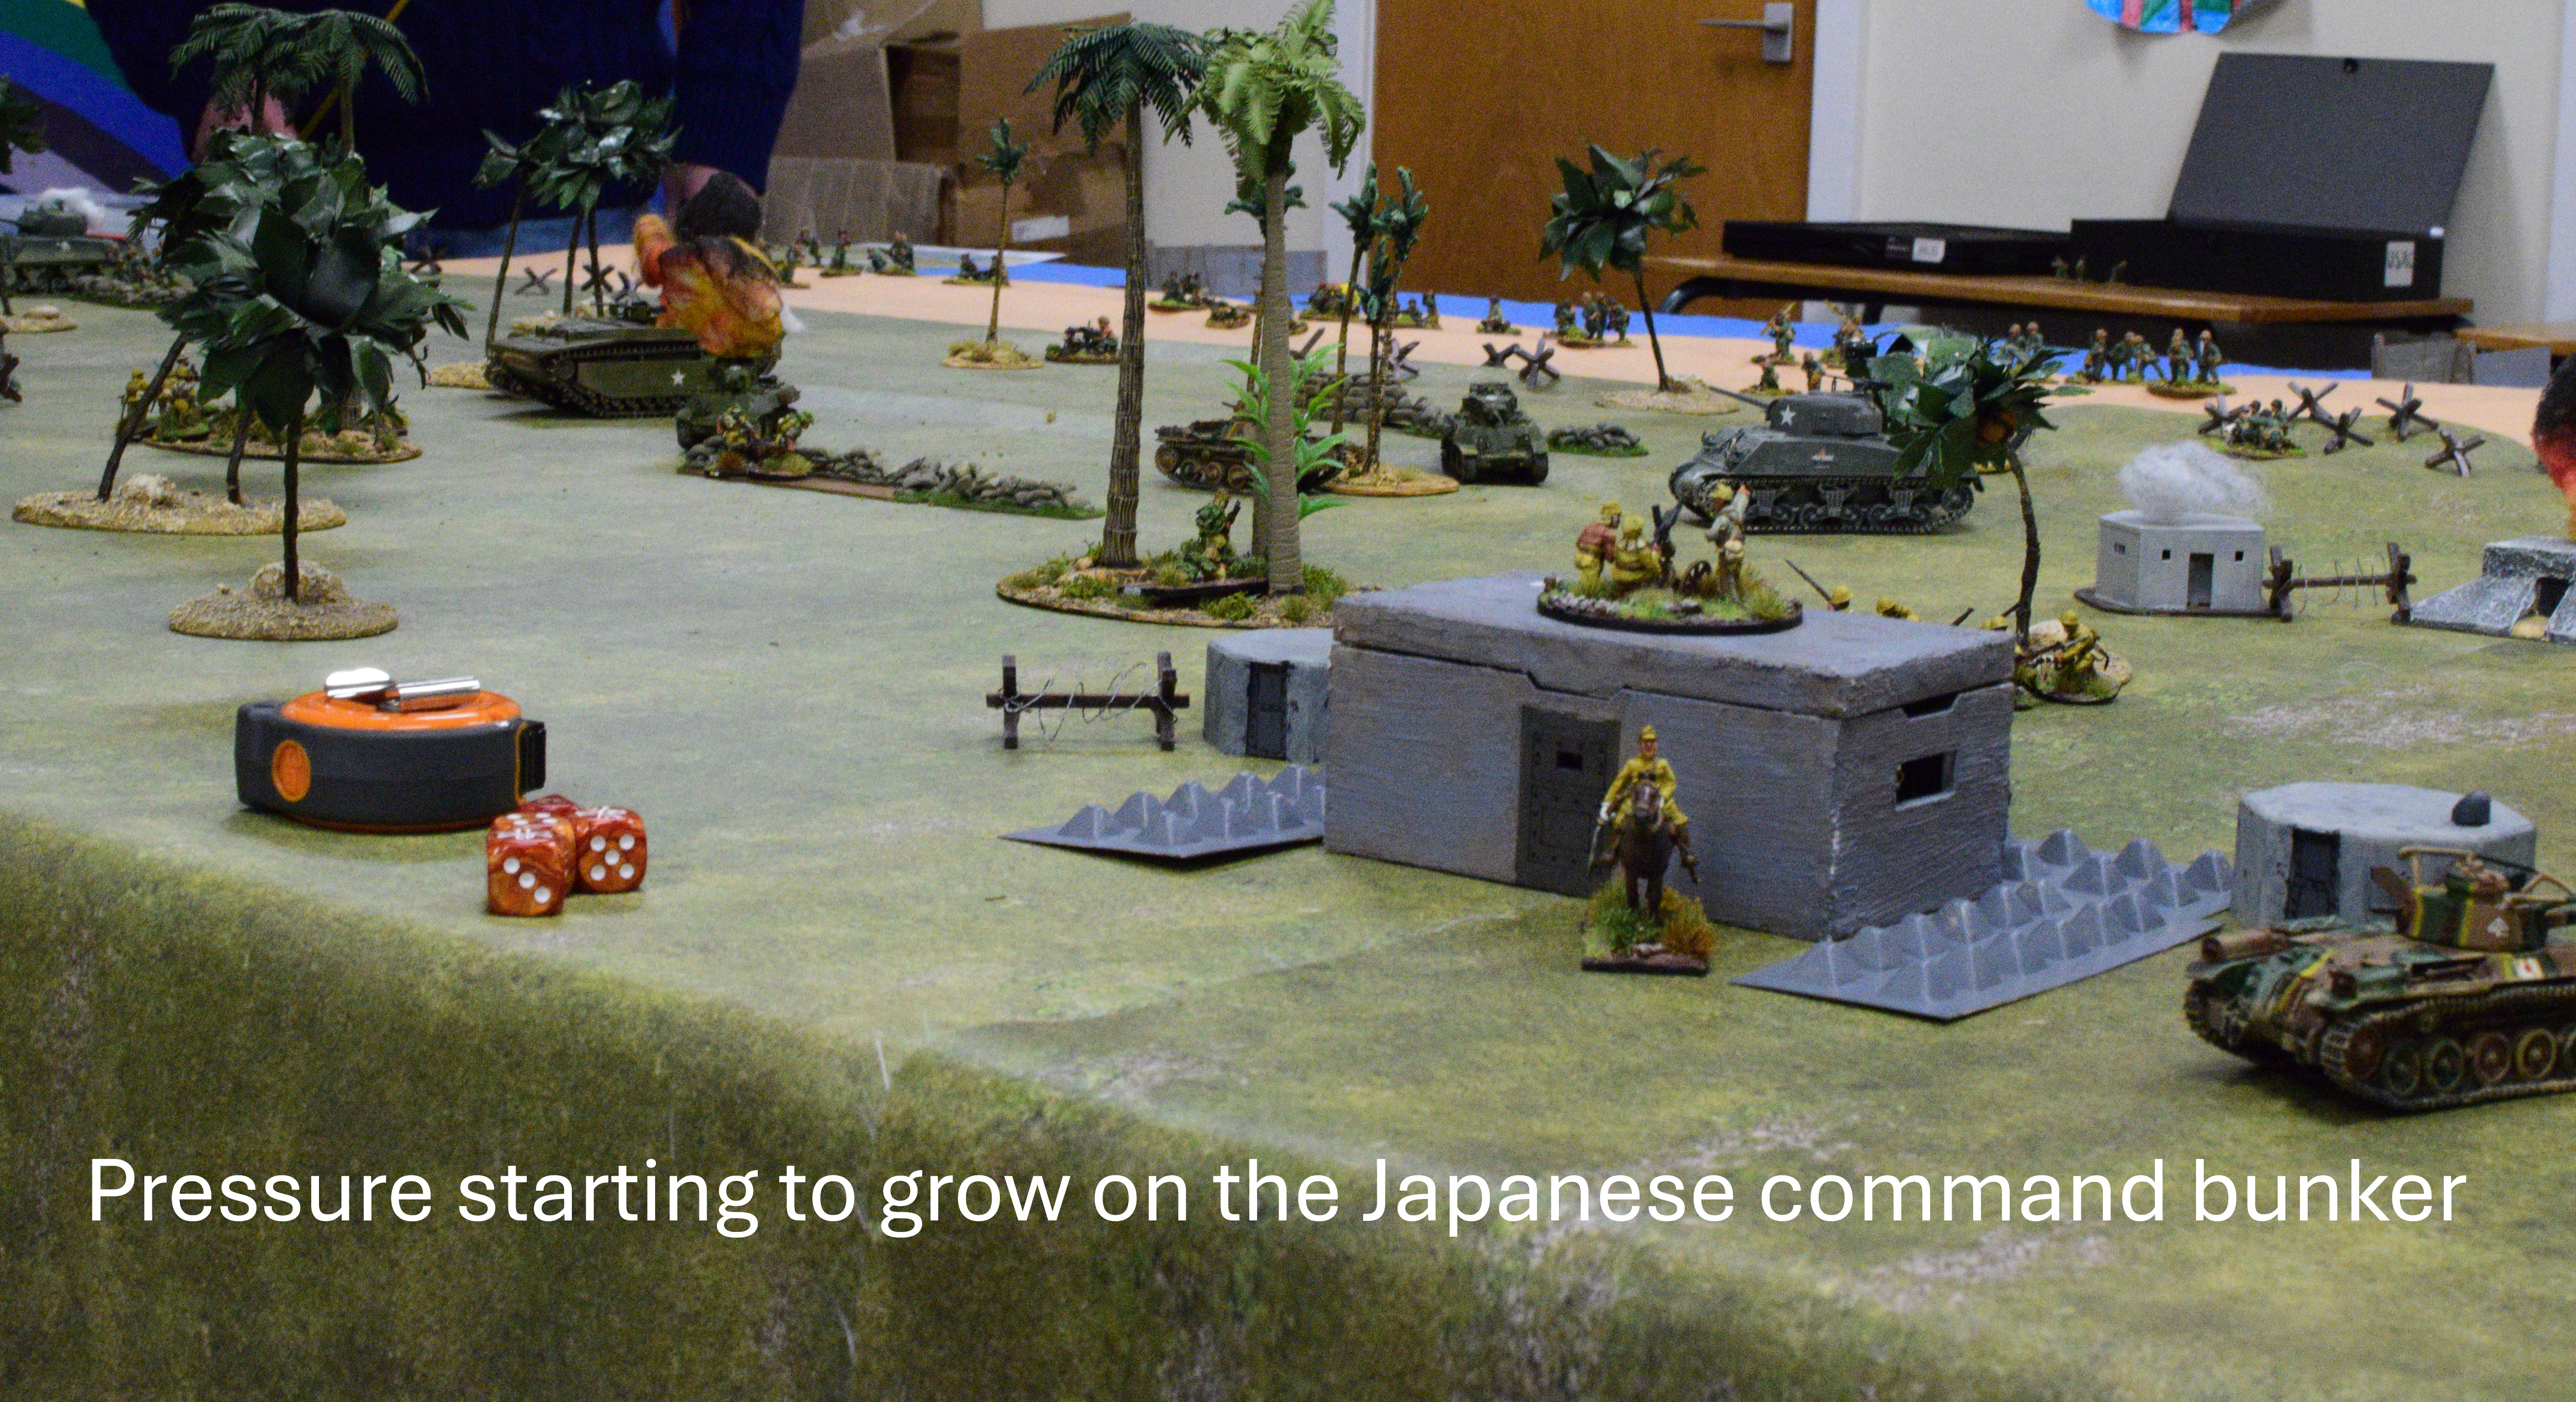
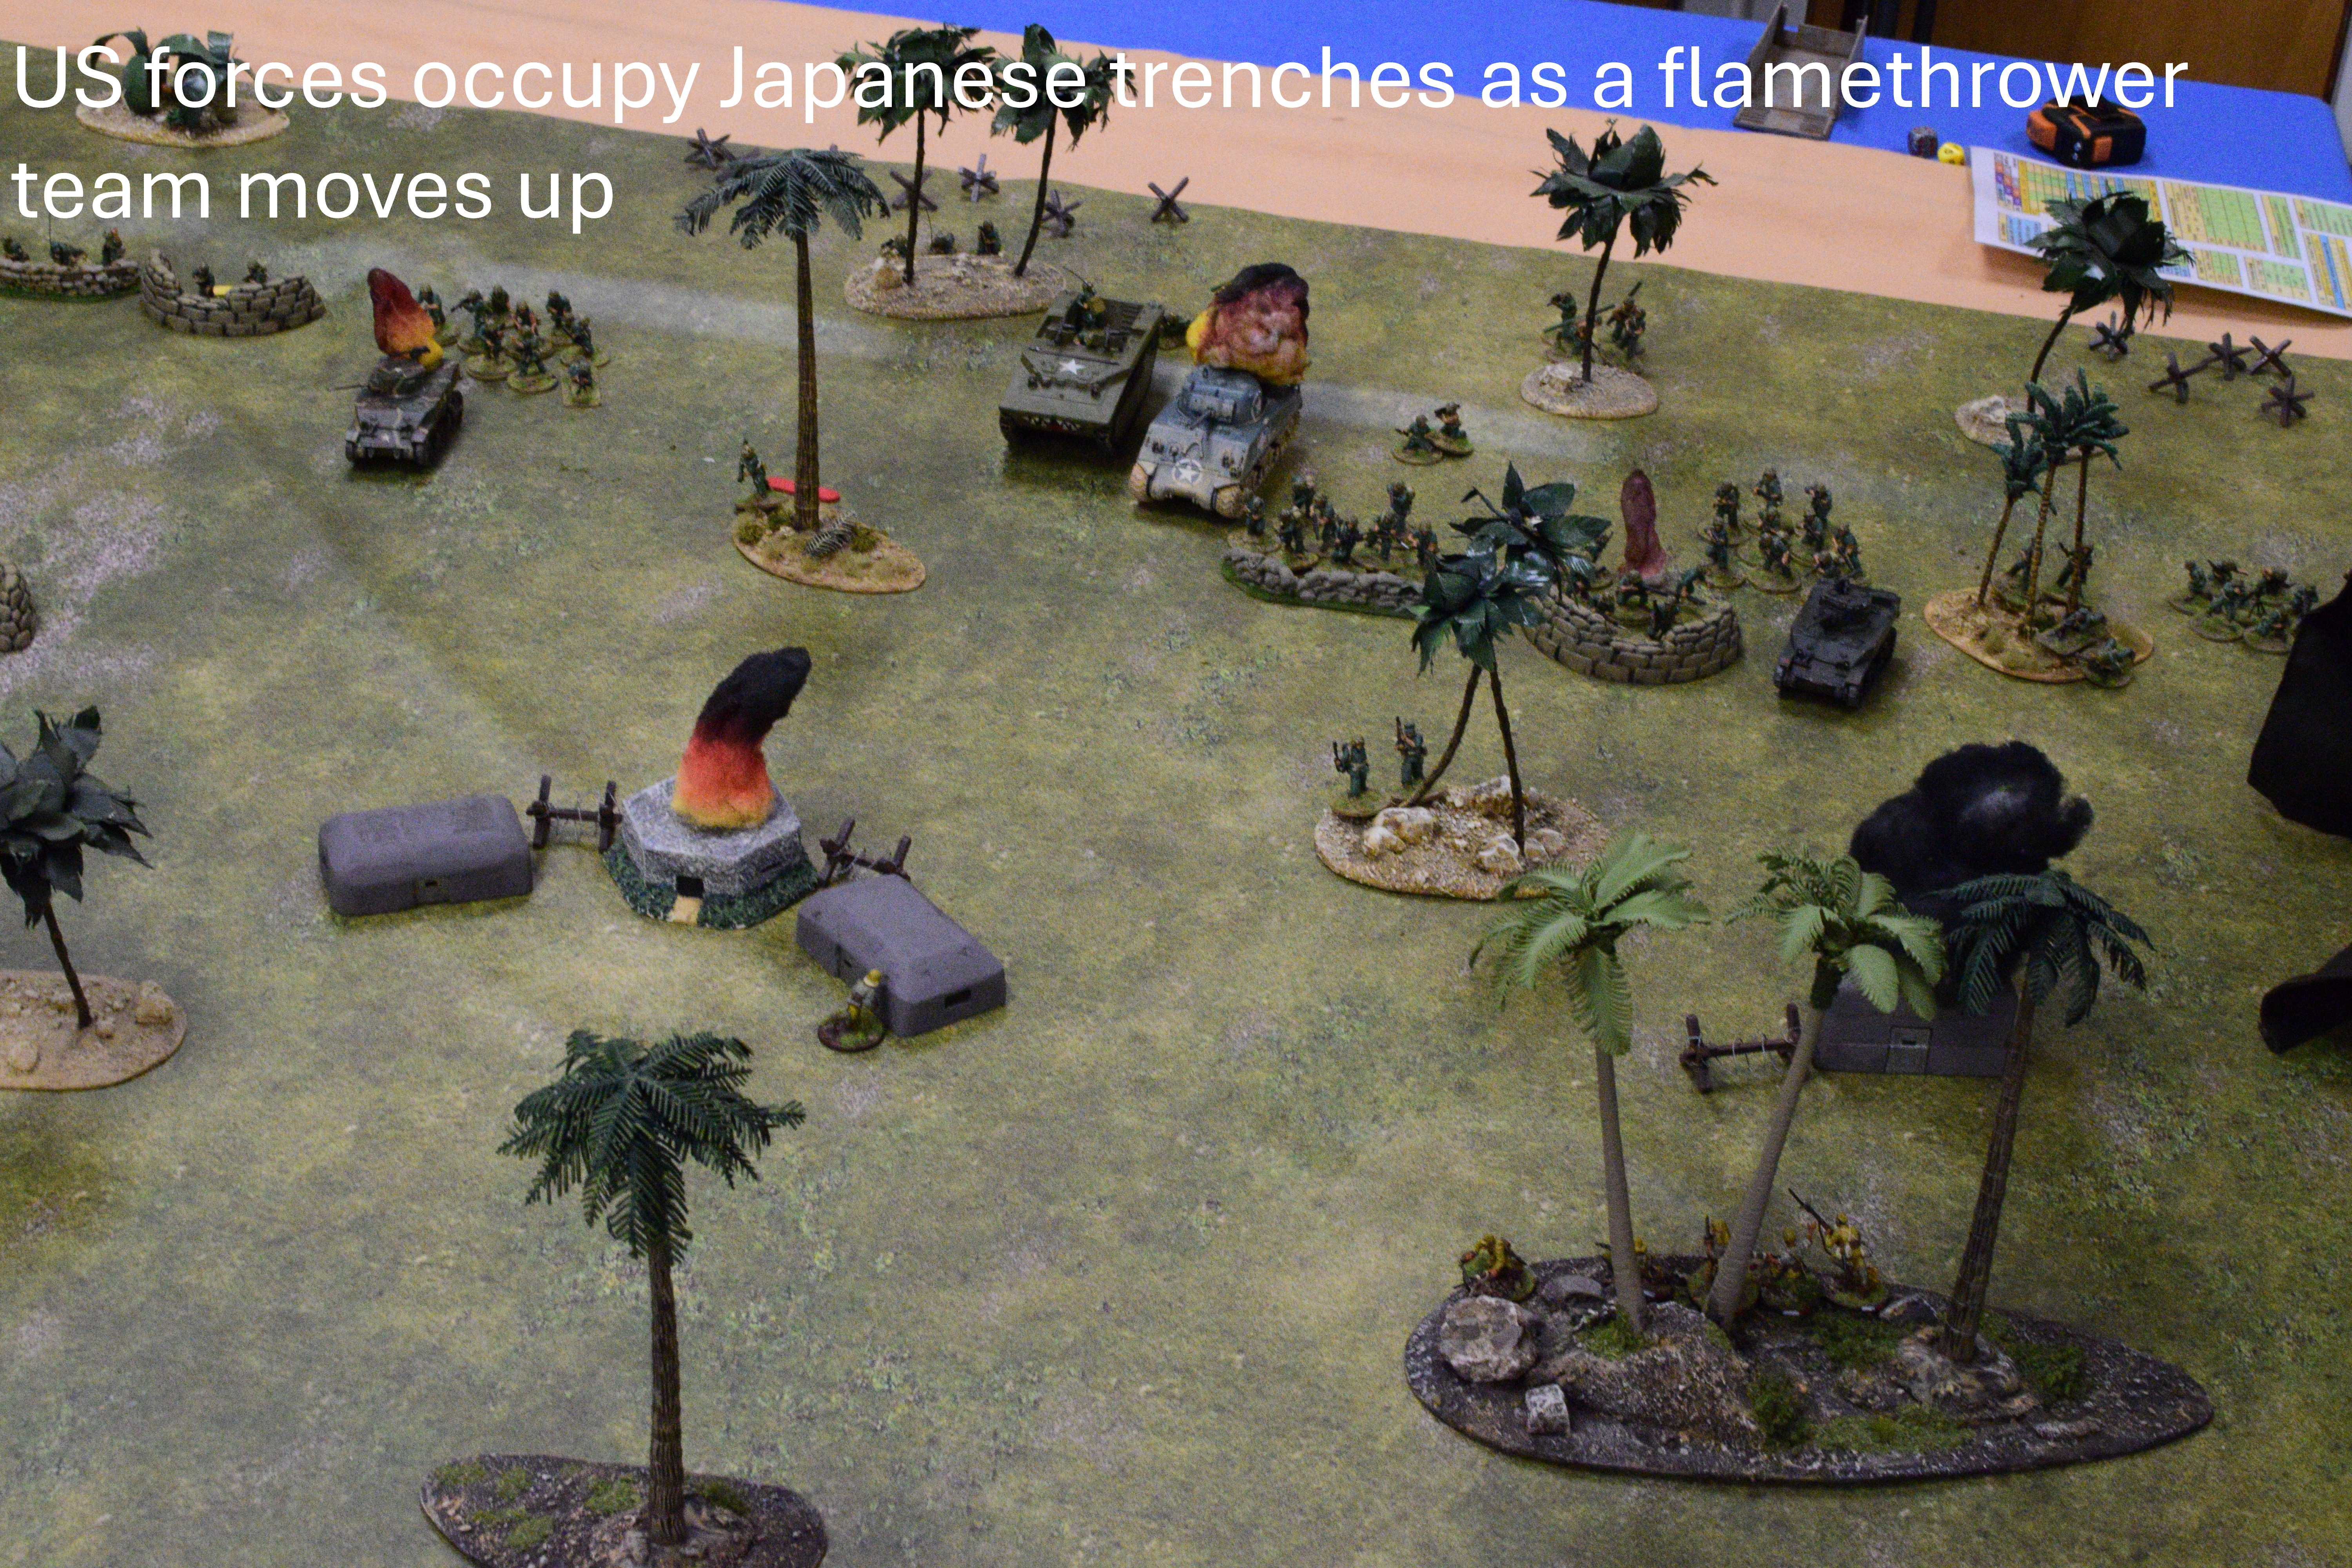
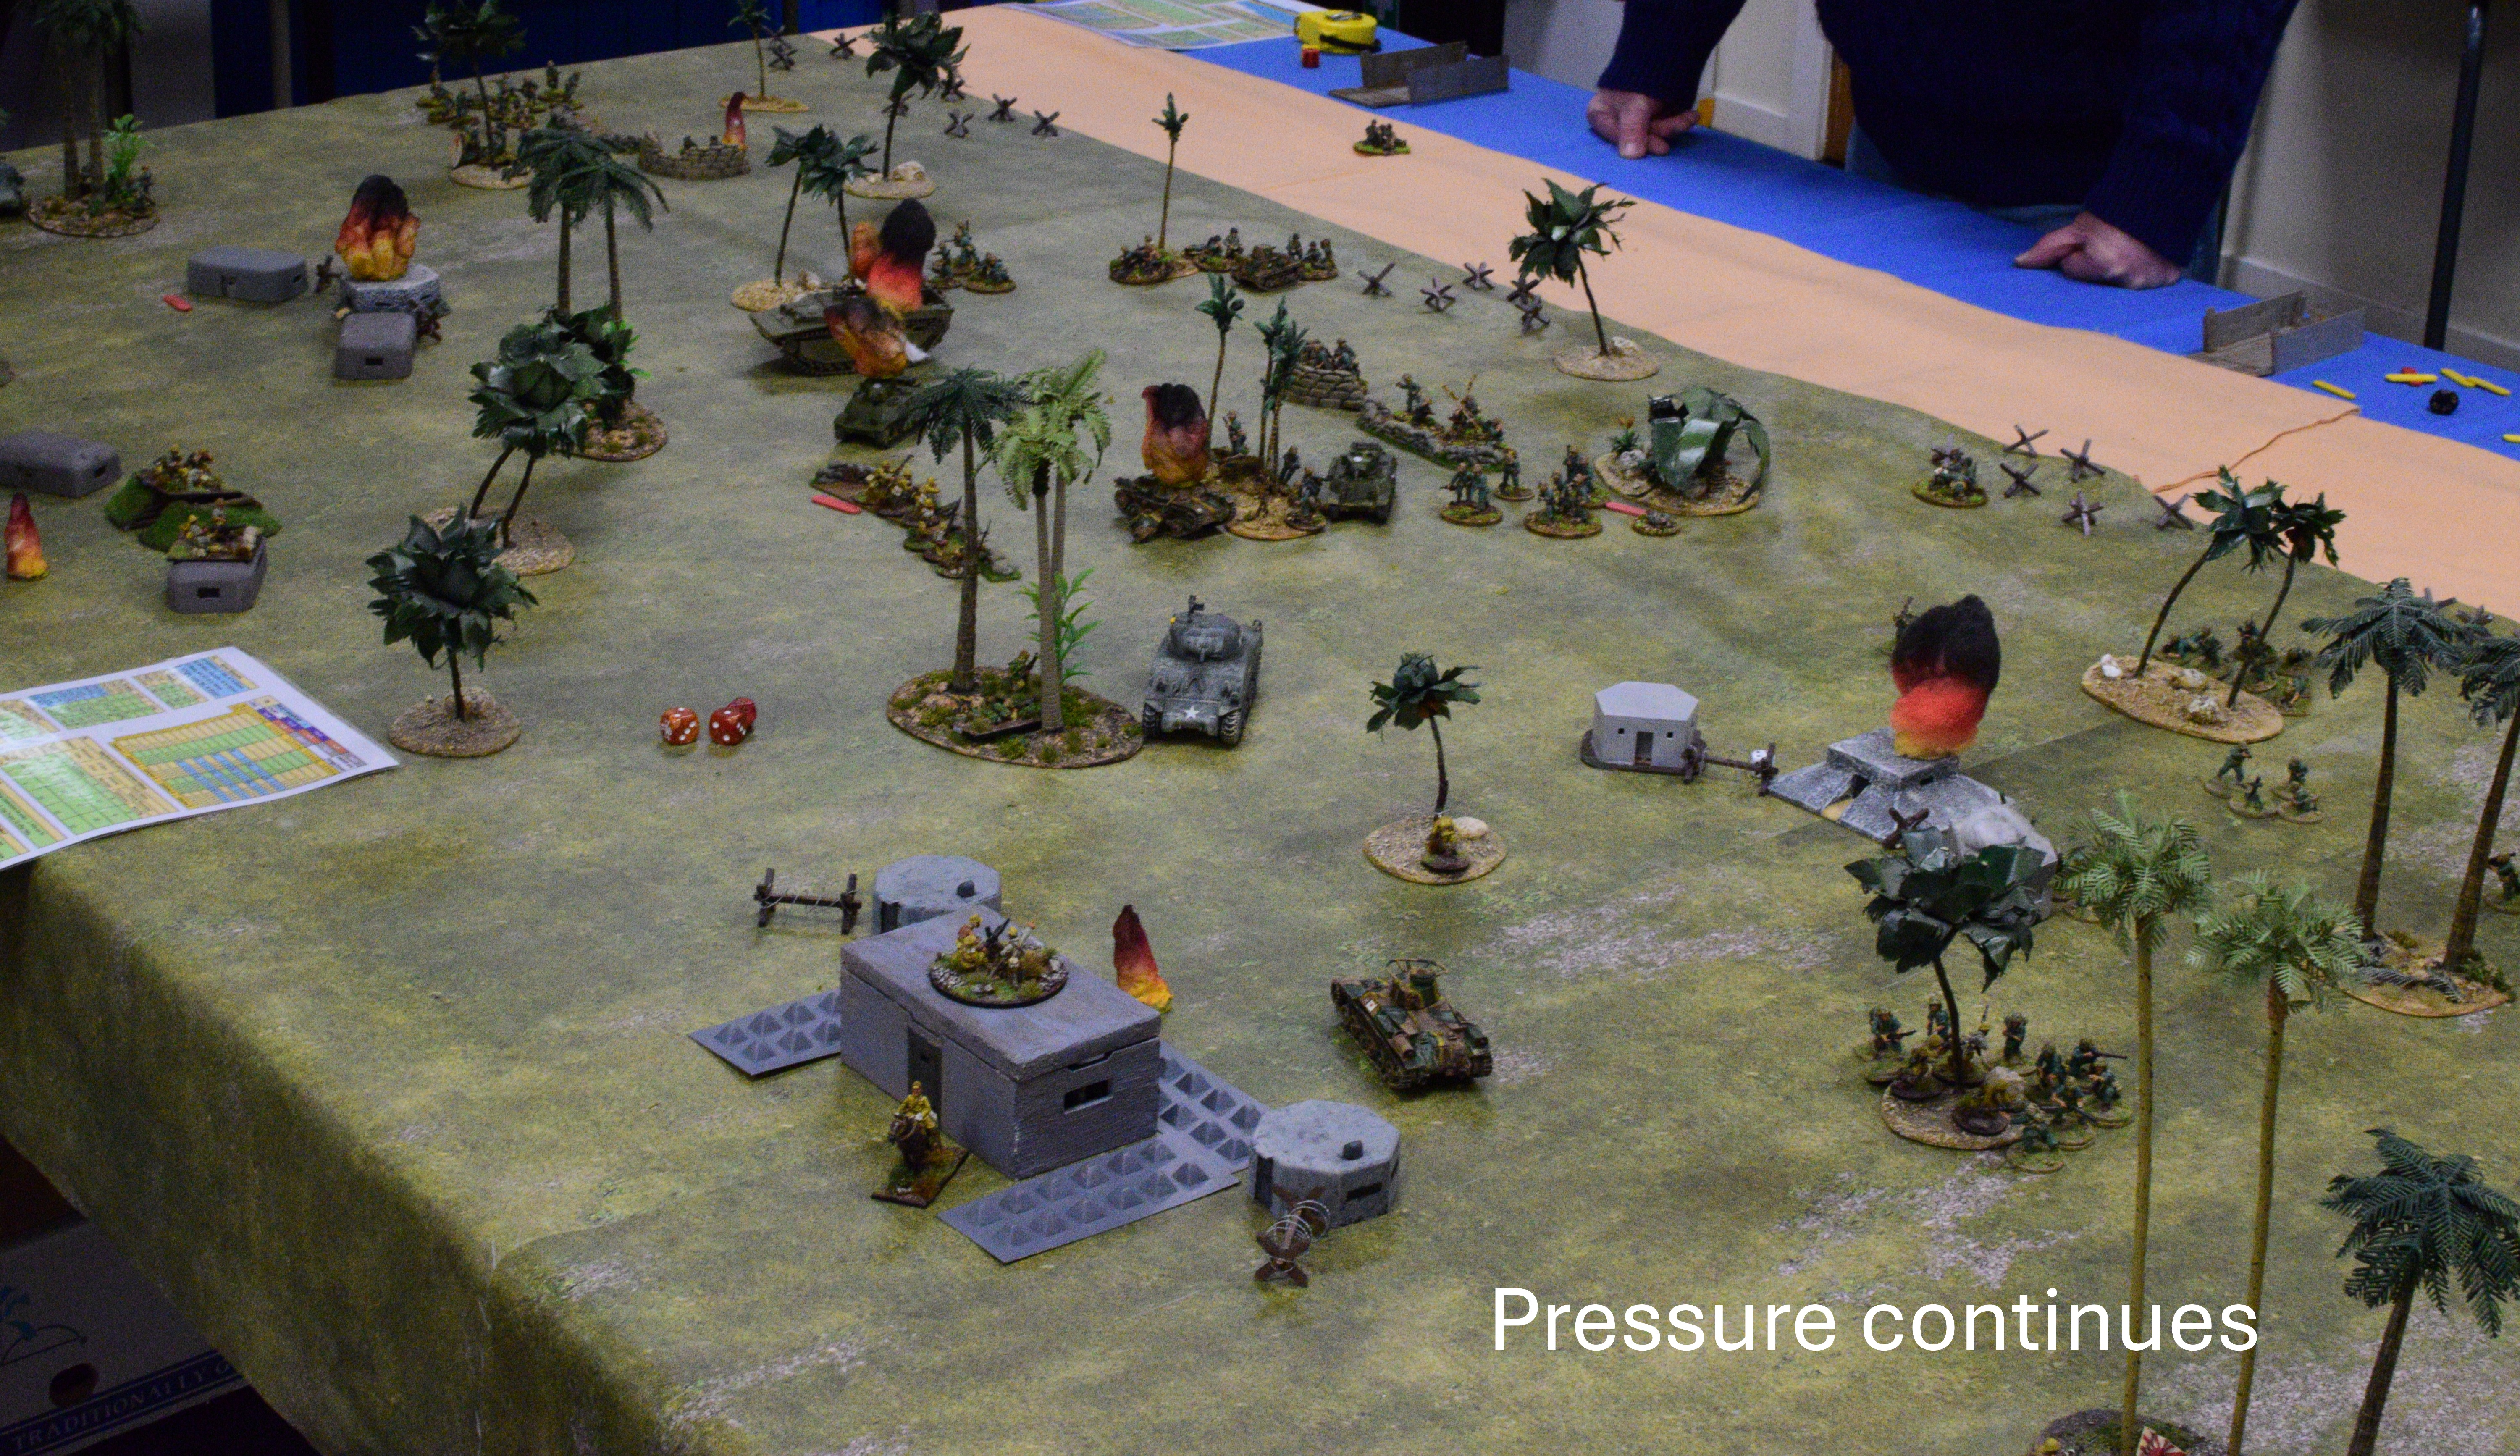
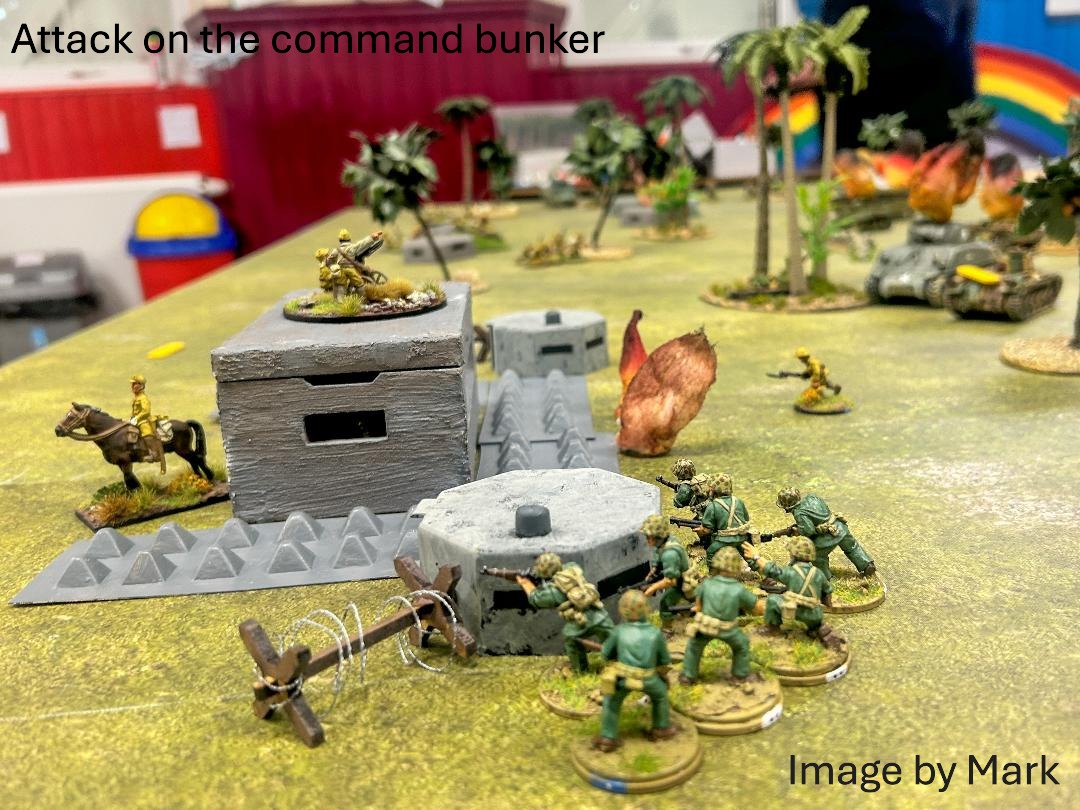
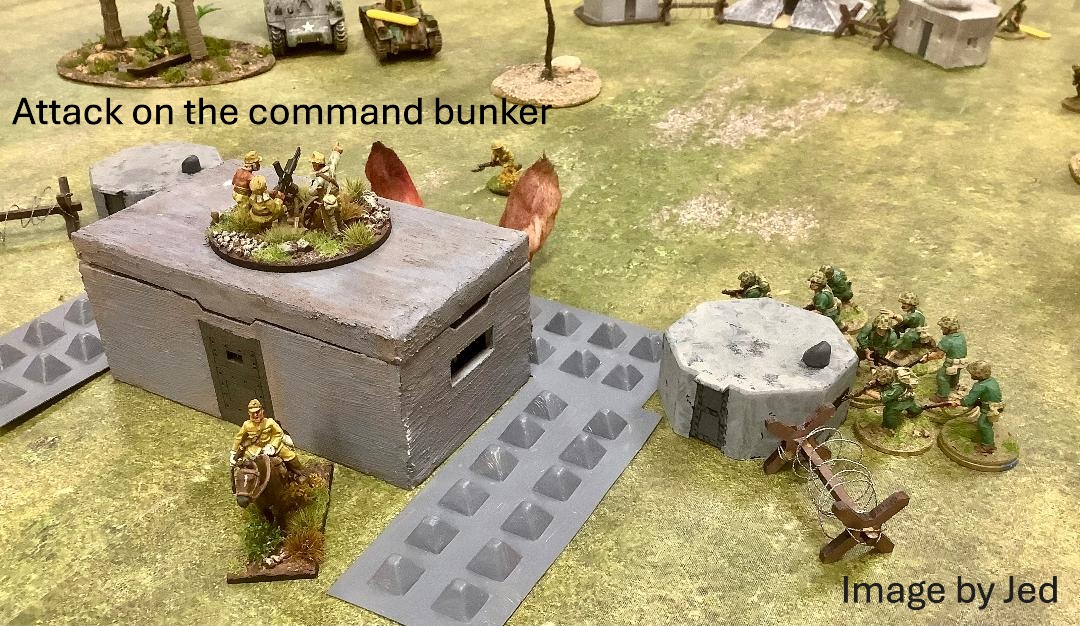
Outcome: With US forces capturing an outer element of the command bunker ready to take the central bunker as the game ends the US Forces are declared narrow winners.


