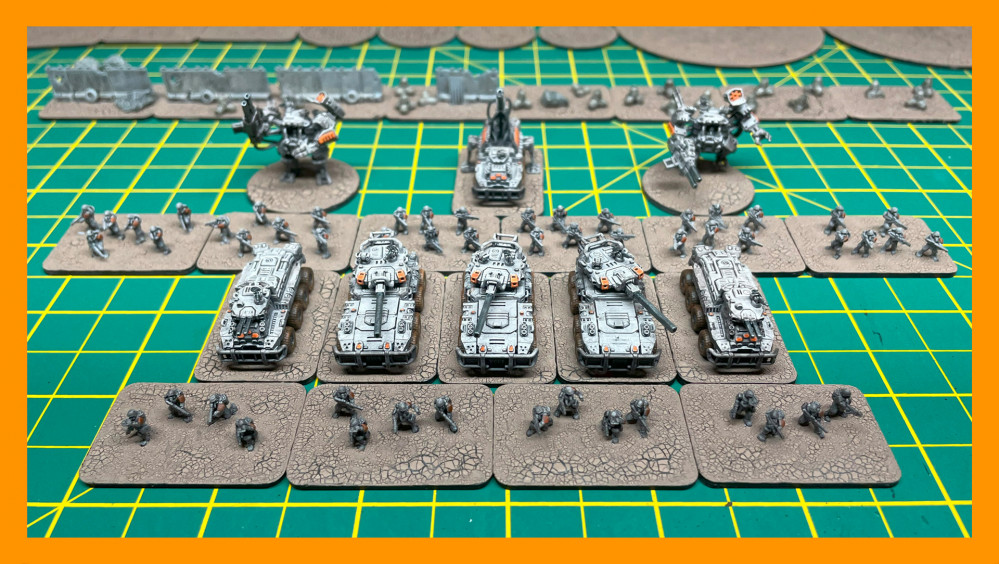
Full Spectrum Dominance CitizenCon Project
Recommendations: 65
About the Project
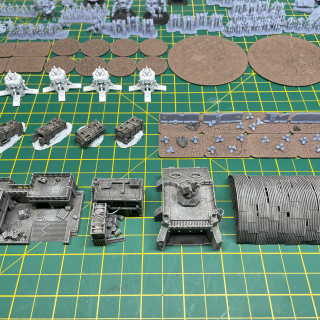
Welcome to my Full Spectrum Dominance CitizenCon Project. The aim of this project was to get a complete miniature wargame 3D printed and painted including terrain, ready to take to CitizenCon 2024. Also, have it compact enough to fit in a suitcase.
Related Game: Full Spectrum Dominance
Related Company: The Lazy Forger
Related Genre: Science Fiction
This Project is Completed
#UPDATE 1 - Starting the Project
Earlier this year, myself and a group of my friends had decided to go to CitizenCon in Manchester, October.
One of these friends unfortunately lives over 300 miles from me so we don’t get many opportunities to wargame, last time being many many years ago.
So I asked him if I can get a wargame sorted that could be played in the hotel room, would he be interested in a game?
Which he was happy too.
I had been backing FSD for a while now, but tbh had been afraid to use a resin printer.
This finally gave myself a kick up the butt to use it but I did spend many weeks sorting out the garage to have an enclosure/extractor fan, plus all the safety gear (respirator, gloves ect.)
After a lot of trial and error getting the resin printer to work after many failures (tip: don’t use Anycubic DLP Craftsman Resin, go for the Standard Resin V2)
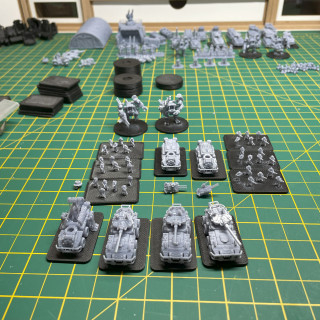
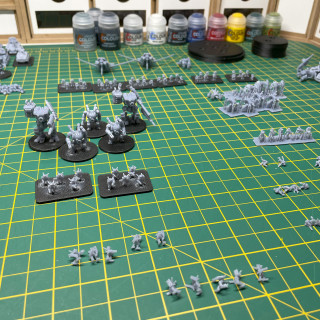
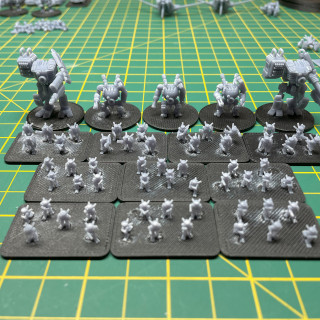
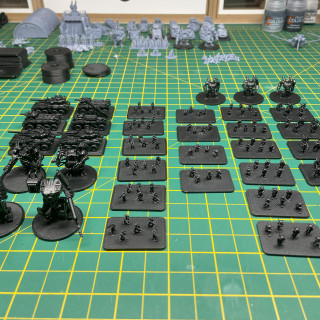
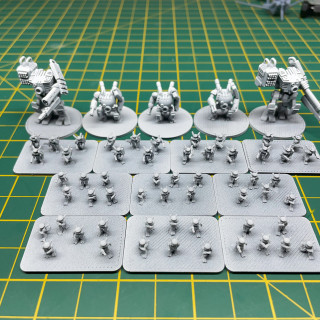
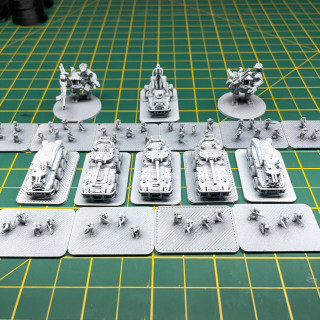
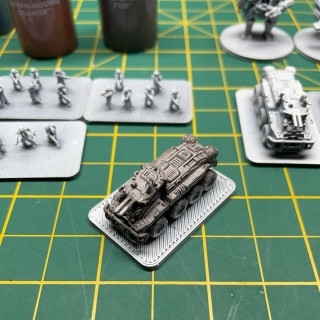
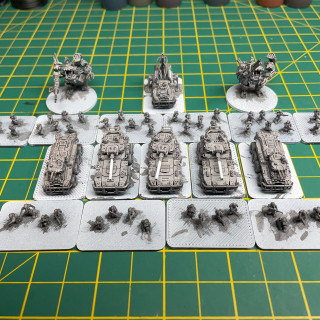
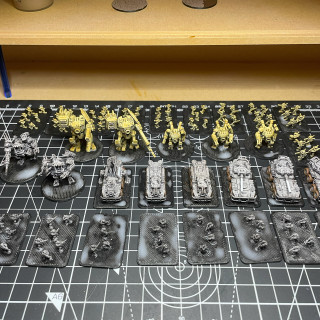
I managed to calibrate and print off/clean/cure the Enlisted and Tech forces that are shown in the how to play FSD on Tabletop Simulator.
#UPDATE 2 - Printed Models and Bases
After printing the models I moved on to the bases, deciding to use the ones included with the FSD rules download.
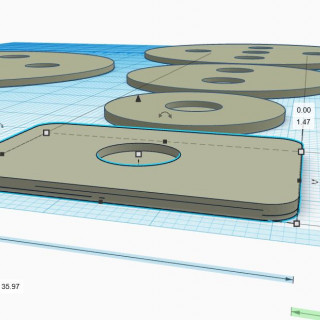
I had to make some changes to these for FDM printing instead of resin printing as the textured top did not print well at all with FDM.
I sliced the tops off so it left a flat surface in TinkerCad, and also decreased the thickness down to 1.47mm because I think it looks better.
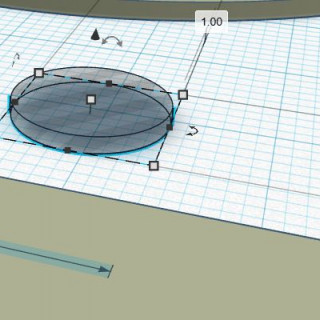
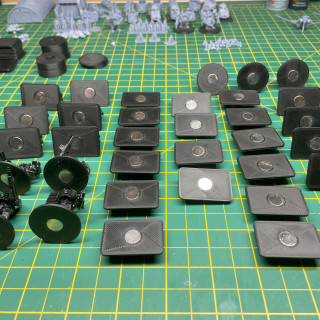
I also added some slots for magnets, the hole size set to 1.00mm height and 9.75mm for diameter.
The magnets used are 9.5mm by 0.75mm thick, south-facing just so they will attach to north-facing magnets but this is down to preference.
#UPDATE 3 - Magnets and Priming
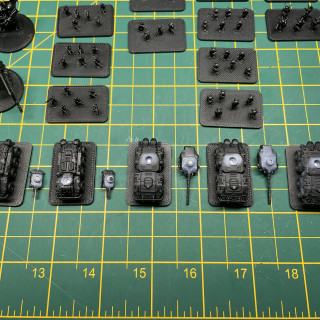
Once all the magnets were superglued into the bases I then also glued smaller 2mm x 1mm magnets into the turrets and vehicles for the enlisted units.
It was now time to prime, starting with black primer.
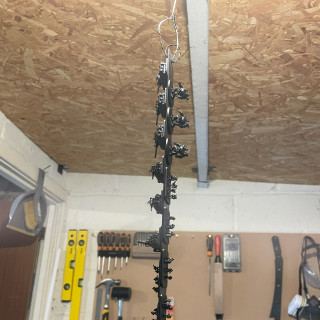
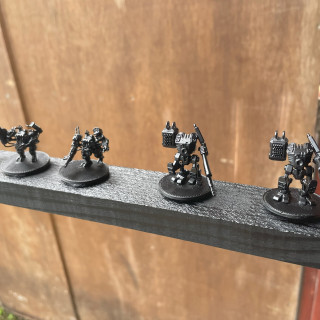
I had an old large metal ruler so stuck most of the models on both sides and hung it up for easy spraying.
Then, a zenithal highlight of white was sprayed from above the models to help pre-shade.
#UPDATE 4 - Contrast Paints
Now it was time to choose some colours for each faction, I went to “Let’s Get Gaming” YouTube channel as he has some great contrast/speed paint comparison videos.
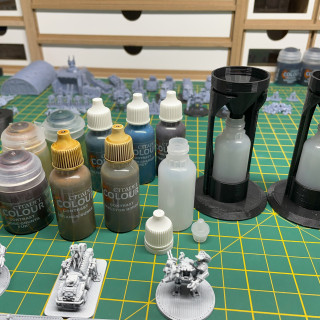
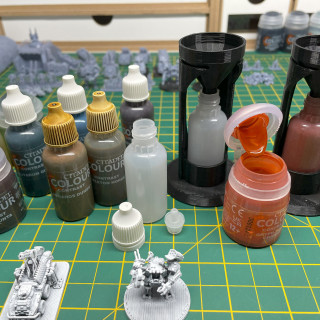
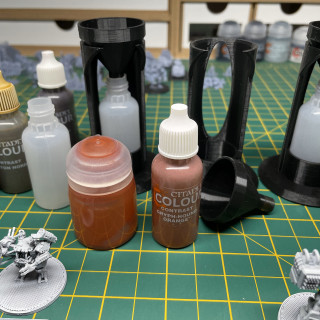
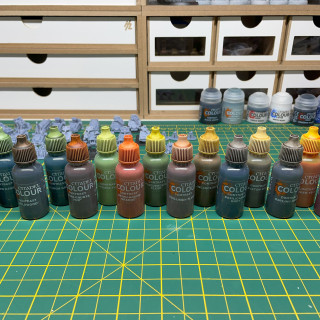
After purchasing a selection of contrast paints, I still wanted to see what each colour looked like dried so grabbed a bunch of dropper bottles and primed the lids in white.
Next, I 3D printed off some basic stands for holding a funnel into the dropper bottles and proceeded to move the paints out of the Games Workshop bottles, the labels come off super easy and can be stuck onto the dropper bottles.
Once done, I painted each lid with the contrast paint from each bottle and now was able to truly see how each will look. Maybe a lot of work for not much gain but I enjoyed the process.
I decided on the colours for the Enlisted:
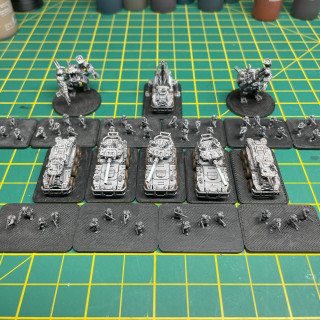
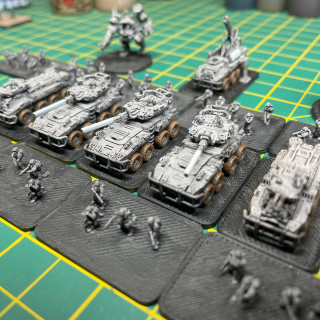
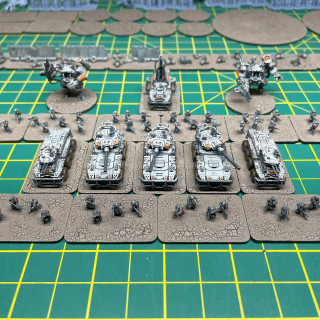
Contrast Basilicanum Grey
Contrast Gryph-Hound Orange
Contrast Gore-Grunta Fur (Wheels)
Abaddon Black then dry-brushed Leadbelcher (Cannons)
And for the Tech:
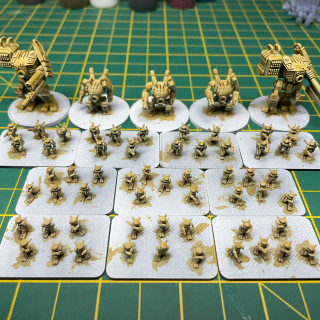
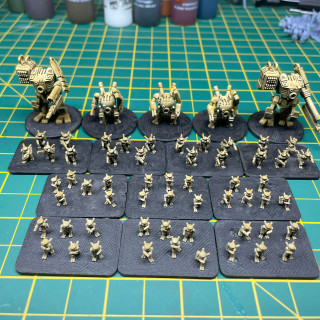
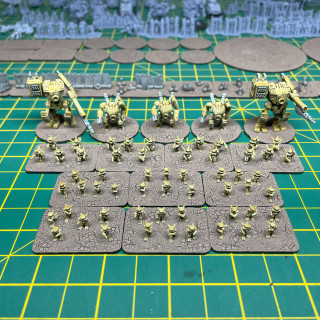
Contrast Aggaros Dunes
Contrast Apothecary White
Contrast Gutrippa Flesh (Eyes)
At this point I was running out of time to get these done, so I kept the paint schemes to a minimum. Later I may go back and add more detail in the future.
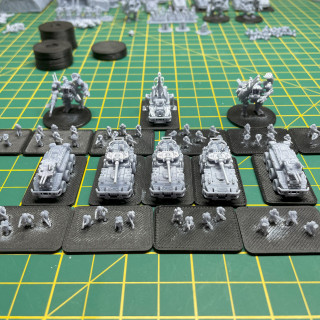
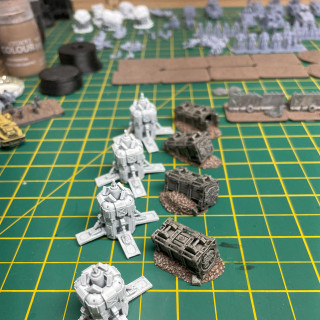
(The pictures below are just the base colours Aggaros Dunes and Basilicanum Grey)
#UPDATE 5 - Painting Bases, PVA and Agrellan Earth
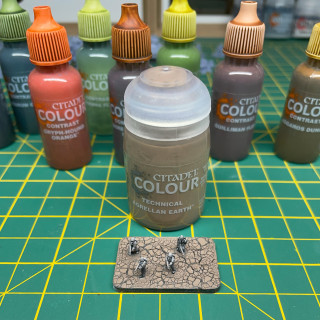
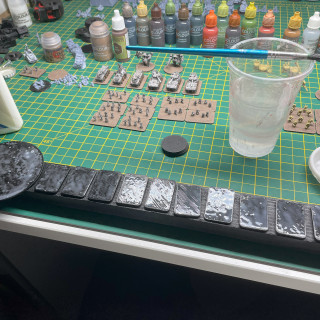
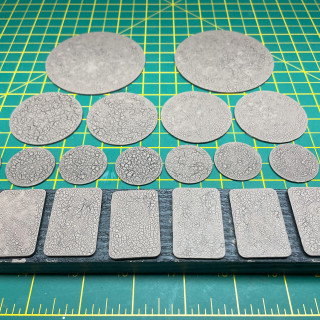
For the next stage, I painted the wheels on the Enlisted vehicles and moved on to painting the bases black working around the models. Once dry, PVA glue was then brushed on over the black bases and left to dry overnight. This was needed for the next step, Technical Agrellan Earth.
Because of the way Agrellan Earth cracks apart as it dries, having a dried PVA glue layer underneath it makes it work really well.
Most people will tell you to slap Agrellan Earth on in large amounts but after some testing, I was more careful on the amount used because the smaller cracks look better at this scale.
After the bases were done, I finished up the paint jobs using the colours mentioned in update 4.
At a later date, I am planning on putting some grass tufts on the bases too.
#UPDATE 6 - Learning from a Mistake plus Terrain
Whilst I was finishing up the paint jobs, I came to the realisation that sticking the models to the bases first was a big mistake at this scale.
I spent so much extra time trying to carefully paint black around the models, then the PVA glue and Agrellan Earth.
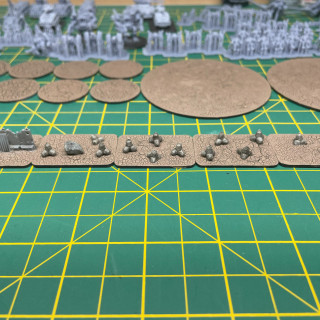
So to see how quickly I could get a batch of bases done I stuck a load on a piece of wood and went through the steps as before.
This time the bases were done within two days (allowing time for the PVA to dry)… lesson learned.
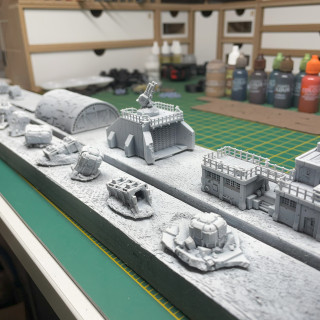
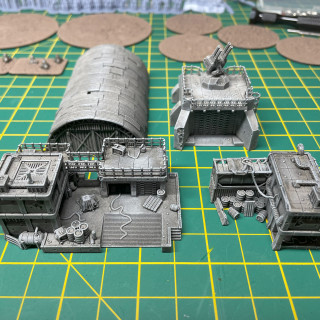
Next, I primed, Zenithal sprayed and applied a simple paint job onto the buildings using Contrast Ratling Grime due to time constraints though happy with how they turned out.
Some cargo containers were painted up and Conglomerate drop pods with Contrast Apothecary White used for objective markers.
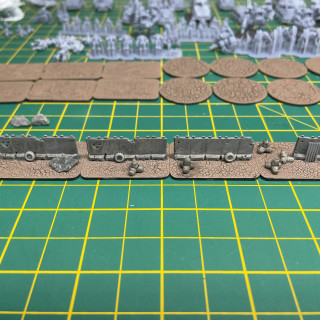
Plus I stuck some barriers and Enlisted tank traps to bases for easy cover, slapped some Ratlin Grime on them too.
#UPDATE 7 - Battle Mat and Gaming Table
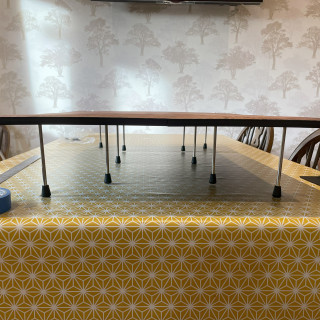
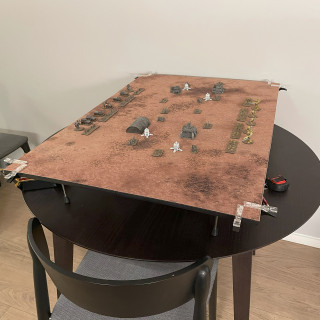
For the gaming space, FSD is played on a 3ft by 2ft play area. Looking at the hotel room pictures it showed a circular table so I needed to come up with something that was 3ft by 2ft and would pack down small.
I looked for 3D printed options but the print time would run into the hundreds of hours which was not acceptable.
The only other option I could find was Spidermind’s Level Up gaming table system. I had to order it from America and it was on the expensive side but tbh, I am very impressed with it and plan to use it a lot.
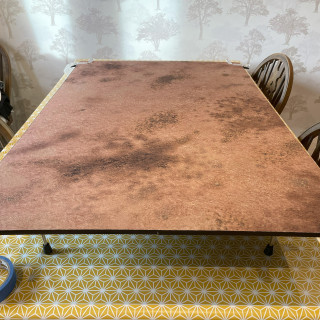
For a 3ft by 2ft area, all you need is 6x Level Up tiles (4 corners and 2 side pieces) they all slot together easily and have metal legs to elevate it up. It also came with some clips for holding a gaming mat down.
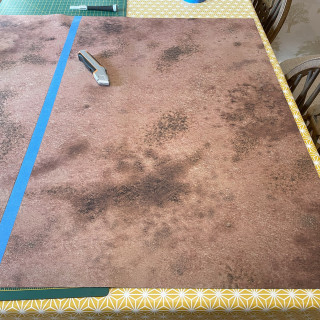
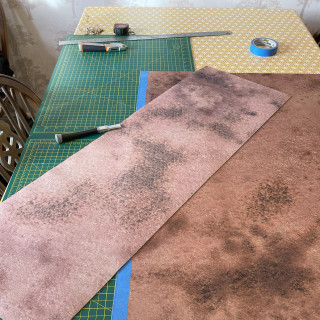
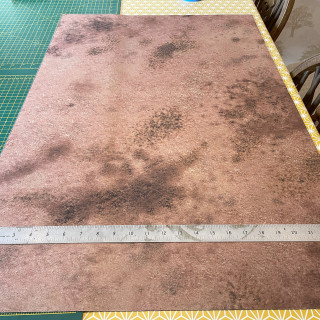
Talking of a gaming mat, all I could find that had a sand/desert design and would arrive in time was a 3ft by 3ft Deep Cut Studio mat.
I masking taped a 2ft area on one side and used a sharp knife to cut a 1ft edge off, luckily this worked a treat so I tested the mat on the Level Up tiles. Very happy with the results.
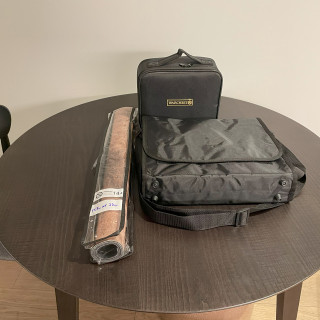
Regarding transport, I ordered a vinyl records bag that fit the 6x 1ft by 1ft tiles perfectly and the stands plus clips.
#UPDATE 8 - Components and Storage
In between printing, painting and sorting out the gaming table, I was also sourcing all the components we needed to play FSD.
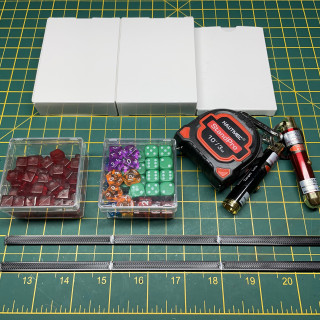
This started with the dice, 24 green 6-sided 10mm for the activation dice (12 per side).
Then a selection of combat dice, four of each: d6, d8, d10 and d12.
All small scale too and different colours each type for easy identification and some red cubes to be used as markers/tokens.
I also 3D printed off two unit measurement sticks with 3-inch segments, 1 Distance Unit = 3 inches.
Even chucked in a small-scale measuring tape and laser pointers.
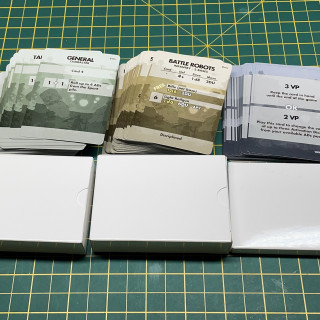
Next, the unit and mission cards were printed from a card printing website with the dimensions:
63mm x 88mm, Card stock: (S30) Standard Smooth.
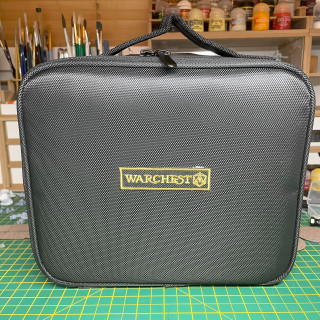
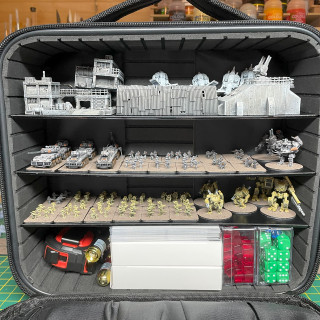
To transport all the models, terrain and components I used the awesome WarChest carry case from TableTop Upgrades which has magnetised shelf’s.
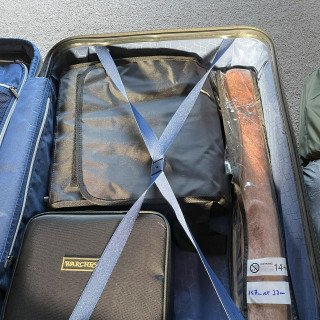
Once completed, everything managed to fit into one side of my suitcase and I was able to fit all my clothes into the other side, just about worked! haha.
#UPDATE 9 - Project Complete!
So this is it, the final update.
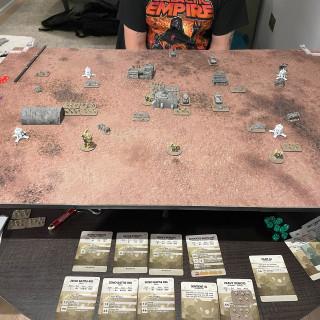
I made it to CitizenCon in Manchester this year AND completed the project in time!
To finish a project felt amazing 😀 having a deadline really helped with pushing to get it completed.
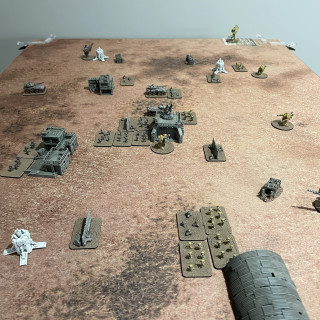
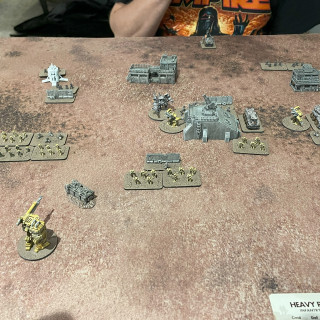
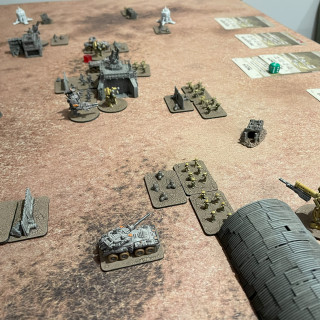
We put aside a few hours on the Sunday to play a match using the Data Dump scenario.
The match went on for the full four rounds and I lost as Tech to his Enlisted, down to killed units points costs.
And I enjoyed every second of it 😀 we may have got a few rules wrong here and there, but it played great.
Thank you for following along with this project and I hope this might be useful for anyone that’s looking to get into Full Spectrum Dominance.


