Building a Man Cave: 1:1 Terrain
Recommendations: 110
About the Project
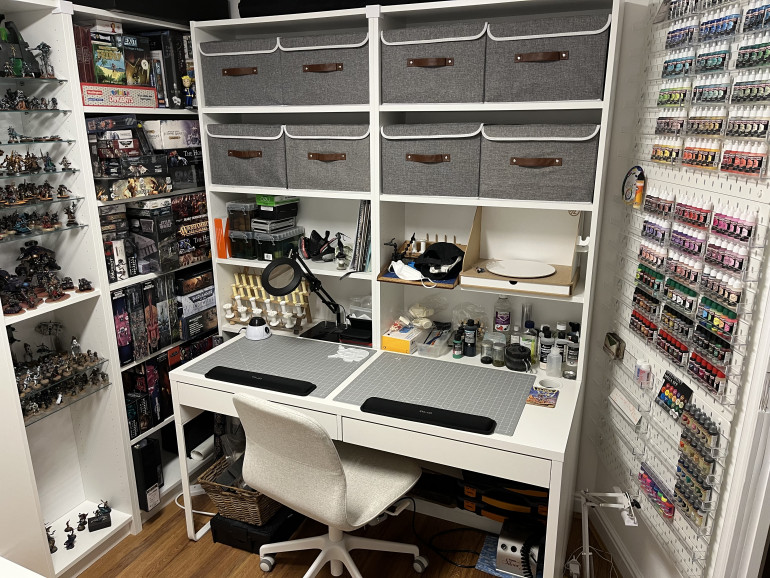
The ‘room of requirement’ in our house is finally mine! Time to turn it into a hobby and gaming space!
Related Genre: General
This Project is Active
Finally moved in
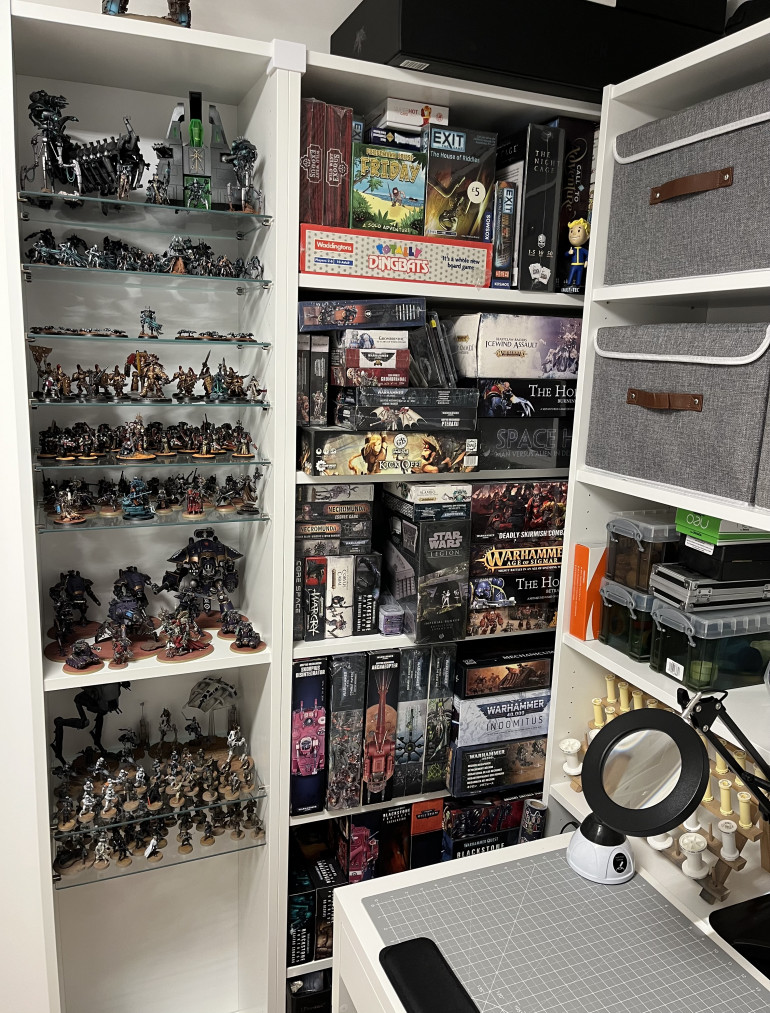
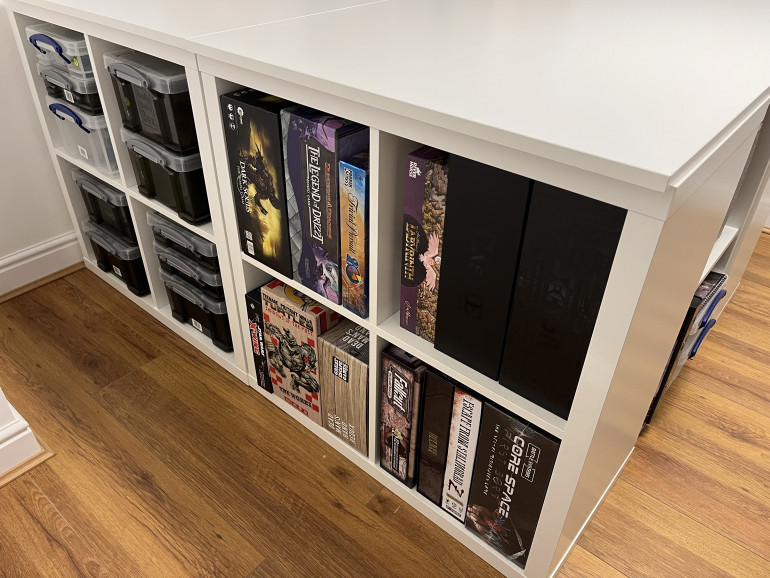
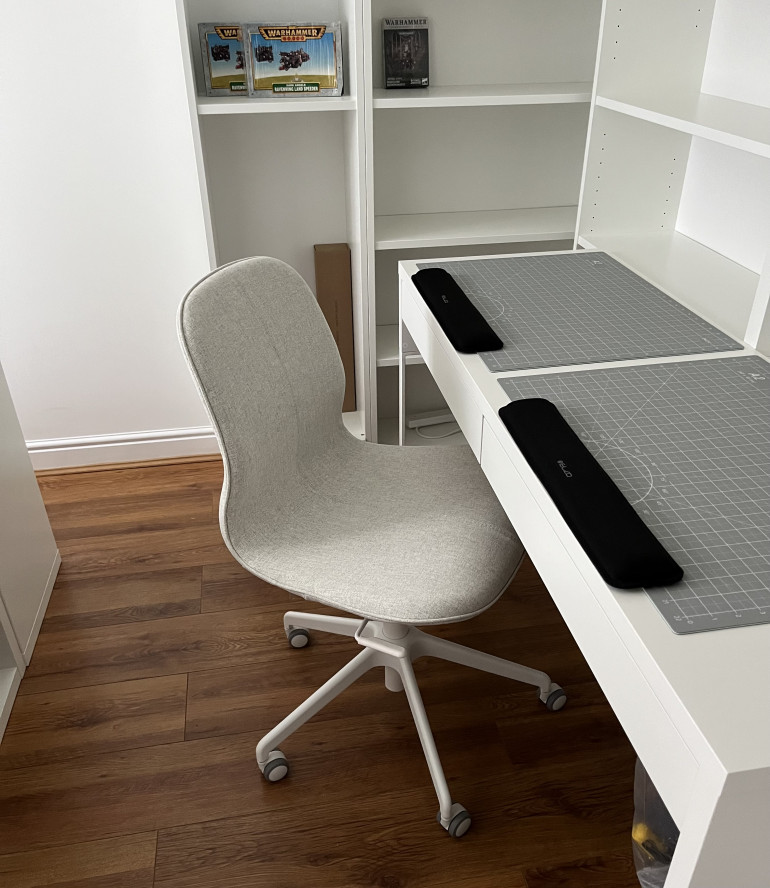
I put it off as long as I could, but I finally moved all my stuff in. I found a home for everything thankfully, but I want to have a major cull. A lot of the boxes, especially the GW ones have random sprues left after a project, so there is definitely scope to reduce the pile a lot (and make room for more no doubt!!). But at least I am in, and can chip away at the remaining tasks over time!
All that is now left is for me to decide what project I shall choose to christen the new hobby space..!
Thank you OTT for the Golden Button!
Pictures of the room filled with stuff to follow..!
Making a House a Home
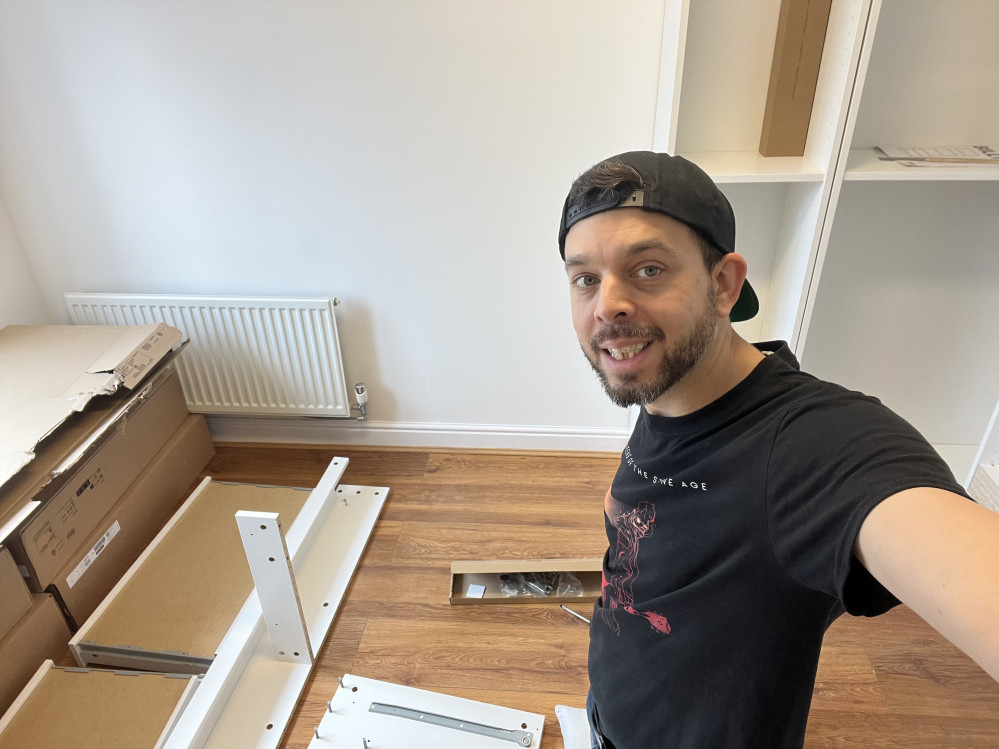
Not that I was putting off moving all of my (ahem) crap into the room and spoiling its nice clean lines or anything, but I was putting off moving my (ahem) crap into the room.. So I worked on some details.
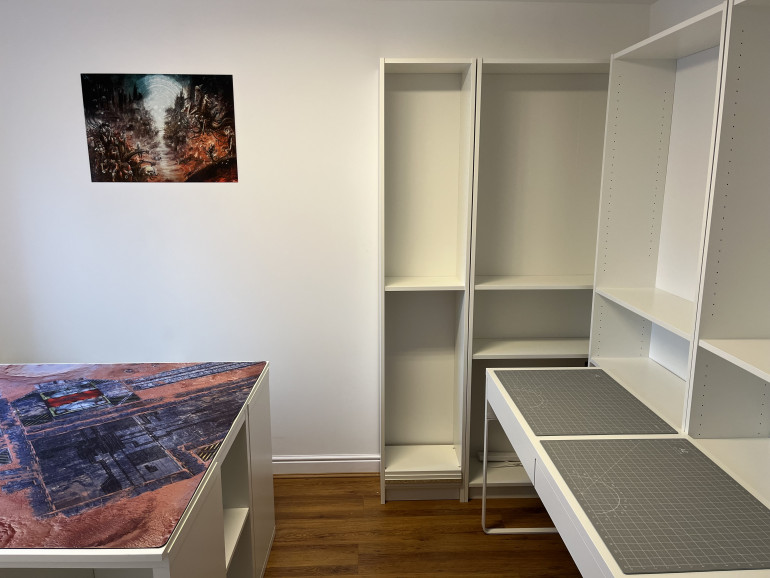
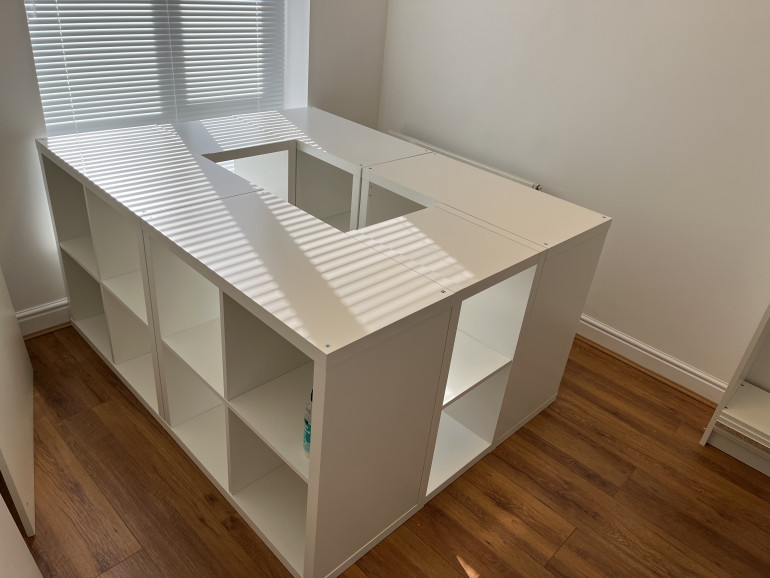
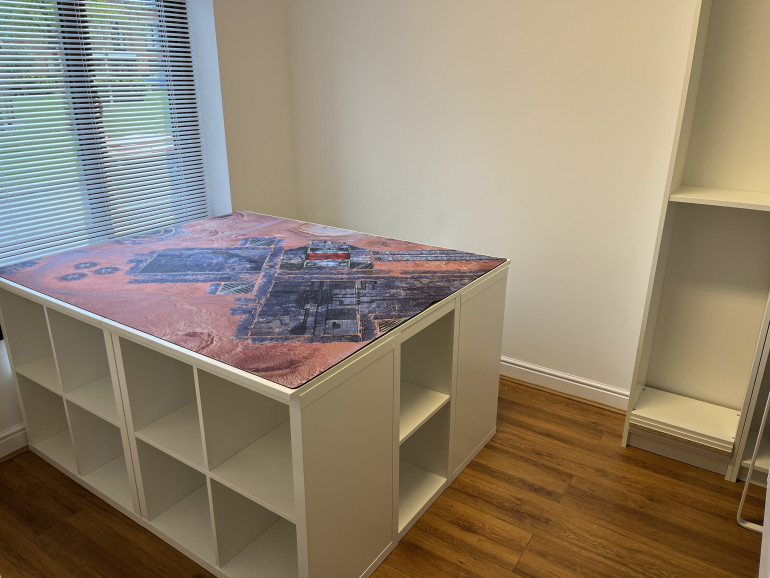 I threw a gaming mat onto the table to see how it looks. This one was 6x4 so it hangs over the far edge, but actually looks good and is very useable without chopping it up.
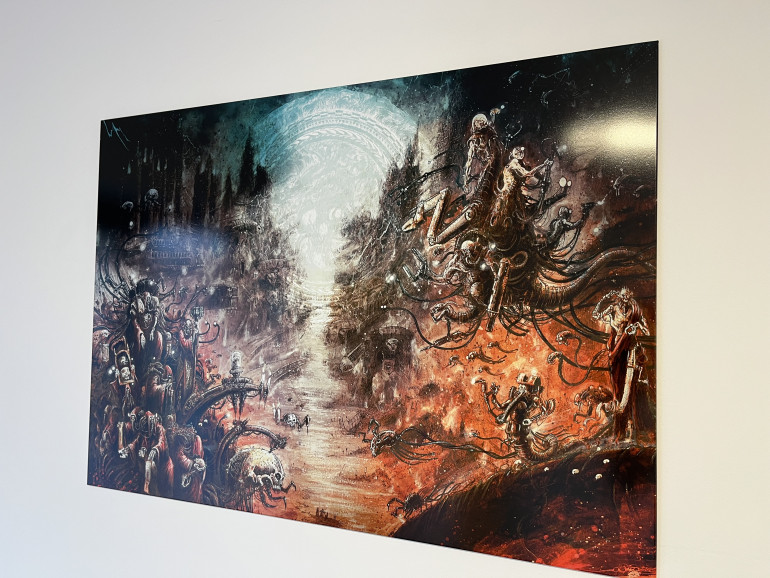 I don’t know about you but these constant Displate adverts on YouTube were starting to wind me up. But clearly they work because when I was thinking about some artwork for the walls that’s where I headed. Nothing sings Hobby Room like a nice piece of John Blanche art.
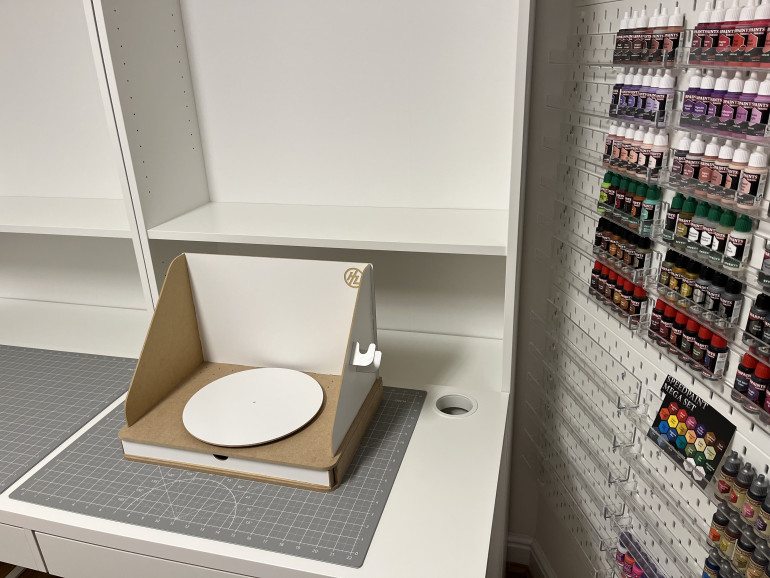
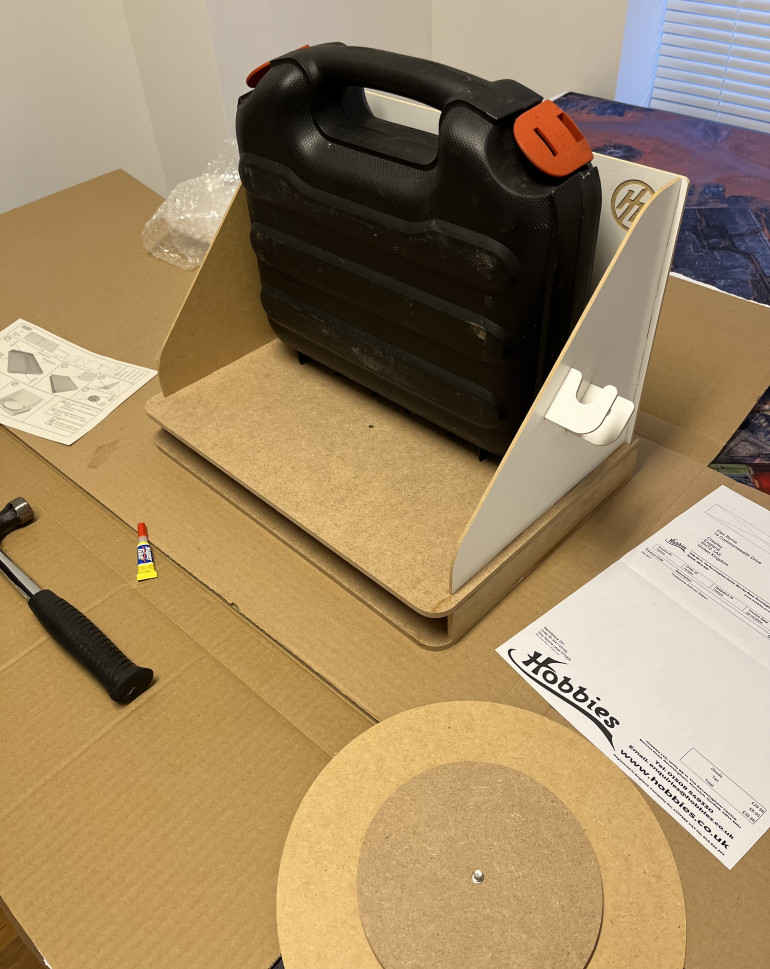 The last thing I could think of to do to put off filling the room with stuff was to build a new airbrush station. I want to protect the furniture as best as I can so I will be more careful where my spay goes now!
Paiiint Rack is a Little Old Place Where, Paints are Kept Tooogetheeeerrrr! Paint Rack, Bayyybeee!
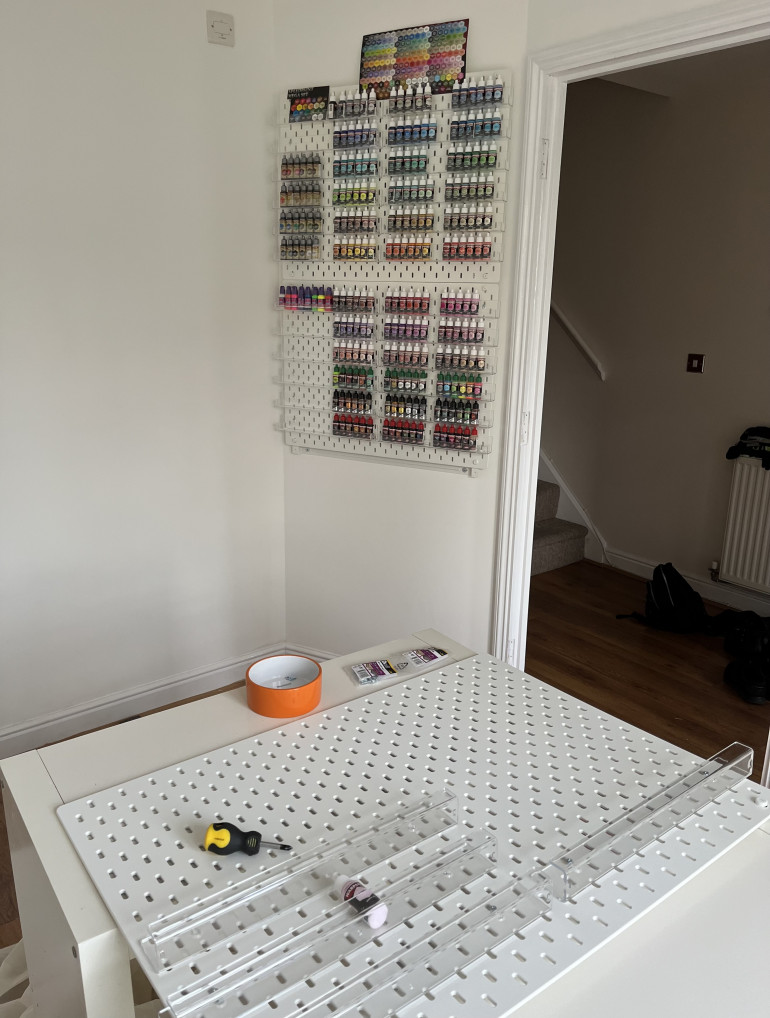
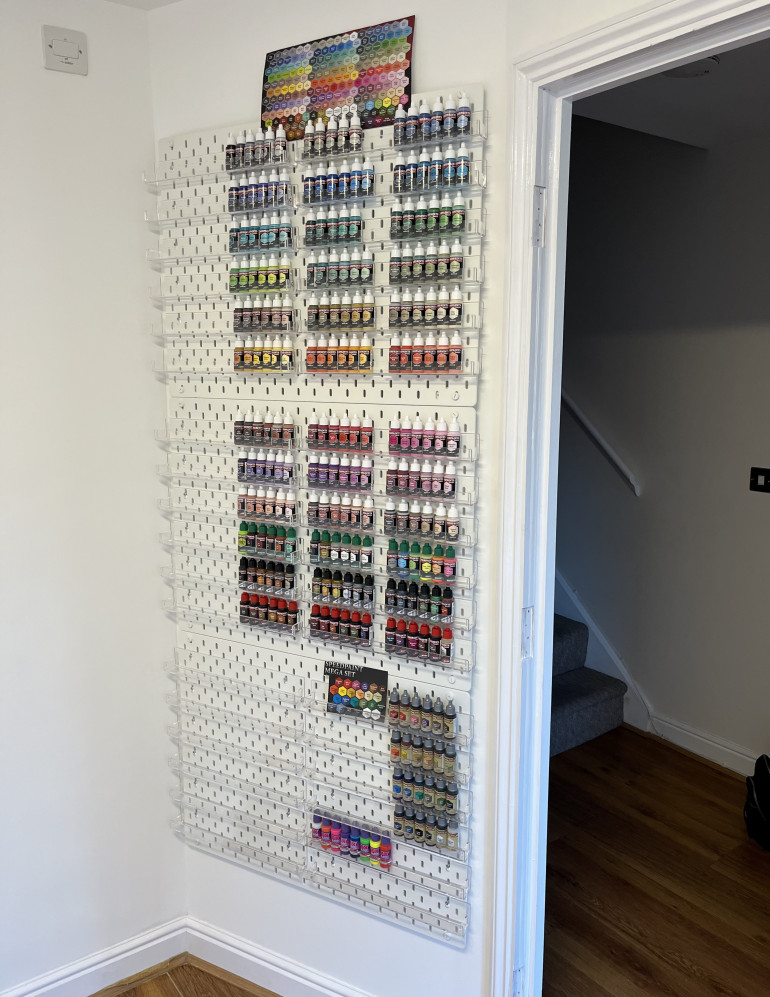
The first construction project for the new room is a paint rack. I recently bought the Complete Set of Army Painter Fanatic paints, and I need somewhere to keep them. I also have an odd-shaped bit of wall which is perfect for the job.
I saw something like this on the Army Painter fan page on Facebook, and thought I would give it a go.
The components were:
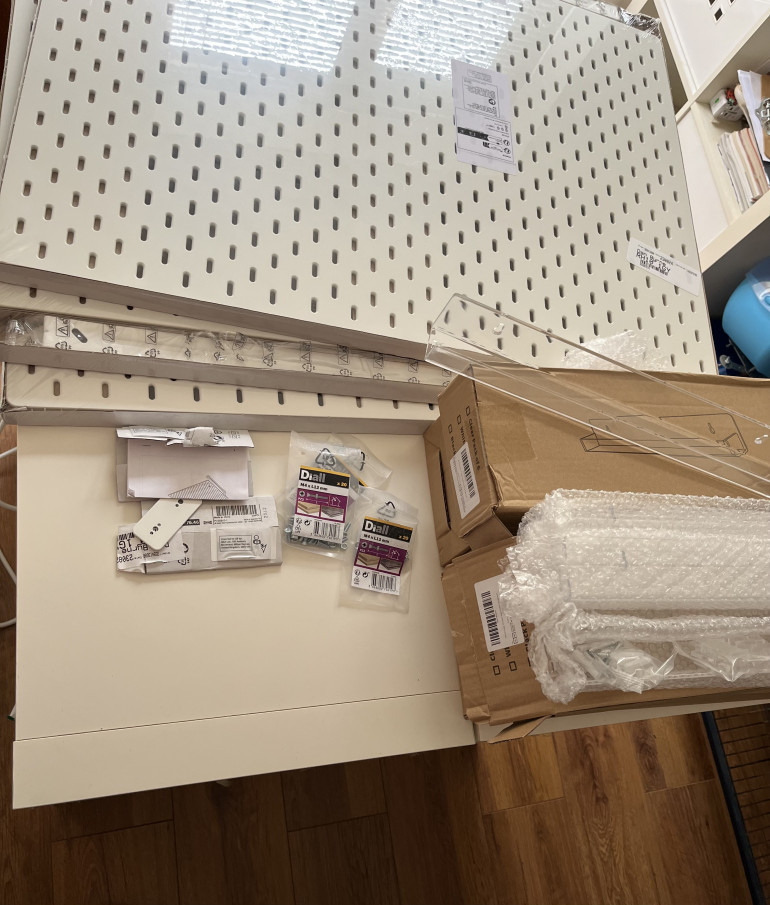
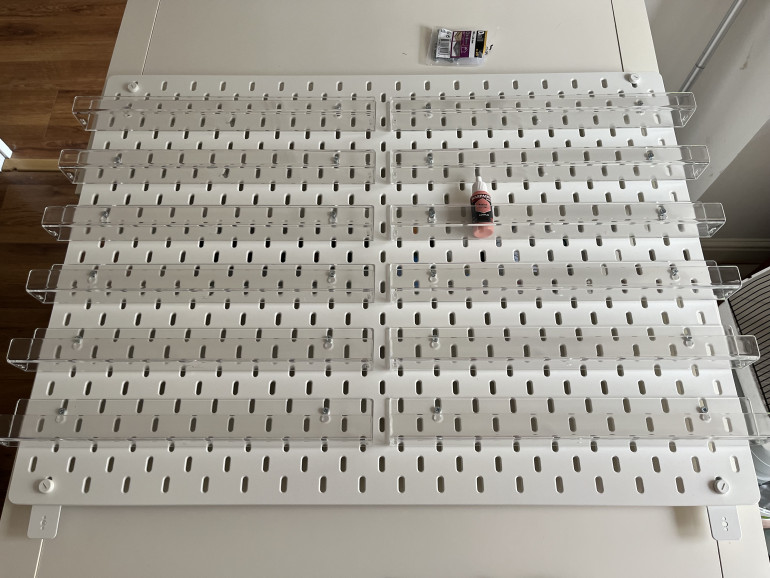
3x Ikea Skadis peg boards (76x56cm)
6x packs of nail polish racks (15 inch)
72x M4 nuts and bolts (12mm and 16mm both work fine)
My original plan was to use the separately purchasable connectors for the Skadis boards, and hang them all from one bracket drilled into the wall, but in the end I didn’t use the connectors. I hung all three separately using their own wall brackets. It was super easy to line them up, and the weight would be spread out more, rather than relying on one bracket to hold the whole thing up. Much safer!
Decorating!
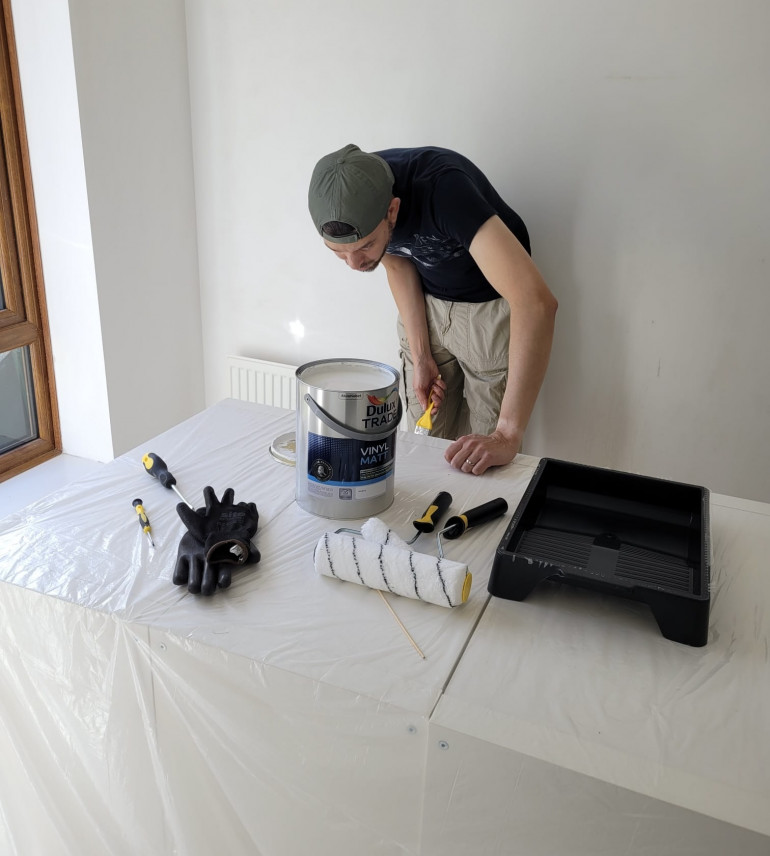
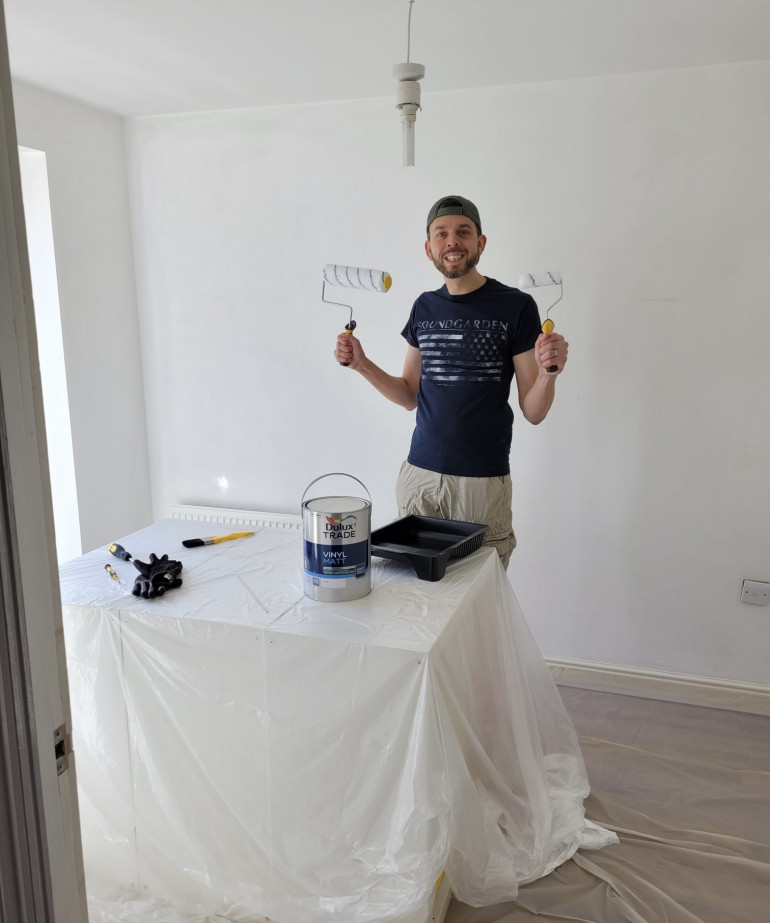
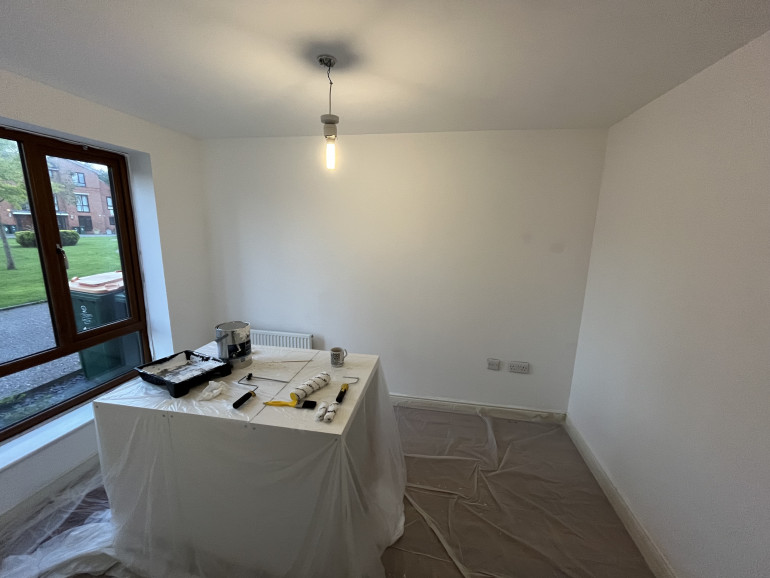
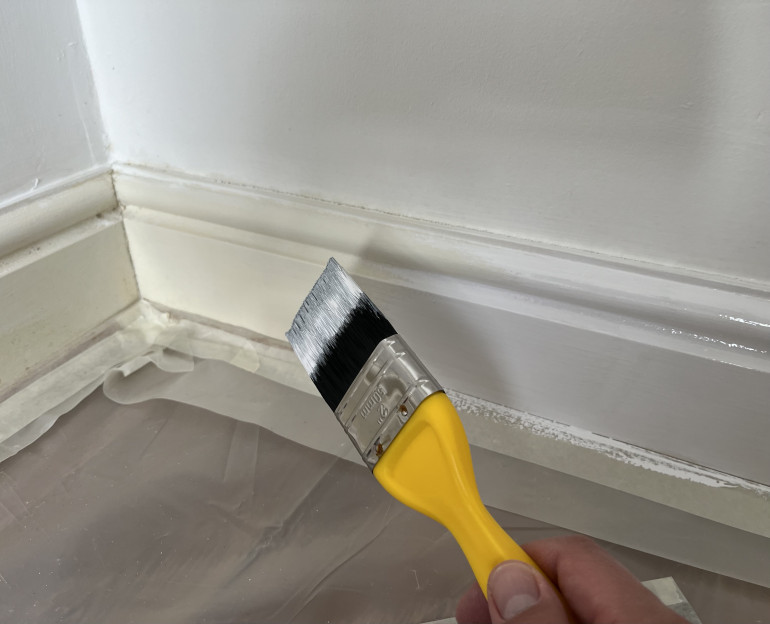
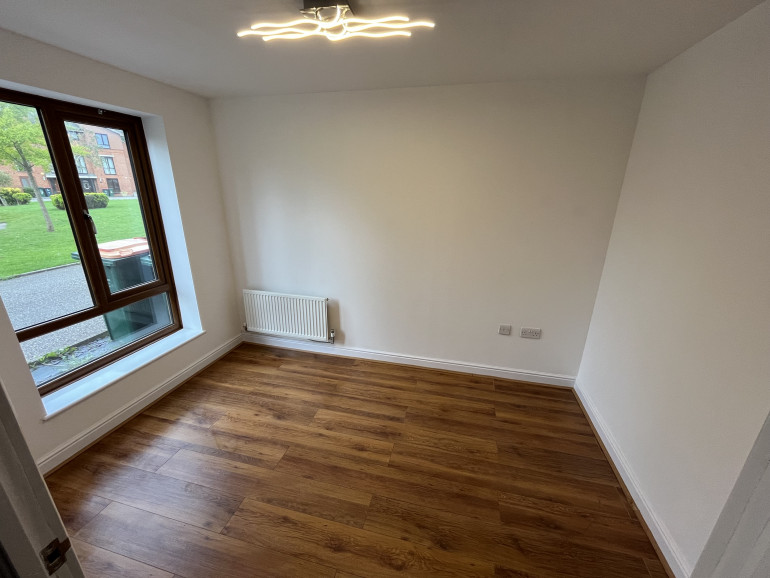
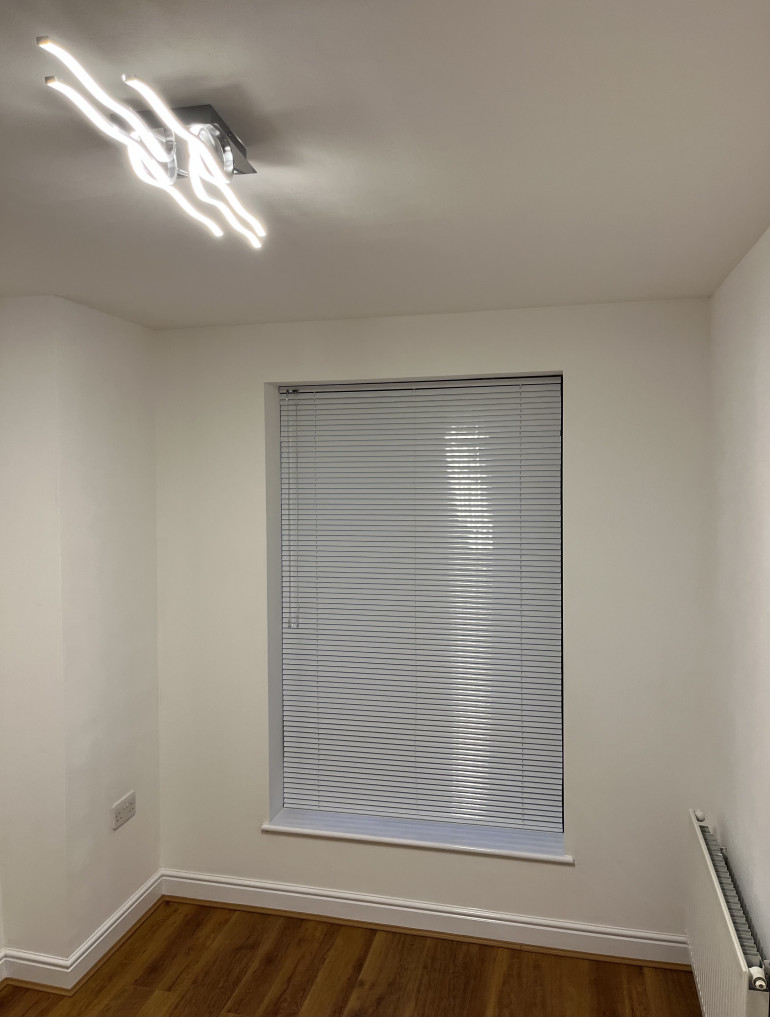
This is the part where I feel like I am actually making some progress. All the planning and prep is done and I am now creating my new room! Again, decorating is not a natural skillset of mine, but I refused all offers of help to make sure I do this myself!
Clearing, Cleaning and Repairing the Room
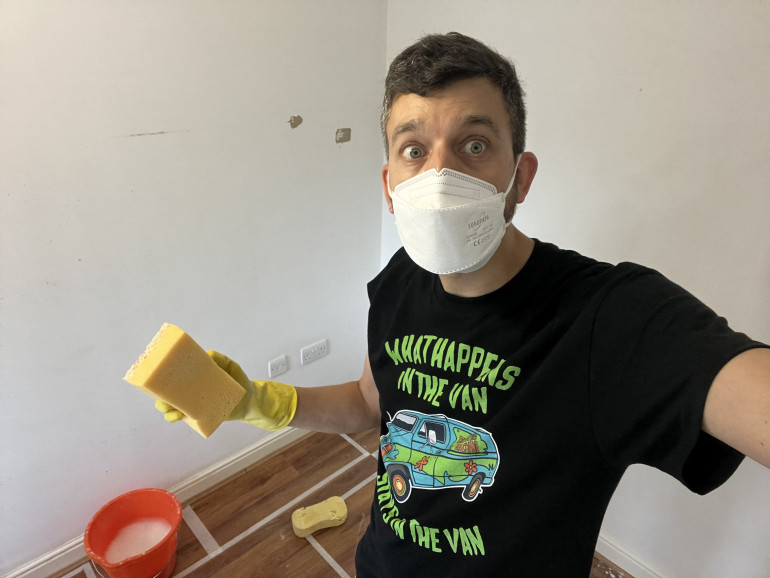
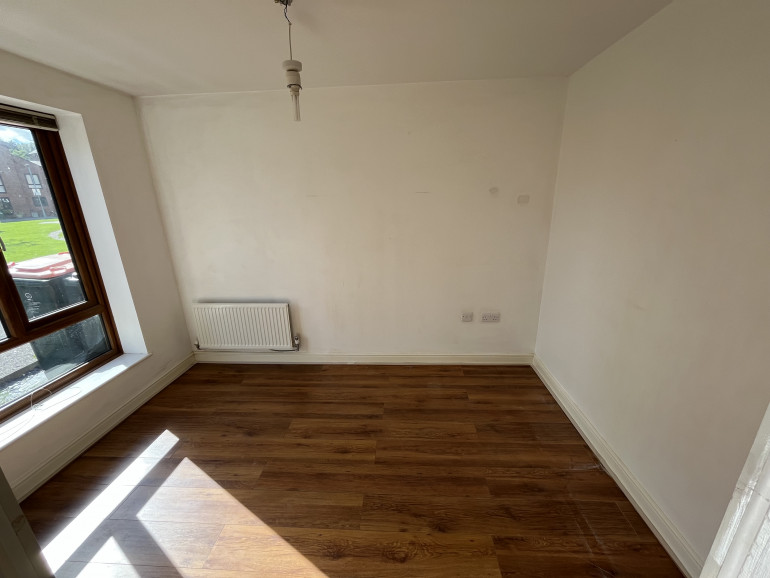
These may not be the most interesting couple of sections, but this is quite a big deal for me. I am not handy, I don’t do much DIY, and the only room I have painted in my life is a small bathroom in my first flat. Also 10 years of real-life Skaven inhabitance left the room..erm..kind of….erm..skanky. I’ll summarise the steps across two posts. First clearing, cleaning and fixing the room.
Fail to Plan, Plan to Fail
Any excuse to break out Visio and do some planning right?
Early on I decided that it was likely going to be Ikea all the way in terms of furniture. It just works. It’s easily available, in plentiful supply, and all the dimensions are clearly shown to allow me to configure to the space available.
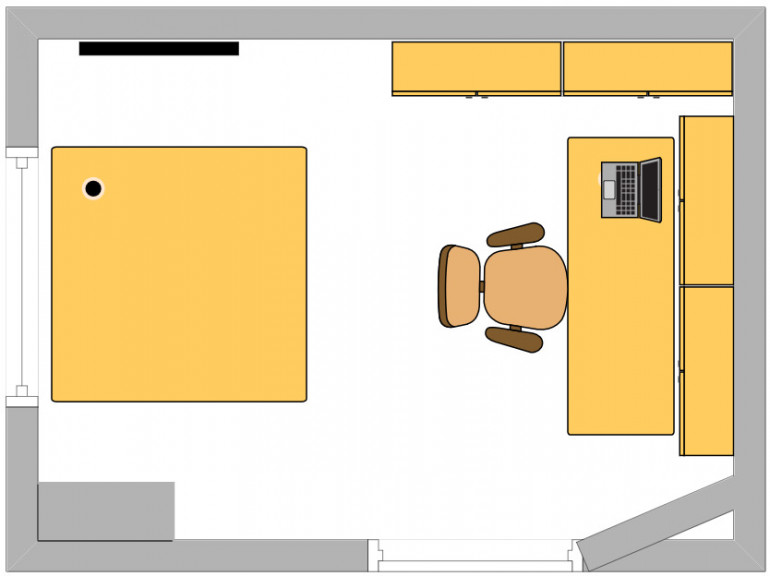
As I was playing around with Visio, the main dilemma became what size gaming table to have. I had envisioned that it would have to be a small one because I always knew that storage would be my key requirement. 3×3 games minimum but realistically to play a 3×3 game you need a 4×4 table. 4×4 fits ok, there is just enough room to get a person either side. Which also means there isn’t any room for storage along those walls, and there is no way around that, even if the table was 3×3, so may as well maximise the space and use the full 4 foot.
I had written off 6×4 quite quickly. It wasn’t impossible to fit, but it would be a huge waste of space to have 6×4 set up permanently. So I looked into whether I could have a 4×4 extendable to 6×4. But even that would limit storage space, otherwise with 6×4 extended you wouldn’t be able to physically get around the table. So not an option. 4×4 it is. Or is it?
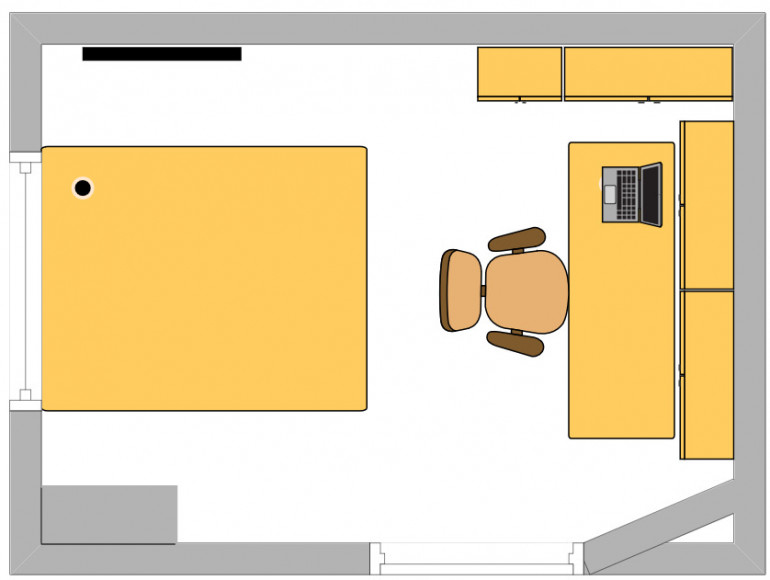
Like all good ideas that come in the shower, it dawned on me that not all “6×4” games are actually 6×4 these days. Warhammer for example. GW have moved both 40K and AoS to 44×60 inches. That’s basically 5×4. And now that is a standard gaming size, there are gaming mats etc readily available at that size. And I suspect even games that are still designed for 6×4 are going to work just as well at 44×60. Also, 4×4 games aren’t super common, but if you are playing at that size you would ideally want extra space for cards and gubbins etc. Again 5×4 would be ideal. Hmm. So the choices became 4×4 or 5×4…
Back to Visio..
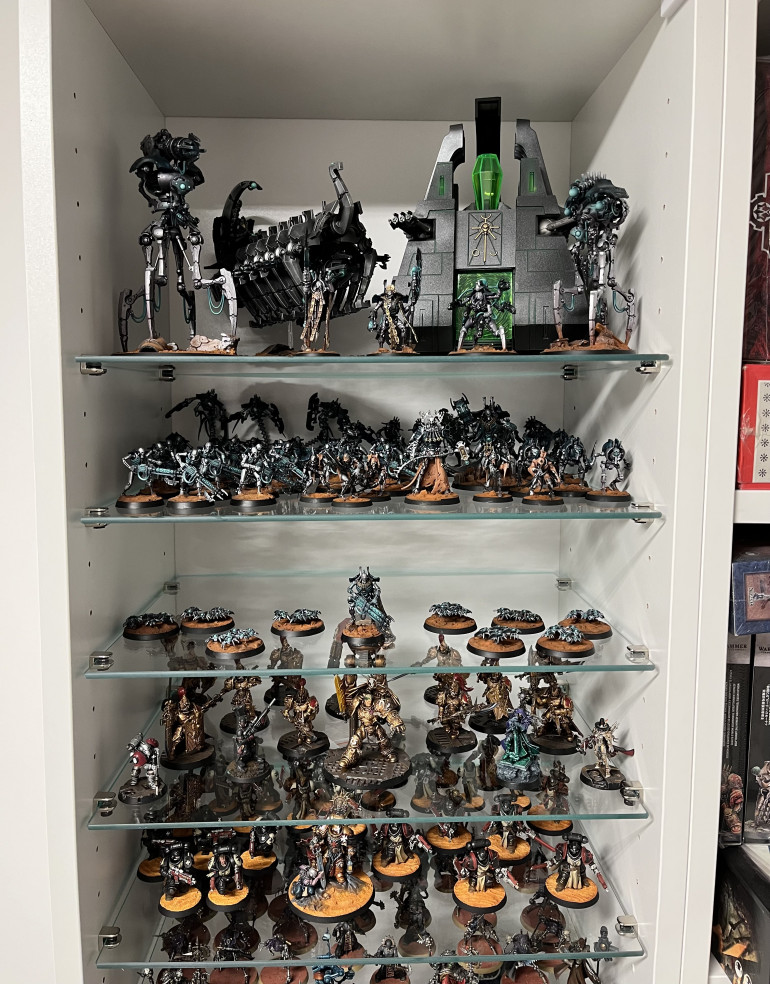
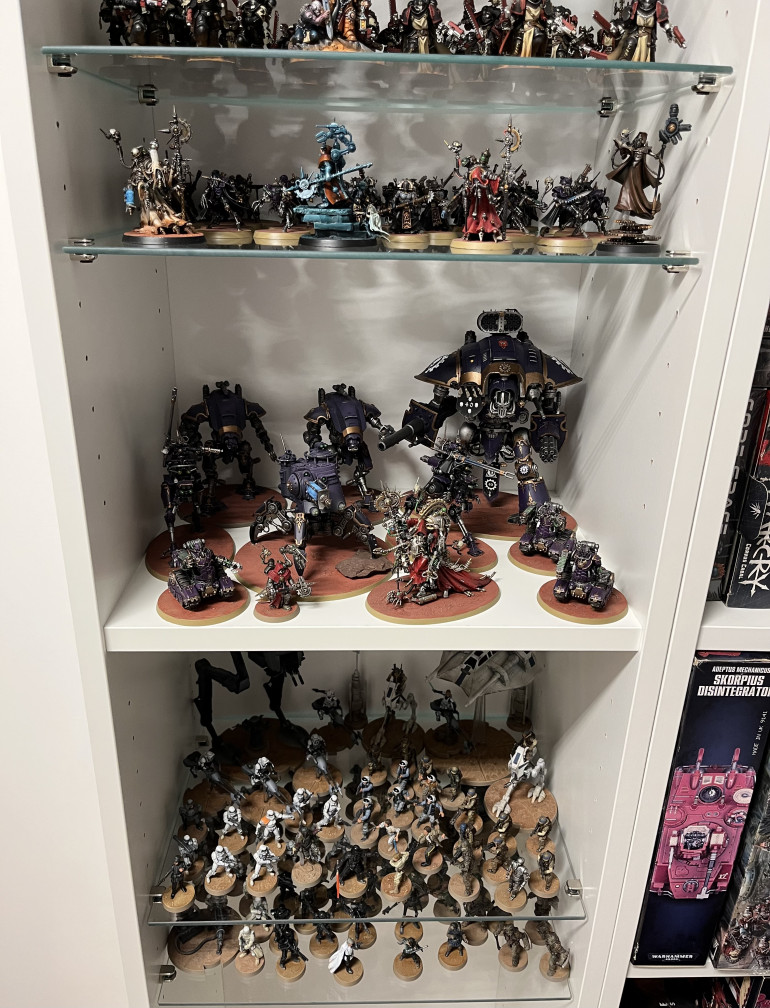
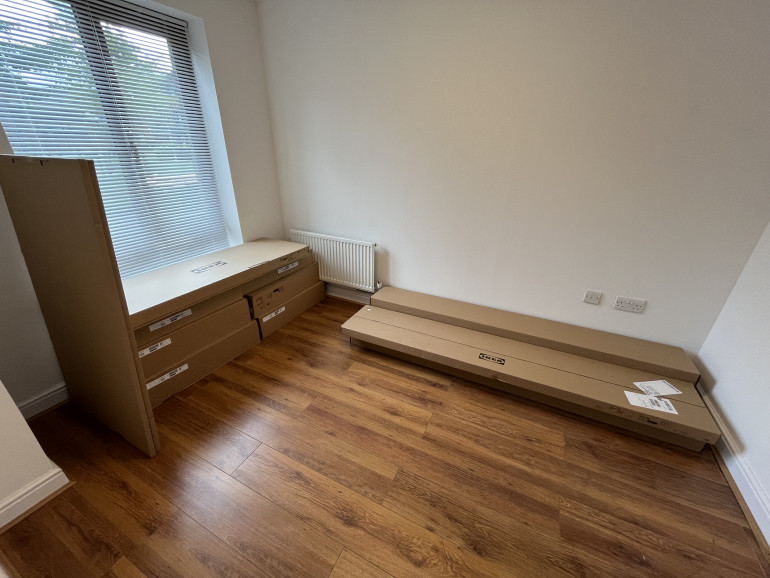
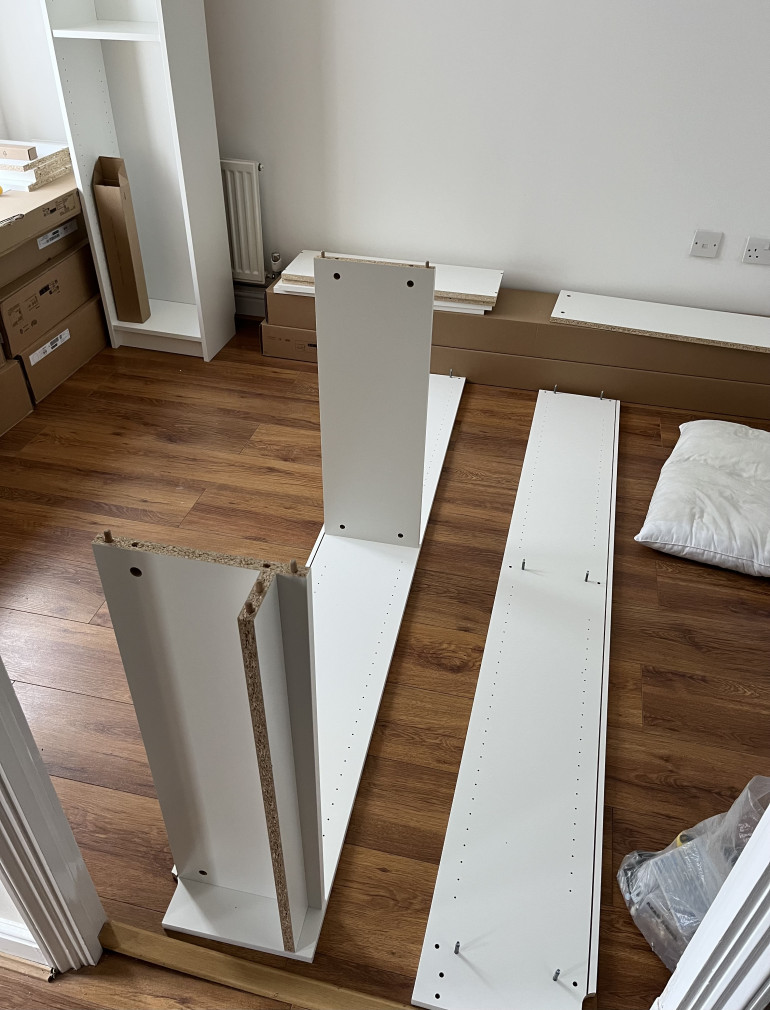
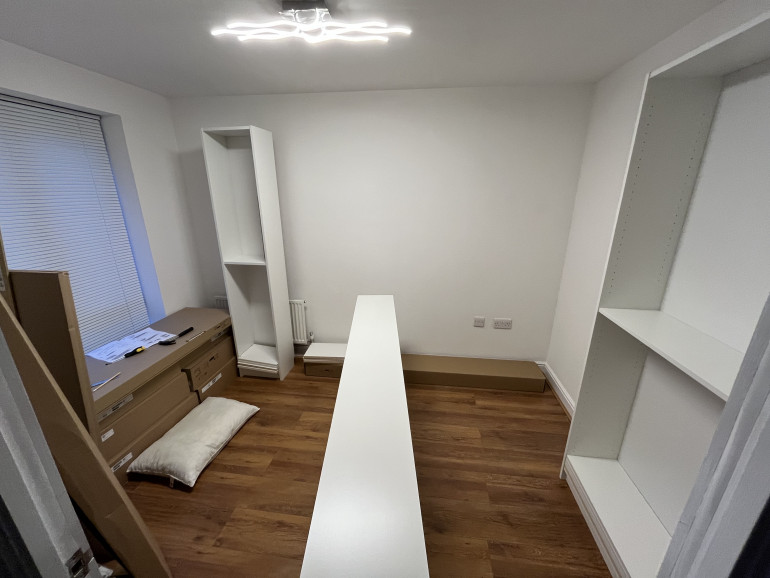
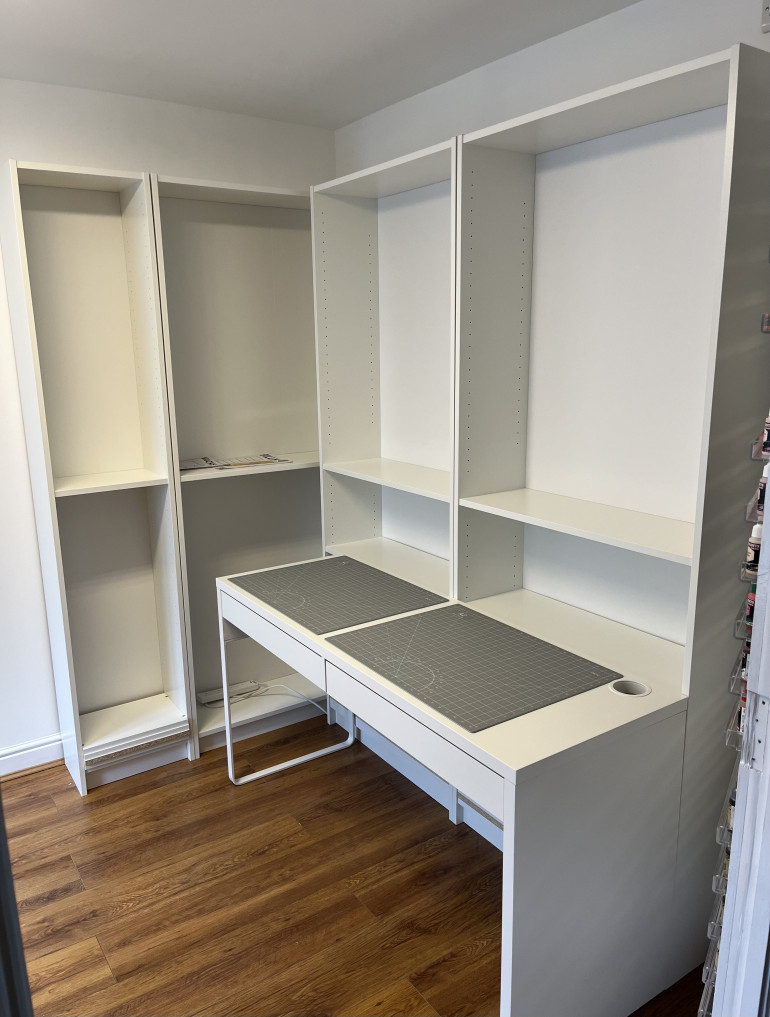
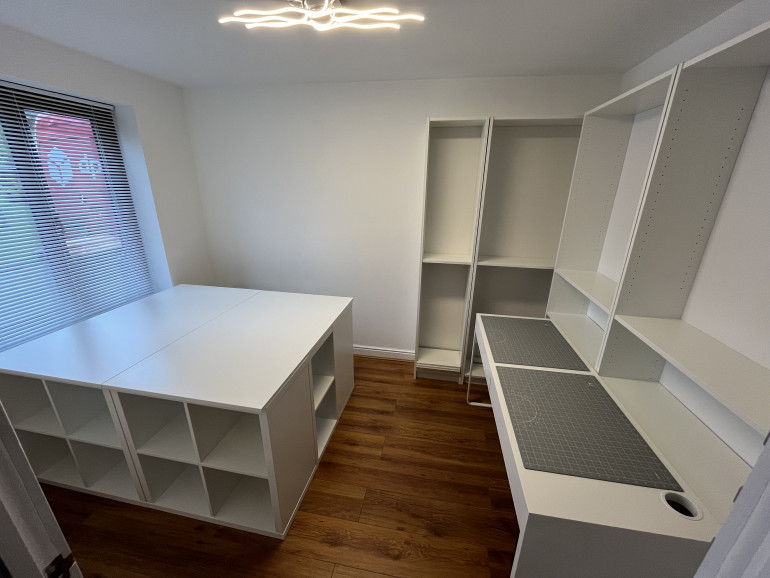
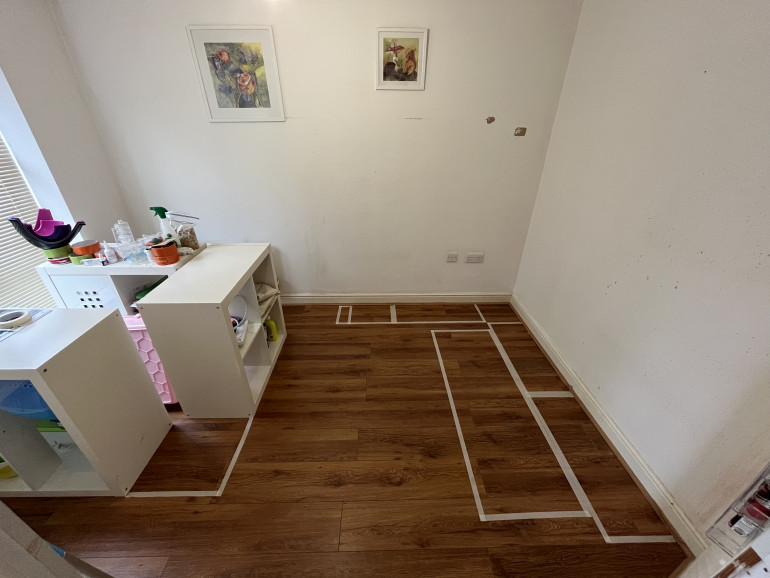
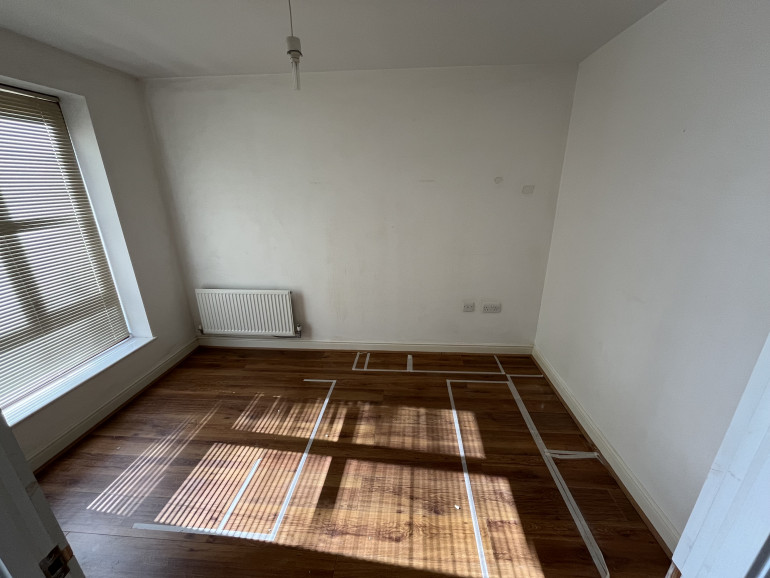
I guess I should explain now that the ‘cabinets’ around the edge of the room are Billy Bookcases. 4 full size (80cm wide) ones in the first picture, and 3 full size and a half size (40cm) ones in the second picture. The desk is a 142x50cm ‘Micke’ desk.
So the difference in the two layouts is that I lose half a Billy Bookcase with the larger table. Whether I can live with that is the question, given I have stated that storage space is a priority?
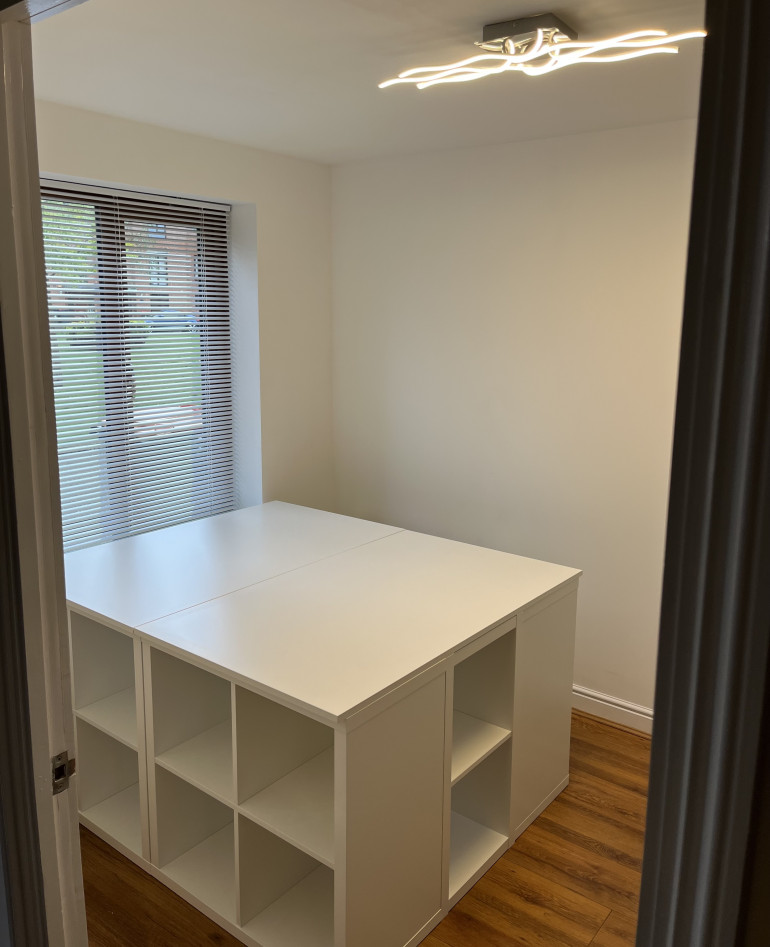
Another shower epiphany later (I am not sure why it takes running warm water to make my brain work like a normal person’s!!) and I realised that I can gain storage space due to the larger table. If I use Kallax units as the base of the table, using IKEA table tops as the, er, tabletop, then bigger table = more Kallax = more storage. Pro’s and con’s. But what actually is the difference?
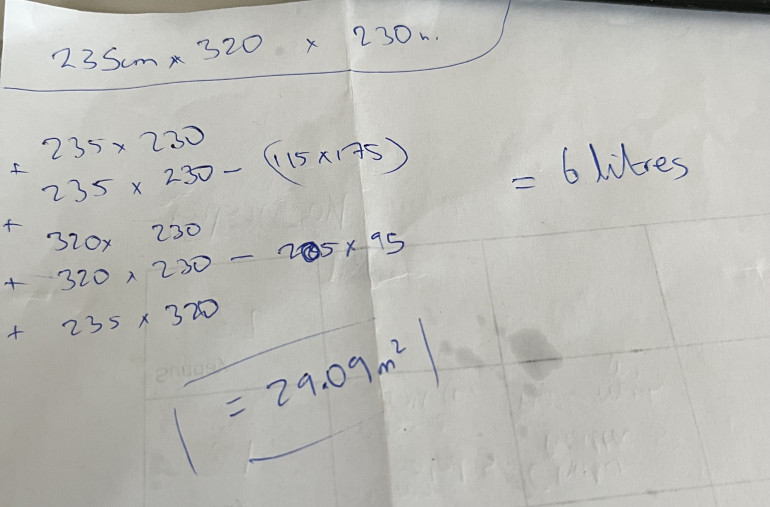
Time for some maths. No shower this time, I needed an Excel spreadsheet for this and my computer is not water resistant!
Long story short, it turned out that by calculating the internal dimensions of the storage space in each layout, there was LESS THAN ONE PERCENT (1%) difference between the two! Game on! Big table! Bosh!
Reclaiming the Skaven Den
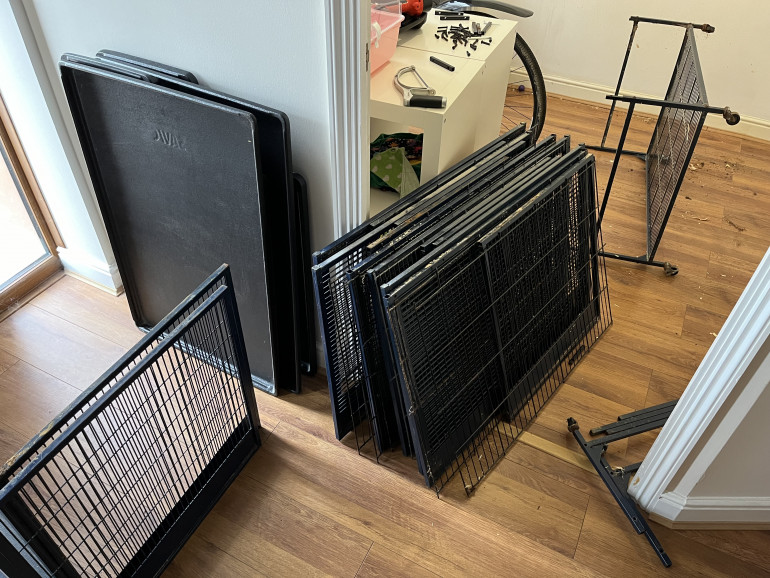
For the past 10 years, a room in our house has been overrun with rats. Real life 1:1 Skaven. Intentionally I must add. My wife kept and bred pet rats which kept herself and myriad adult customers and their children happy for many years. I can’t put my hands on any pictures of the full room, but imagine two large double decker cages on wheels in which dwelt a dozen or so adult rats, 2 or 3 smaller cages for the rearing of many more tiny fluffballs, and all the associated paraphernalia.
All good things come to an end, as they do, and with the dissolution of the Skaven empire earlier this year, my lovely wife suggested that it was my turn to use the ‘room of requirement’ for myself.
Cue intense plotting of how I might finally have my own hobby room, with hopefully some space for gaming as well..


