
![TerrainFest 2024 Begins! Build Terrain With OnTableTop & Win A £300 Prize! [Extended!]](https://images.beastsofwar.com/2024/10/TerrainFEST-2024-Social-Media-Post-Square-225-127.jpg)


About books and such


Recommendations: 73
About the Project
I love books. I also love minis. I don't have enough place to show all my minis. So why not place them where the books are?
Related Genre: General
This Project is Active
Finishing what I started
I’m very good at starting stuff. Finishing stuff? Not so much. It is thus that I can say with – with some pride – that I’ve finally finished the second War and Peace paper mini storage book!
One issue was that I needed more magnets, but when I went to my FLGS, someone had bought up ALL OF THEM. Now, I could order them online like any other person would. But I waited. And yes, last weekend they had them restocked: huzzah!
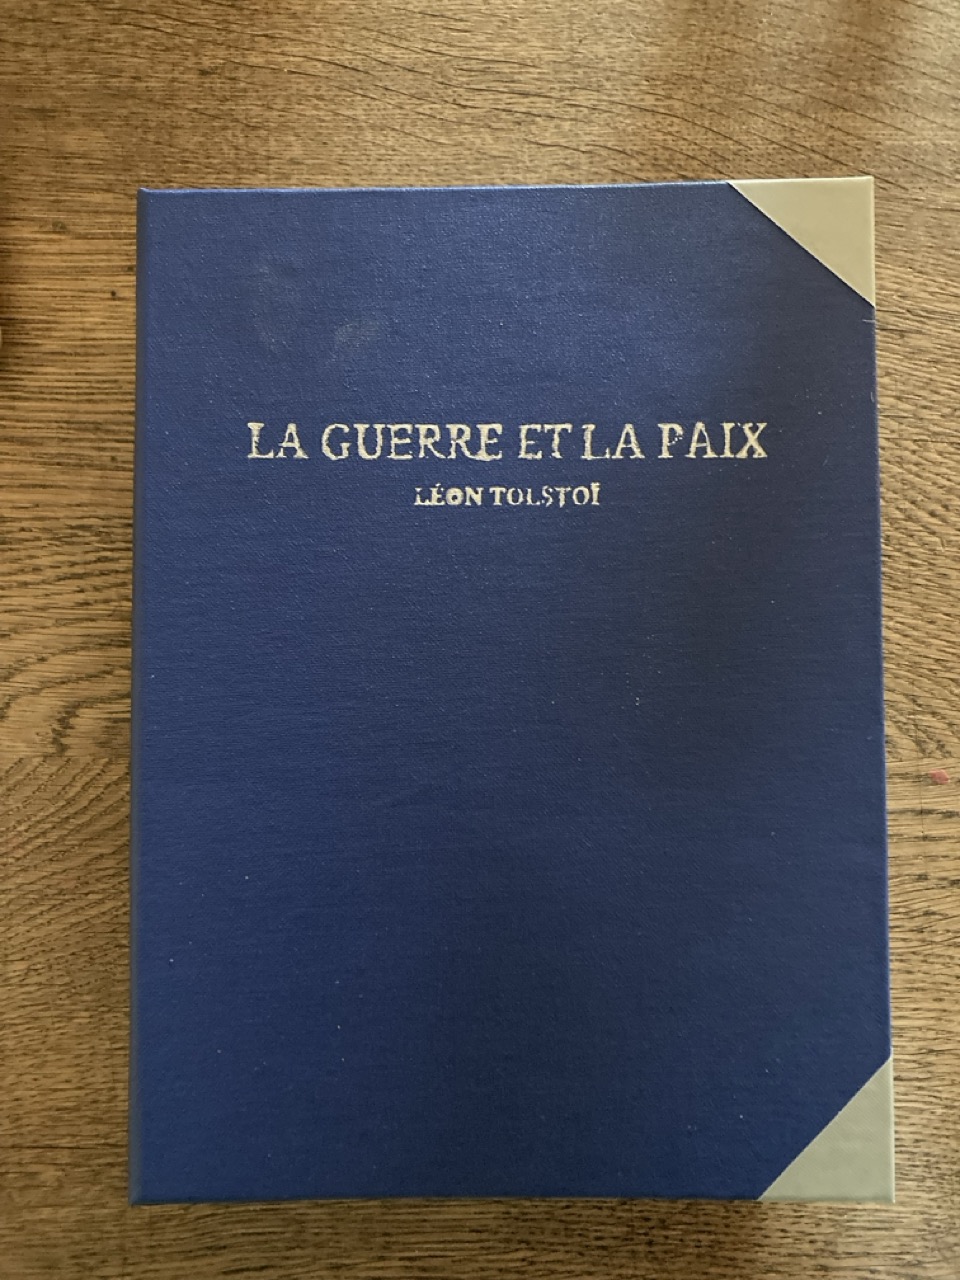
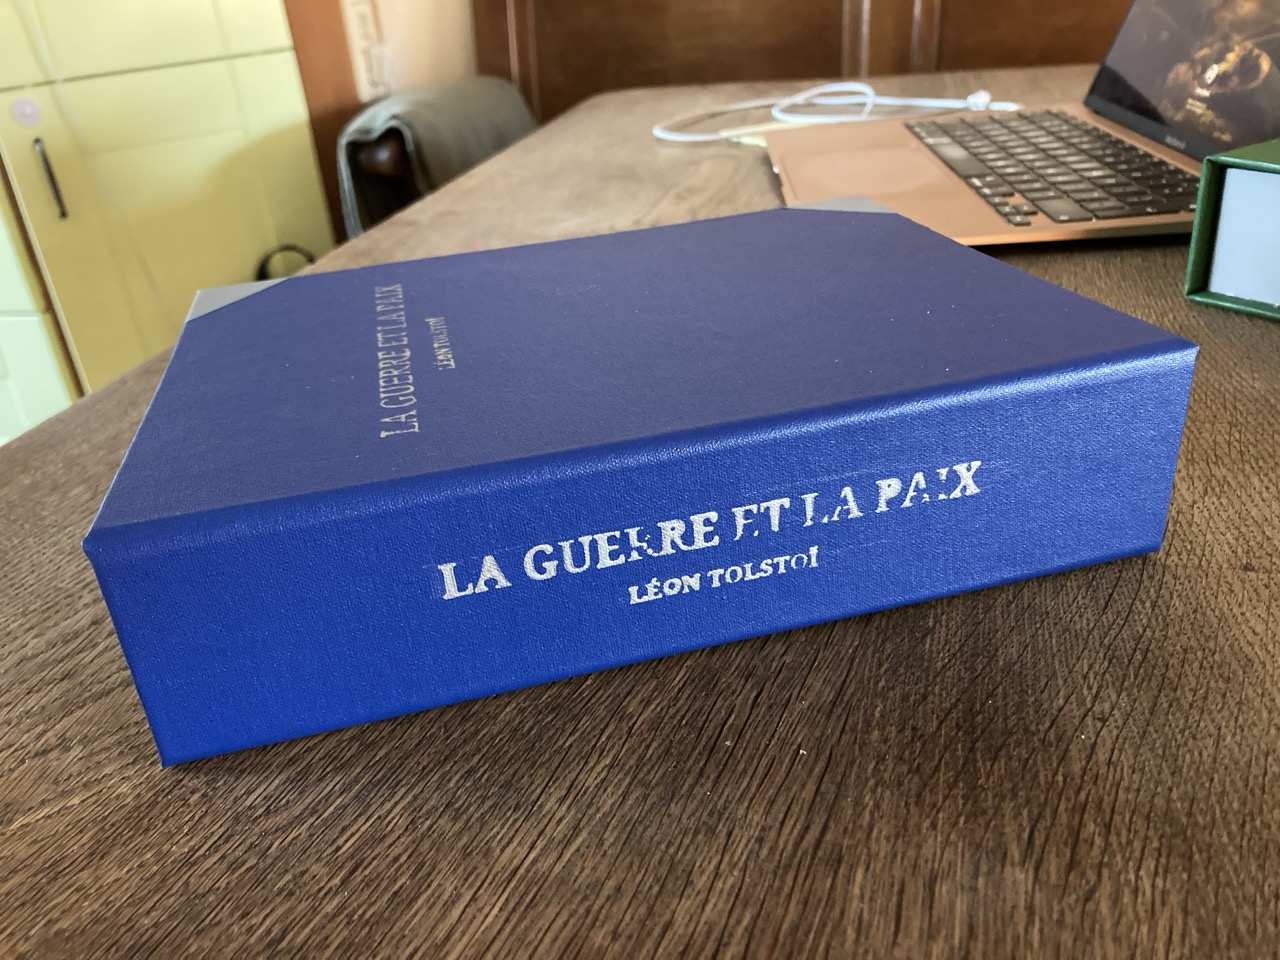
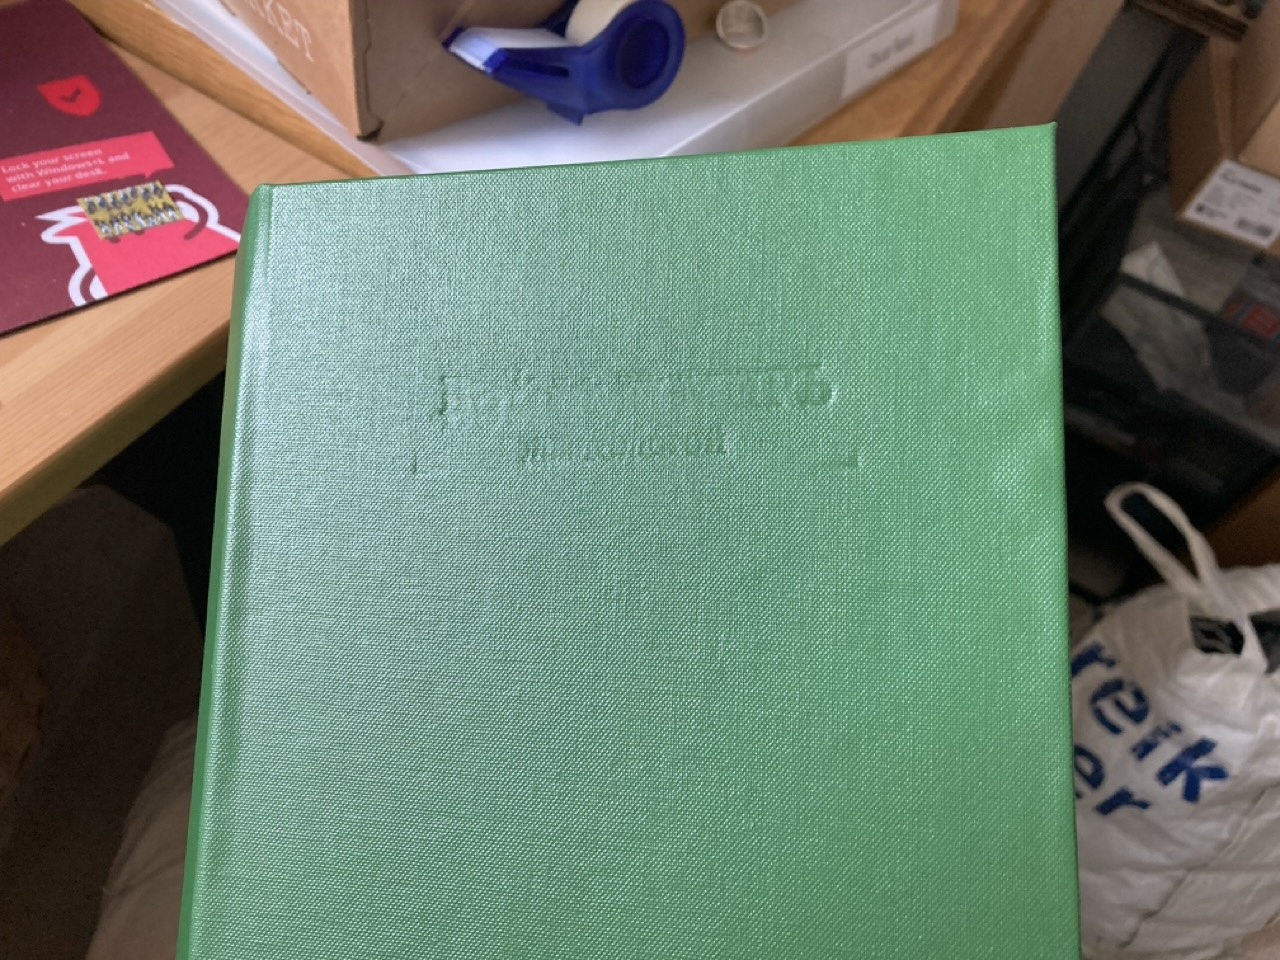
As mentioned before, the second book was for the French army. Obviously I went for the blue cover for this one, with silver lettering. The lettering is a bit smushed, but looks good enough for me.
You may notice the fancy silver coloured corners on this book. This was in fact to hide that I’d cut the binding cover paper to close to the edge, which meant that a small part of the cardboard corner was showing!
Luckily I had this very exclusive and expensive binding material that was perfect to cover this mess up: duct tape!

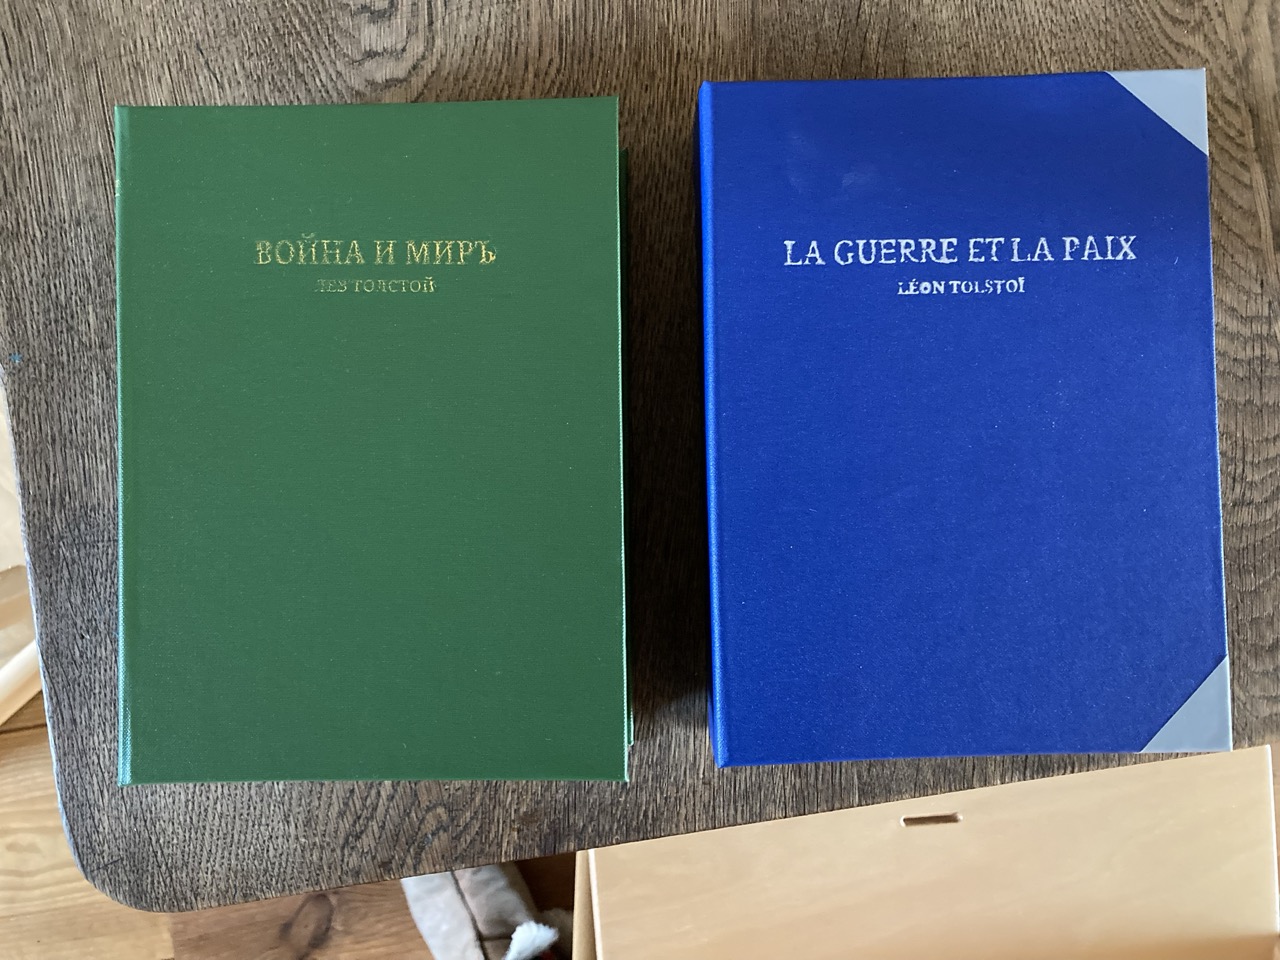
I am very pleased with the final product. It looks great on the shelf next to its Russian counterpart. I’m going to close this project for now. I might reopen it when Peter Dennis decided to make a 10mm Ottoman range (fingers crossed!).
P.S. Completely forgot to add the golden button I got for this project in September!
The conclusion: Magnetic attraction and sticky situations
To make my fancy base holders with their magnets actually stick to the book, I added a galvanised steel plate, which I ordered with the correct dimentions. It fit almost perfectly! The only problem was that the greyboard had gone slightly bendy after the book binder’s glue sticking it to the linnen dried.
My dad, who did a book binding course many many years ago told me that there was a trick to avoid this, but he couldn’t remember… As a homegrown remedy, I just added weights on top so the metal plate would hopefully glue on snugly and keep the rest of the cover straight(er).
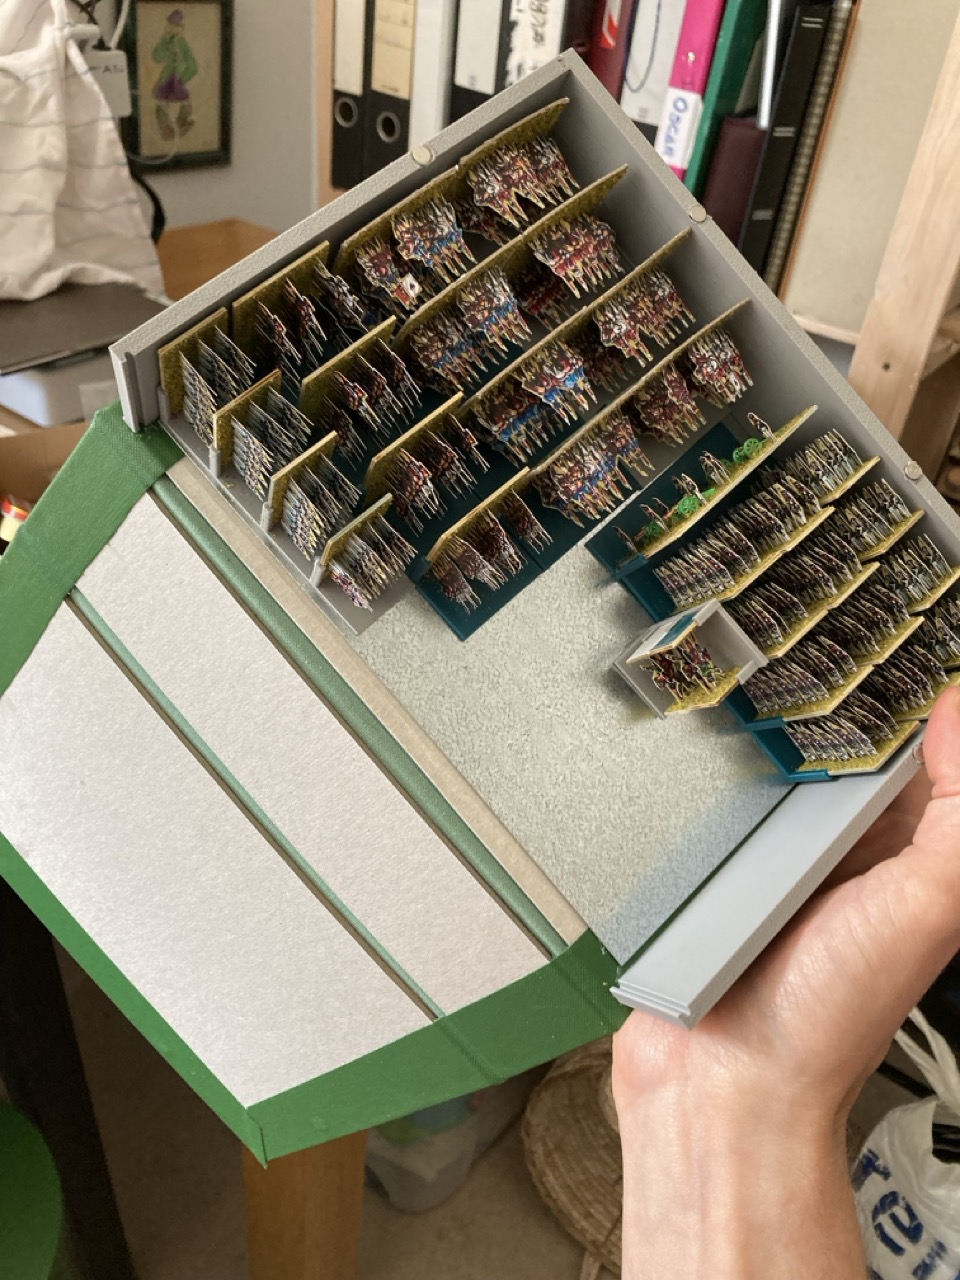
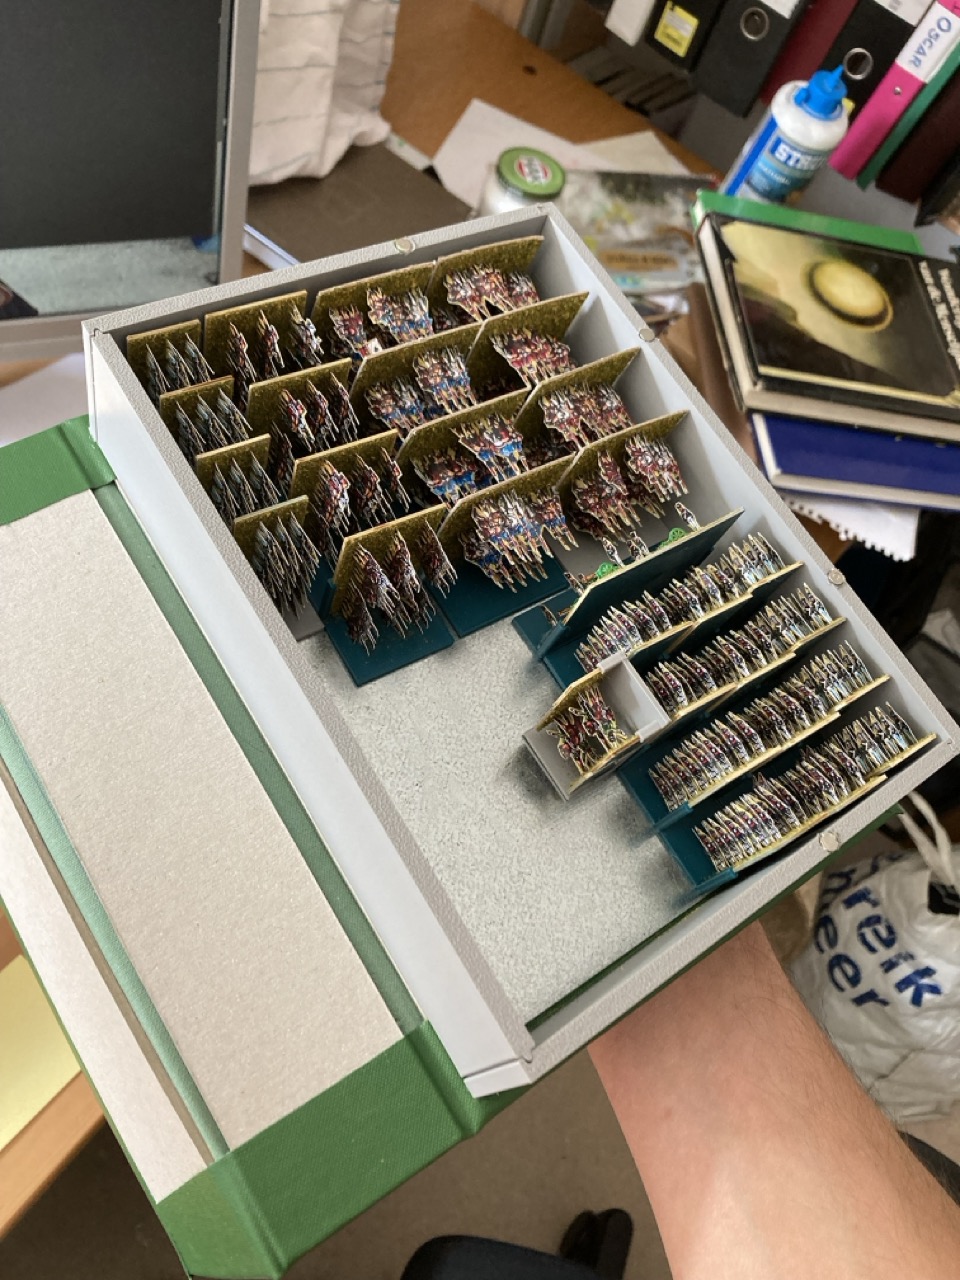
Finale
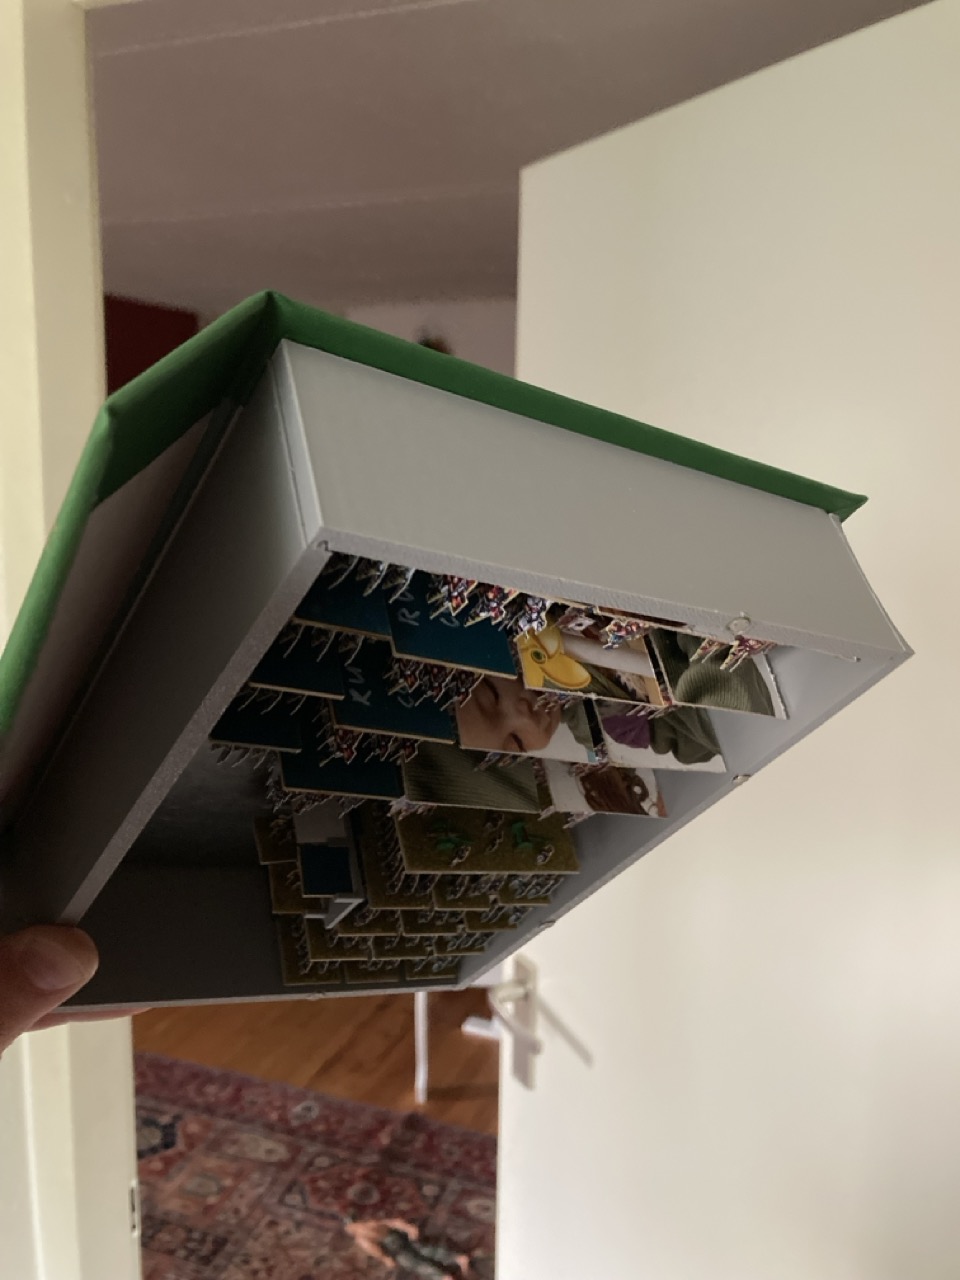
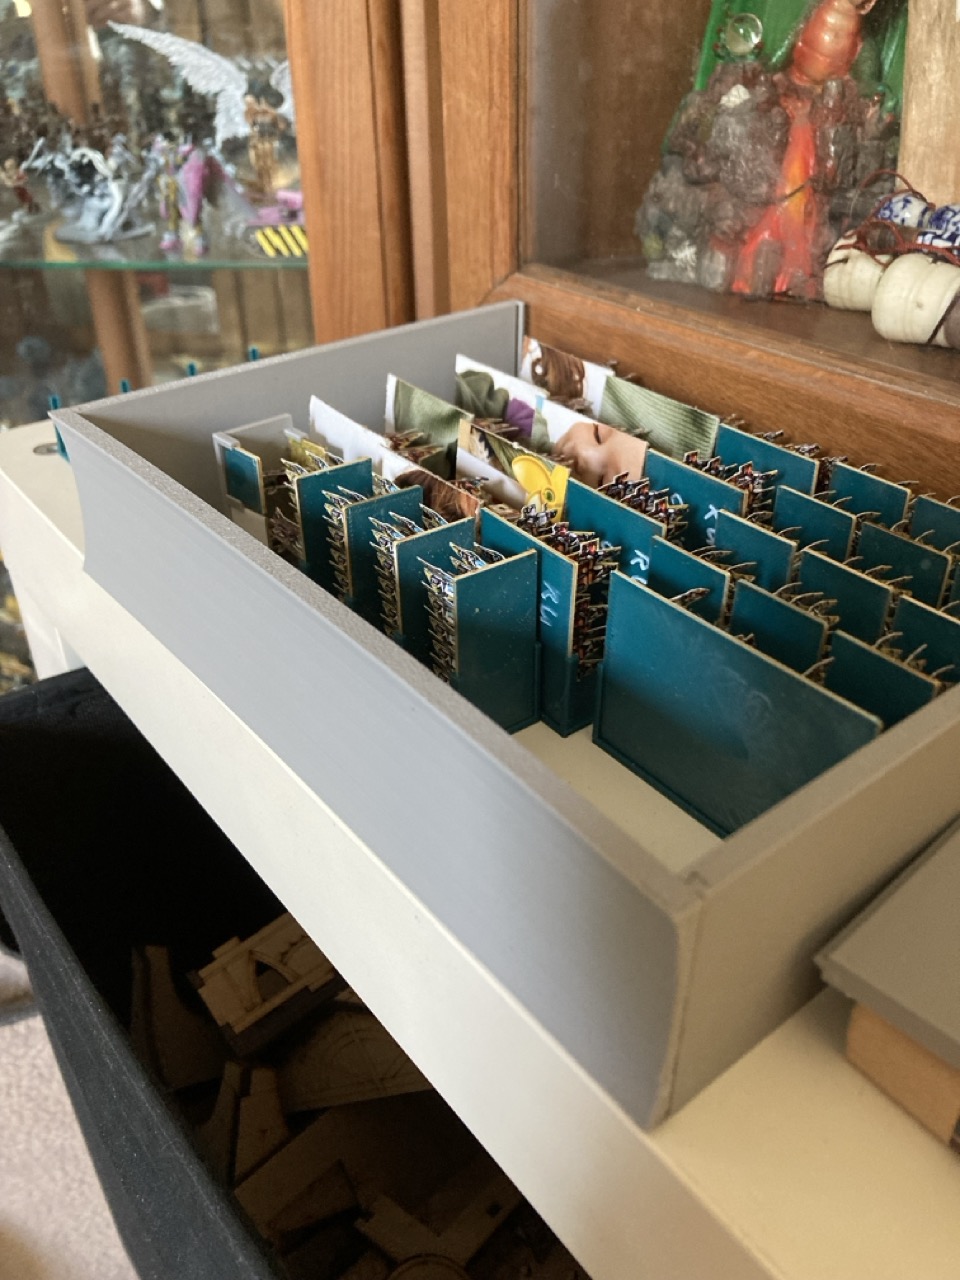
So here it is, the finished product! Below you can see two images with the base holder and the paper minis actually in there. The magnets attach perfectly to the metal plate. Not too weak so they will slide around, and not too strong that you can barely get the holders out. Note also that I’ve finally added the slide-in wall that faces the spine. I’m thinking that next time, rather then sliding it in, I might add a hinge instead.
Two photos of the whole thing closed, plus the whisked eggwhite test!
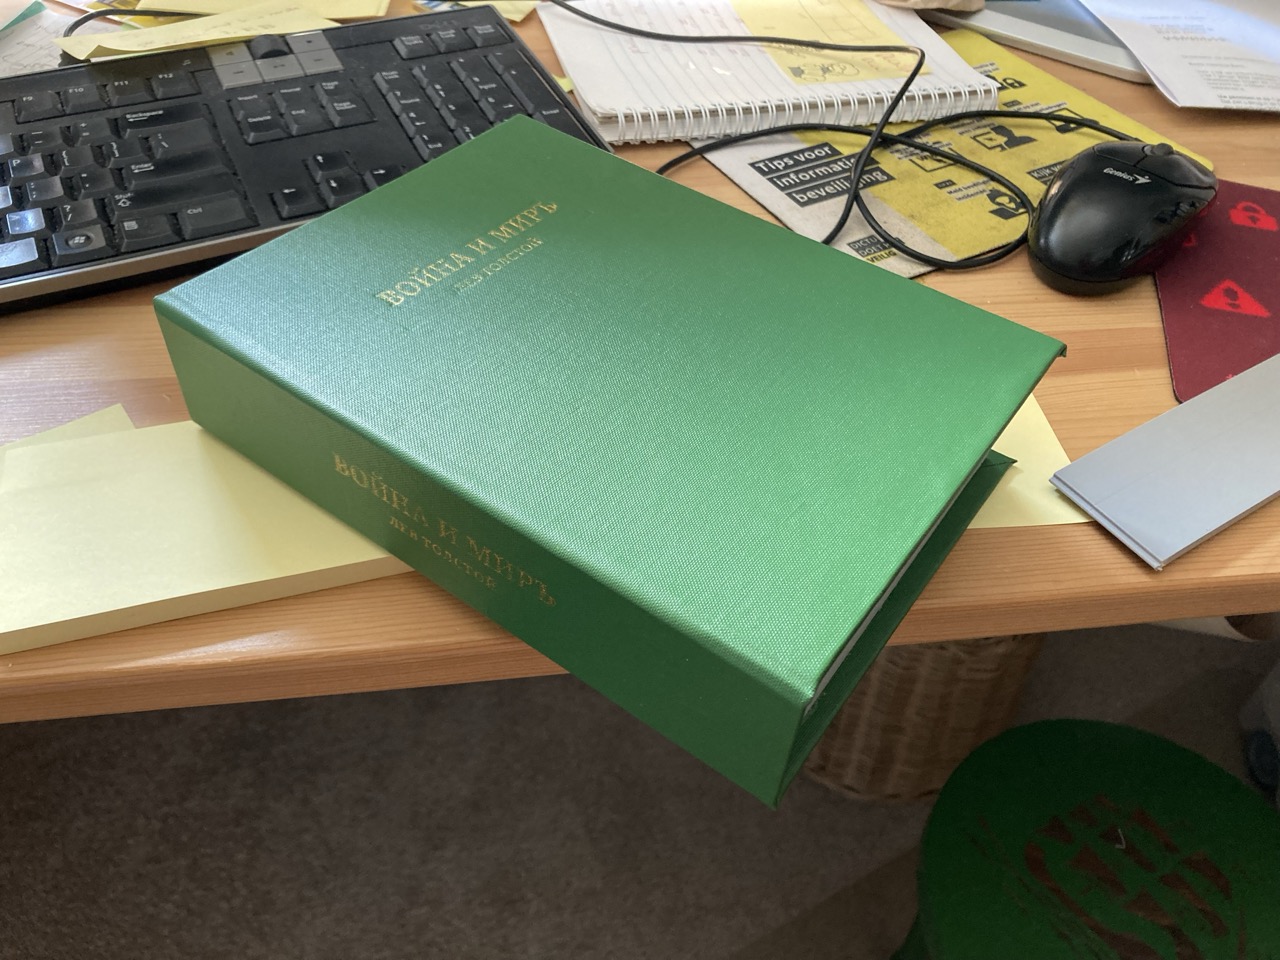
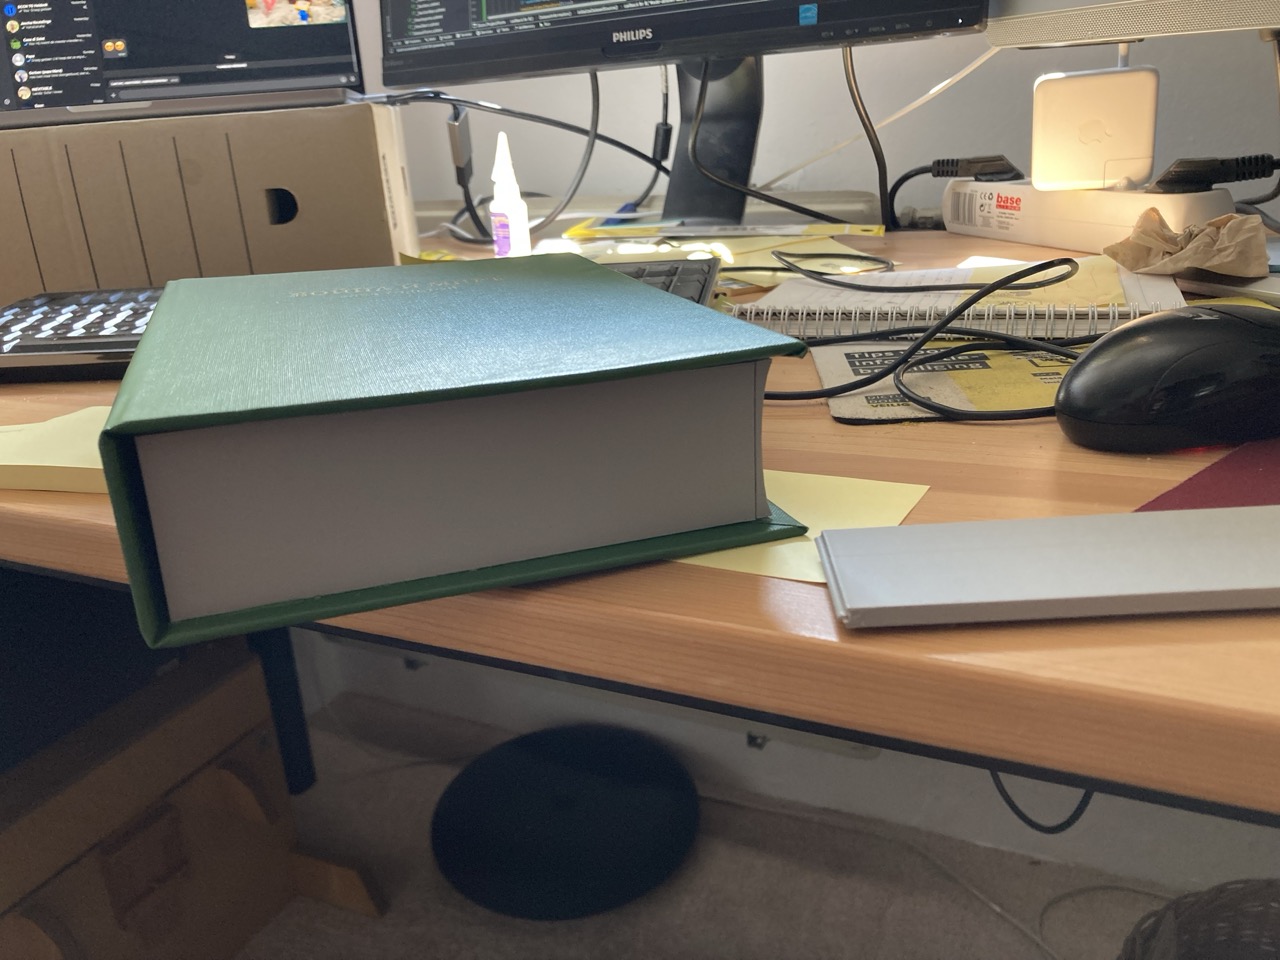
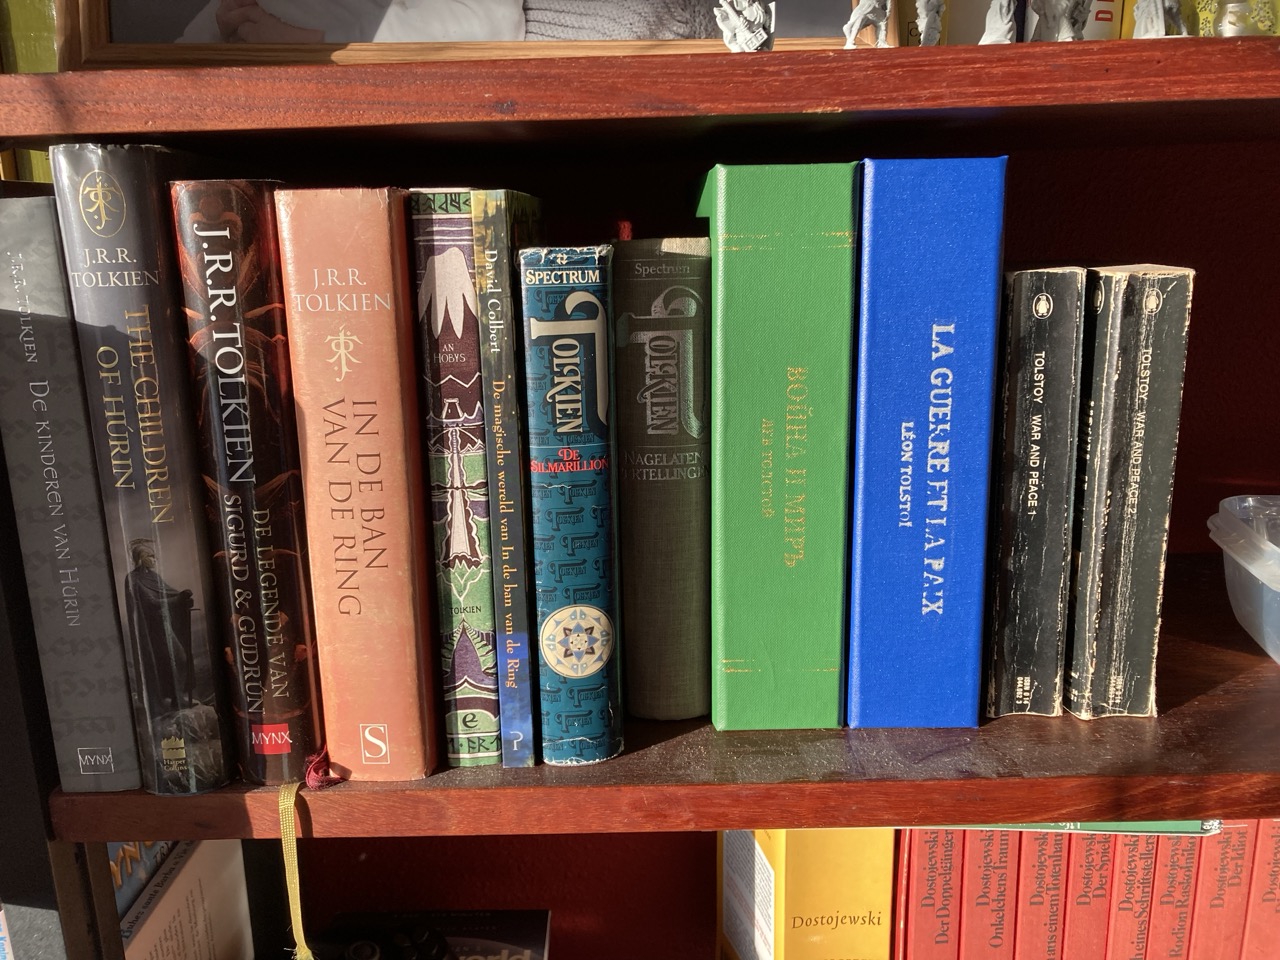
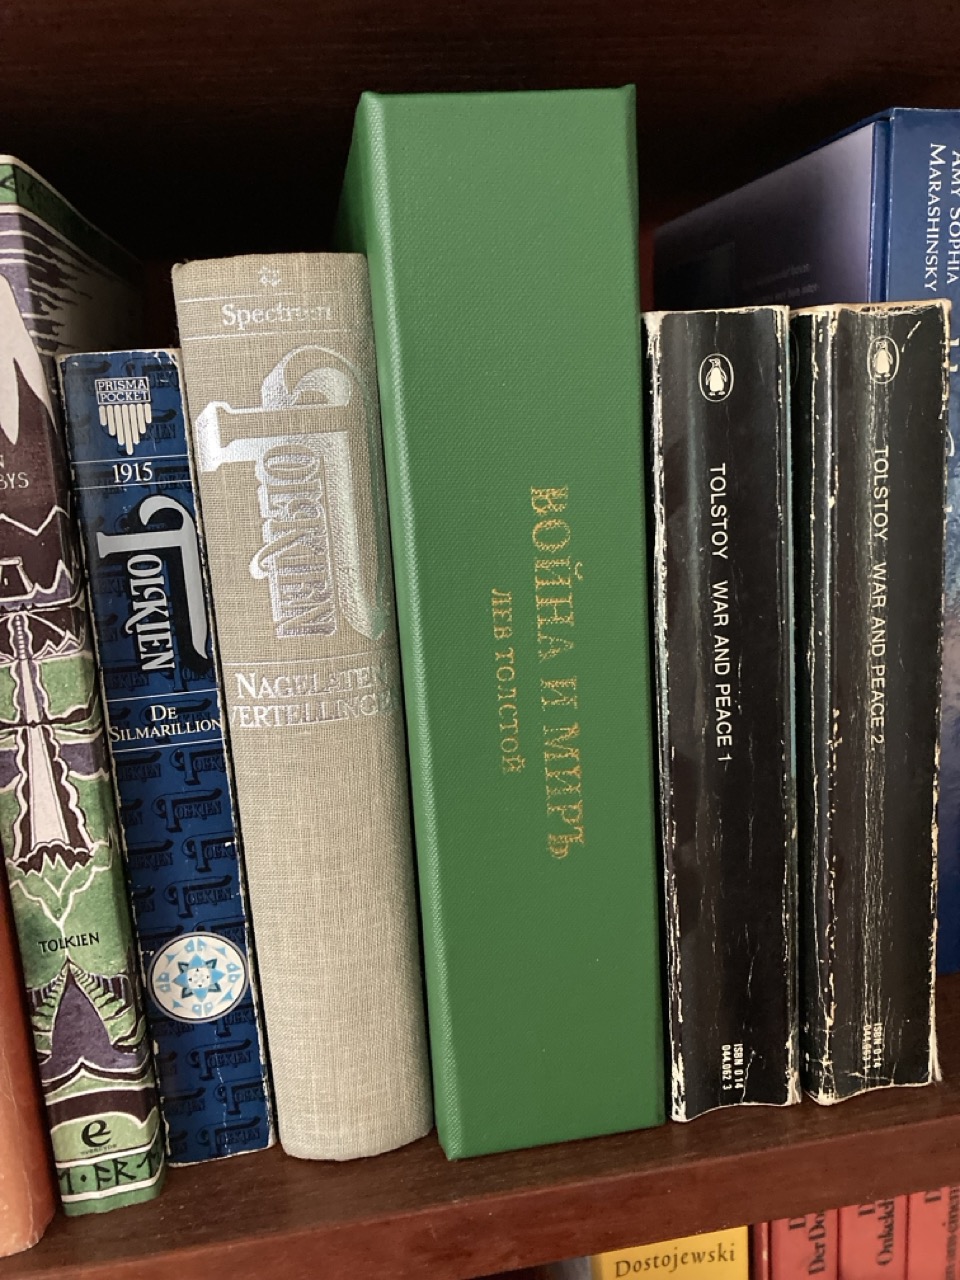
And finally, on a bookshelf. Next to War and Peace proper. Where it belongs.
Epilogue
As you may have noticed from my bungling, this was a prototype. I intend to make at least one more, but then for my French paper army. I’ve also got an idea to make more, slightly different projects combining books and my love of miniatures, but more about those in the future hopefully!
Title: A man without Vices
I was quite happy with how the cover was taking shape. It is already starting to look like what I envisioned!
But, what is a cover without a pretty title? For this I had two different modes of approach: for the first one I would make a kind of stamp of the title, which I would first emboss into the cover, after which I would stamp in the intended colour. The second one would be to create a stencil of the title and use a sponge to get the colour on.
Stamping it out
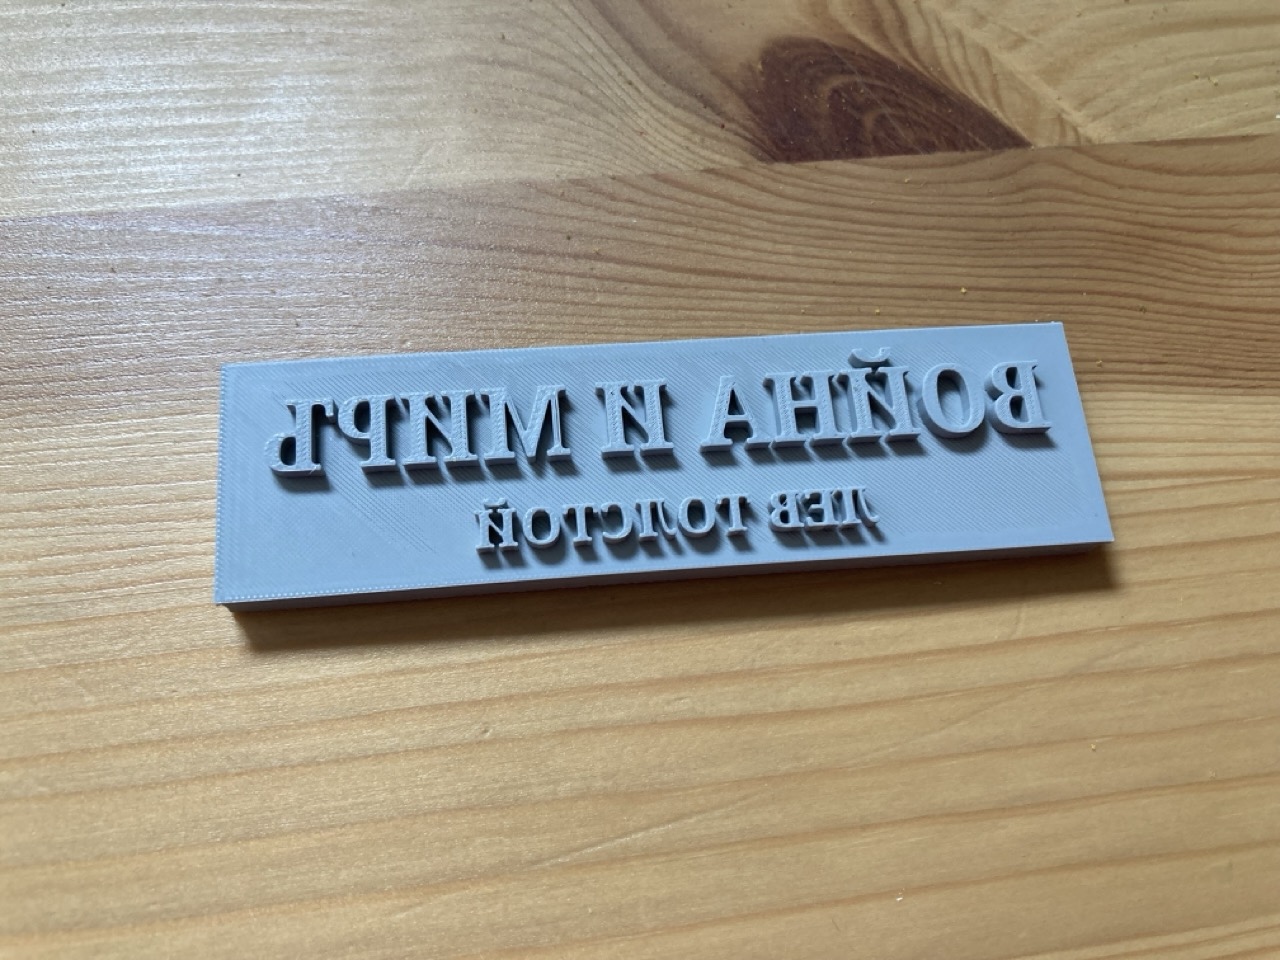
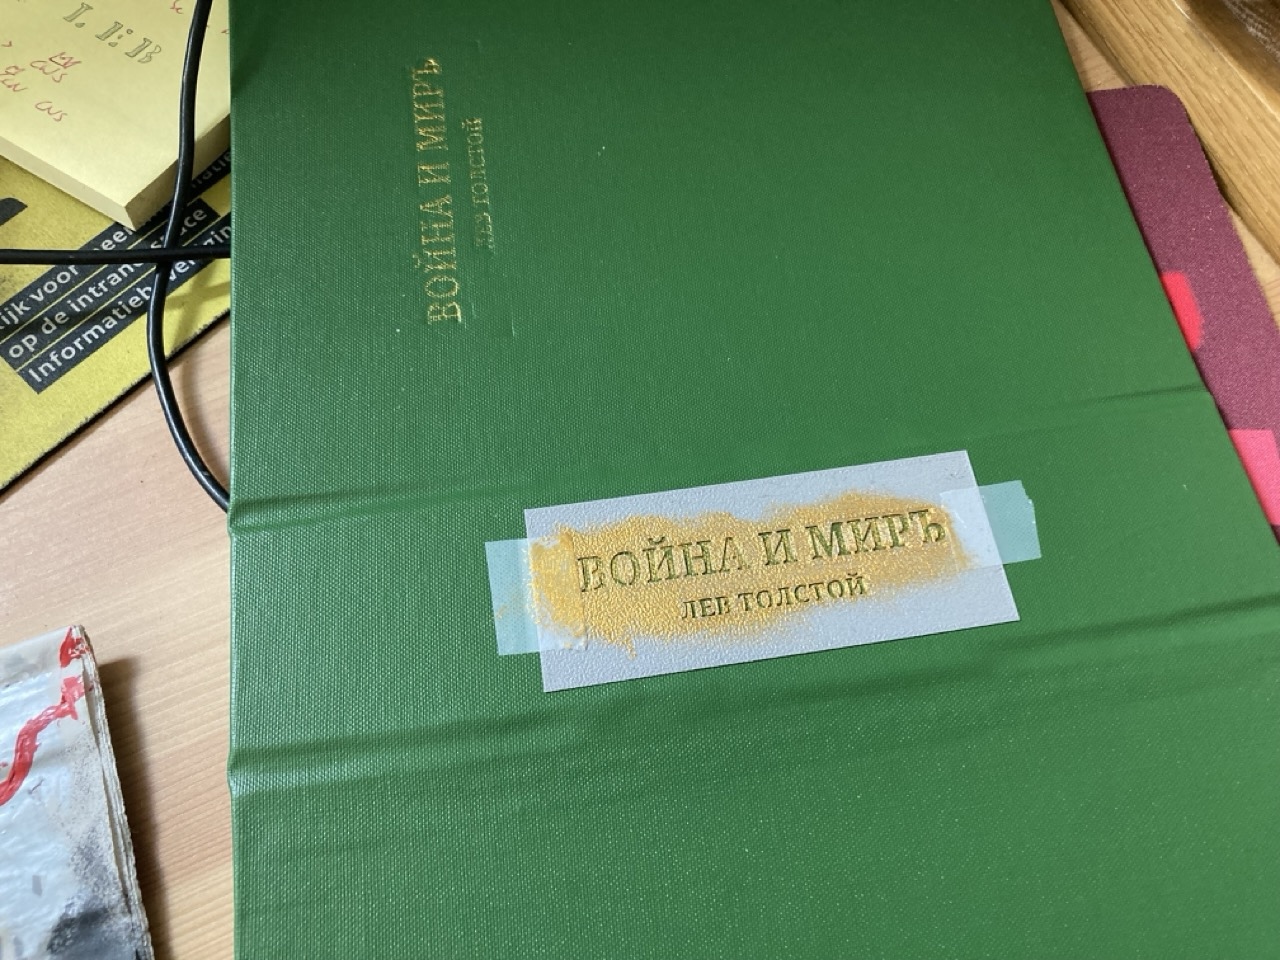
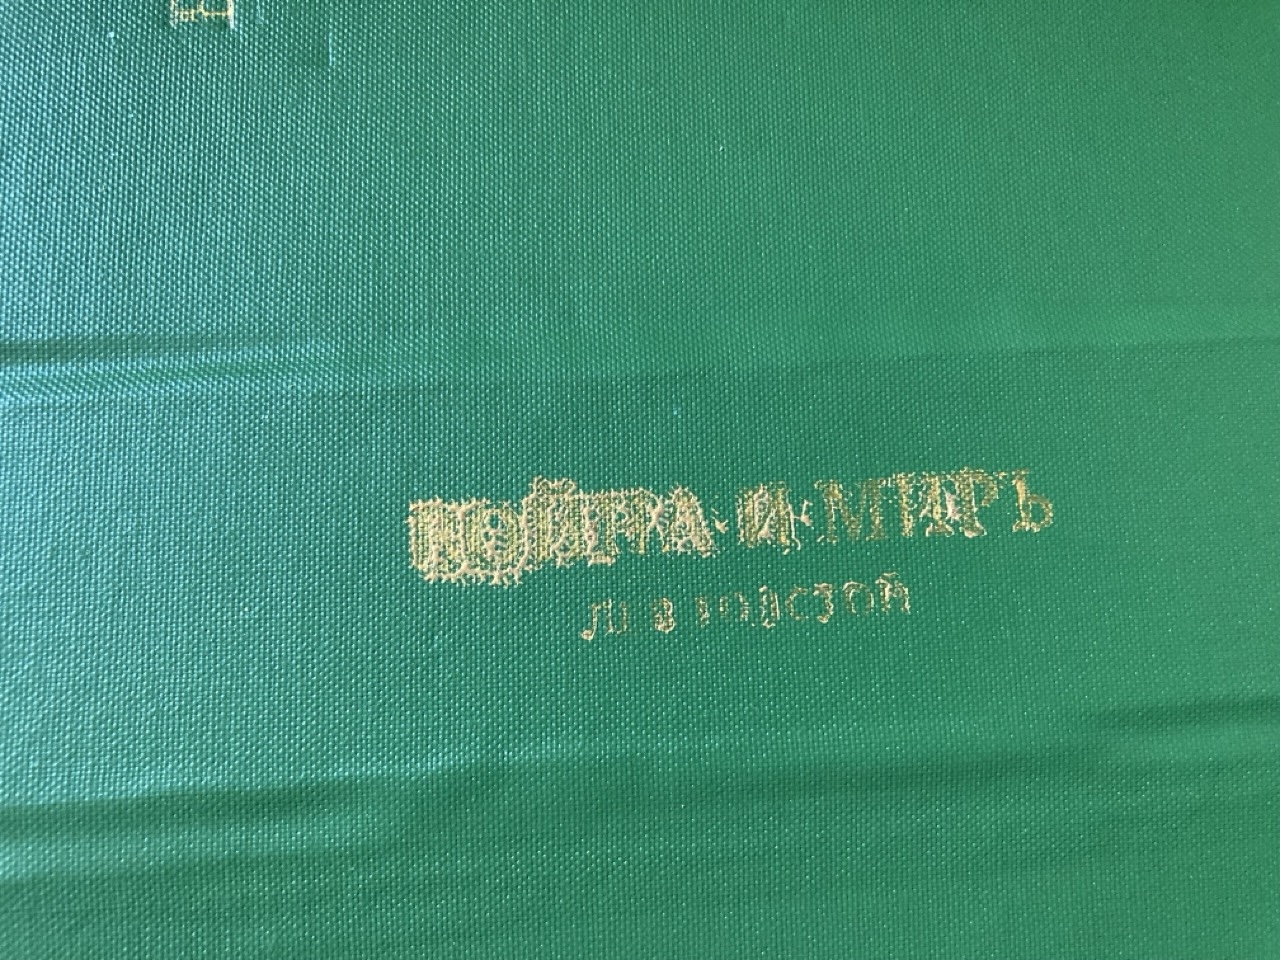
For the embossing approach I again made use of my 3D printer. I basically made a thick rectangle on which I had a raised mirrored text with the title. Being a nerd among nerds, the title is of course in pre-reform Russian spelling, so Война и миръ: as good old Tolstoy would have written it himself!
Unfortunately I don’t have a vice on my workbench, so I thought I’d just try it with my own weight. Unfortunately this meant I also pressed the edge of the stamp into the cover. Not ideal and after stamping the title on there with golden paint (just your regular AP Gold) it didn’t look any better than it would have been without the embossing. Still good enough if you ask me.

Stencils then?
I wasn’t too happy or unhappy with the stamped title, so I thought I’d give the stencil a go then on the spine. I also 3D printed this one. I used a sponge to dab the colour in, but especially on the author’s name the colour did not come through enough. I therefore painted between the lines with a brush carefully. Or so I thought:
 I’m clearly no banksy
Luckily acrylics can very easily be removed when they’re still wet, so I just redid the spine with a simple stamp of the title and author, without trying to emboss it this time. I think that this is what worked best in the end.

The cover story
So this time I tried my hand at some book binding. As stated before, I ordered some basic supplies for making a cover and got to it.
The outside dimensions of the 3D printed inner container section are 210 mm by 155 mm by 45 mm. Looking at some hardcover books on my shelves I thought that for the front and back plates I’d do 220 mm by 160 mm, and for the spine 45 mm. Note that the greyboard I’m using is 2.5 mm thick, which seemed like a sturdy choice.
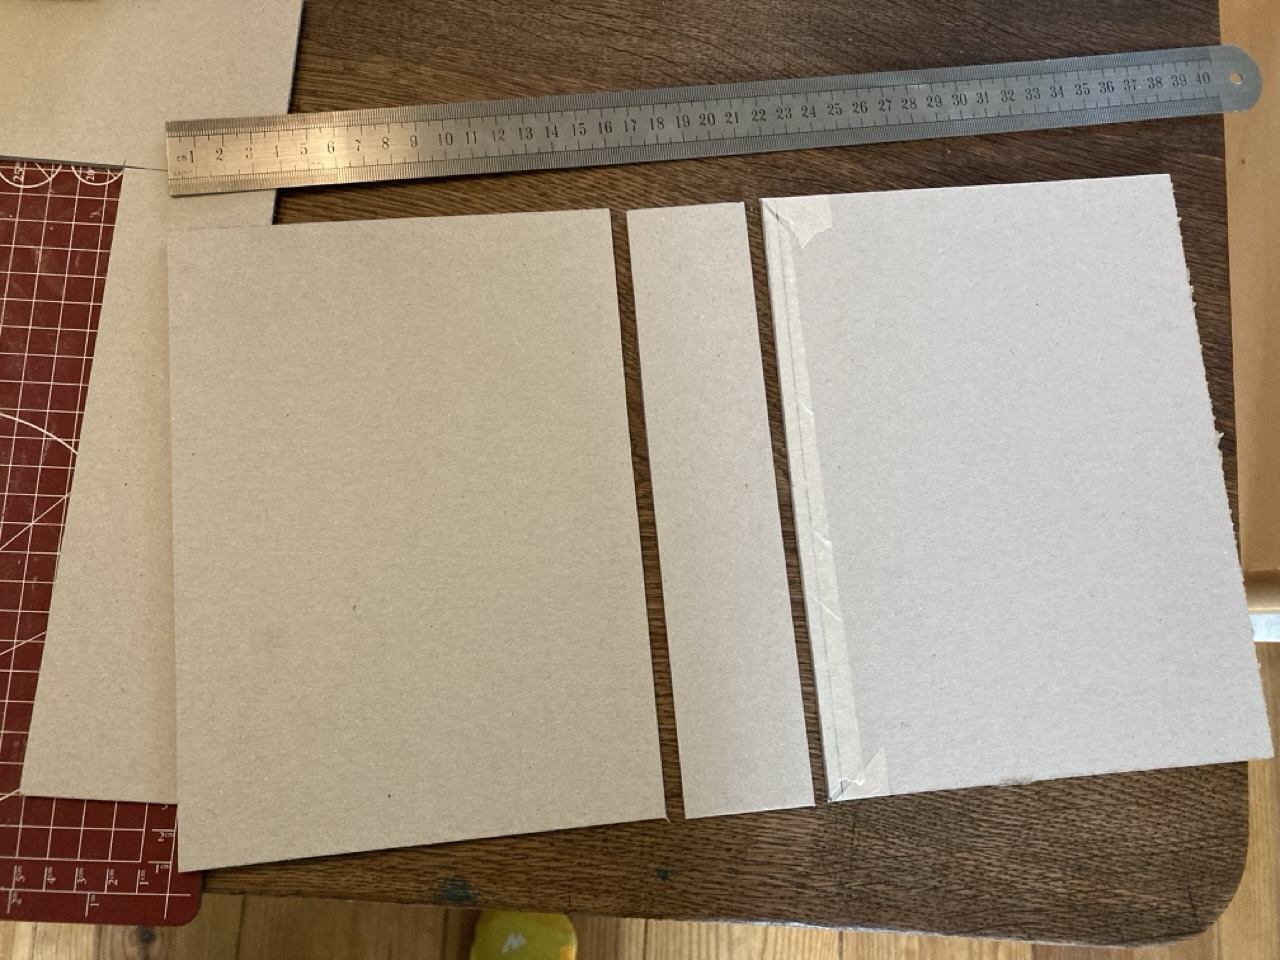
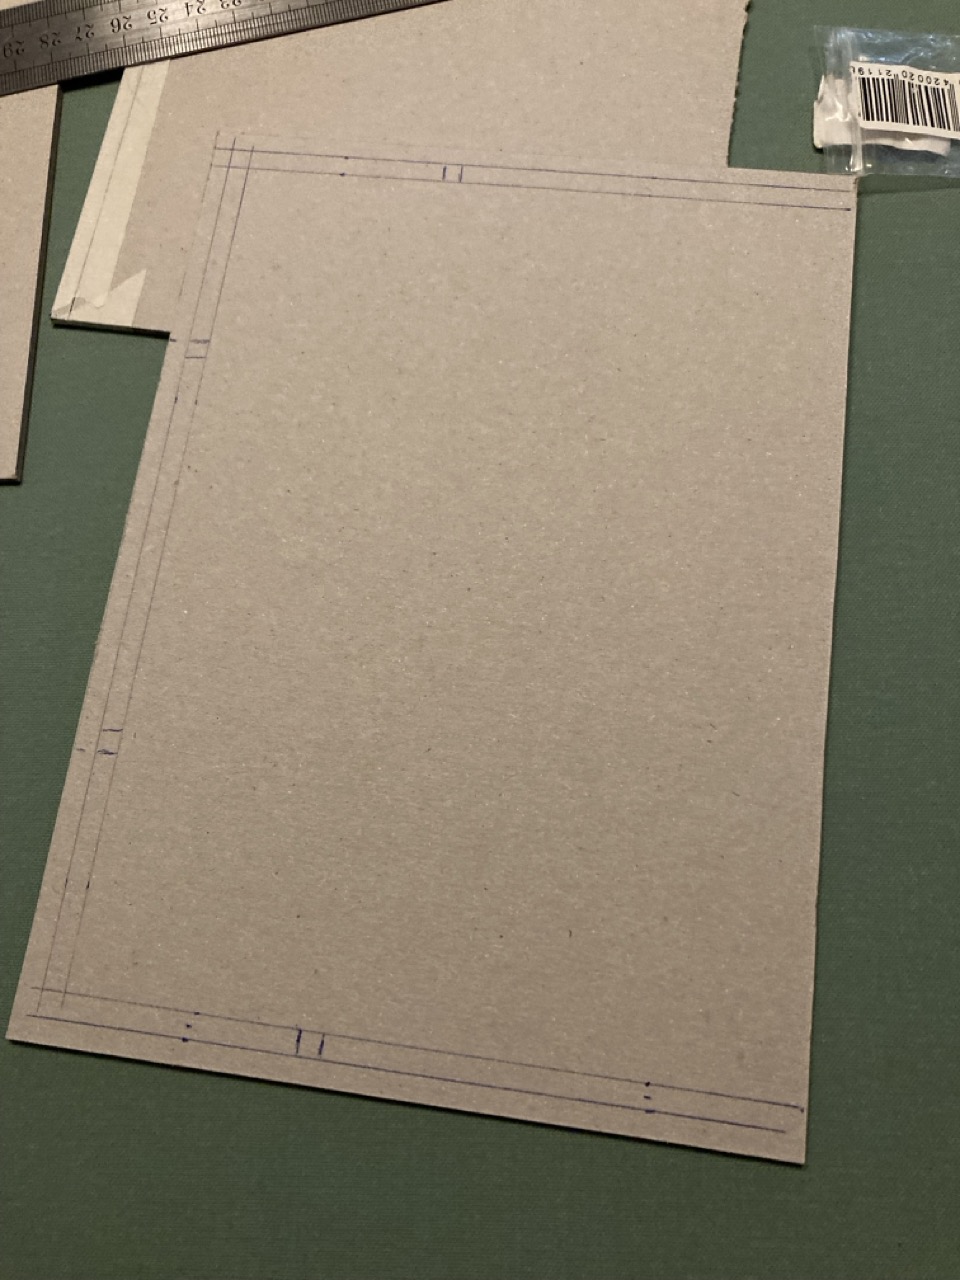
I then added some holes to the greyboard into which I stuck some magnets. To make these holes I firstly drew out where the inner section would be and then marked the holes. I then made shallow cuts with a precision knife and carefully removed the top layers of the board with the same knife.
The idea is that these magnets will keep the book closed, when not jammed between two books.
I then noticed that I forgot to add holes to the 3D printed section. I added holes to the designs in TinkerCad in which you can easily slide the magnets, but I hadn’t added them in the sections I already printed. I hate reprinting stuff for such a minor addition, so I got out the drill and just added some holes that way. It isn’t as pretty as it could have been, but does the job!
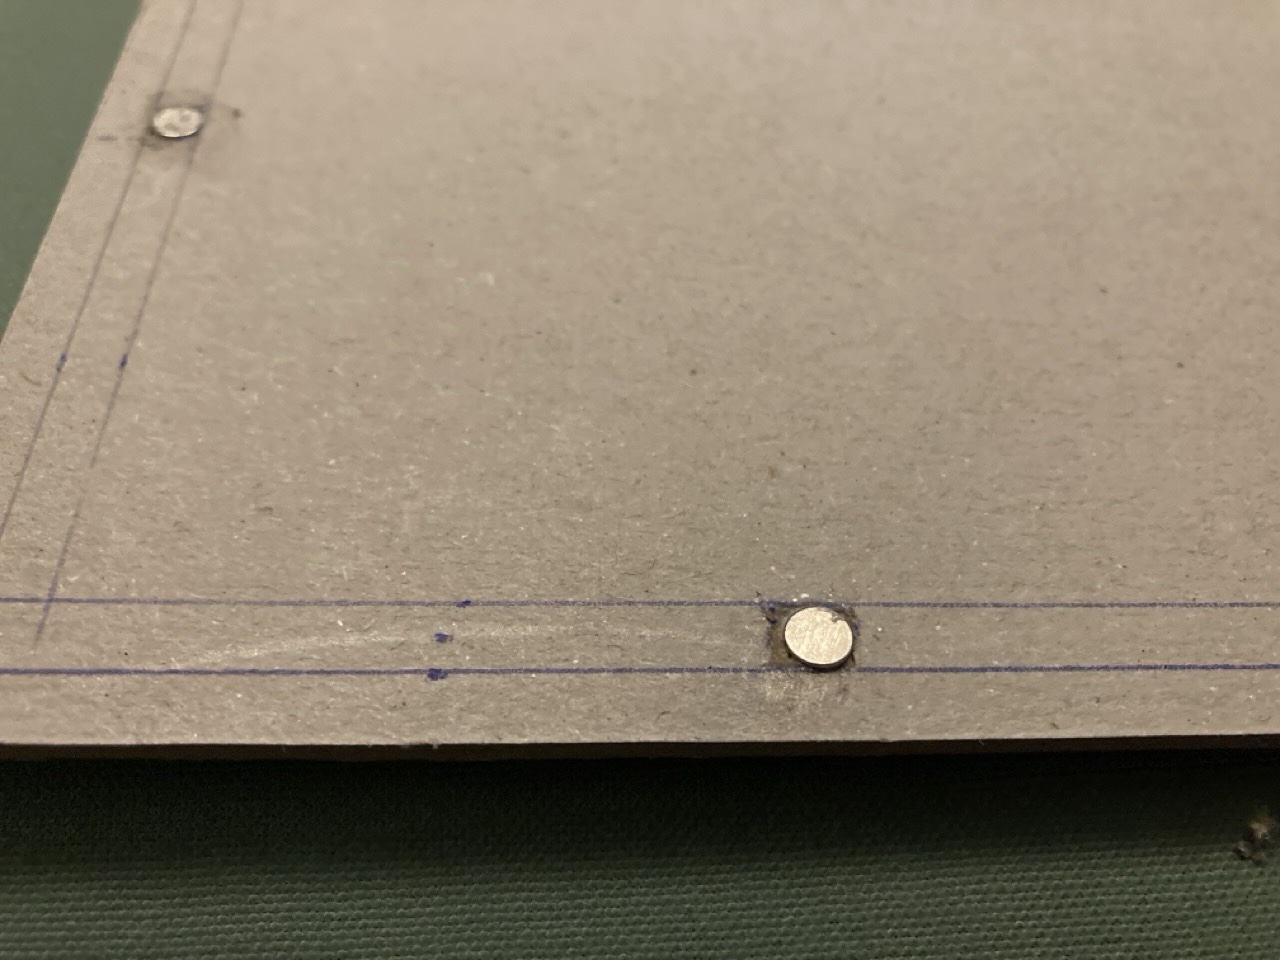
 First magnet added!
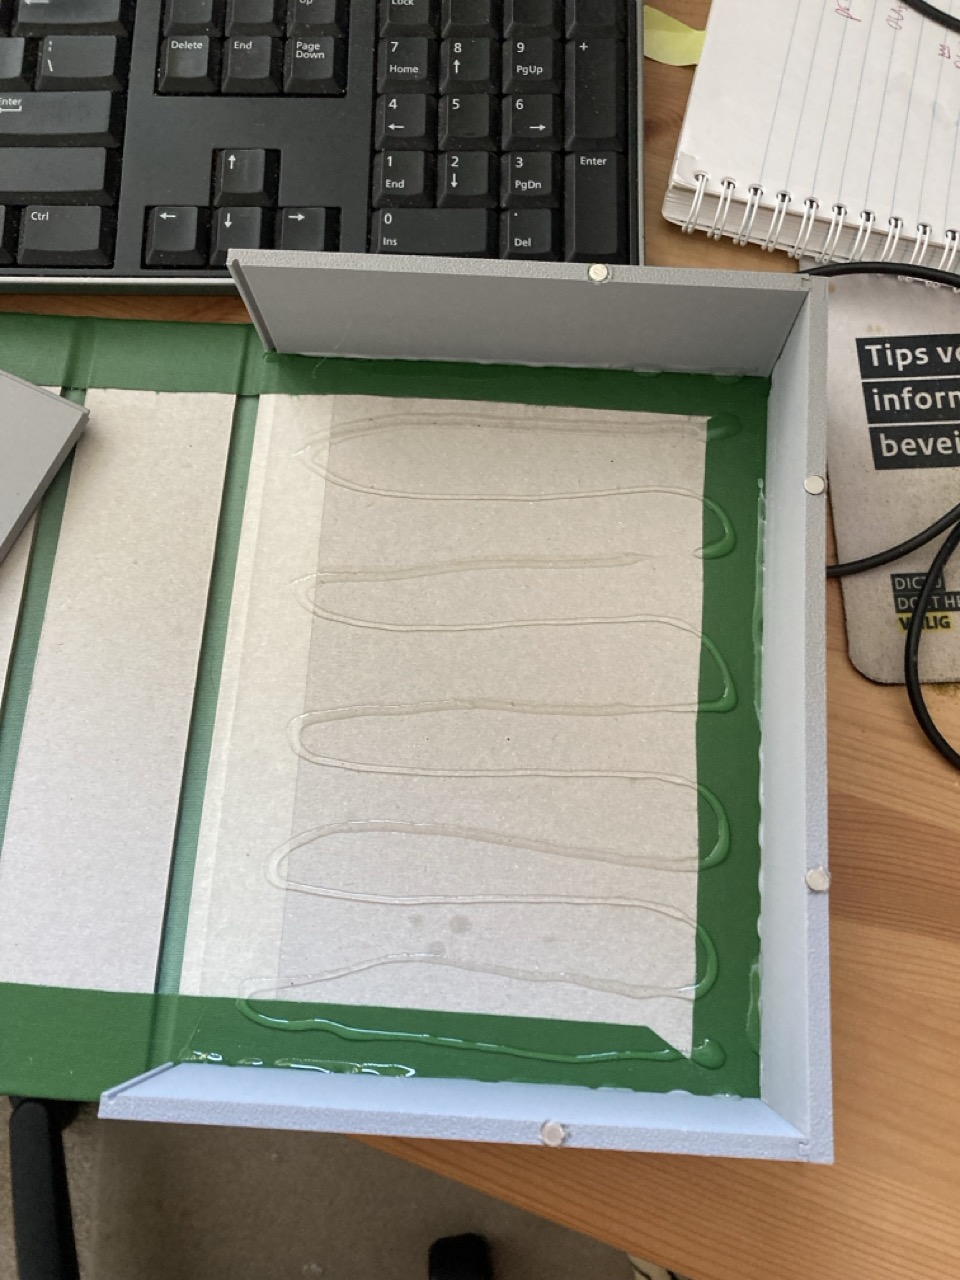
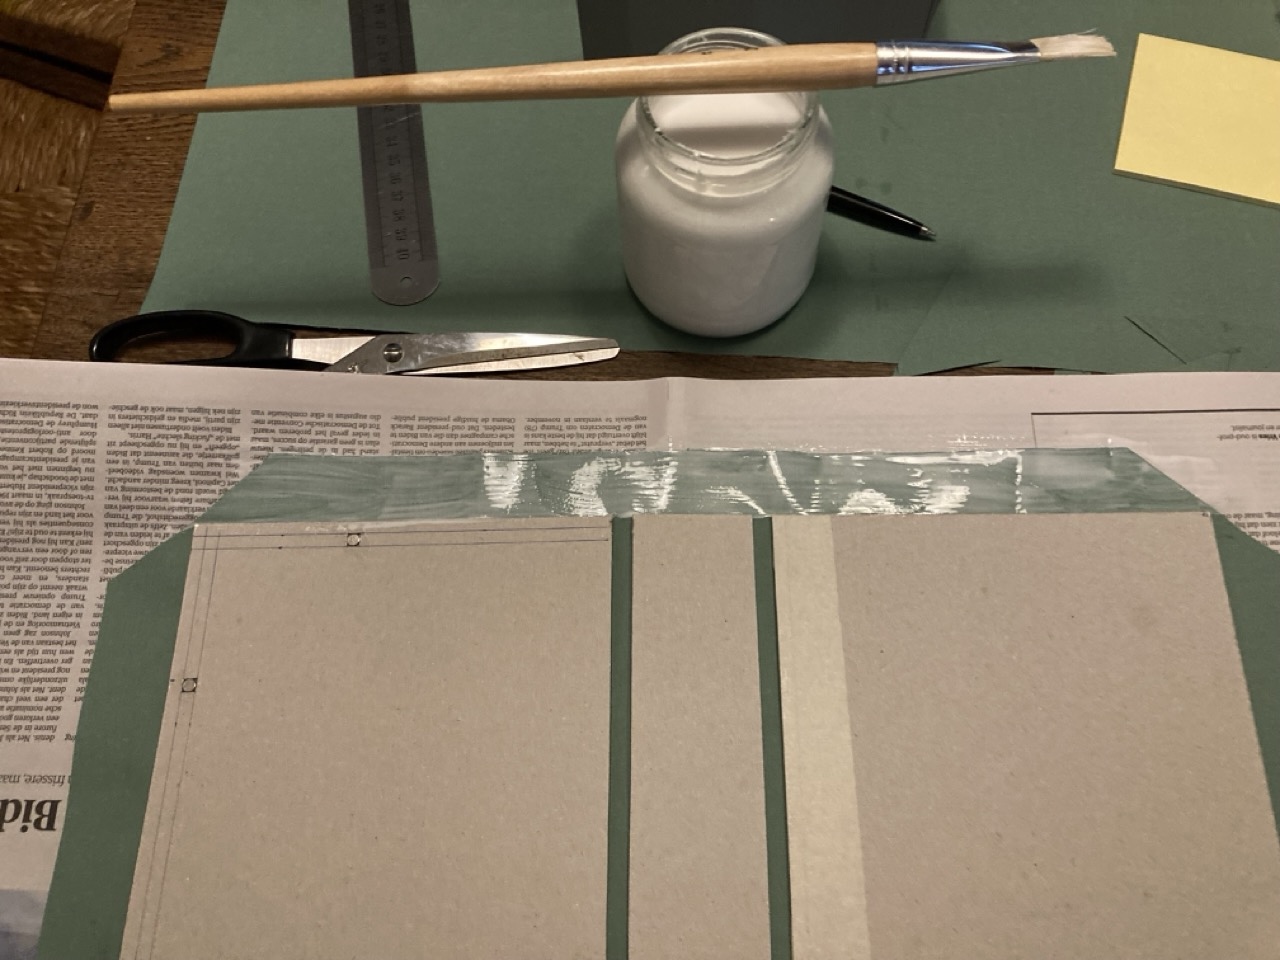
I then turned around the greyboards, covered it with a layer of the lovely bookbinders glue and stuk it to a green piece of bookbinding linen I’d cut out. I did this casually, same as the distance between the boards and the spine (it’s about 6 mm).
I then glued each of the green parts over the board as you can see below.
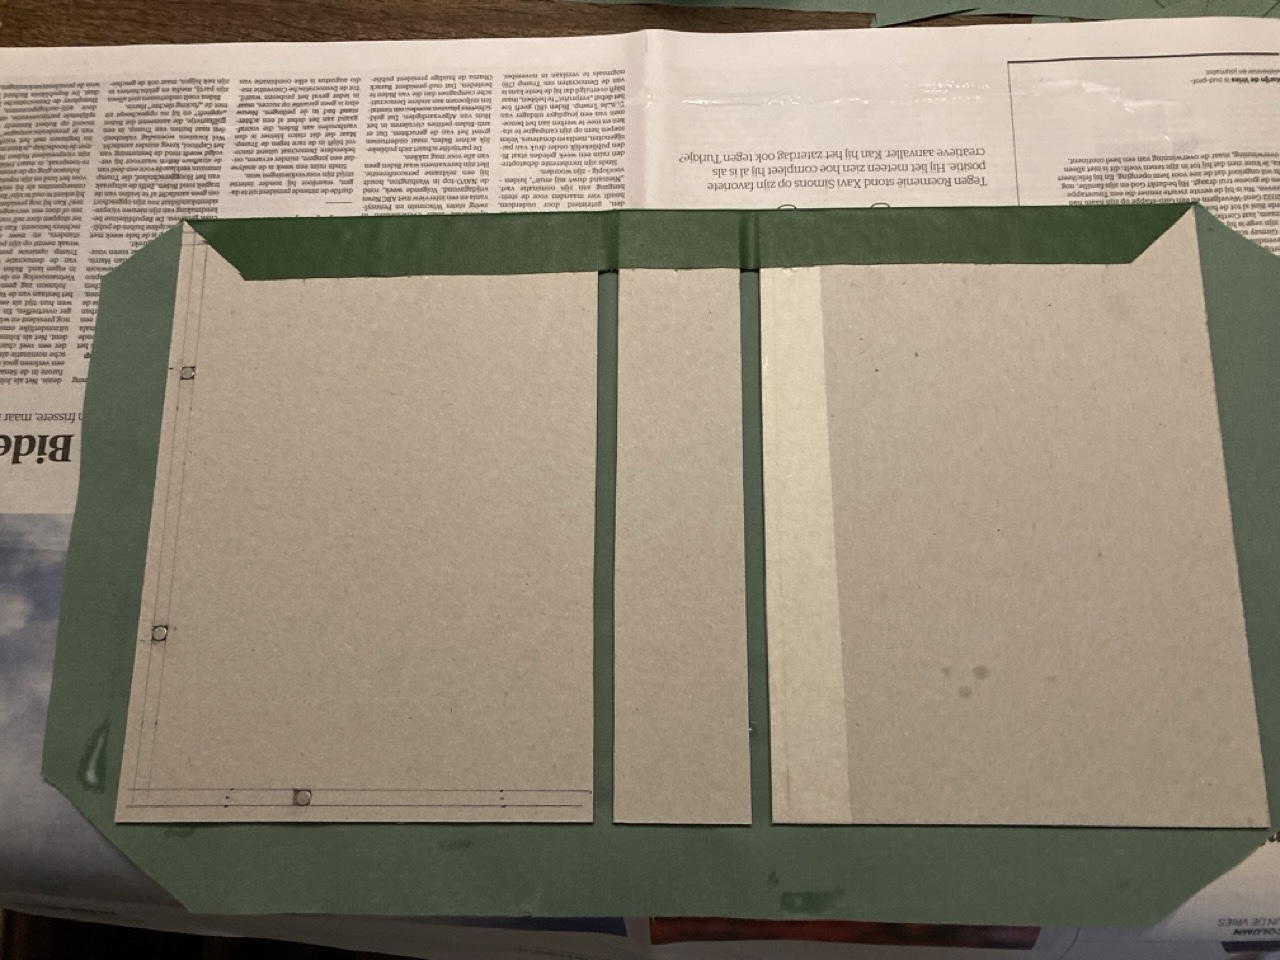
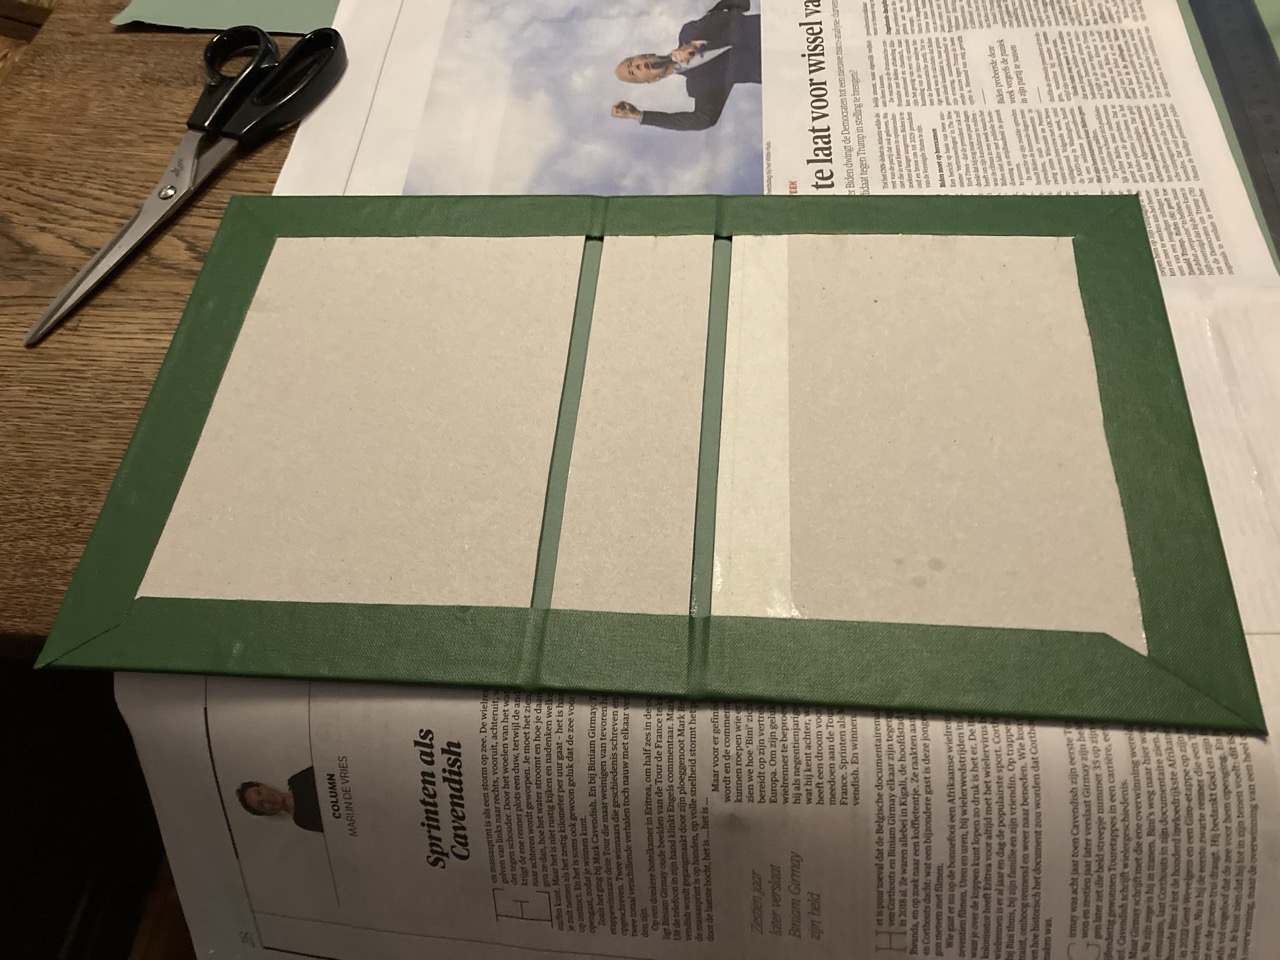
That is all for now. After this the I’ll move on to the lettering on the cover!
On edge(s)
When I was little I was obsessed with whodunnits and other stories of spies and adventure. I vividly remember how books could be cleverly hidden switches to open hidden doors or contain concealed handguns. I realised that I wouldn’t be able to create a lair hidden behind a mechanical bookcase, but I did try to make myself one of these:
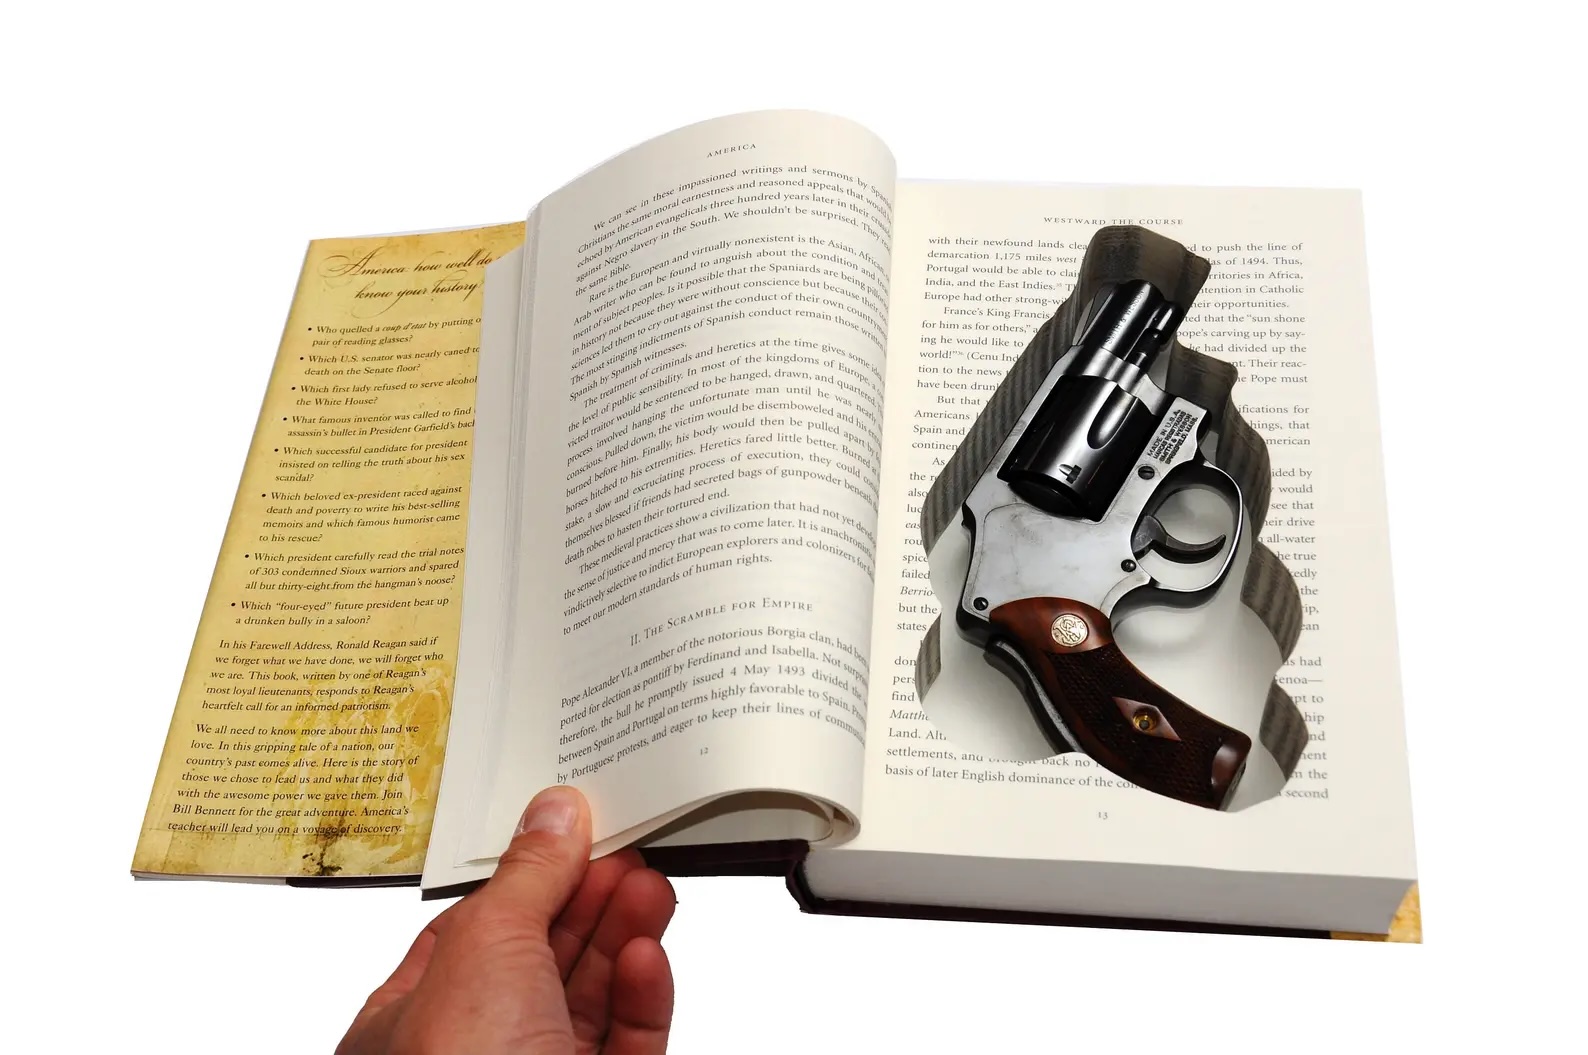
It turned out this was much harder than I had anticipated. I can’t remember which of my father’s books I ruined, but I gave up after having cut through maybe twenty pages with a rusty utility knife.
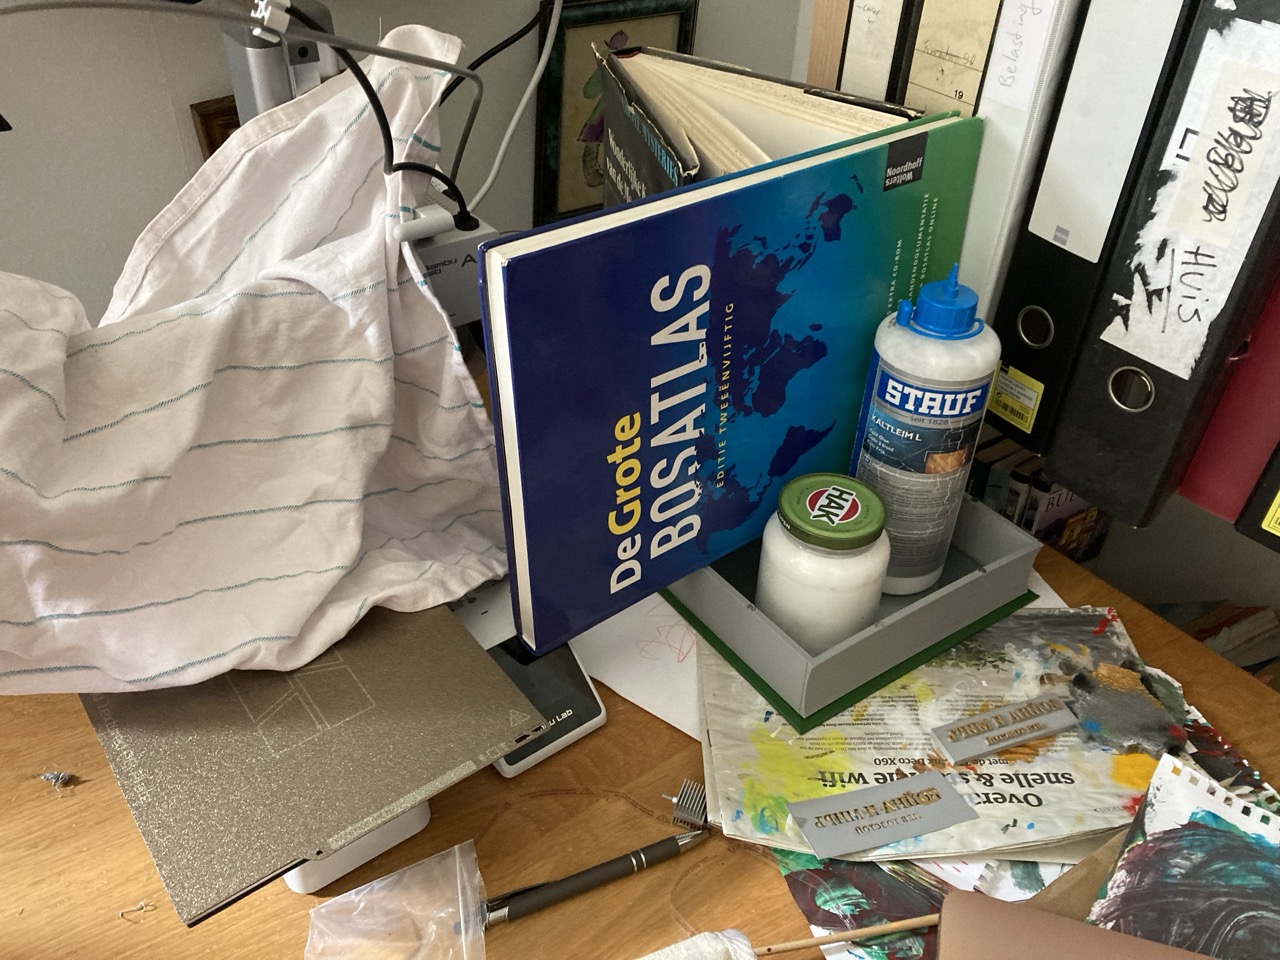
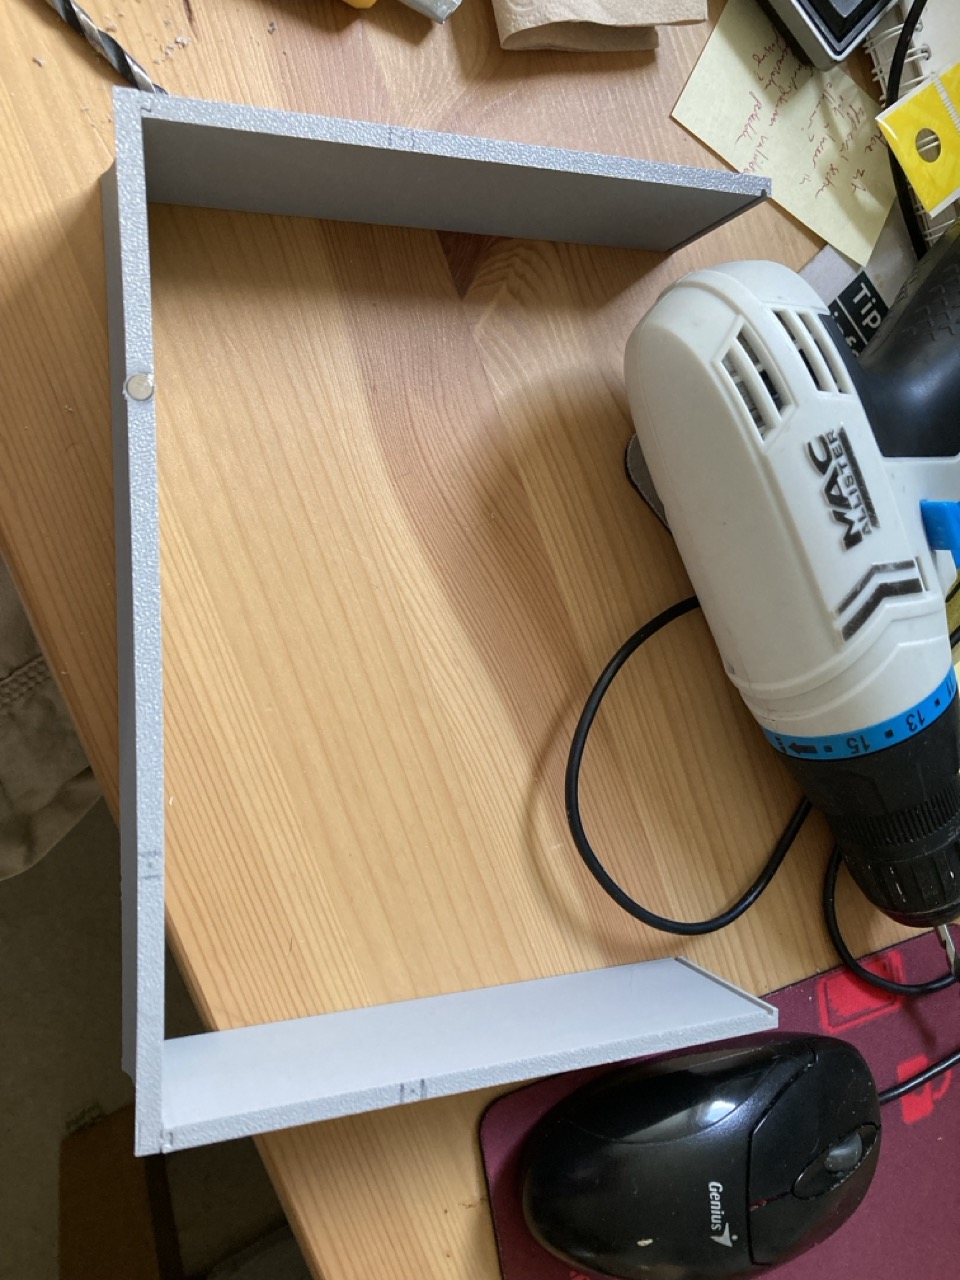
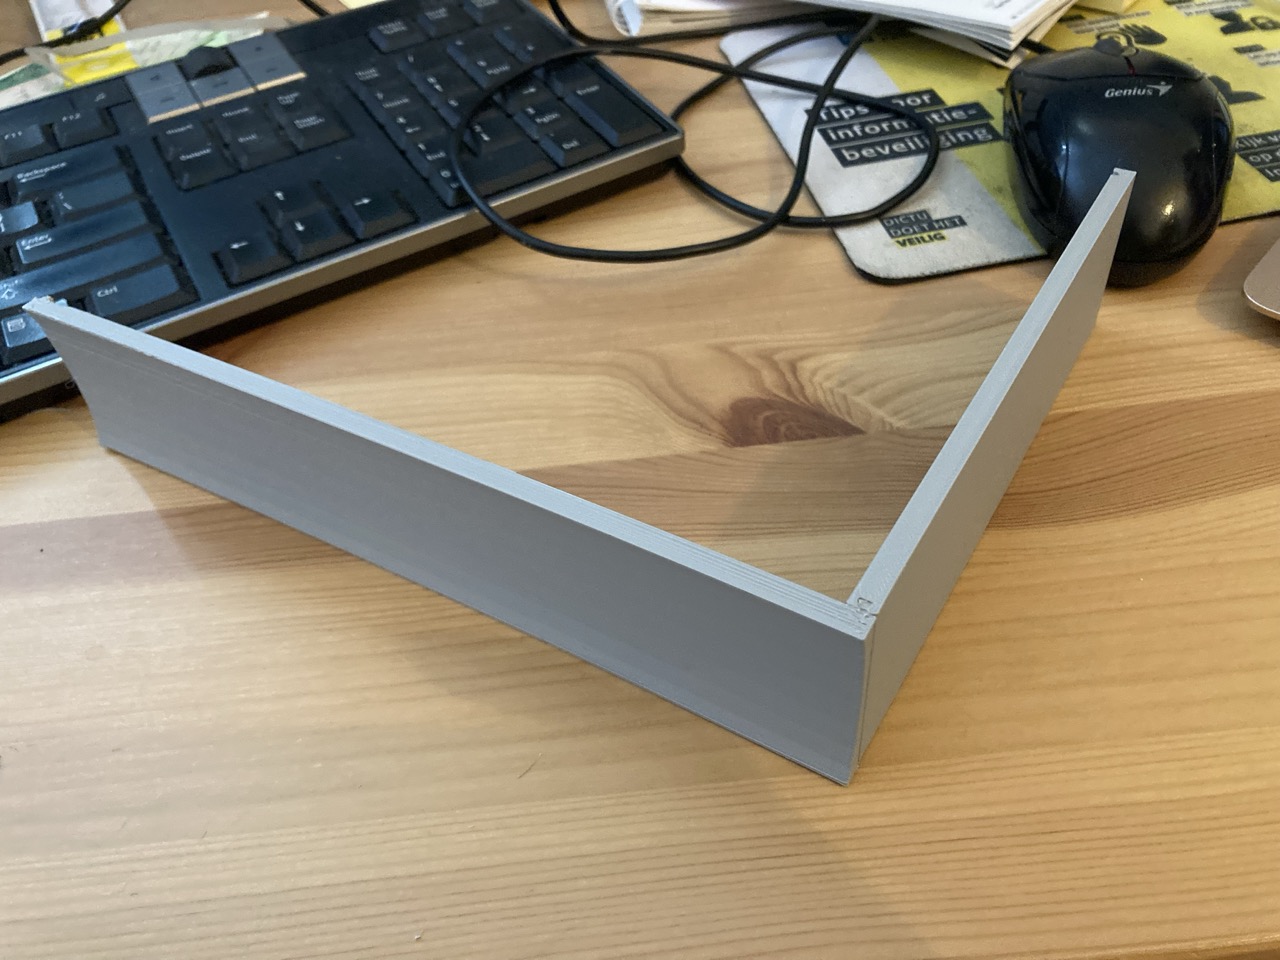
Now, thirty years later I’m approaching this from a different angle. Rather than using an existing book and scoop it empty, I’m making an empty ‘book’ from scratch. For this, I’m using my lovely little Bambulab A1 Mini, which I again fed with one of my own TinkerCad designs:
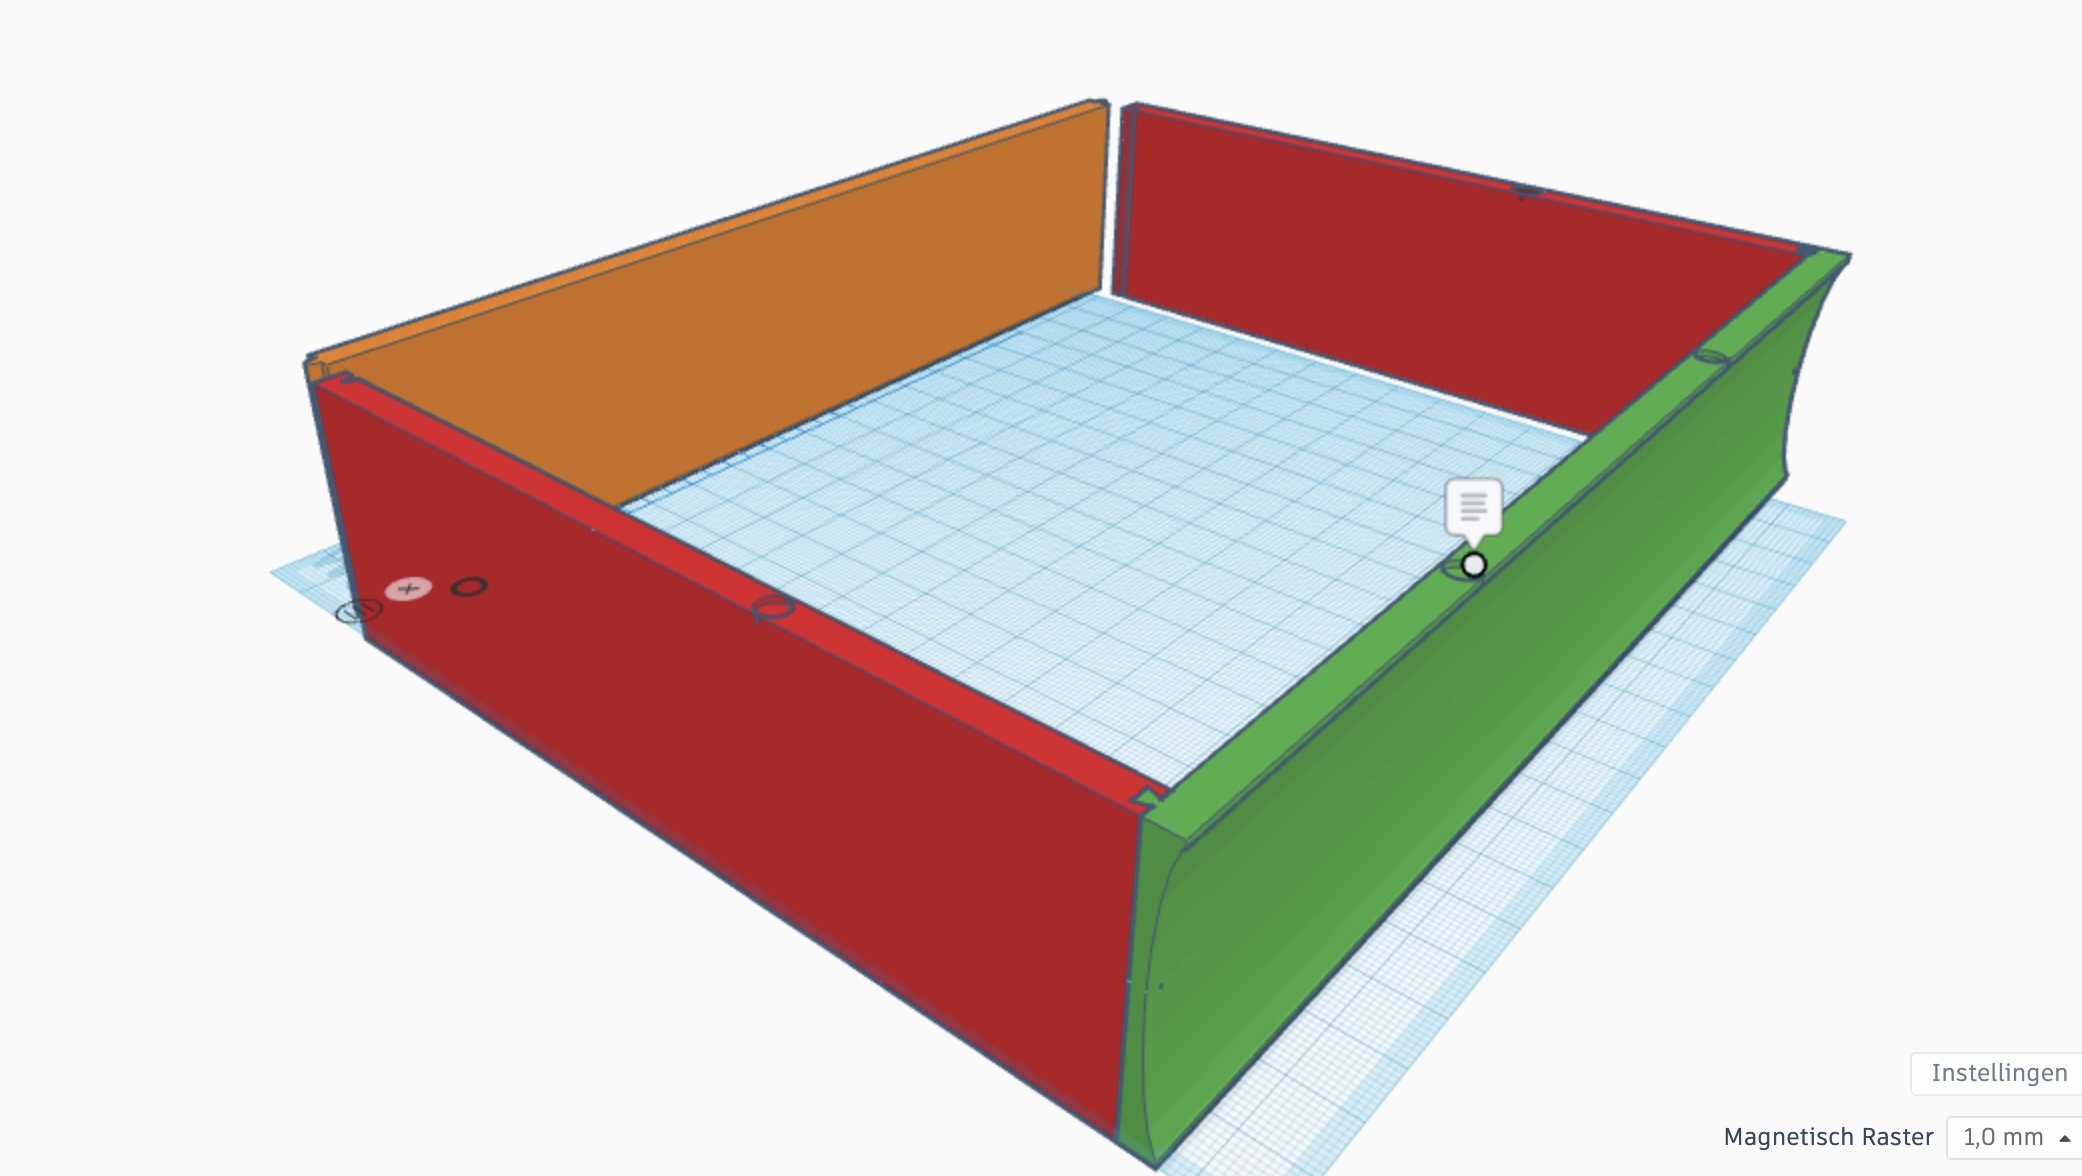
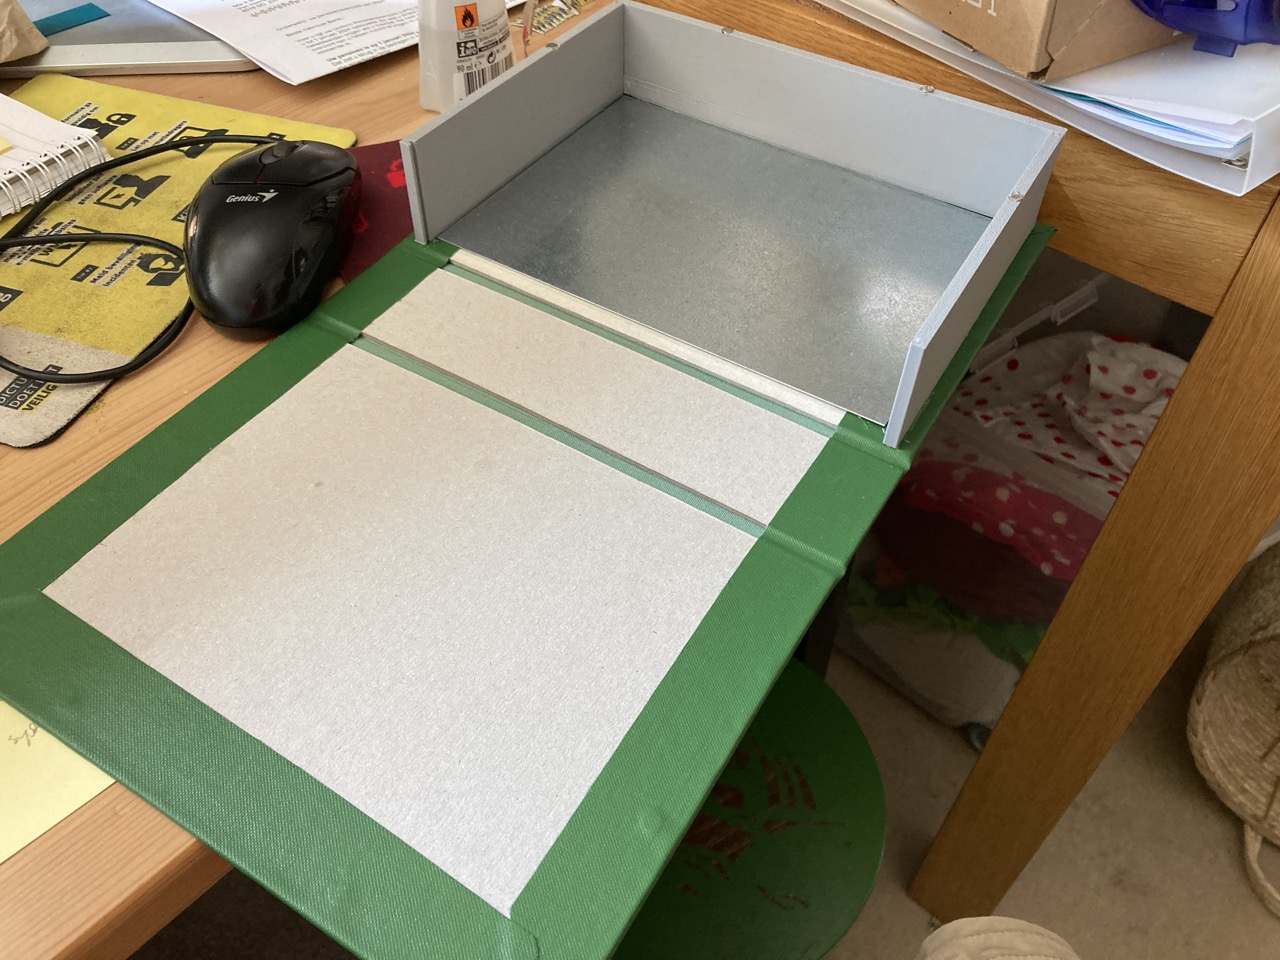
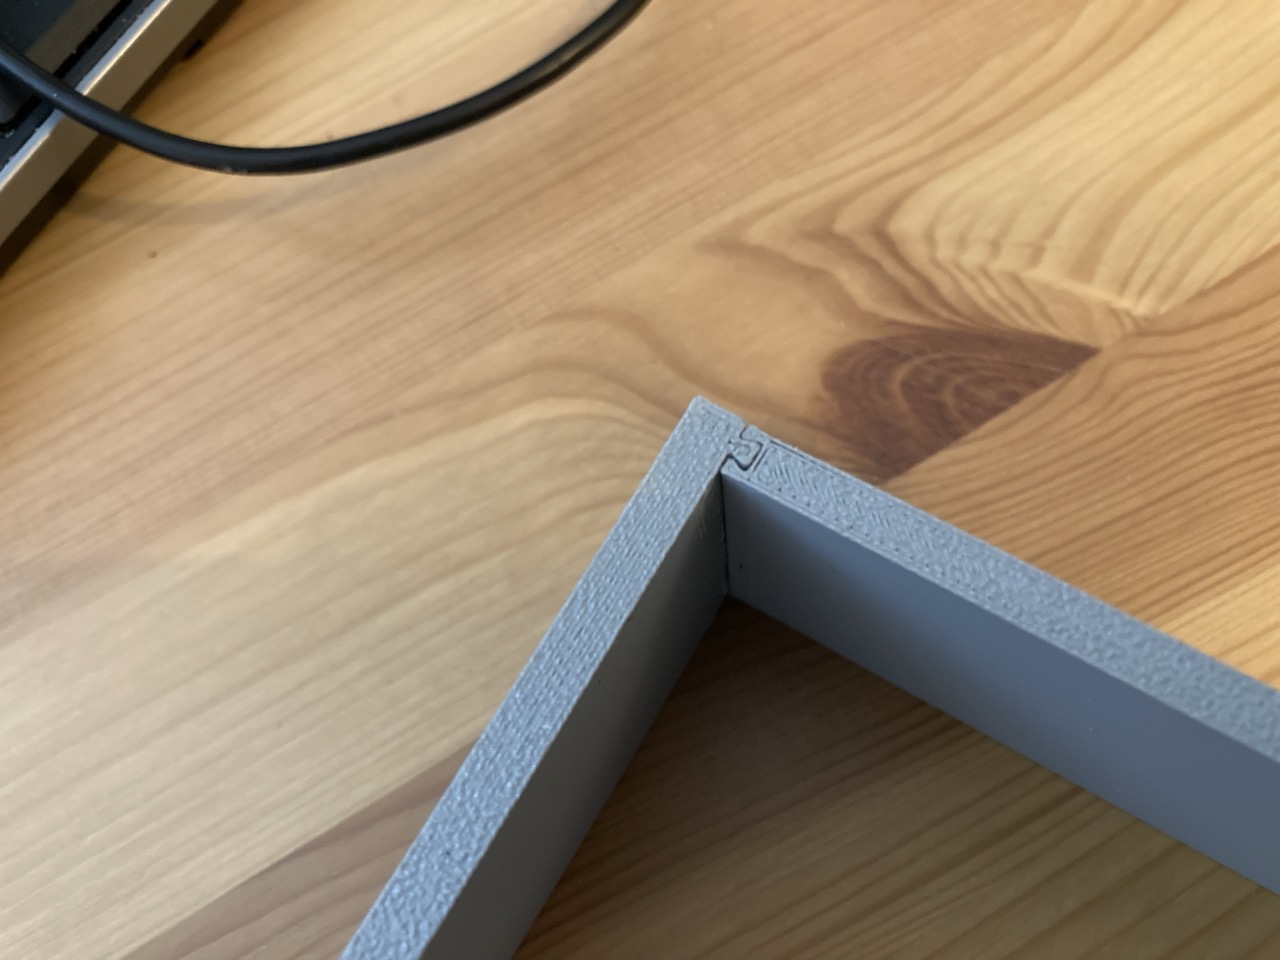
My tiny printer wasn’t big enough to print the whole border in one go, so I had to print each side separately. My colleague who got me into 3D printing suggested I use swallow tails to connect the separate pieces and I have to say it worked out really nicely! What I like about the 3D print is that the layering actually looks like book pages, although I’m not sure how well you can see it in the photos below.
One side note: I forgot to make a photo of the orange section printed out. The idea is that it is not glued to the book cover, but that it slides between the other borders. The idea is that it adds stability when the book is closed, but that you can remove the miniatures more easily after you take the section out. I will include it in future photo!
Foiled by filament
There was one unfortunate accident, however: I managed to botch up refilling my filament spool, which came loose when printing…
I’ve tried rewinding the damn thing myself, but it tangles up hopelessly. I think I’ll just use it to make smaller individual prints or something. Luckily I had yet another refill that I did manage to install correctly.
 No use crying over spilt milk! Well, maybe a bit.
Up next
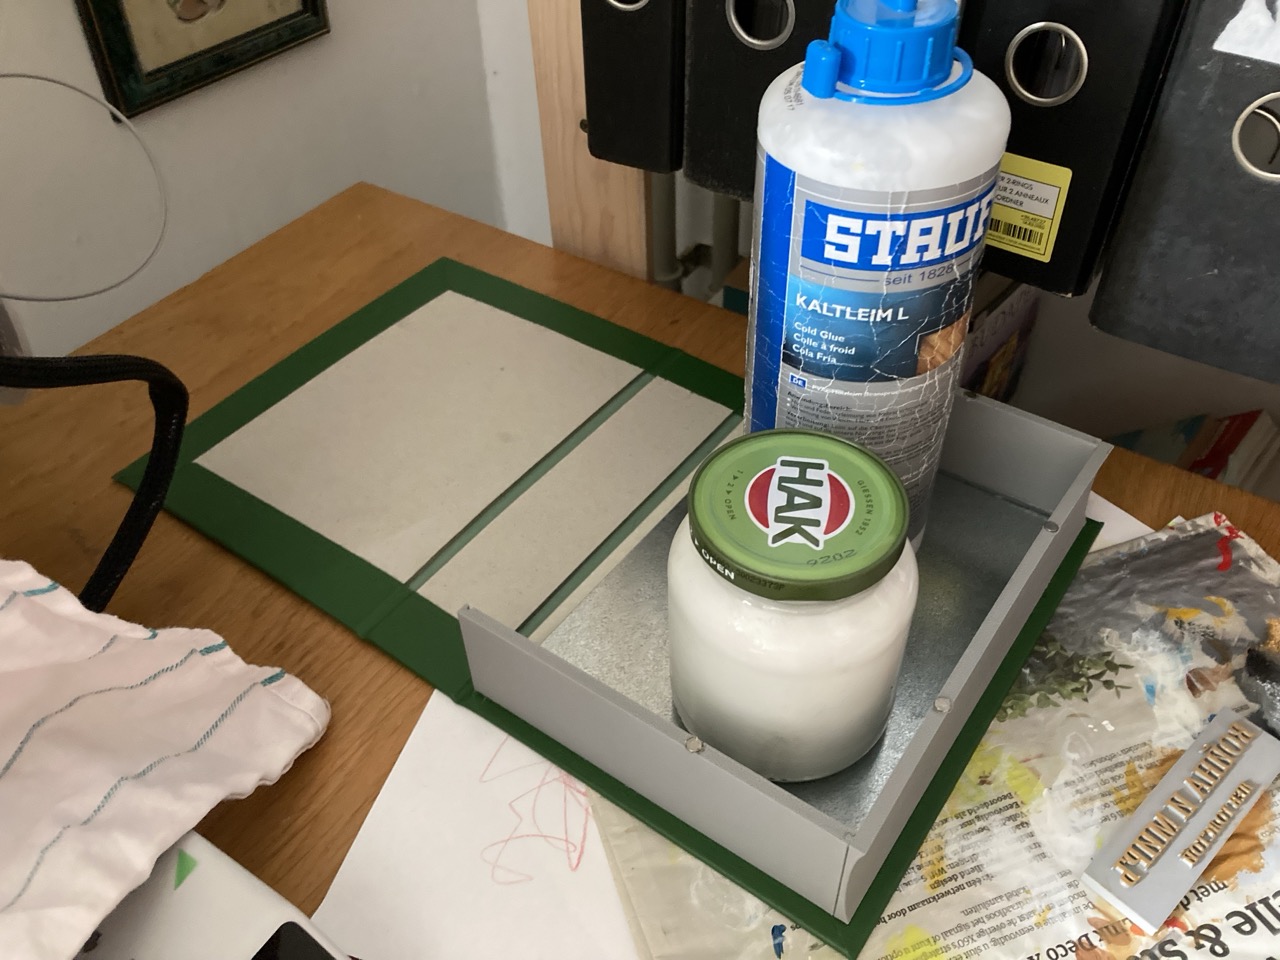
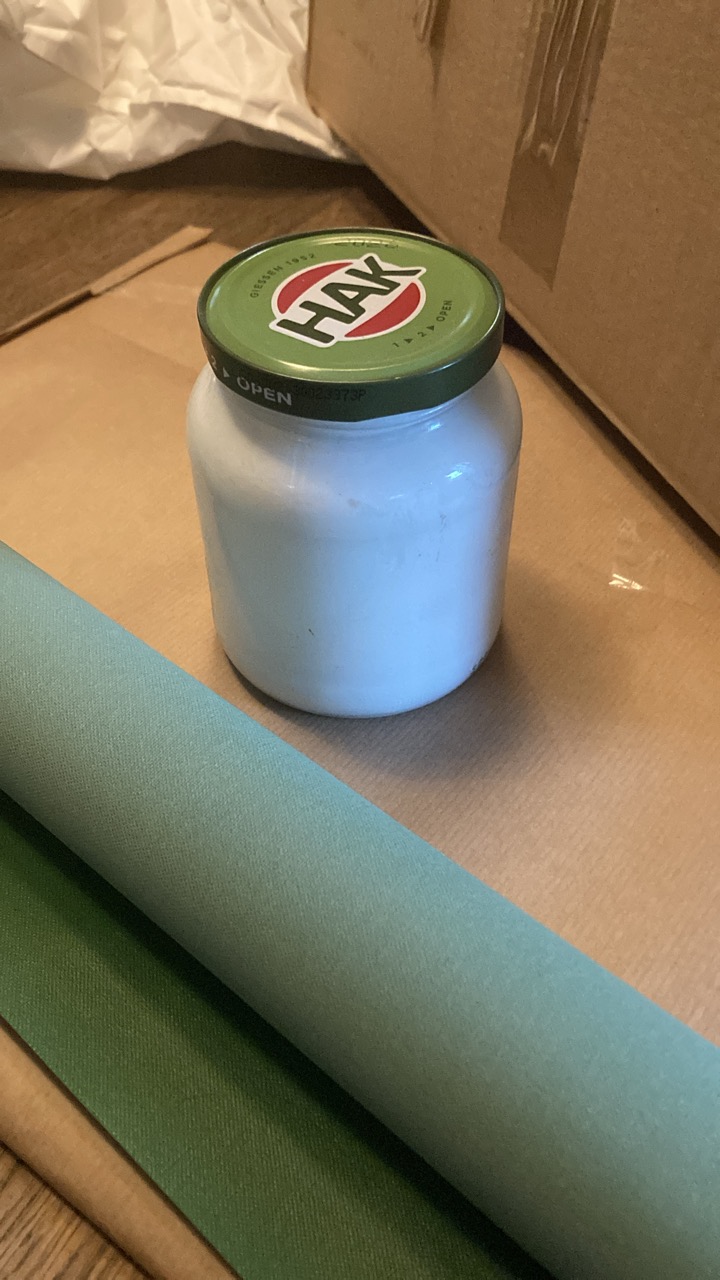
For the next step I ordered some book binding supplies from a small book binding shop in Amsterdam. I love that the glue came in an old glass jar for vegetables!
A tale of storage and woe
Welcome, traveller. Sit ye down and listen to a tale that will send shivers down your spine: for it is of woes known by all who dabble in the arts of miniatoors!
I won’t be able to keep this register up. Sorry. Or: you’re welcome.
I know the pile of shame/potential is perhaps the most well-known itch in that spot that you just can’t reach. But in my opinion there is a problem connected to the other end of a miniatures life, when they are finally painted: I never have enough space to display them all!
So, I just display some of them, while the rest is in a box or some other dark place, where it remains hidden until I remember I have them. Also, the number of dark places to hide my miniatures is also running out, so I needed to think up something!
You may remember my previous project, which was on Napoleonics. This added two whole armies (albeit 10mm) to be stored or displayed! Then I saw the cause of this project on the book shelf: War and Peace.
What if I could store the armies in empty books next to the book itself?
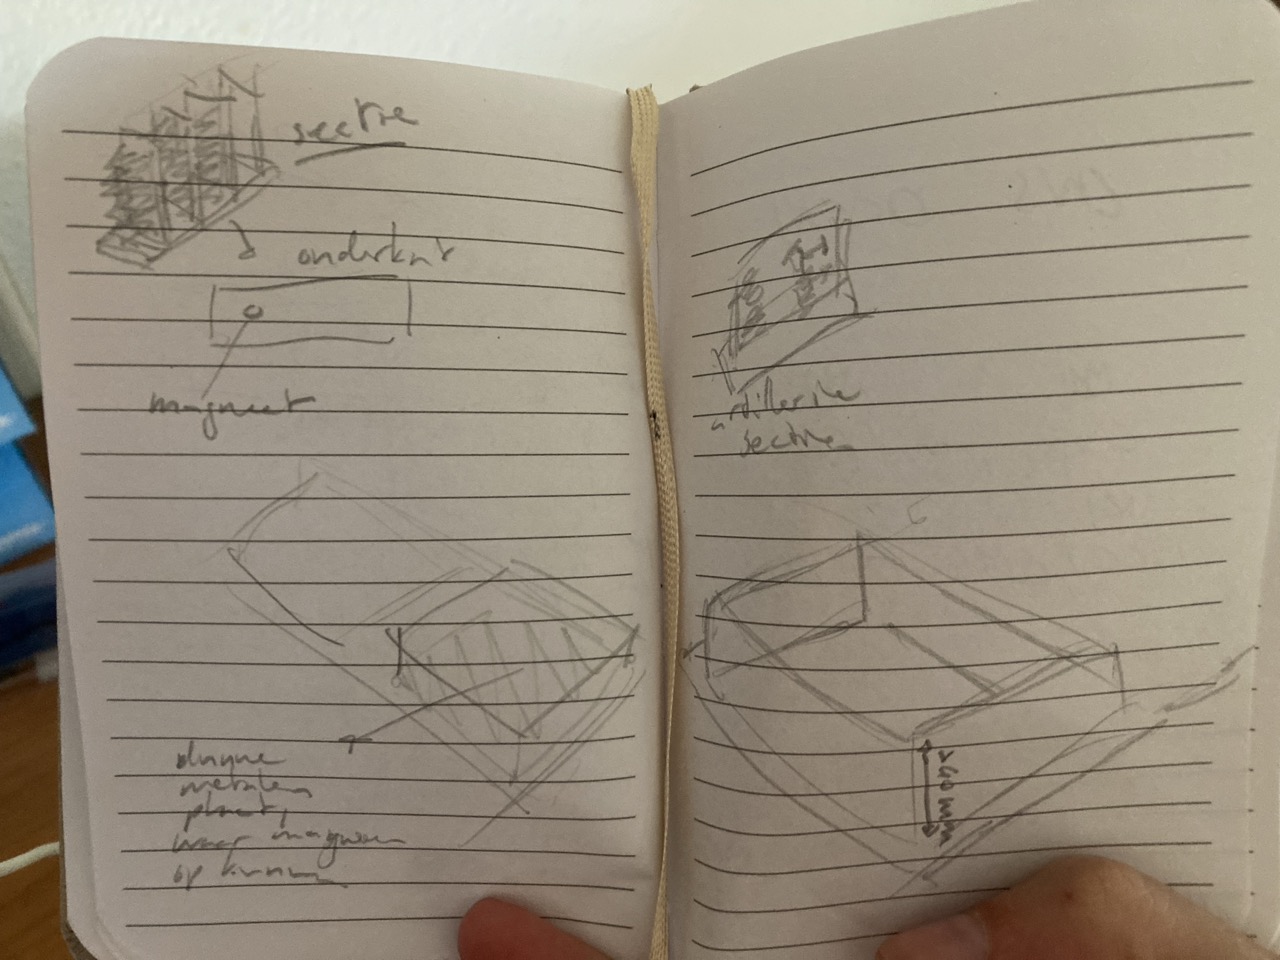
This is a very rough initial sketch. But the idea is to have a book cover, with a fake empty ‘page box’ inside it, in which I can put the minis.
Now, on the top left you can see a kind of sideways stack that I intend to use with the book. Each stack is supposed to contain a unit of minis stored upright, so that it all is compact enough to fit an army in a single book.
The idea is that each of these stacks contains one or more magnets, which can be attached to a metal place inside the book.
Stacking soldiers
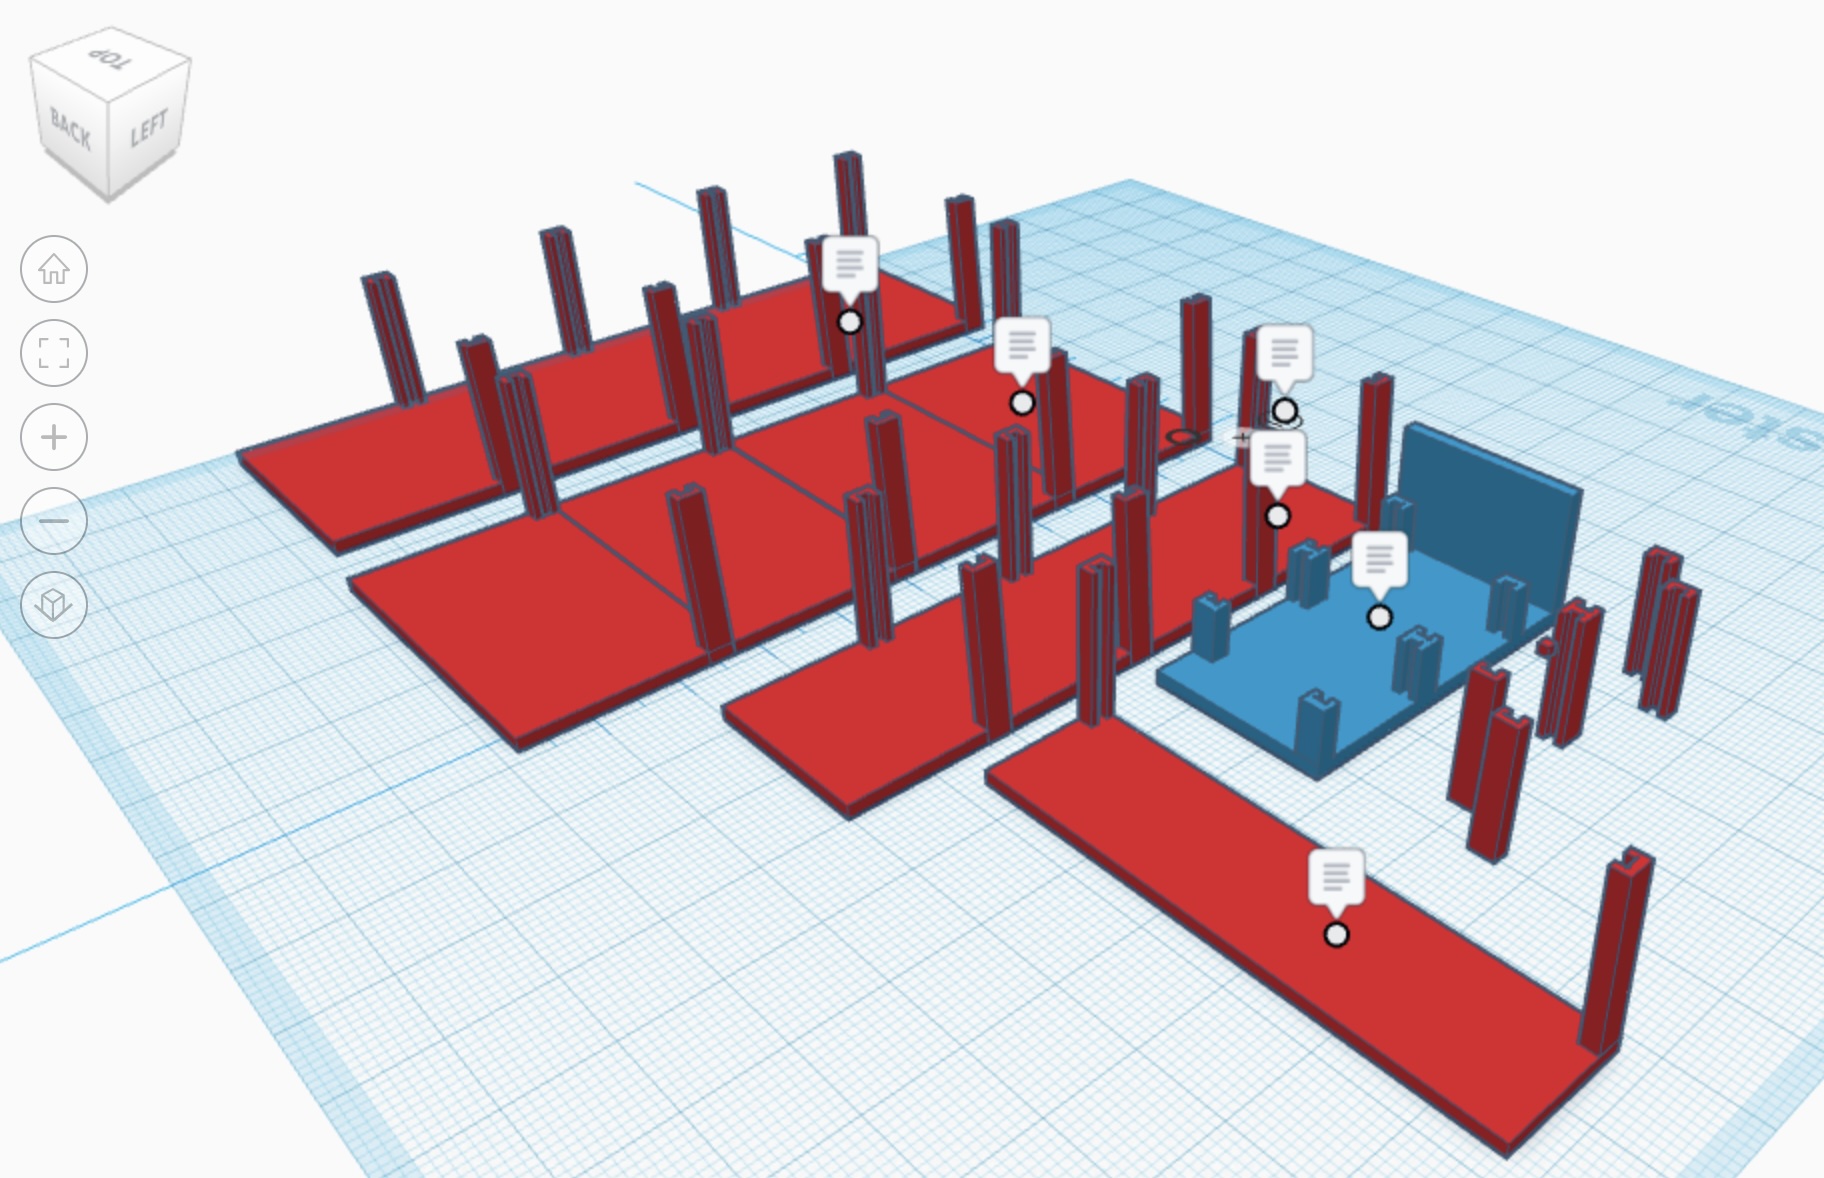
Here are the designs in Tinkercad for the various base sizes that my Napoleonic armies use. These are all the finished versions: I won’t bother you with the designs that didn’t quite work out. All that needs to be said that it took a little time to get the bases fit in nicely and stay put when you picked the thing up!
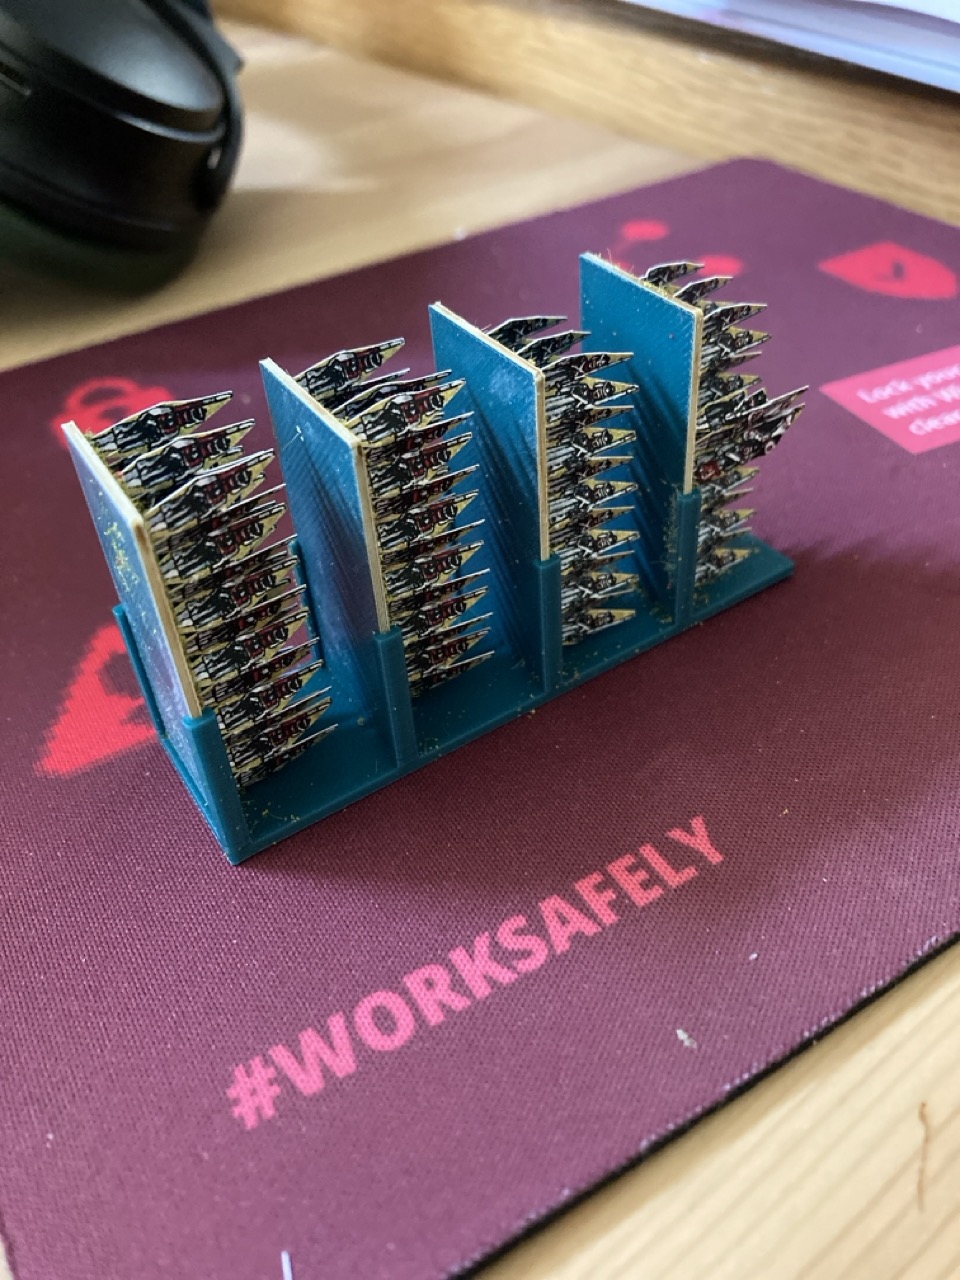
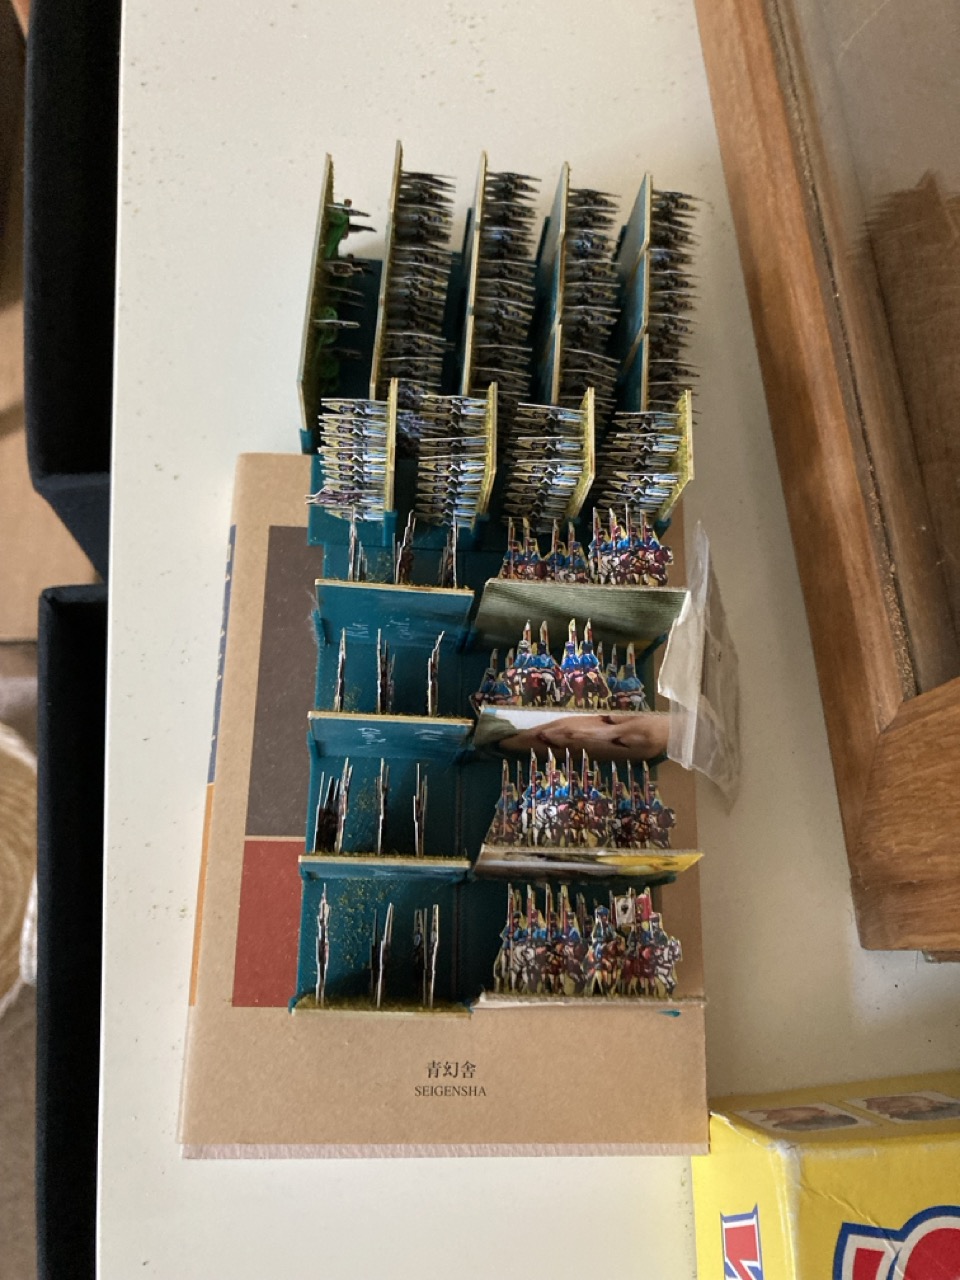
Below you can see the end result of these holders!

That is all for now: next post, I’ll continue with the faux book edge!