


Dan’s Dungeonalia 2: Bedroom Fantasy


Recommendations: 58
About the Project
My second dungeonalia project for this year. Just a little something inspired by Lloyd...
Related Company: Raging Heroes
Related Genre: Fantasy
Related Contest: Dungeonalia 2023
This Project is Completed
Starting point

A few weeks ago, on the XLBS, Lloyd was talking about mixing genres and he mentioned the term “bedroom fantasy”. That gave me an idea…
So just for Lloyd I’ll be working on this mixed genre diorama over February, and for extra impact it will even be mounted on a plinth.
Back drop
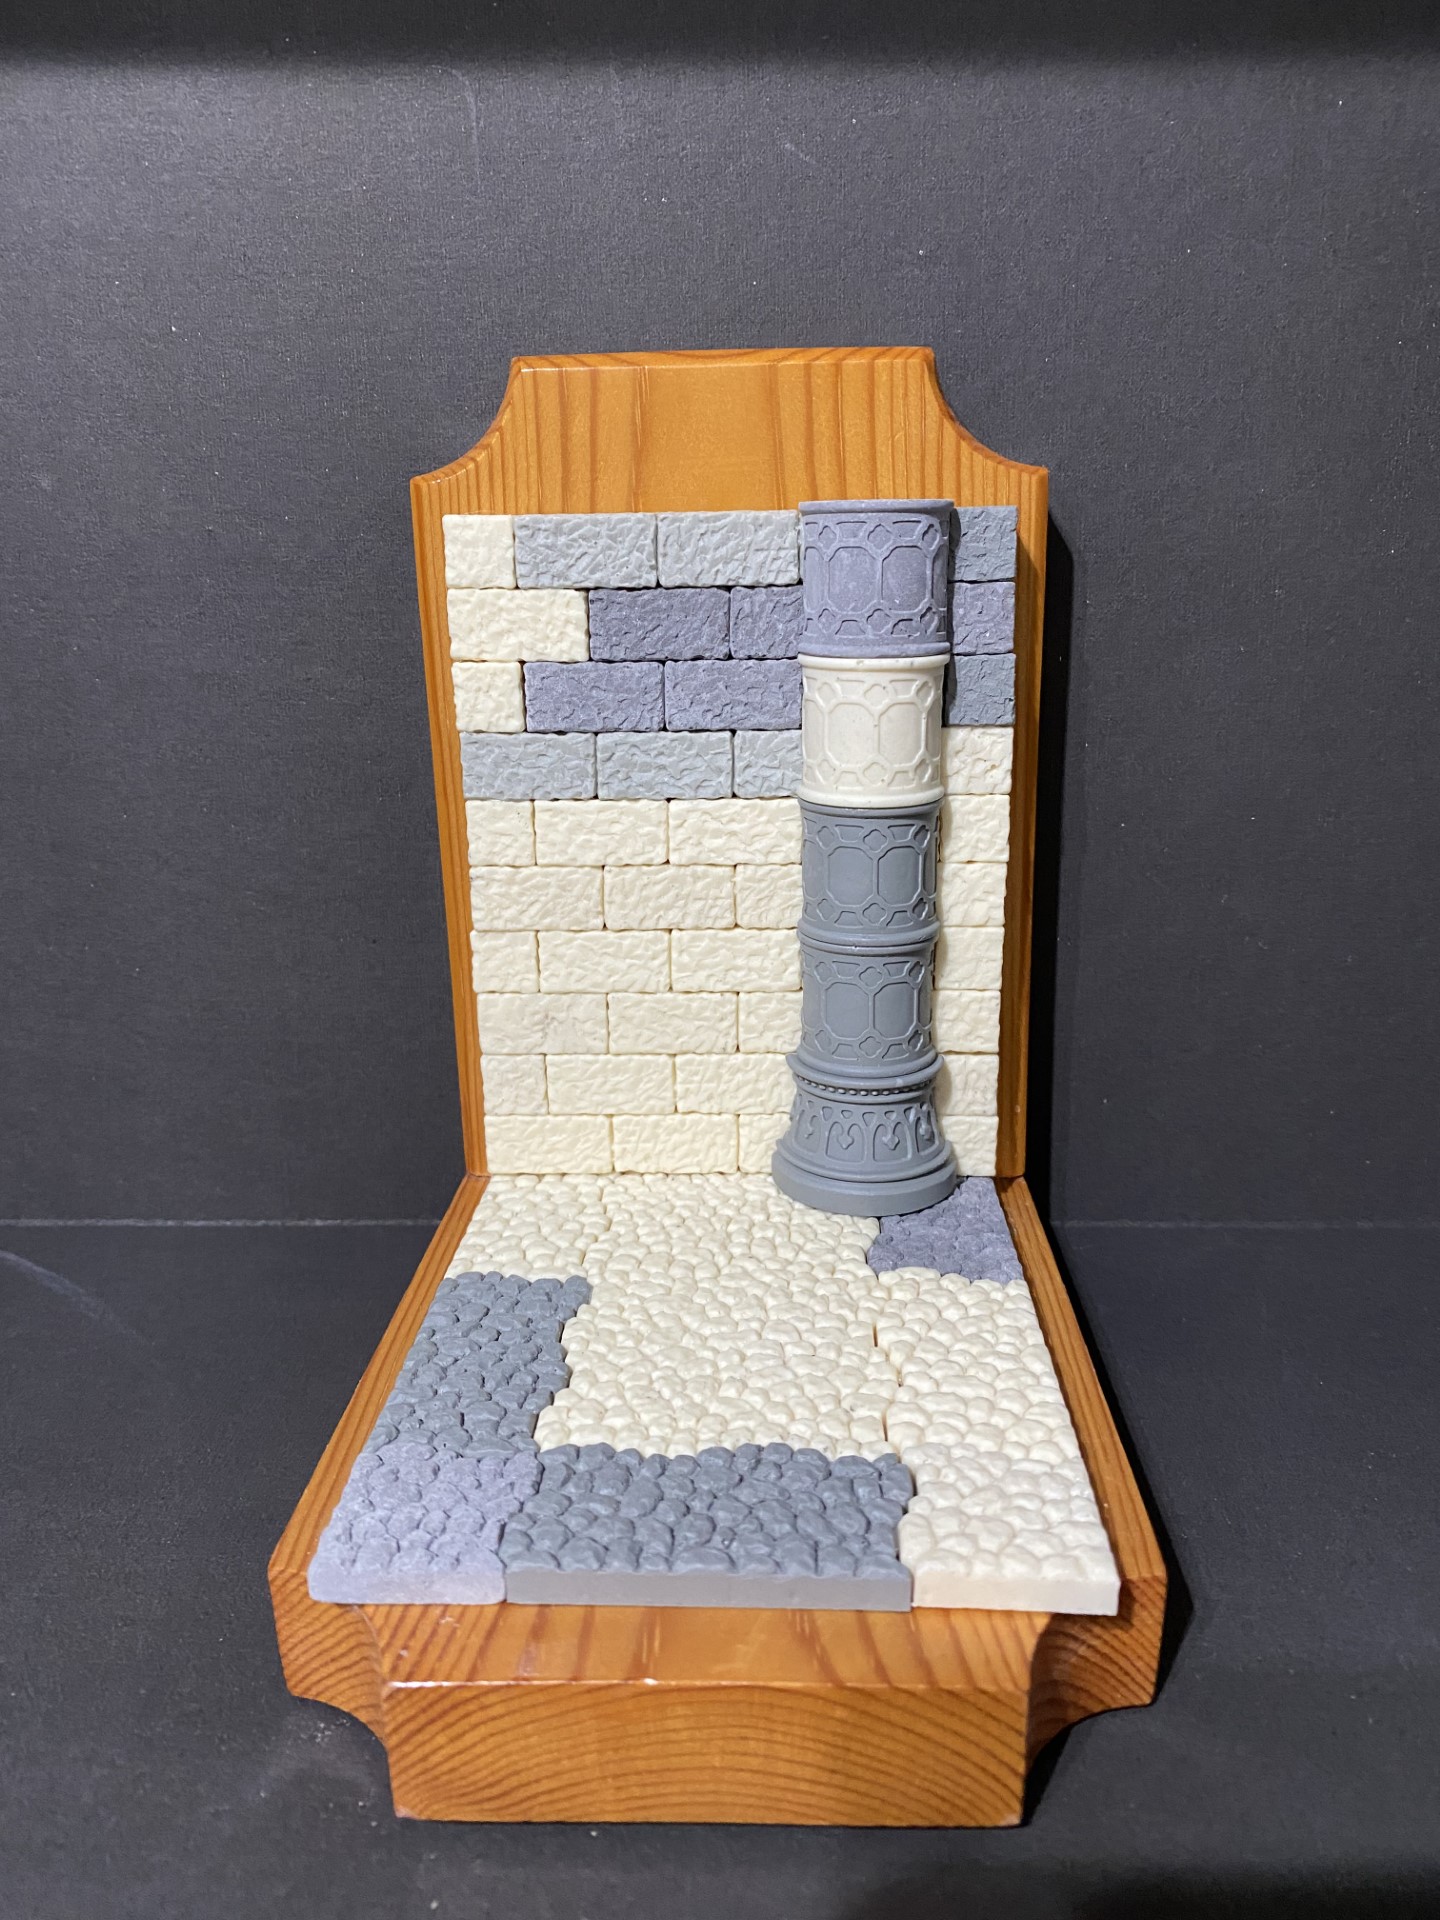
The wooden teddy bit was easy to remove as it was held in by a single screw.
The stone flooring, walls, and column are all Hirst Arts castings. About five years ago I bought a range of molds and spent a month or two casting using plaster mixed with black paint, grey resin and a cream resin. Not a single piece of which have I found a use for before this project.
https://hirstarts.com/molds/moldscast.html
Specifically, I used casts from #40 basic blocks, #210 cobblestone, and #42 gothic arena accessories.
Masonry done
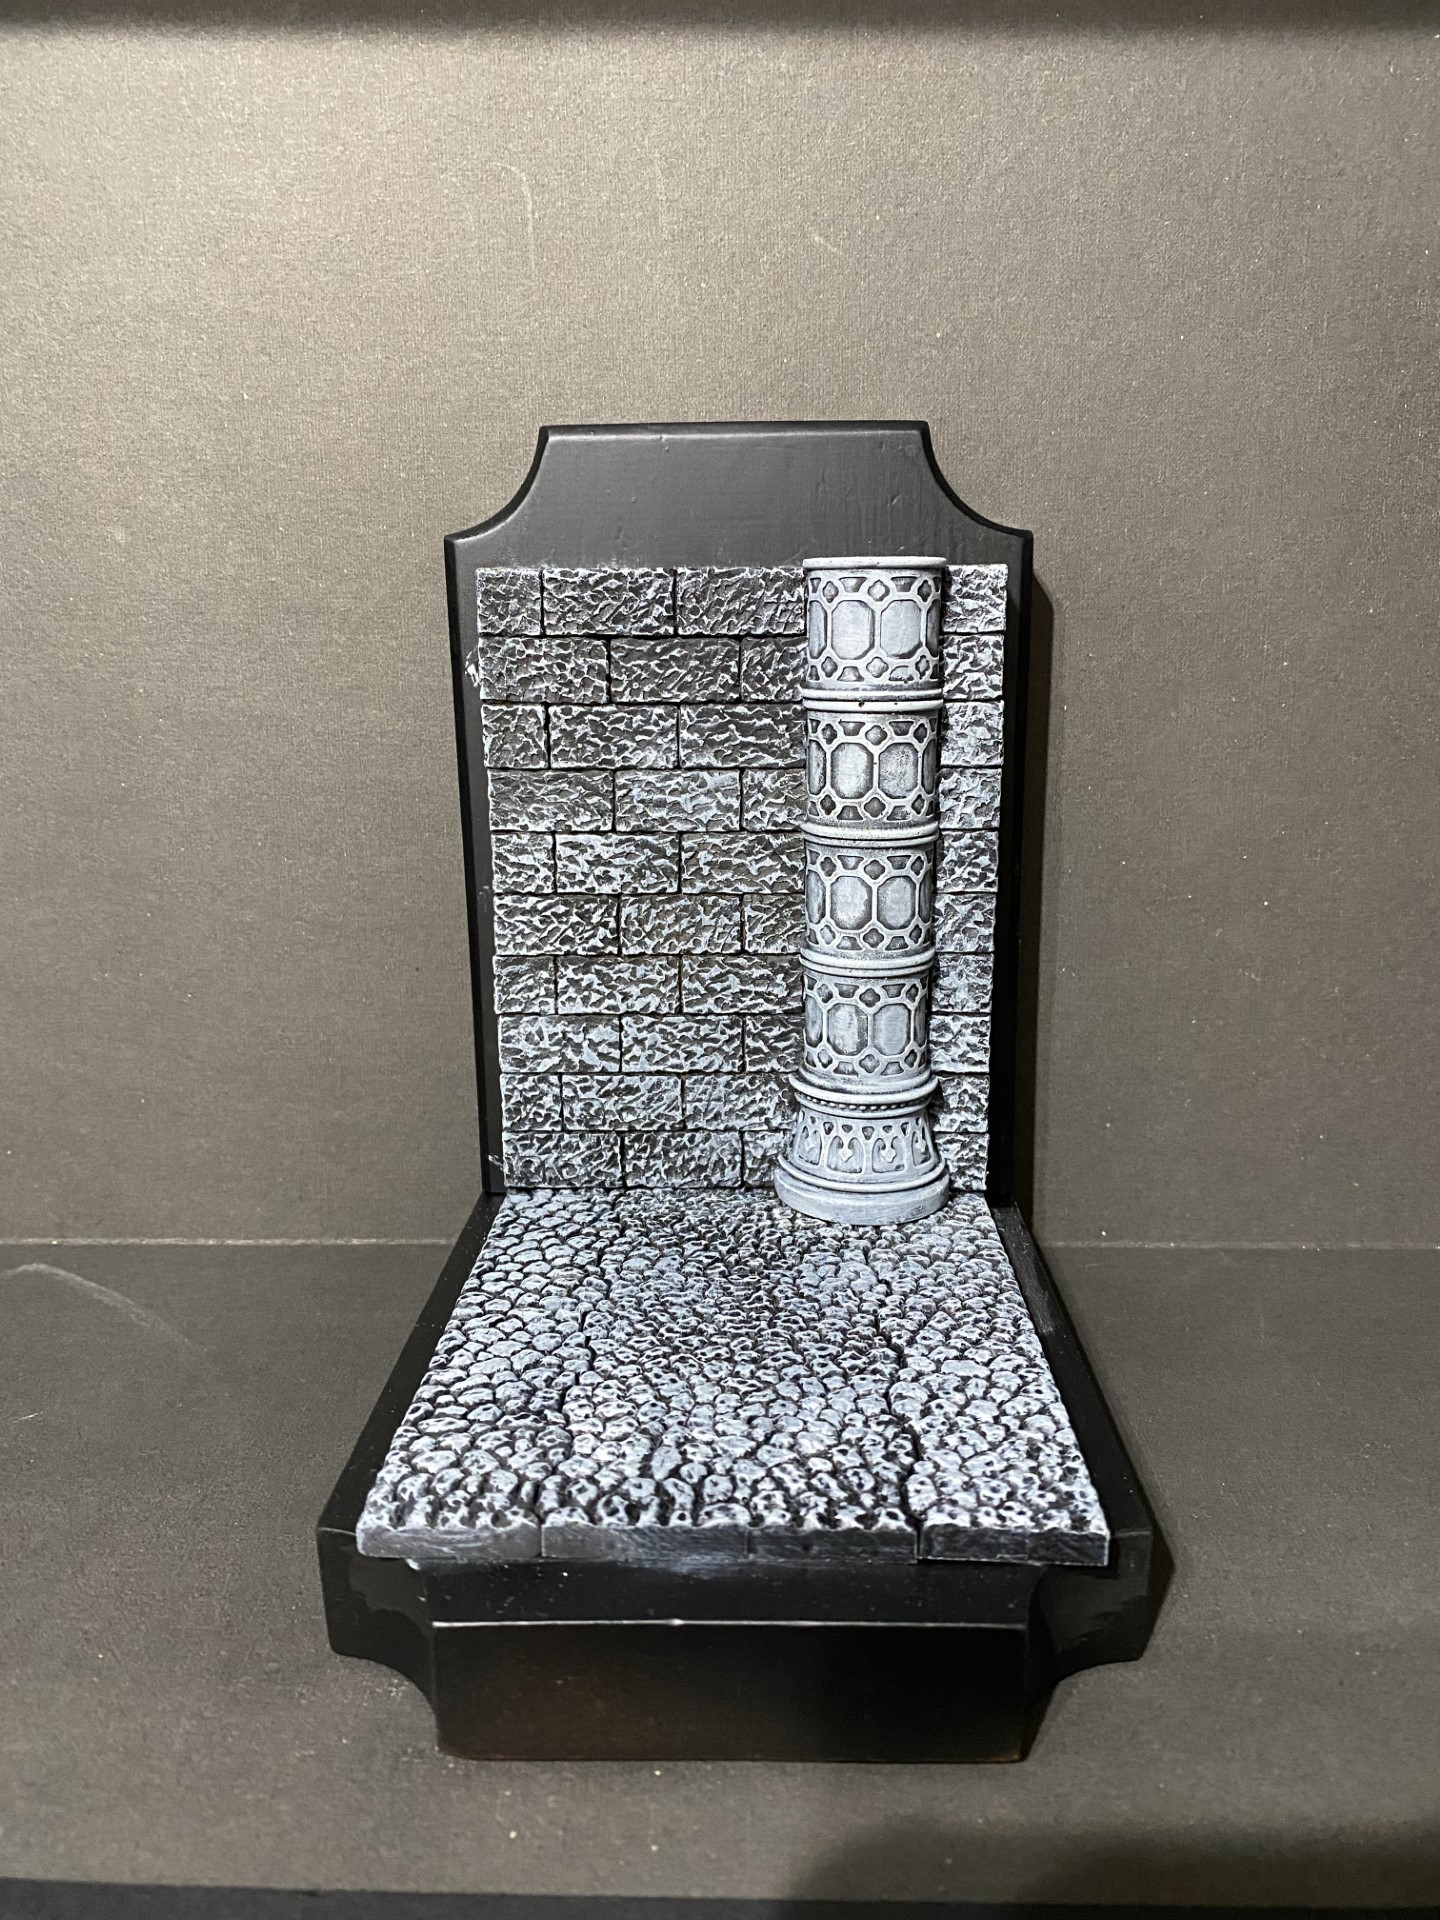
After assembly everything was sprayed black. Then the masonry was overbrushed administratum grey followed by a drybrush of longbeard grey. I’ll touch up the black bits when everything else is finished.
Now I need to add some furniture. I tried shopping in Hobbycraft to see if I could pickup any pre-made stuff for dollhouses, but they don’t stock that. Instead I am stocked up on match-sticks and various sizes of lolly pop sticks.
I can do this. I’ve built IKEA furniture…
Finished
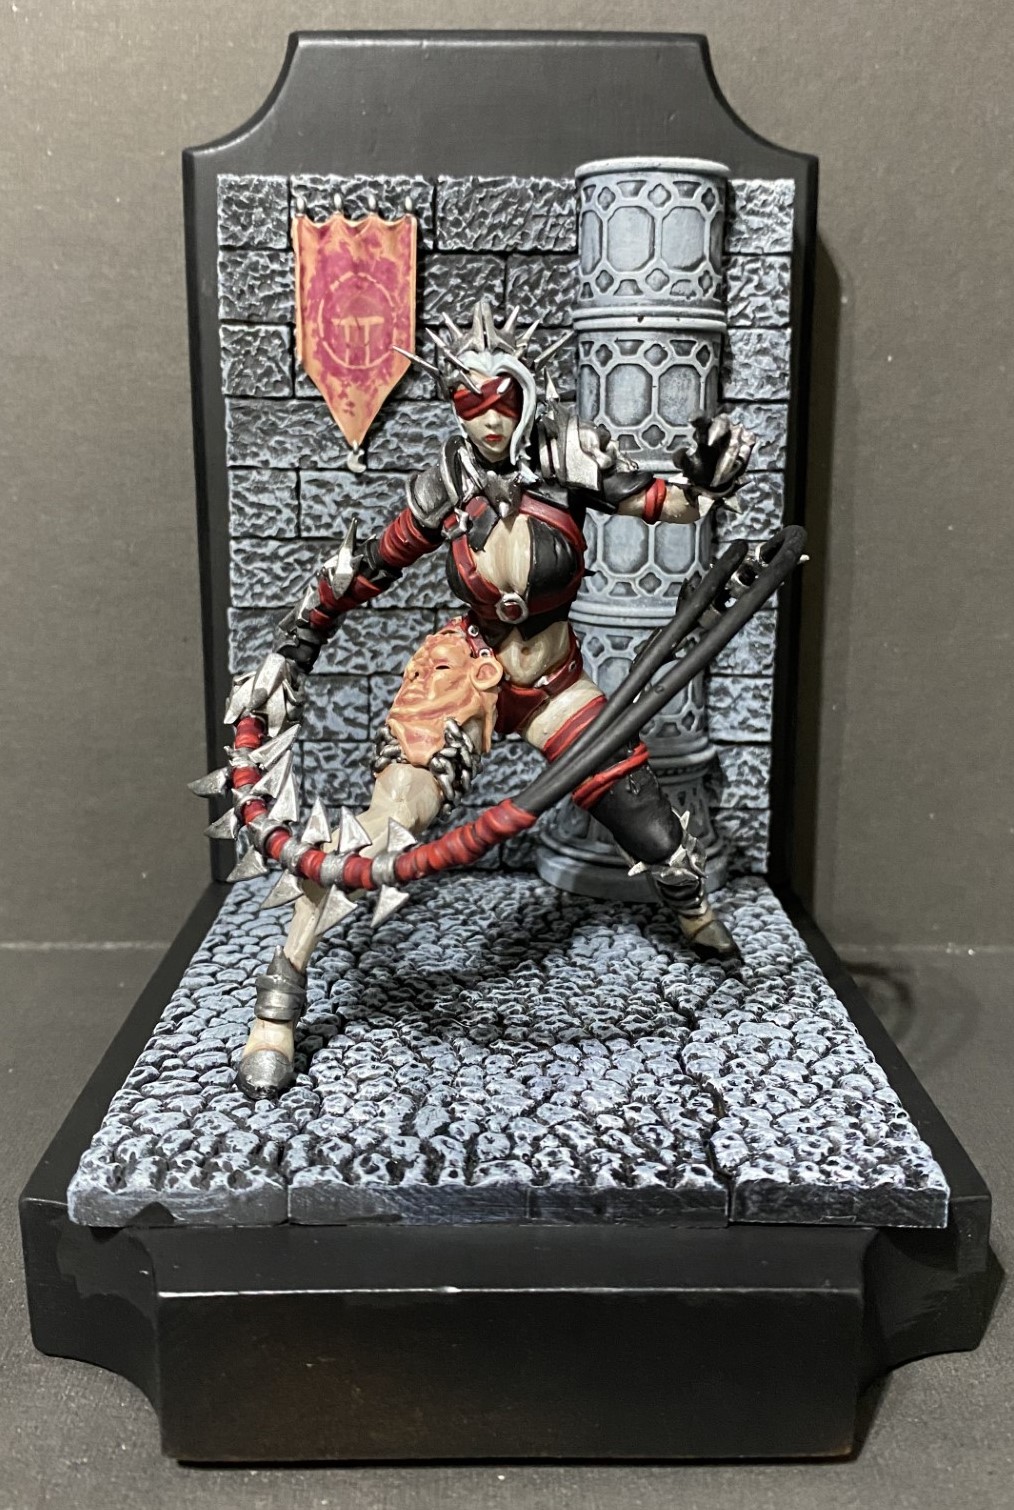
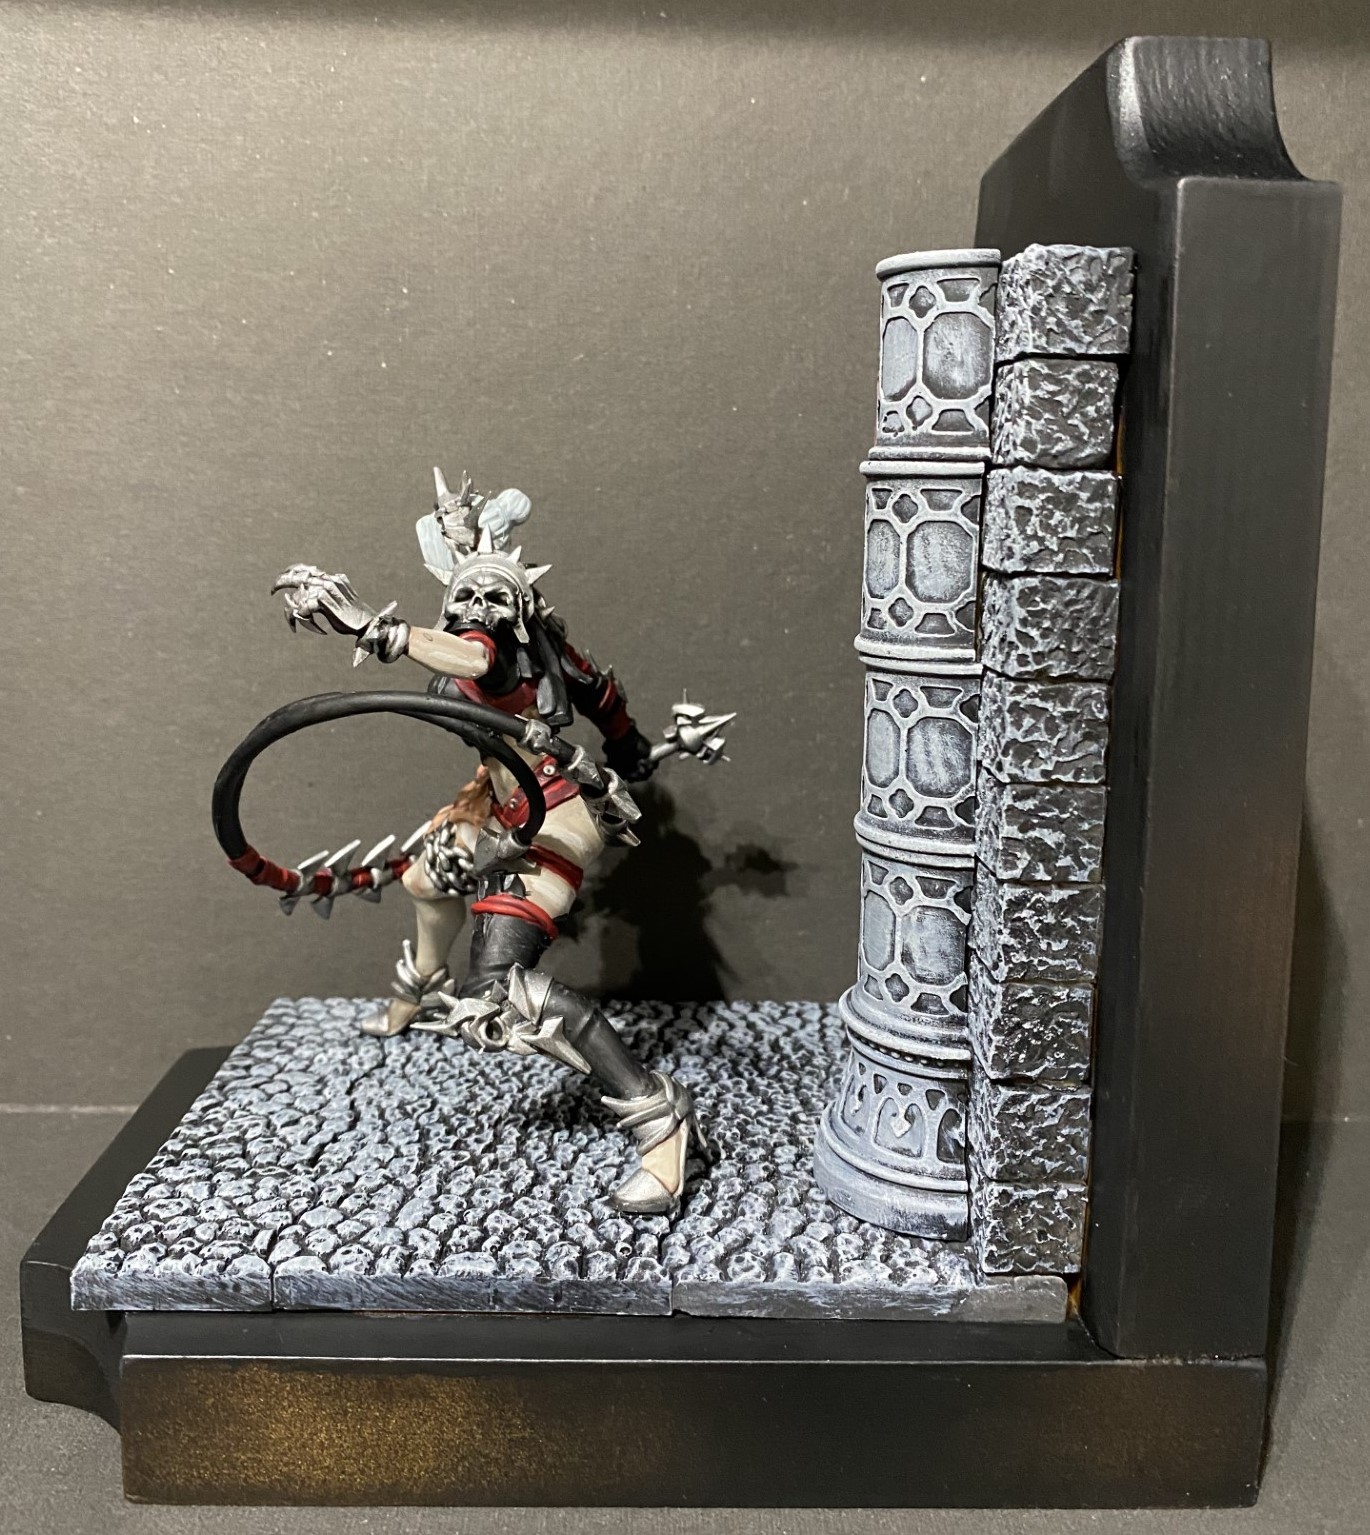
The first model I picked was a 28mm, which looked too small on the background. So I went to Etsy and bought a 75mm scale model. For reference, a 28mm figure would come to about three blocks high on the rear wall.
https://www.etsy.com/uk/listing/1484981188/ceylan-the-enforcer-stonecrow-marauder?ref=yr_purchases
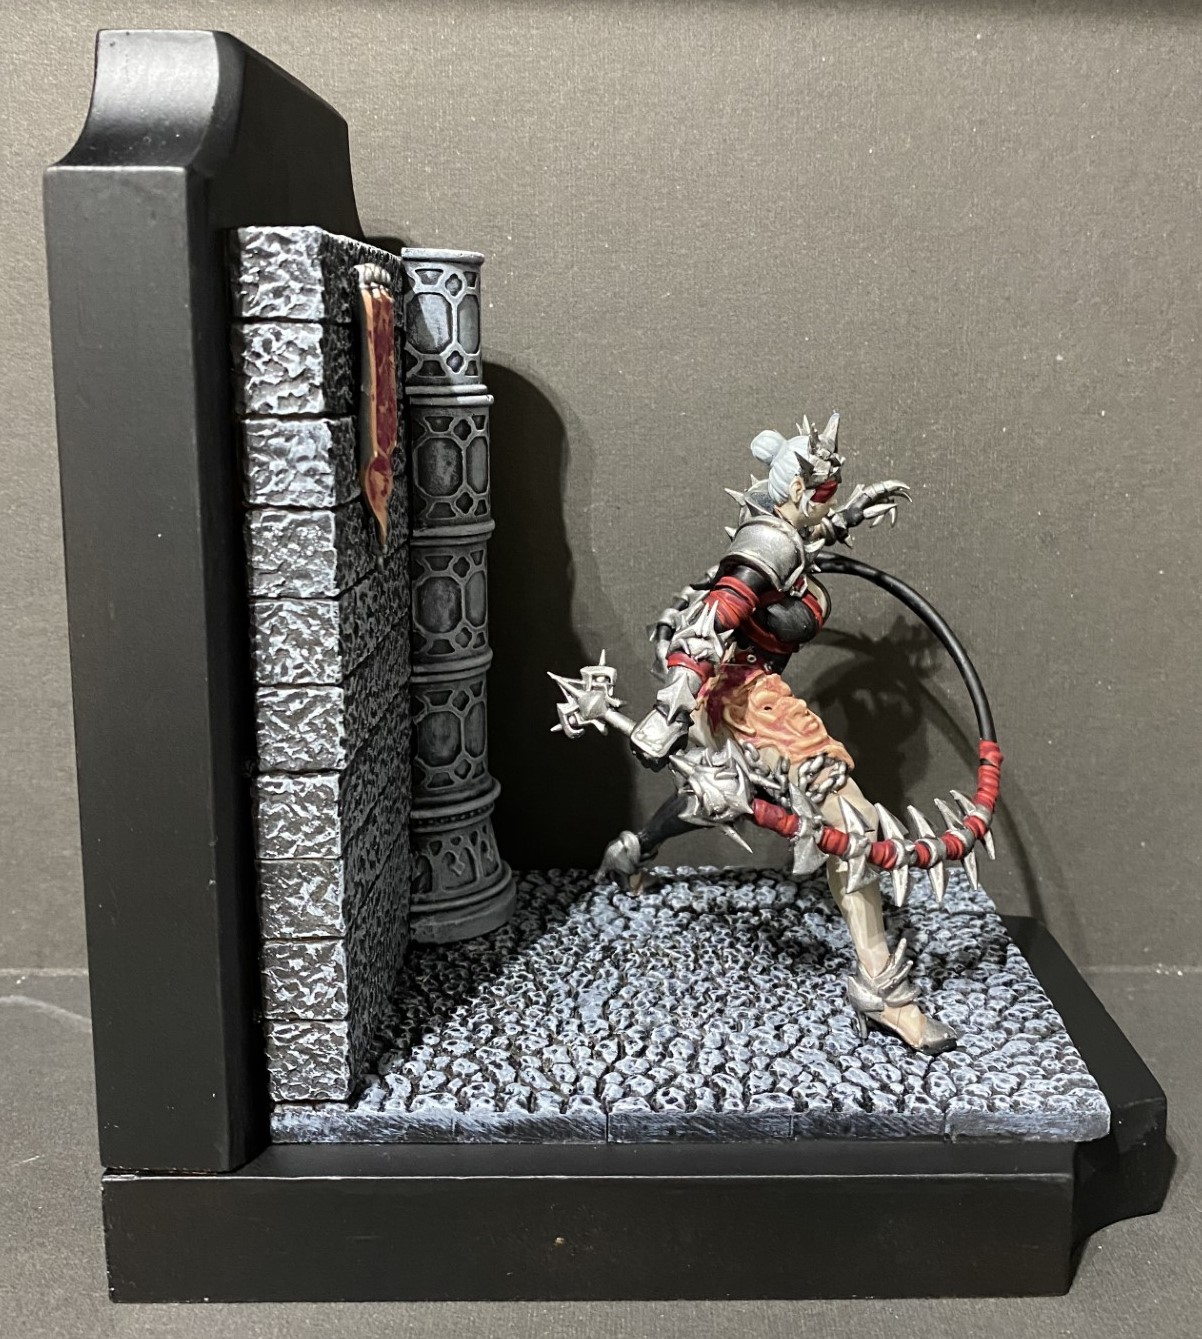
This model occupies the space very well, but leaves no space for the bed. A bit of a shame that element had to be dropped, but I’m still happy with the overall result.
The model was undercoated black and then given a zenithal spray of grey.
The banner was painted to resemble flayed skin using a recent tutorial on Warhammer+ (with some subtle changes to match the paints I already owned). I used the same method for the skinned face on the lady’s thigh. I started with three coats of cadian fleshtone diluted with a little bit of lahmian medium. I then stippled a 1:1 mix of bugman’s glow and lahmian medium into the recesses. Then I made a 1:1:2 mix of screamer pink, bugman’s glow and lahmian medium and stippled that in the deeper recesses. Then I add 1 part of khorne red to that wash mix and stippled it more randomly to represent dried blood. The OTT symbol on the banner was painted with cadian fleshtone. At the same time I highlighted the raised areas and edges. The final red mix was used to paint of the OTT symbol a bit to make it fit in more. Finally a fine edge highlight of kislev flesh was applied to the highest areas.
The skin started with a rakarth flesh base, then washed reikland fleshshade then highlighted through flayed one flesh followed by pallid wych flesh. Given the model is so big I wanted to get good blending on the large skin areas, so at each stage I diluted the paints with lahmian medium and mixed the new colour into the last paint mix.
The red areas were painted khorne red, washed carroburg crimson, then highlighted evil sunz scarlet.
The hair was painted celestra grey then highlighted ulthuan grey.
The metal areas were painted leadbelcher, washed with nuln oil, then highlighted ironbreaker followed by runefang steel.
The clothes were simple repainted abaddon black. At this scale I guessed black would not need highlighting as the large curves of the model would naturally catch the light.
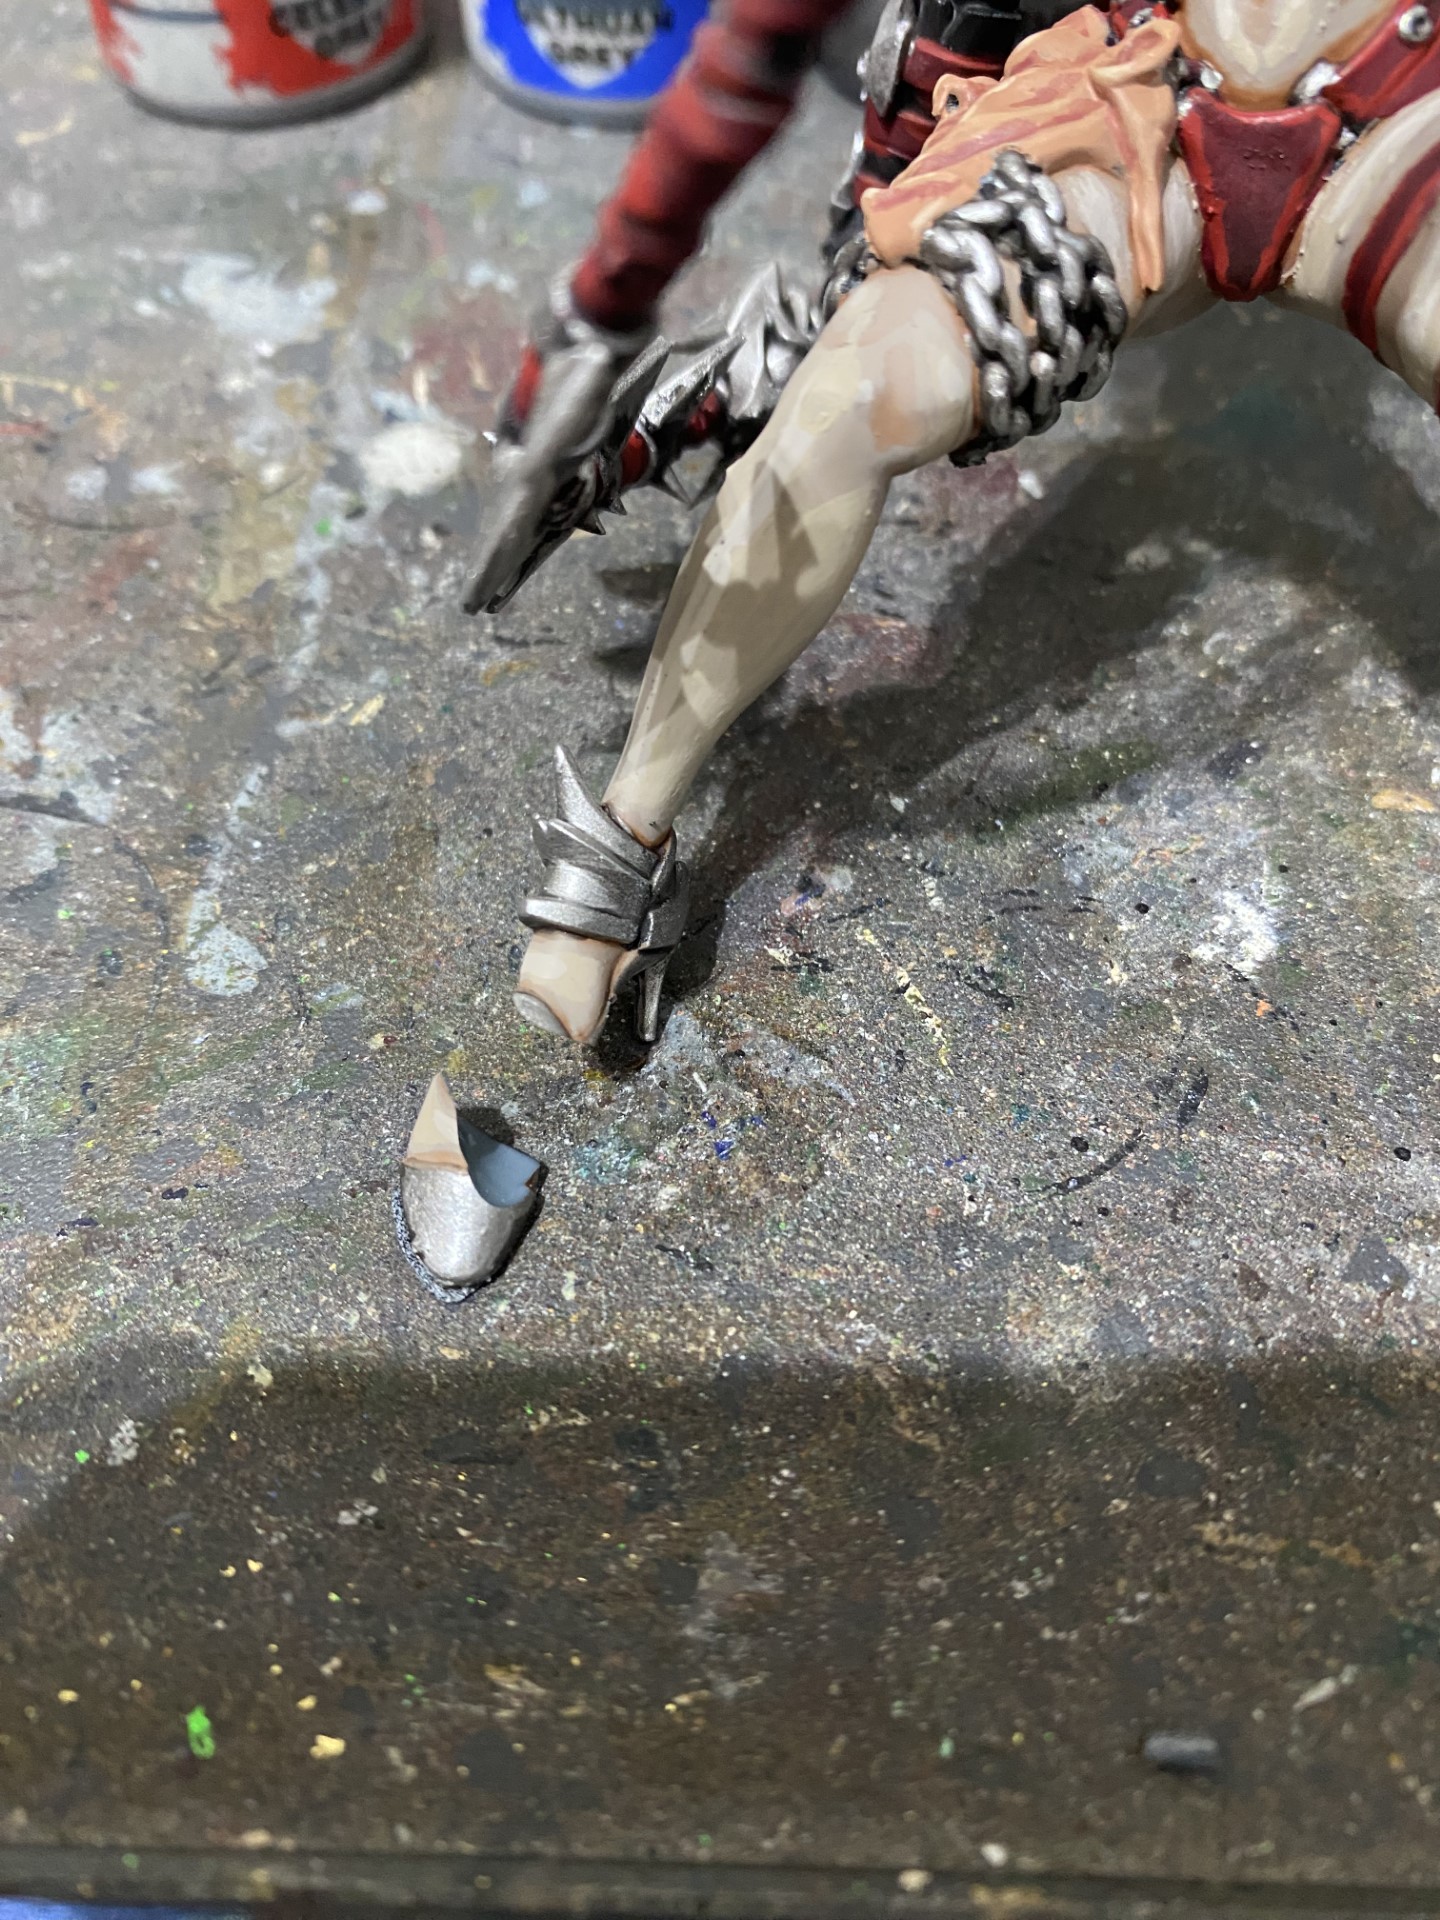
I painted the model on its base for easy handling then planned to break it off to put on the background. However I accidentally used too much super glue and couldn’t get the model off. I put the model in my freezer for an hour or two to see if it would weaken the glue. I managed to get the model off with only half a foot breaking off, which was easily glued back on. Strangely, after coming out of the freezer many parts of the model had become glossy. I don’t know if it was the paints or a chemical coming out the resin. Regardless after an hour to warm up everything appeared matt again.