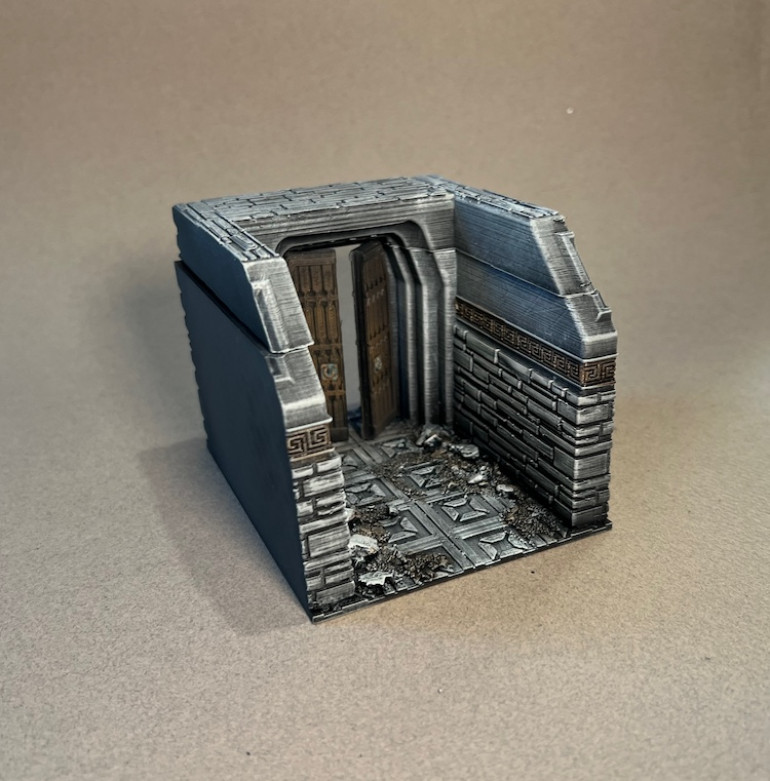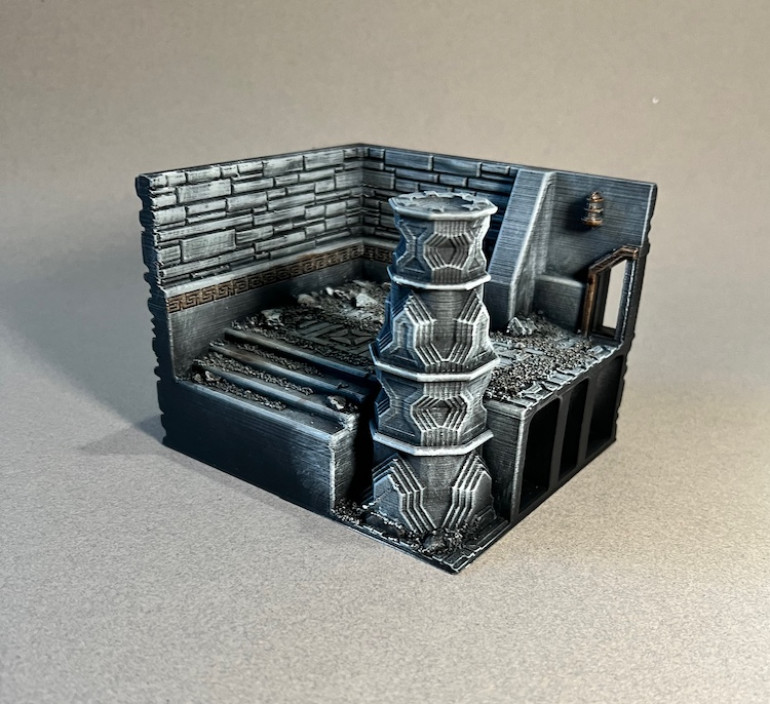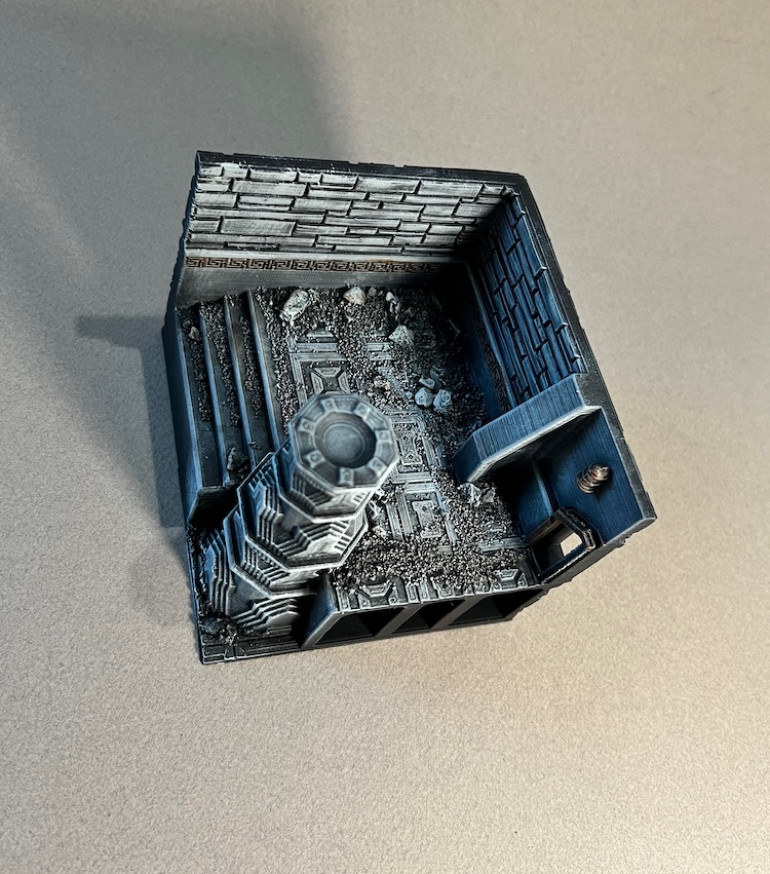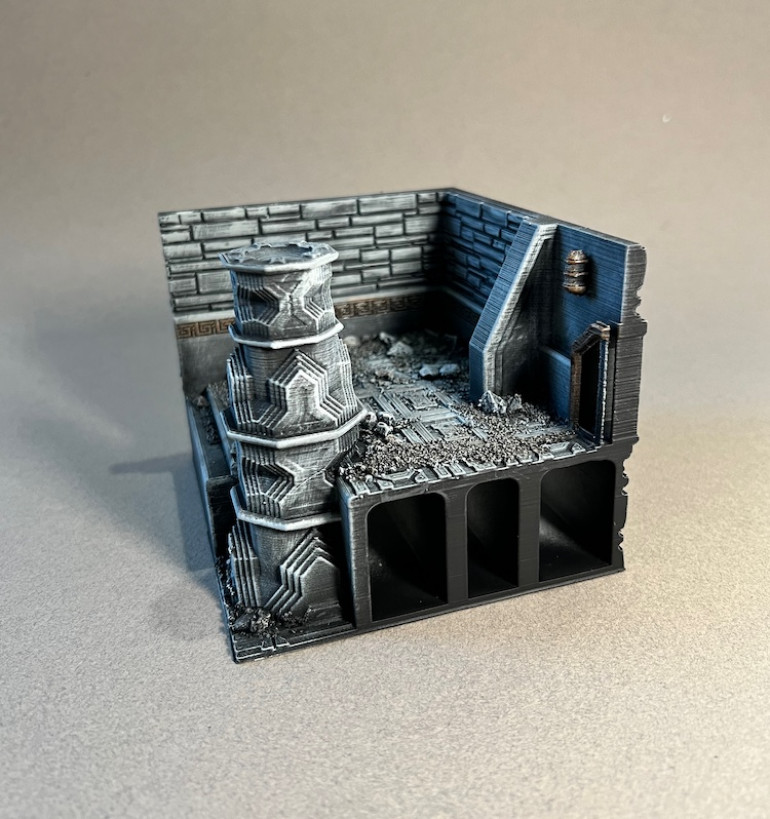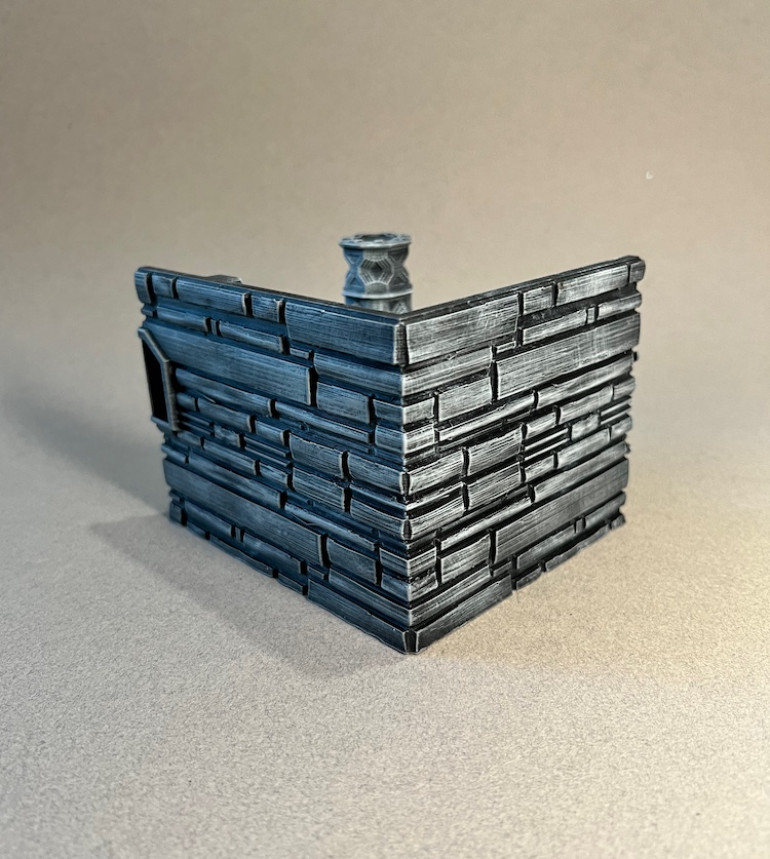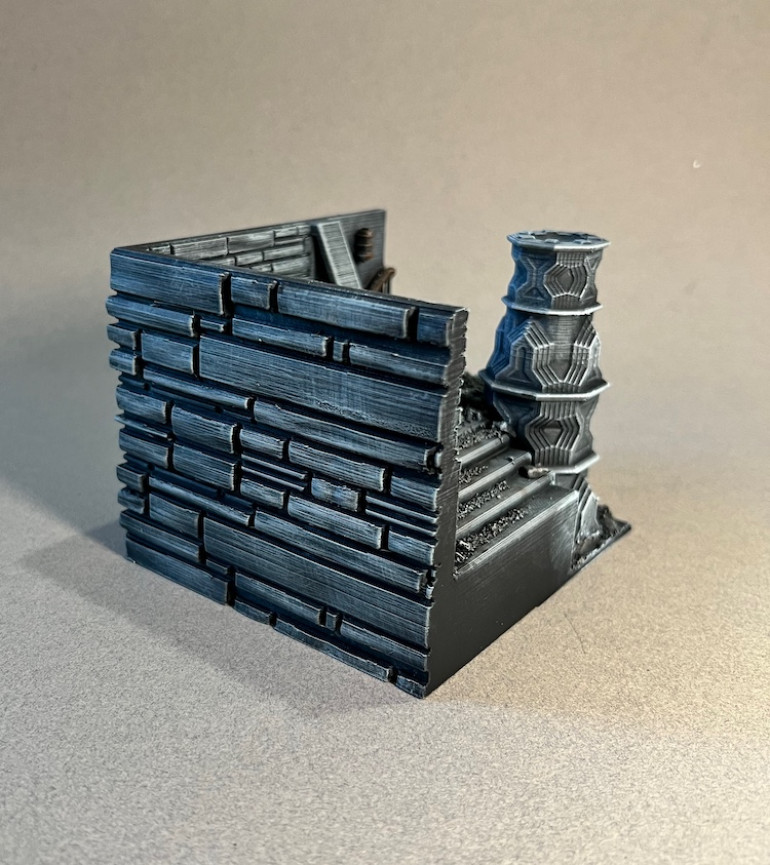
Building Balin’s Tomb With 144Artist
Recommendations: 121
About the Project
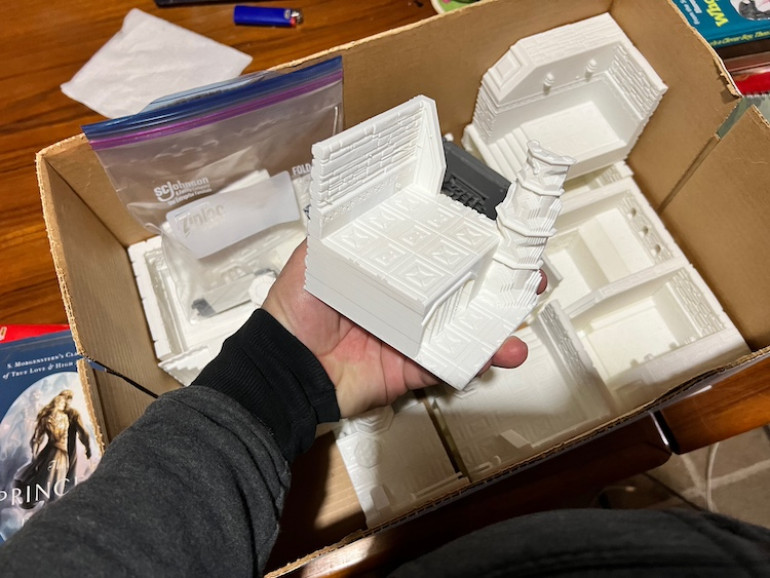
A friend I have known since my misspent youth arrived at my 59th birthday celebration with a big box. Inside was 75% of Balin's Tomb that he had been 3D printing for months. While he still has one row to finish printing he wanted to get the bulk of it to me to celebrate the closing years of my fifth decade on the planet. For the last few years I have set firm limits on my miniature and terrain purchases as I have acquired a lot of stuff over the years and am determined to build/paint what I already own. My friends have no such limits and Mike thought of my love of Tolkien and his Dwarves when he found the files for this piece. As Moria is one of the original "Dungeons" of fantasy literature, assembling and painting this piece sees the perfect entry for this year's Dungeonalia Competition
Related Game: Middle-Earth Strategy Battle Game
Related Genre: Fantasy
Related Contest: Dungeonalia 2023
This Project is Active
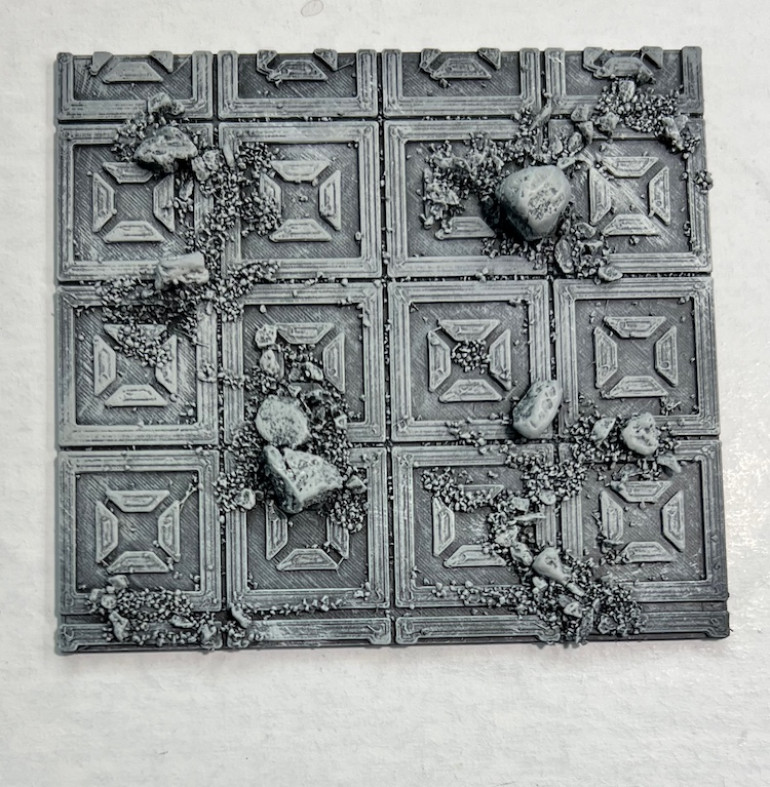
Painting Floor Tiles
I began dry brushing the floor tiles. As they are texture heavy terrain I decided against using my new Artis Opus D-Series brushes and stuck to an old, wide make up brush. I find cheap make up bushes make wonderful disposable dry brushes.
All that’s left now is to stain the dirt brown and seal everything with a matte sealant.
Prepping the Floor Tiles
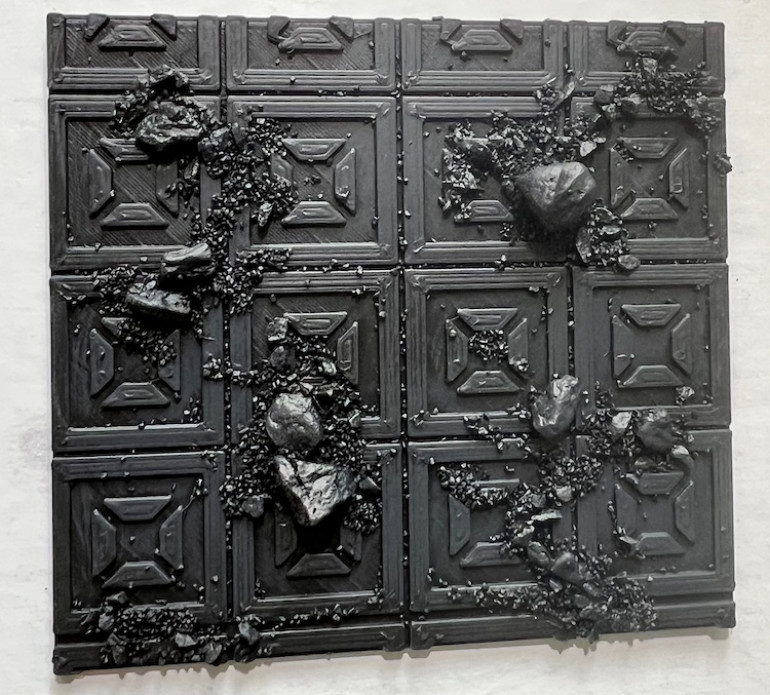
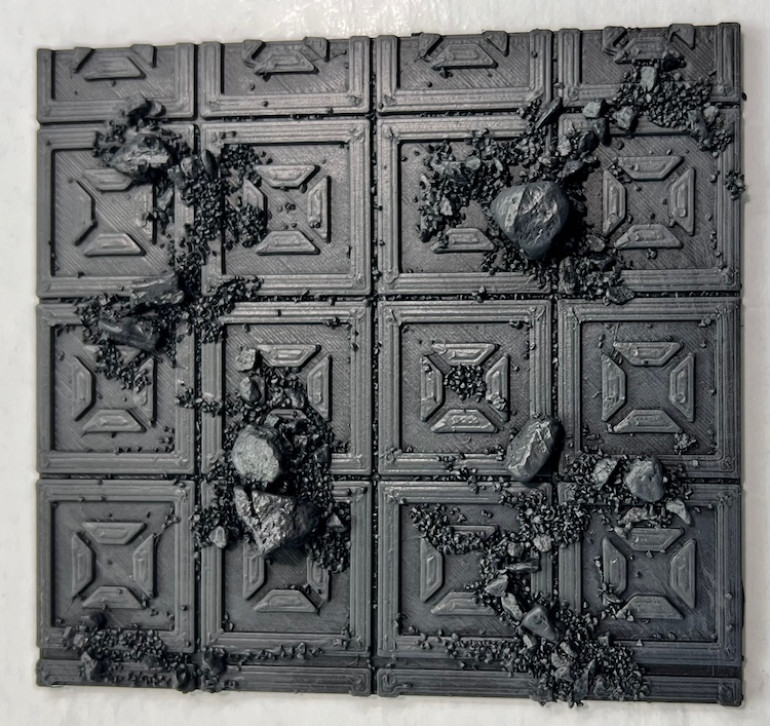
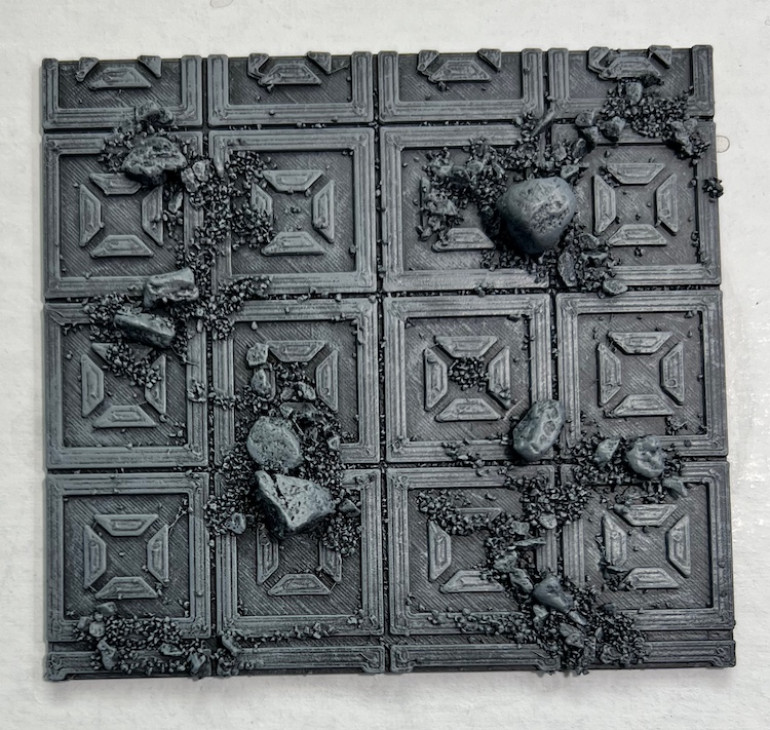
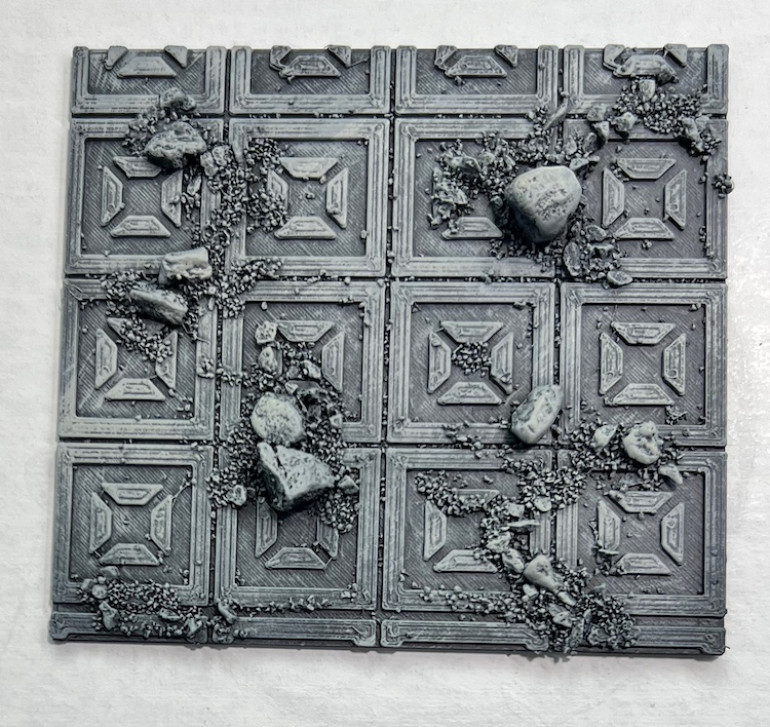
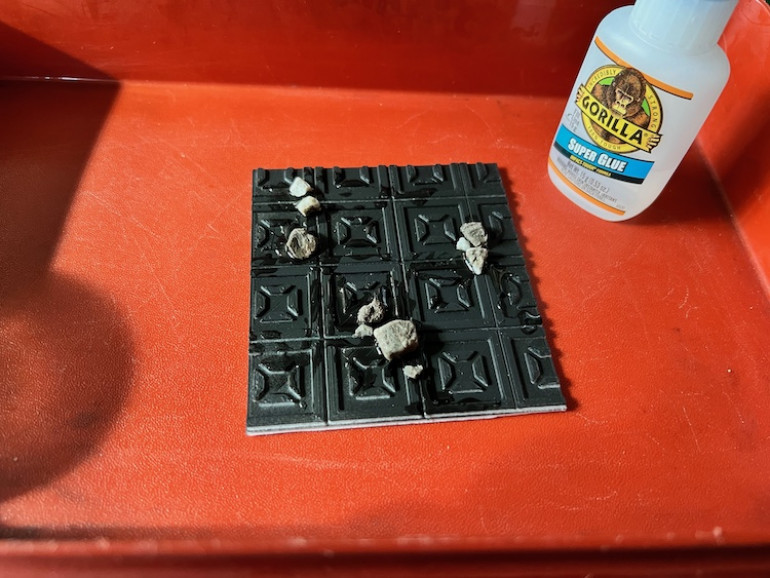
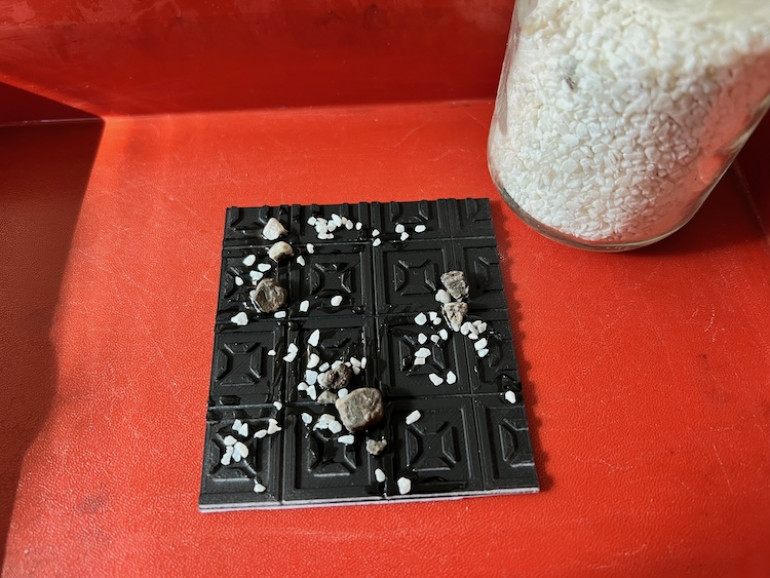
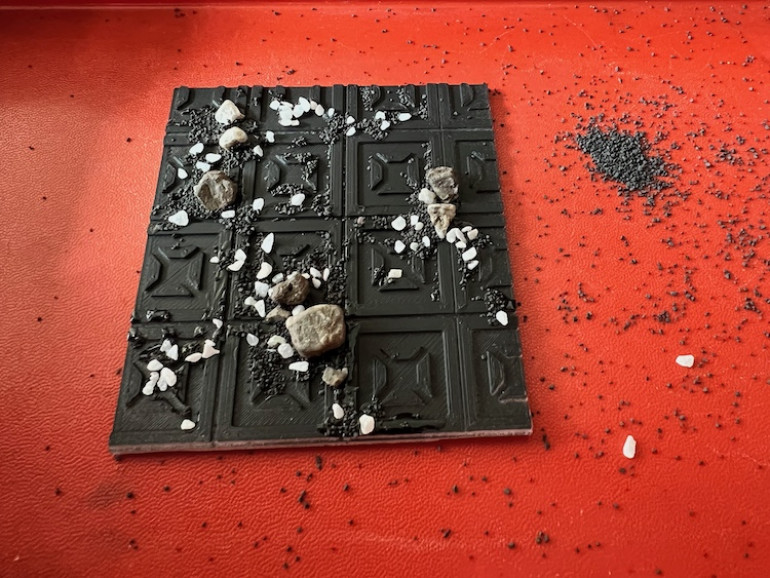
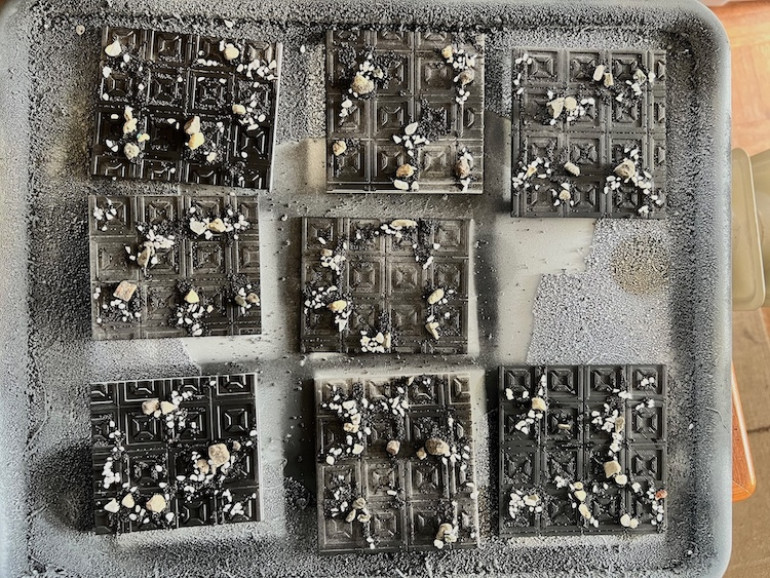
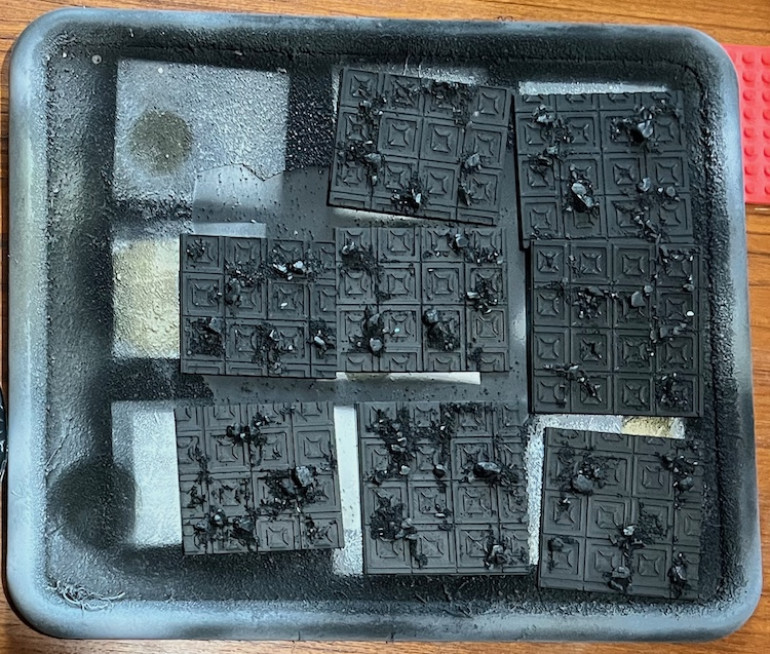
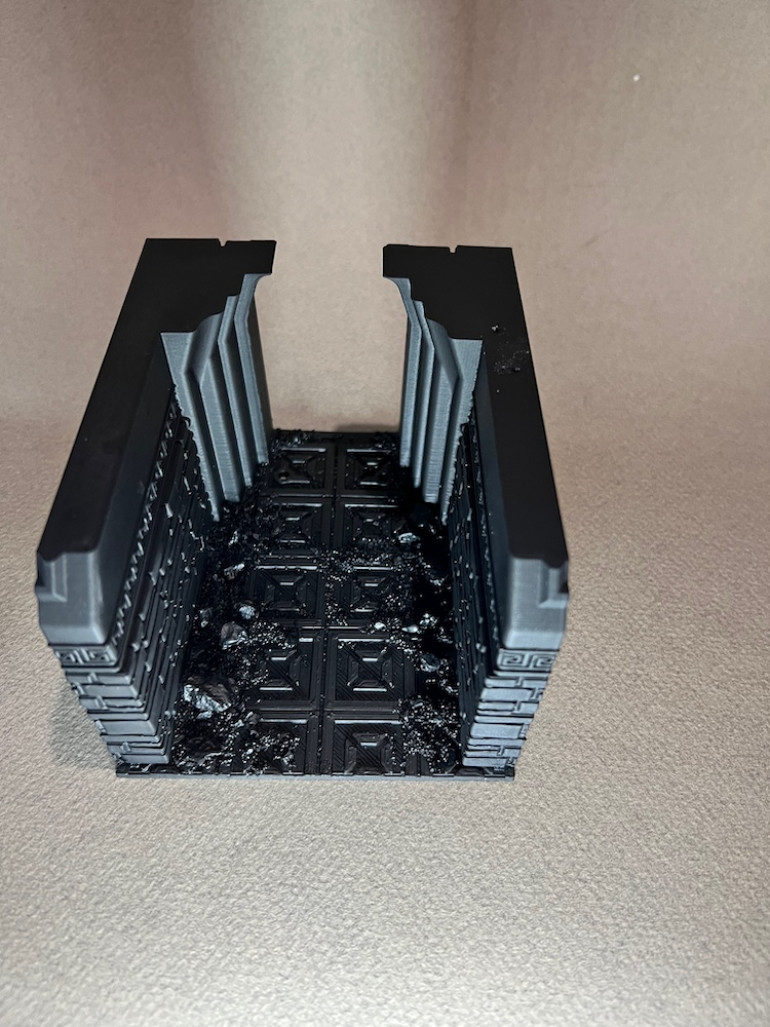
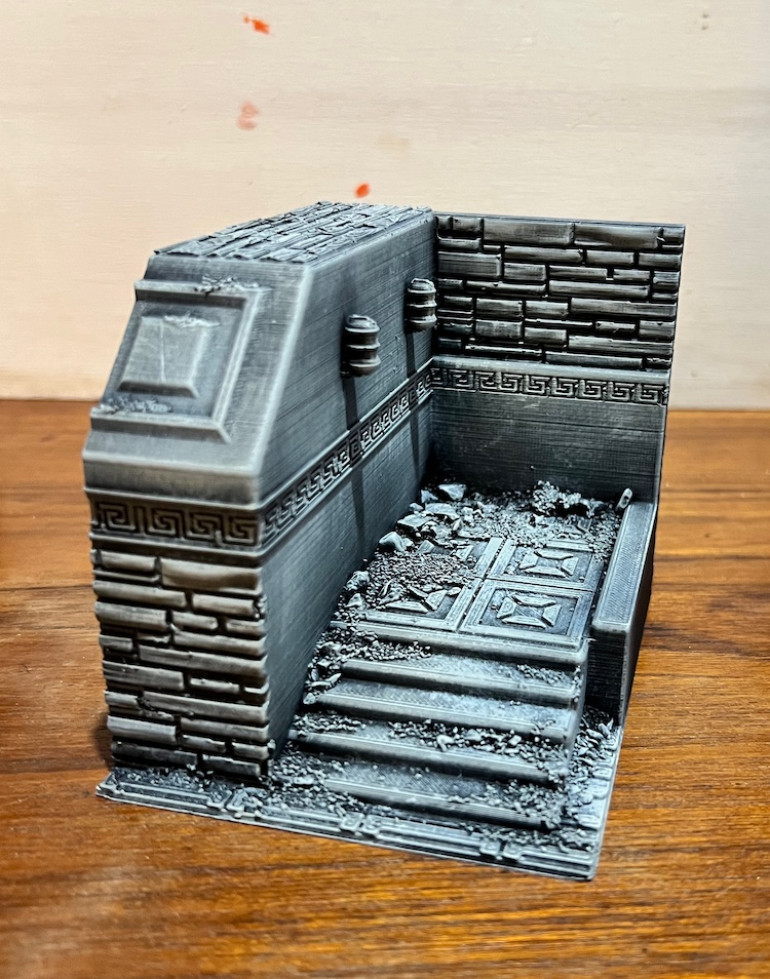
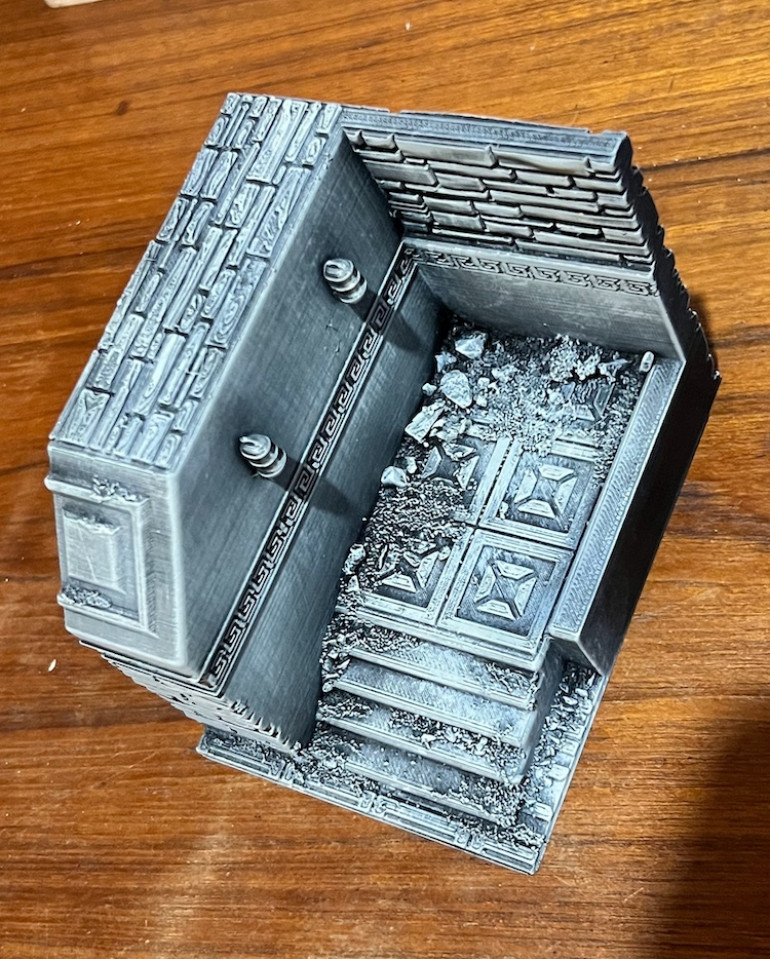
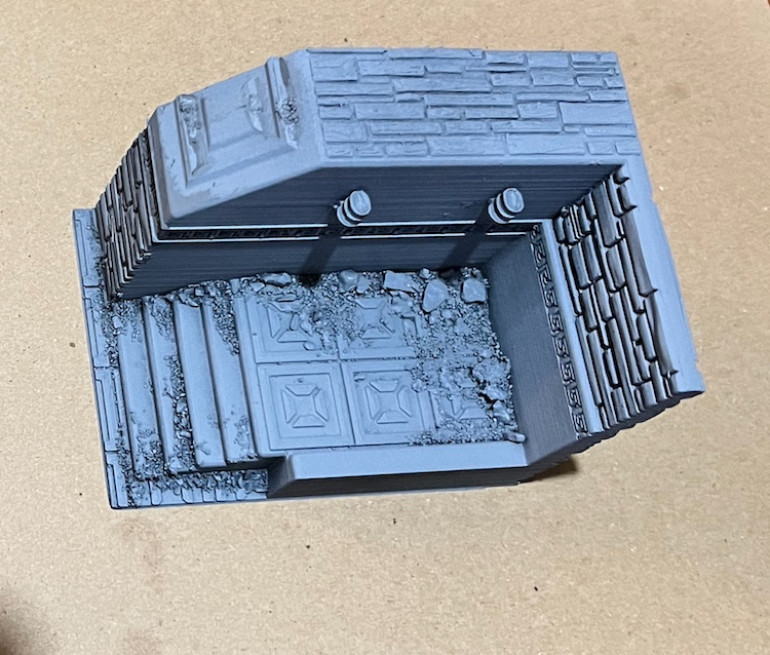
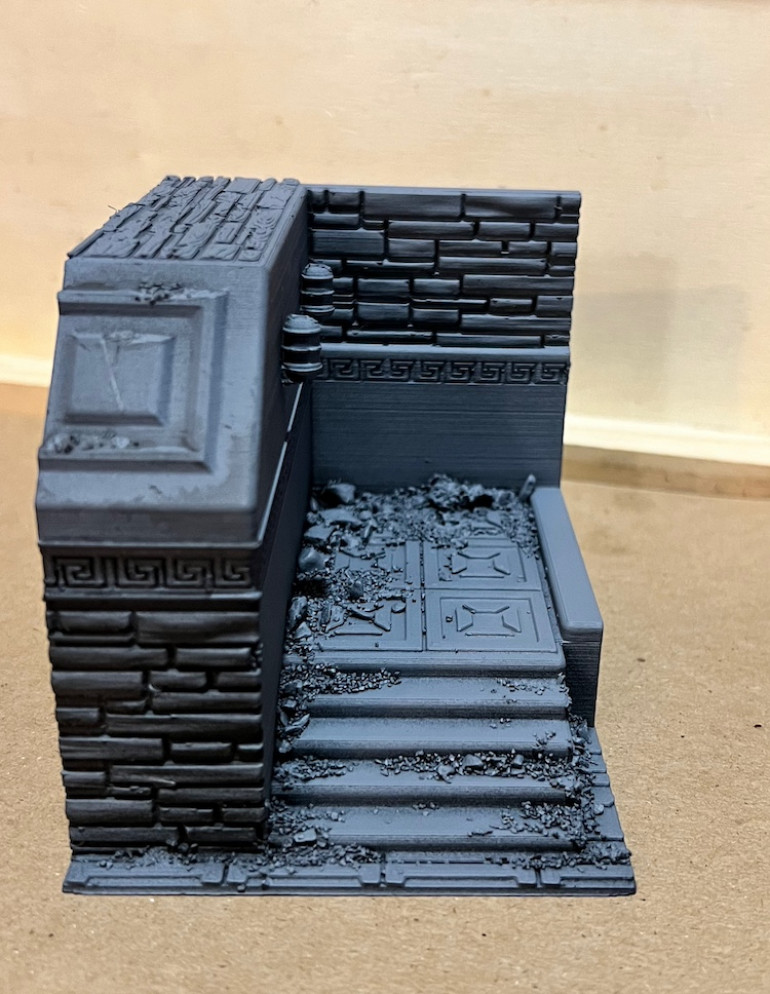
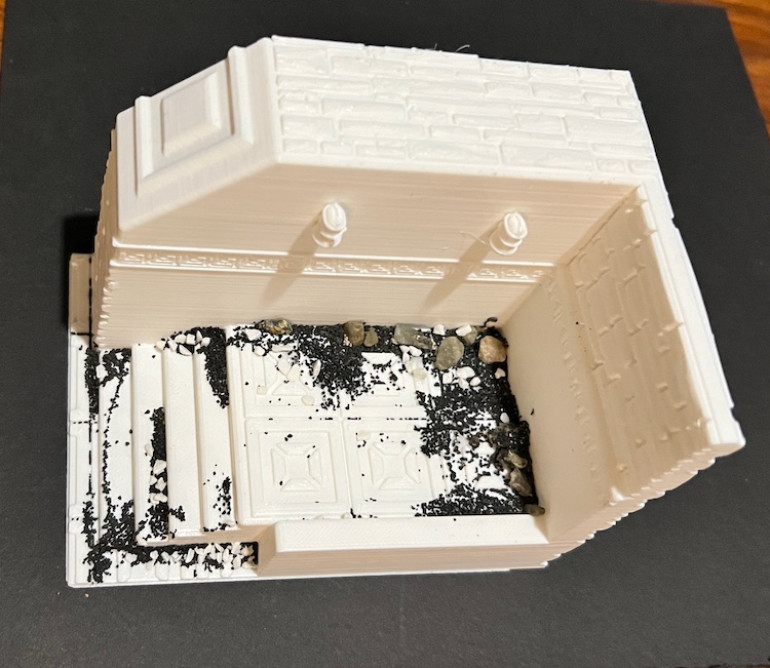
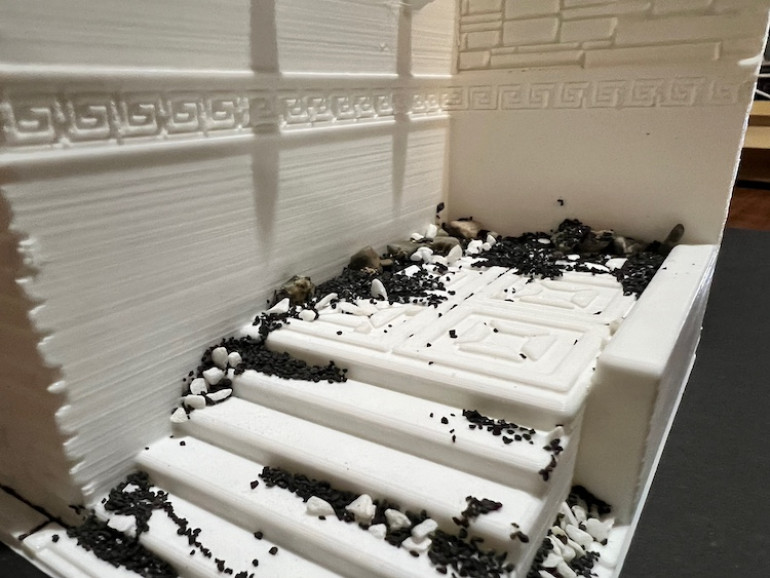
I spent my Monday off working on several projects. As these would be quick and easy to paint I decided to get all the flat floor tiles ready. I started by creating pools of thin superglue where i wanted rubble. I then carefully placed larger stones in those pools. I didn’t want these to be too large as they would interfere with moving figures around. I then added smaller bits of gravel before applying the finest grain “sand”. This is actually activated charcoal from used up water filters and darn handy. Once everything had dried the tiles were spray painted black to prime. When that layer had dried I went over it all with watered down Tacky Glue. When I get home from work today I will spray one more layer of black primer. I am hoping this helps hold down all the gravel as well as reducing some of those pesky layer lines.
Not Quite 50 Shades of Grey...
Got to work on painting. Built up from charcoal gray through to a light grey. Went lighter in application than the test piece which means the overall effect is darker. Not sure which I prefer so will keep playing with it. I figure once I go through the final assembly I can blend the various parts together. Regardless, these need more work. I’m going to prep all the flat floor pieces next as I hope they go quickly.
Some More Pieces Get Some Black Primer
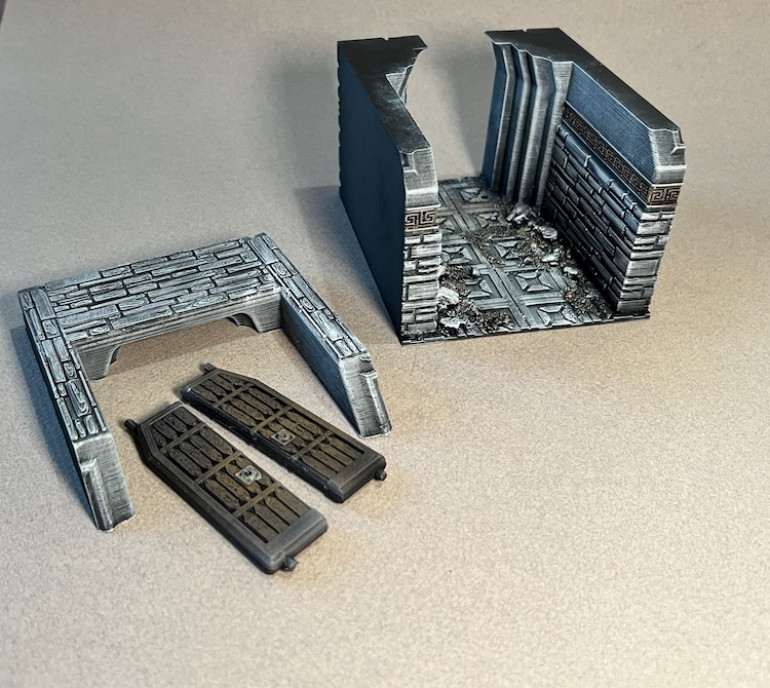
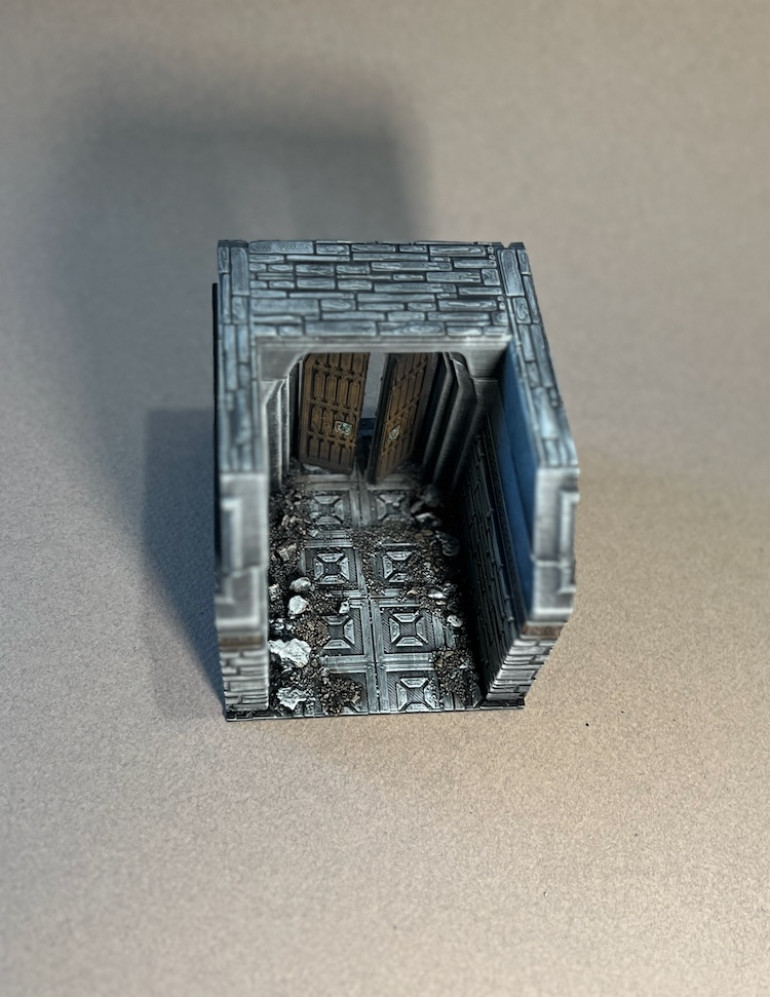
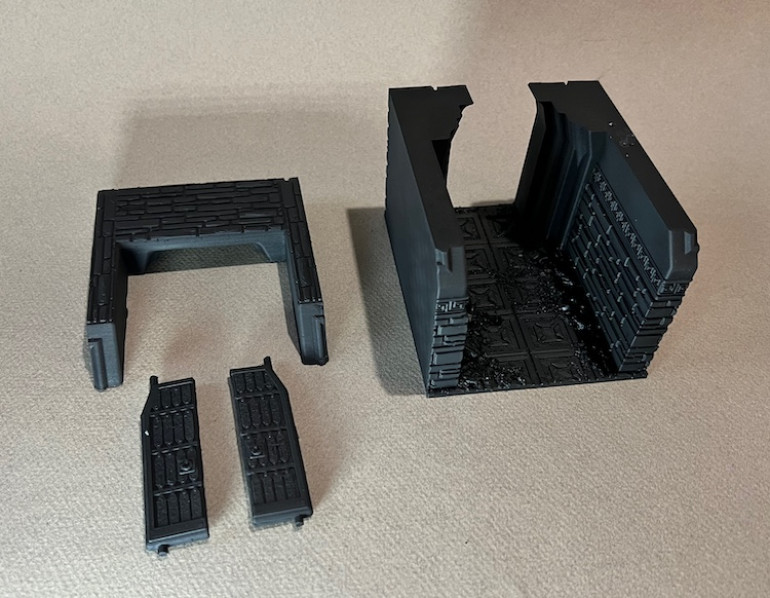
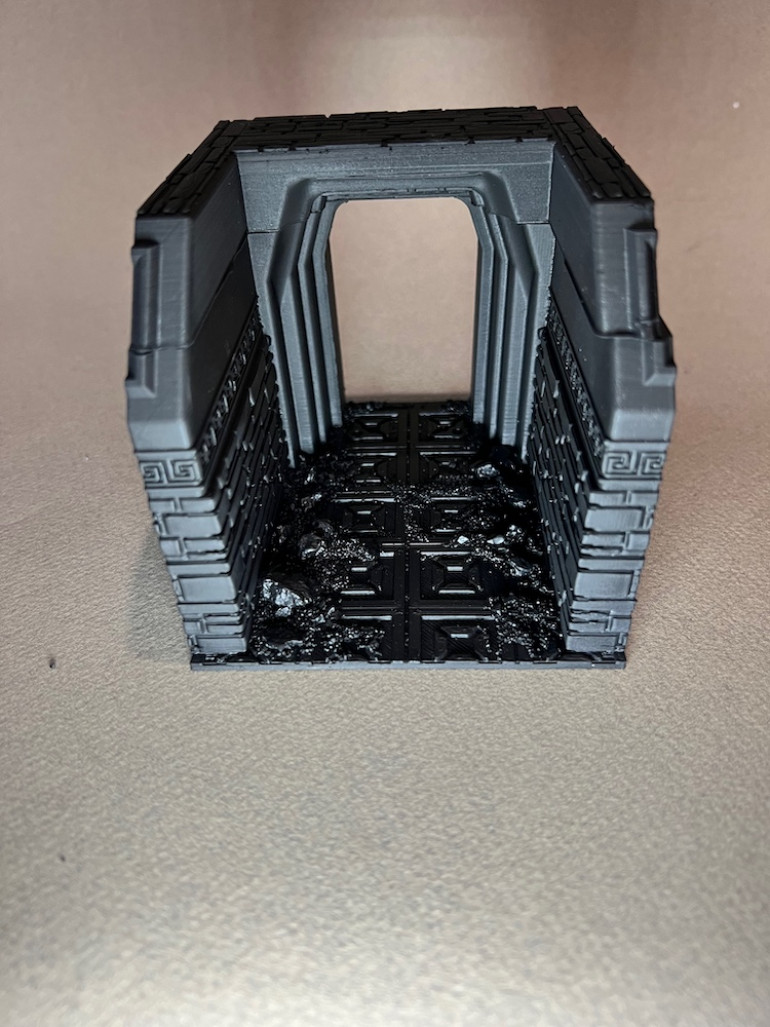
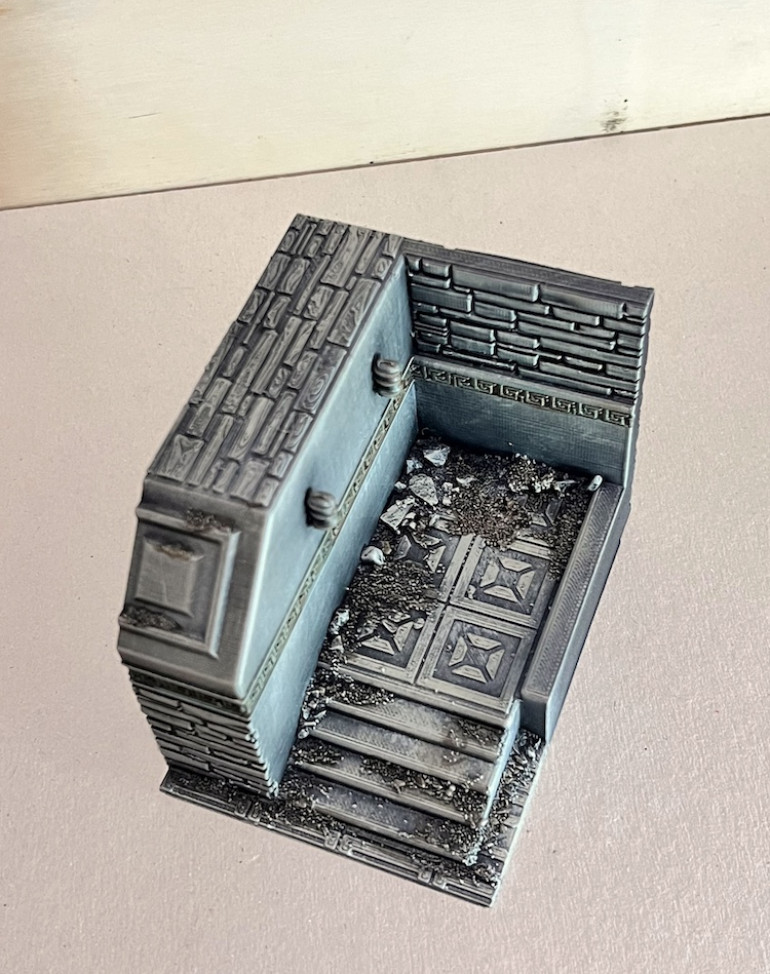
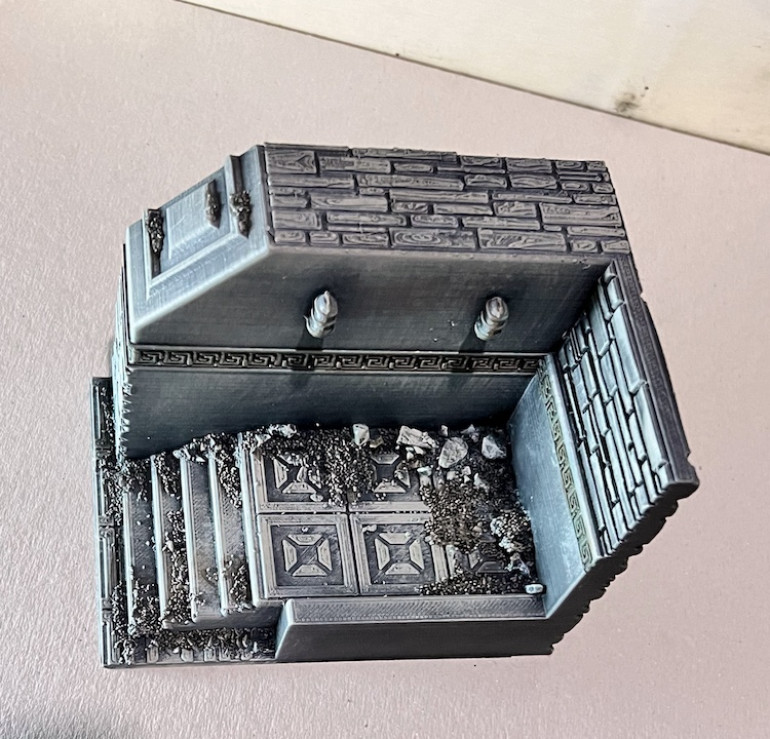
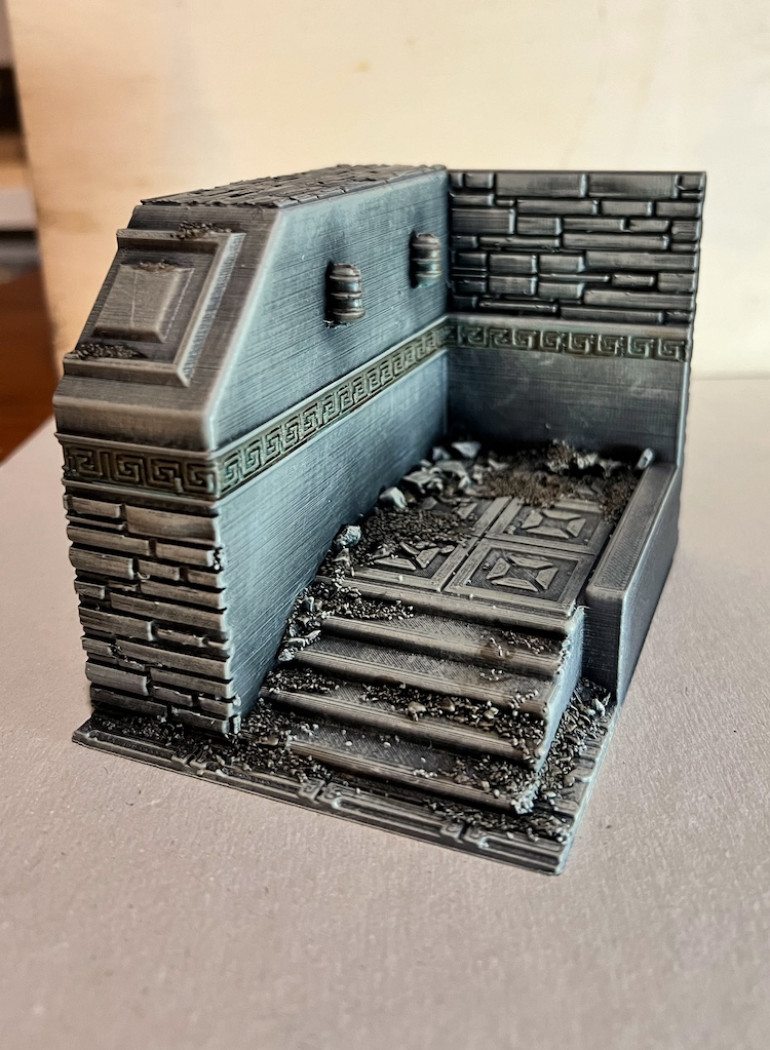
With the massive storms and blackouts we had this weekend I got very little new work done. I did primer these pieces on Friday before things got really bad. The entry way has two pieces and double doors. The double doors were actually printed in two parts each that I almost missed. Once everything is painted, the top piece will hold the doors in place.
While I am aware of the printer lines, I am still using a regular primer. I would like to try a self leveling or smoothing primer next but for now I am using what I have and ignoring printer lines.
More Dungeonalia
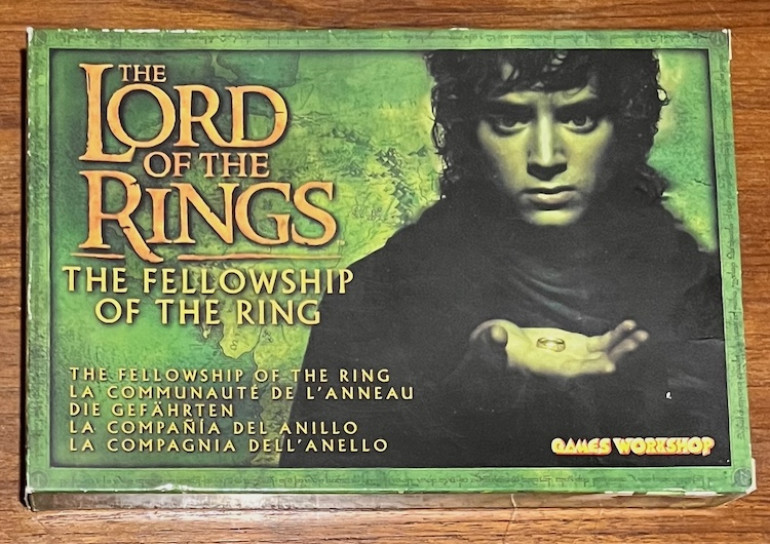
Since I’m building Balin’s Tomb from Fellowship of the Ring I felt it was good time to actually breakout the Fellowship set I bought when the movie first came out and start to work on it. I know I have a box full of plastic Moria Goblins somewhere as well though that will require more searching.
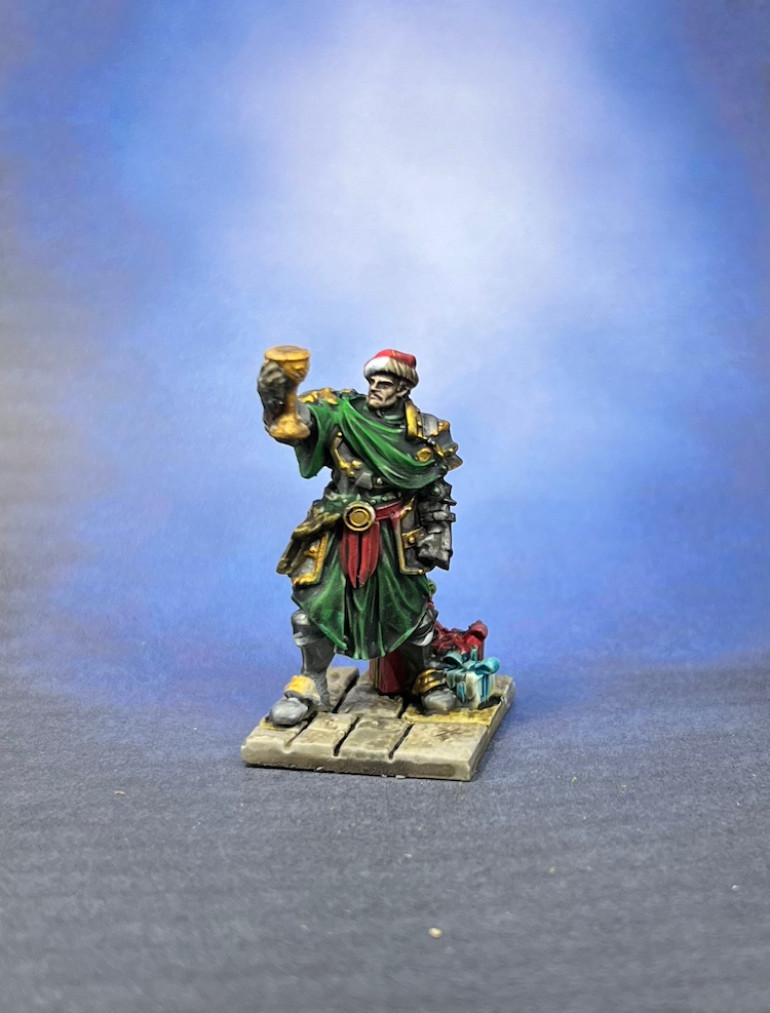
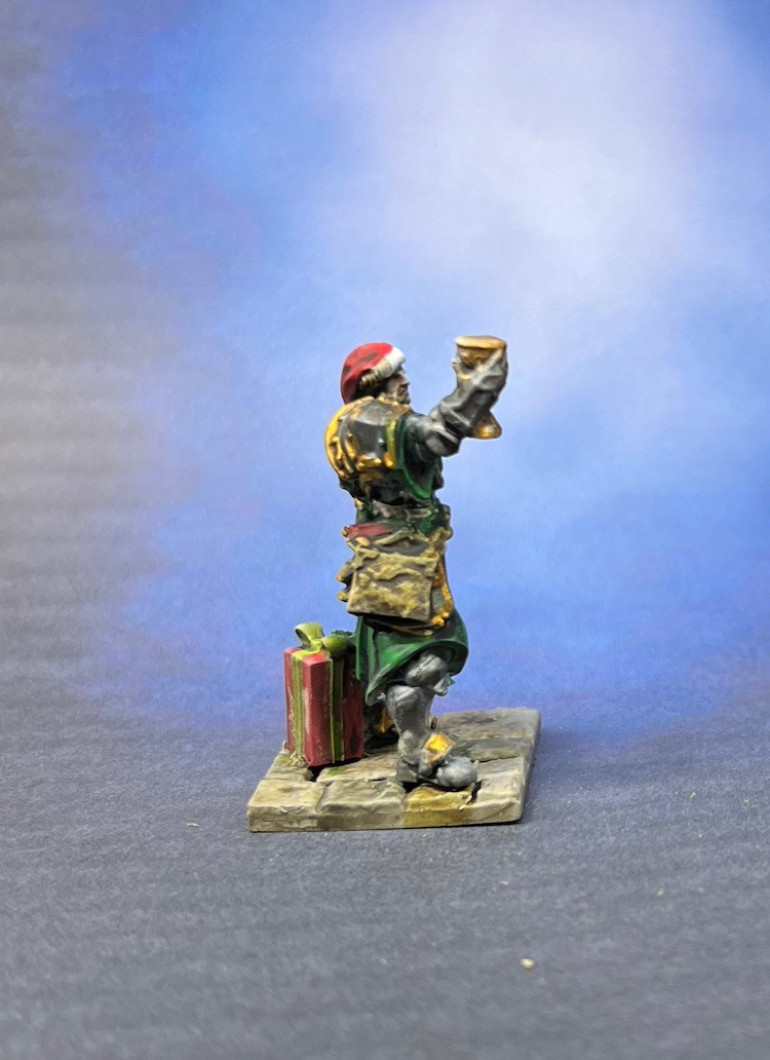
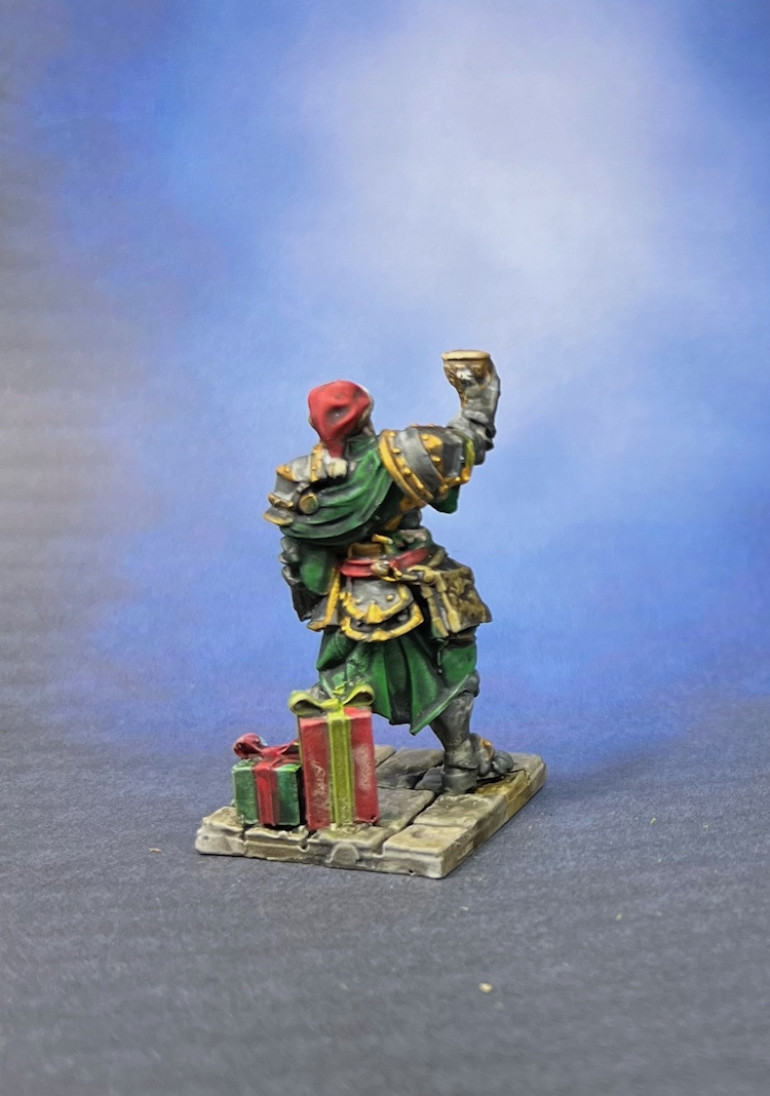
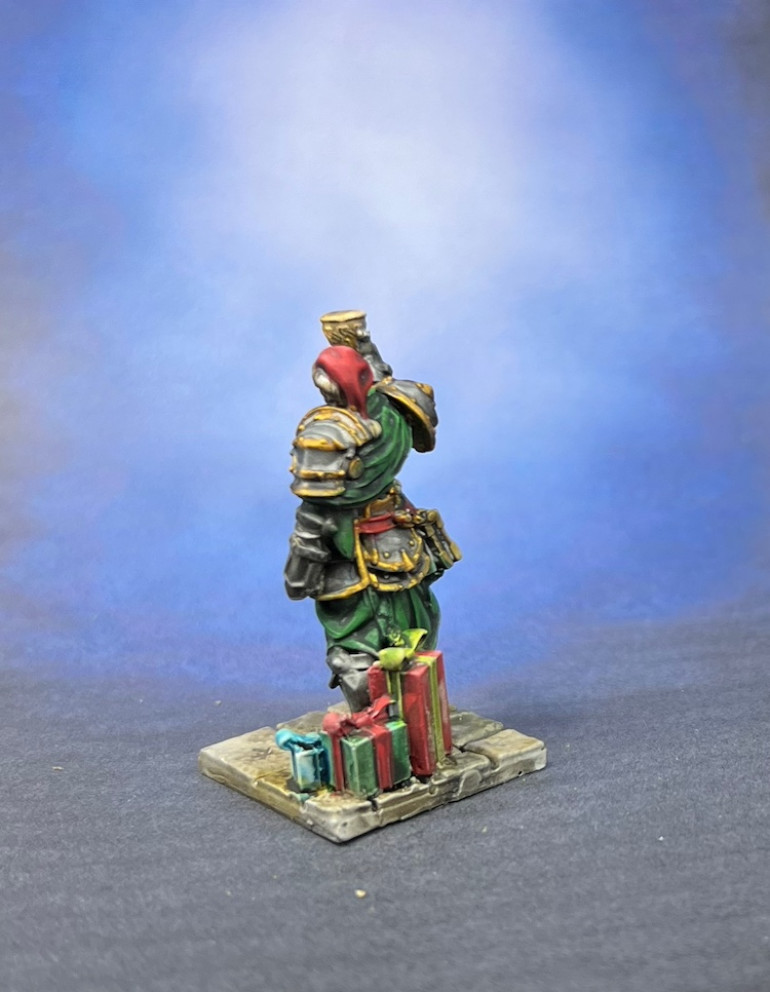
This also seems a perfect place to show the miniatures included in Mantic’s Advent Calendar/Game, Bar Room Brawl. Since they are supposed to be adventurers during their holiday downtime this seems like a good place to post that progress as well.
Test Piece Done
I used some of the new Army Painter Speed Paint Metallic Hoard Bronze on the lamps and the designs along the walls. After that dried I went over it with Nihilakh Oxide for a nice patina. I finished off the areas with the finest grain sand with some Agrax Earthshade for some warmth. I believe I succeeded in getting a very nice look with a few, simple steps.
Now onto cleaning up some more pieces and planning how to assemble them.
Back in Black
I began dry brushing the test piece and did not like how bright it was looking on the grey primer. While washes and stains could soften this and darken everything up, I want to keep this to as few steps a necessary as there a lot of pieces to work on. So I went back to black. Another layer of paint and primer just further blended the layer lines.
I used a couple different grays, tans, and a hint of ivory to get this point. I will be picking out individual stones and the lamps next but for a base coat I really like the look so far.
Test Piece Primed
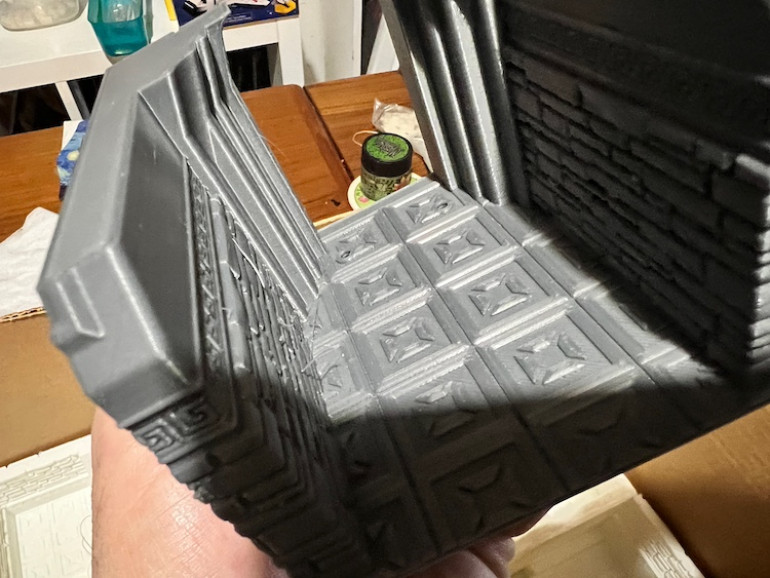
The sky was clear enough when I got home that I could get the test piece primed. I began with a black base and tried for a dusting of grey. I’m afraid the grey is a bit overdone so I am thinking of going back to black tonight as I think the dry brushing will look better on that. I’ll give it some test paint first as it is always best to see rather than assume. Regardless, I need a quick process as this is a rather large object to paint.
Beginning A Test Piece
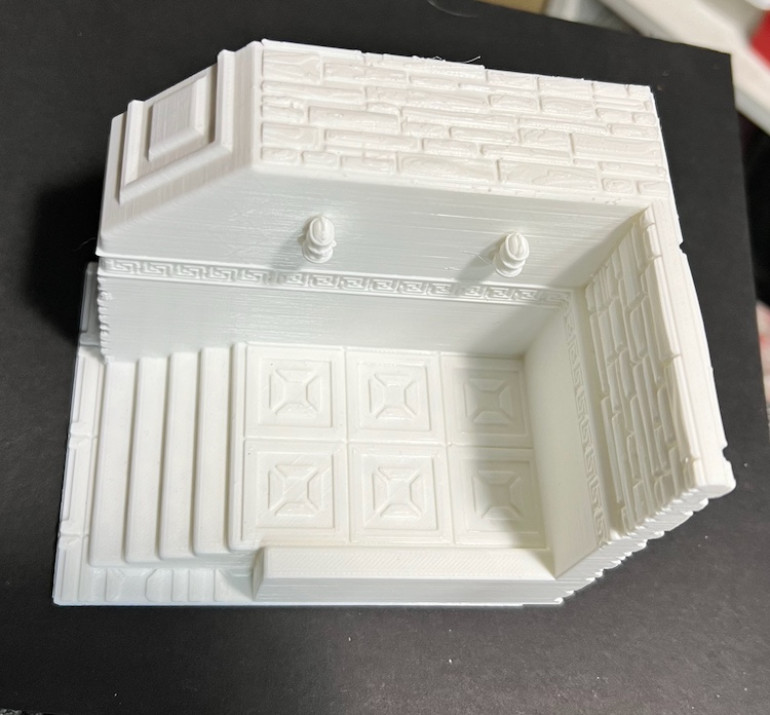
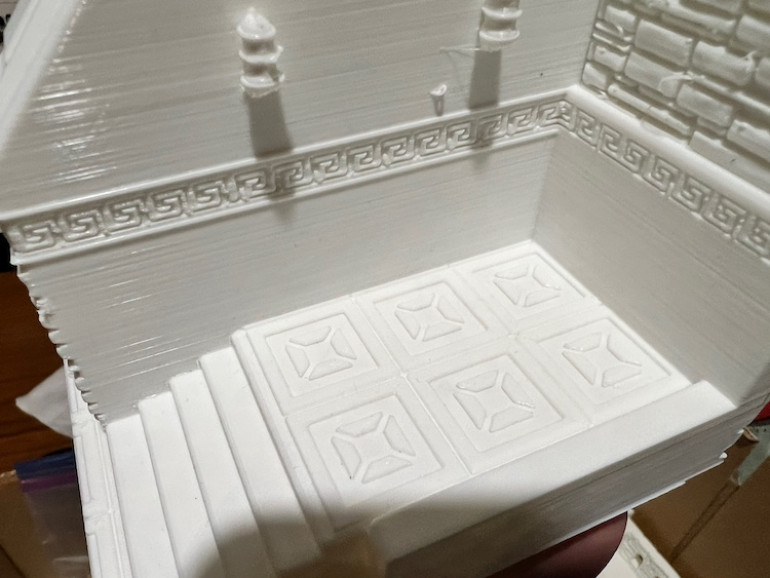
I don’t own a 3D printer and only have limited experience working with models made on them and most of those were made on resin printers. I generally dislike the layer lines that is a hallmark of FDM printers but my friend has done an excellent job of minimizing them as well as keeping them horizontal which shows less on these pieces. I’ve heard that a good primer coat will reduce them a bit as well but will have to wait and see on that.
I cleared off the strings and bumps that had been left behind and then scrubbed the surface just in case there was something to interfere with superglue or primer. When I build terrain out of porous materials I will use Aileen’s Tacky Glue for just about all of it. Since the glue would have problems attaching to the plastic, I used thin superglue initially, spreading it out with a toothpick. I then sprinkled the larger stones on the glue, followed by smaller stones, before finally using fine sand to create the look of rubble as Moria had been abandoned by the dwarves for centuries.
If the weather is dry enough when I get home I will spray prime every surface black before using a cool grey from above. While not exactly a zenith it does help make it look more dramatic and easier to paint.
Entering the Long Dark That is Moria...
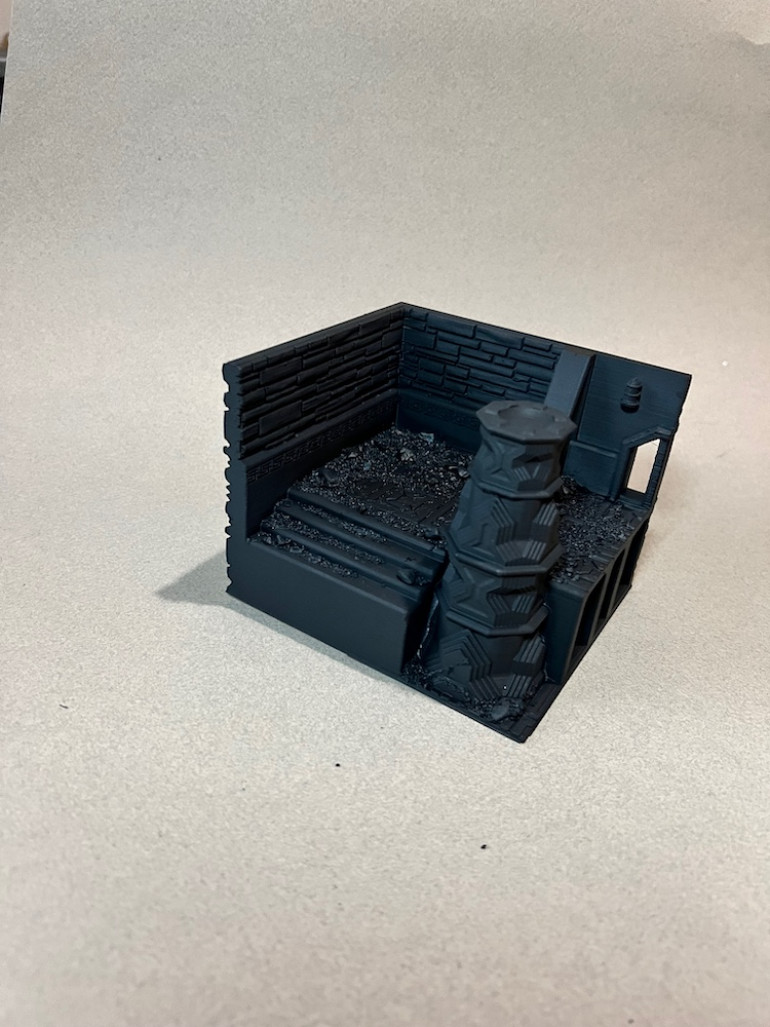
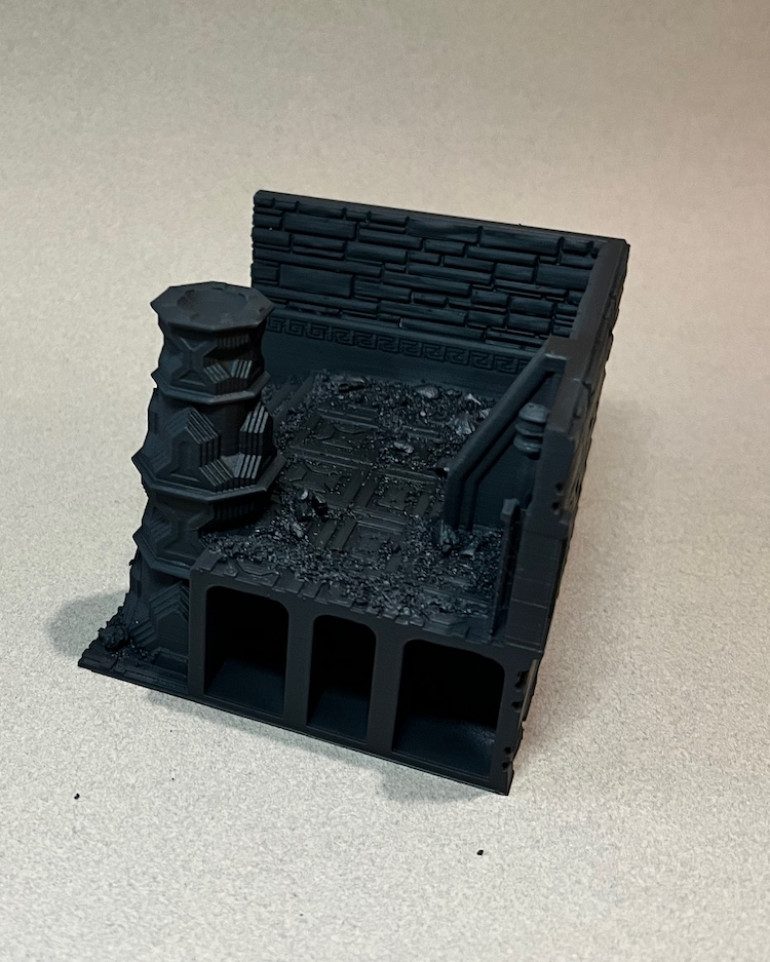
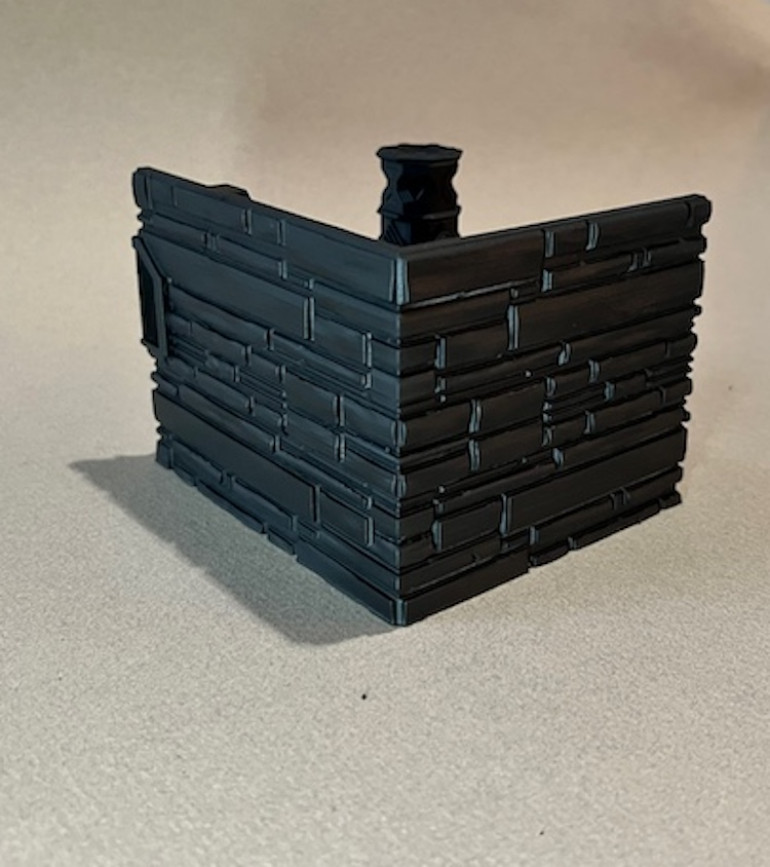
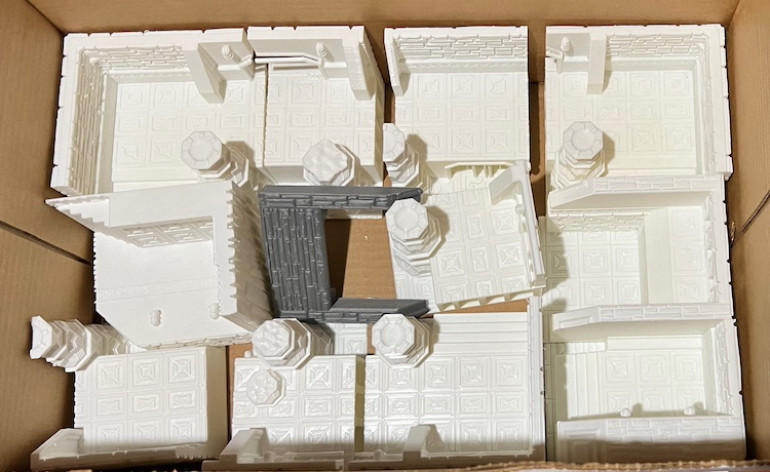
The STLs came from LV427-Designs, https://lv427-designs.com/products/large-ancient-dwarven-dig?_pos=1&_sid=3b0bf4ae1&_ss=r. The final layout of this piece is going to be about two feet by two feet with cover and areas of different heights as well as flavorful texture all over these pieces. Mike printed and numbered each piece according to the schematic provided by LV 427 which is very helpful because it isn’t exactly obvious how they all go together when it is all piled up like this.
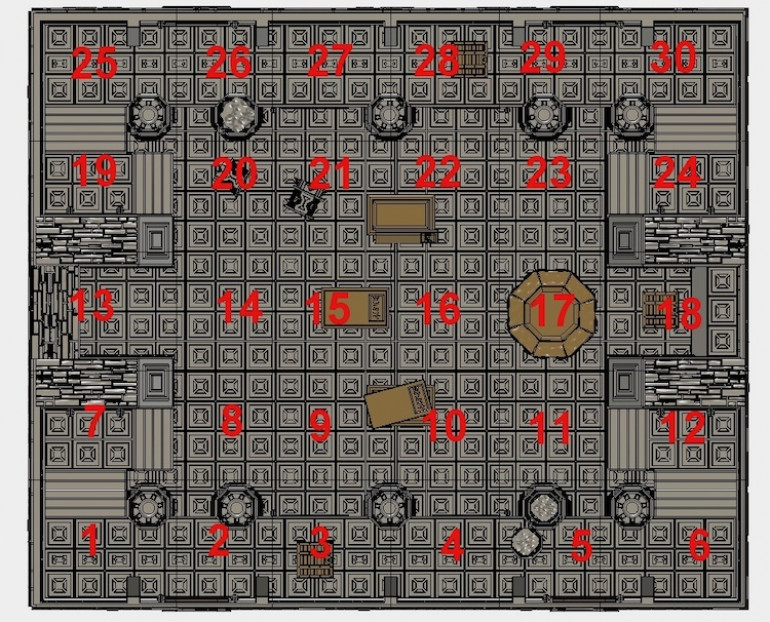 This is the layout for the parts. Thank goodness Mike has labeled everything. Only one more row to print which he says I should receive by mid-February.


