Malifaux from the Ground, up!


Recommendations: 100
About the Project
An attempt to build a table's worth of terrain for Malifaux and other games. Starting quite literally, from the ground. I’ve been learning how to play Malifaux for about 12 months now, I guess. Now it's time to build some terrain of my own.
Related Game: Malifaux
Related Company: Wyrd Miniatures
Related Genre: Weird
Related Contest: TerrainFest 2023
This Project is Active
24 Oct 23: ...I probably should have painted that first
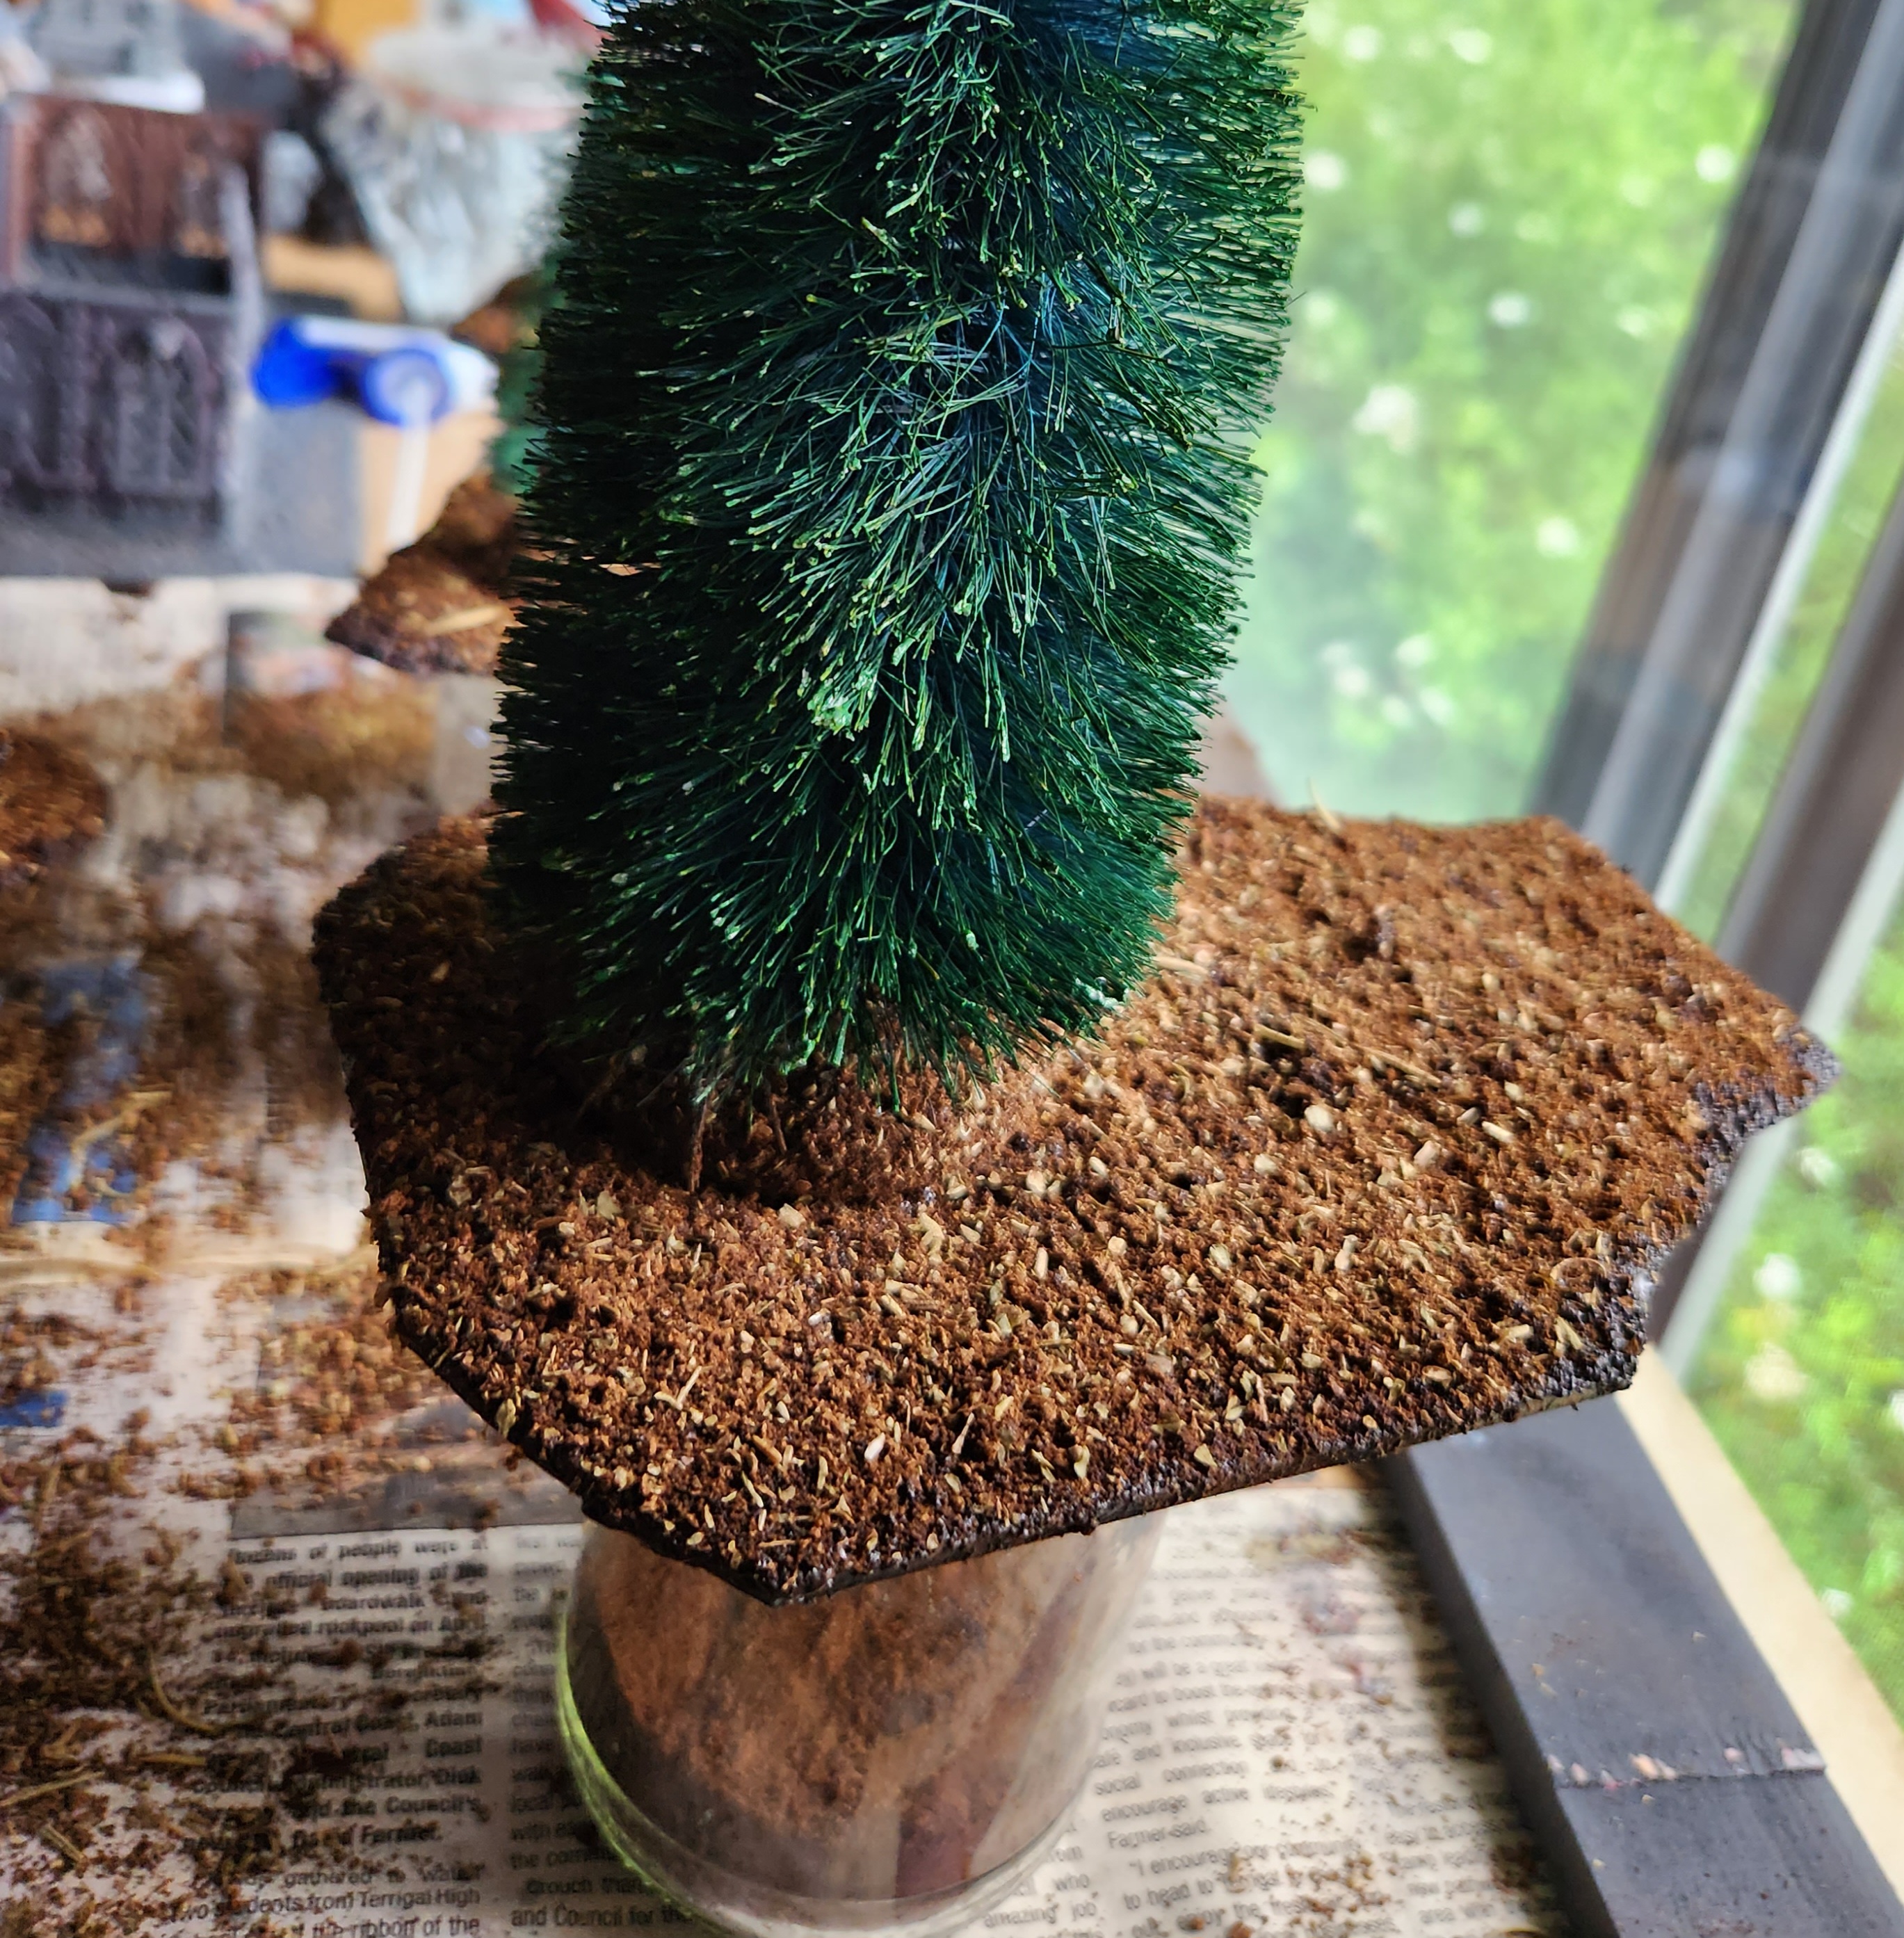
 I started adding to the bases, without painting them. Clearly not thinking.
 So I started adding more detail to the base. Using watered down PVA, used tea leaves and coffee grounds.
But I’m not really sure what I was thinking not painting the bases first.
But anyway, you get the idea:
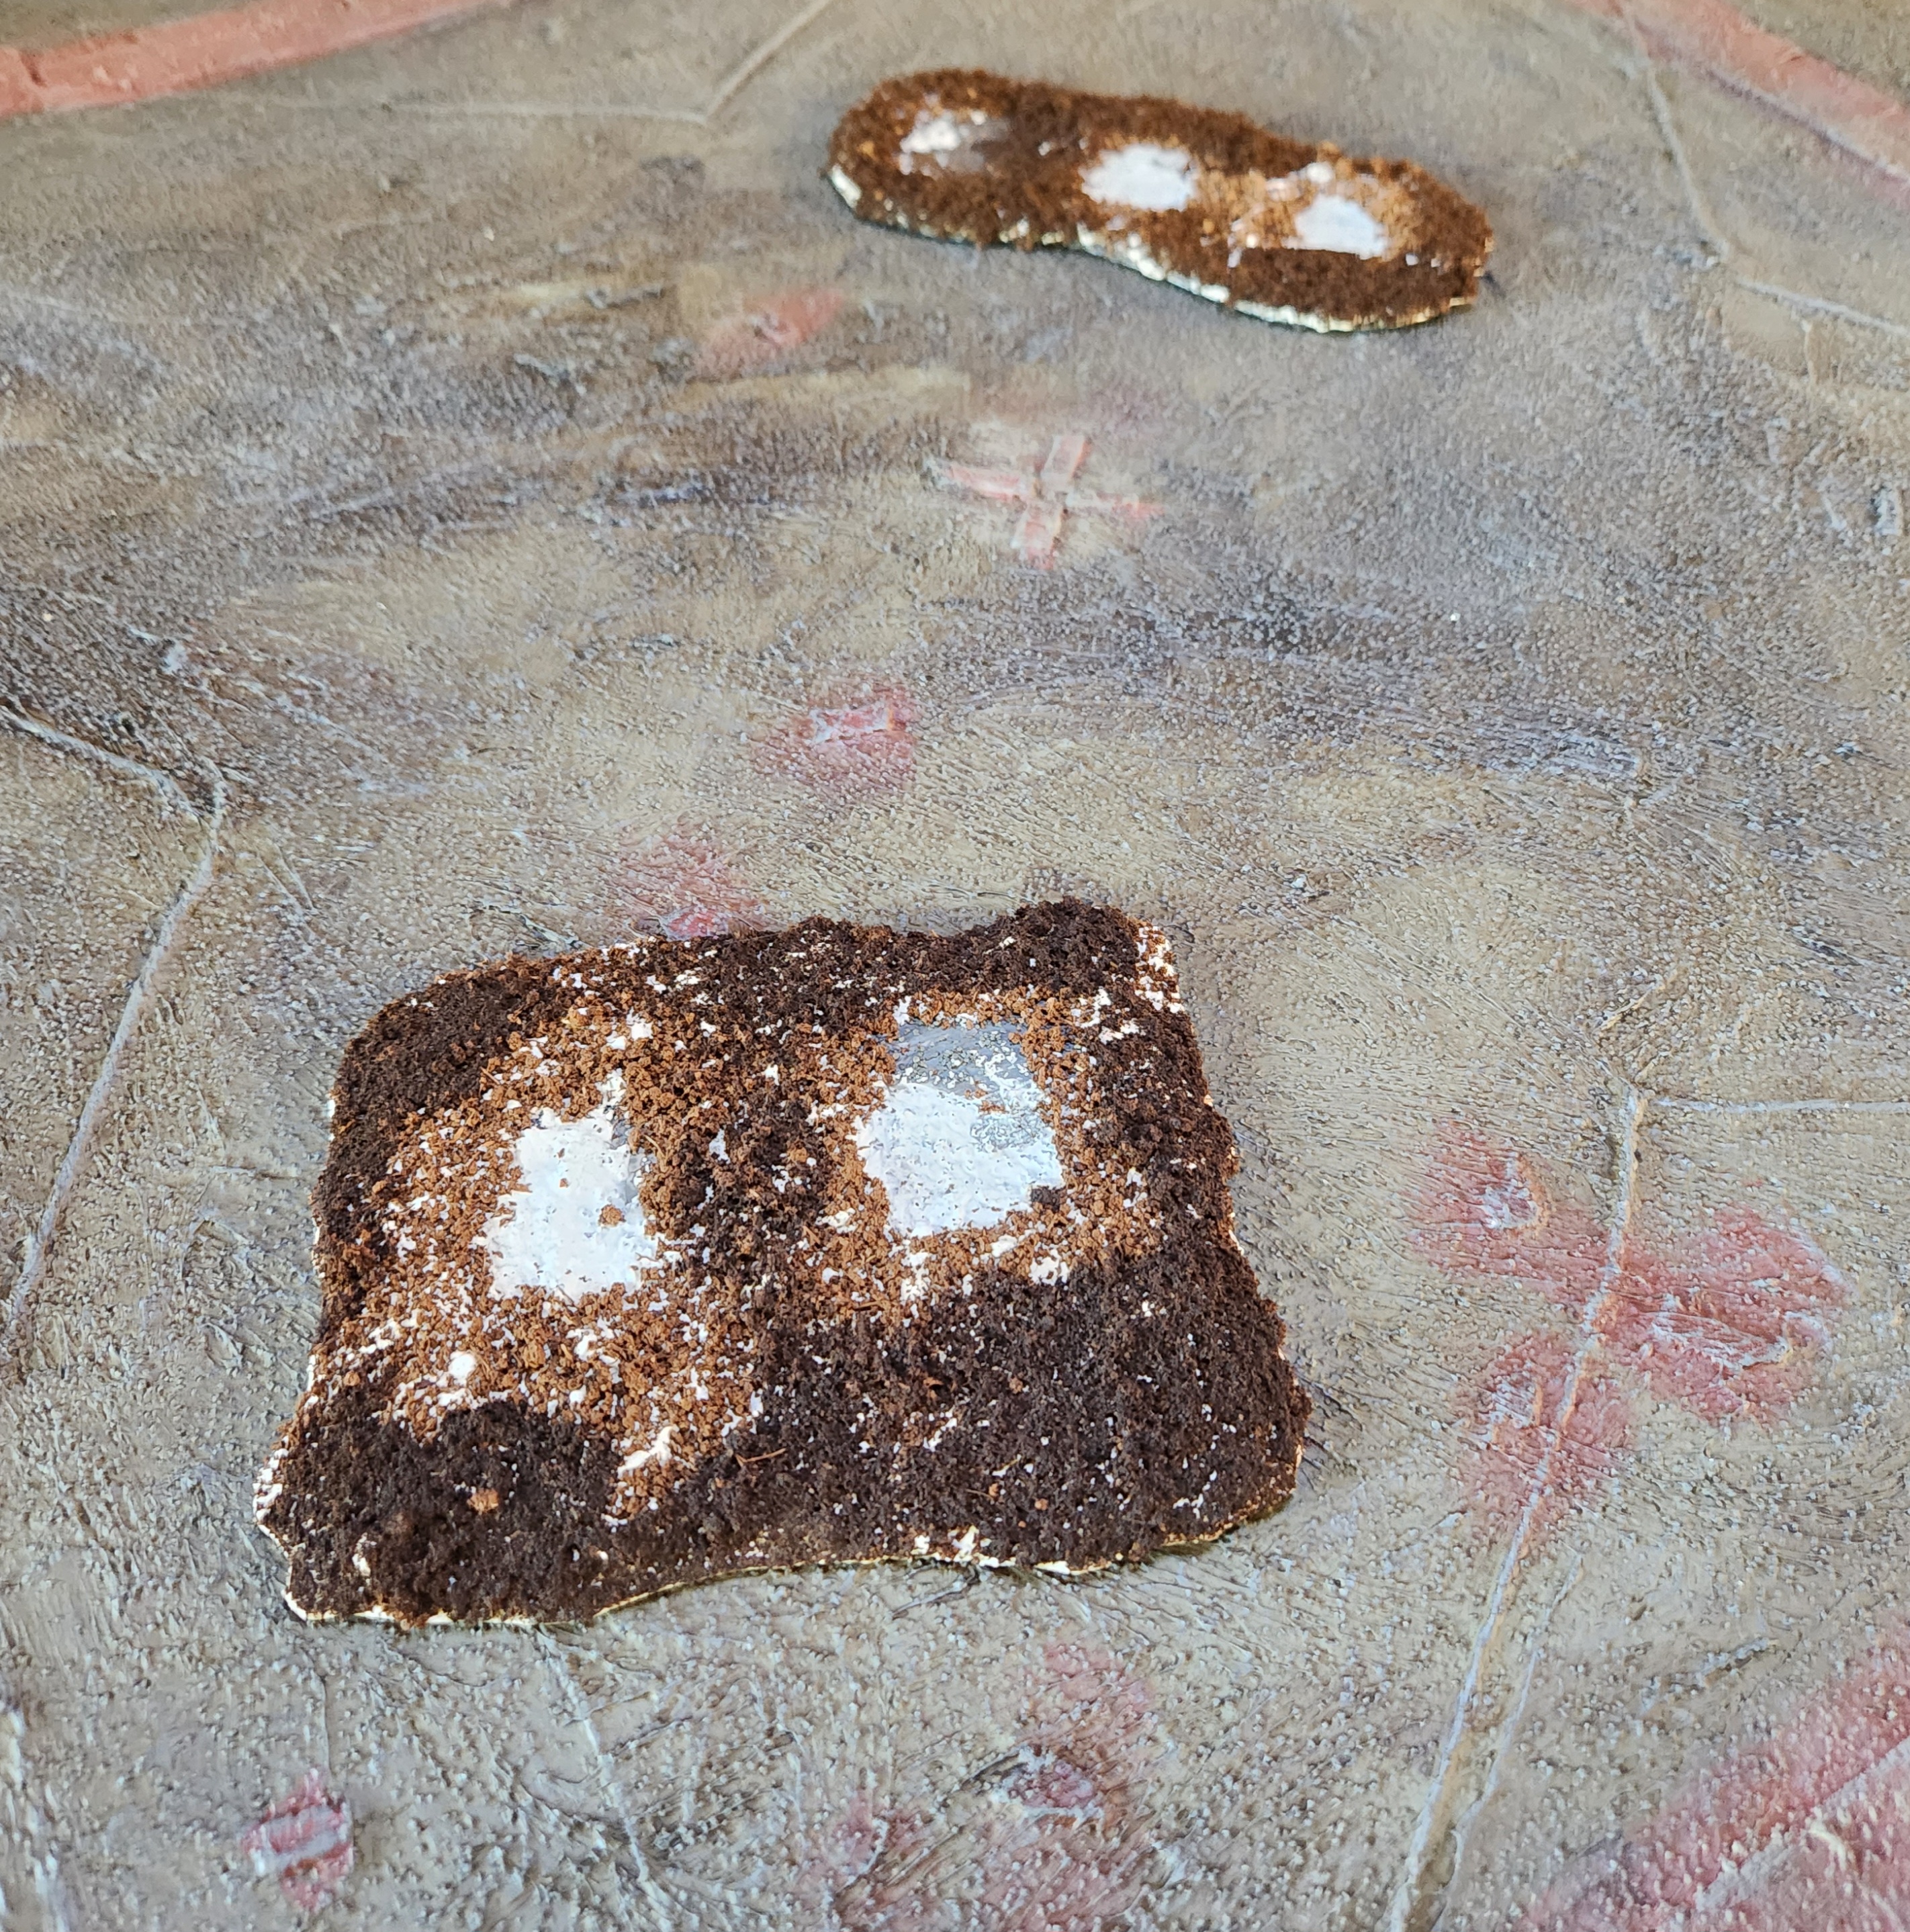
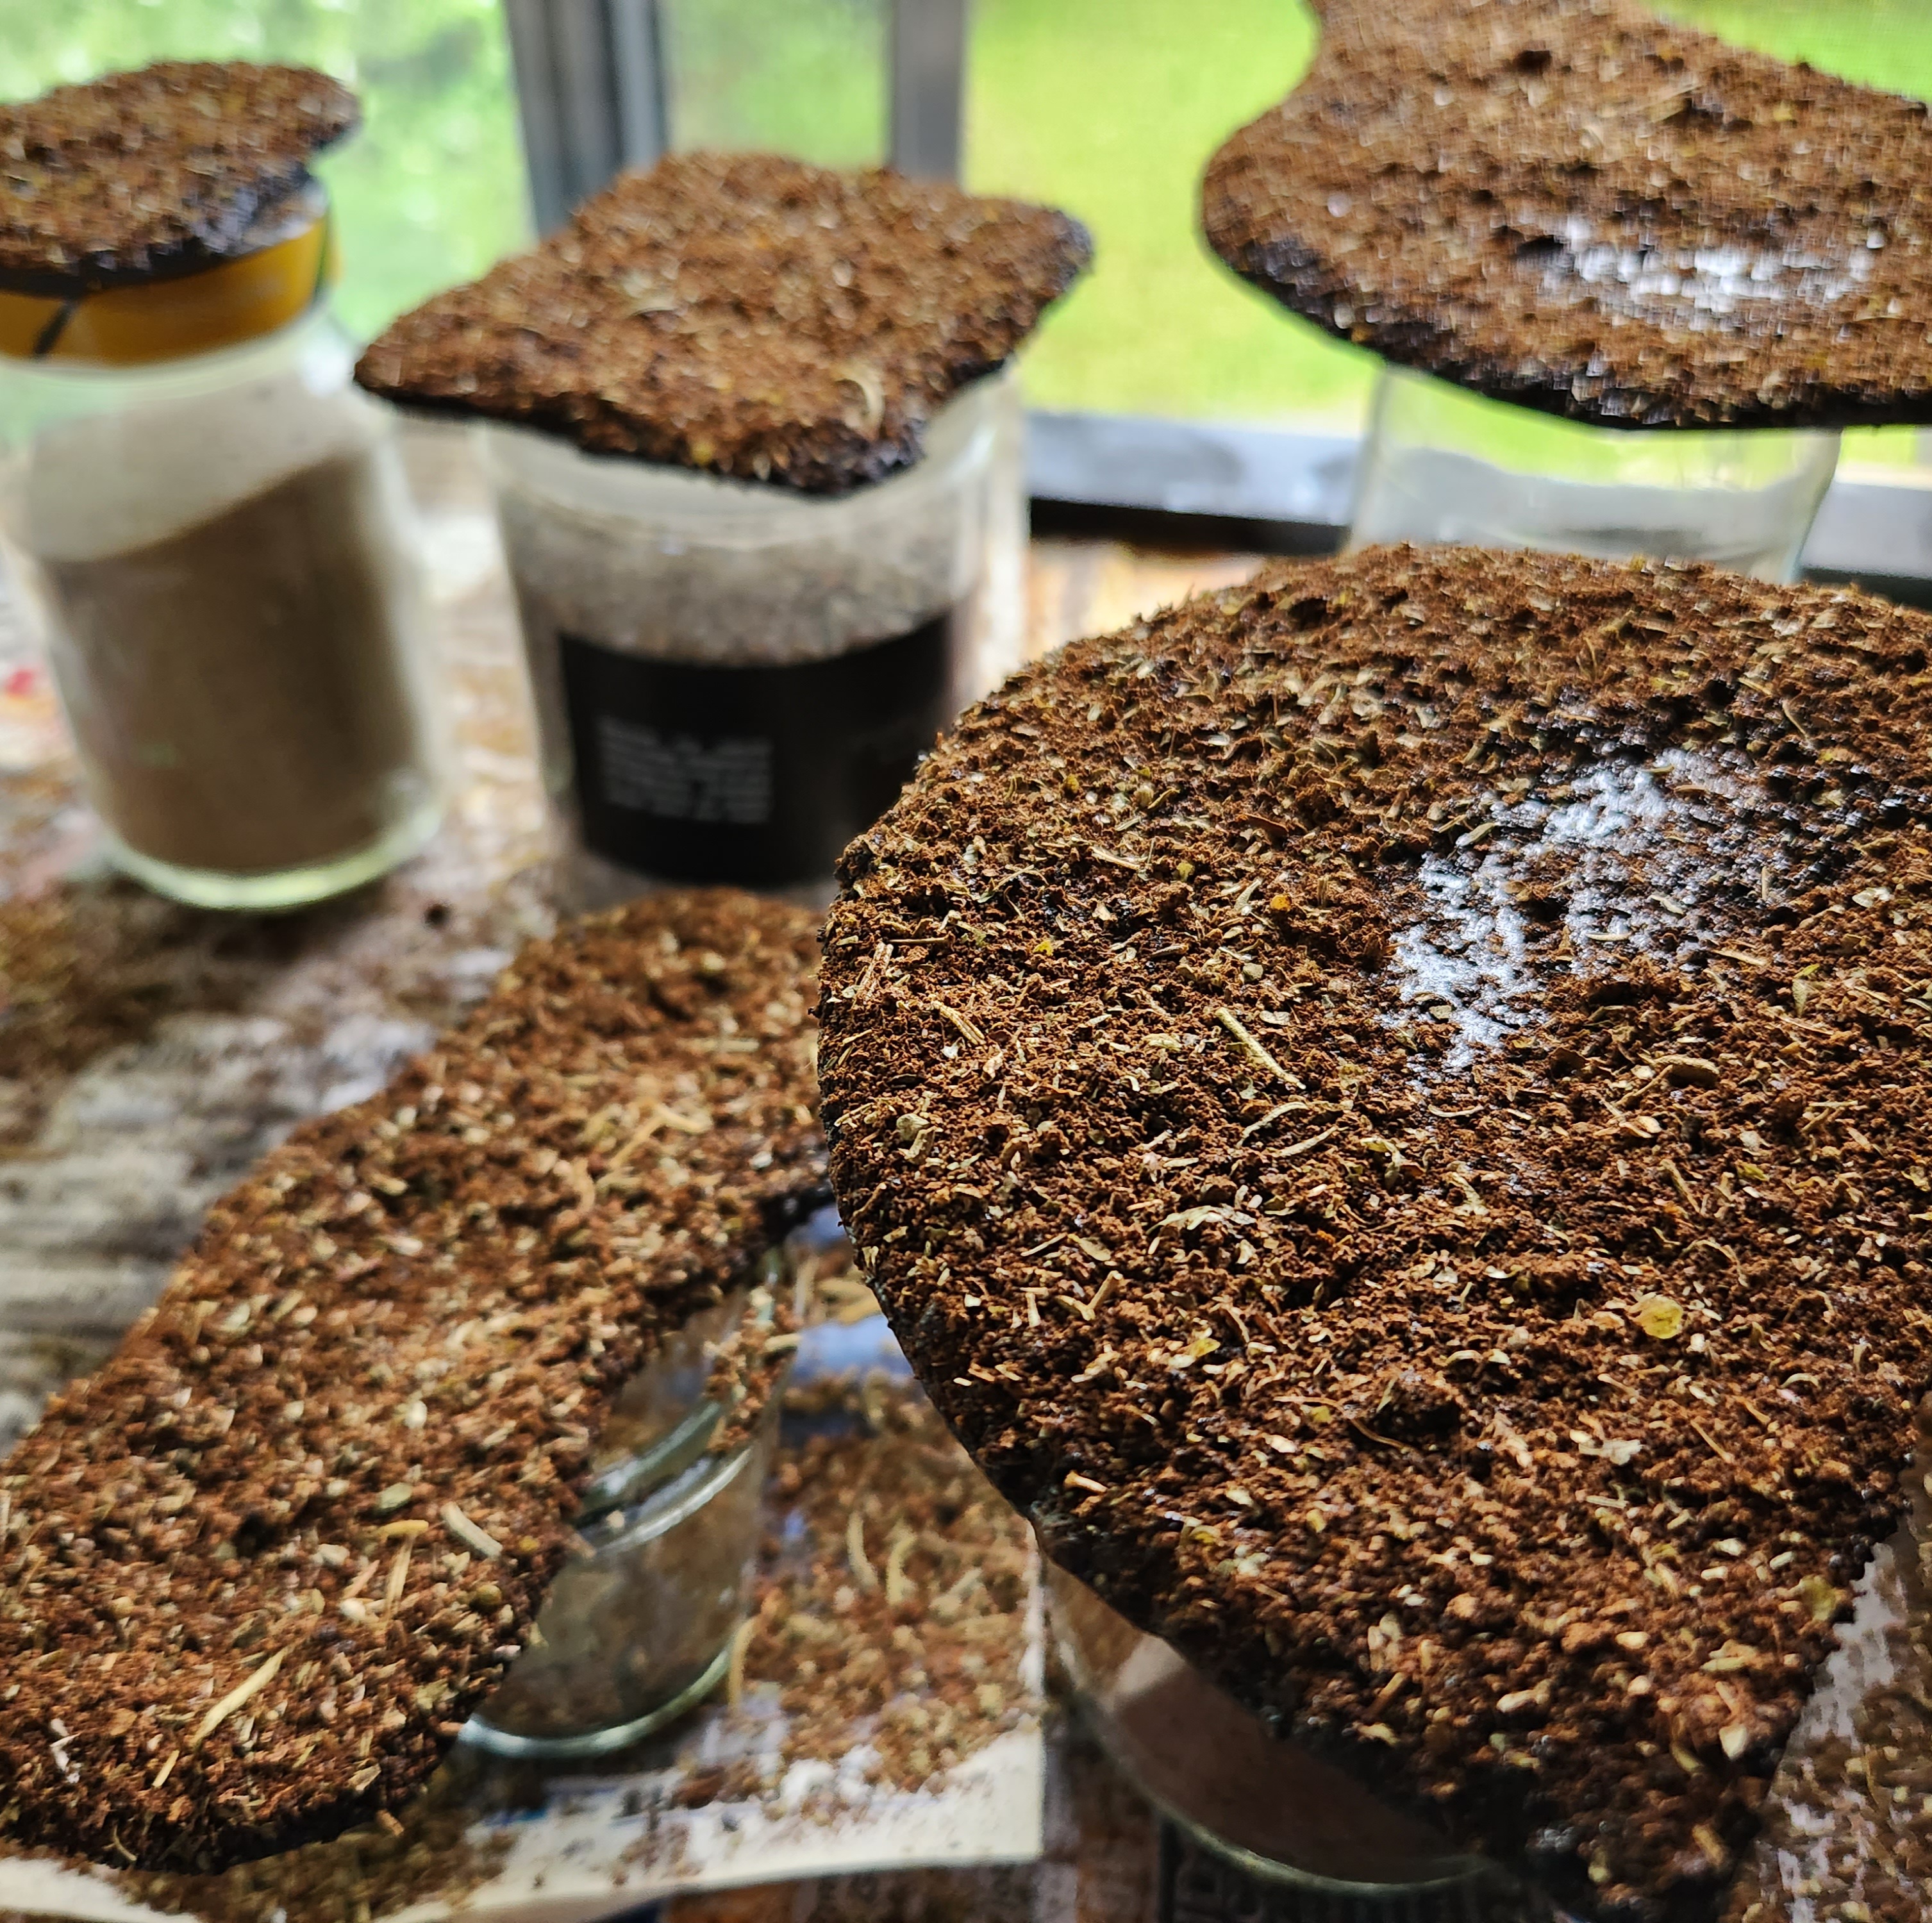
The tea leaves and coffee grounds looked OK, but needed something else. I’d applied them separately, and the coffee behaved strangely, clumping up.
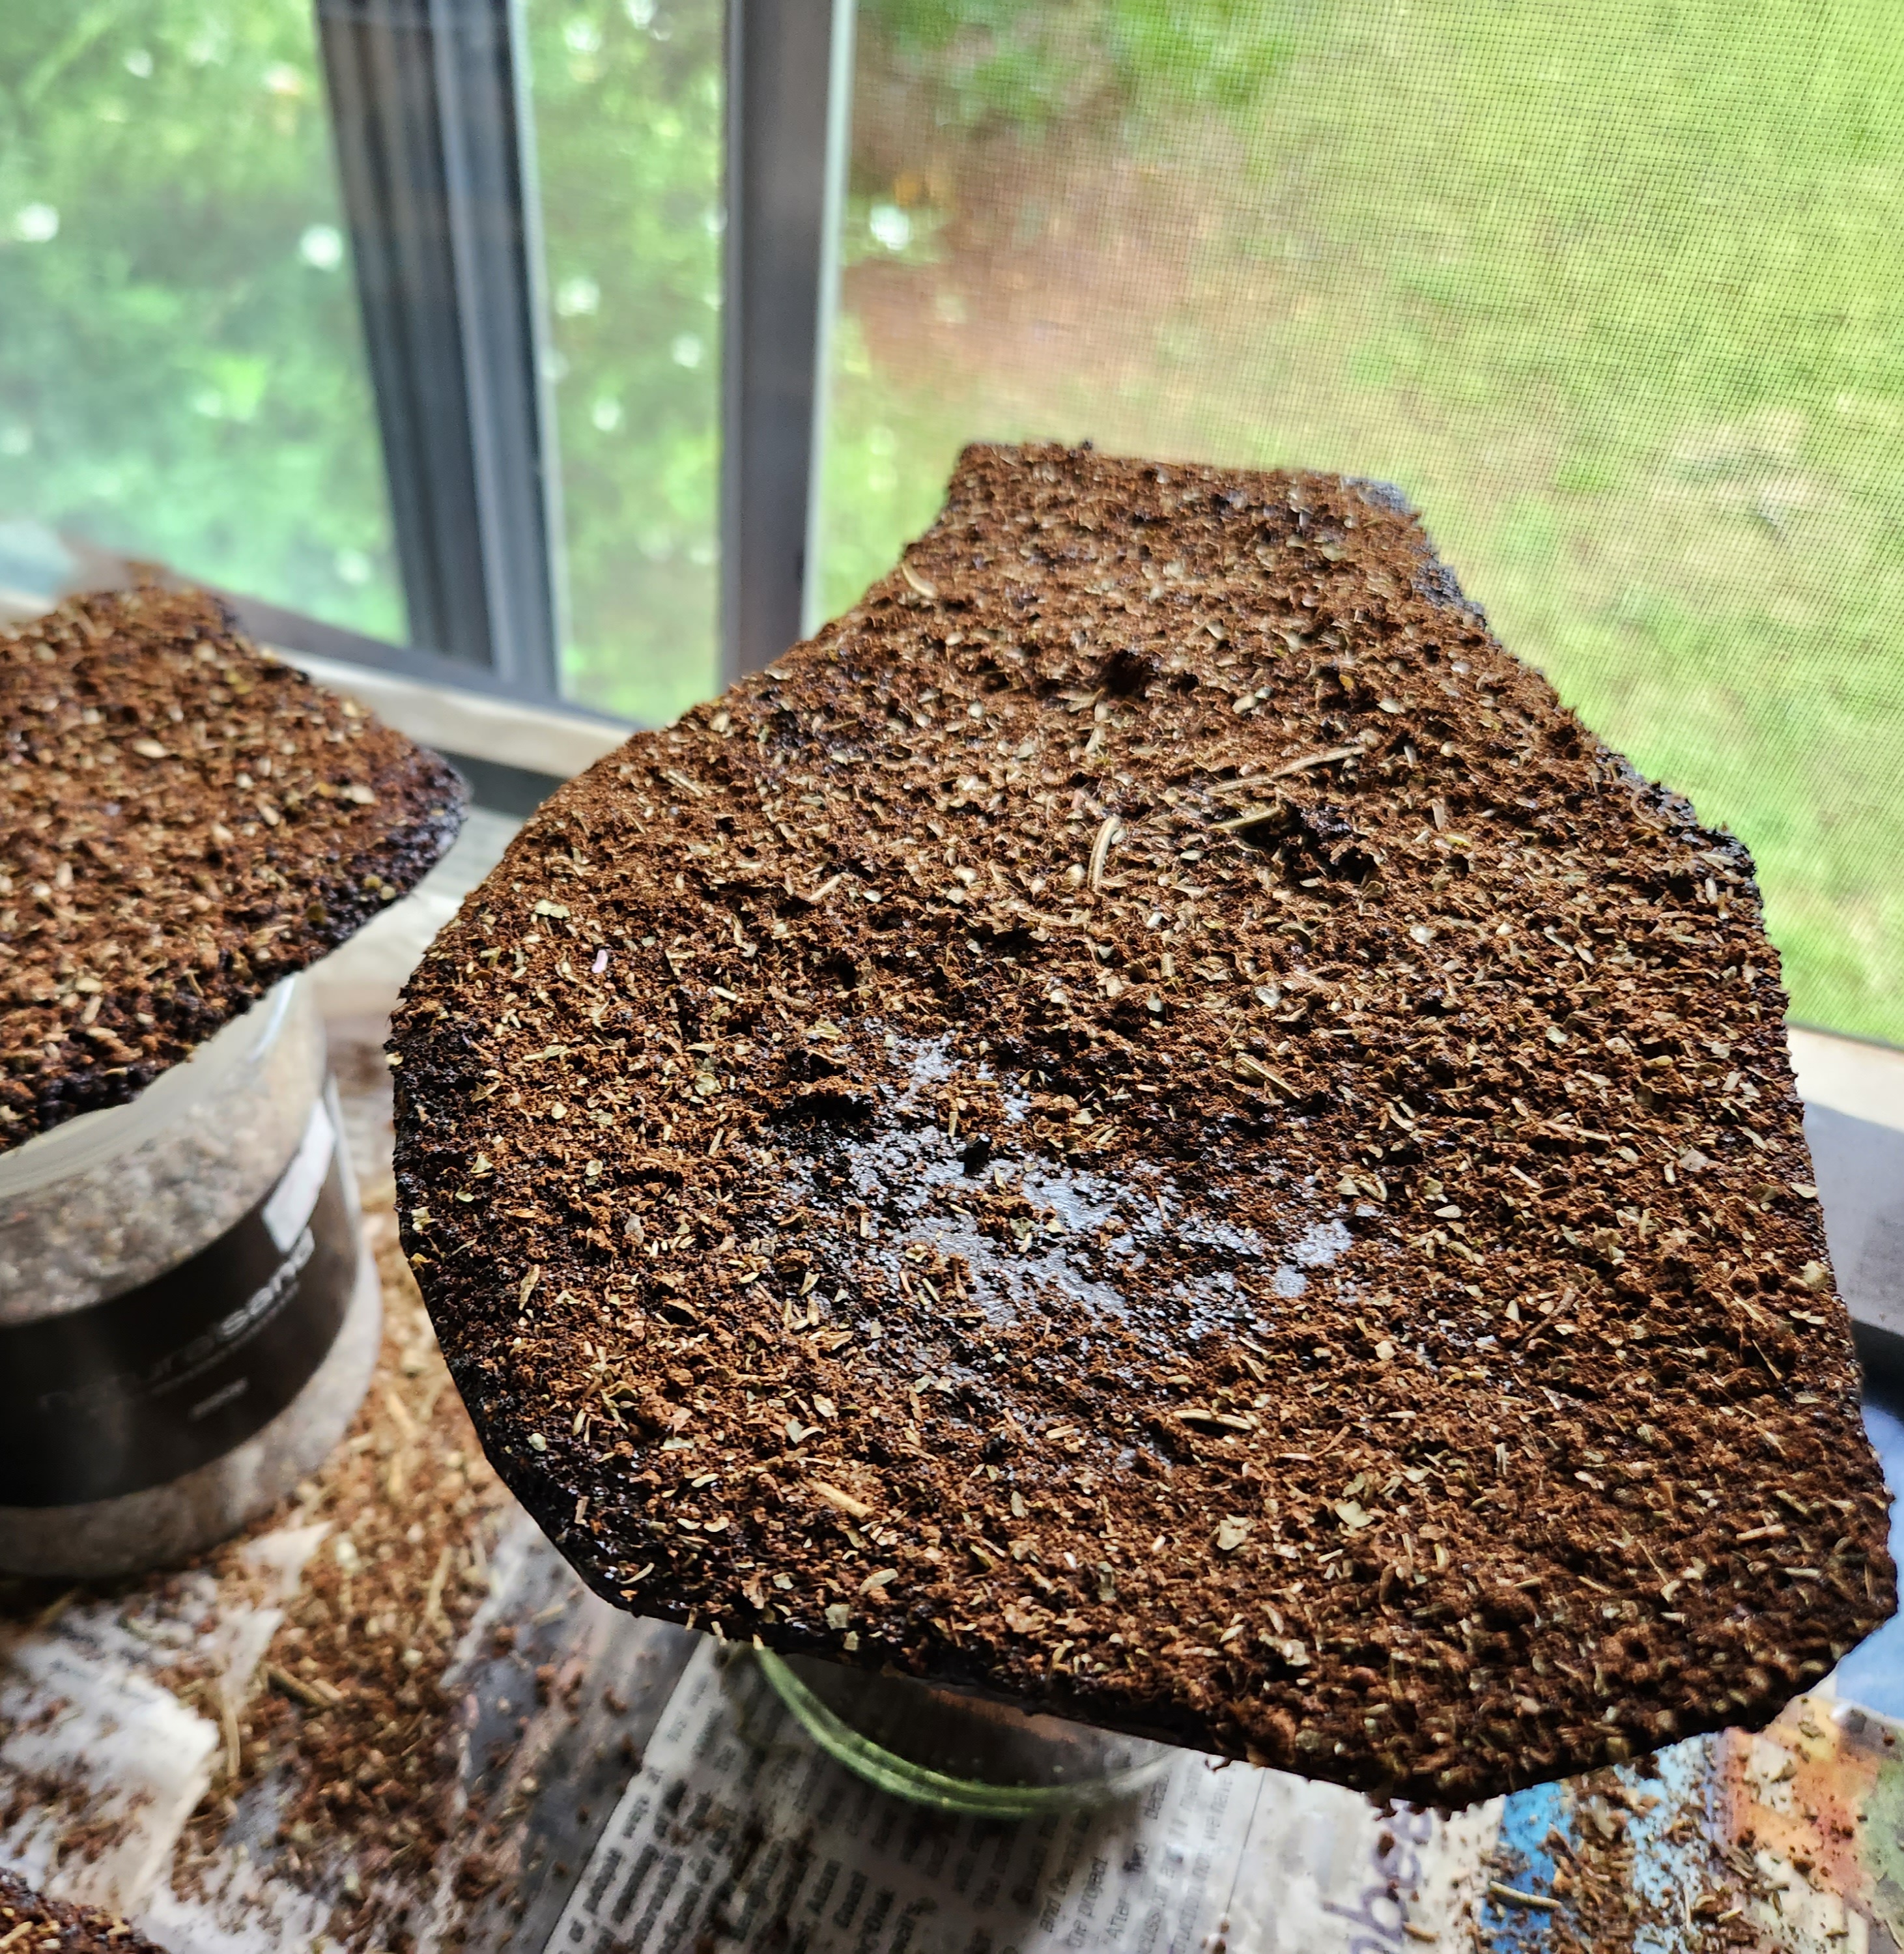
I mixed together some of the coffee, tea and dried mixed herbs. Then applied this to the bases of the trees.
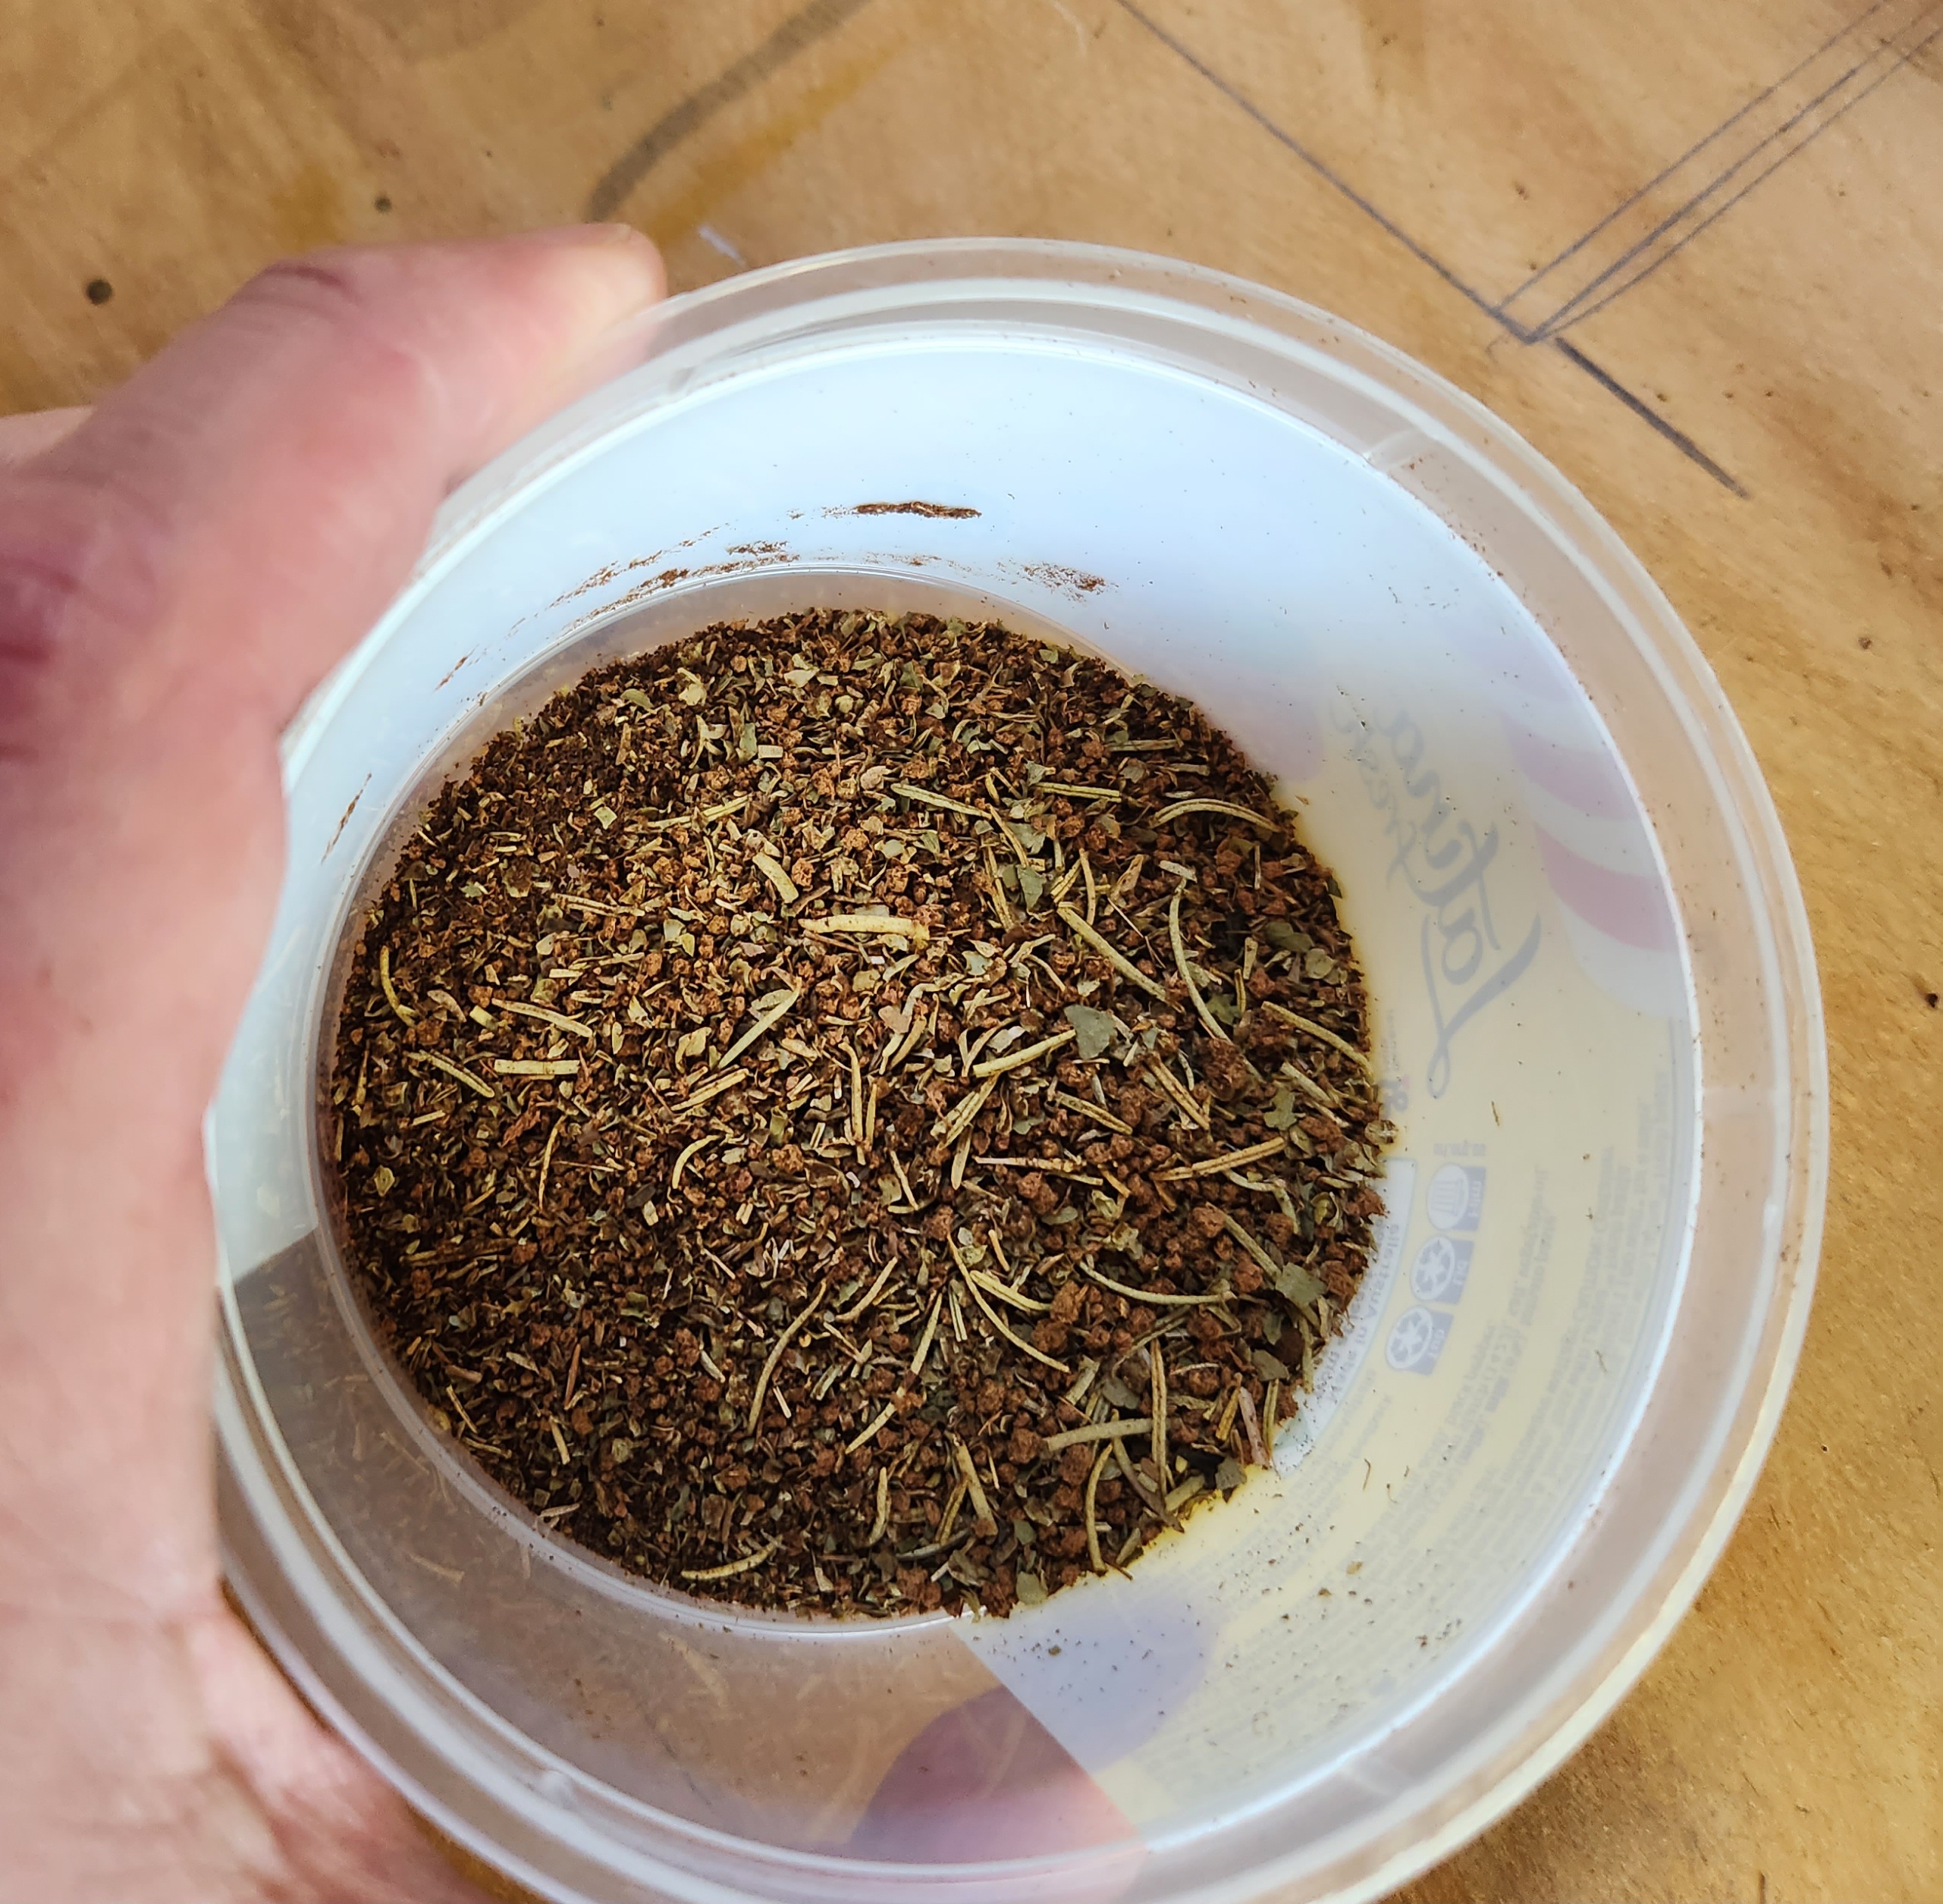 Roughly equally amounts used tea leaves, spent coffee grinds, dried mixed herbs
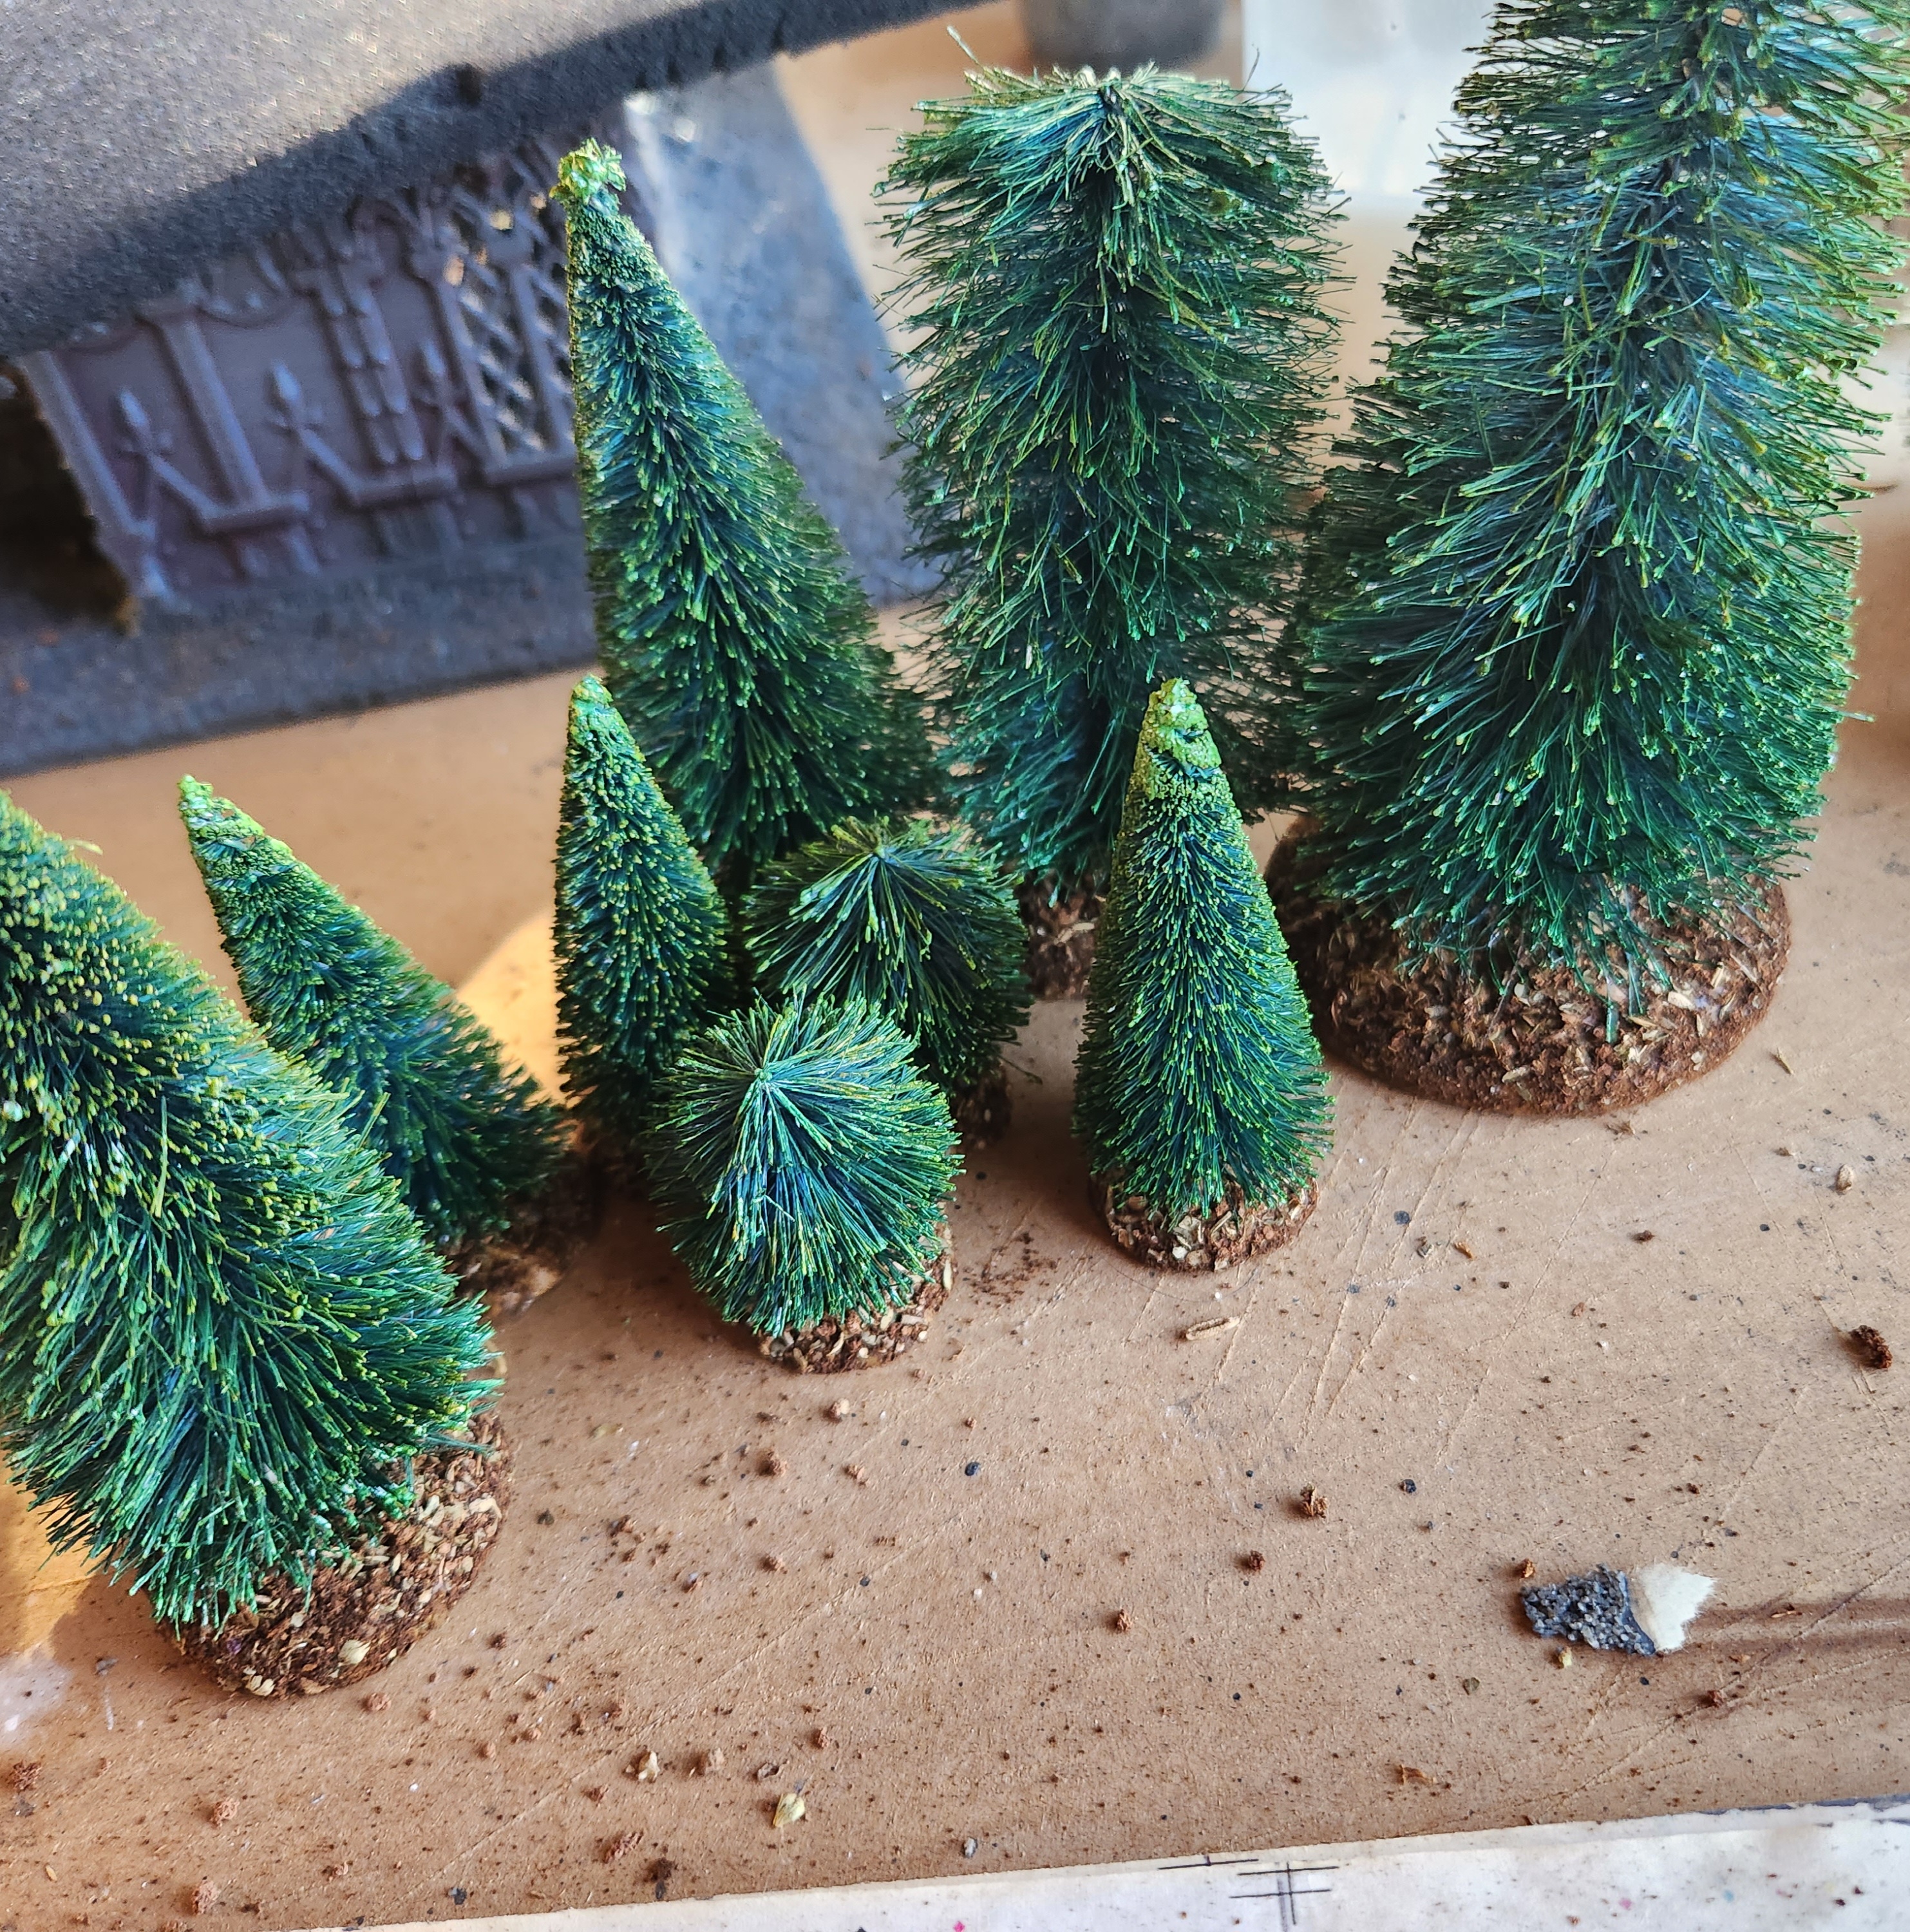 Looks like piles of leaf litter around the tree, I guess.
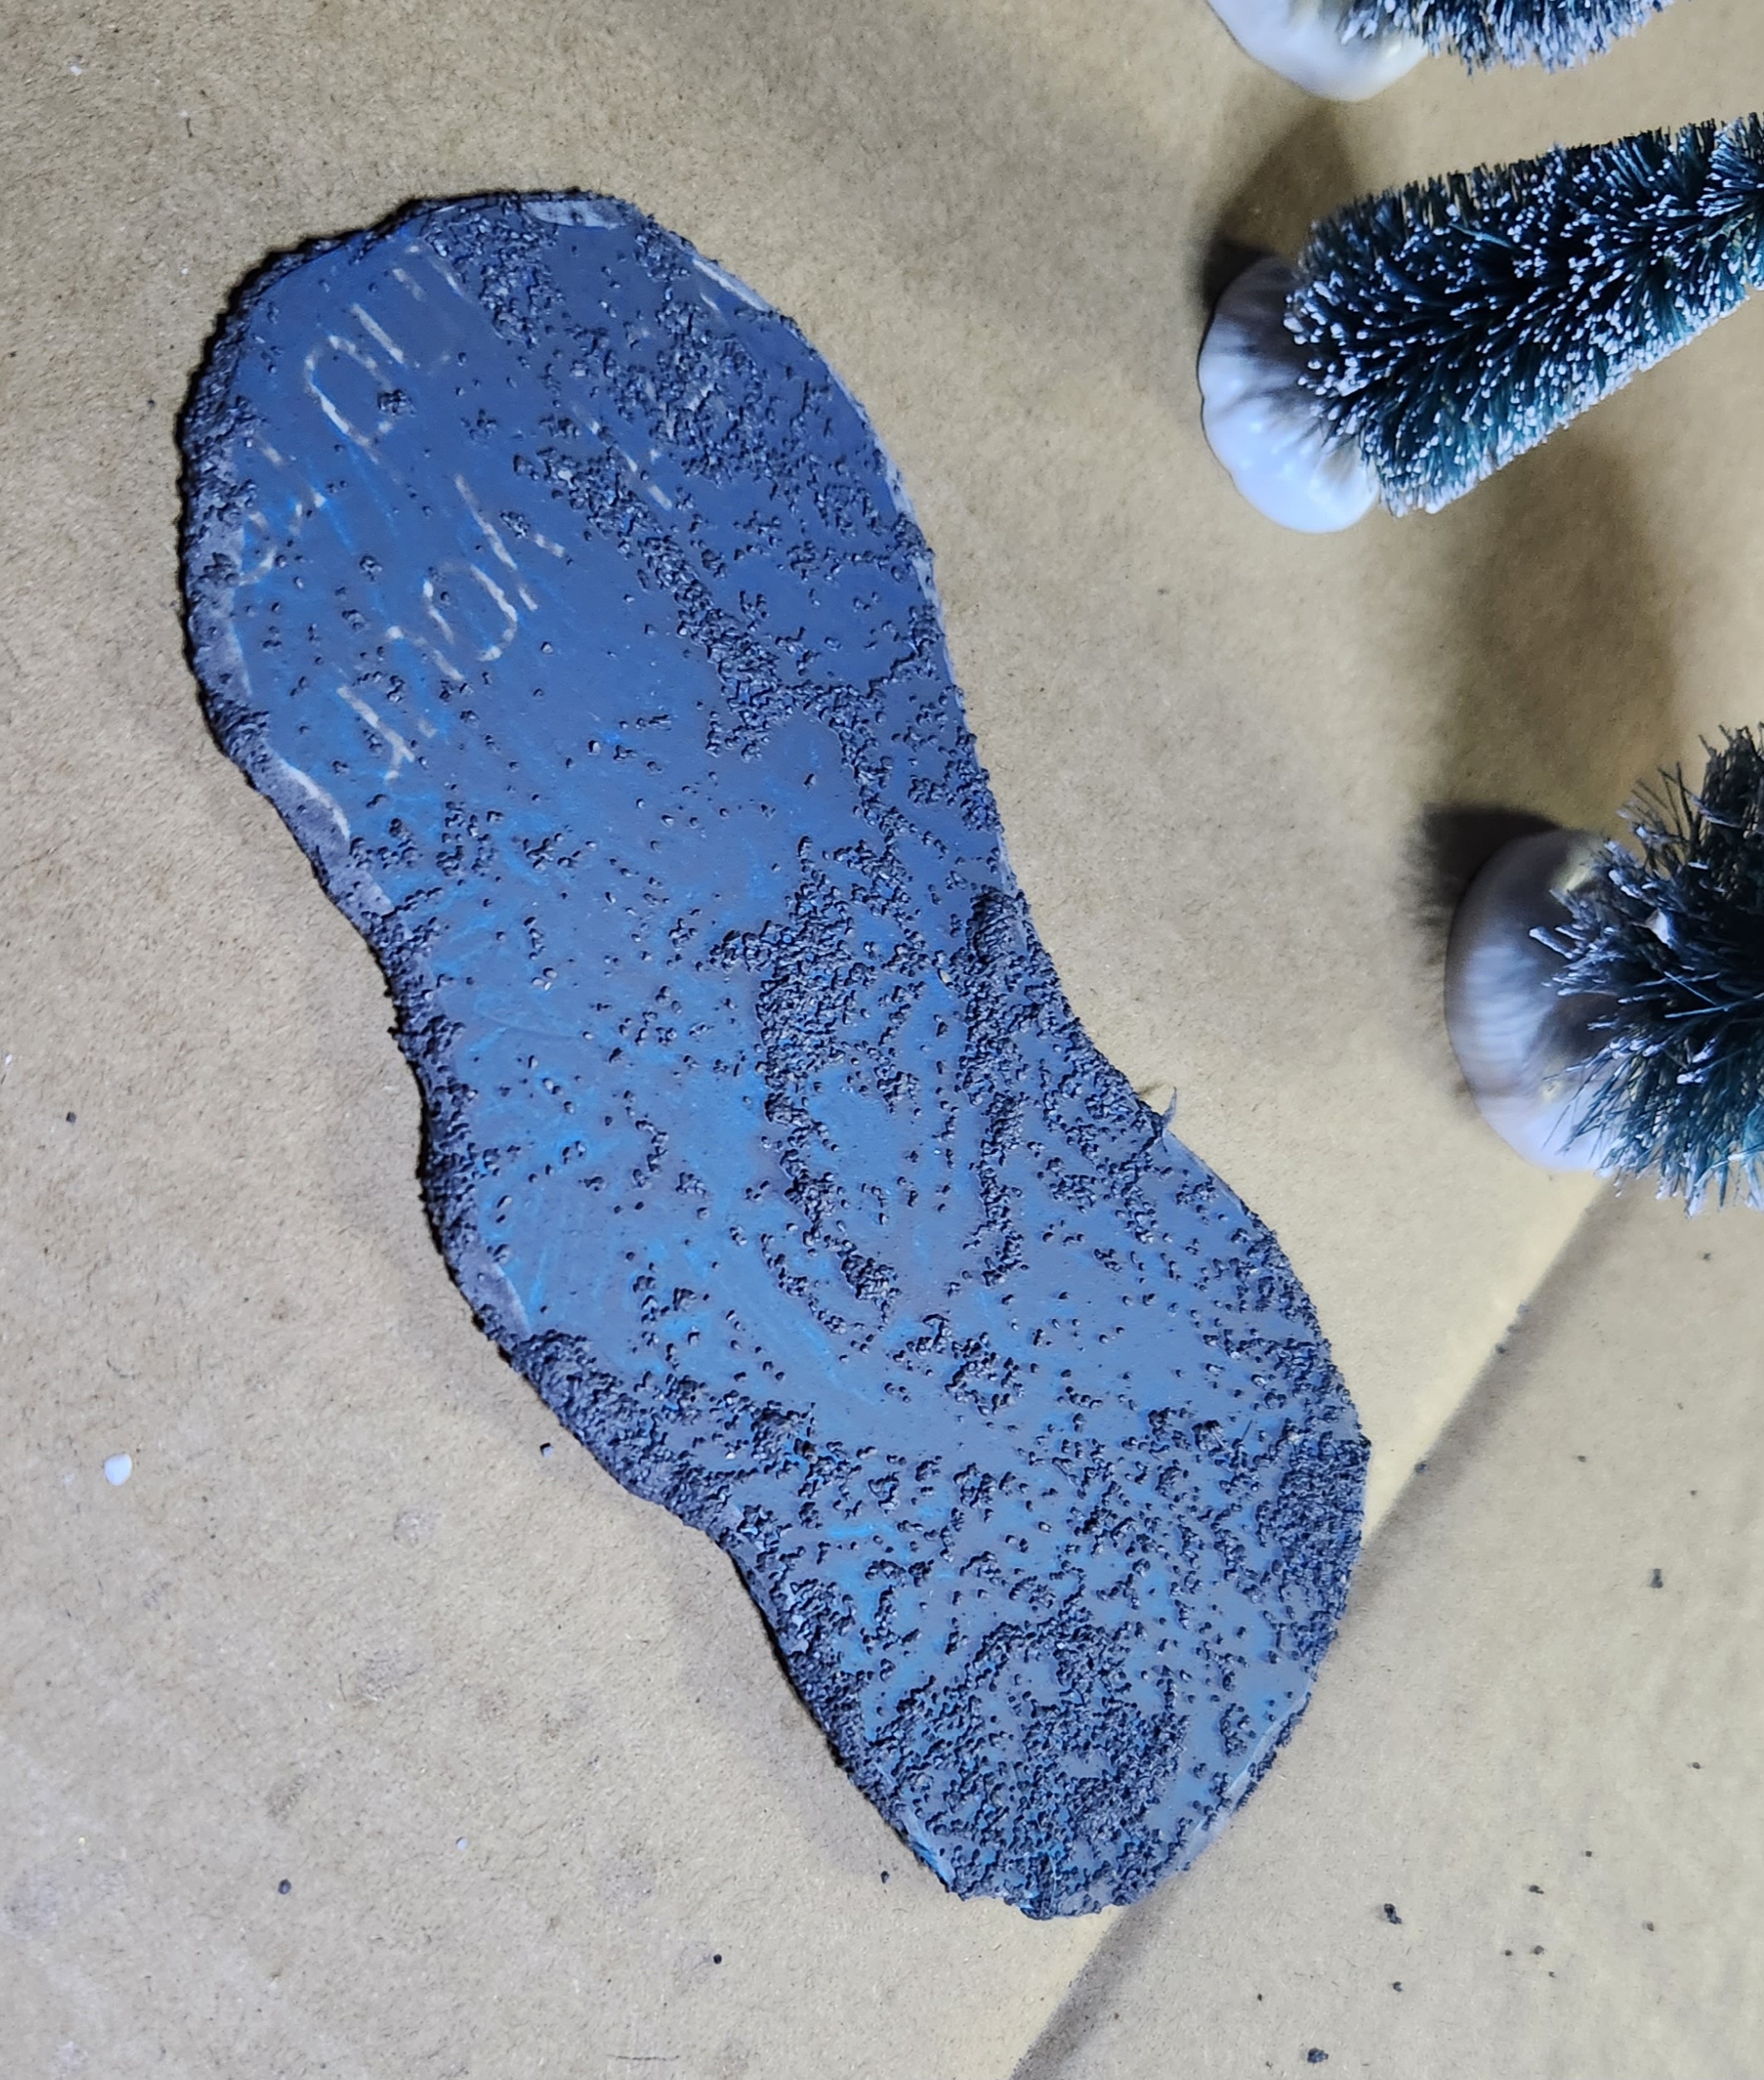
I painted the base pieces with the Burnt Umber, thinning the paint and only hitting the areas where white or grey showed through. I let it dry and did a second coat the next day.
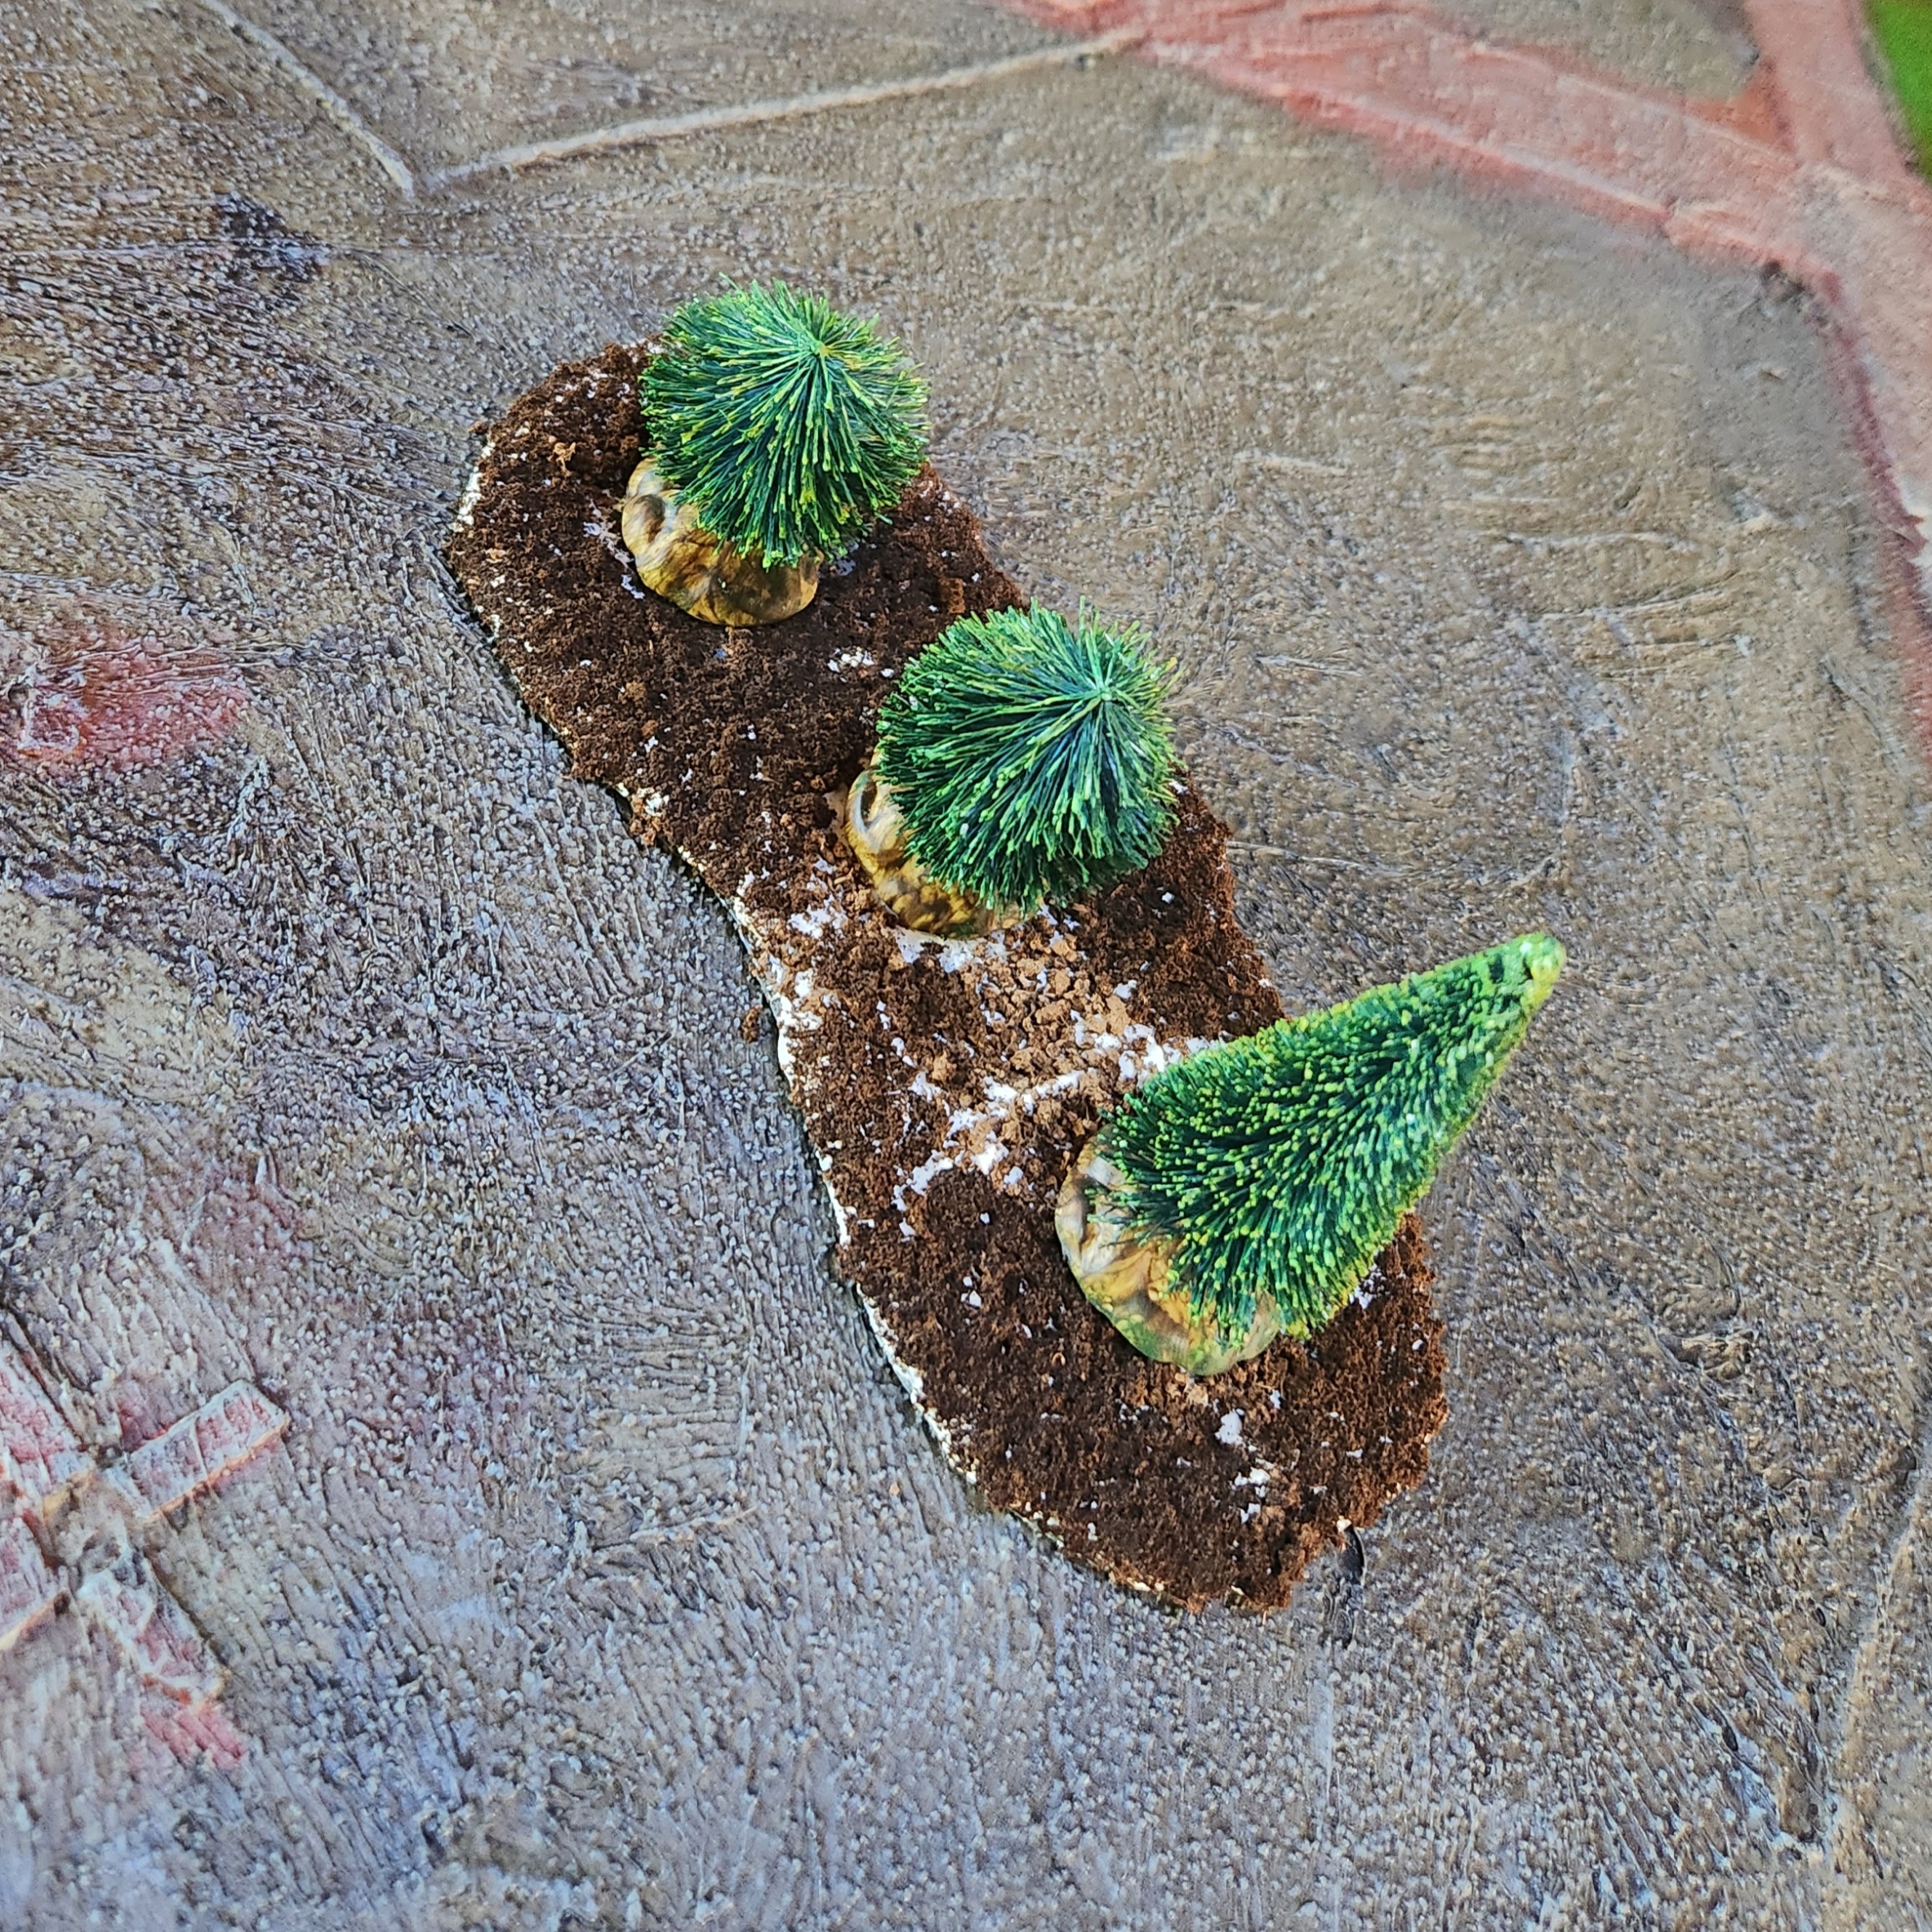
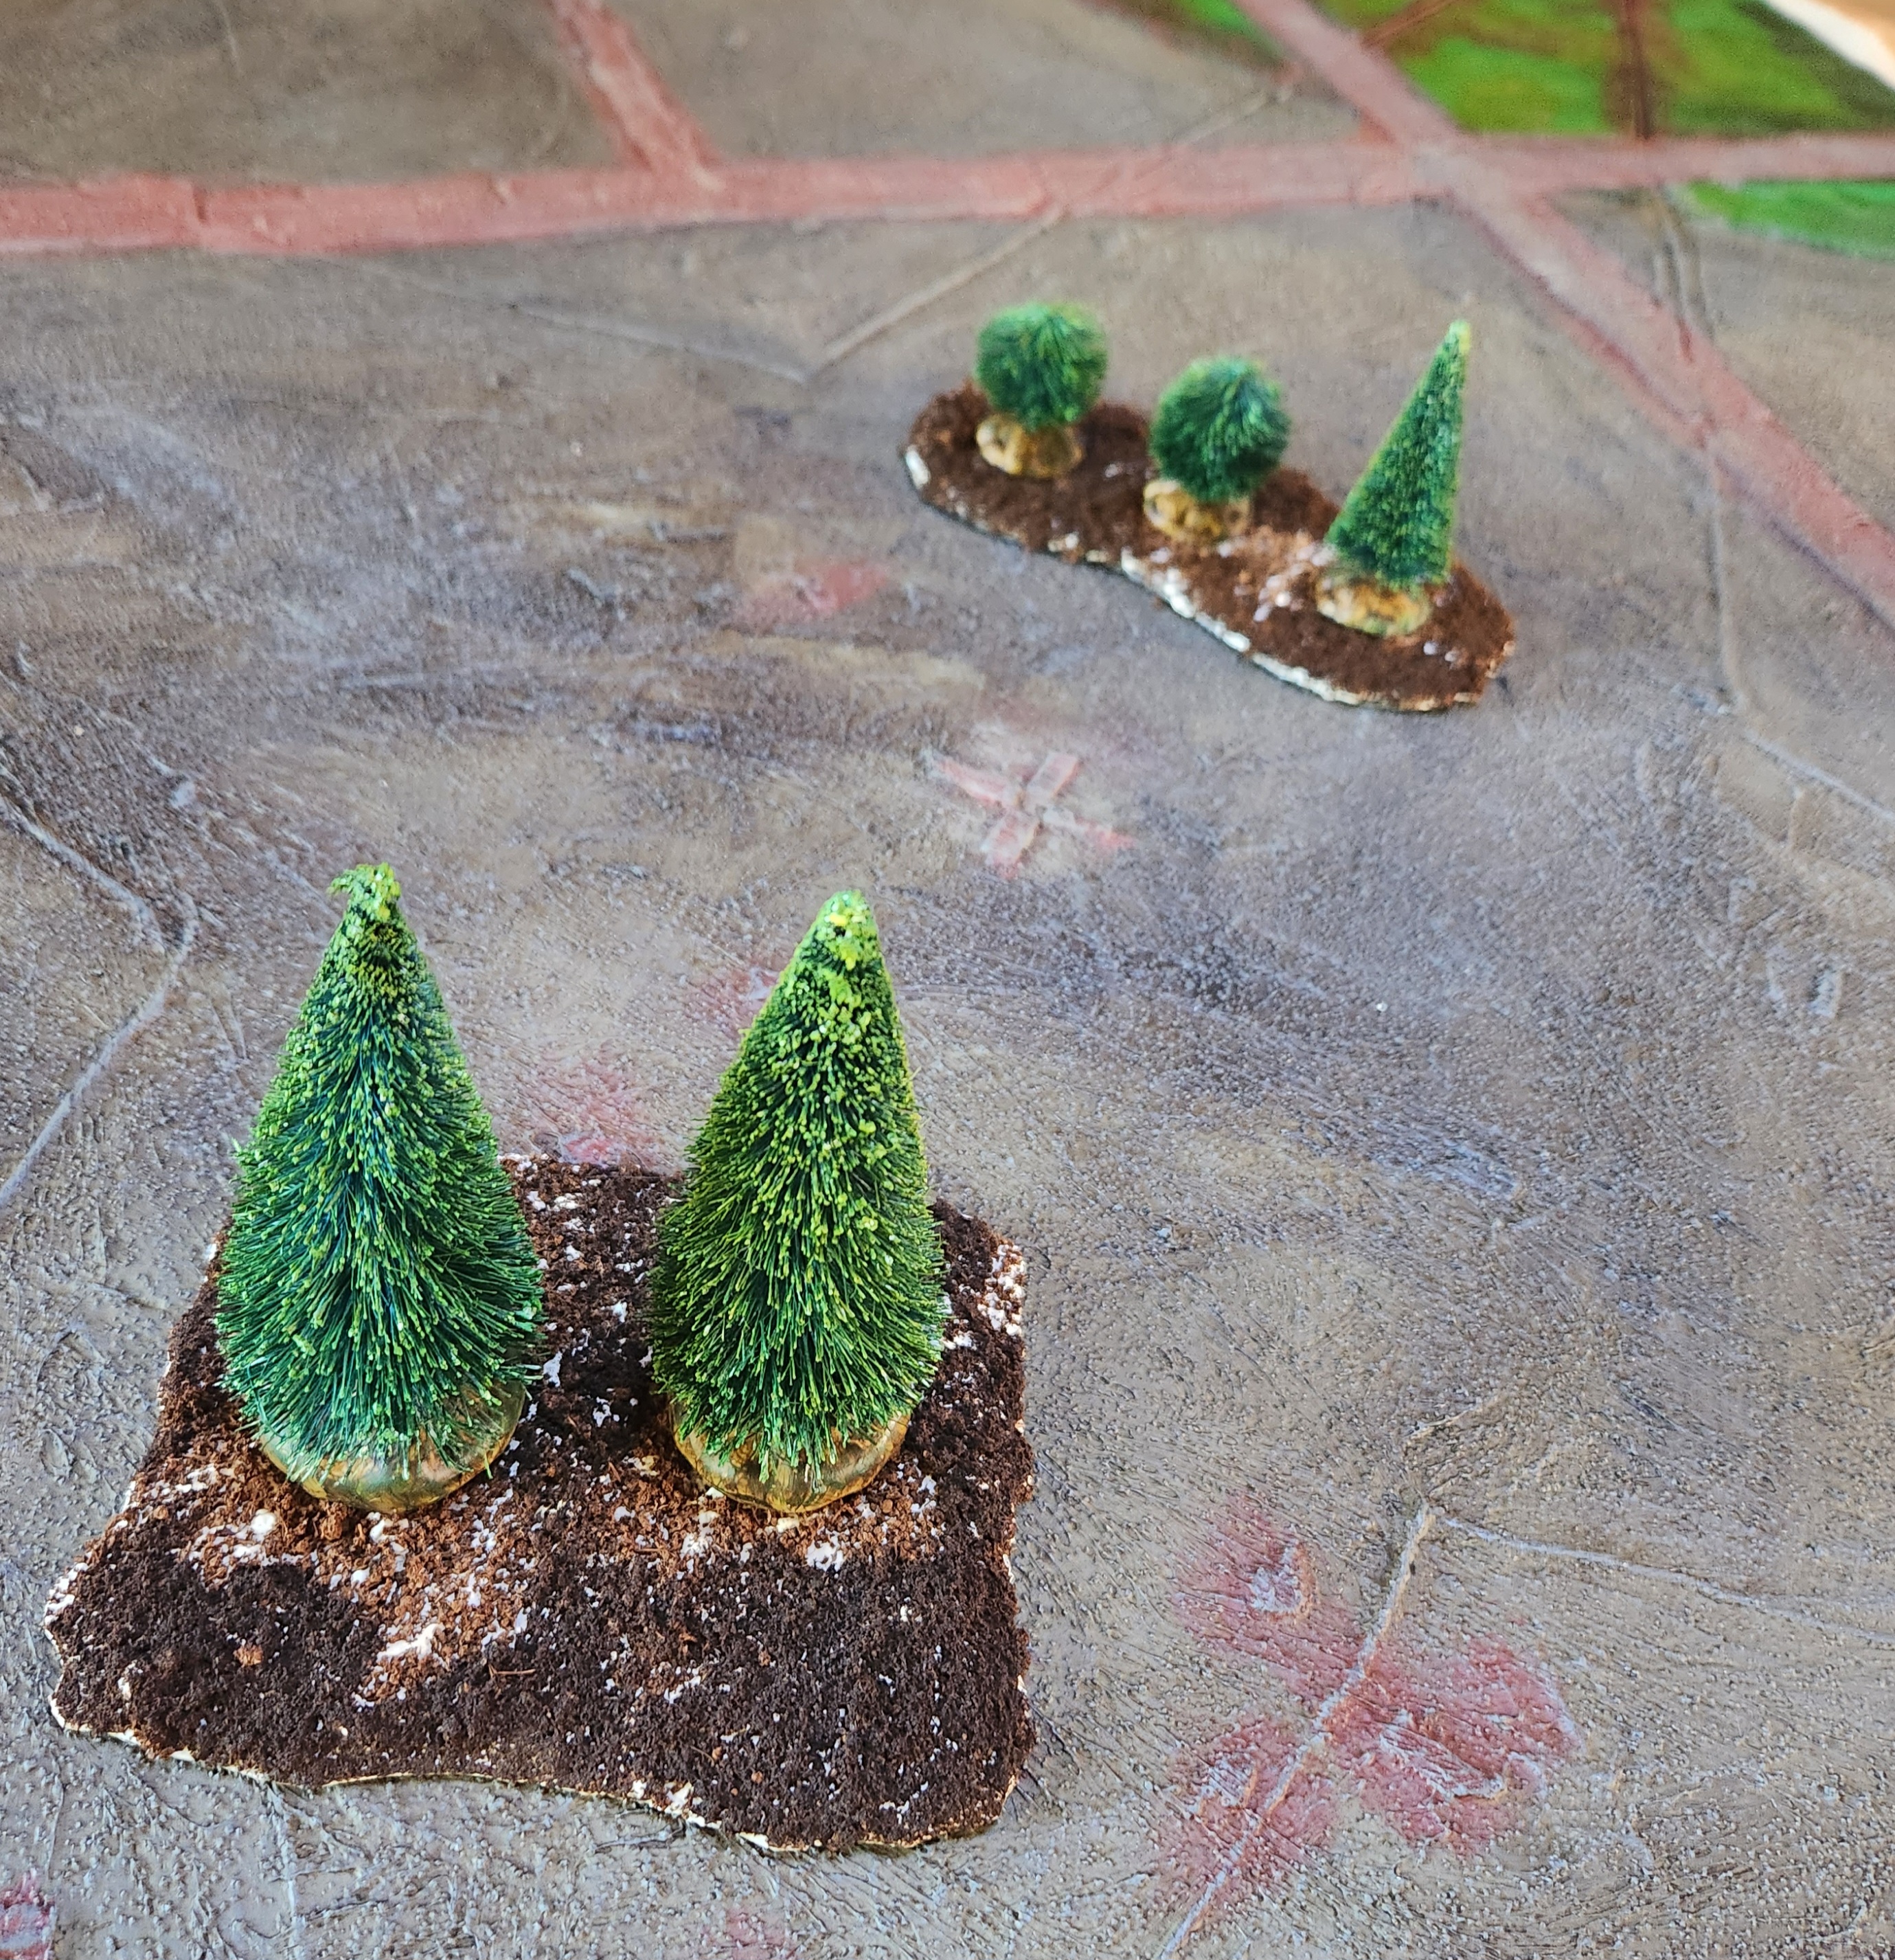
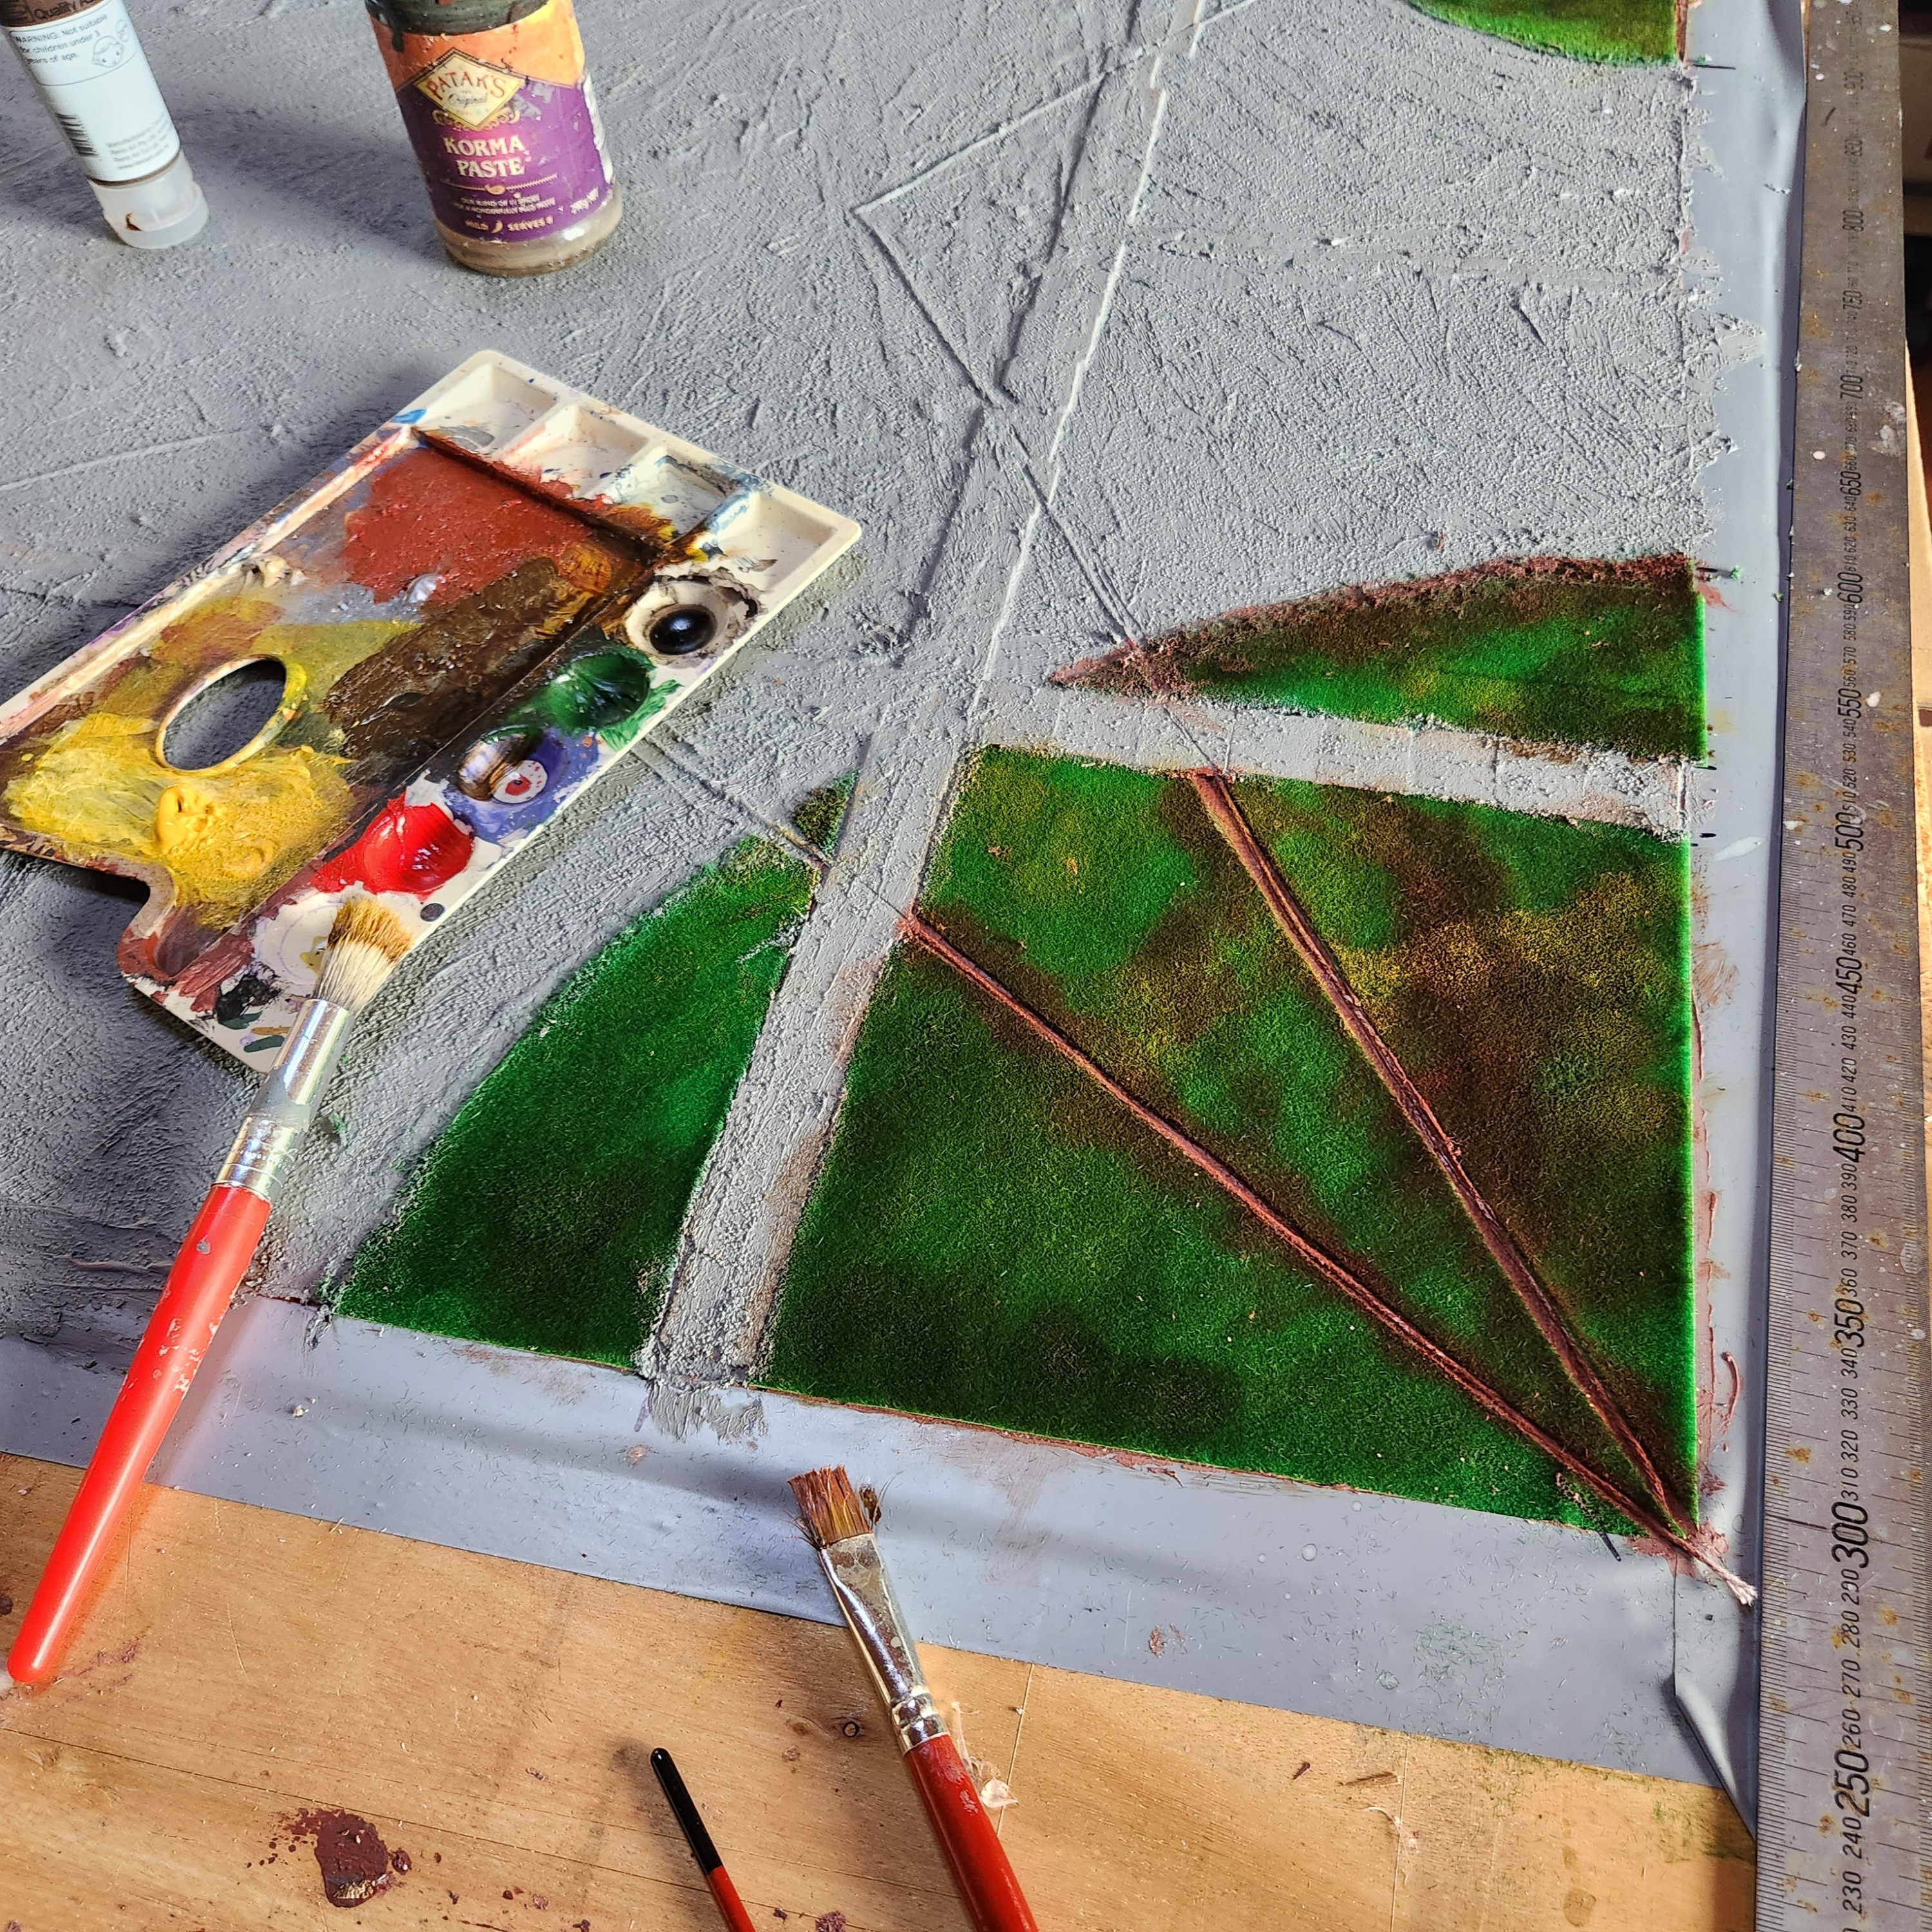
 25 Oct 23: Working backwards, now I apply the paint to the bases. After a second coat, it's looking good. I then applied the "forest floor mix" with thinned PVA
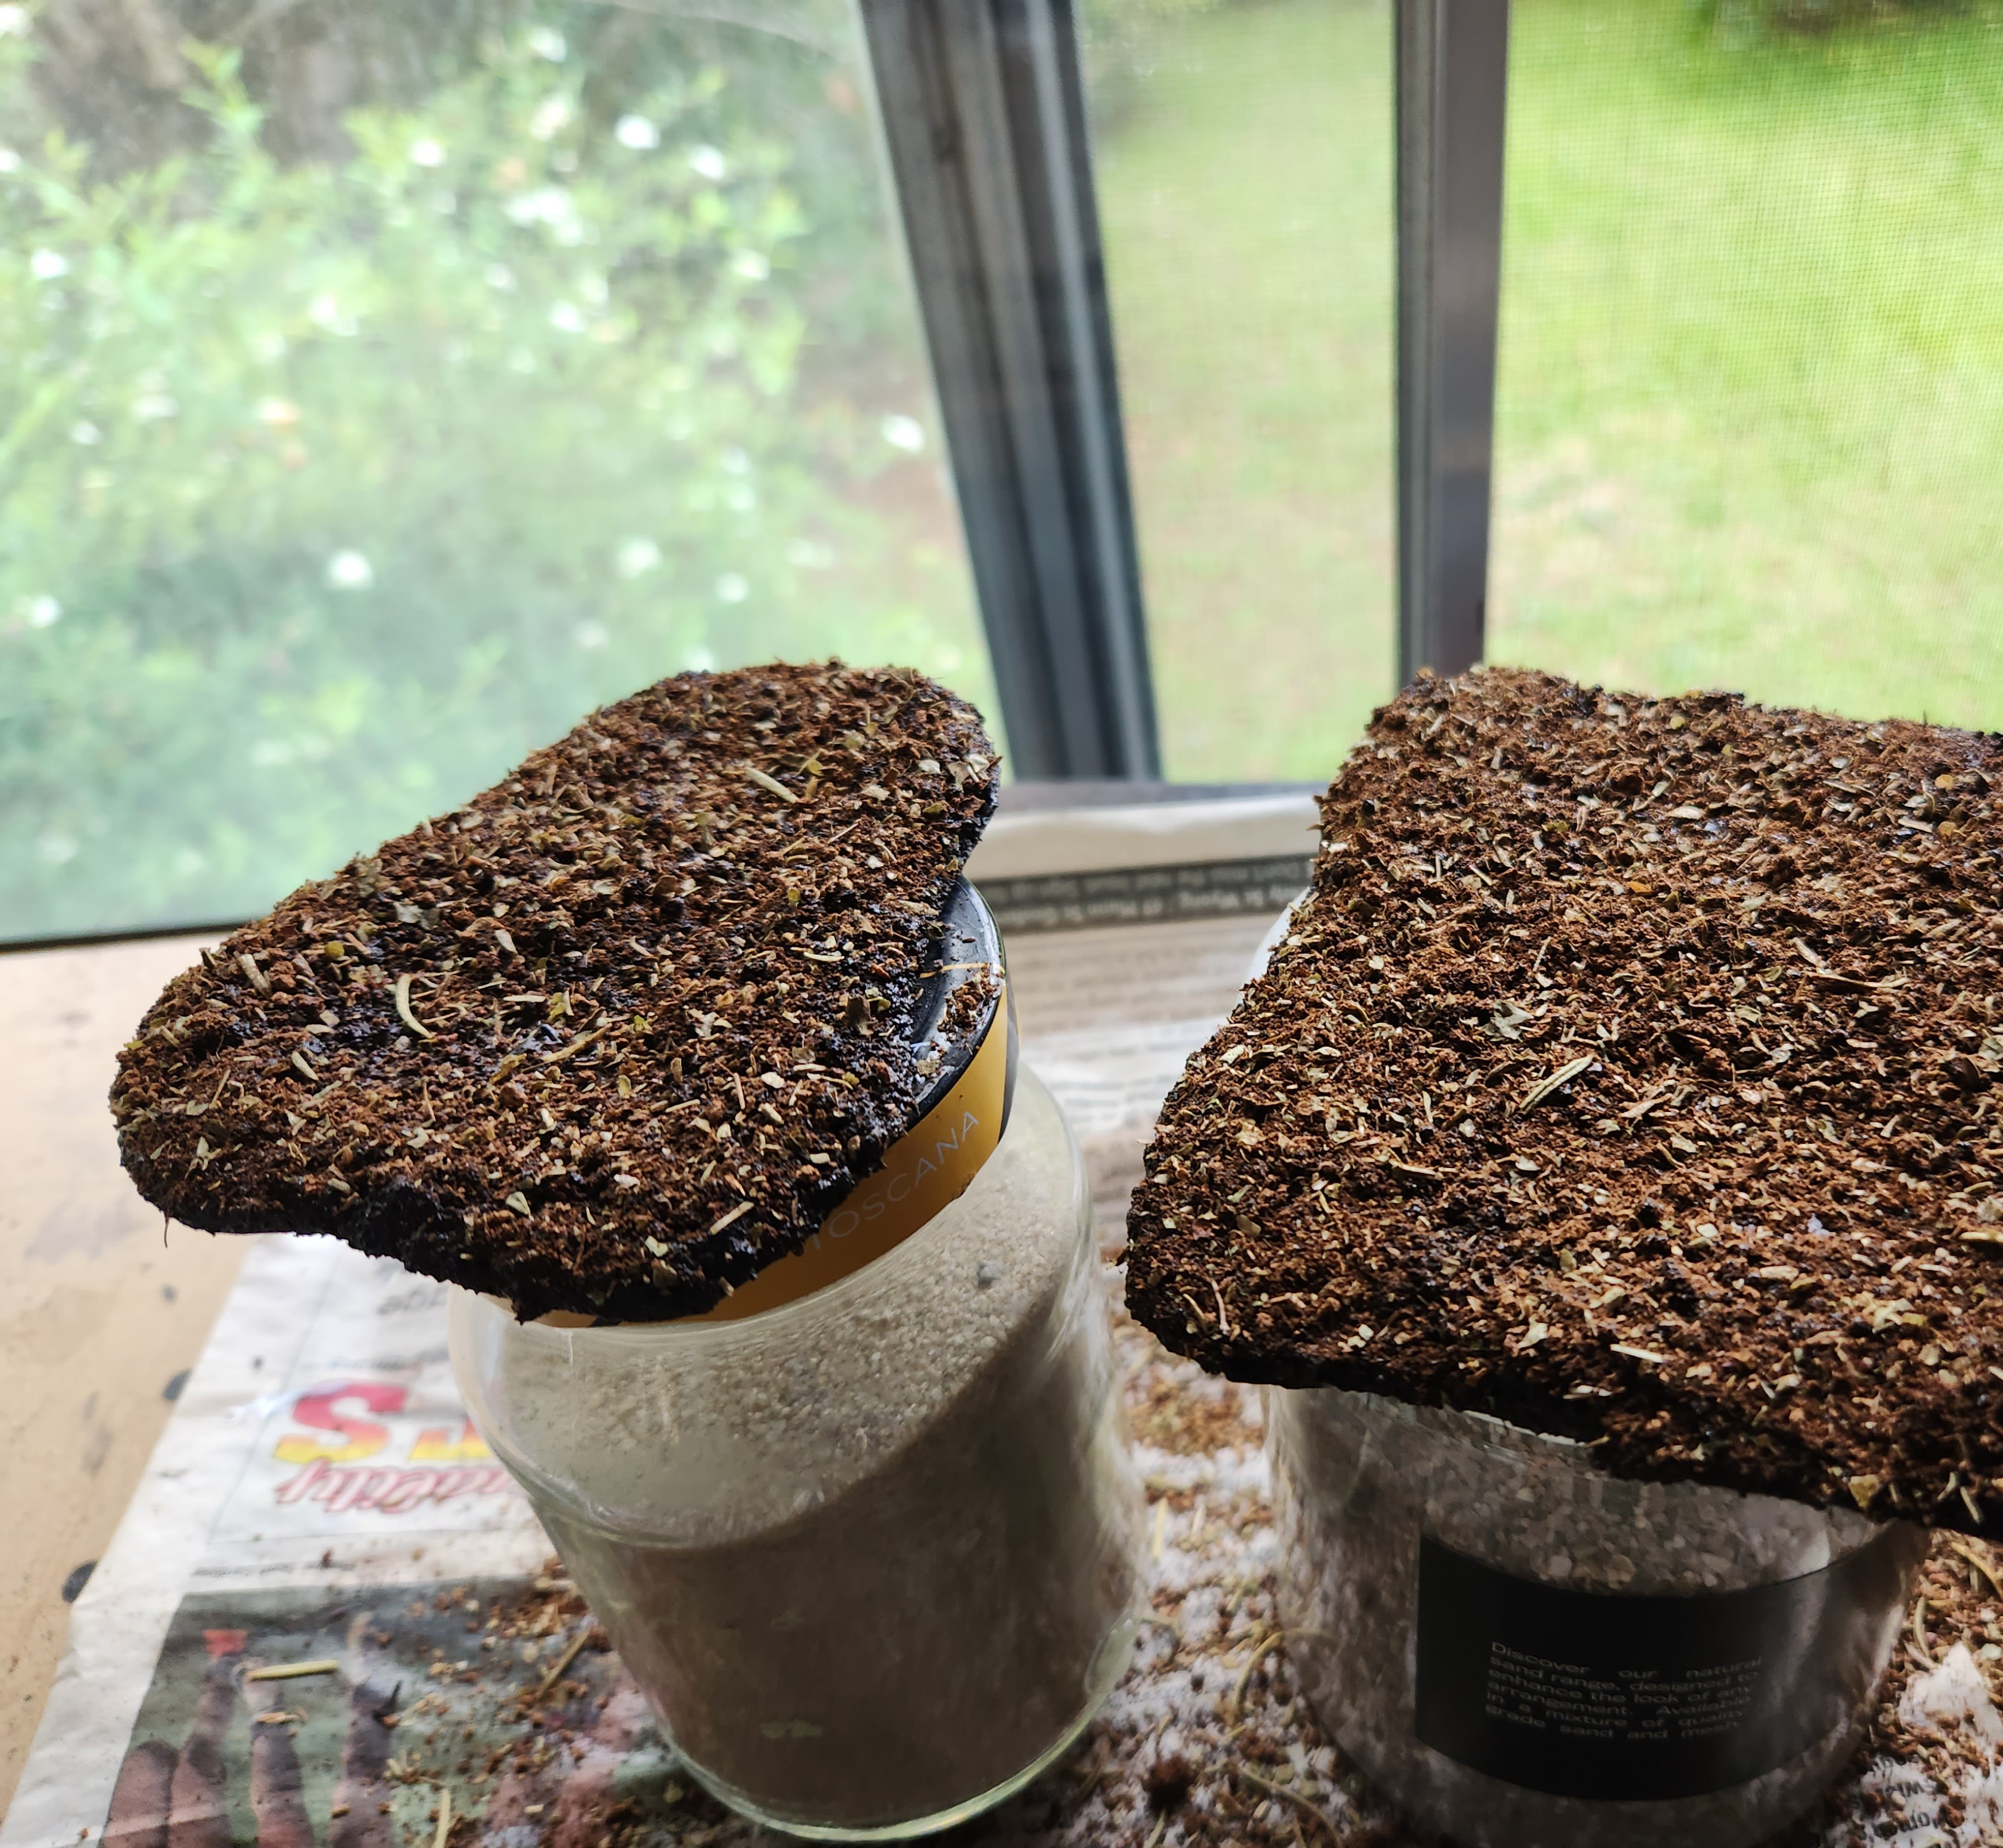
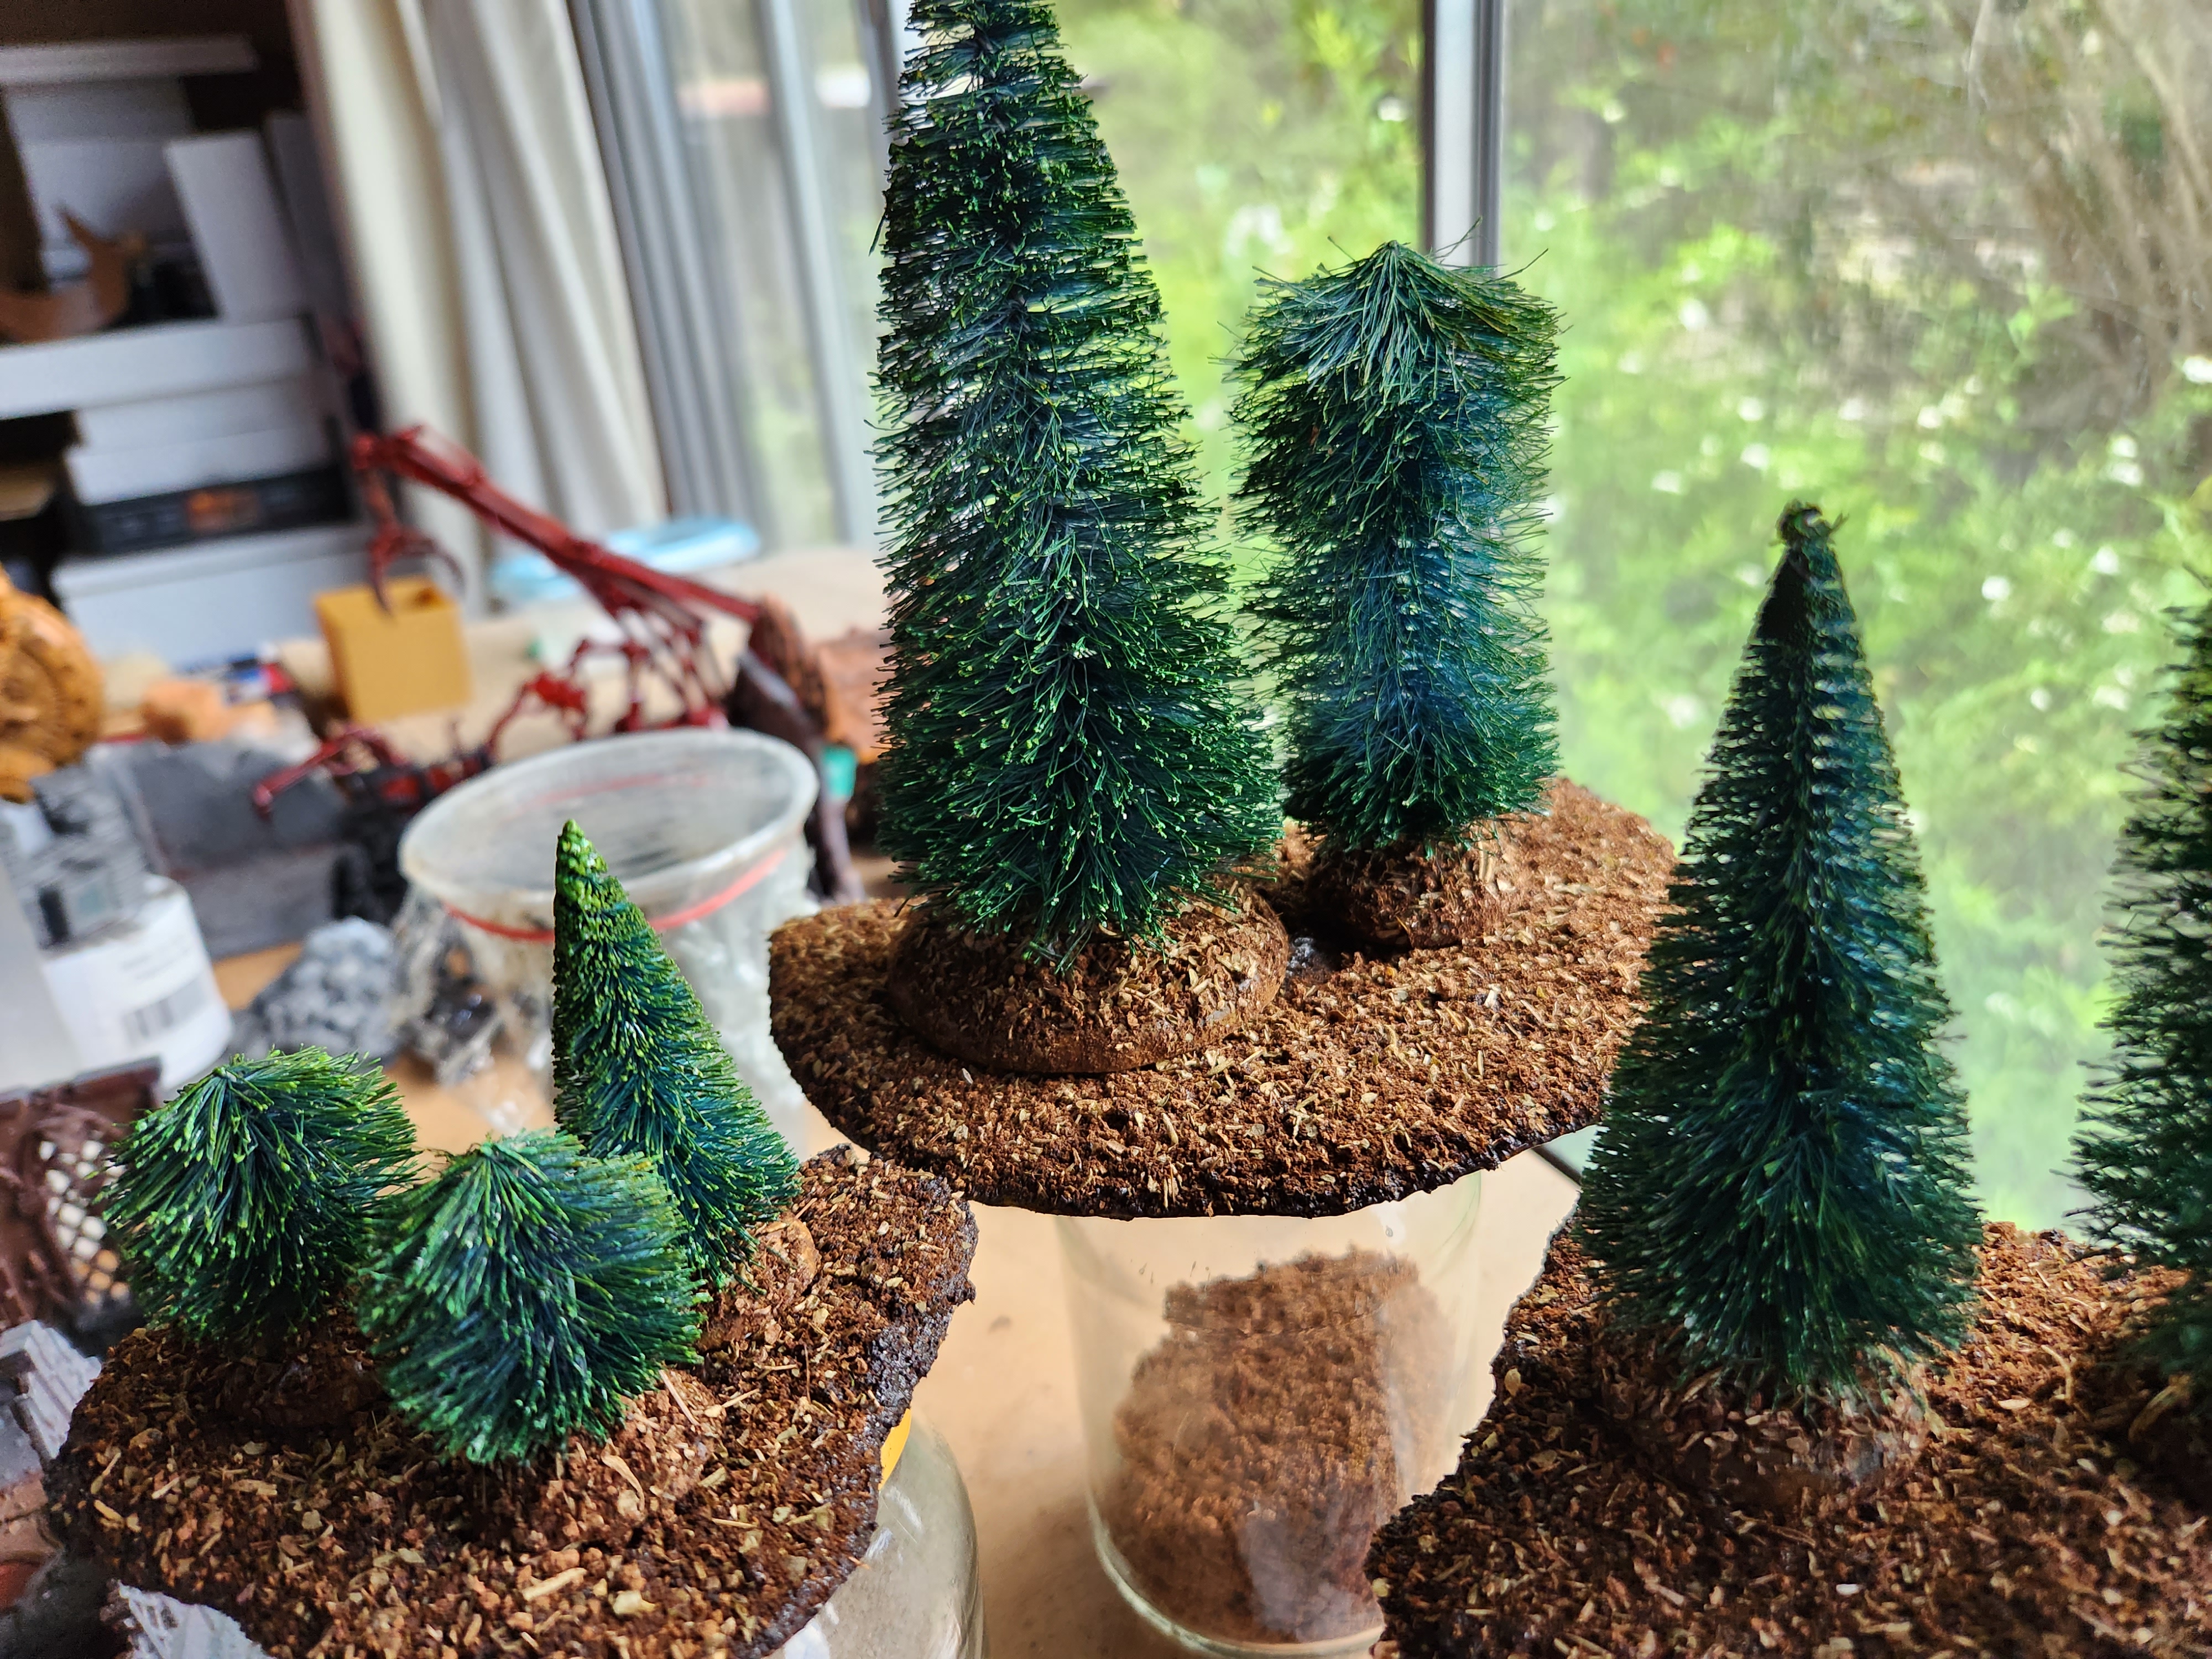
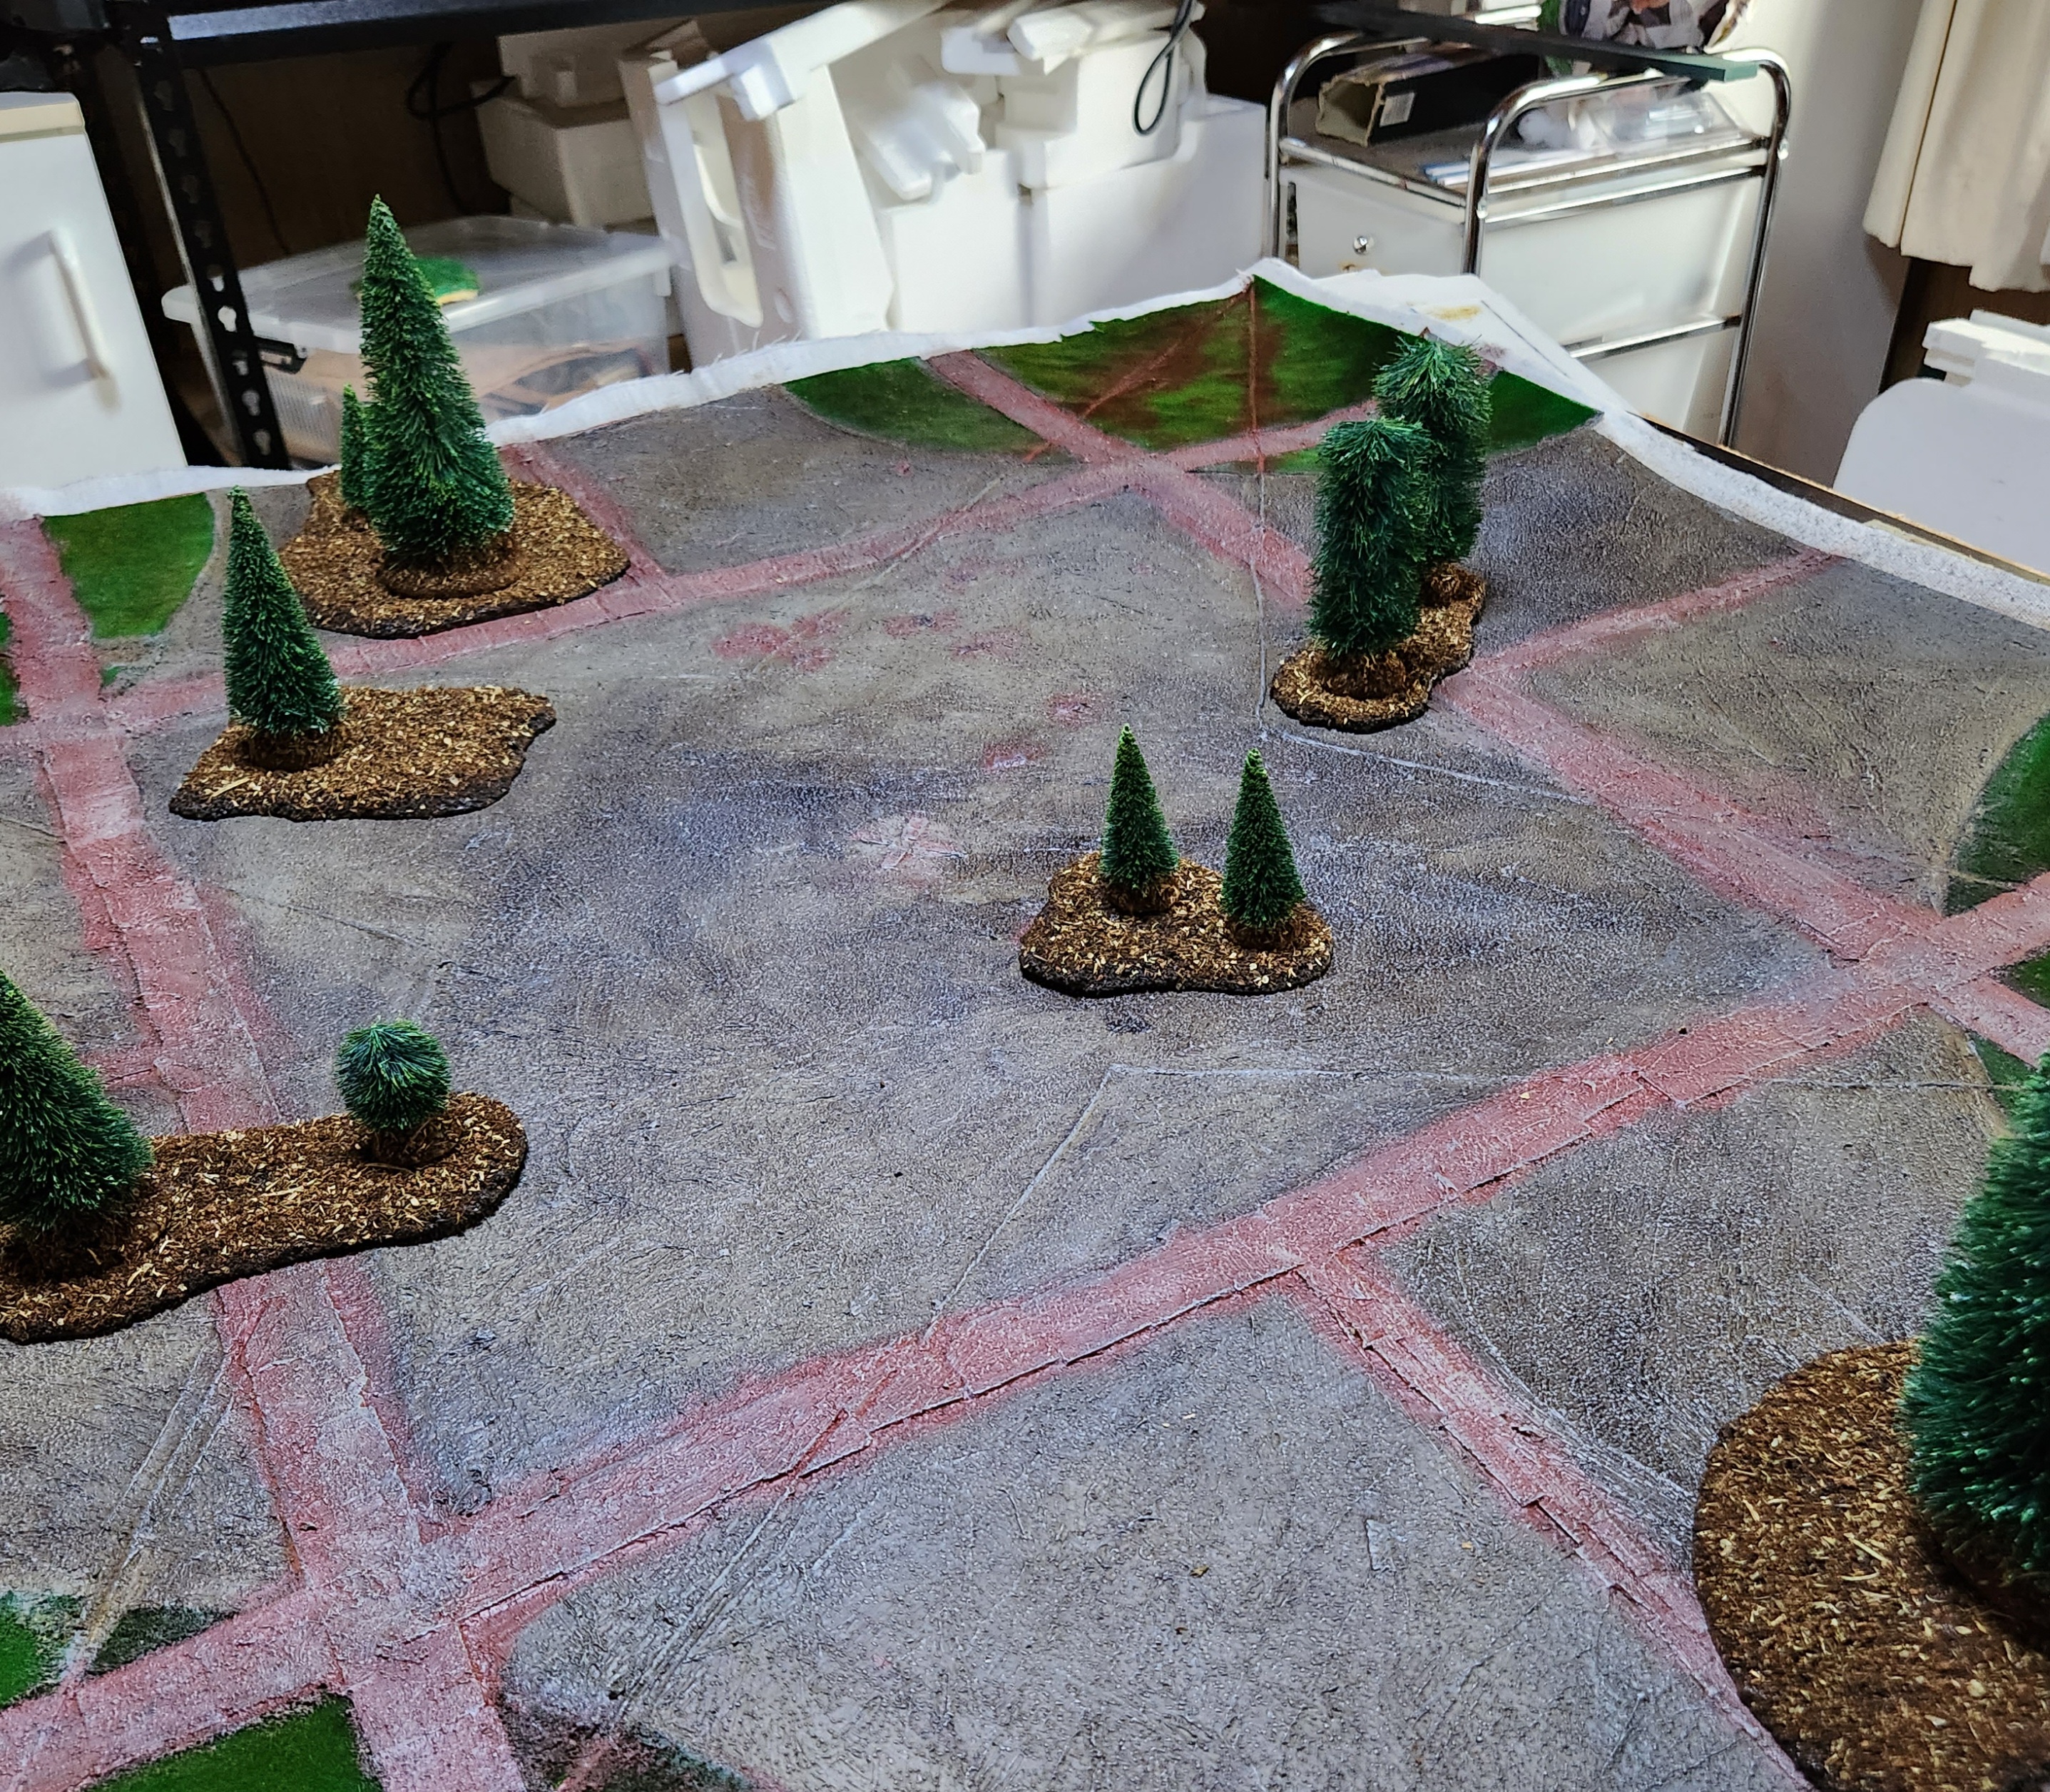
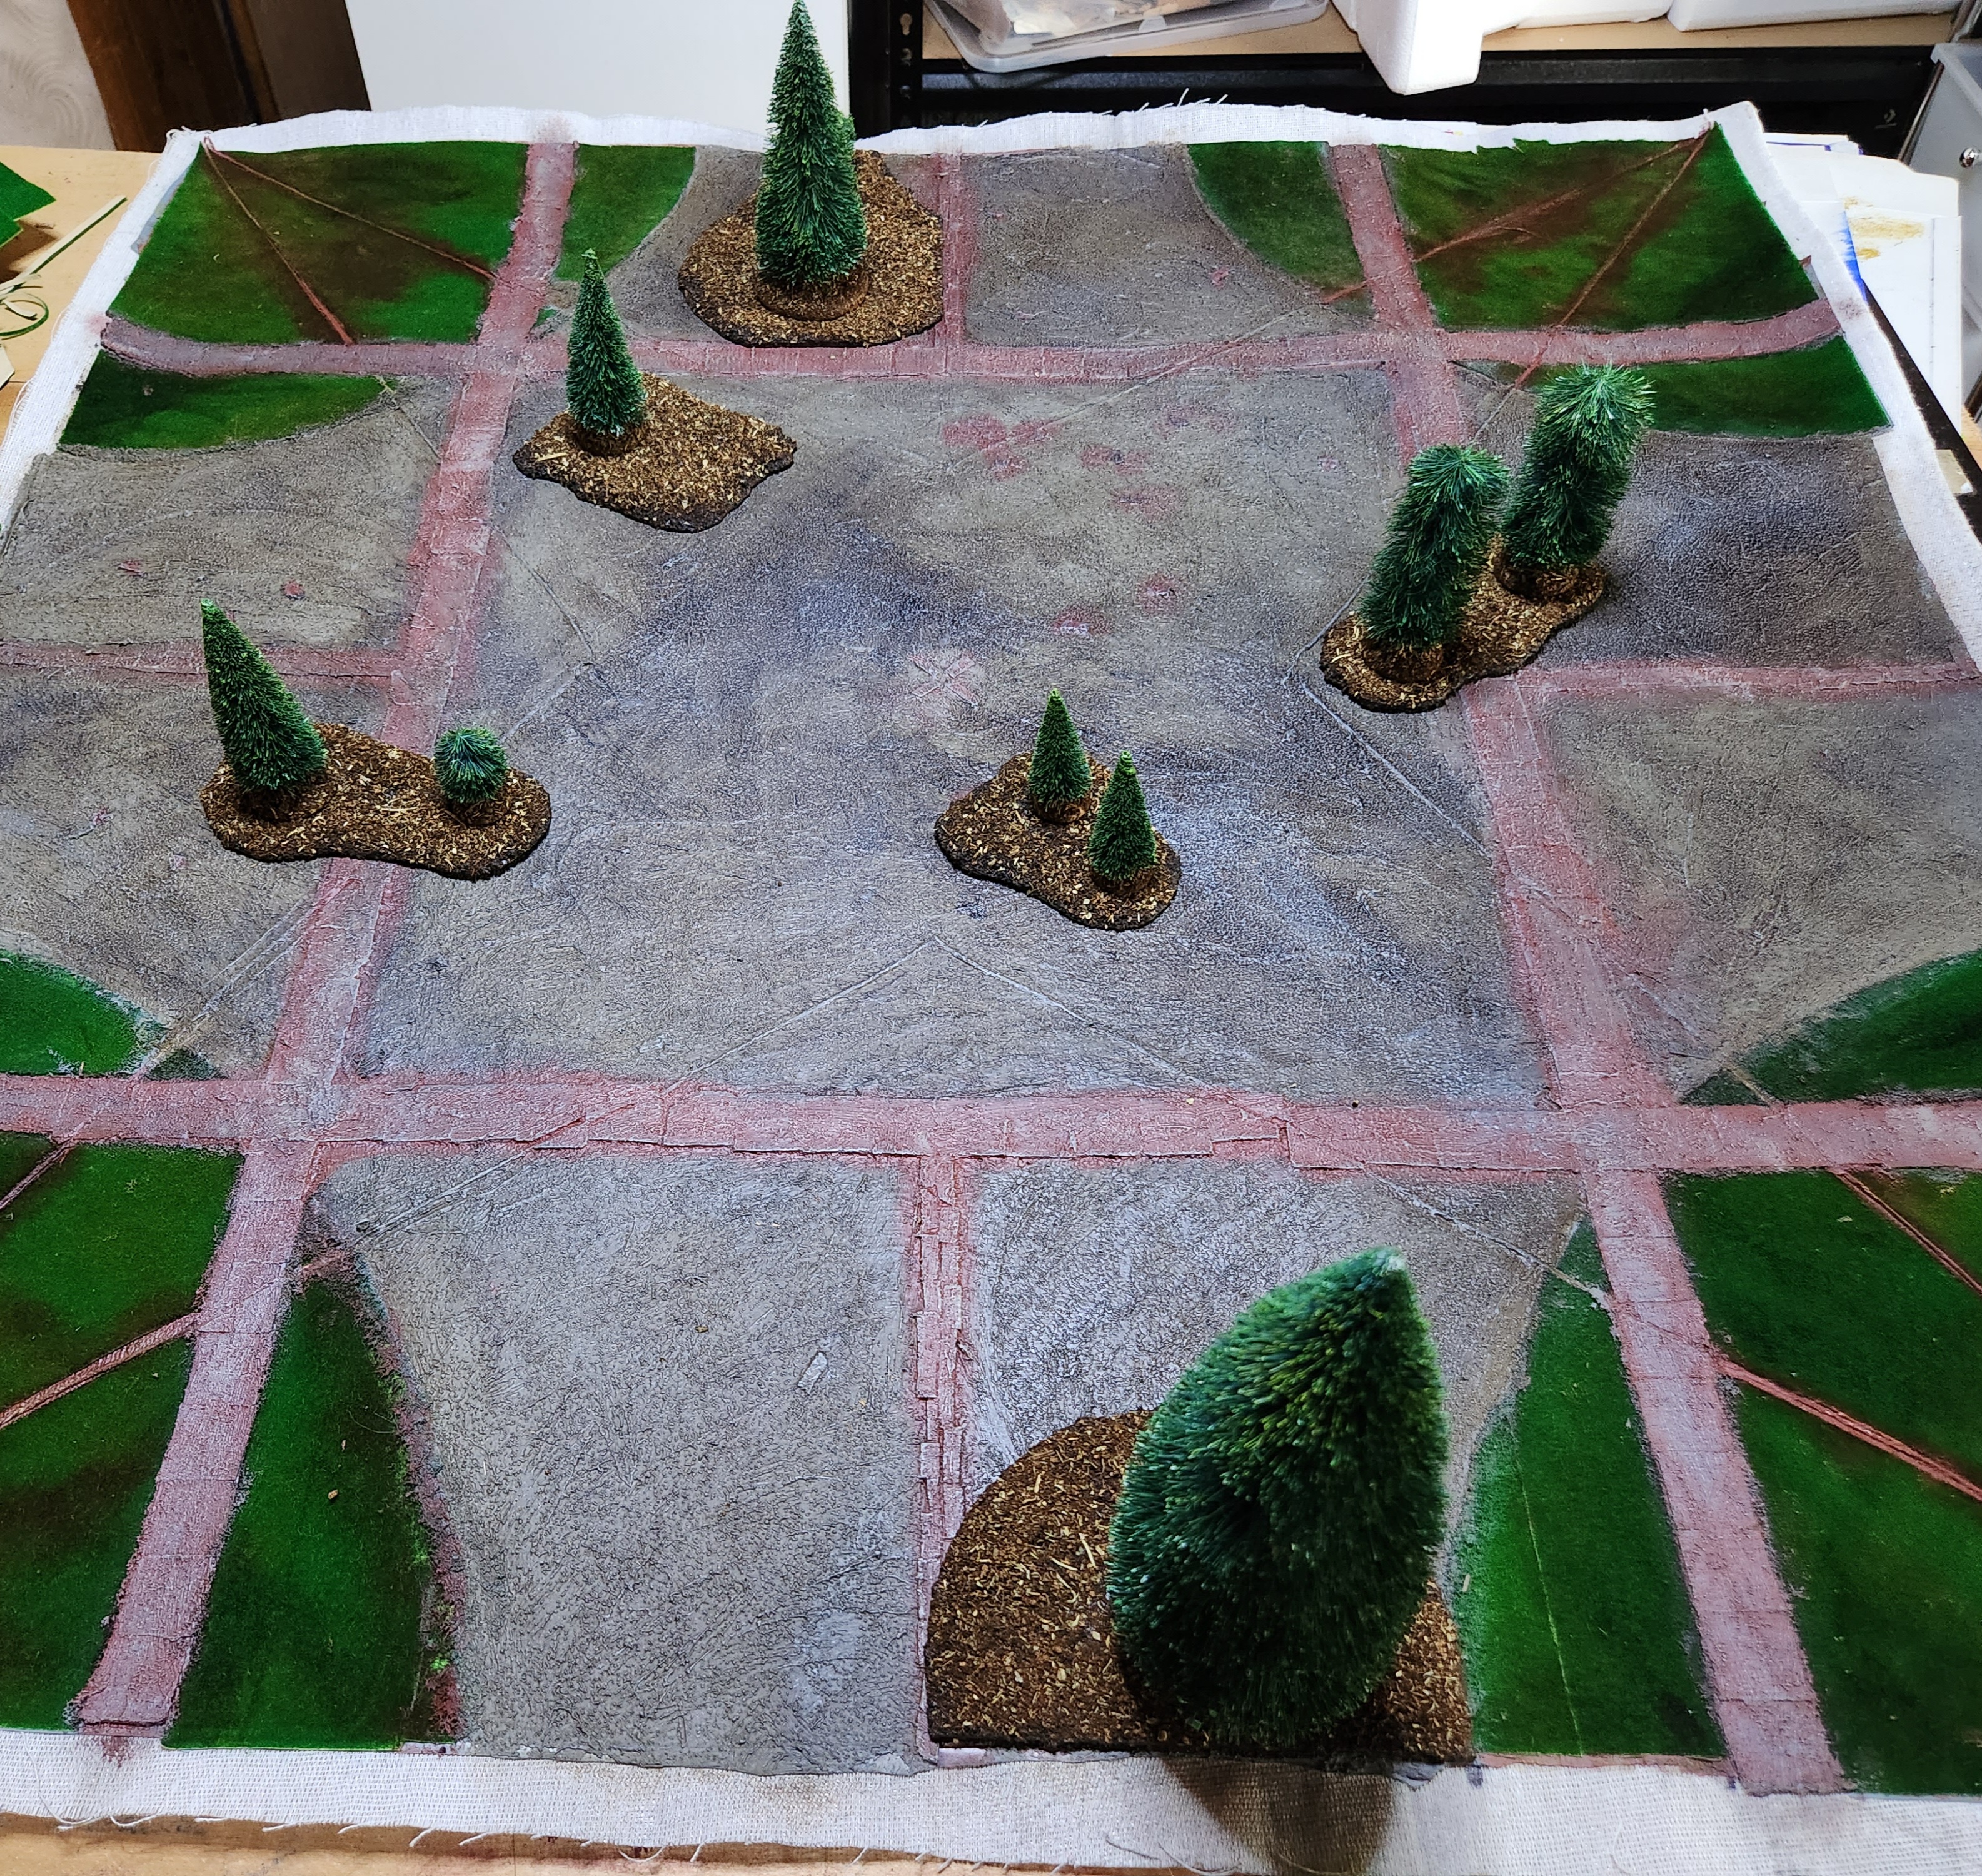
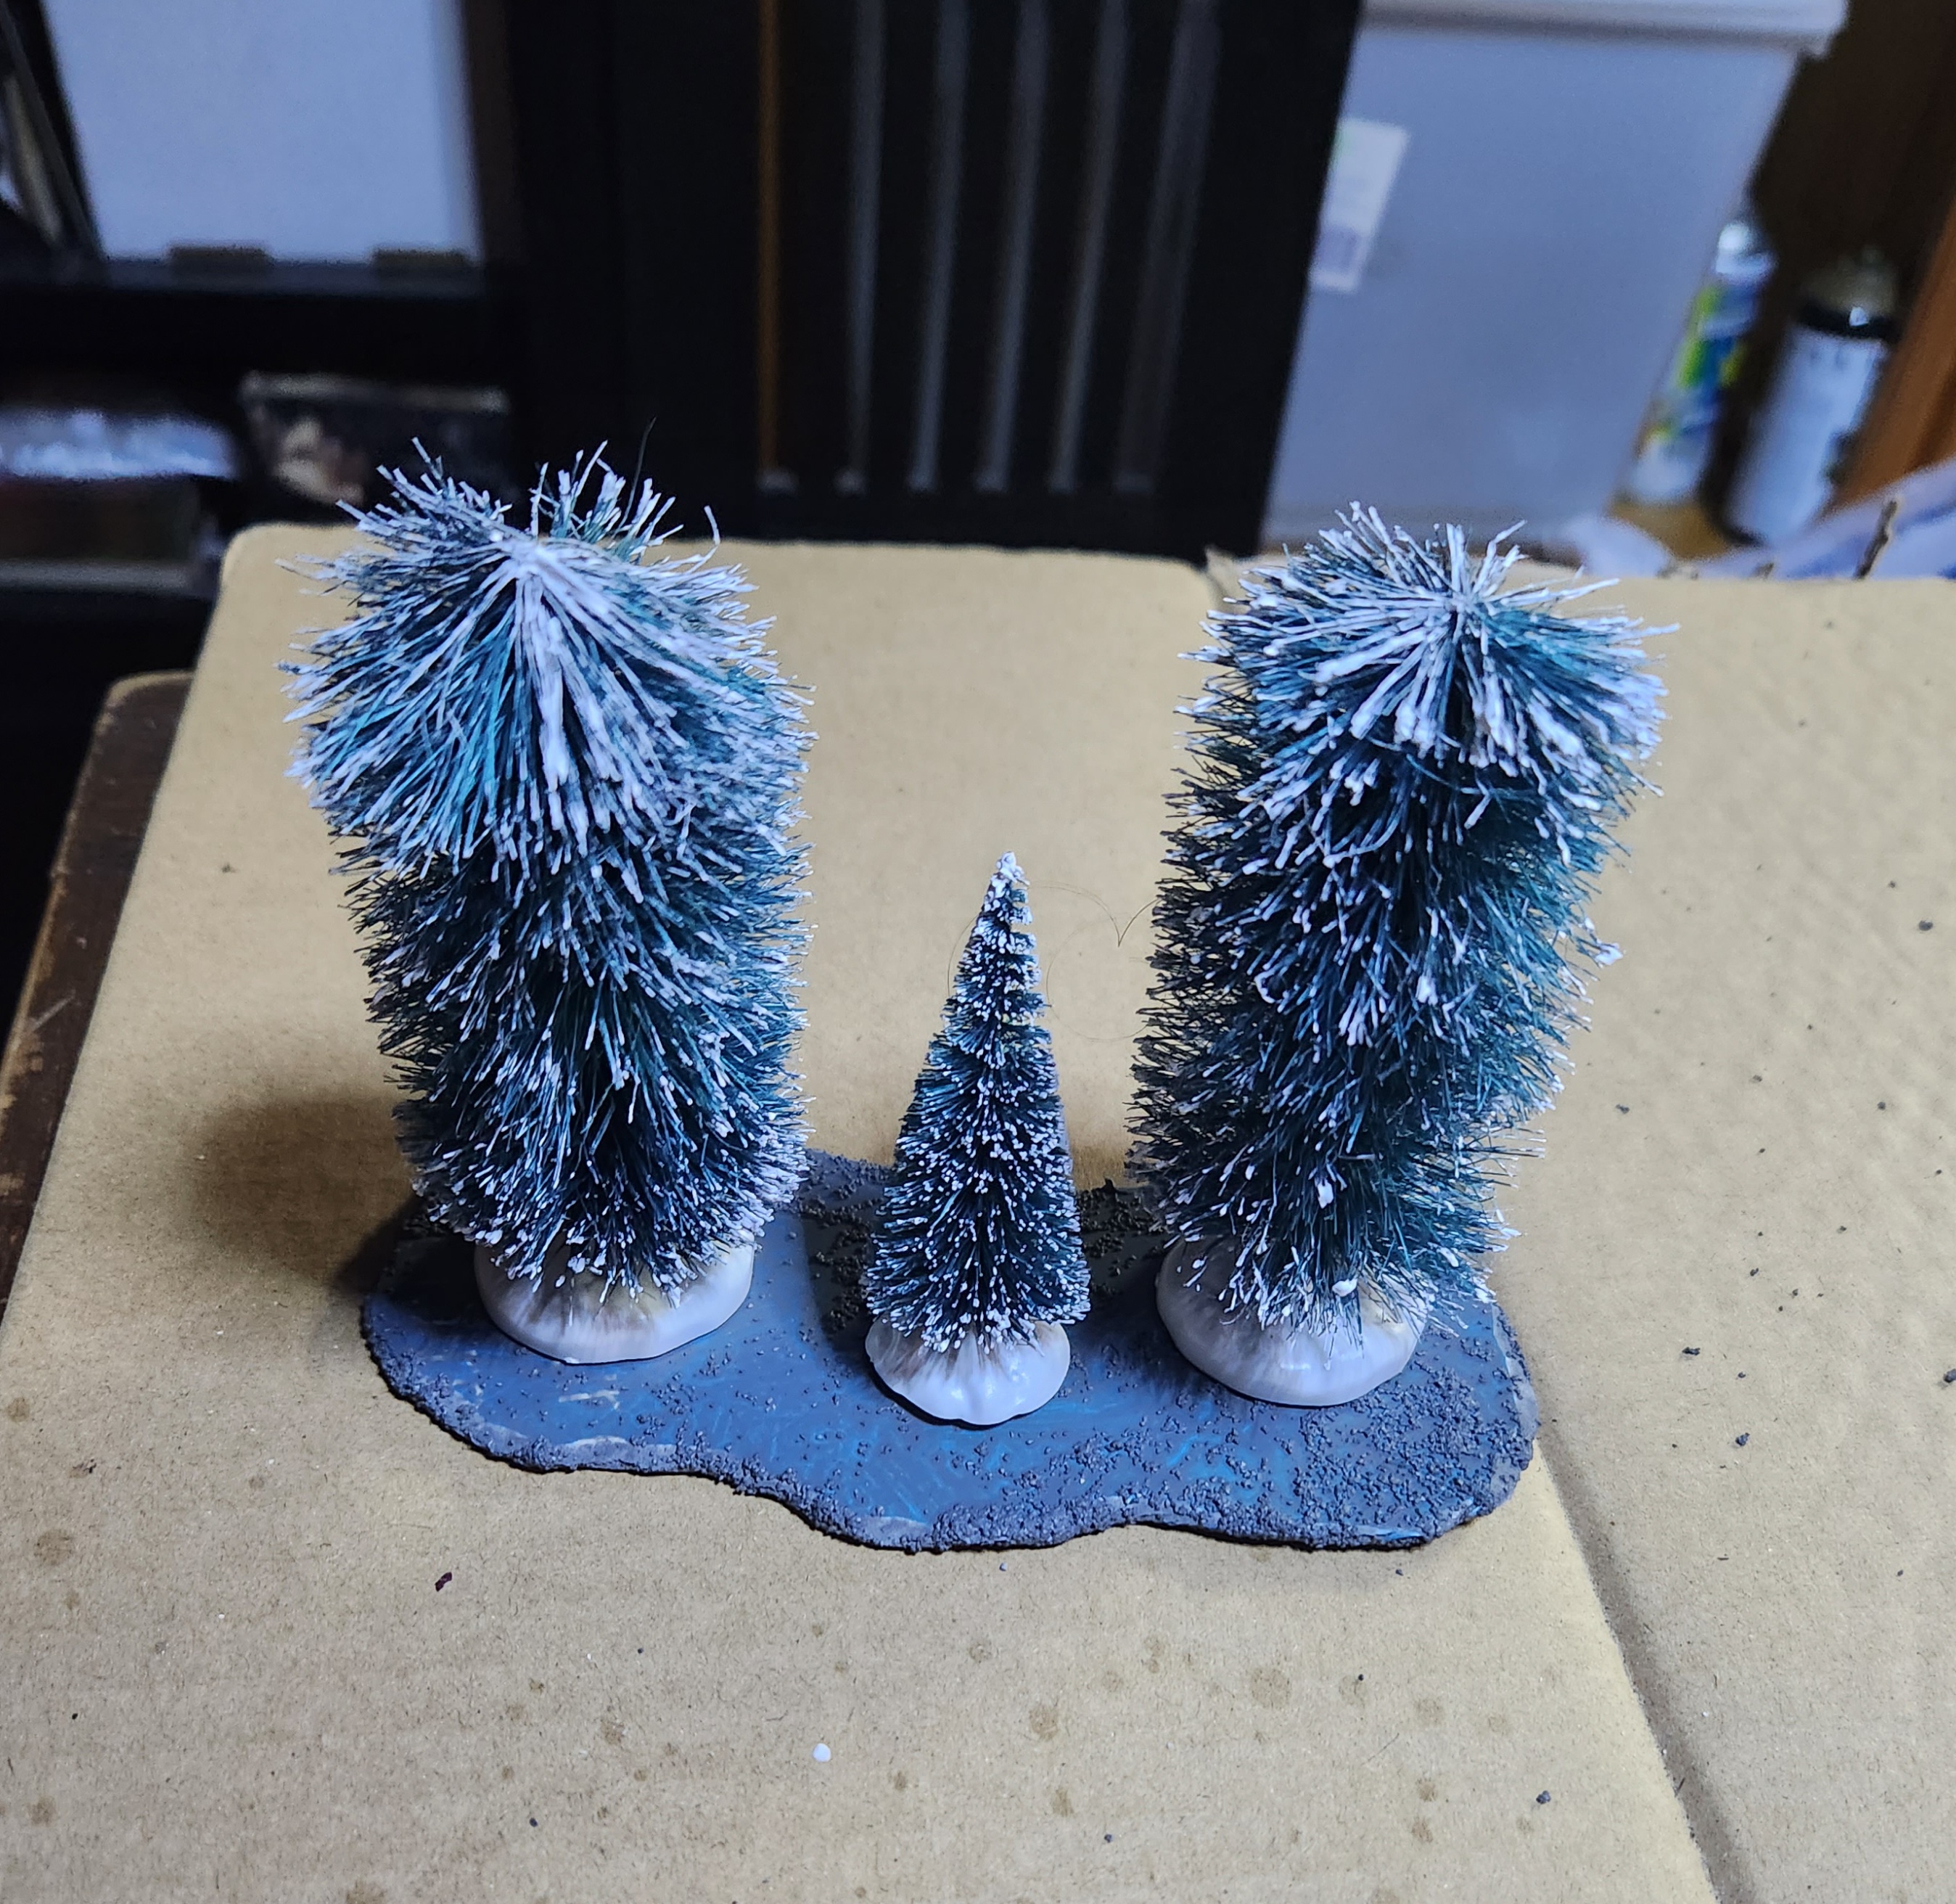
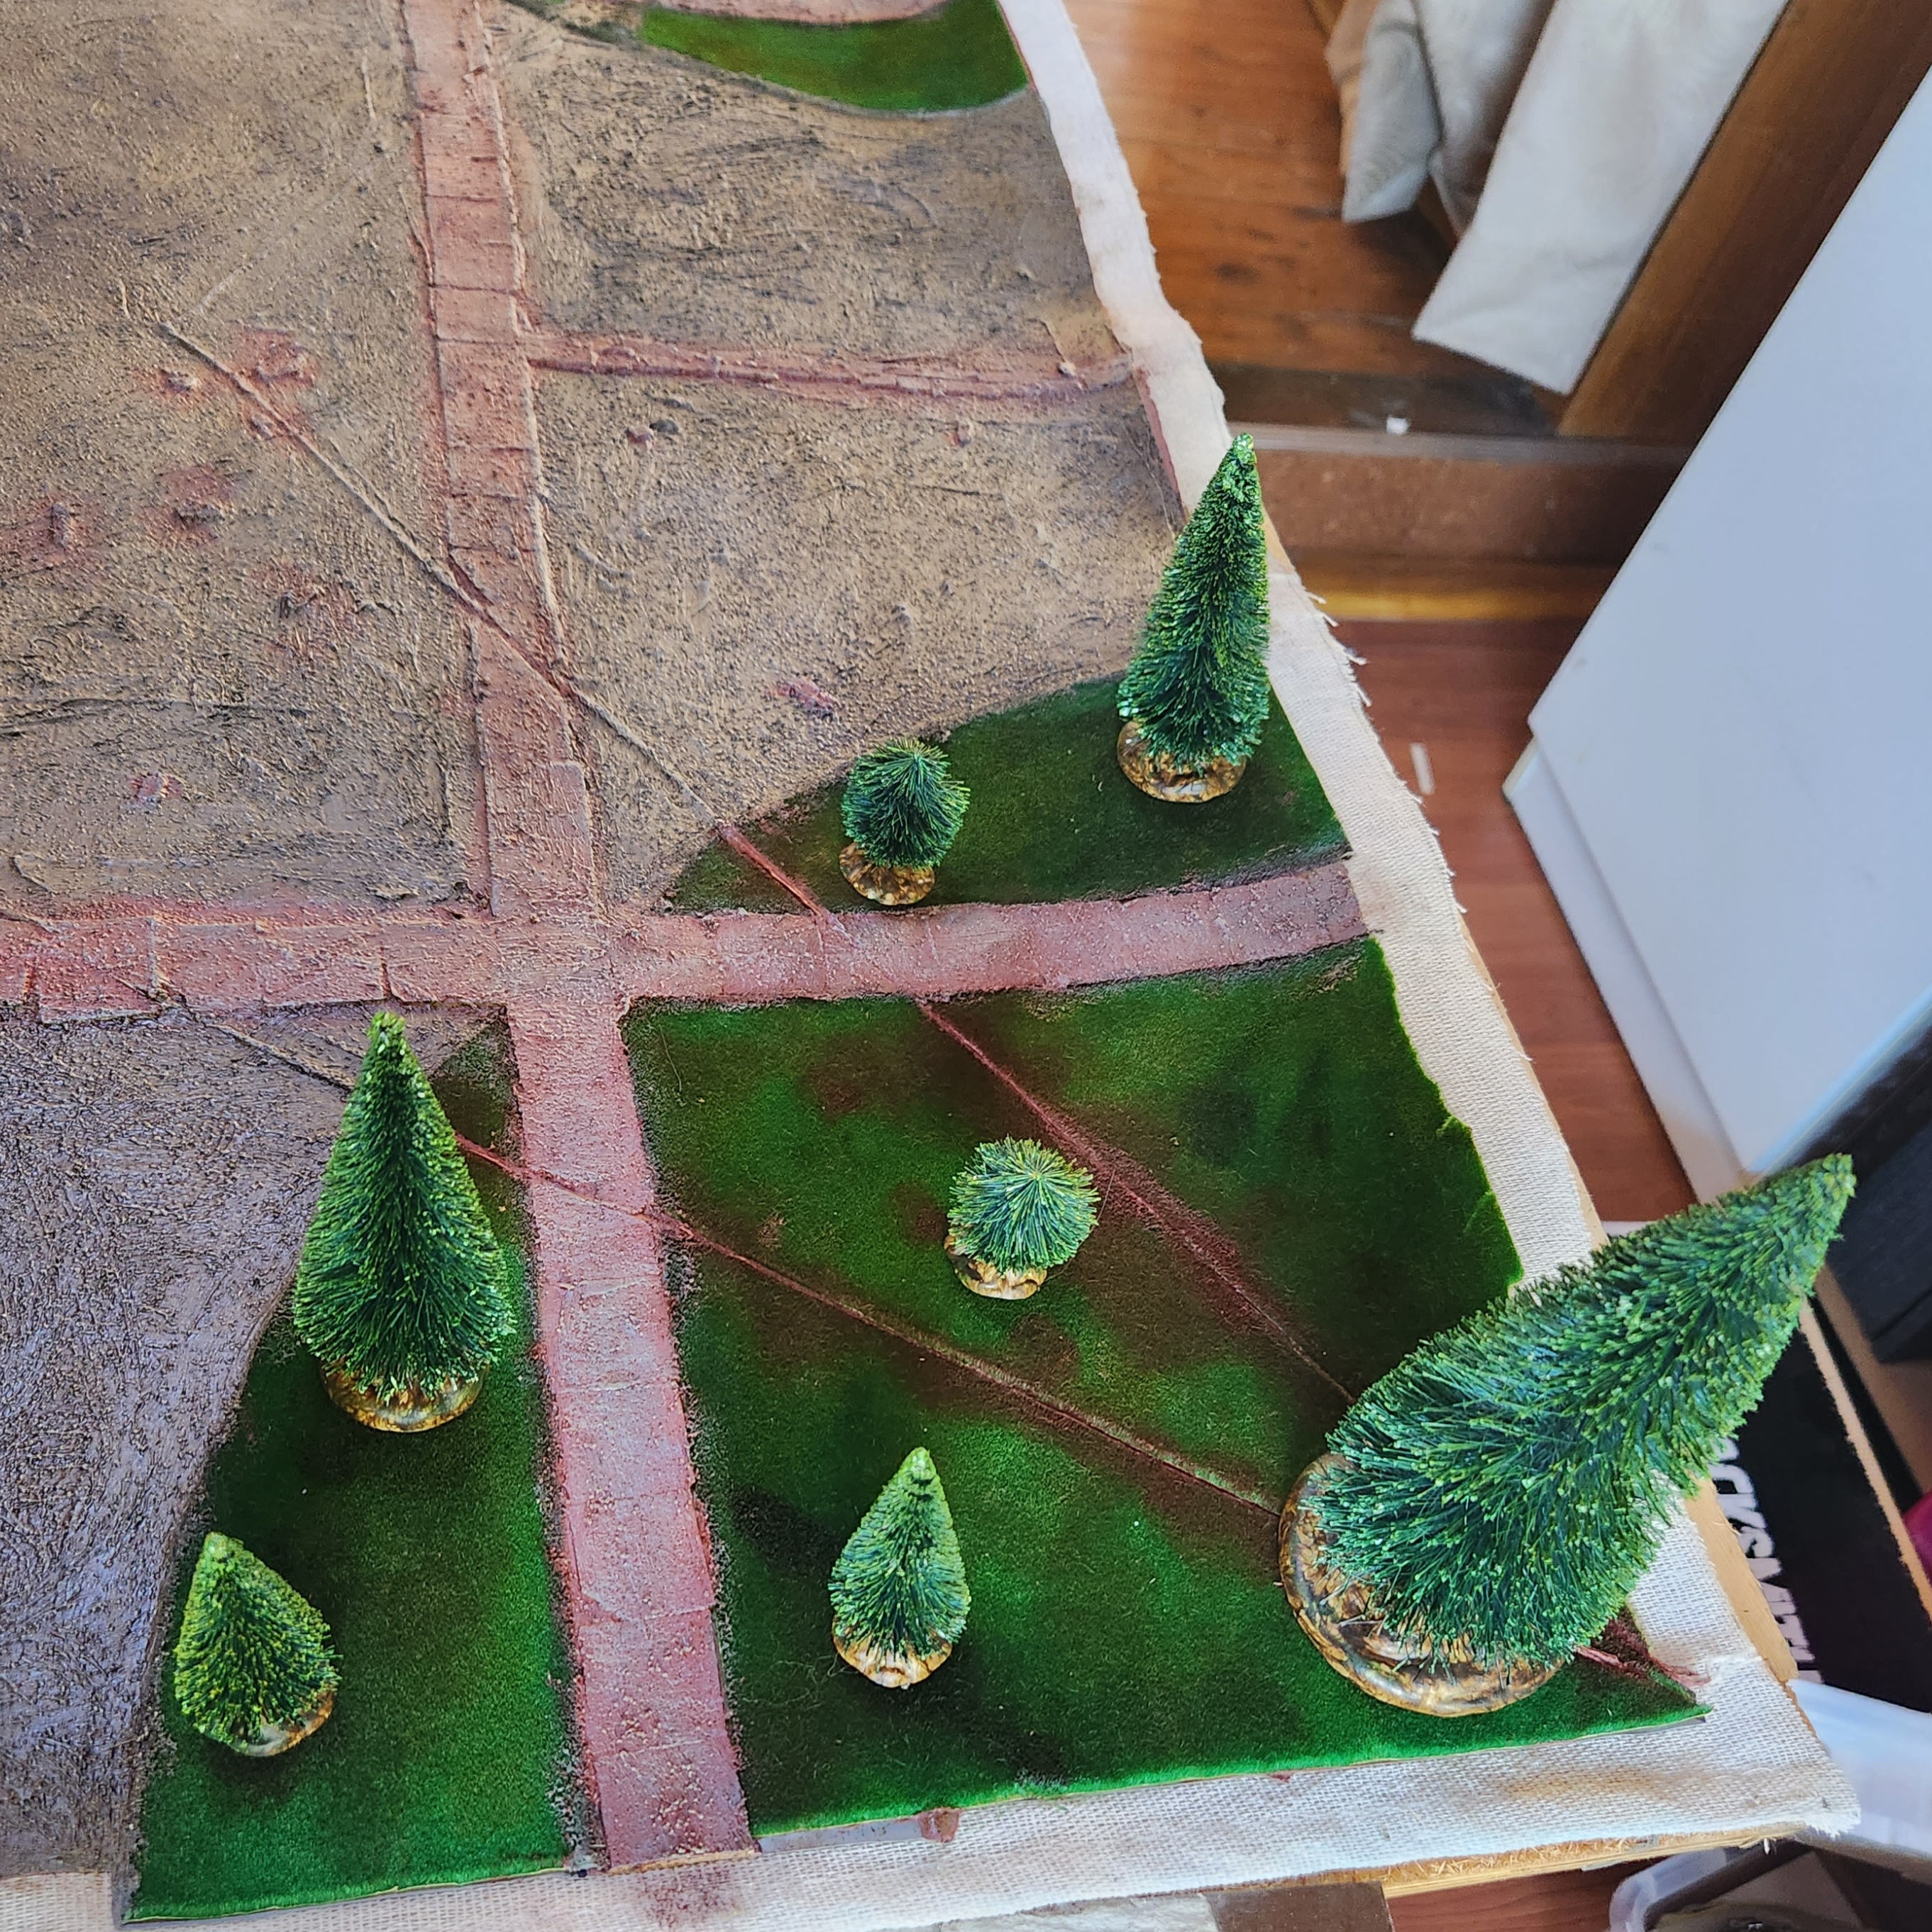
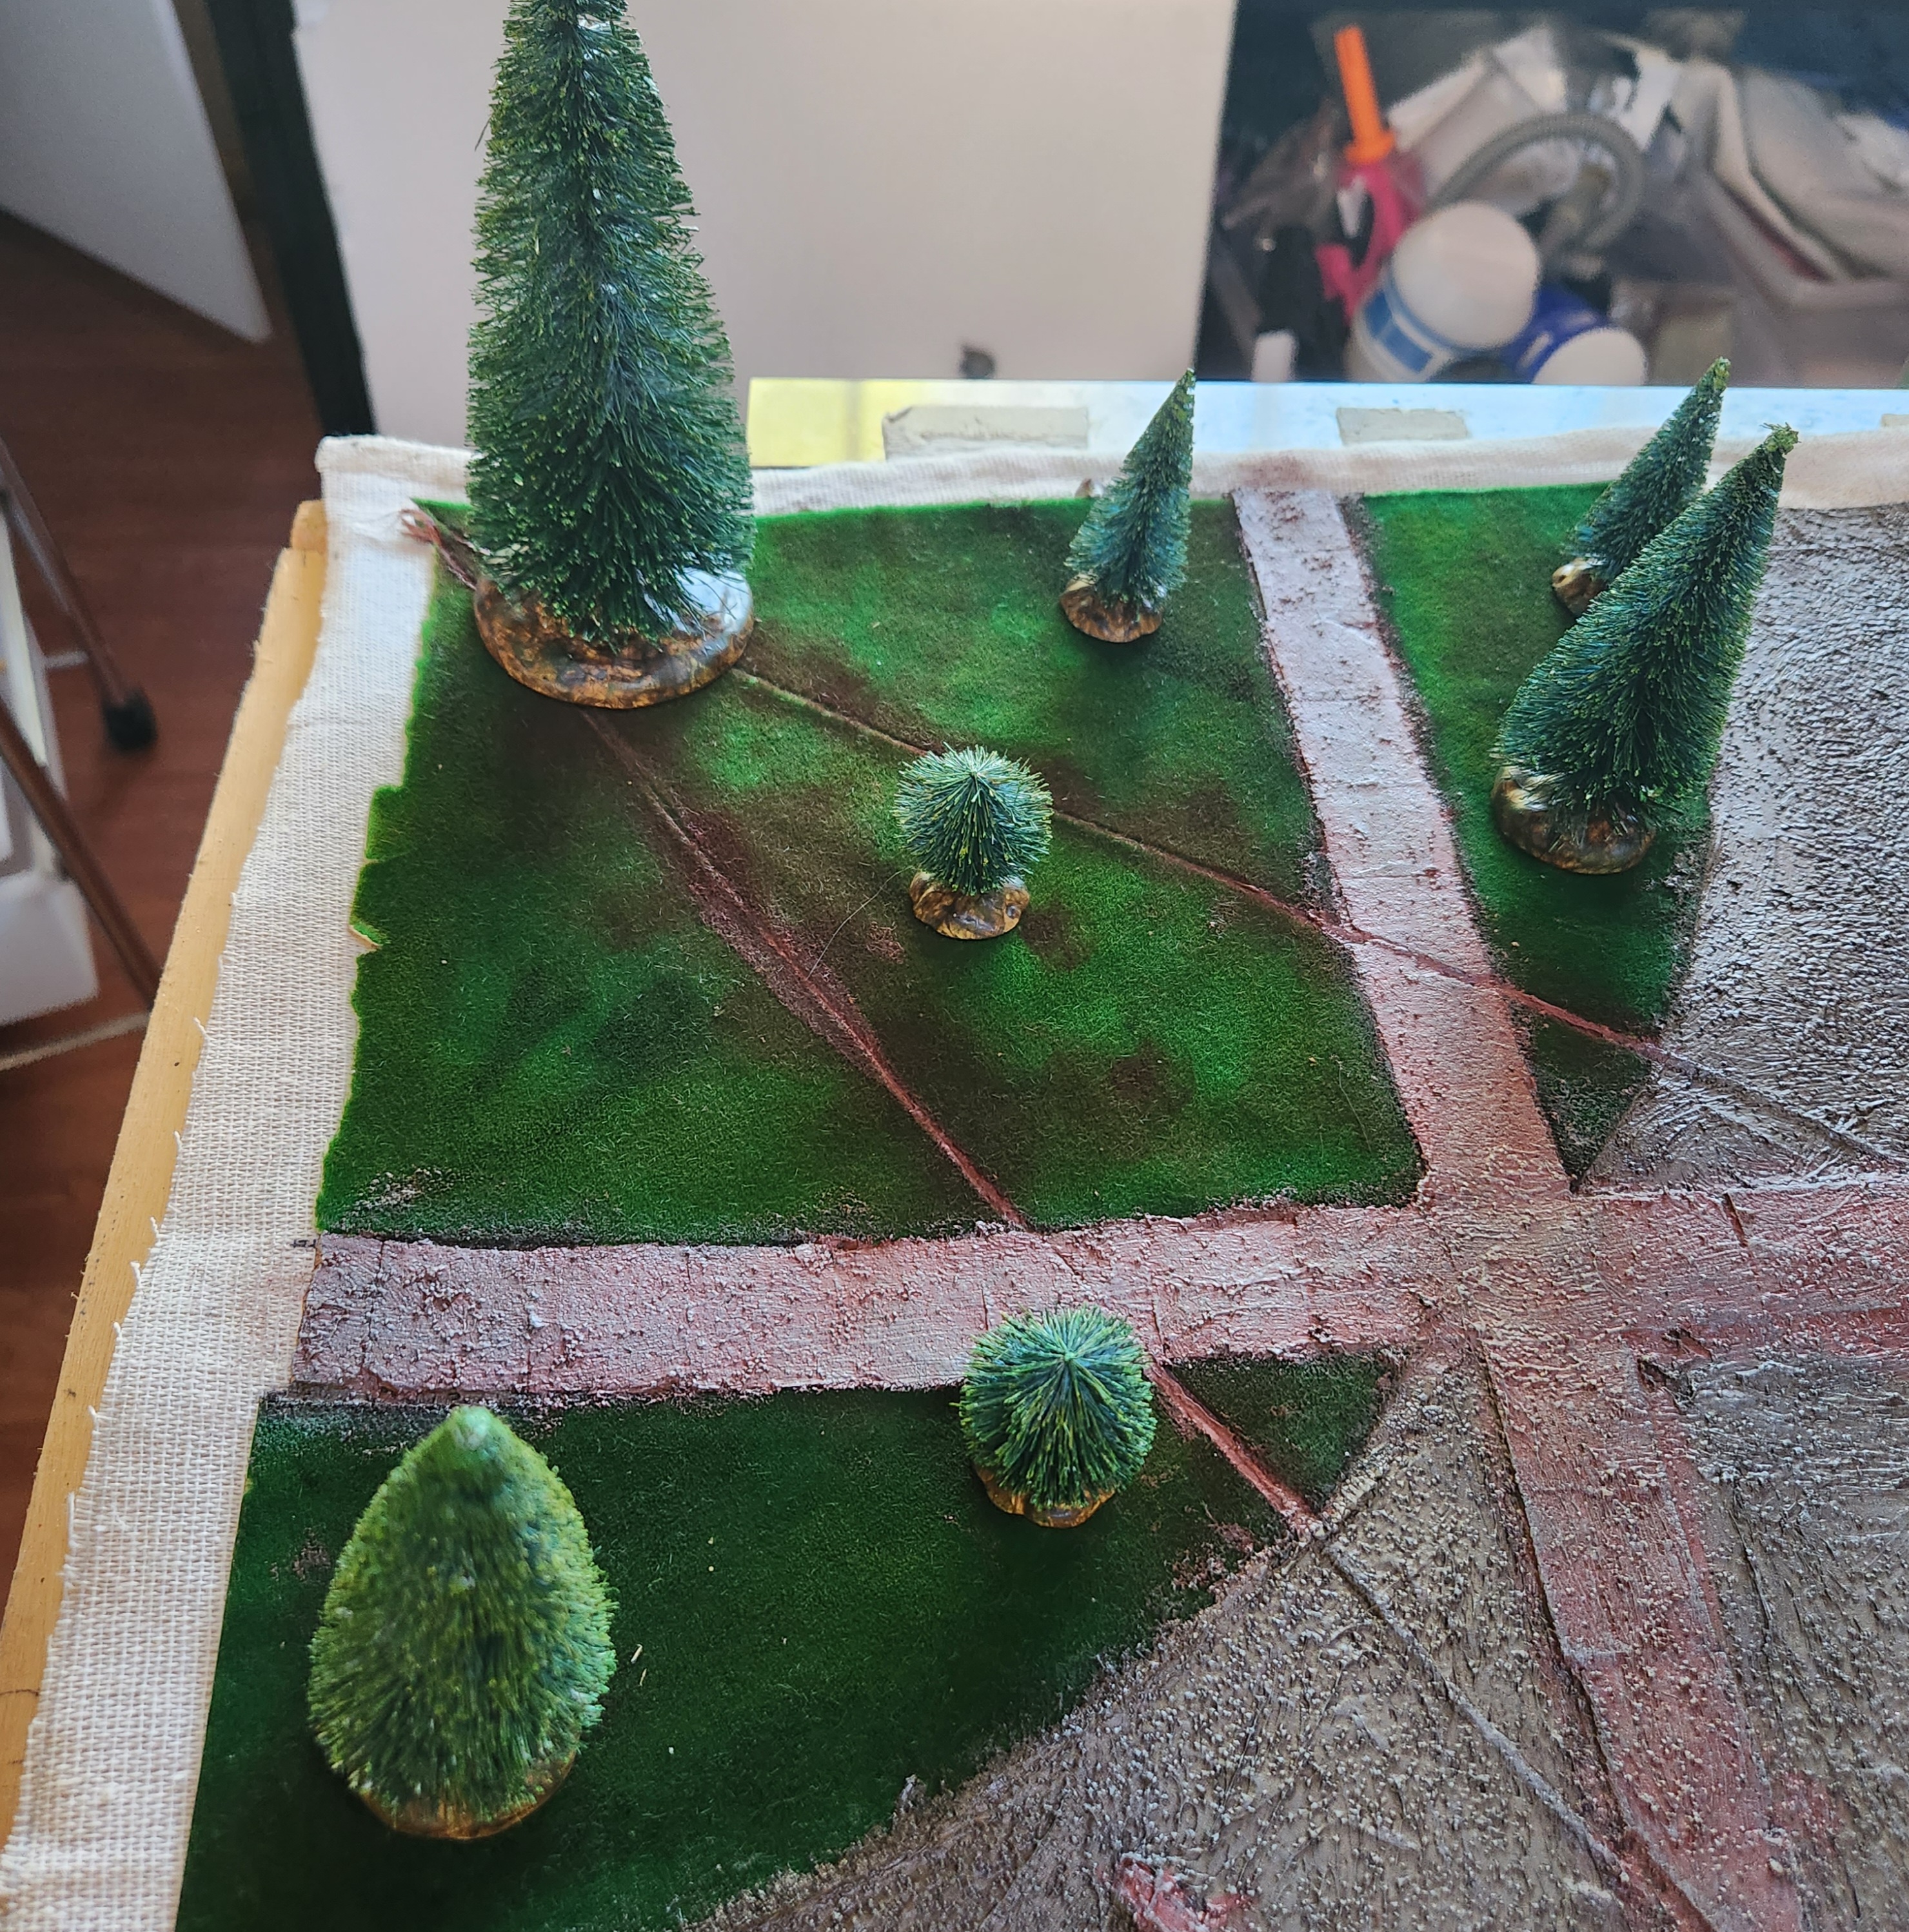
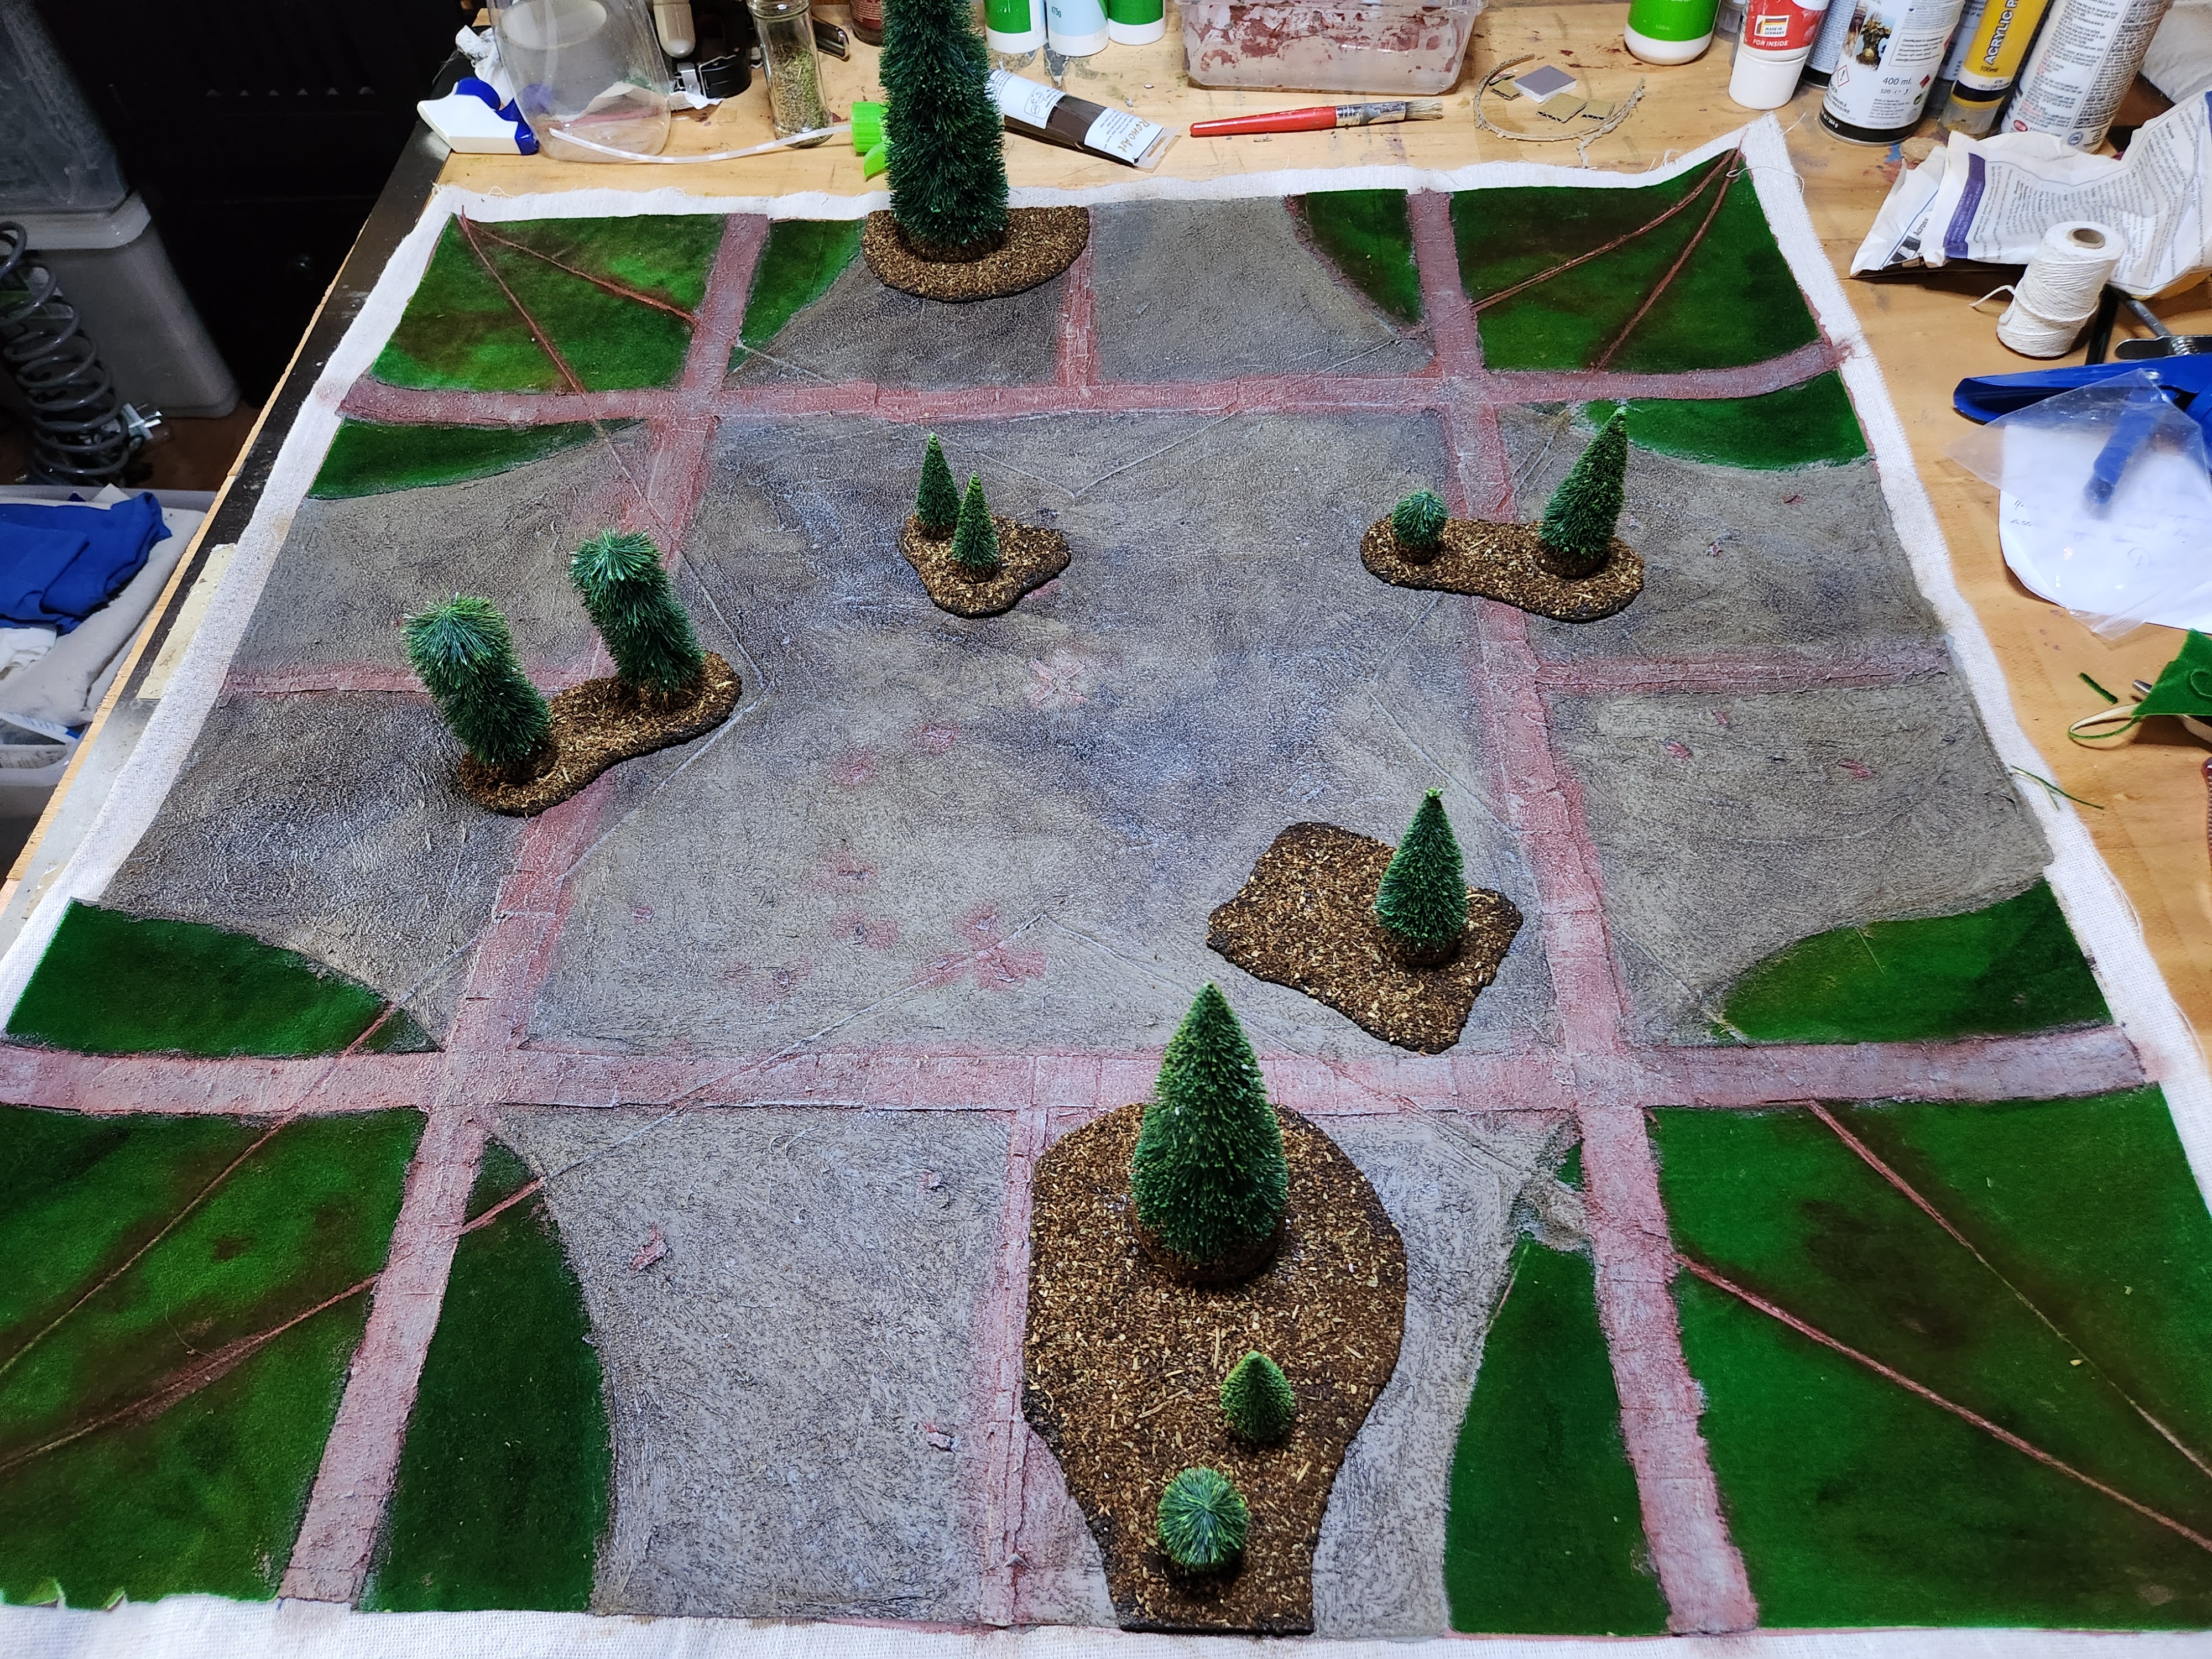 And on the mat the look like this!
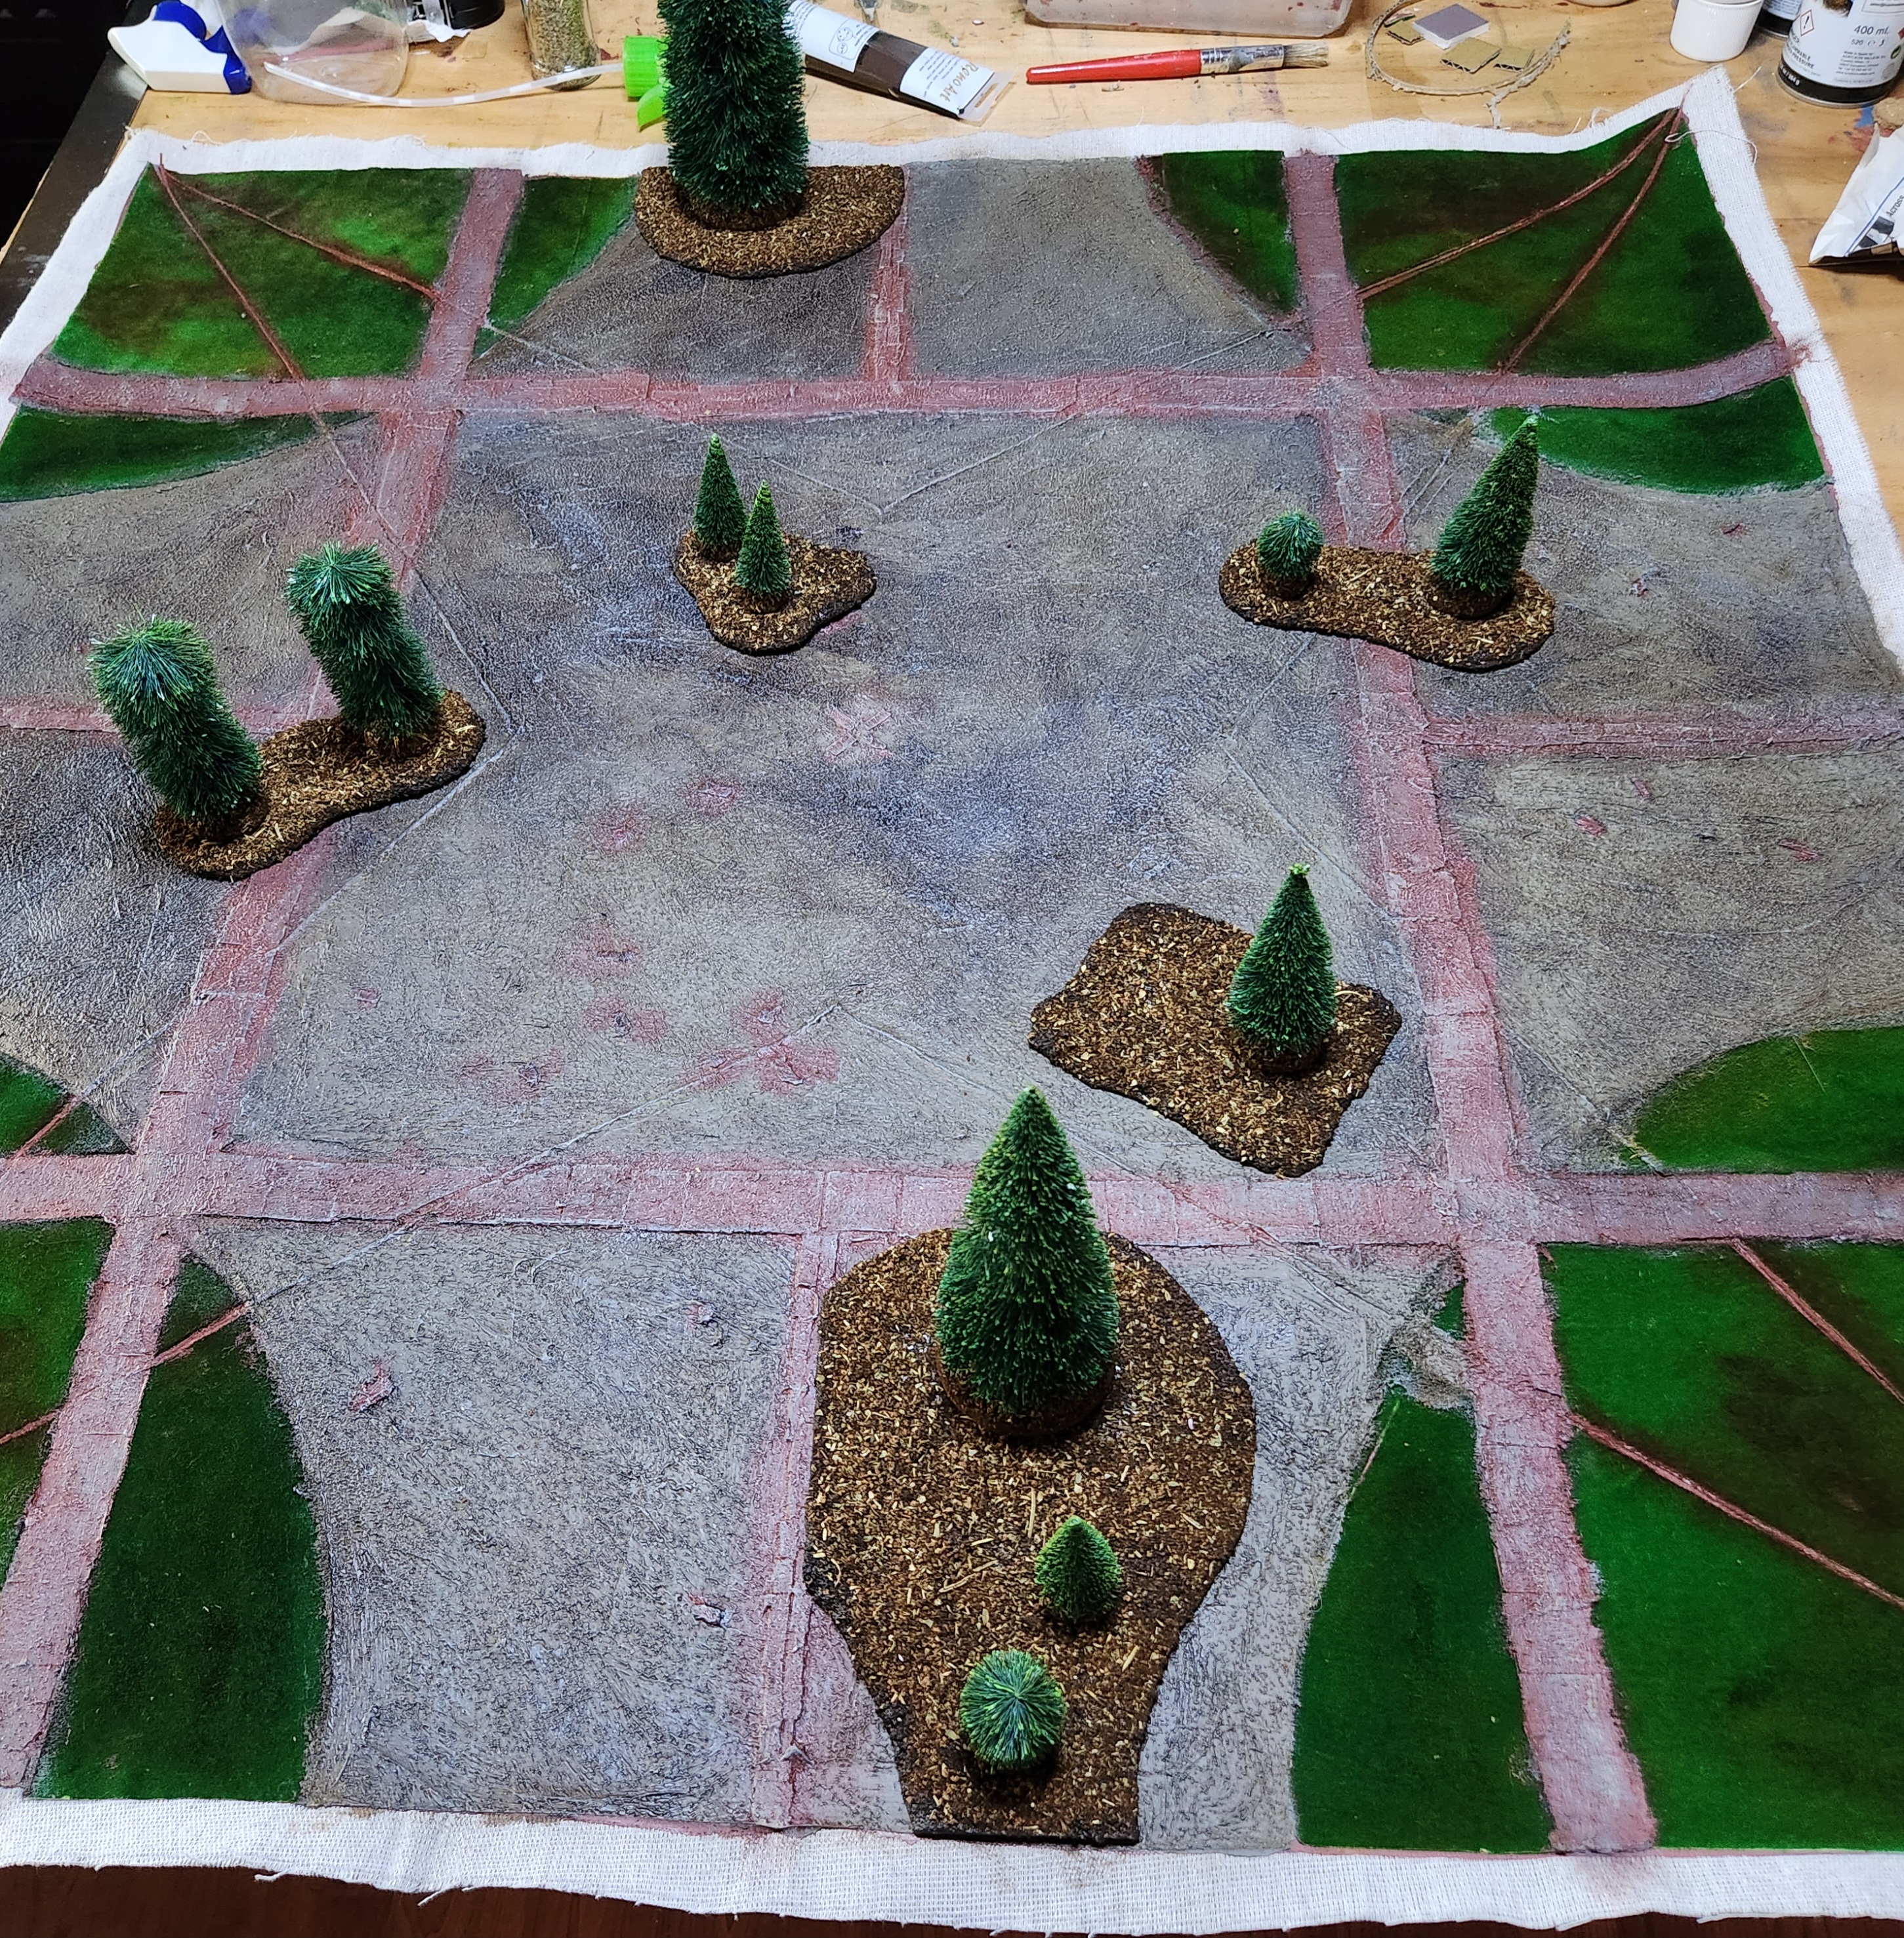
23 Oct 23: Added Greenery
Something missing from my current terrain collection are trees and areas of rough ground.
Mali uses Dense Terrain and Woods usually fall under this category. Rough ground or boggy swamps might count as Severe terrain.
I wanted something that could fill the role of woody or rough ground. I also have some trees that need work to make them a bit more generic.
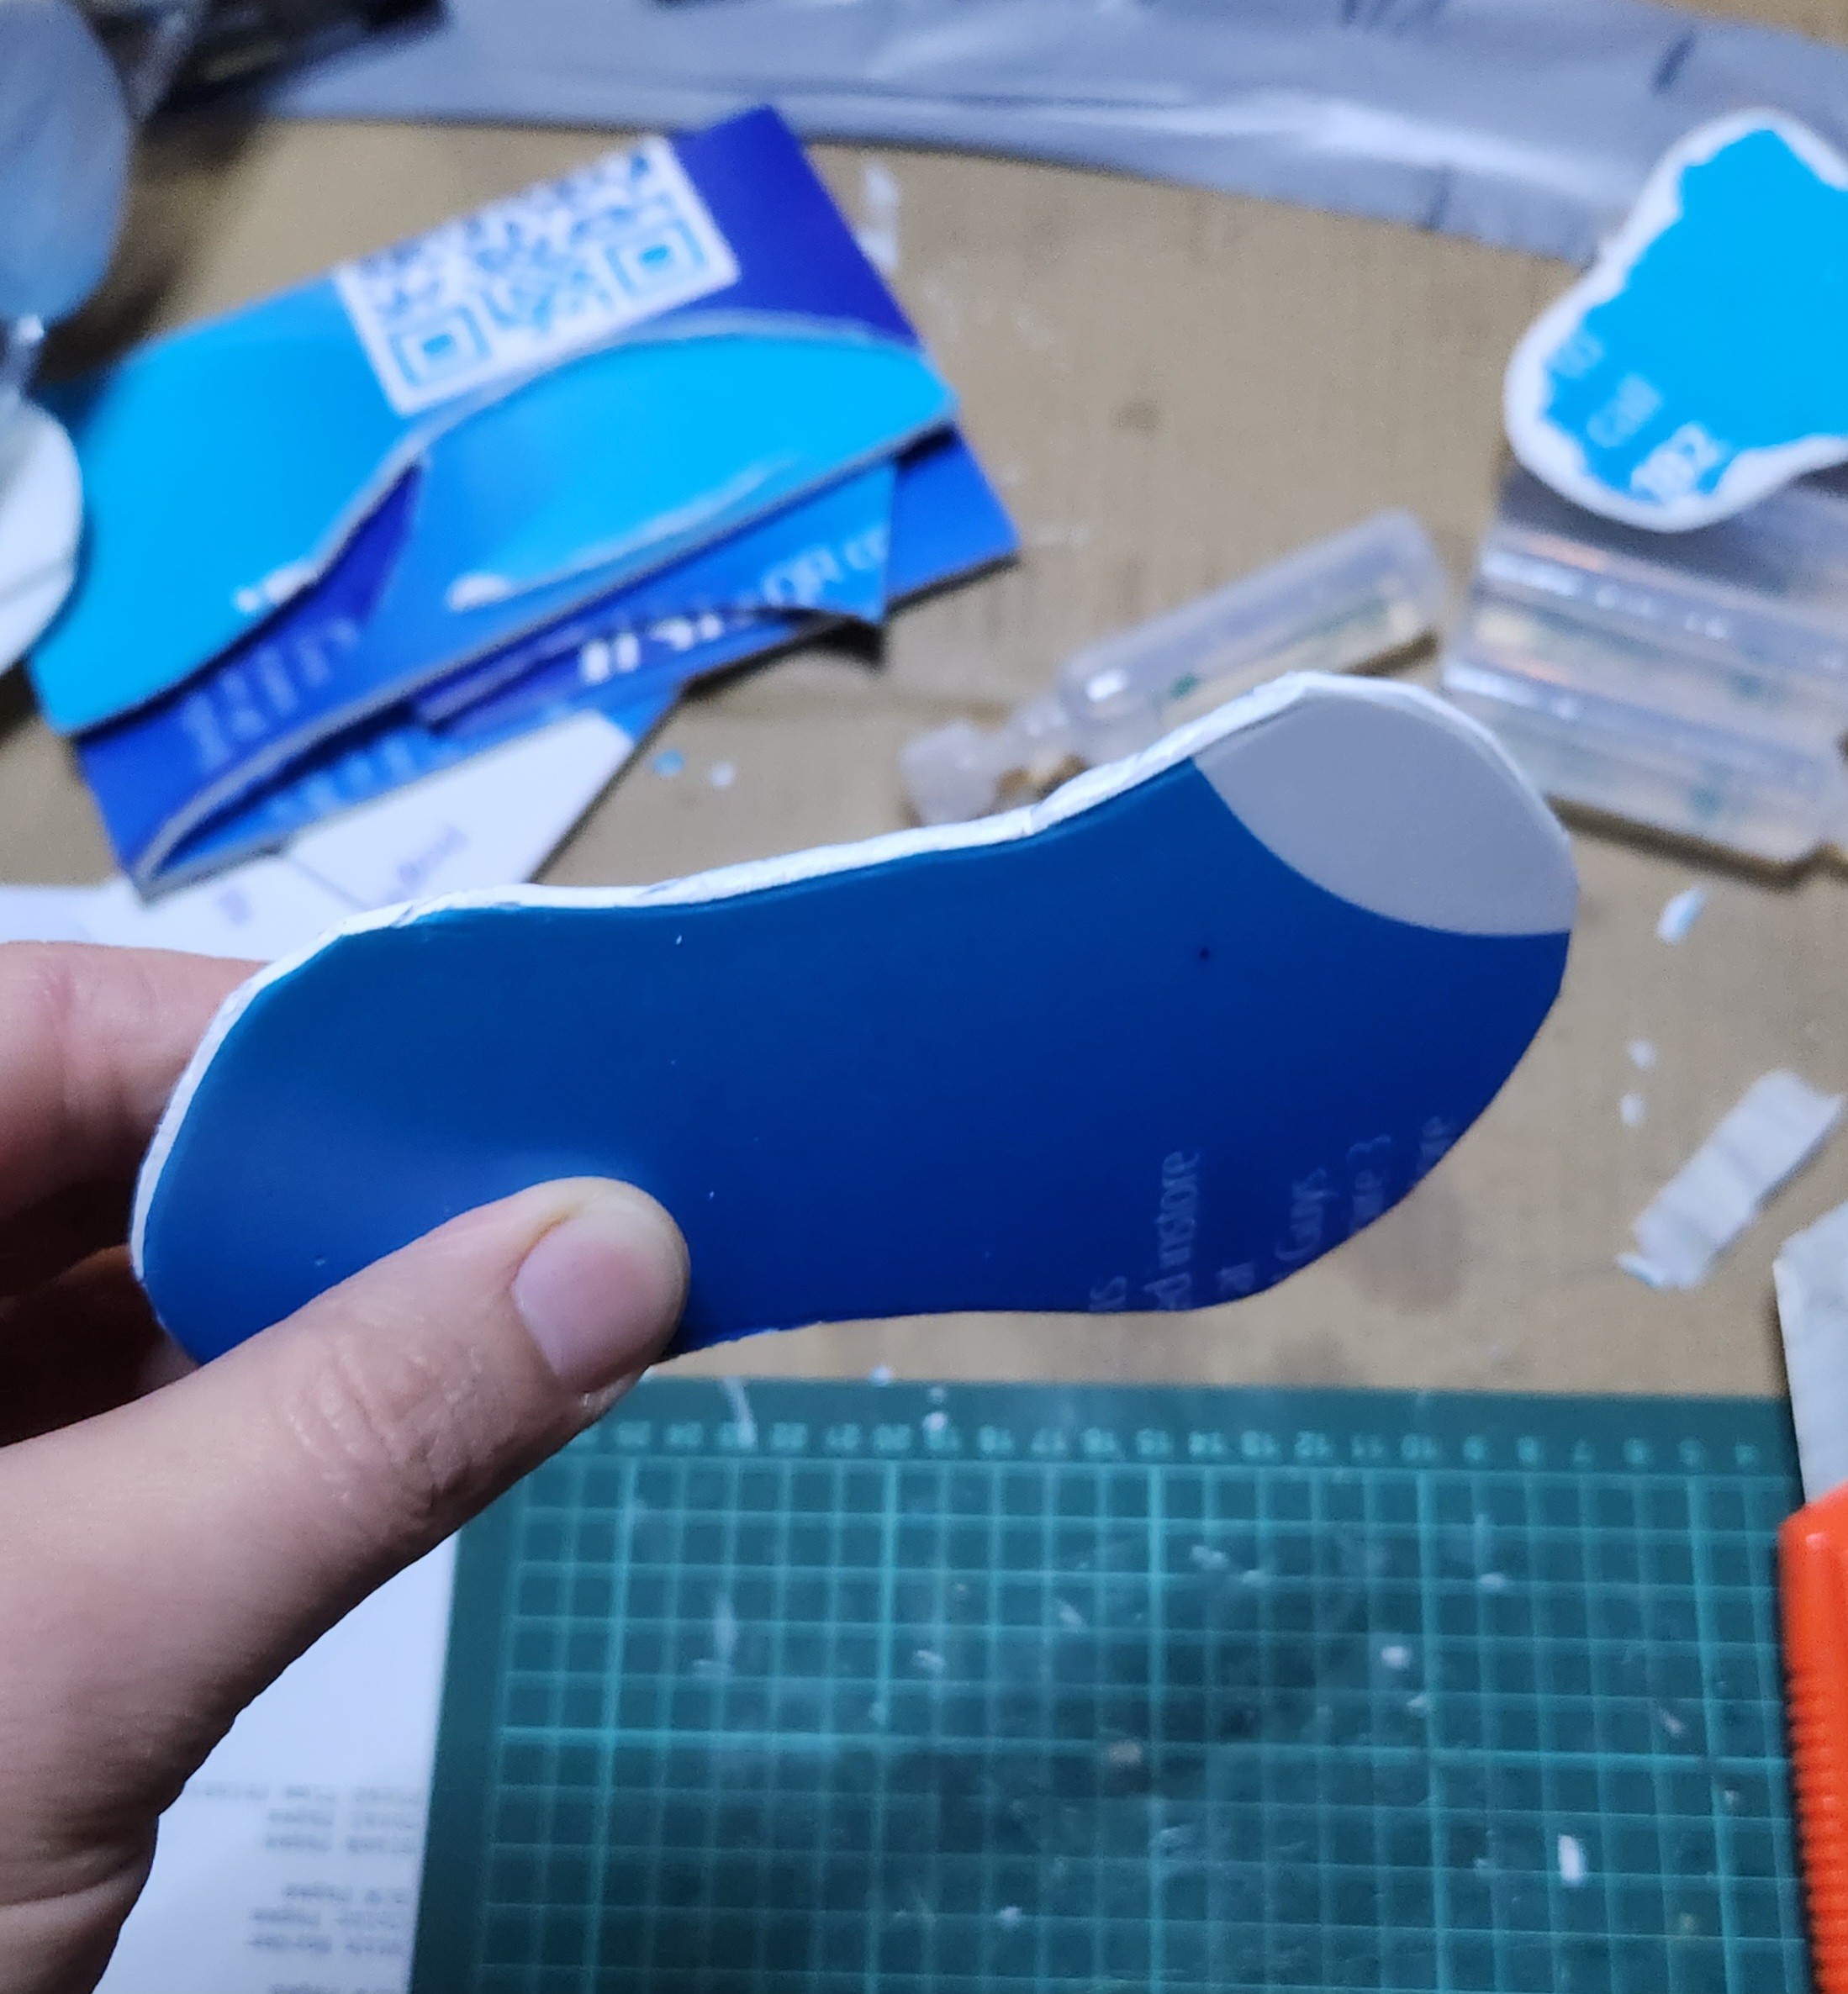
I decided to go the way of a large base with removable trees, using the aforementioned trees.
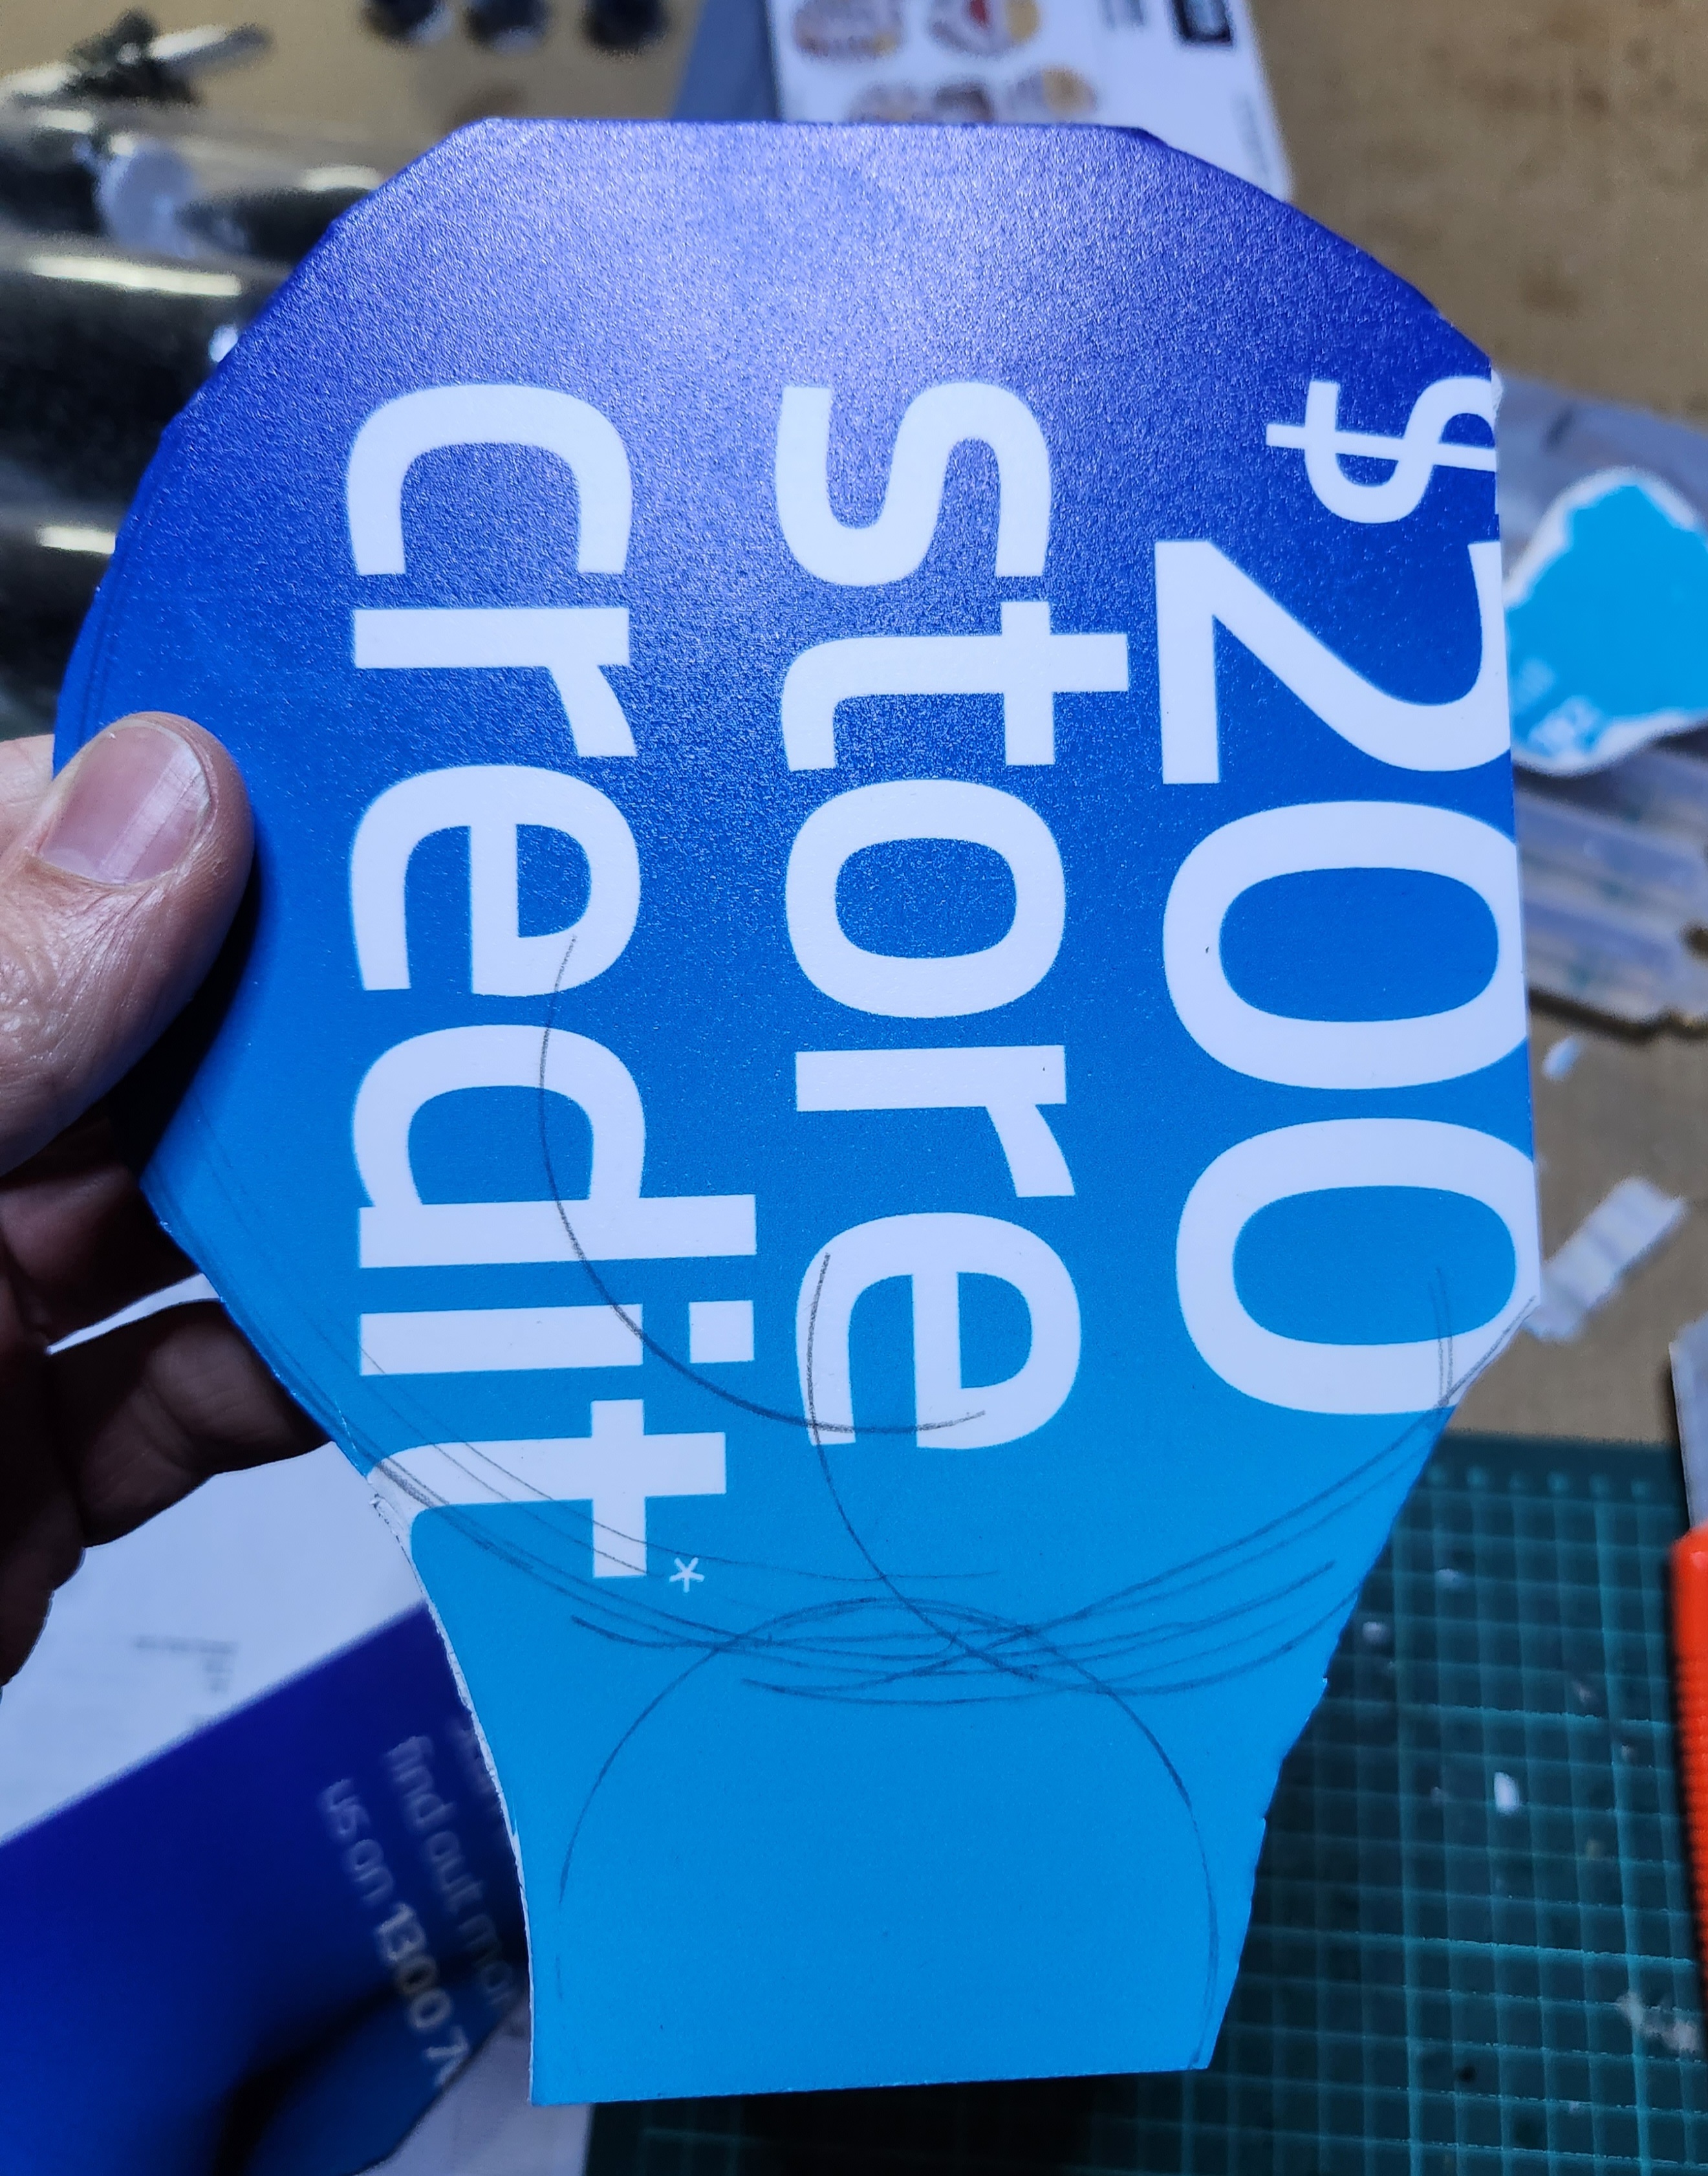
For the bases I used a piece of a plastic/ foam card. It had been a piece of matketing from work. One of the benefits of working for an Electrical Retailer is a ready supply of resources.
I carved the pieces in random shapes. I did end up with a couple of straight edges, but I can put these up against board edges or buildings.
After cutting out the shapes, the edges were bevelled with the knife.
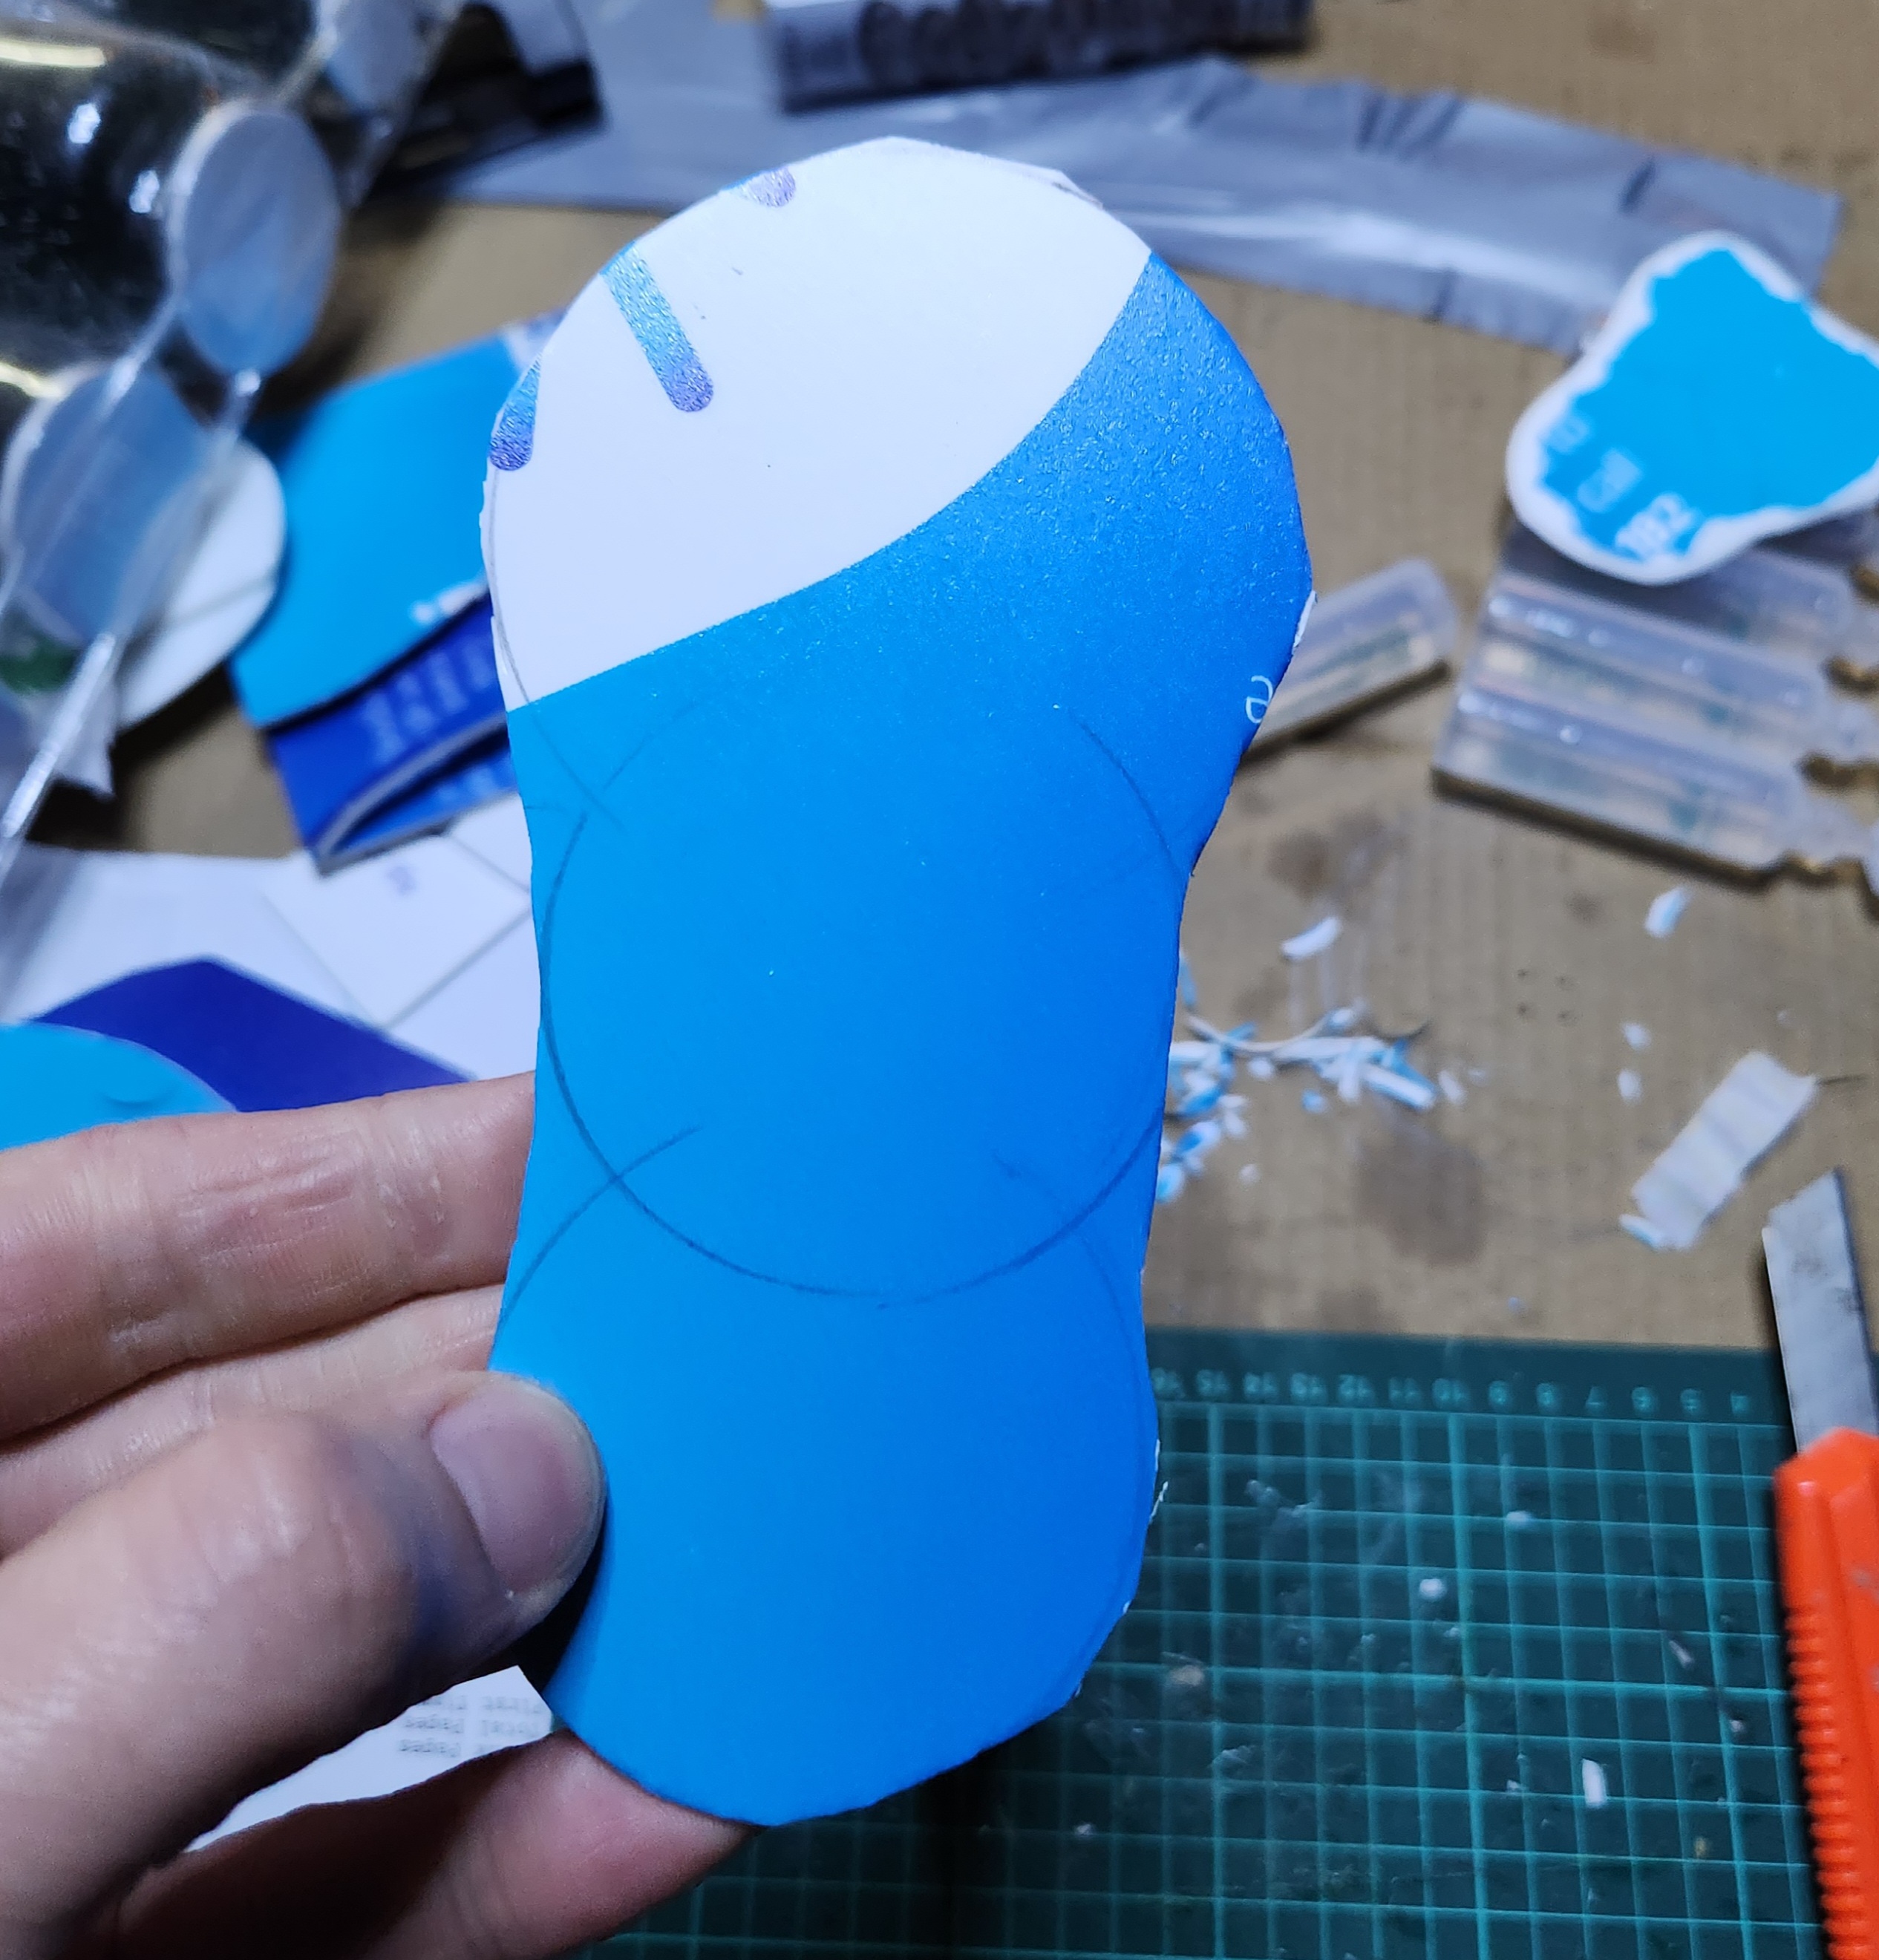
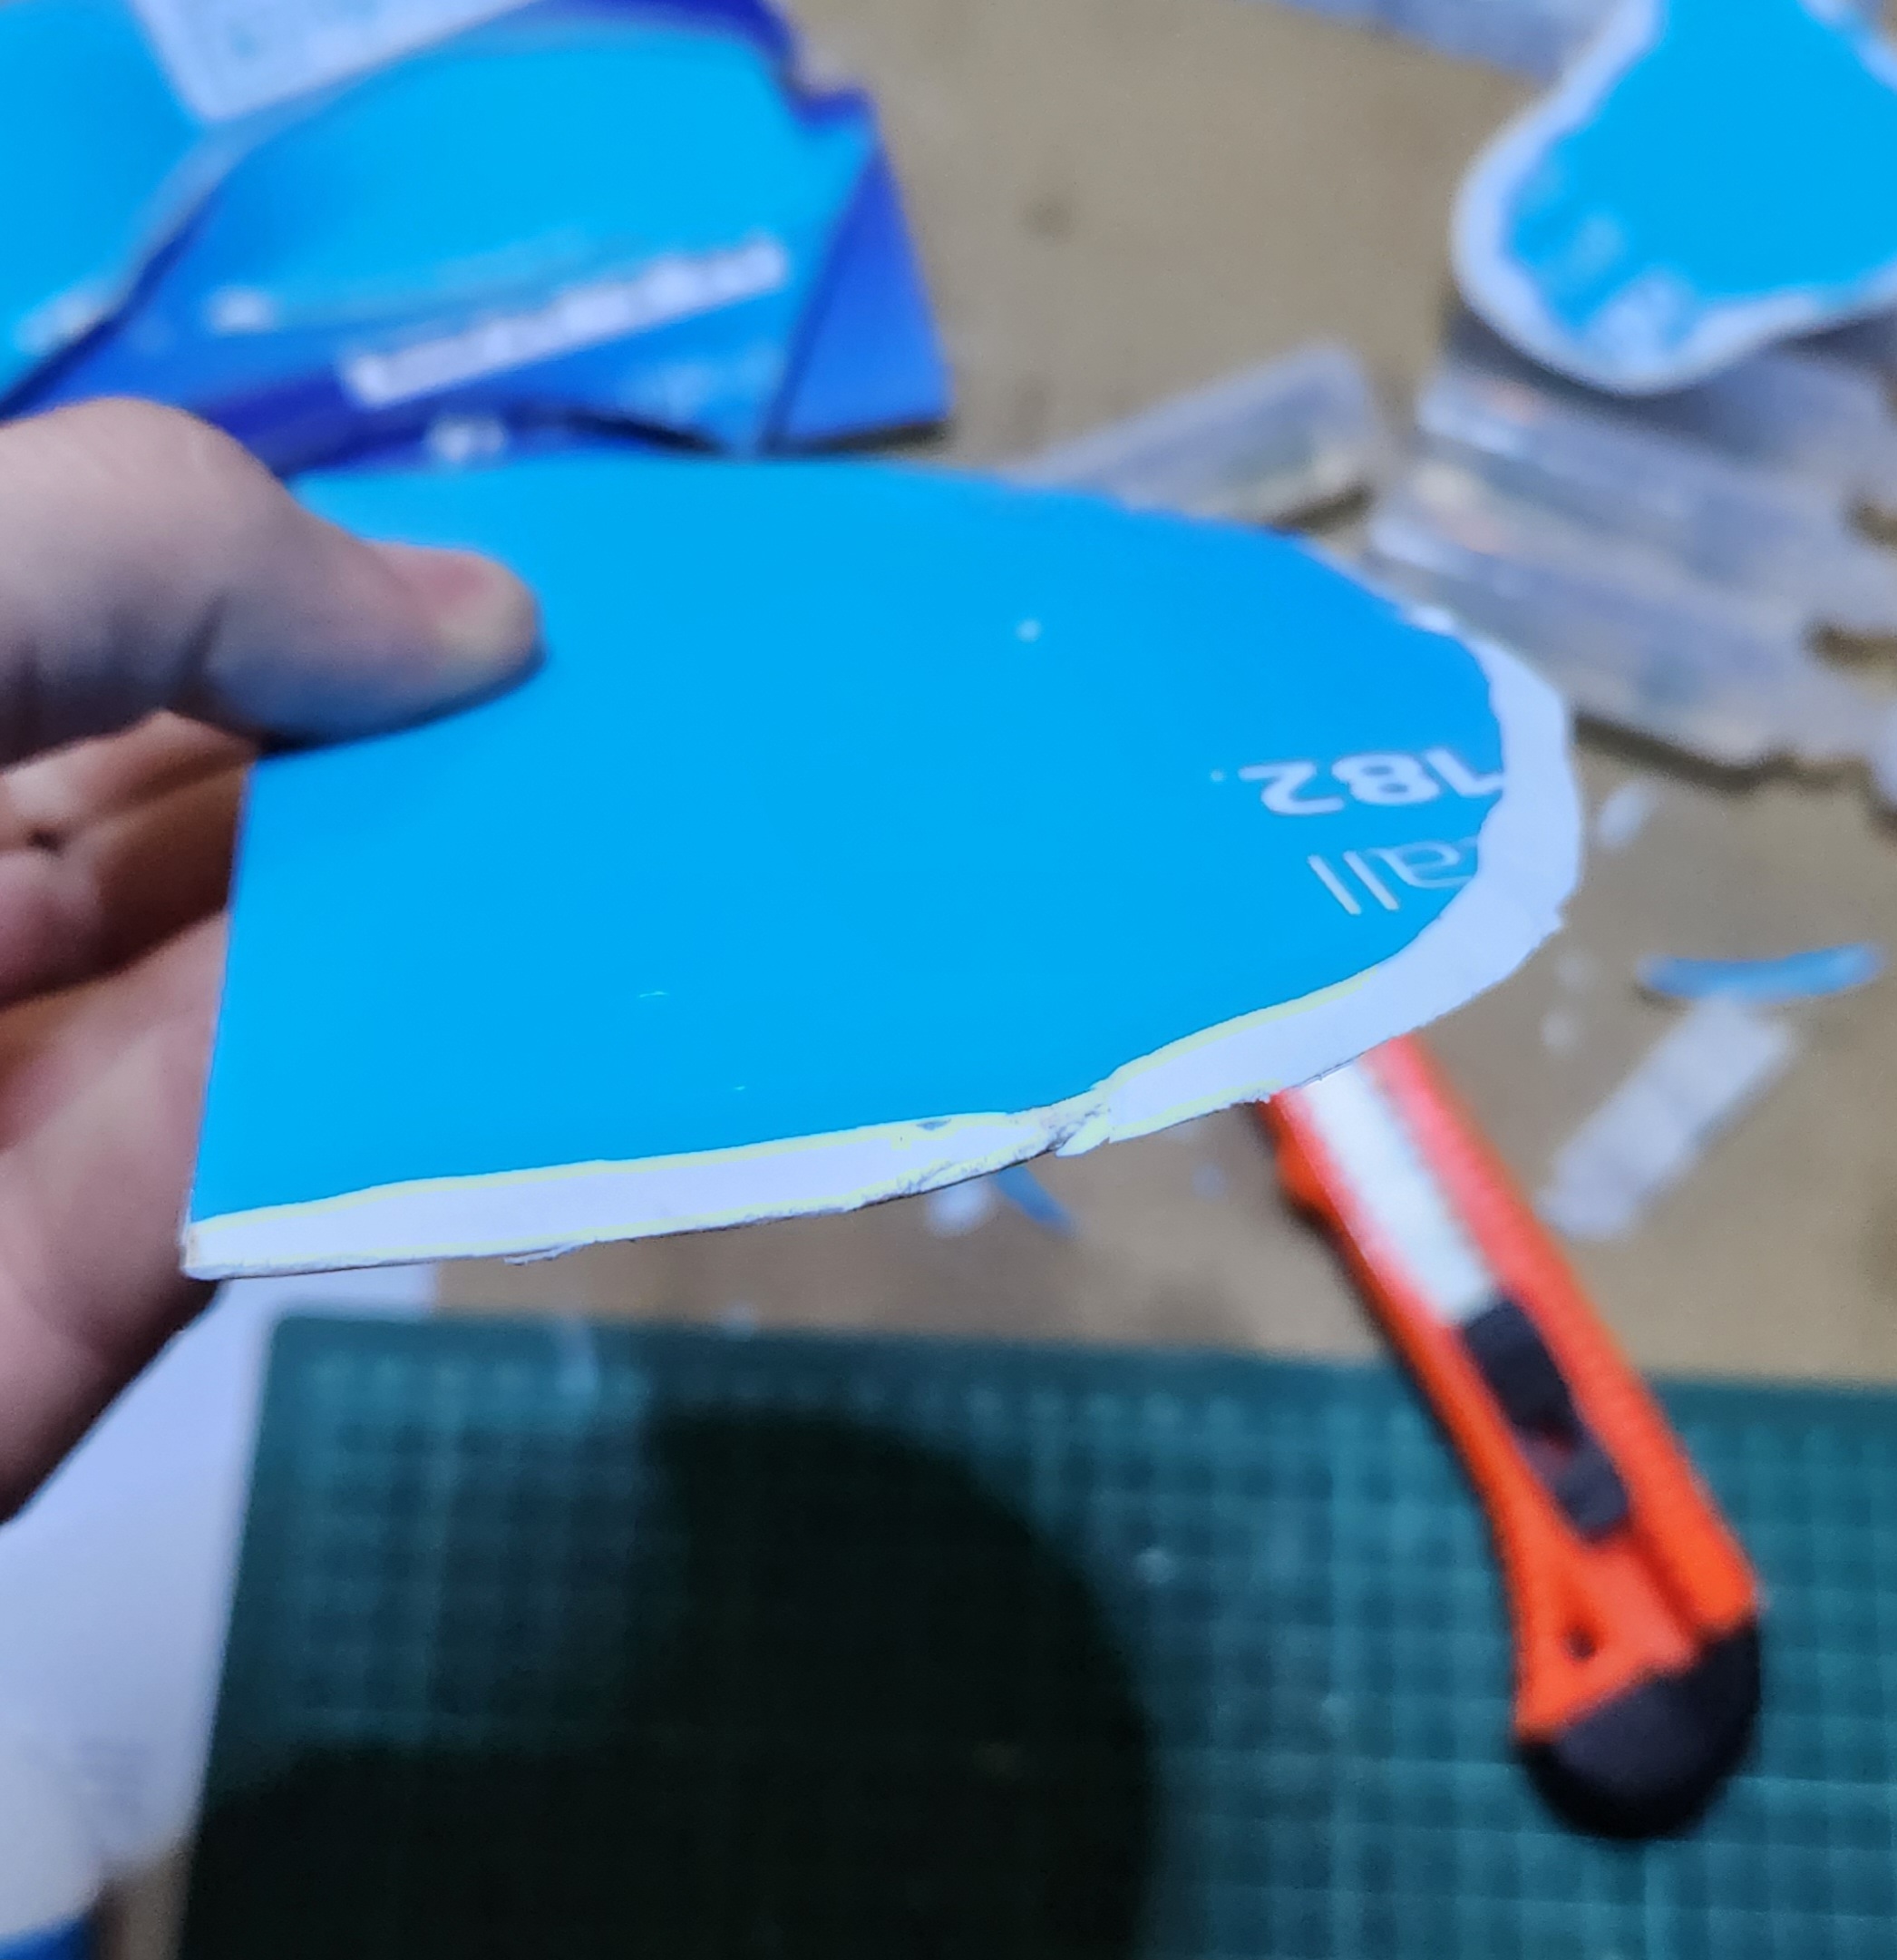
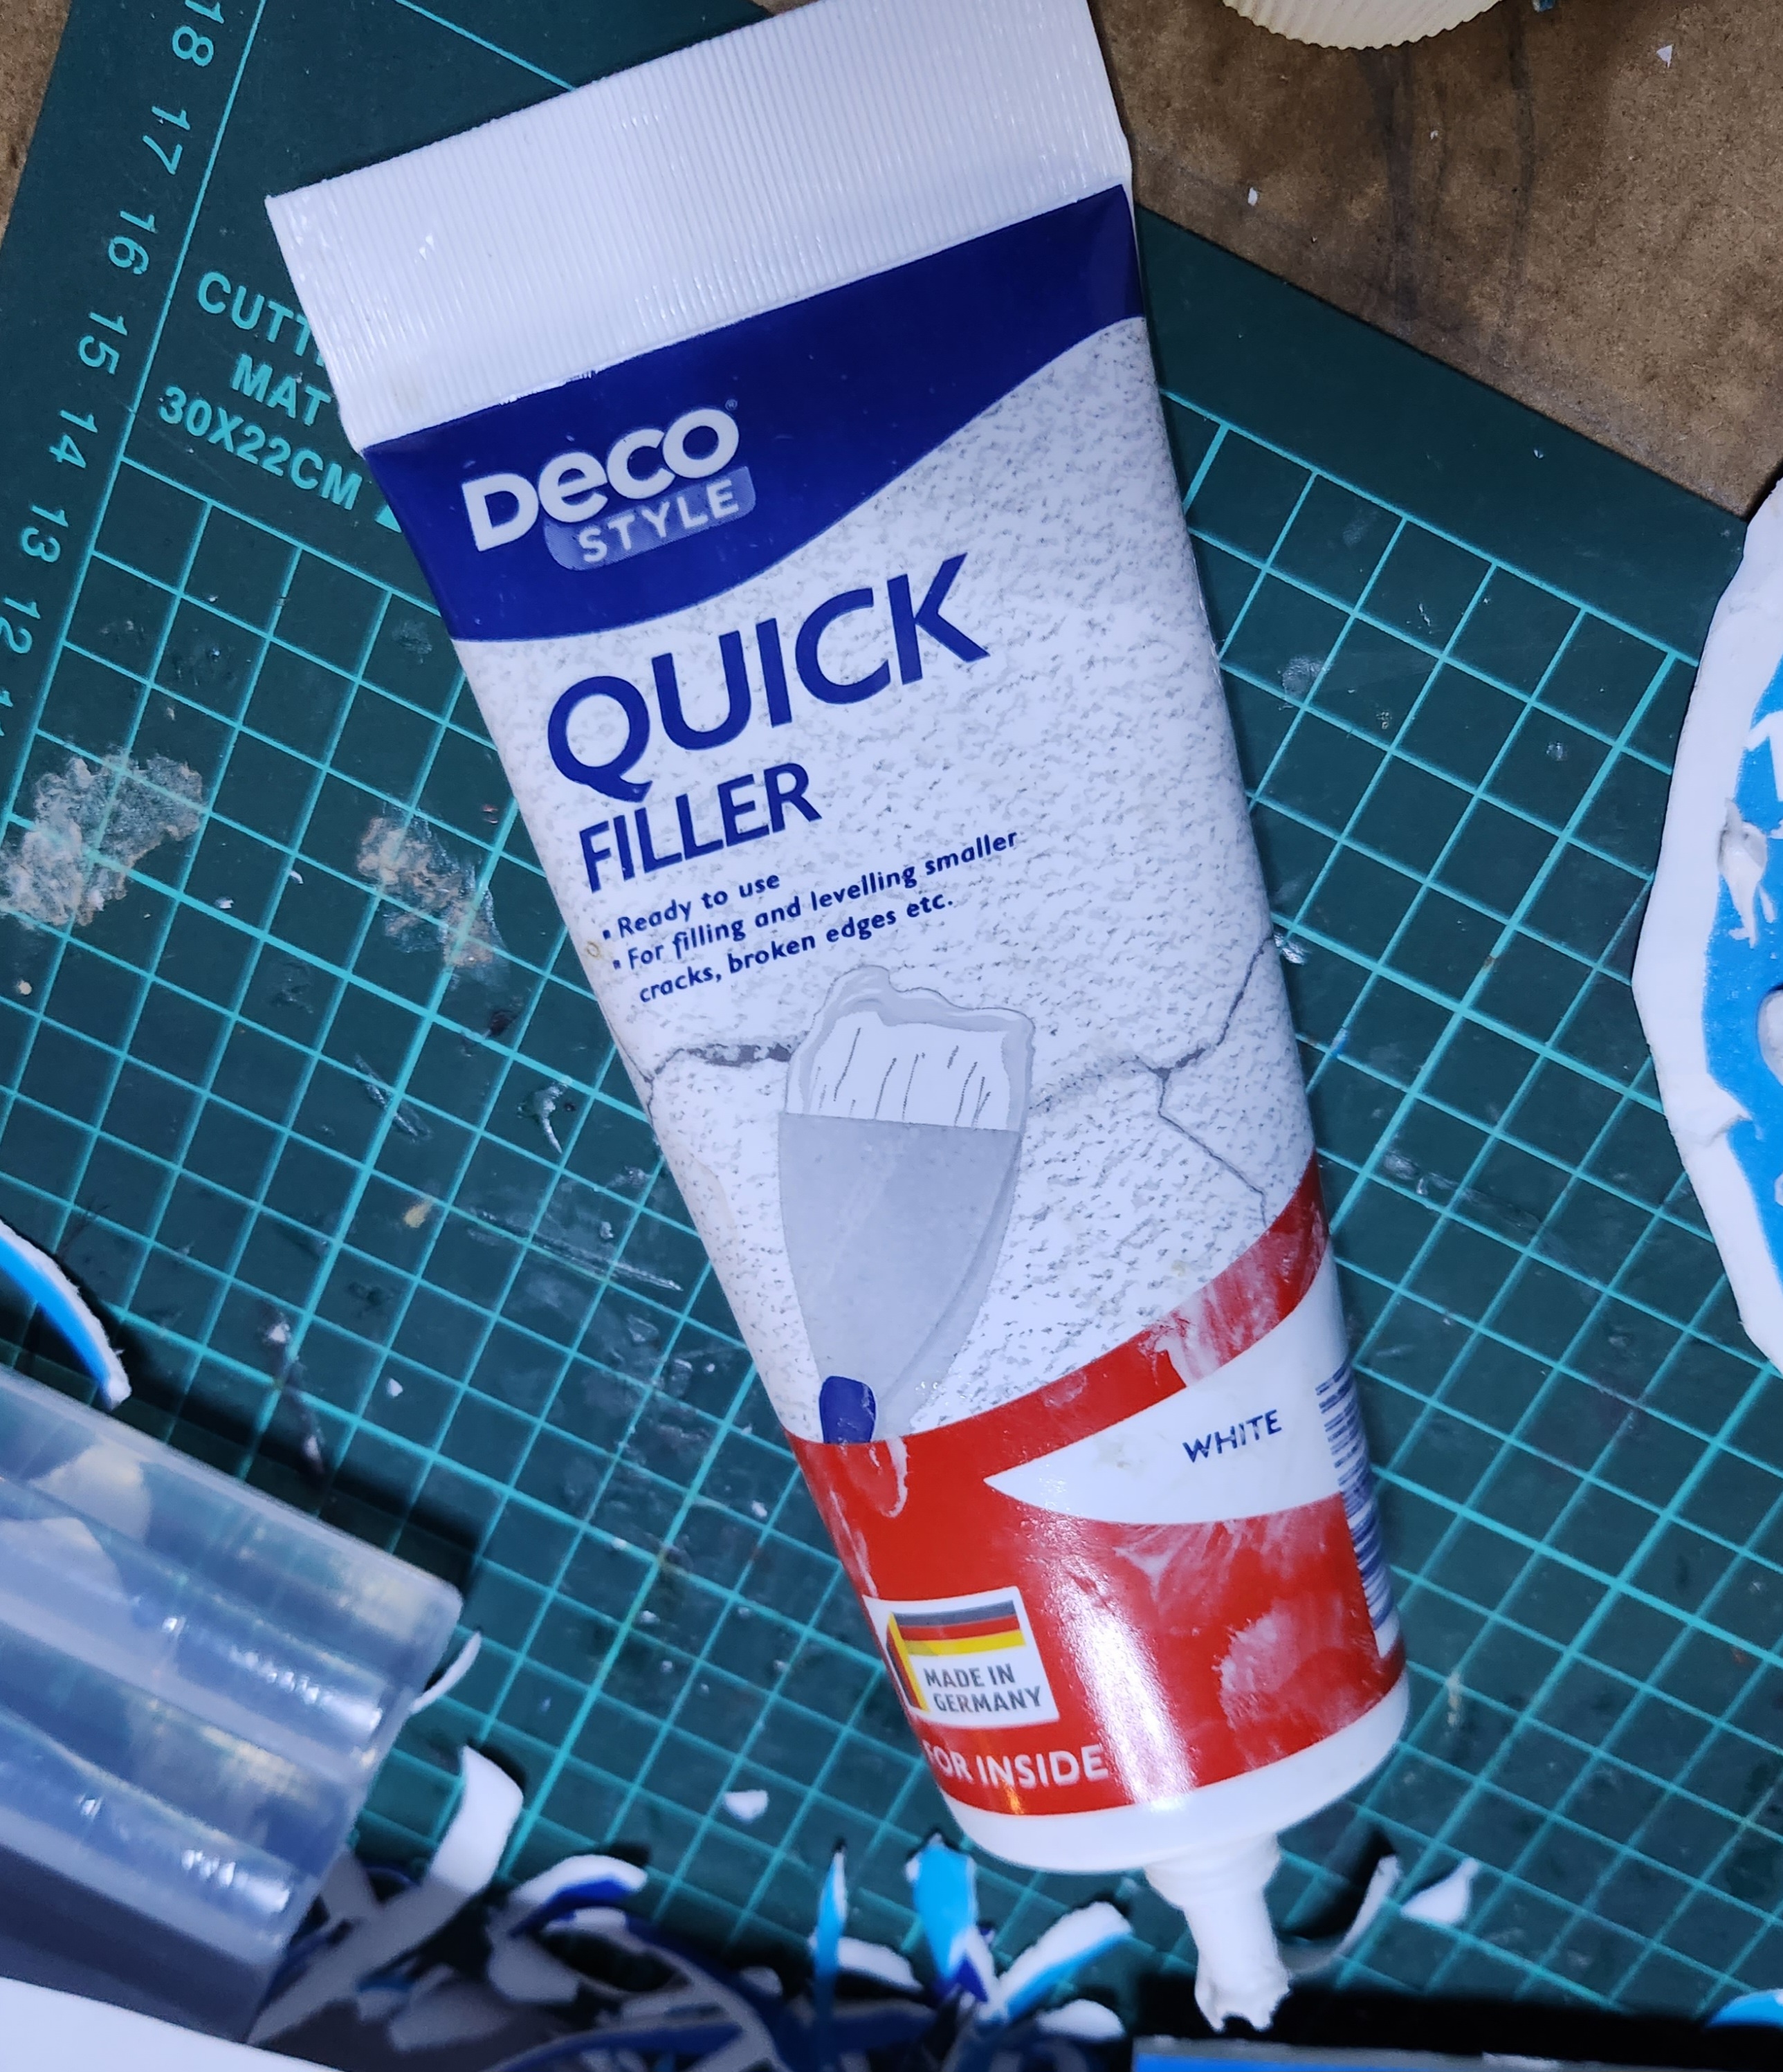 The next step: use filler to build up the base
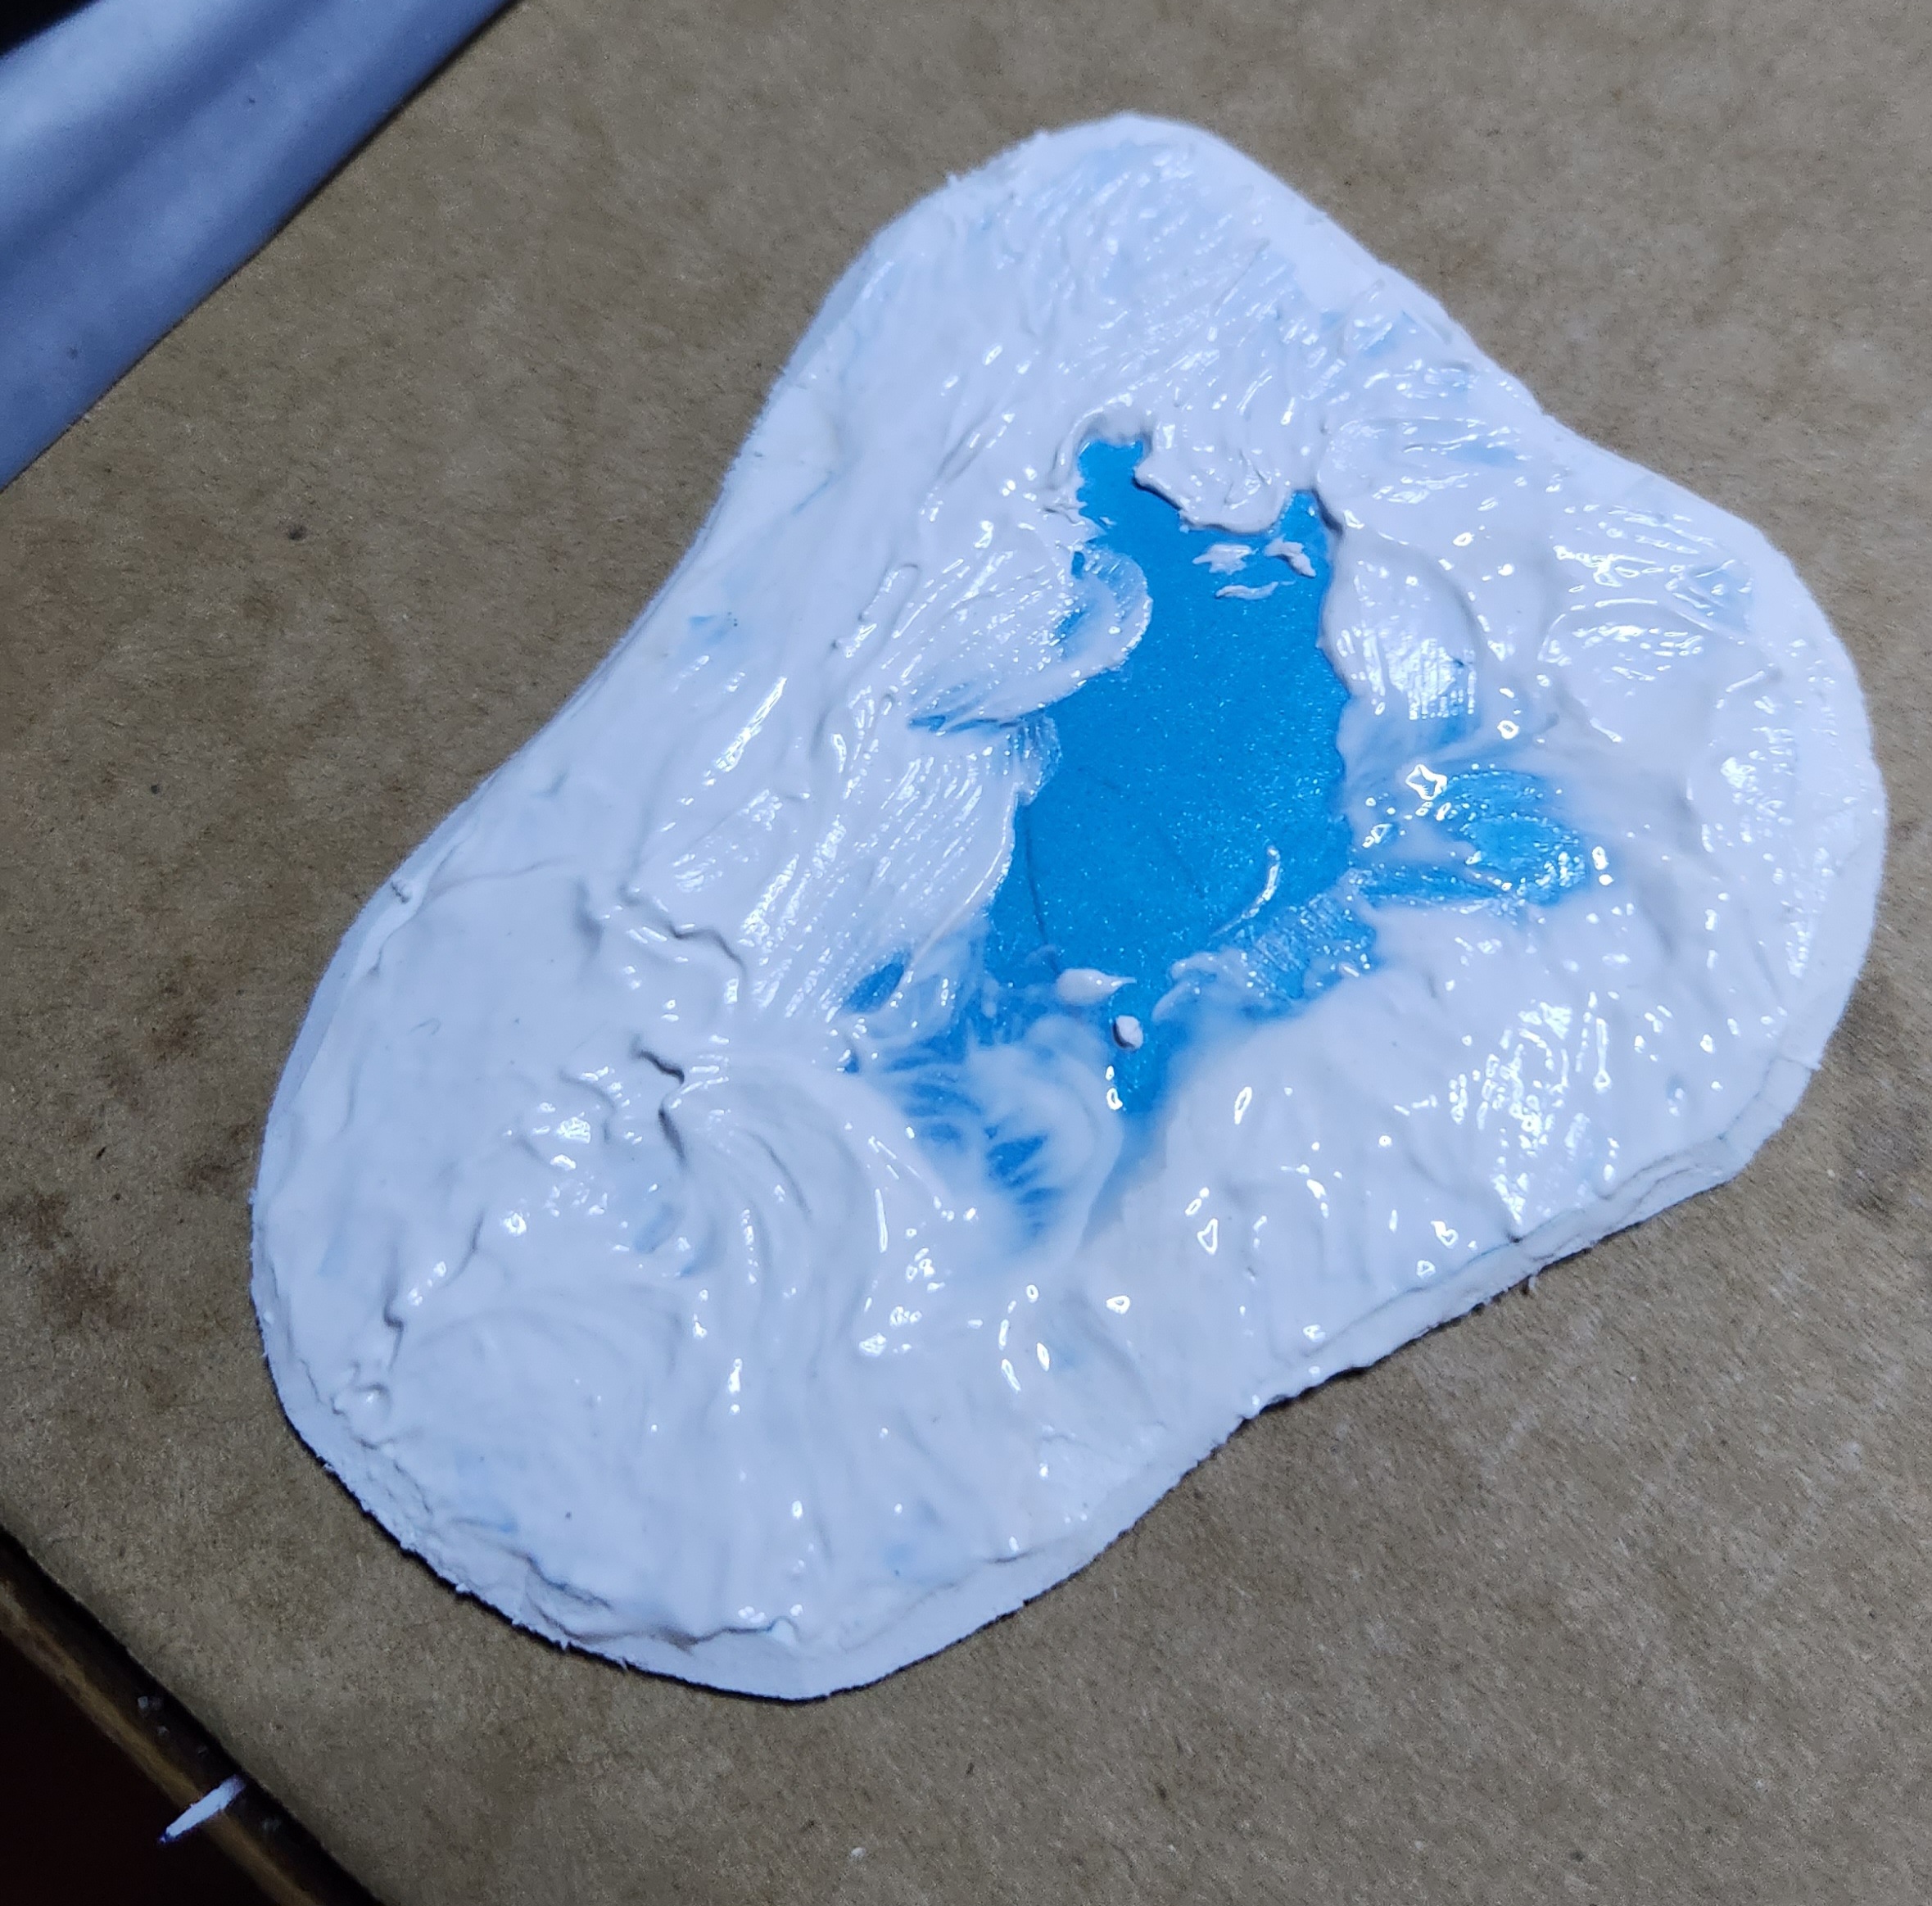
Using a Ready-Made Filler I build up the ground texture.
Blob it on around the base, leaving hollows where the trees will sit, then smooth it out with a wet finger.

A test base above: sealed with a PVA/ sand/ grey paint mix, but no filler. It was after this that I decided to add the filler.
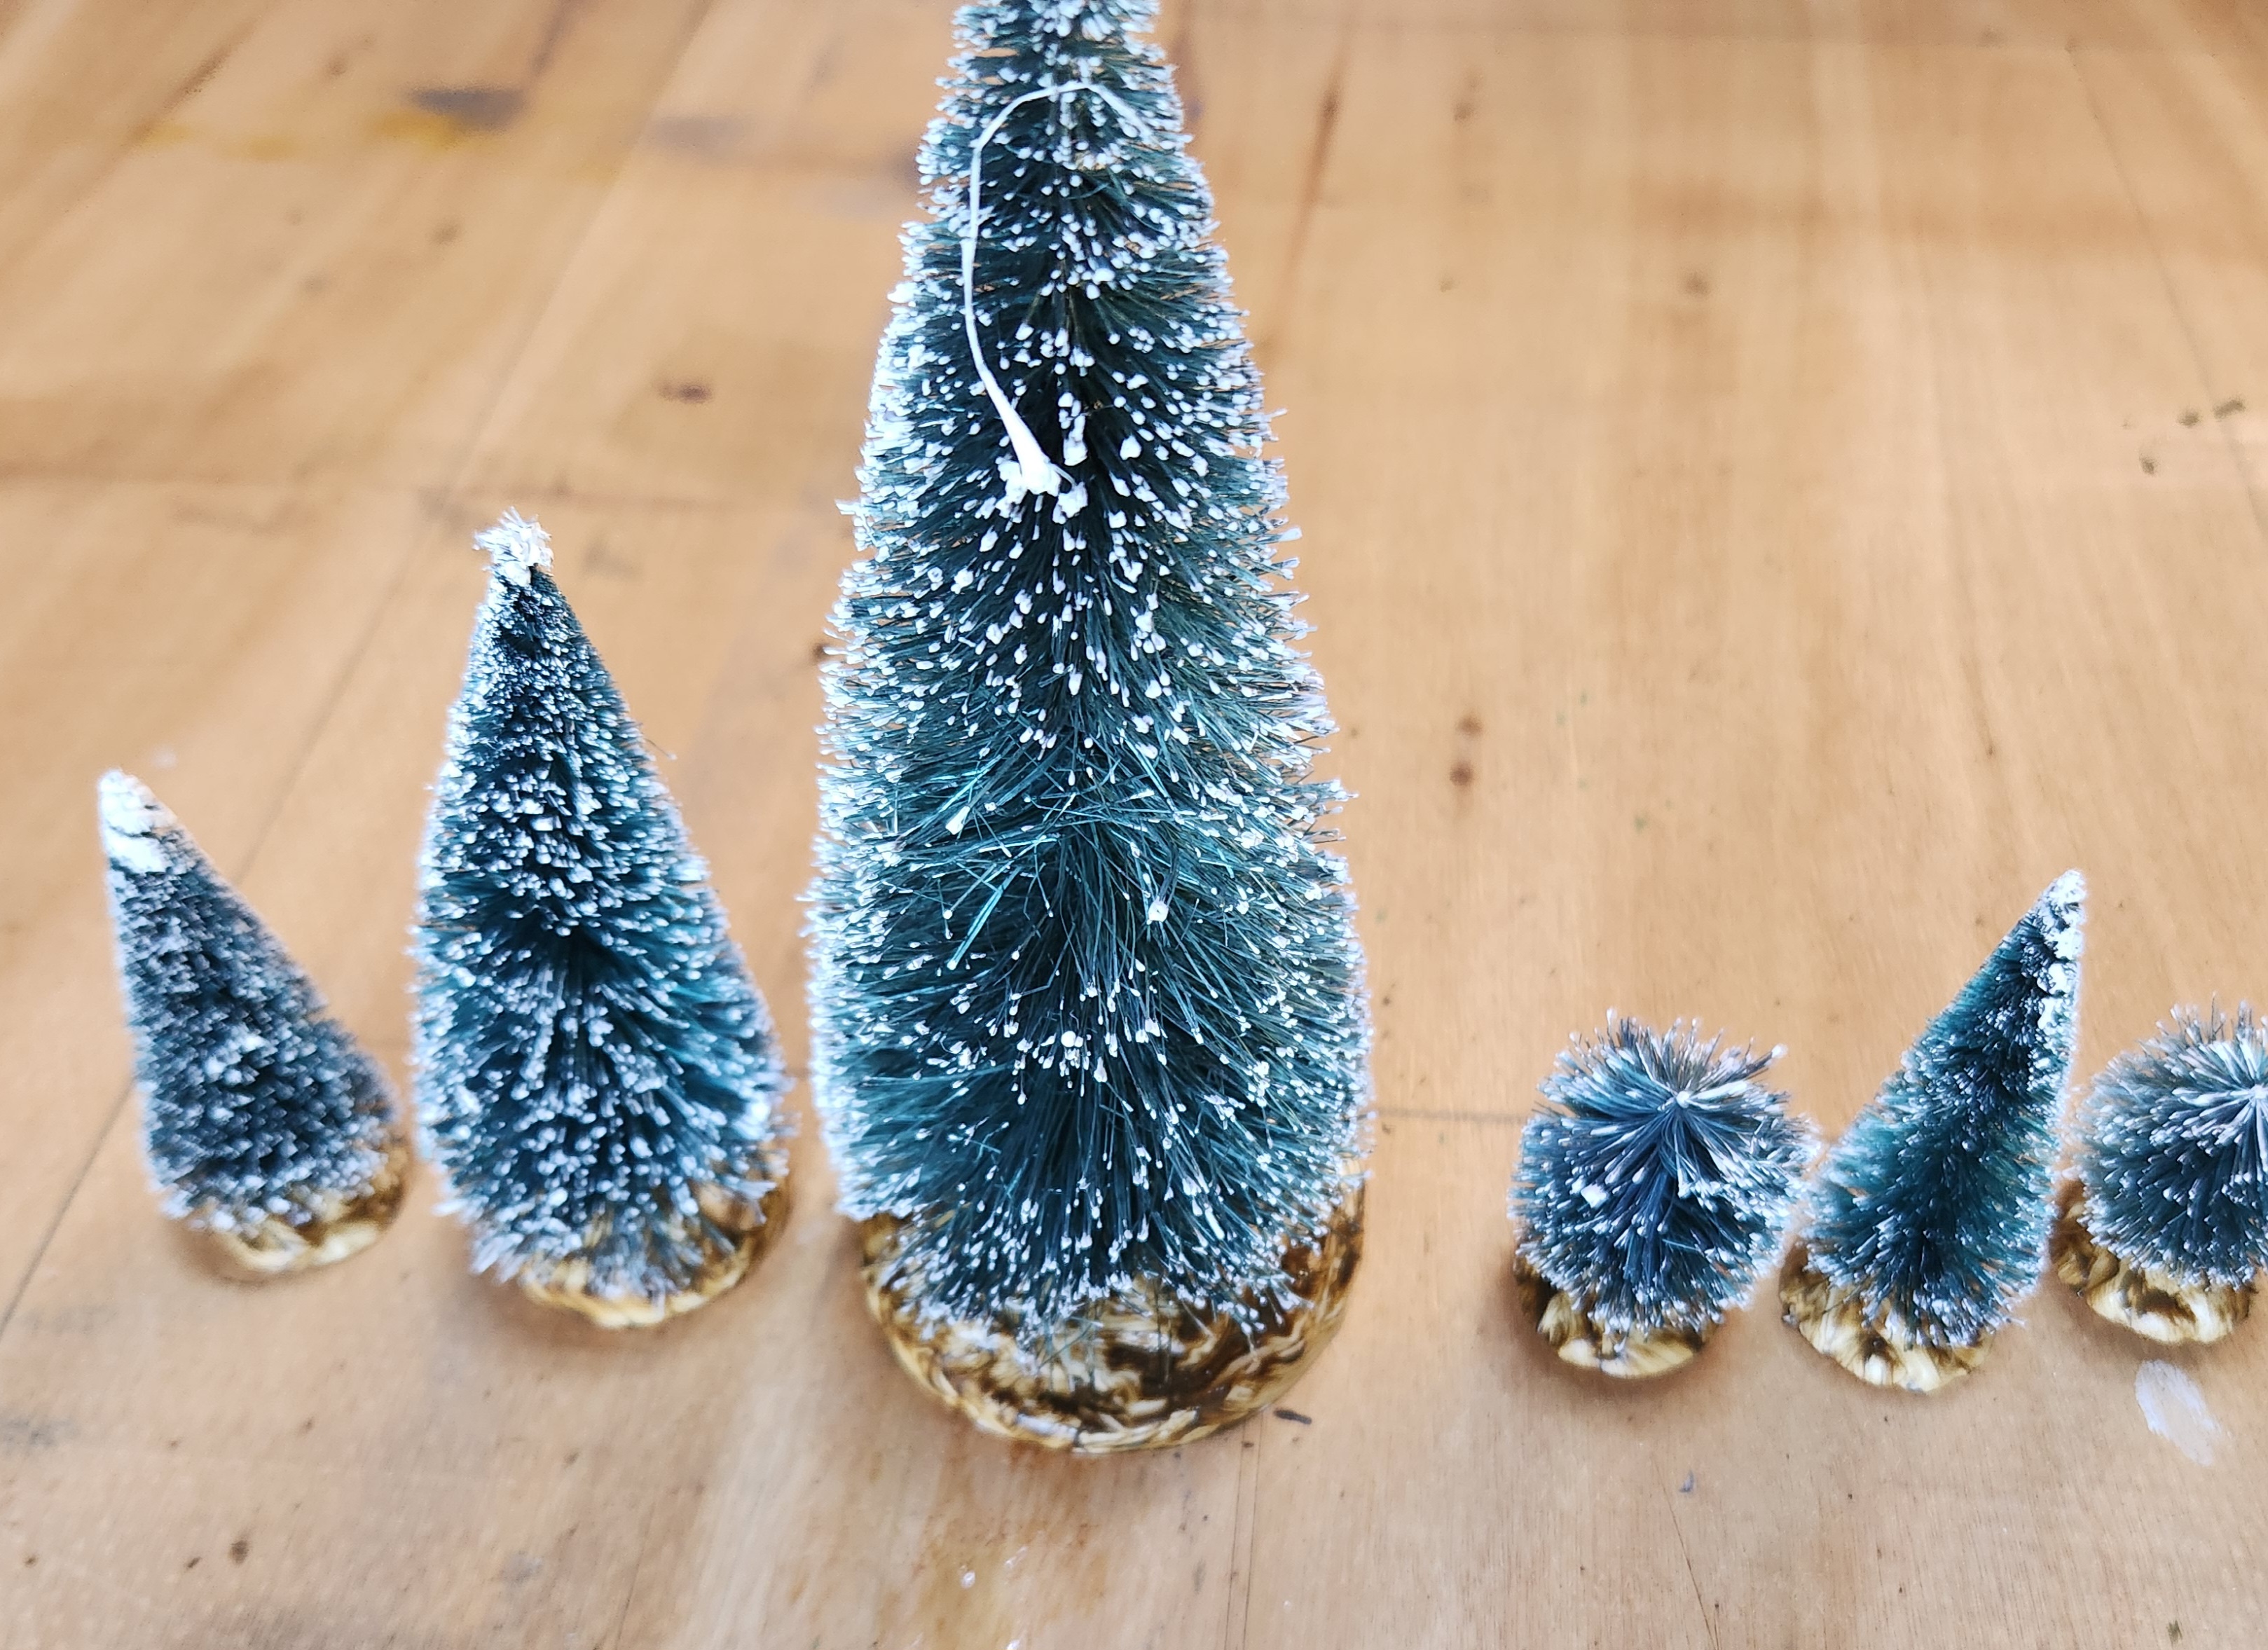
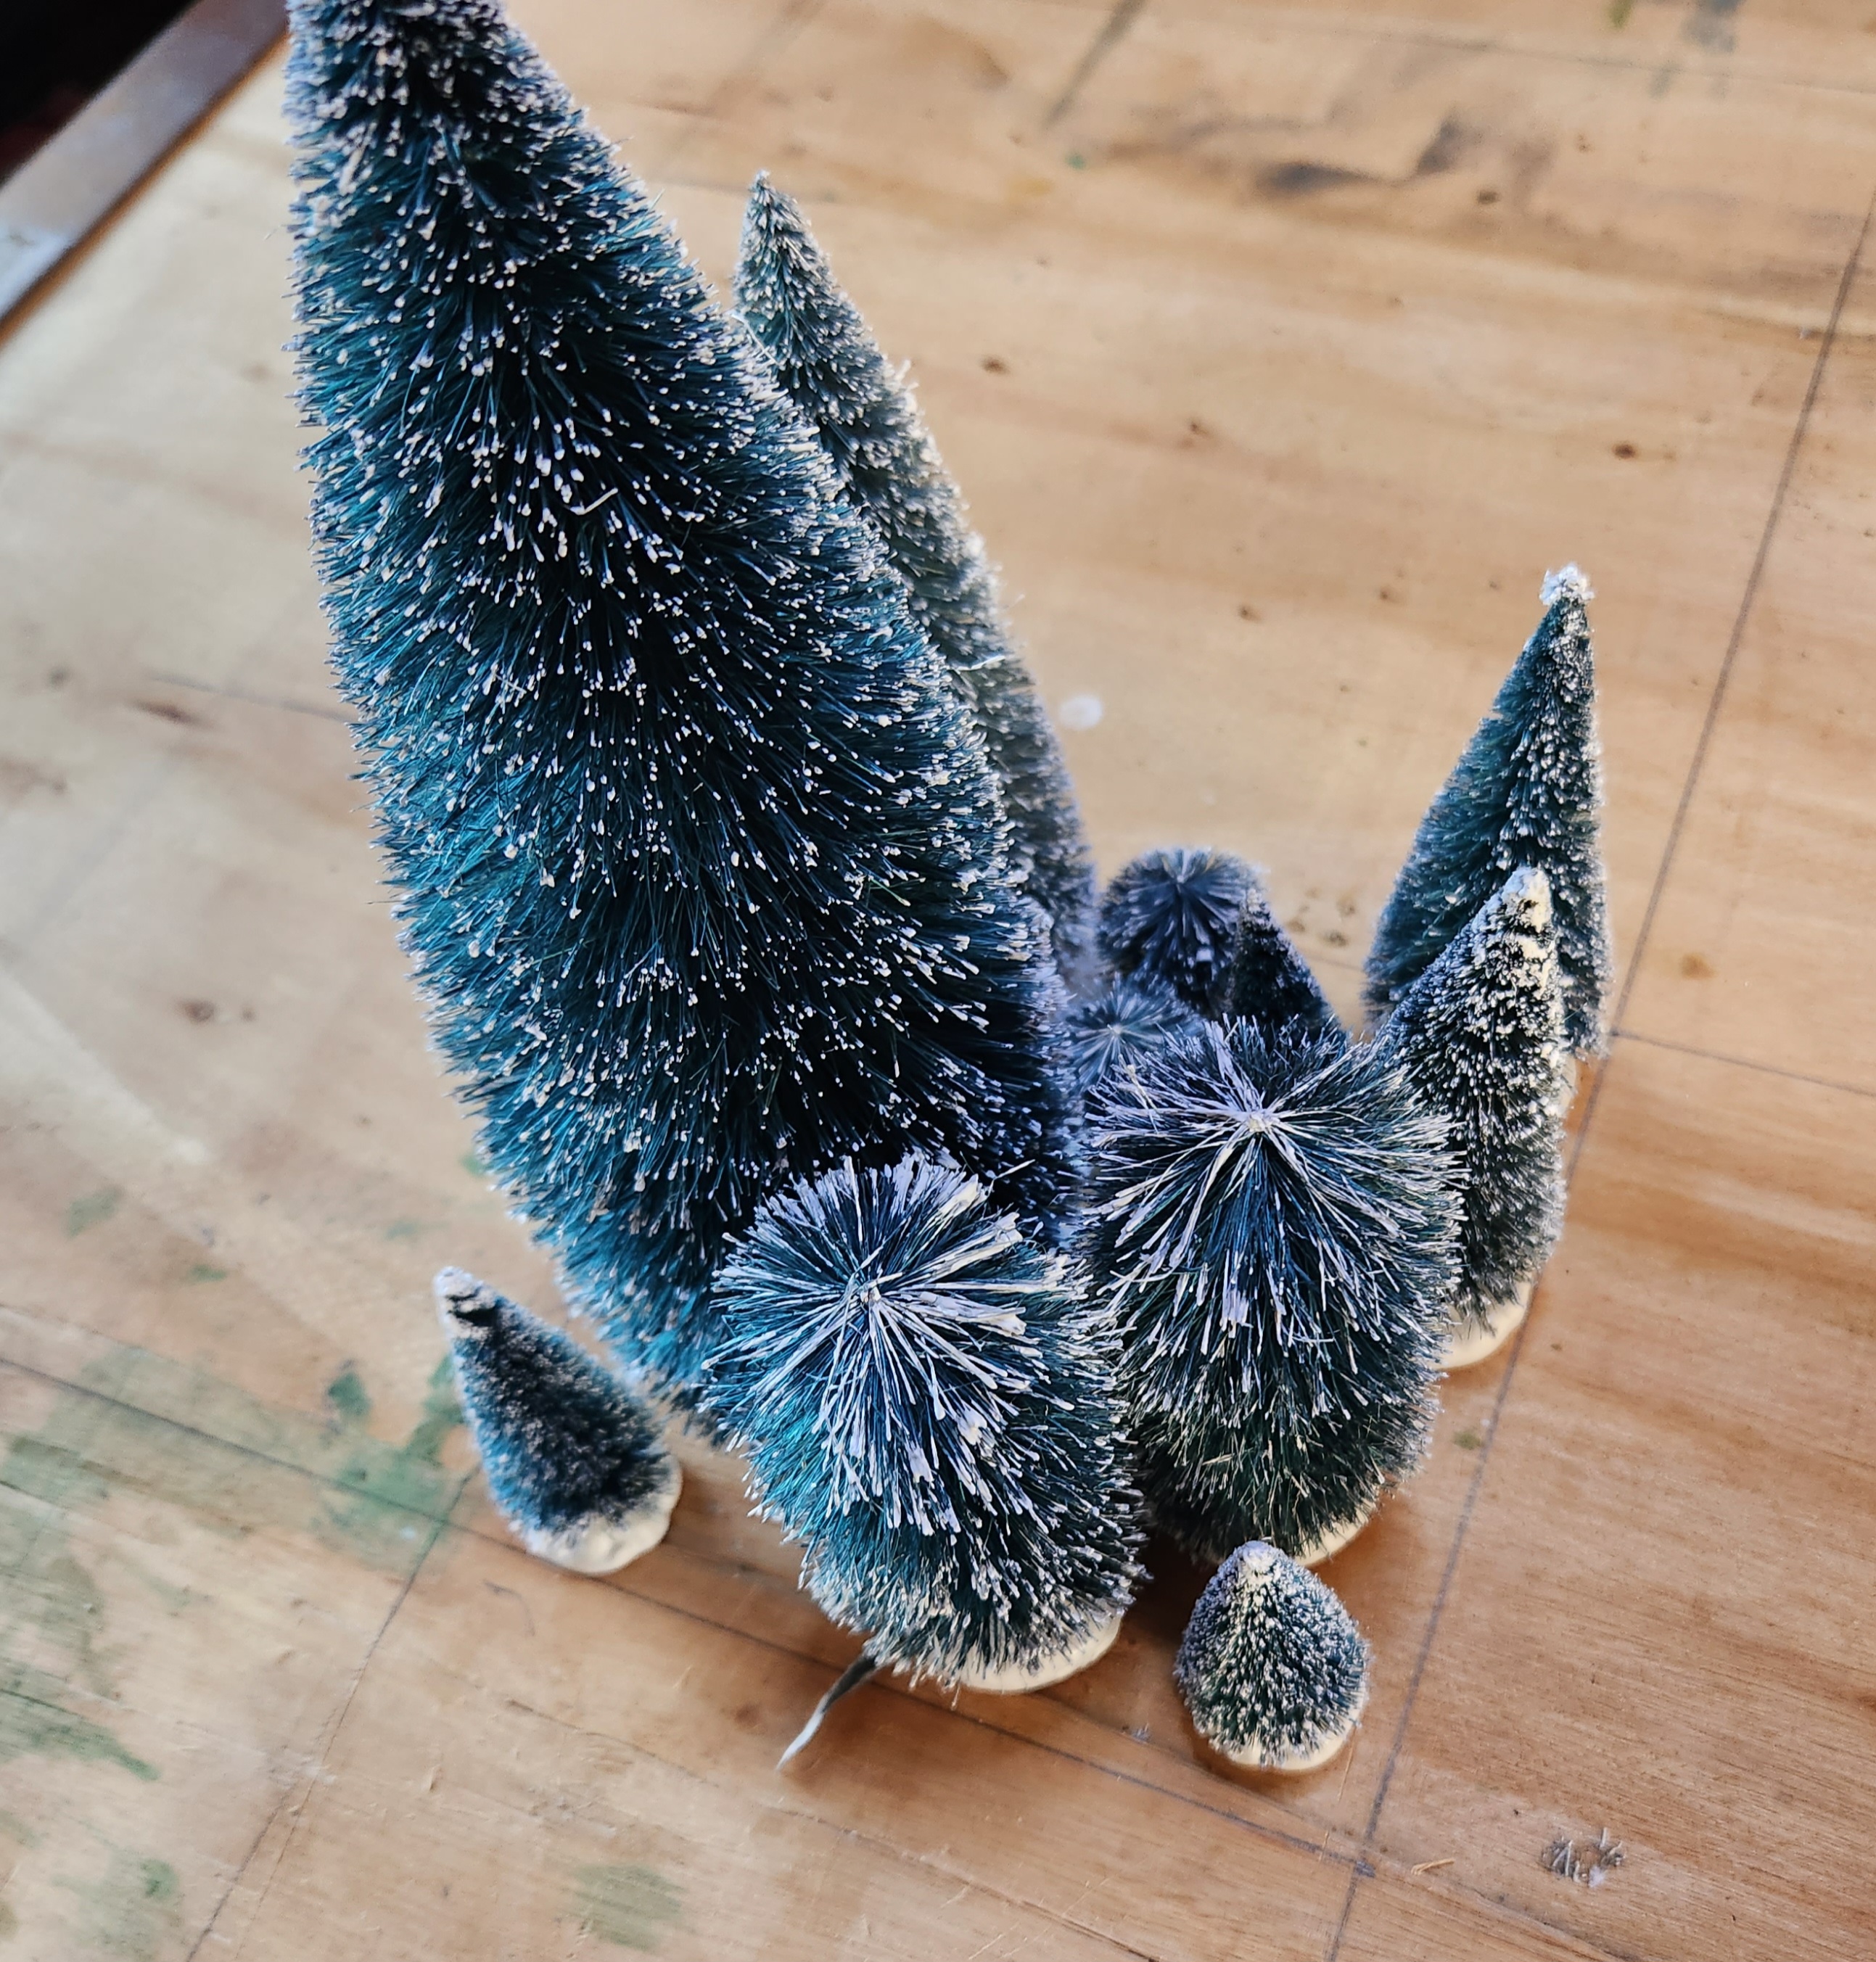 Forest floors need trees. Otherwise their kinda... plain.
The trees are easy to find at the back end of the year. The minute there’s a sniff of Christmas.
I originally intended them for Frostgrave, but I want to make them more generic.
Before and after below.
I hit them with a brush of a green, then a light brush of Yellow Ochre. The white plastic bases had two coats of the Burnt Umber.

22 Oct 23: Couldn't leave it like that
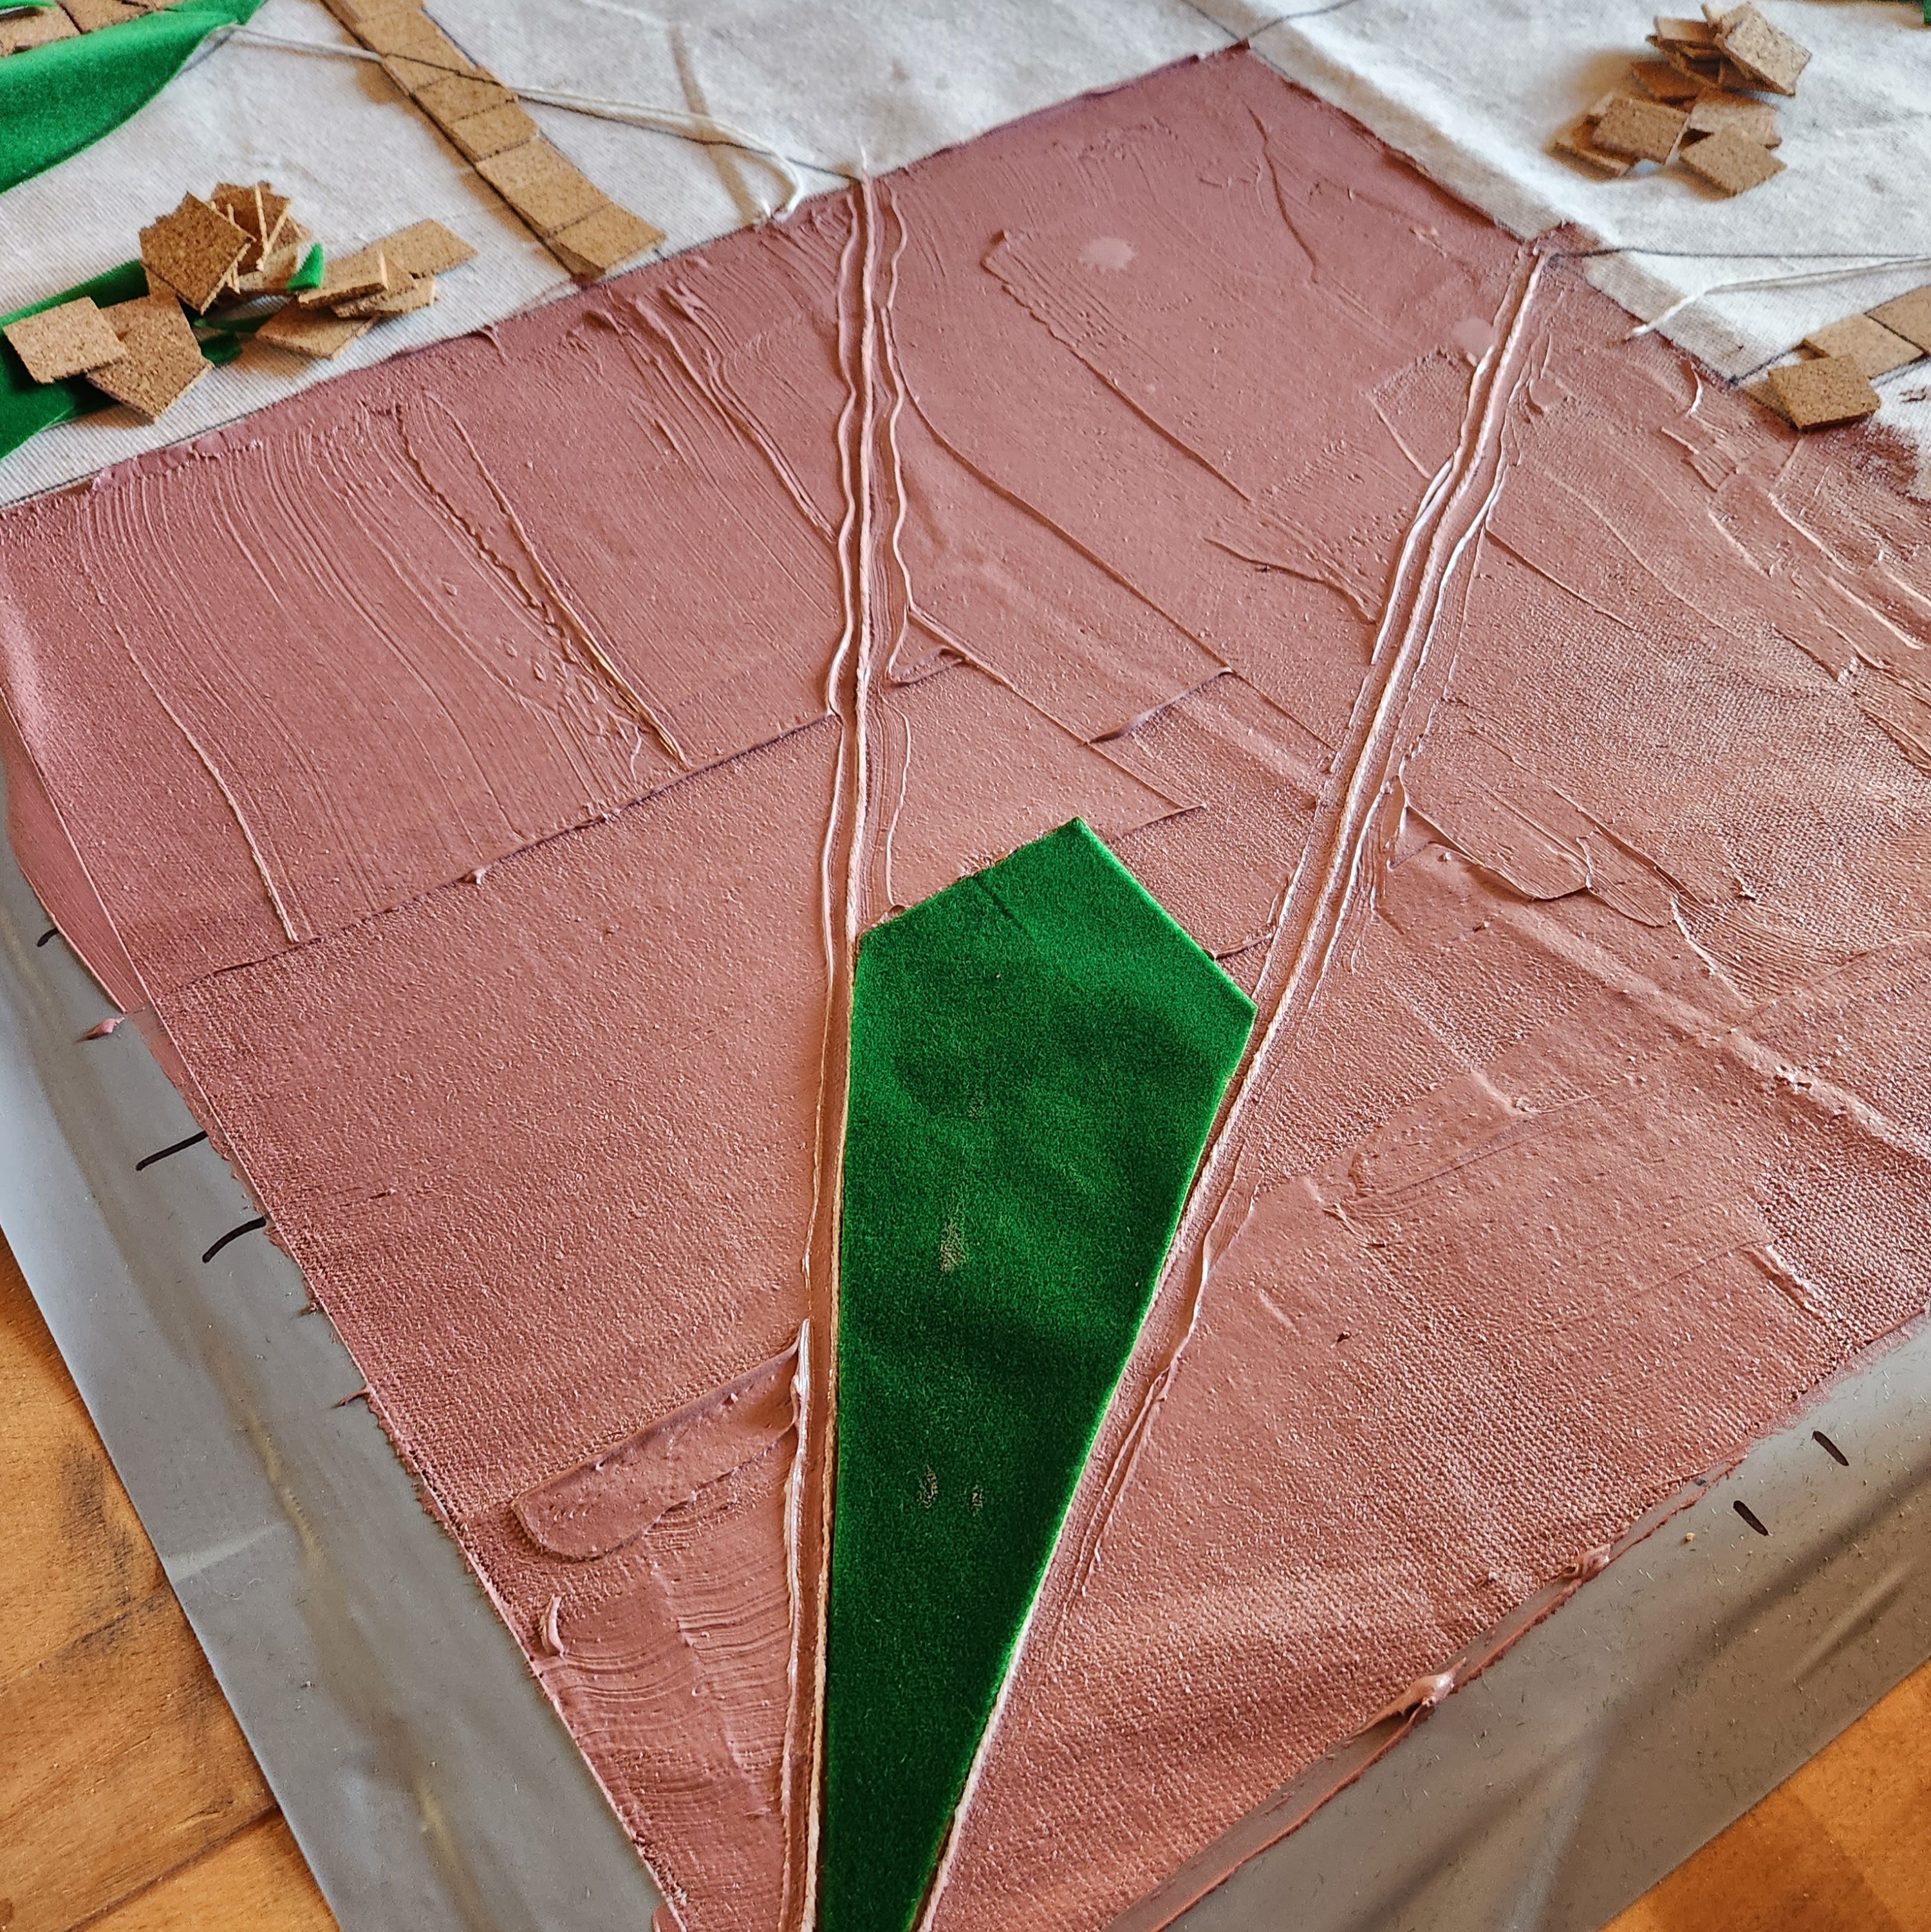
I decided to keep working on this mat after all. The colour just bothered me.
I added a wash of the Brown Ochre on all the grey areas. Re-did the brickwork in Red Ochre. Then drybrushed with the grey over all the non-grass areas. It was finished with a light drybrush of a Tan.
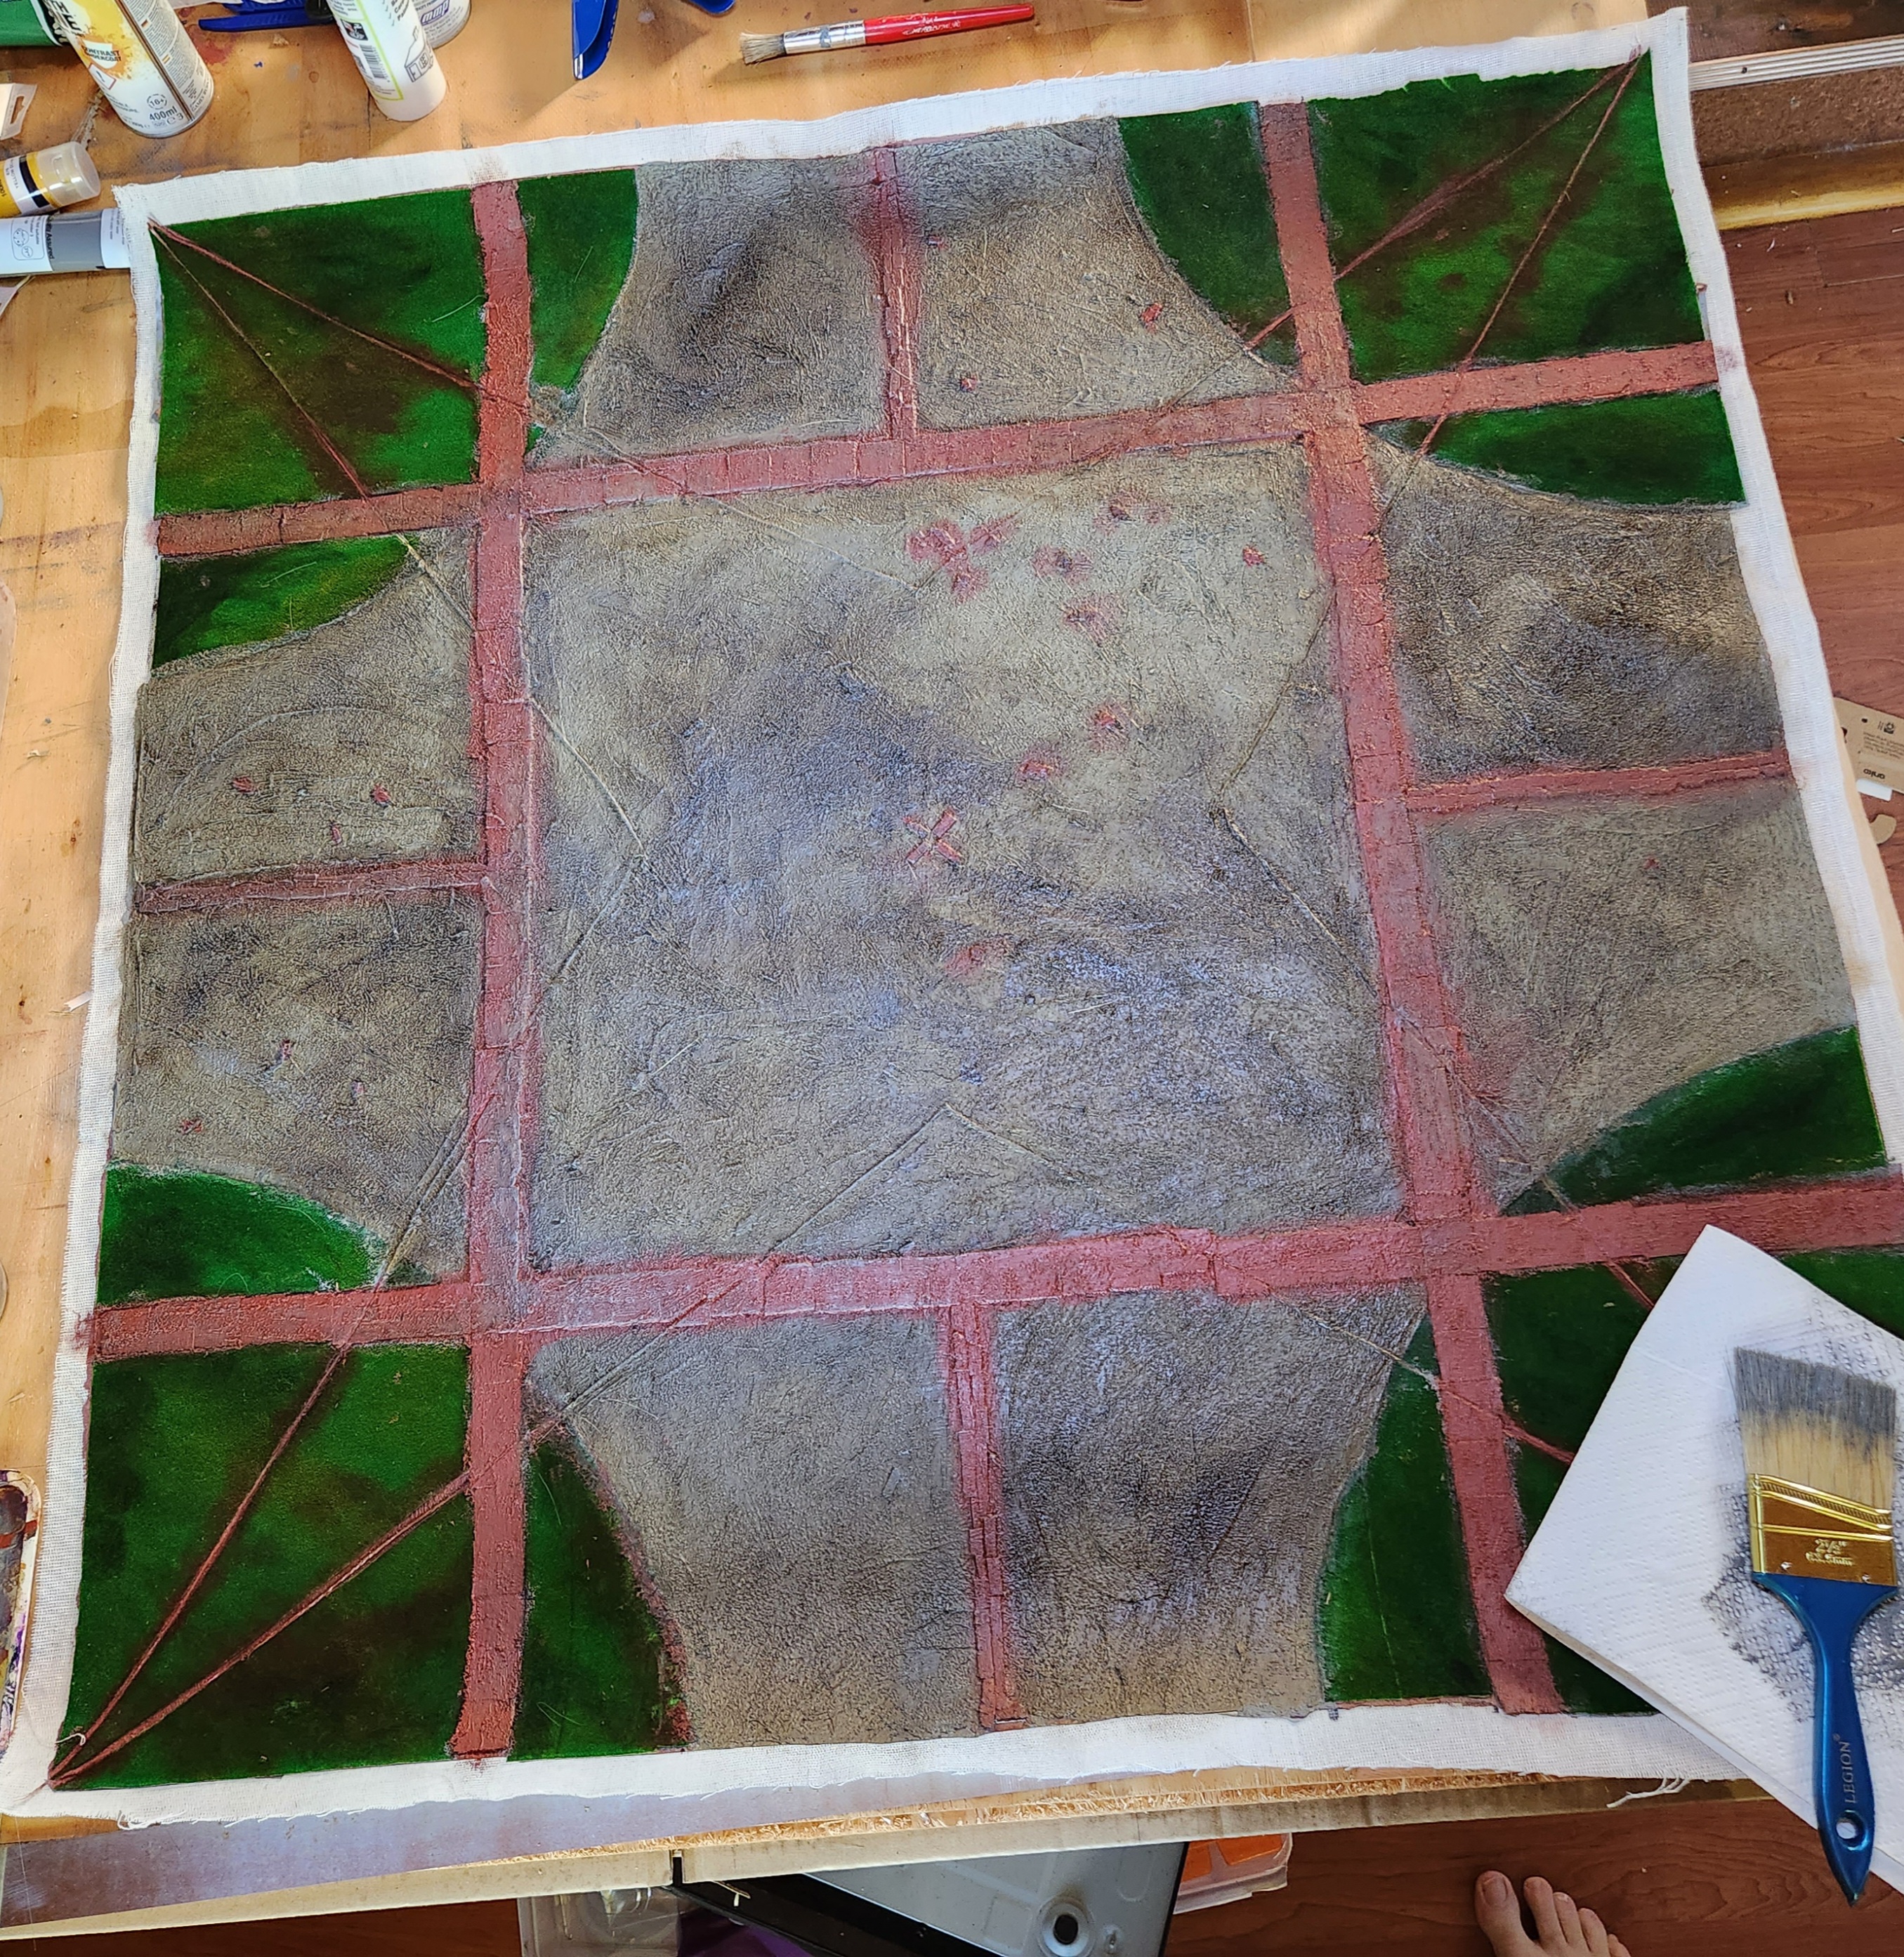 Re-coloured and looking better
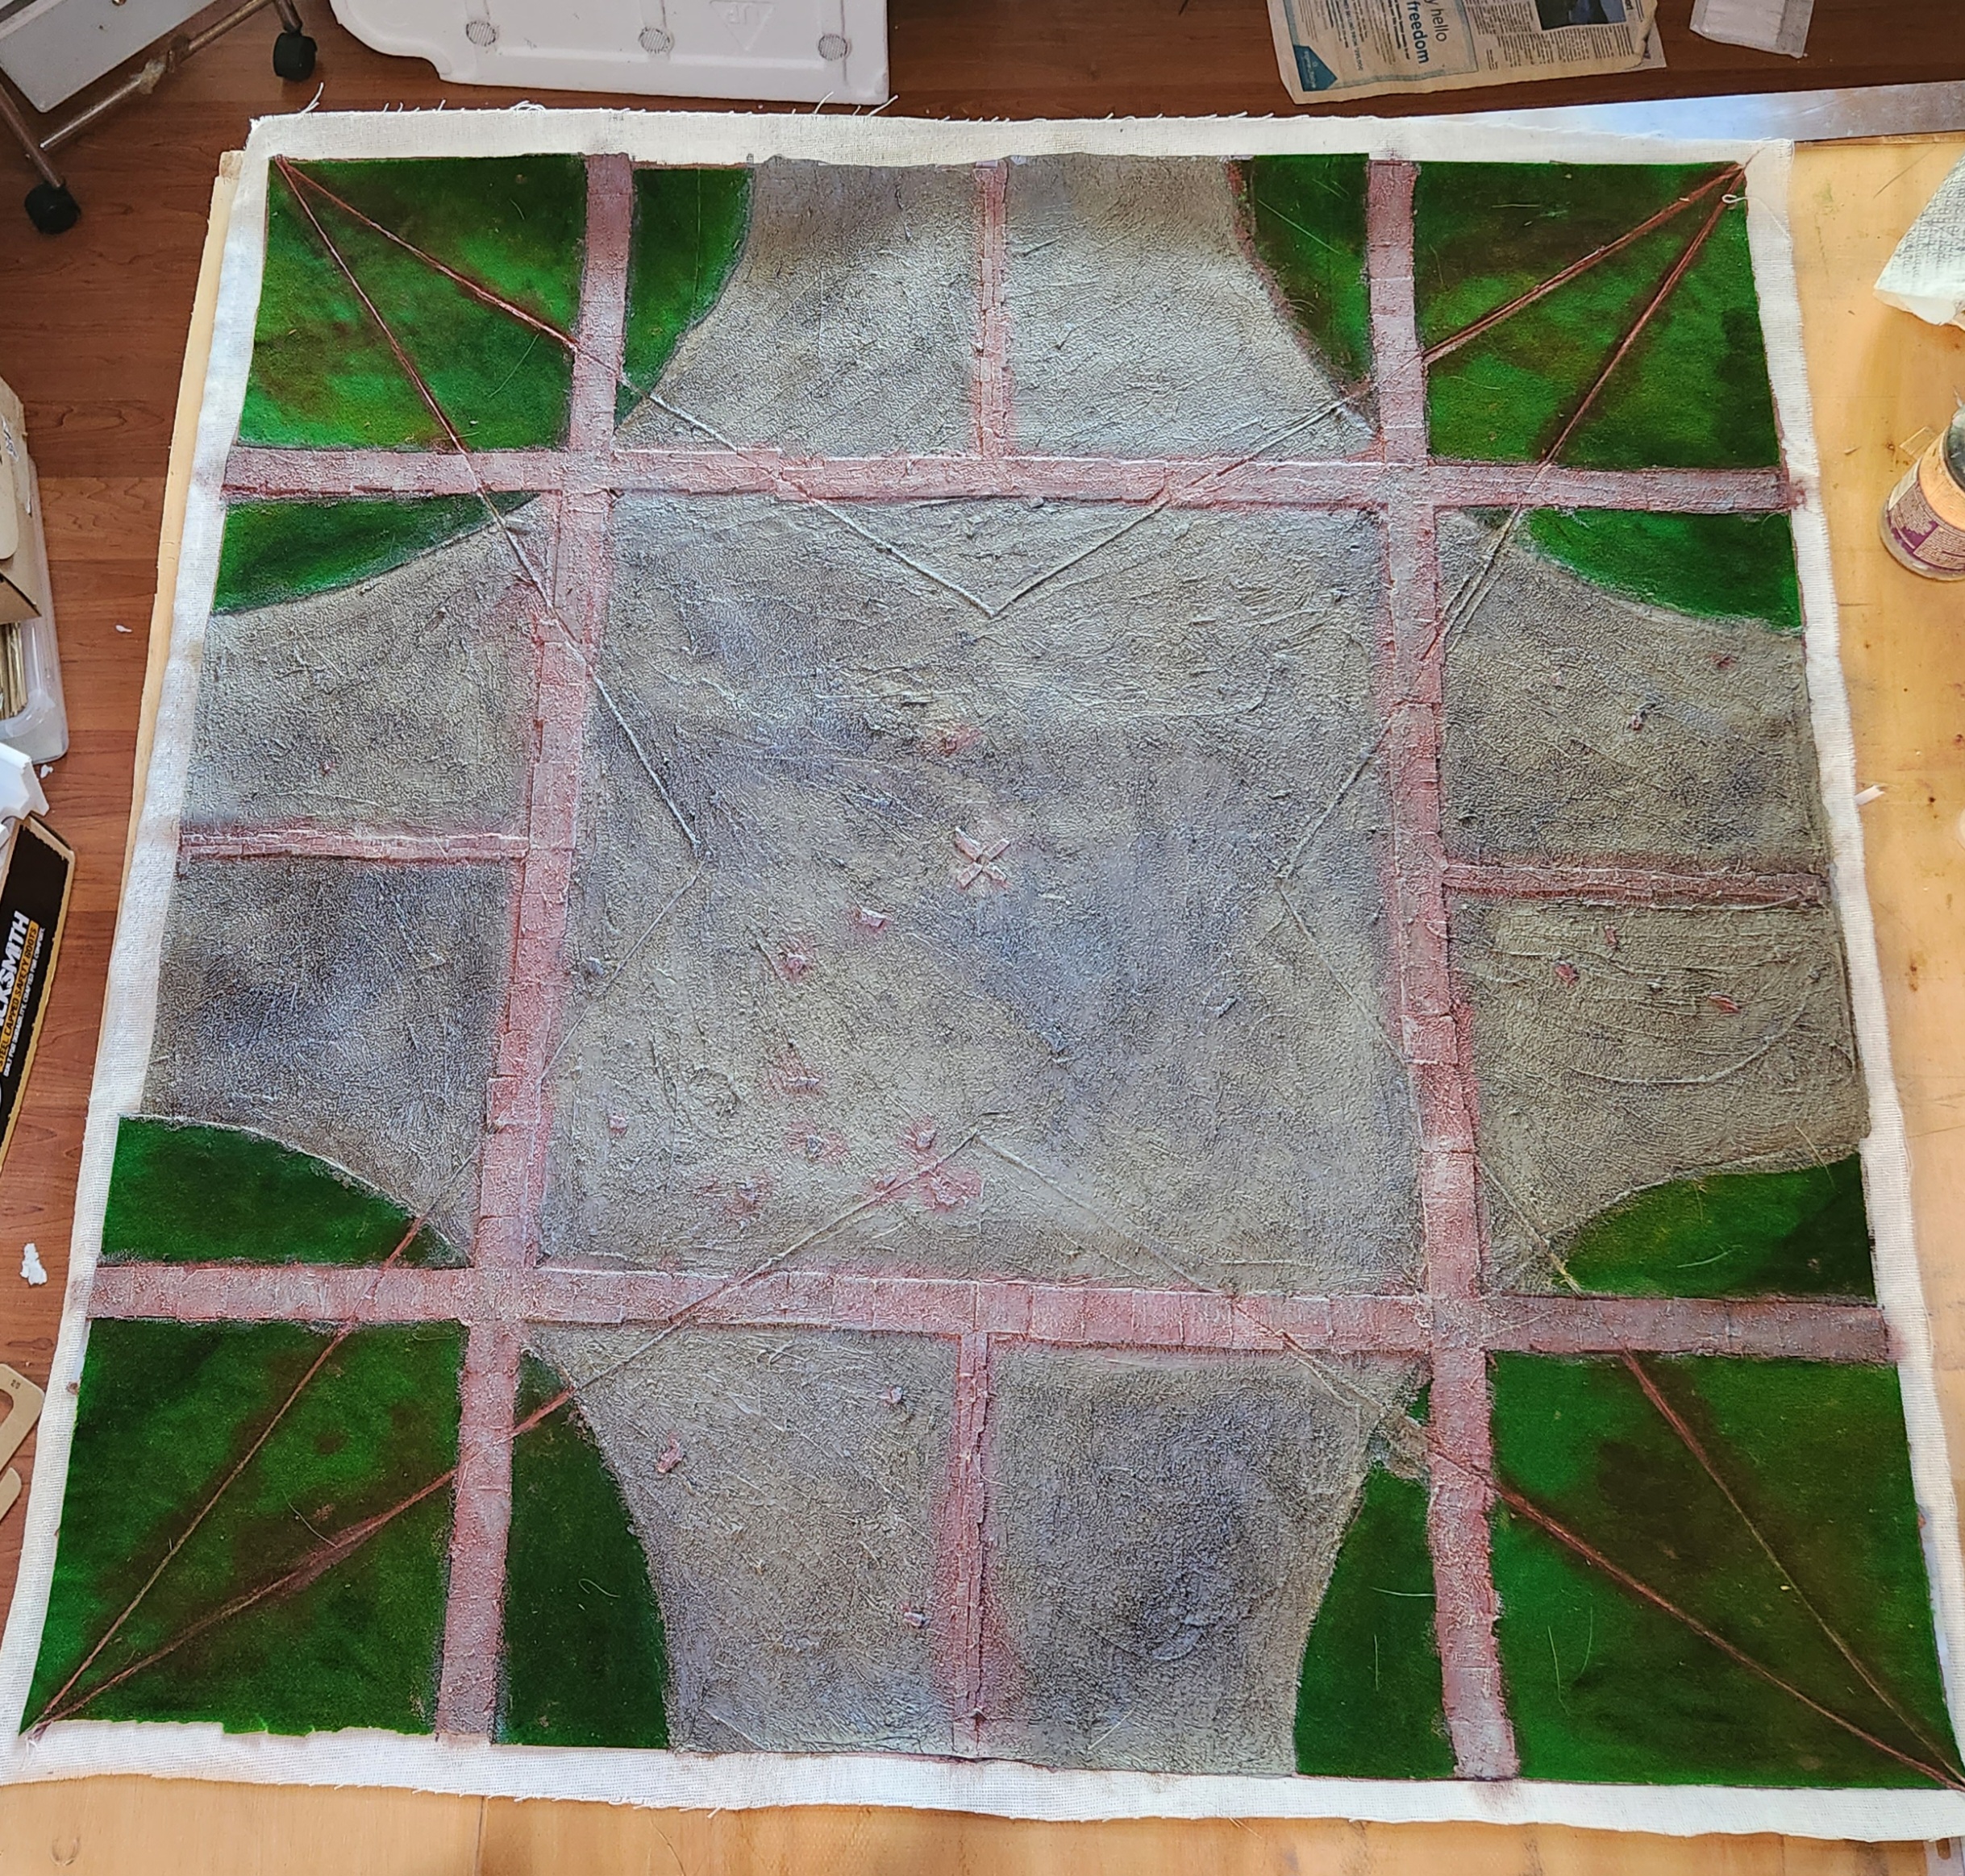
17 Oct 23: a Bit More Colour
It’s looking a little flat at the moment and the grass is too green. I use regular cheap acrylic paint to add some extra colour to the whole board.
I used a well thinned Burnt Umber to go over the pavers and random “stones” in the mat. I also used this, as well as Red and Yellow Ochre to add more vartiation to the grass colour.

 A bit of colour added, the fake green of the grass has been toned down.
 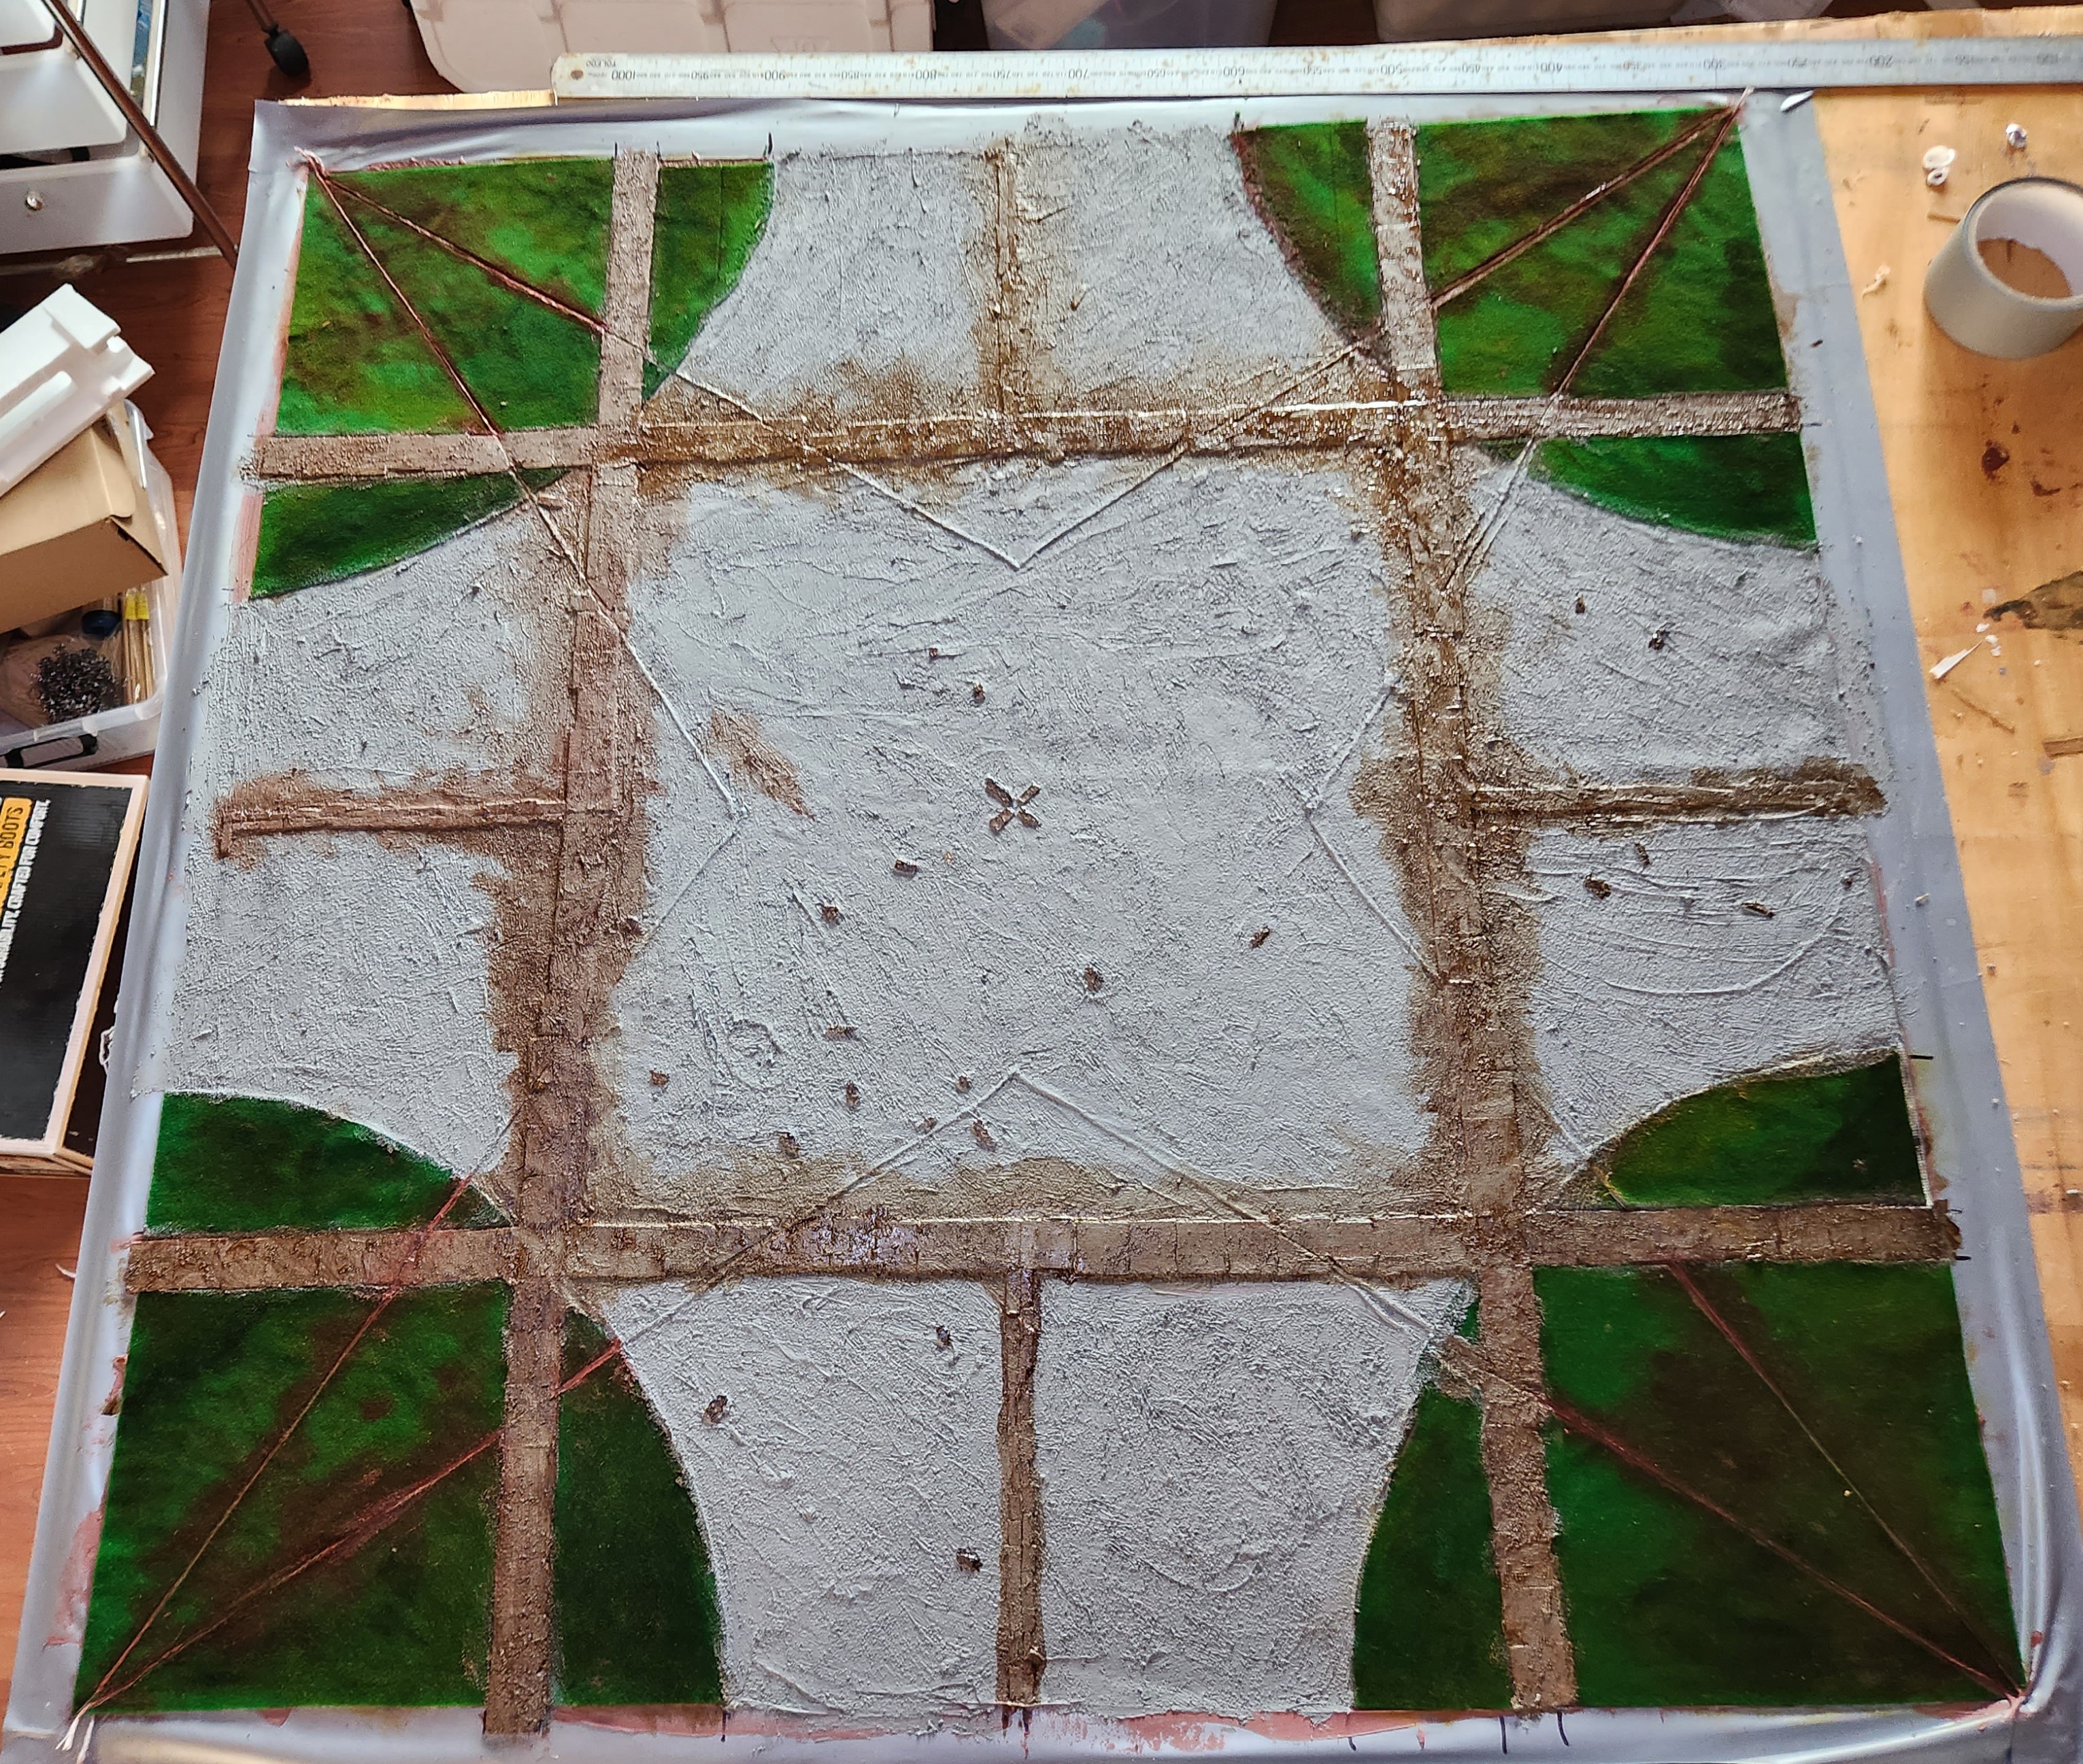 The brickwork coloured to stand out. But now it stands out too much and needs to be blended. This can be fixed later.in.
 Basically, this one is done! Now the test...
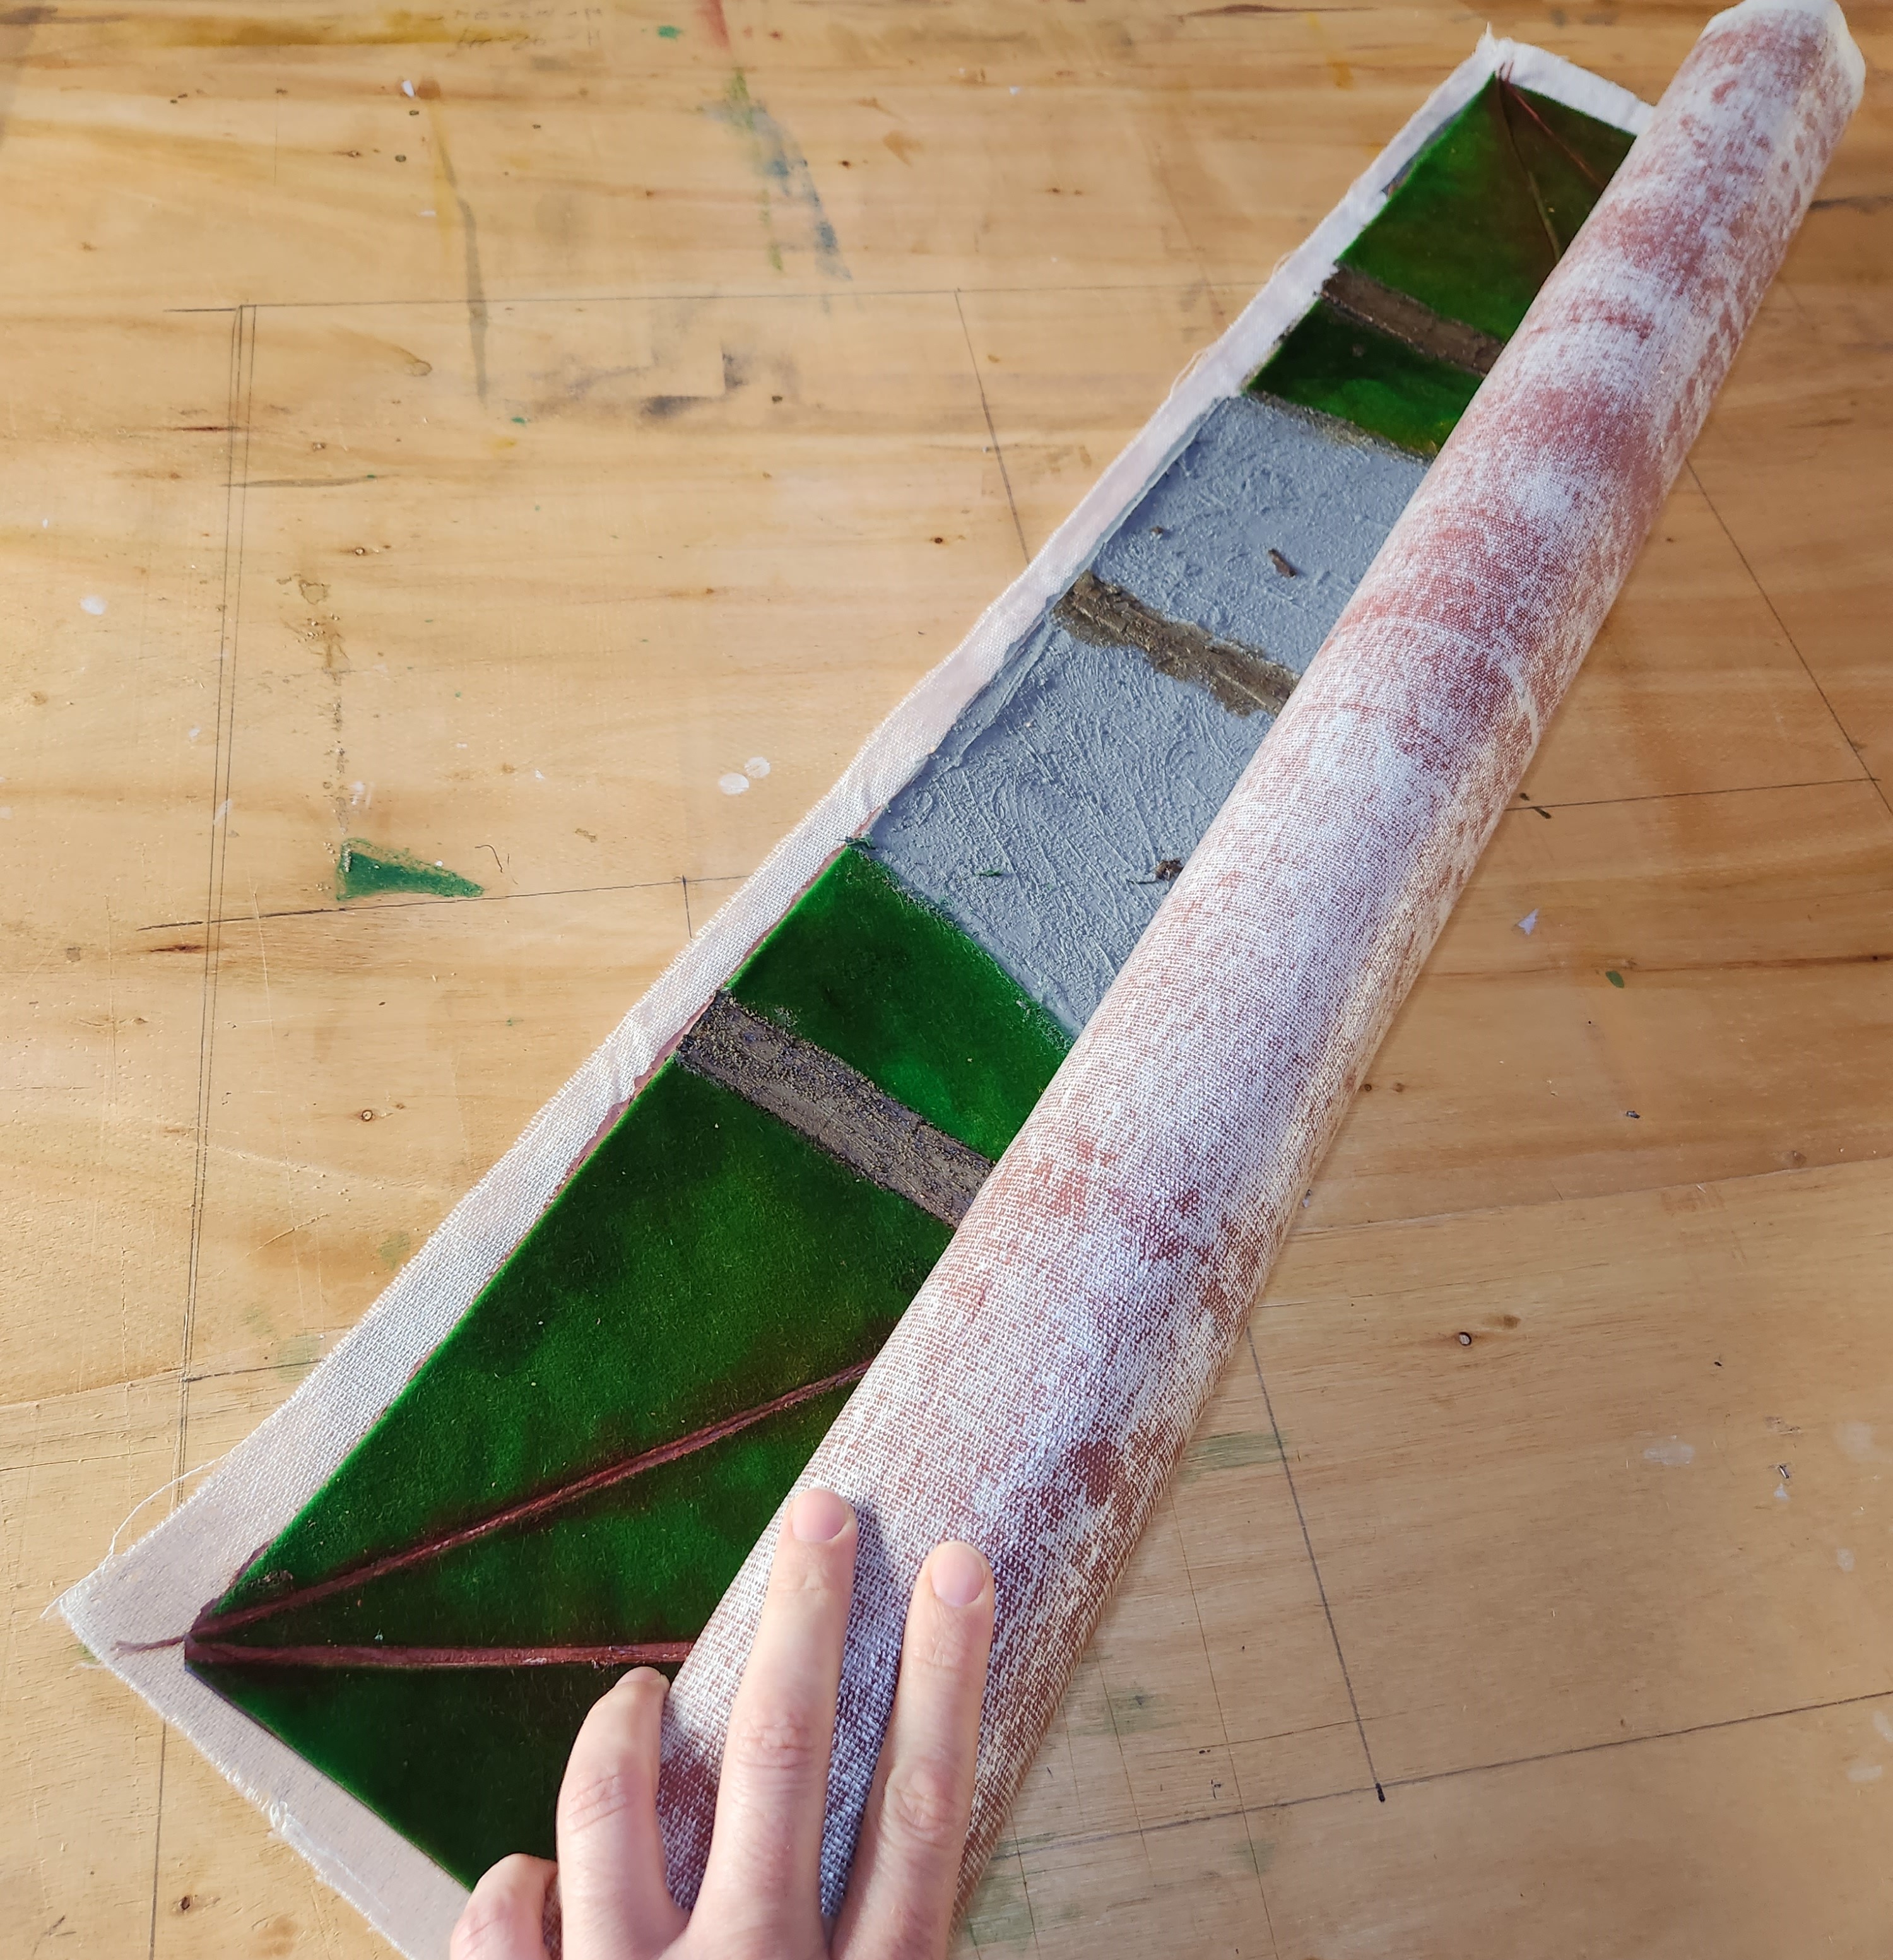 After carefully removing the tape from around the edges, I've rolled it up!!
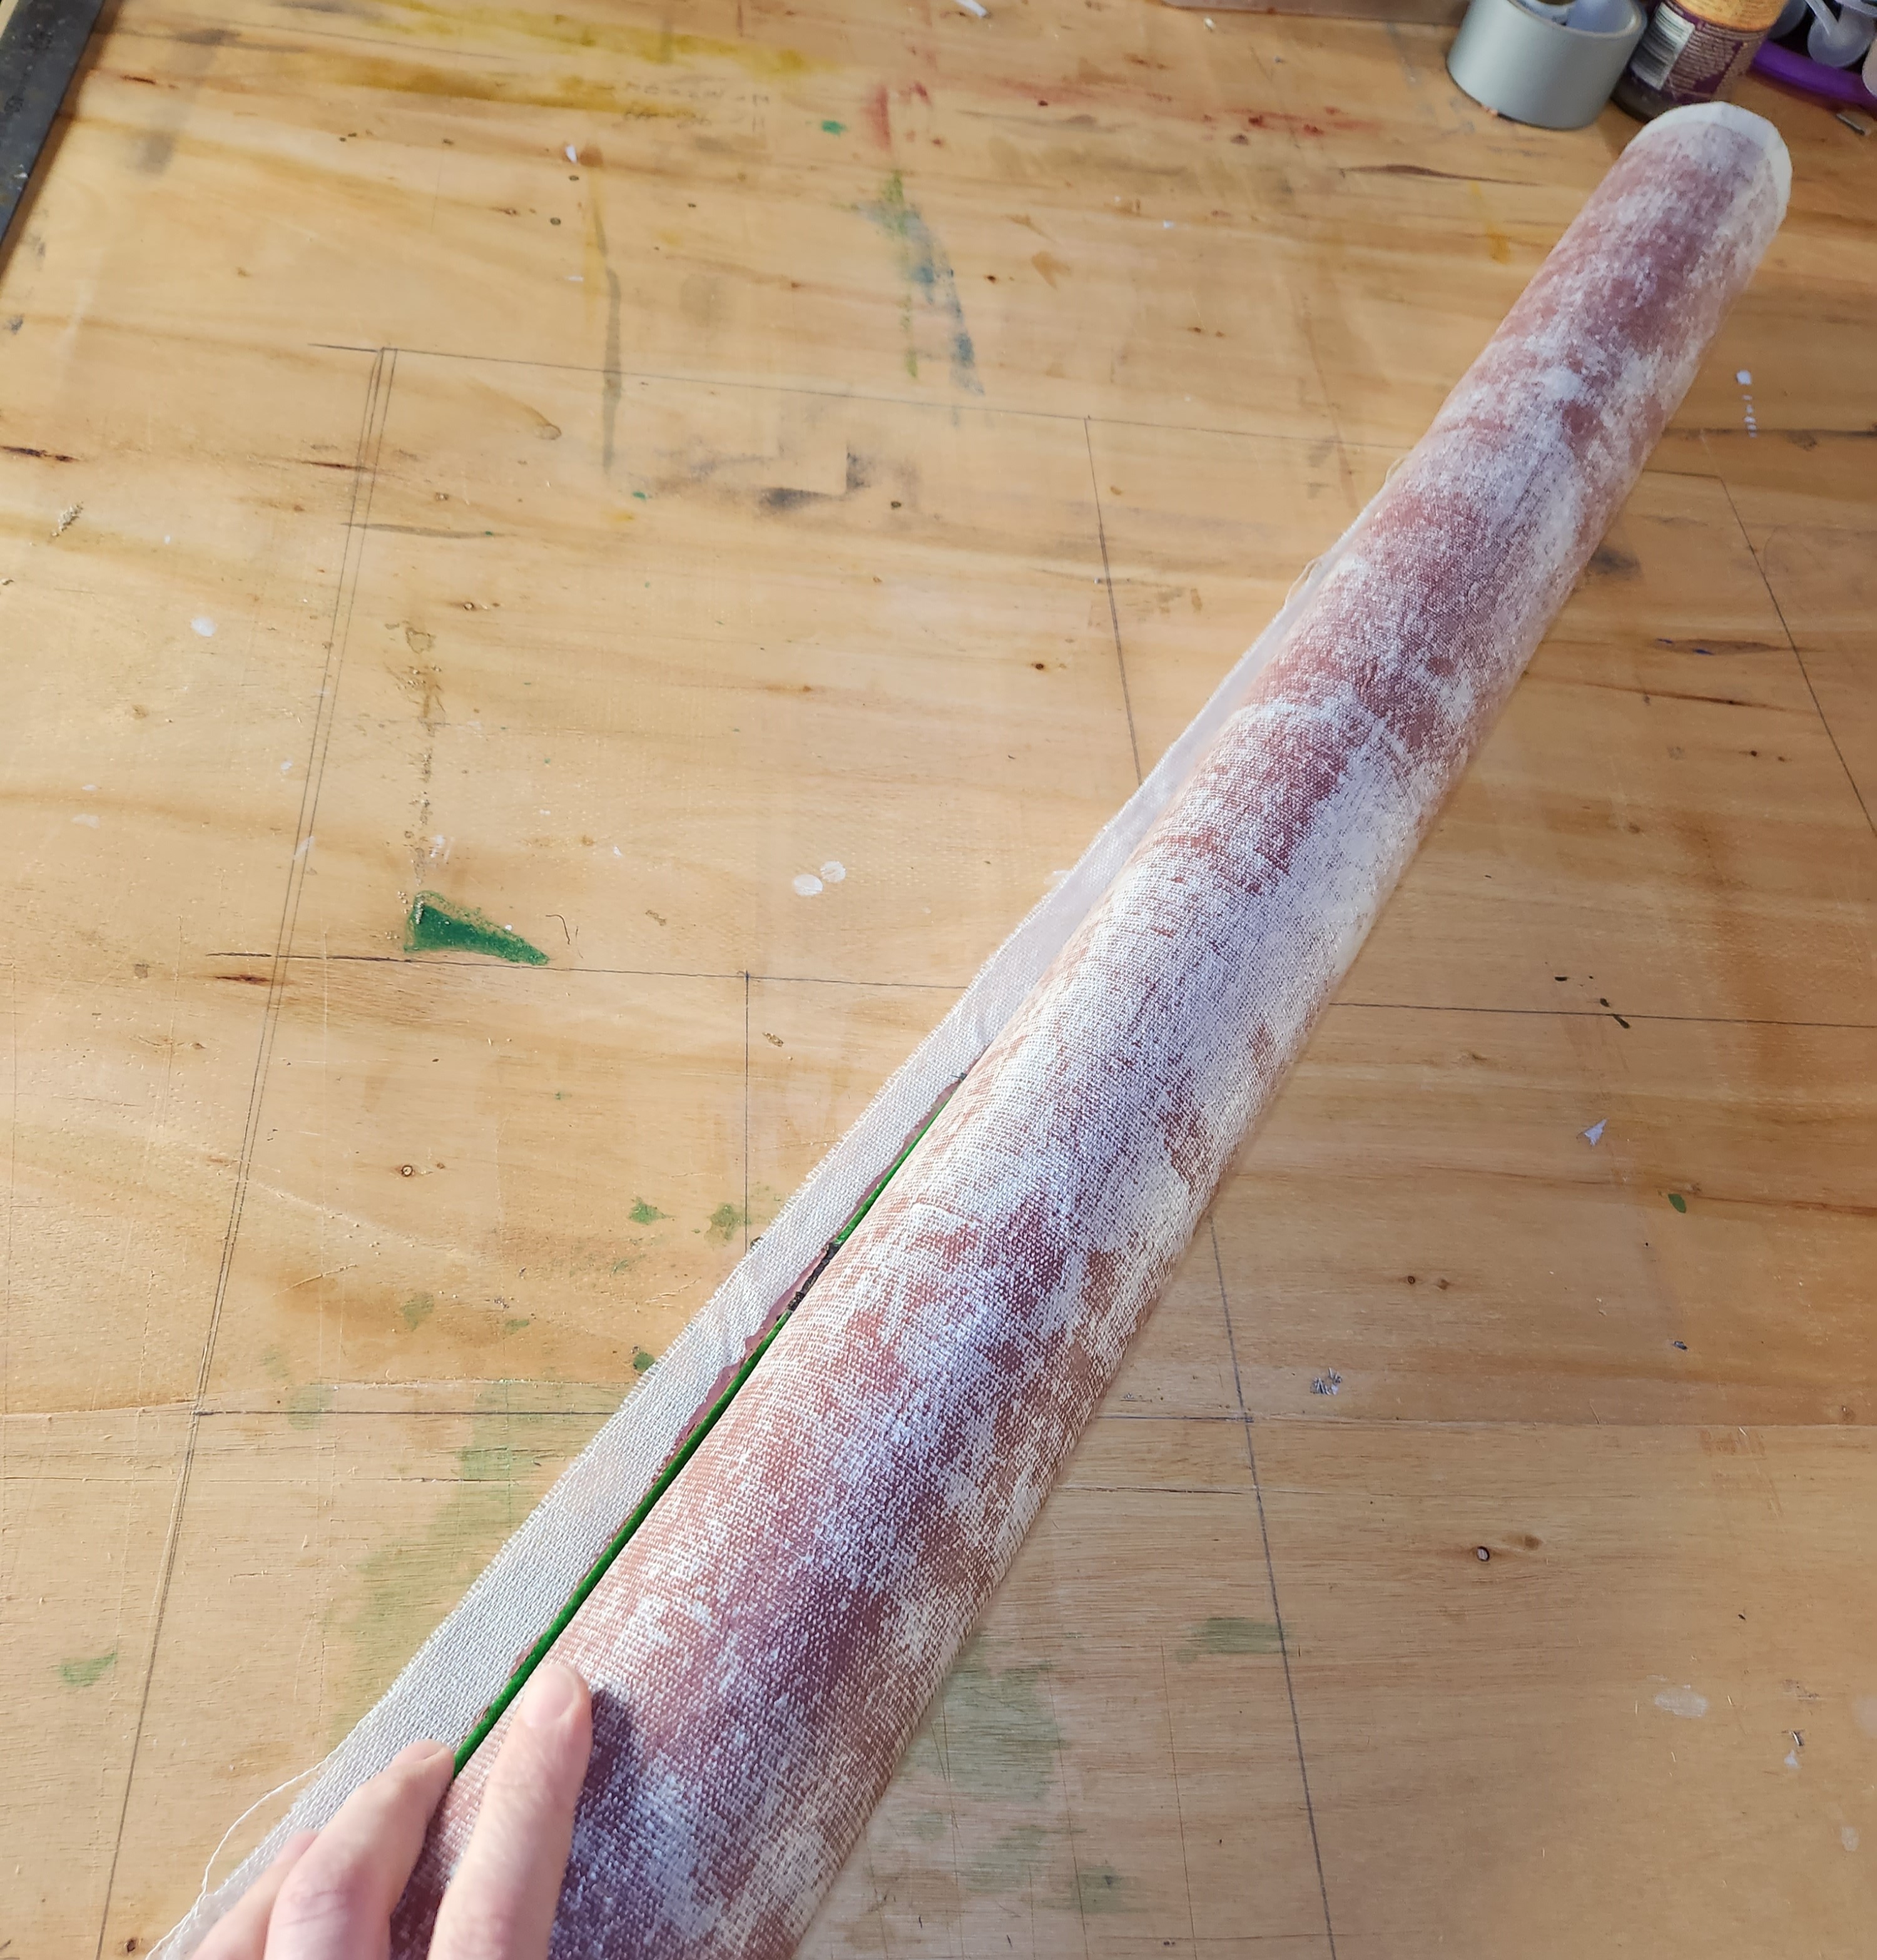 All the way up...
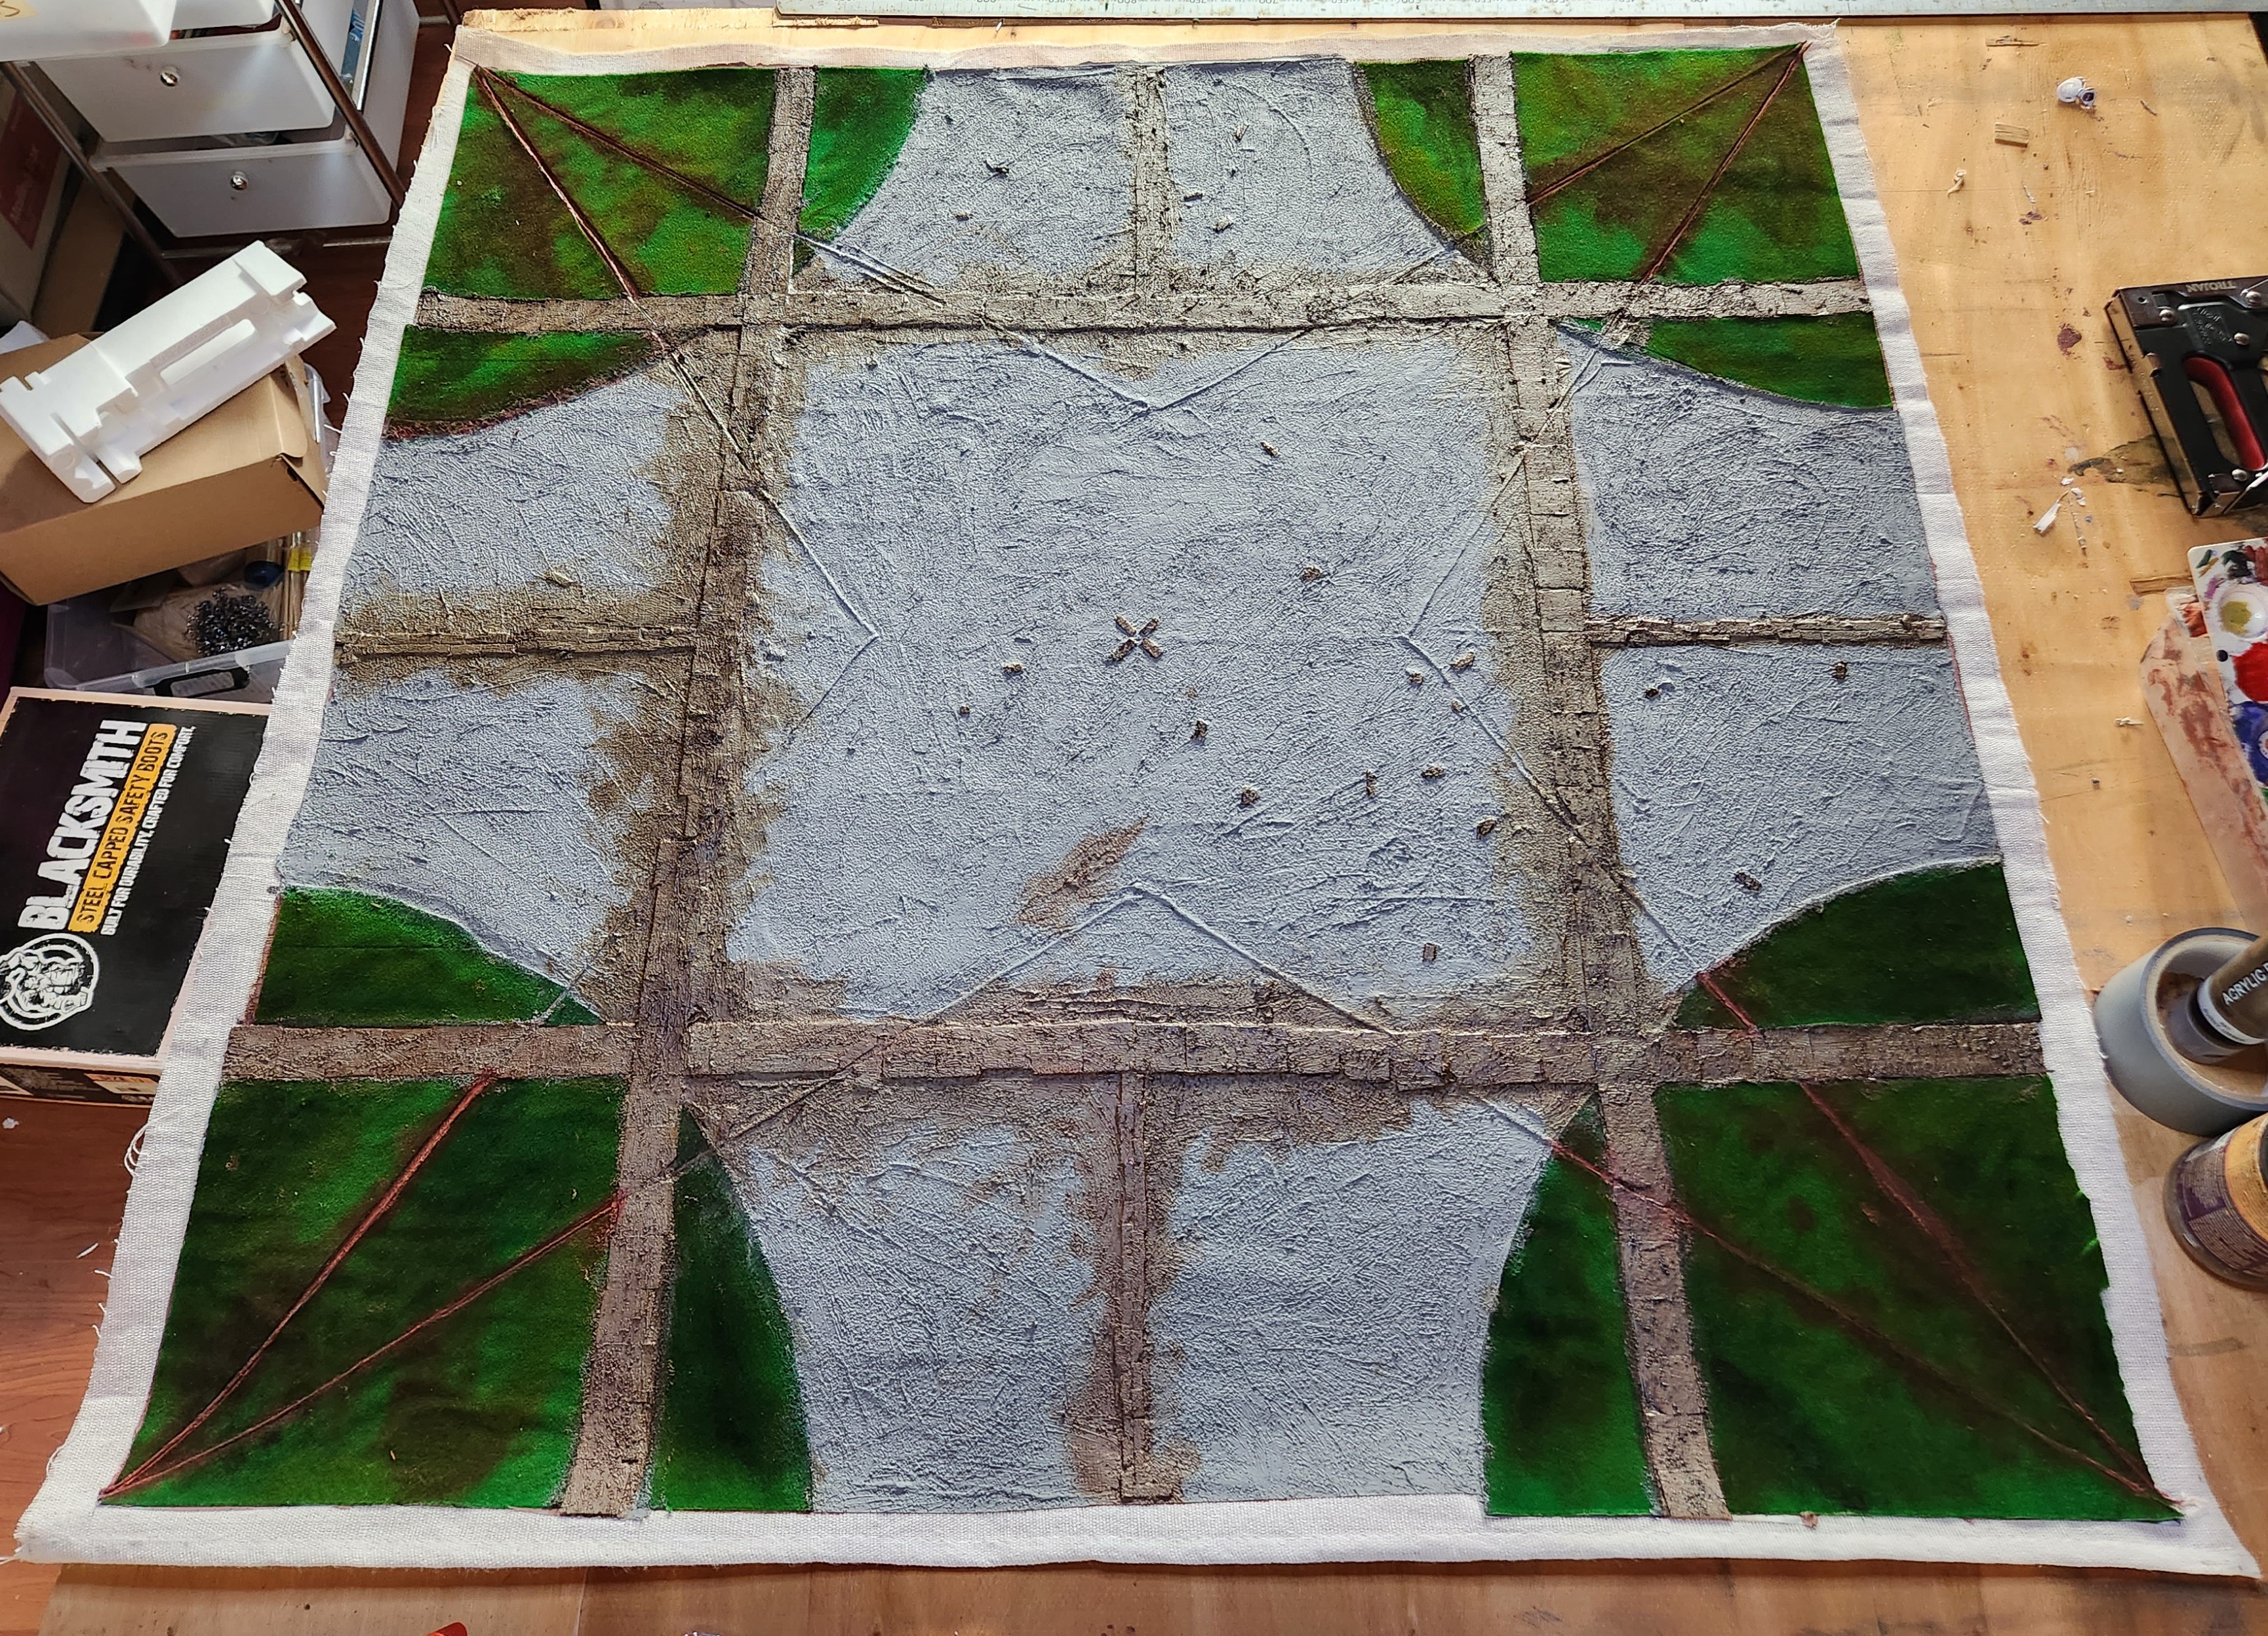 And back out again! Intact! Success :)
 The roll up is the last step. Give it a good roll up, roll it back out again. Roll it the other way and back out again. Nothing fell off or came loose, so I reckon this one is good.
Now, make another!
16 Oct 23: Getting Messy
It’s time to get serious and stick the bits to the stuff!
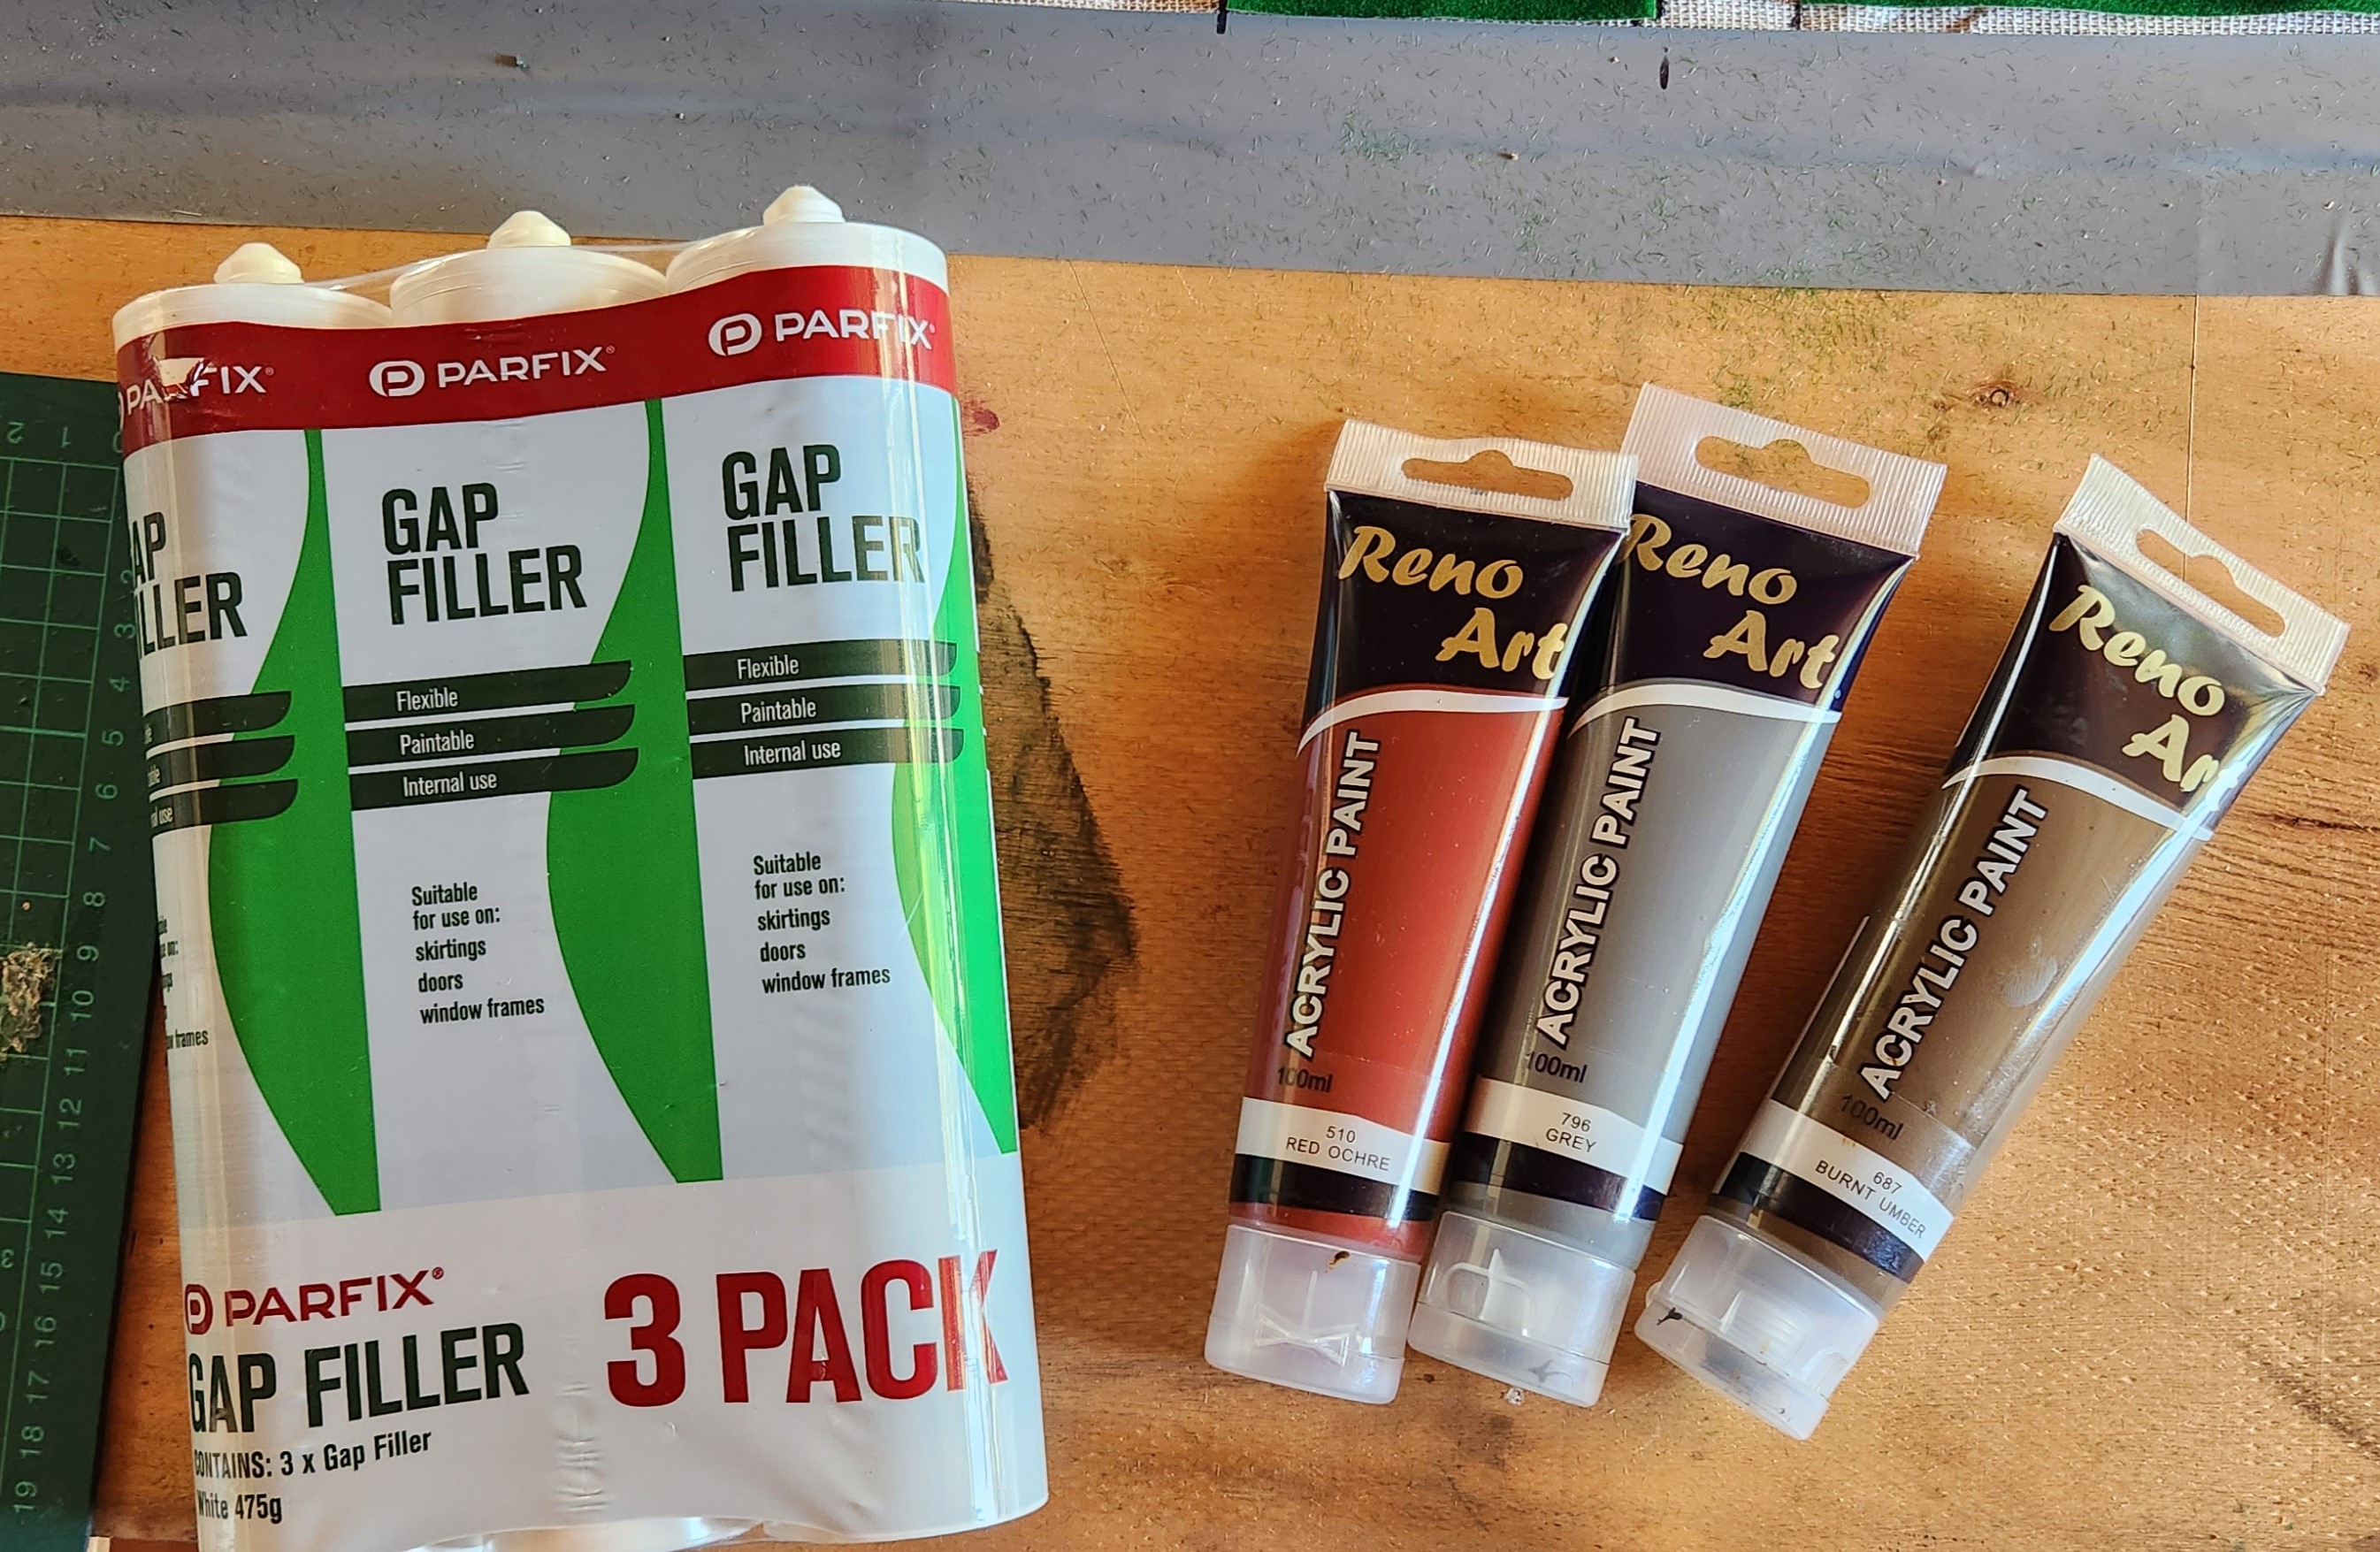
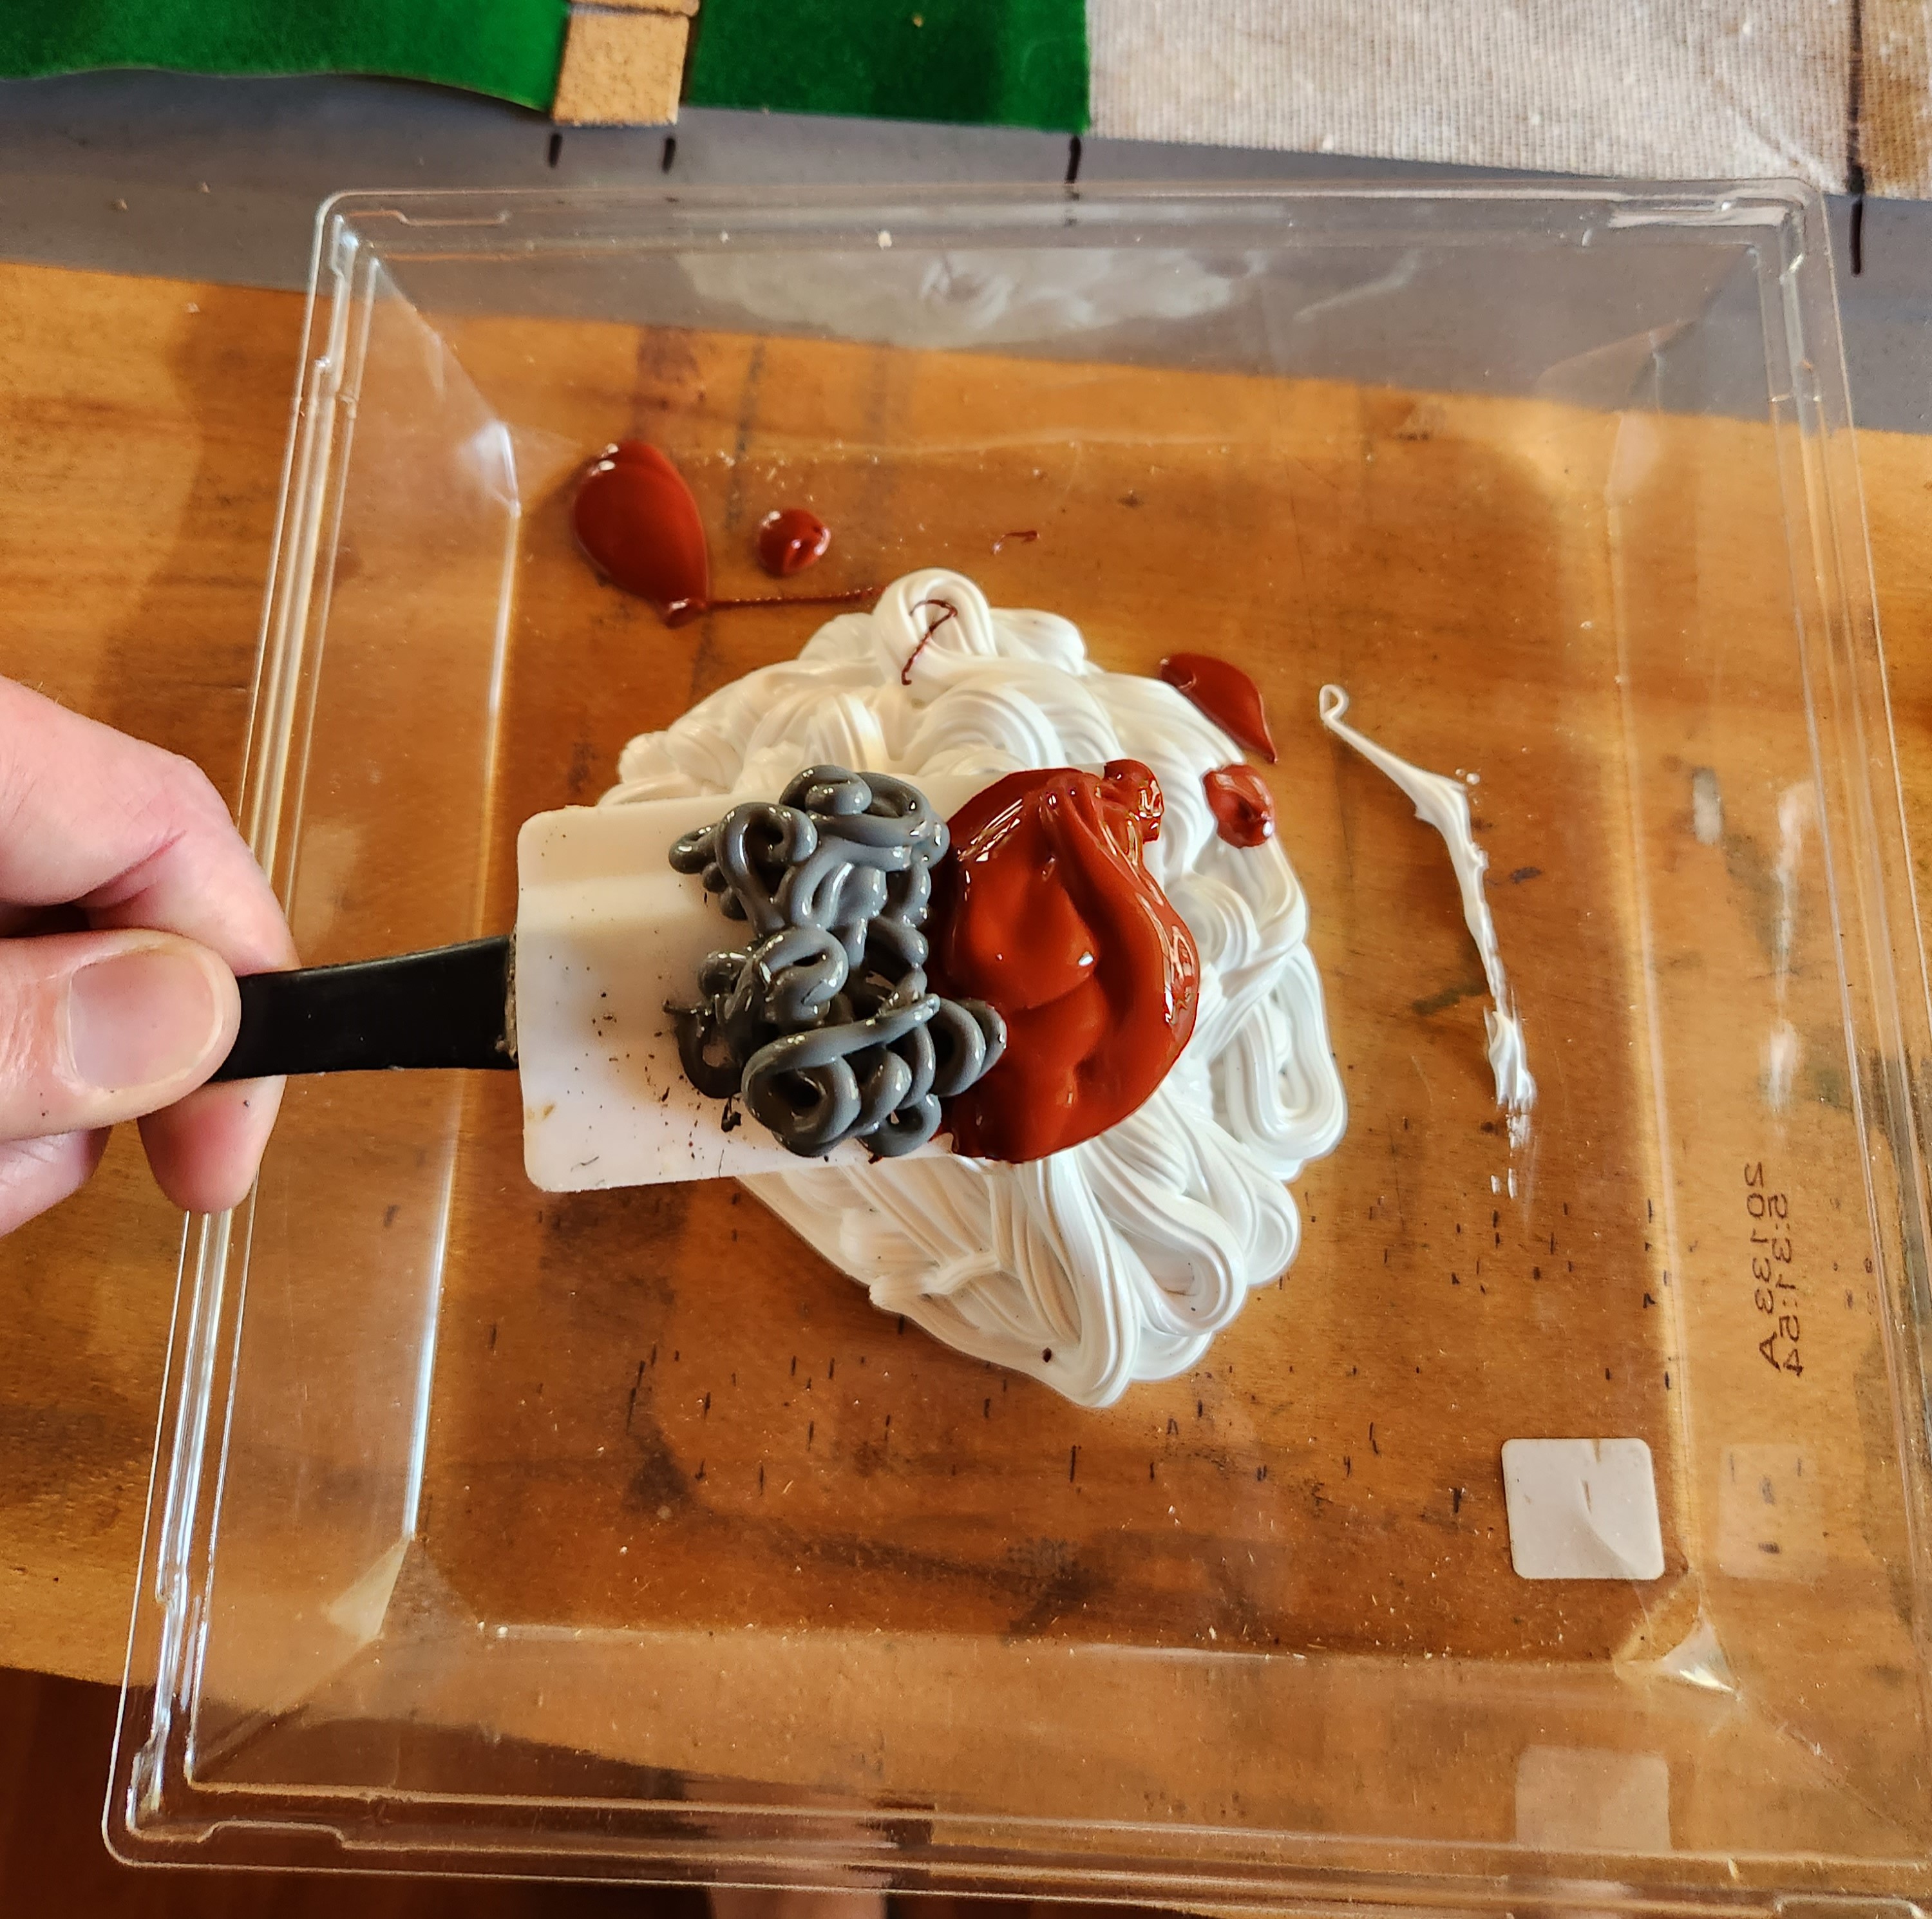
I grab the caulk and a suitable mixiing container. I’ve got a couple of tools on hand as well: a plastic scraper and a cooking style mixing spatula.
Using a caulk gun, I empty one entire tube into the container. For the first layer I add some of the acrylic paint to give it colour. I’m not going to add any texture, I’ll leave that to the second layer. But the colour is there in case I miss a spot on the second layer, so it isn’t just bare white showing through if I do.
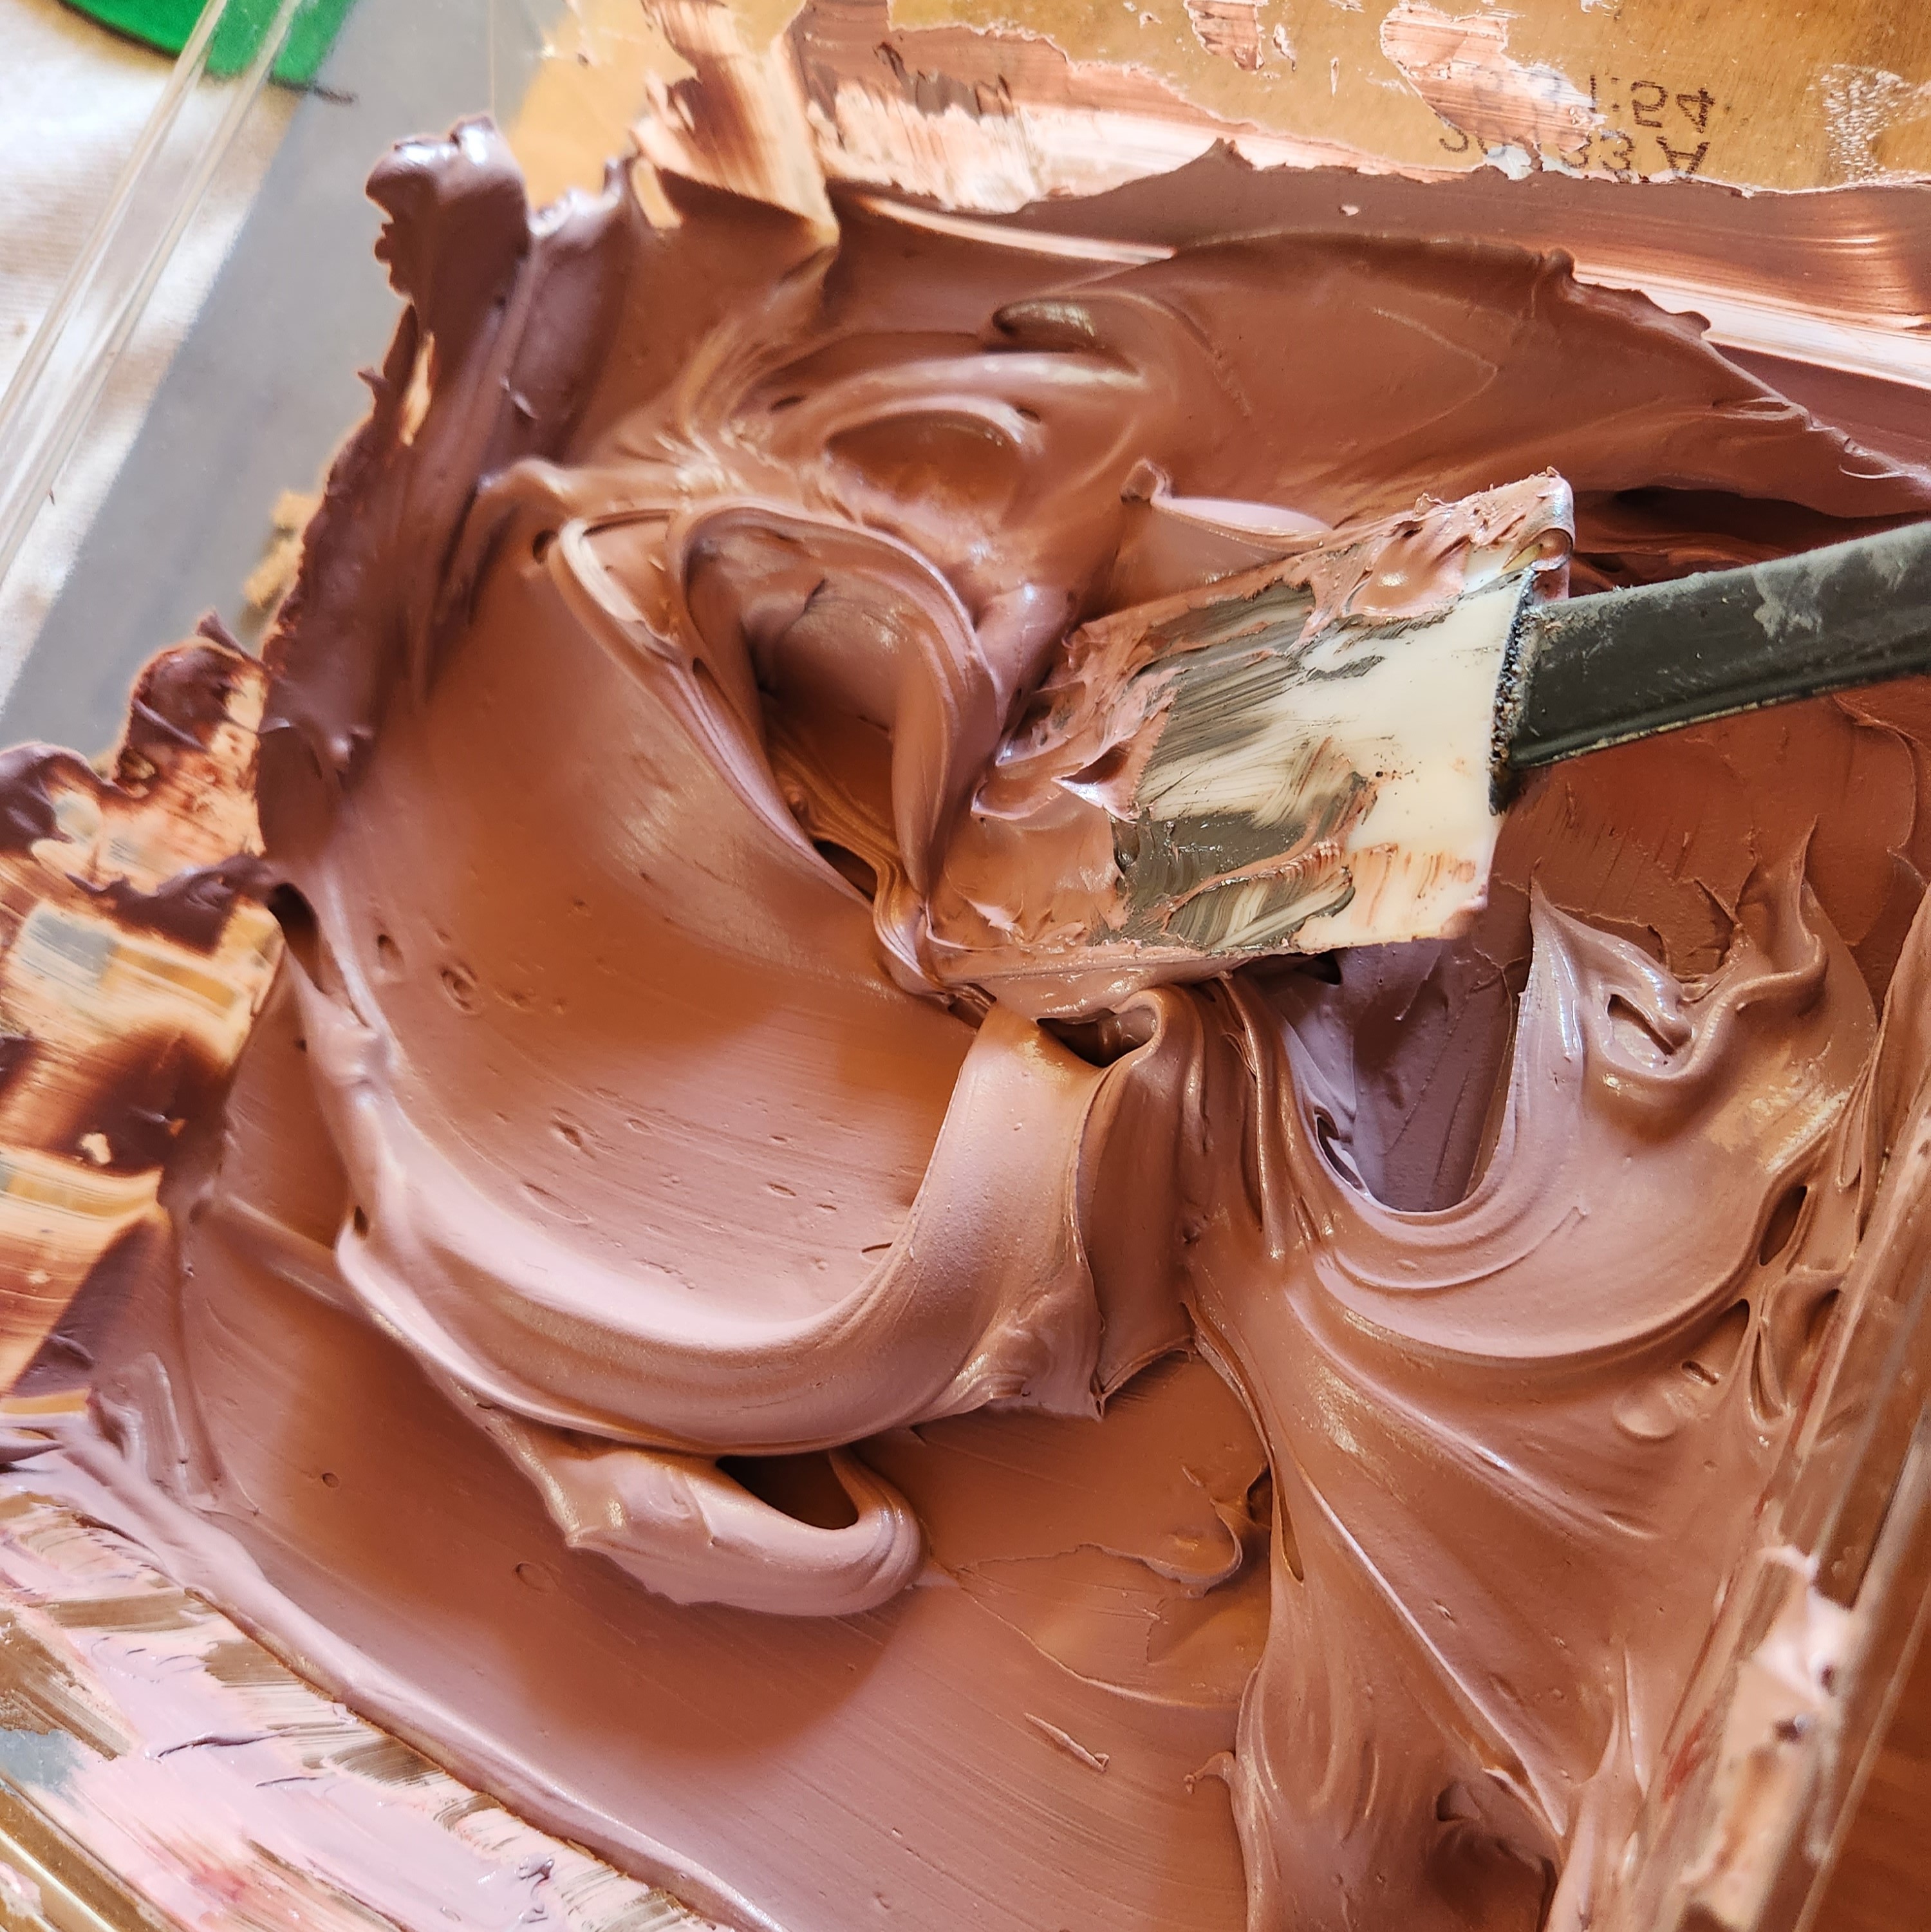
Using the scrapper and the spatula, I spread the mixture around, working one quarter of the table at a time. This gives enough time to work the scenic elements in before the caulk starts to set too much.
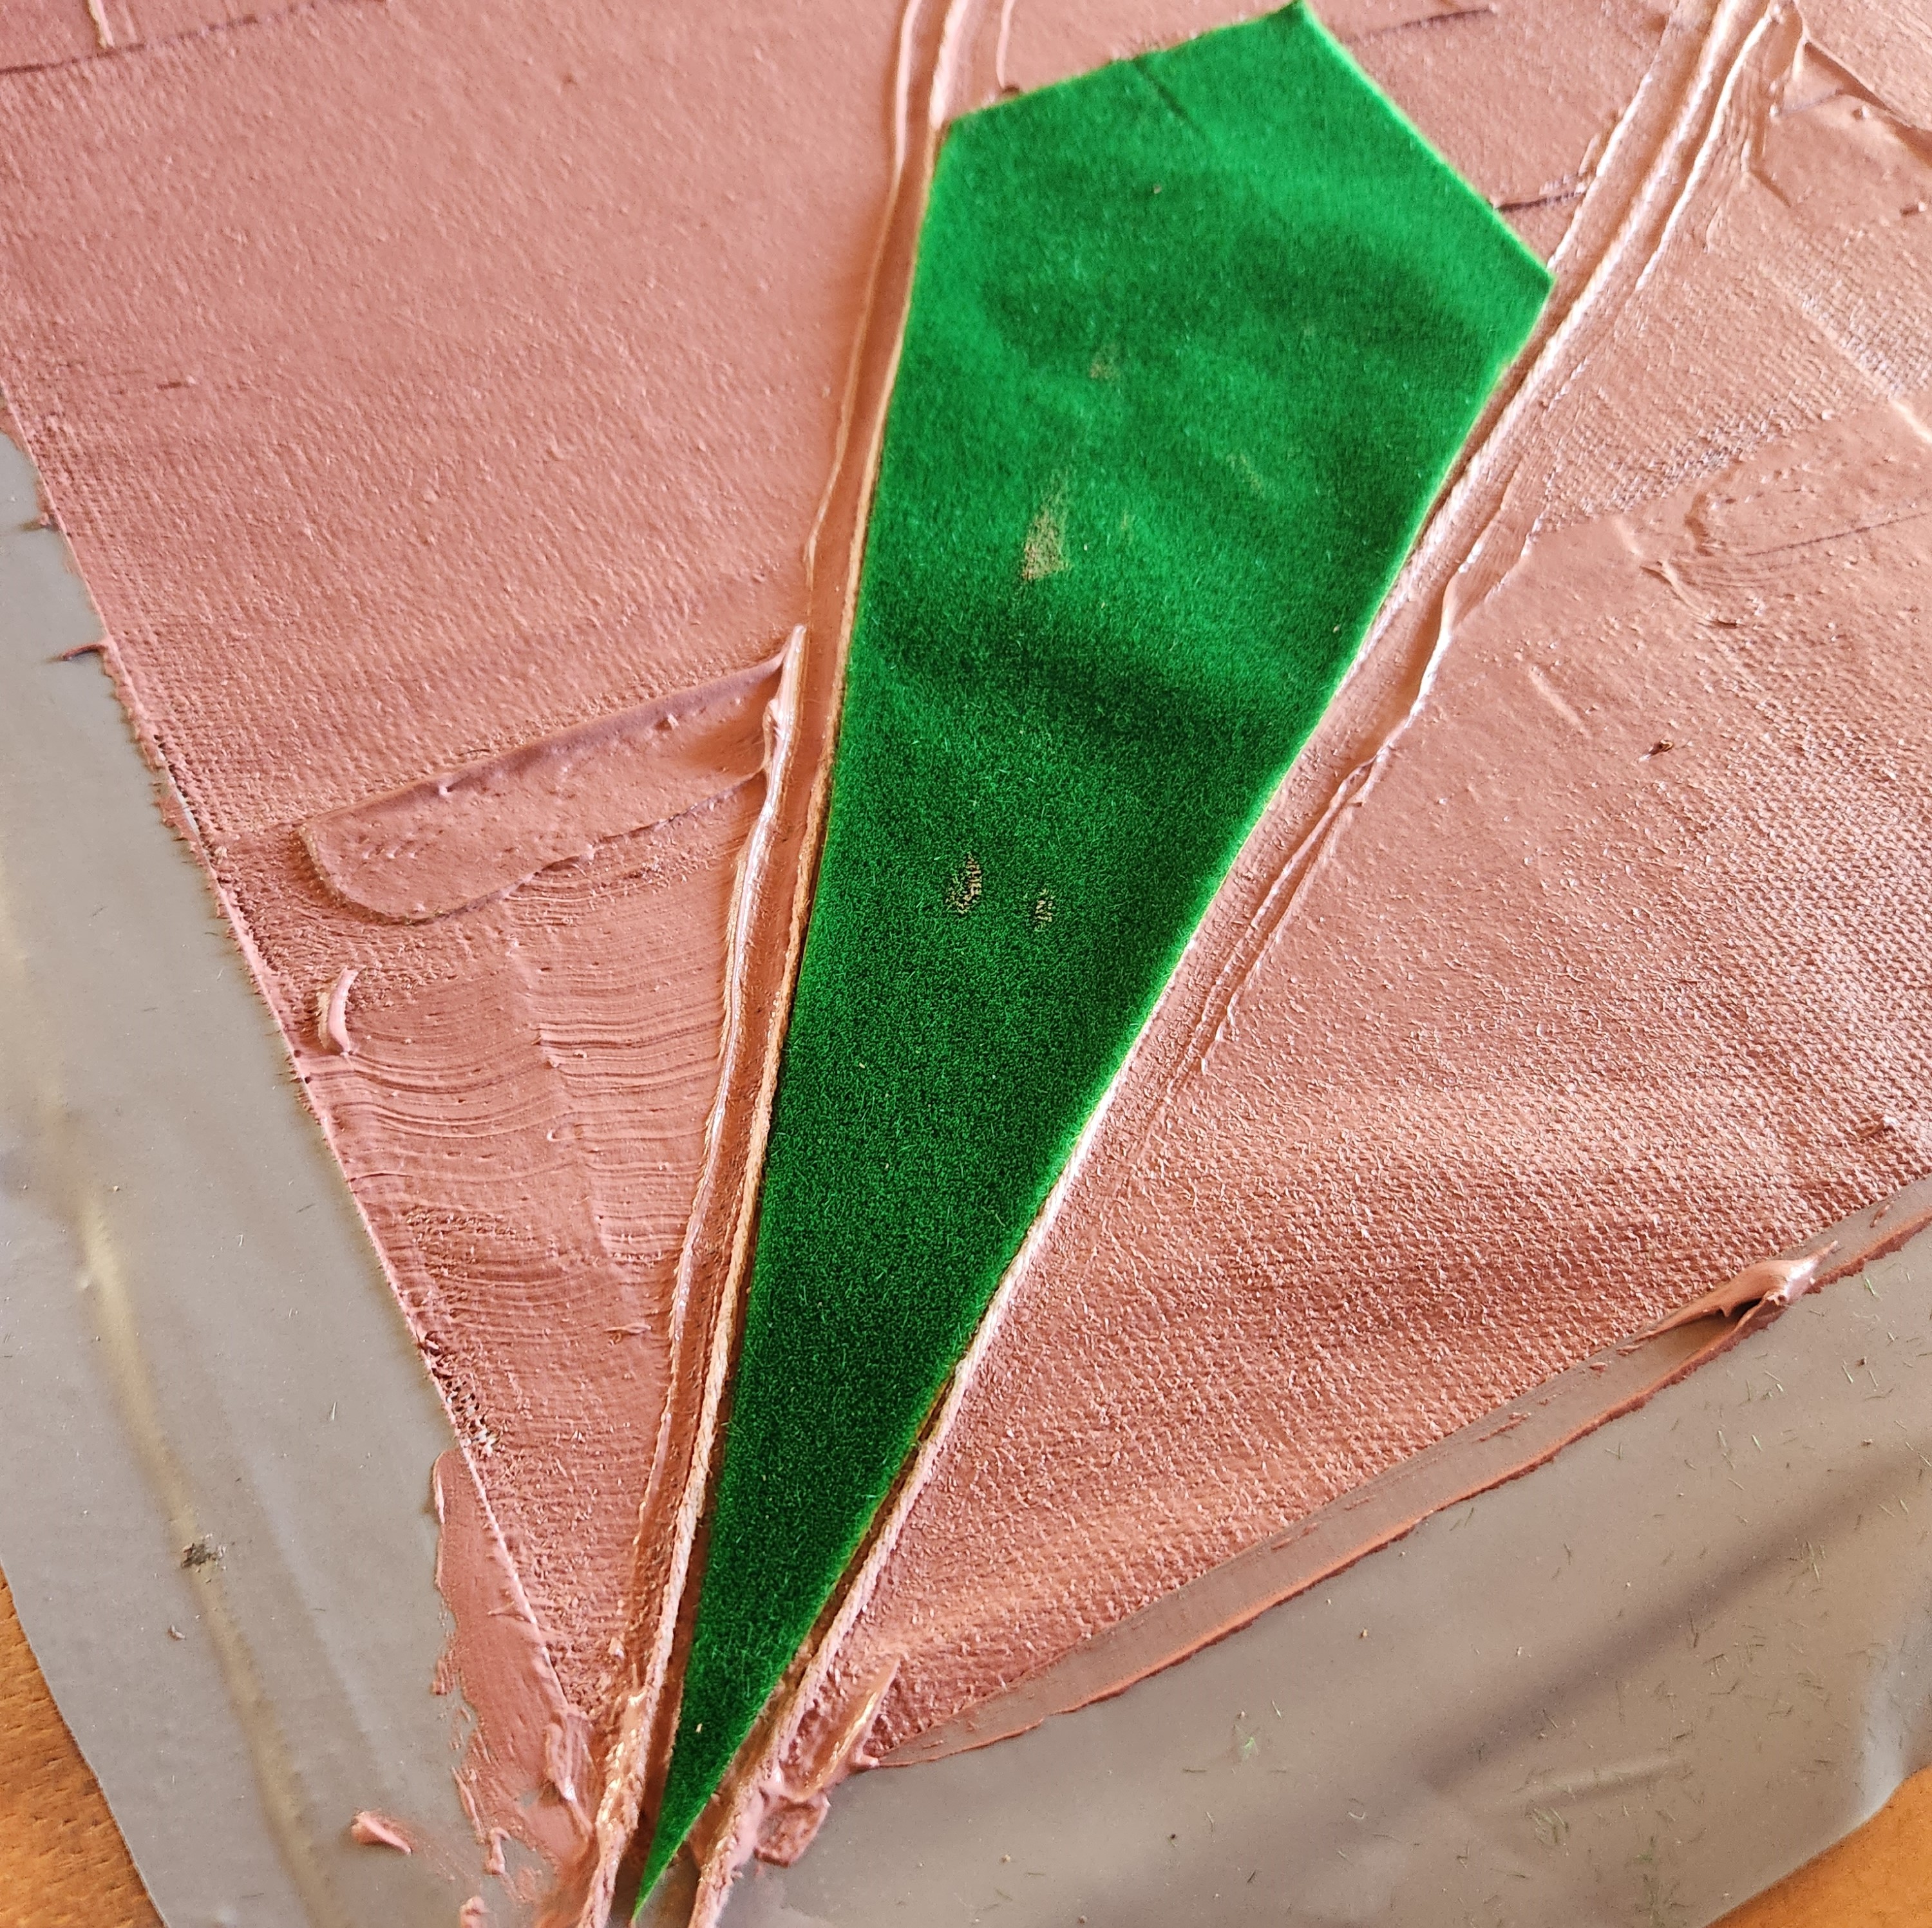
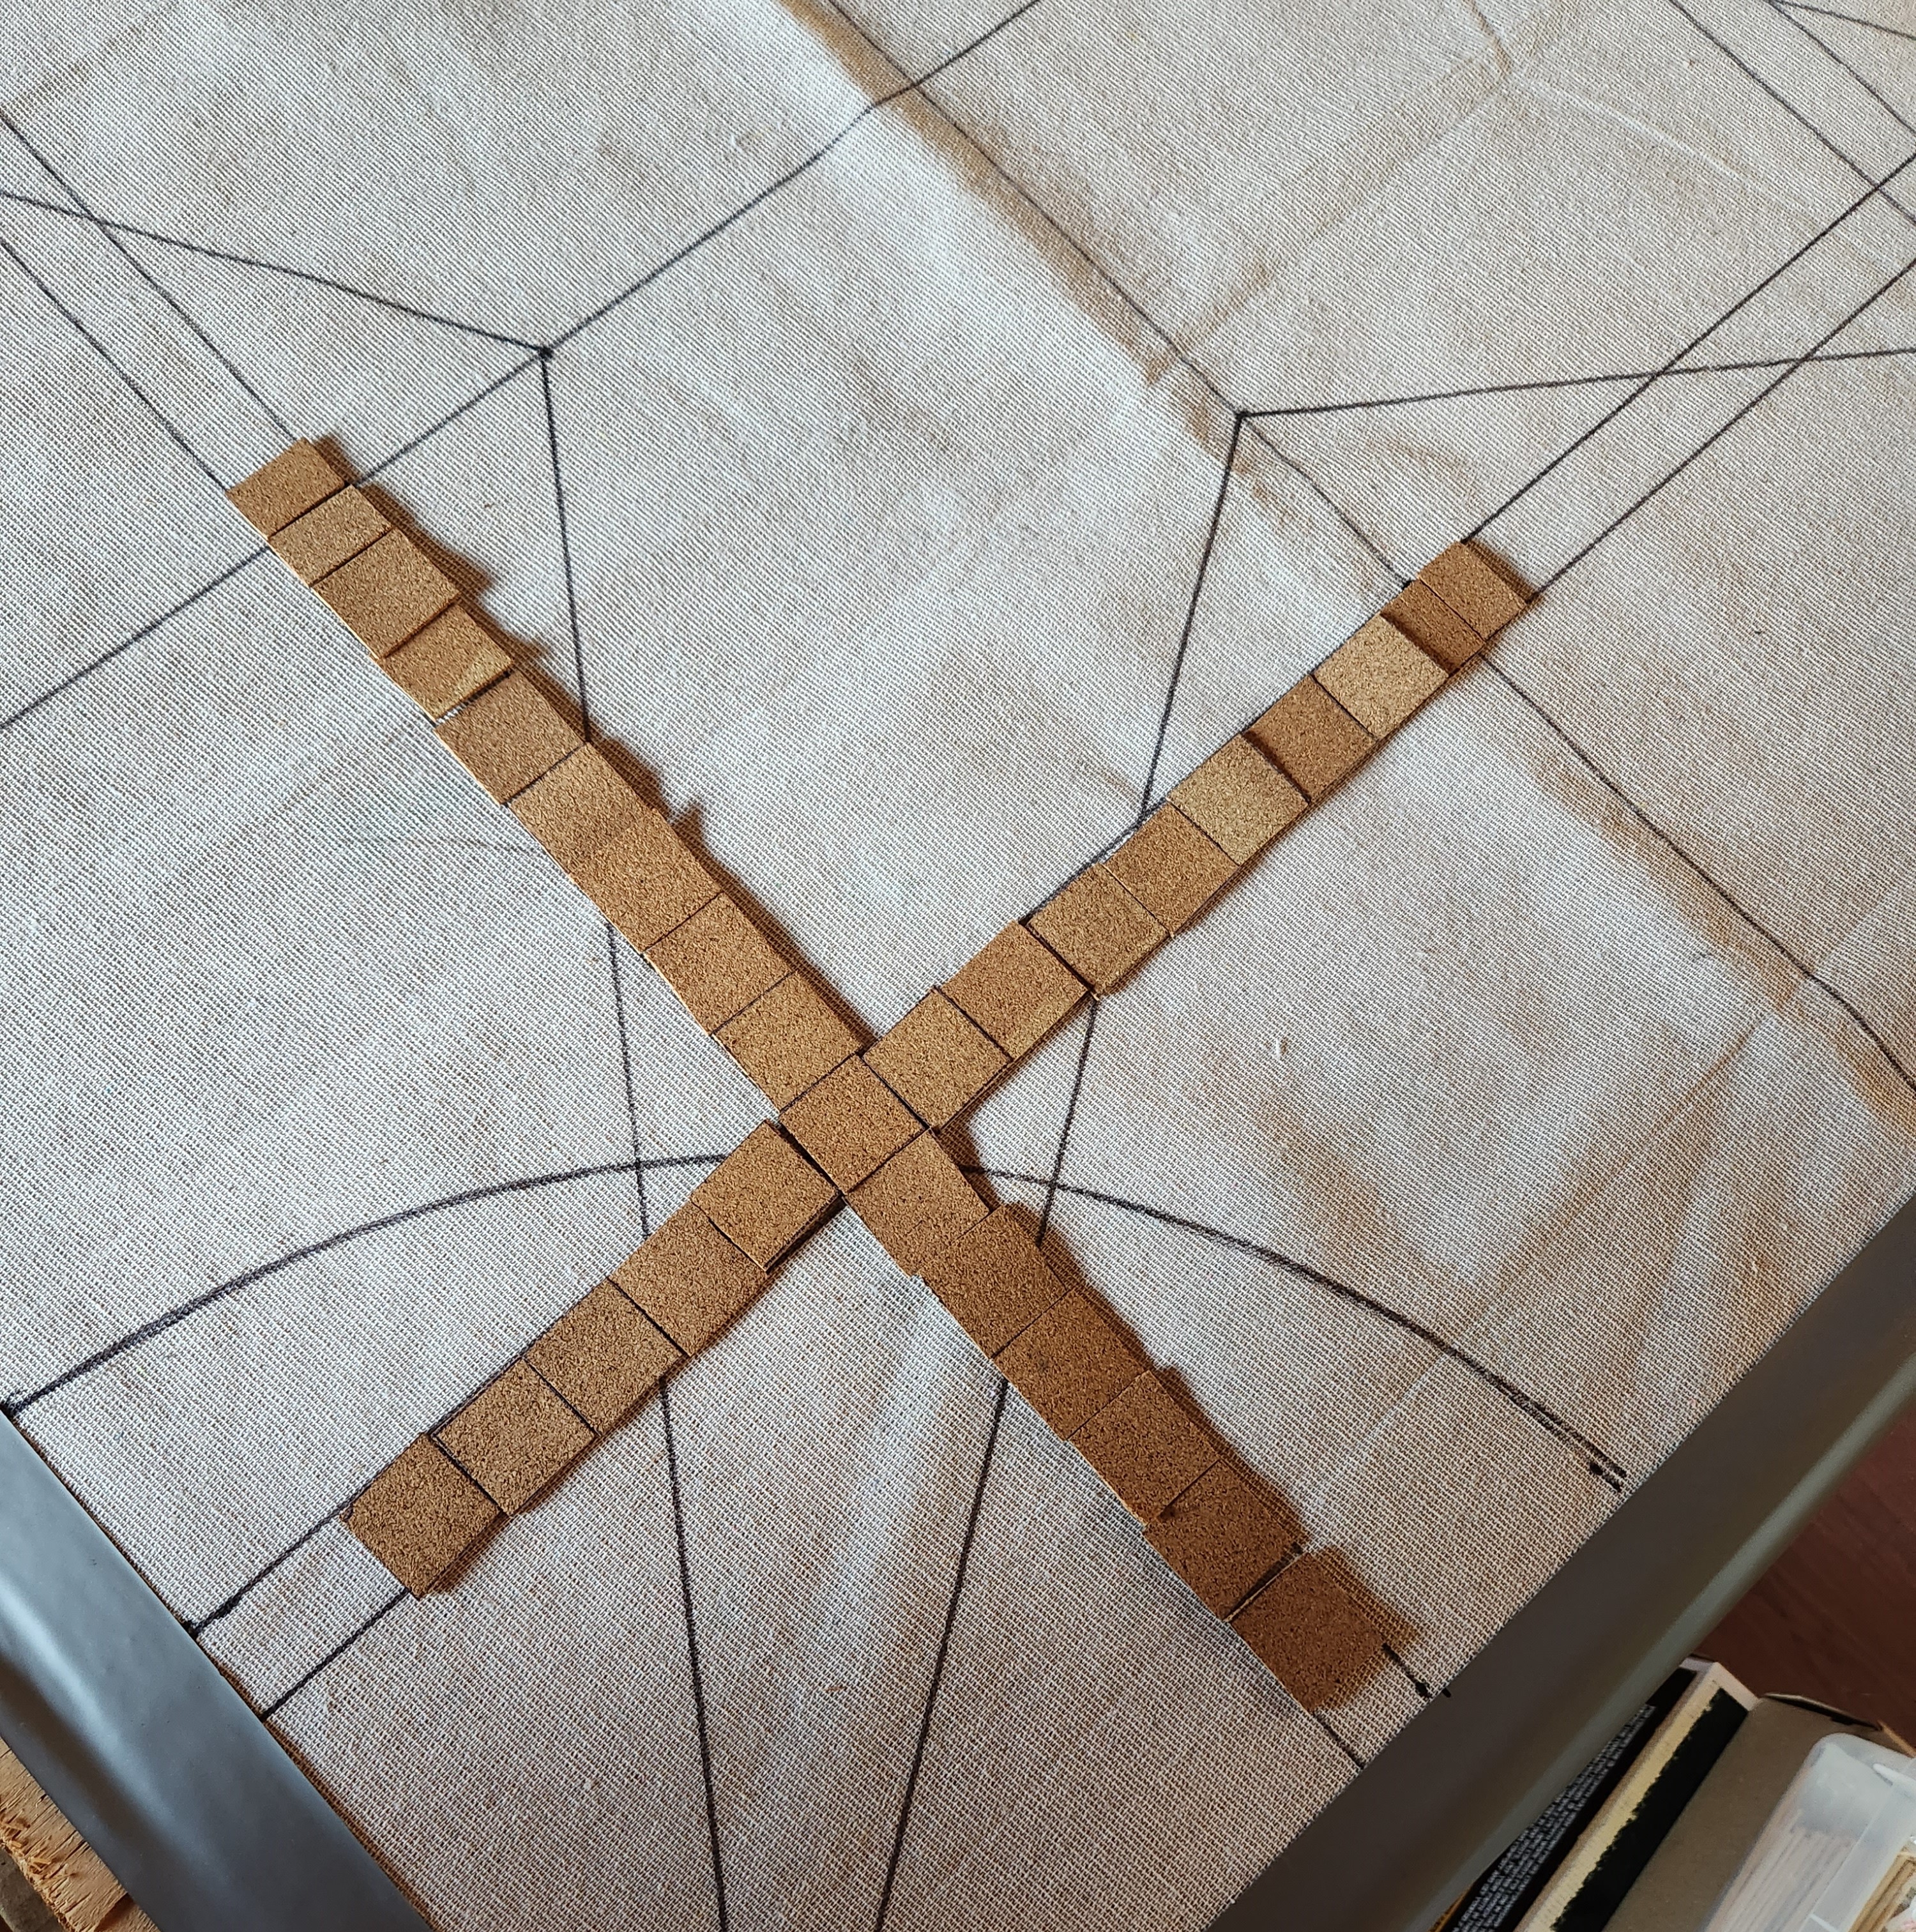
For this first quarter, I started with the string pieces. By having them be slightly longer than required, I had enough to hold to put it in place without it getting fussy. I then worked into the caulk by using my finger. Dipping it into water first stops the caulk from sticking to the skin.
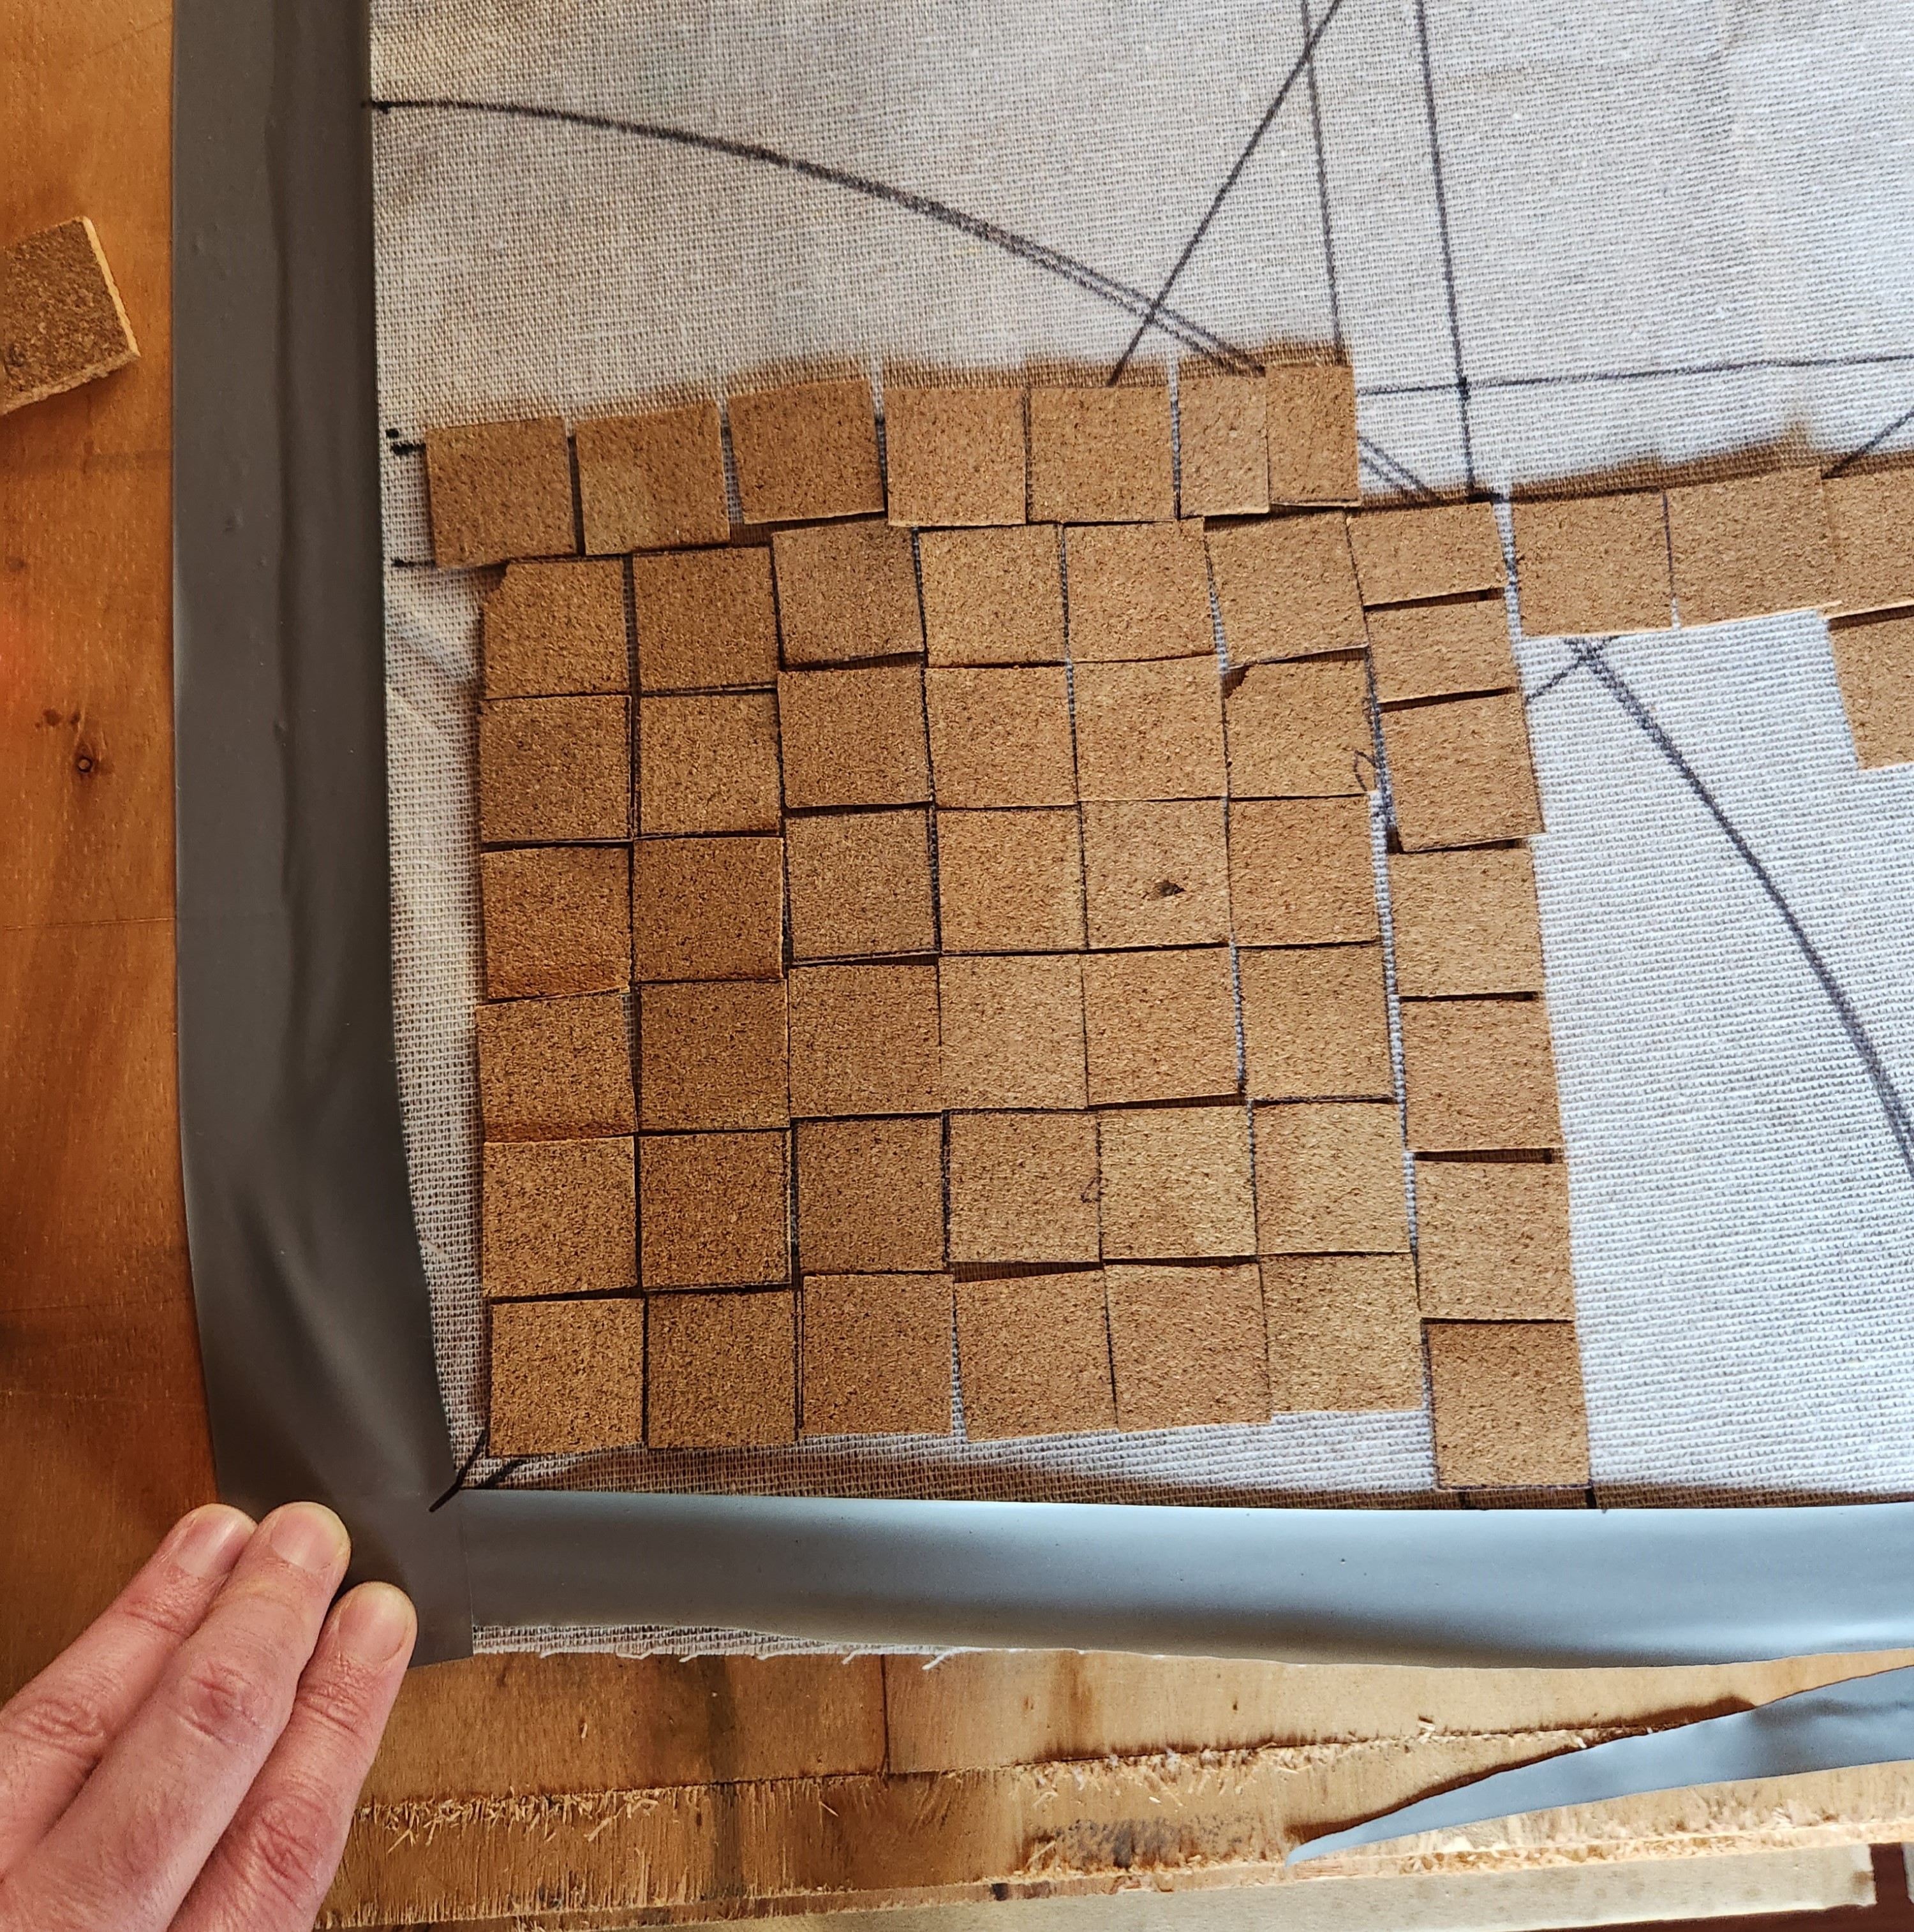
I then added the grass pieces in the corner, pressing them down and smoothing them into the caulk. Finally I laid the cork pieces. Trimming the angles to allow for the string as I went.
 First quarter done. I was definitely picking up tips on the way, like make sure you plan what order the cork squares go in!
 So with the first quarter done, I learned some things, like lay out the pieces in their order before putting caulk to mat. Water is useful, as it can be used to clean the caulk off places you don’t want it.
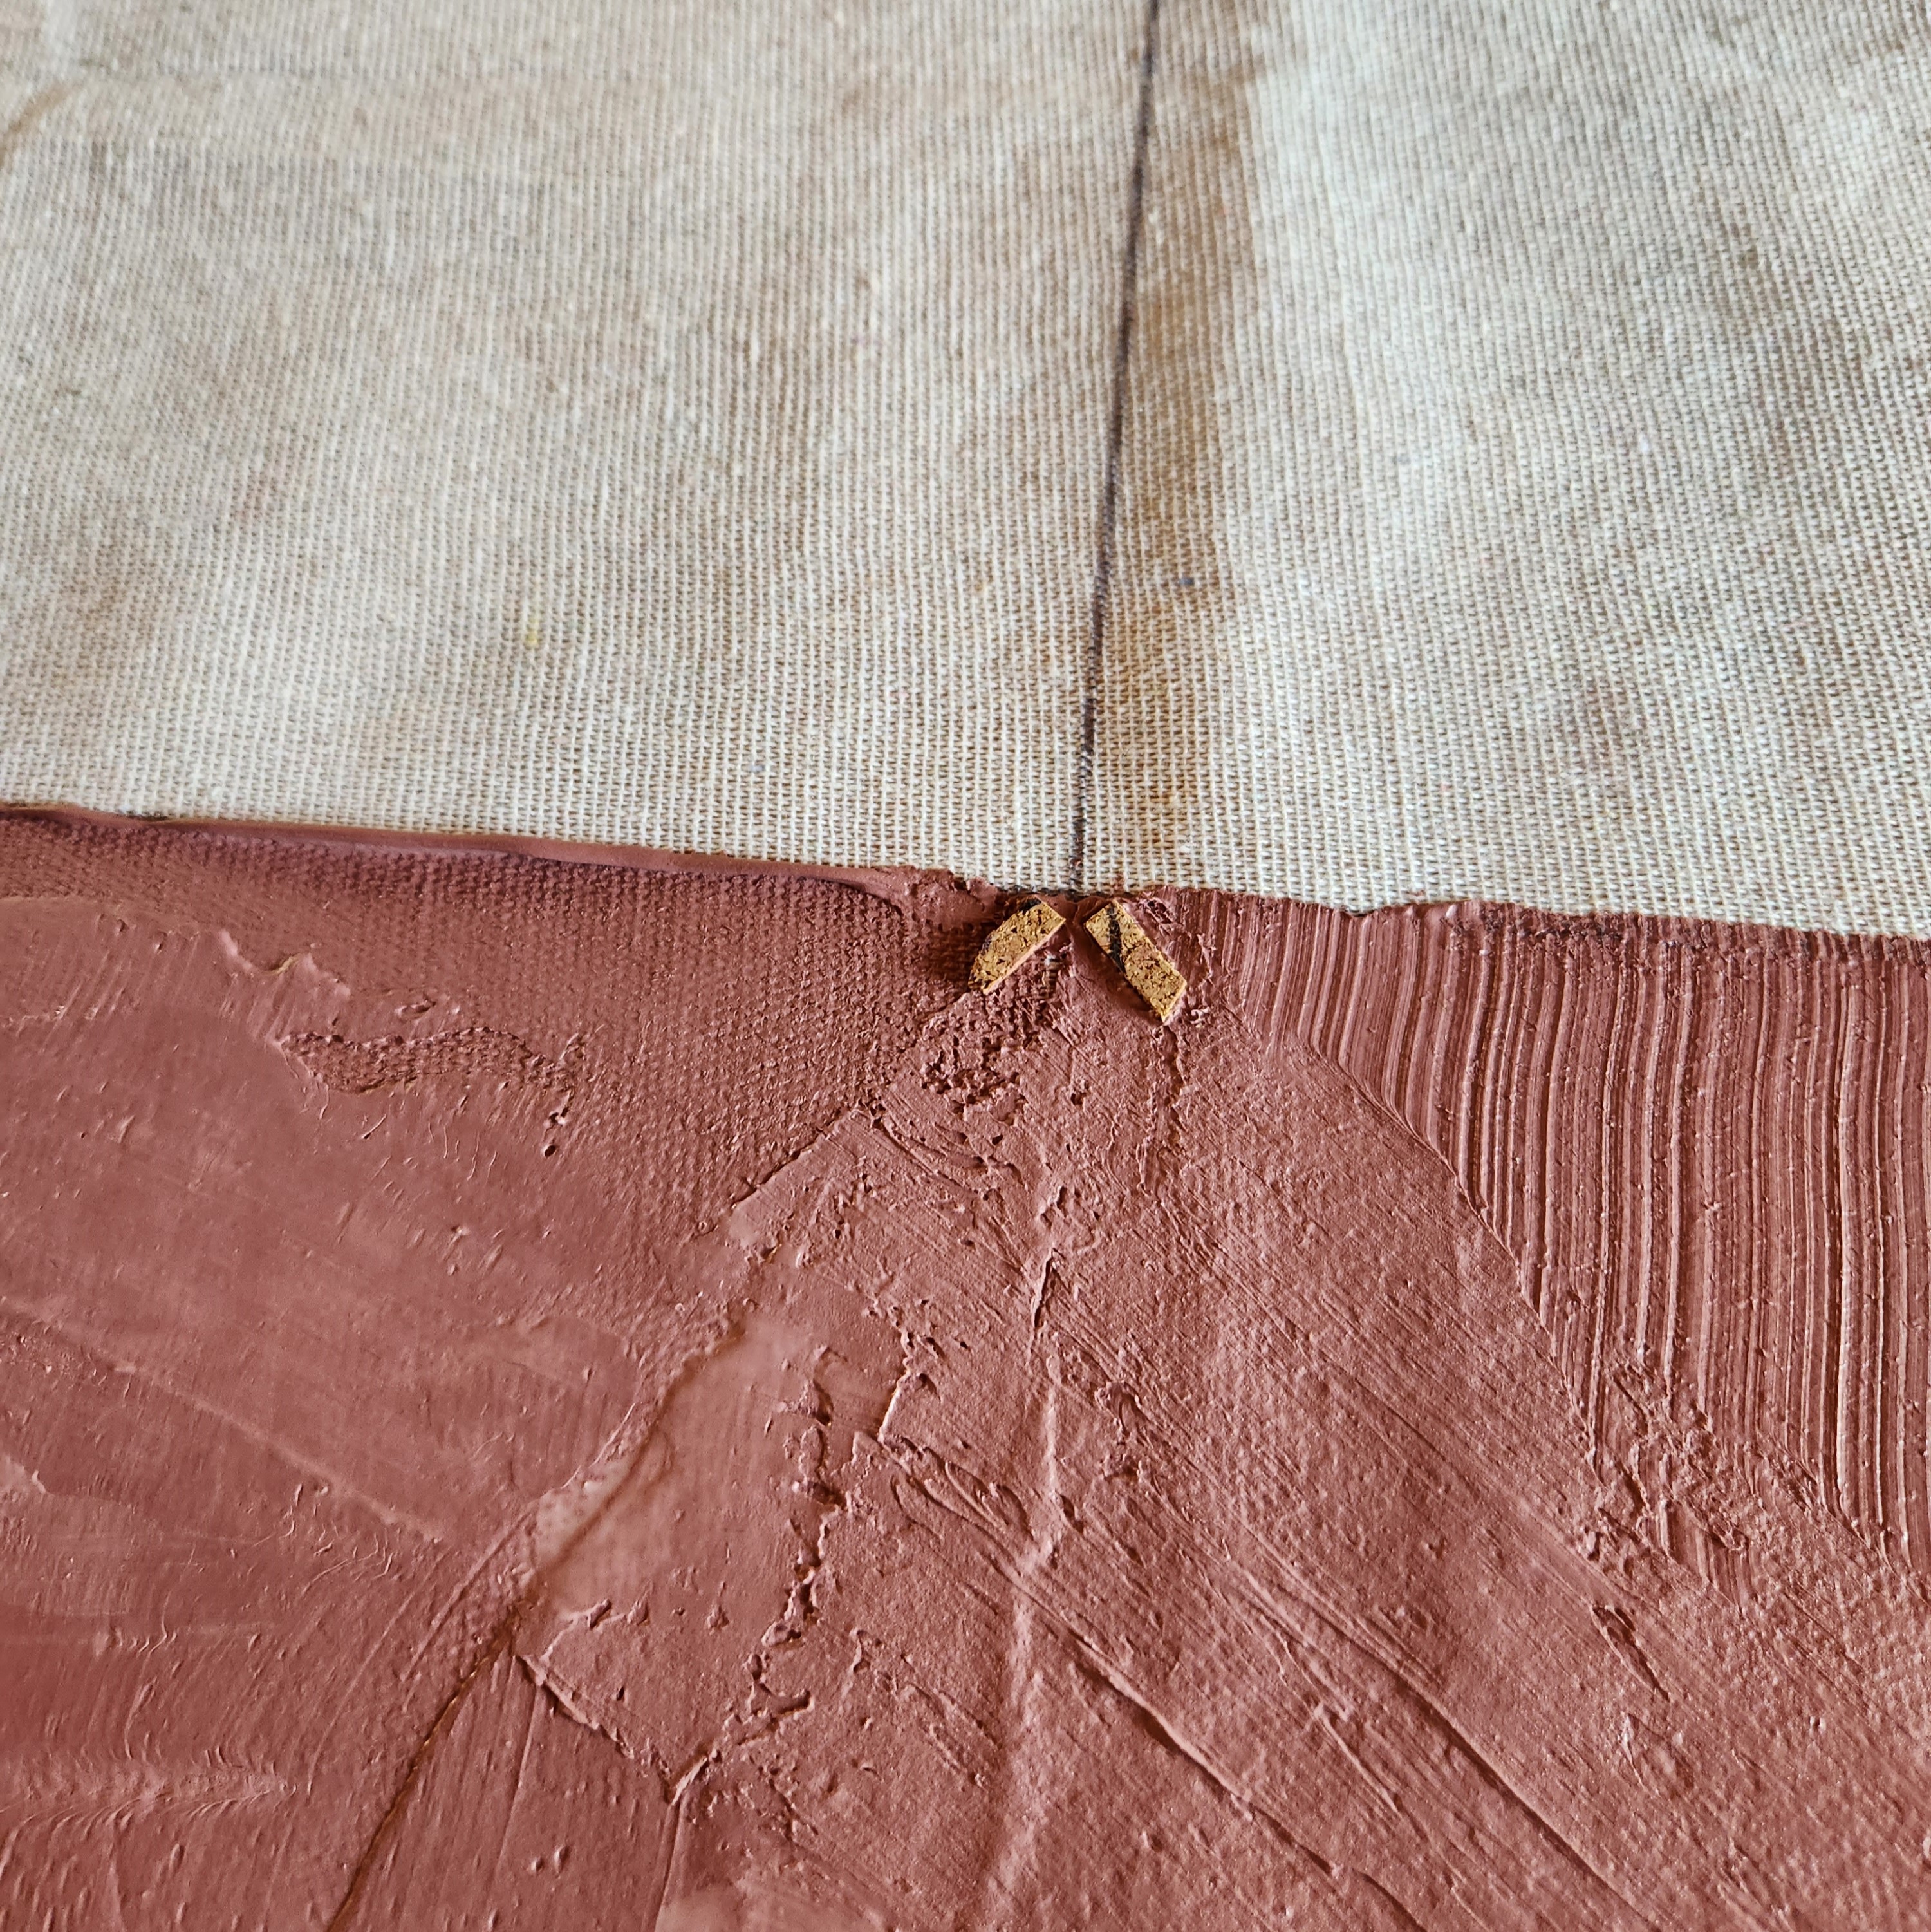
You can see in the next picture where the string intersected the cork line, the cuts dont quite line up neatly. I cut them quickly while working, trying to get the alignment and the lines as close as I could on the fly, without getting caulk all over things I didn’t want it on. Like my scissors…
I went on and did the second quarter which used up the rest of the caulk mixture.
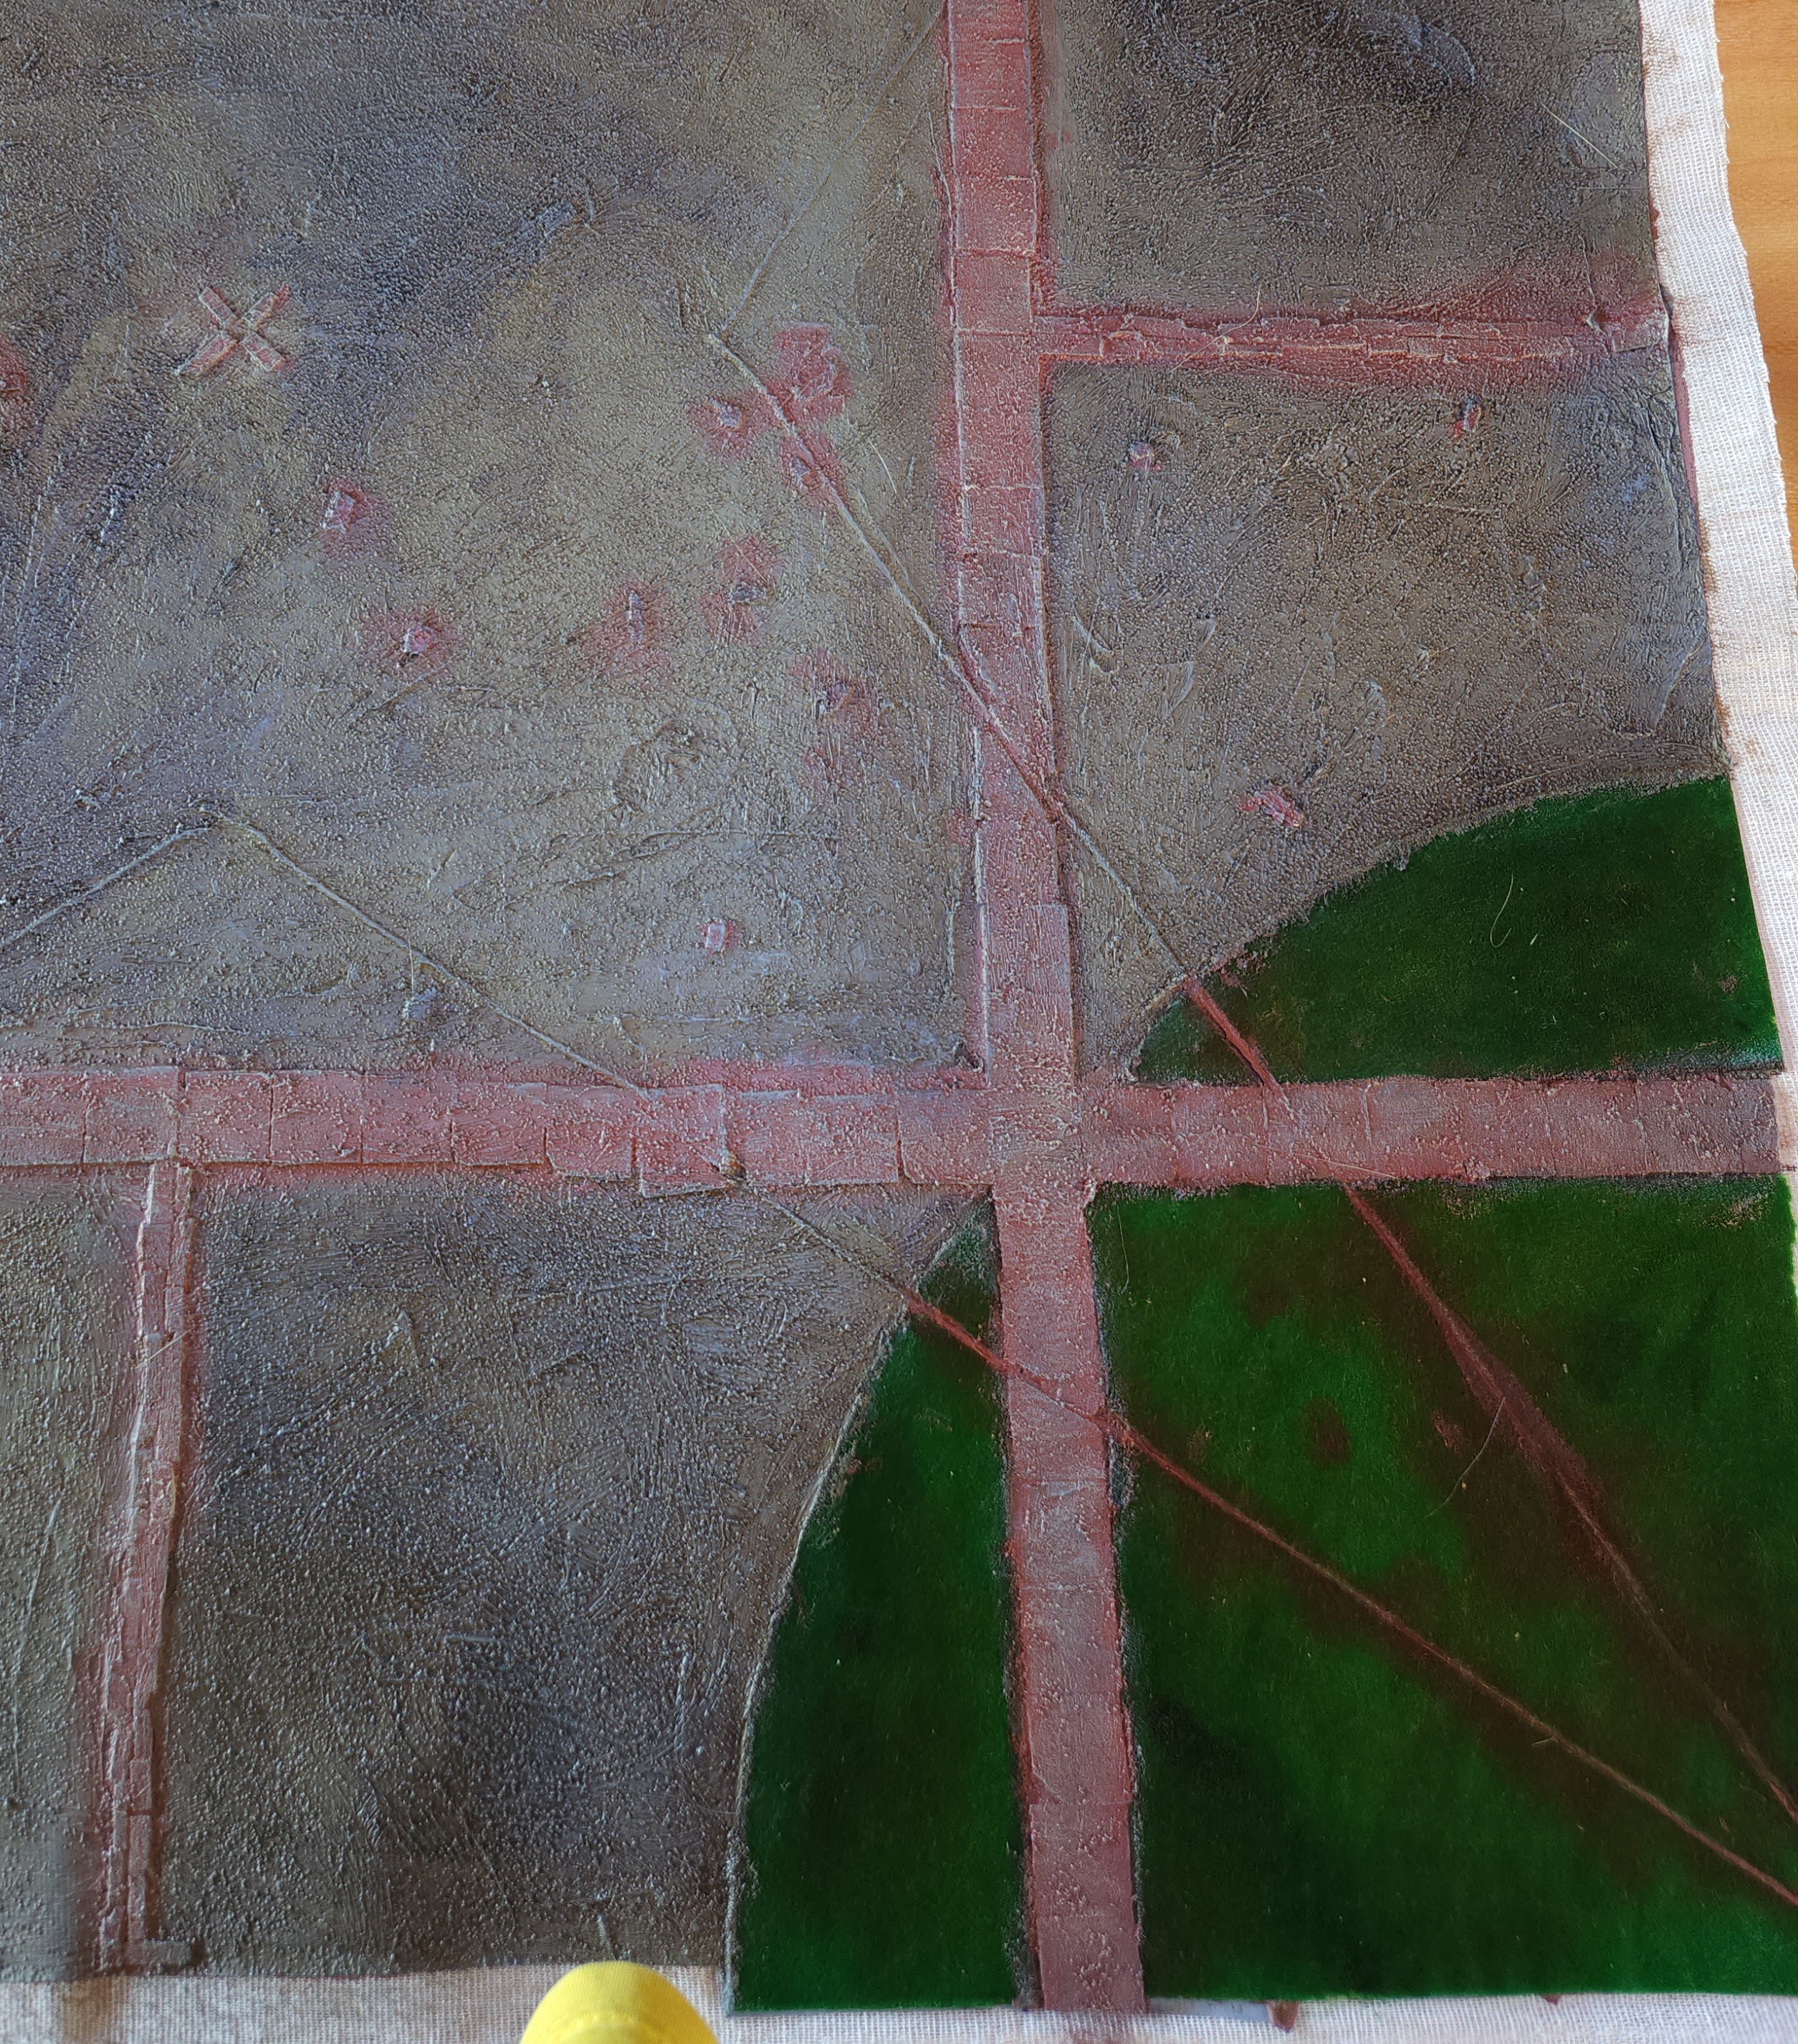
 I decided to add some extra little markers to indicate the board centre. Sometimes it's important to know where that is.
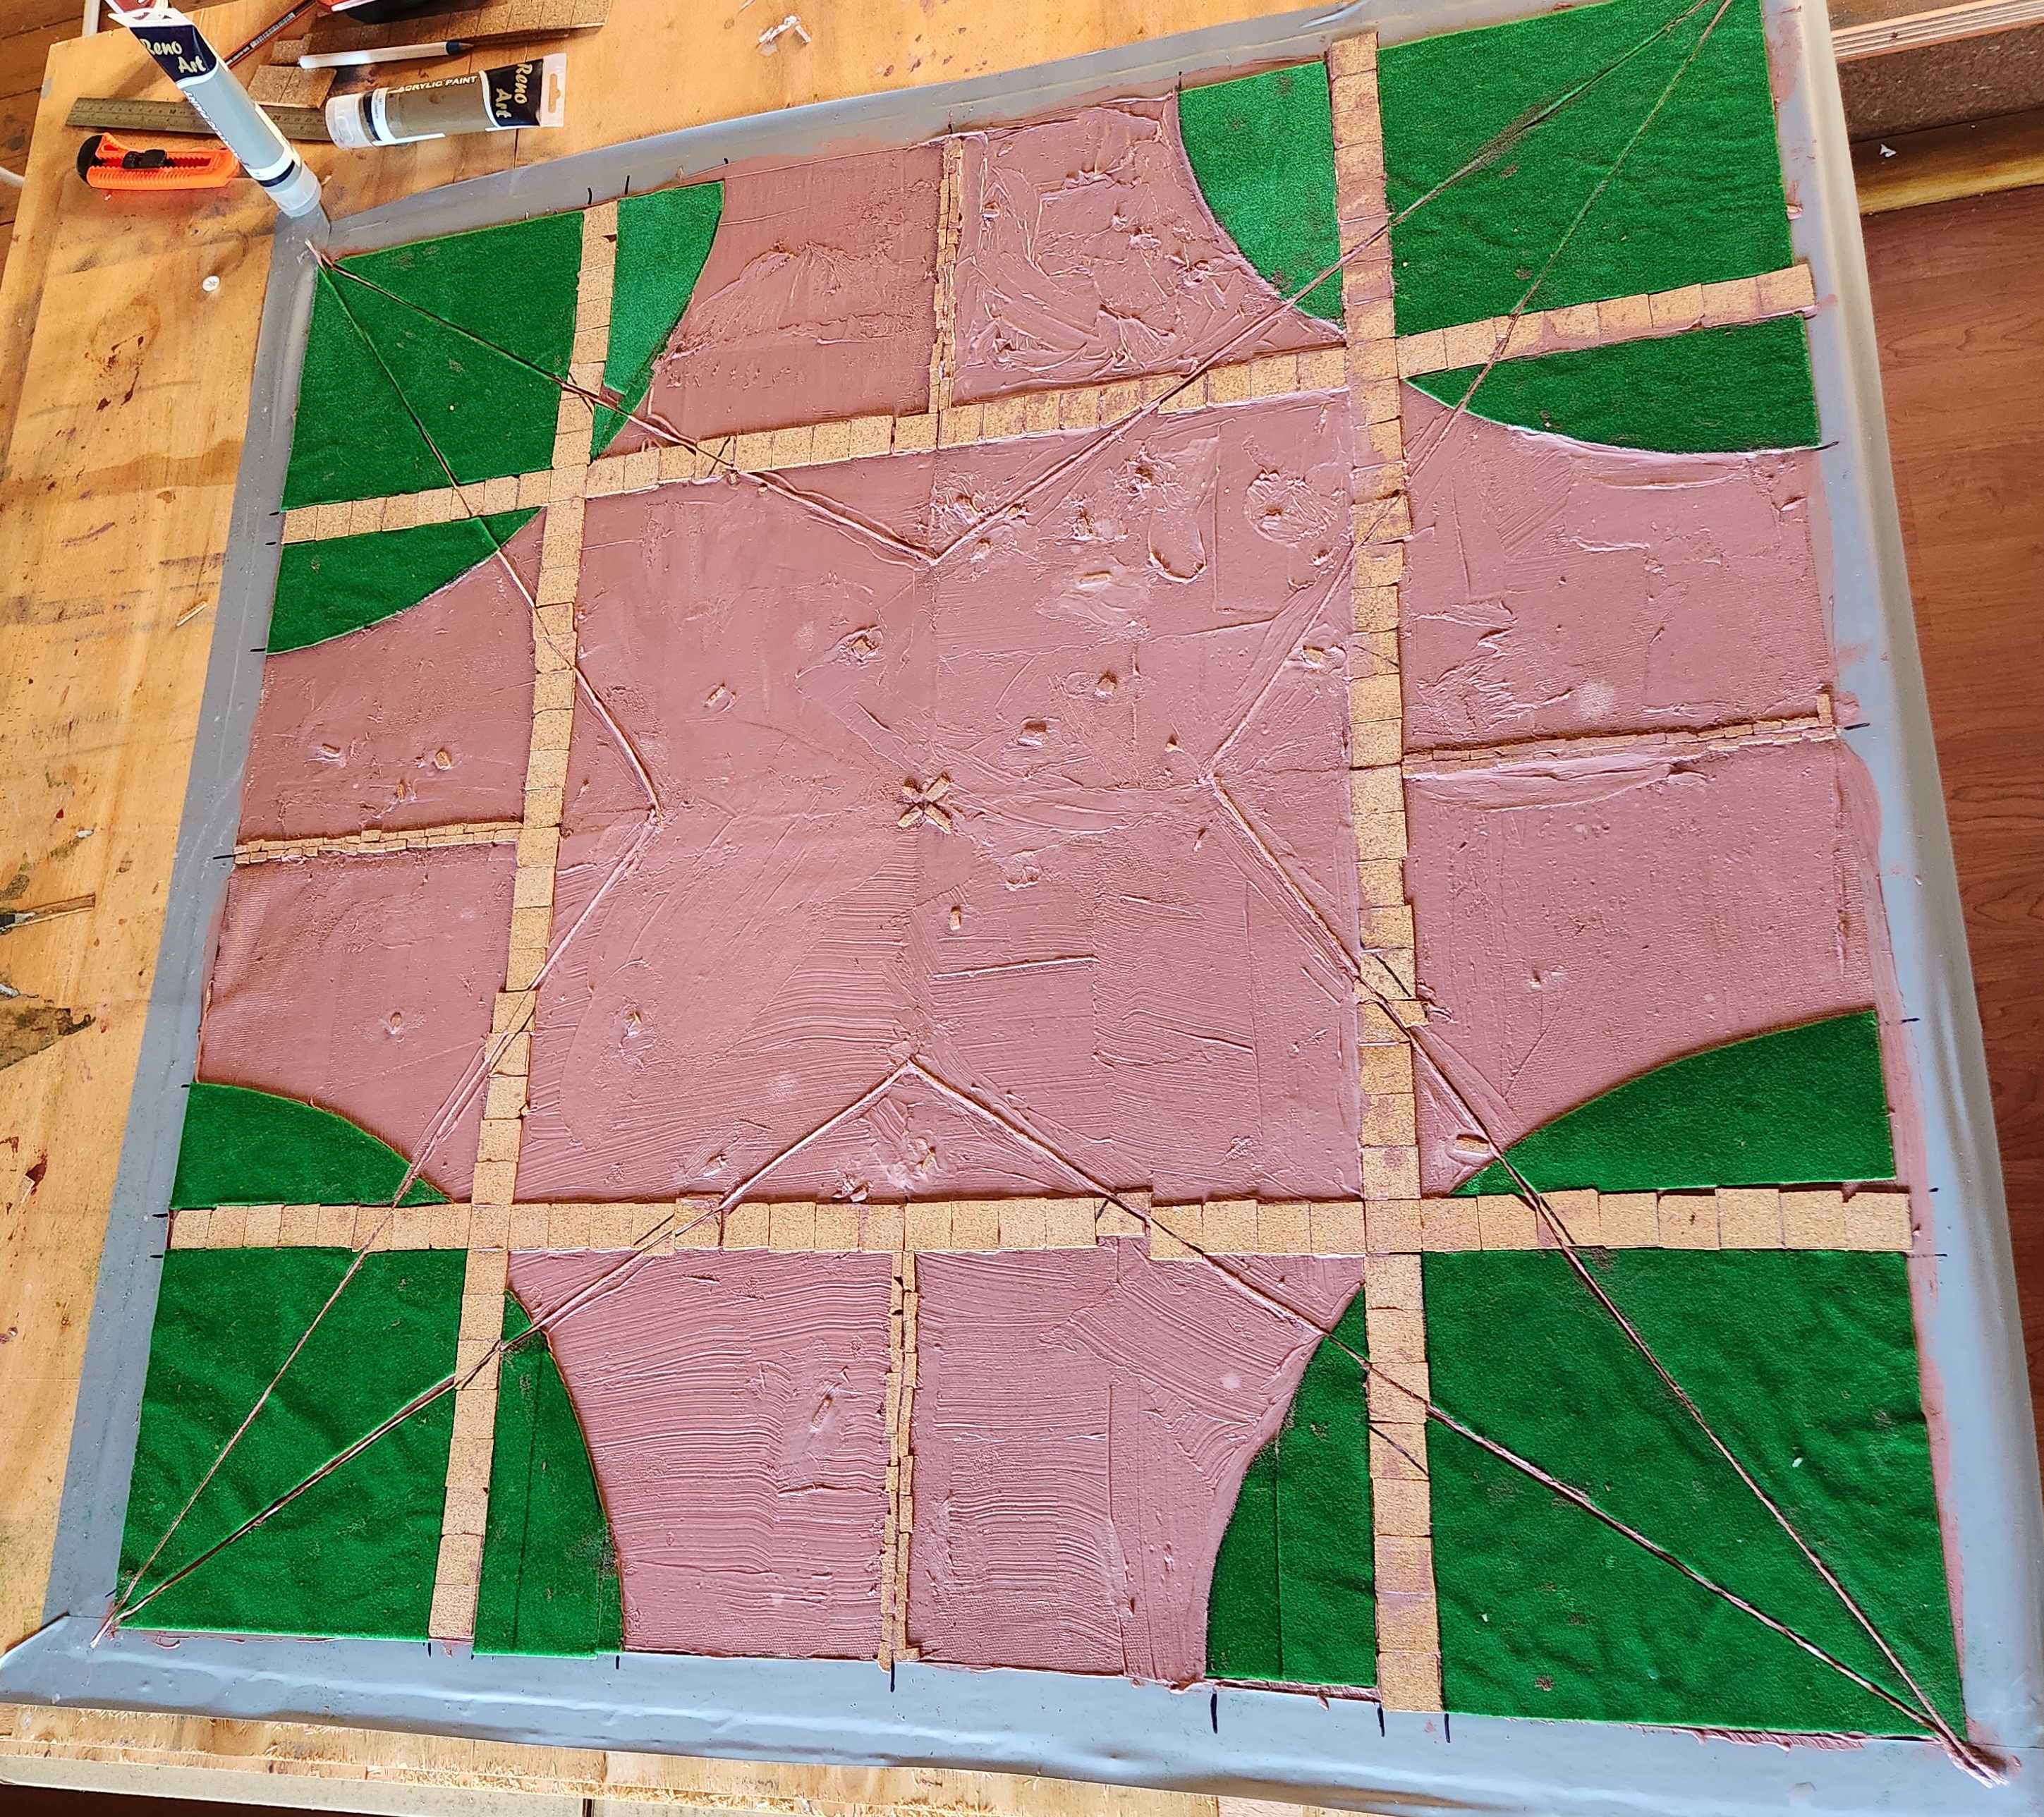 First Layer done! I had some small scraps of cork that I sprinkled on around the mat and worked into the caulk to add extra detail. I then let it set for 24 hours before continuing.
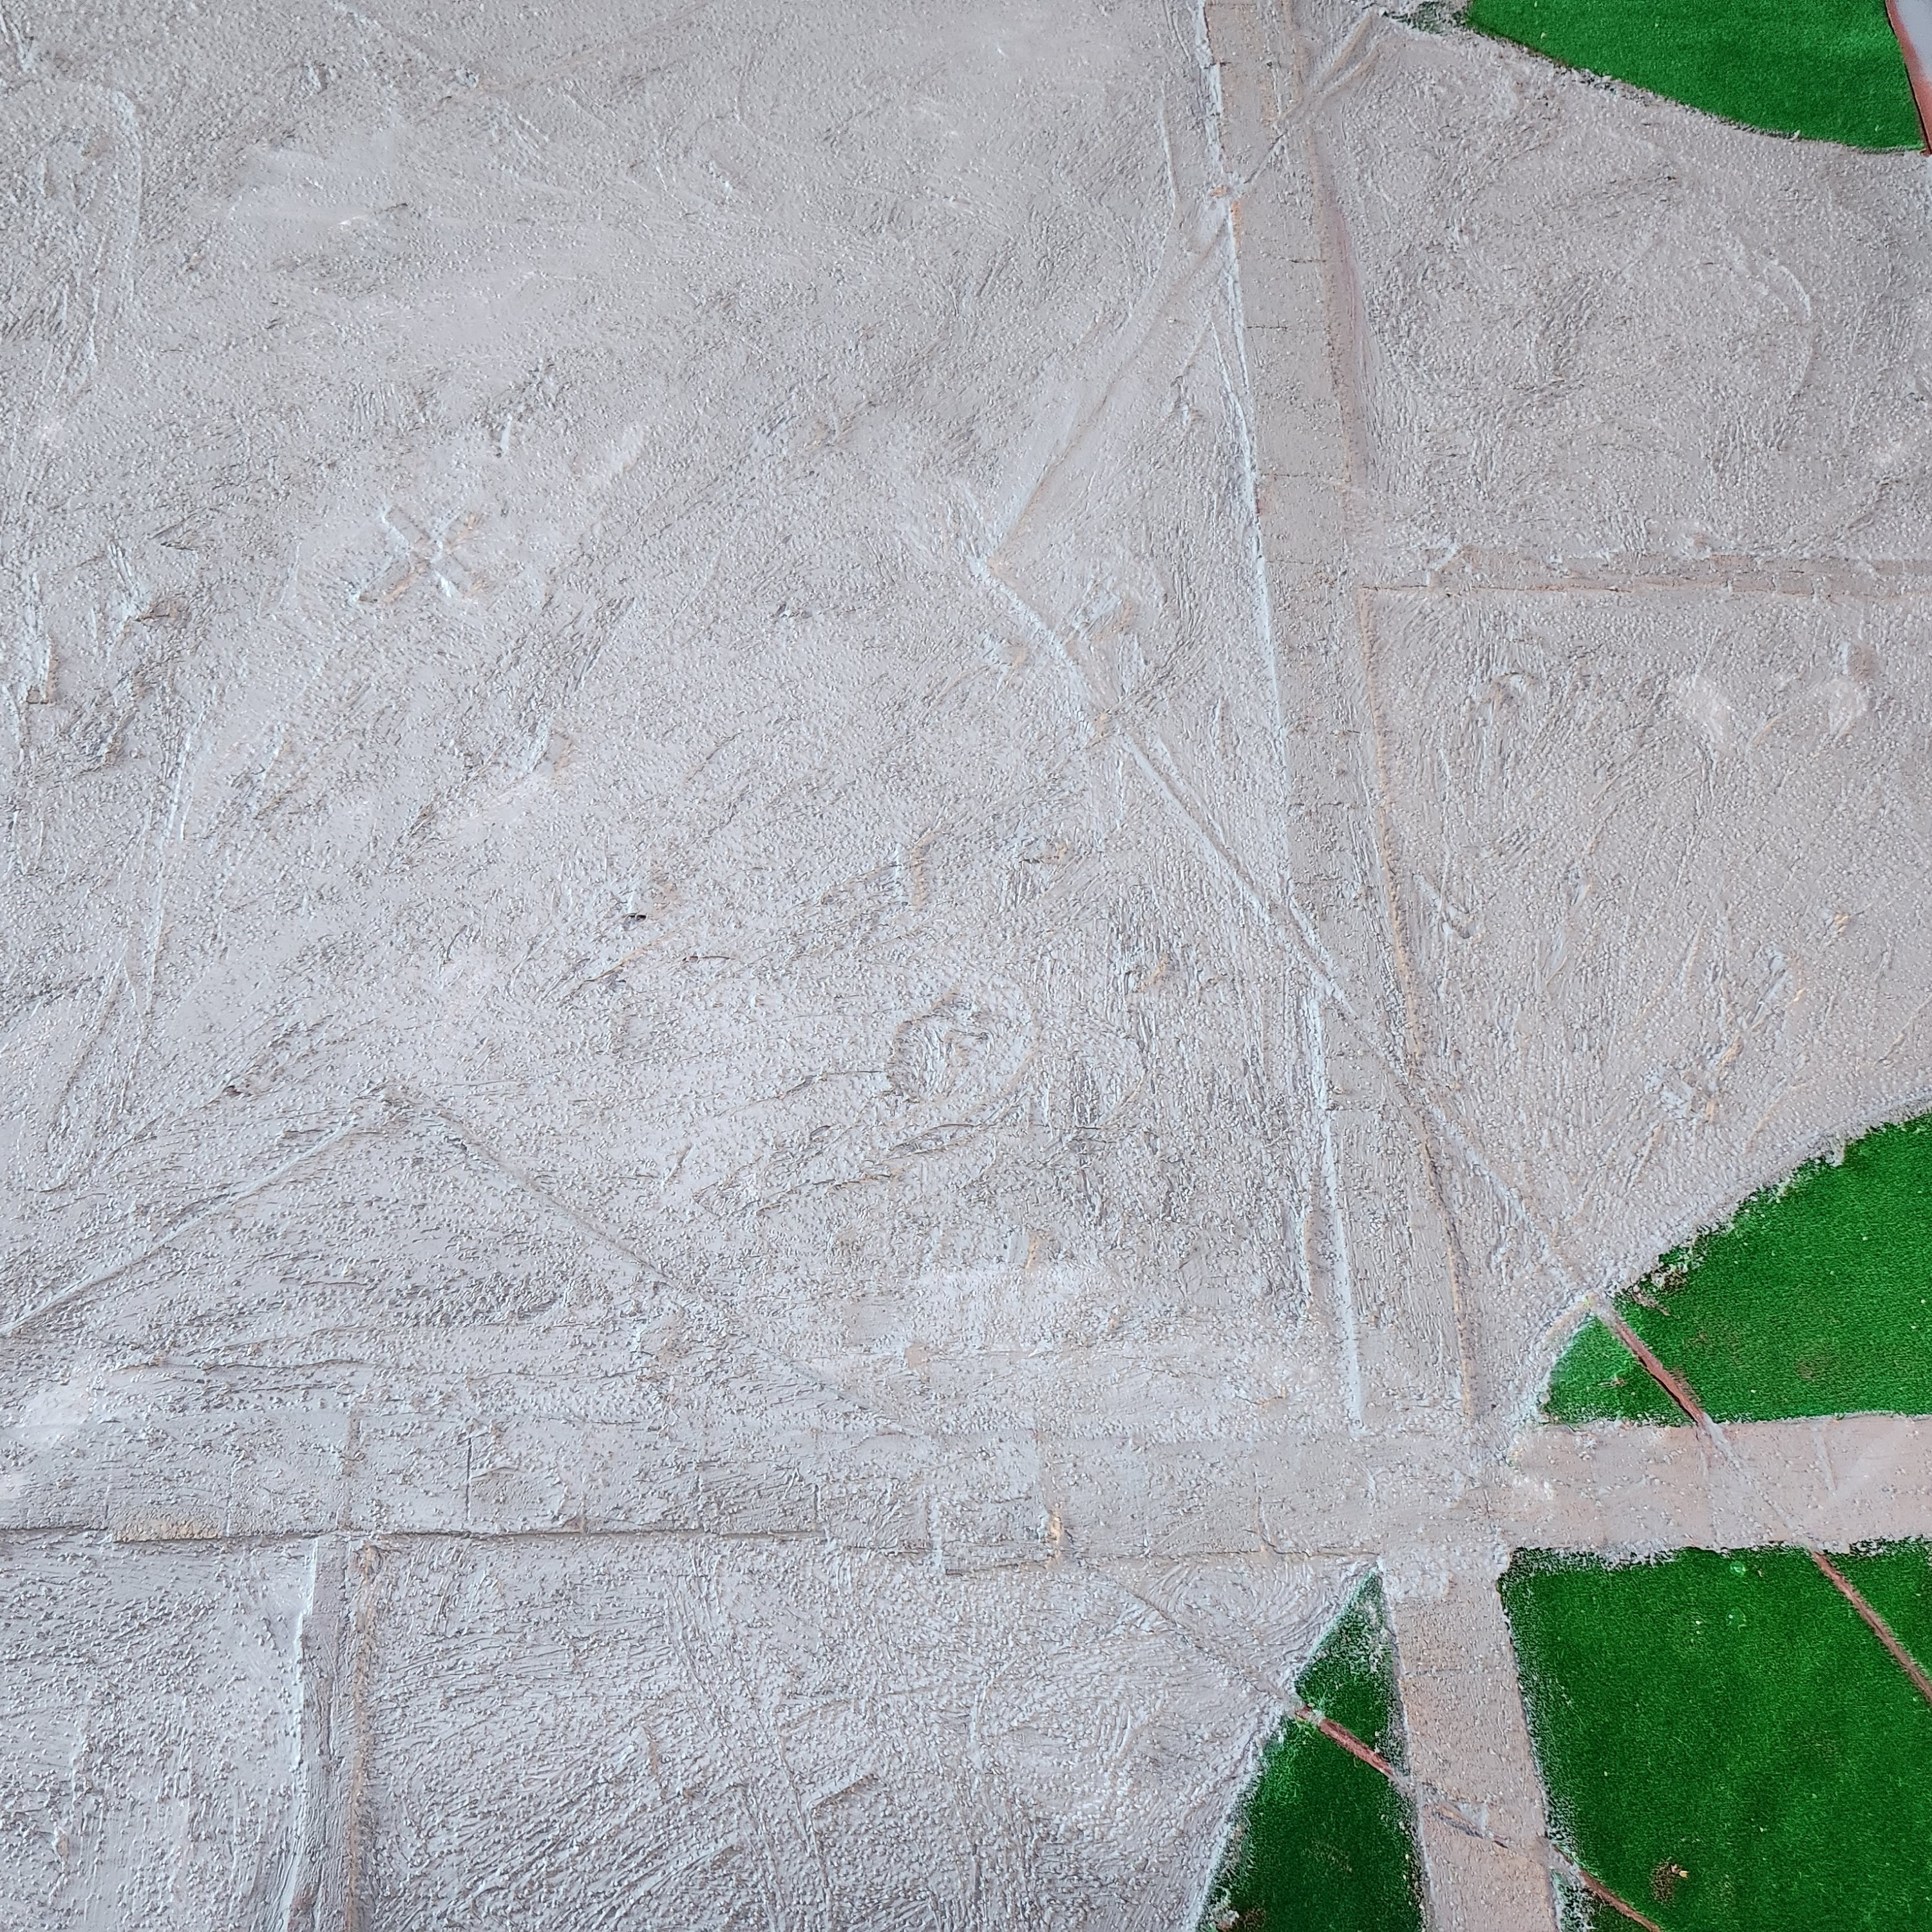
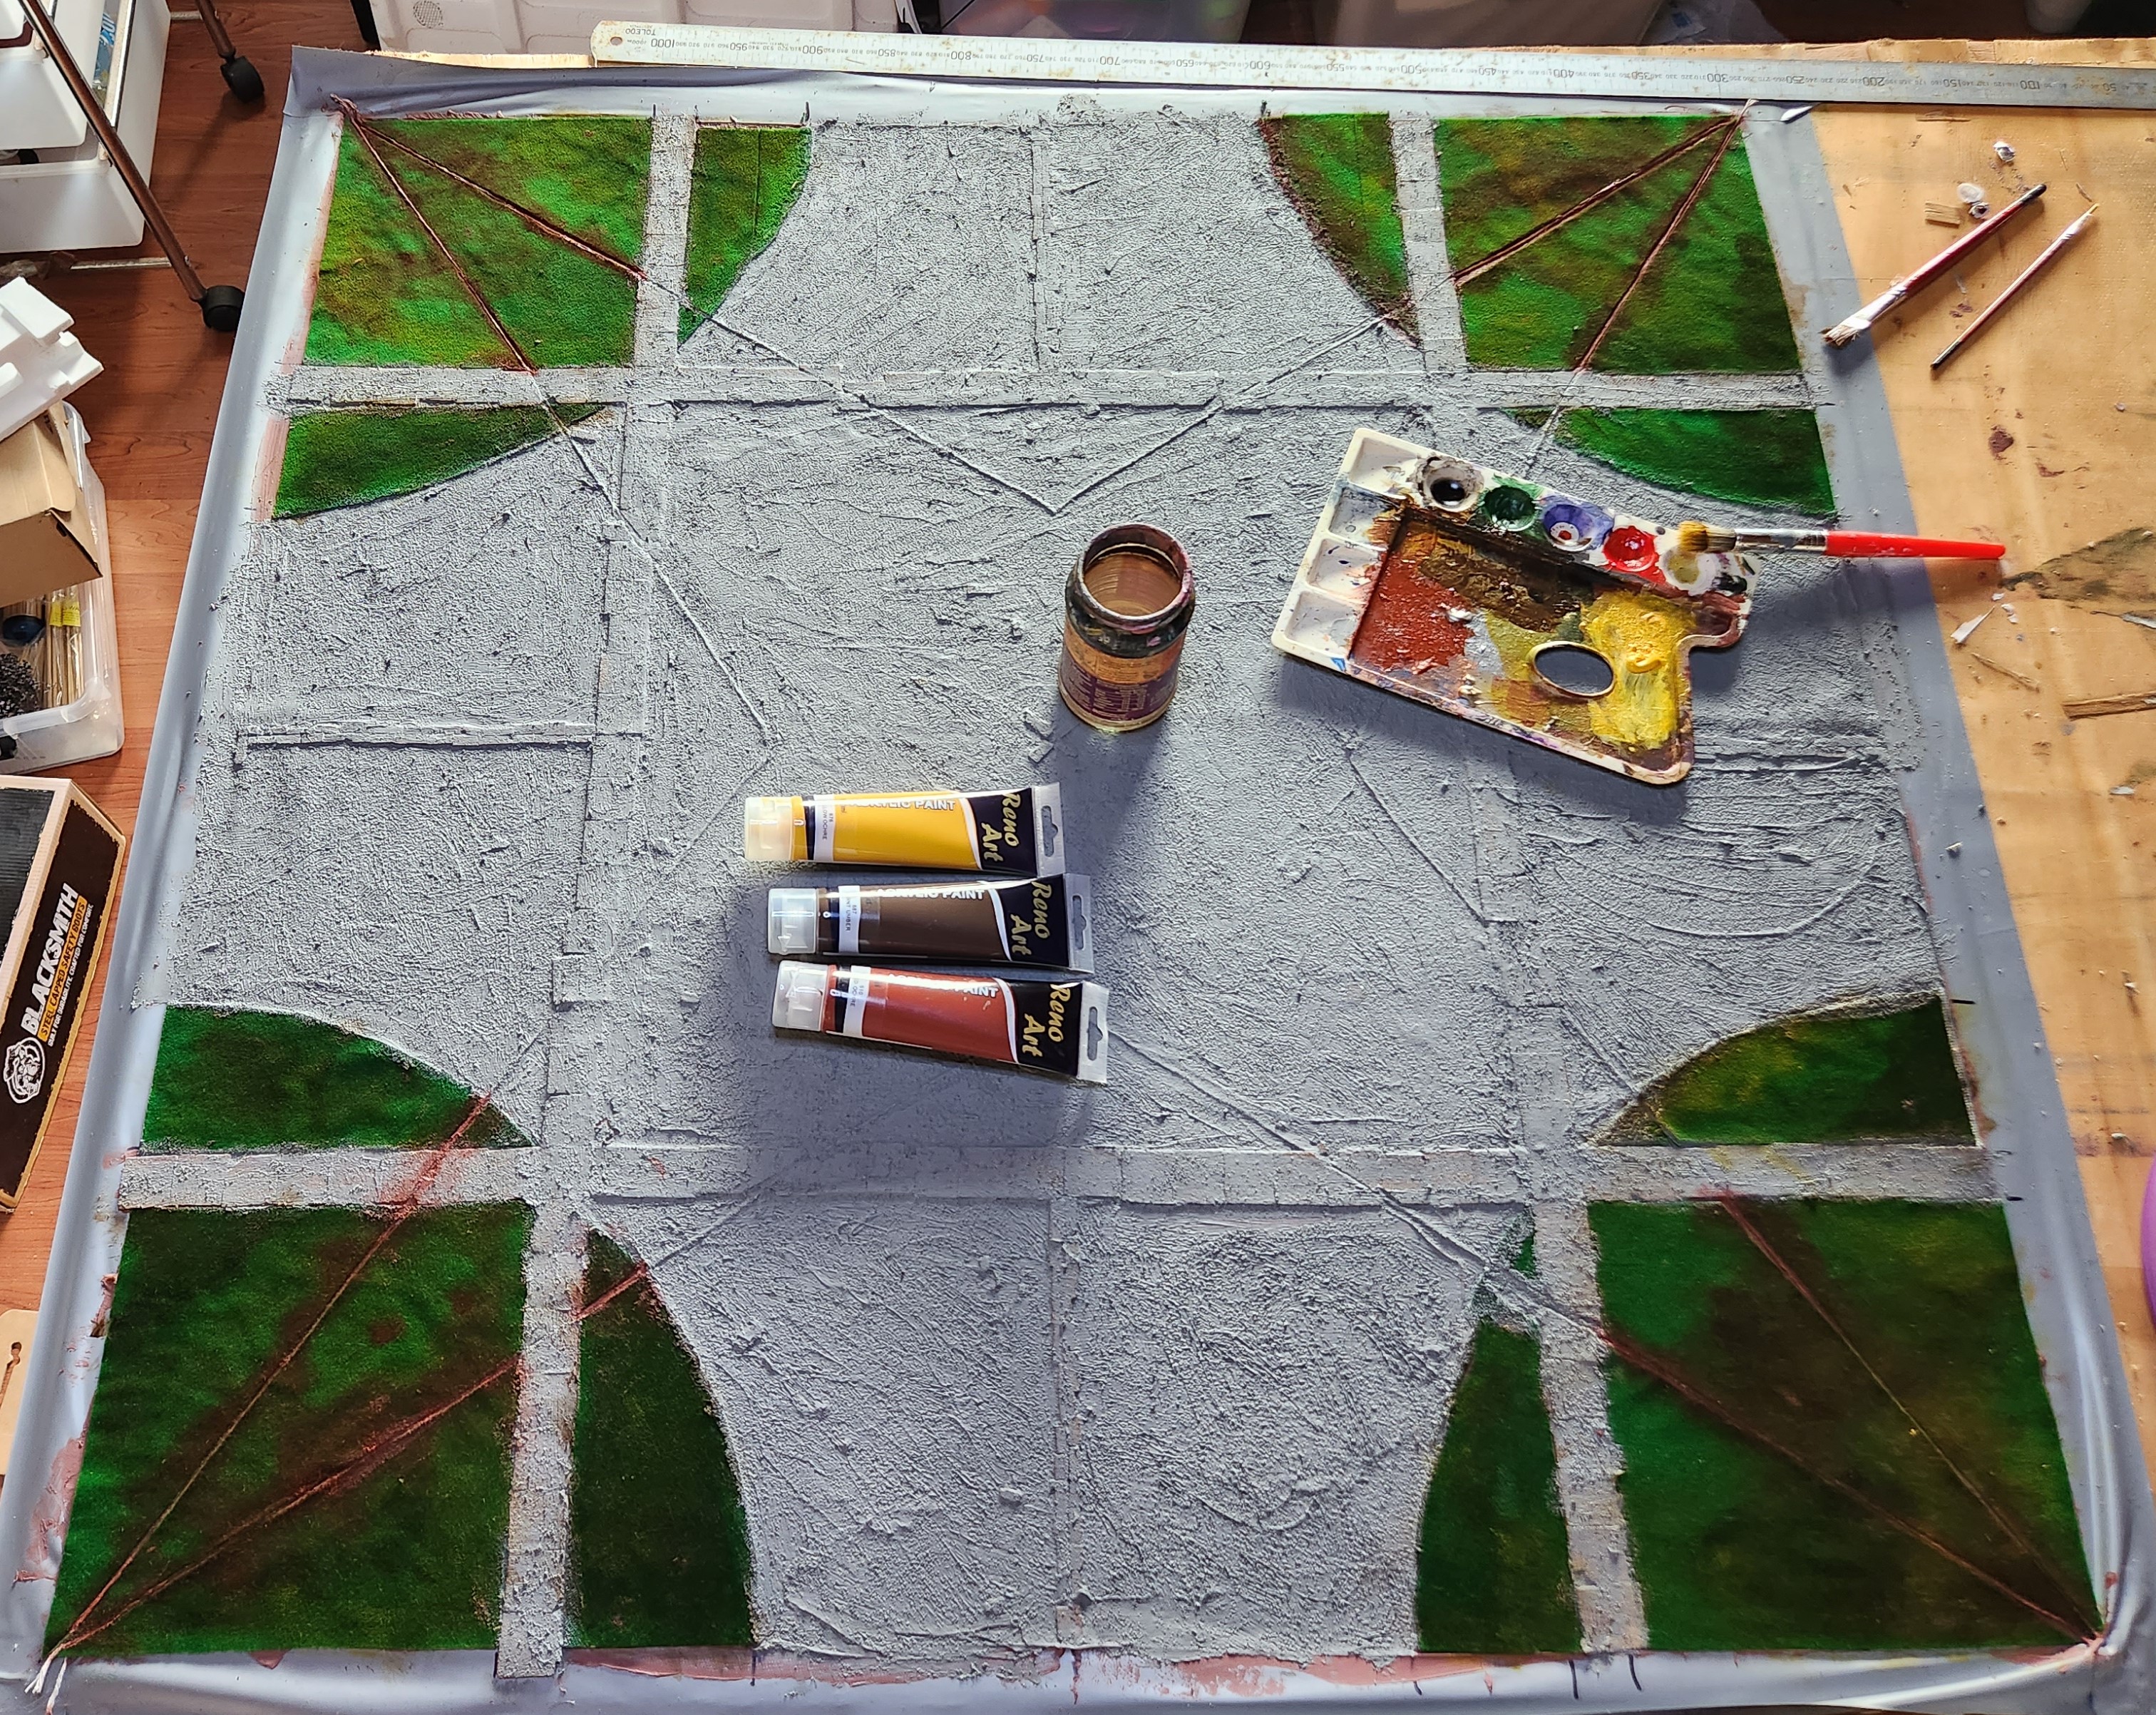
 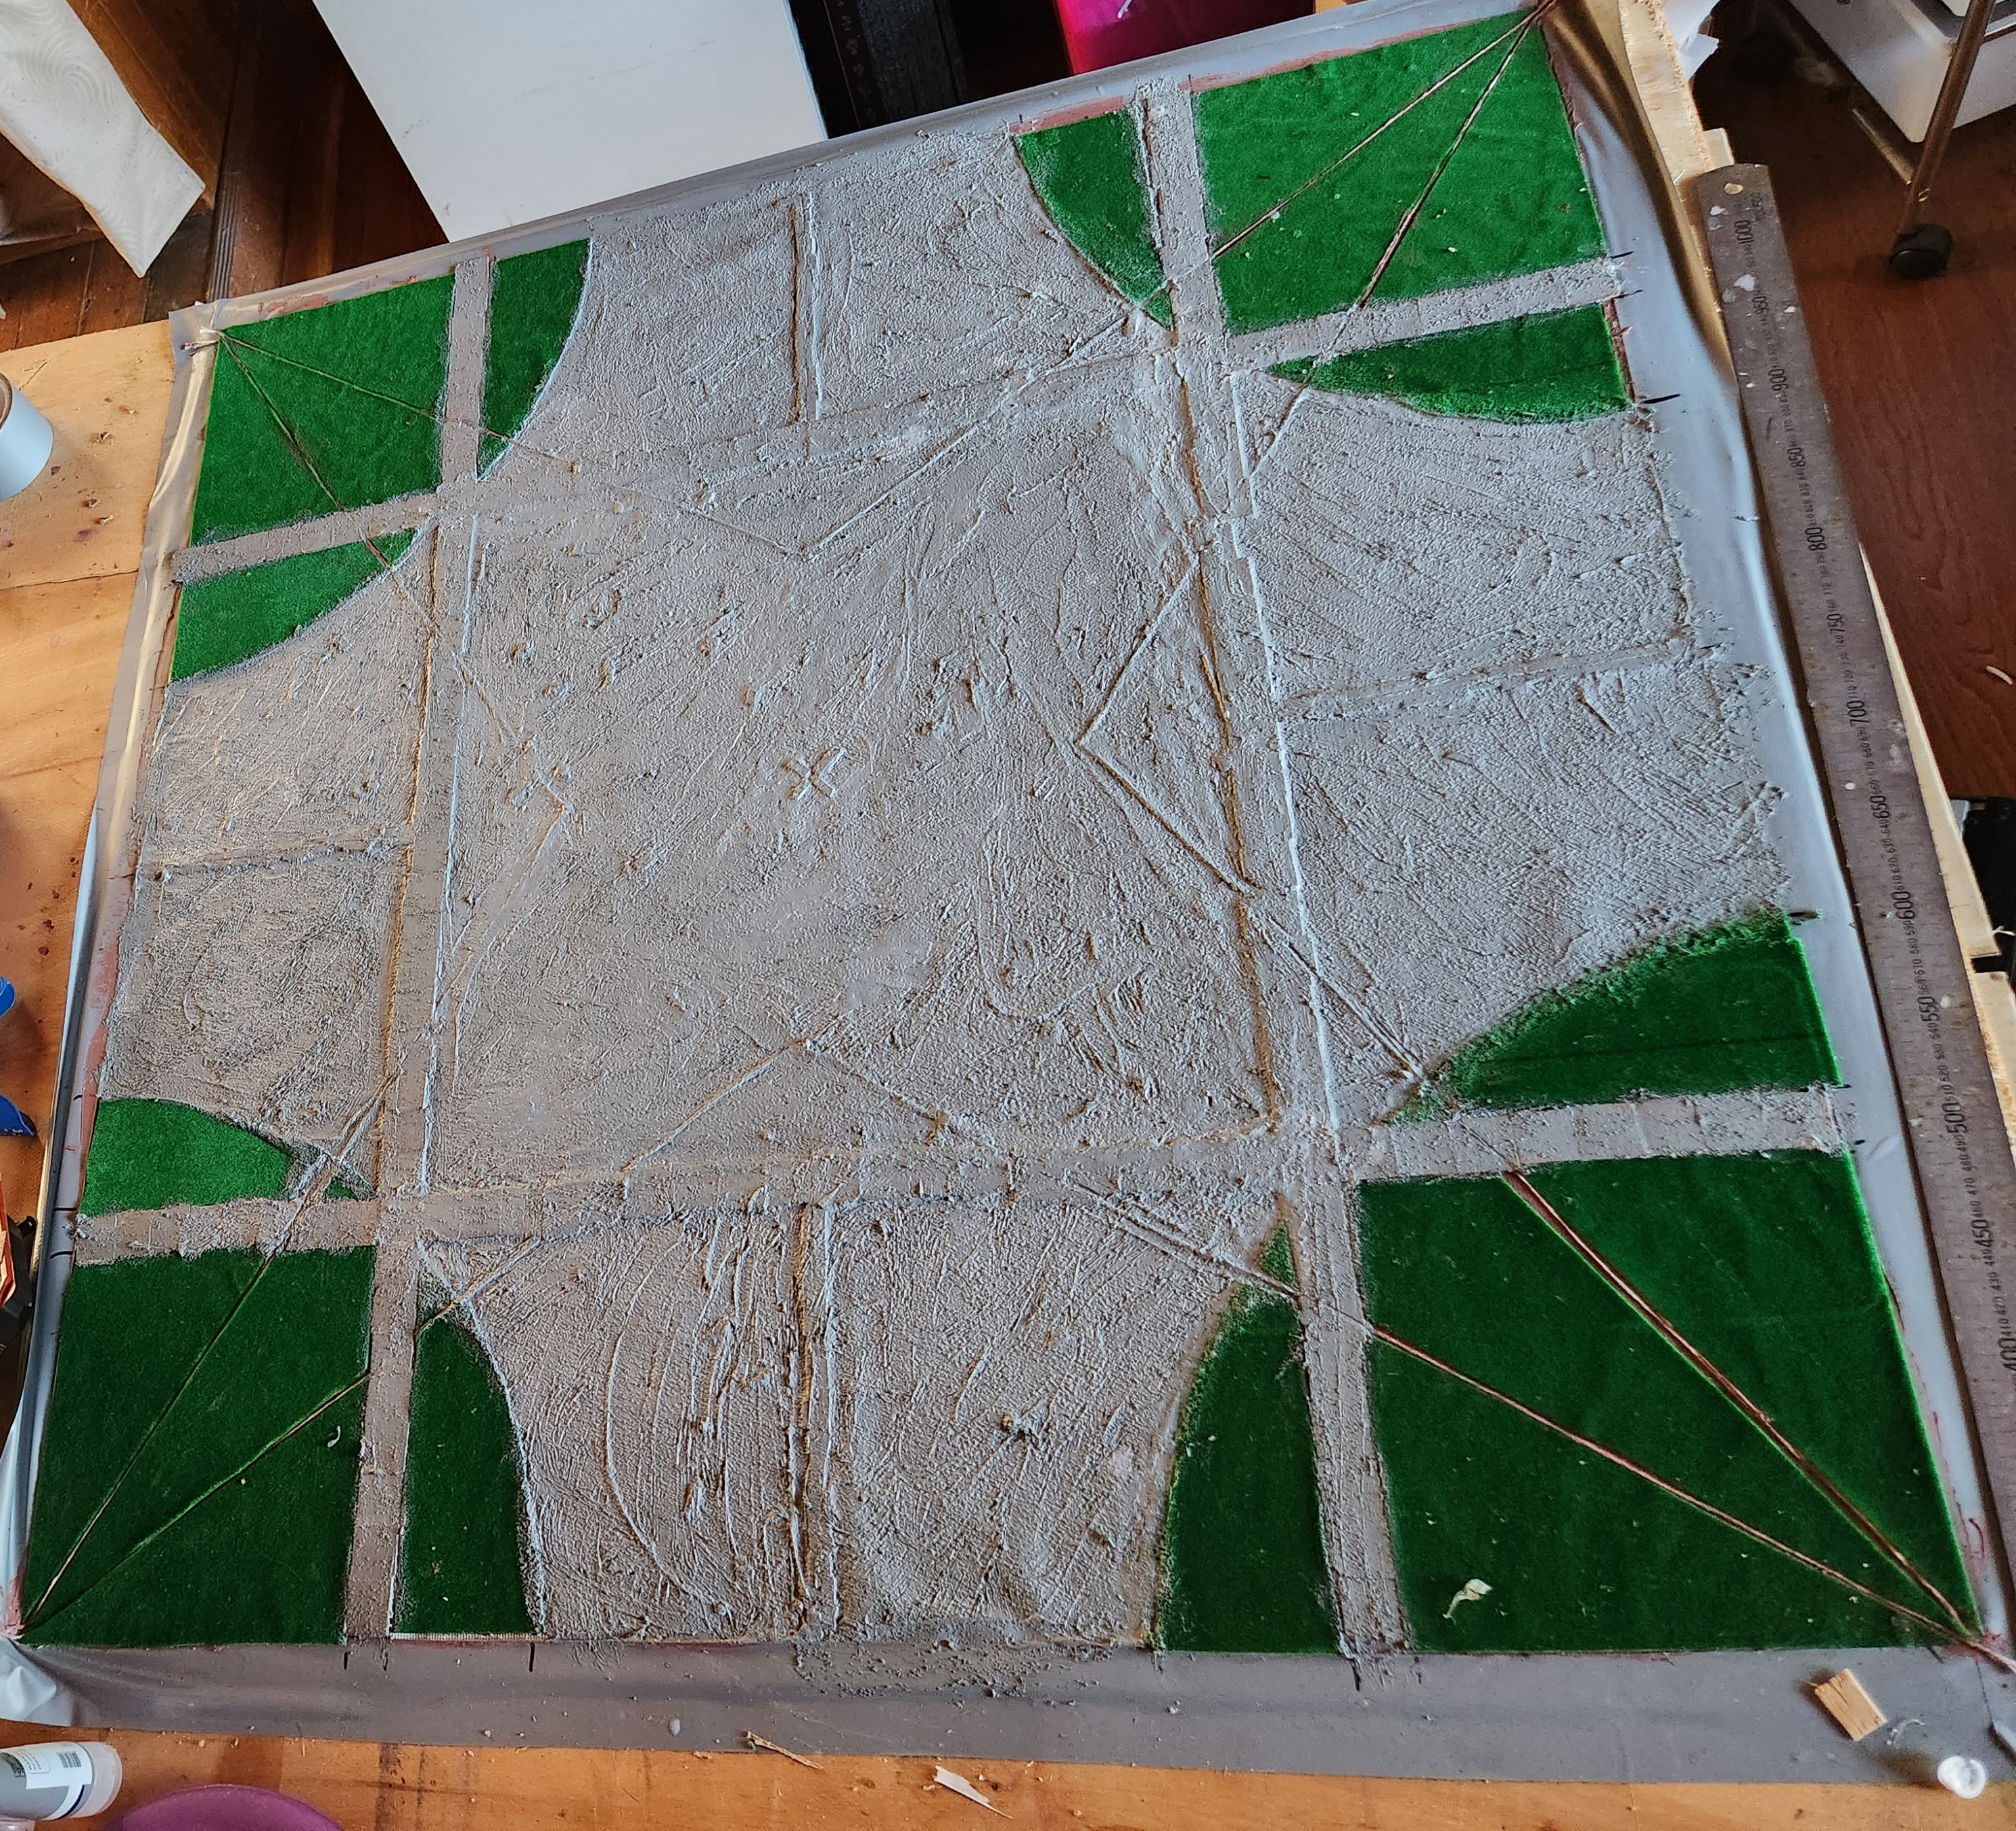 24 hours later, Second layer down. I've added sand to this mixture to create the texture and using a wet finger, worked it into the pavers. It's also a good way to break up any marks left from using the tools, to randomise the surface.
The second layer is mixed with sand to add the texture and grey acrylic paint for the colour. I work the caulk in around the edges of the details using tools or a finger dipped in water.
Once again, this is left to dry for 24 hours before I come in with some paint to finish it off.
13 Oct 23: Laying out the Grounds
Time to plot out the details. Using the Cork, twine and modelling grass, I started to plan out where each piece was going to go.
Initially, I was only going to use cork and twine. I didn’t pick up the grass until later.
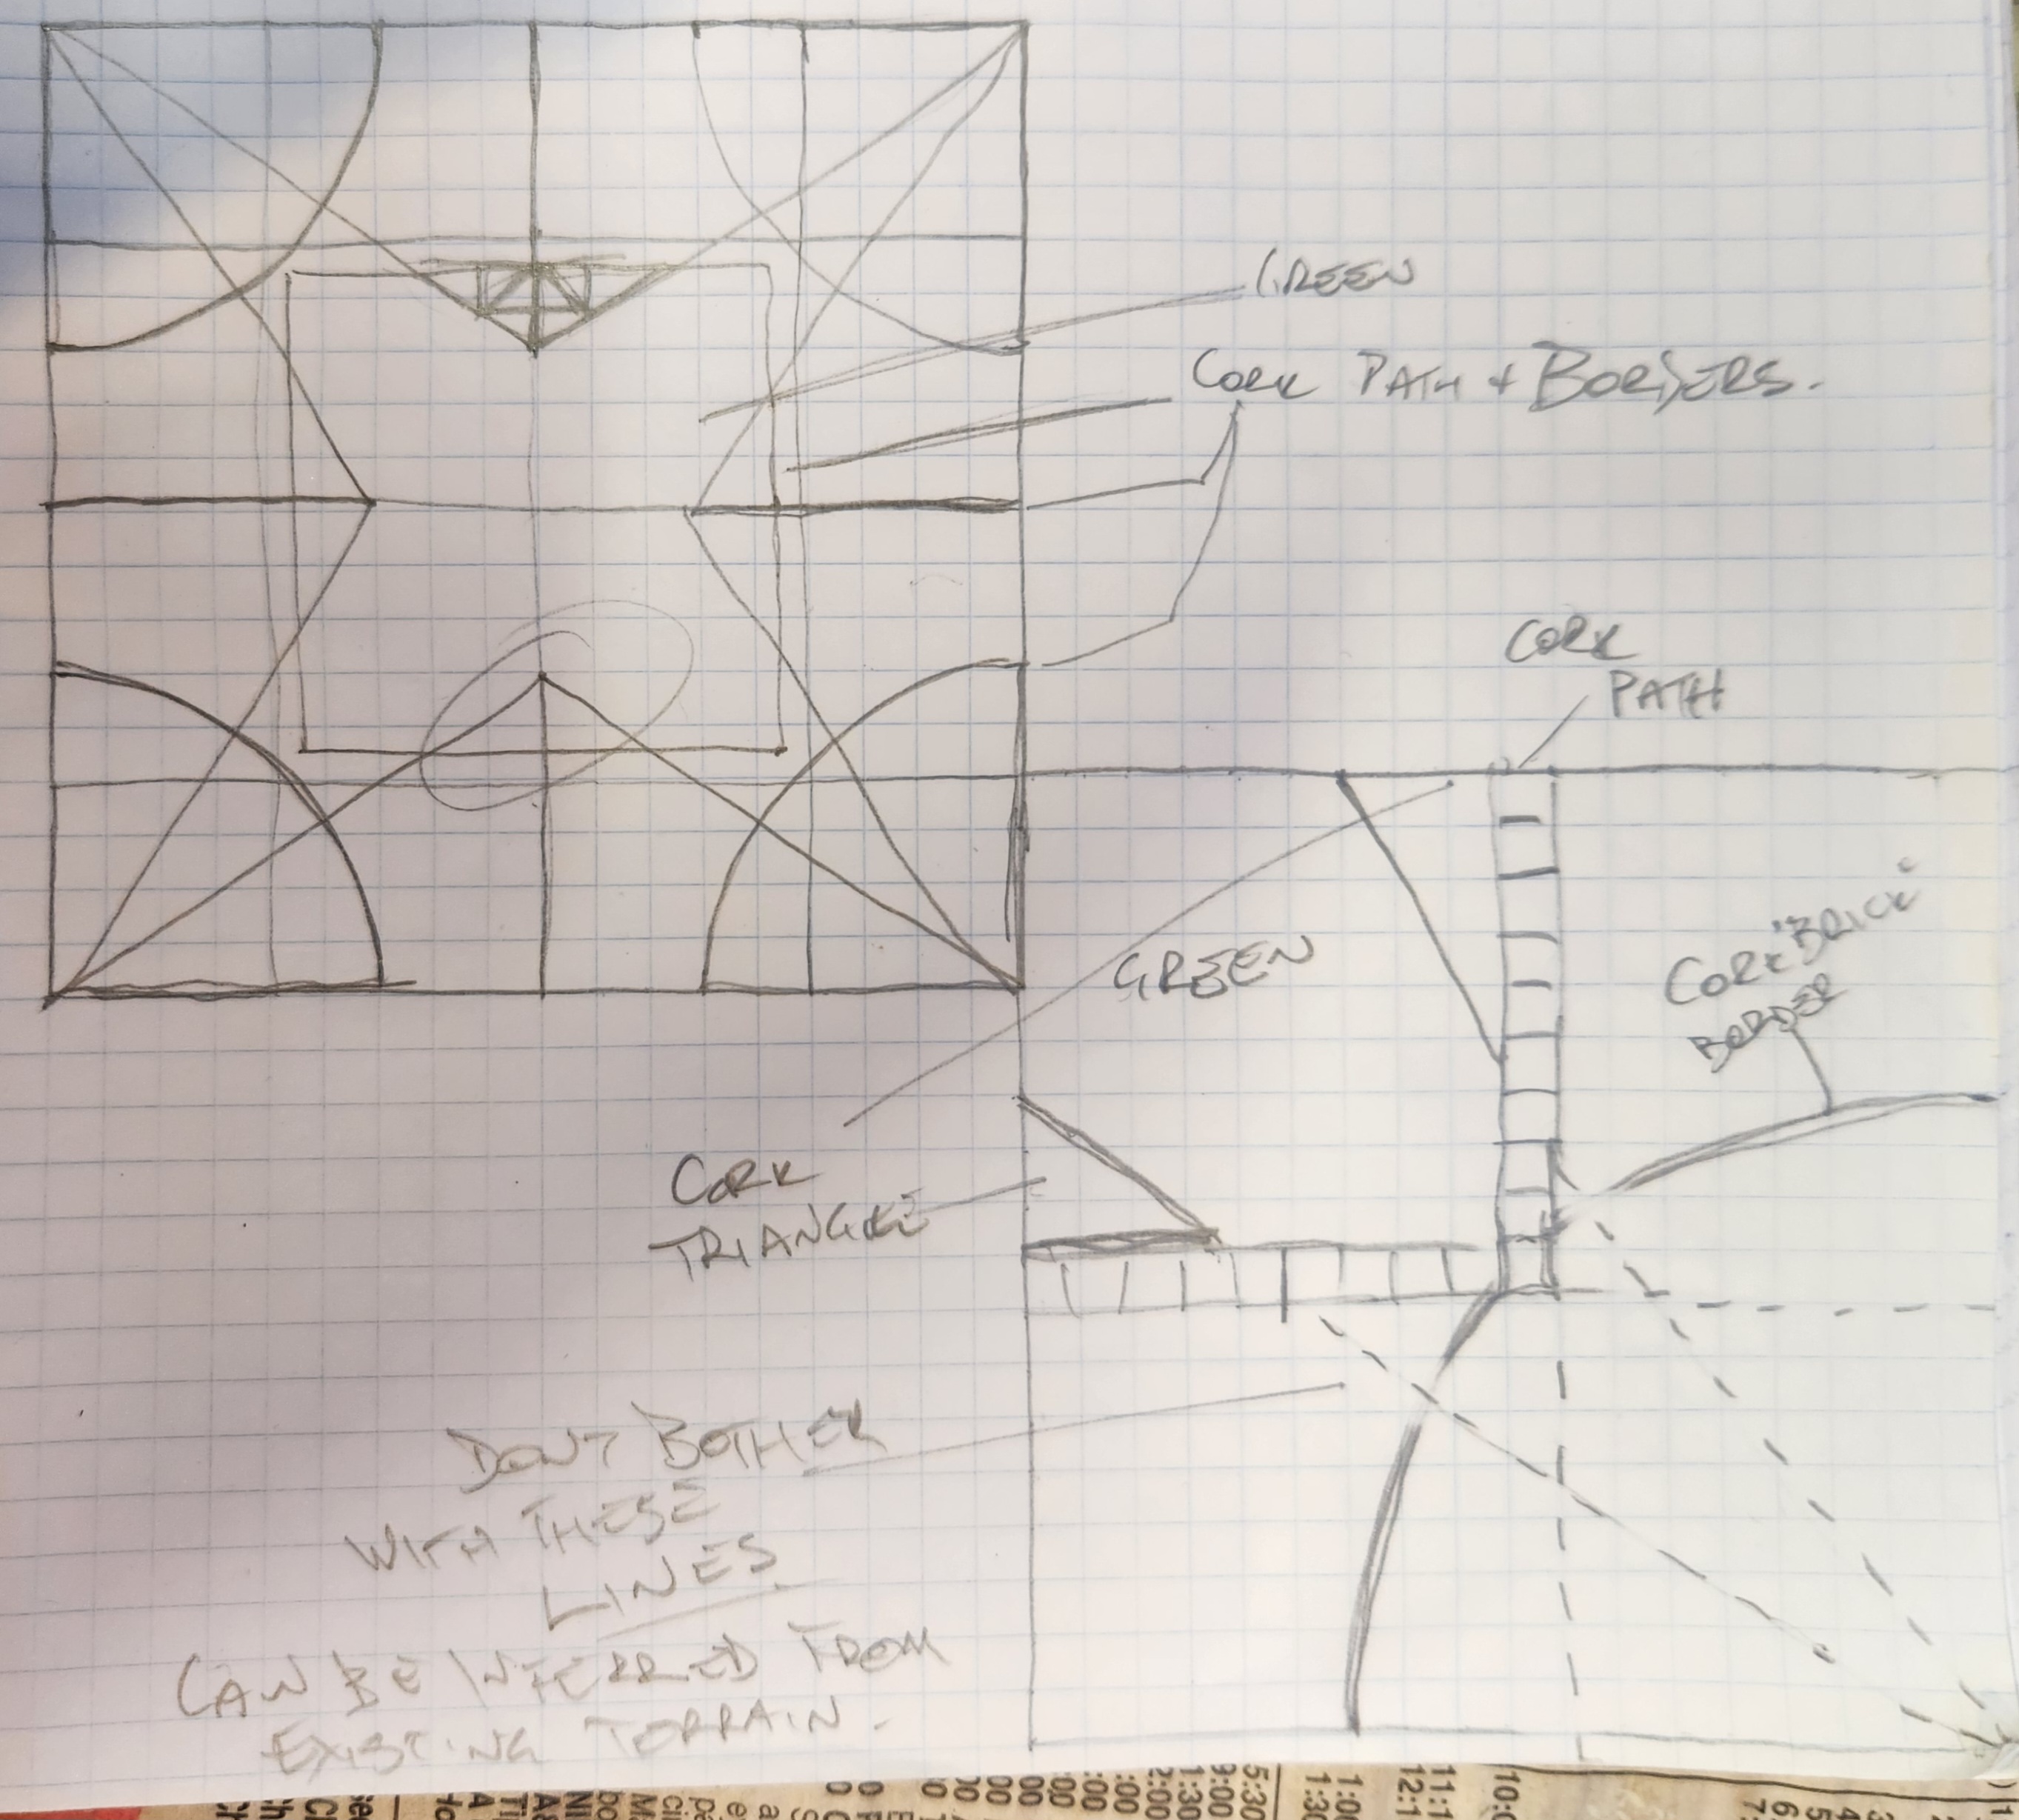
 Originally, I had thought to have all the corners "tiled" with cork.
My first ideas
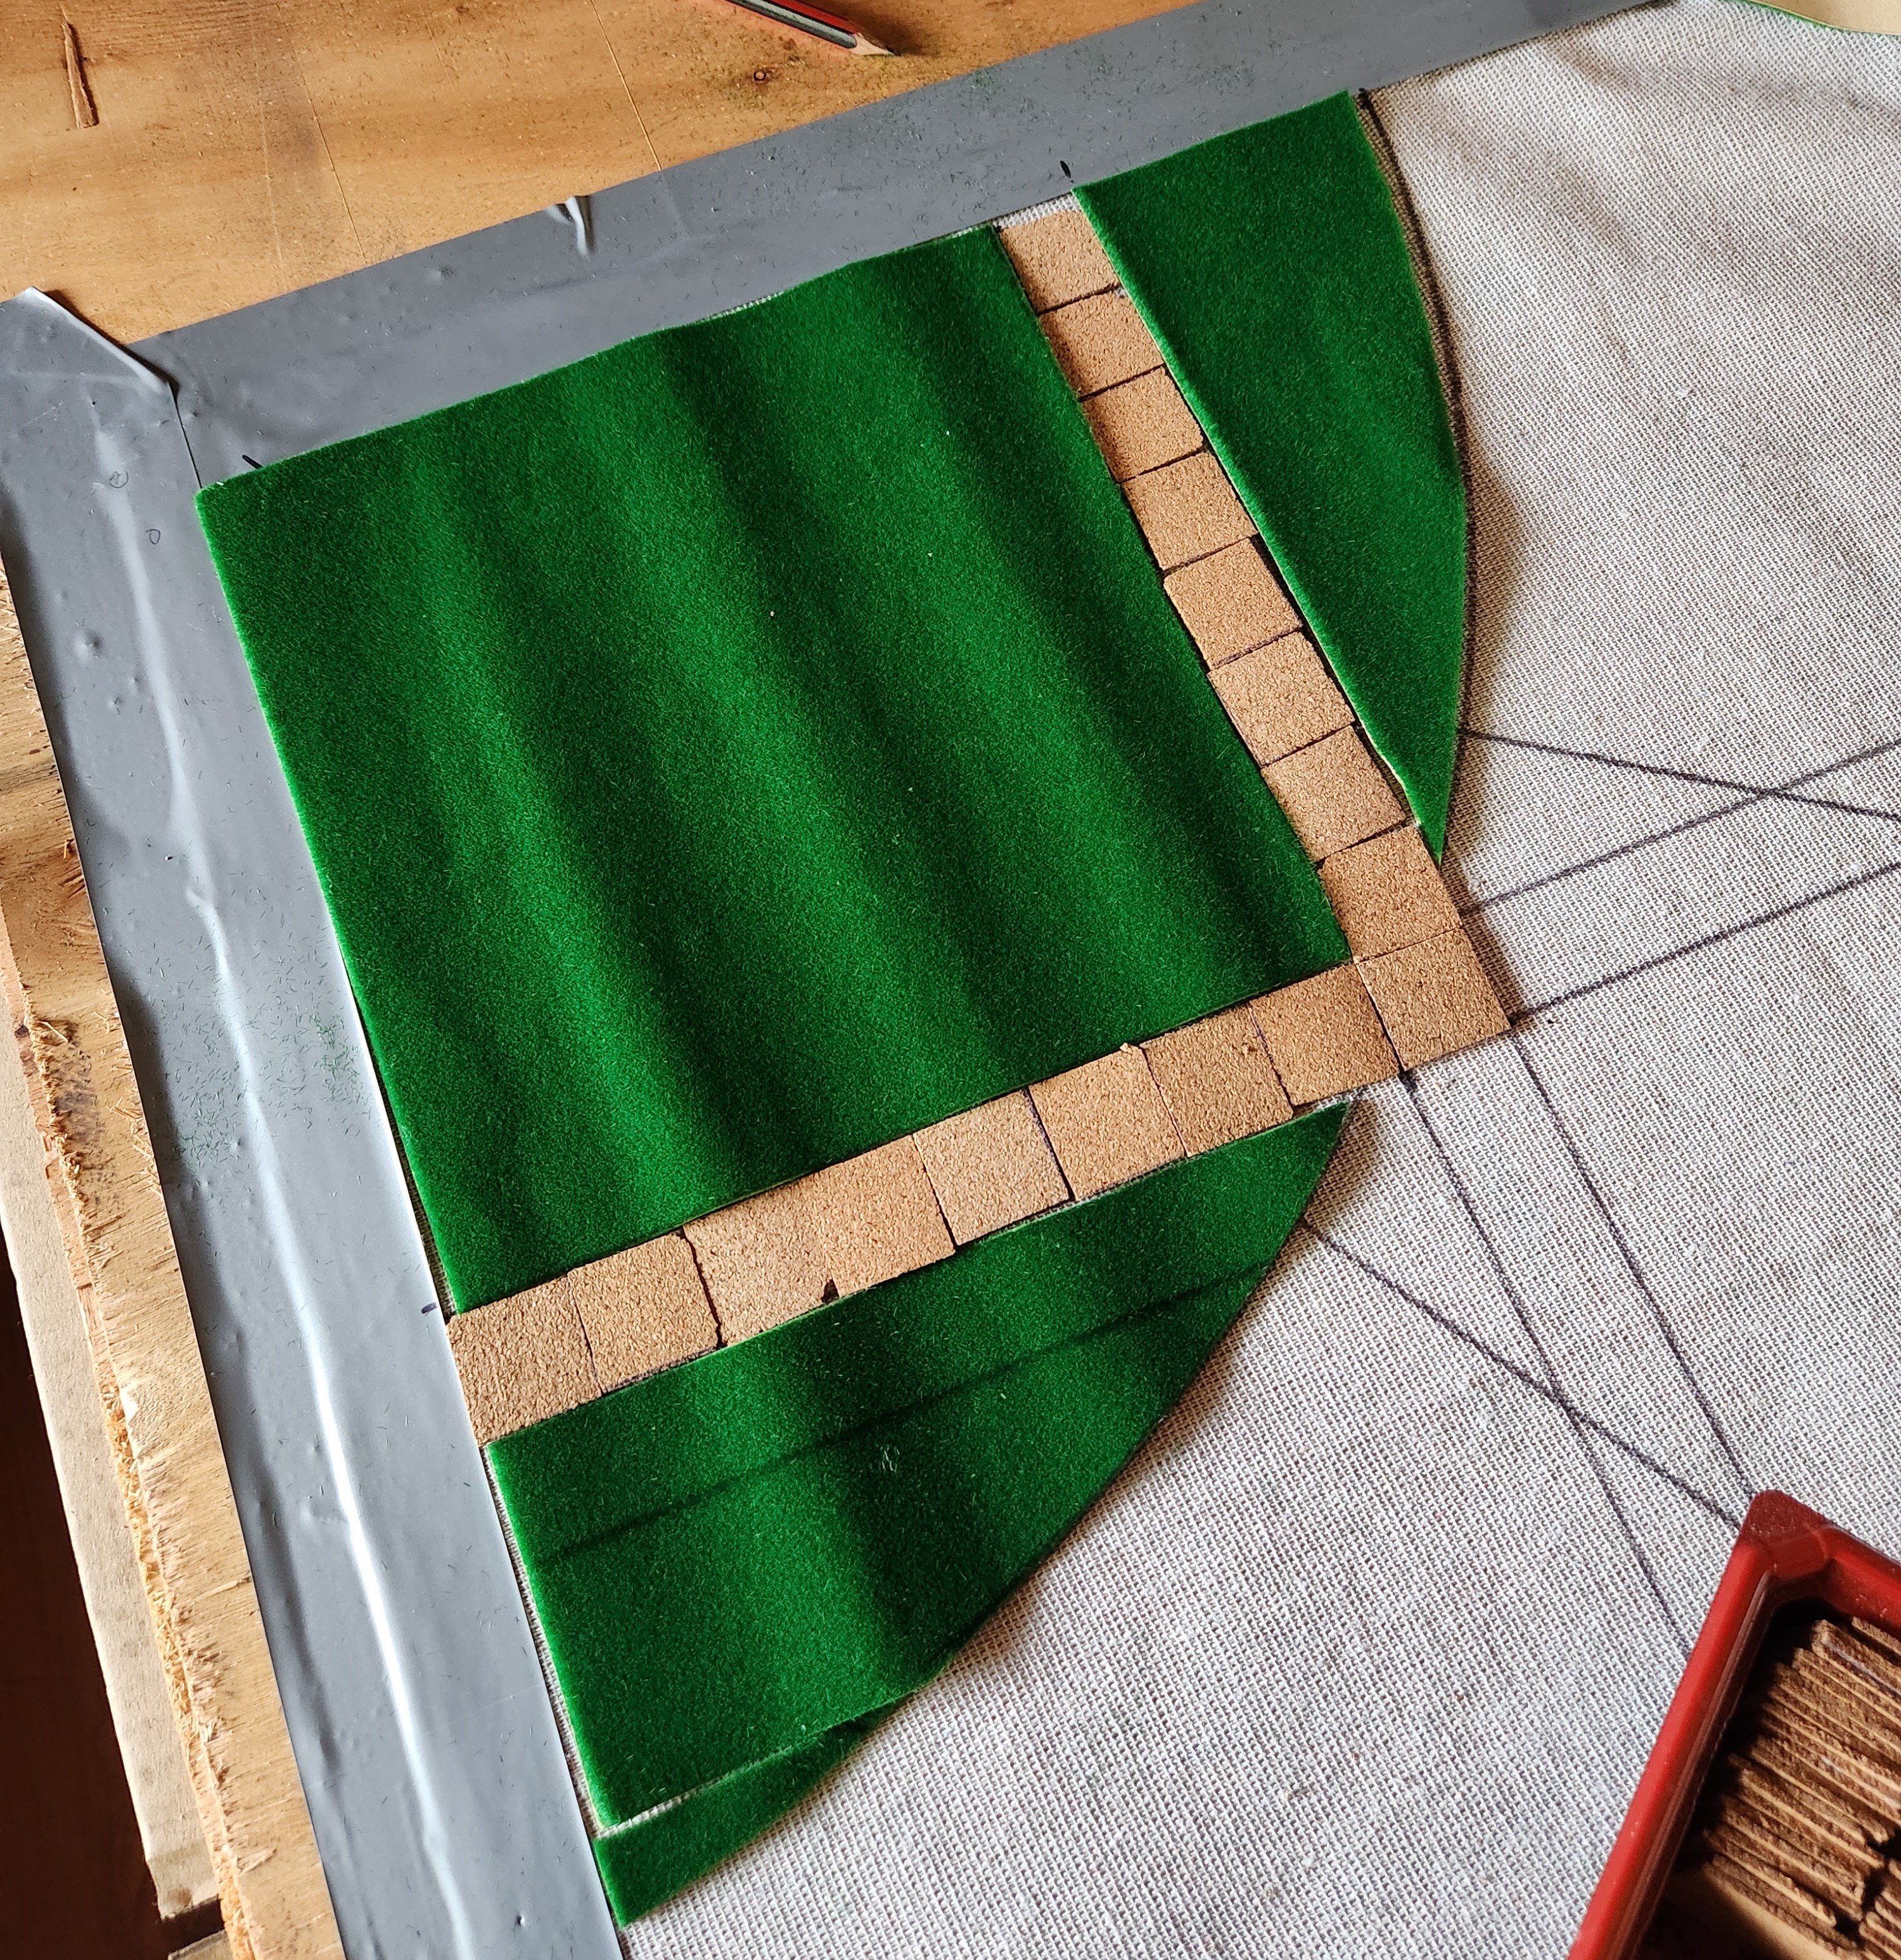
- cover each corner in 1″ square cork tiles
- 1″ x 1/2″ cork tiles along the lines marking the 8″-9″ boundary
- small cork “bricks” along 12″ arc
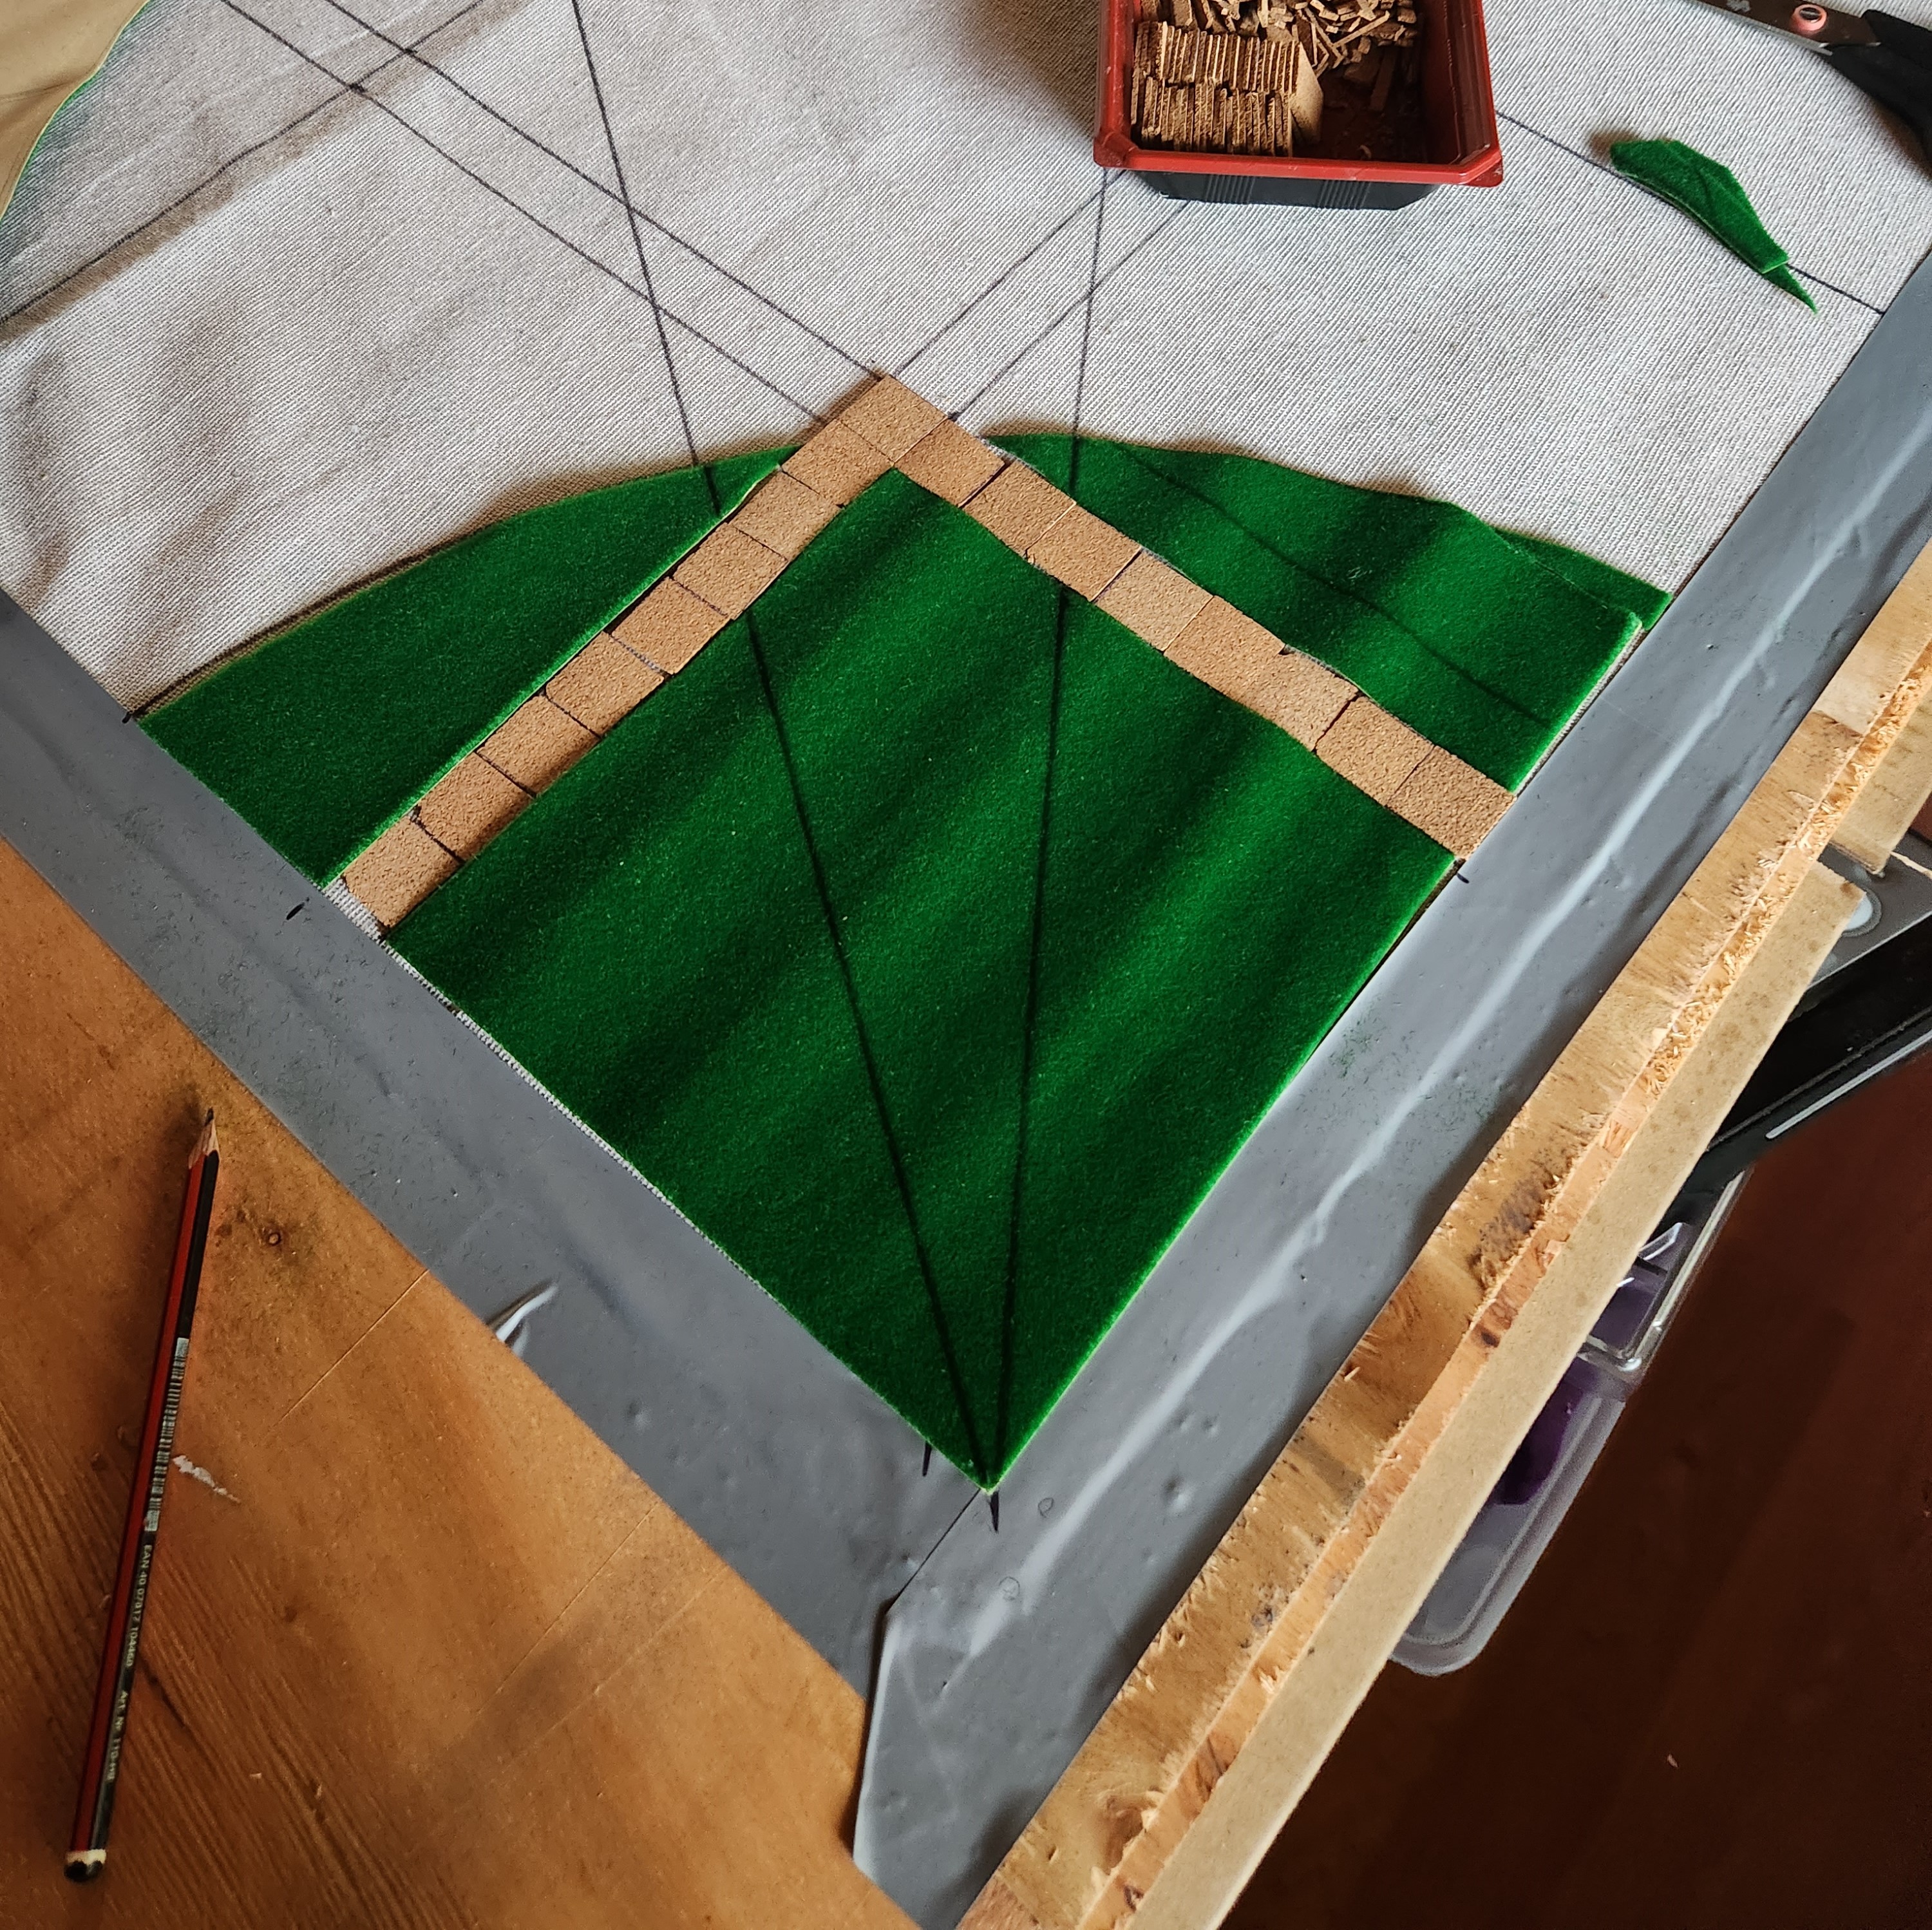
- twine for the Wedge markings
After mathing out how much cork I’d need and how much I had available, combined with how much more cutting of cork I would need to do… yeah I decided it was too much.
At some point in this process, I’d seen the hobby grass at the local dollar store, so I went and grabbed two rolls.
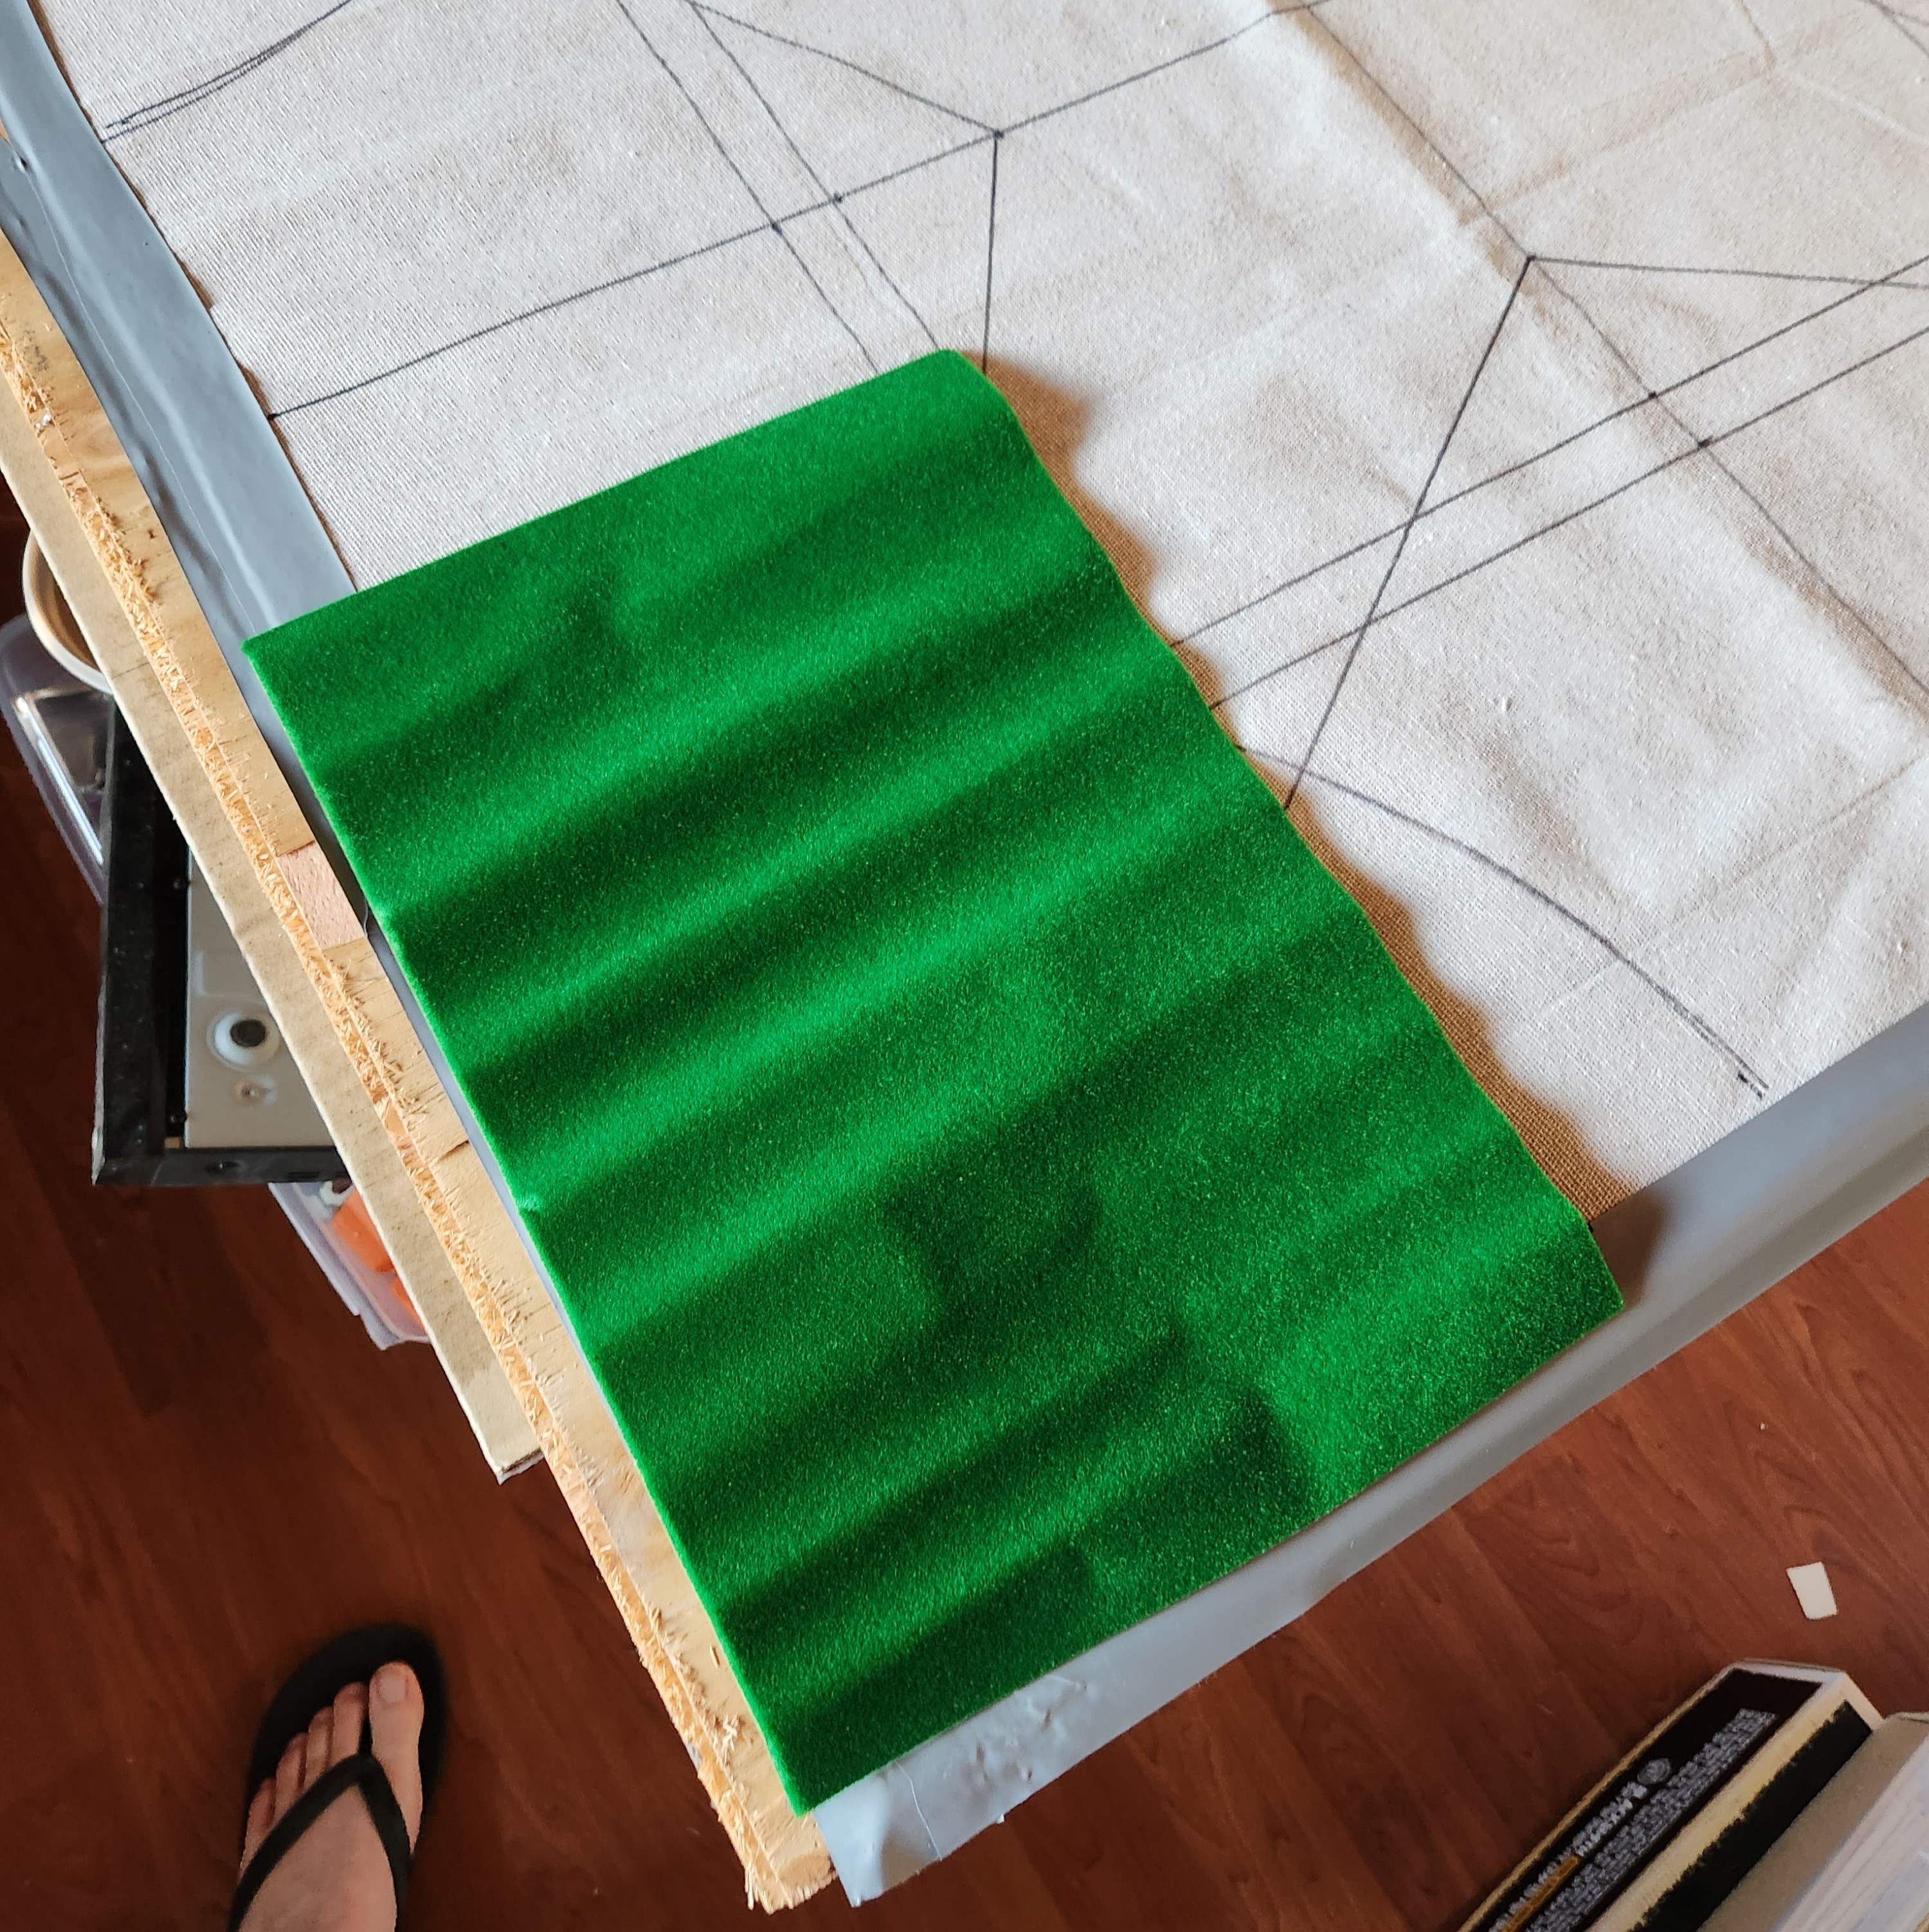
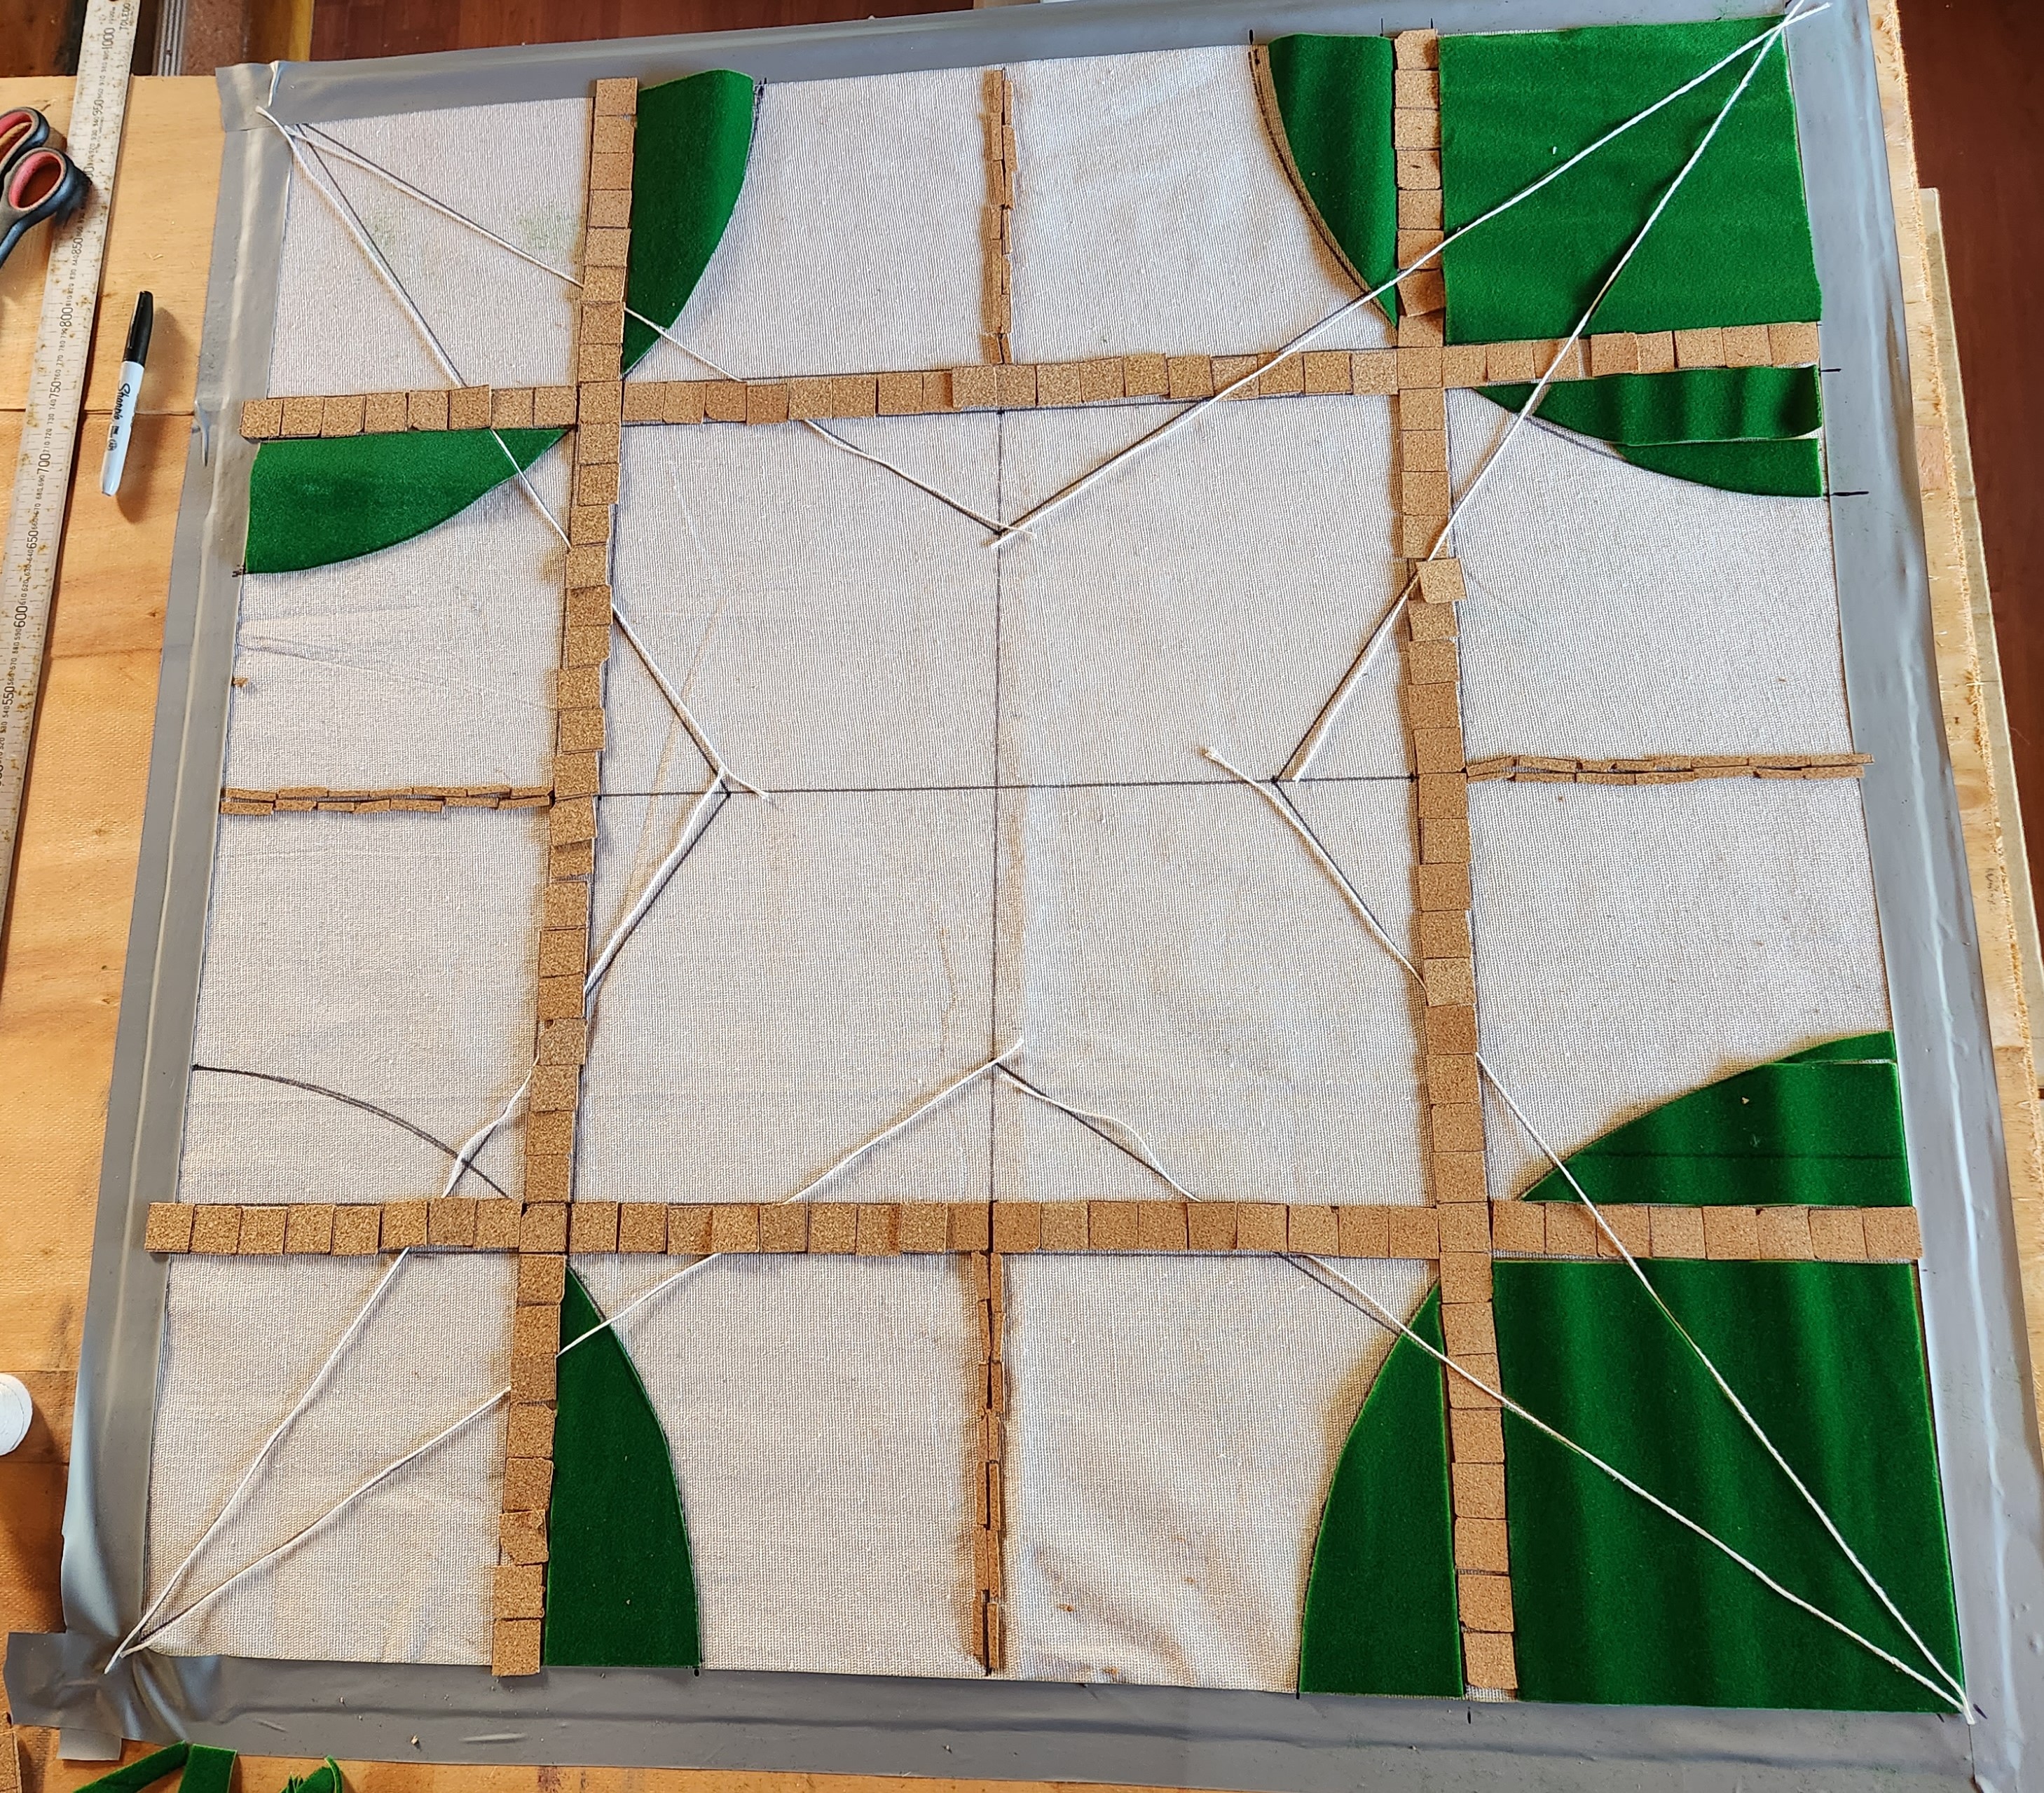
 Only the finest turf rolled out for the good people of Malifaux
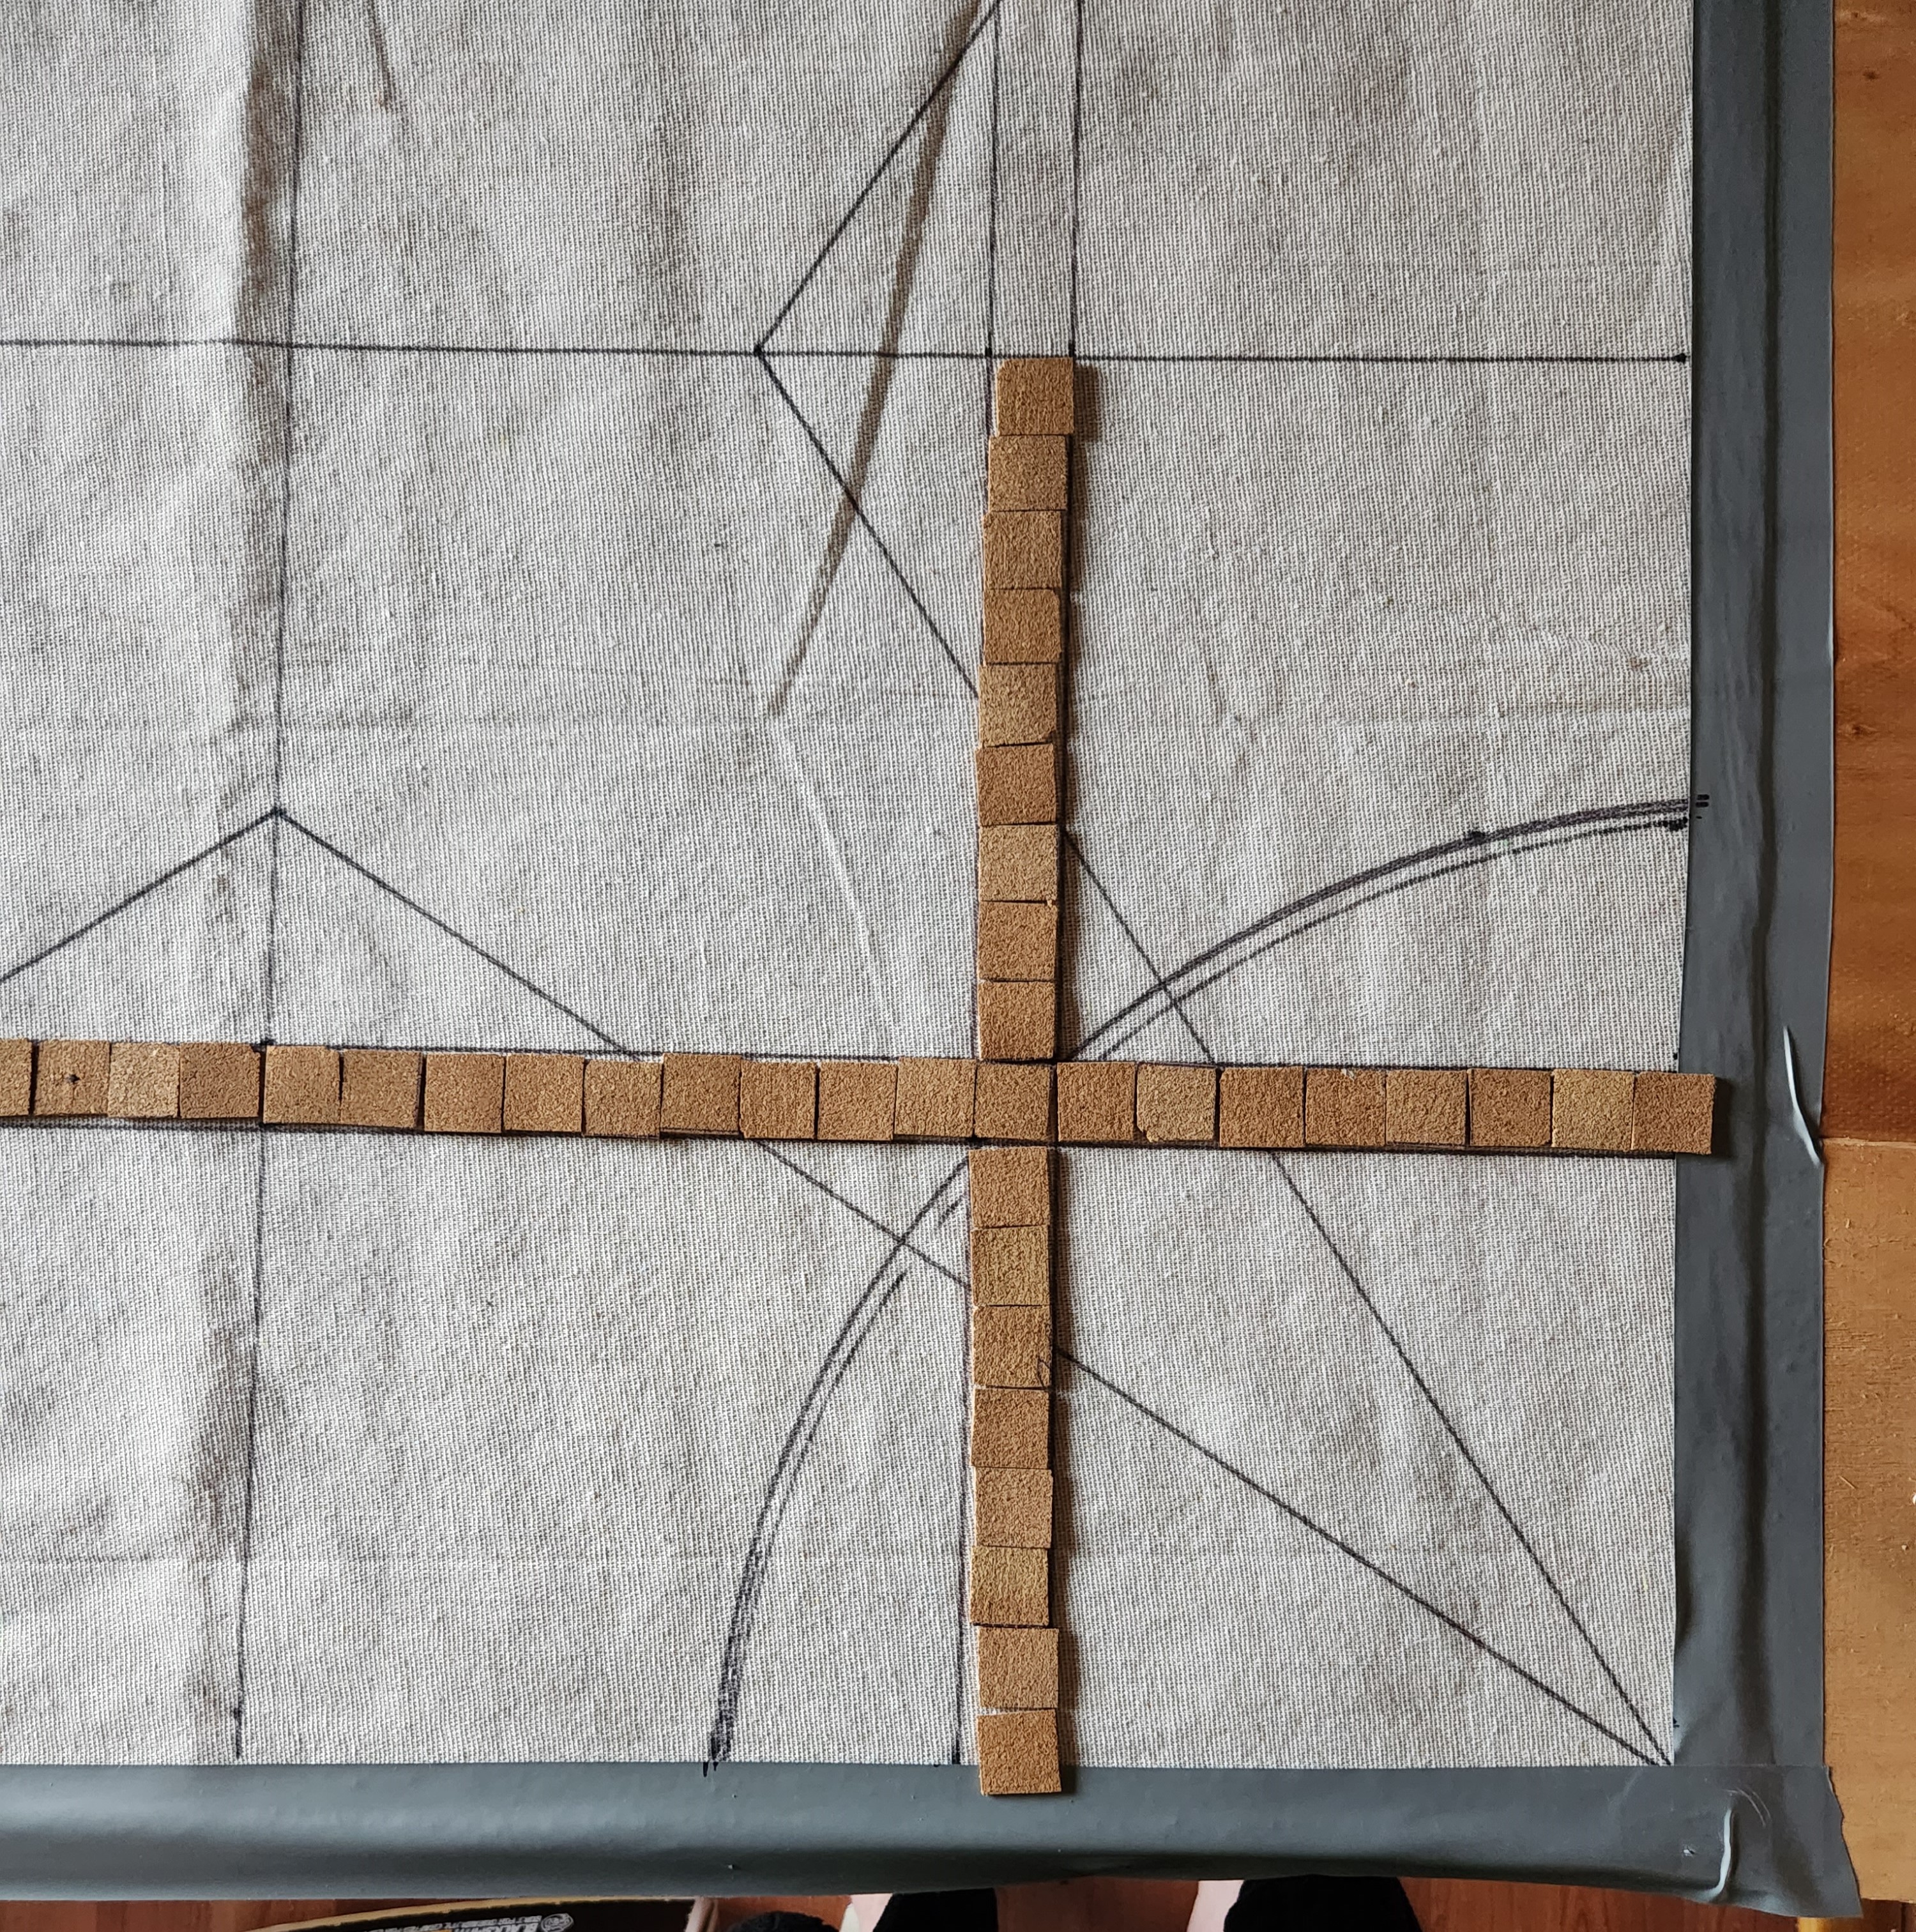
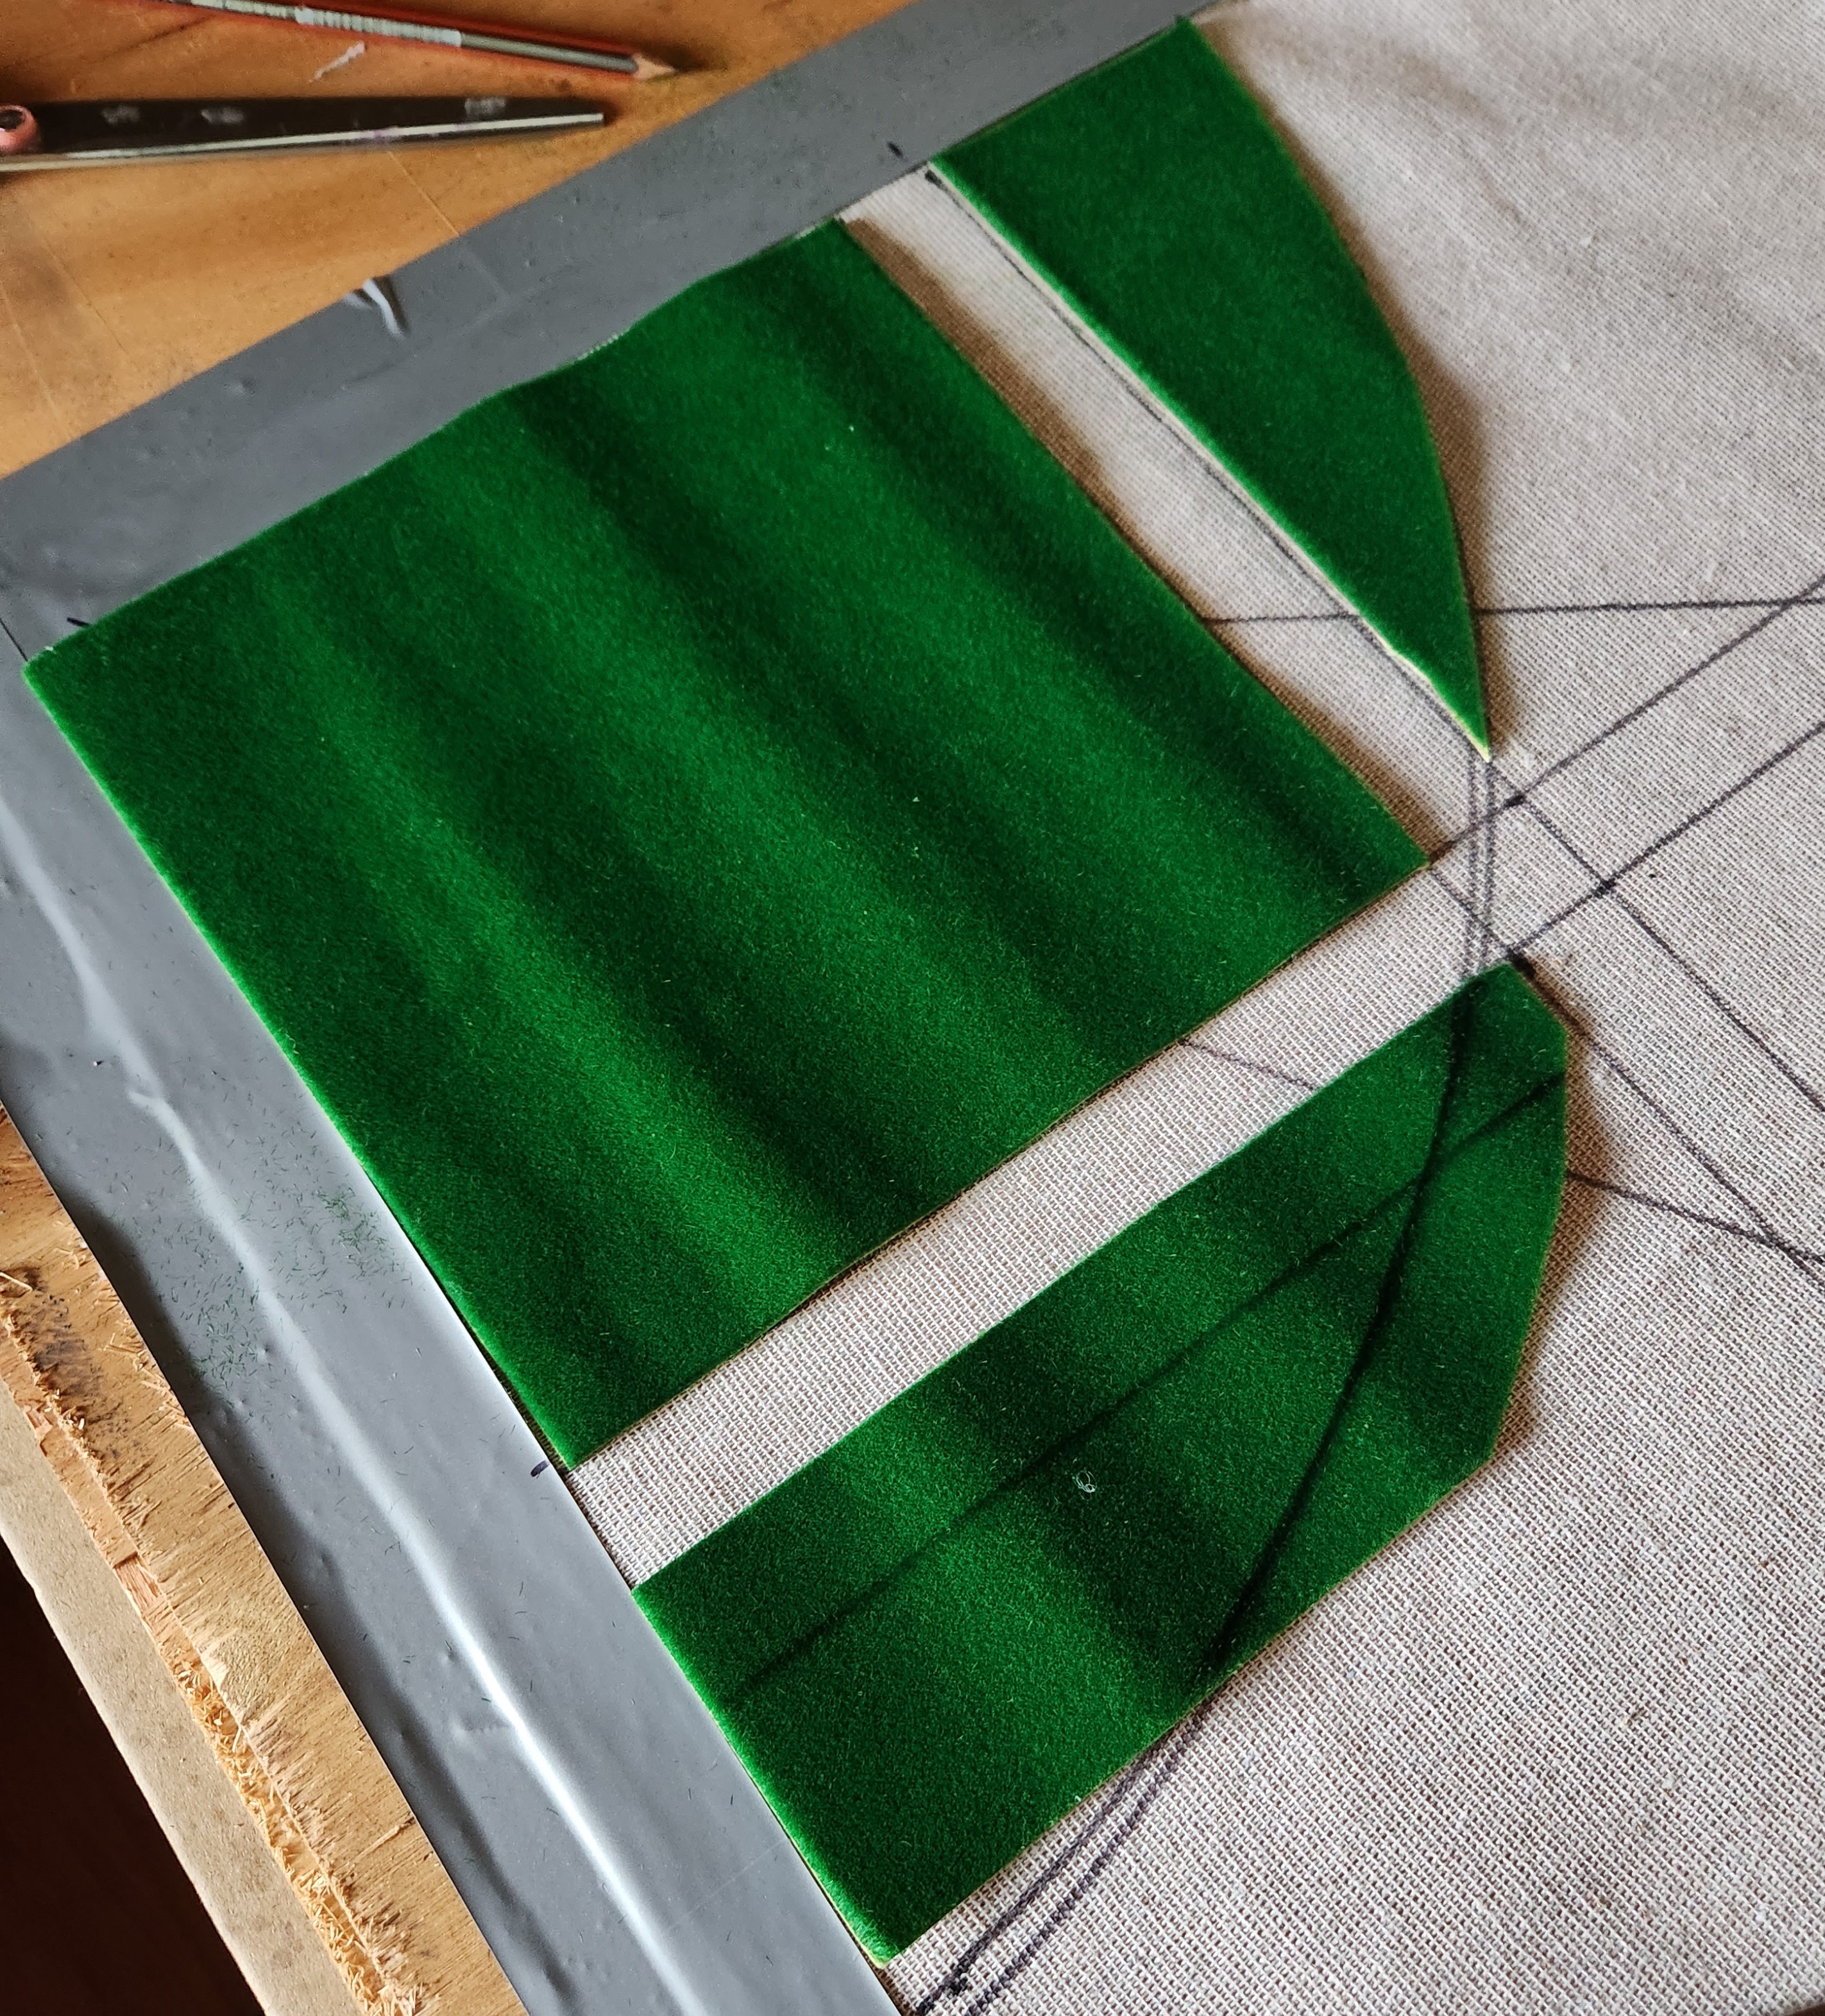
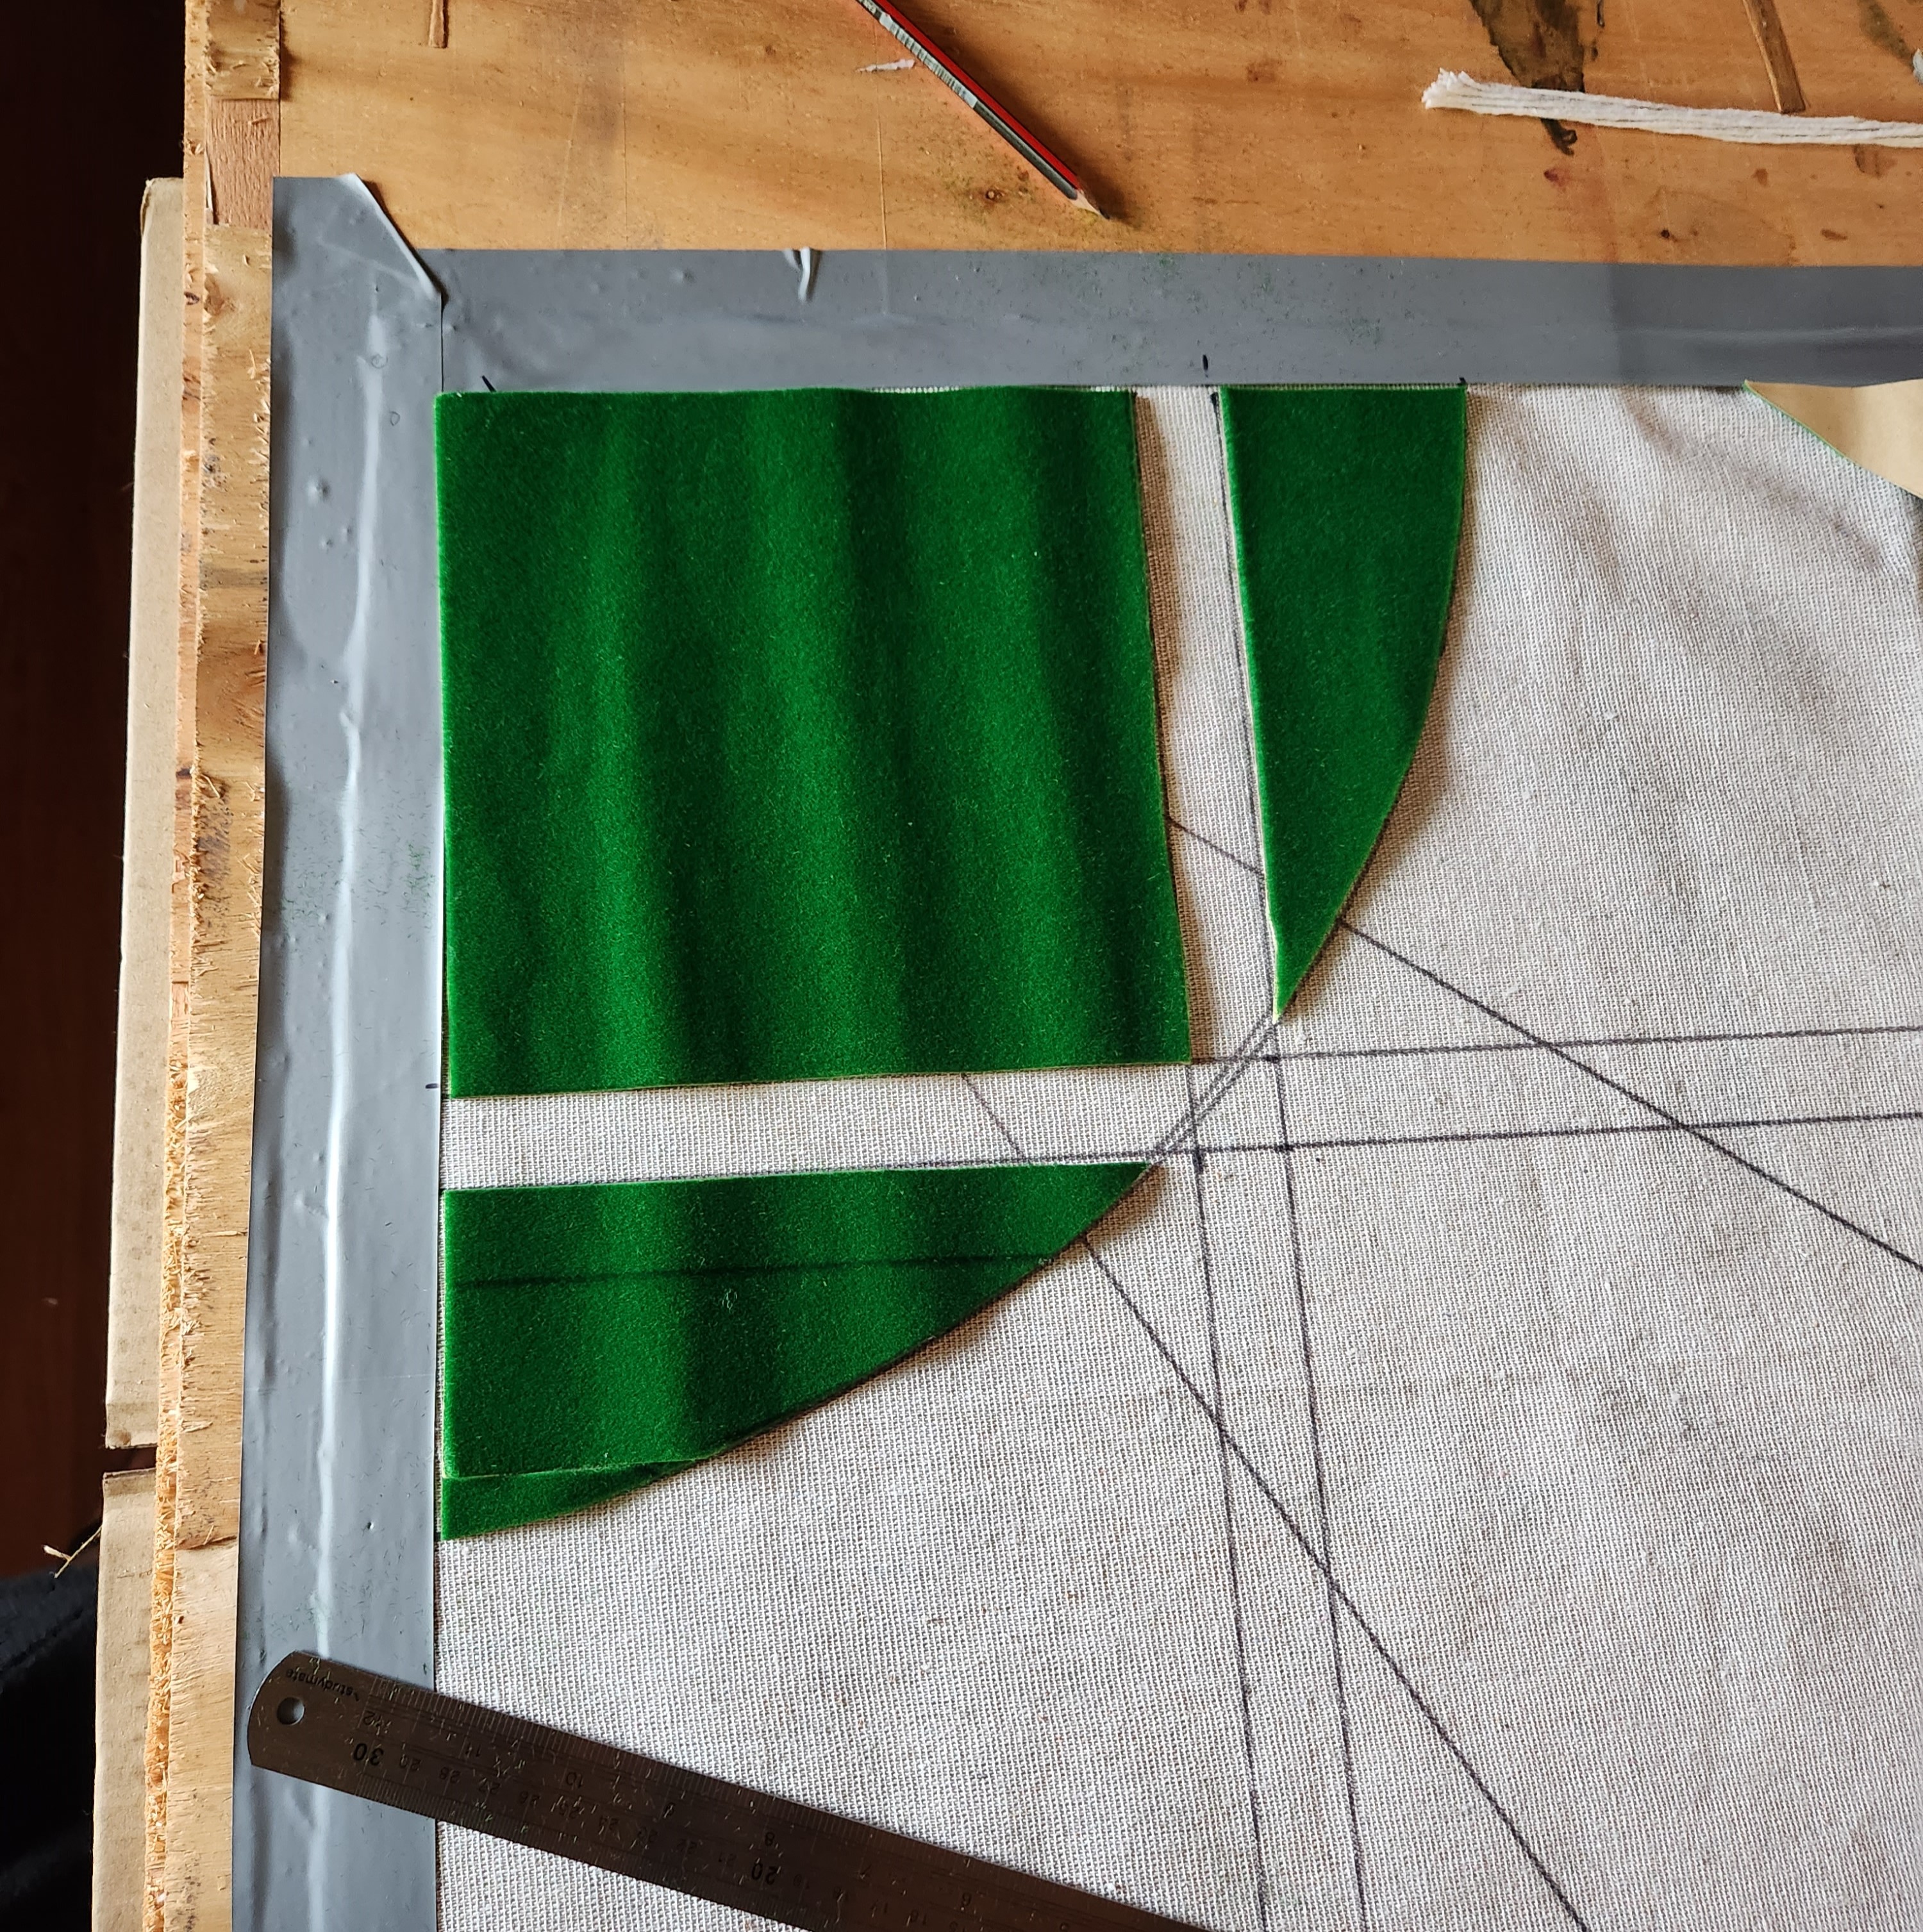
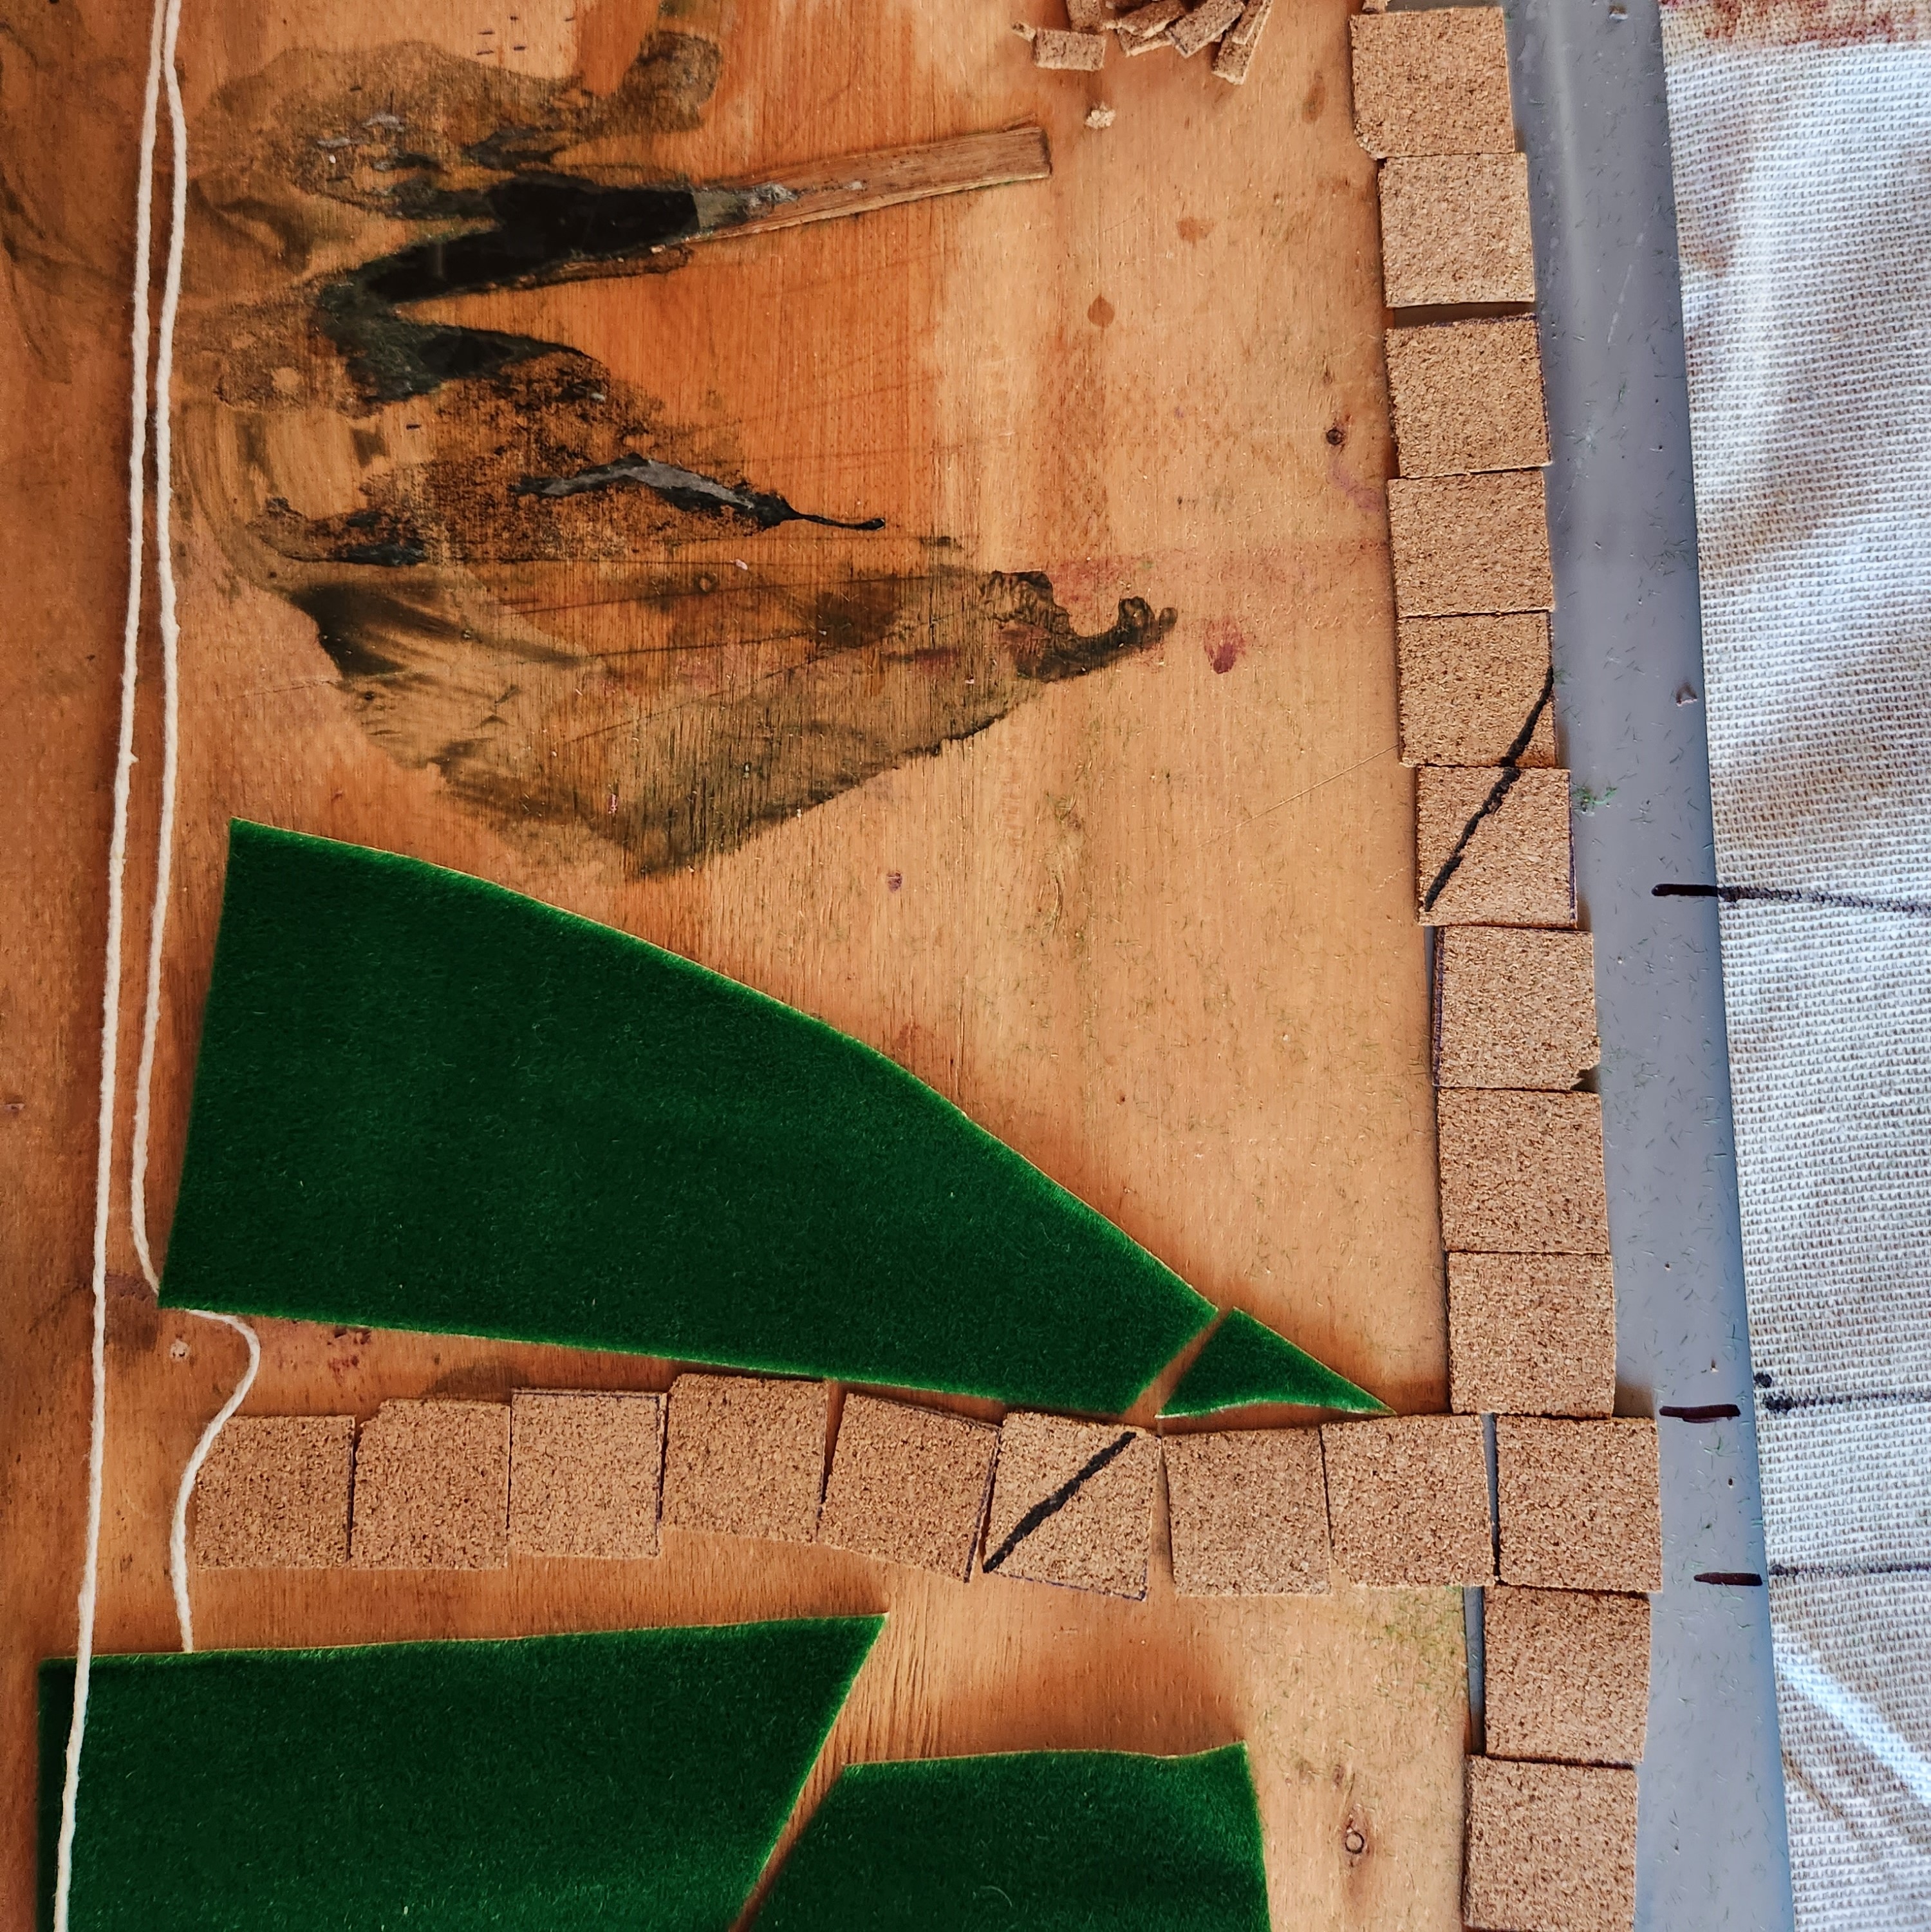
Above you can see the terrain elements coming together. The border tiles will now be 1″ sq. tiles. The grass mat is cut into quadrants. I ended up needing a third, from the three I could get enough grass to cover the four corners.
I went and marked the lines for the Wedge to pass through and had the twine pre-cut to a couple of centimeters over the correct length. I also laid out some thin off-cuts of cork as “bricks along the lines that will mark the boundaries of the Flank Deployment zones.
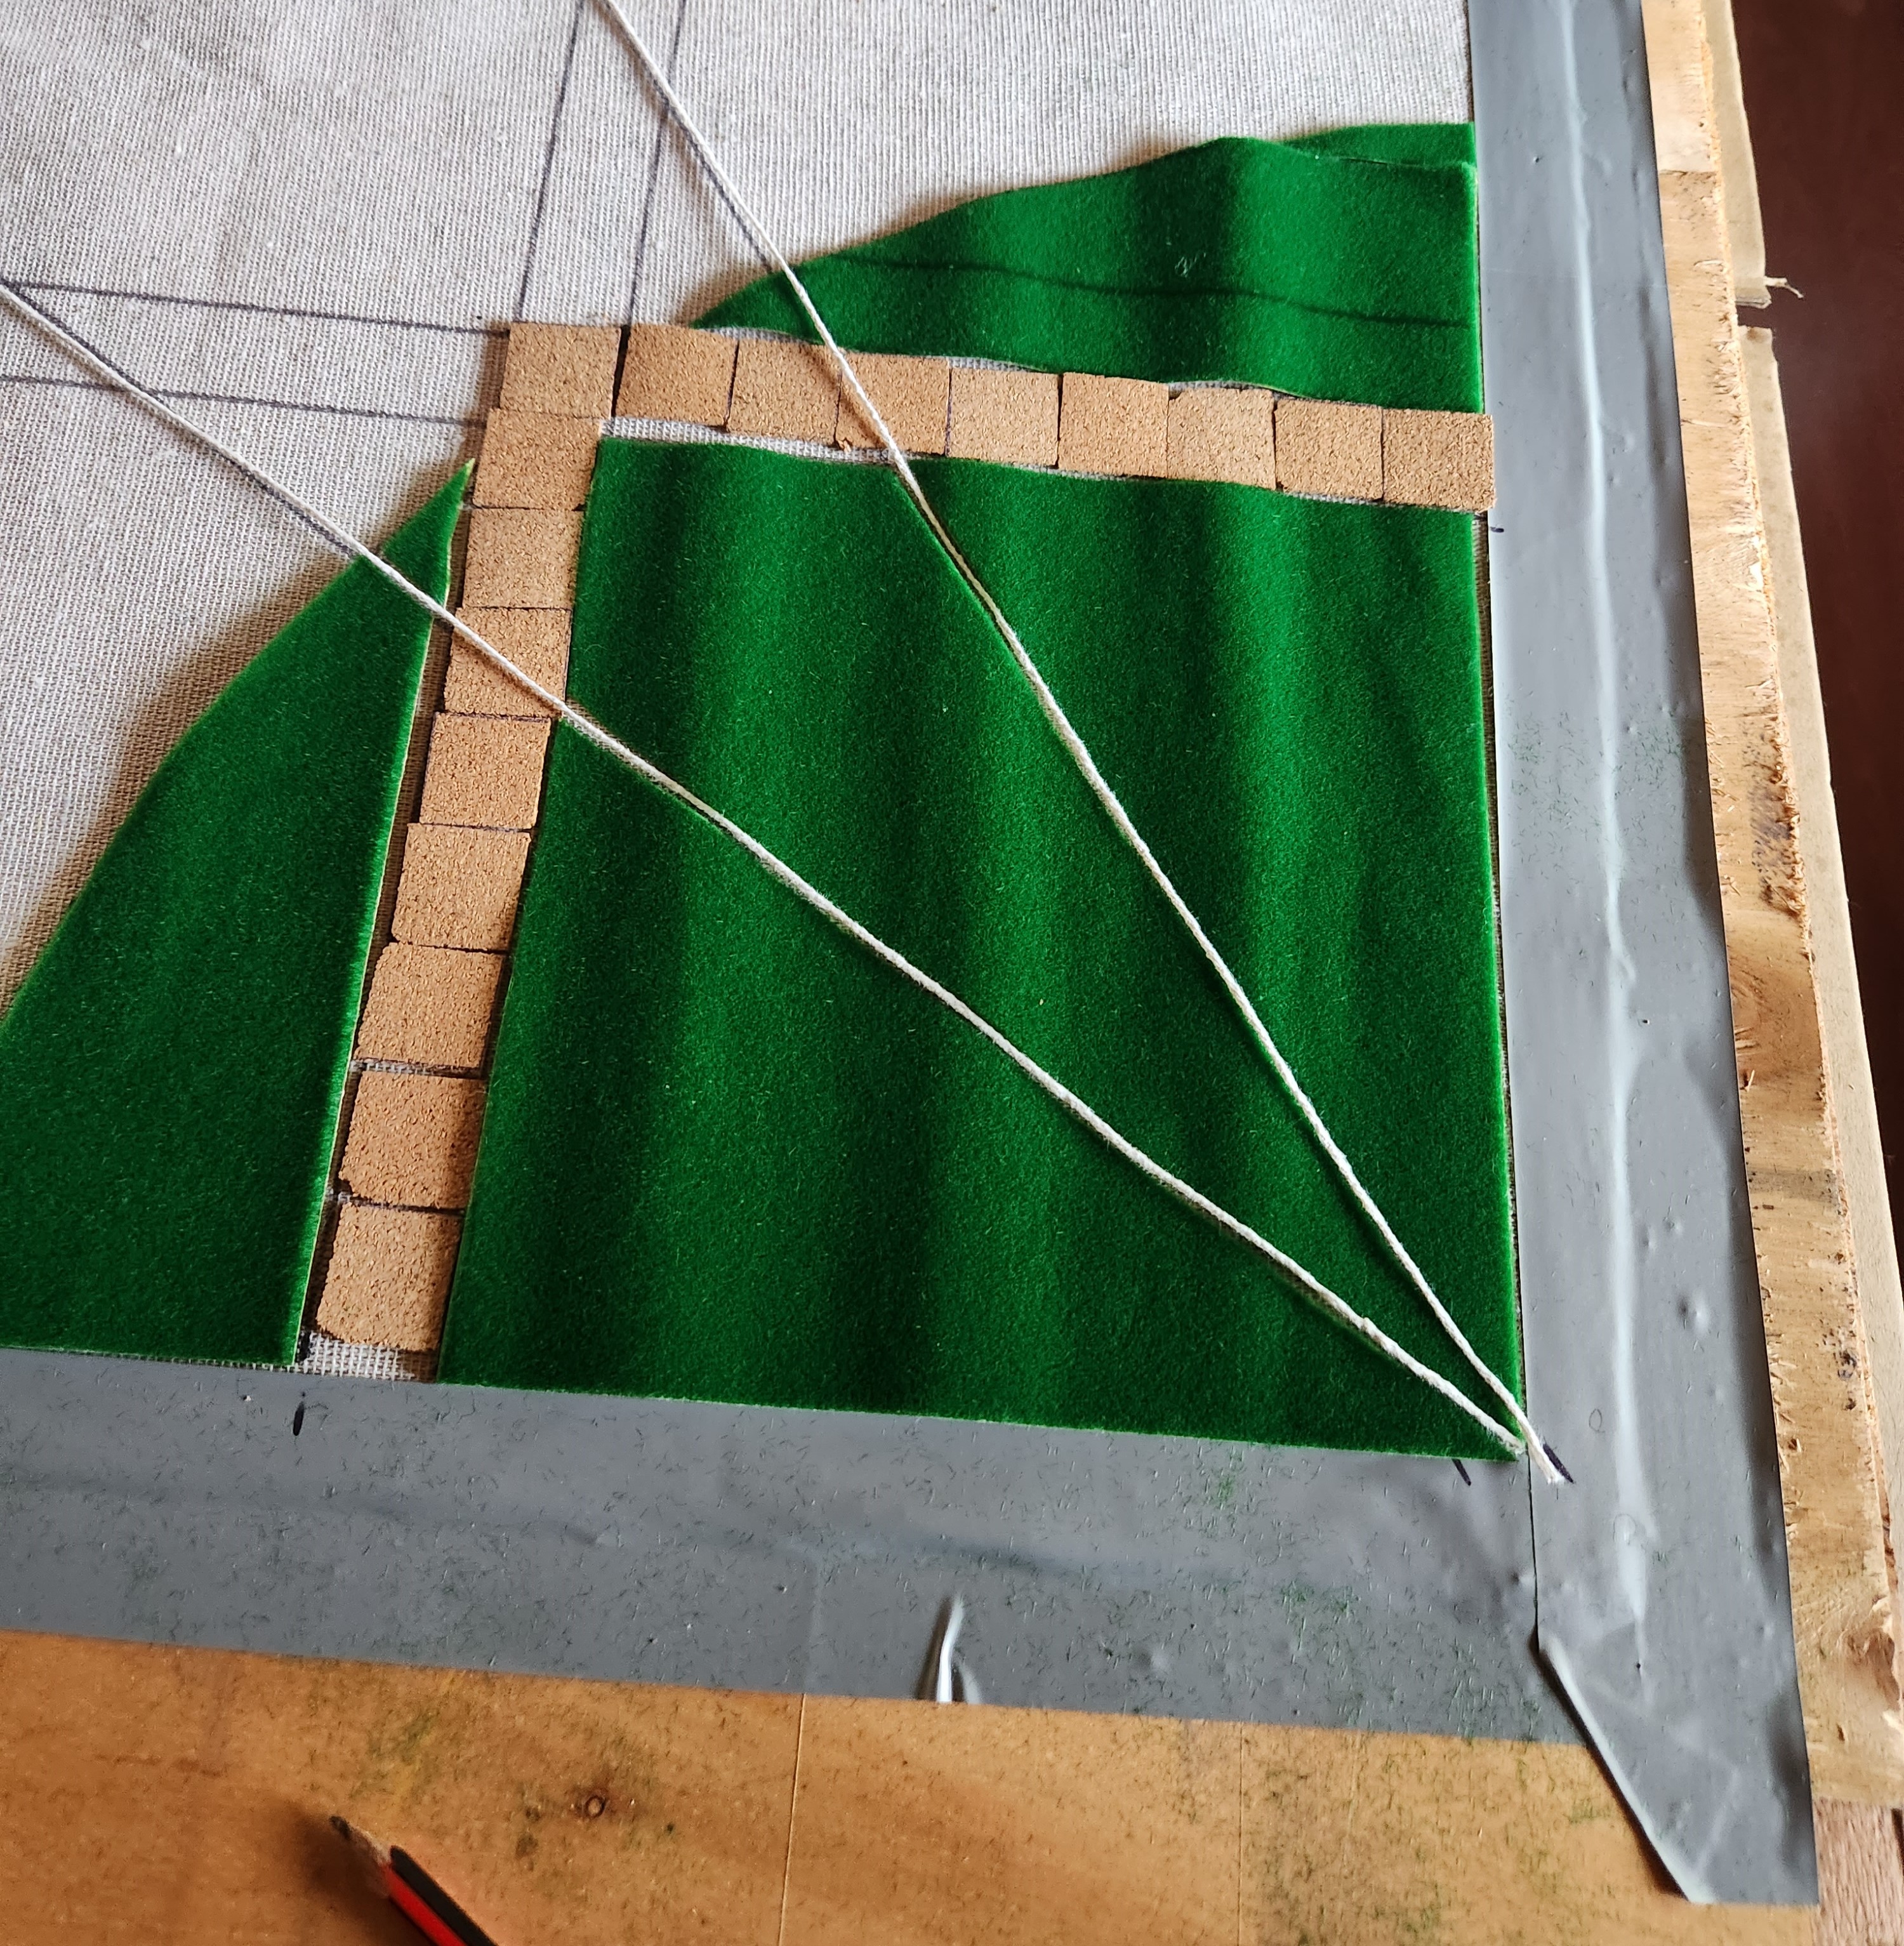
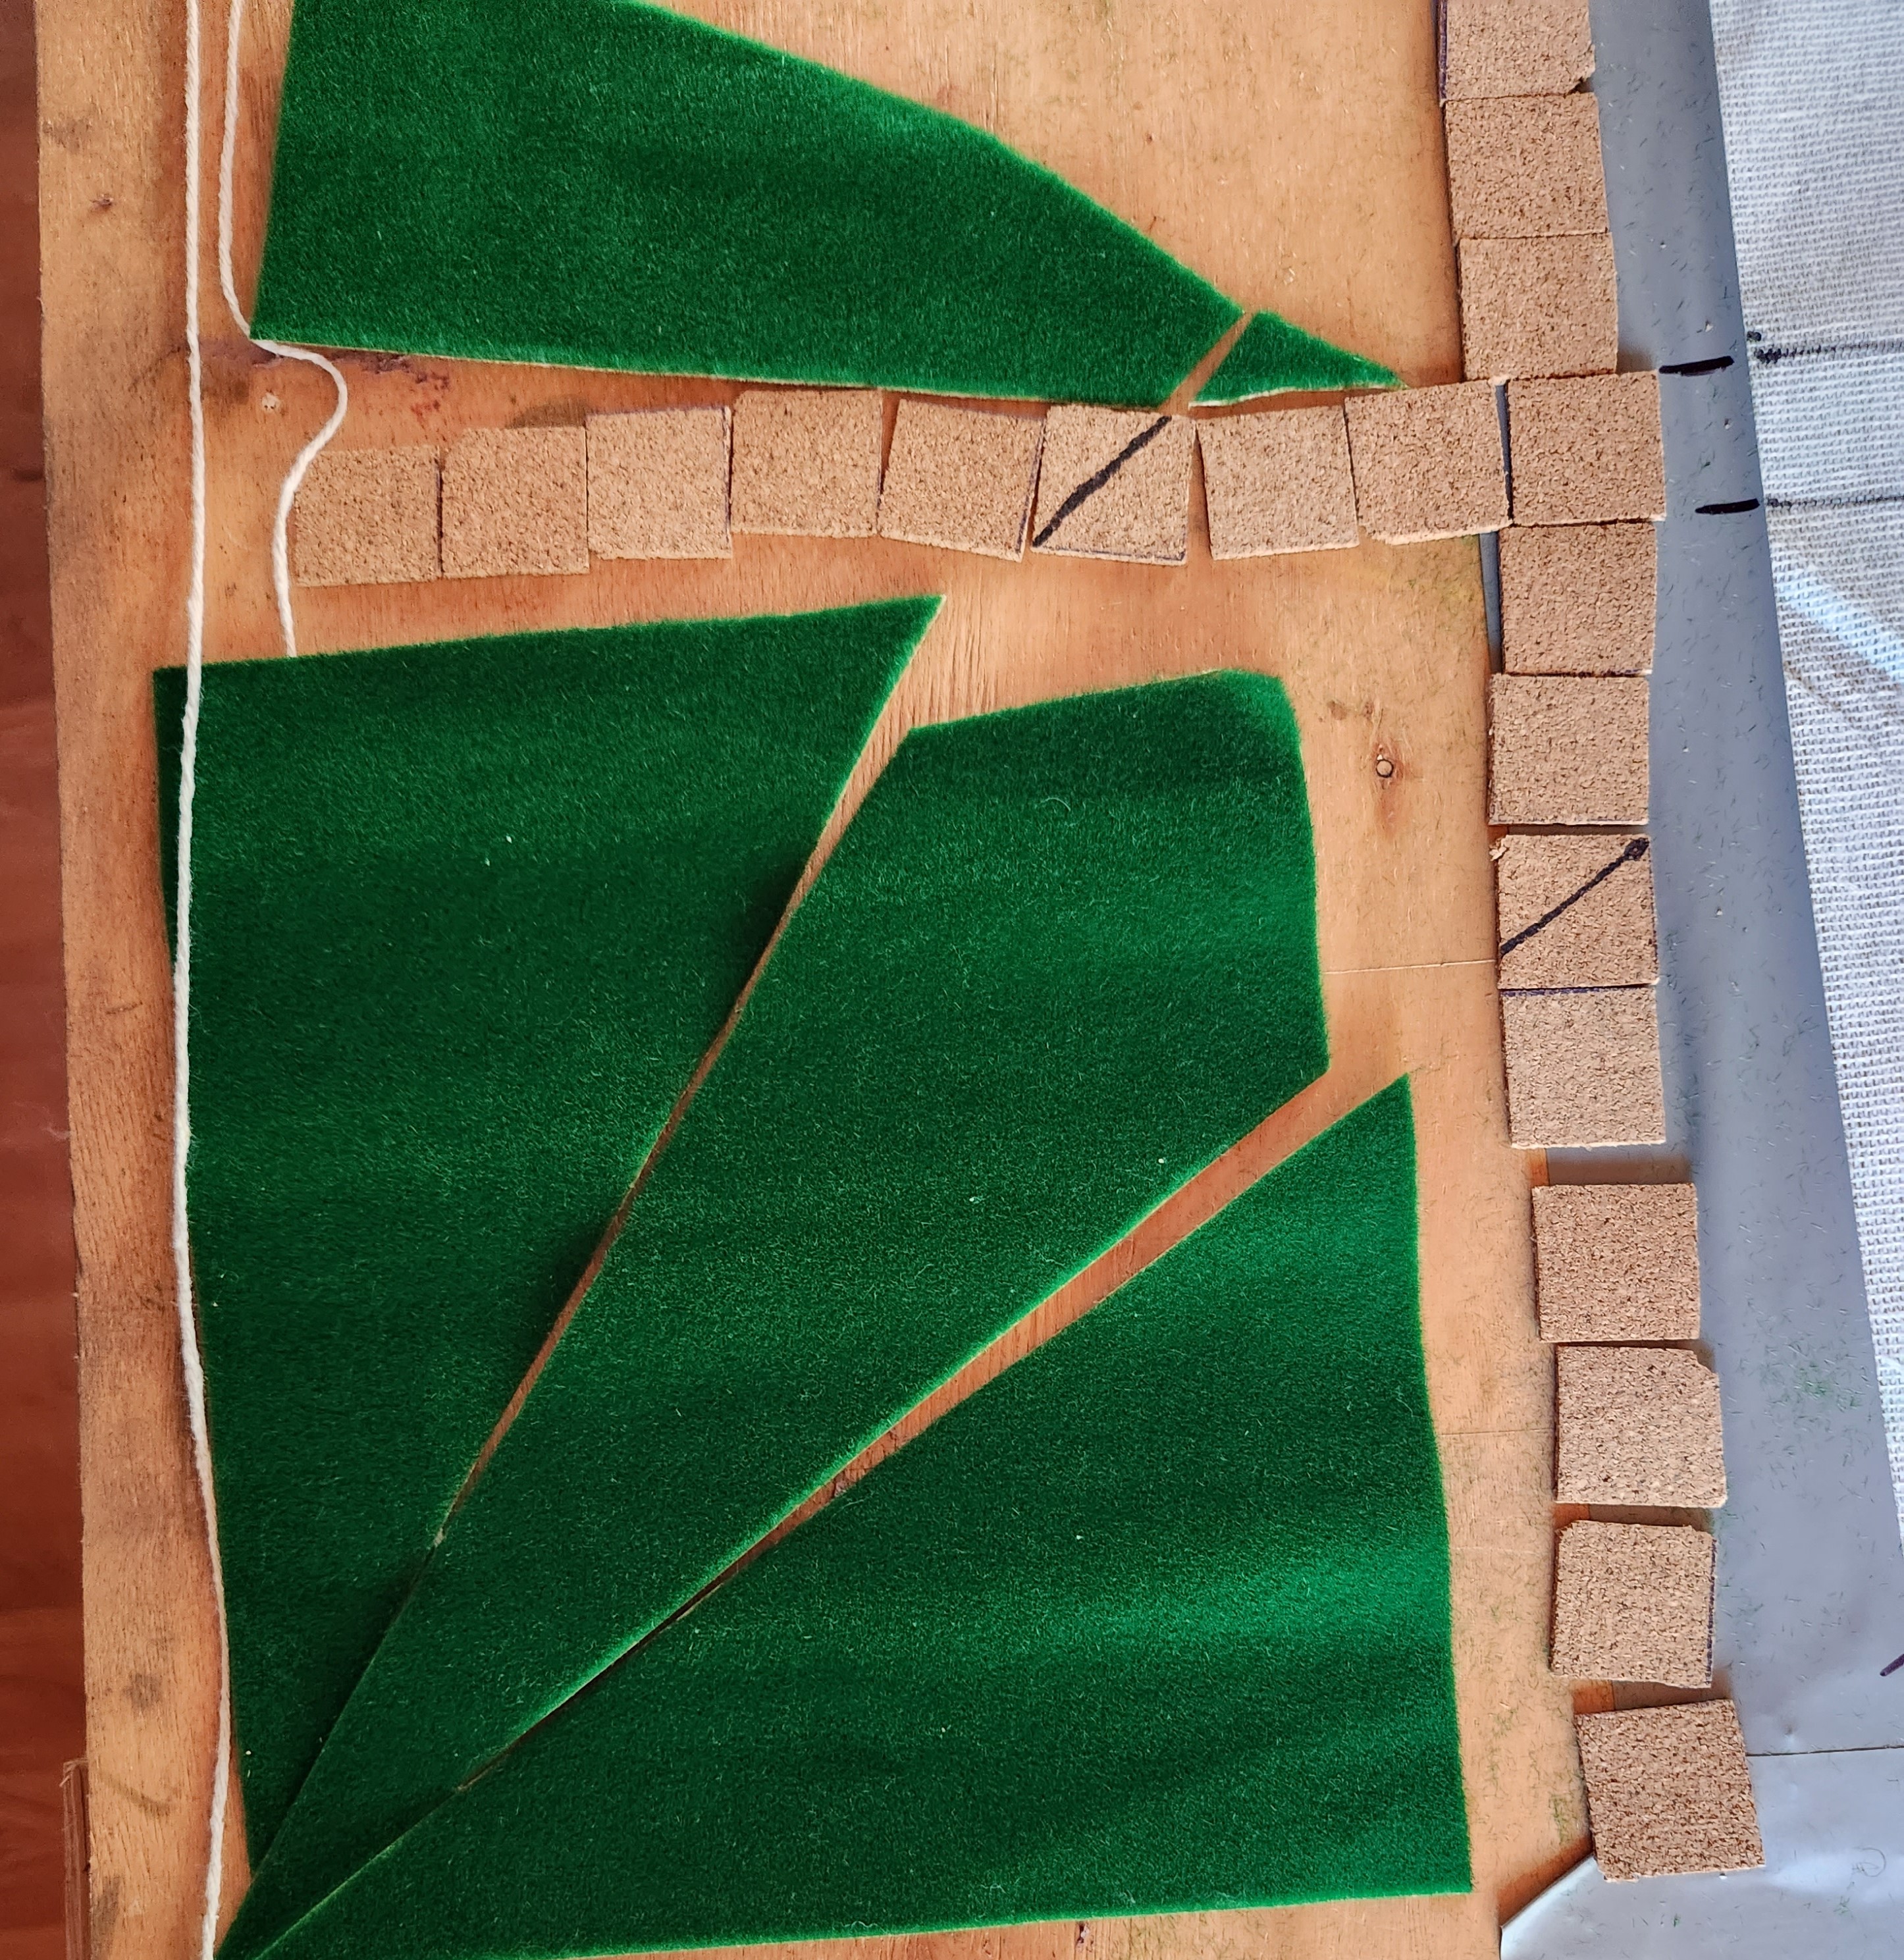
 Layout plan in place. Still waiting for that third sheet of grass.
 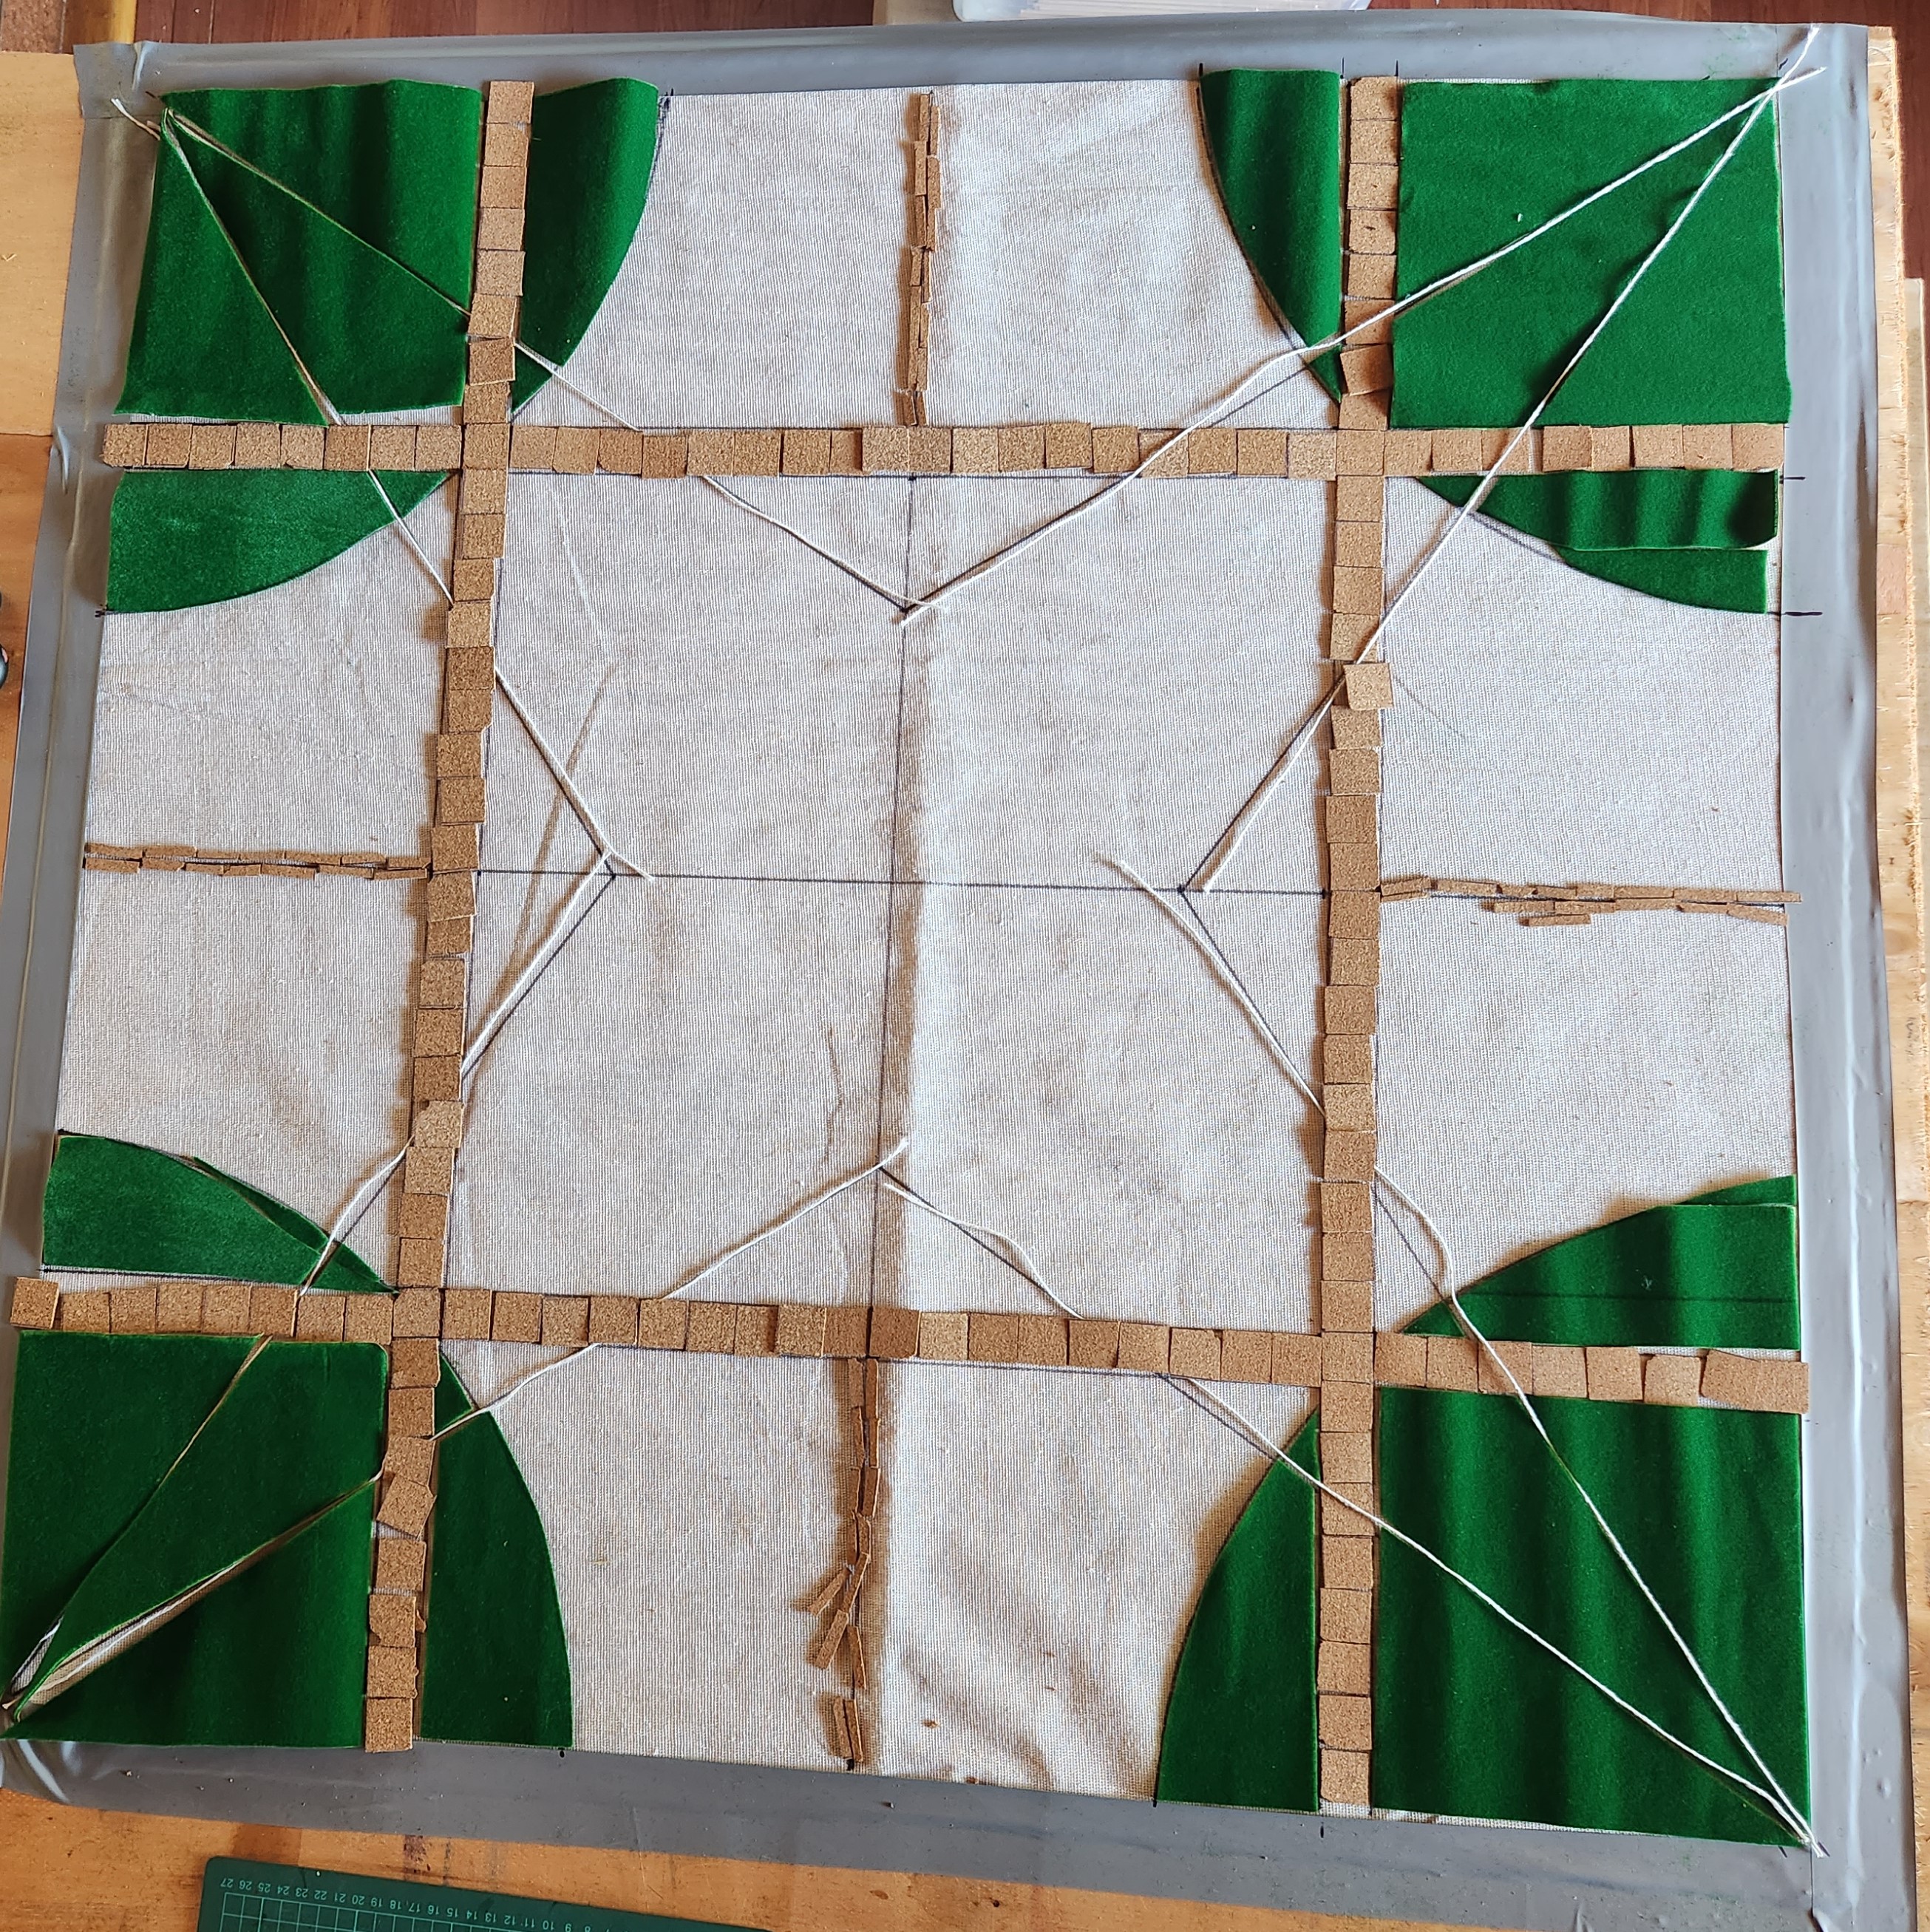 All ready. Not entirely happy how I had to cobble some of the grass together to make good arcs. It'll do for this prototype though. Now, to get MESSY!
12 Oct 23: Preparations
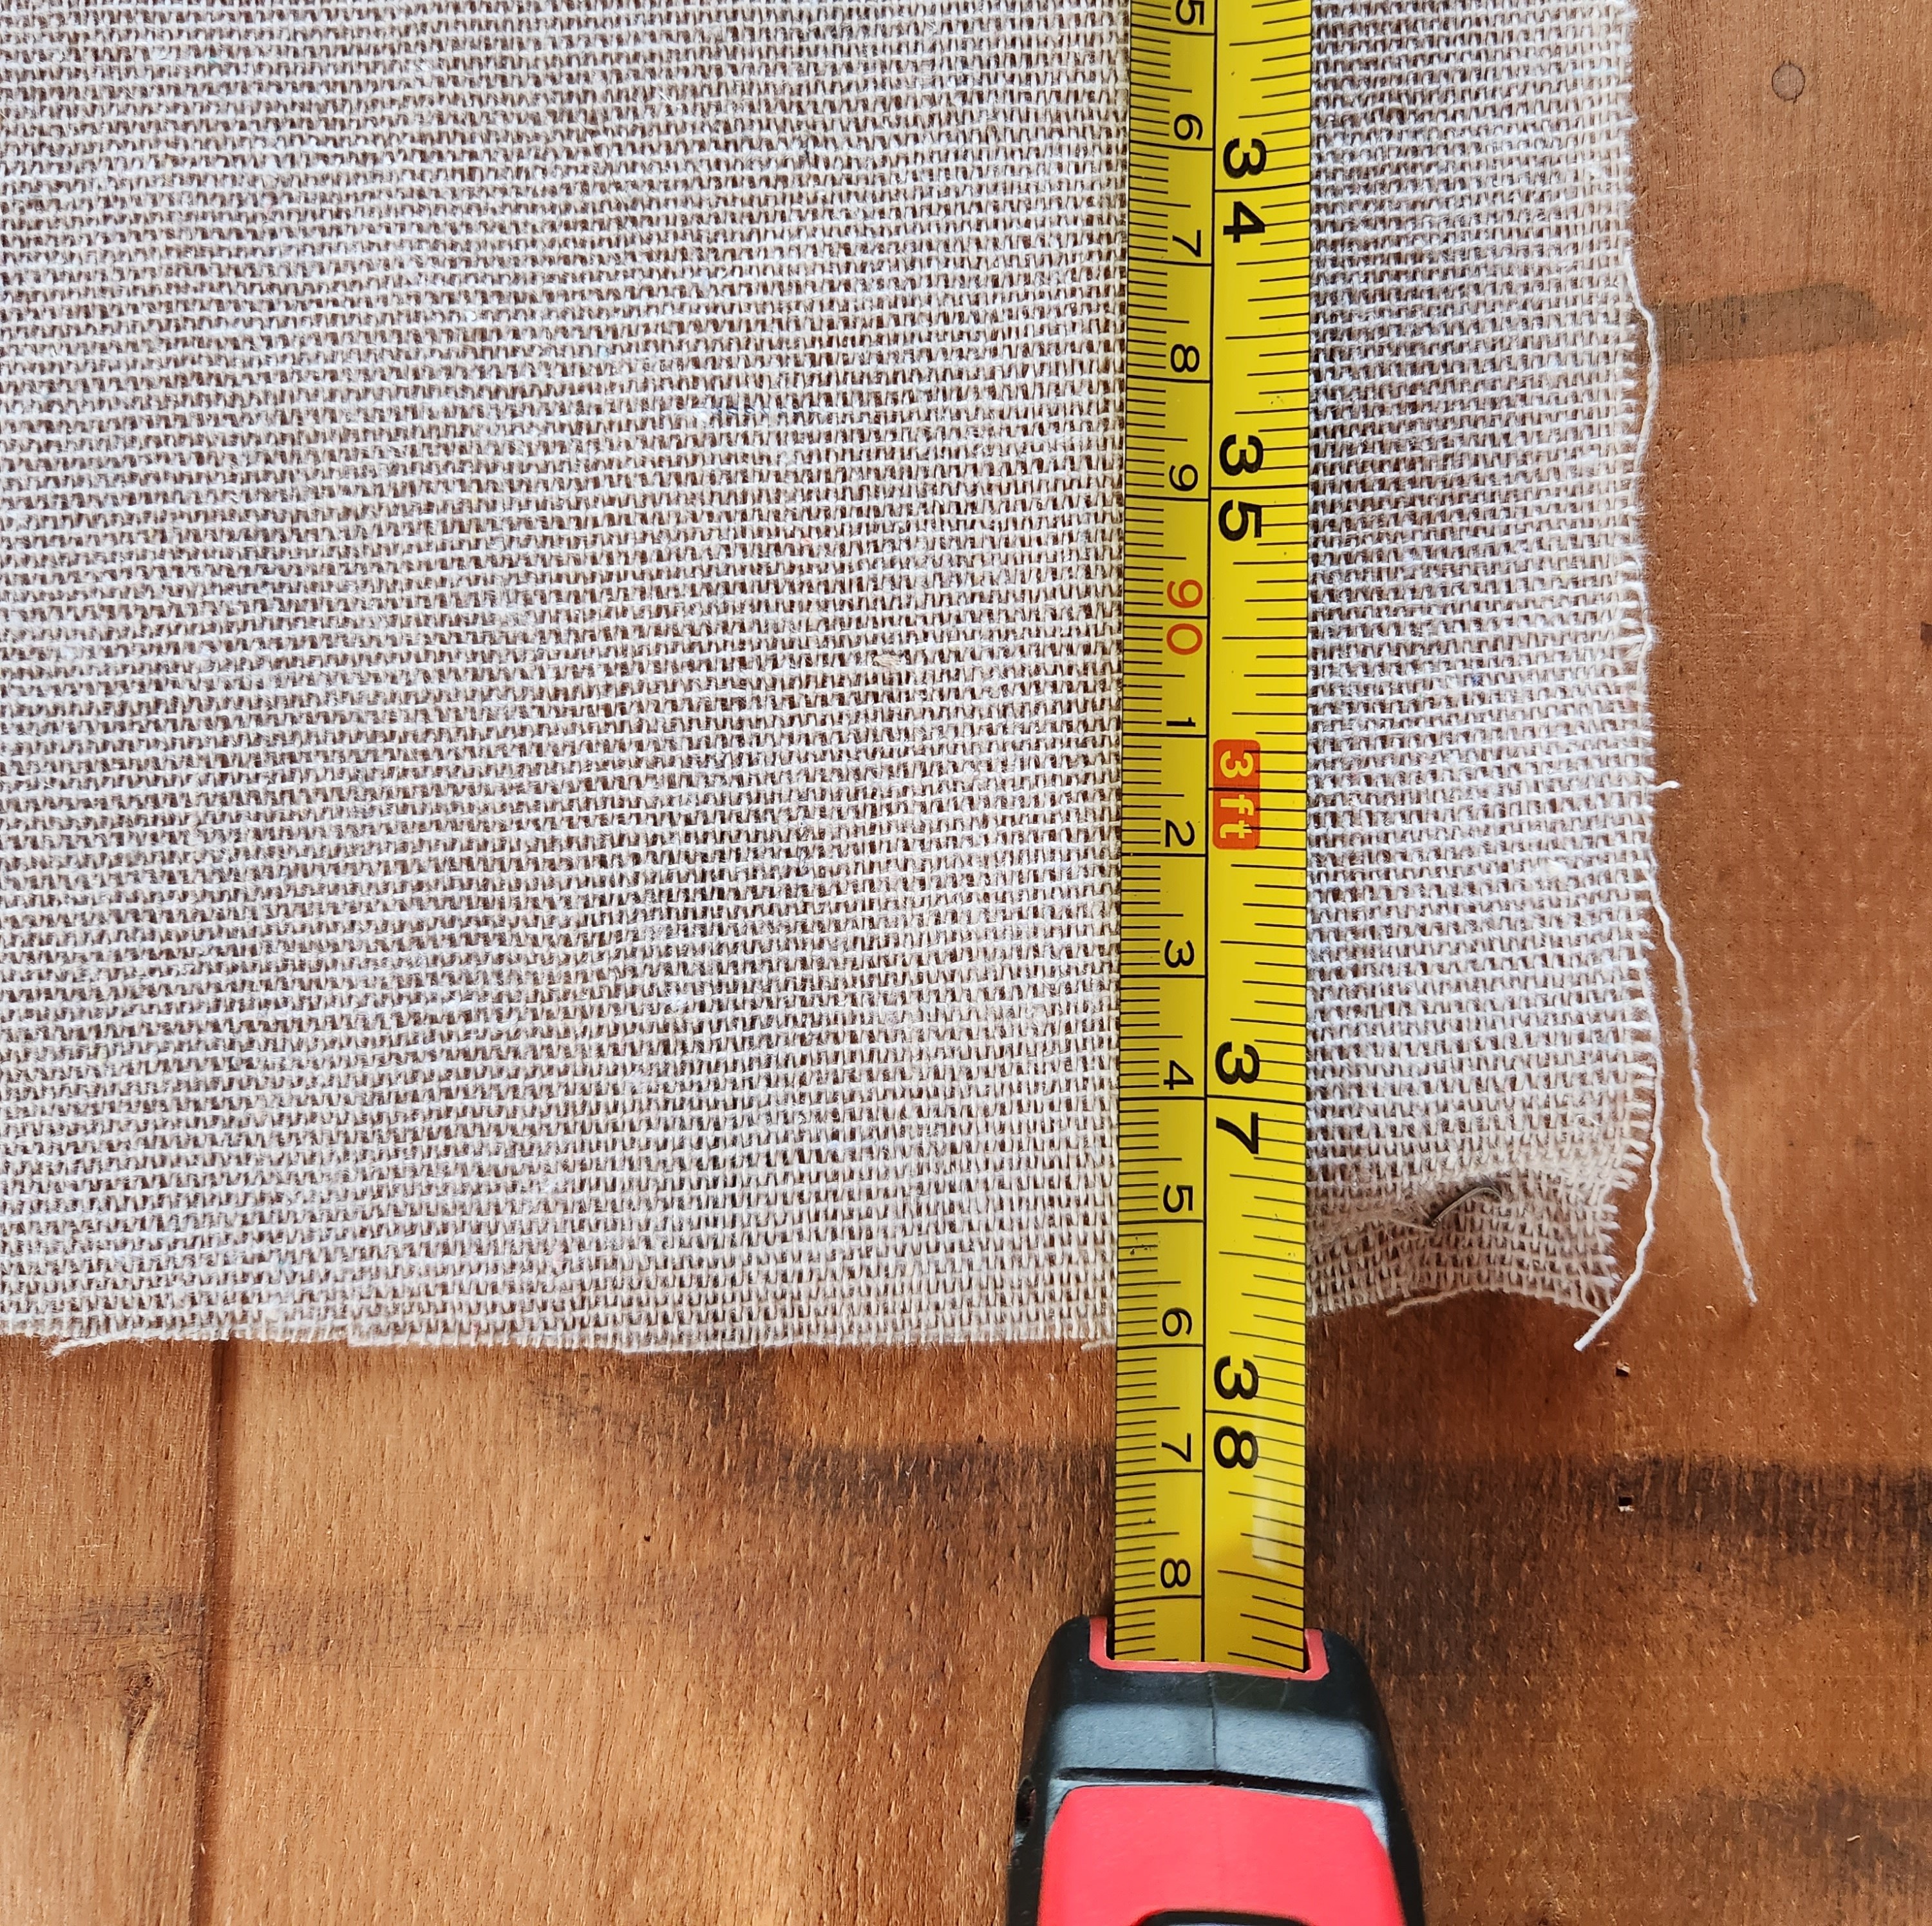
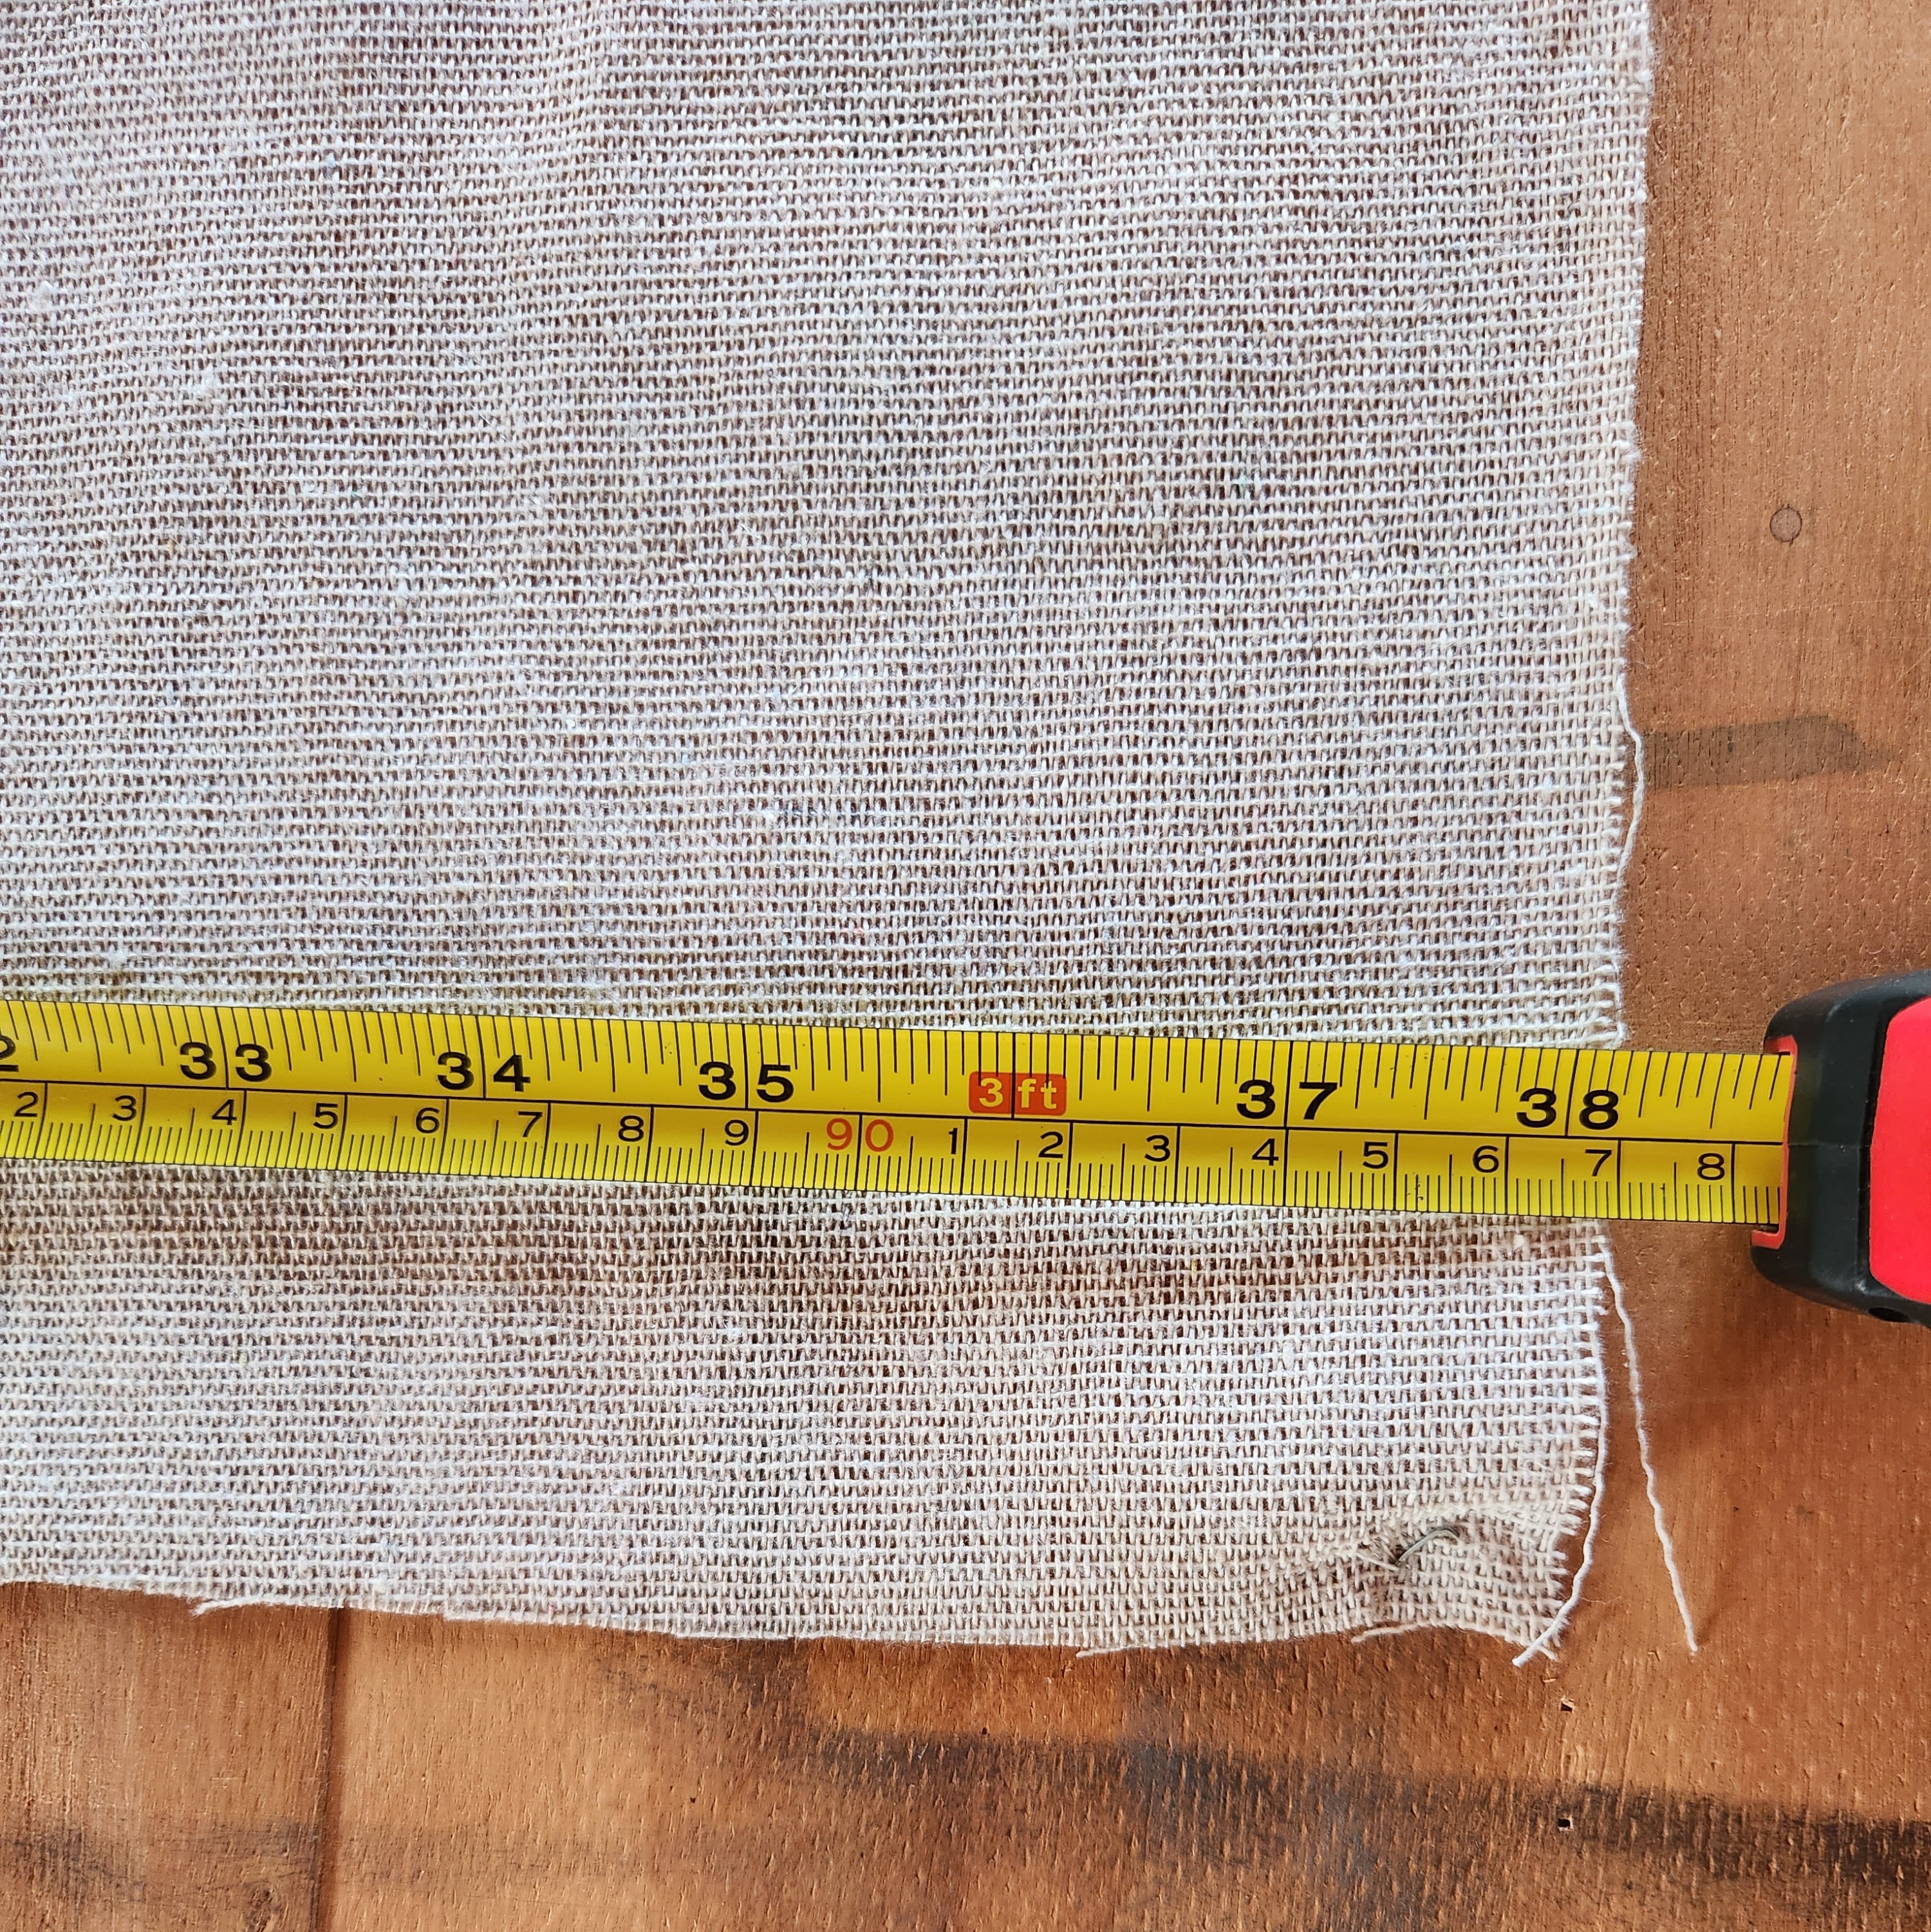
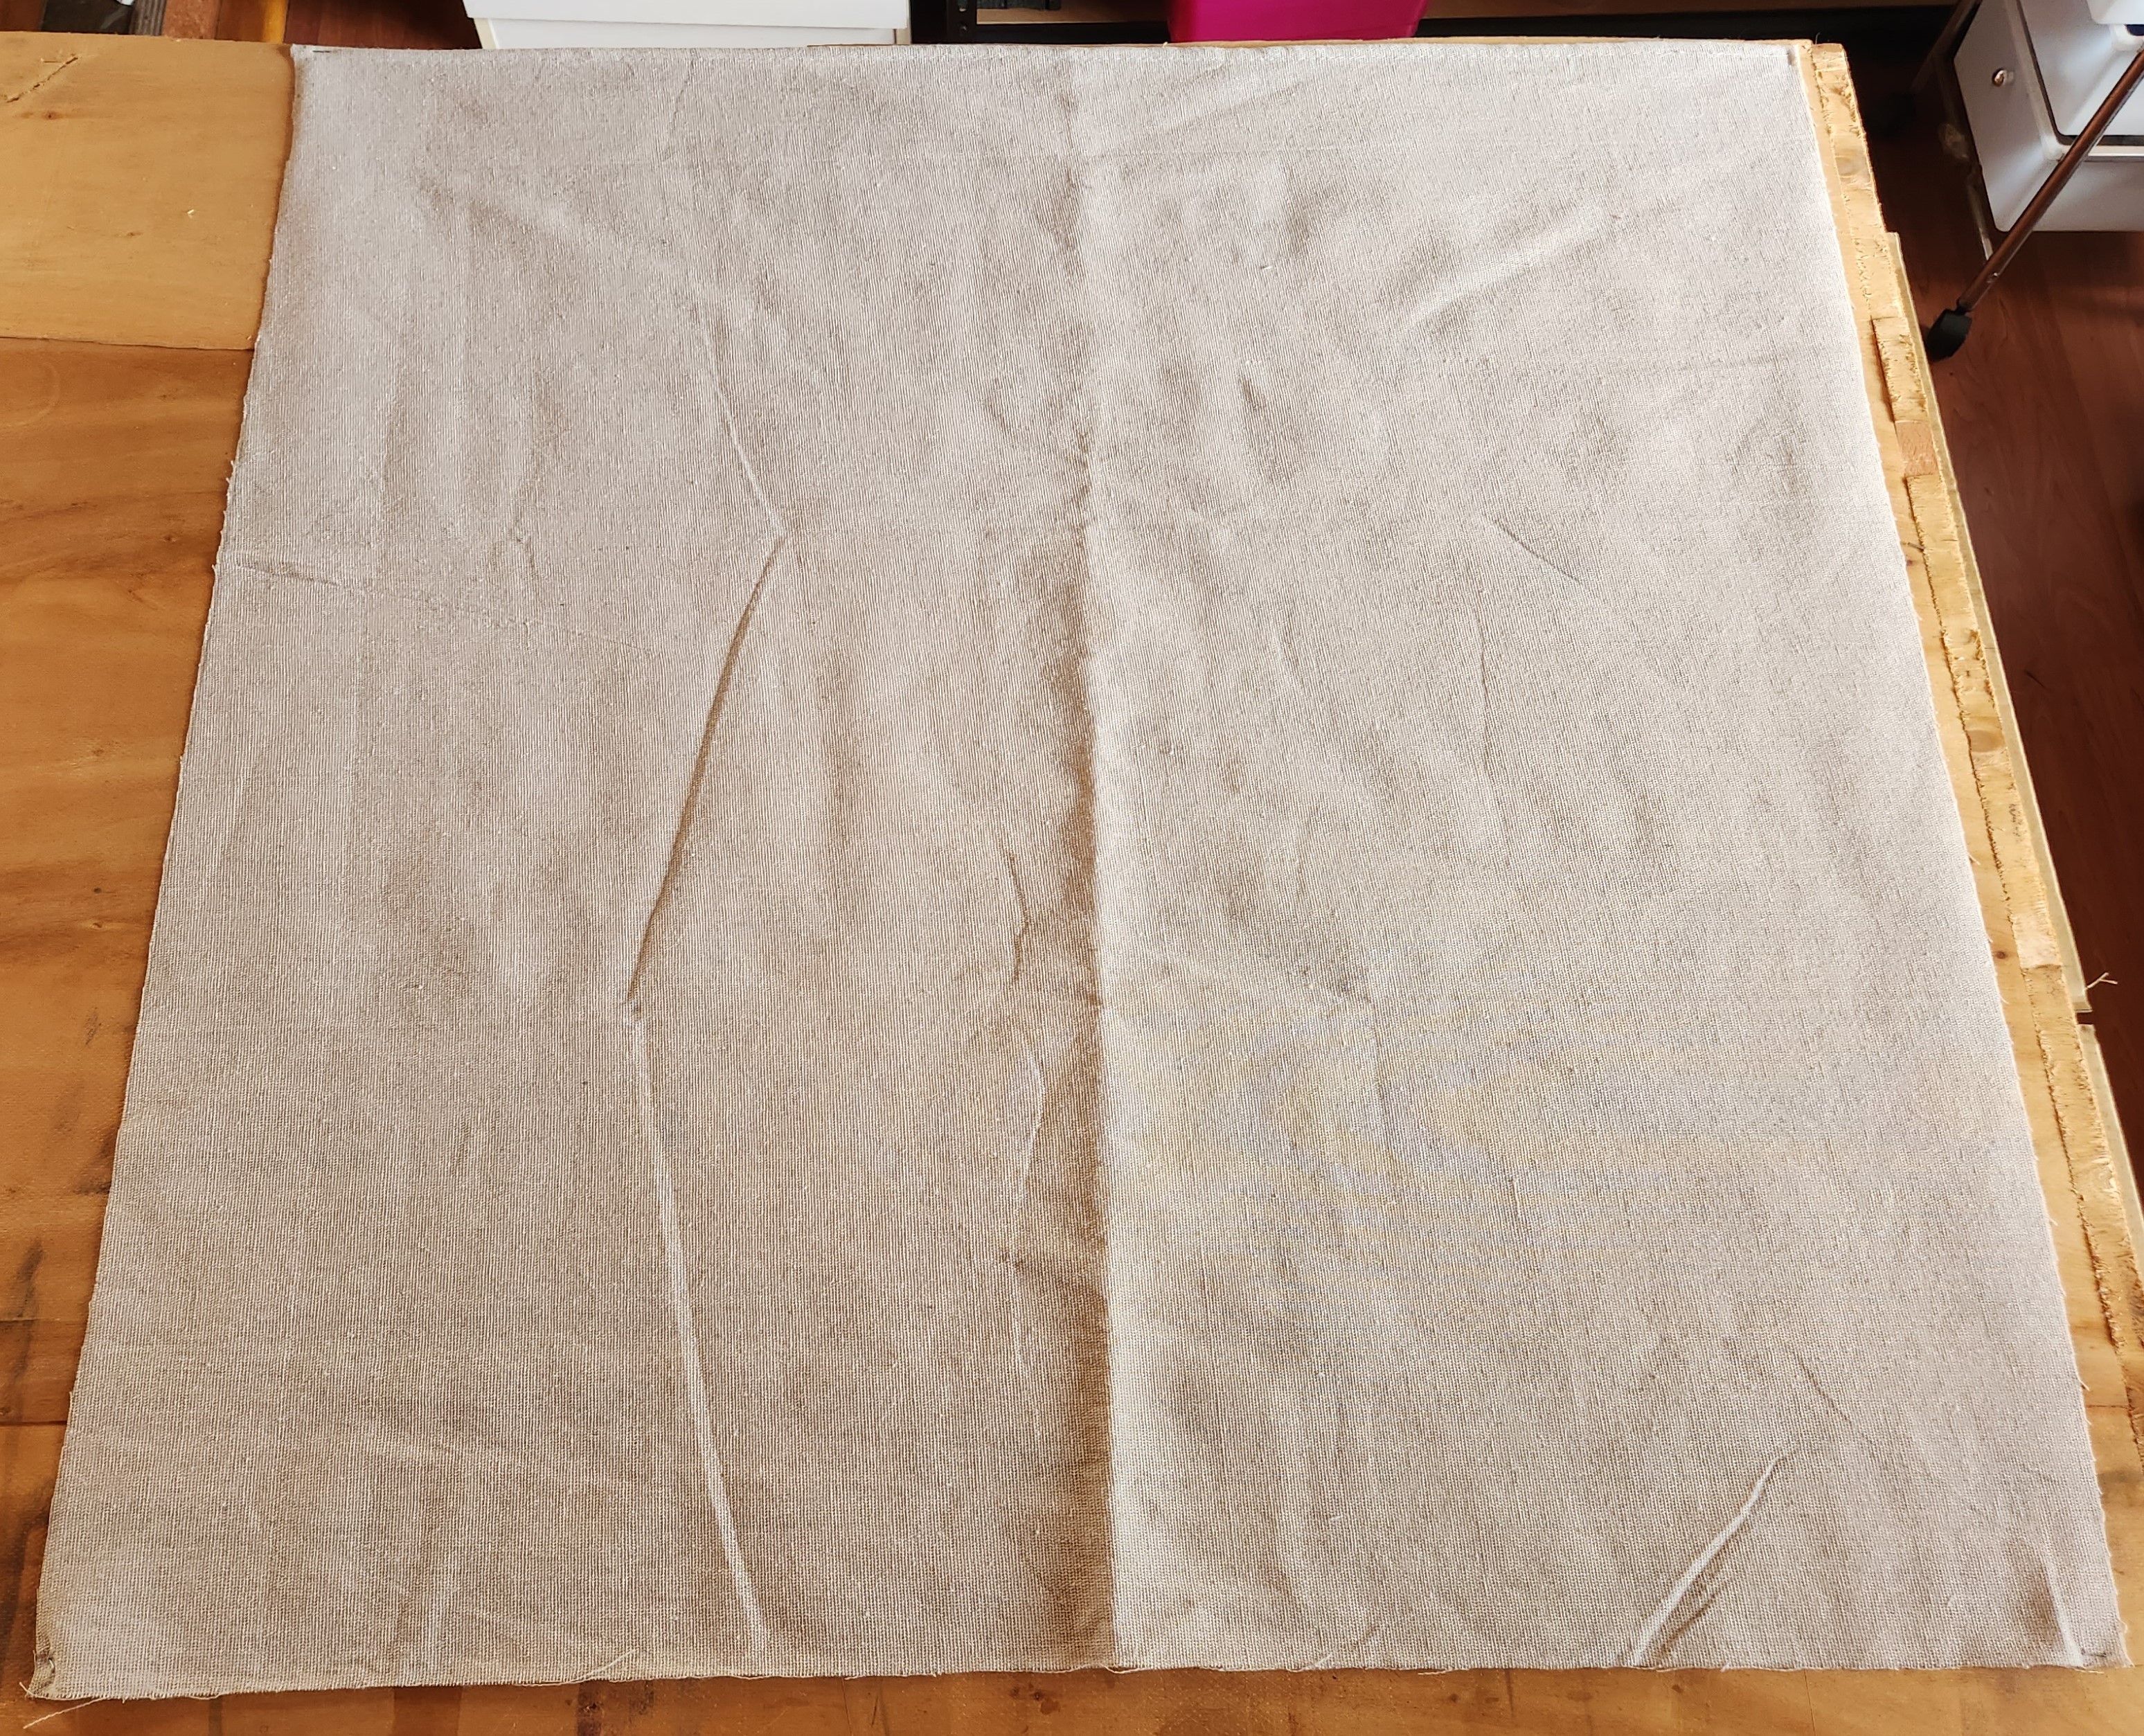
Malifaux uses a 3′ by 3′ space to play in. I’ve the mat an extra 2″ wider in length and width to allow for a border around the play area. It’s also to secure the mat down while working.
To secure it down I use a staple gun to staple each of the four corners, making sure that the material is fairly taught and flat.
Then a run of duct tape is run along the edges, trying to keep to a 1″ margin. Don’t pull the ta[e taught though, or the tension will pull itself up. It just needs to hold the material down securely while working.
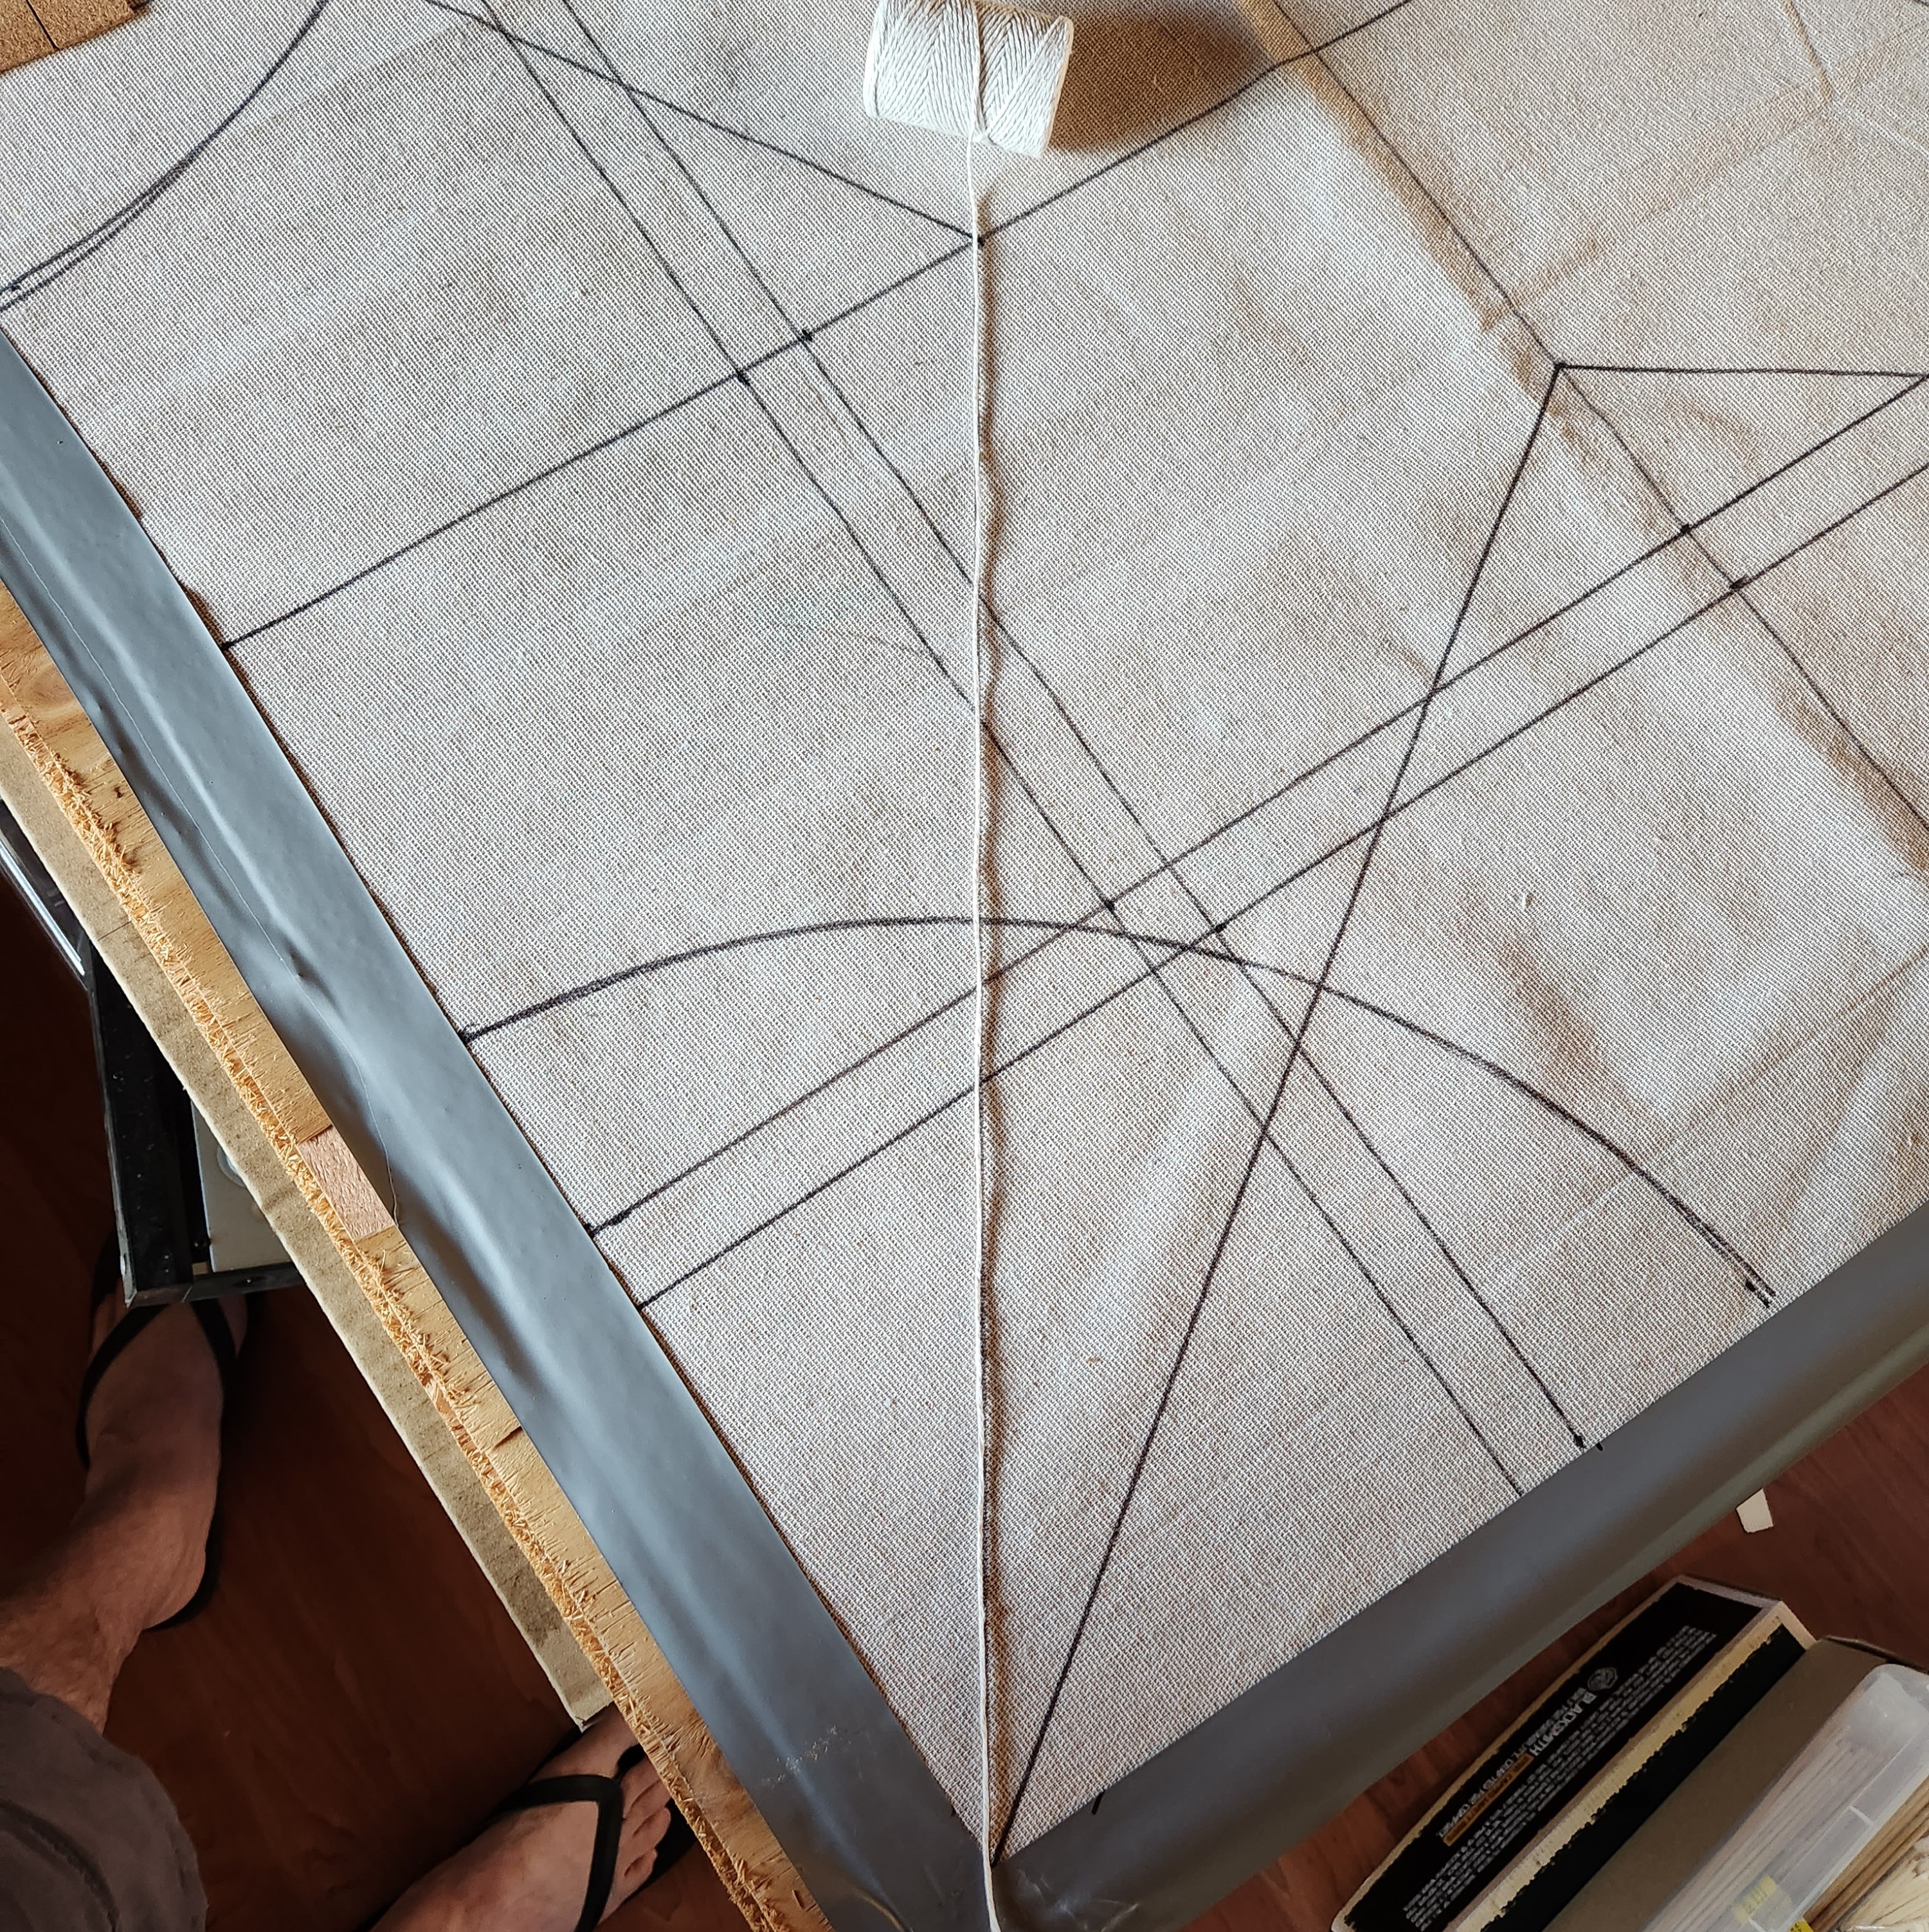
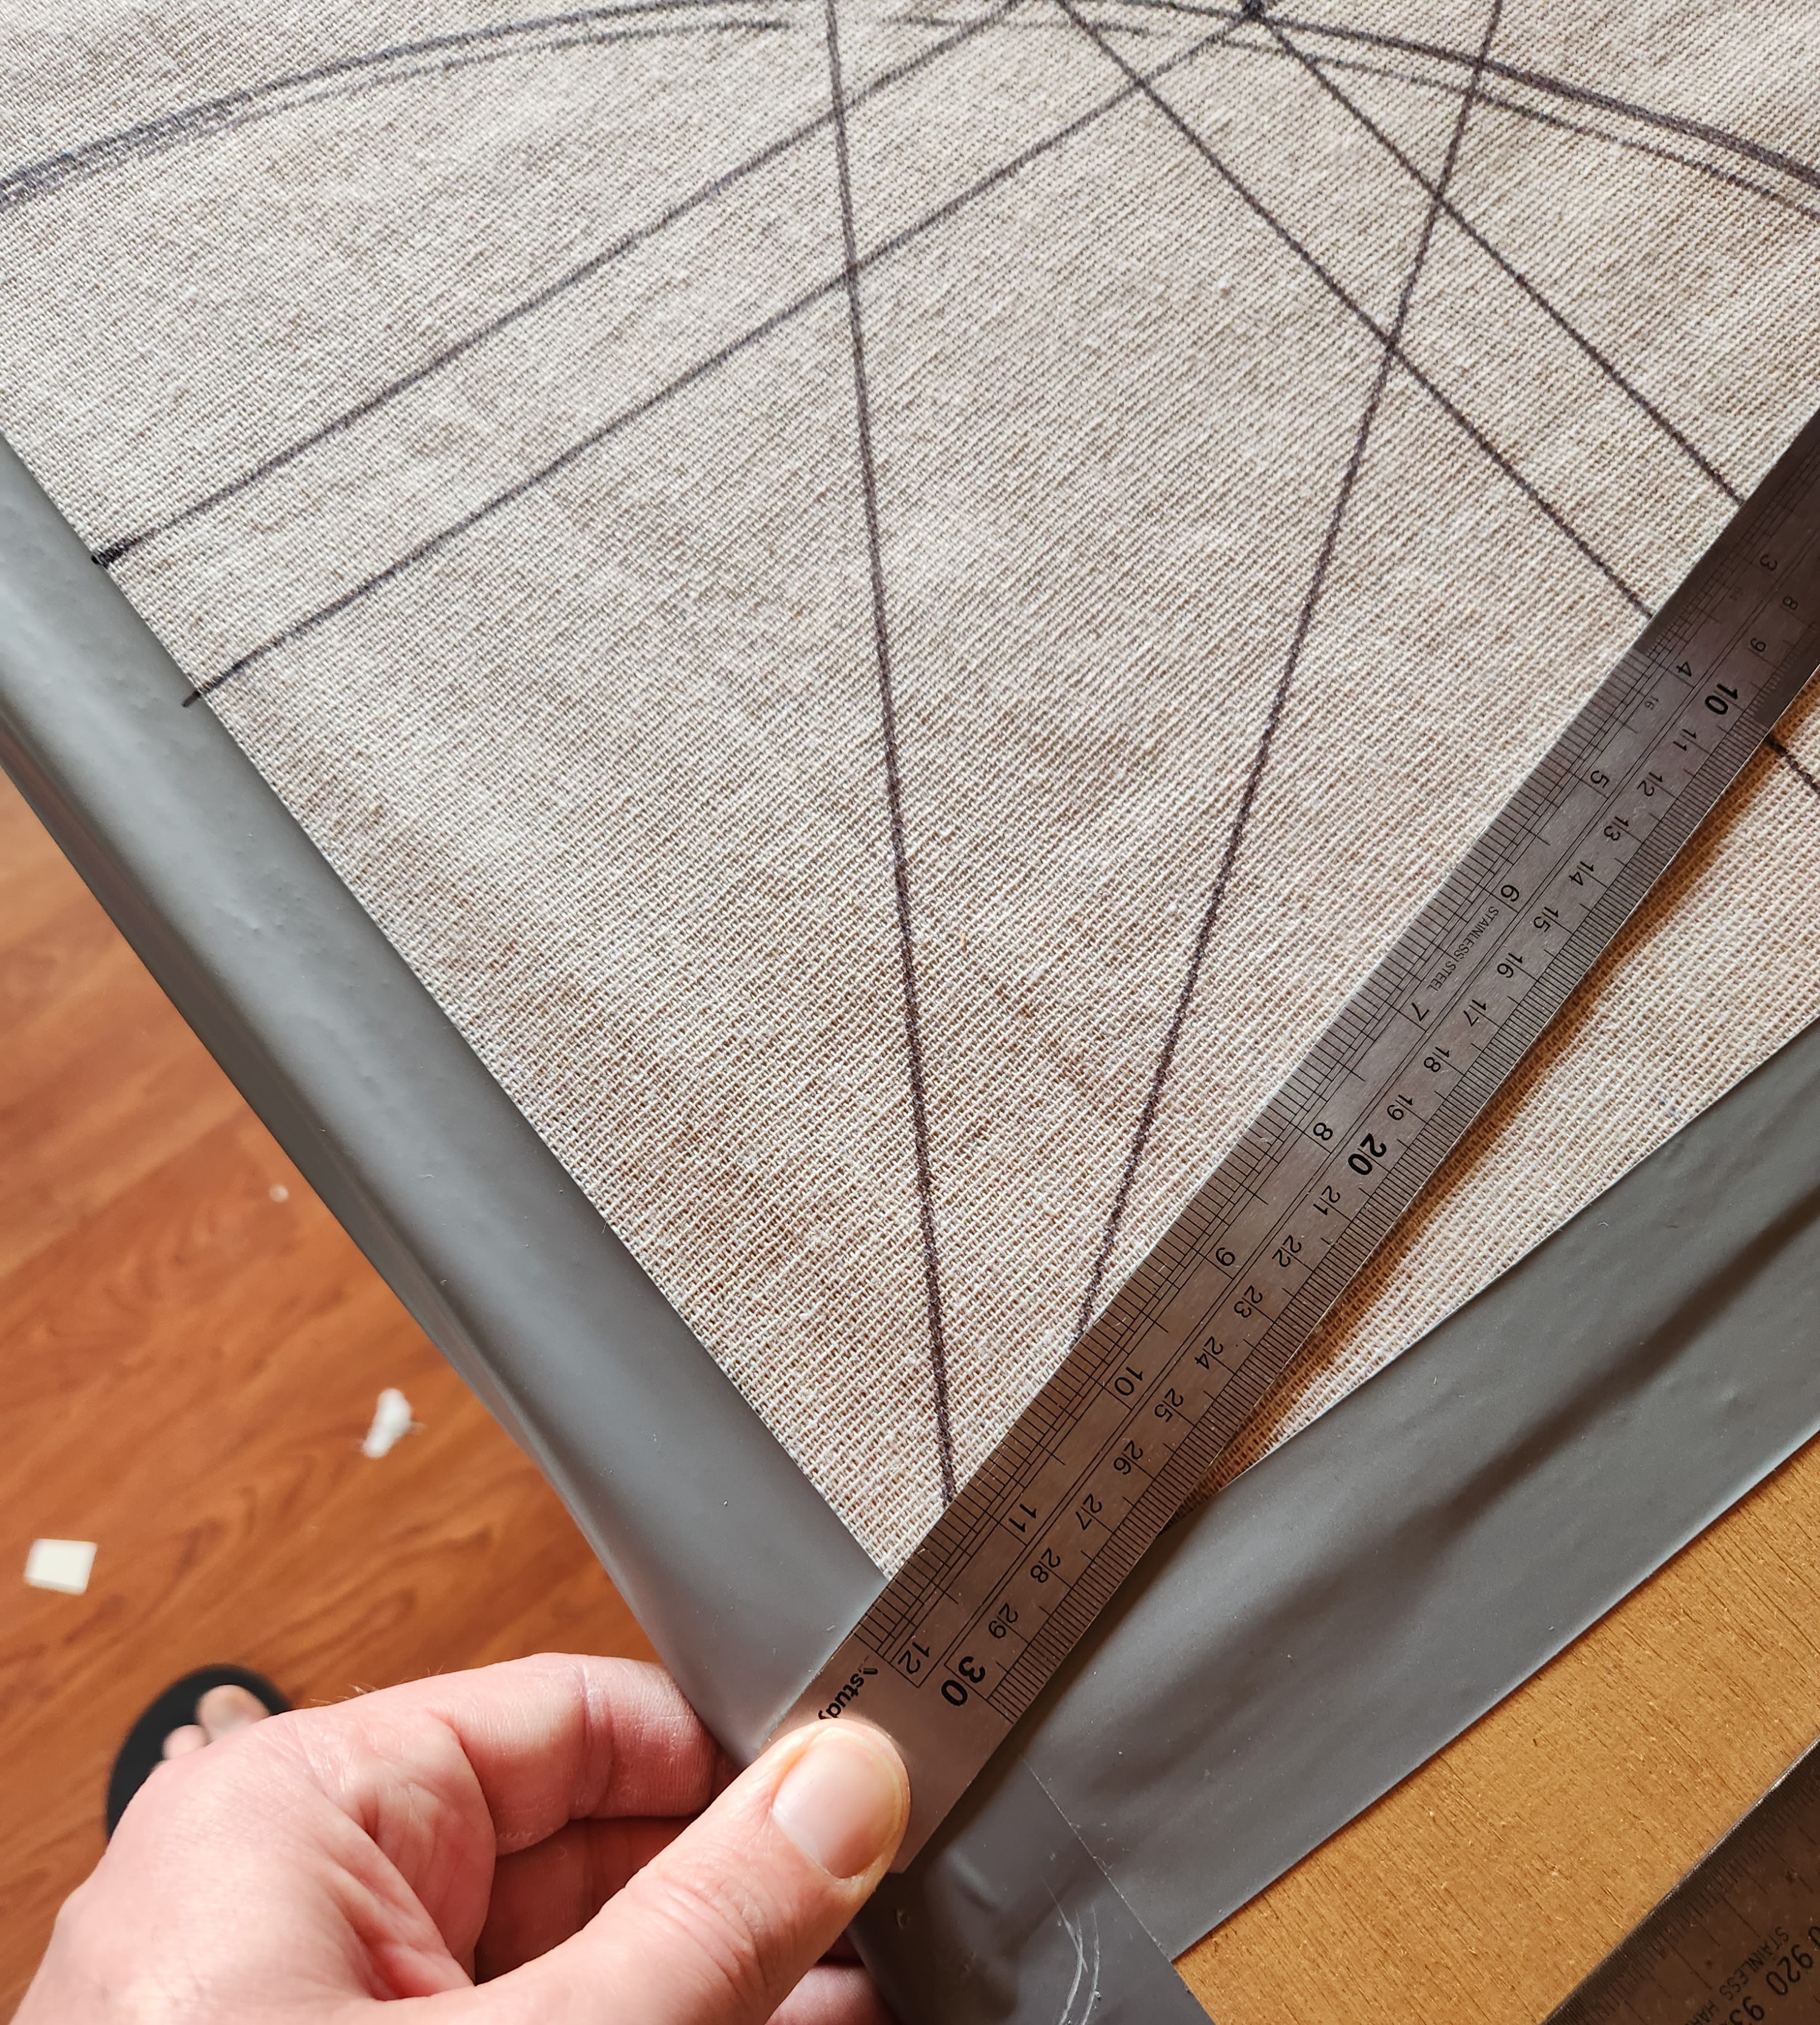
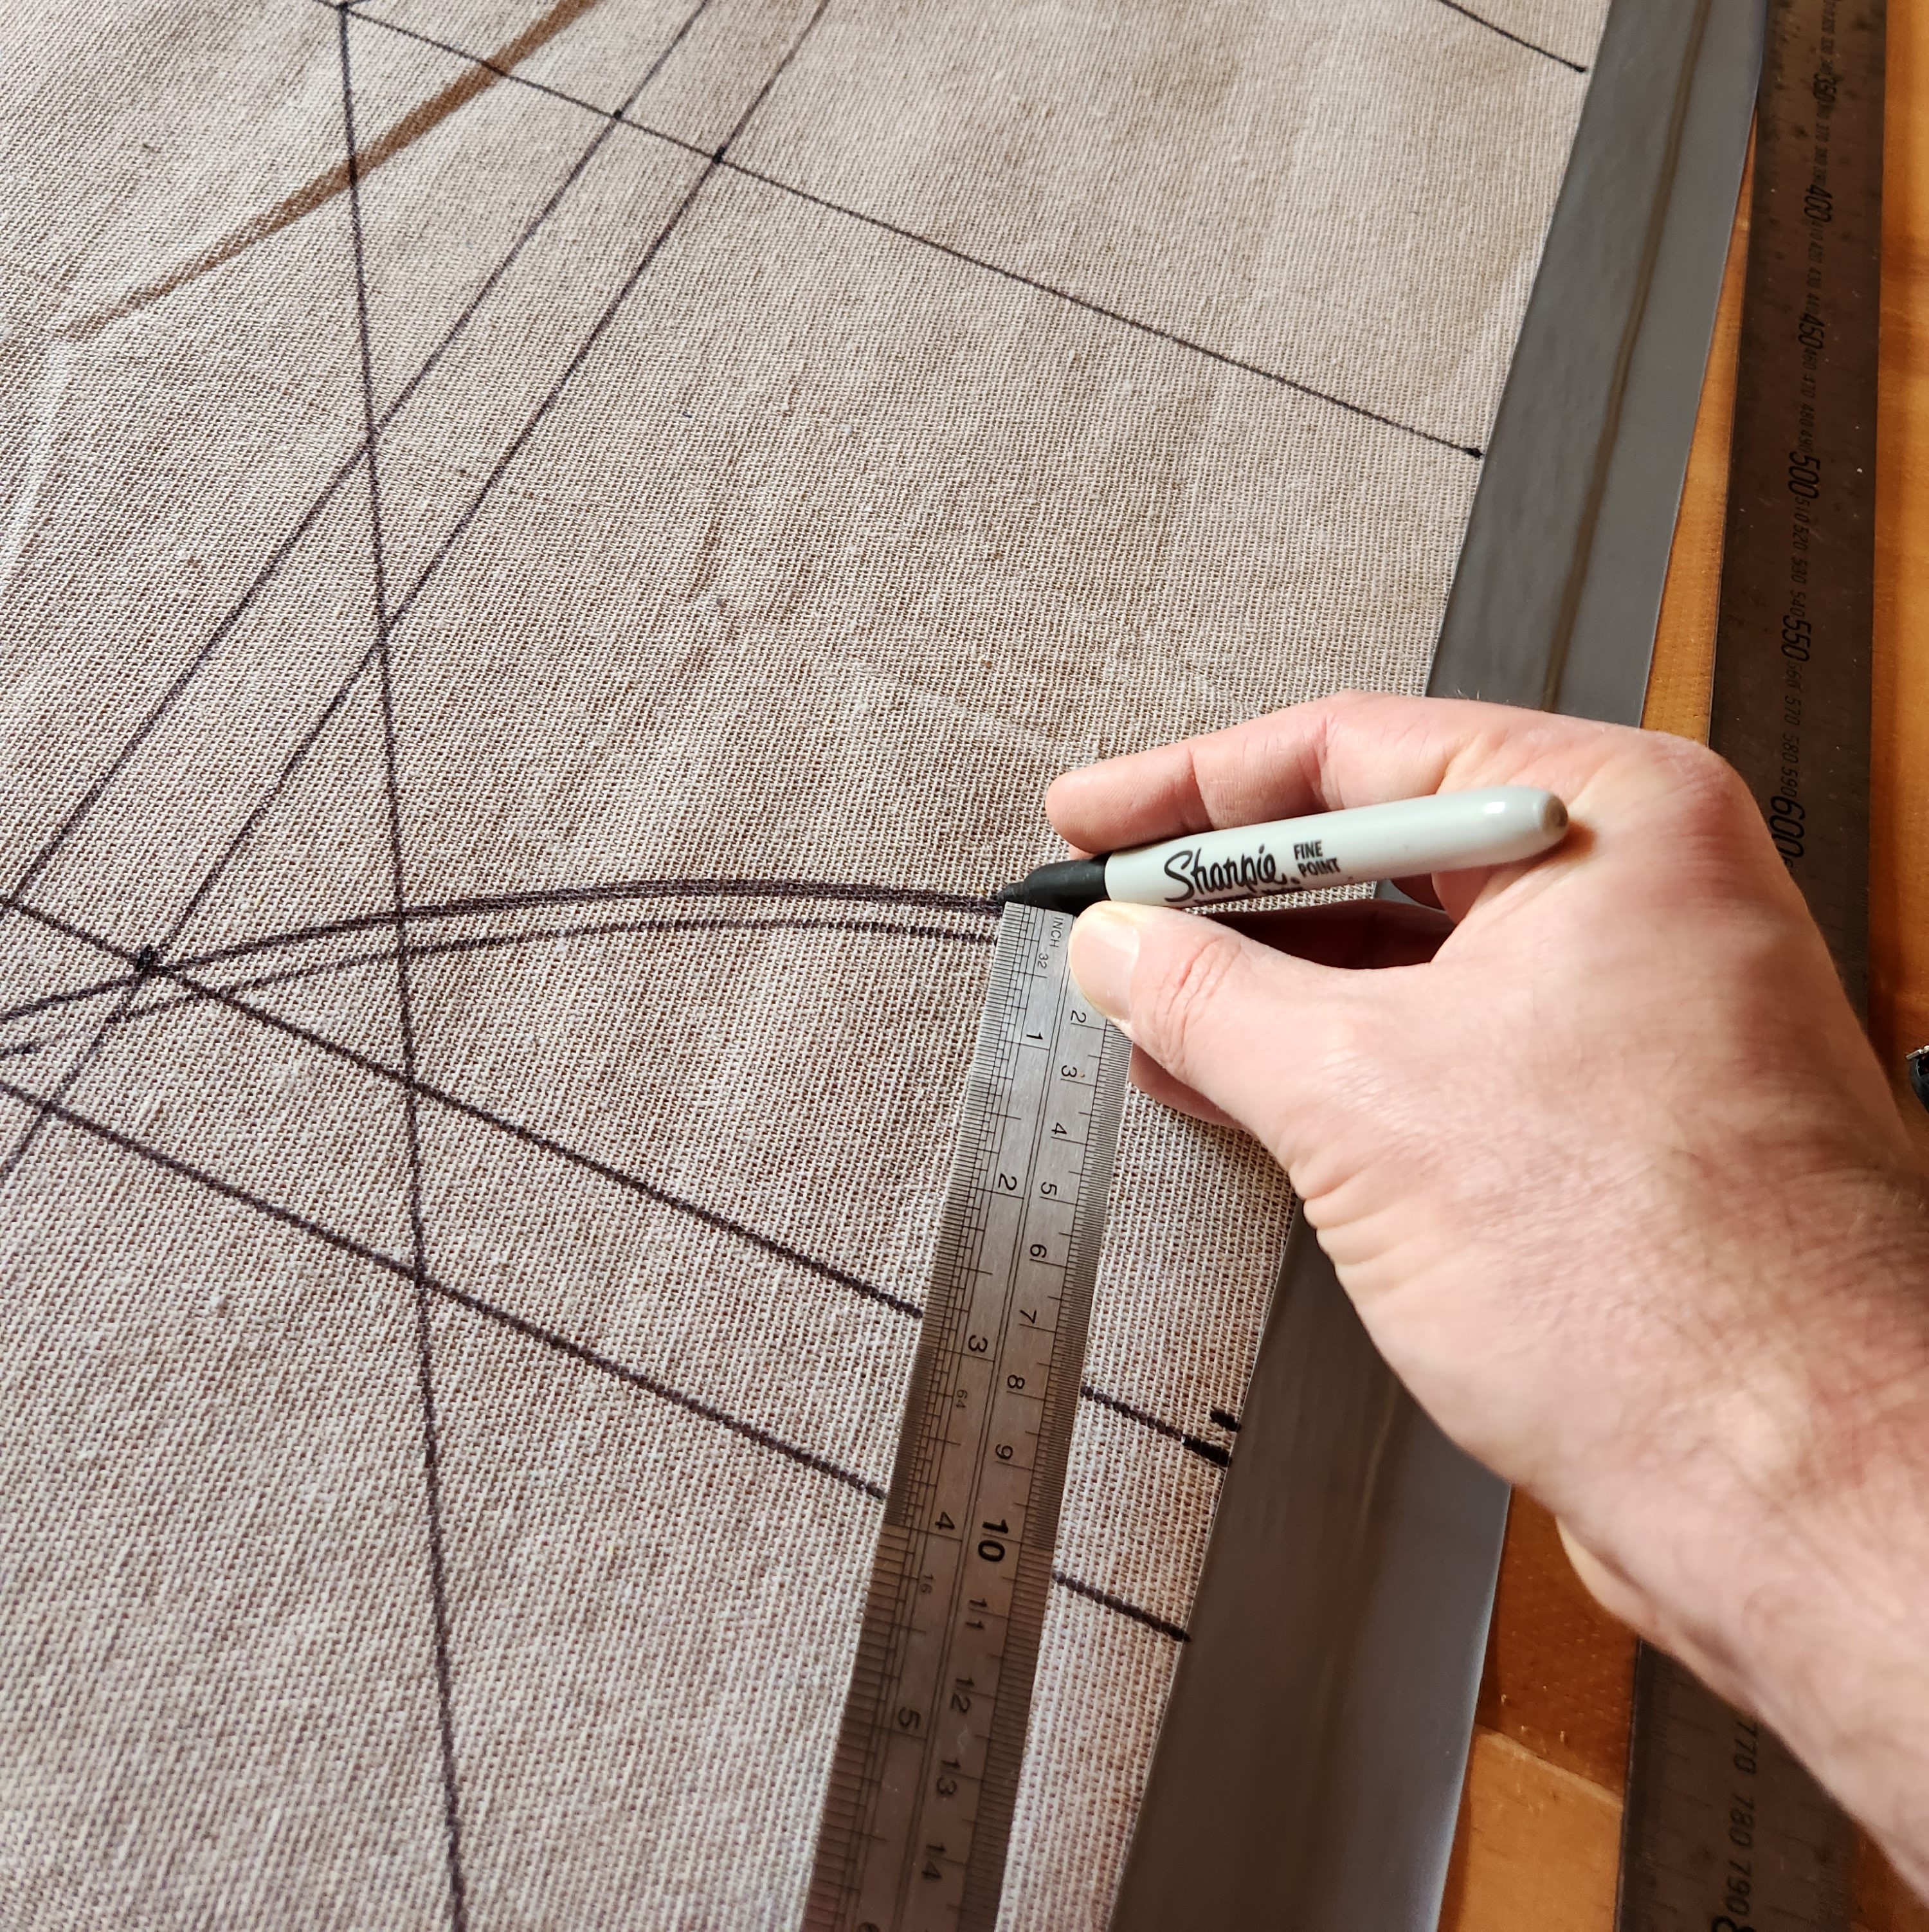
Once this is done, I marked out the table Quarters, then went through plotting out the rest of the DZ lines. I drew these out with a Sharpie, a meter long steel rule and a 30cm steel rule for the small work.
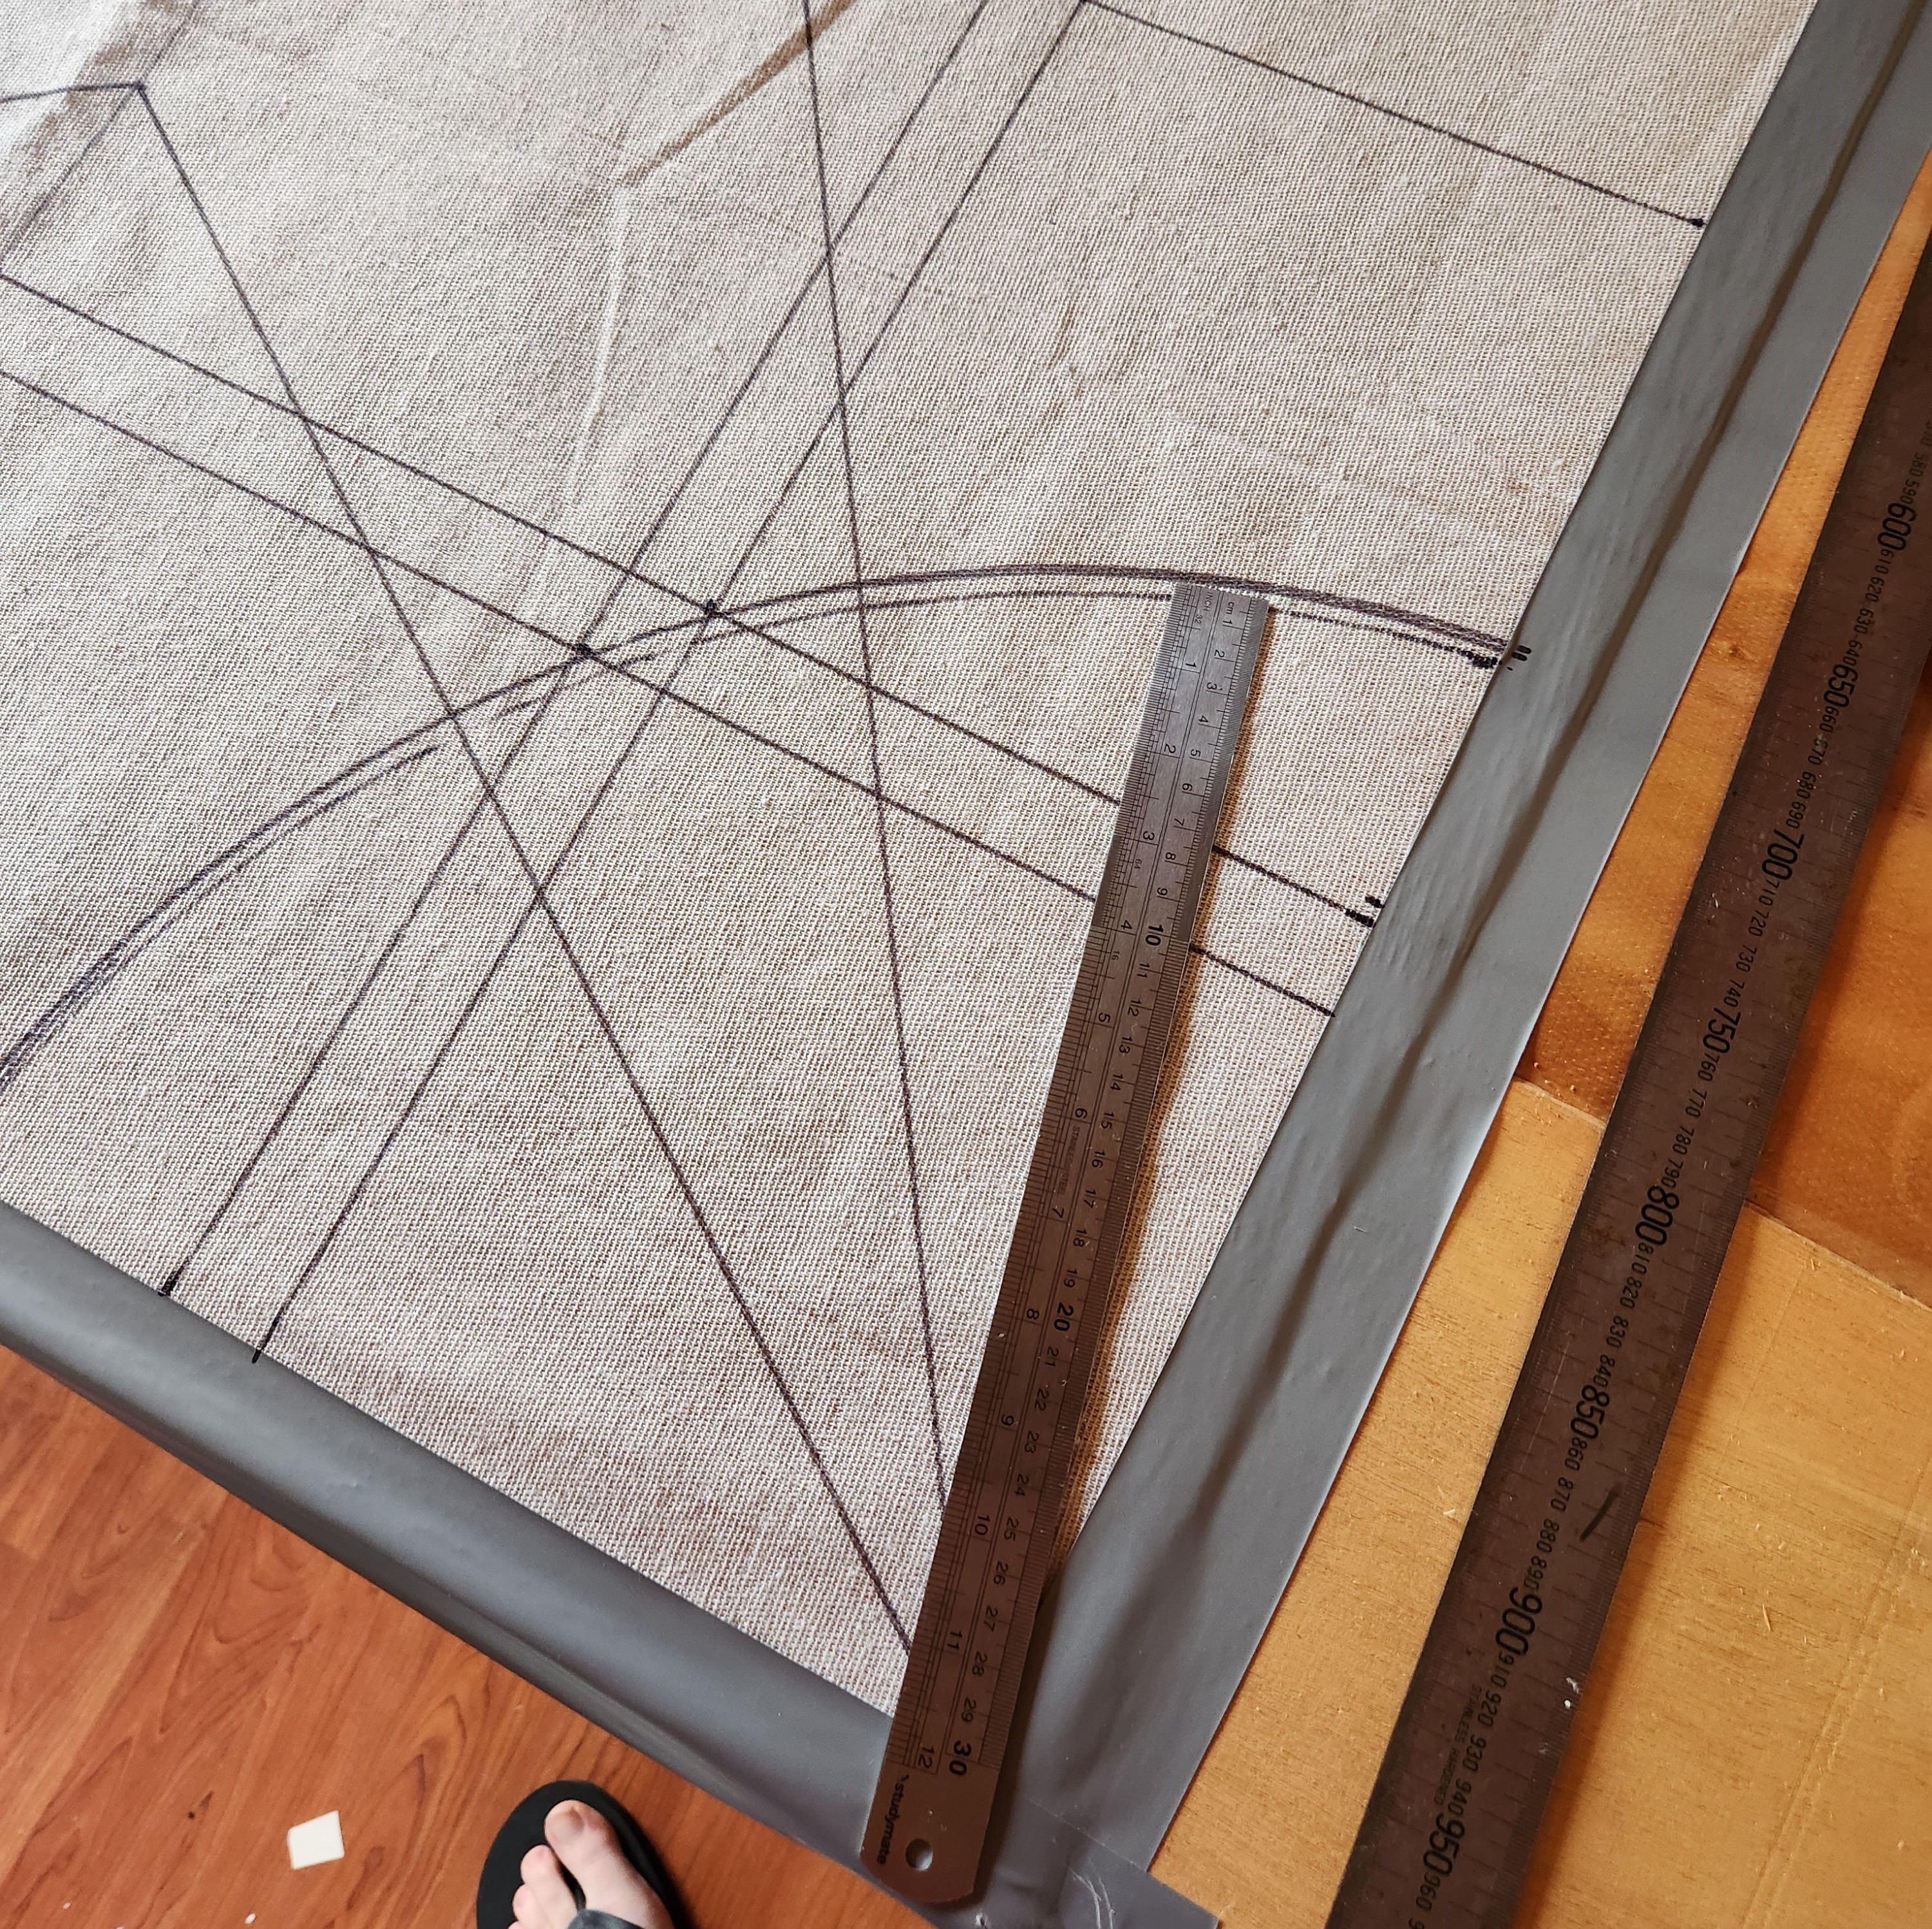
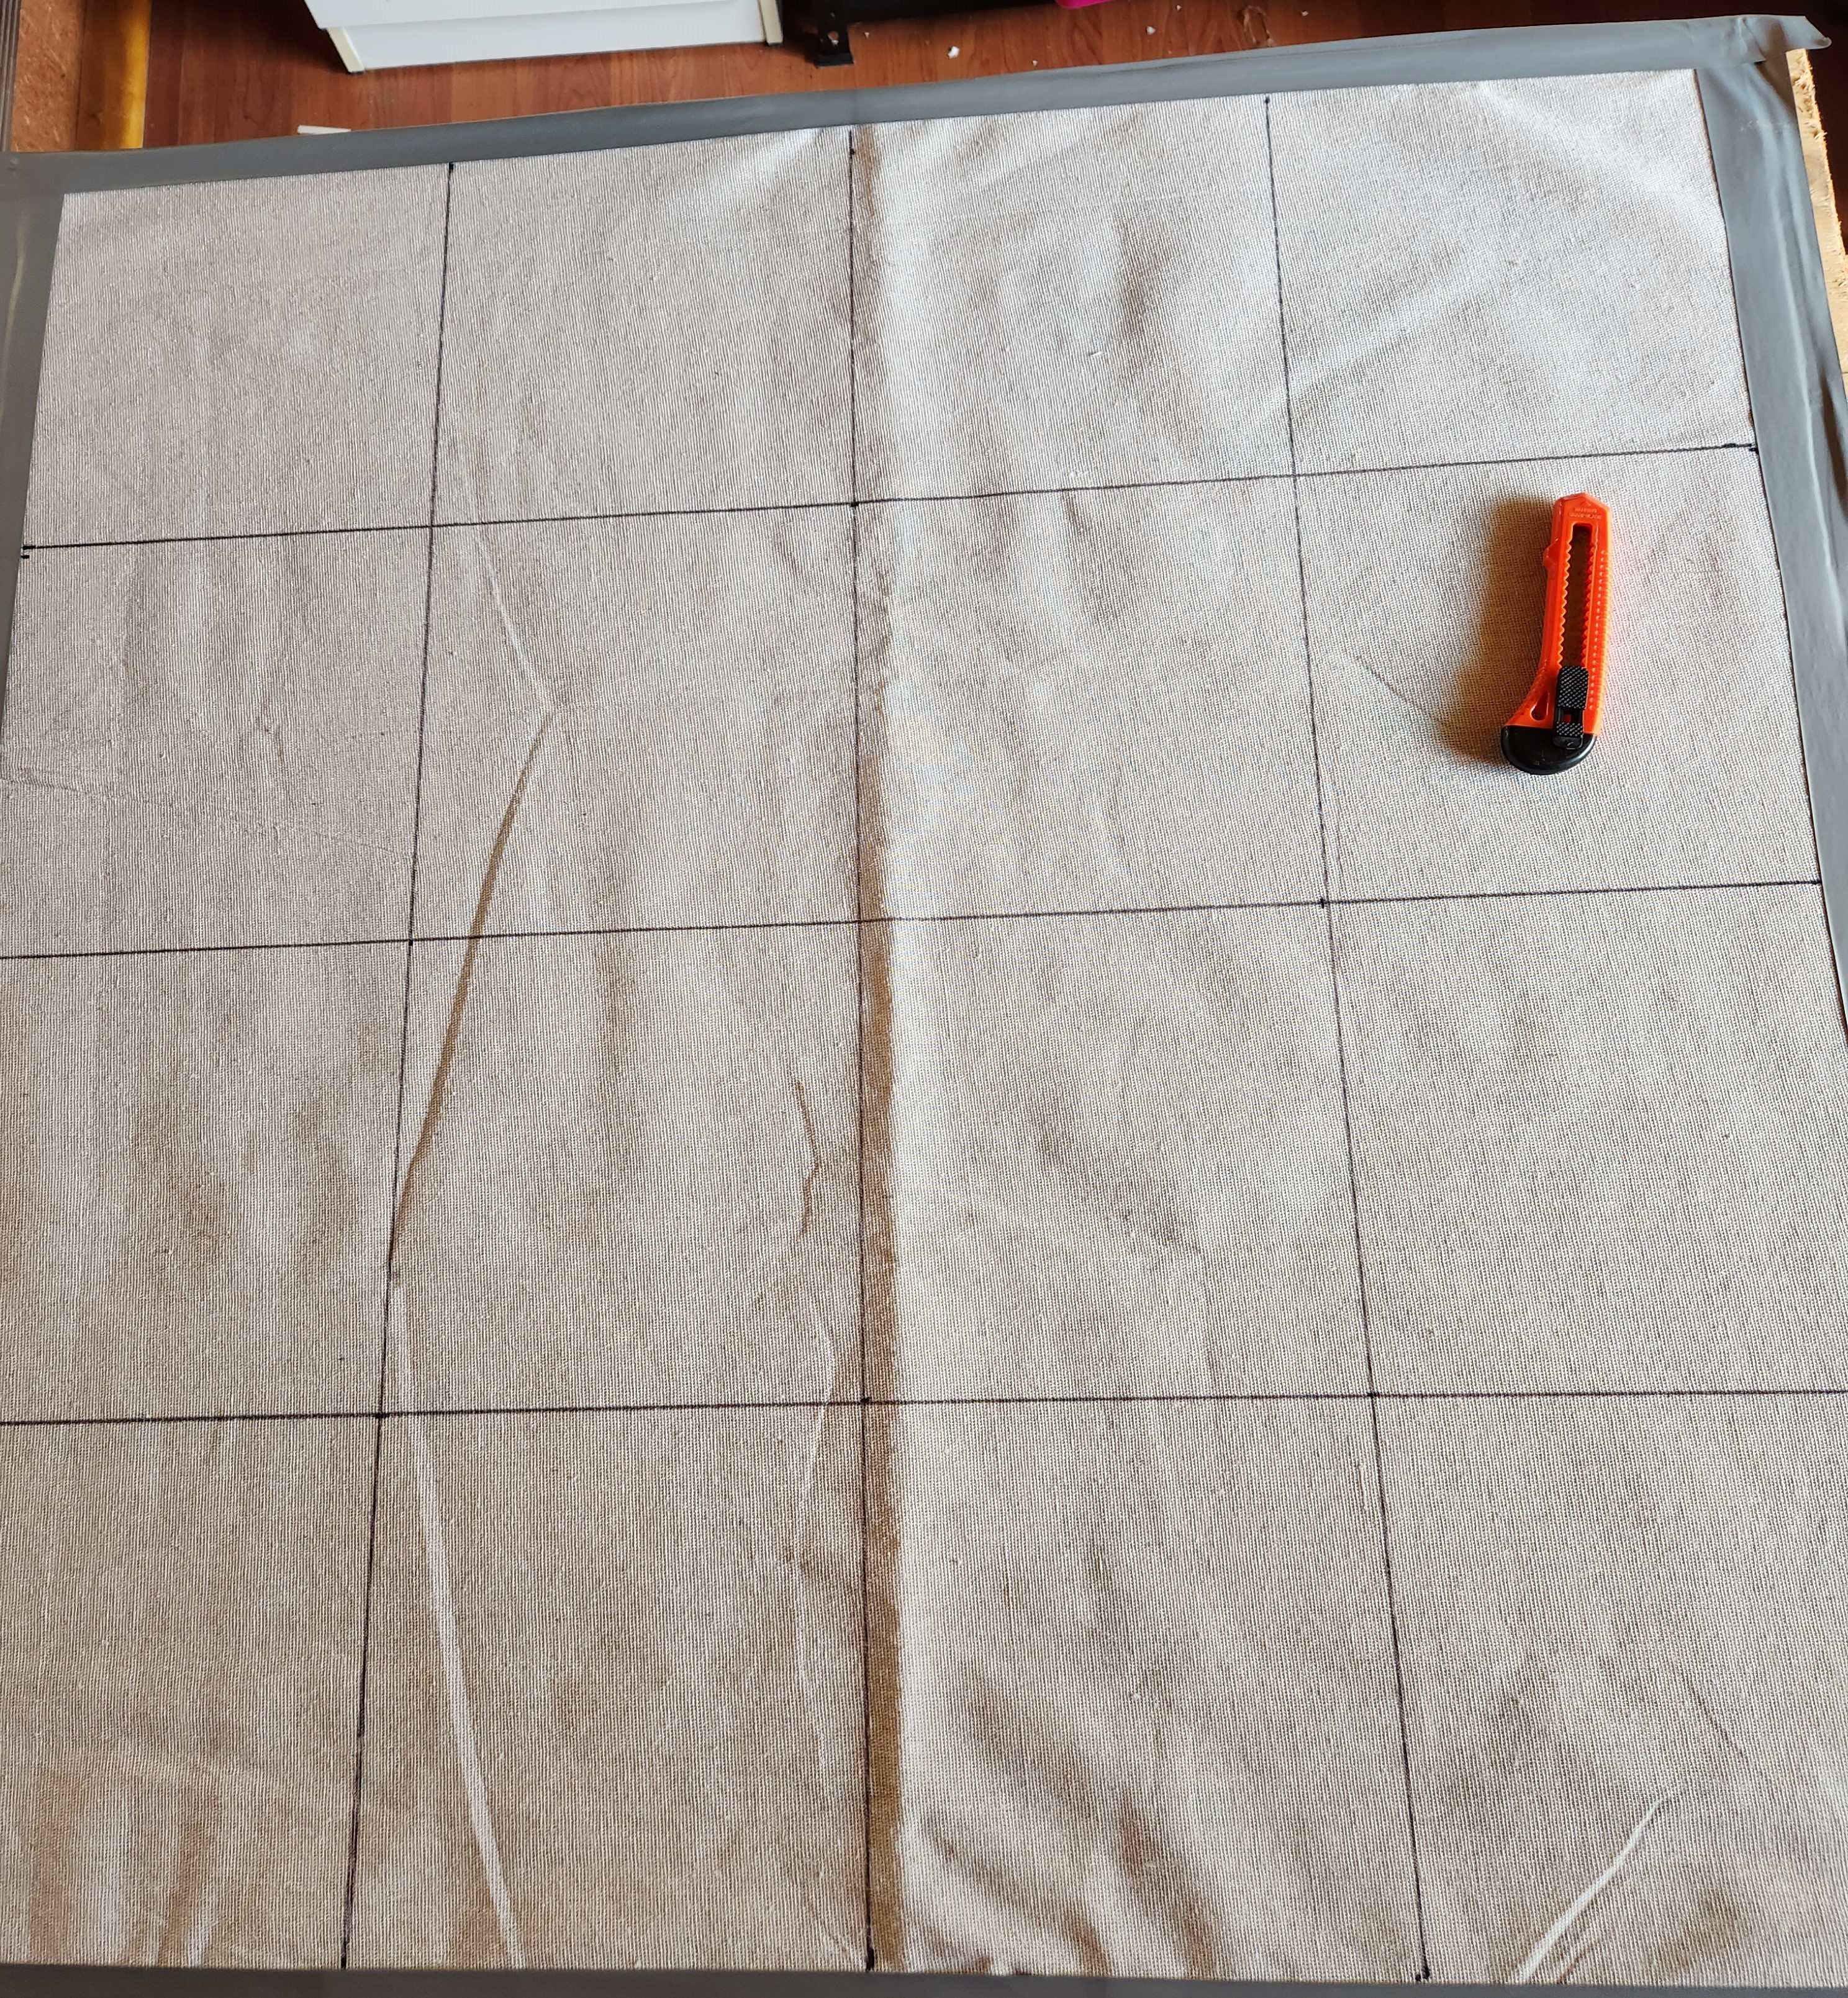 Table Quarters, each square is 9". These form the Flank Deployment, by using two opposing L-shapes in the corners.
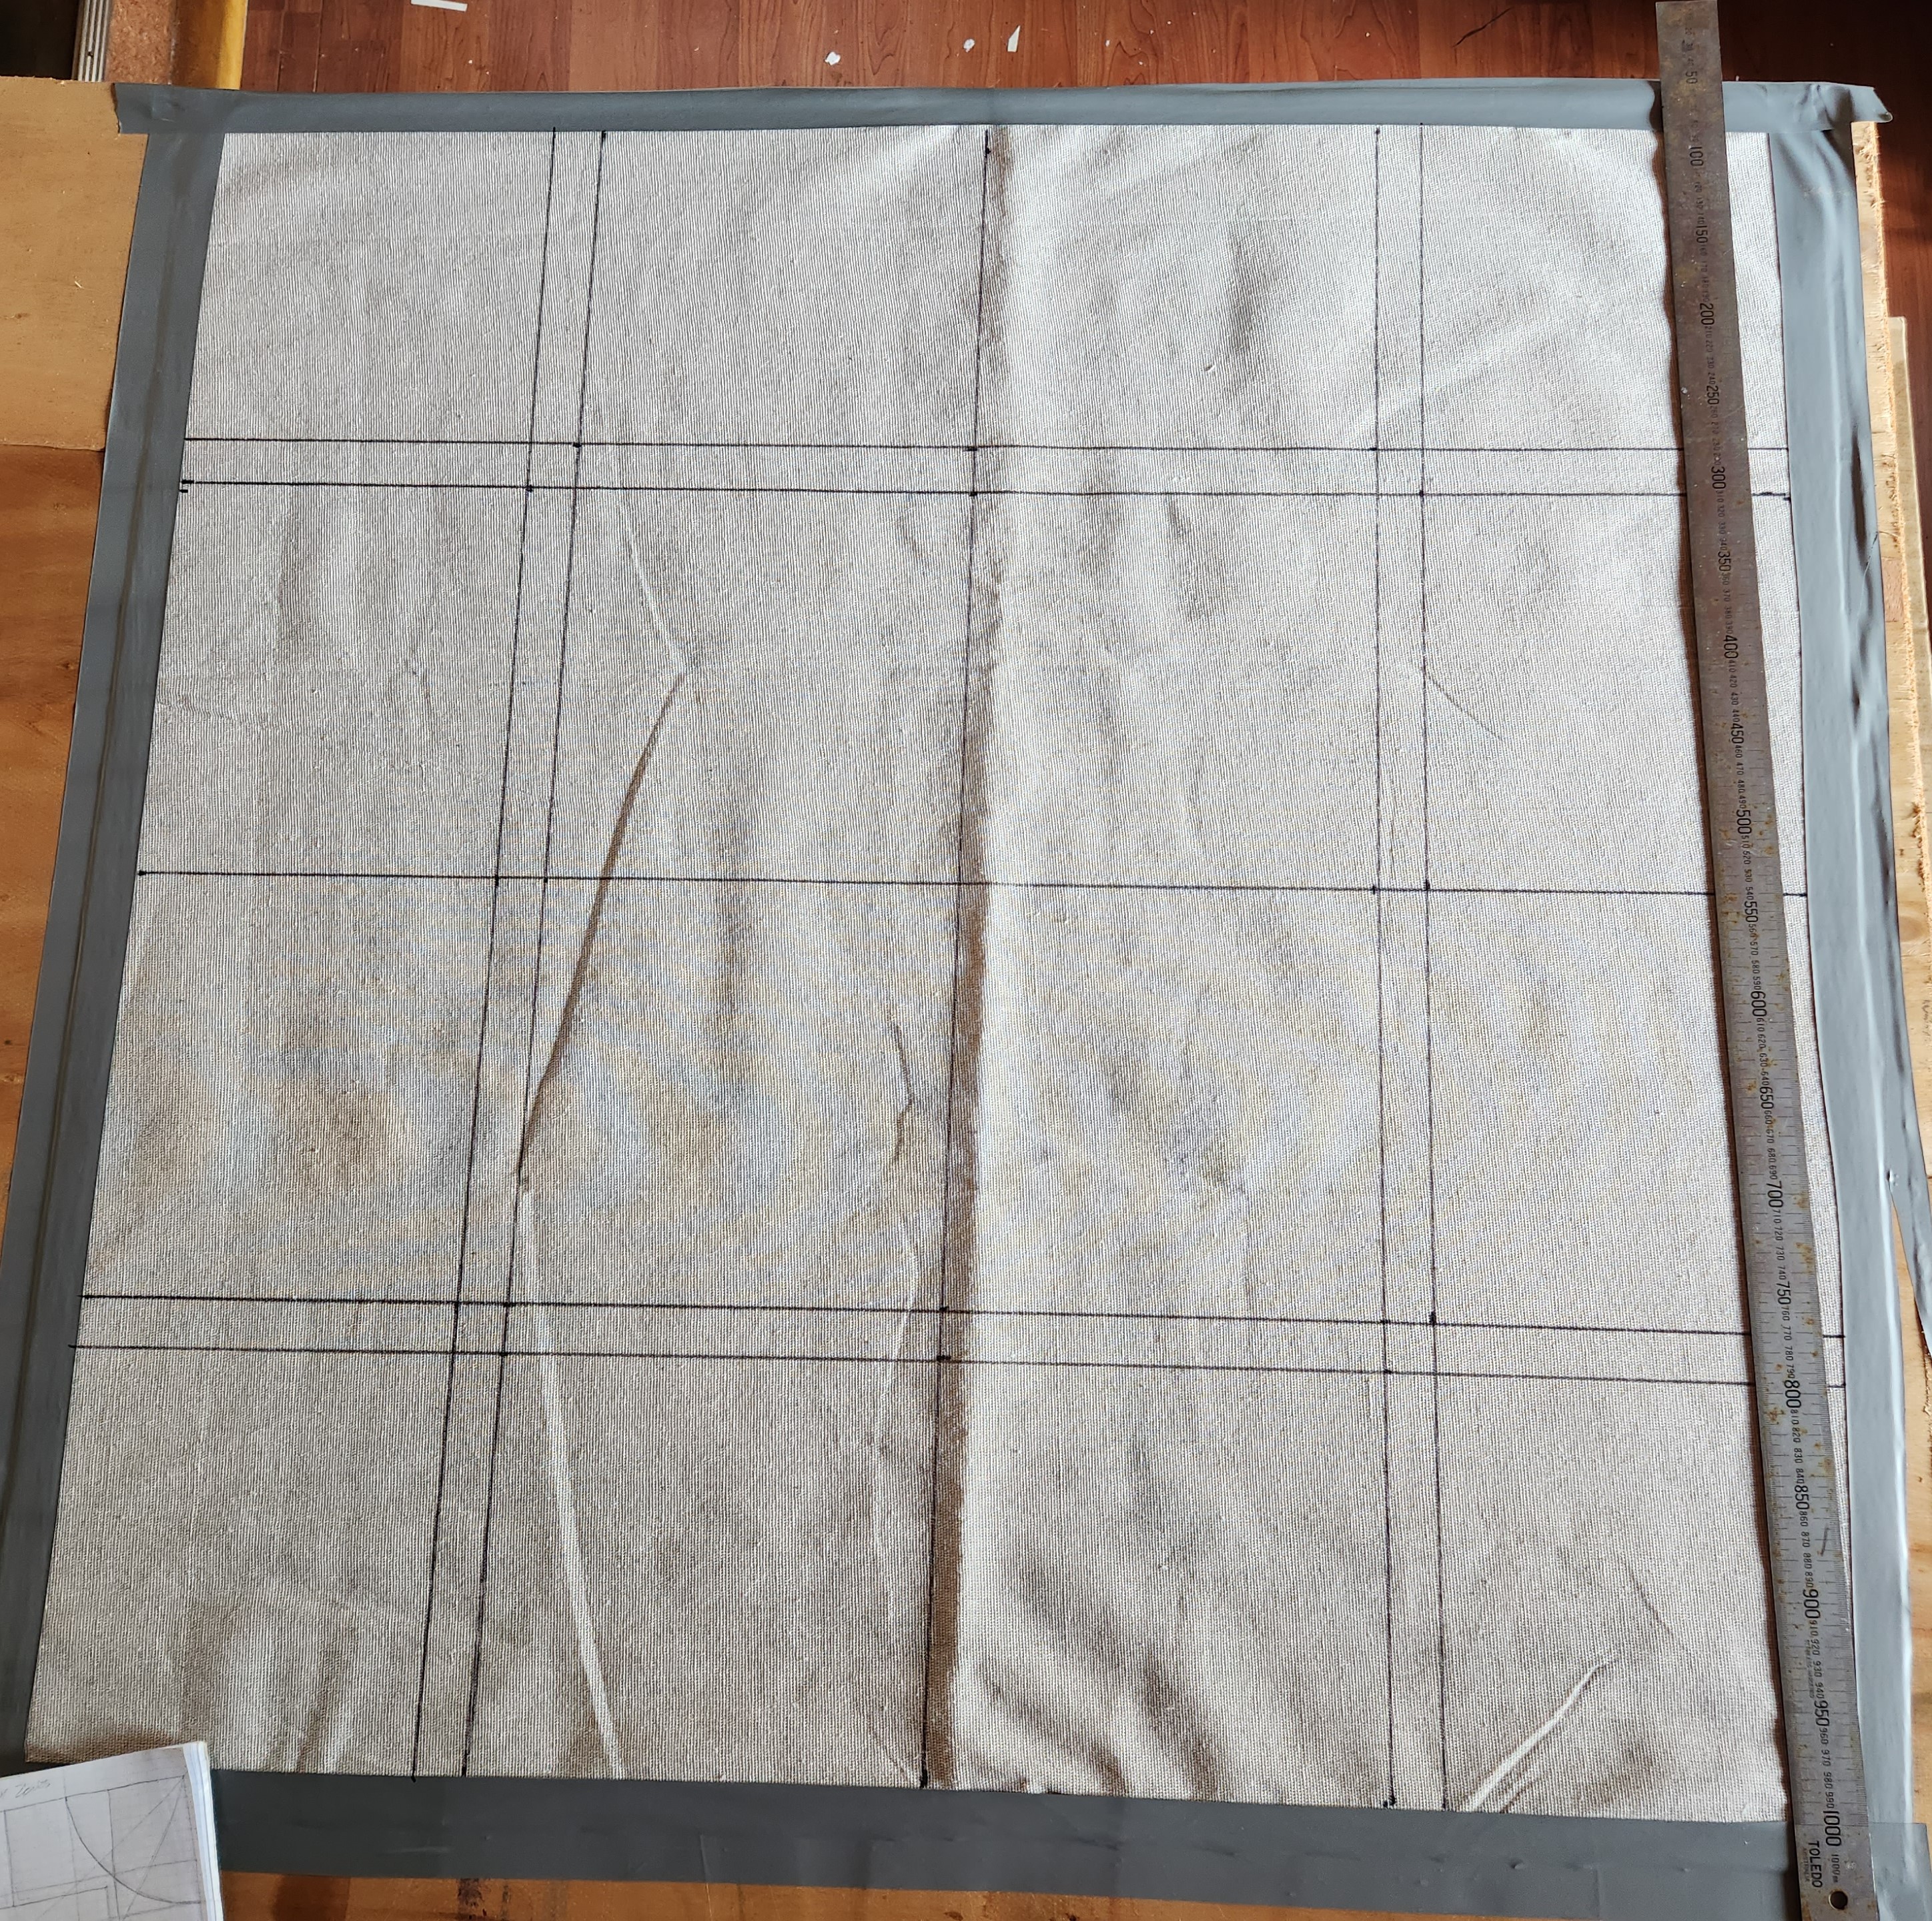 8" Standard Deployment lines added.
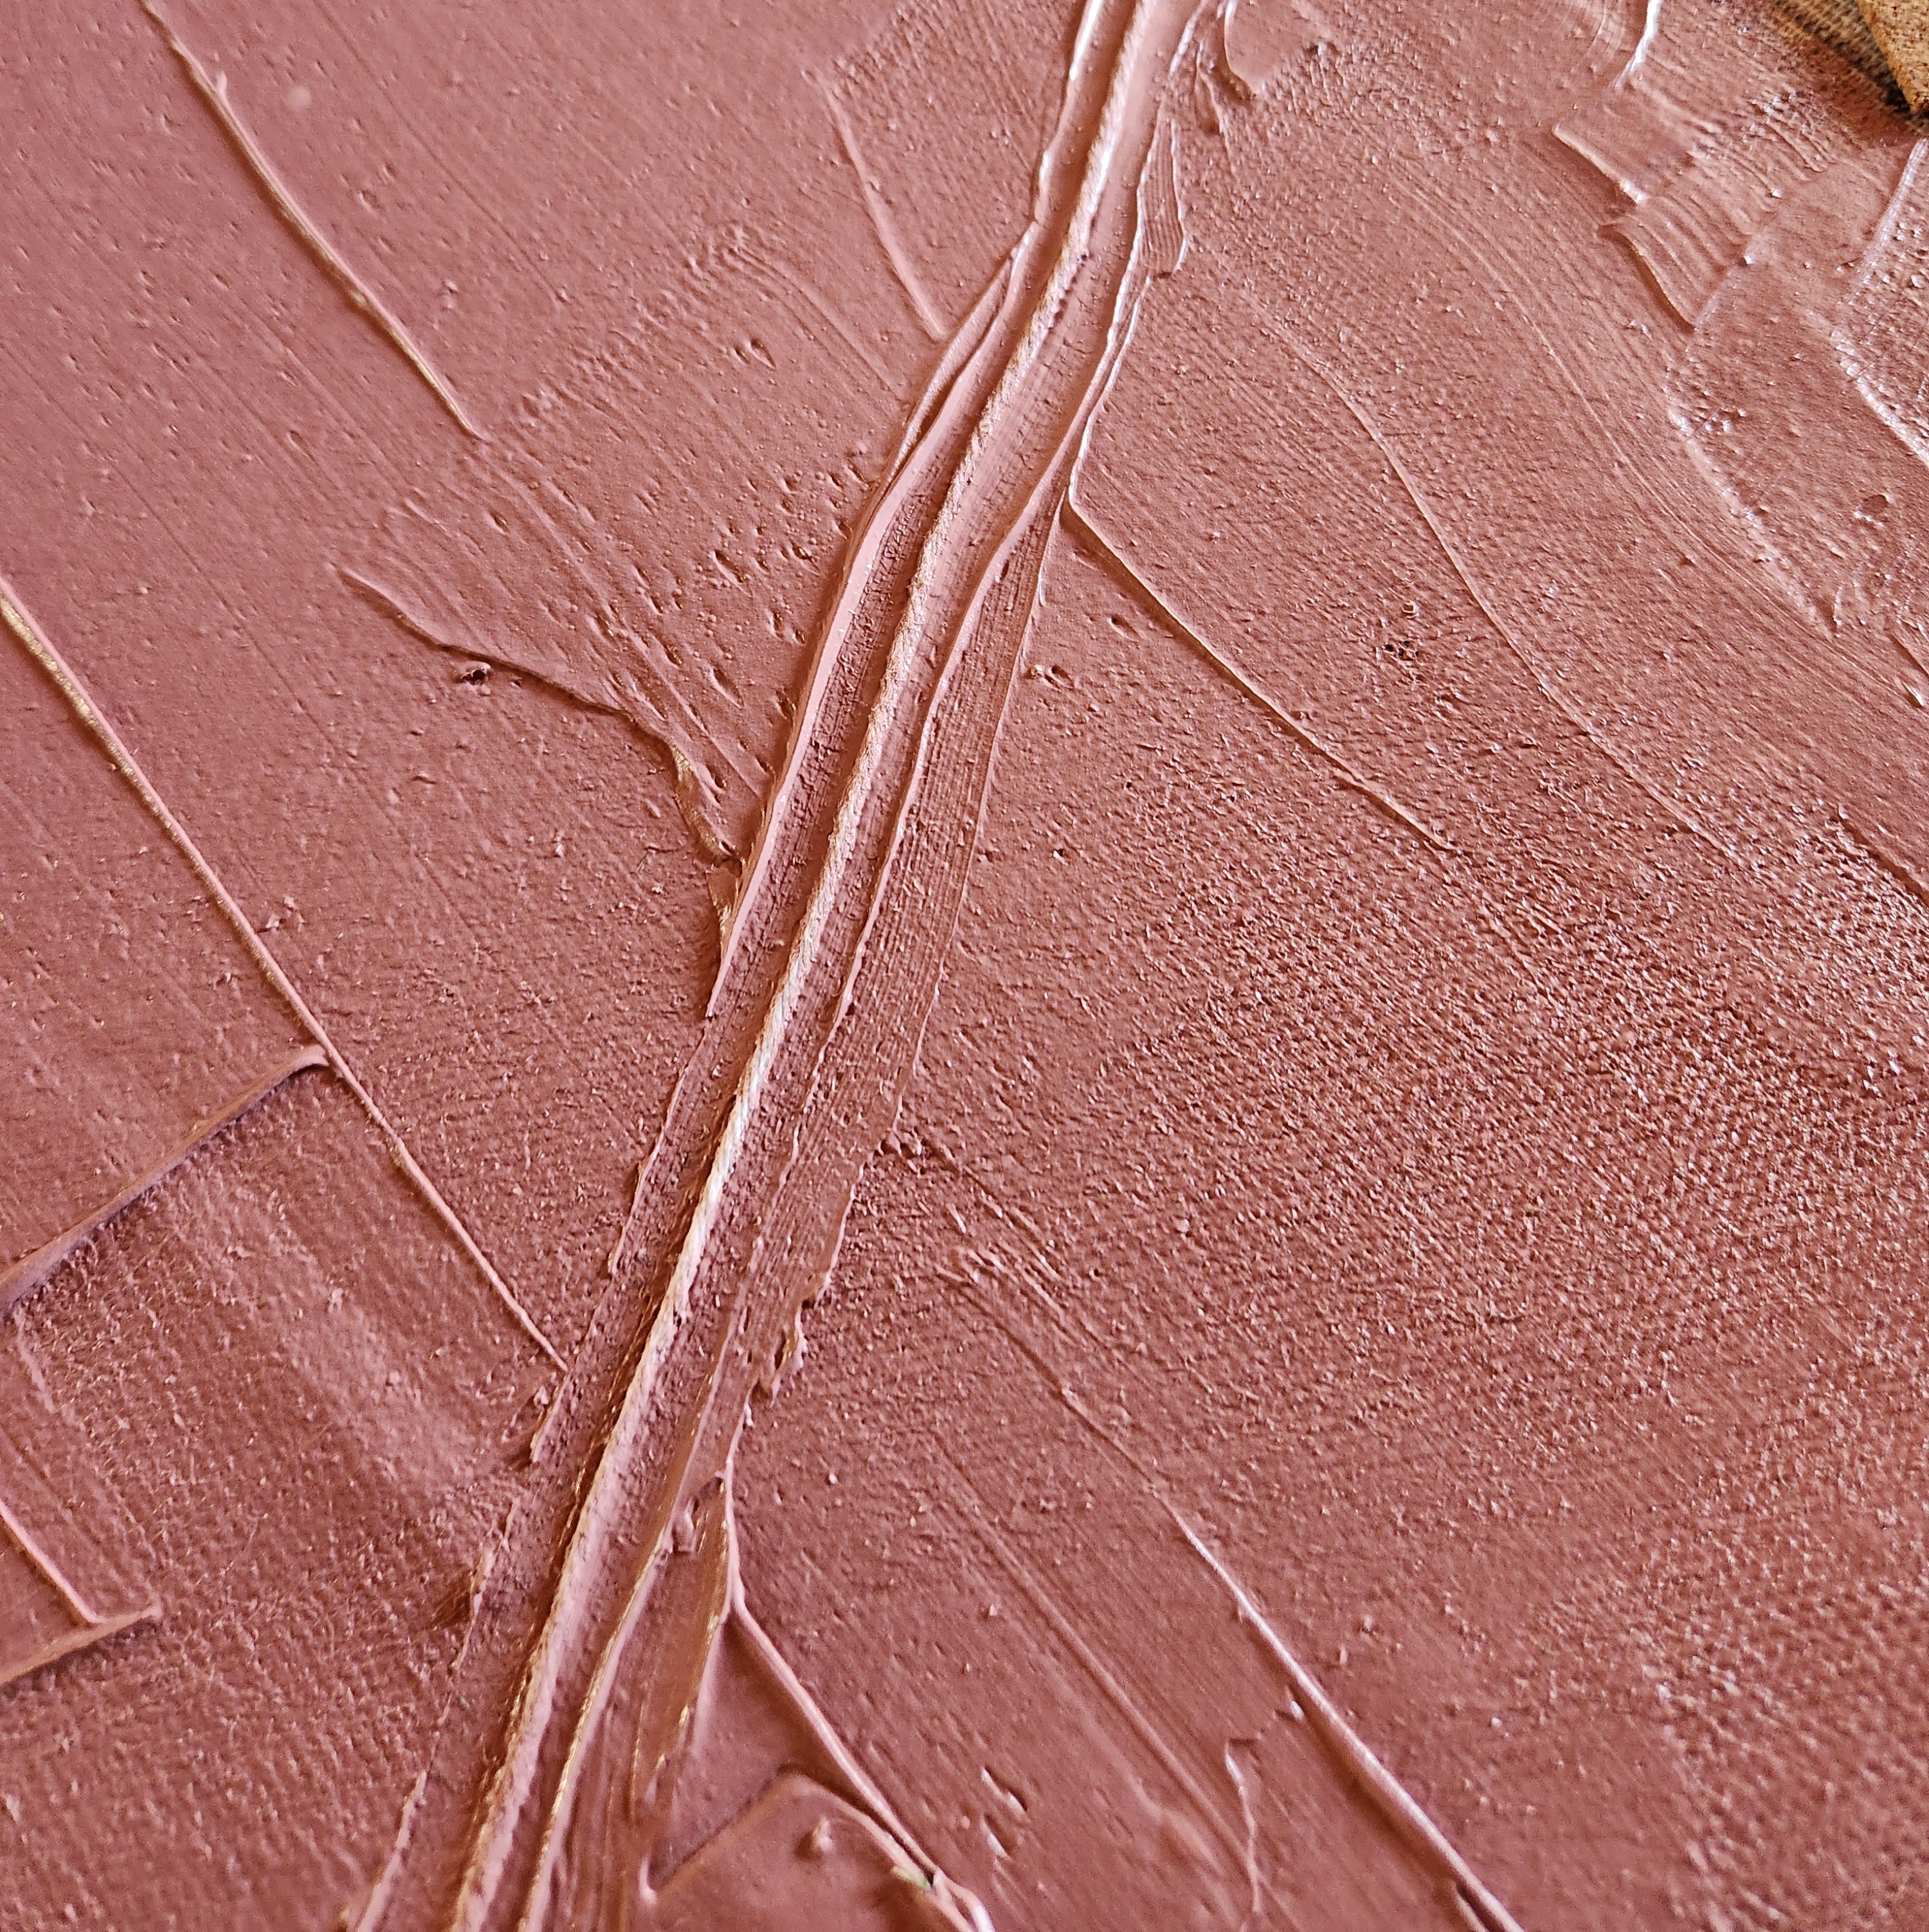
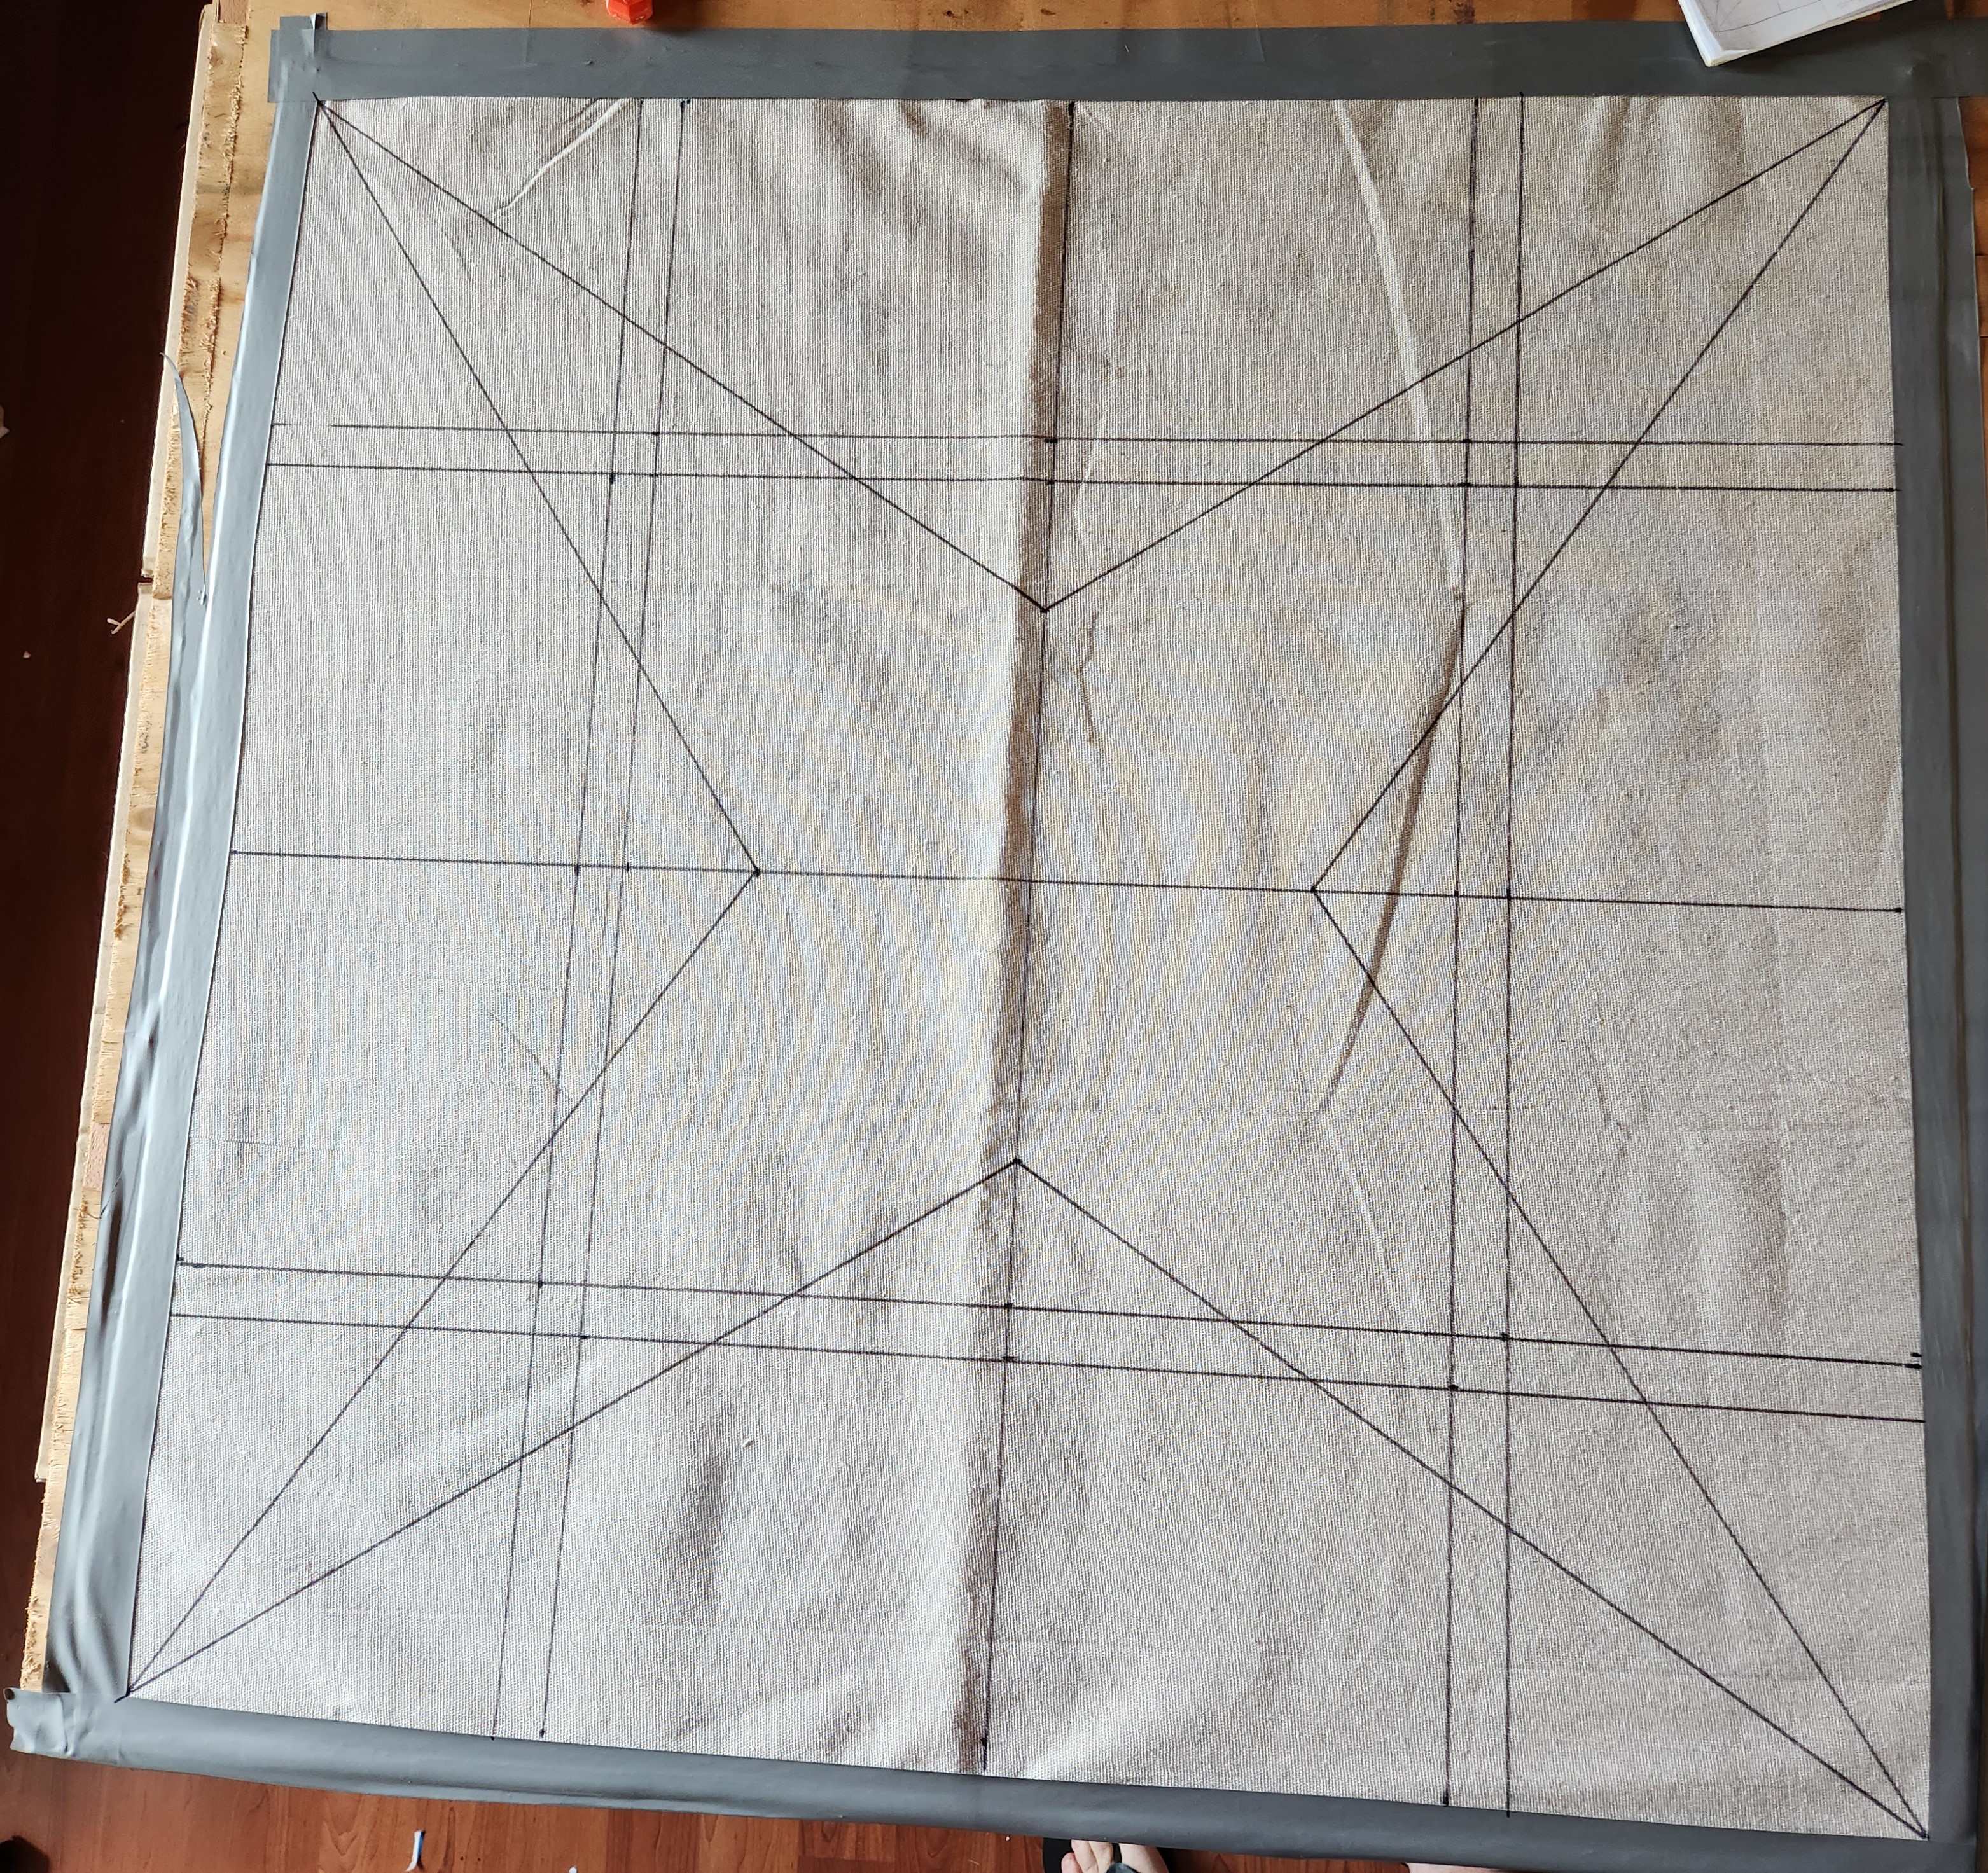 12" Wedge Deployment
This leaves the “fun” task of adding the Corner deployment arcs. I don’t have a compass large enough to create a 12″ arc. I figured that my 30cm held in the right part of the corner, bracing the Sharpie at the end would do. I marked where I wanted the arc to touch on the tape then set about manuevering to find a good spot. It mostly worked.
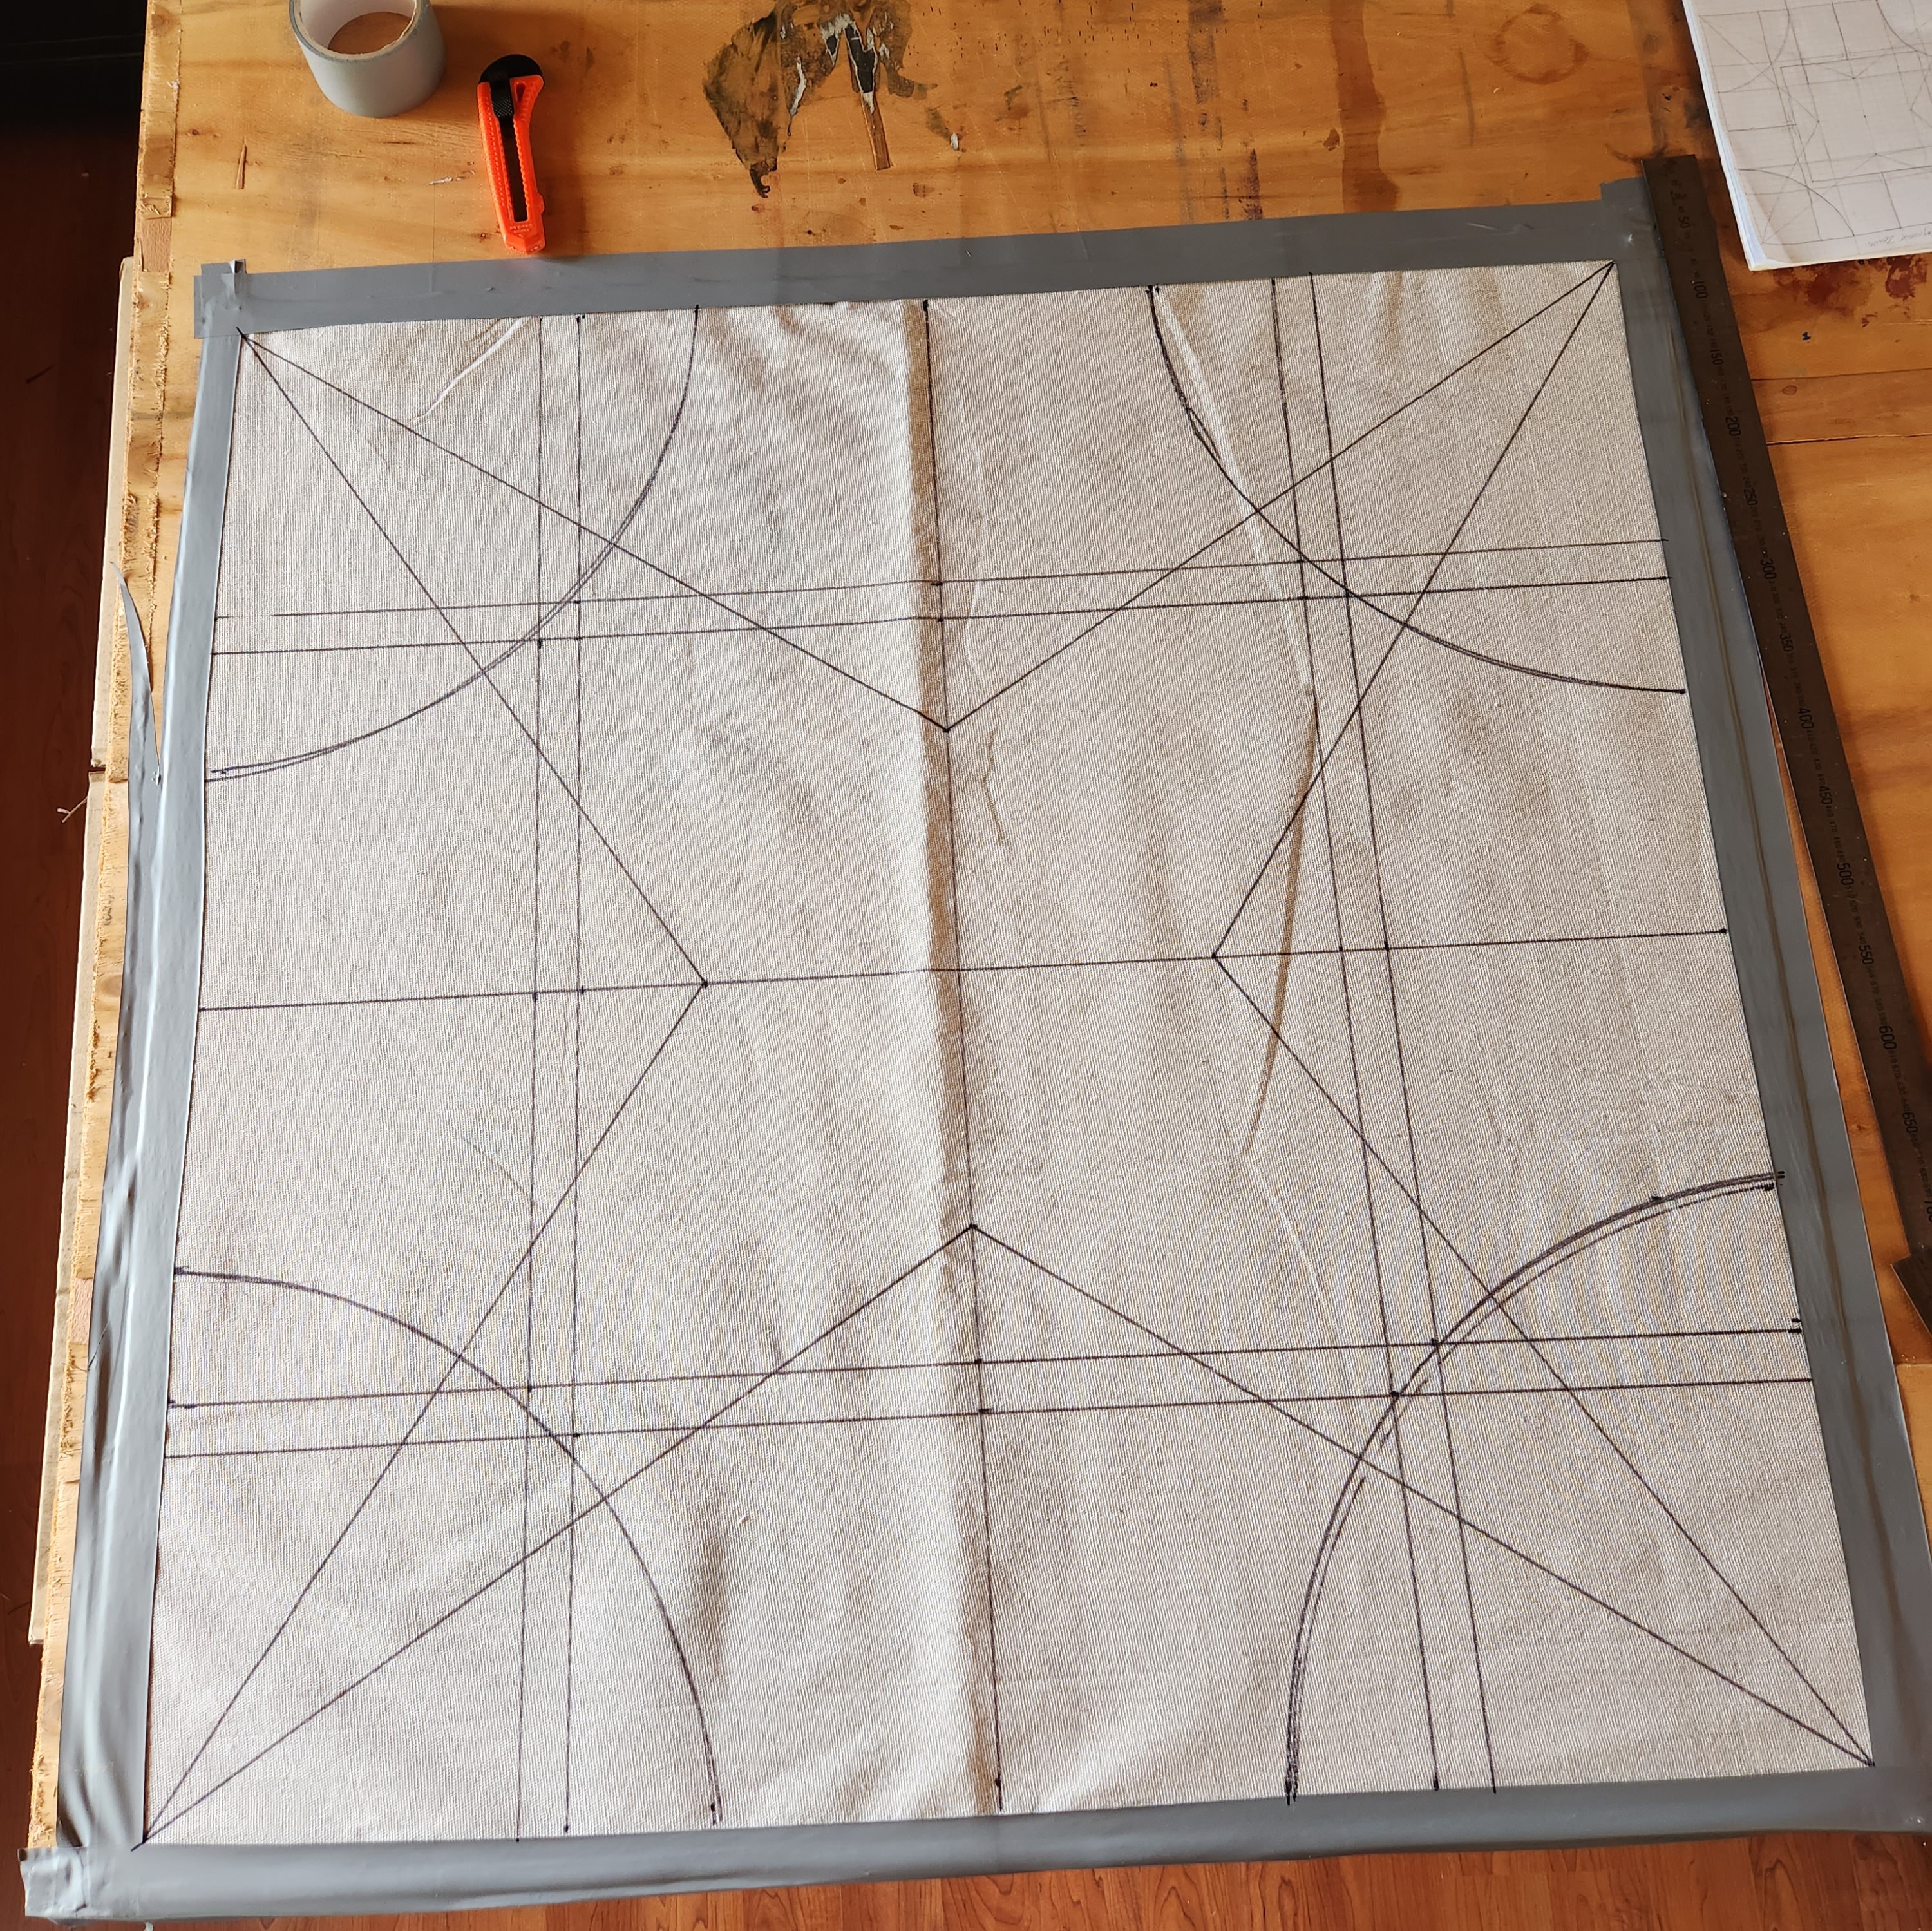 Lines laid down! Next step is to plot out how I'm going to actually mark those lines.
 10 Oct 23: I was going to make this stuff any way...
So, I’d had the idea in the last couple of months to get some stuff together for Mali, starting with a homemade mat or two.
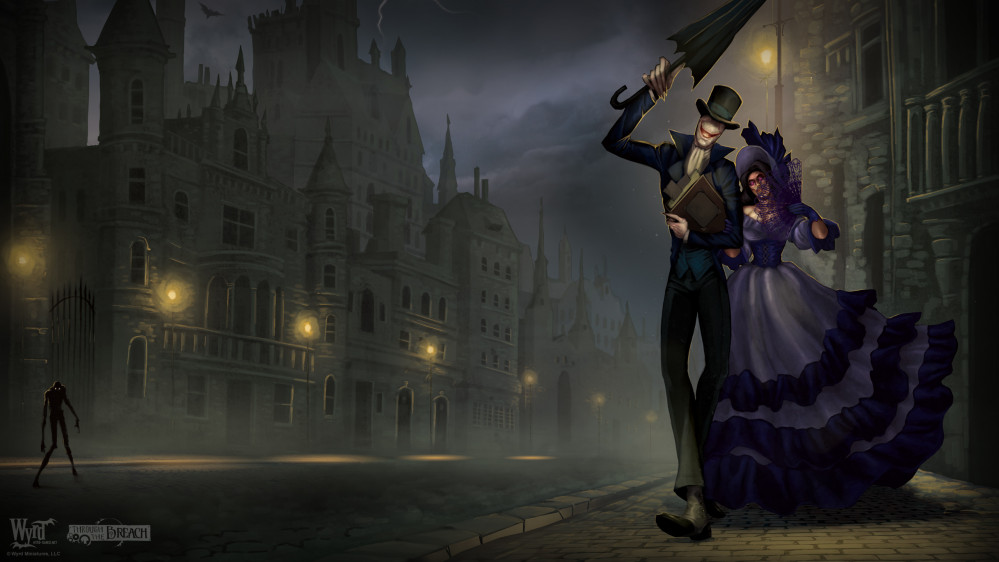
The idea spawned from Malifaux’s game setup. The game uses one of four deployment types which are chosen randomly. Both players use the same type of DZ on opposing sides / corners of the table.
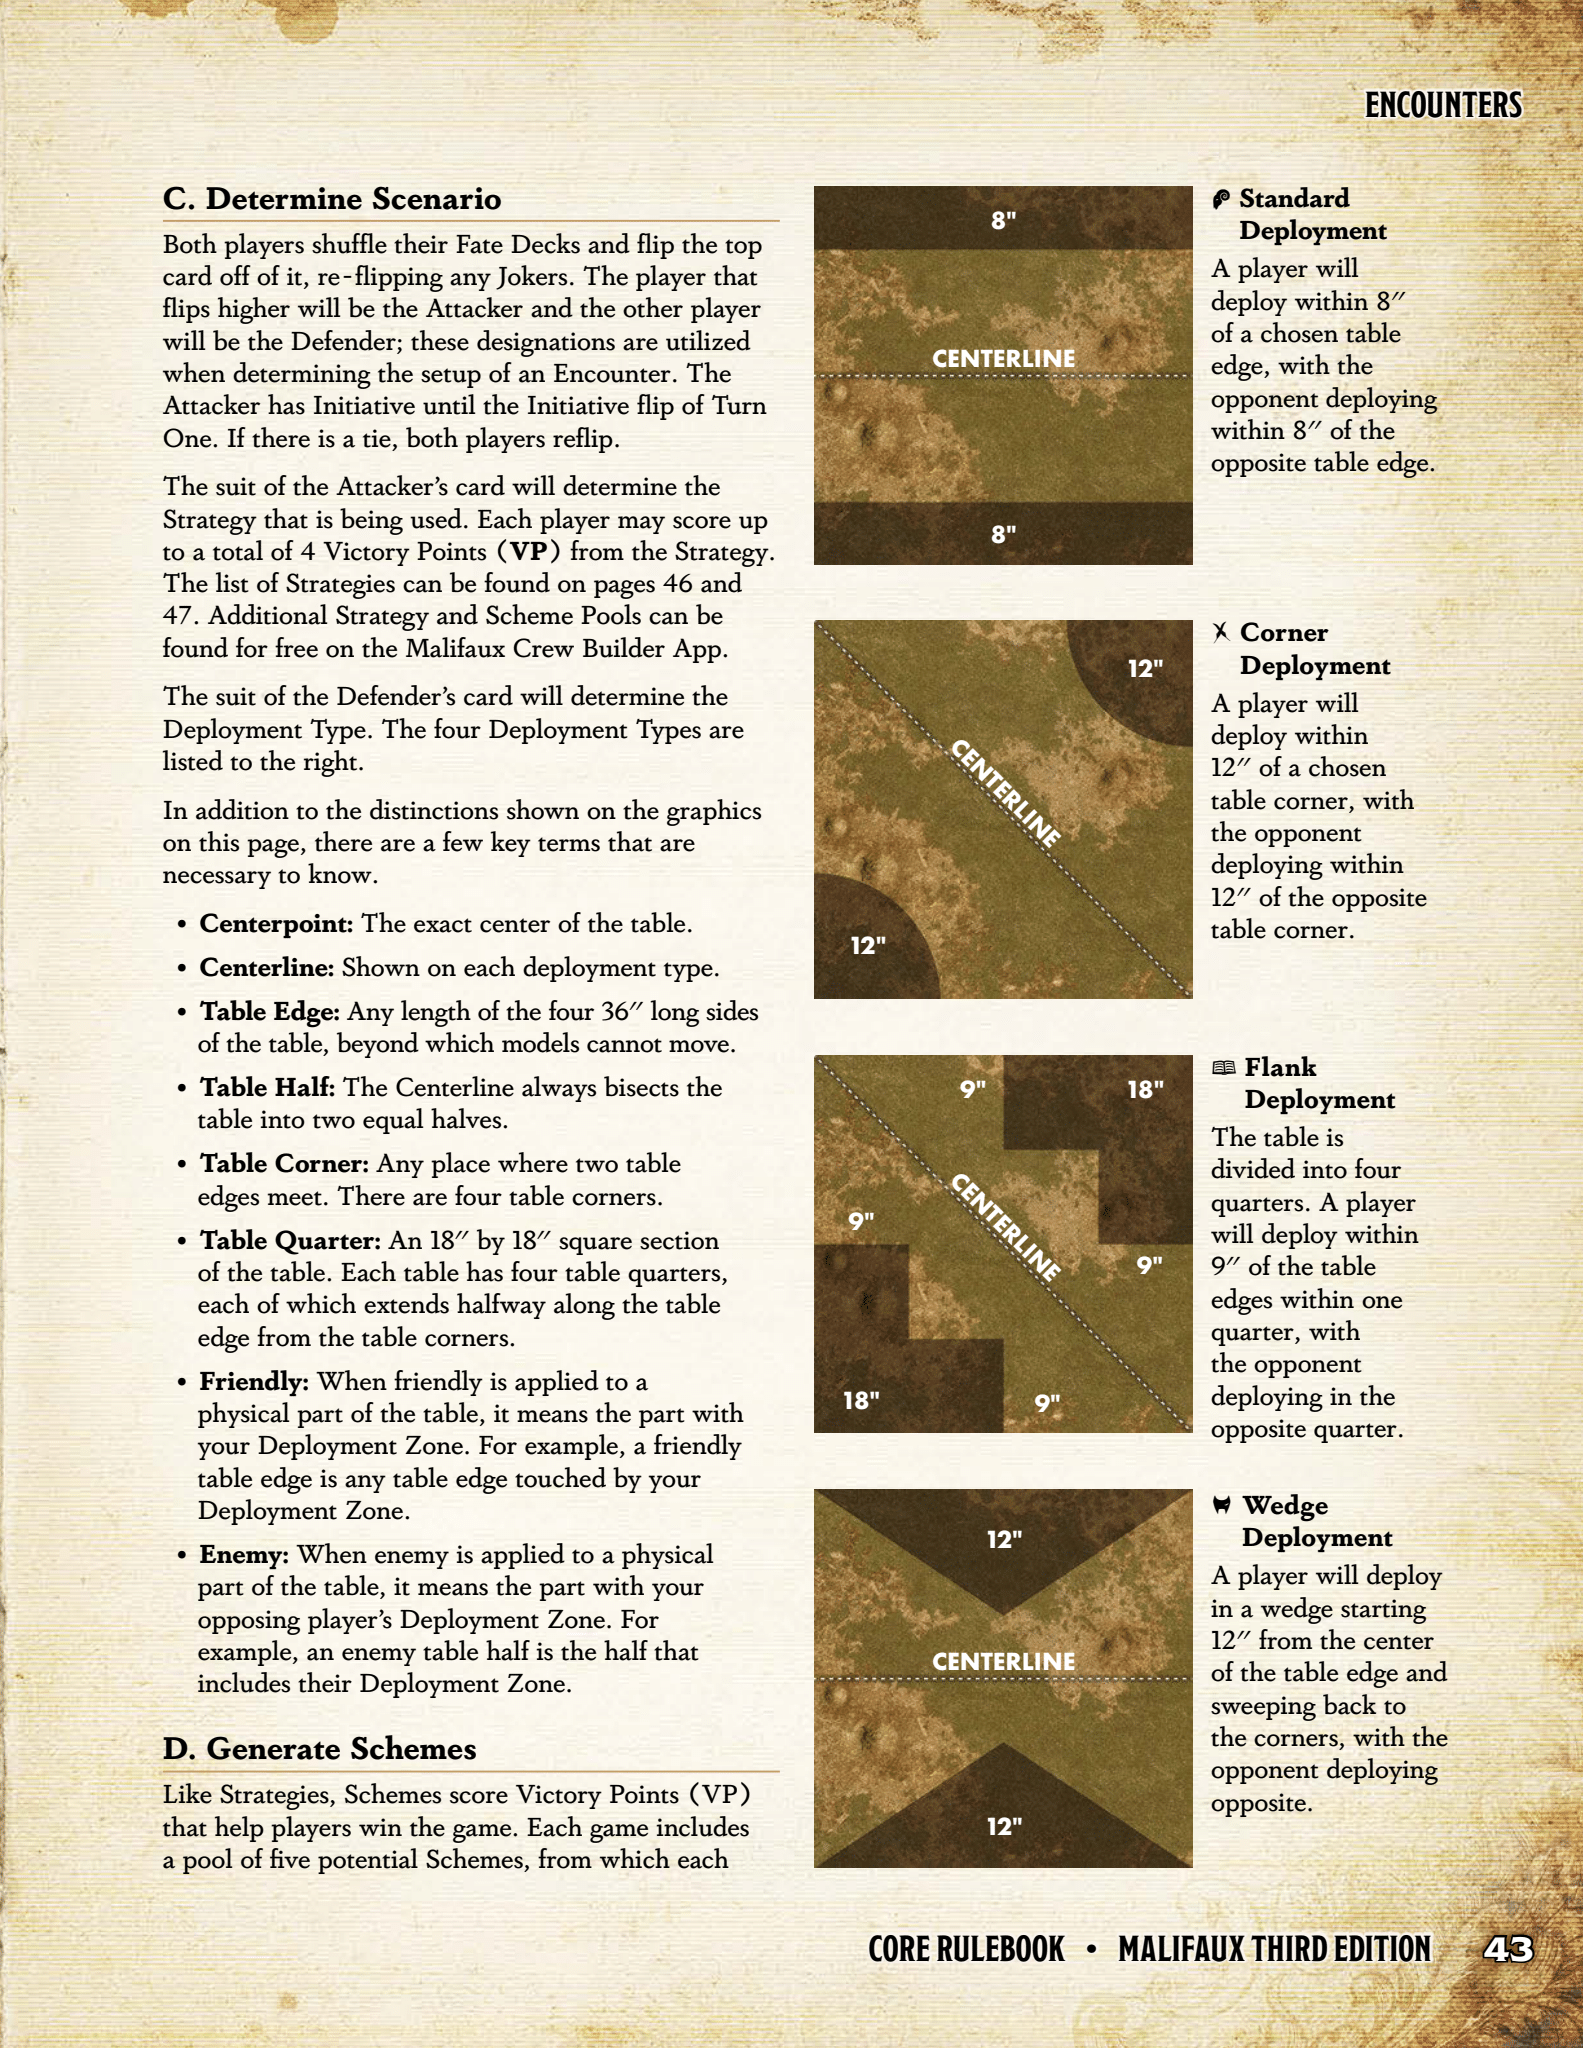 Determining a Scenario in Malifaux. But what I'm really focused on are the Deployment Types
How do I get all of those onto a mat?
In playing games, it became apparent that where the actual Deployment Zone was didn’t always matter. But when it did, it really did matter. Certain Strategies and Schemes (VP scoring) need to be done inside the opponents DZ.
I don’t like obvious “this is a marking line” type markings on my terrain, so I wanted something that would be clear as a line, but was part of the terrain itself.
I started planning out where the lines would all need to be on one mat
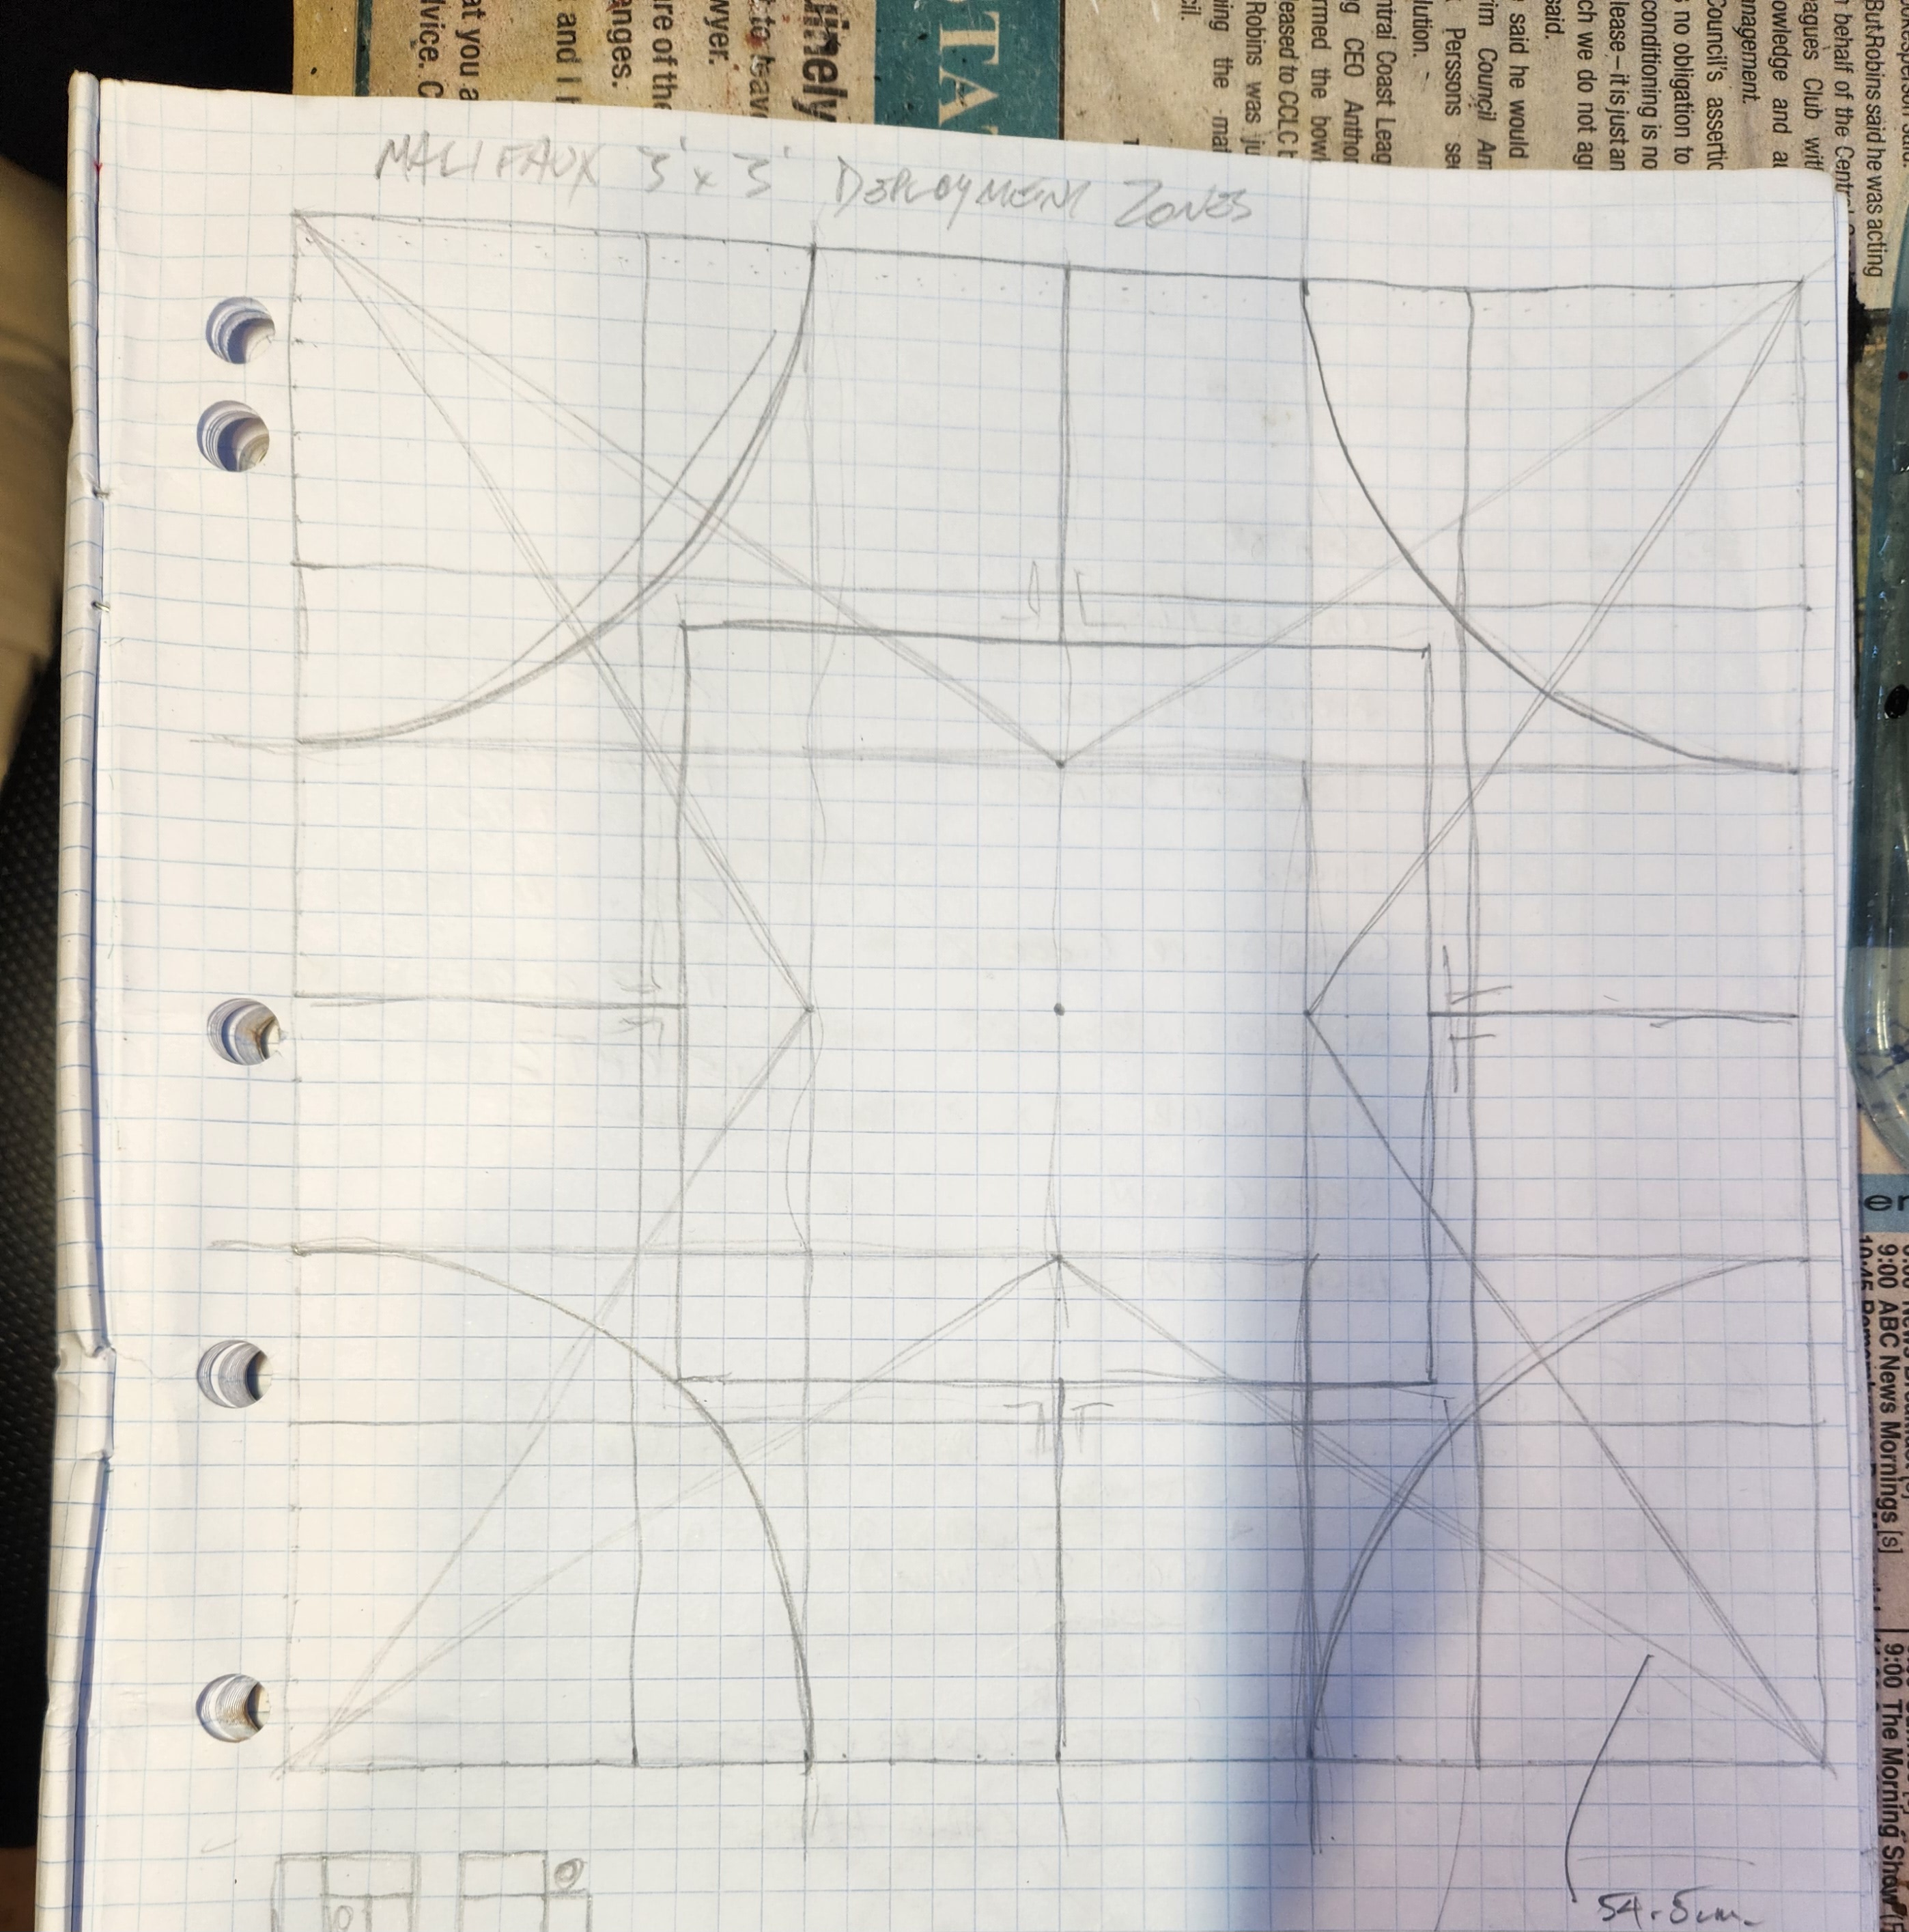 All the lines...
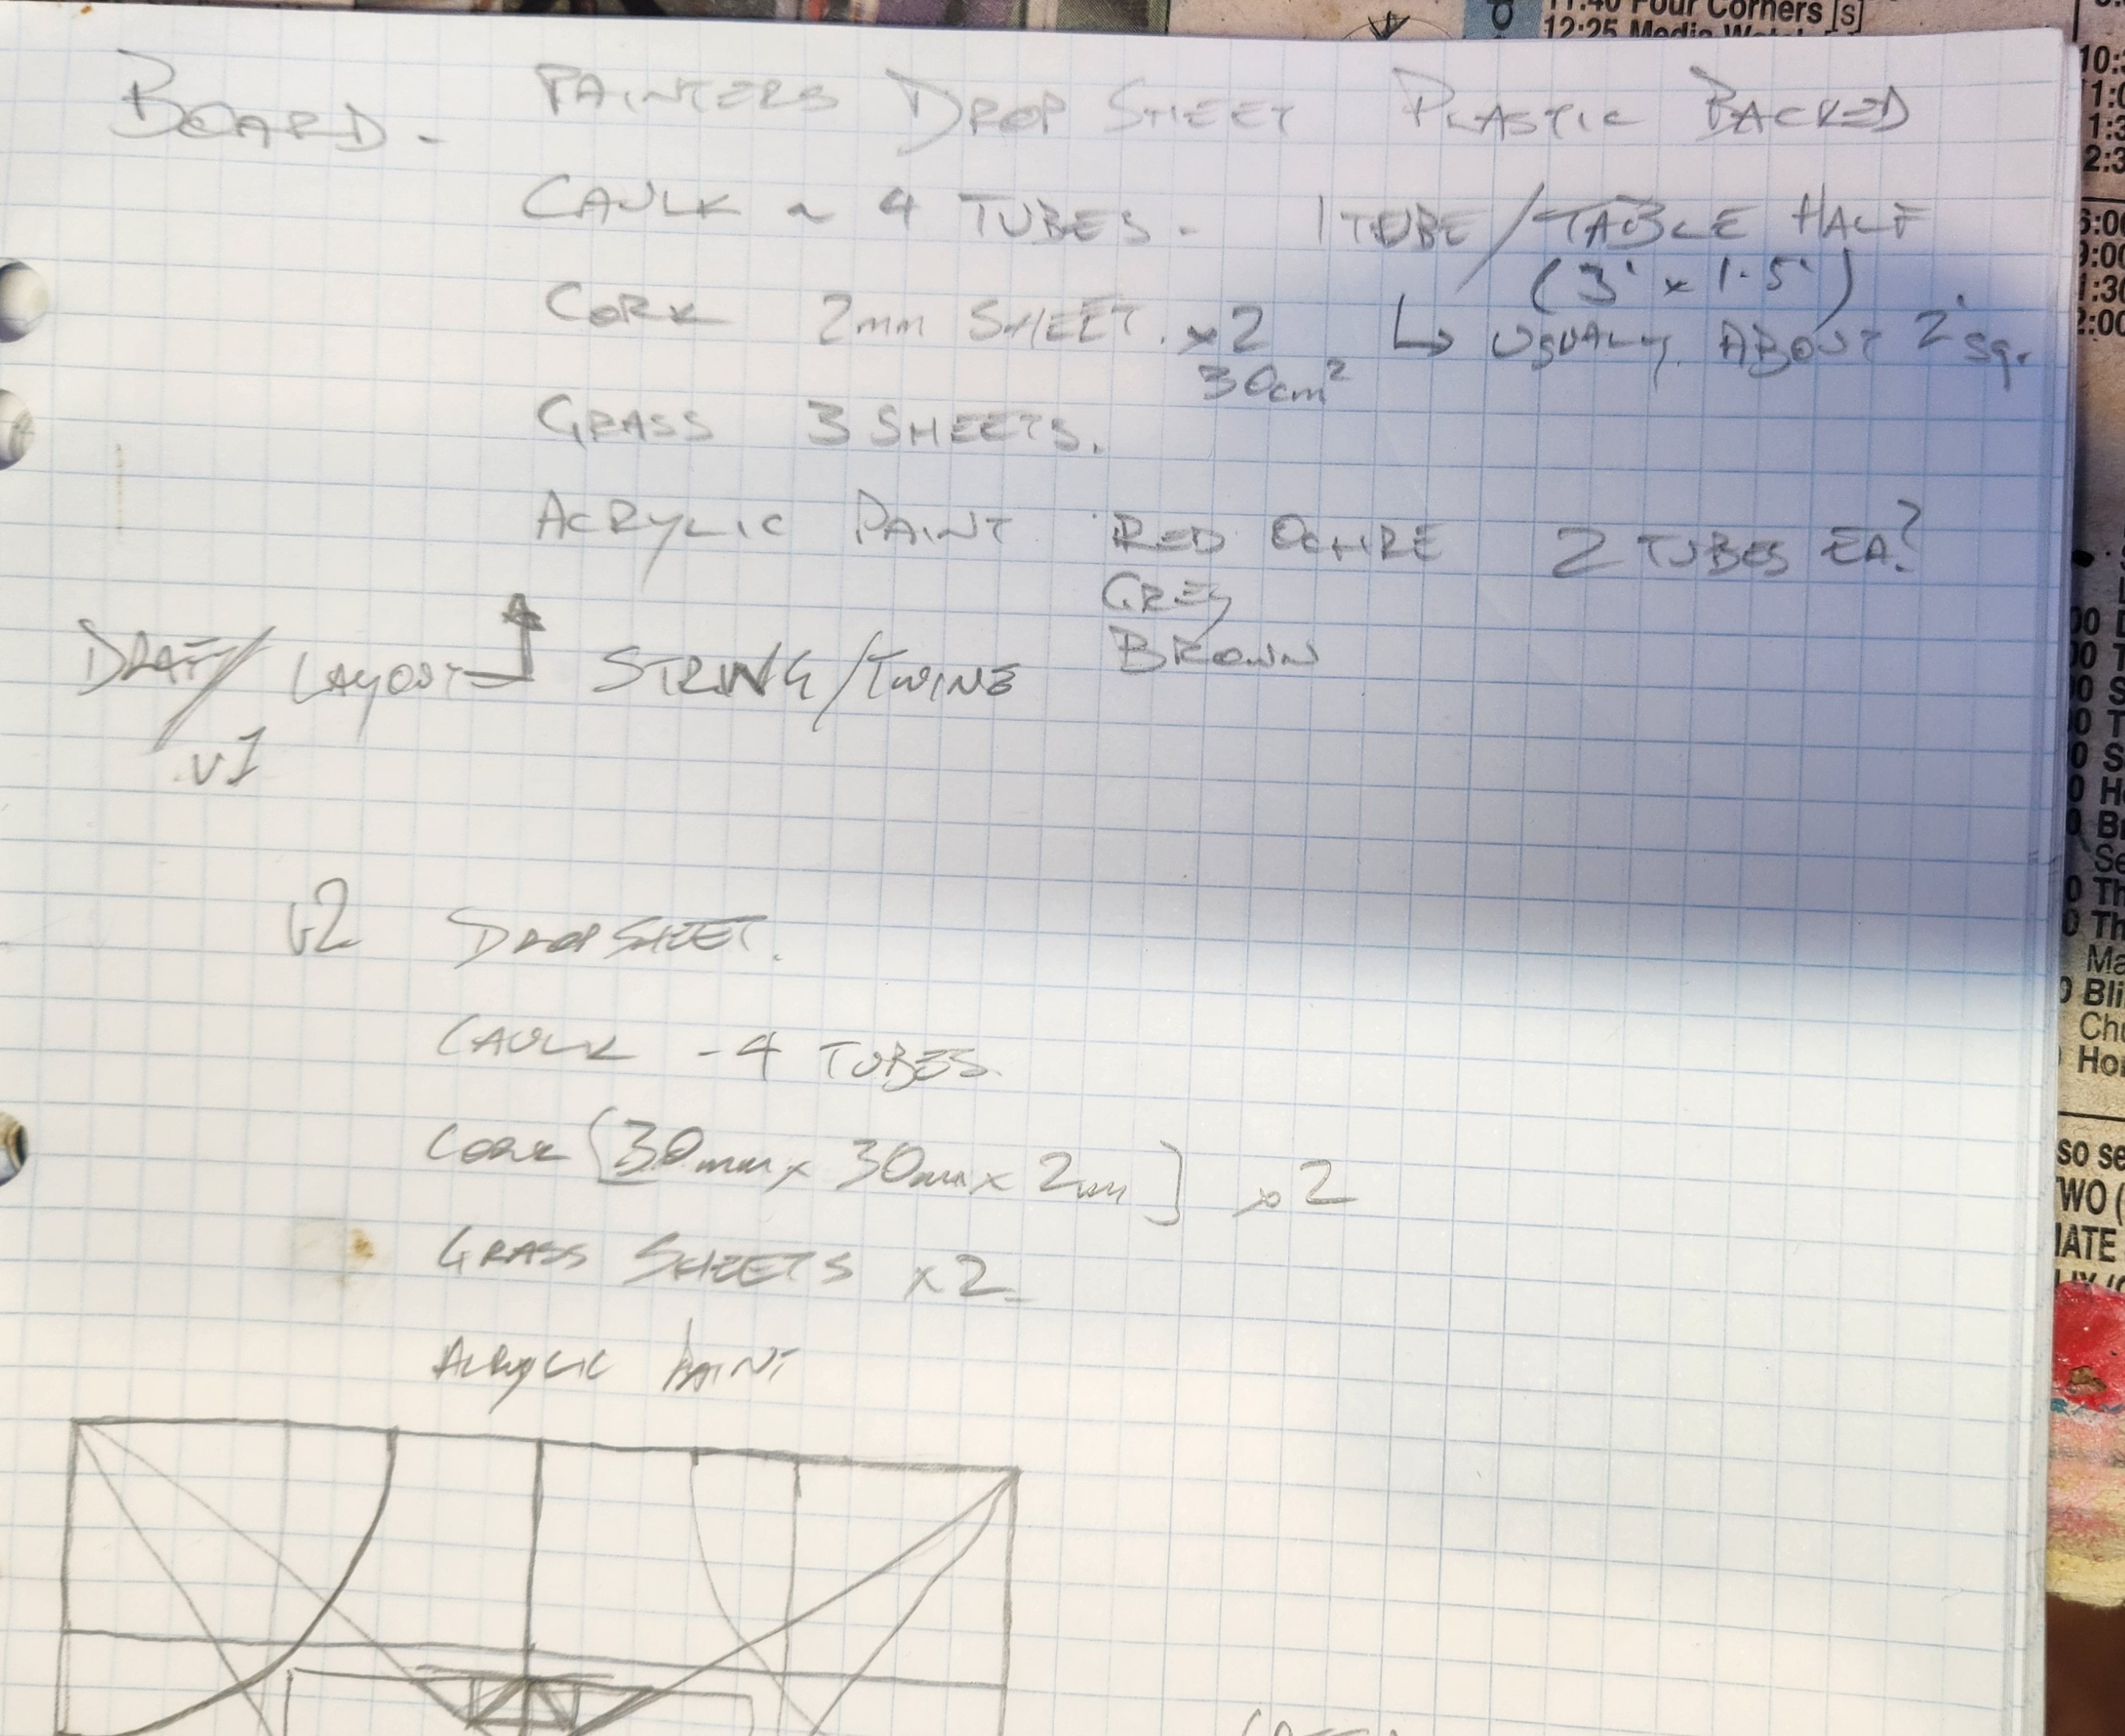
Having made a couple of mats previously, I had a few ideas on what “should” work. I also knew what components I’d need. Most of it I already had on hand from previous projects.
- Painters Drop sheet – fabric, plastic backed
- Caulk tube – Initial estimate was 4, only 3 needed
- Cork Sheet 2mm – approx 2 A4 size sheets
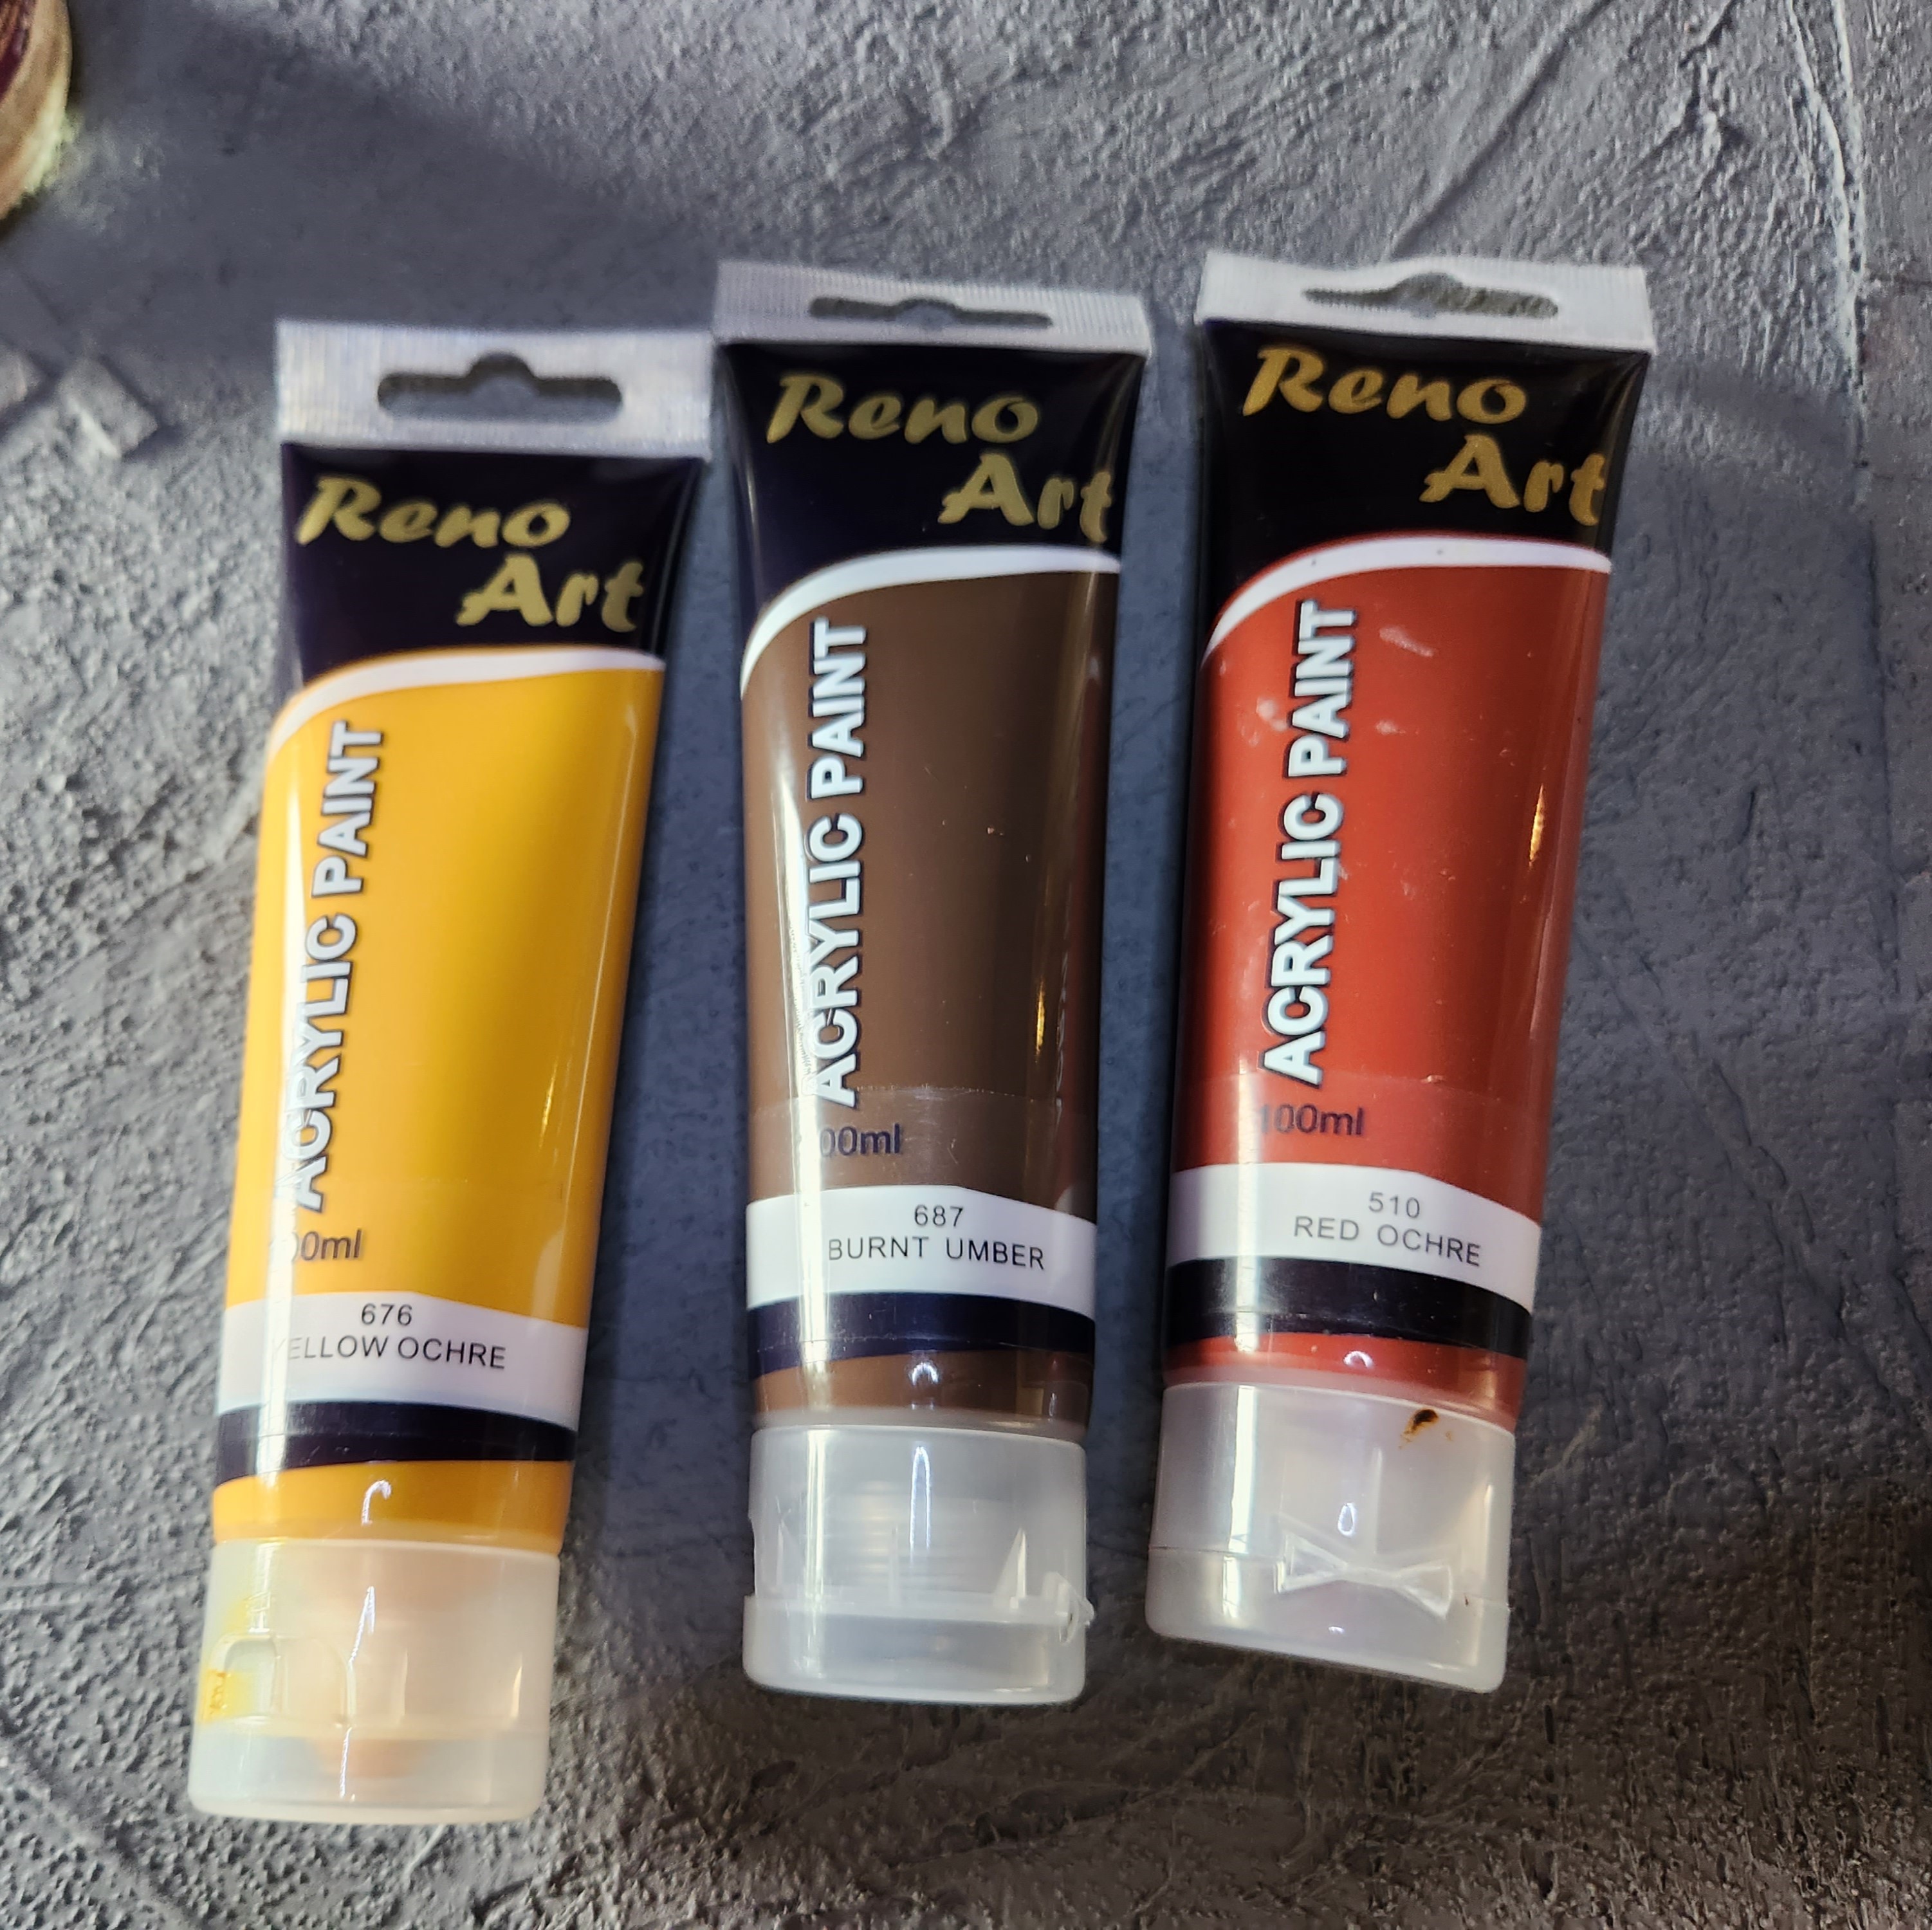
- Acrylic paint – Cheap Dollar store stuff I used Red Ochre, Grey, Burnt Umber, Yellow Ochre
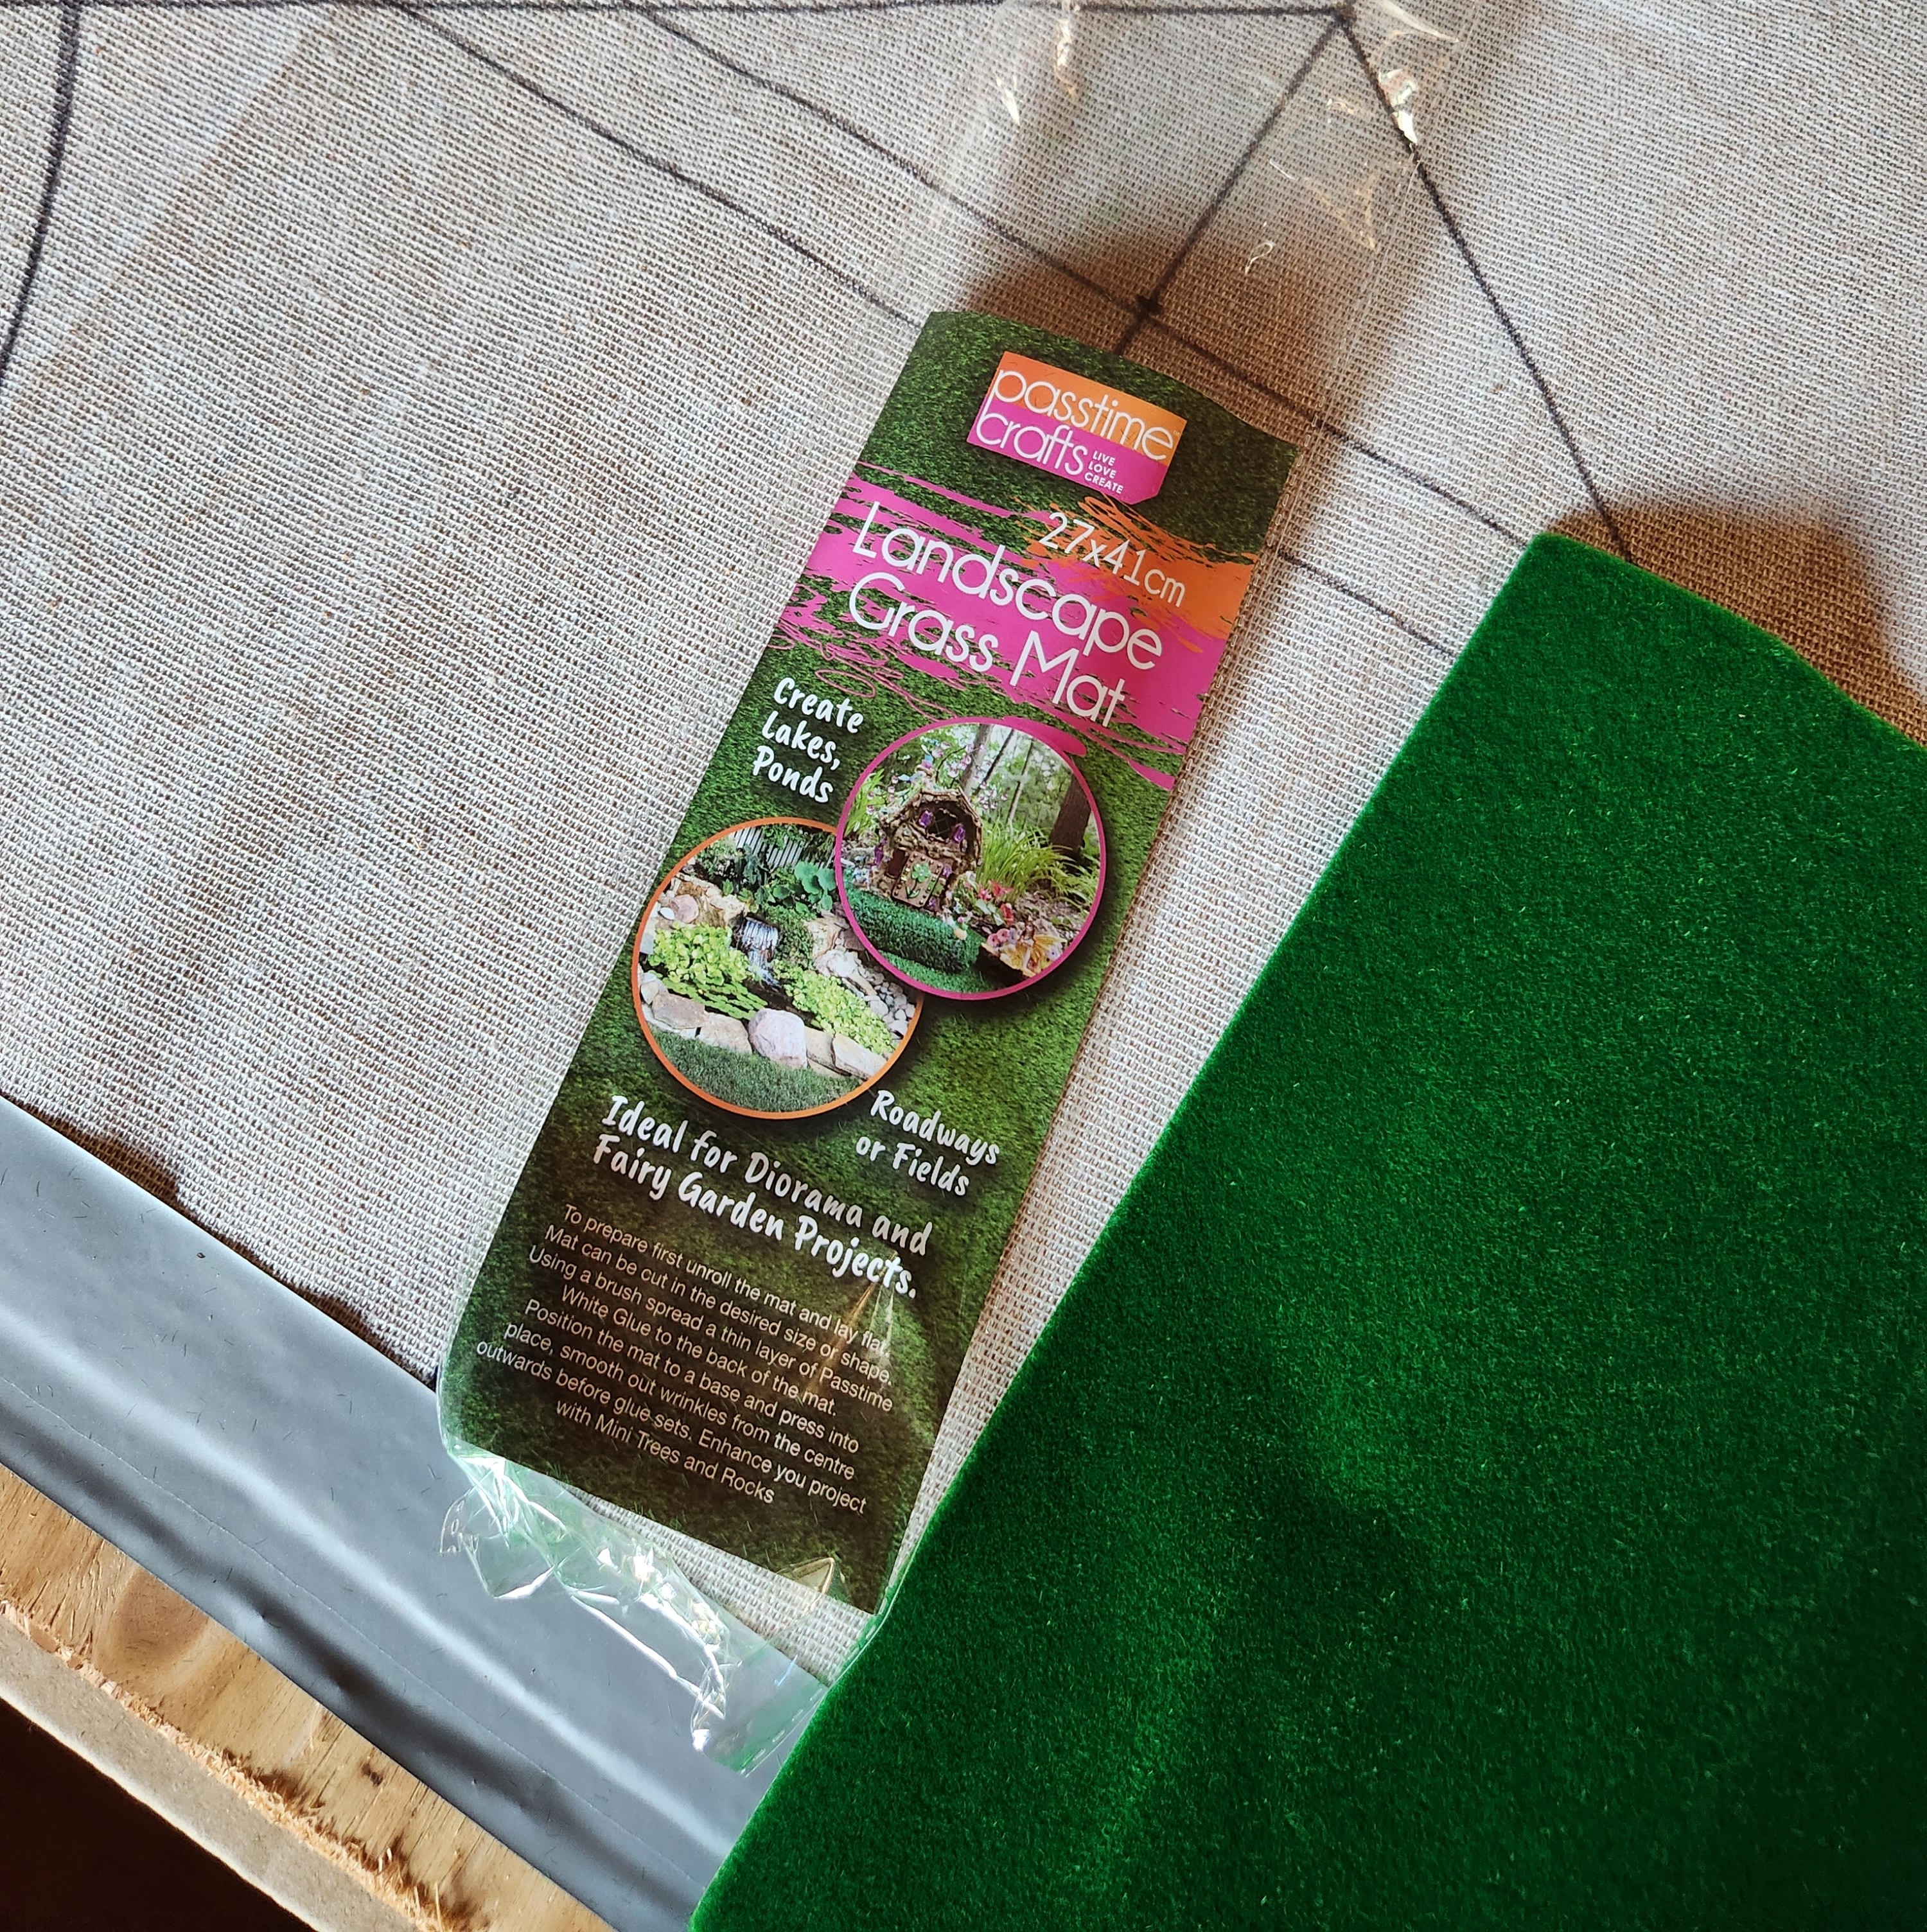
- Grass Sheet – Cheap dollar store stuff approx 3 rolls
- Twine – 1 roll.