


![Very Cool! Make Your Own Star Wars: Legion Imperial Agent & Officer | Review [7 Days Early Access]](https://images.beastsofwar.com/2025/12/Star-Wars-Imperial-Agent-_-Officer-coverimage-V3-225-127.jpg)


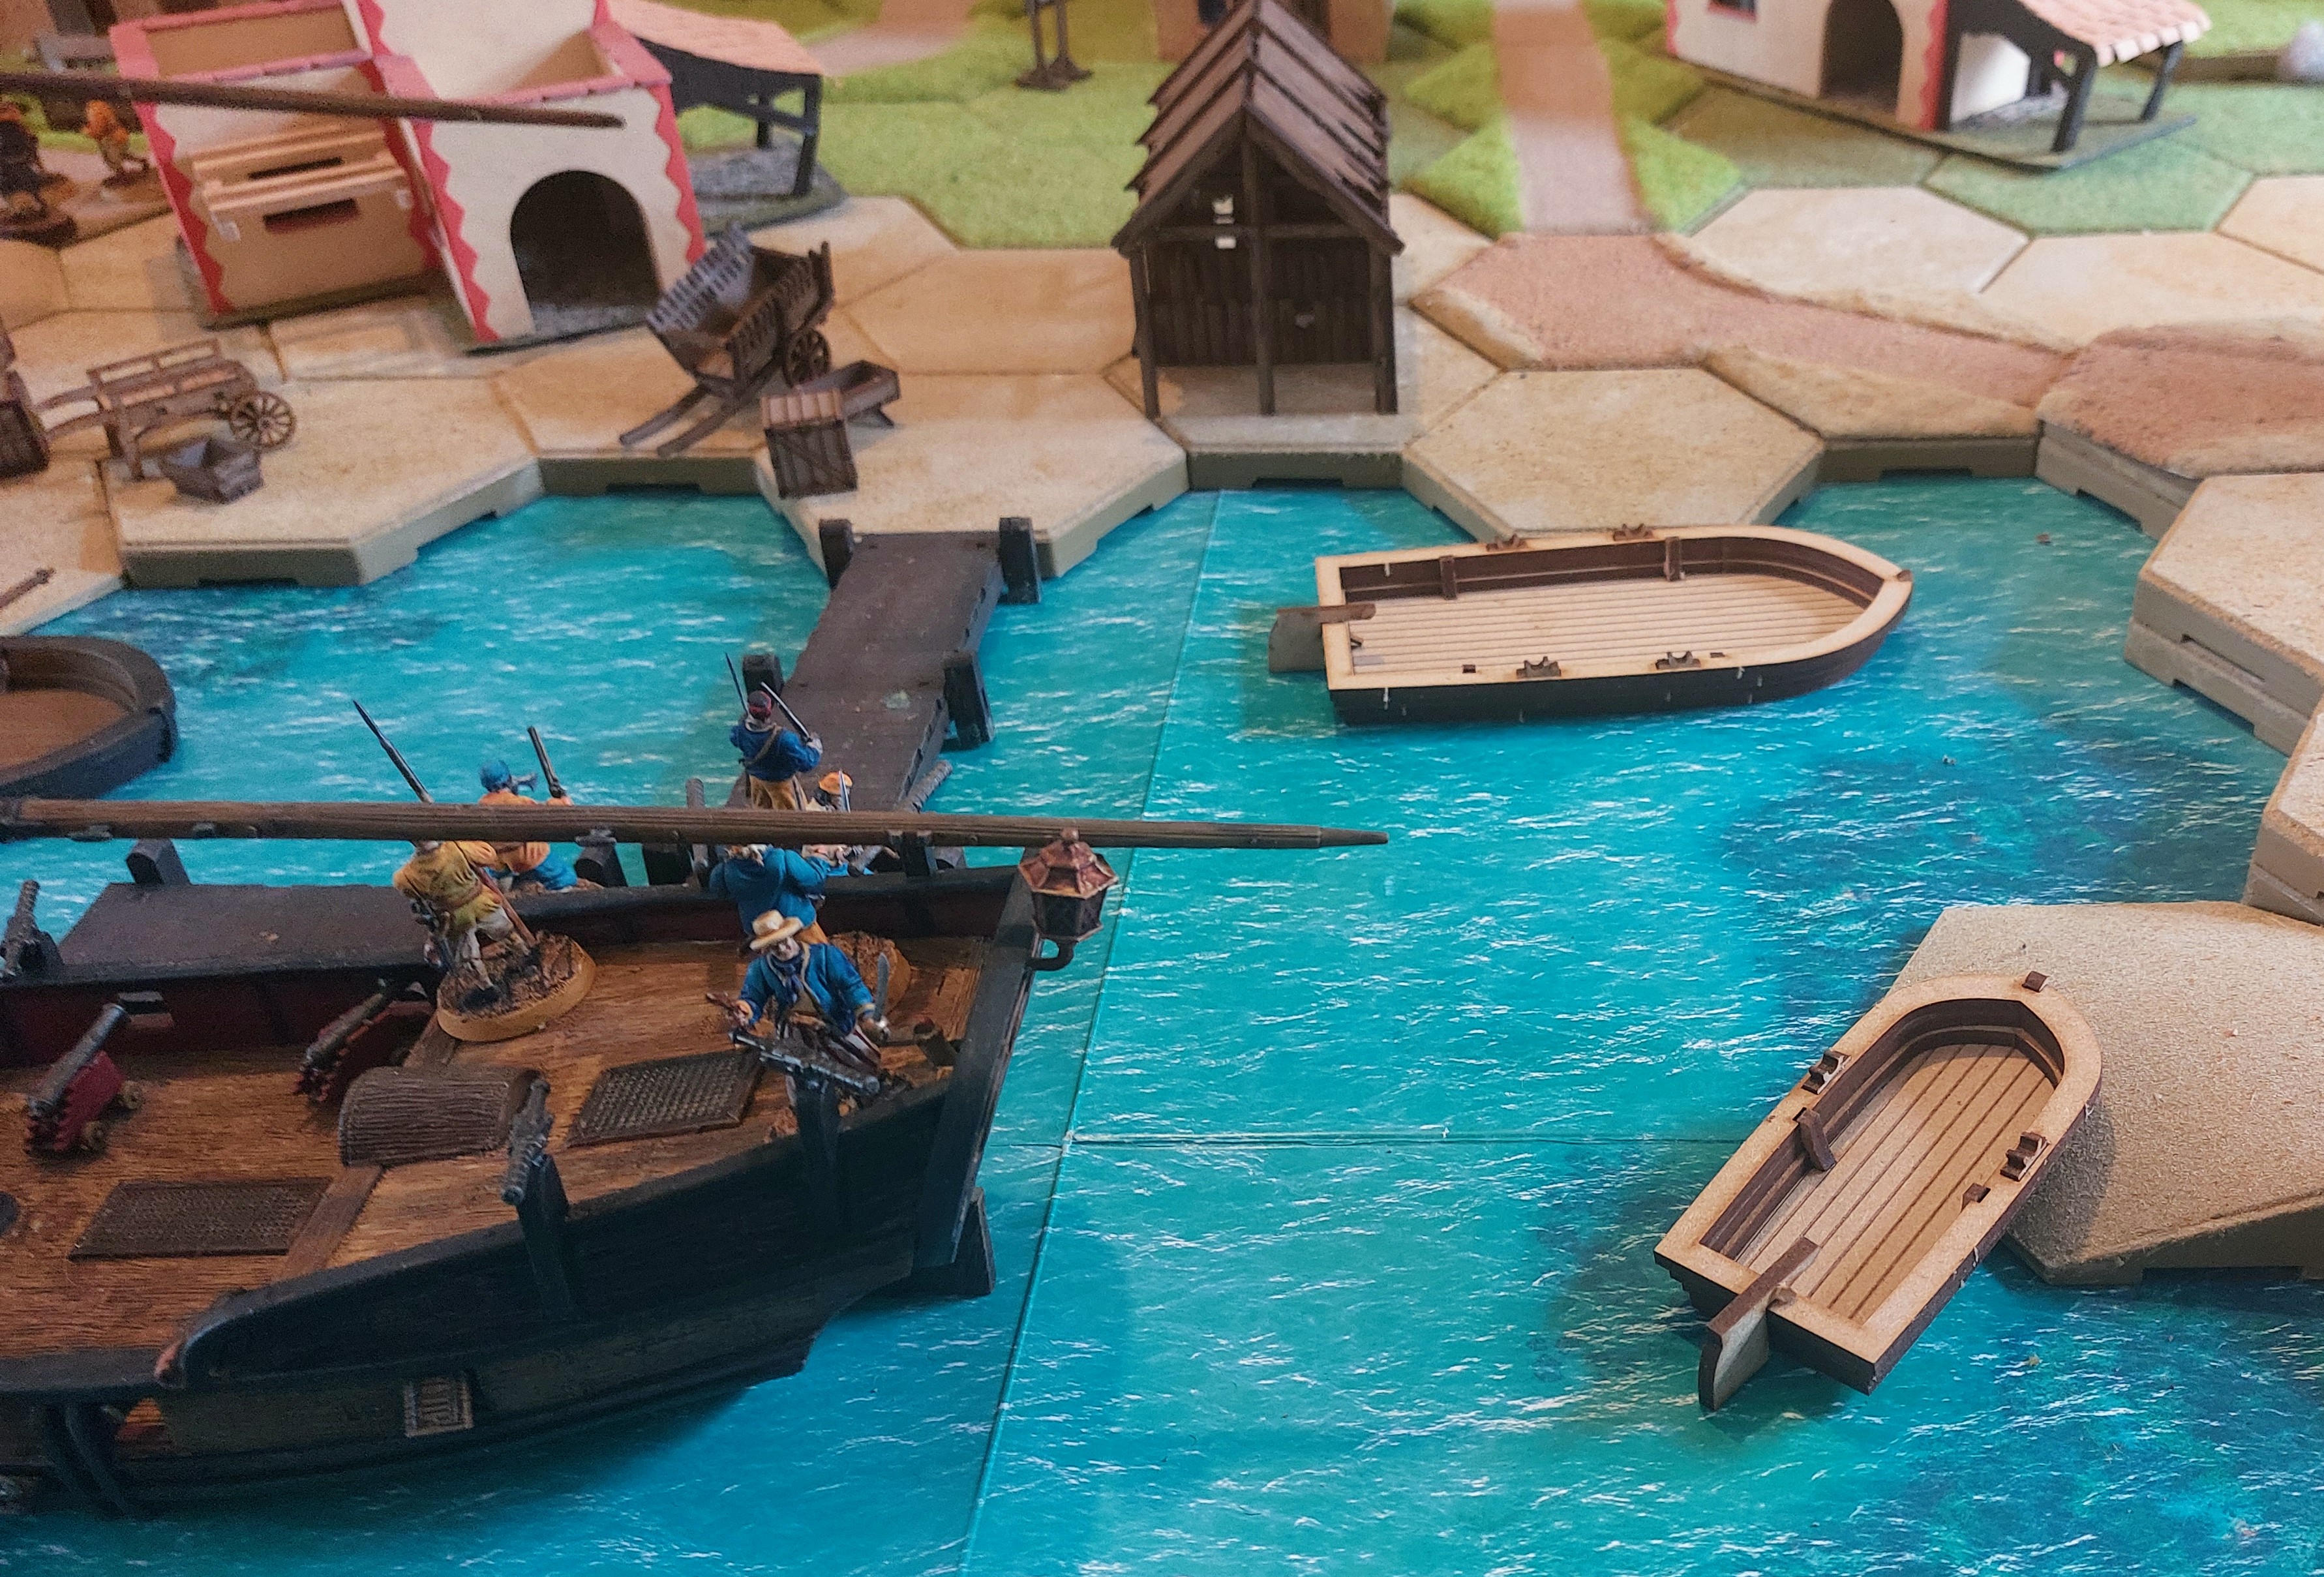
Port San Ecila


Recommendations: 59
About the Project
Although part of my 'Tales of thr 'Fluffy Bunny' B&P story I thought I'd do it as a separate project for TerrainFest
Related Game: Blood & Plunder
Related Company: Firelock Games
Related Genre: Pirate
Related Contest: TerrainFest 2023
This Project is Completed
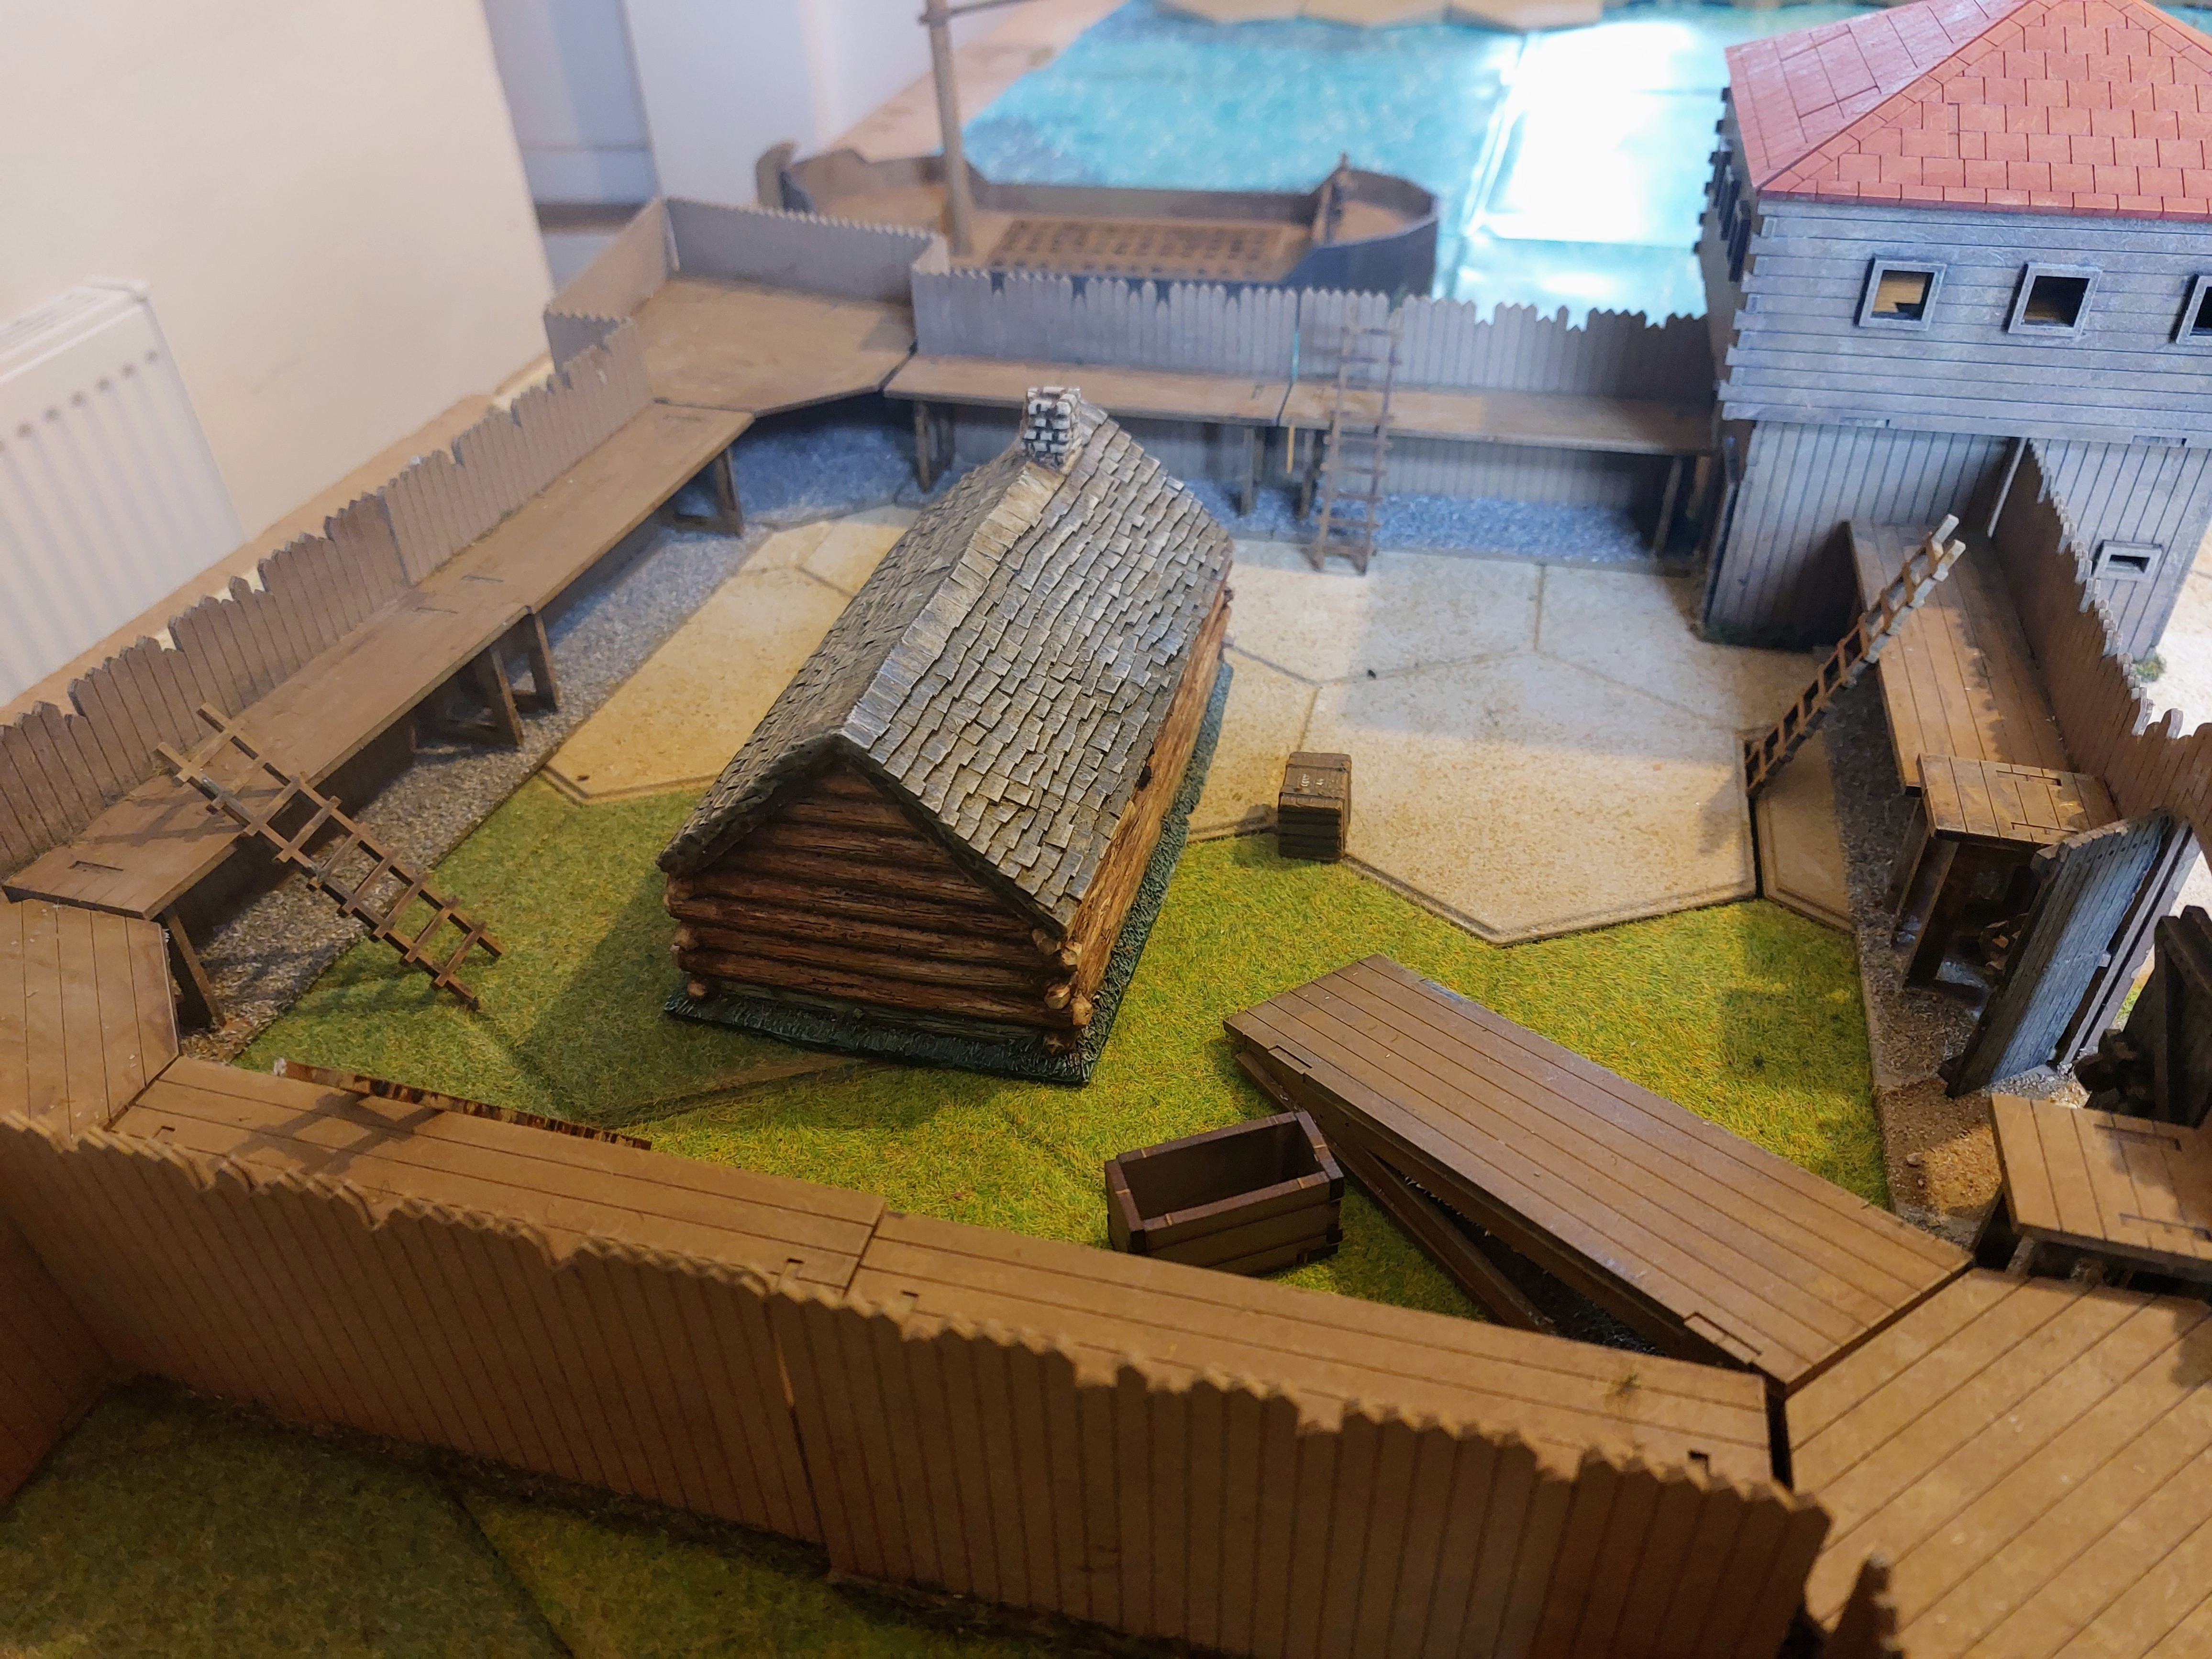
The Table layout
Having my own game room, it means I can layout a table before any prospective game , and tinker with it before we actually play. Helped by the fact that since the event… My gaming schedule has gone from weekly to Monthly if lucky.
Having set up the base table layout I can now add to it as I find odd bits of suitable terrain that has been hidden in various boxes in games room, and add bits as I go along. As in these intial shots you can see a new addition in the Shape of Fort Amber , which has been built and base coated, and will be painted during the darker evenings.
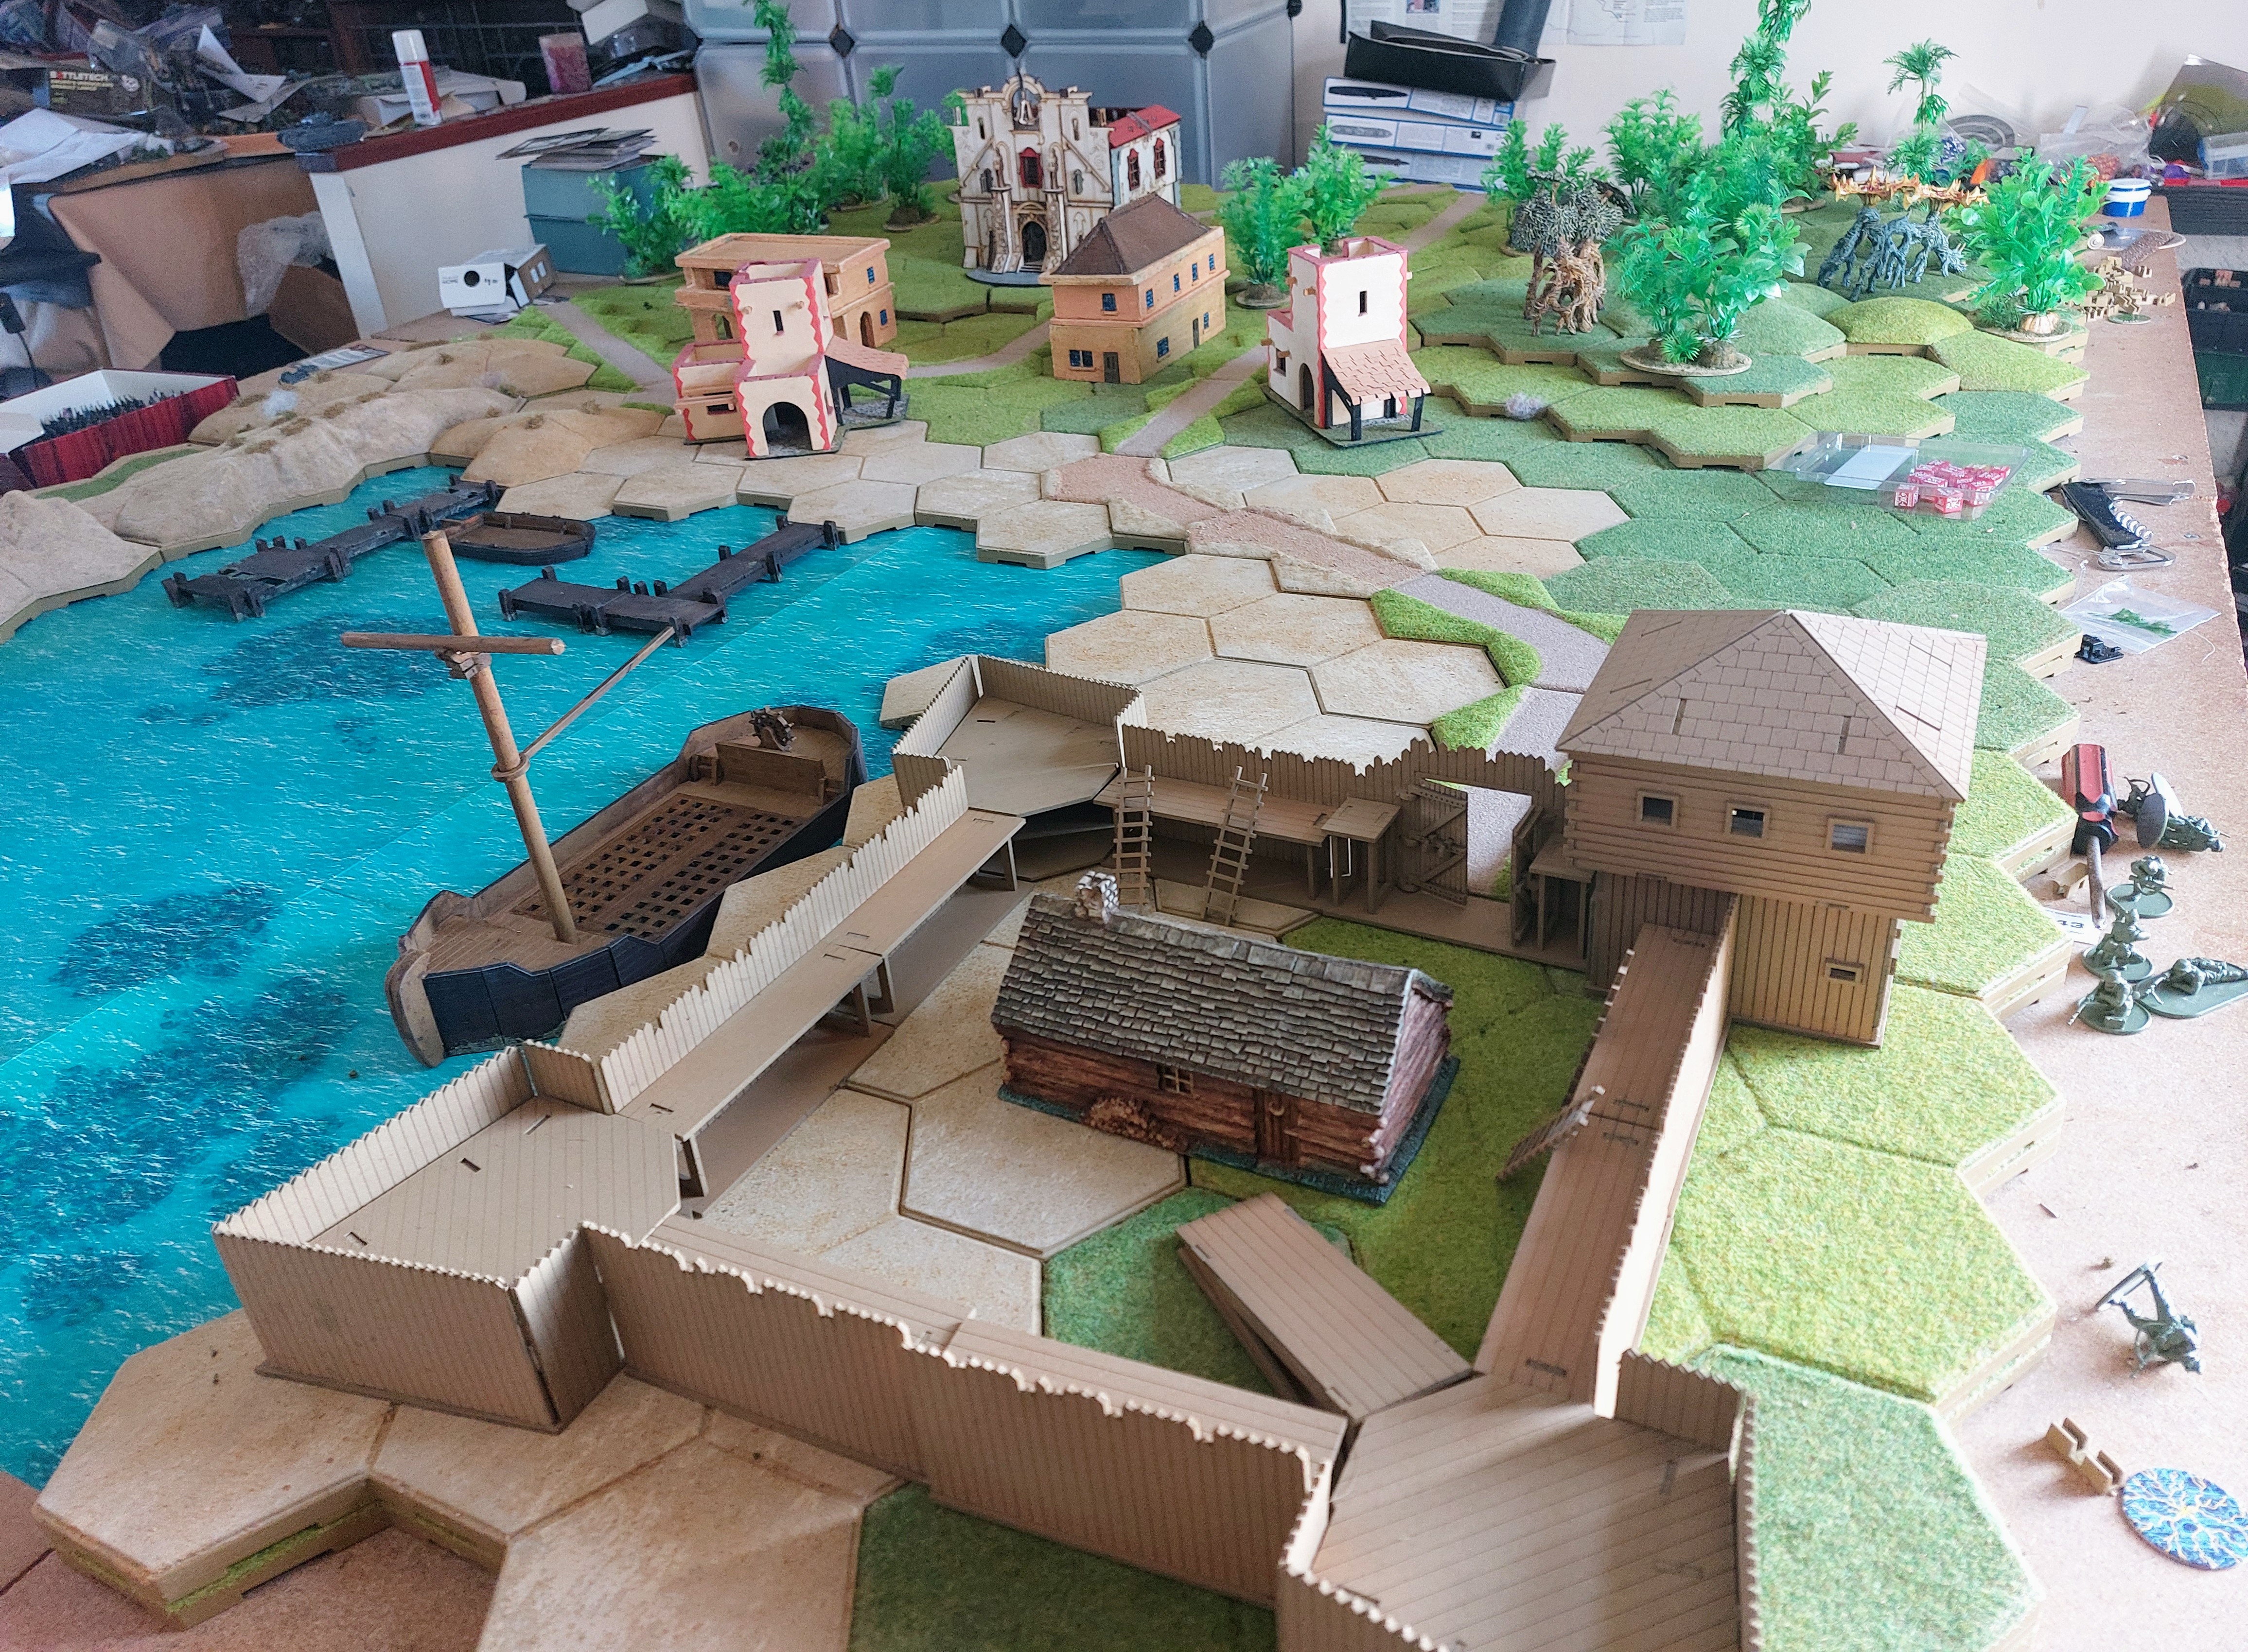
All of above is subject to change as I slowly build extra bits to help with Narrative, though as with the base Hexon Terrain , is all modular, to aid with play, and for ease of storage.
As last week went on I’d be digging through cupboards, and trays , and I found bits of scatter terrain to add,plus 3 more buildings, one Tudur, which matched the colour, and two old Resin buildings which I used for Western games one being suitably a Cantina.
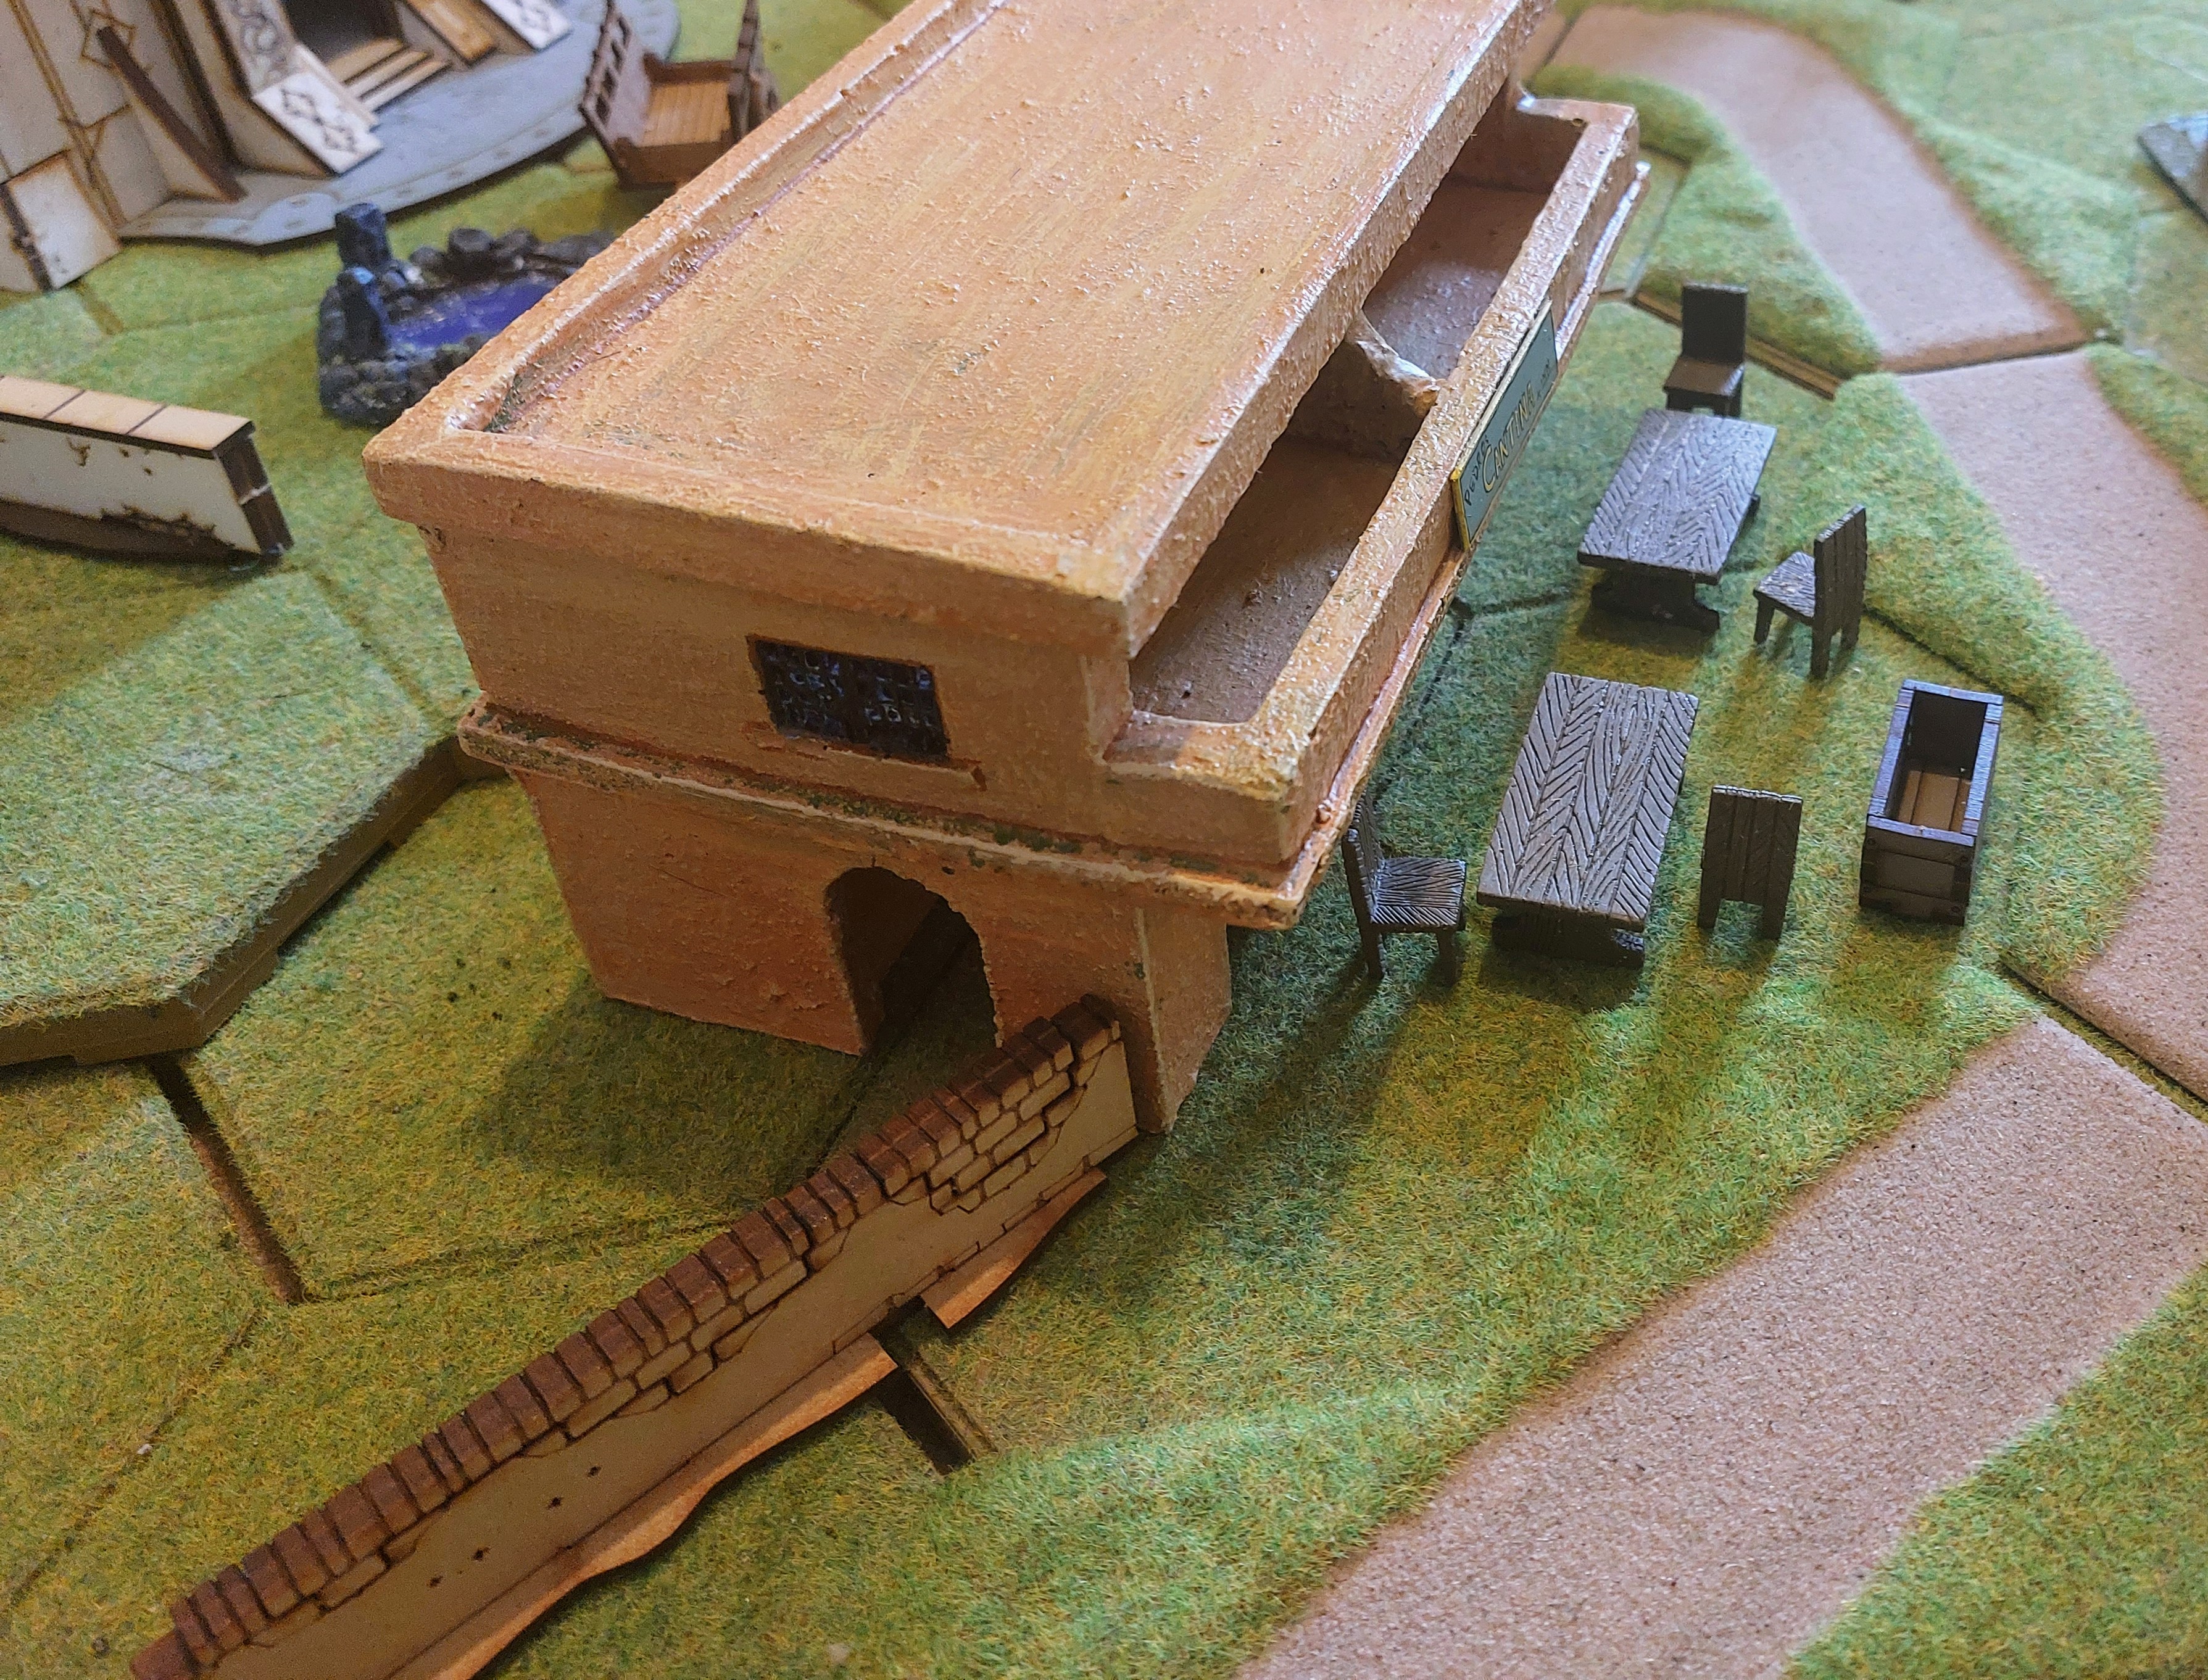 Cantina with WizzKids Mage Knight table and Chairs.
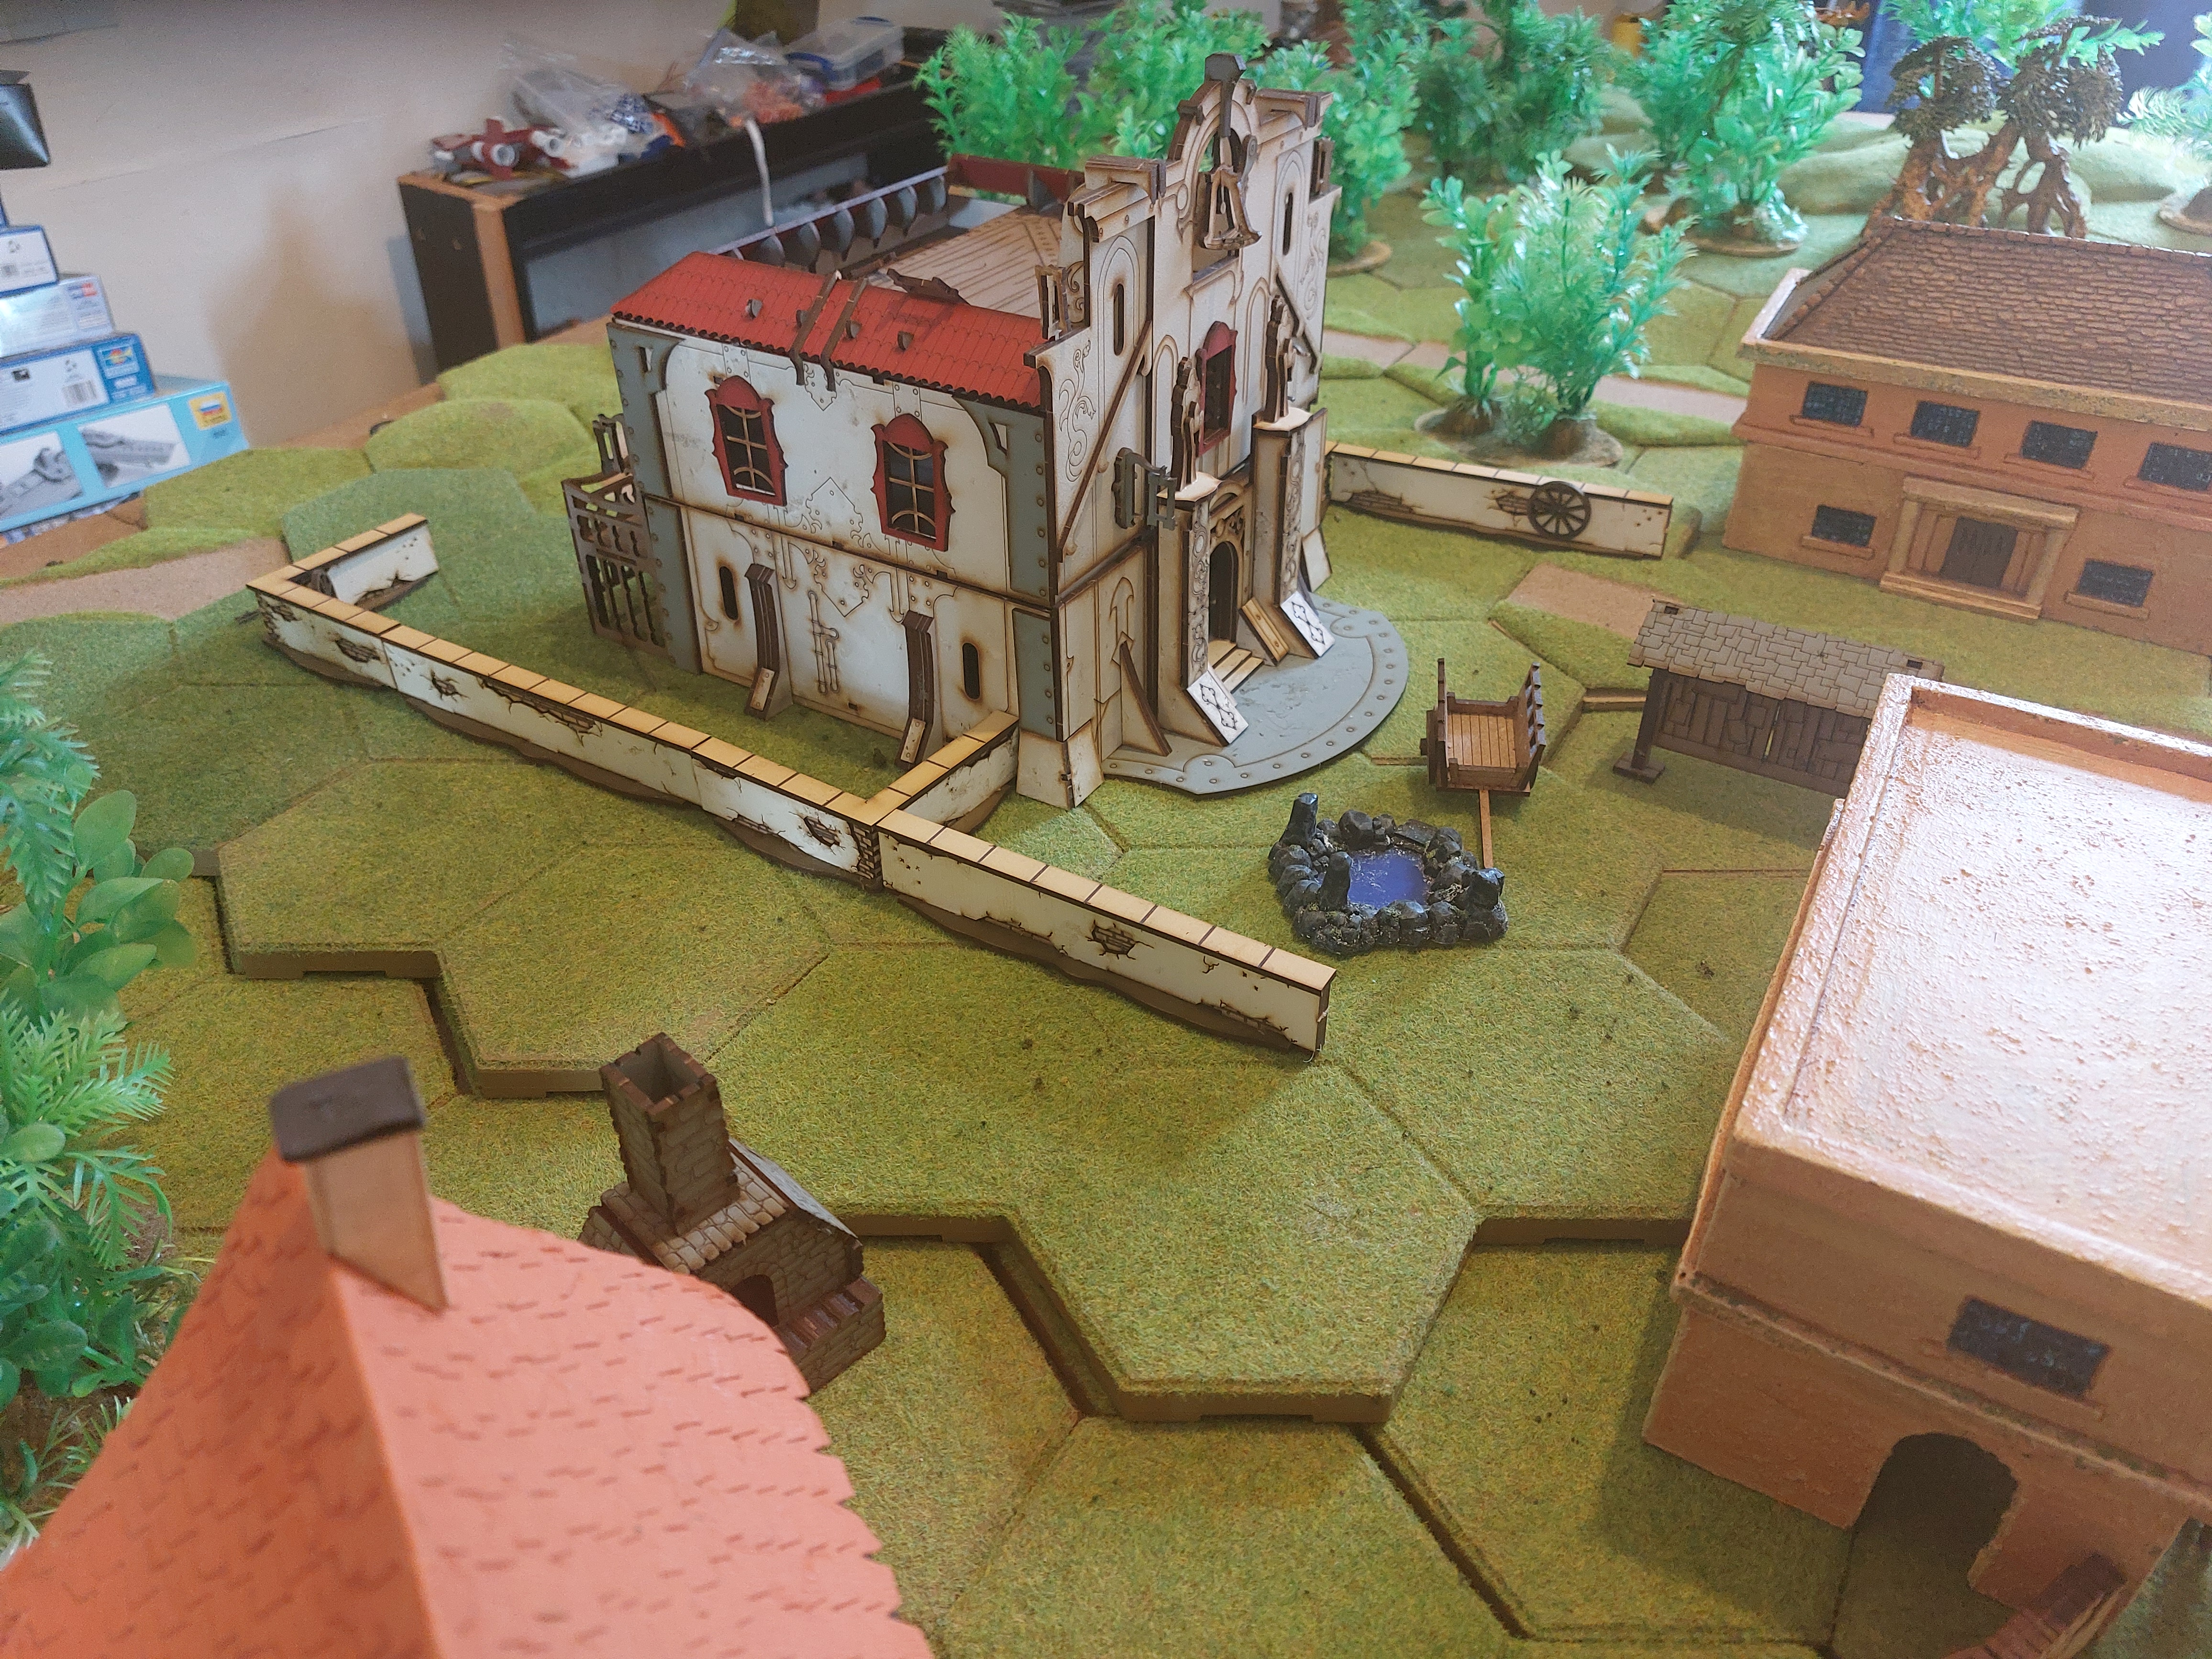 Warcradle Spanish Church wit added Foreground Walls
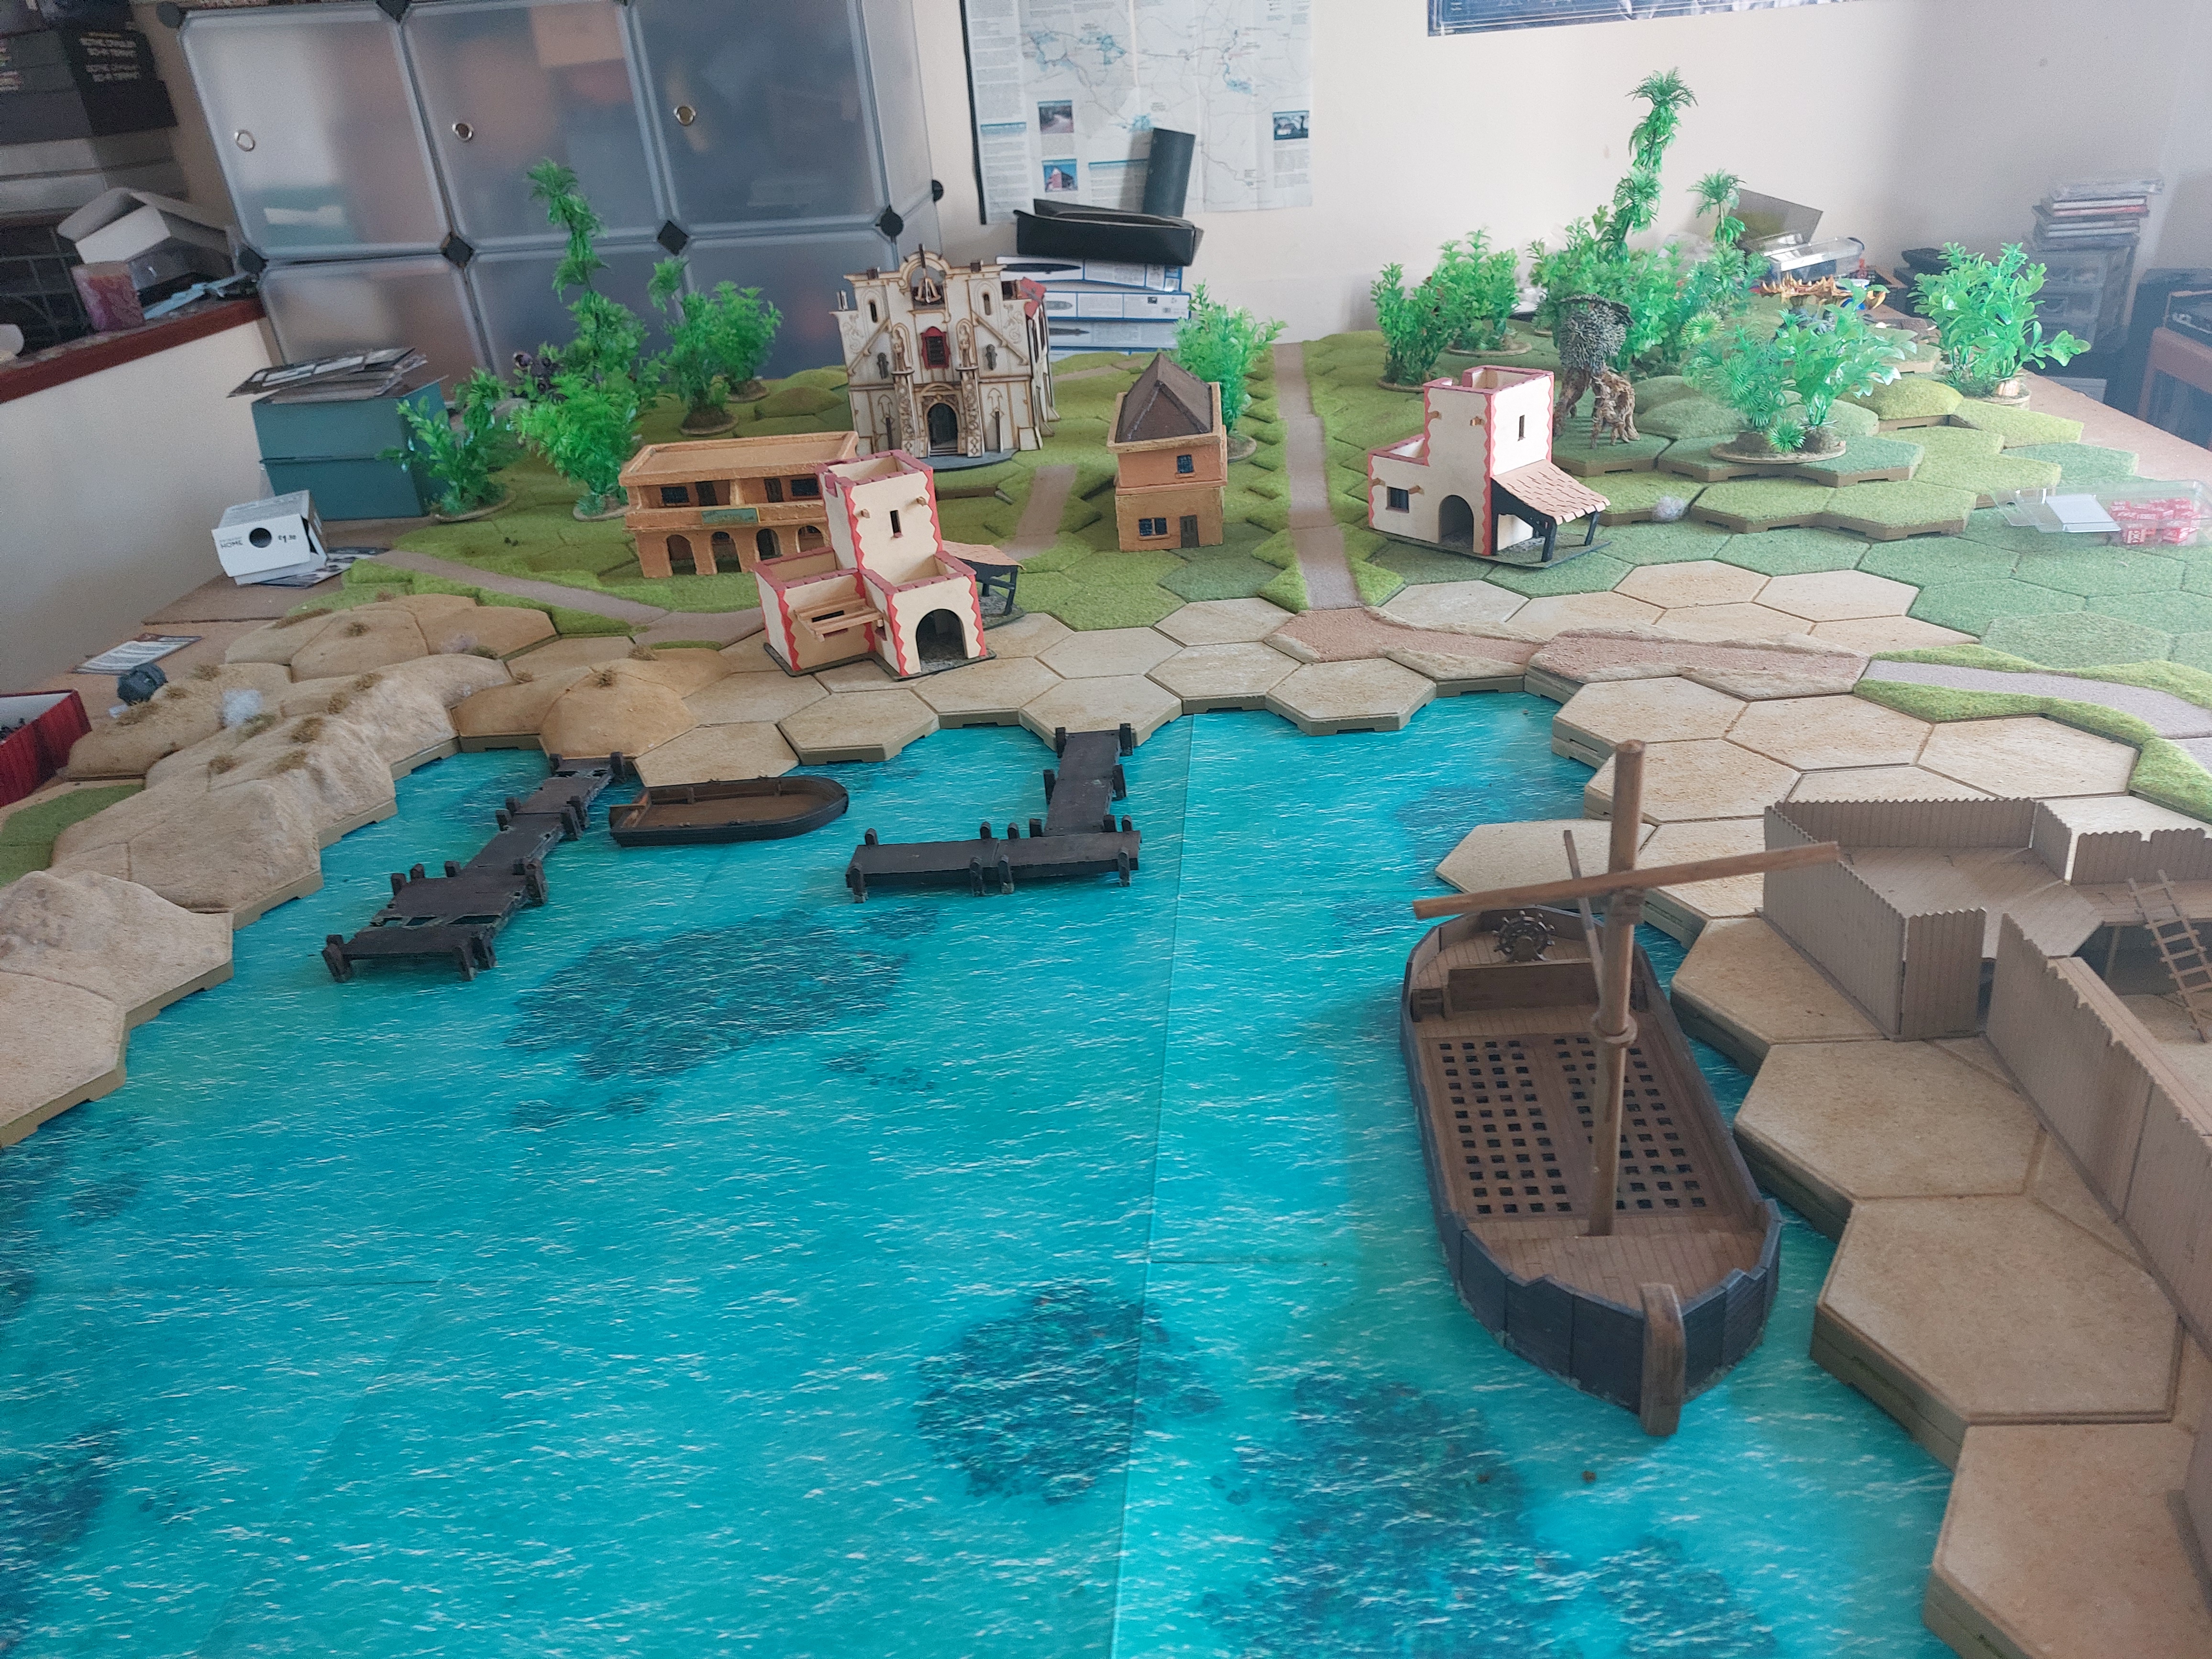
I decided I needed more carts and Boats so an offer went into Blotz, as I had one of their jolly boats , which was added to bits of Warcradle scatter terrain including the nice shed.
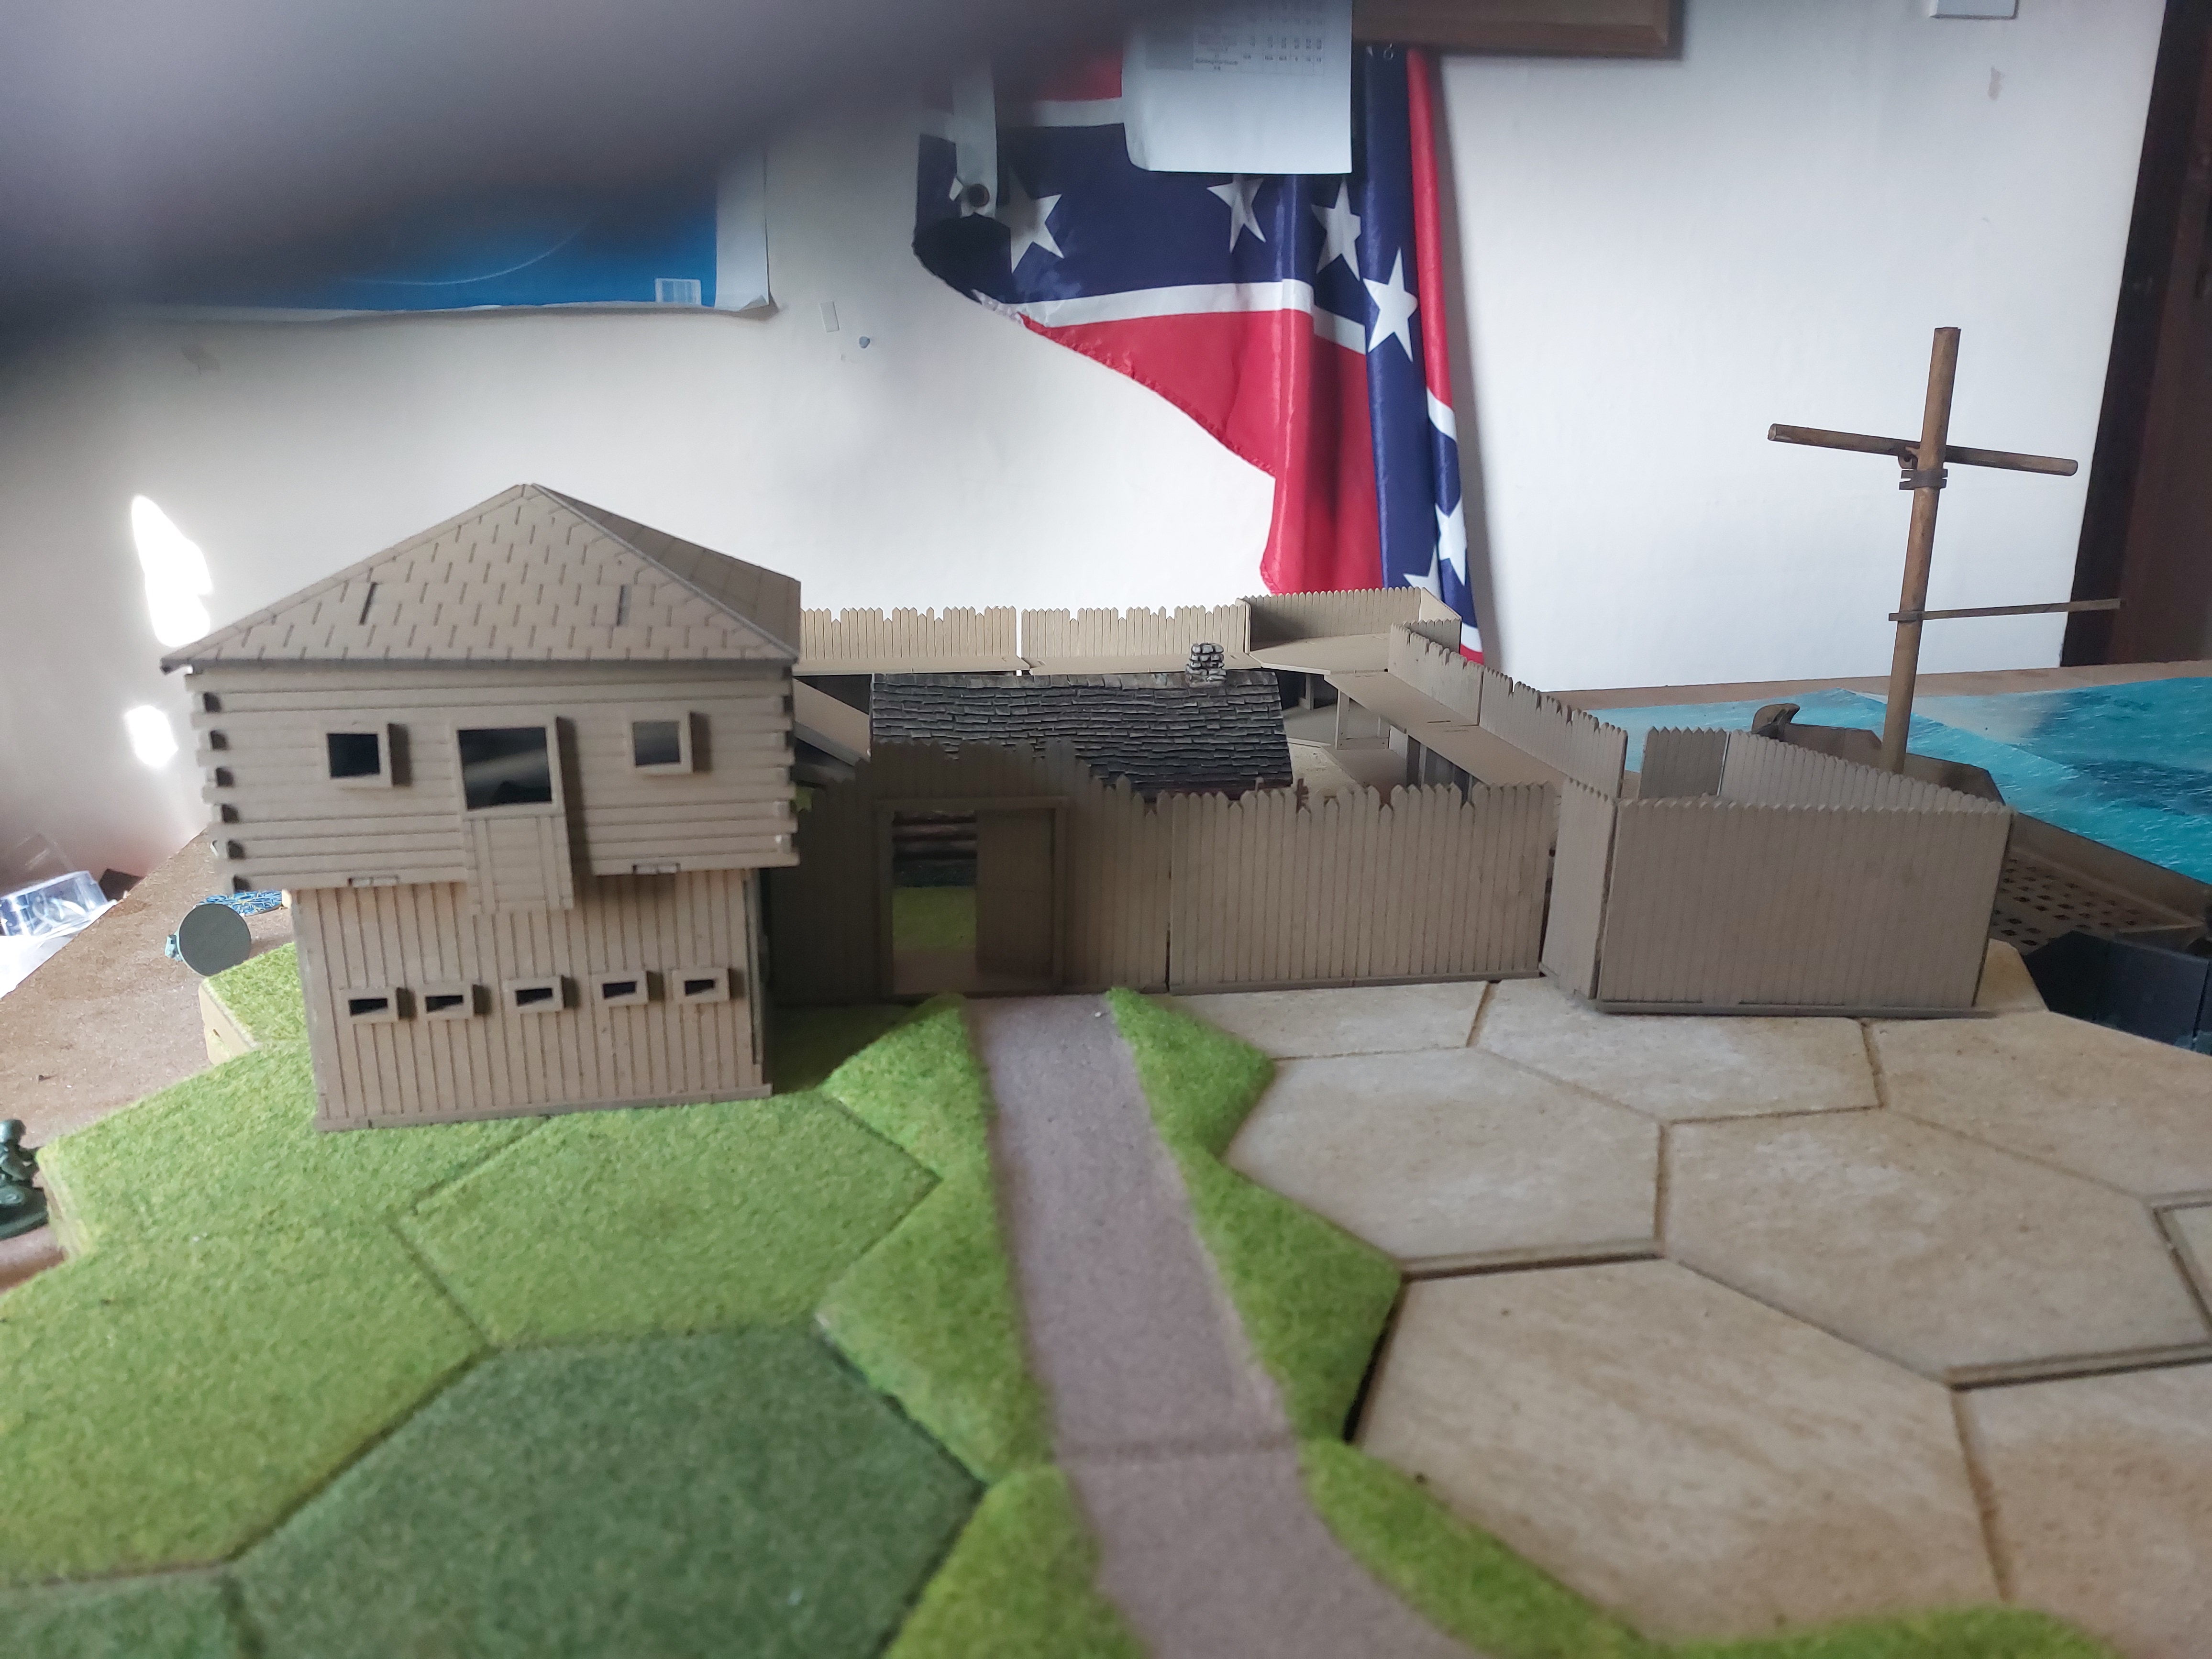
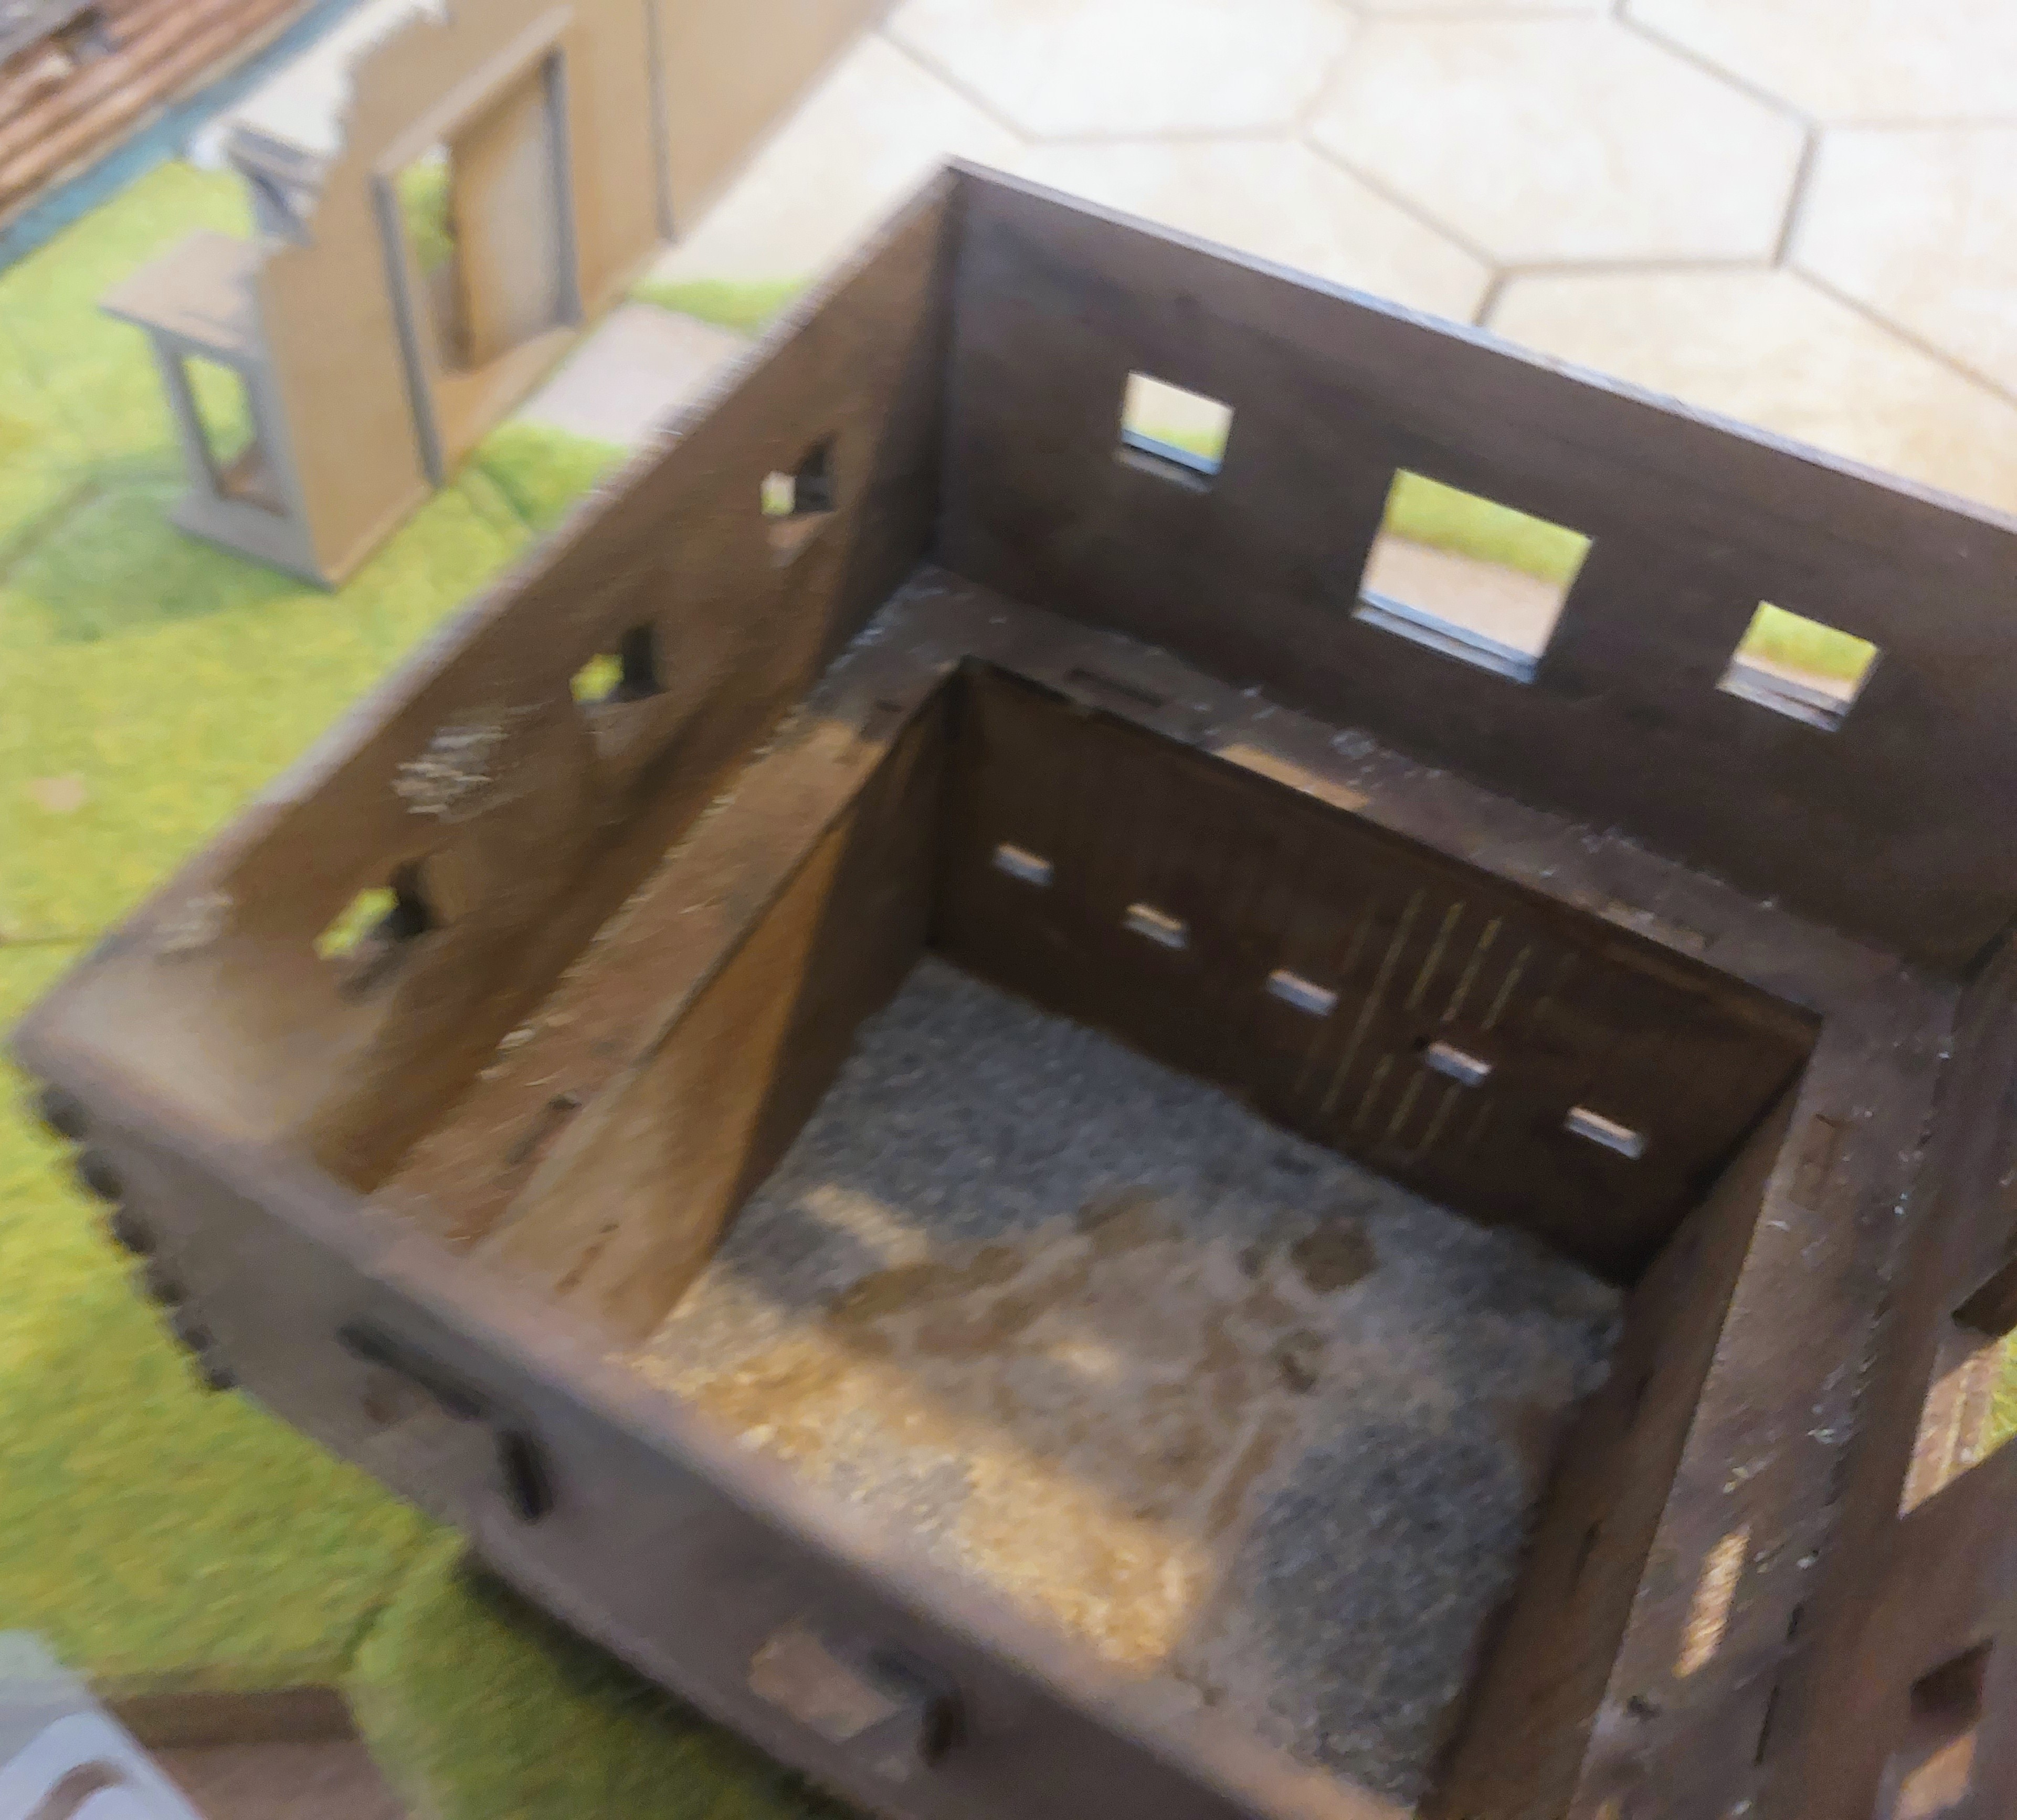
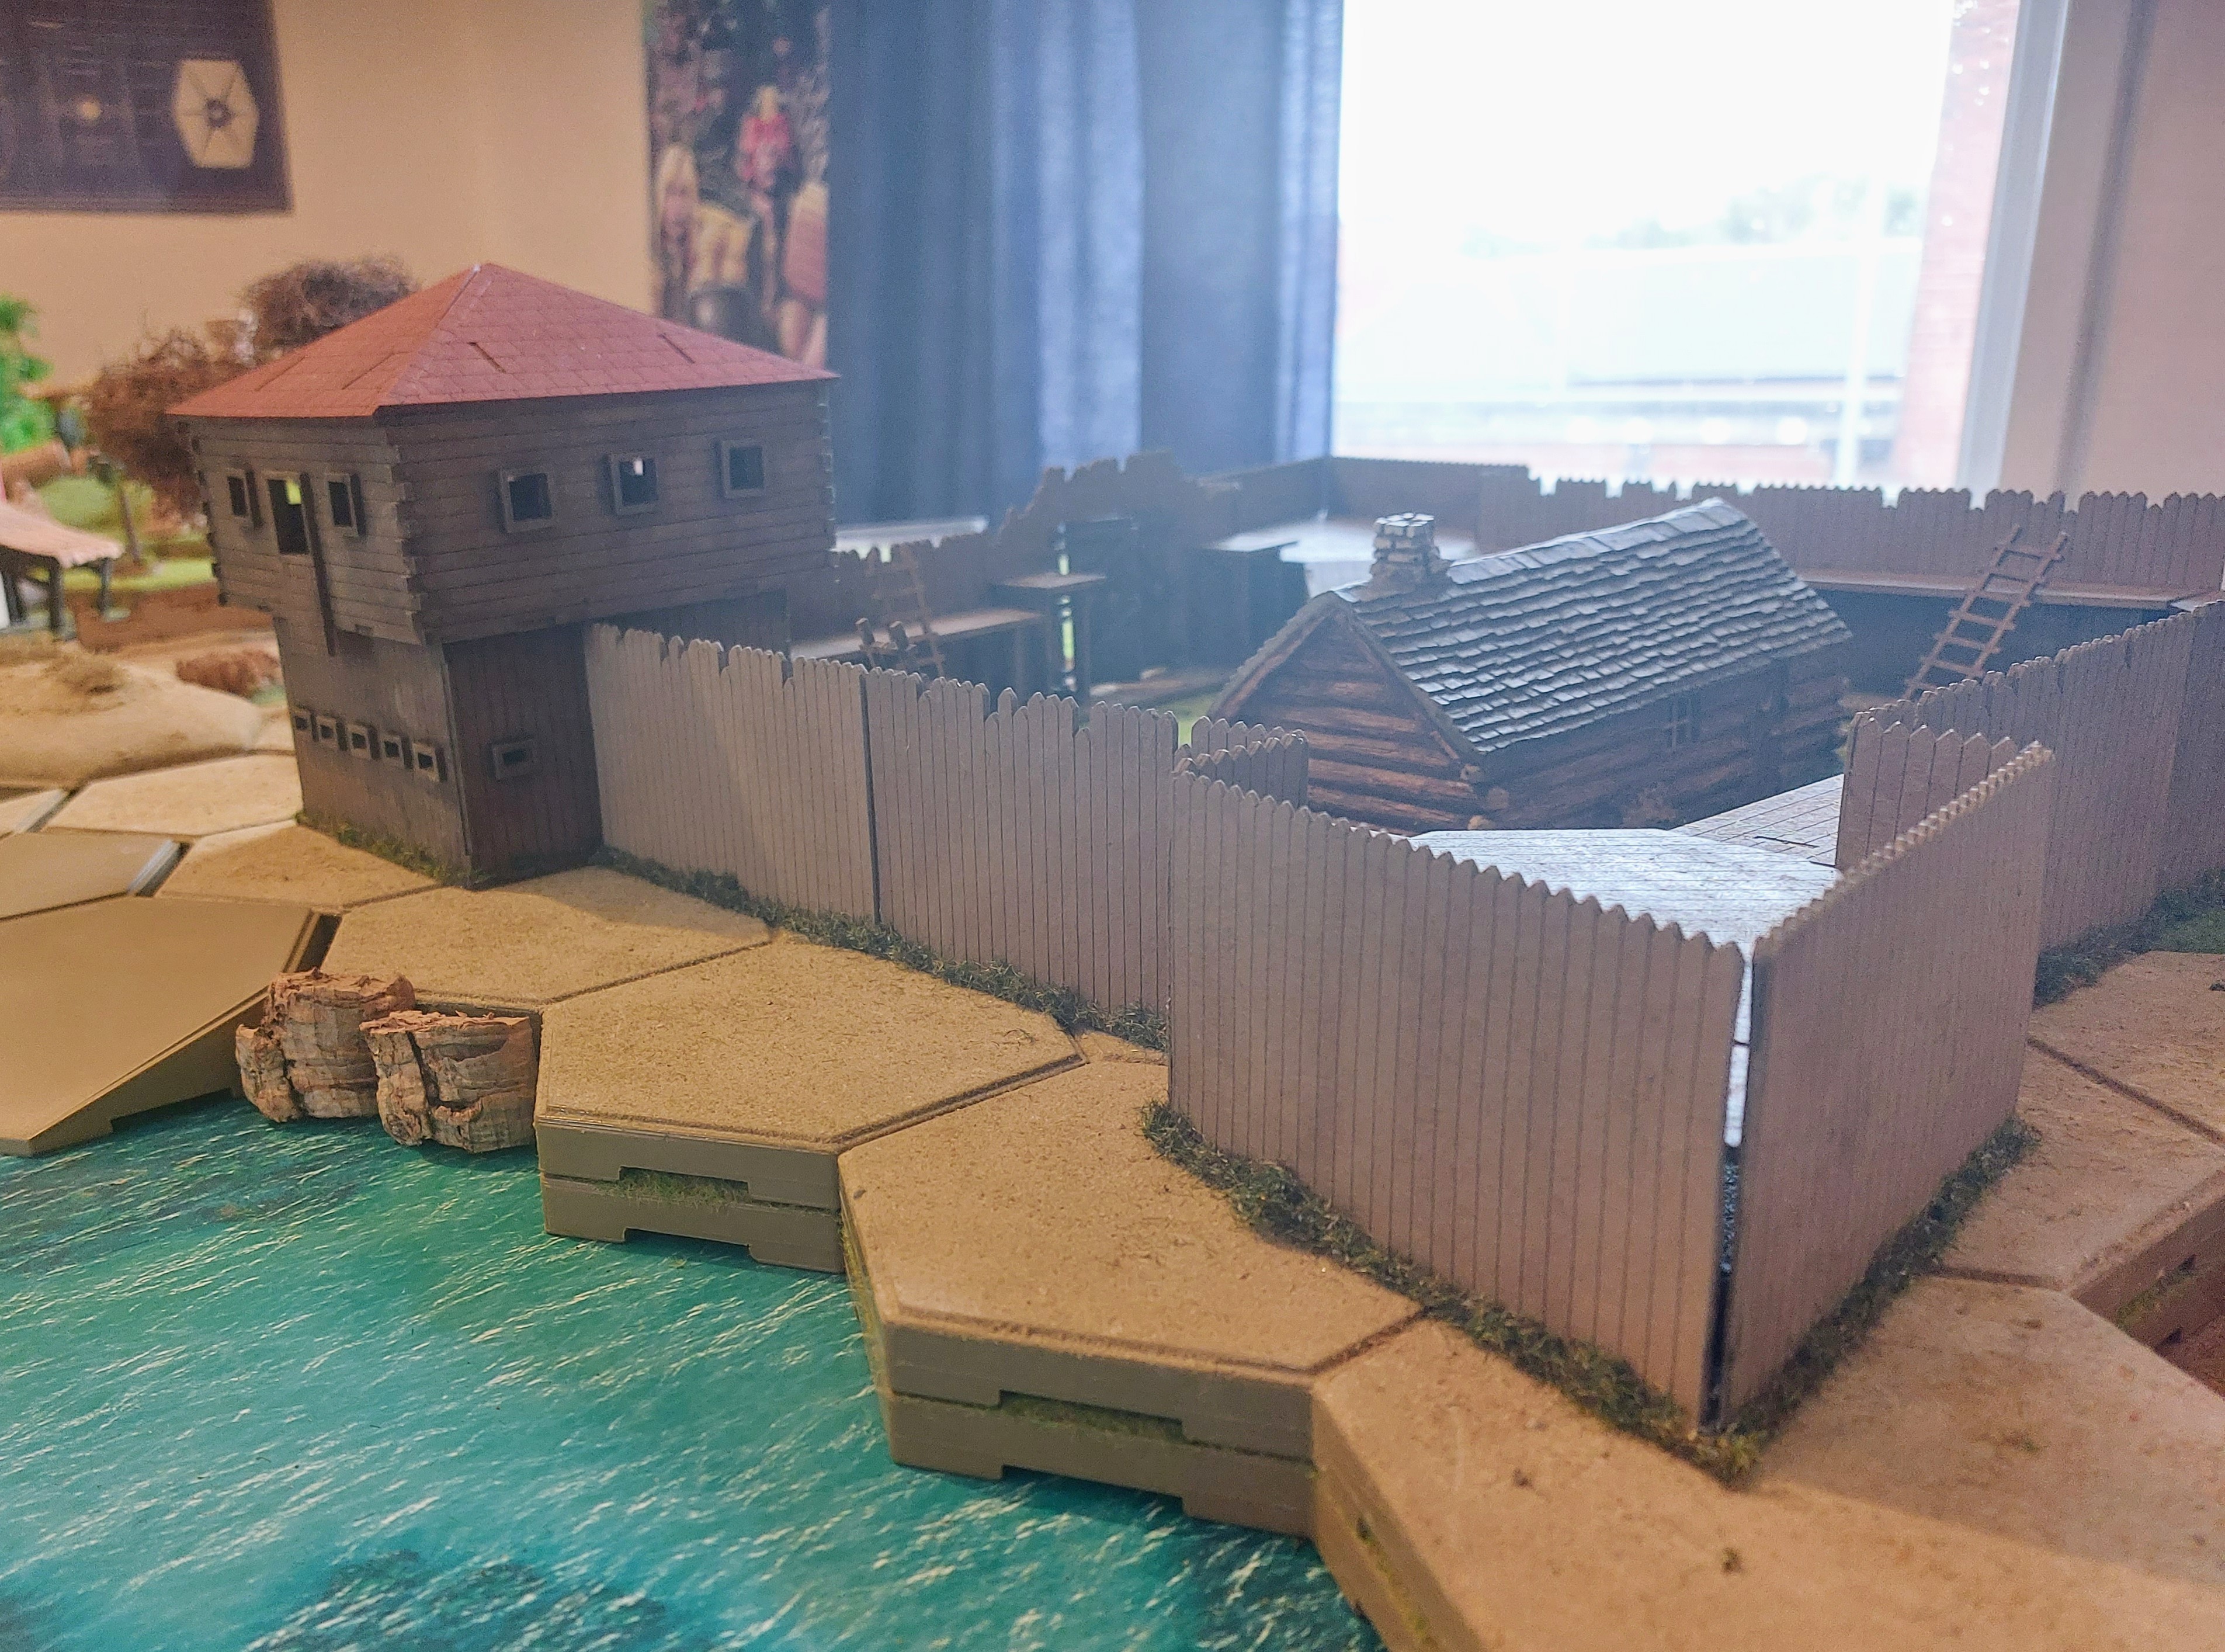
Fort Amber
I have started painting the Fort, fairly easy paint, using mainly Contrast paints, thinned out Cygor Brown for Walls, Skeleton bone for upper floor and BloodTearers Red for roof, drybrushed With Zandri Dust for Walls and a dark orange for Roof.
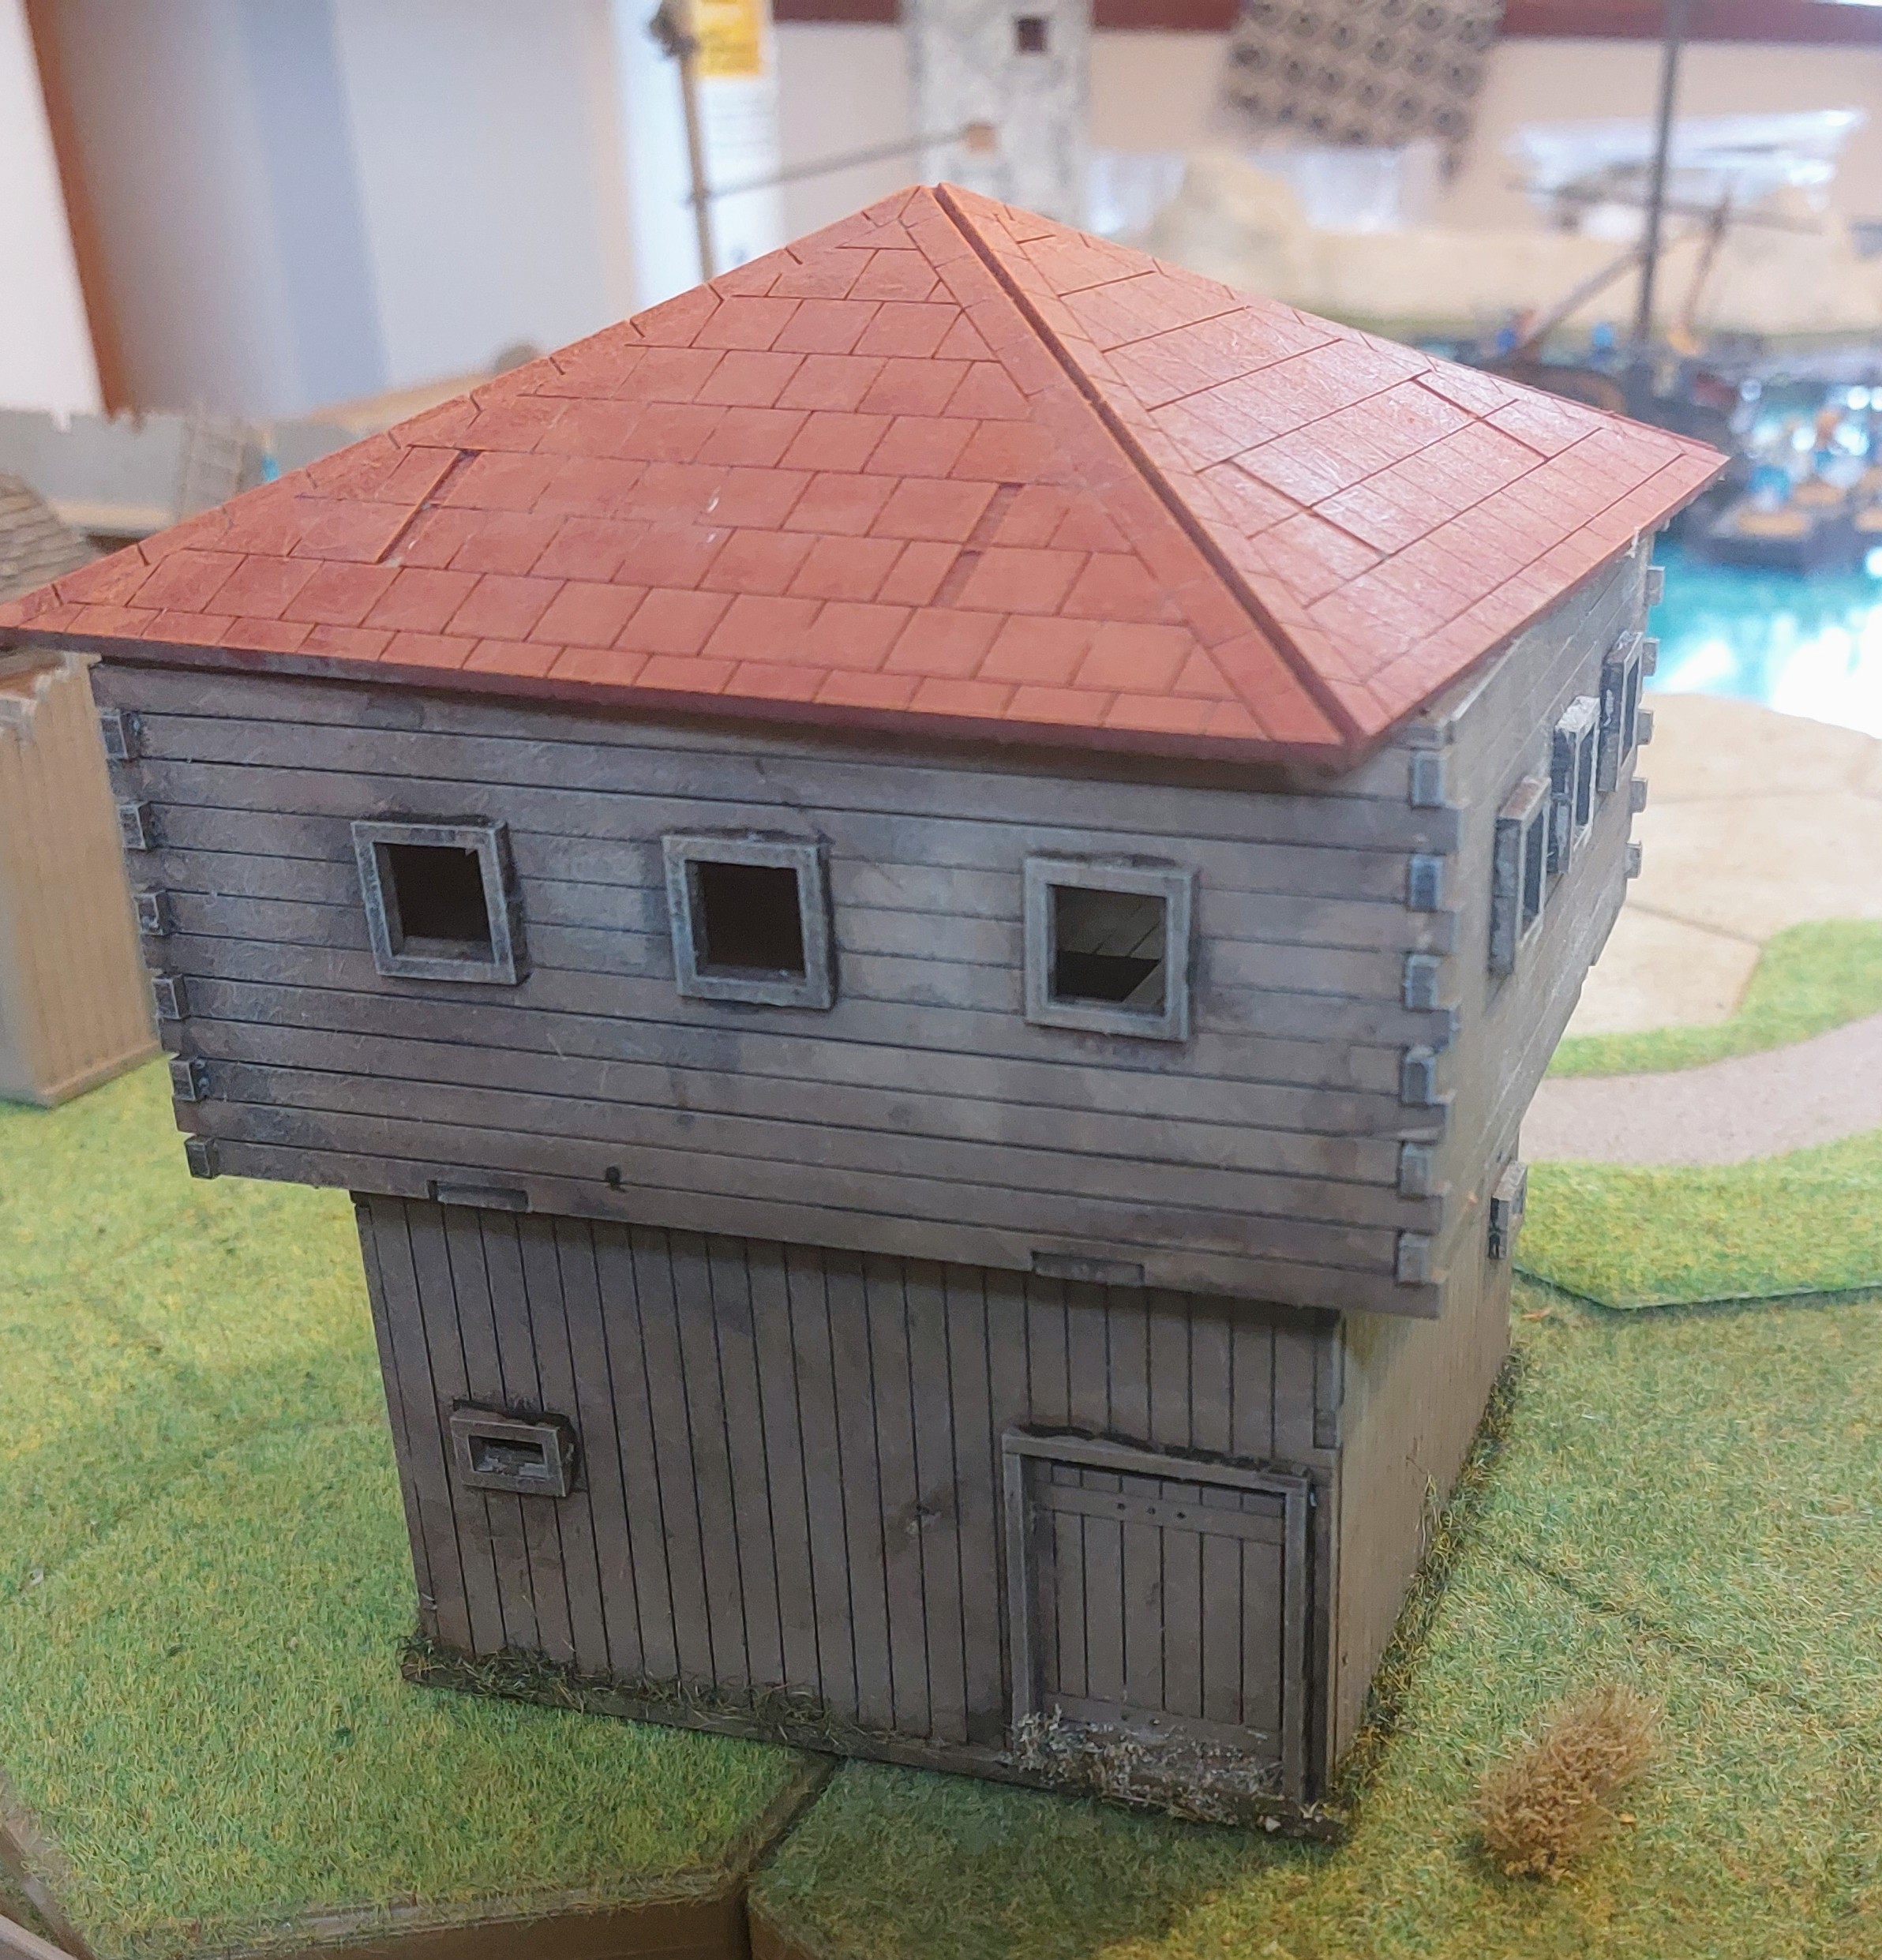
On placing back realised it was on wrong Corner and moved it to the Harbour.
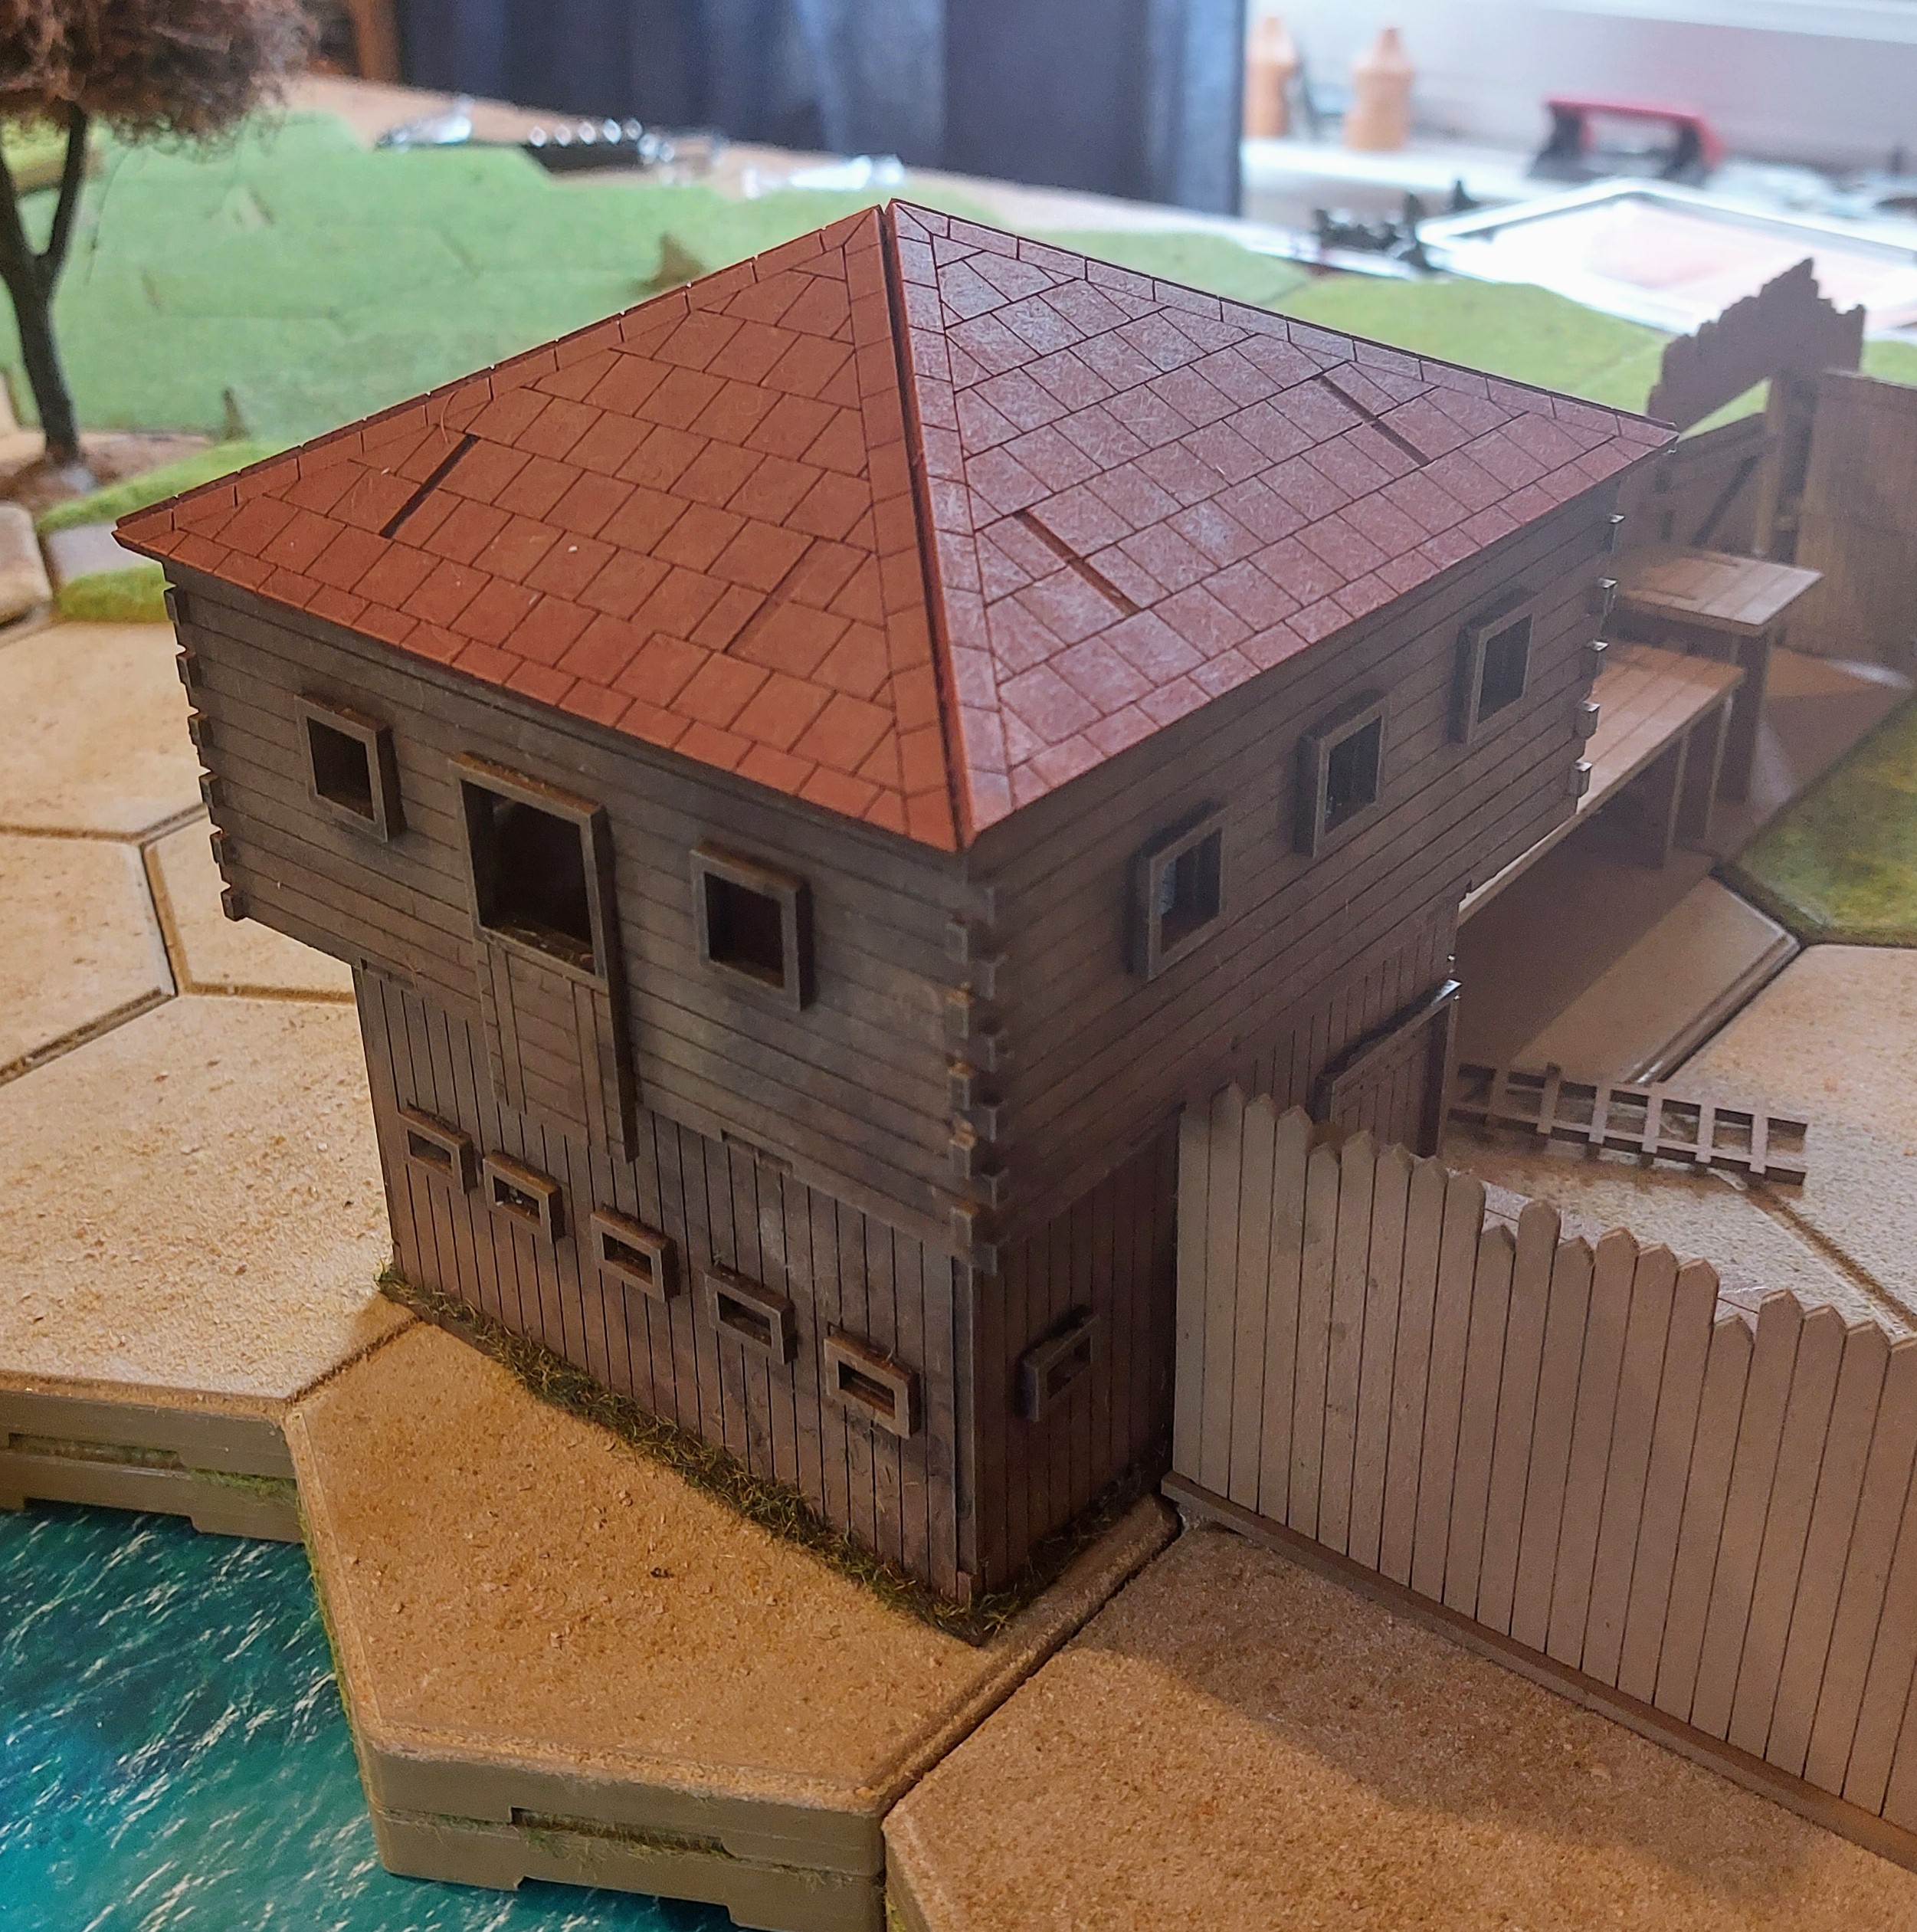
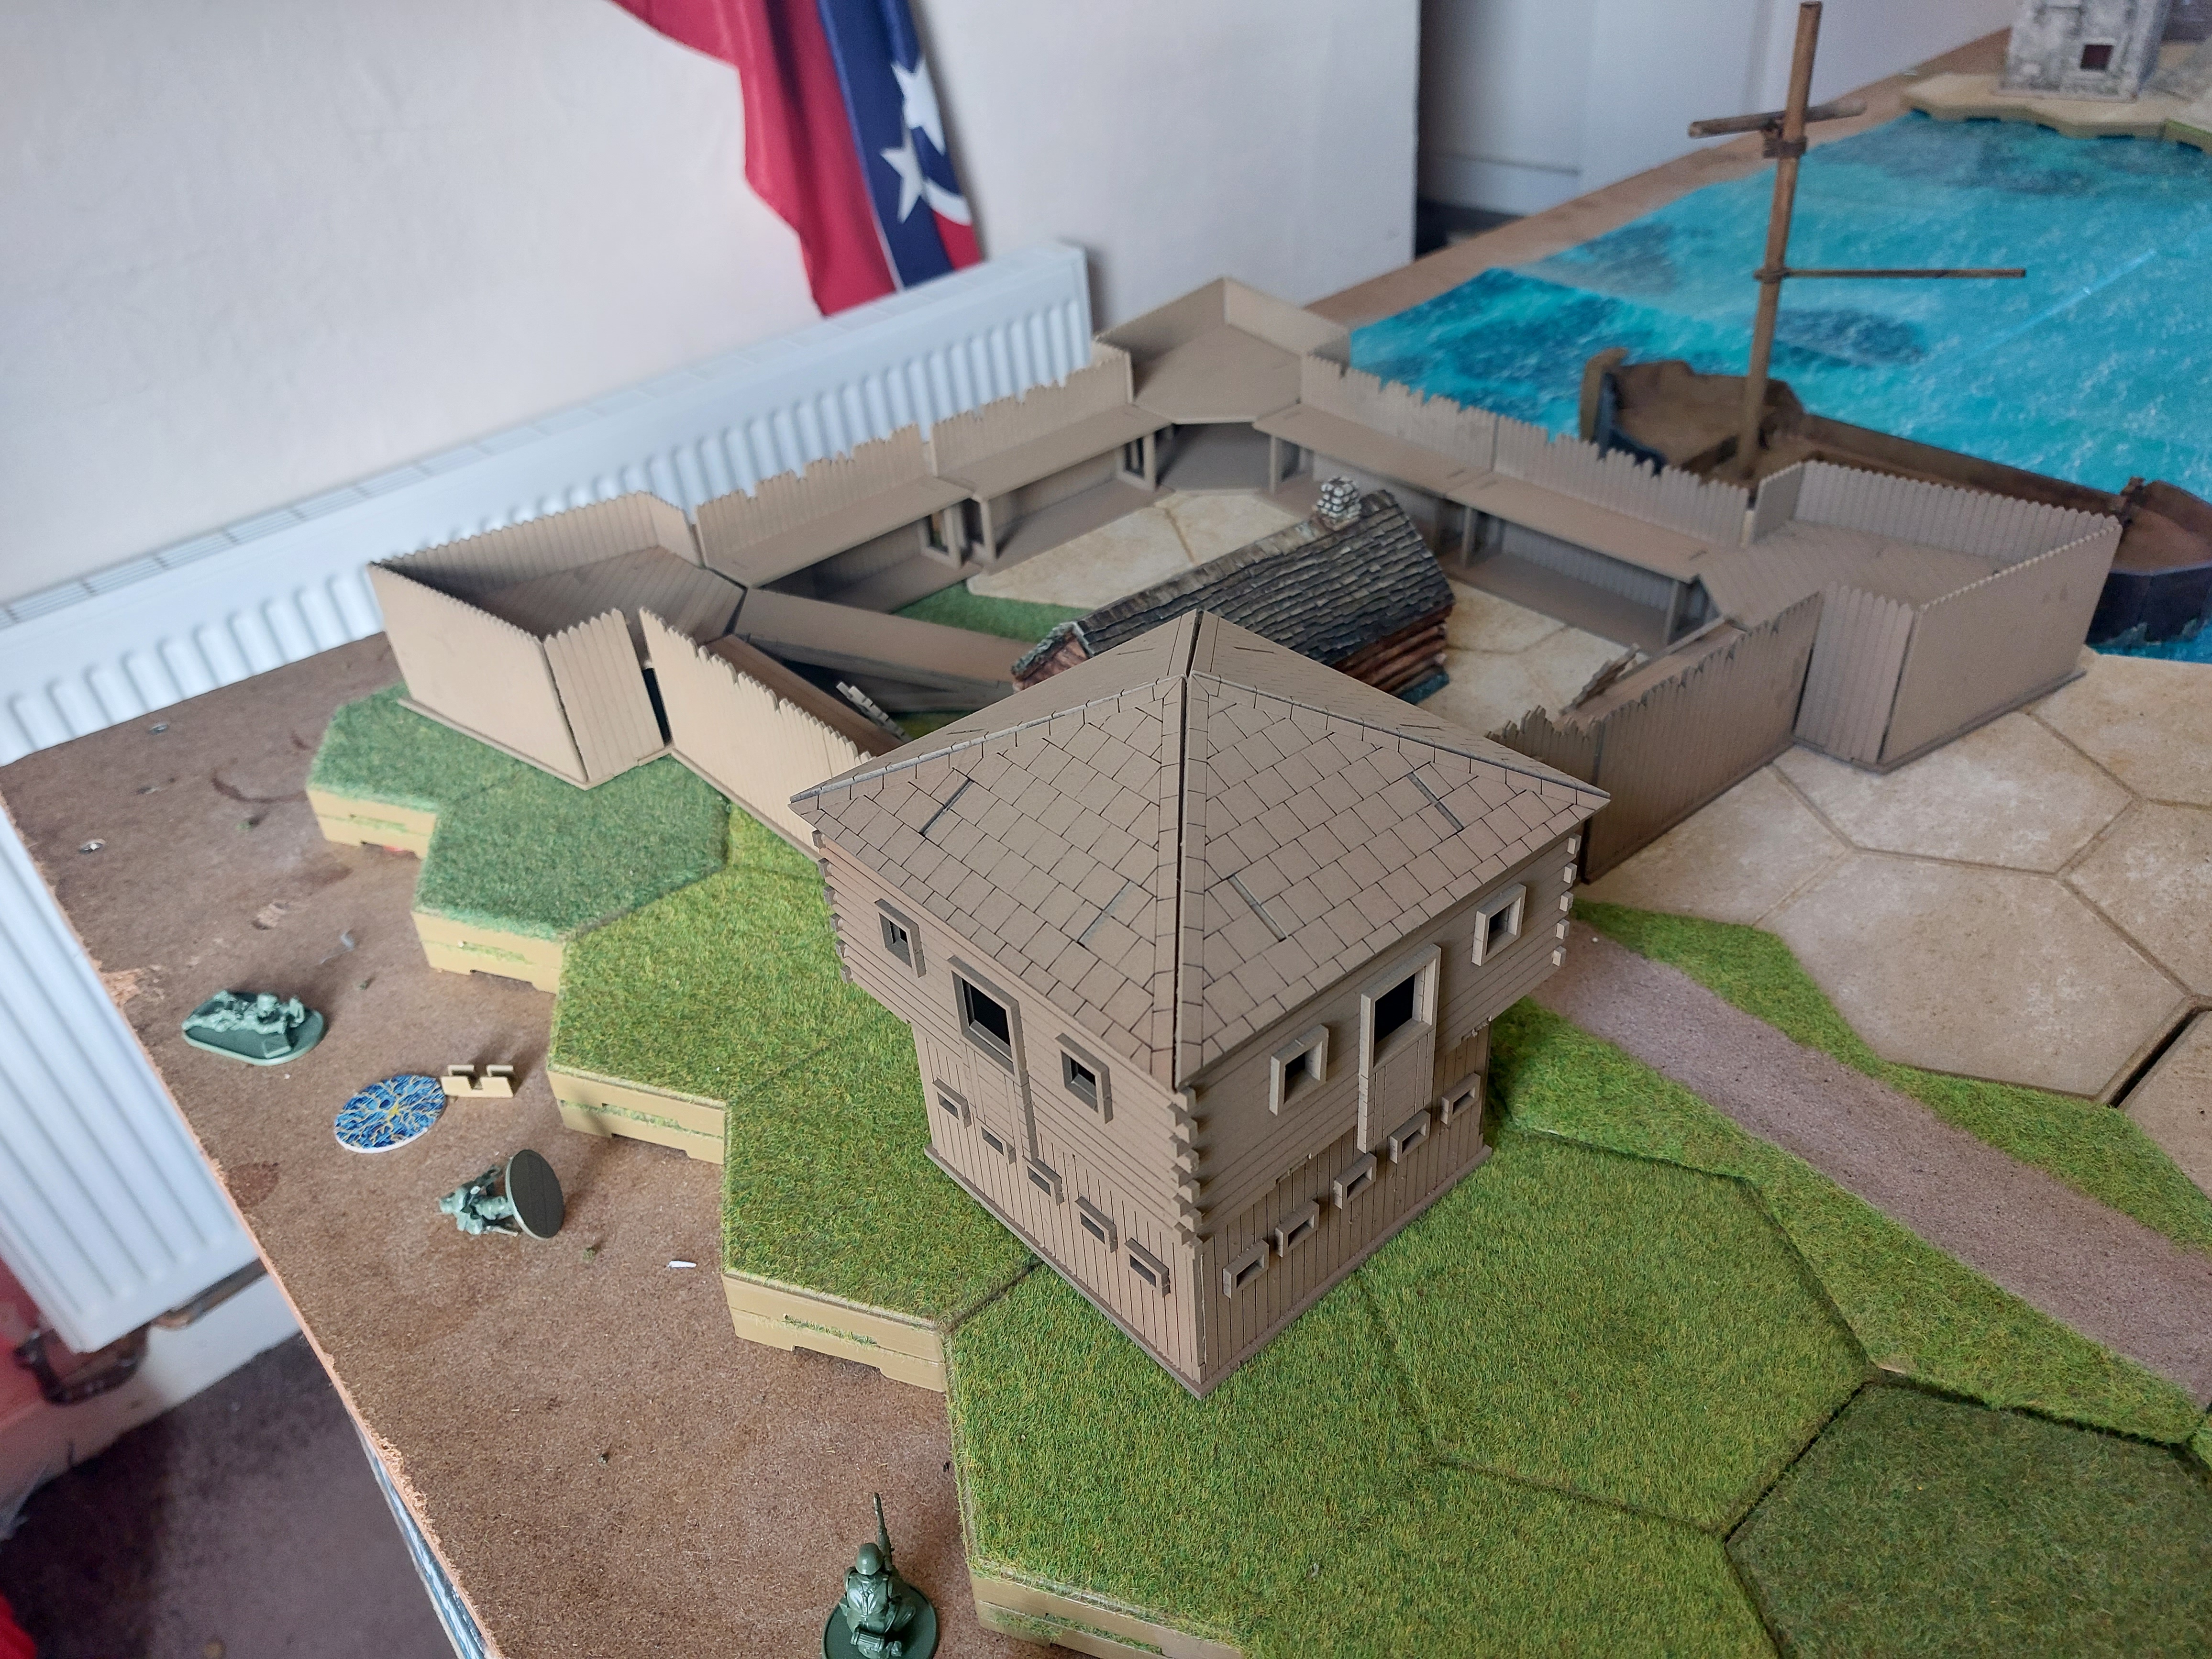
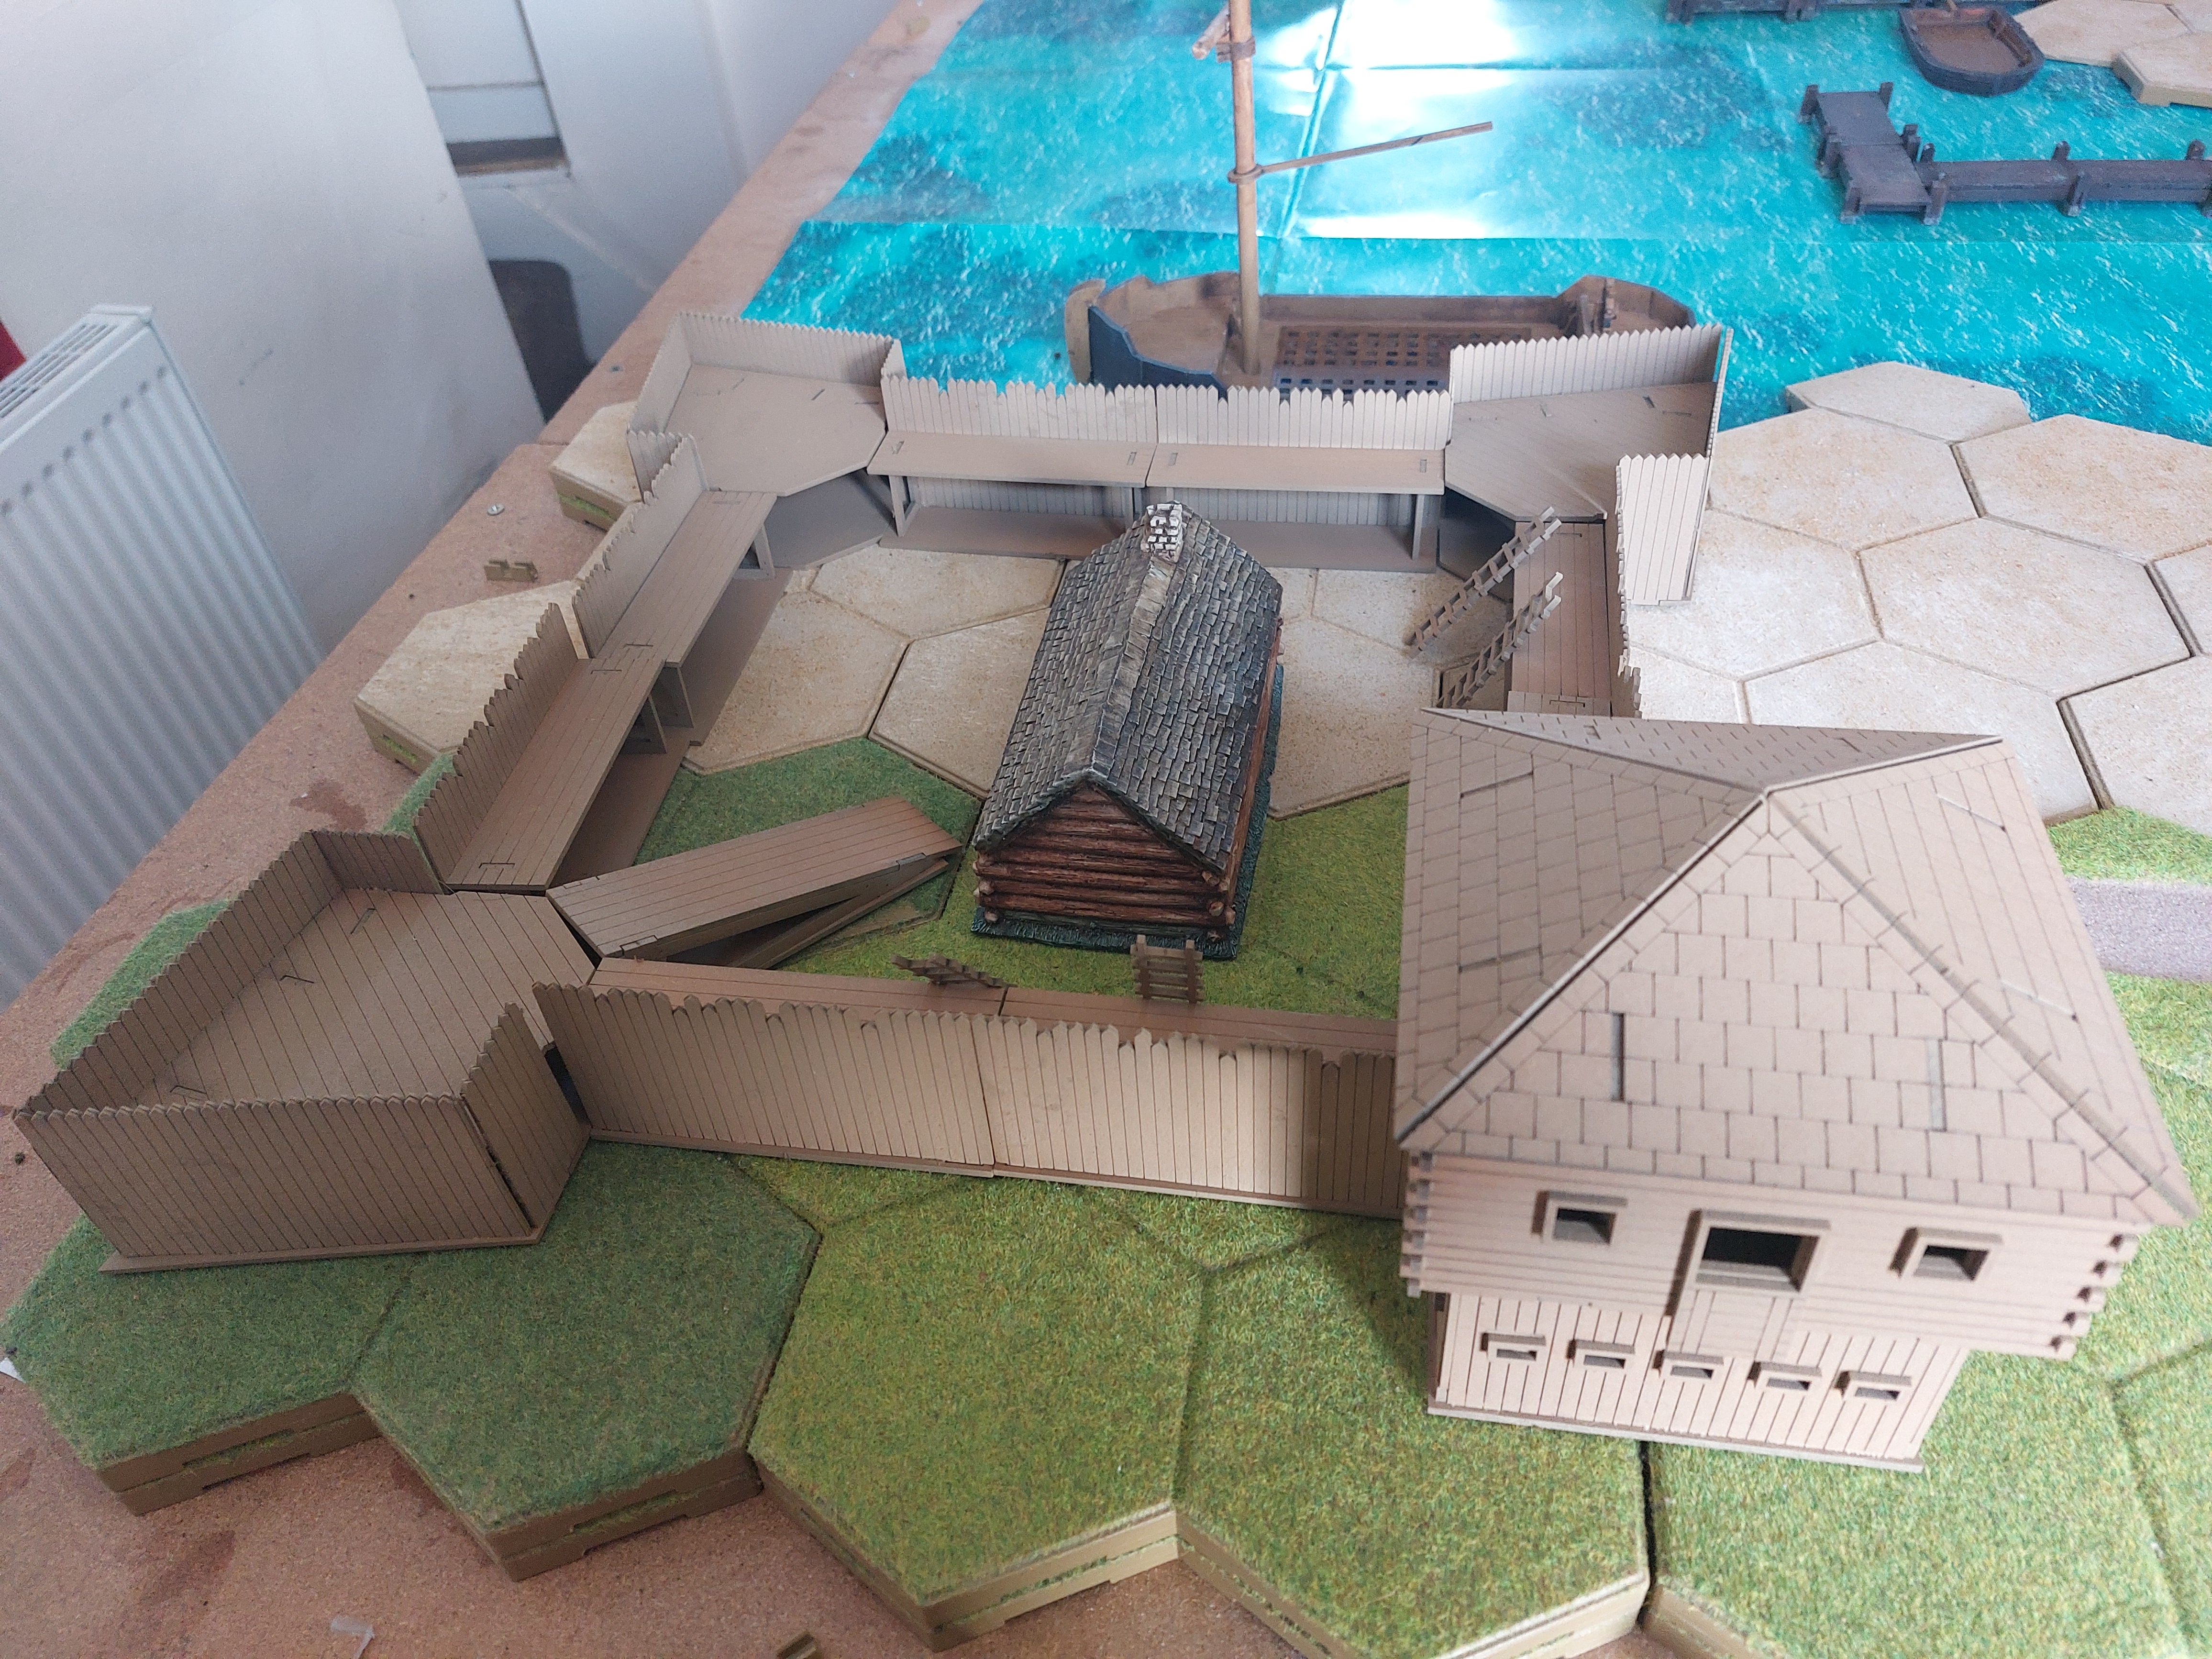
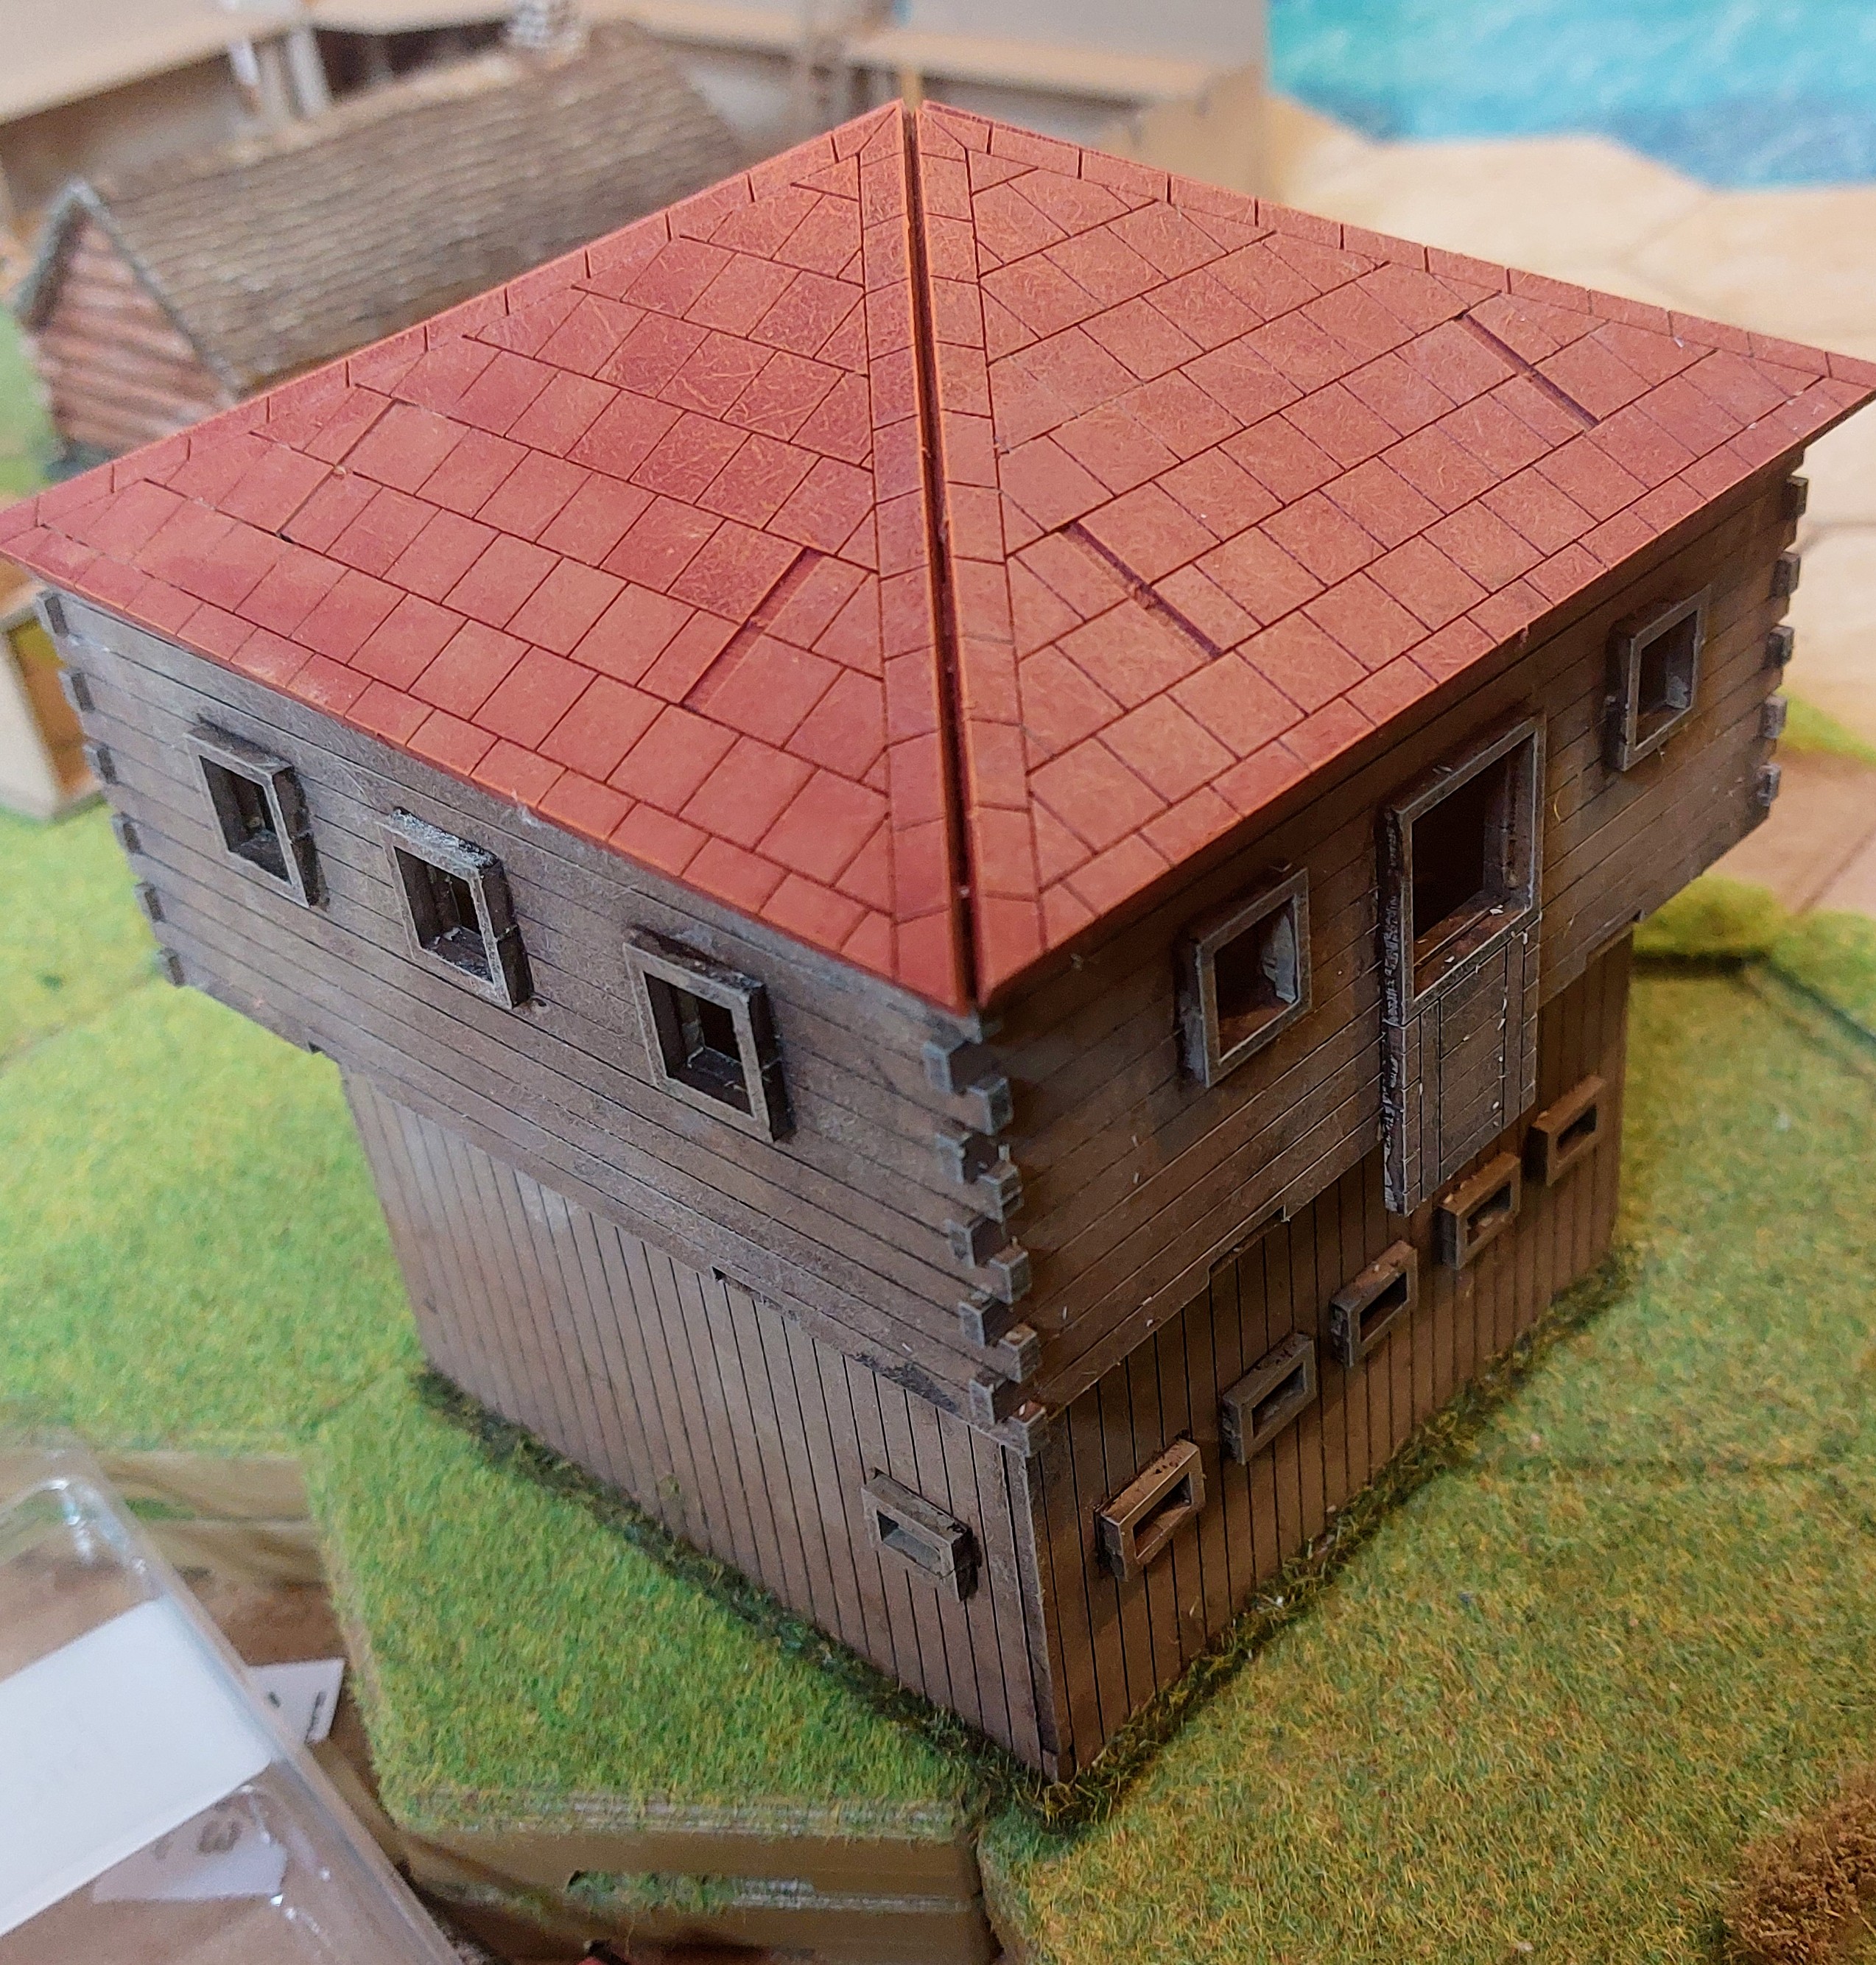
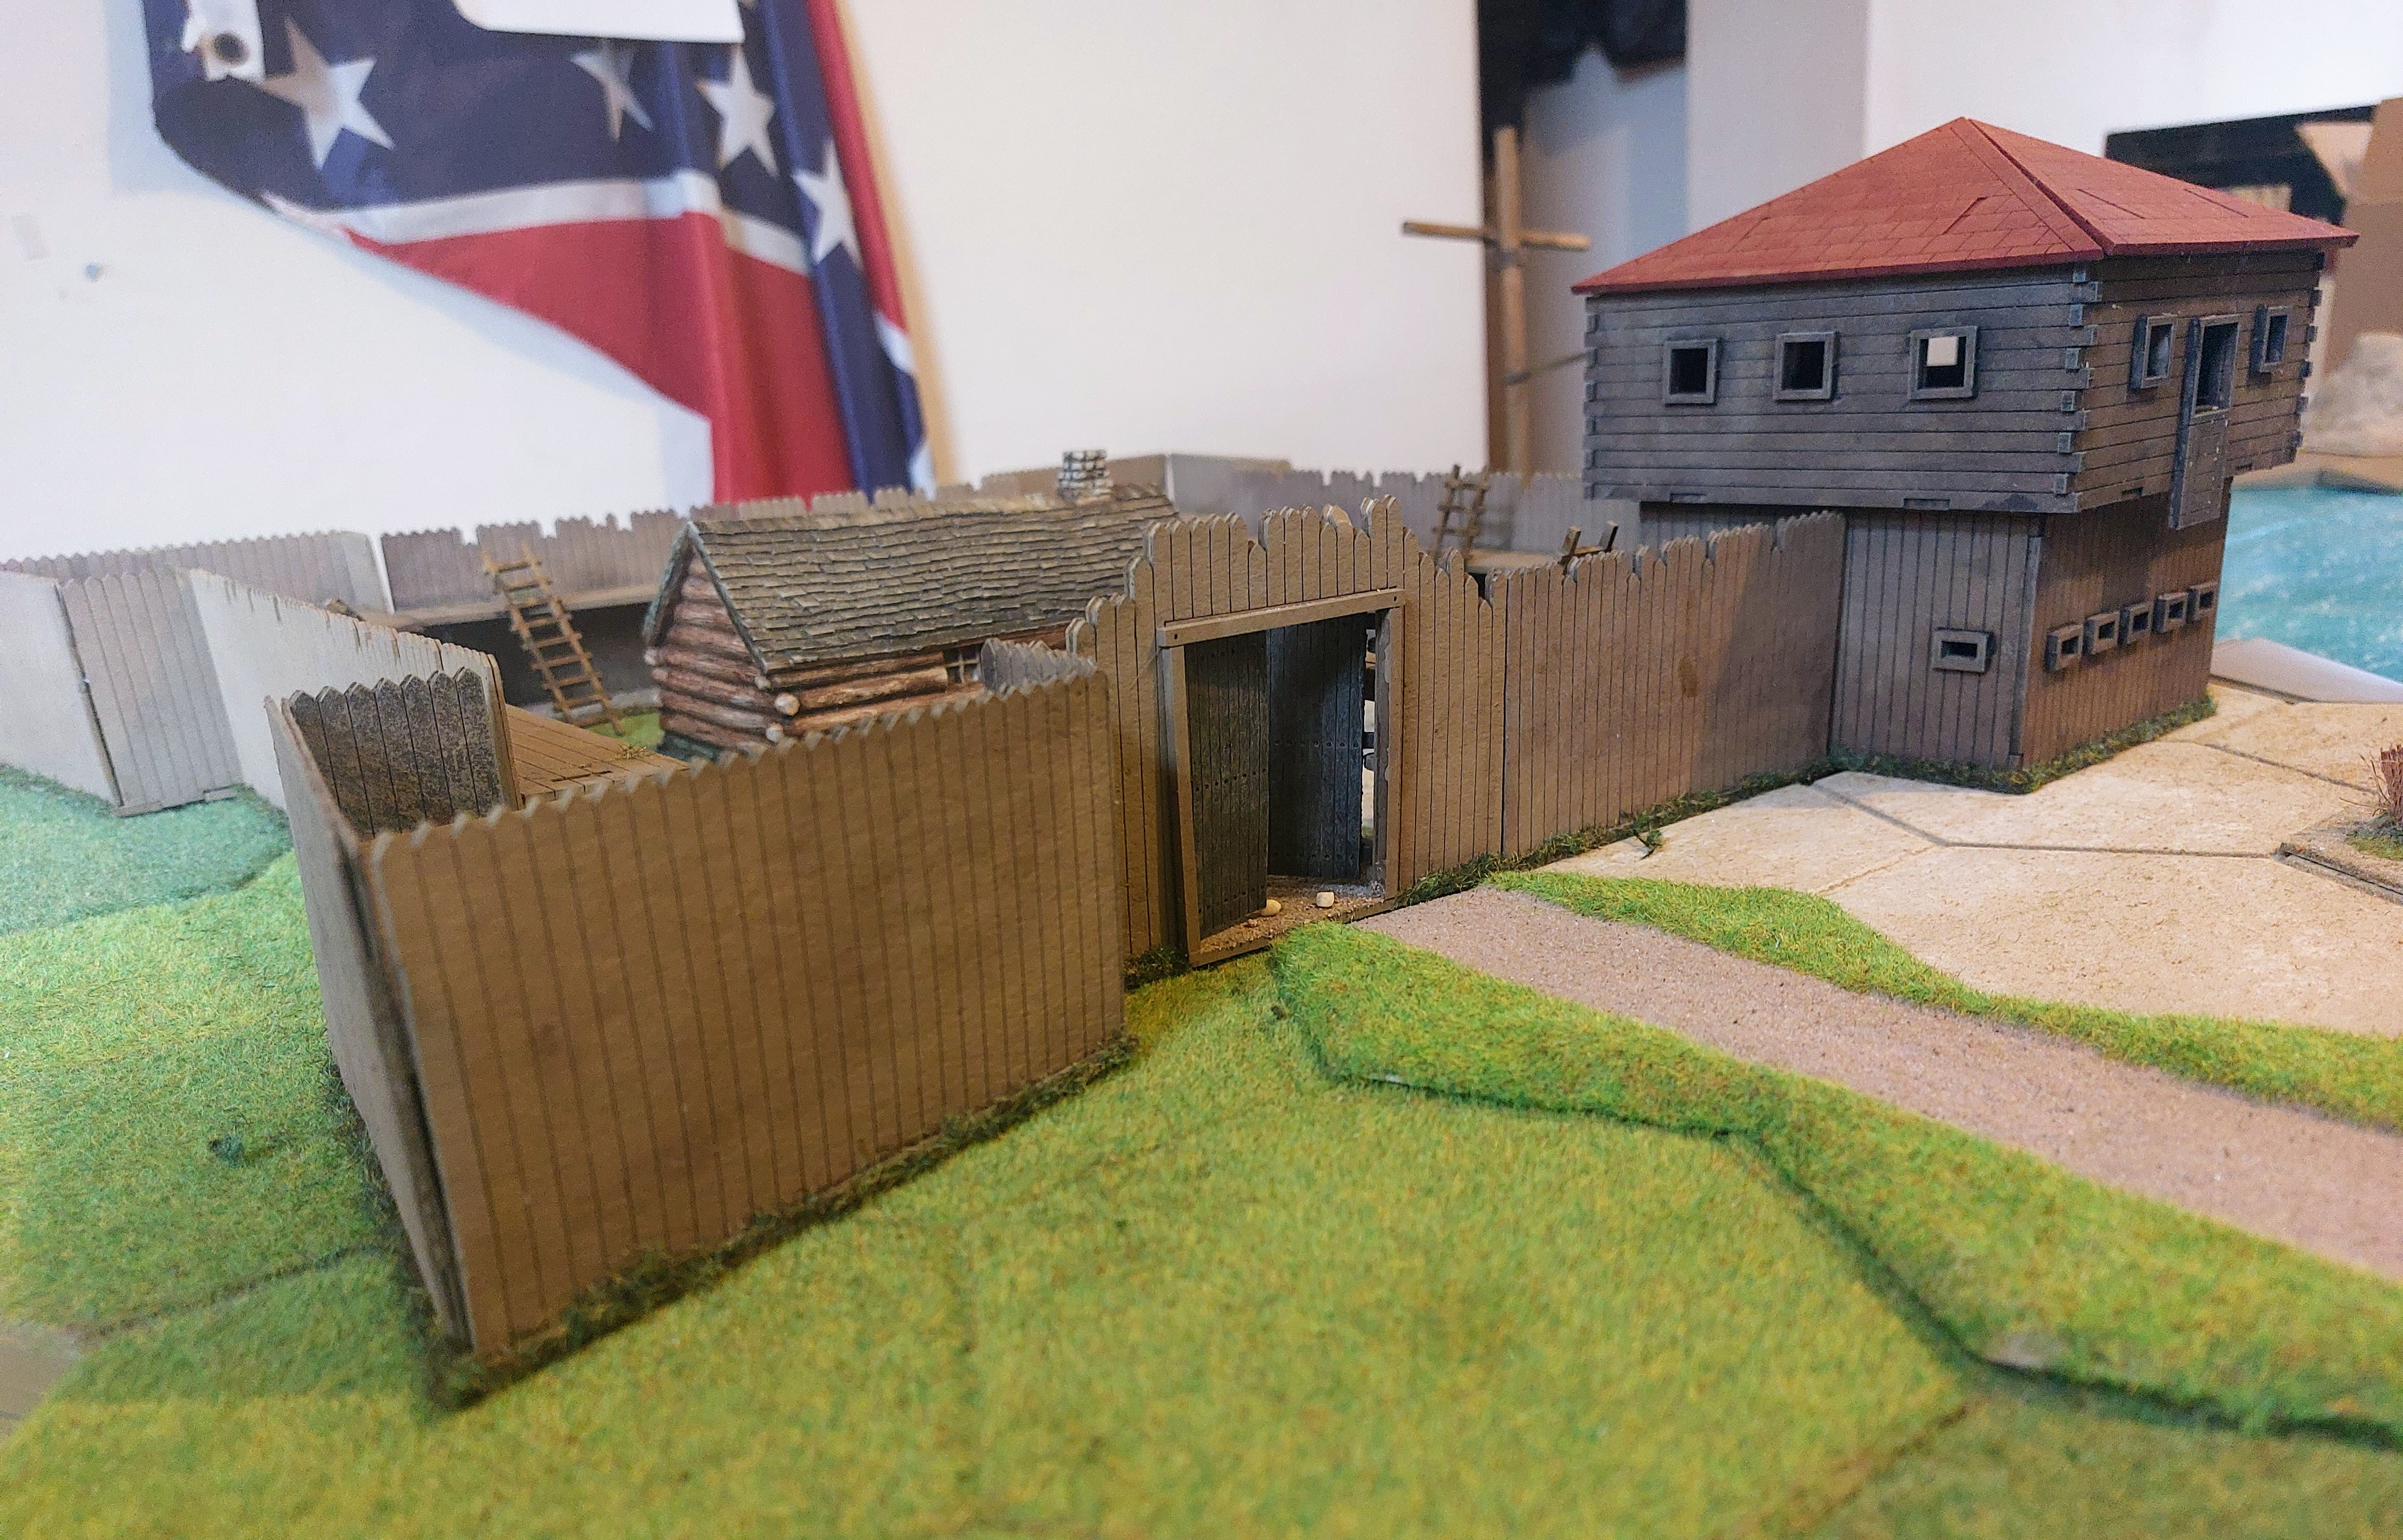
Fort Amber Part Deux
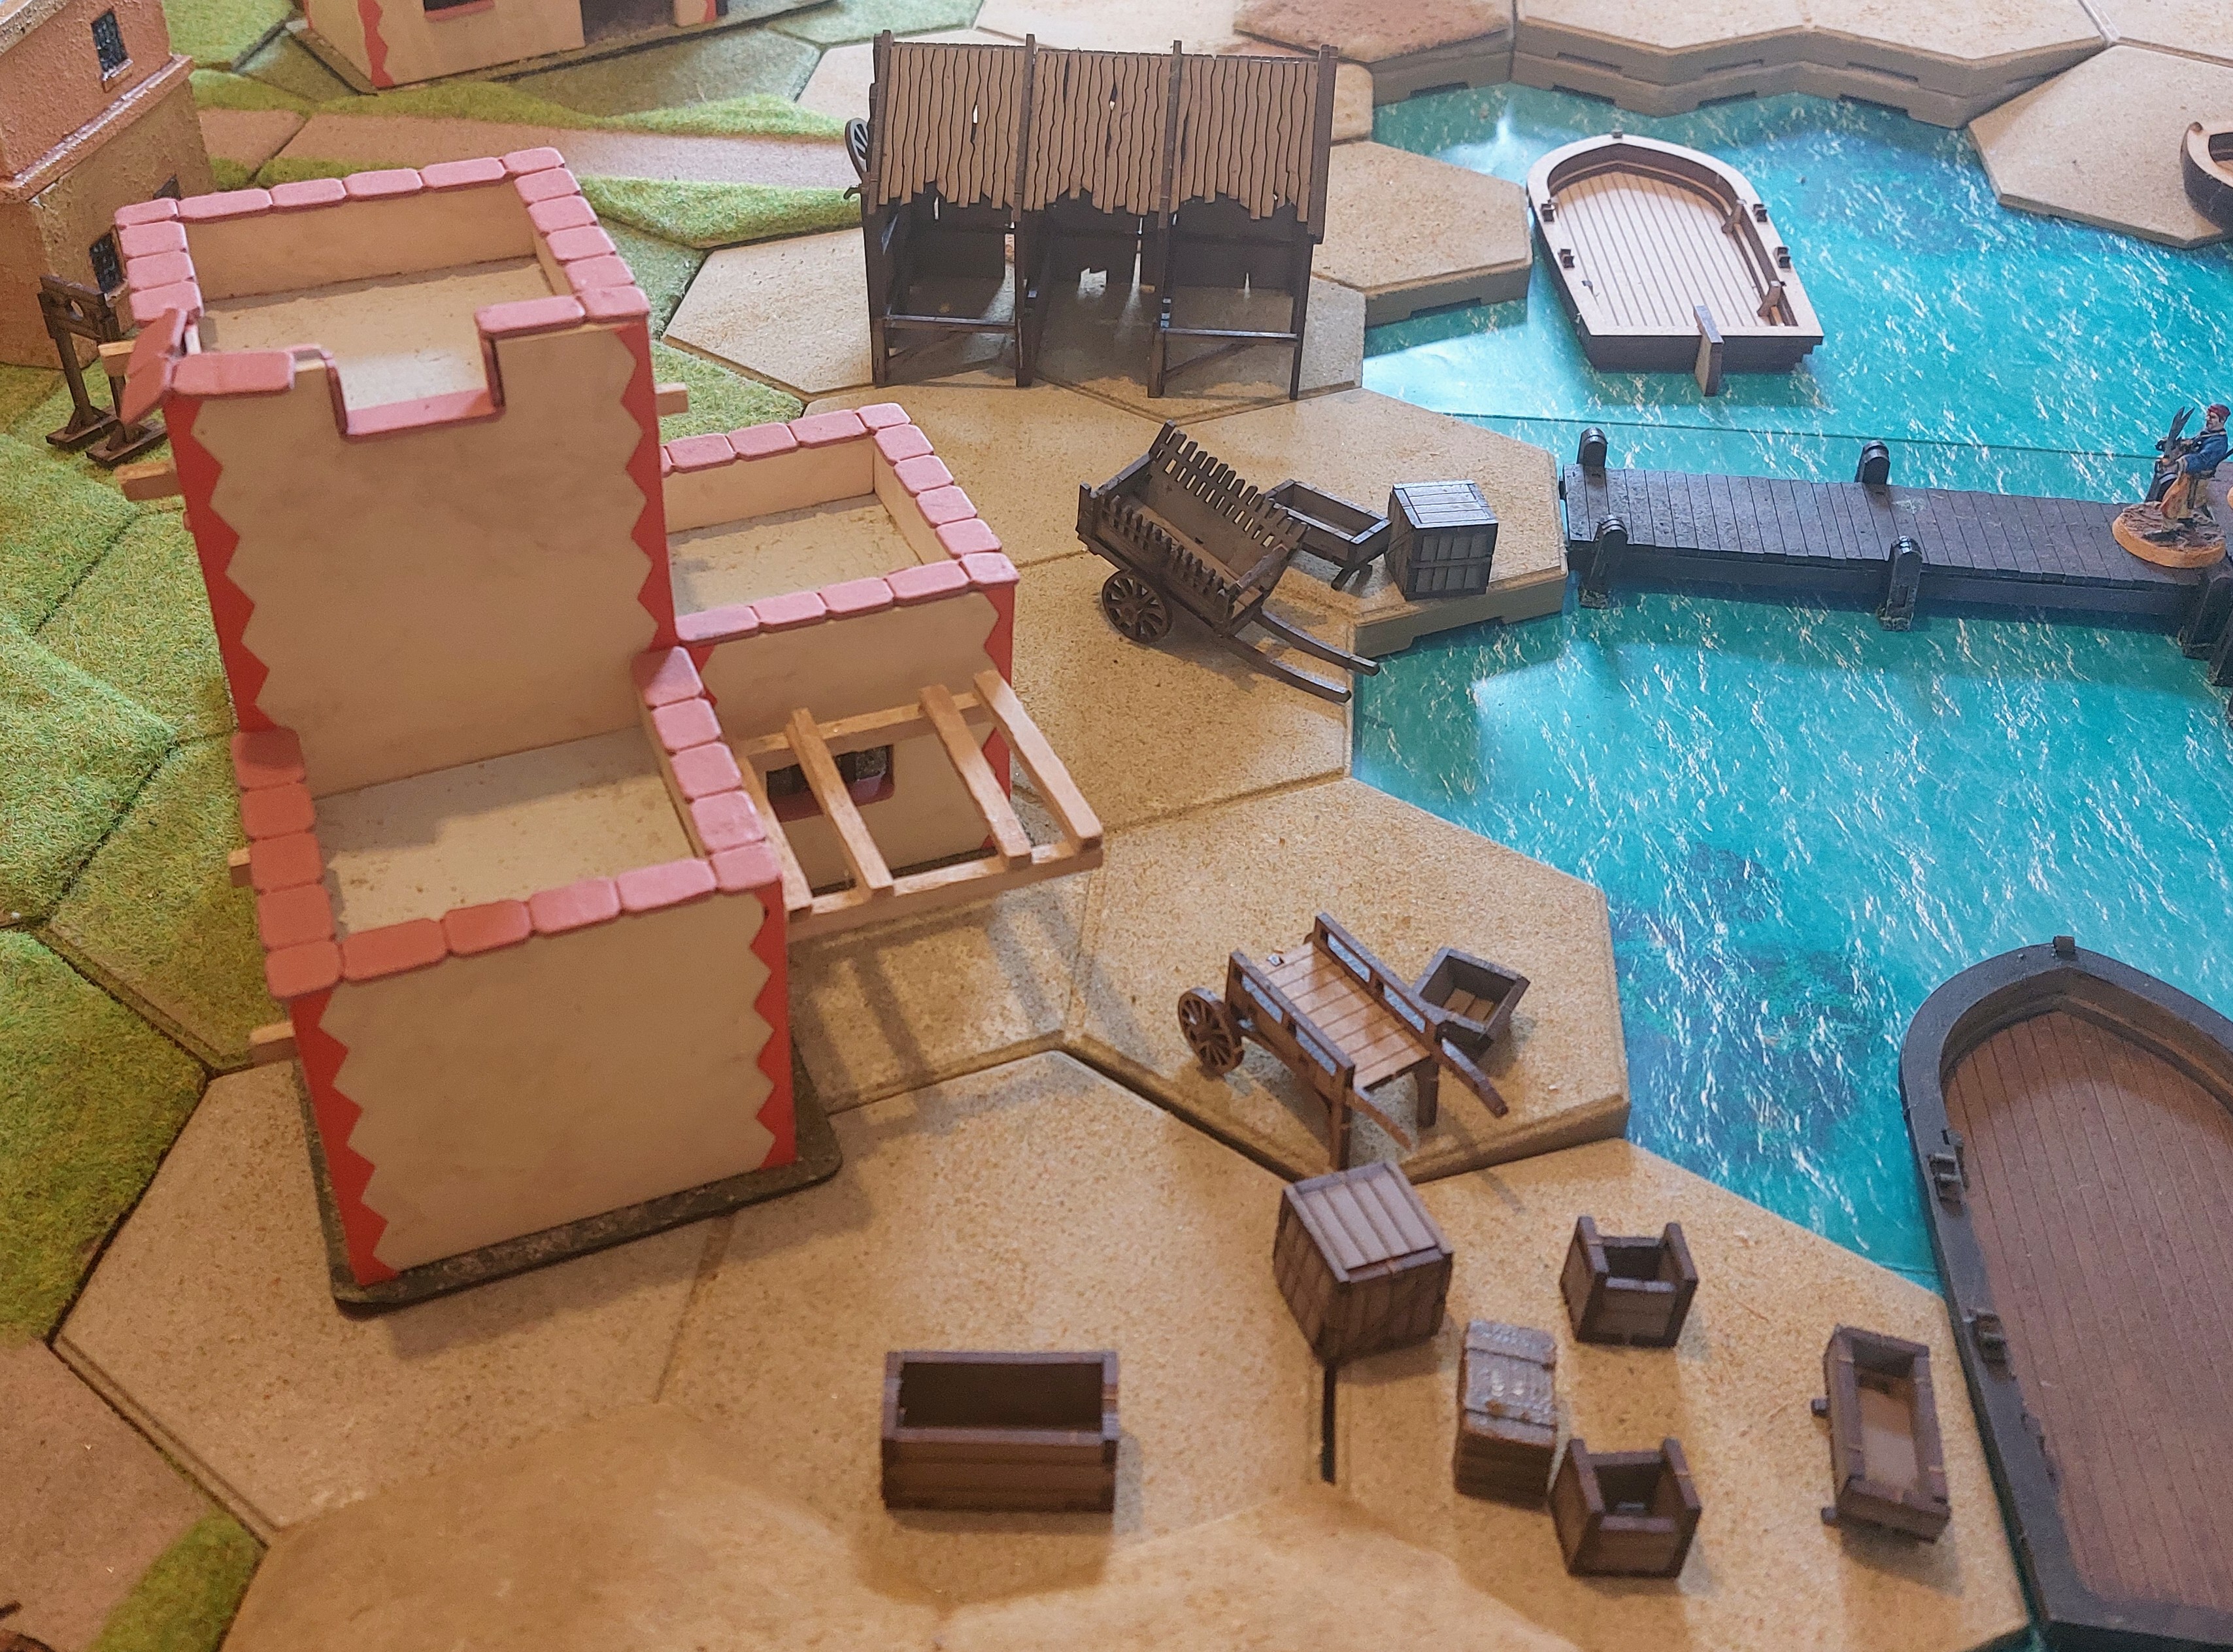
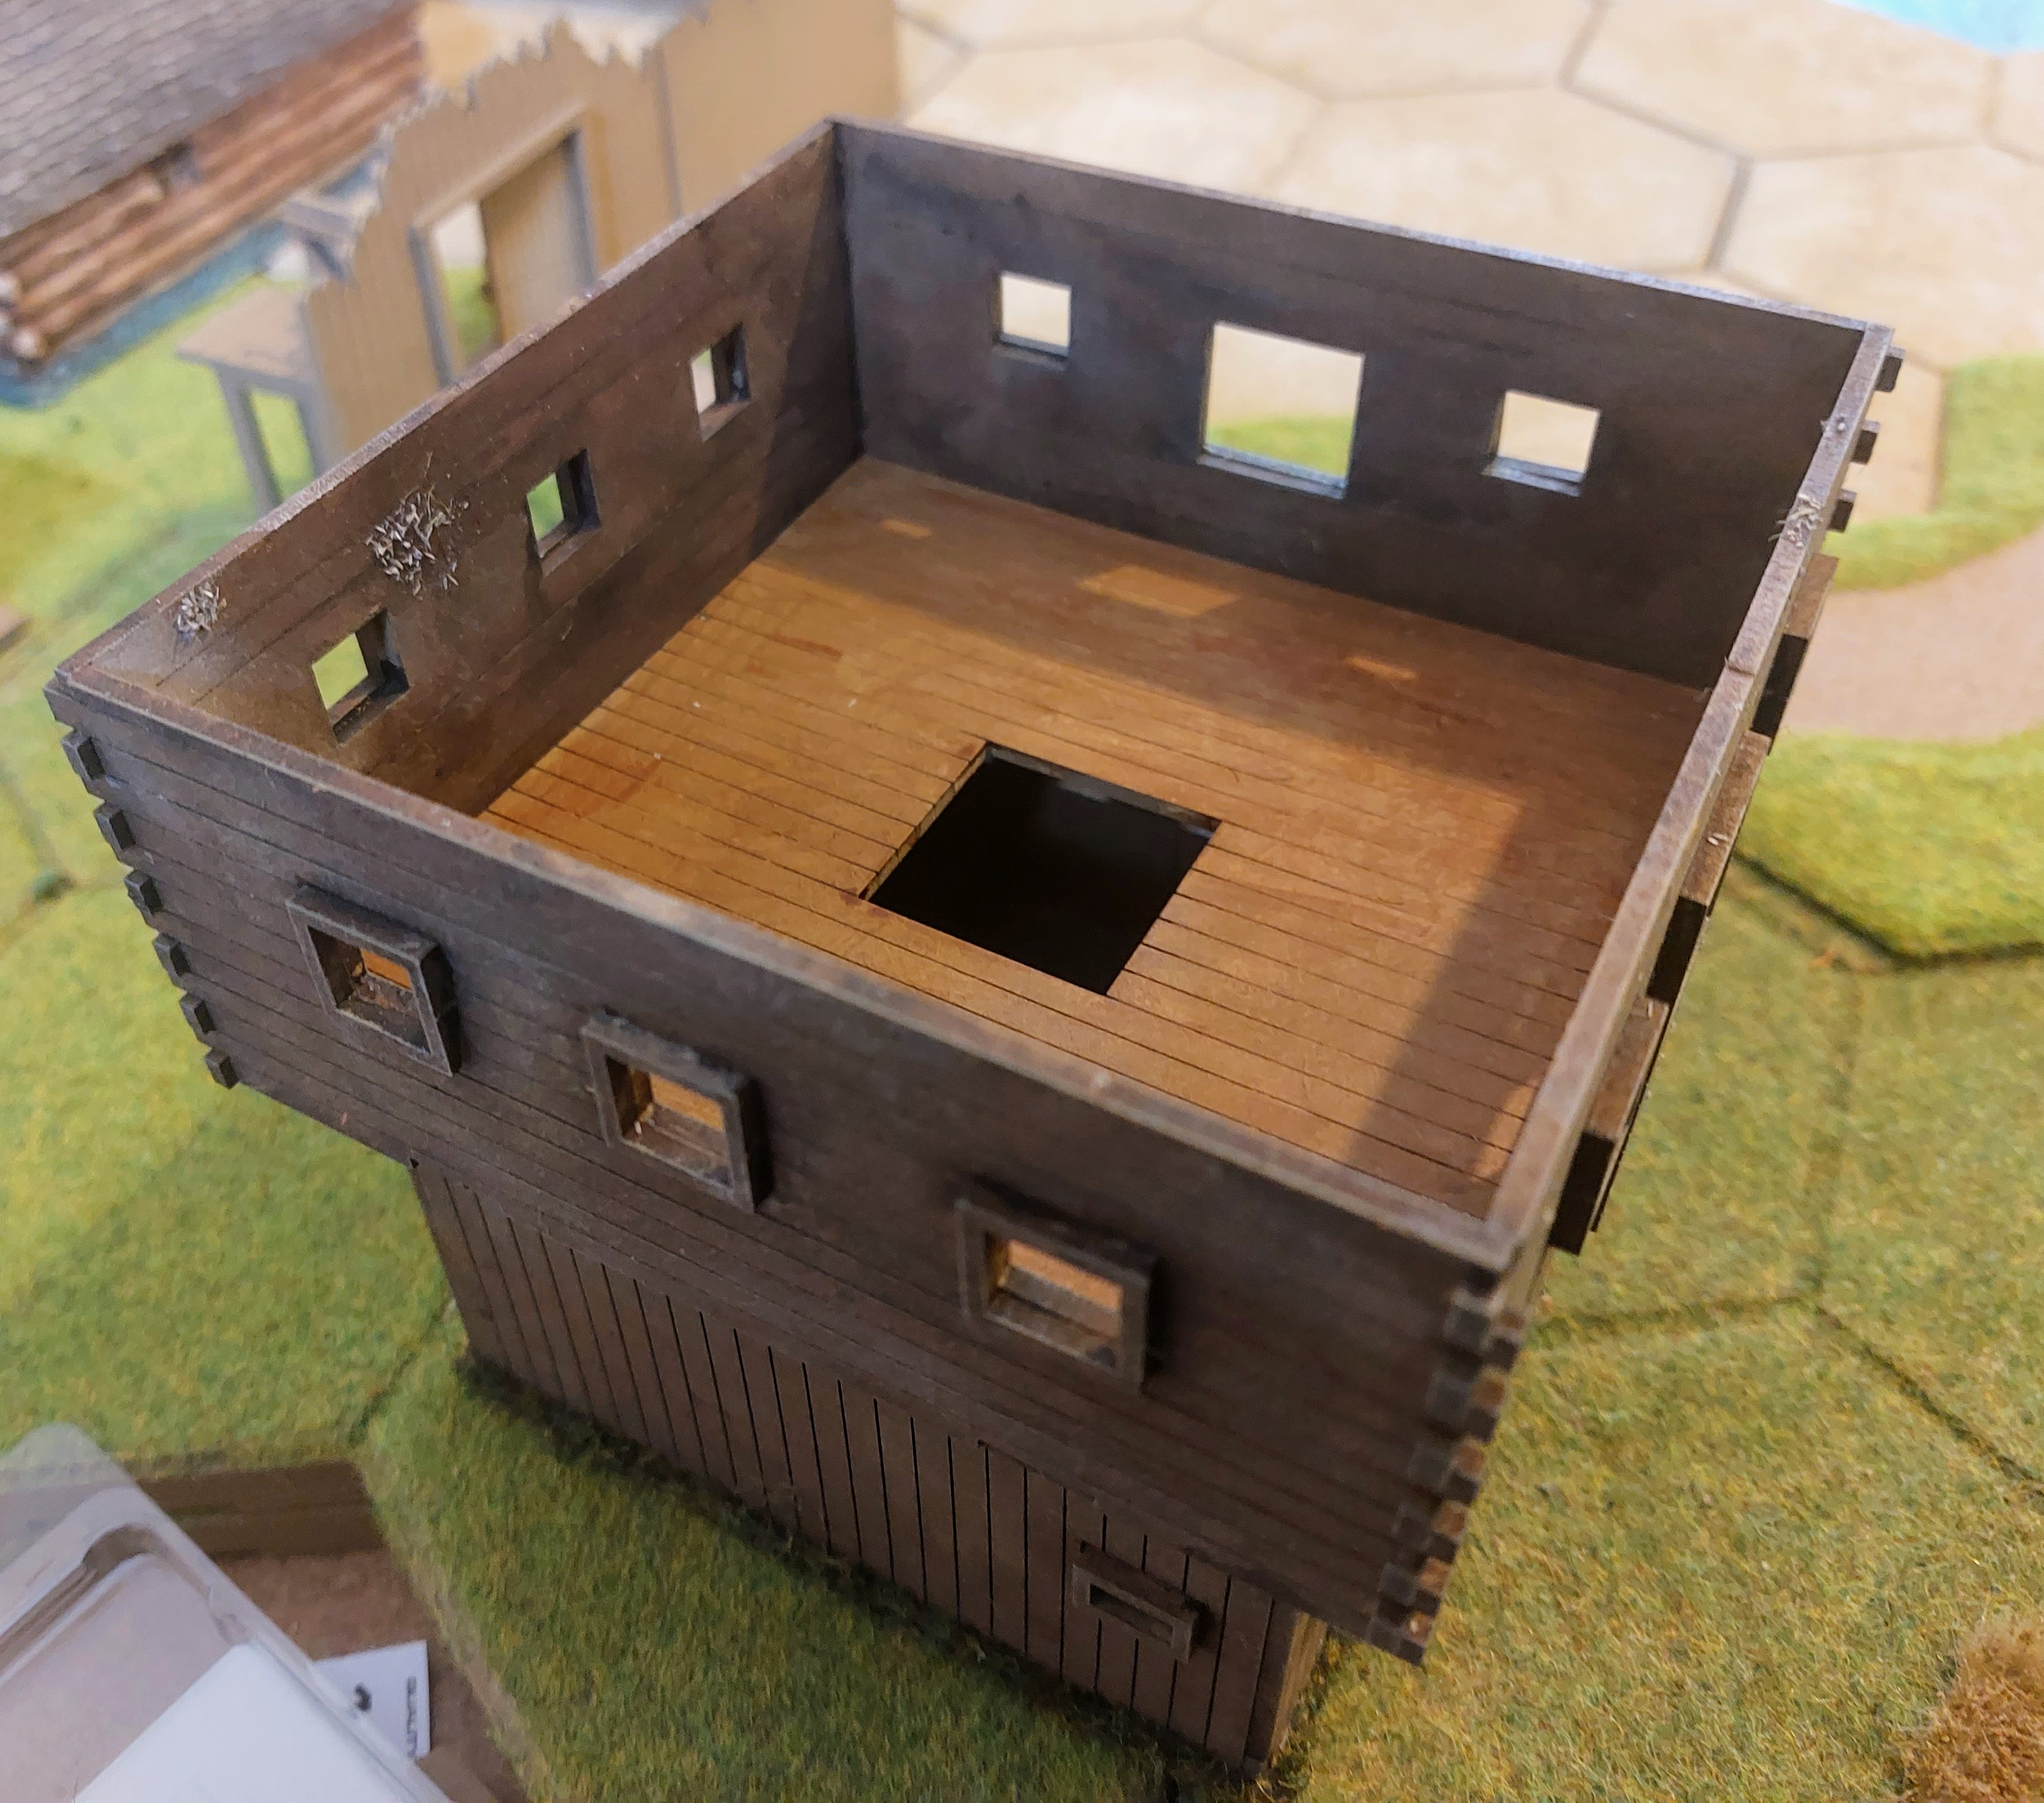
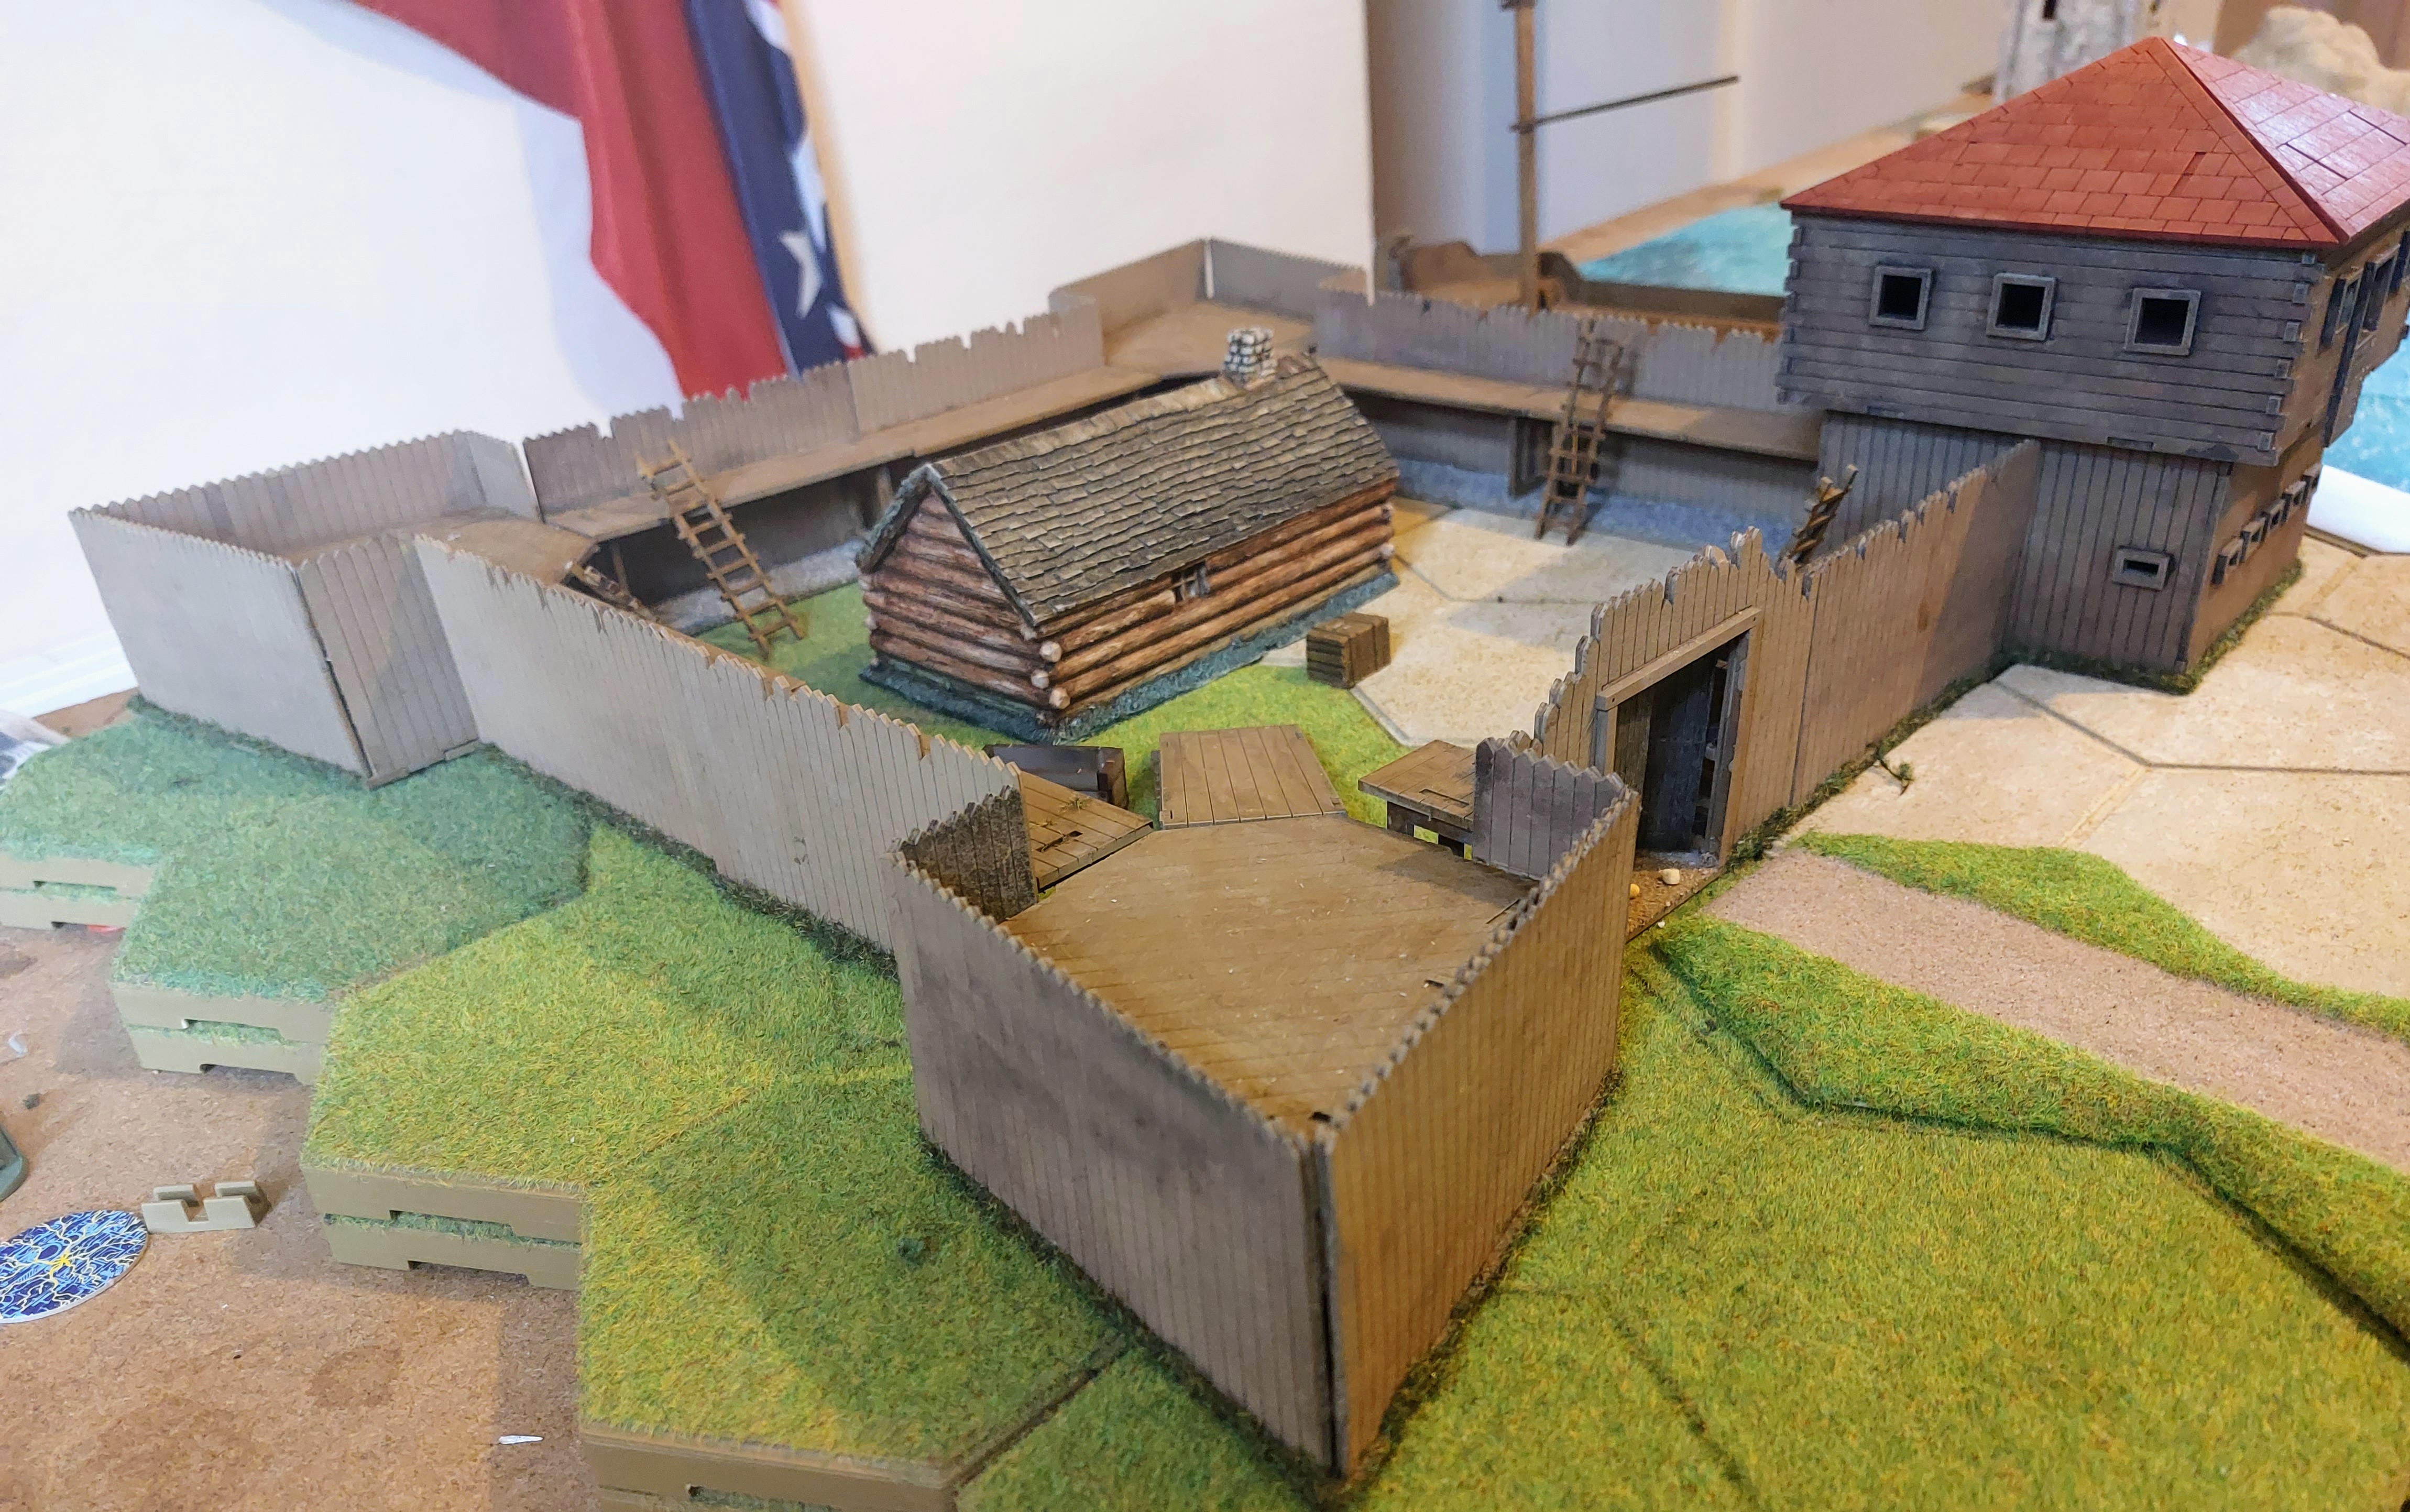
Well I have now finished for the Time being the Fort. As with the Block House, contrast paints were used, mainly thinned out Cygor Brown, though not sure didn’t thin it out too much as it just seems to have slightly stained the original Zandri Dust.
They were Finished off with a grey flock on insides and a winter grass on the outsides.
I had thought of using the same sand mixture that I used on the Hexon test but that’s starting to reach bottom of pot, so am saving it for some new slope hexes I recently brought. The Grey is Generic, and has added advantage that I had a pot. Likewise with the grass, but thought as it’s near the walls maybe darker anyway.
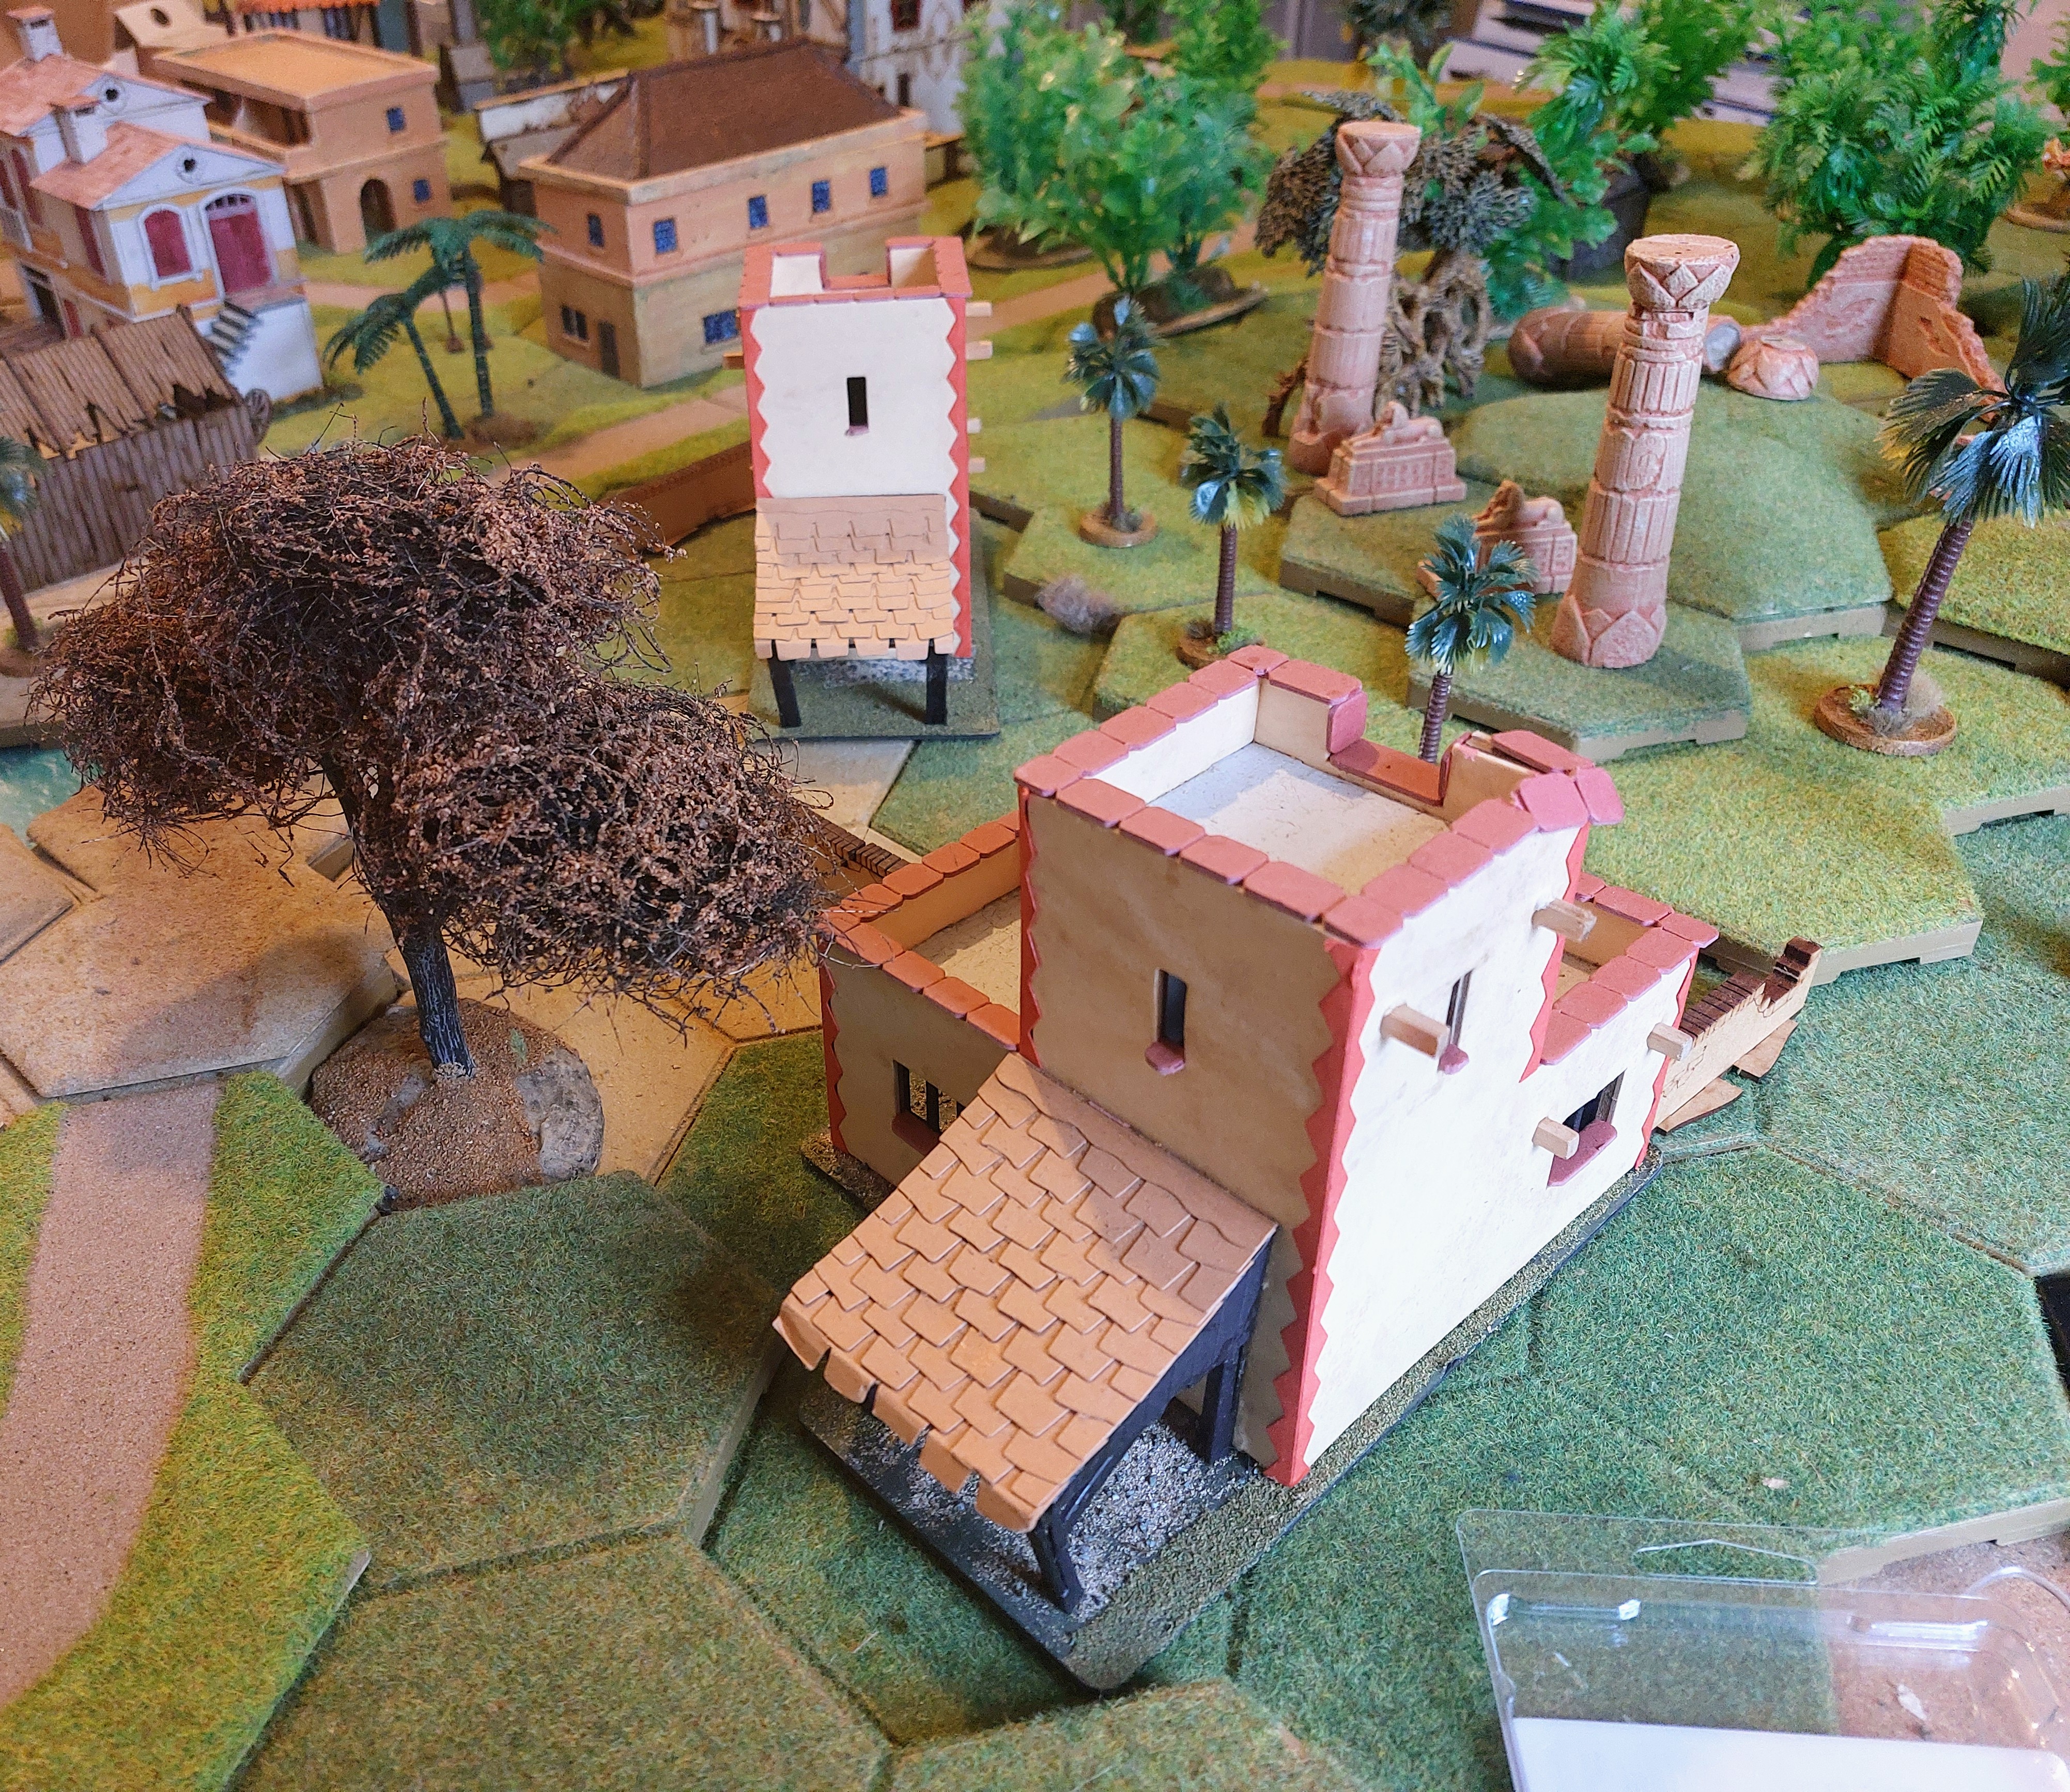
Farmhouse and Palm Trees.
I decided I needed one more building for the dockside, which gave me the excuse to buy the Sarrisma Precision’s Mediterranean Farm House, which will nicely double up for a Claremont Town House for my Kelly’s Heroes game.
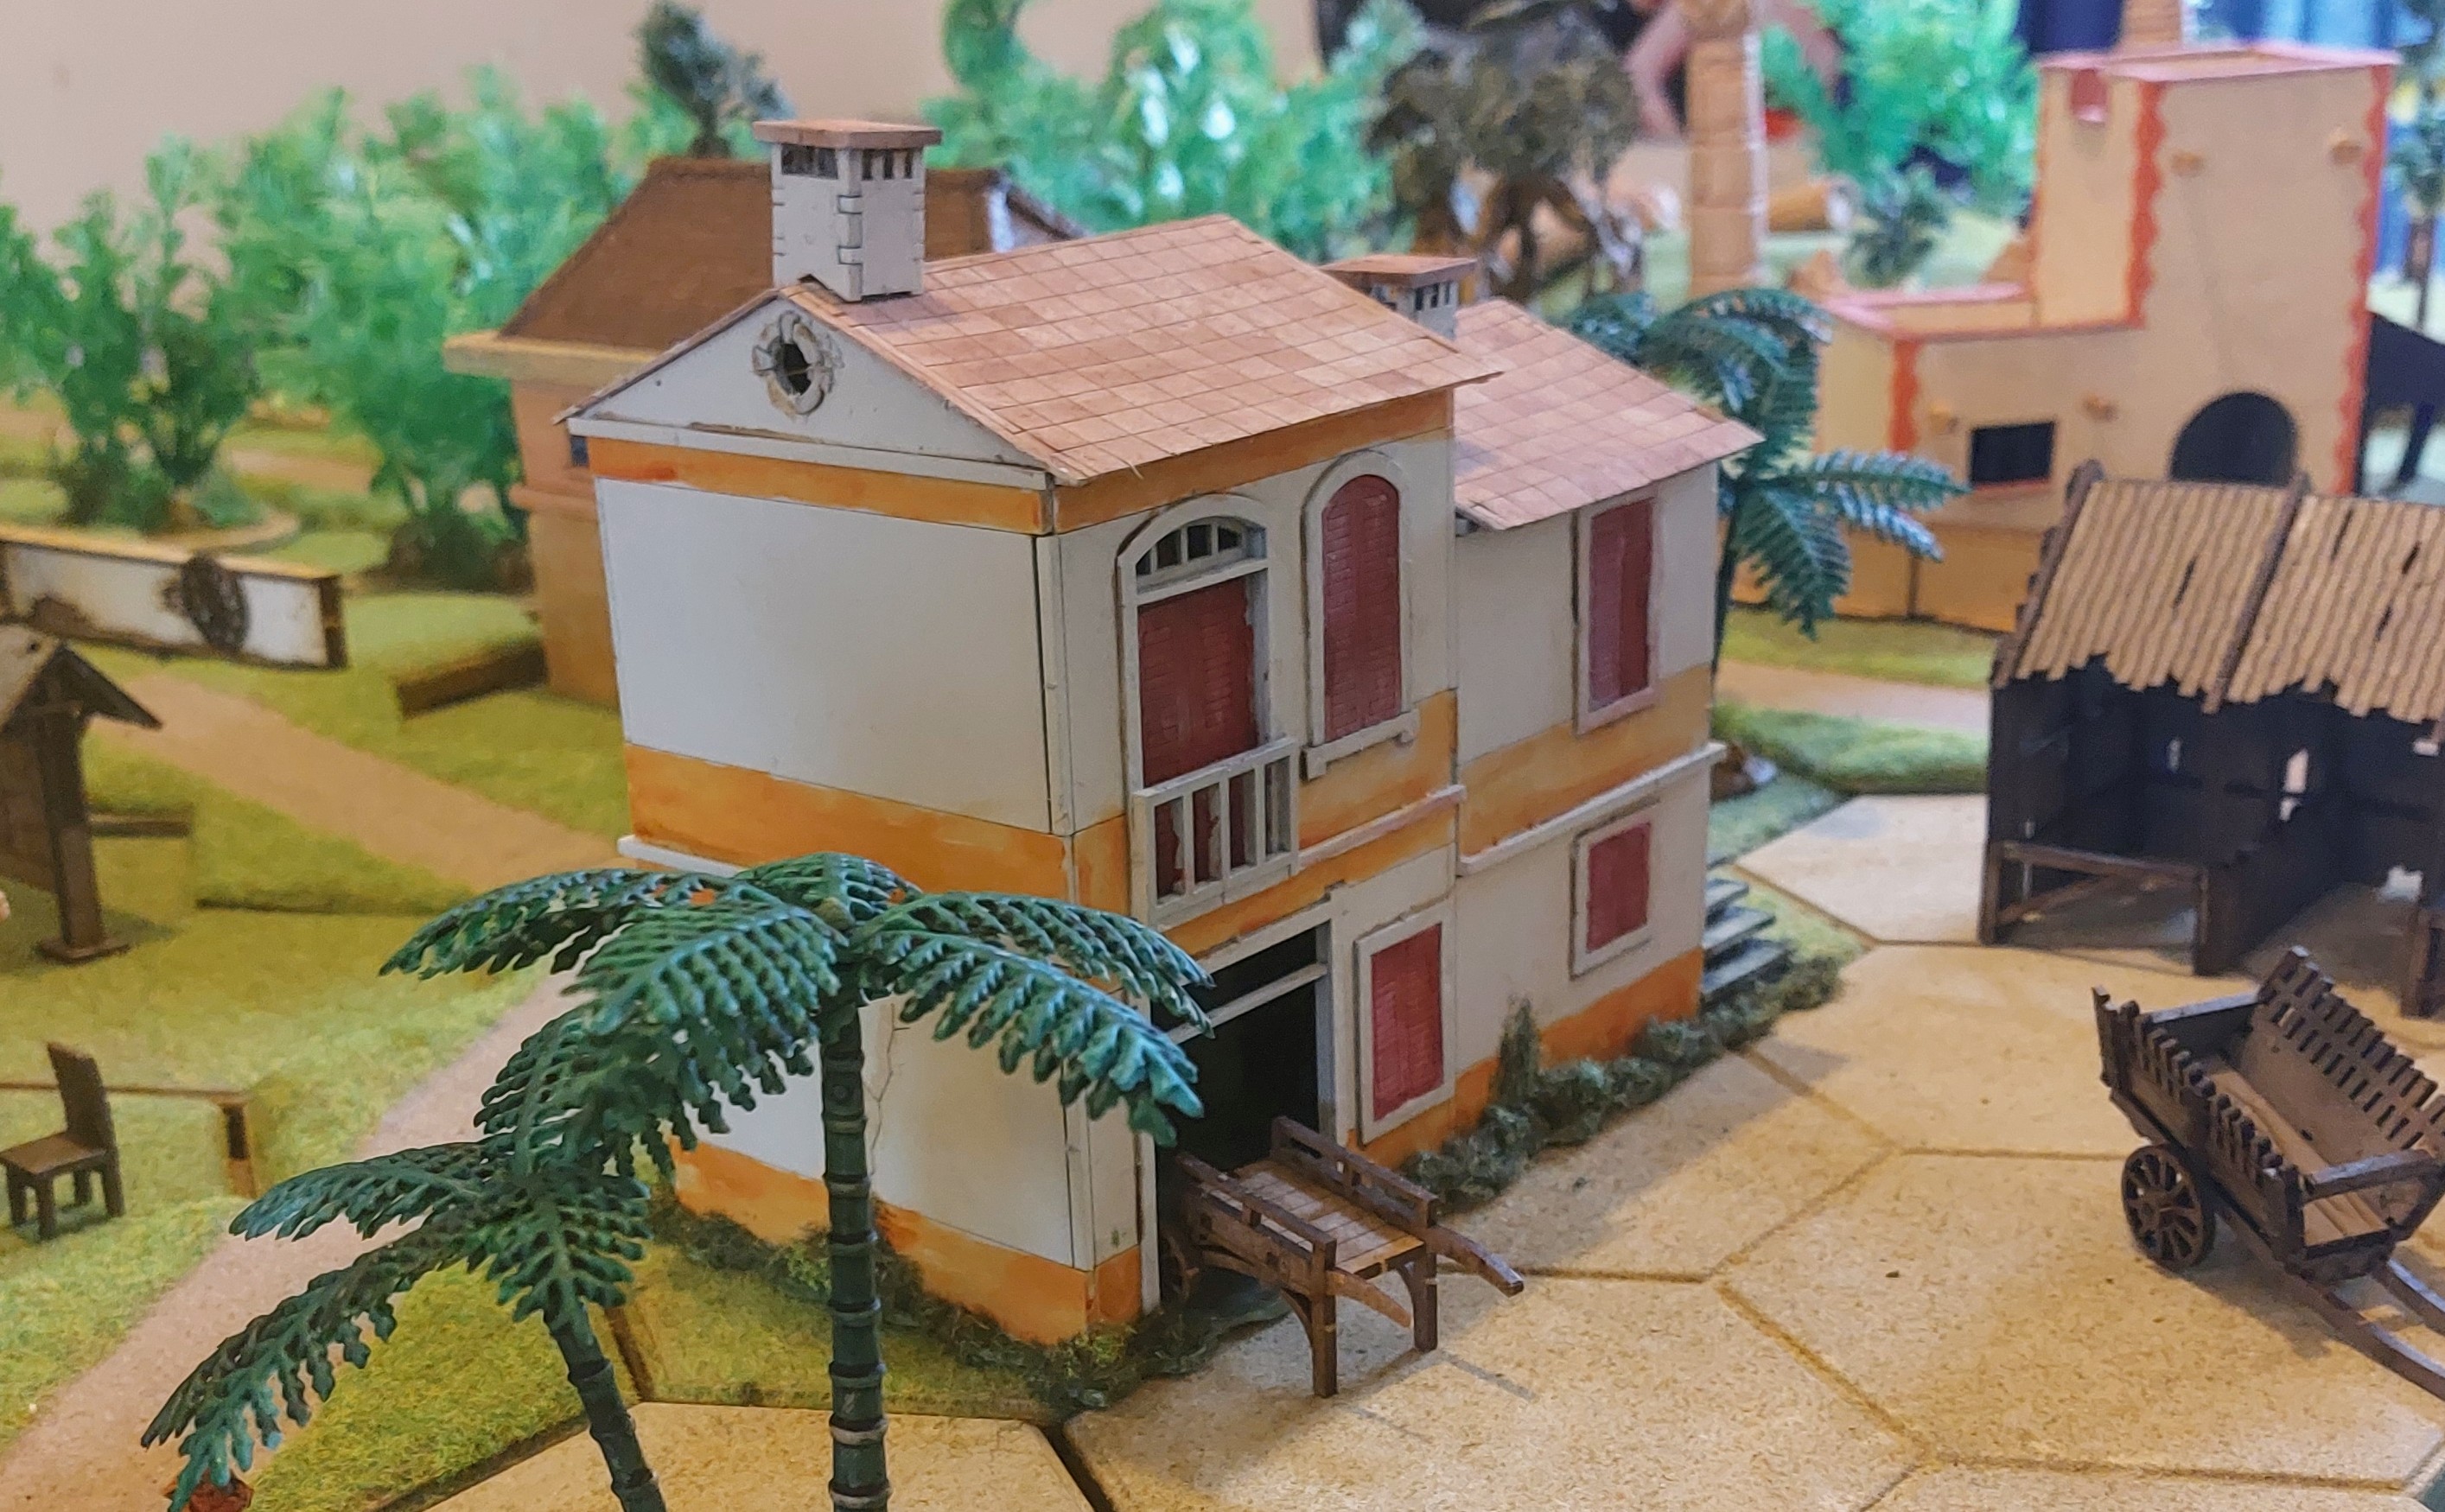
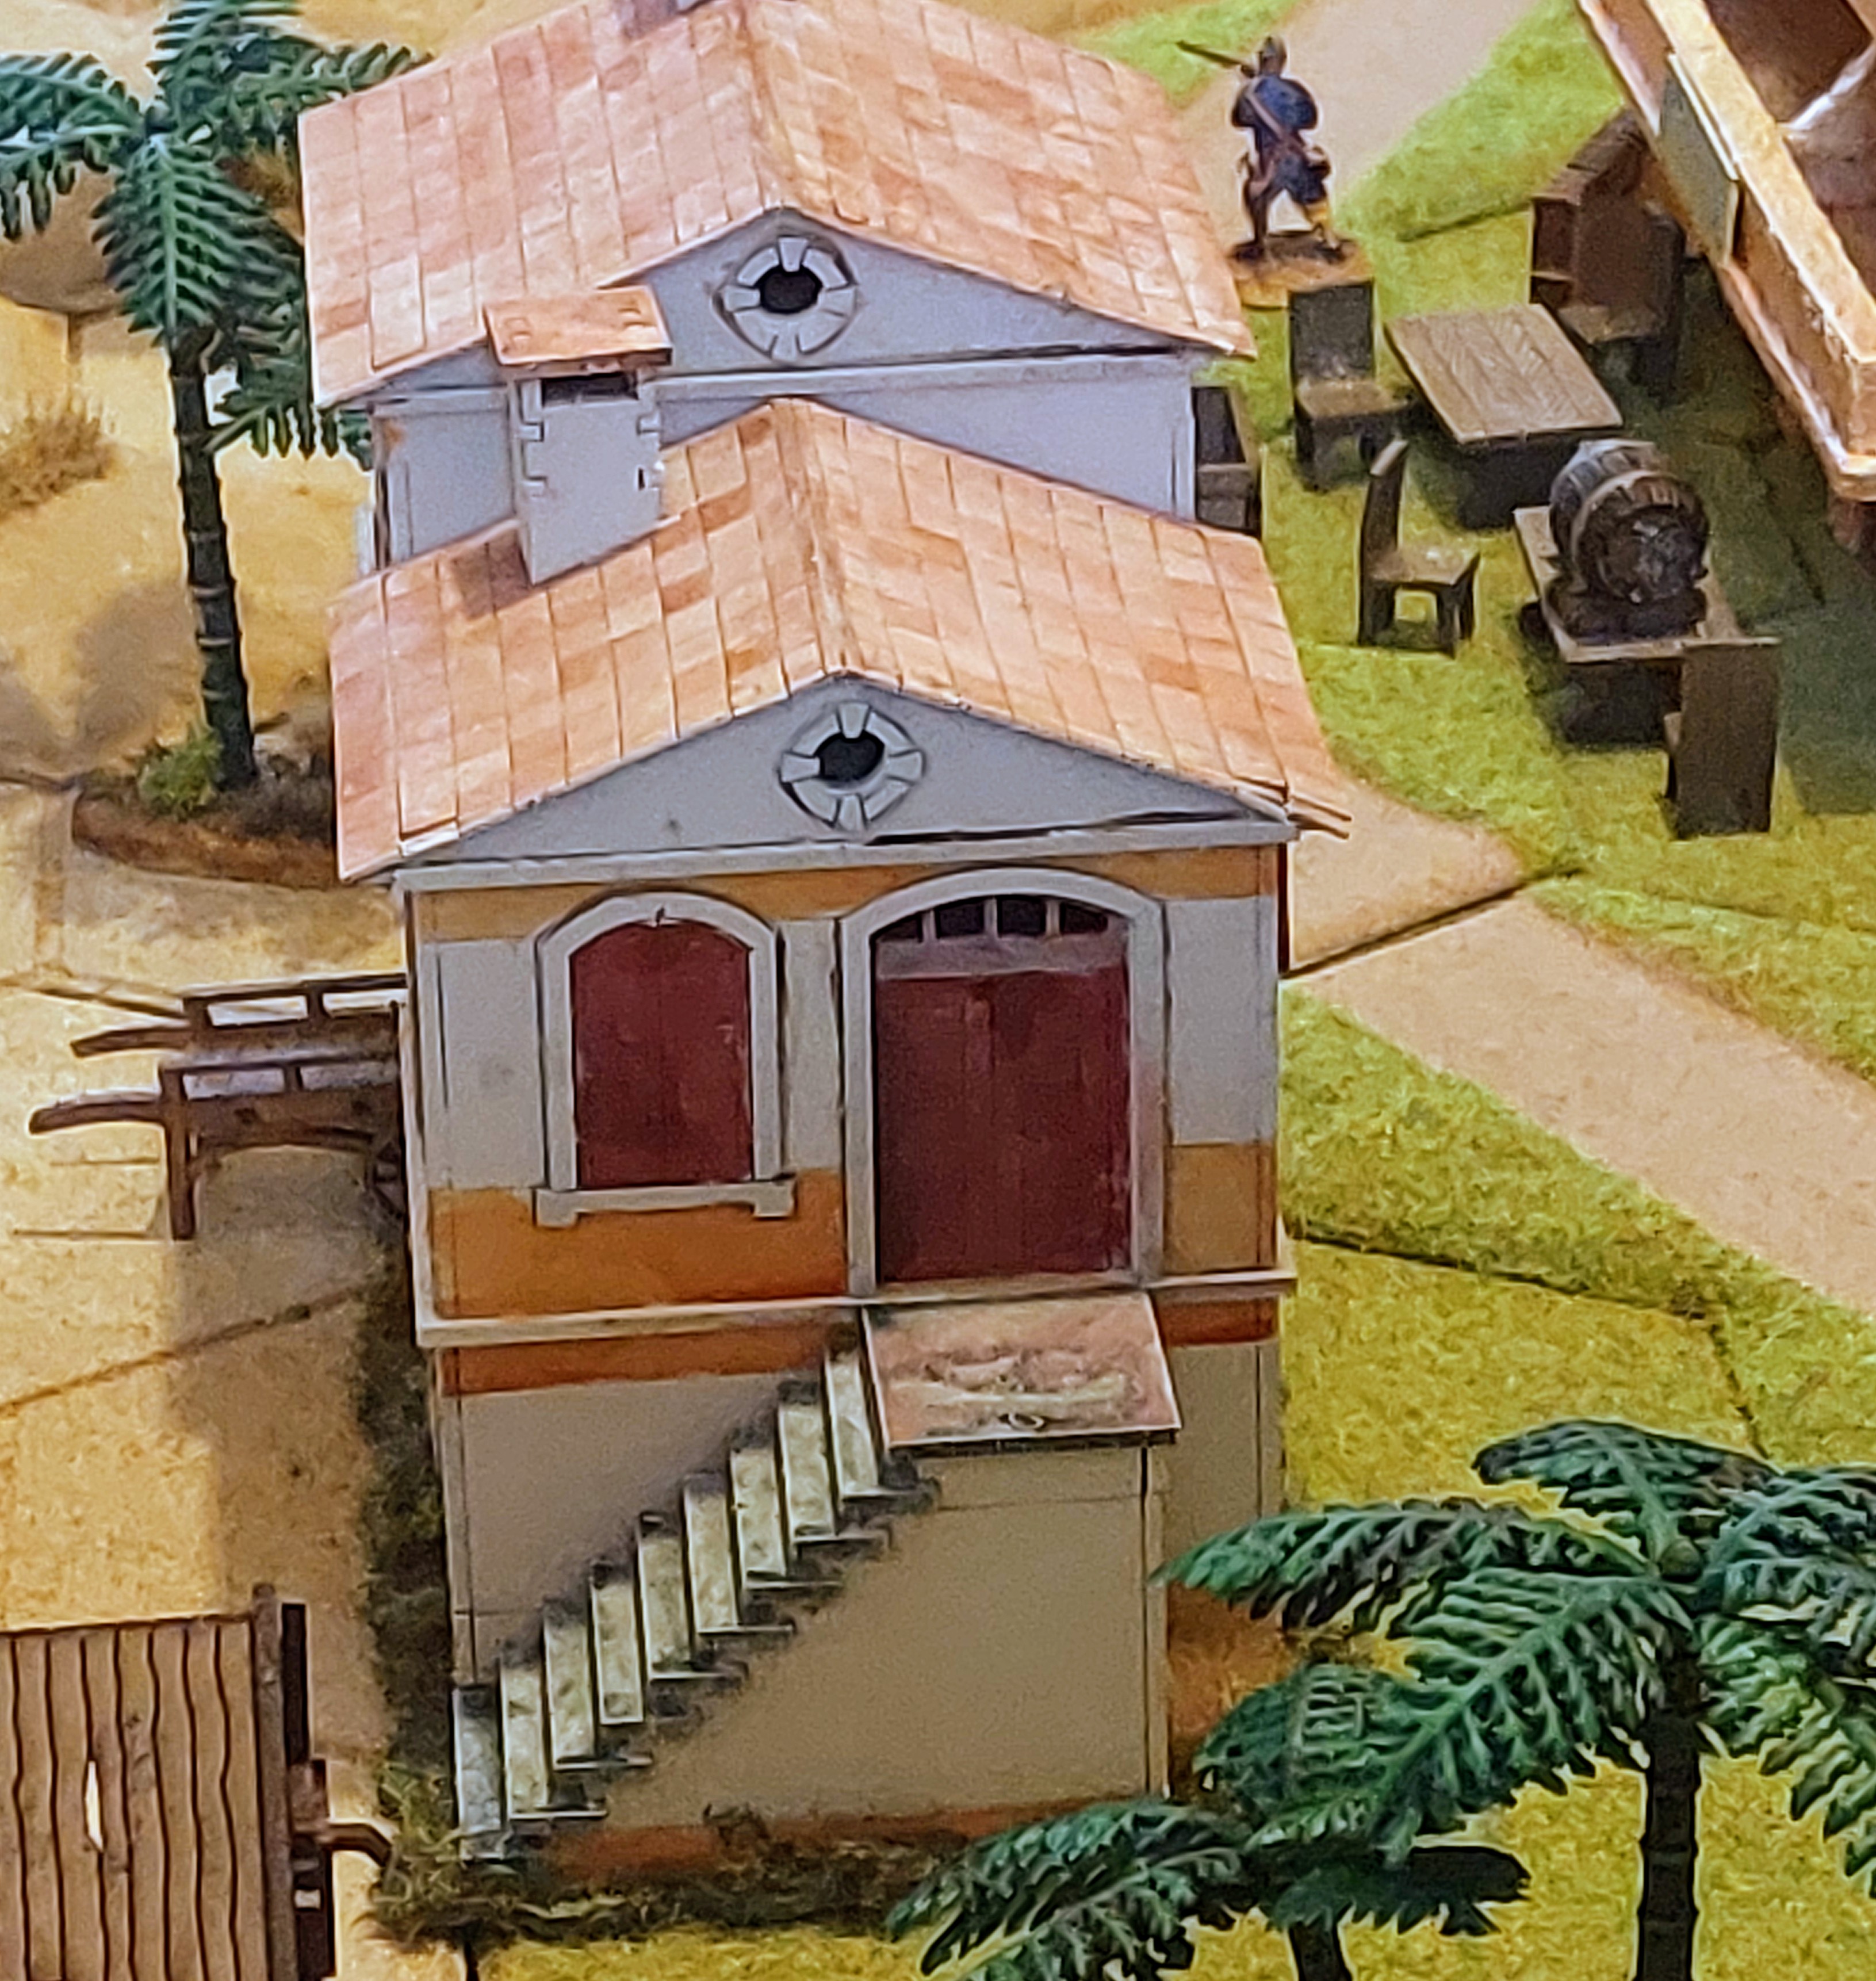
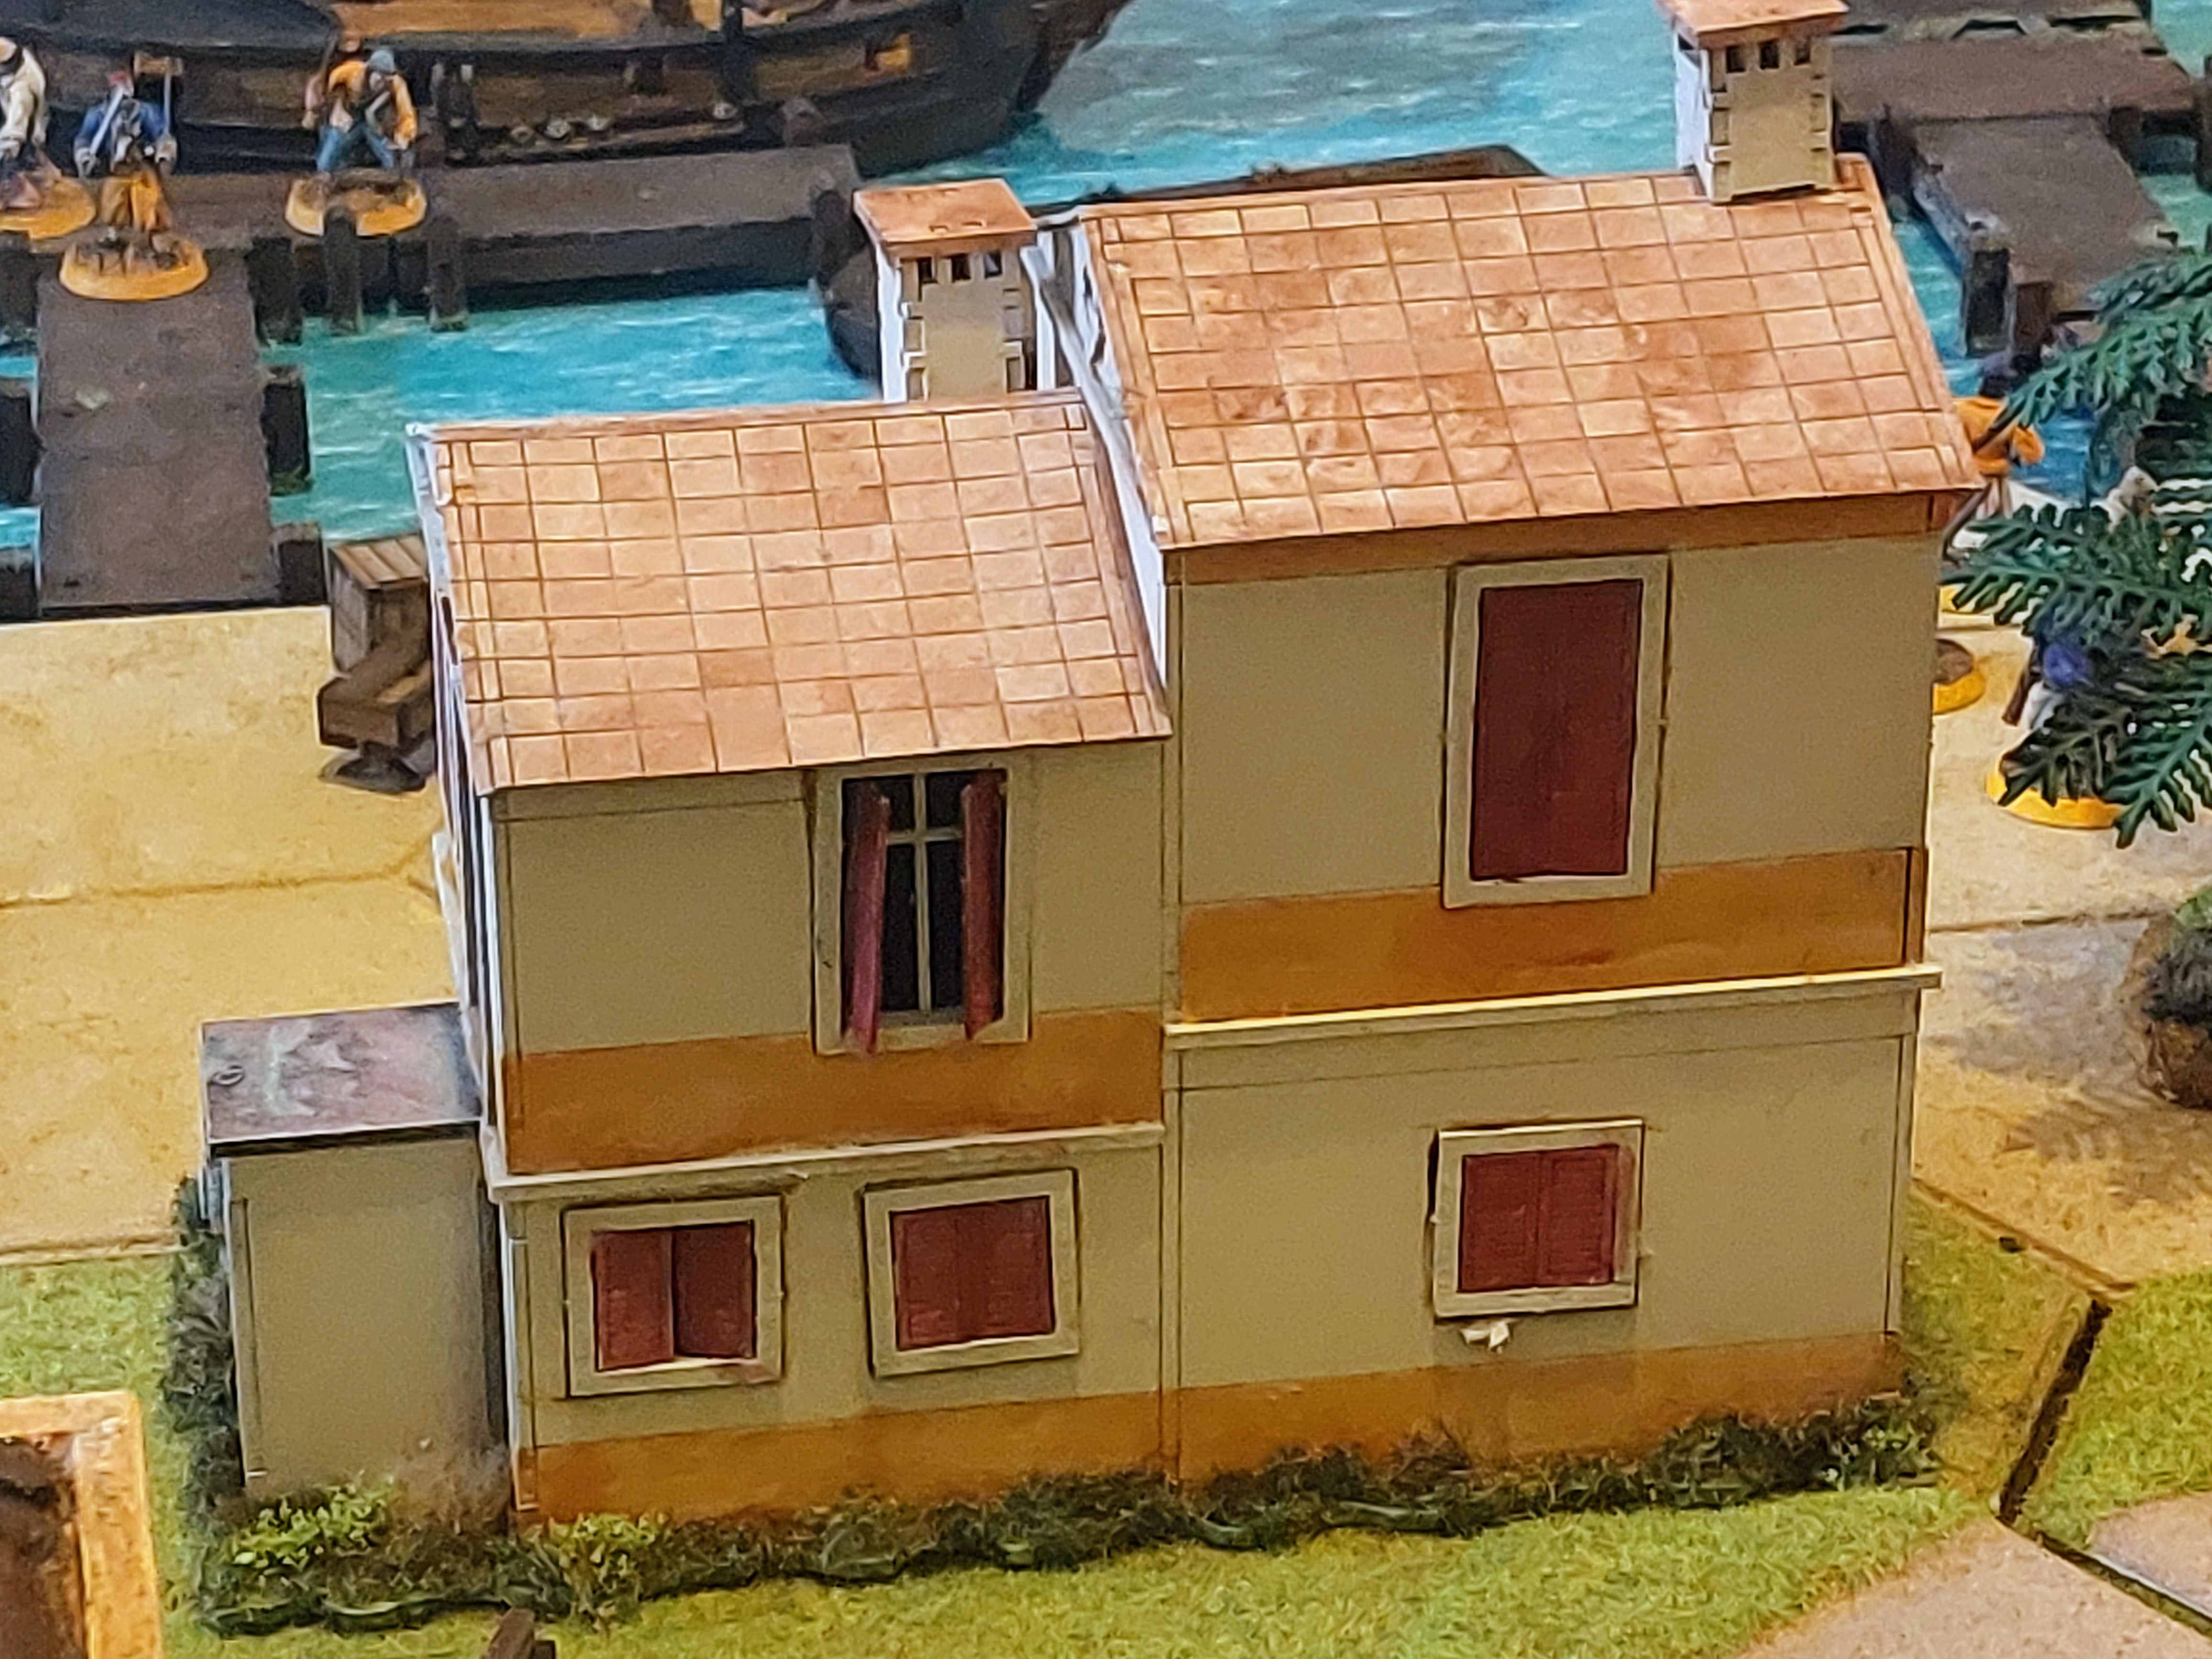
Building was given a base Wraithbone Rattle can spray, with wall colouring, doors and roof painted with various Contrast and Speedpaints.
The roof effect was a complete flook in that I tried slightly thinned GW Flesh tearers Red, which did its usual blobbing, but did it neatly within the tile impressions!
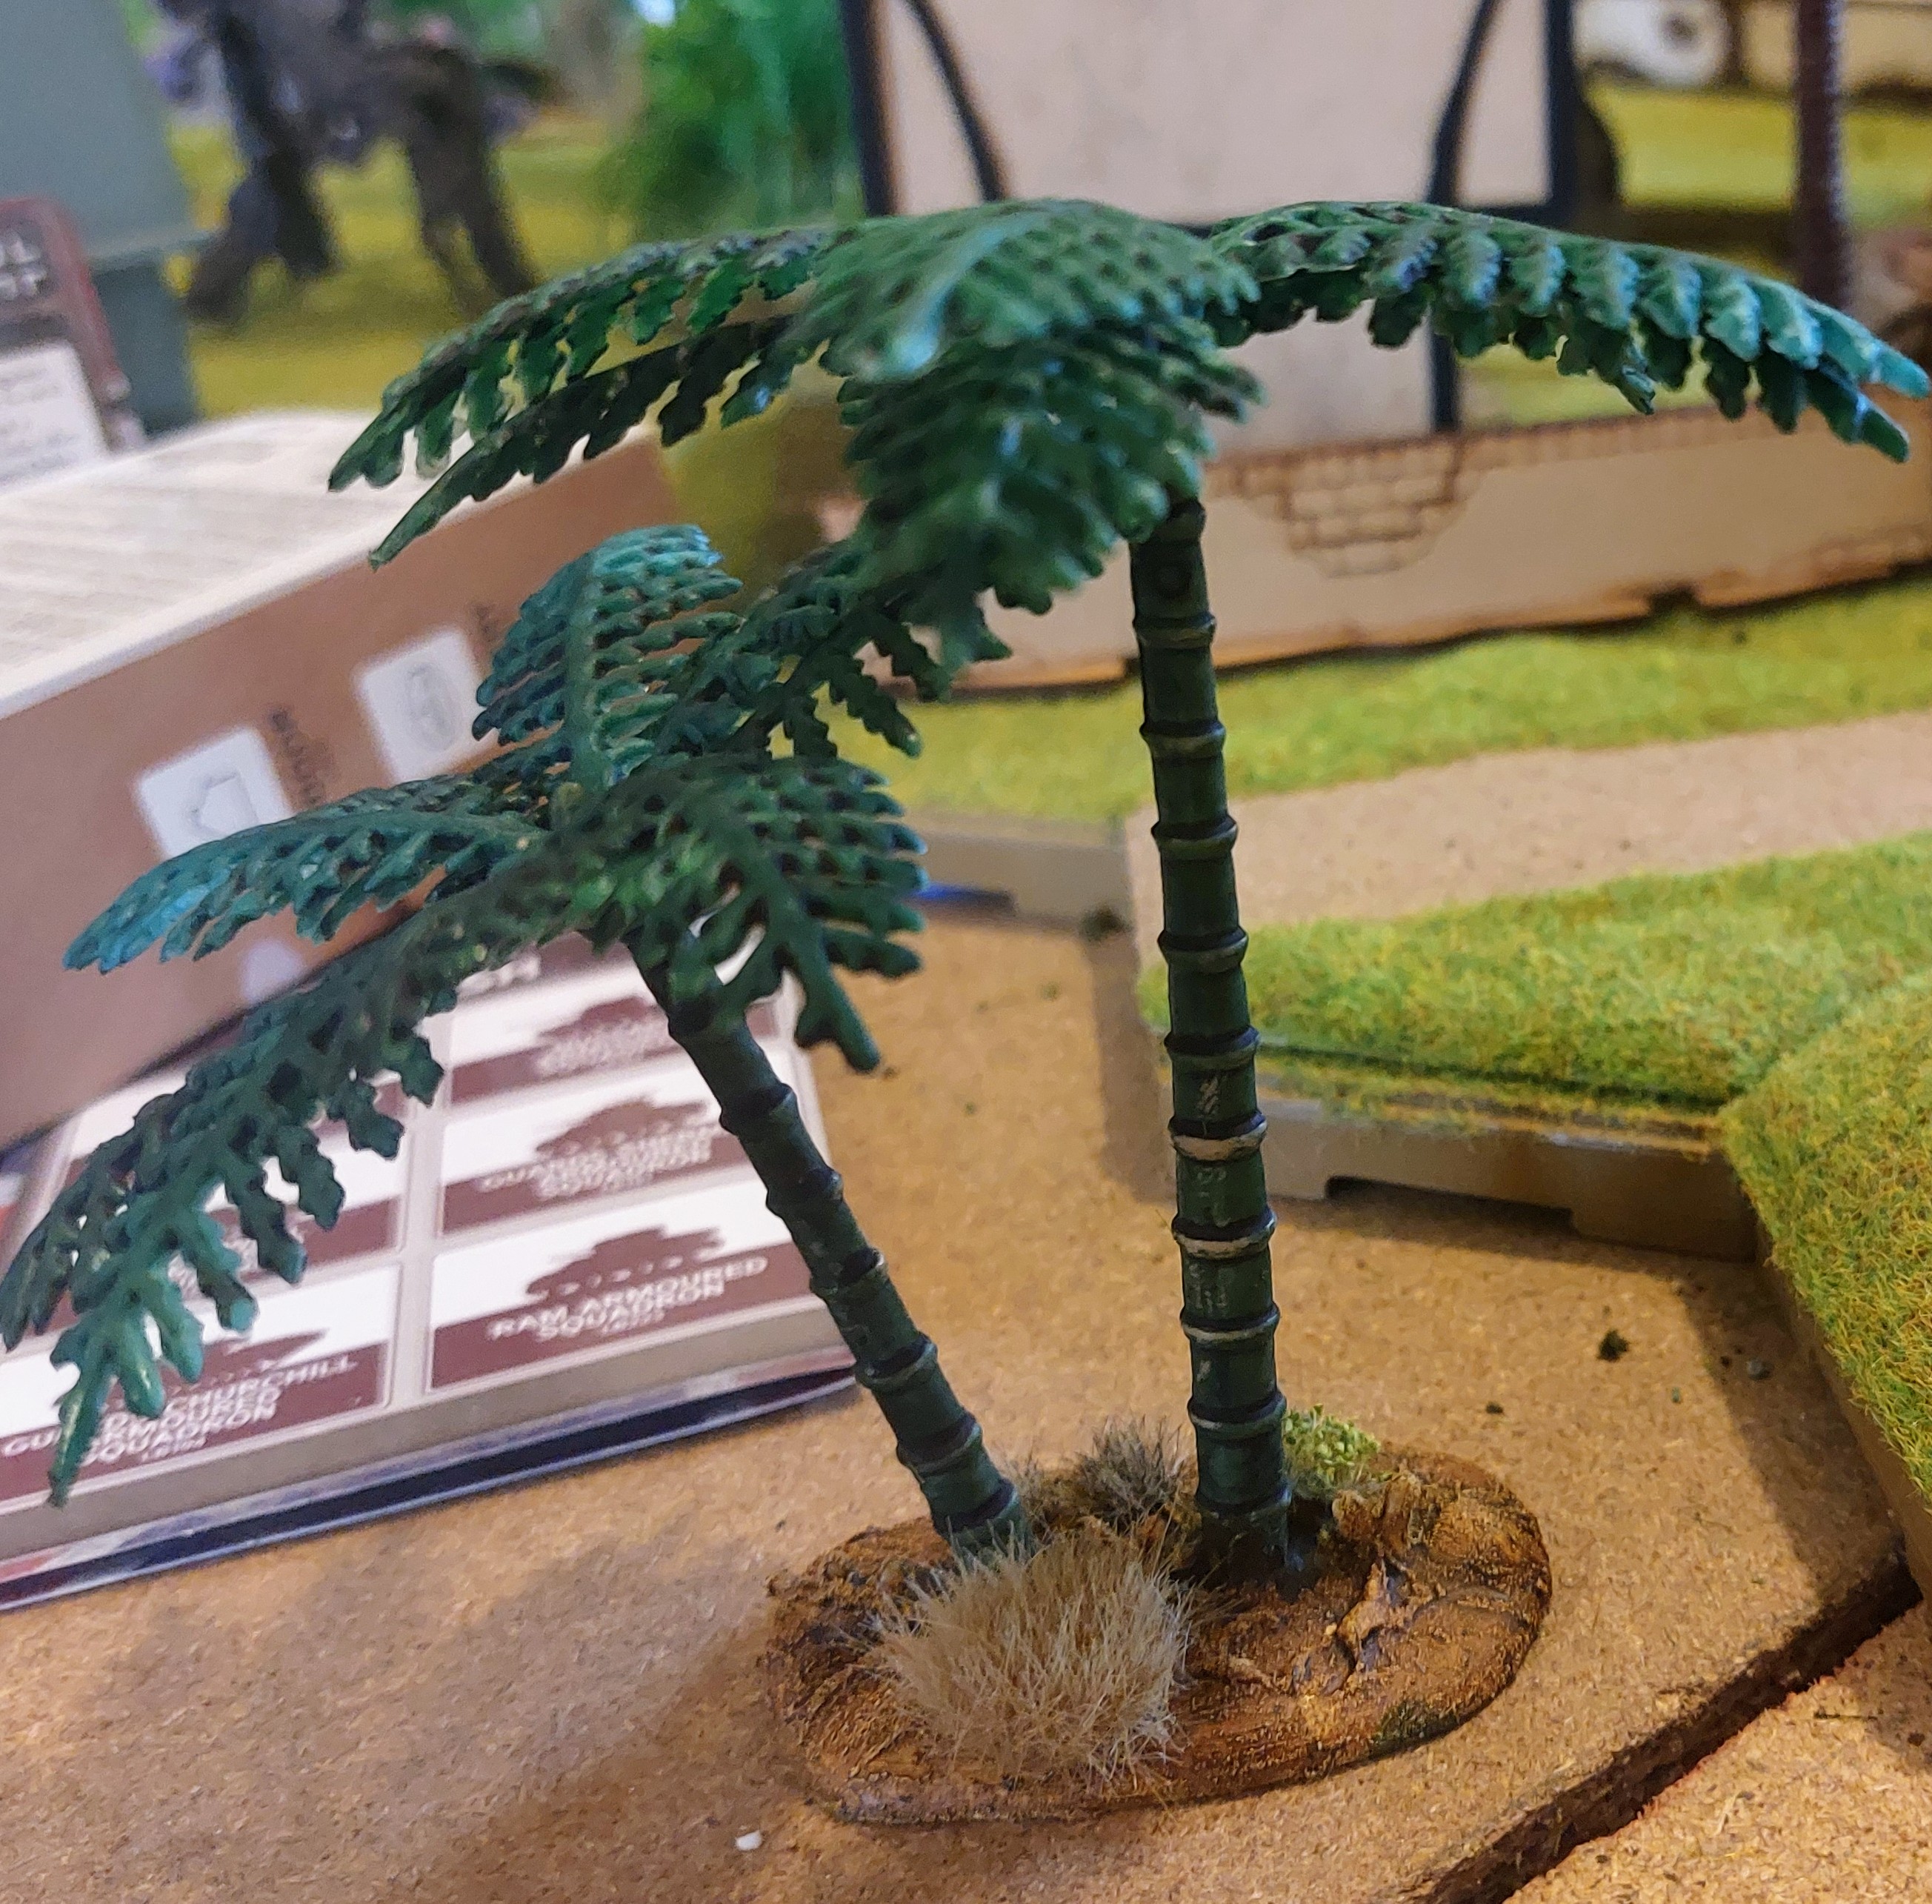
Next I decided I needed to eek out the Jungle with some Palm trees as I didn’t have any, so a srch on E-bay, some old bases and a few sticky tufts and voila!
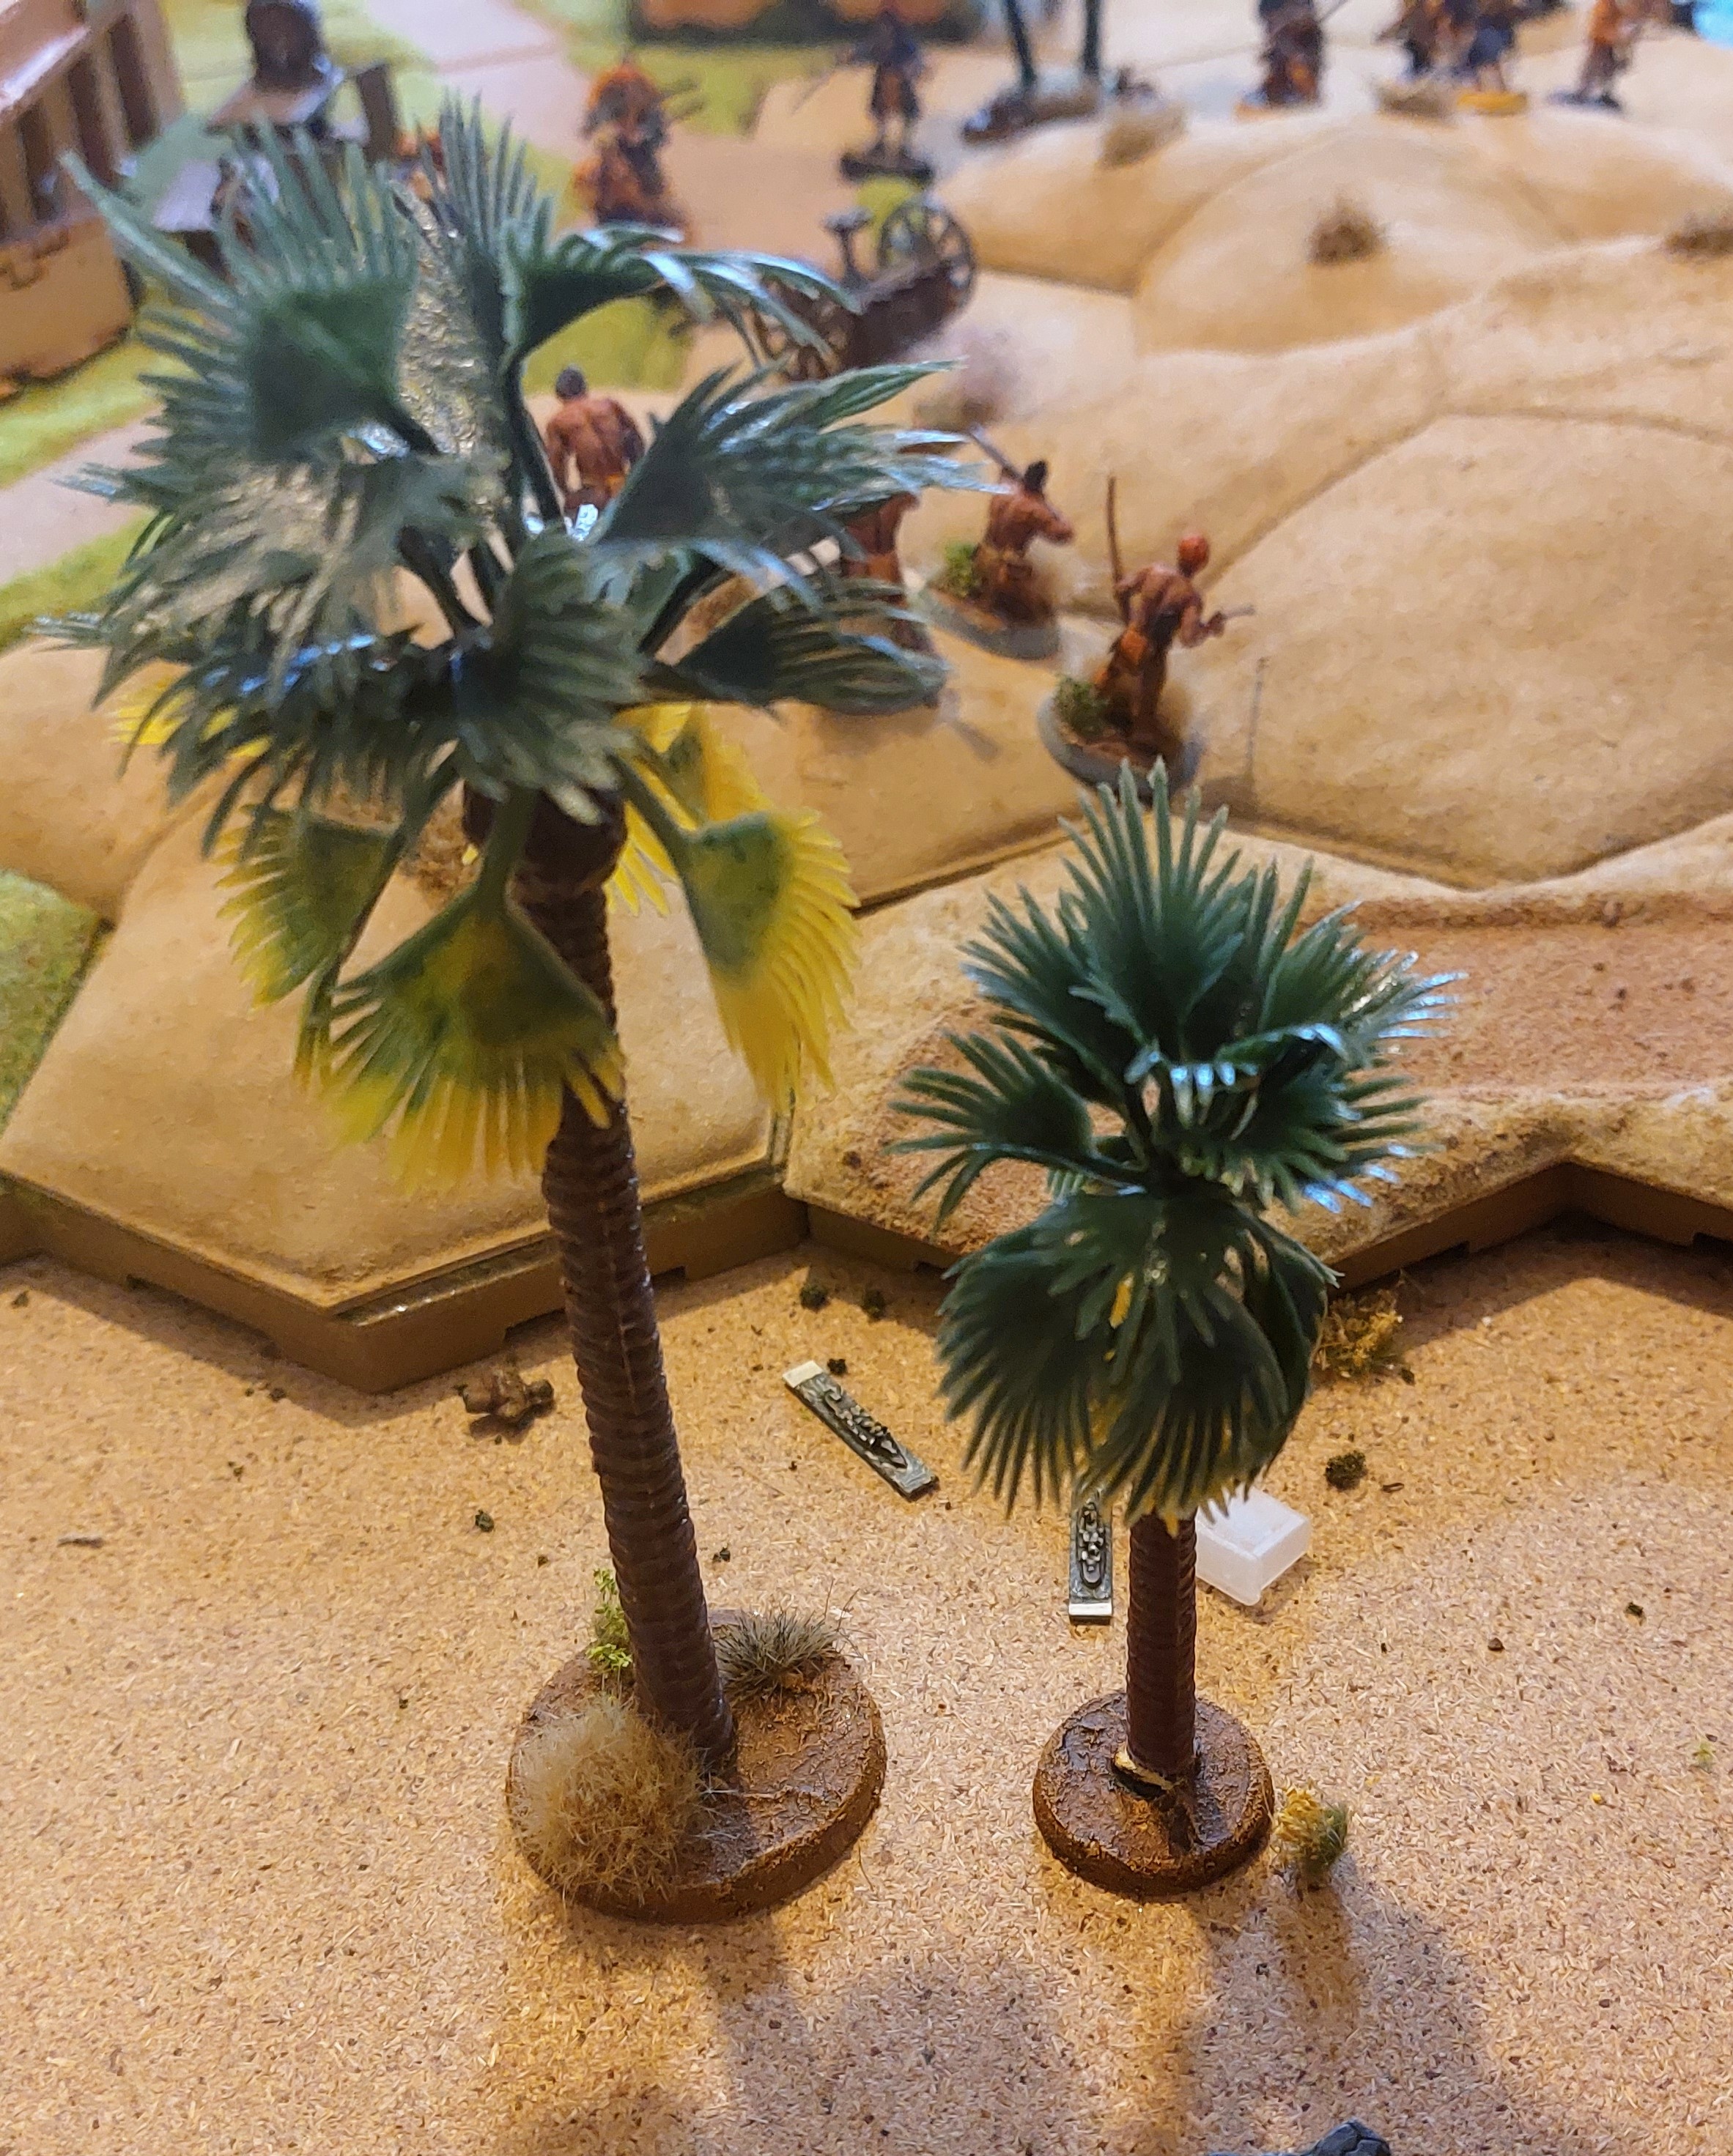
Many years ago I brought a tub of toy Dinosaurs for a Dino Hunting game,which had two fairly yuk painted Palm Trees , I had completely forgot about and were only remembered as they were still sitting in the tub in Games room.
I used ome Textured paint on the bases and a speed paint Forest Green on both the trunk and the leaves, over the original bright colours which gave an unexpected variation in the foliage and here again added some sticky foliage clumps and am very pleased with result.
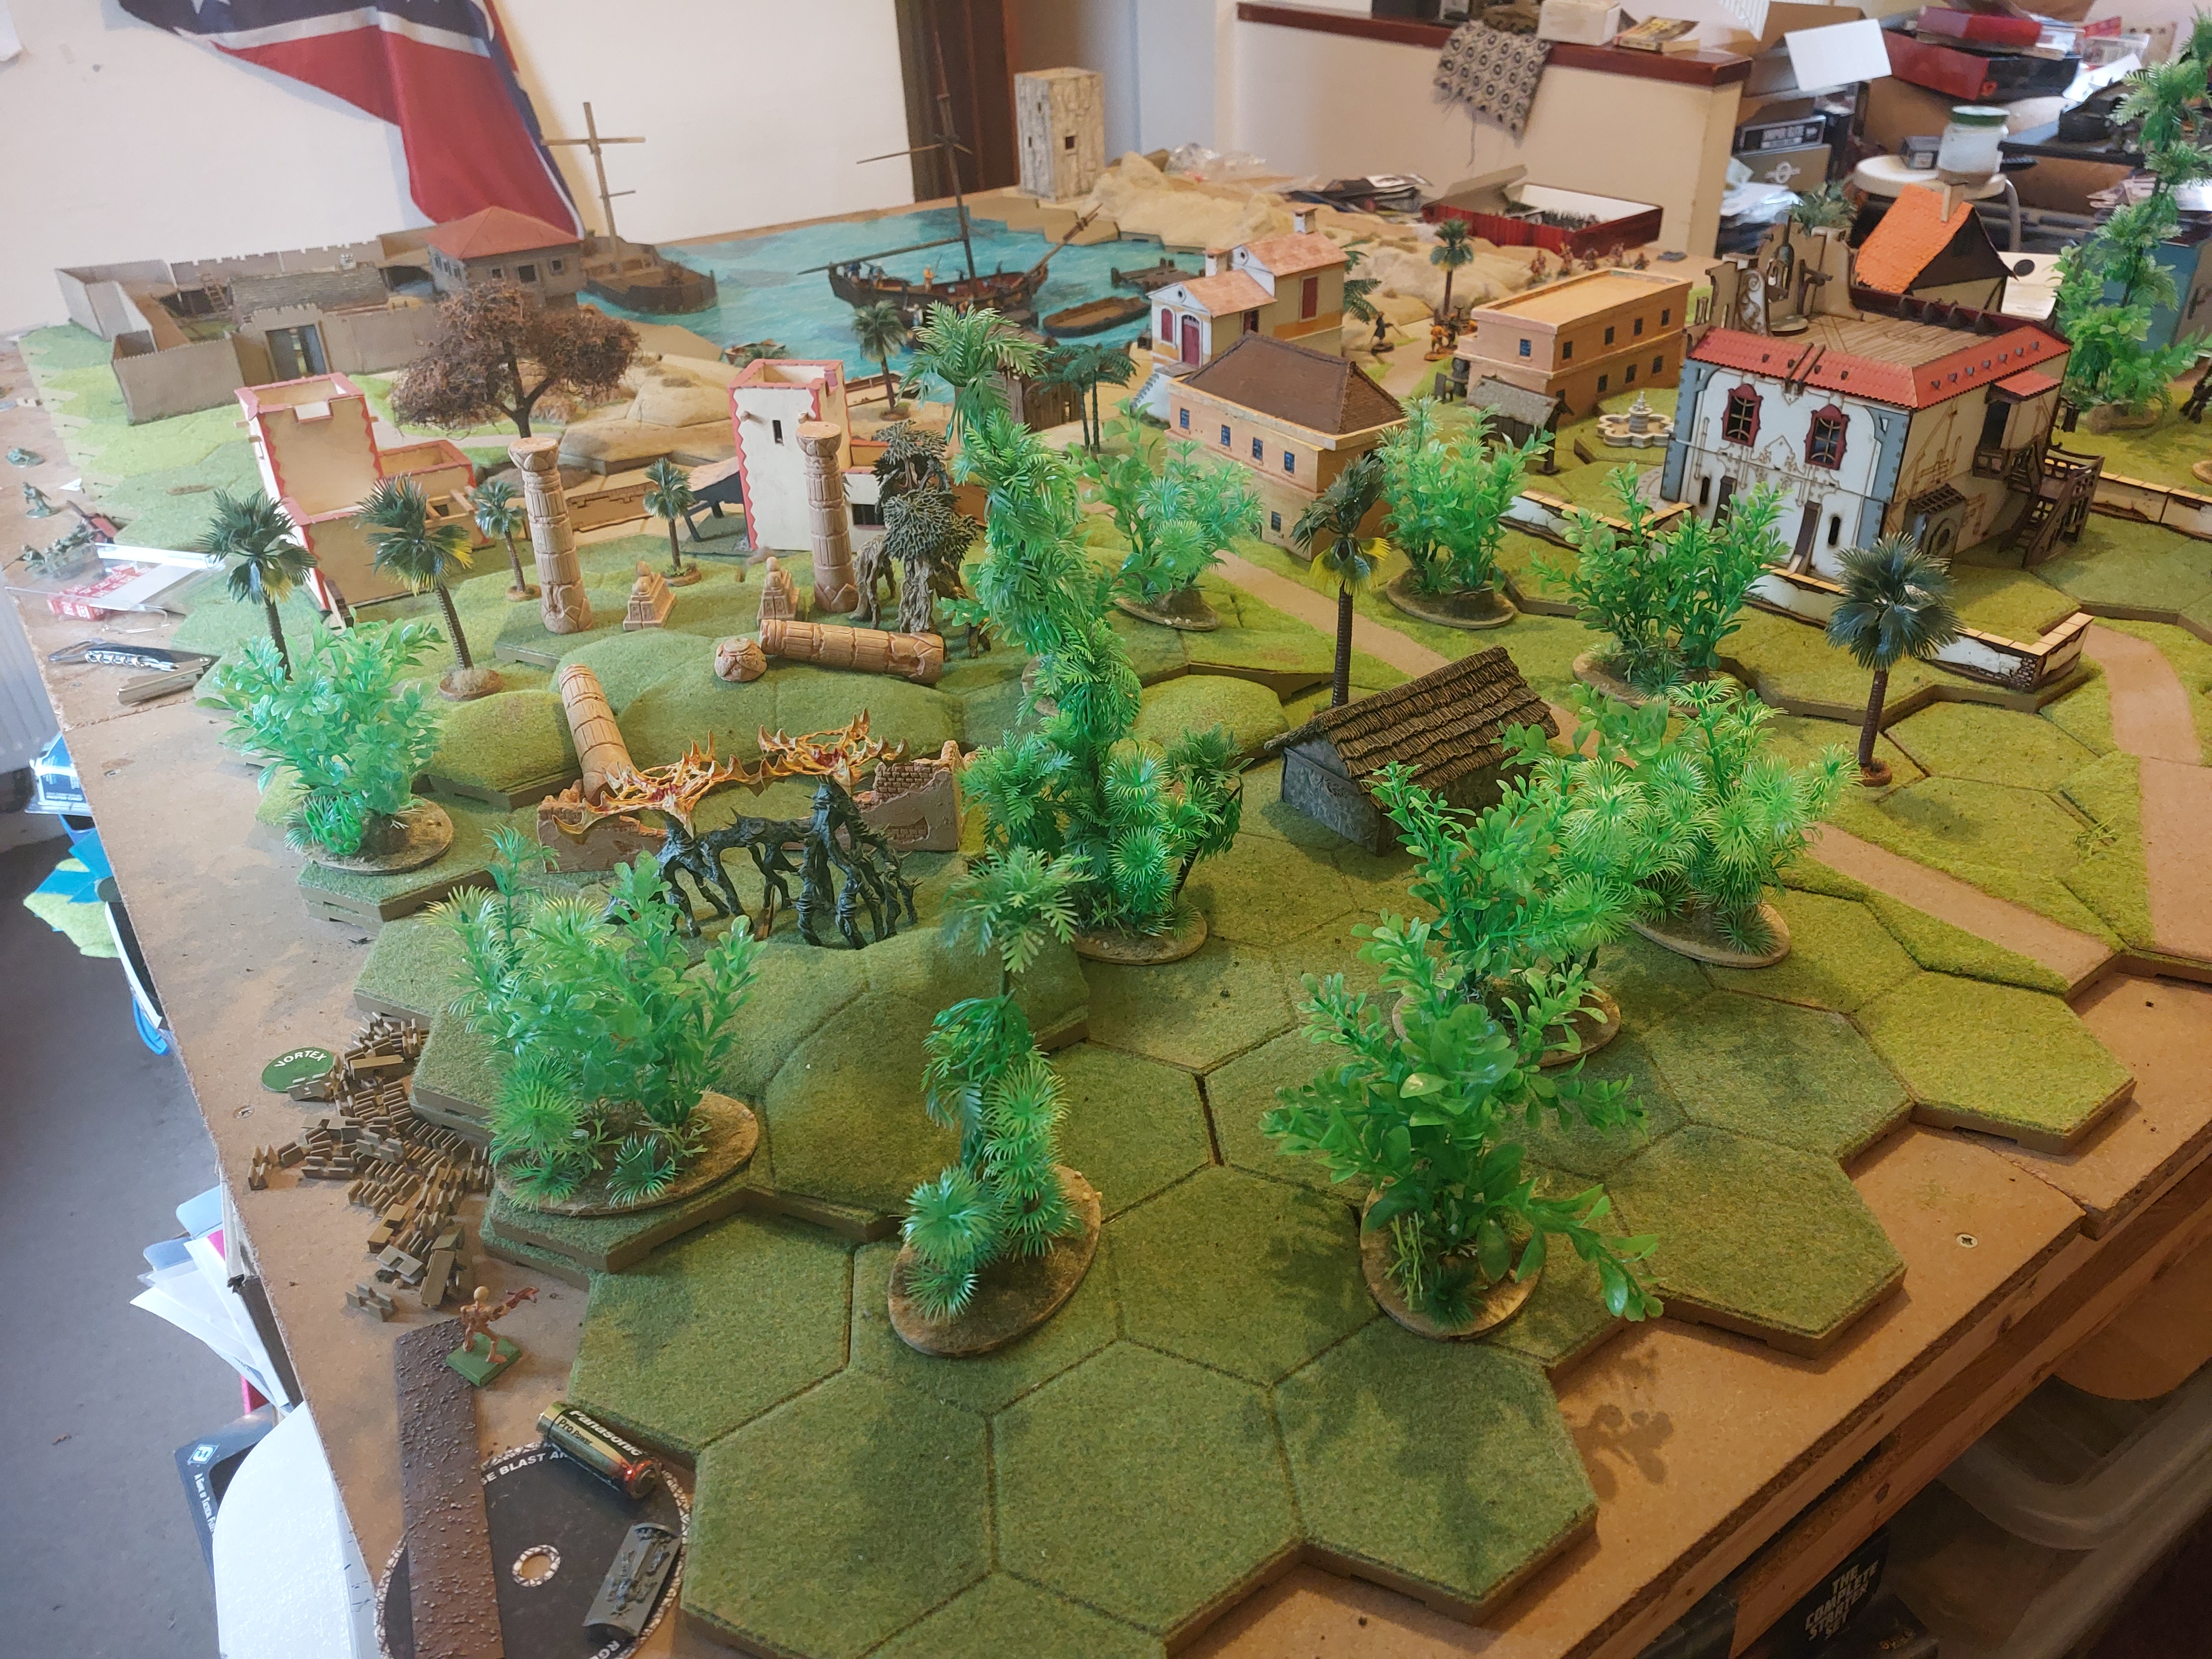
Ruins , huts and the layout changes.
As new models have been either built or old bits found , the original layout has changed. Partly to accommodate the new items but also as new ideas entered my feavoured brain.
The table is meant to have features to cover multiple scenarios on day, without a lot of moving terrain about..
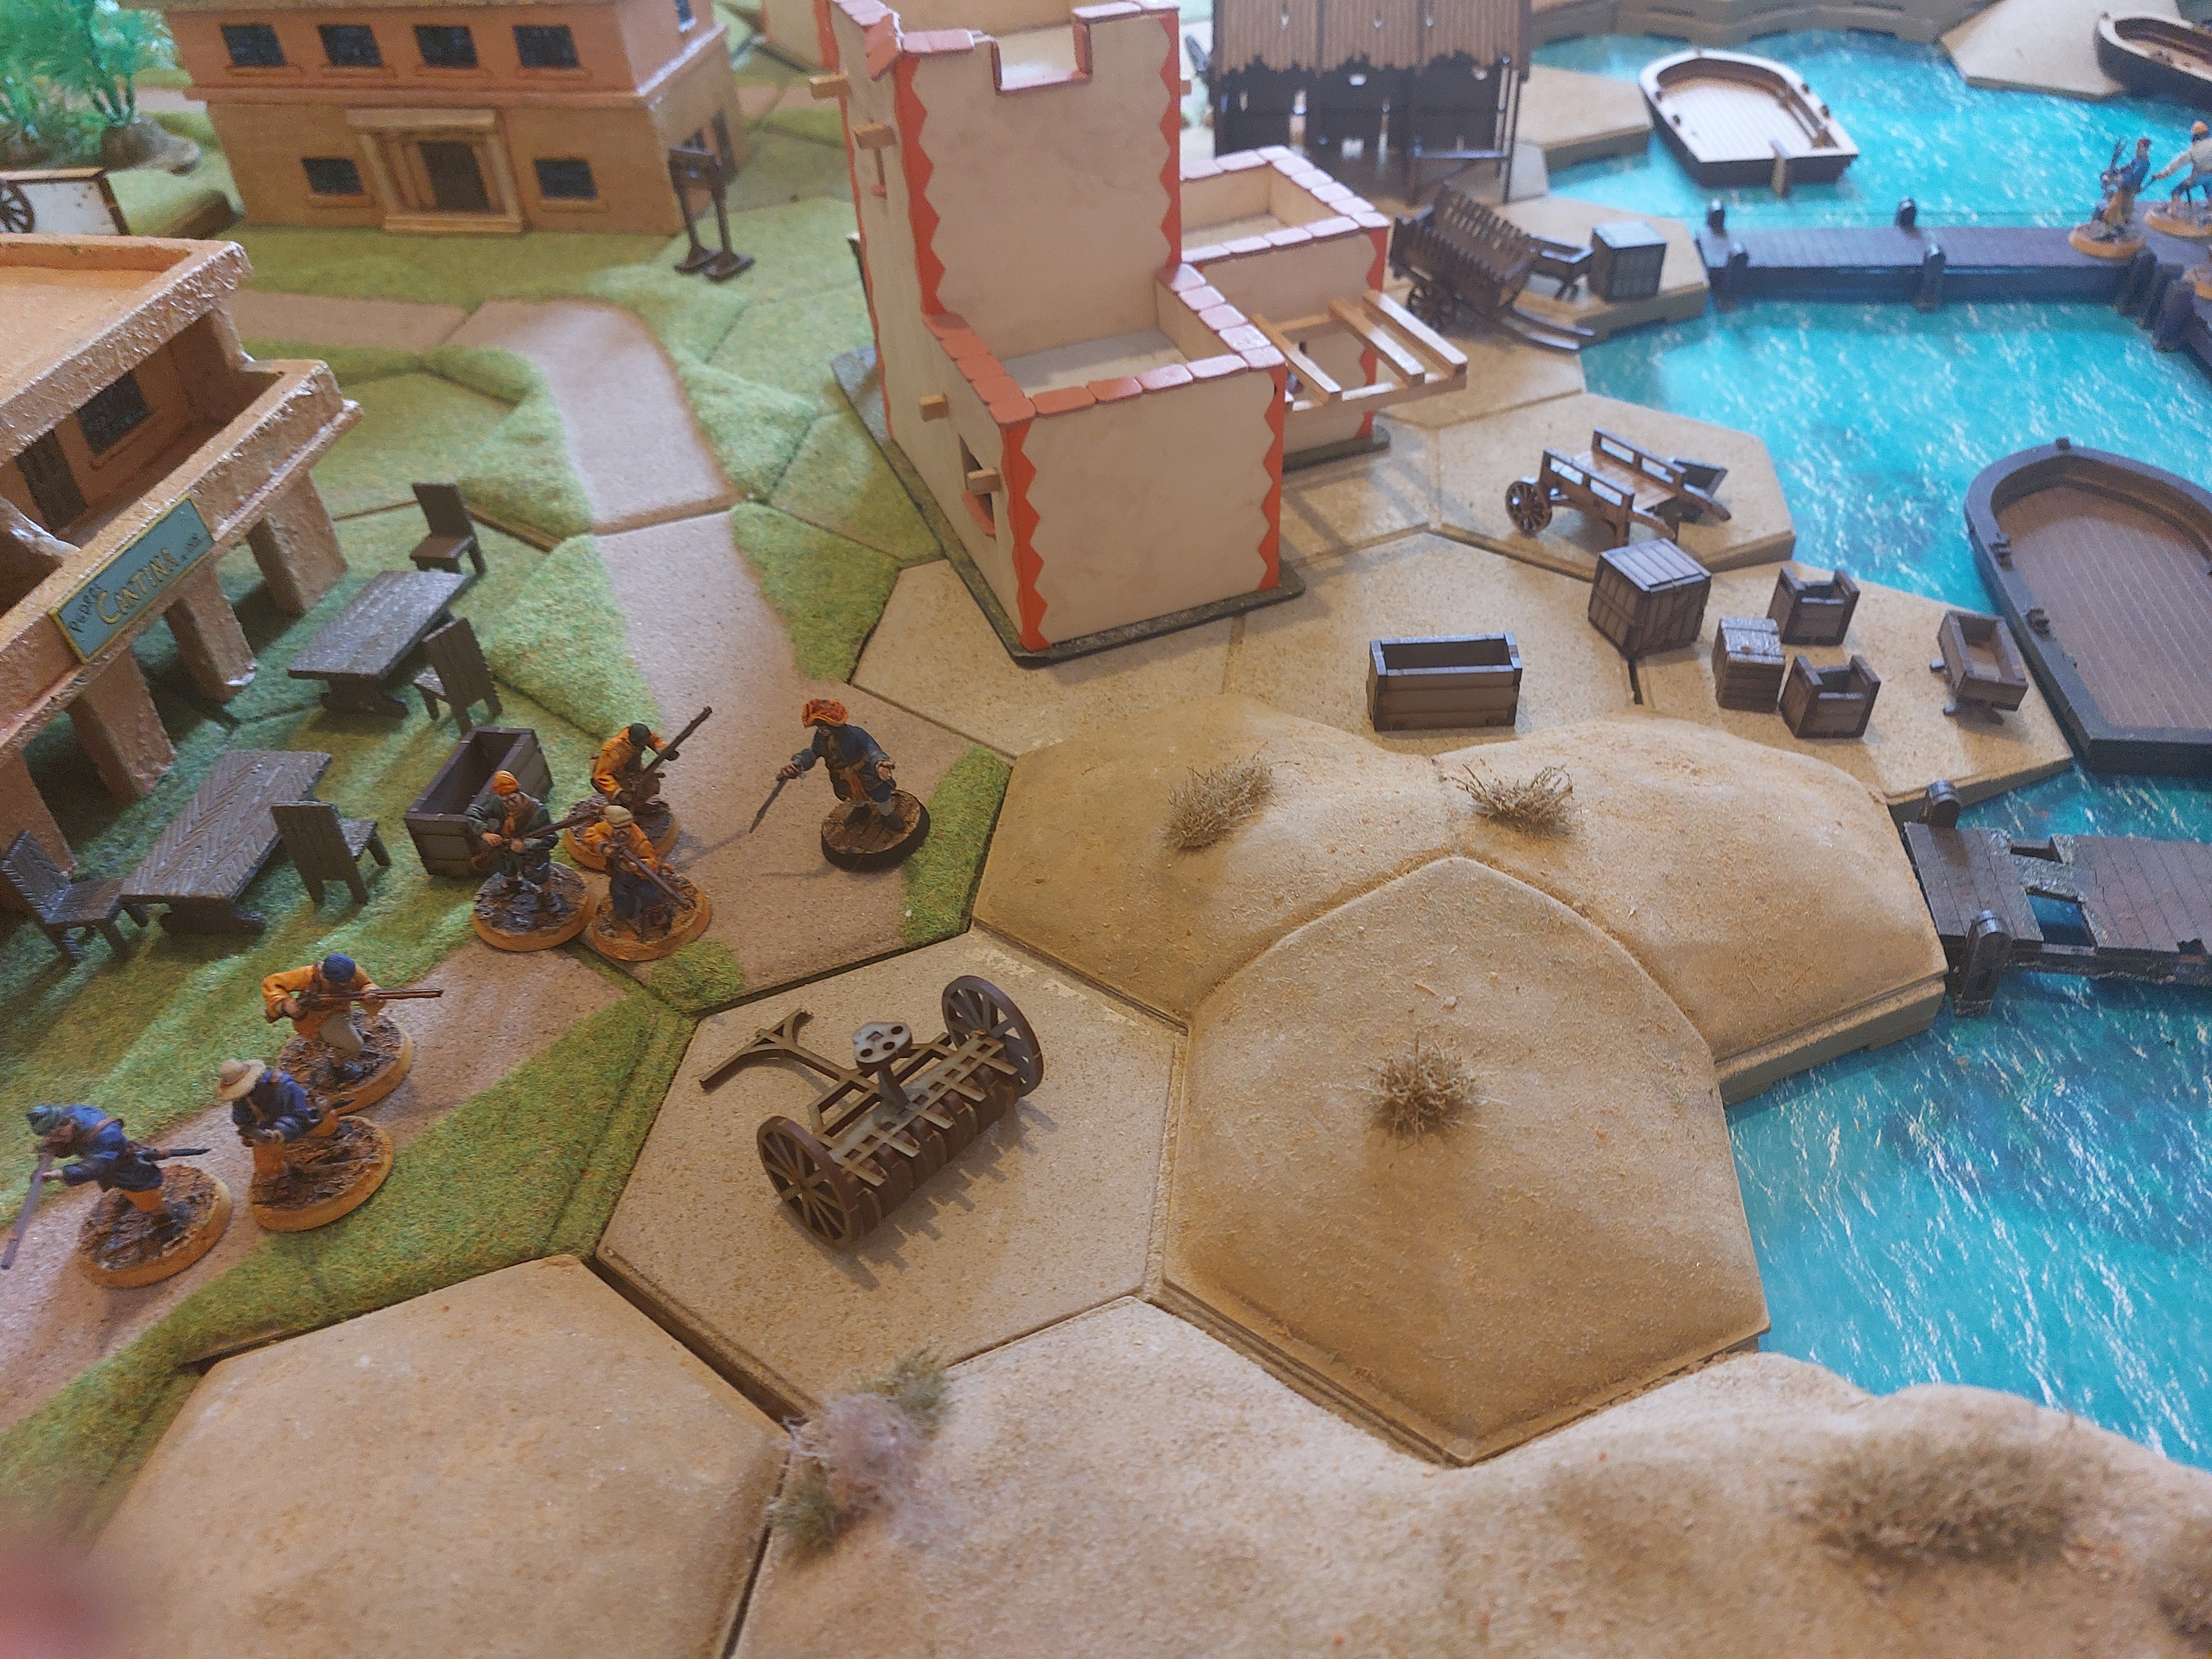
1) I dug out some desert trackway, so decided to put a path to the old observation tower on the point, also I increased the area it stood on , using some newly purchased Hexon single hex slopes ( waiting to be flocked)
The idea is it joins the harbour pathway which runs through port just off table.
I also moved the old card stock buildings now replaced by the Med Farm House, moving them to be a little compound on the way to the Fort.
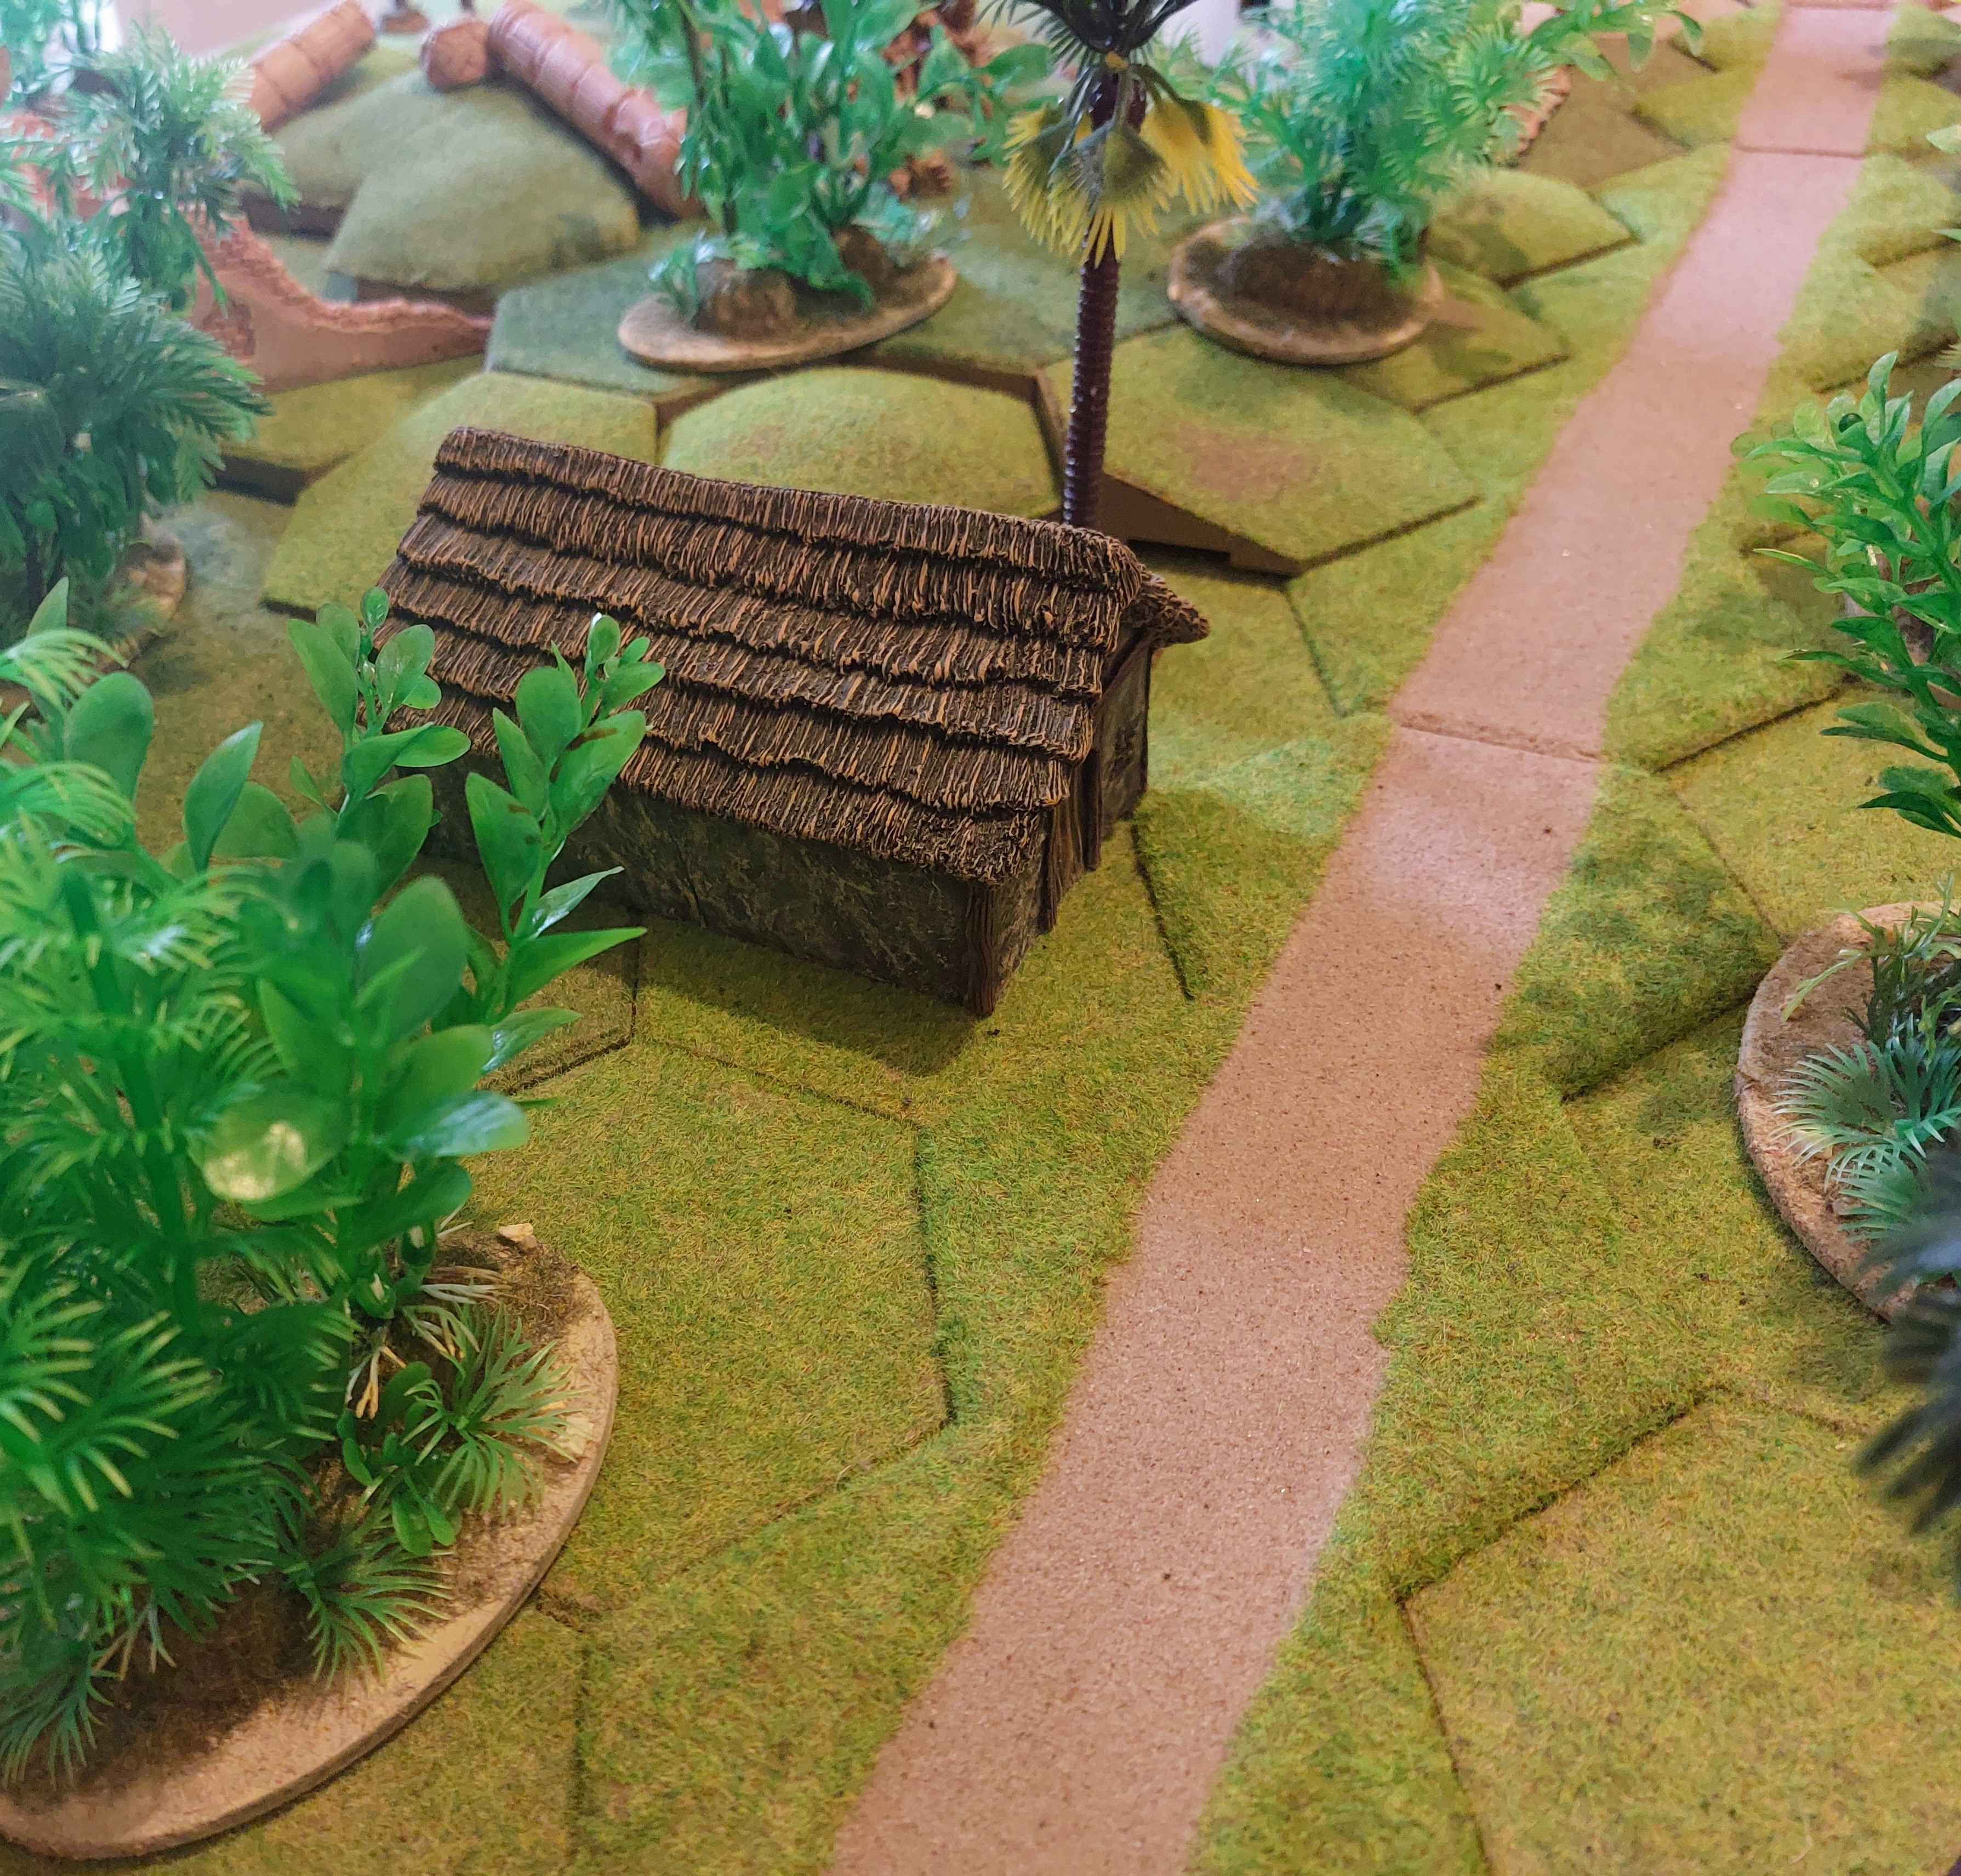
I then spotted some old Dark Age buildings on a shelf and thought one of them would work as a generic Jungle Hut
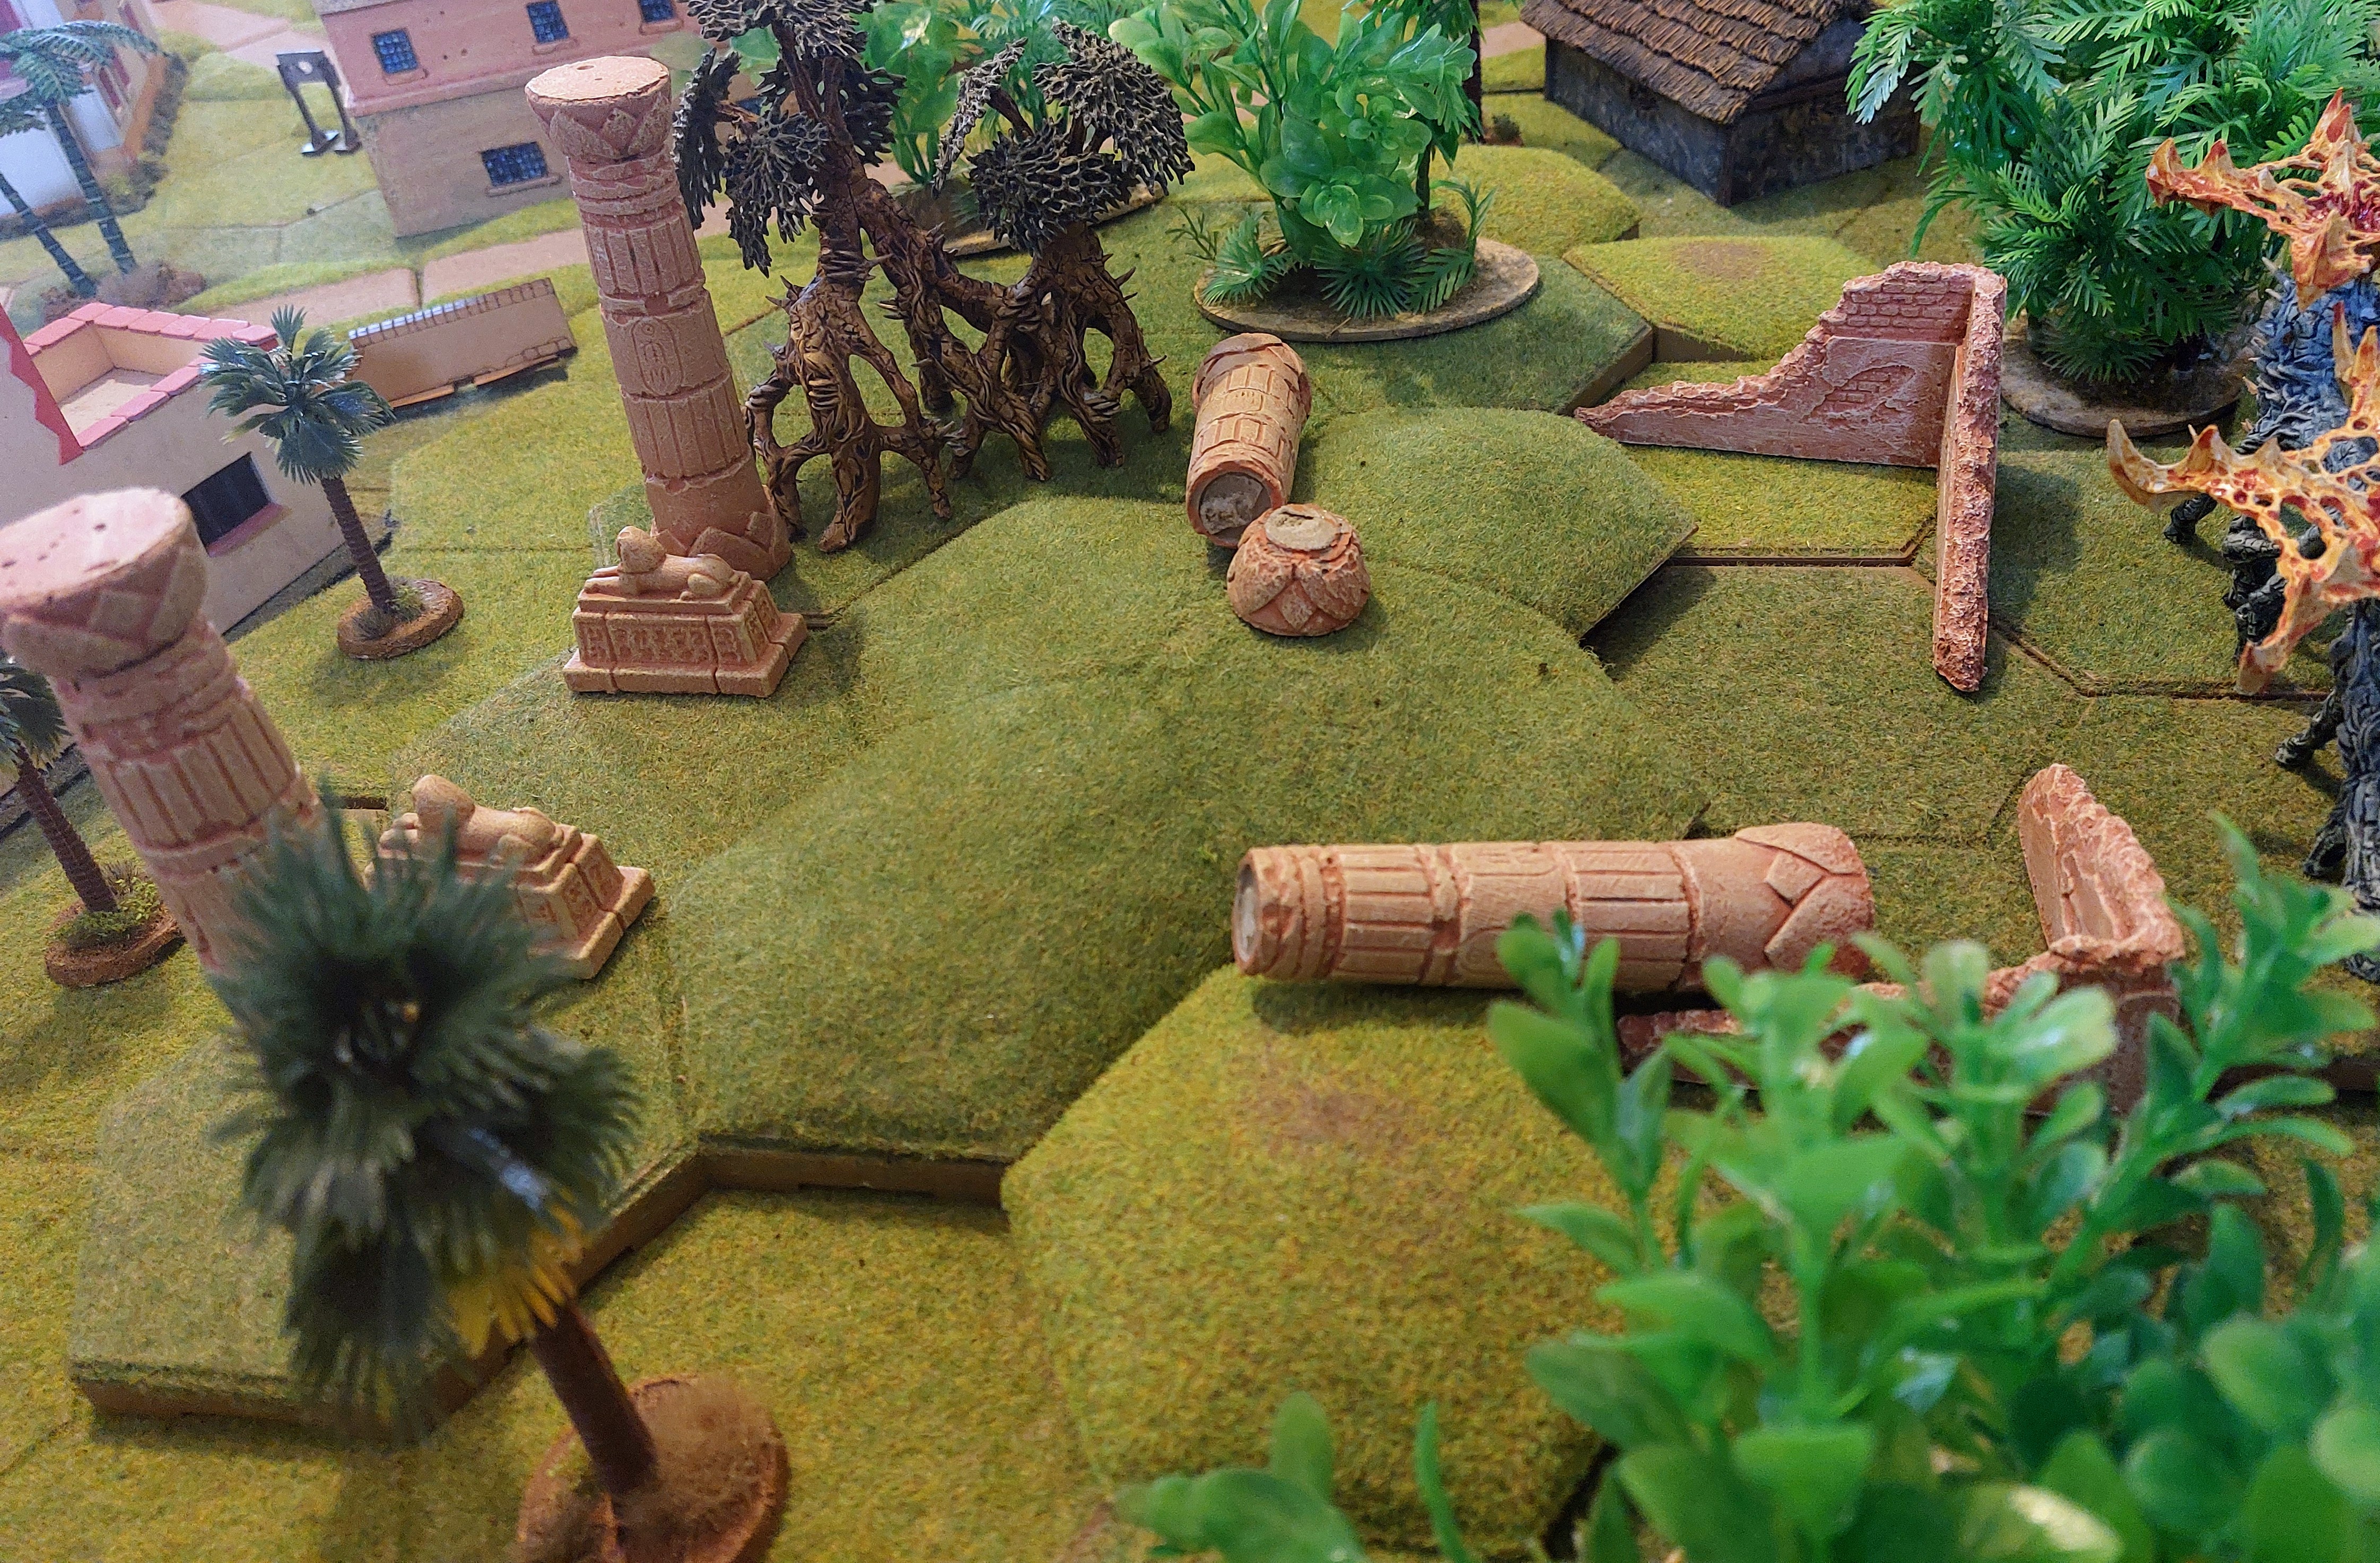
Finally I thought need some ruins on the Hill ( idea for Royal Navy scenario)
Don’t have any Aztec, but have Egyptian. So decided to go with an Ancient Aliens theme ( specially for Warren) of Ancient civilisation’s either through trade or by exploration of having found the New World before Columbus. The ruins later got forgotten as the the port developed and grew.
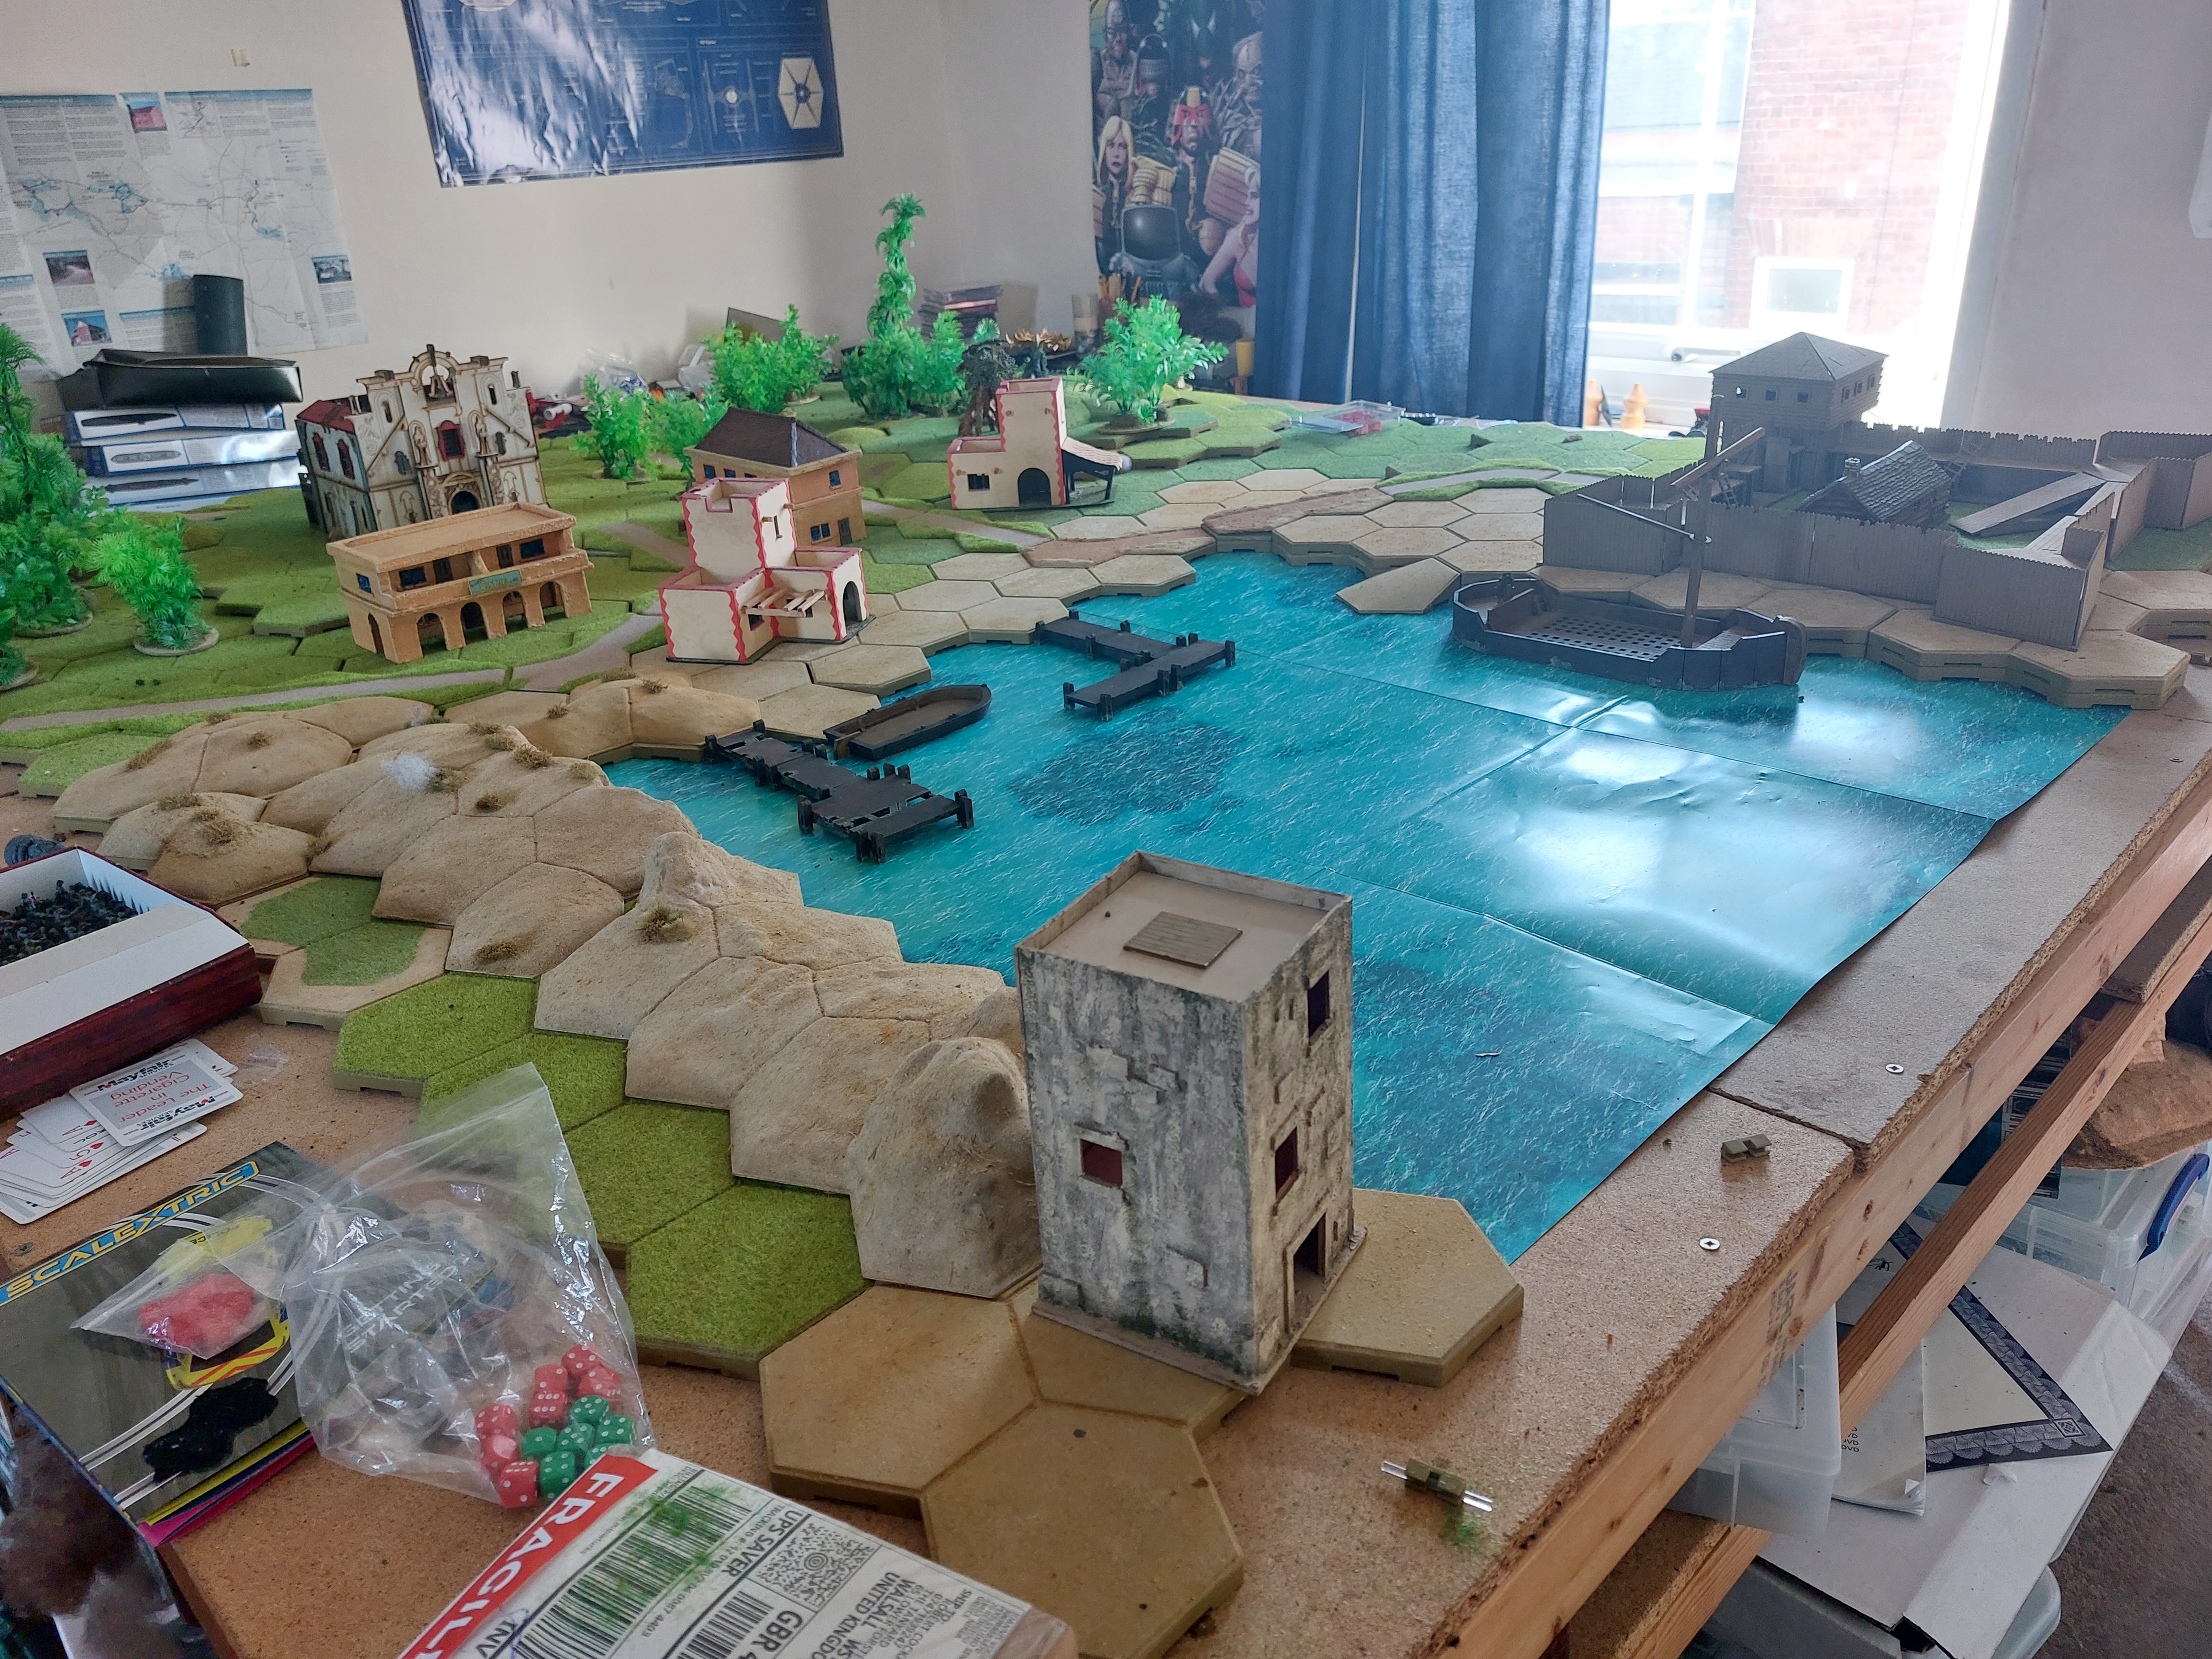
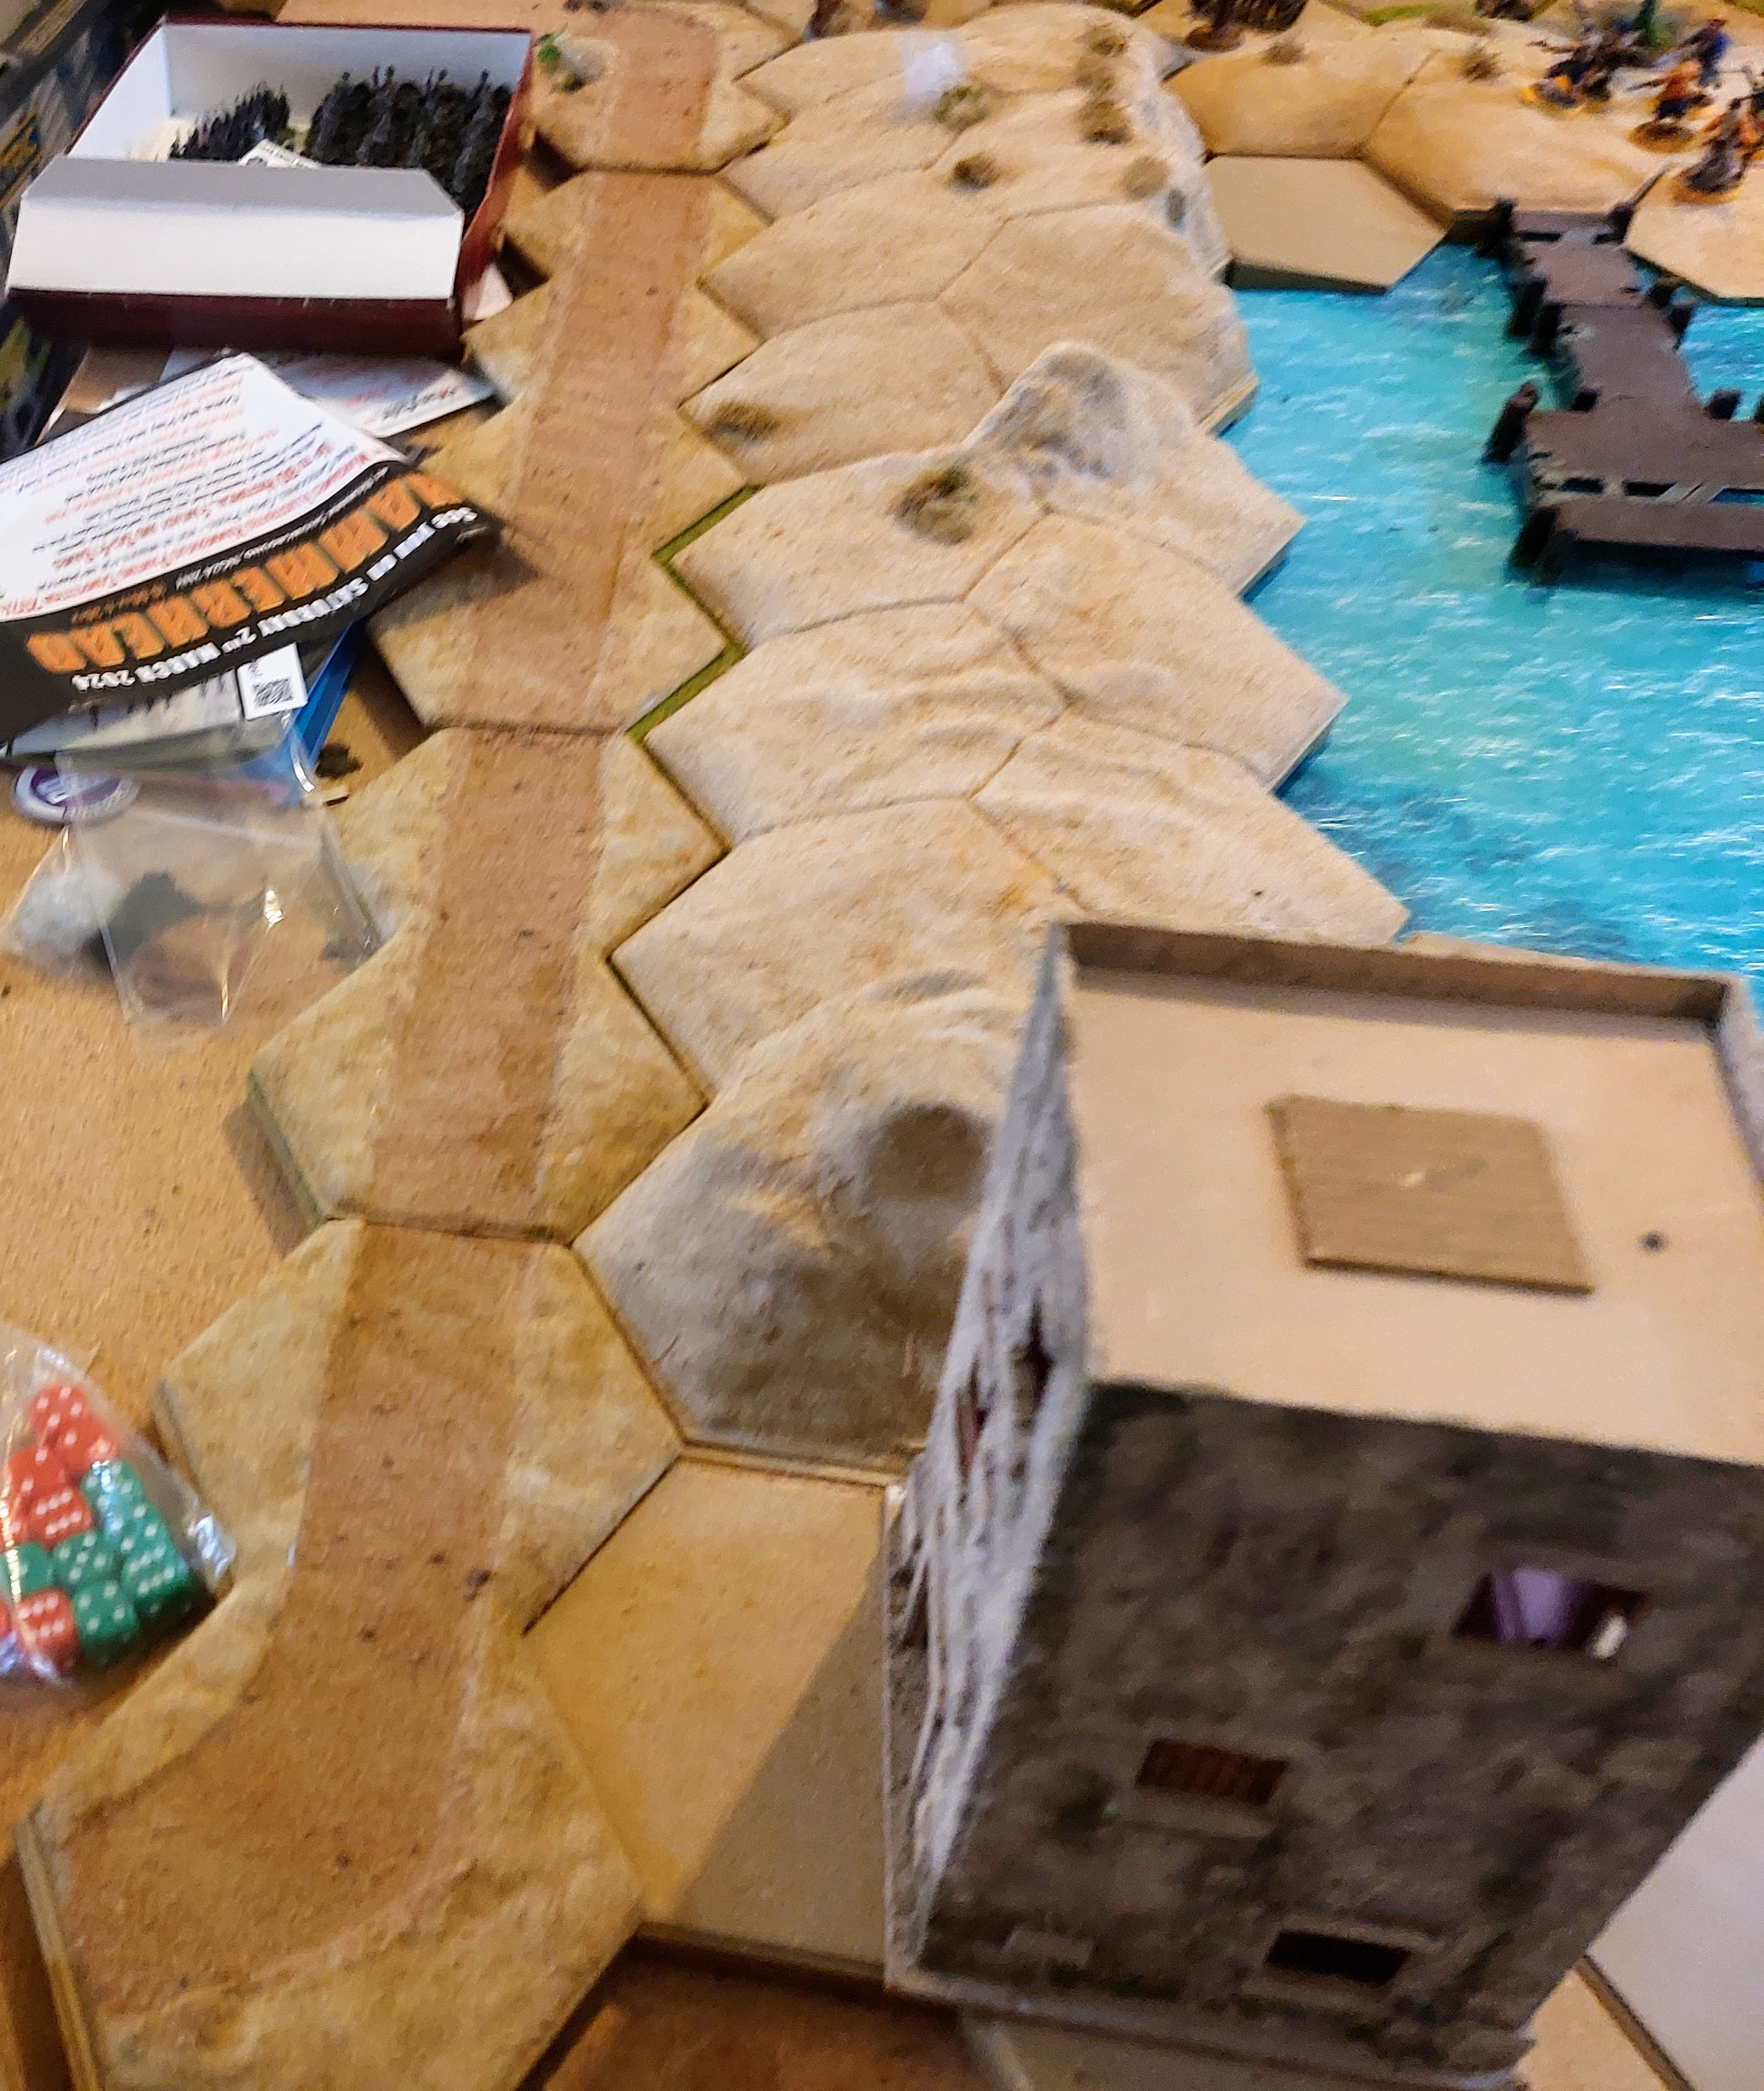
So this is how the current layout stands, this time taken from the opposite side of table.
Some Finishing Touches
Well nearing the end of this,brought some more single hex slopes, plus found the box of some that I brought ages ago, and flocked them carefully trying to preserve as much of the tub of scatter from the original build nearly 20 years ago. Now the scatter has been in its tub in box under a table, mostly out of the light, whereas the hexon hasn’t , being on the table more than off, so the new stuff is a bit darker, being as it is being used to break up the shoreline it’s not to much of a problem as it’s wet sand from the waves. Had to restrict how many I used otherwise the already small port would only big enough for a small row boat.
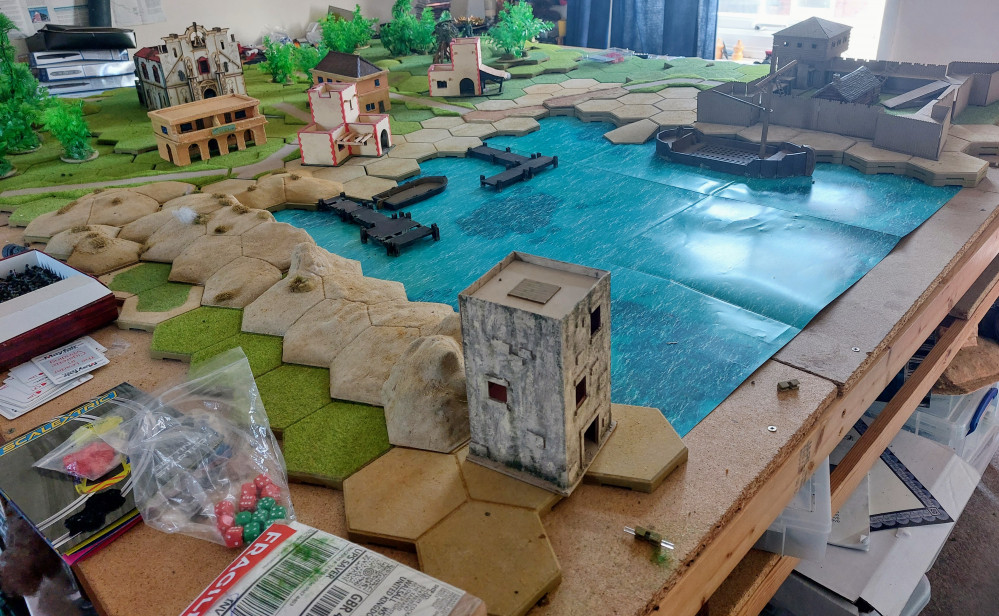
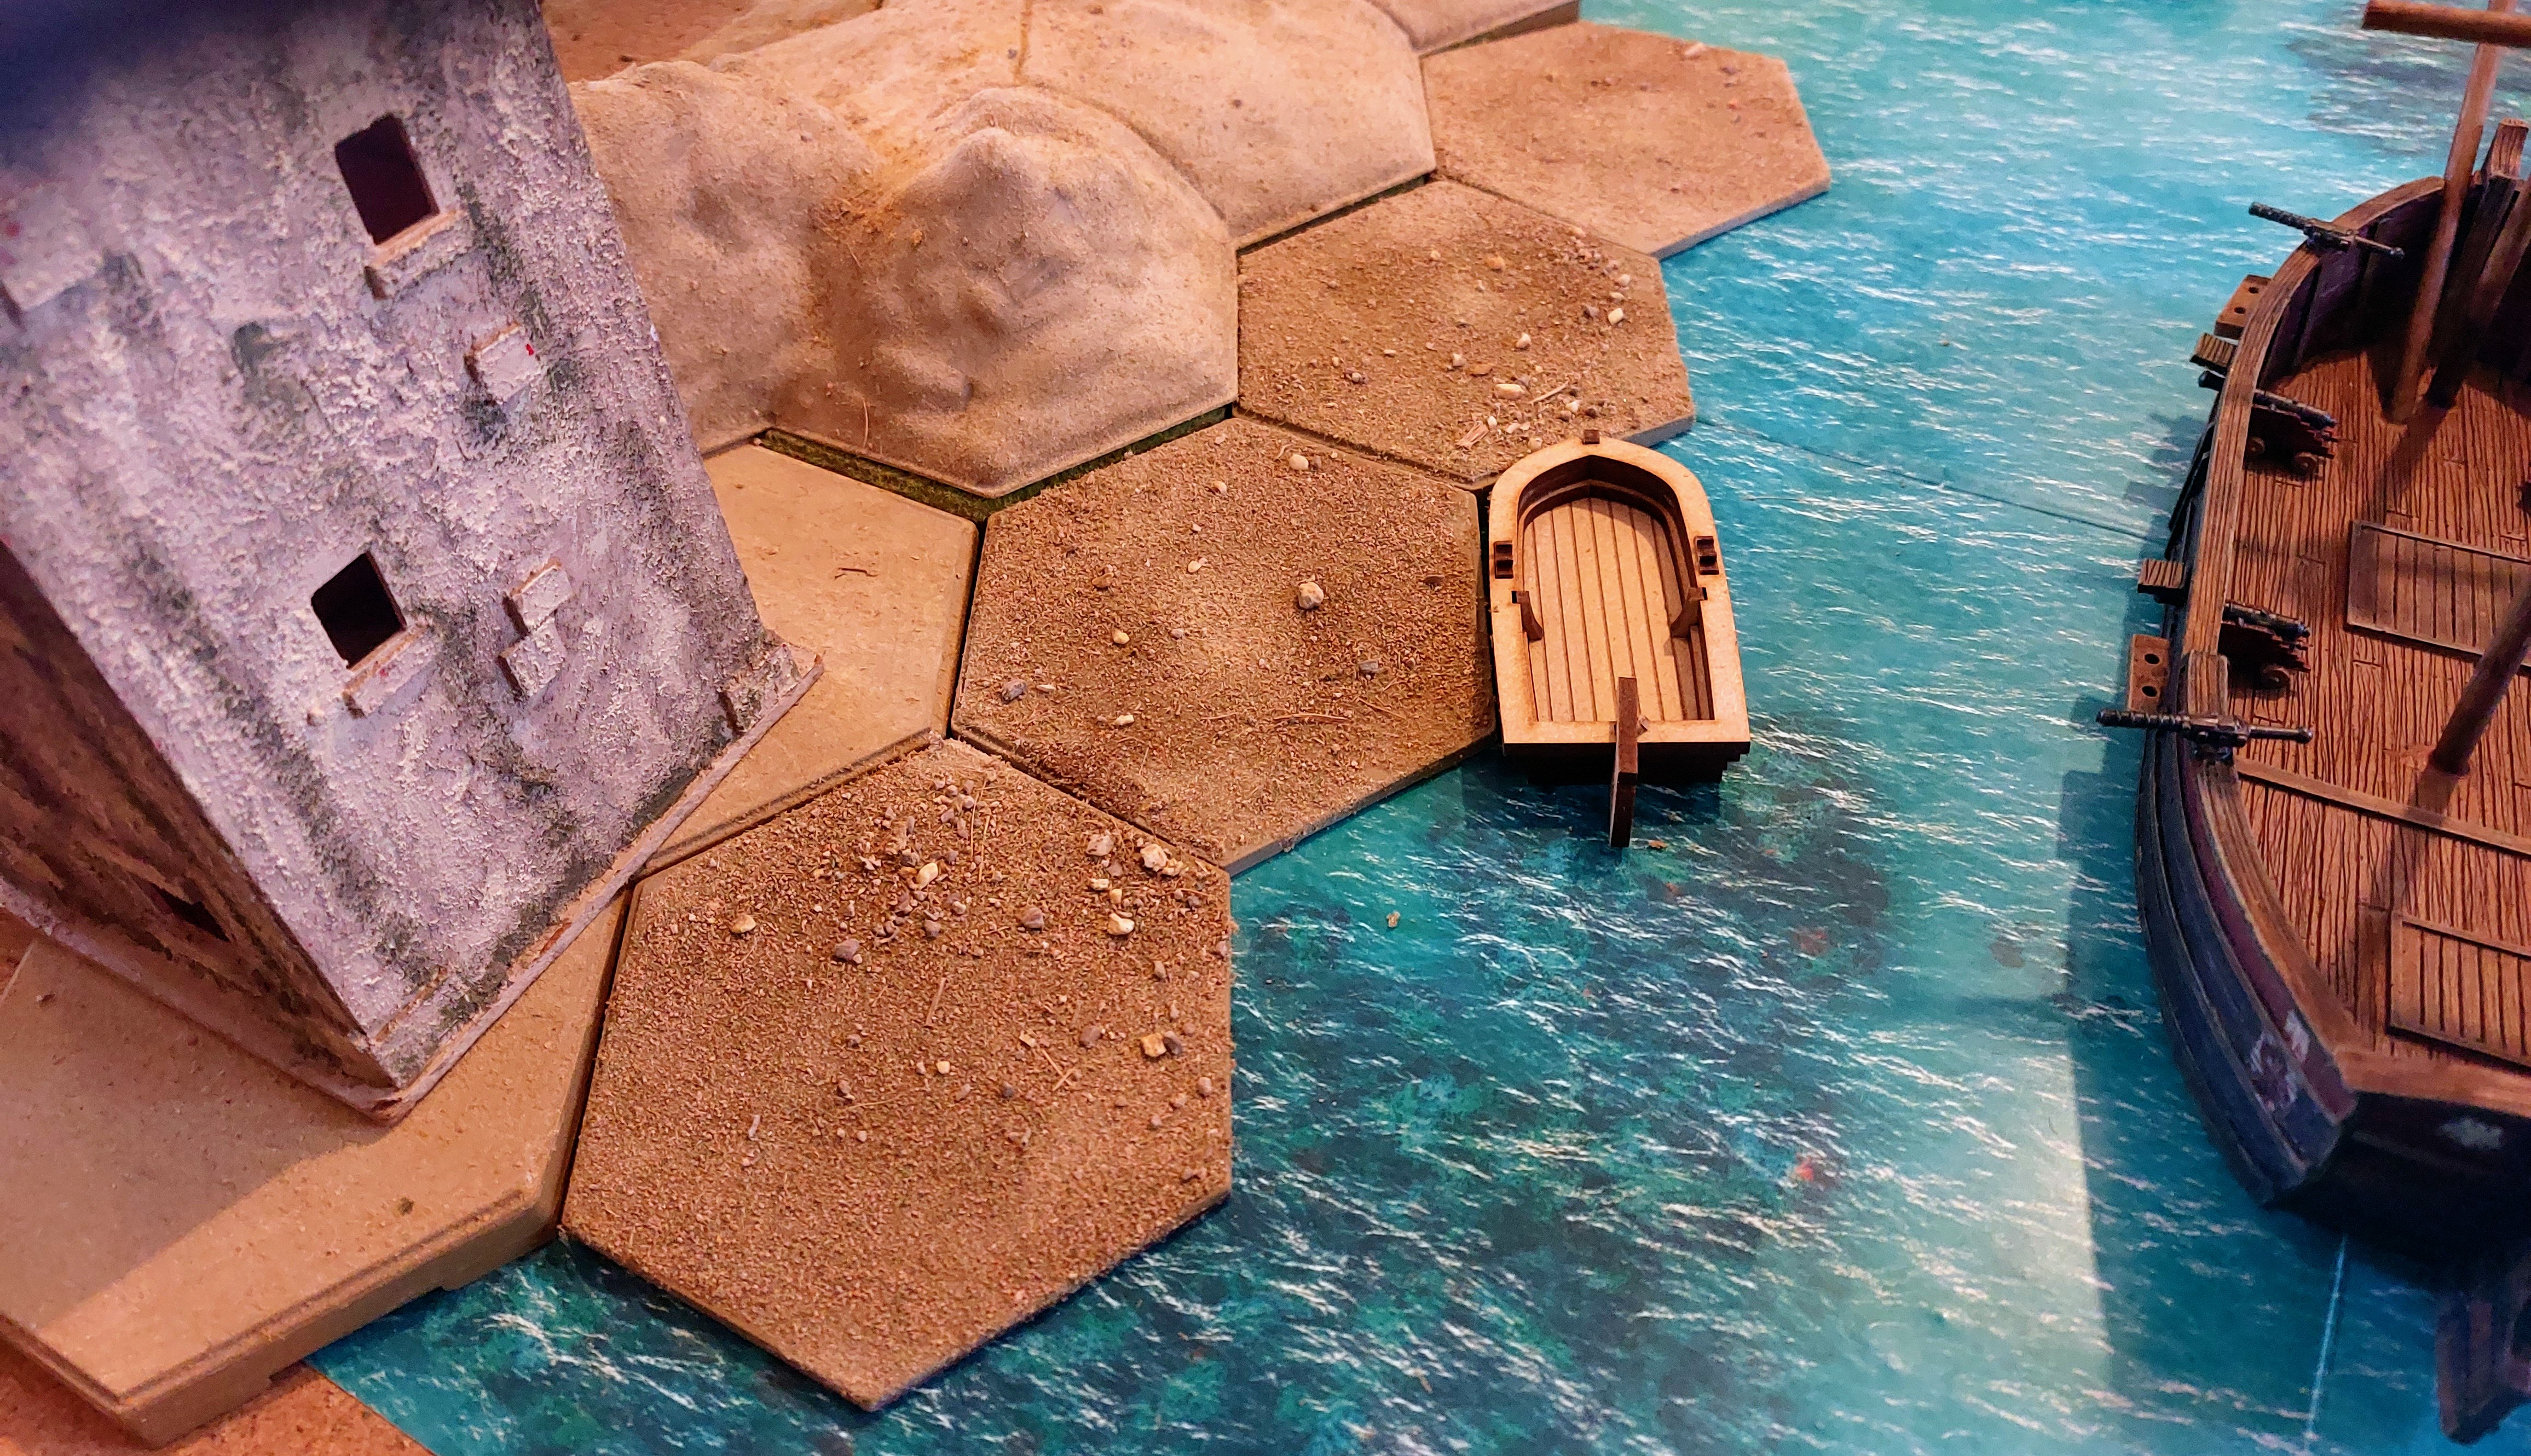 The landing beach by the Observation tower.
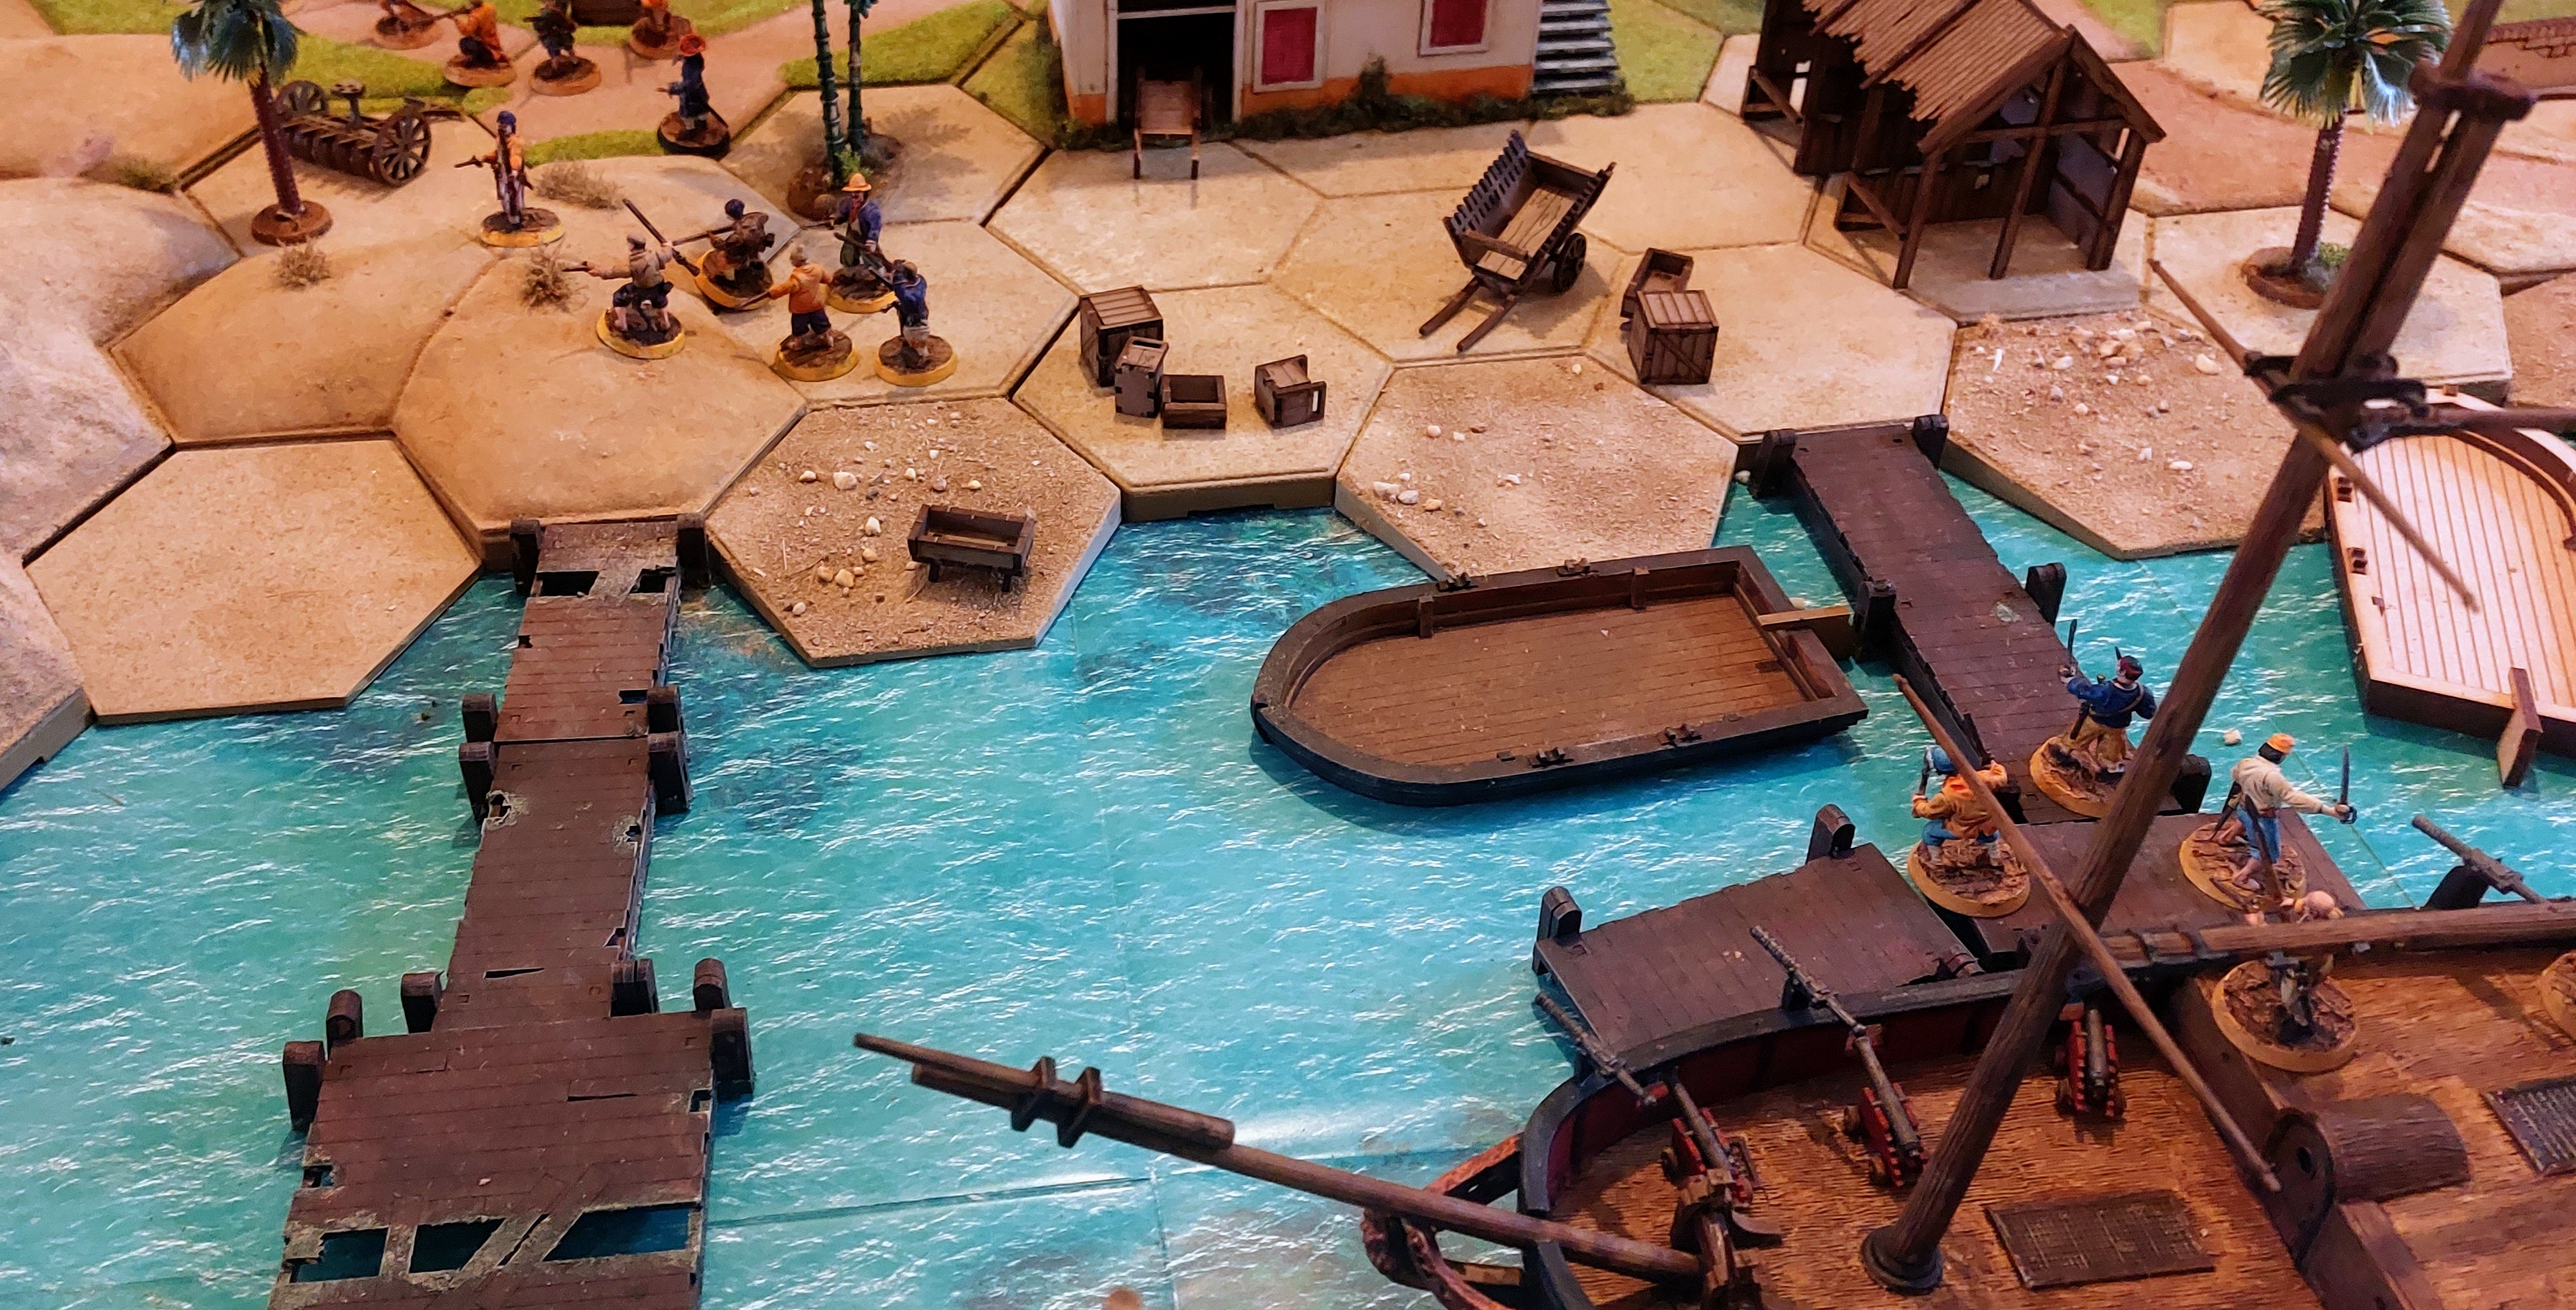 The harbour shoreline
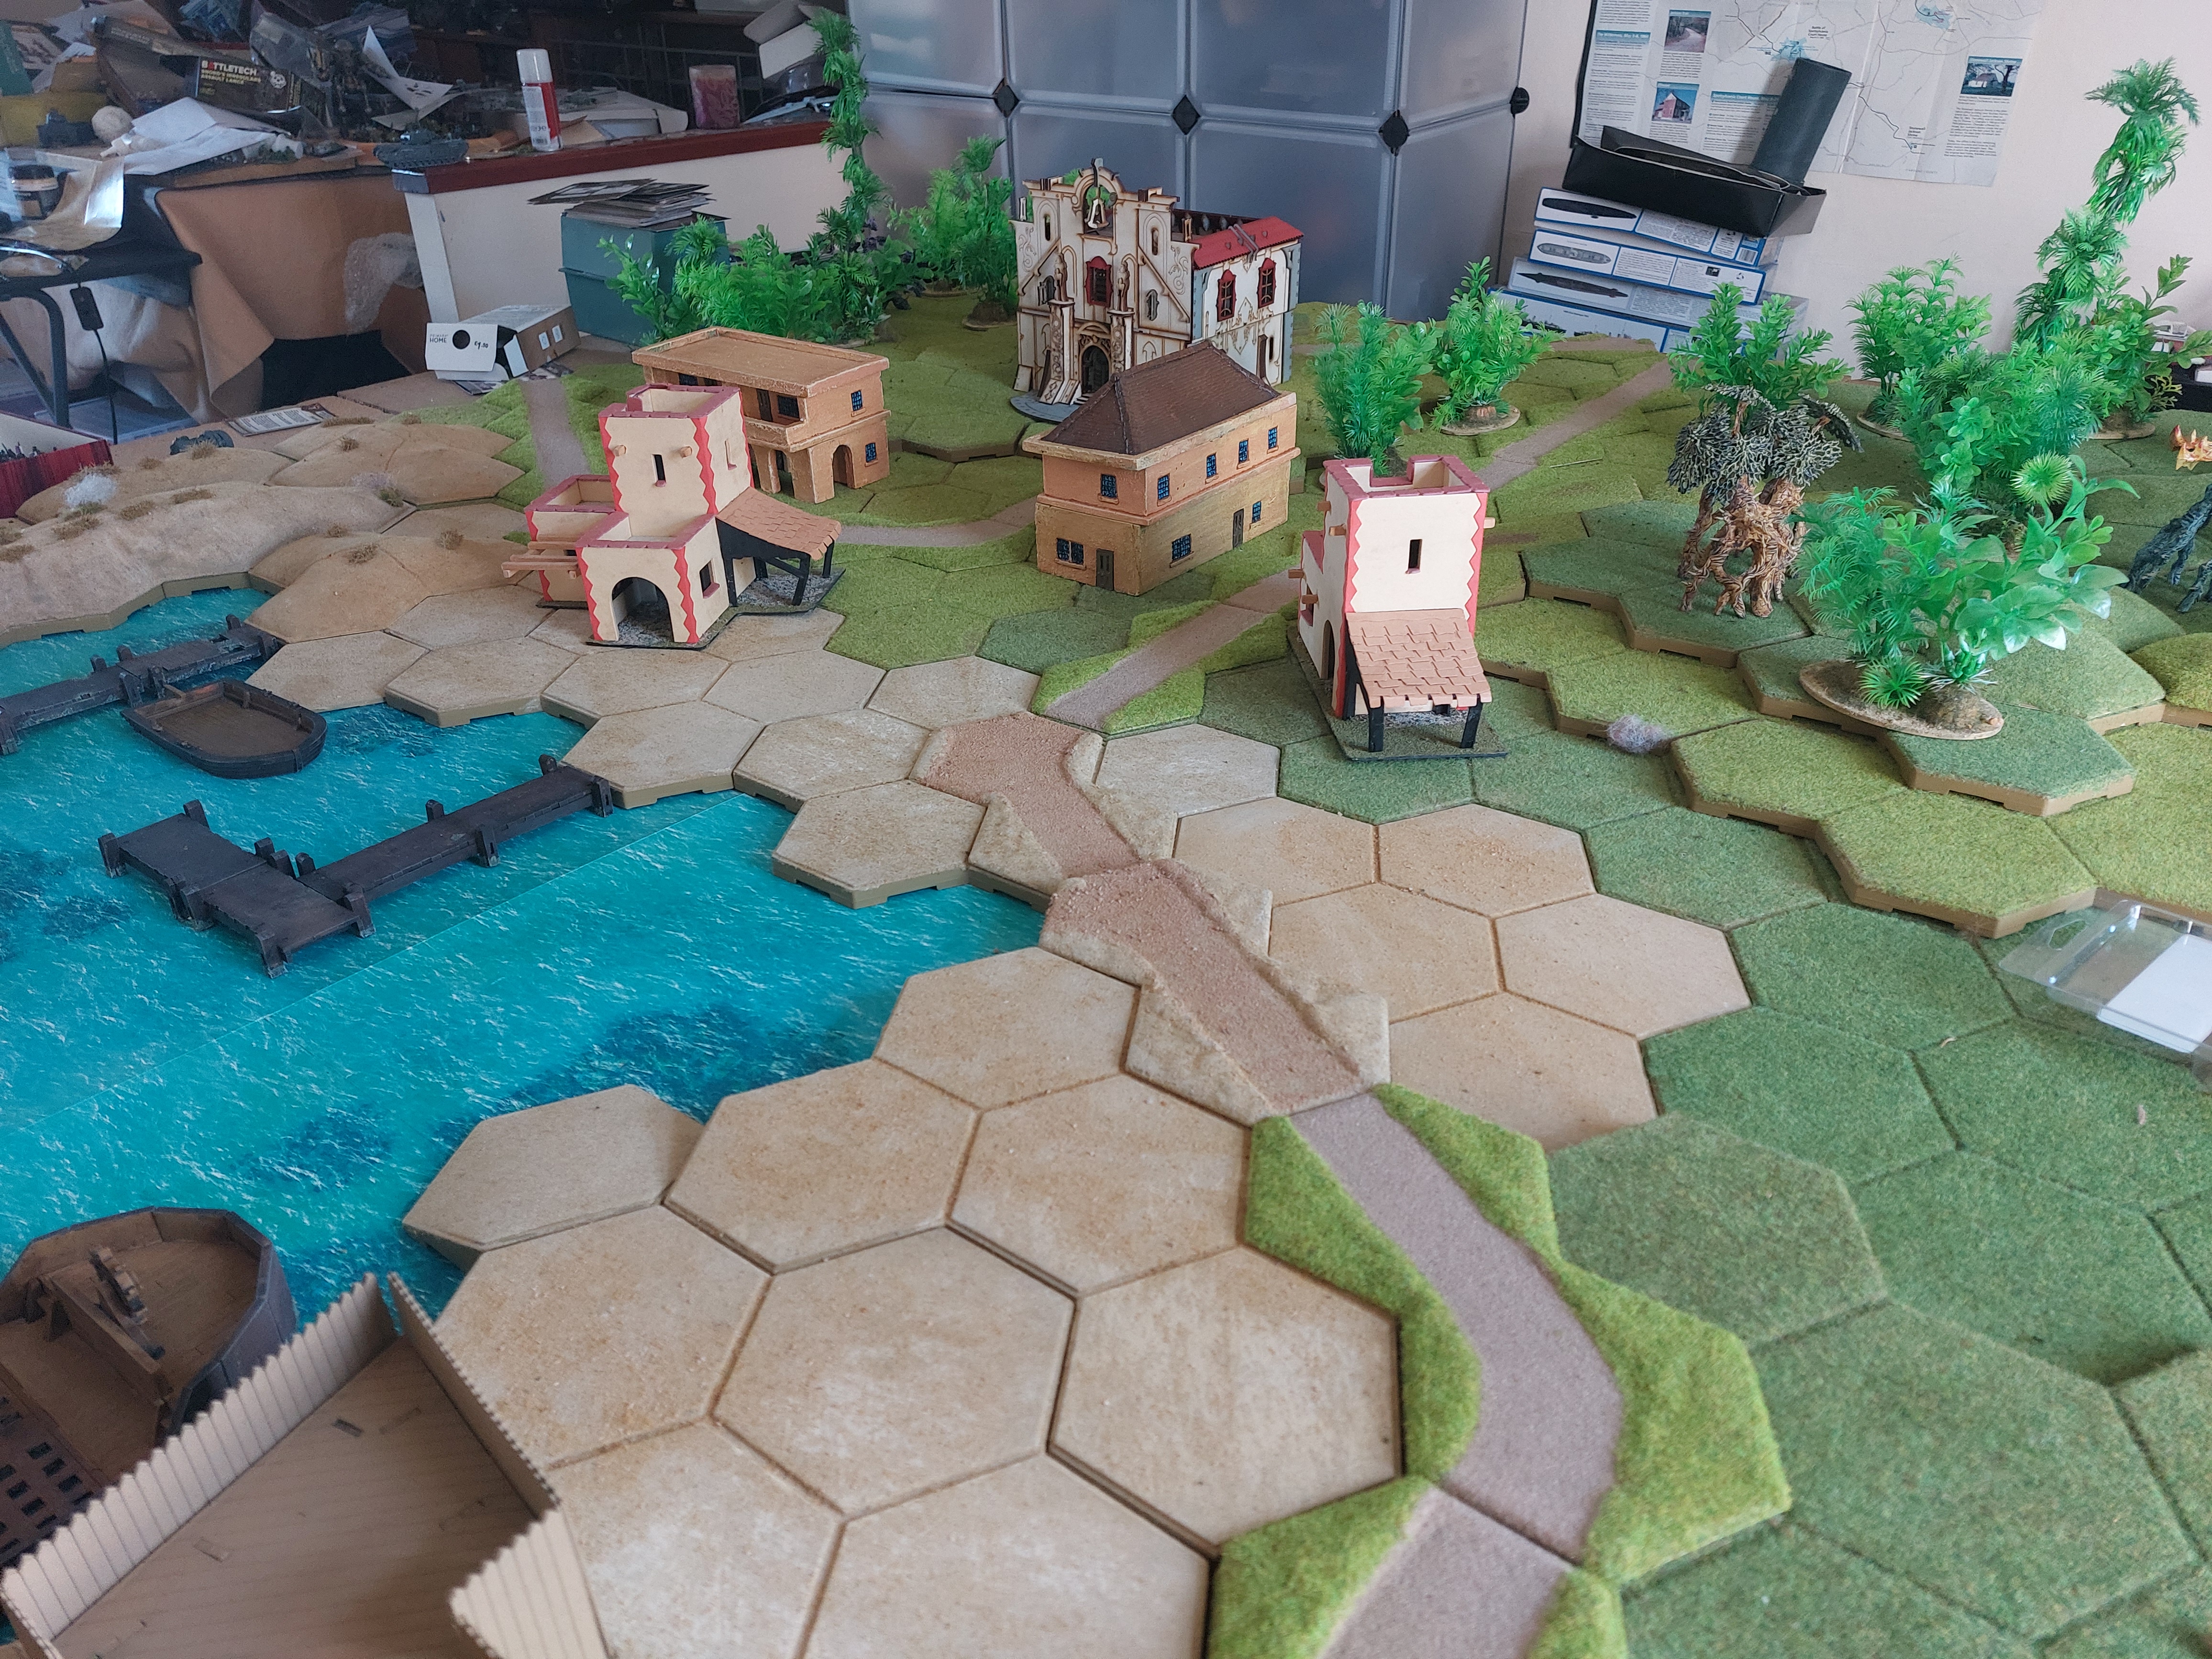
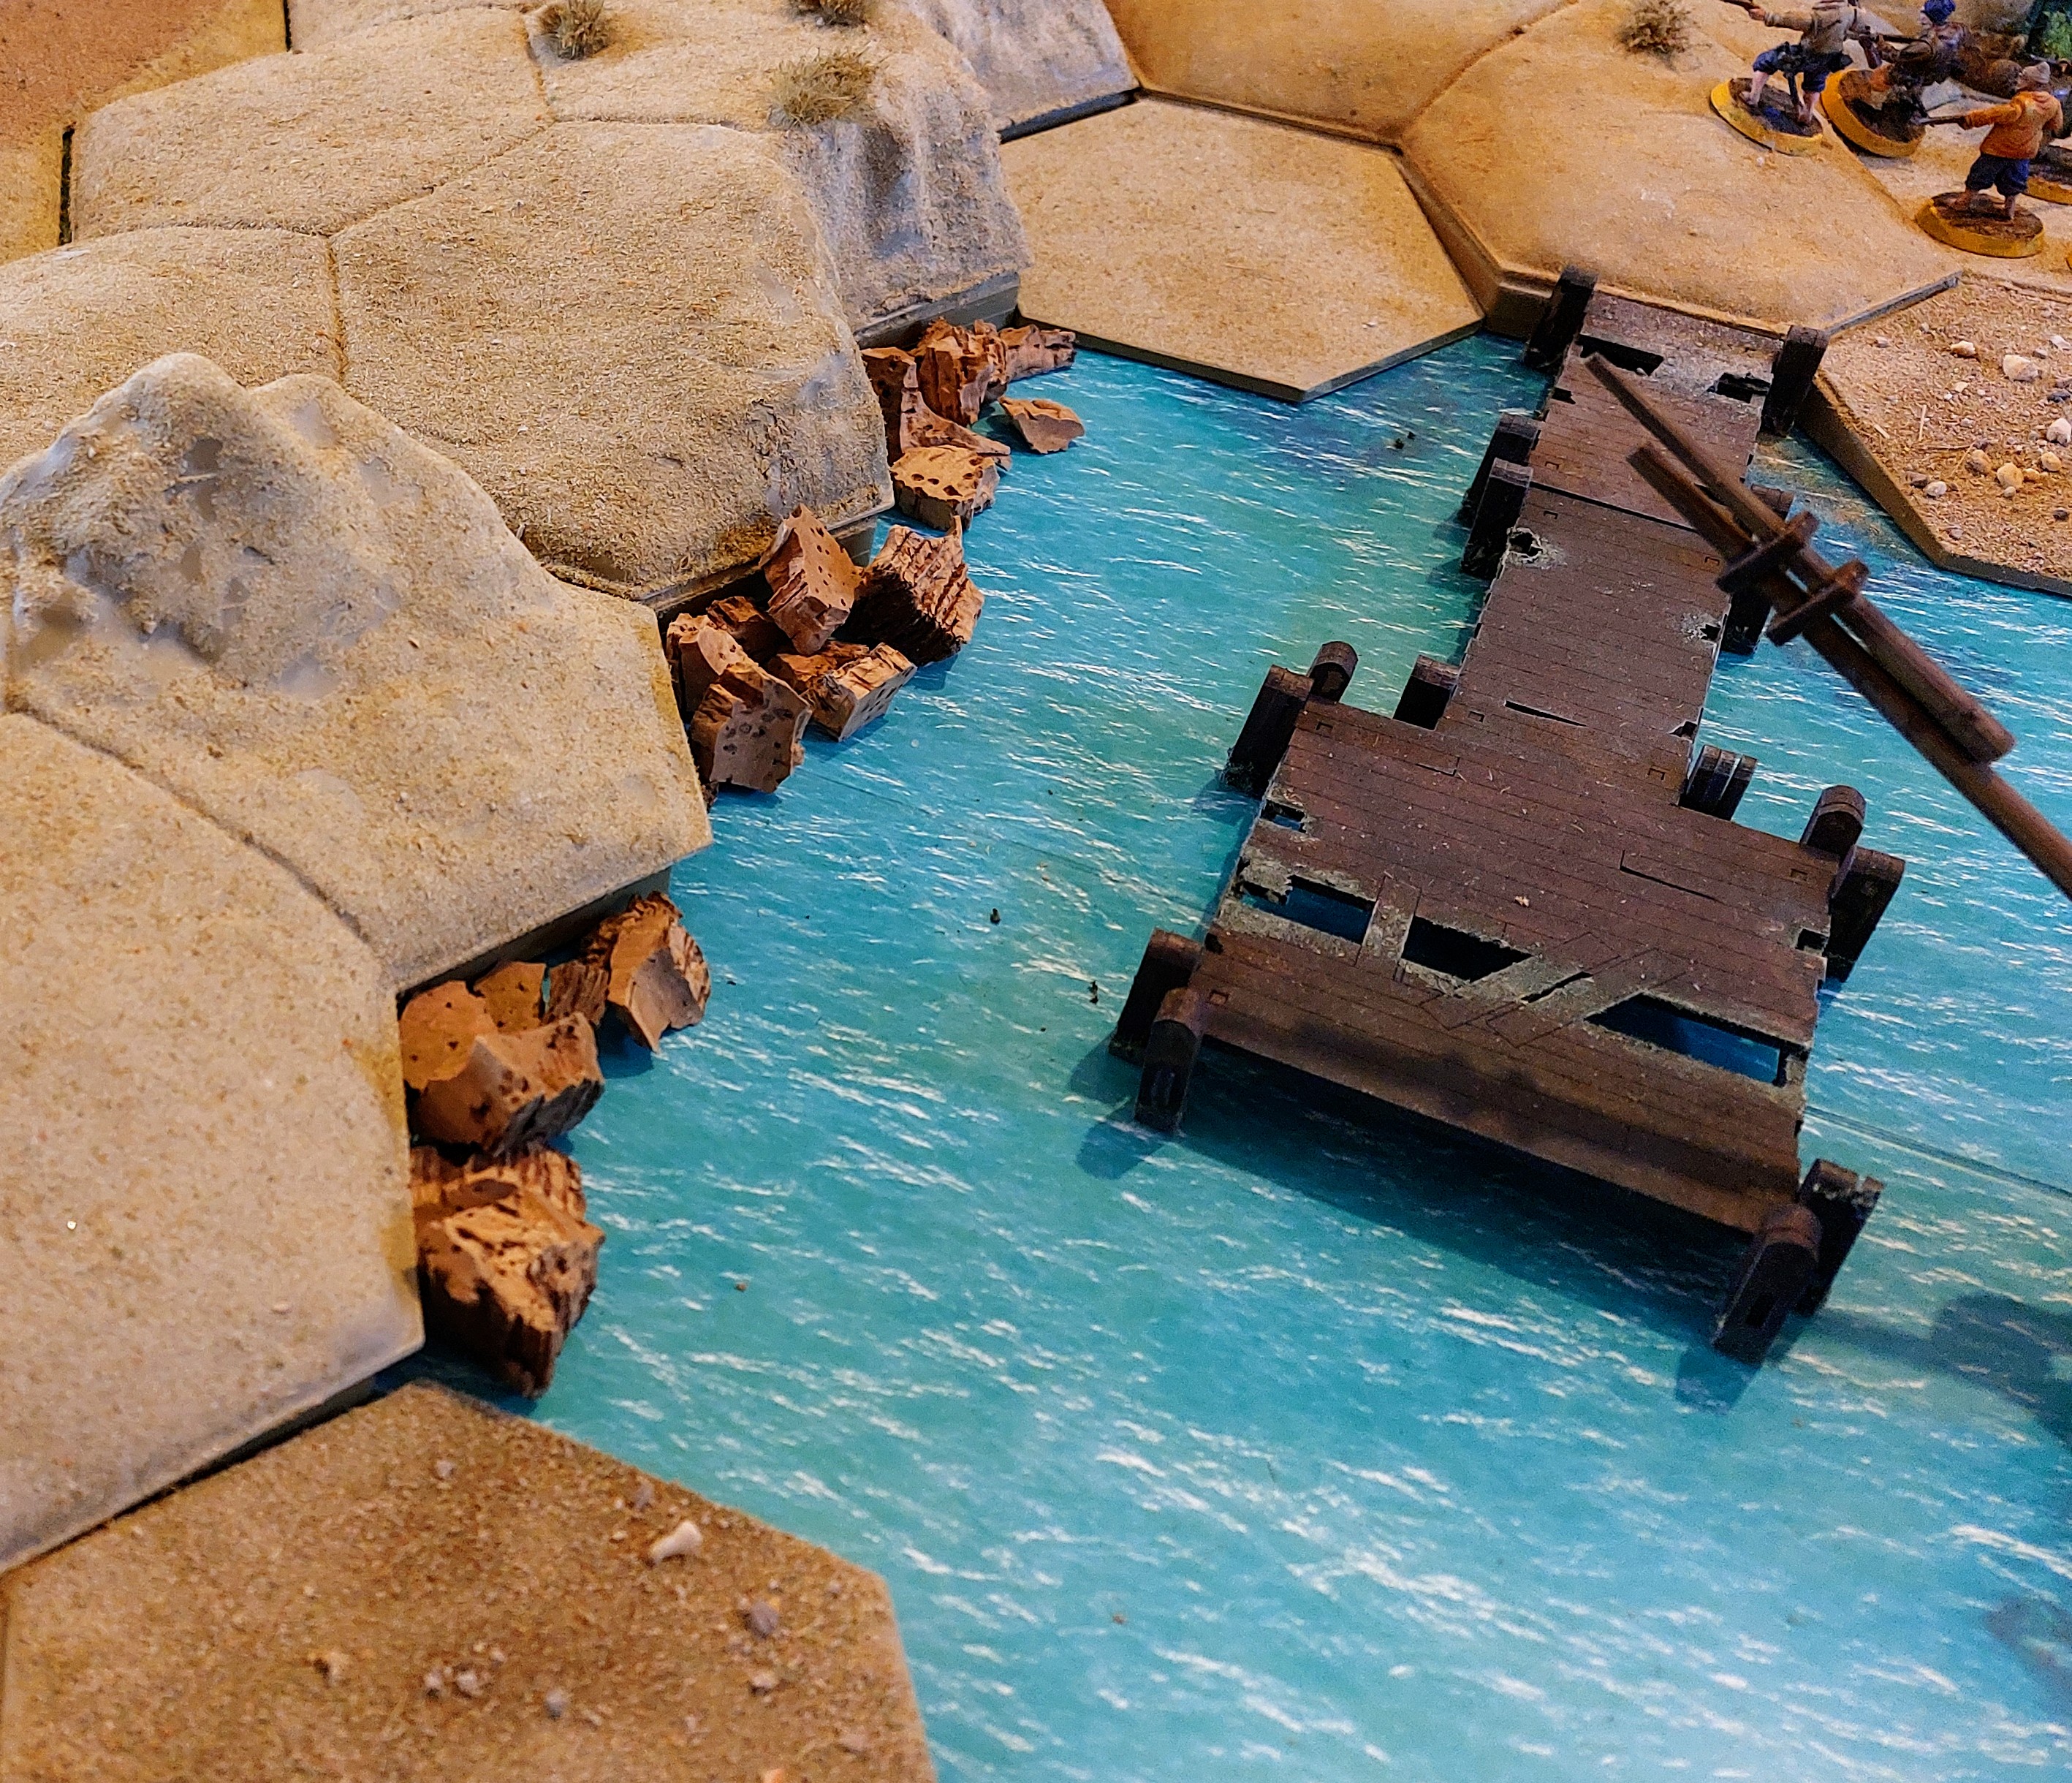
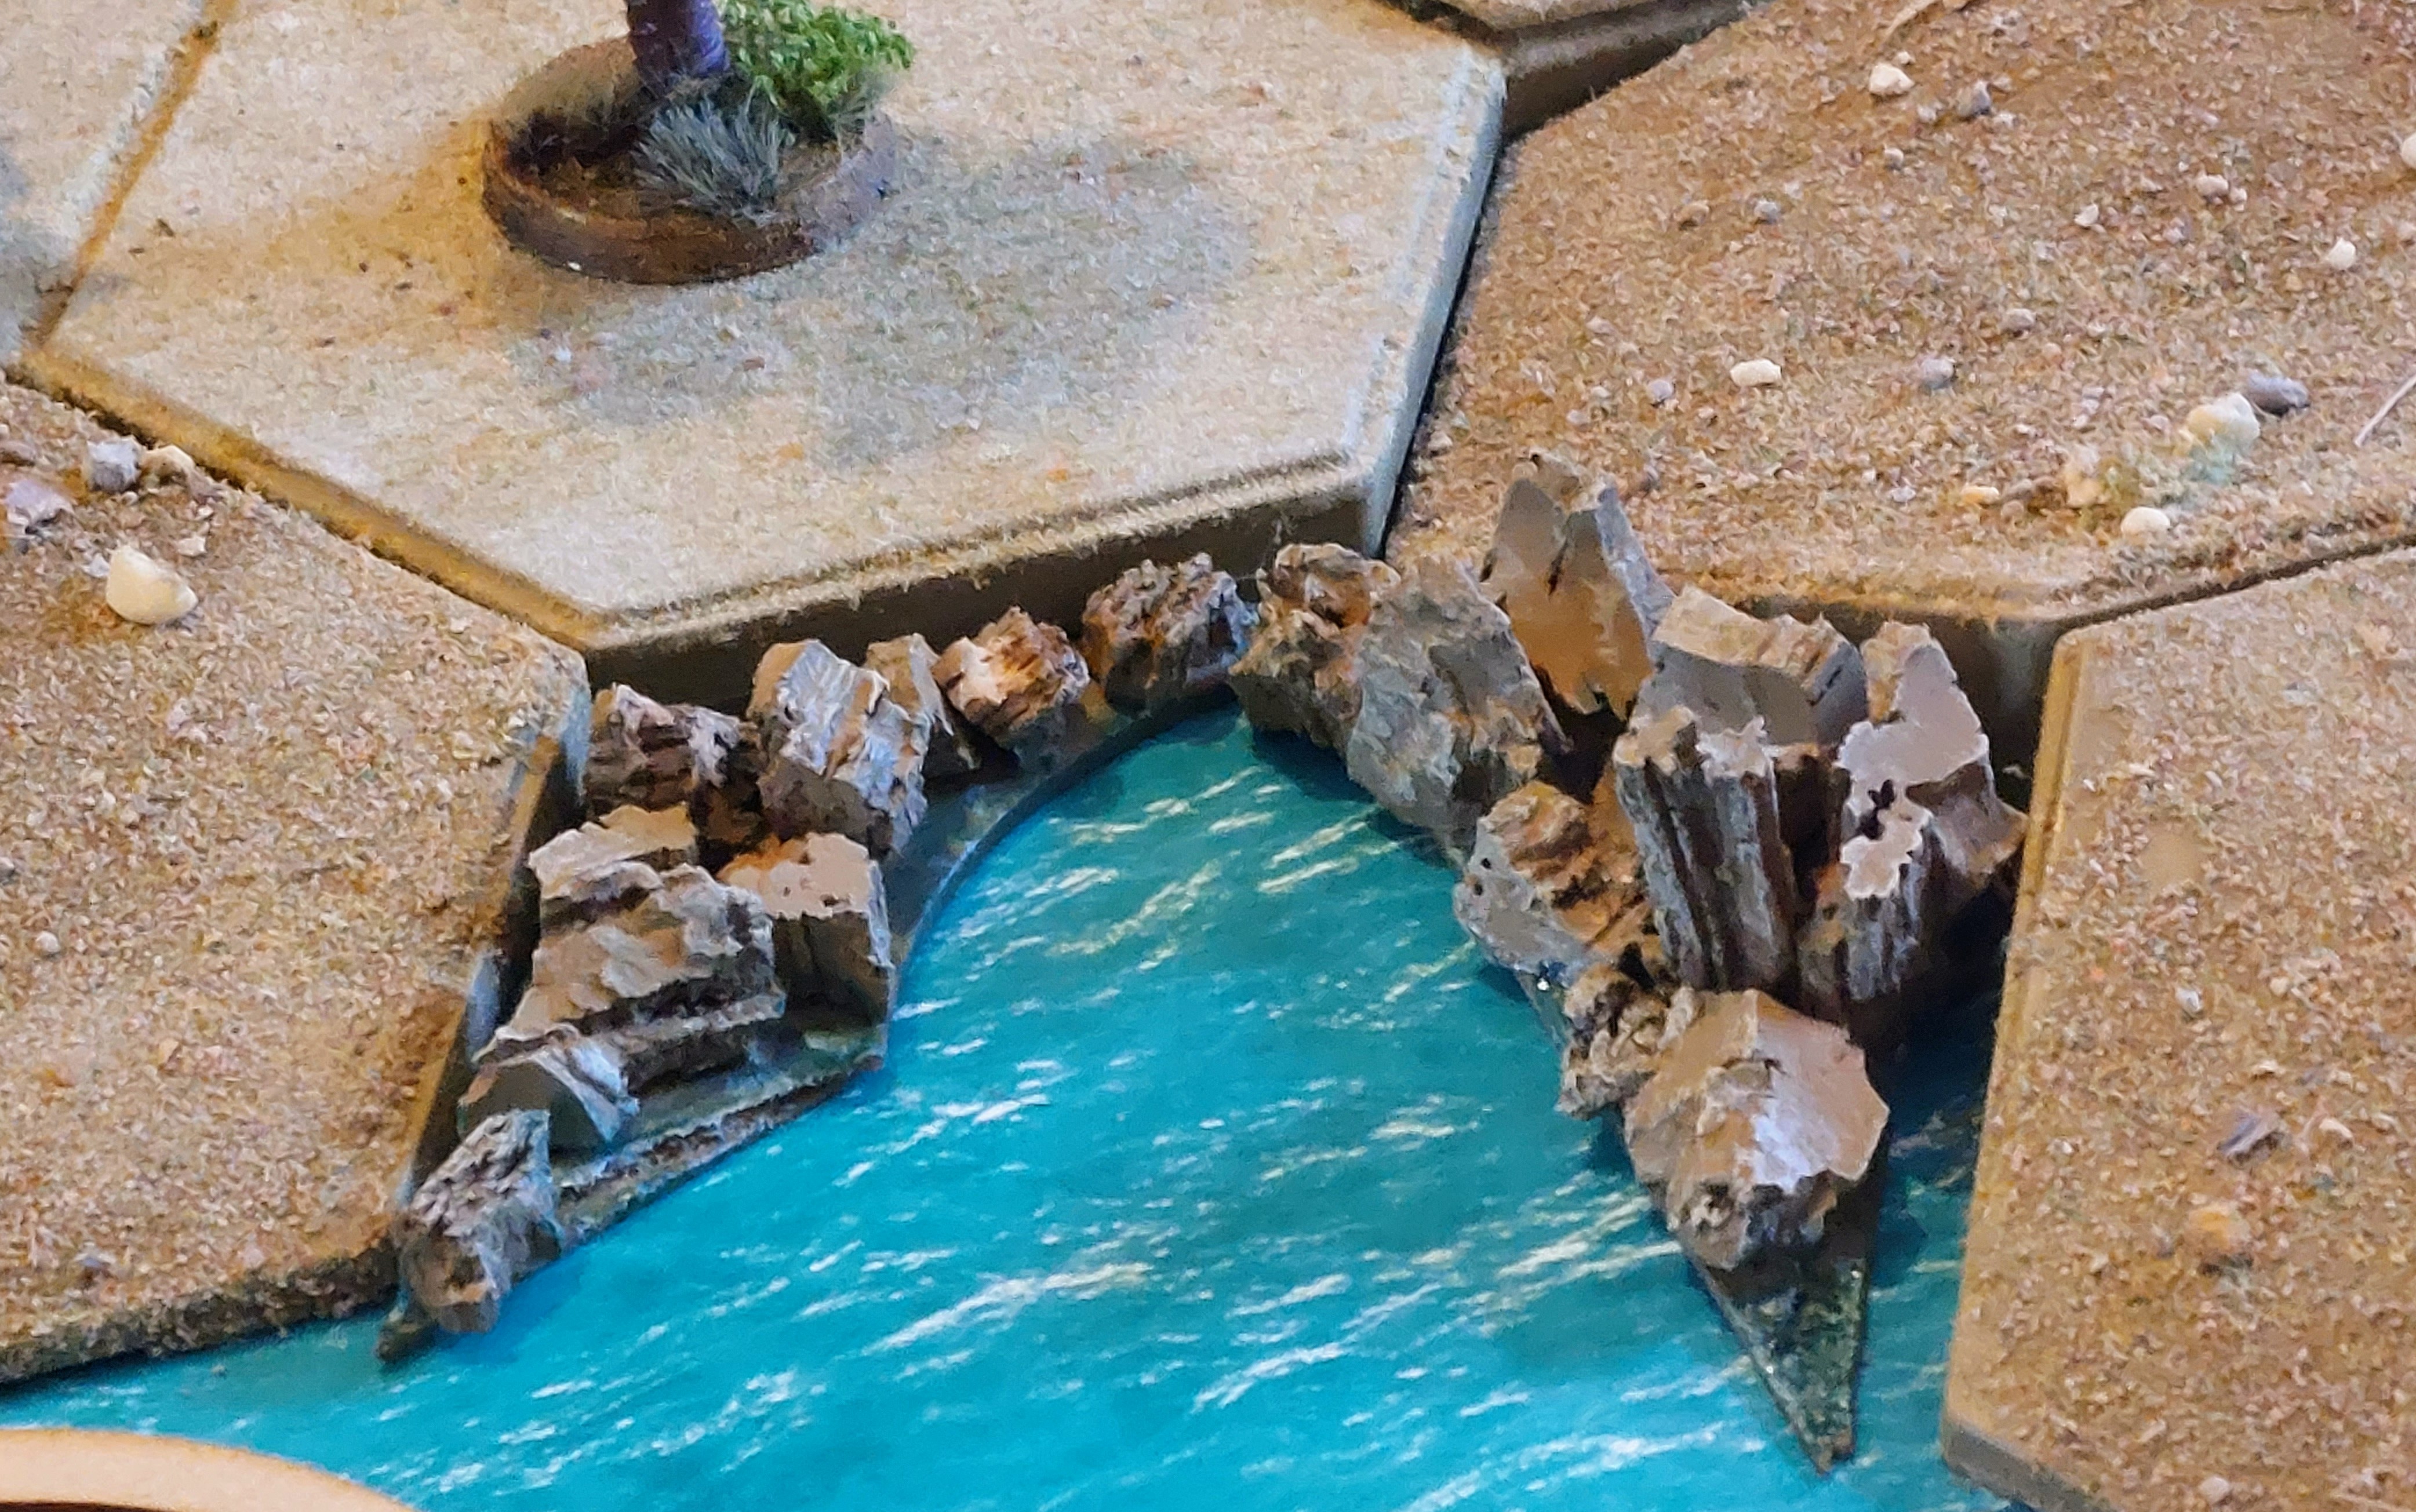
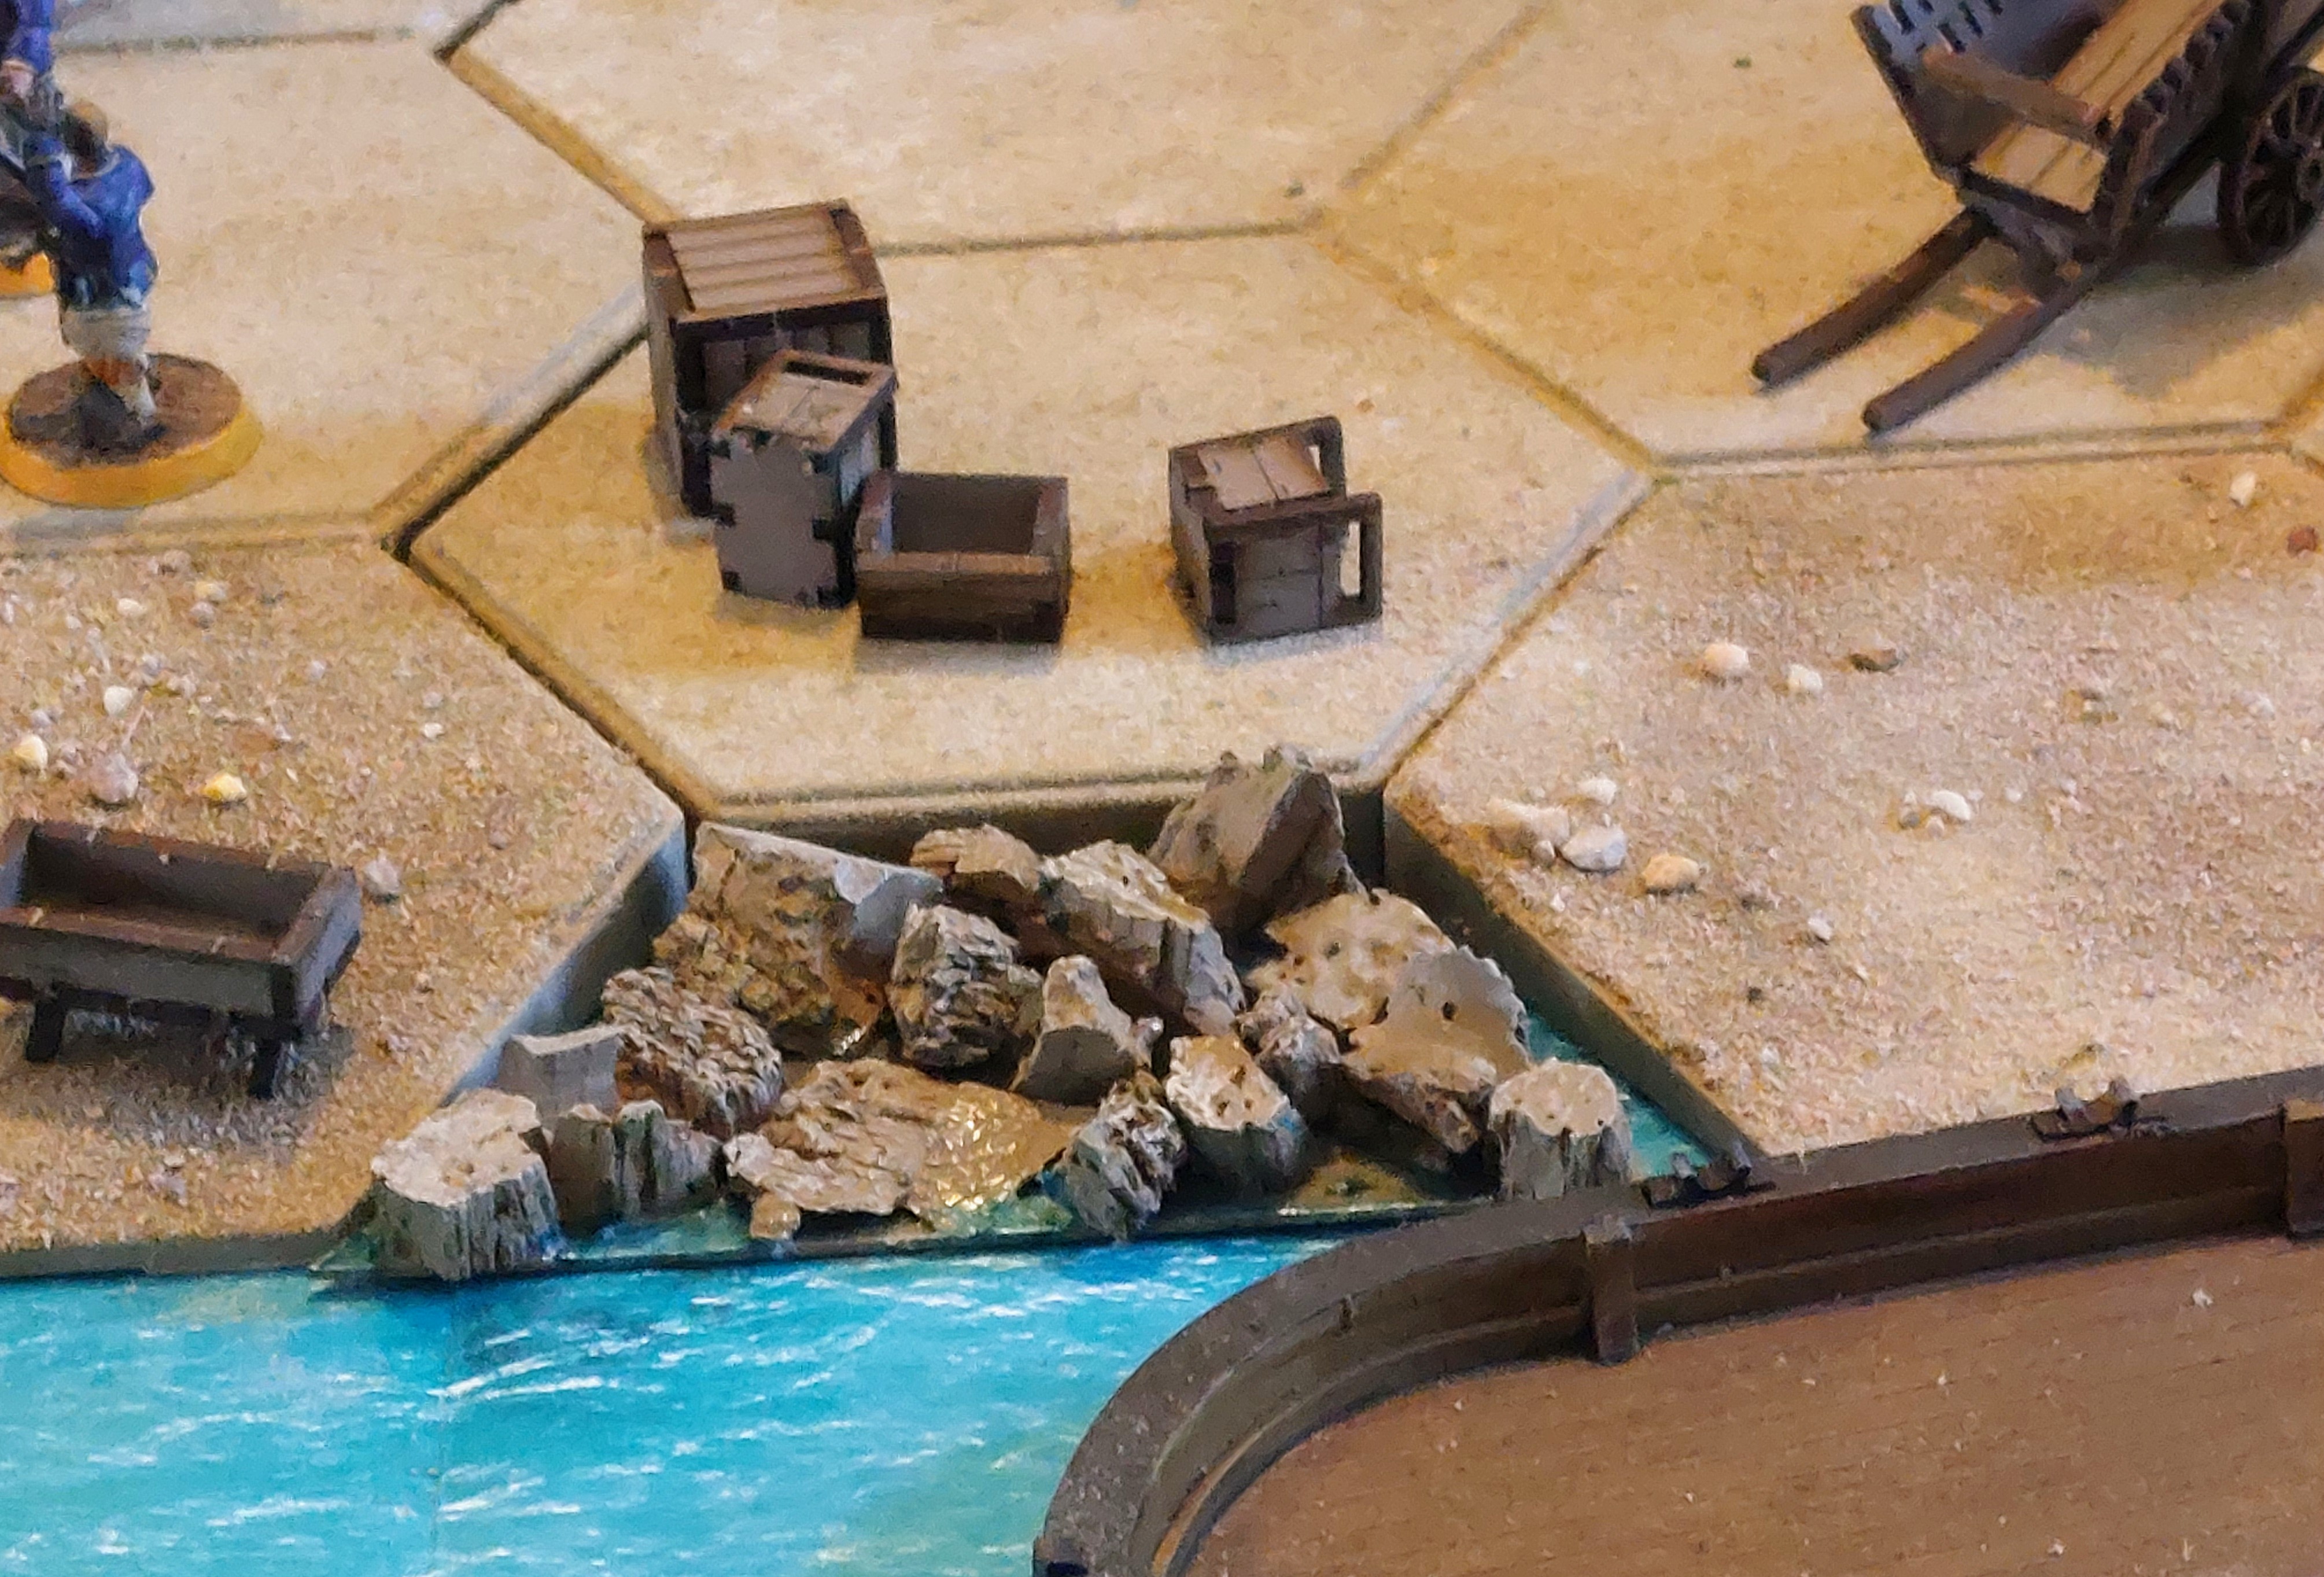
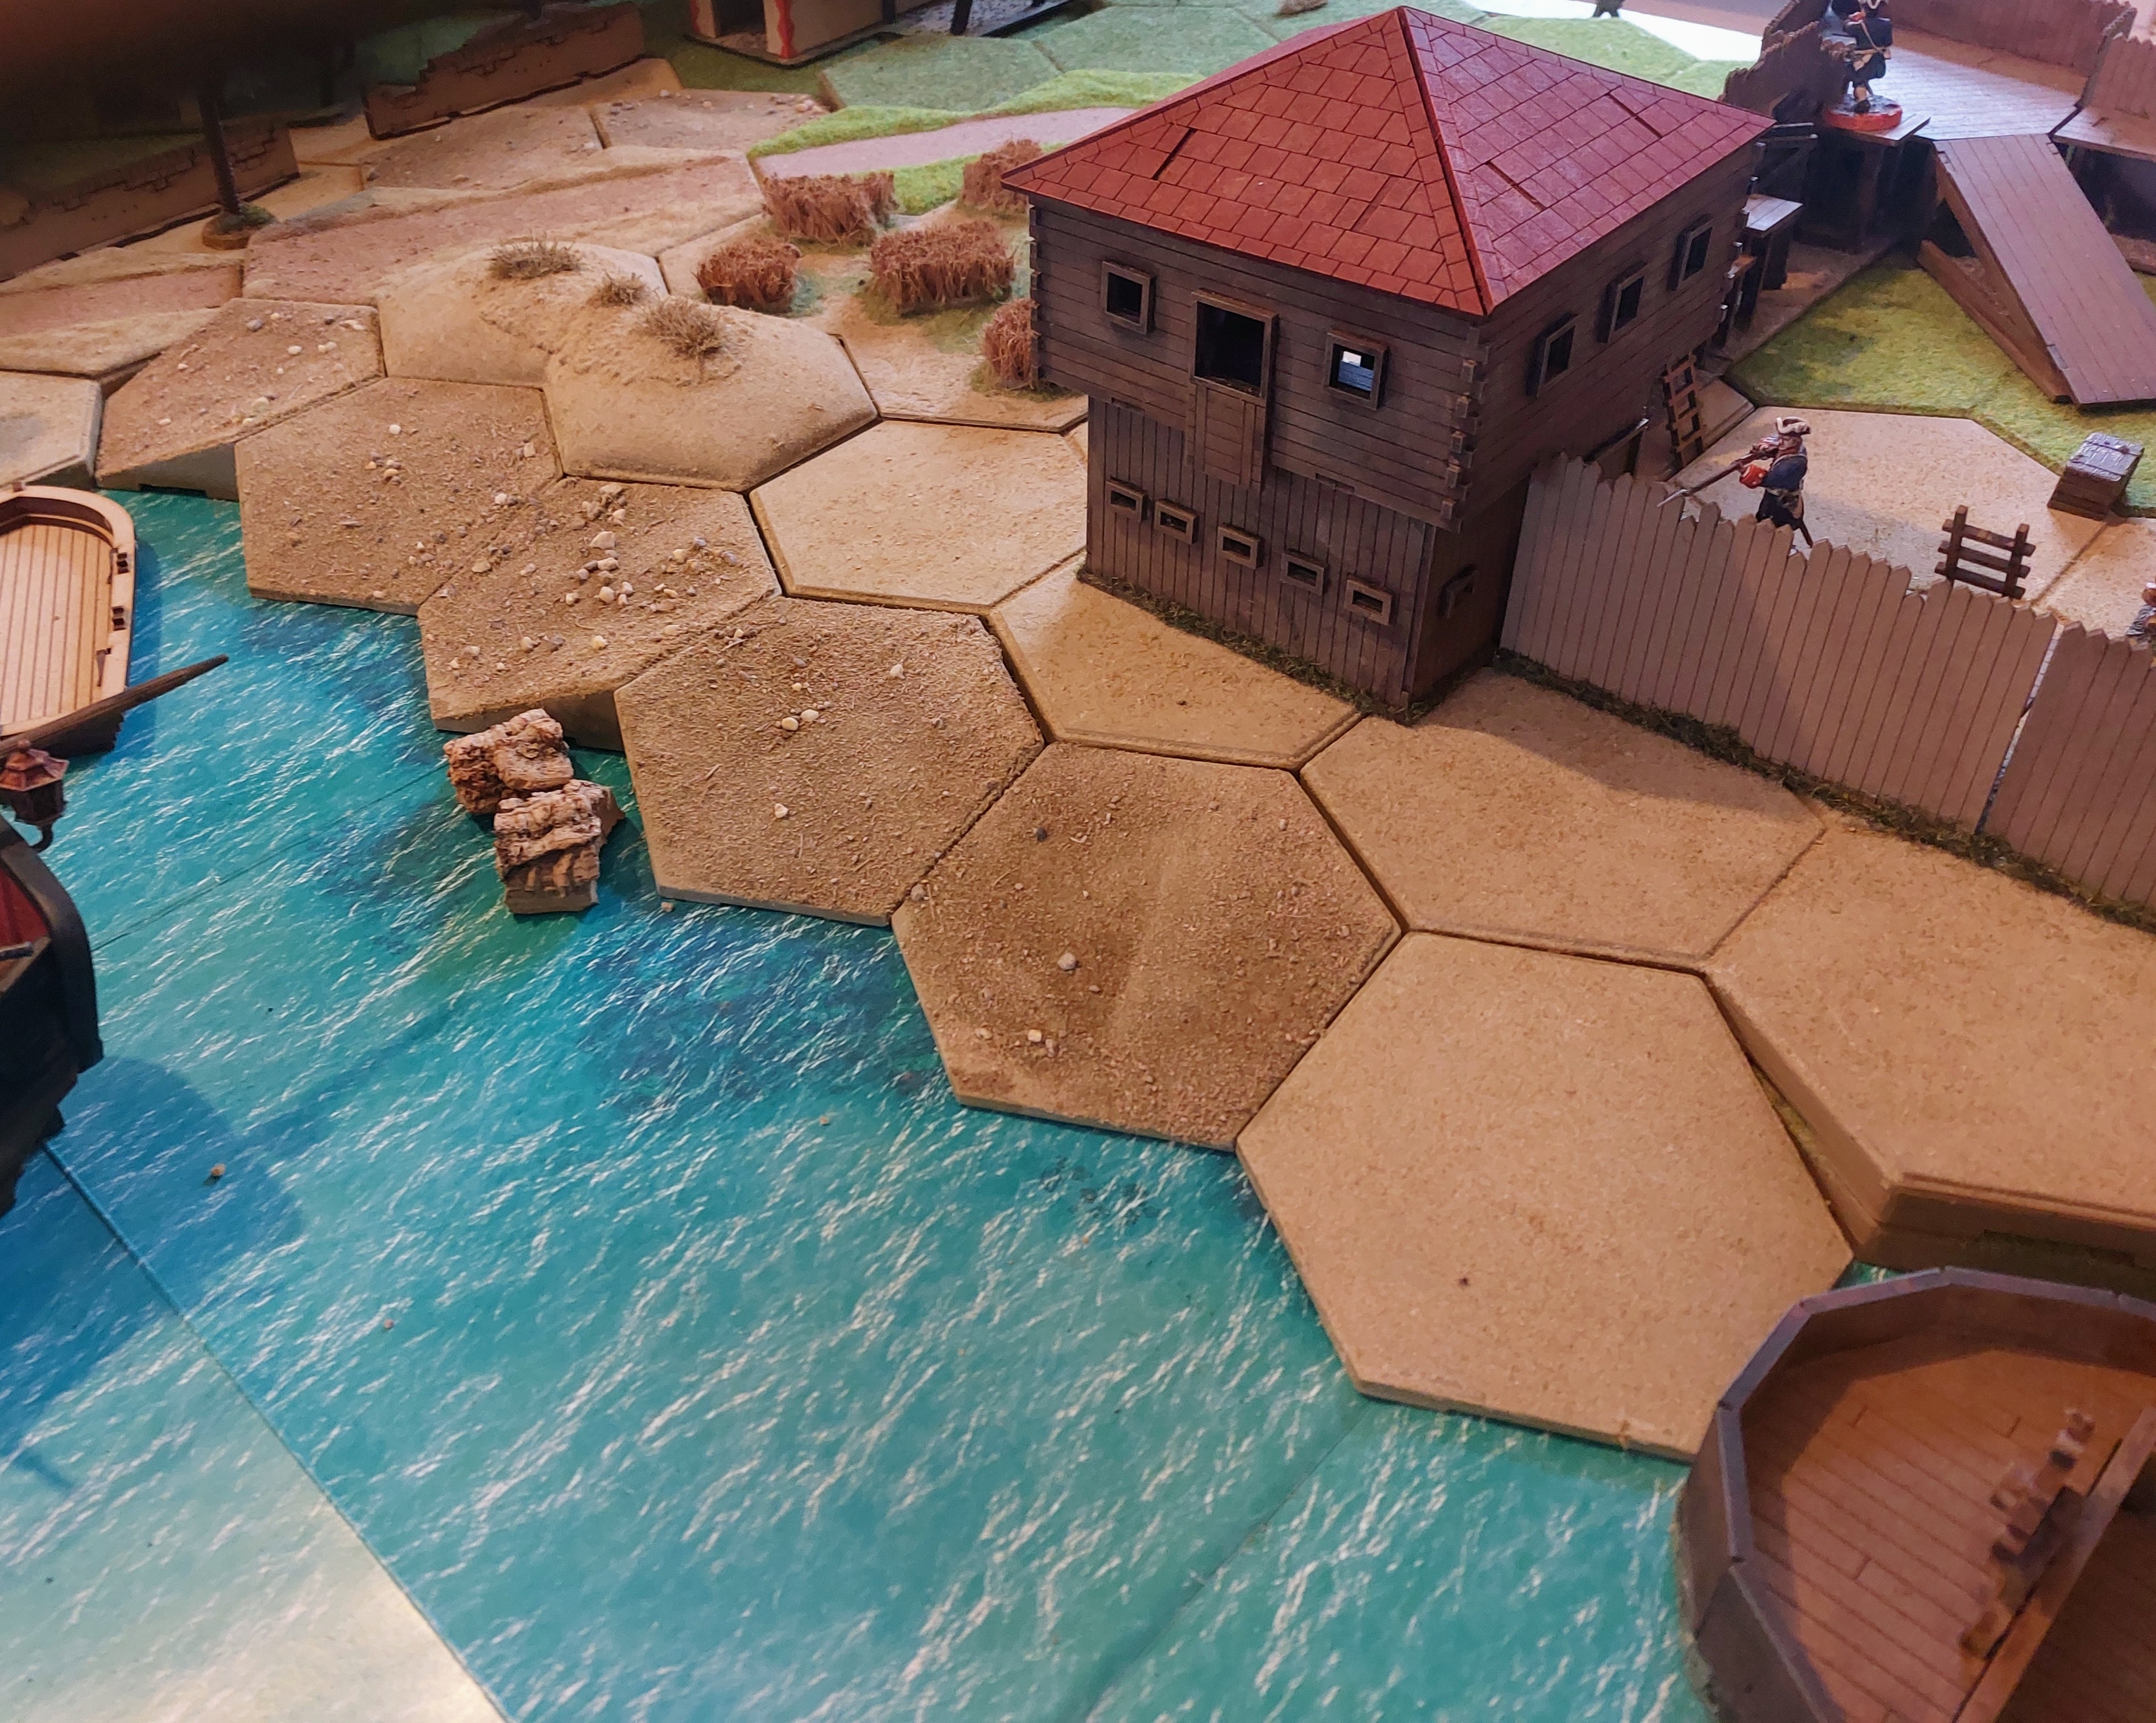
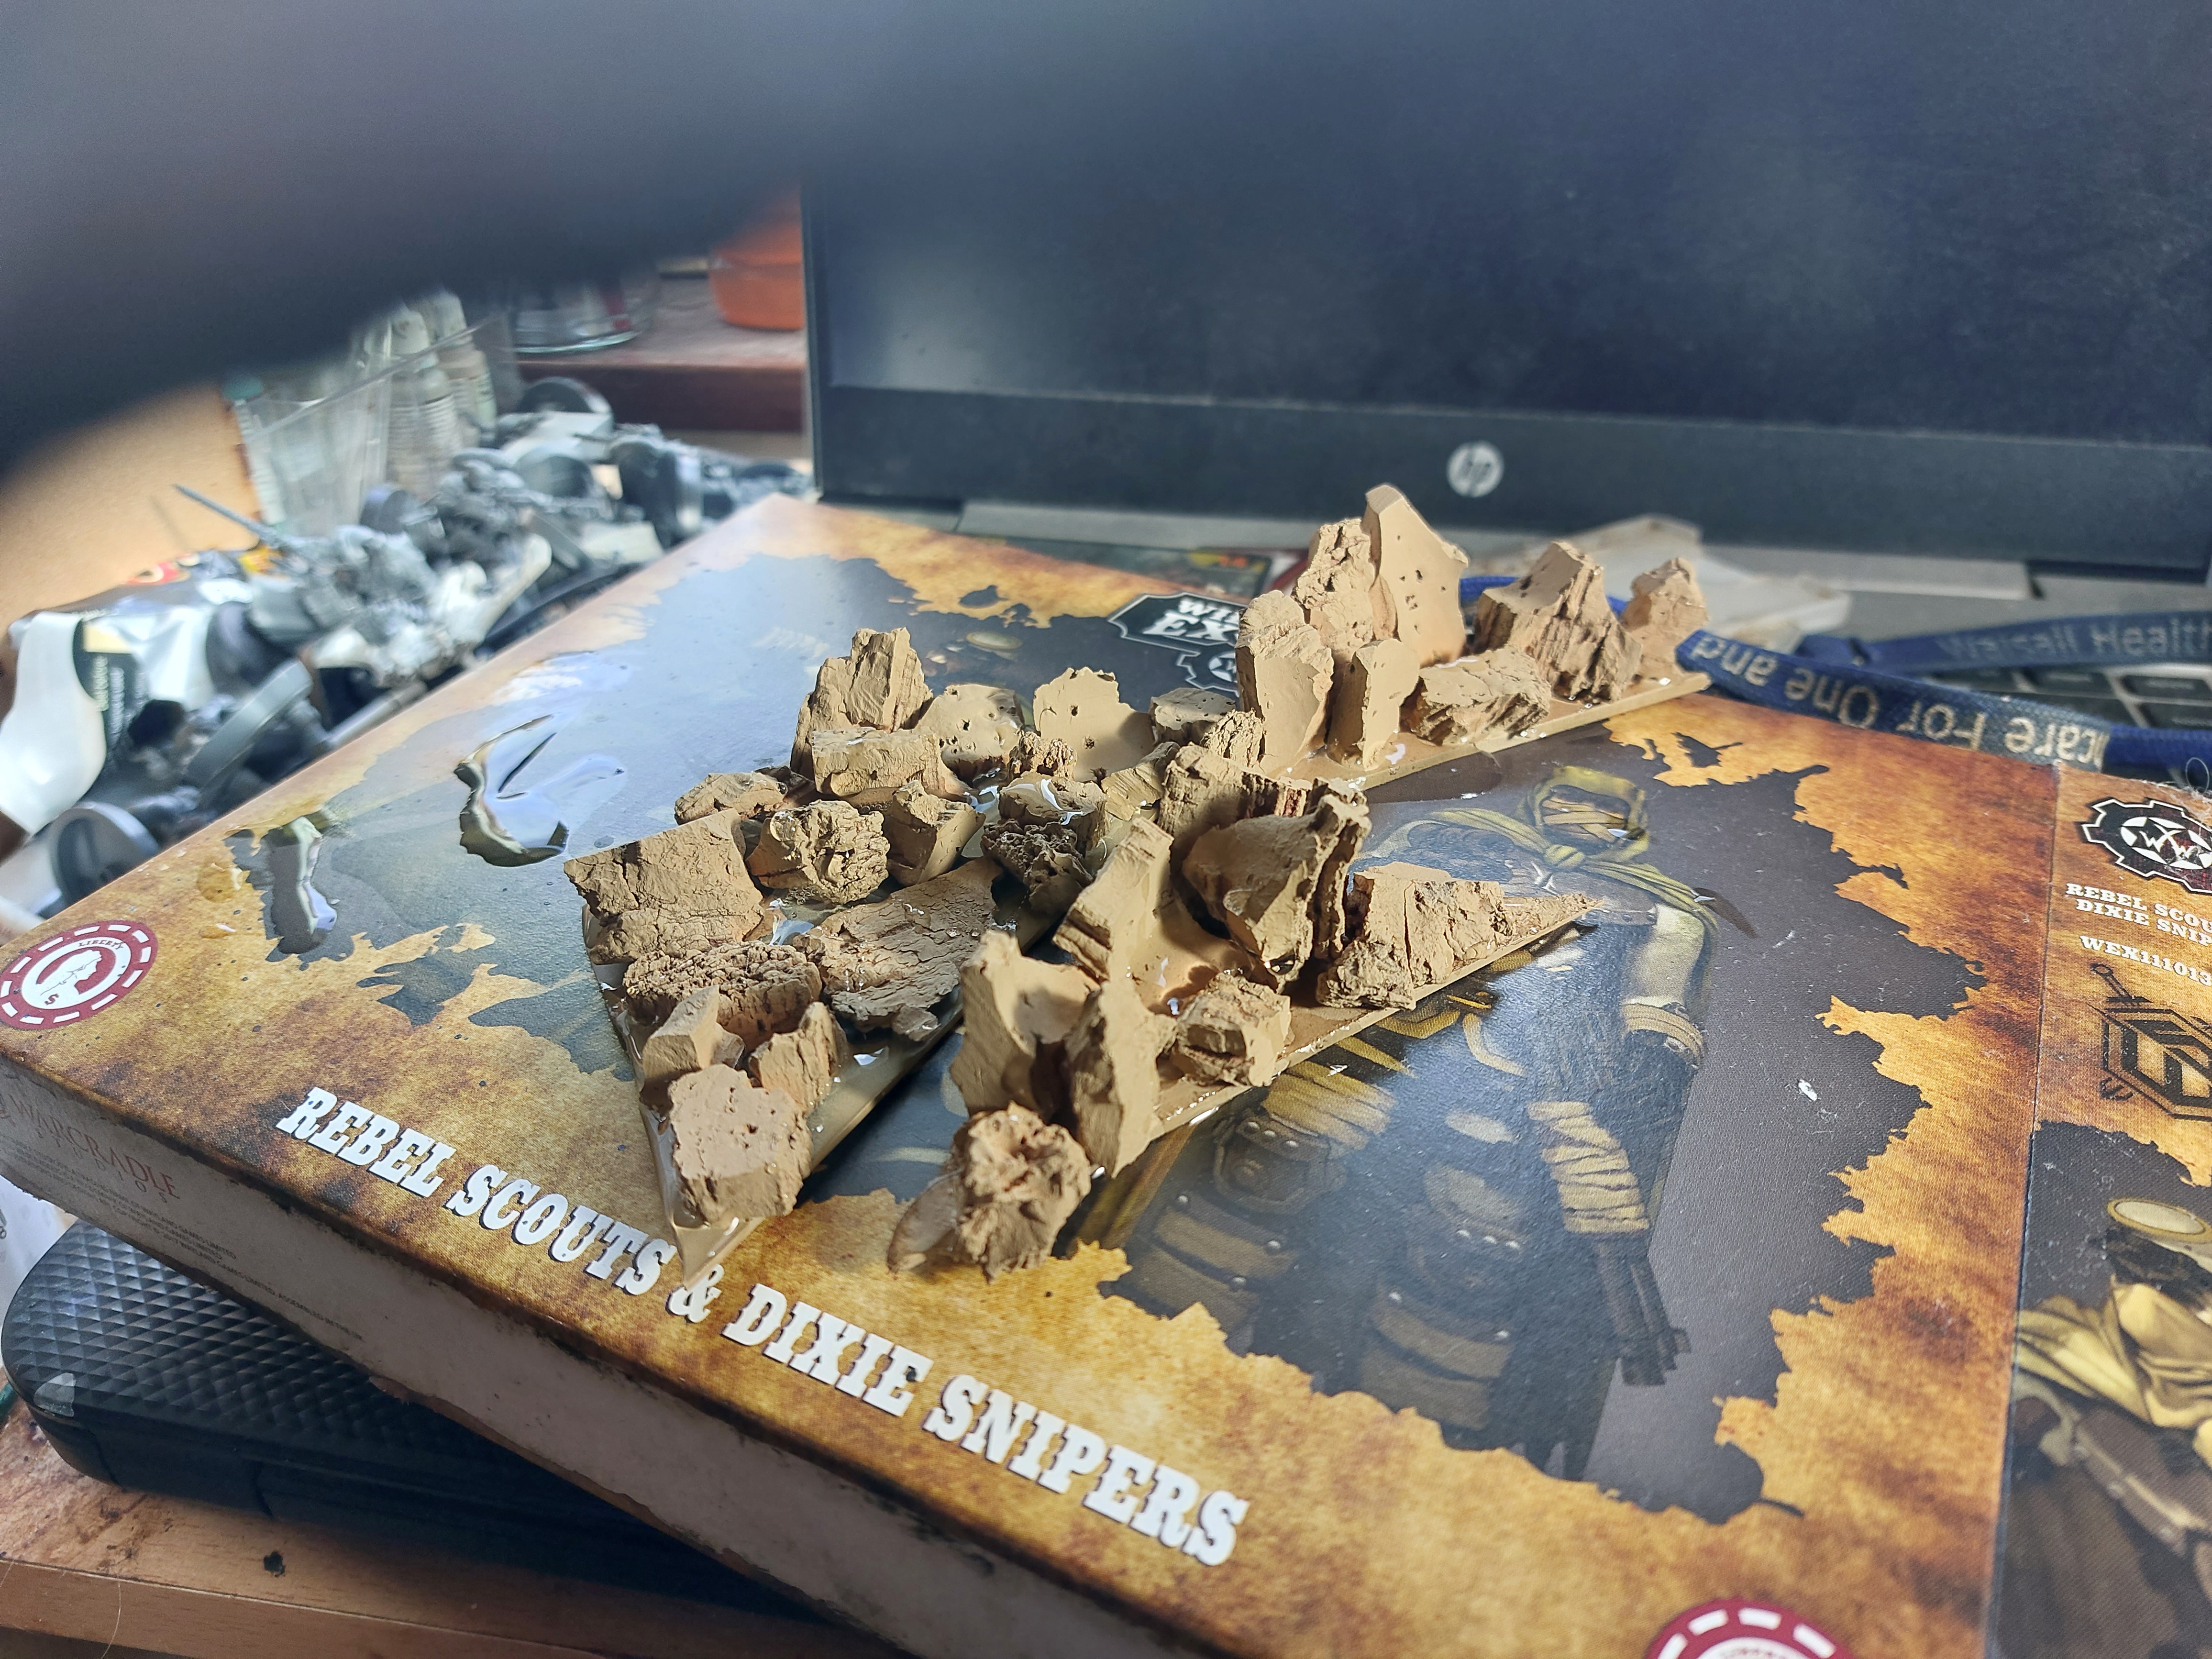
As you can see still some ends that need landscaping, I could leave them for game, but you can see I’ve started to experiment with Cork, for rocky ending as don’t want to extend to much more. I have got some bits of mdf left over from various recent build so may use them to do some modular sculpted ends for the ends of the hexon.
Nearly Done.
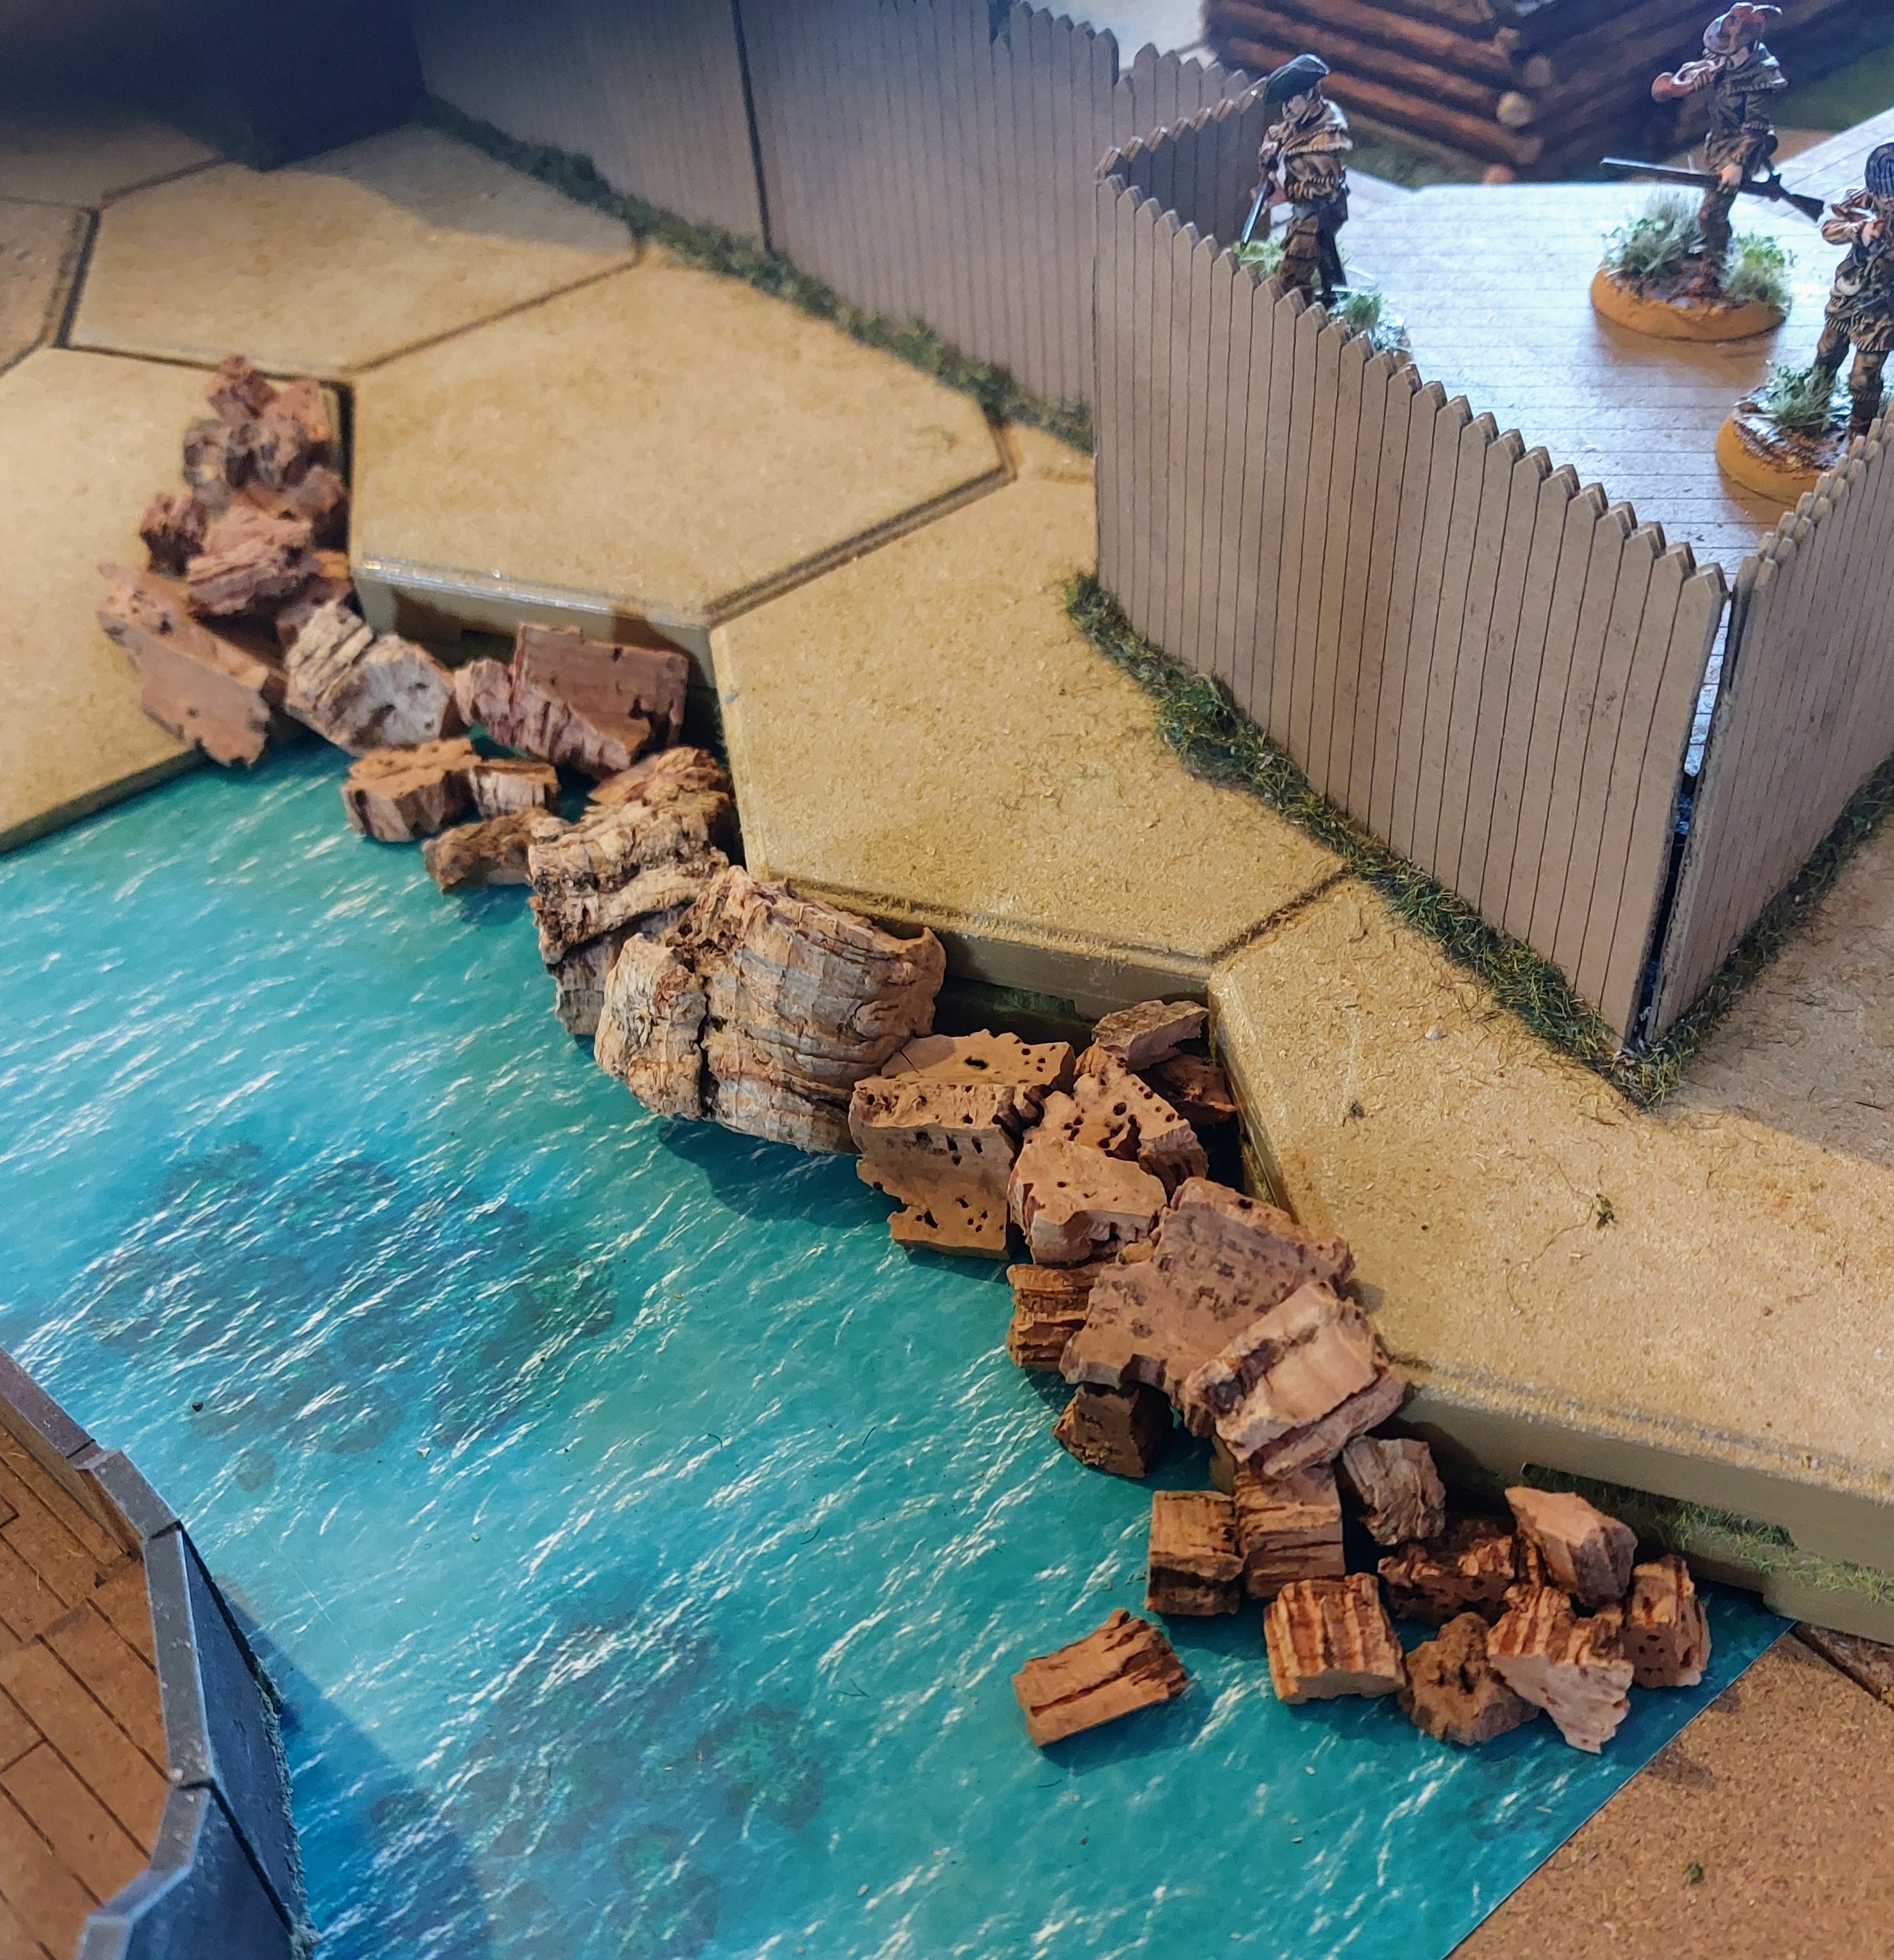
One of those things that I have laid thinking about at night was the odd end’s of slope that have been were I don’t have hexon peice’s to fit, As it it is I hada tub of Cork peices, and thought rocky outcrops. So I cut some leftover MDF bits from various models to fit.
I then glued various bits of The Cork all over the mdf with bigger peices butting up to were it meets the flat mdf edges.
Then I sprayed them GW Zandri Dust.
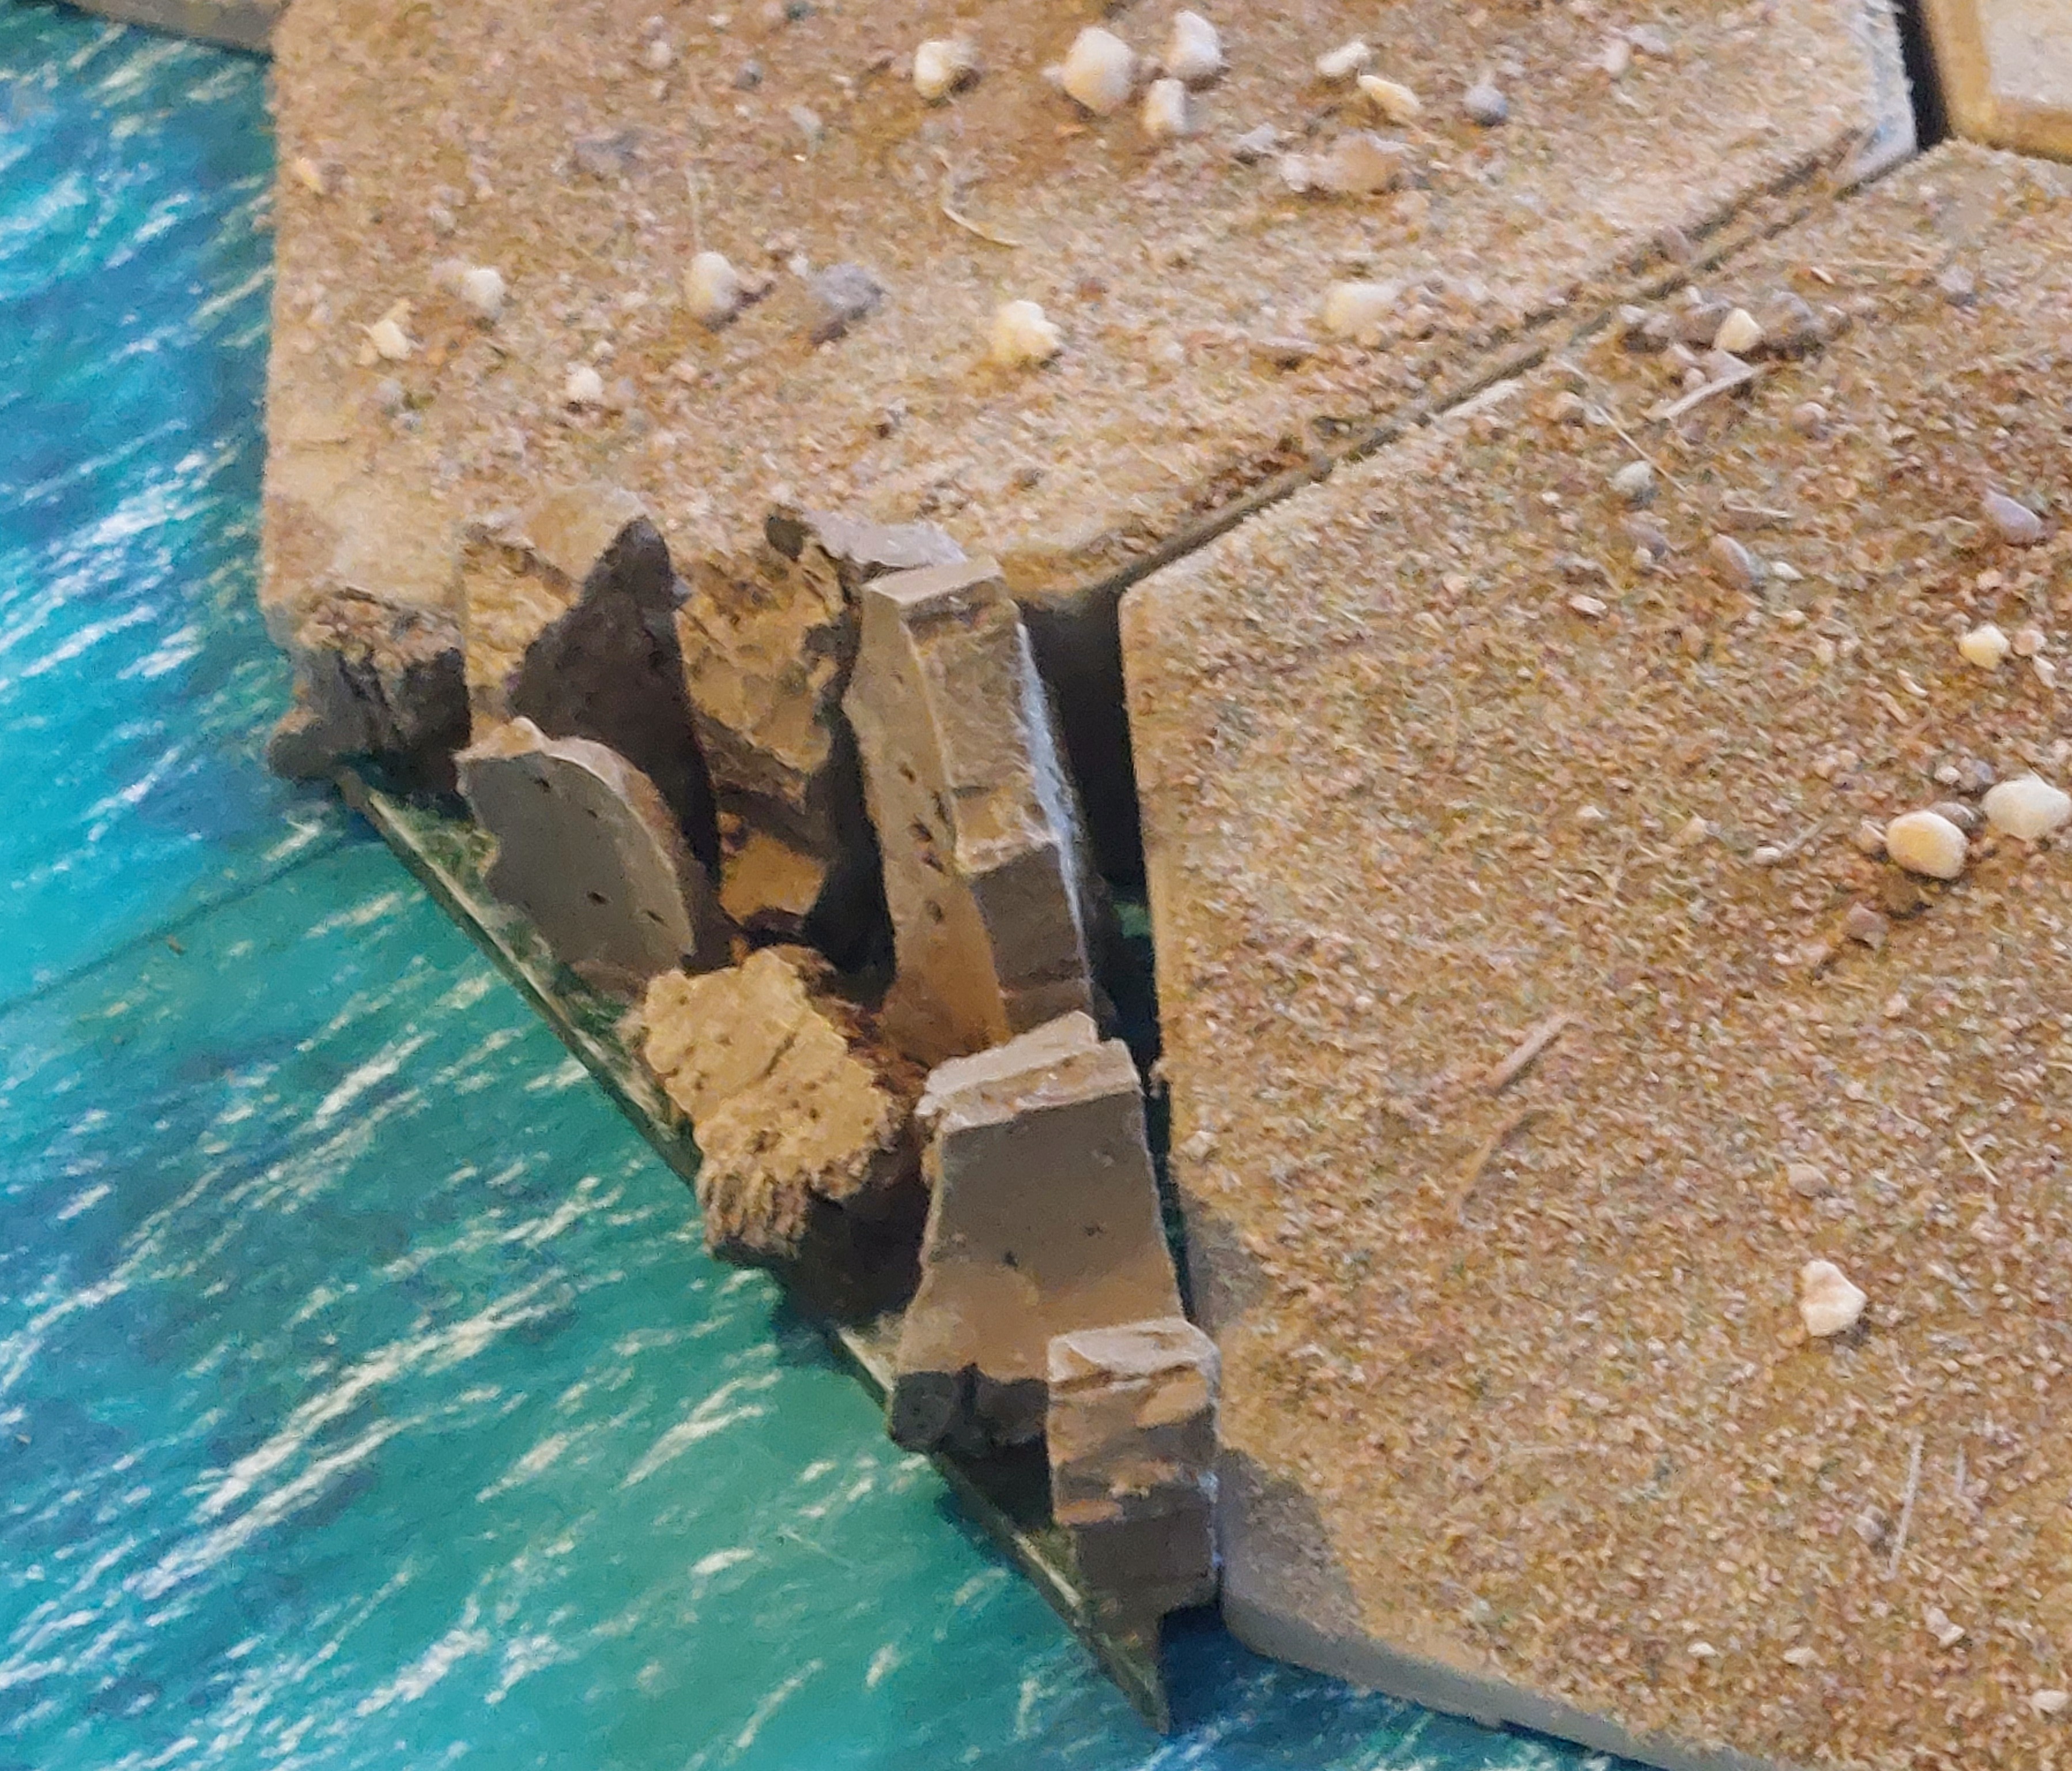
Now I should have dry brushed them at this point , but forgot, as I then as an experiment filled in the gaps with Clear PVA. I have been told and it can dry opaque in patchs but as this is on the shoreline, it will hopefully look like foam , breakers.
I still have the option to lightly dry brush the tops, and the glue should help fix the Cork if nothing else
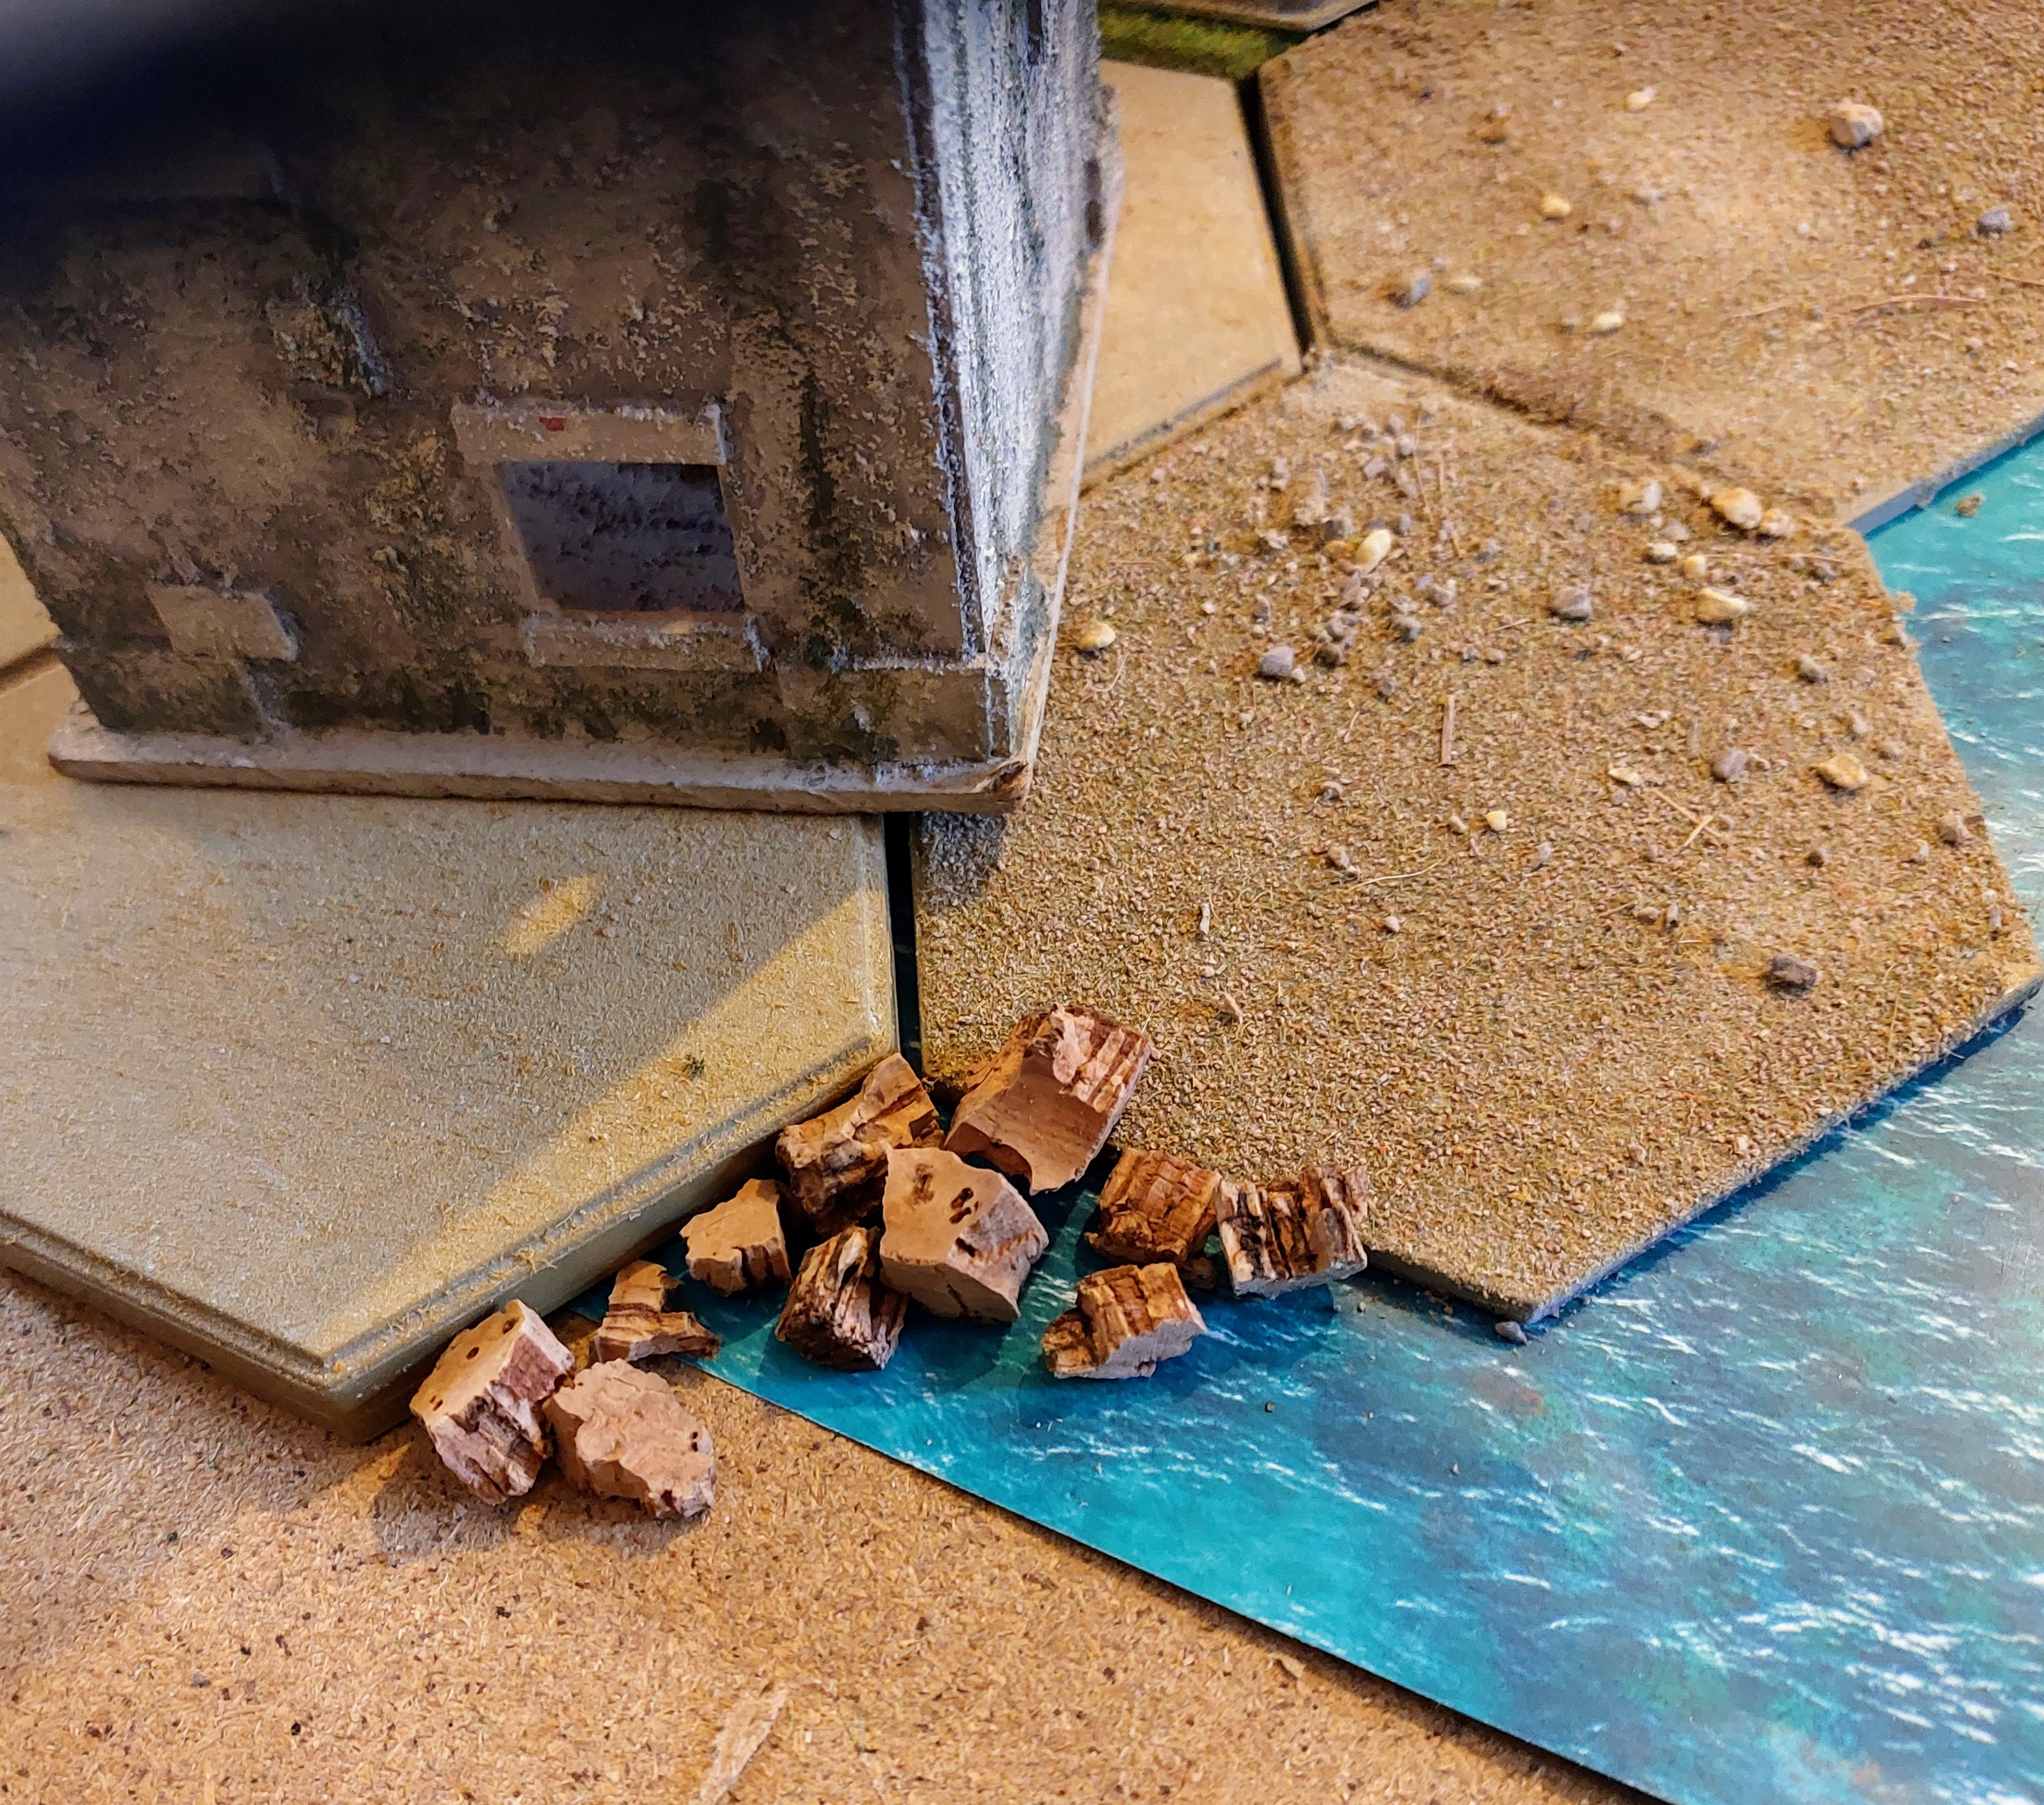
Strangely the next idea didn’t come till I had done the above and was looking at the bay sides with the regular hexon edges and thought how can I simply hide those edges. And thought why not use the rest of the Cork tube poured at the edges, which can be cleared up when the table is cleared.
Well apart from some final photos of the finished hexon ends finished, that is pretty much this project Finished.
There are two more Mdf Buildings in the post, but that wiil be used to have a bigger half the long side of table port, aptly named Port Nasus , an old Dutch Colony.
At some point I’m going to have to map these fictional Caribbean Islands and Ports for when and if the Campaign grows.
I had fun doing this project helped by the Terrainfest Challenge. Which if nothing else has given me the impetus to not only try and complete it, but go that little extra mile ( I can hear Lloydy and Warren whispering in my head a bout the open hexon edges)Like Justin’s this isn’t meant to be high modelling but more an attempt to fit much of the terrain I had to fill the narrative for the planned training games, Hopefully I’ve showed how adaptable the Hexon Terrain is. It is now coming up for being nearly 20 years since Kevin and myself covered his house floor in drying tiles and they have stayed flocked very well , despite being in constant use for much of that time.
Anyway now I can return to doing some updates on ‘Voyages of the Fluffy Bunny, which has some Mote ships, Spanish and Native Americans to show.
And done By the skin of my teeth!
Well the set peice ends done, the watery bits were covered in a contrast blue green, which of course dried matt, so then had to varnish it gloss, didn’t have to be too careful as there would still be wet bits above waterline for waves etc.
And that’s me done for this project.
Good luck to all of you that are taking part.


