![Very Cool! Make Your Own Star Wars: Legion Imperial Agent & Officer | Review [7 Days Early Access]](https://images.beastsofwar.com/2025/12/Star-Wars-Imperial-Agent-_-Officer-coverimage-V3-225-127.jpg)


The Nice Inn – Bringing DnD to the Tabletop


Recommendations: 169
About the Project
So this is the start of a month long terrain build. I have recently been building terrain to play in primarily The Barons War, but also stuff I can use in my DnD campaign. So this event was the perfect opportunity to add more terrain to my existing collection. In My DnD world there is a place that goes by the name of the "Nice Inn". There is a Nice Inn in every major settlement, however the strange thing is they always are identical and they are always run by the same individual called Toria. Who is a mysterious and enigmatic female of indeterminate race or background? Who knows, maybe we will discover more about her as this project unfolds, on the other hand why spoil the mystery and the excitement of wondering who the enigmatic Toria really is.
Related Game: Dungeons & Dragons
Related Company: Wizards of the Coast
Related Genre: Fantasy
Related Contest: TerrainFest 2023
This Project is Active
Progress Update
I have now completed the following steps
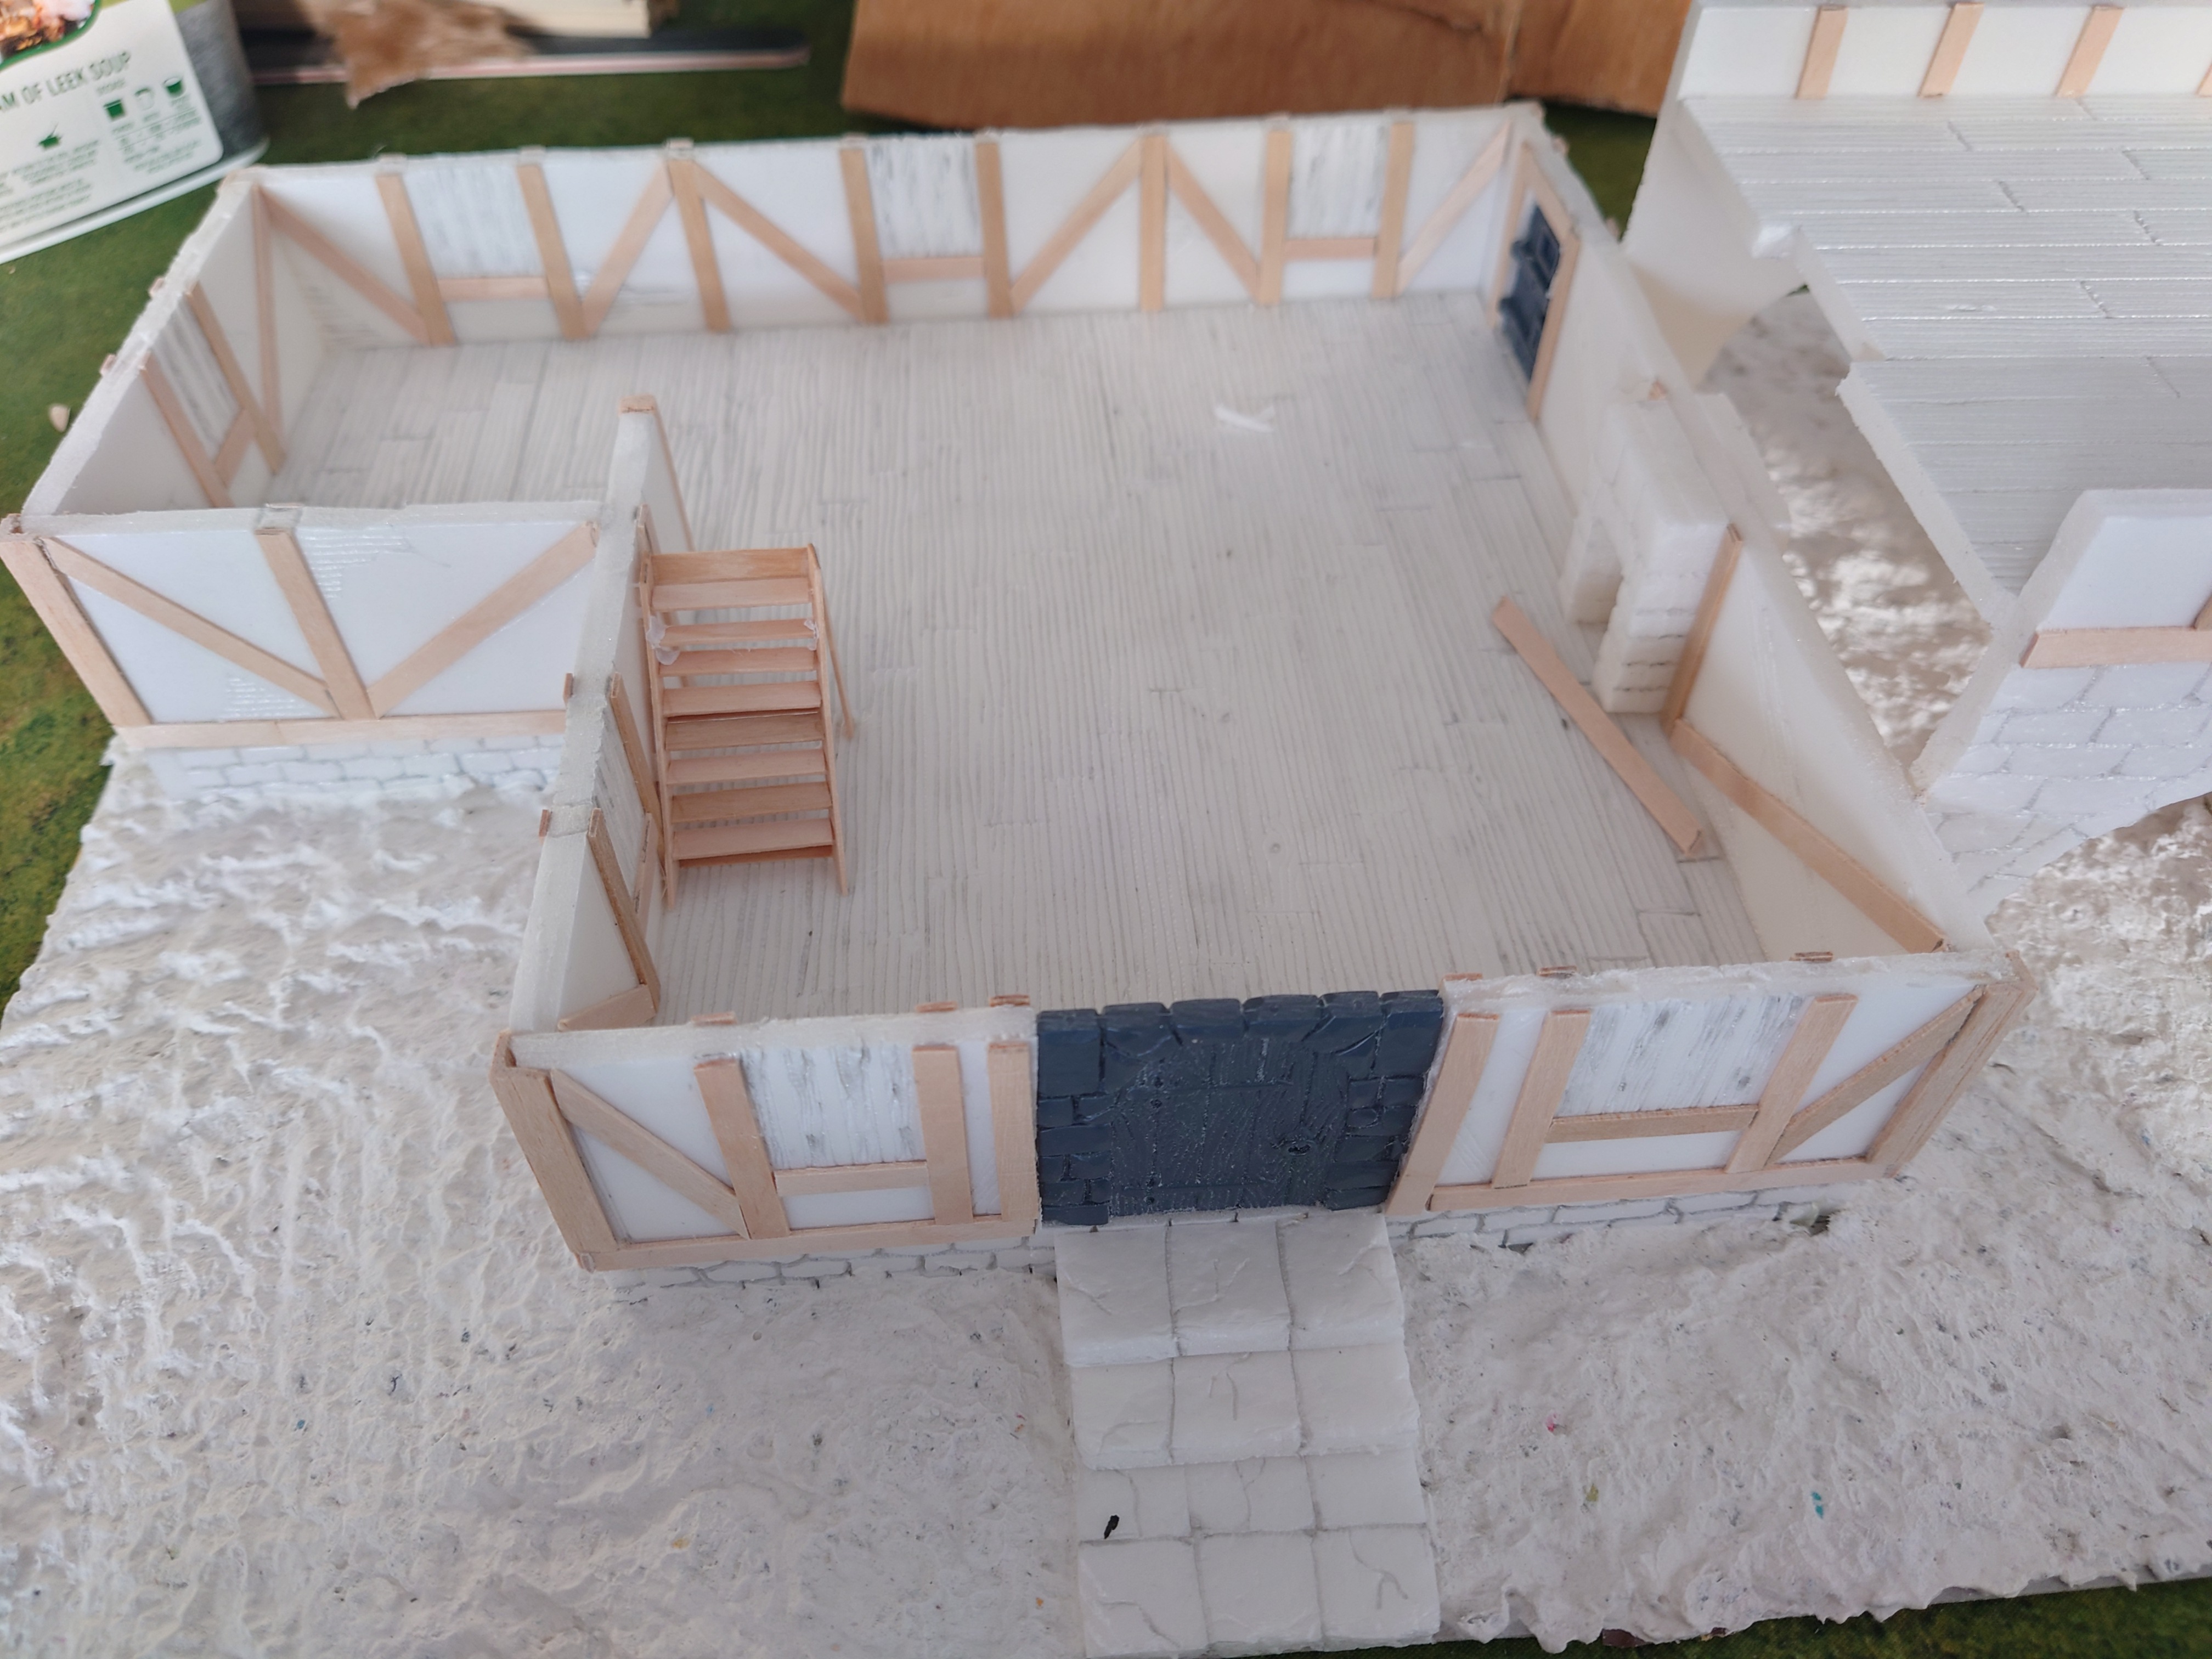
1. Added two sets of stairs
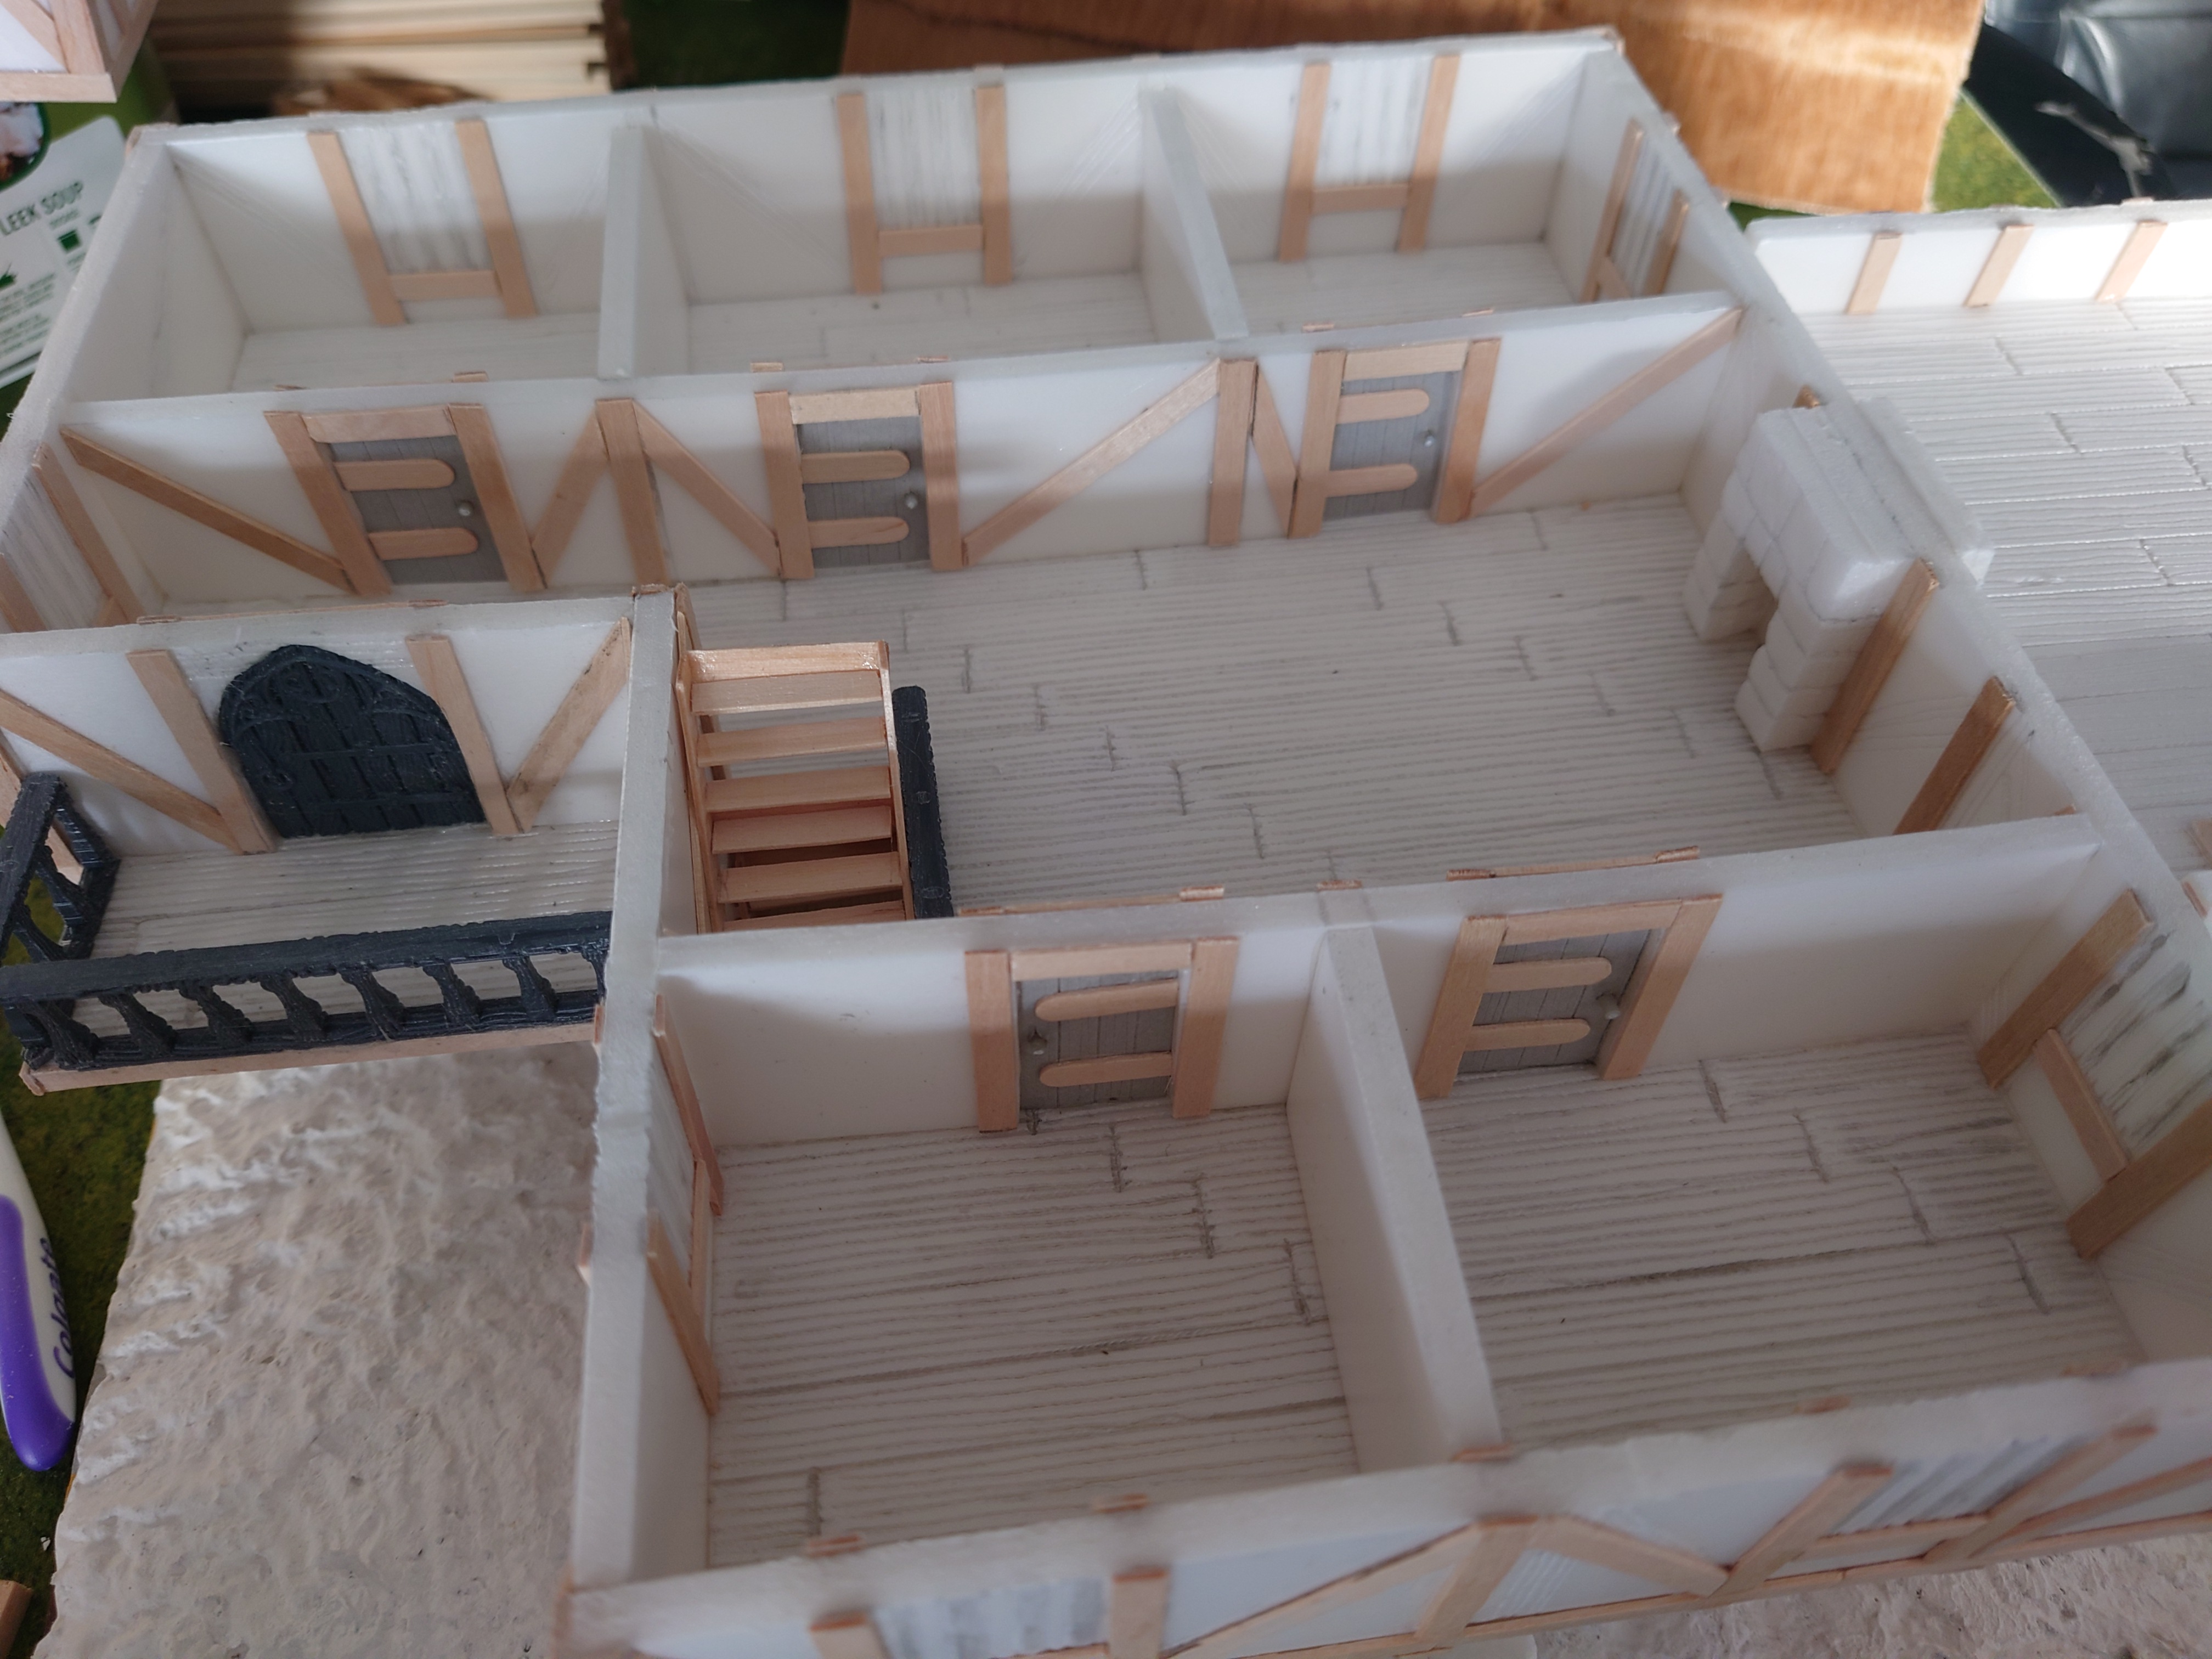
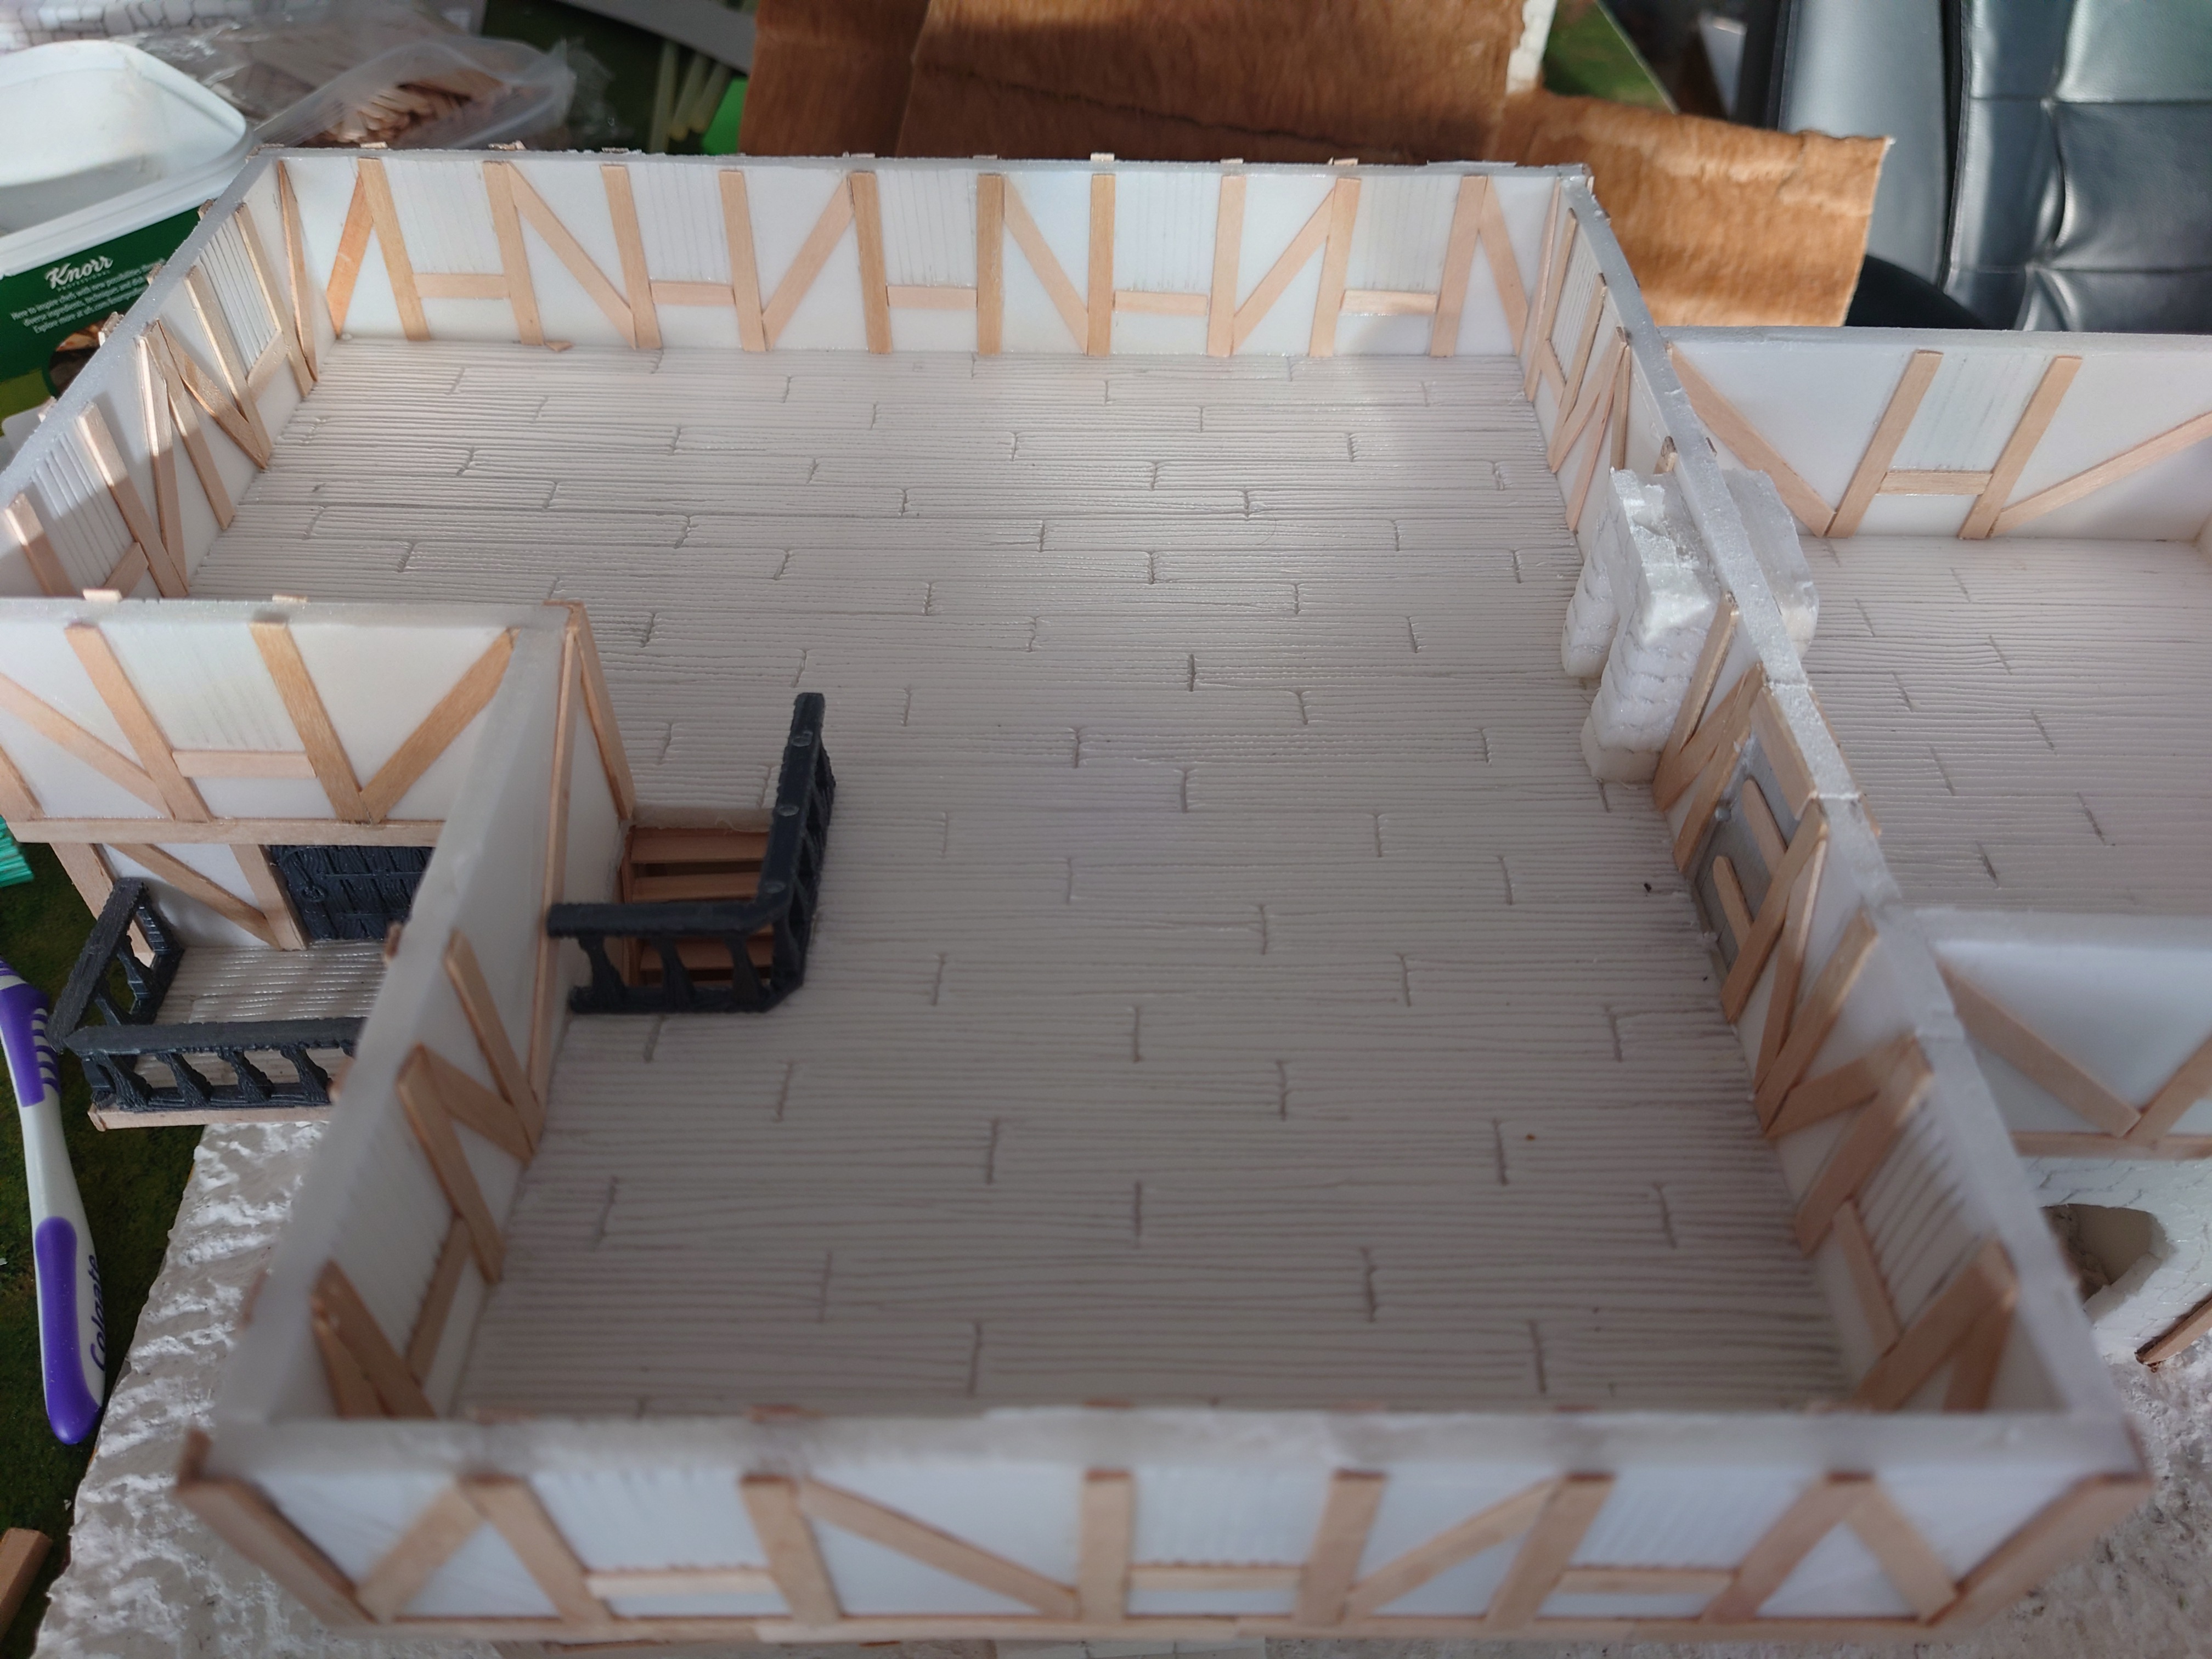
2. Added rooms to the first floor
3. Completed the adding of the wooden framework ( with the exception of some supports which still need to be added.
4. Cheated ( yes I know I said it would be all scratch built) and used some premade doors for the external doors in the building. Plus some premade moulded balastrades.
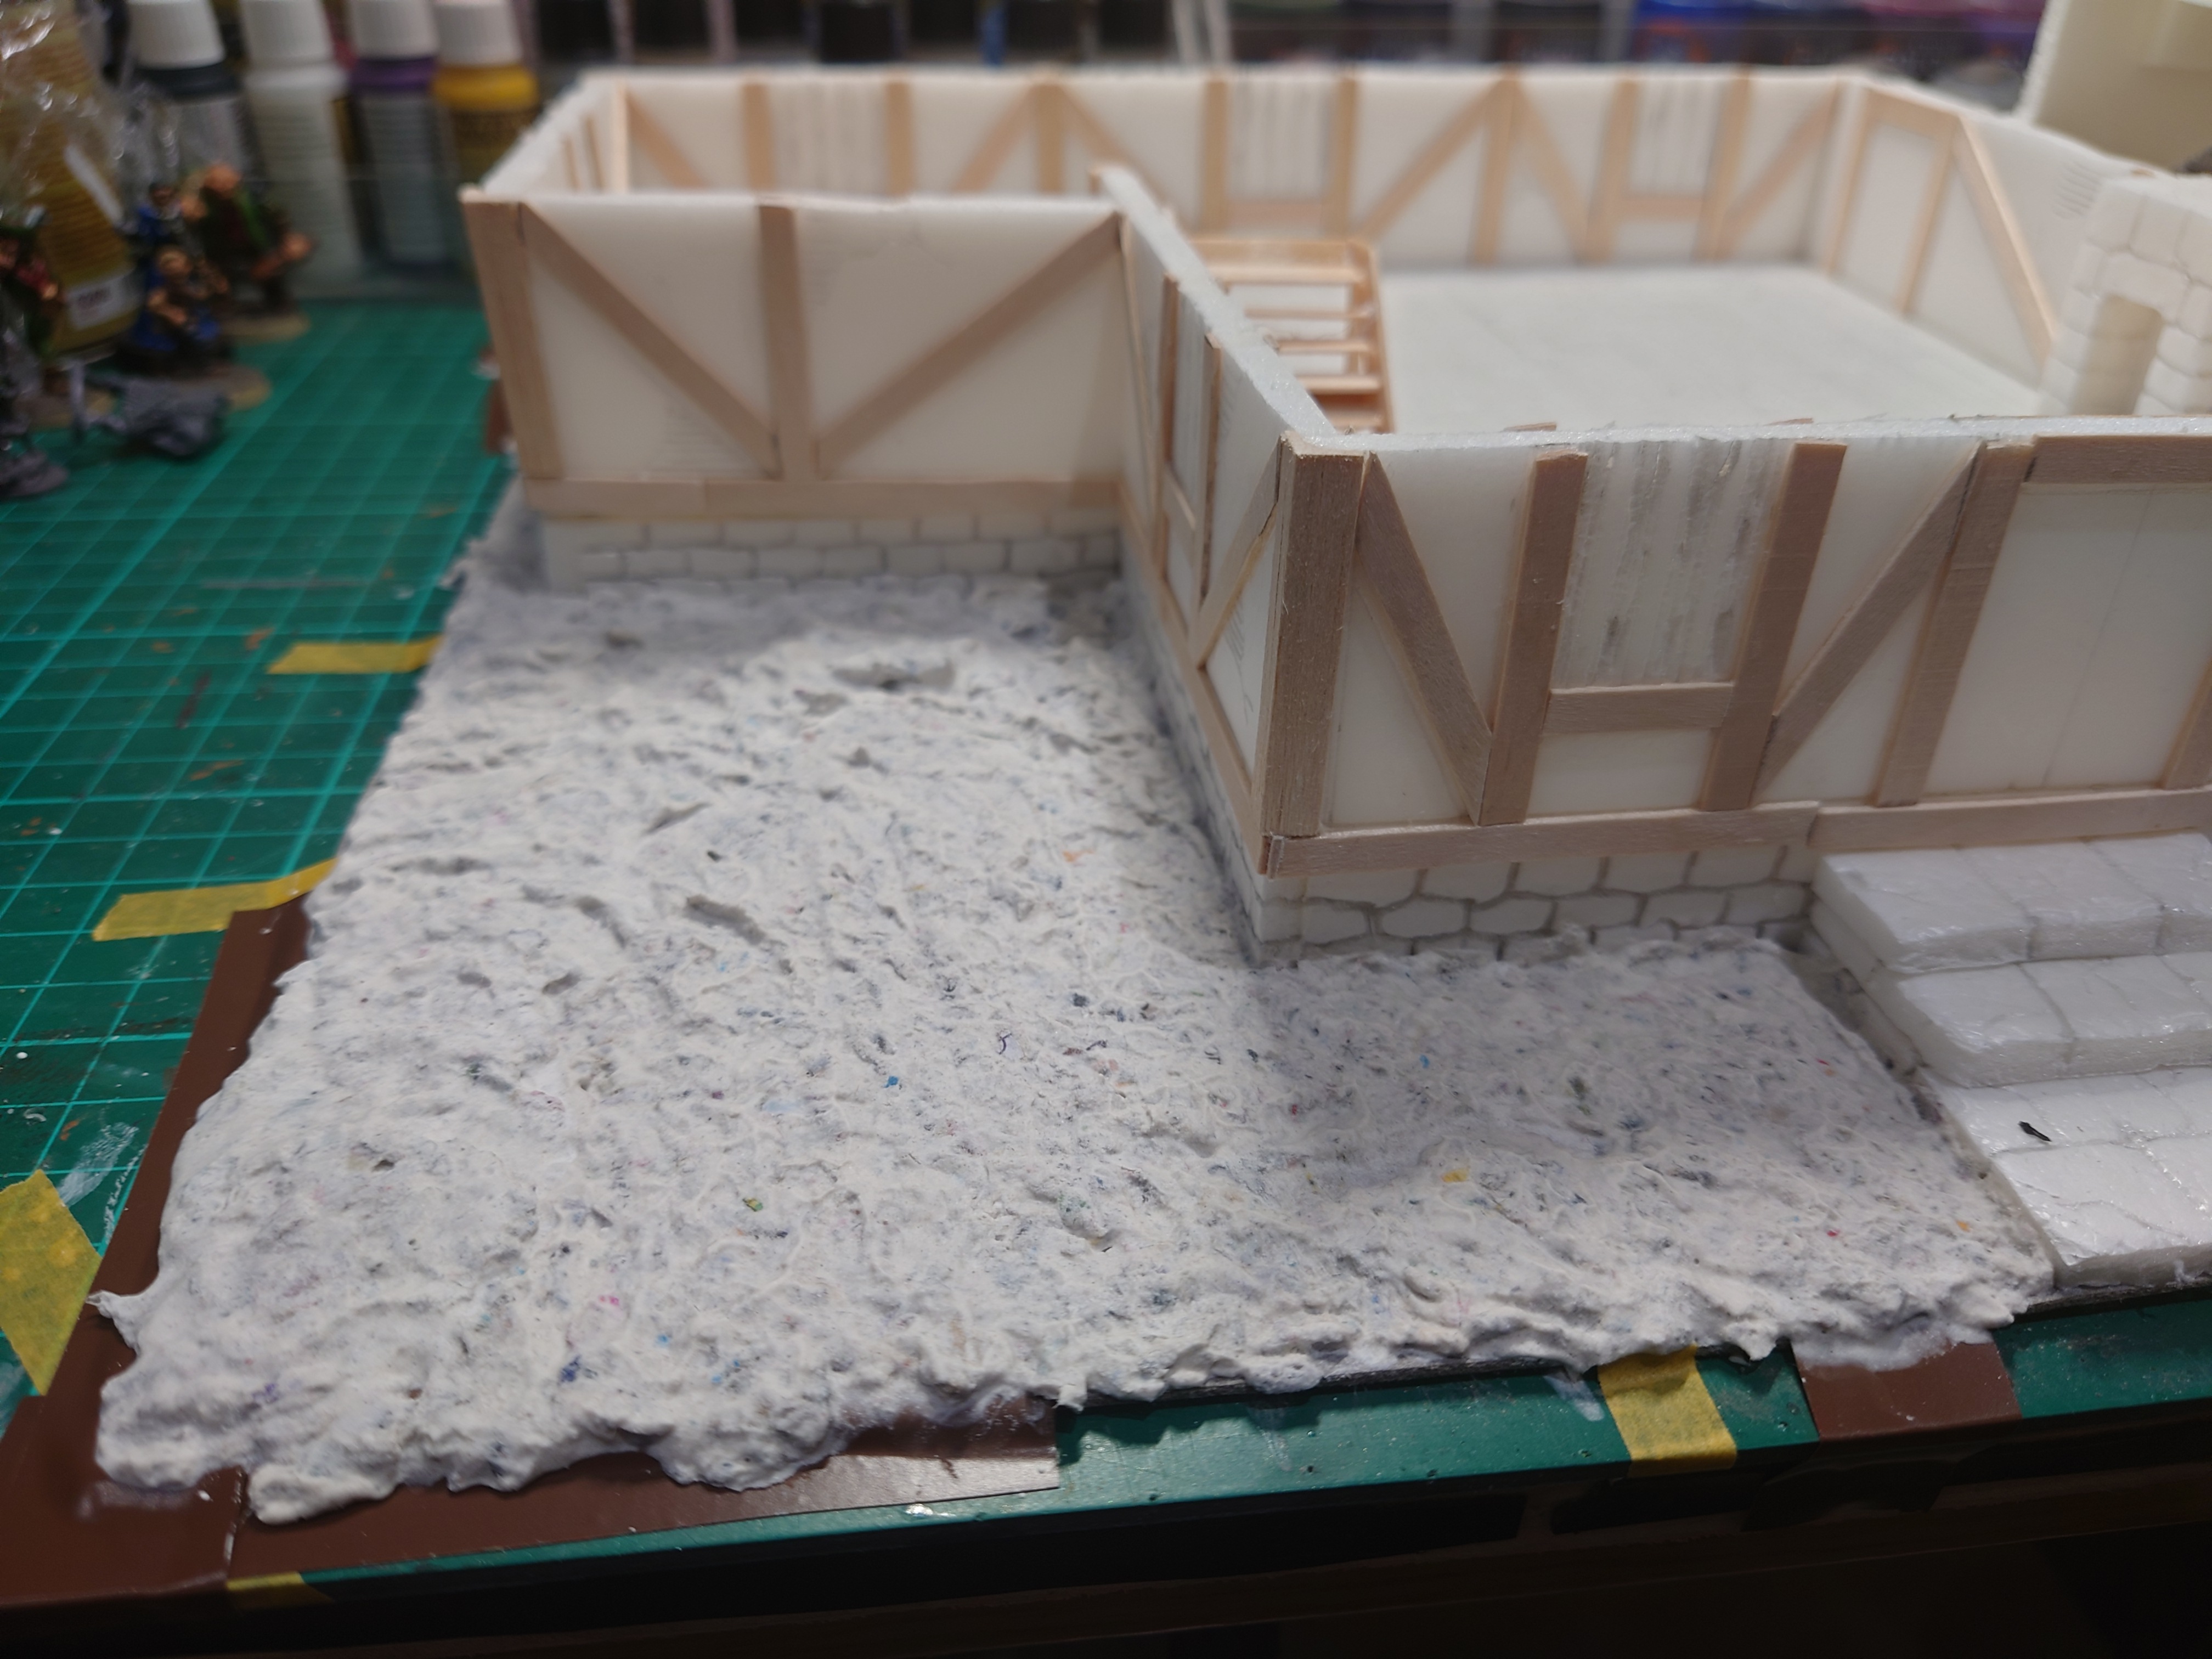
It's all about the base darlings...!!!
So next up is the base.
Challenge
Card stock plus liquid has the potential to create serious warpage.
So what an I planning to use to texture the base…geek gaming basing splodge which is basically a mix of filler and shredded paper. This needs to be mixed with water to create the texture.
Plan
So what I decided to do was tape the base to my desk using quite strong electrical tape. The idea is that I can add the texture over the tape then I can cut around the edge when it is dry and hopefully not warped ???
The Roof
Ok so the roof, the bit that I have been kind of putting off. Originally I was going to creat a tiled roof, then after cutting out the strips of card I thought, nope I am going to attempt a thatched roof for the first time in my life.
The material
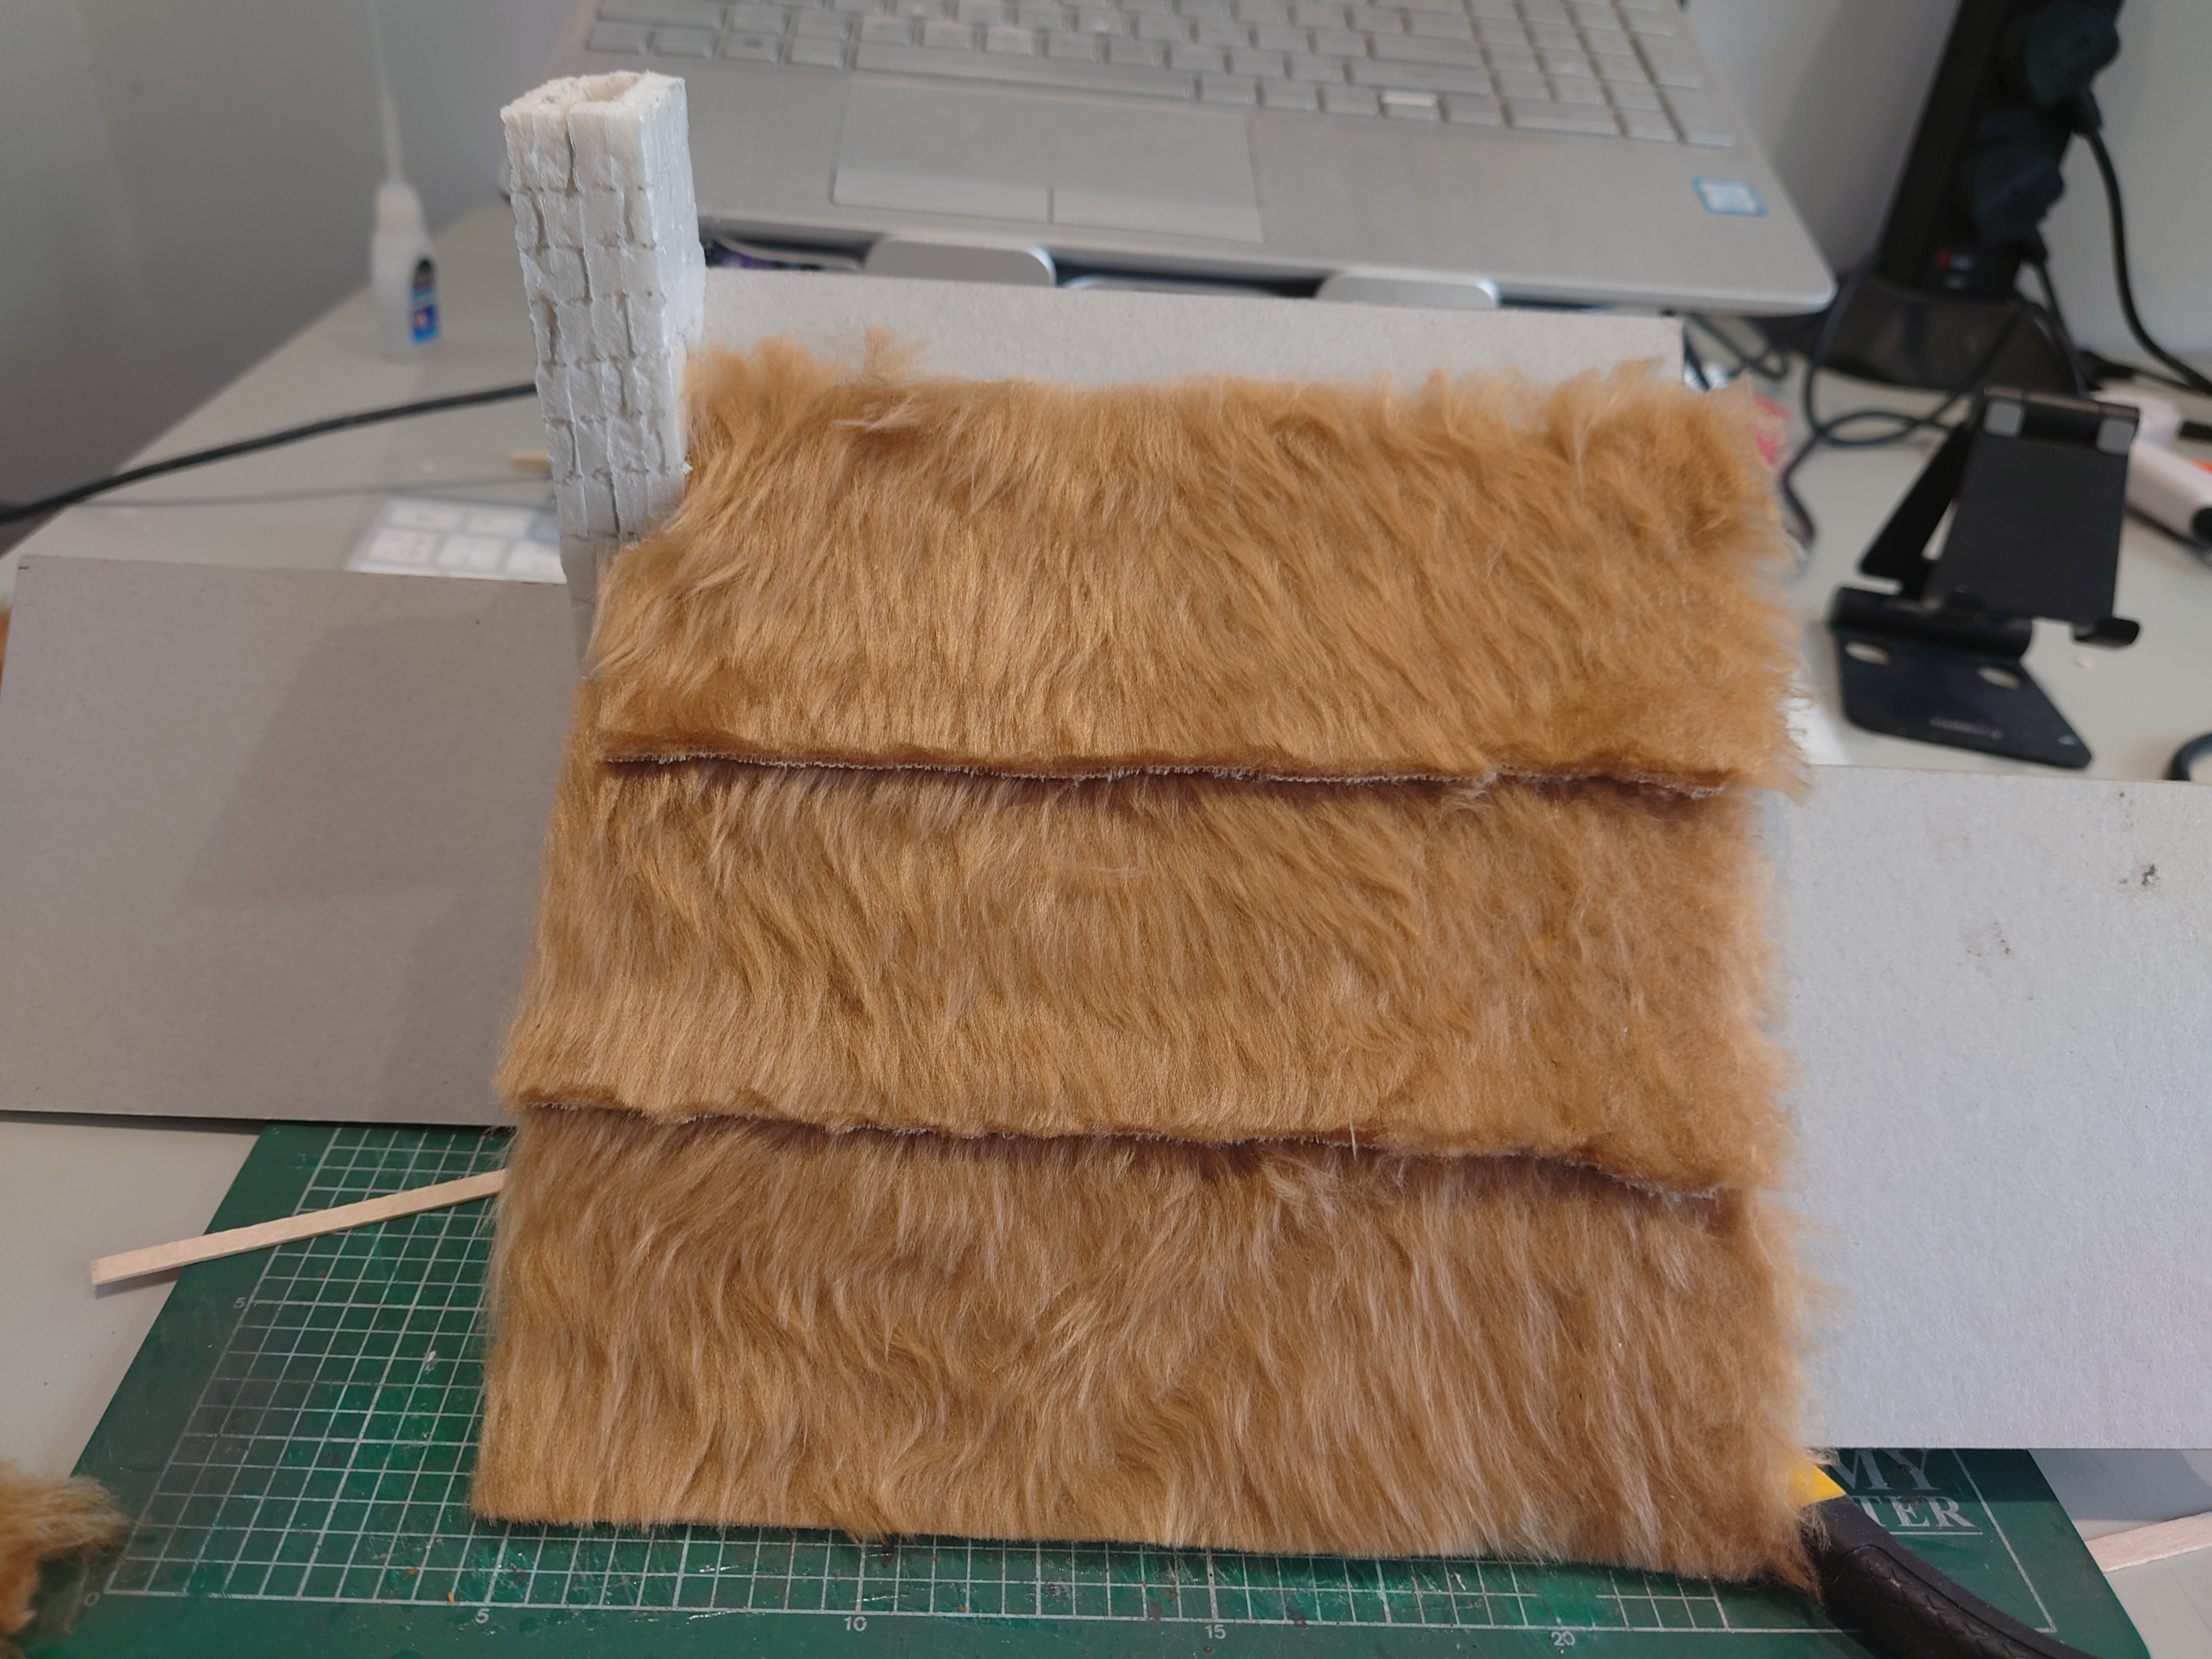
So how to do a thatched roof, well as I have seen from many a you tube video over the years the best looking roofs require the fur of a teddy bear. So after a quick search on Amazon I found some camel coloured teddy Bear fur that had long strands that will act like straw.
I placed my order and waited after a couple of days it arrived.
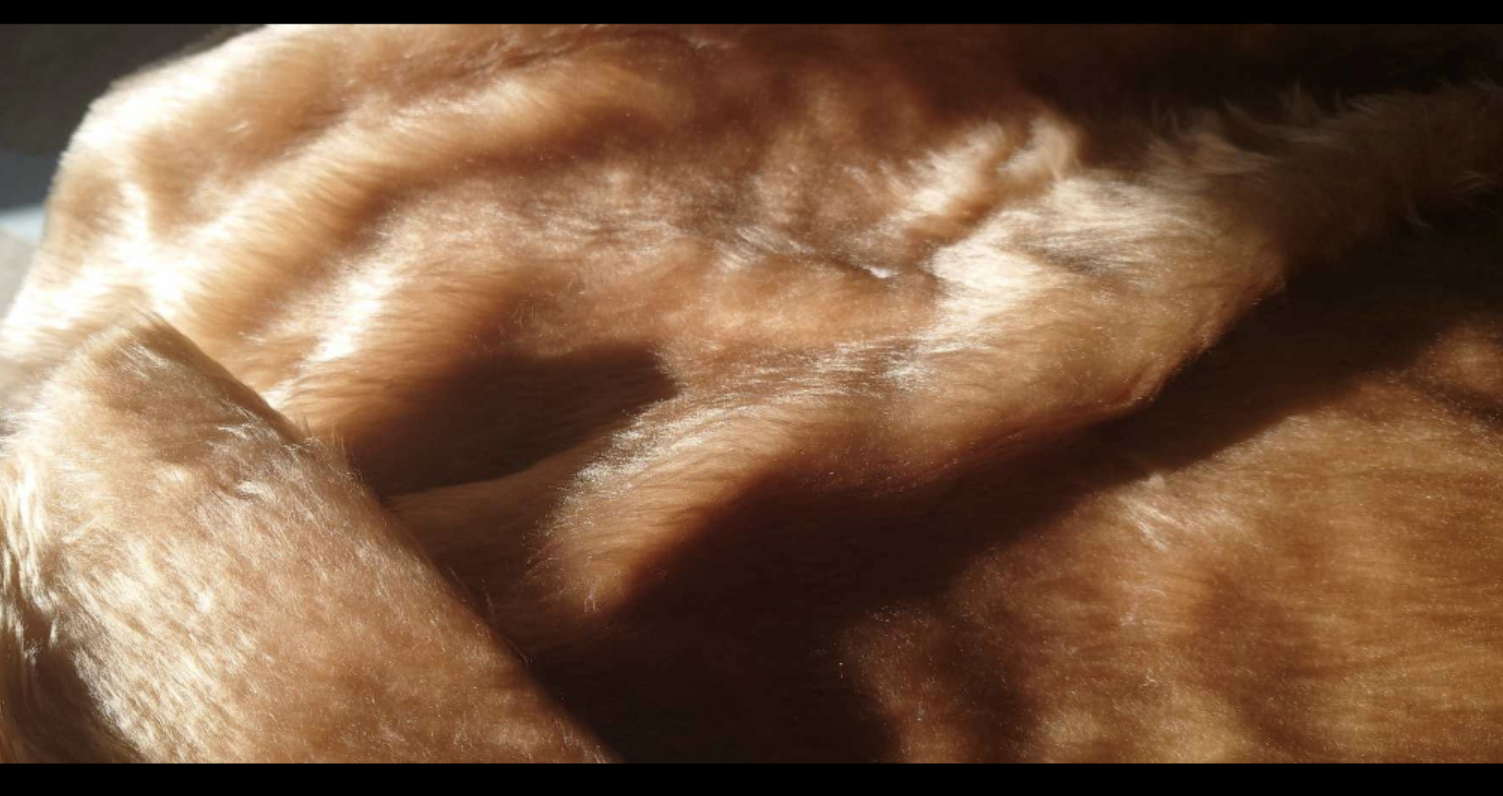 The nice soft fur acquired without the murder of any teddy's
 The next step was to decide how to do this , first up was to measure the roof sections. Then divide them up into equal parts. This enabled me to measure and cut strips of the fur. These strips were cut slightly bigger than required so that I could trim to shape afterwards.
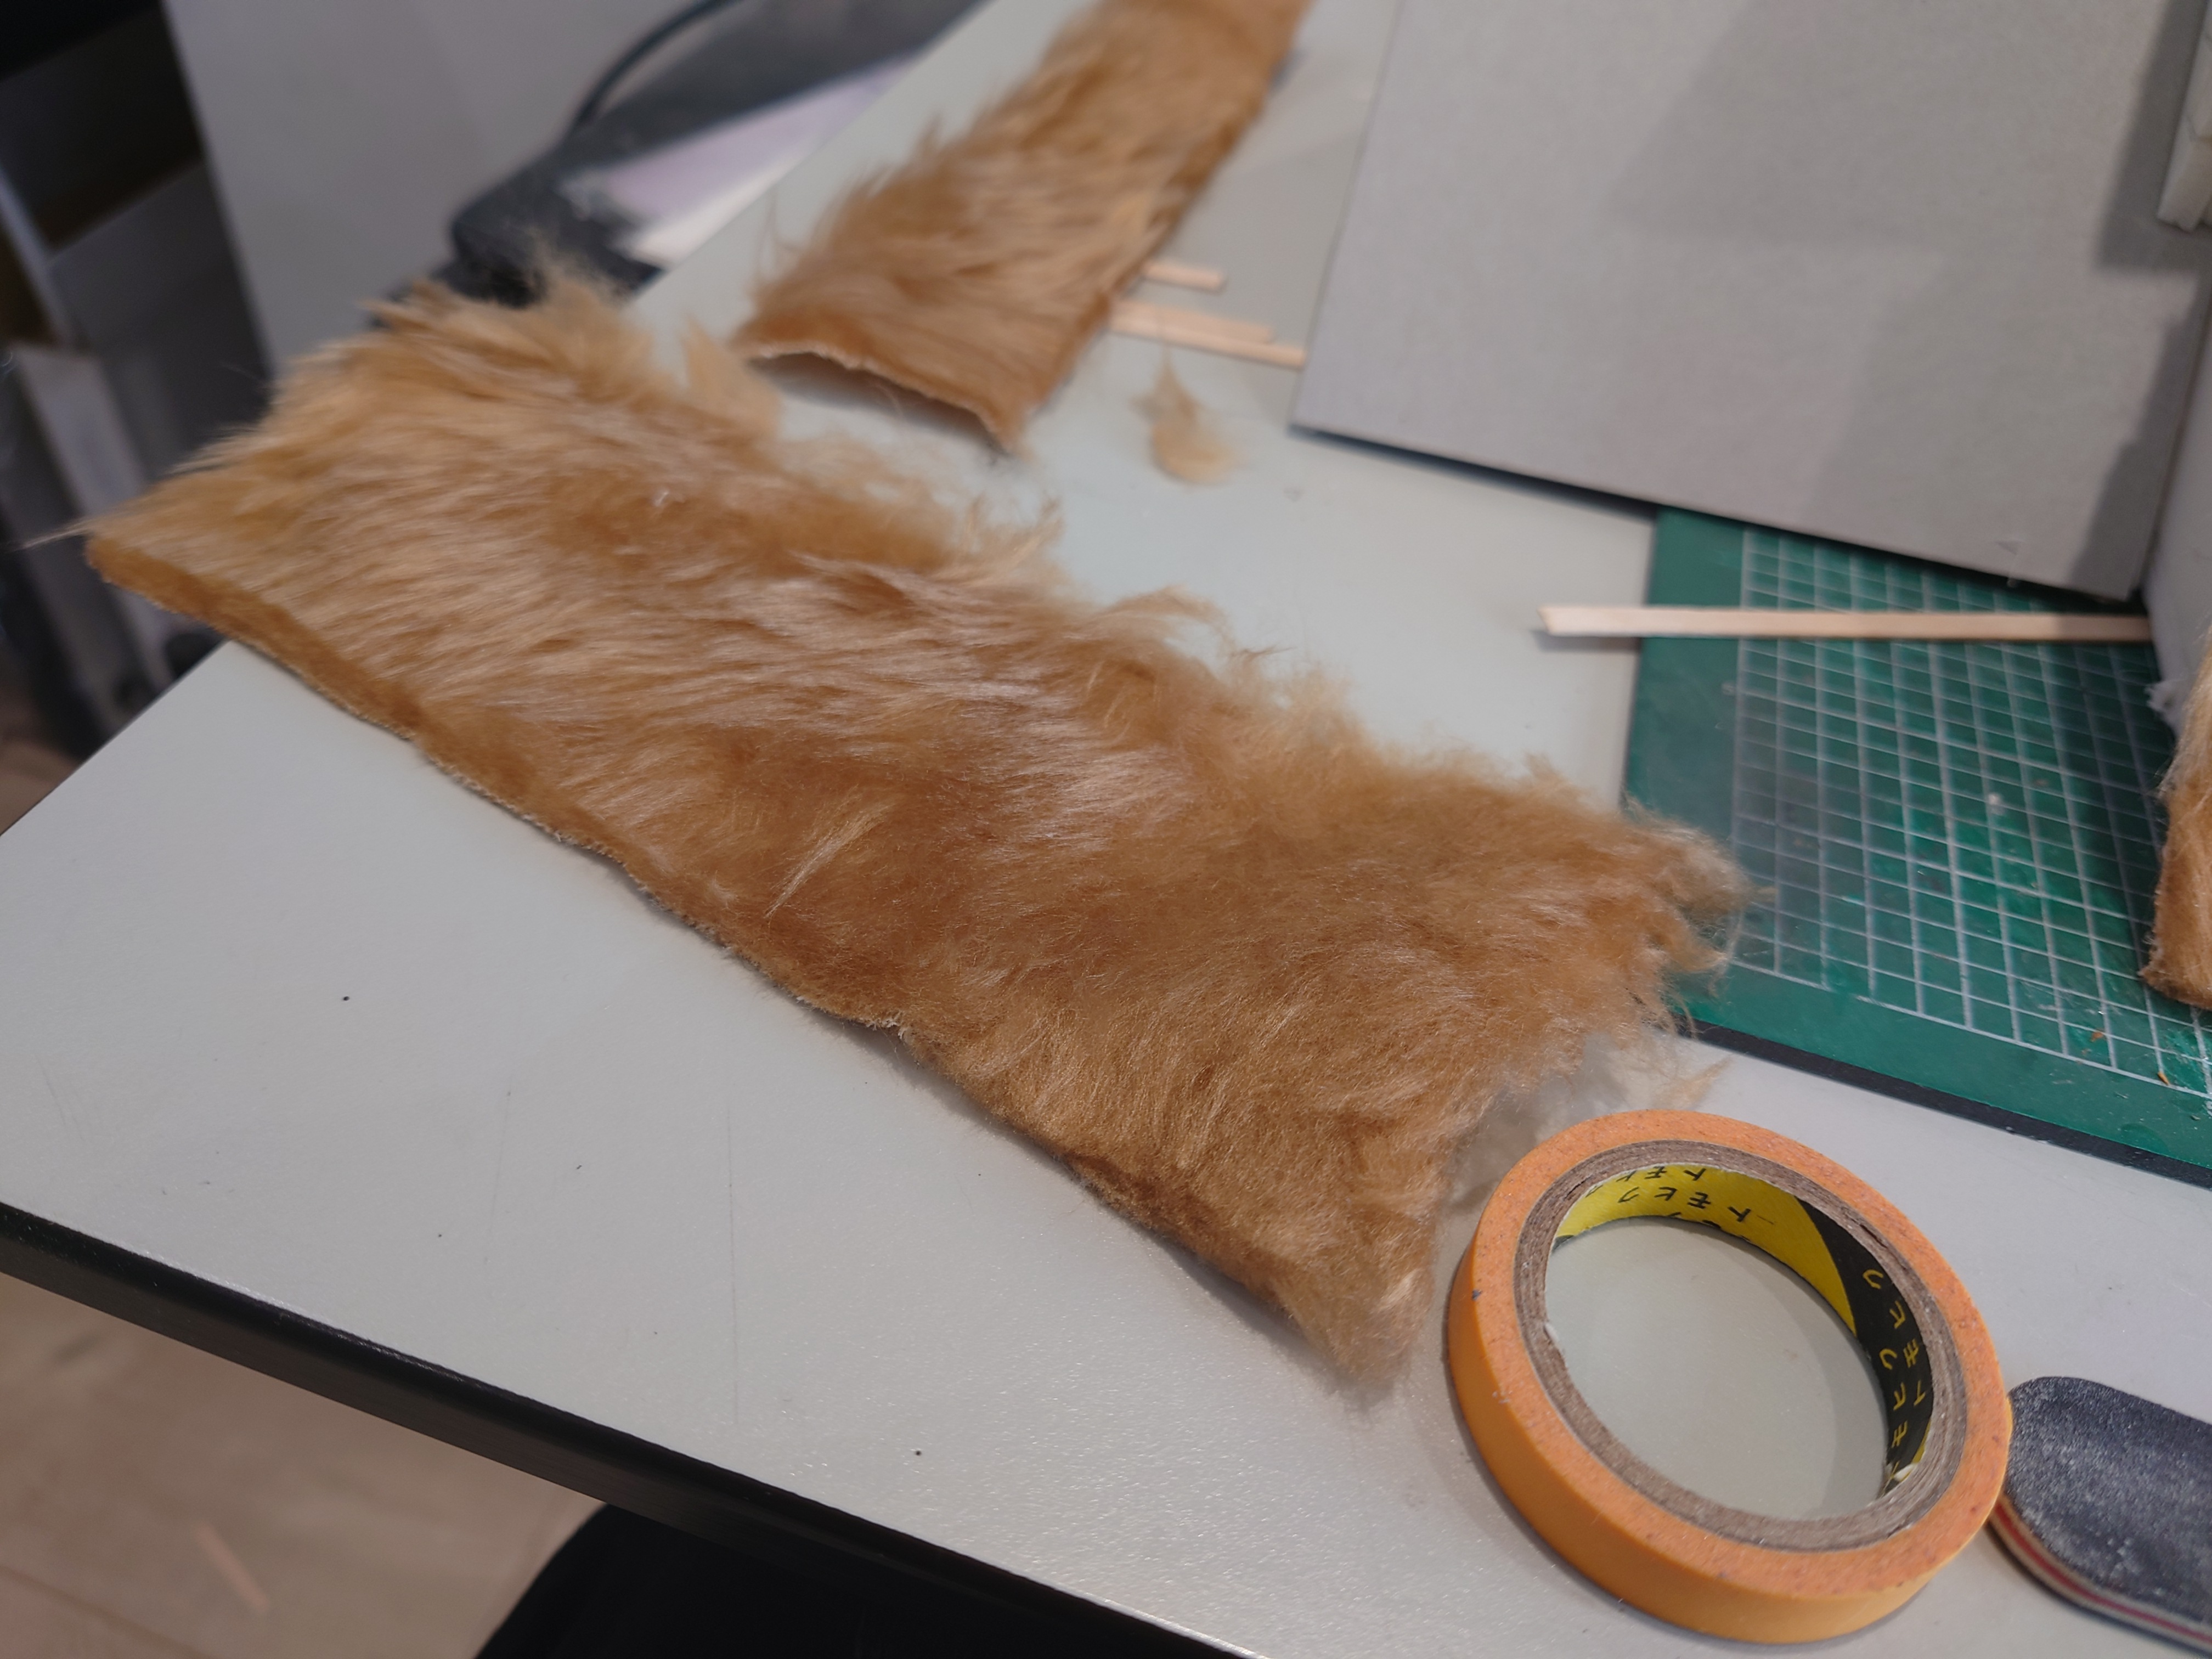 Fur cut to the right size
The next stage is to stick them down to the roof, with overlapping sections this will represent a roof with gradations.
 The roof sprouting fur
Creating the straw look.
The next step after gluing down the fur was to make it robust enough to survive the gaming it will meet.
So having looked around there are two options. First a mix of PVA and water approximately 1:4 ratio of one part PVA to 4 parts water. The other involved mixing in poly filler. I didn’t have any of that to hand so decided on the PVA and water treatment.
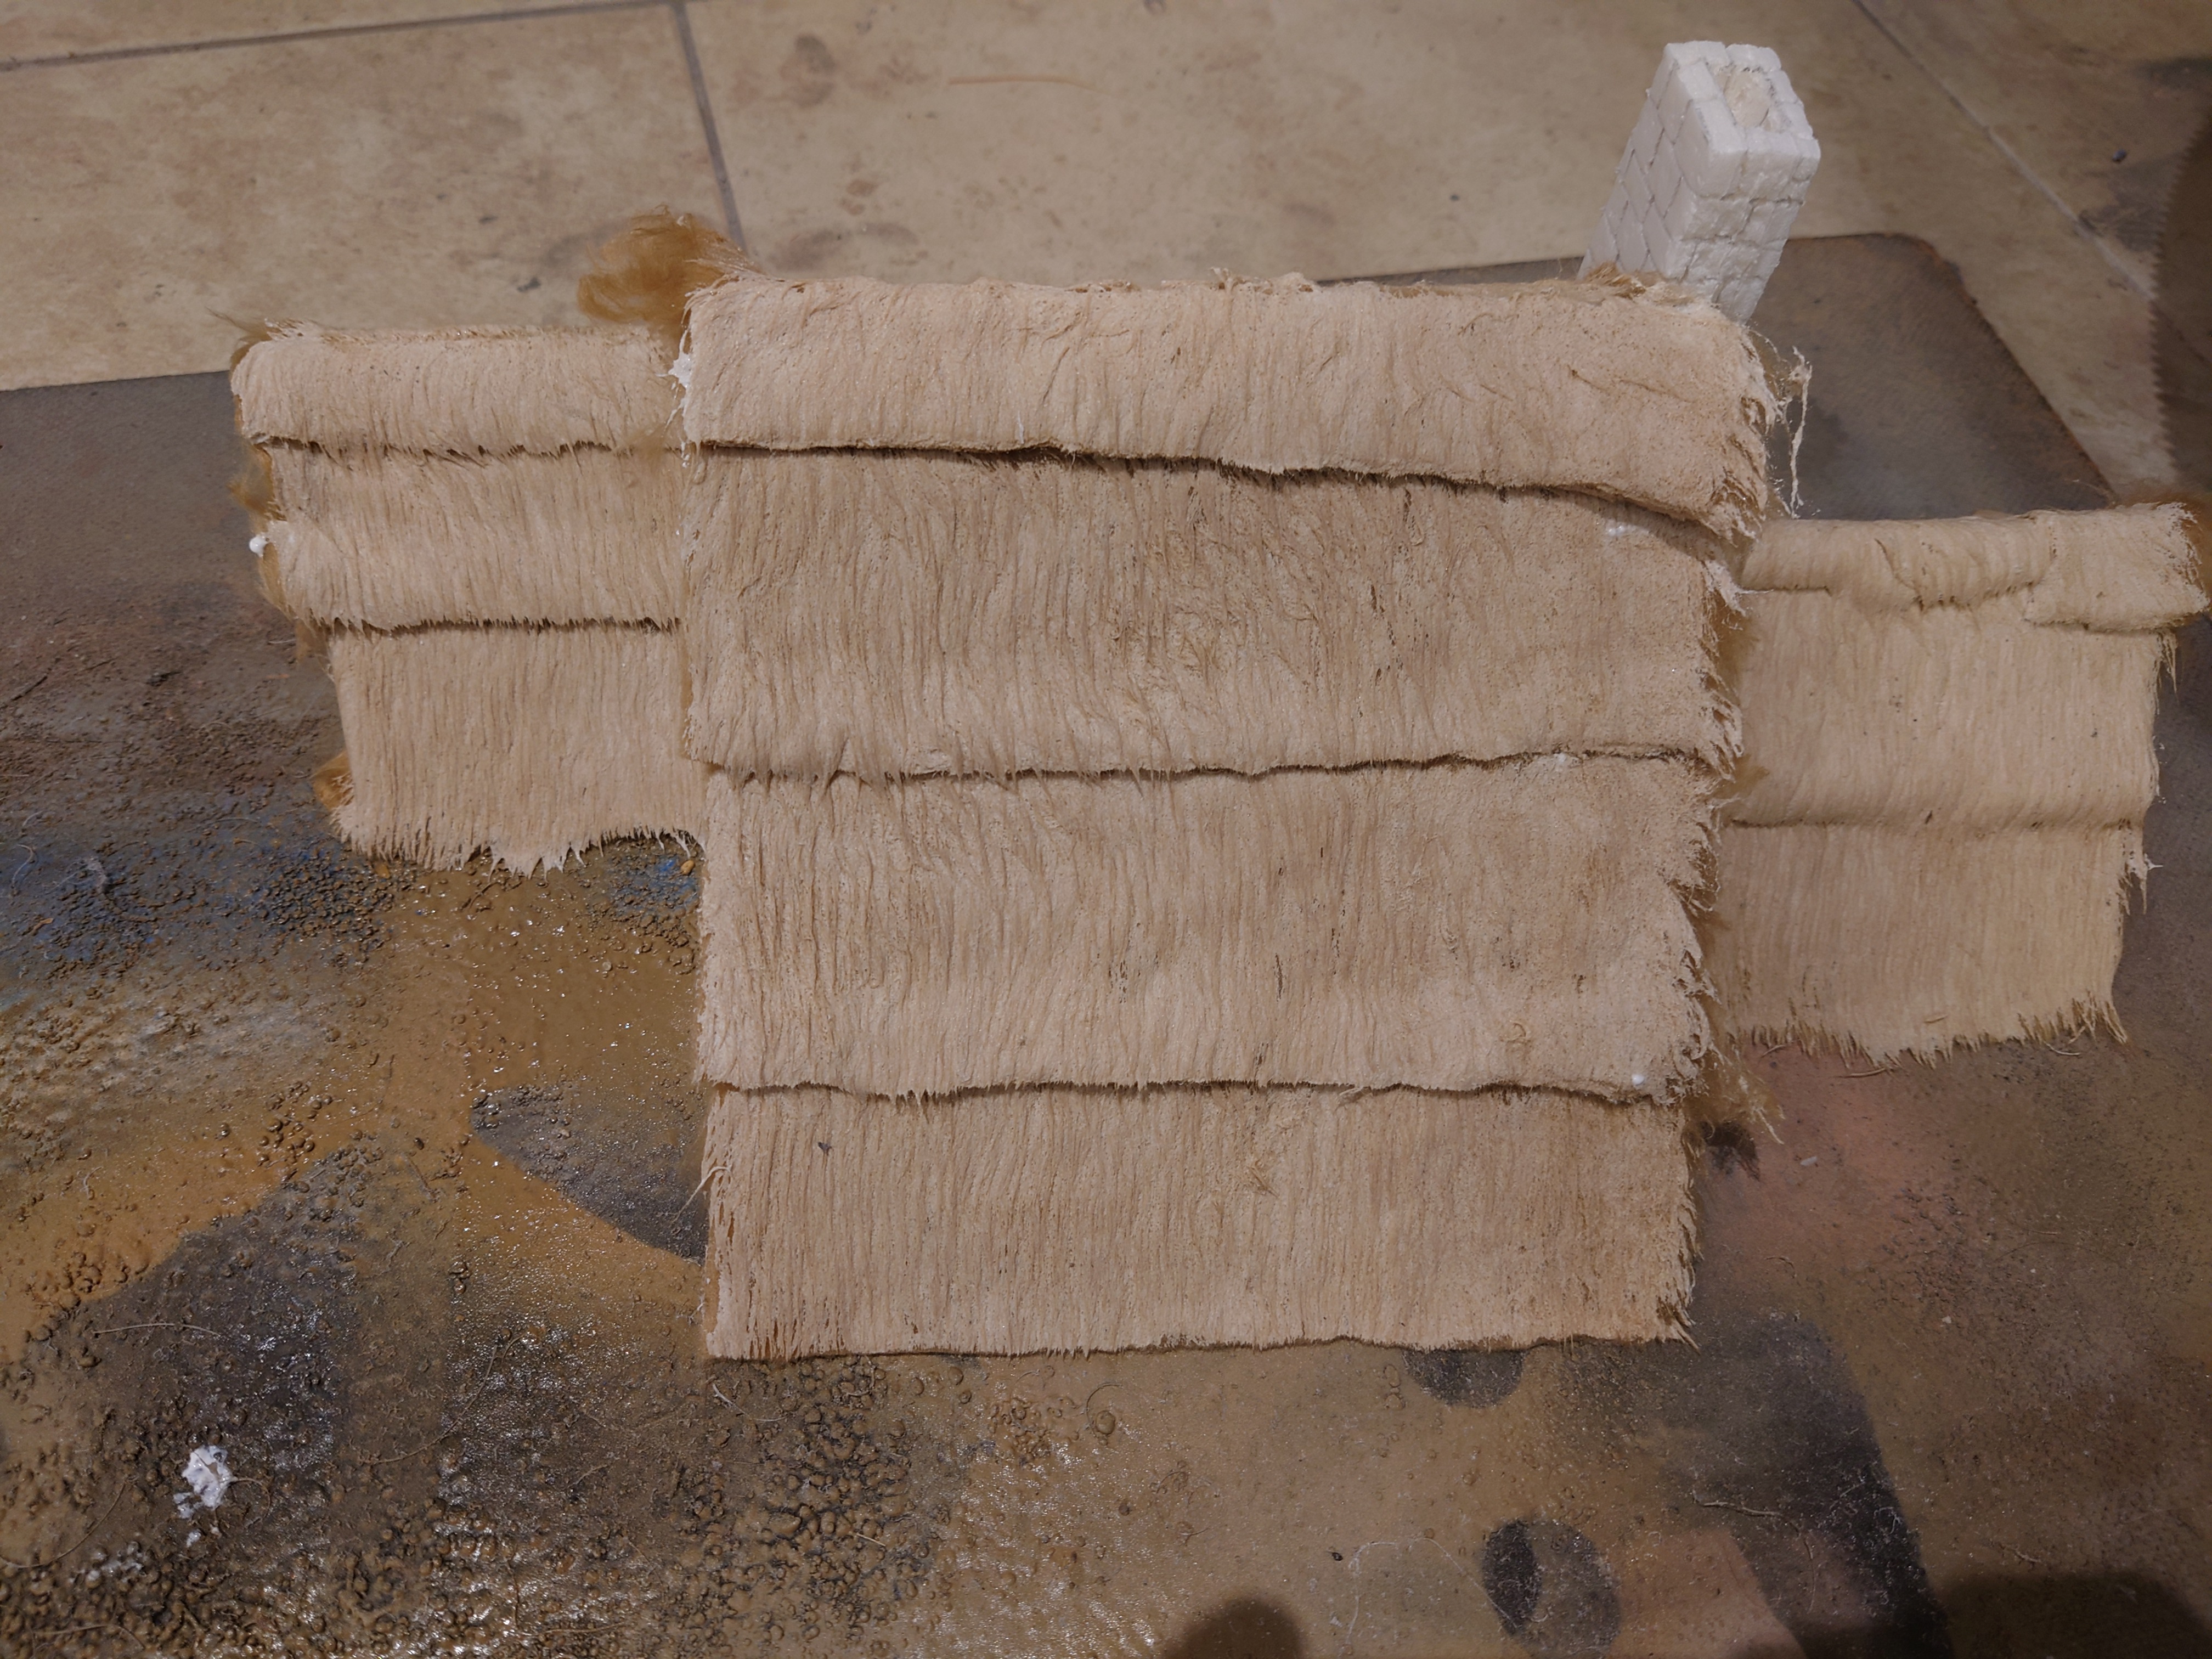 After the drenching the fur in PVA and water, and using an old comb to create the Nice texture. It's a case of allowing it to dry. I am typing this over 24 Hours after applying the PVA and water... It is still drying ?
Ok so I have not managed to complete the project by 31st October, but onwards and upwards. From this point beyond its all after the terrain challenge deadline.
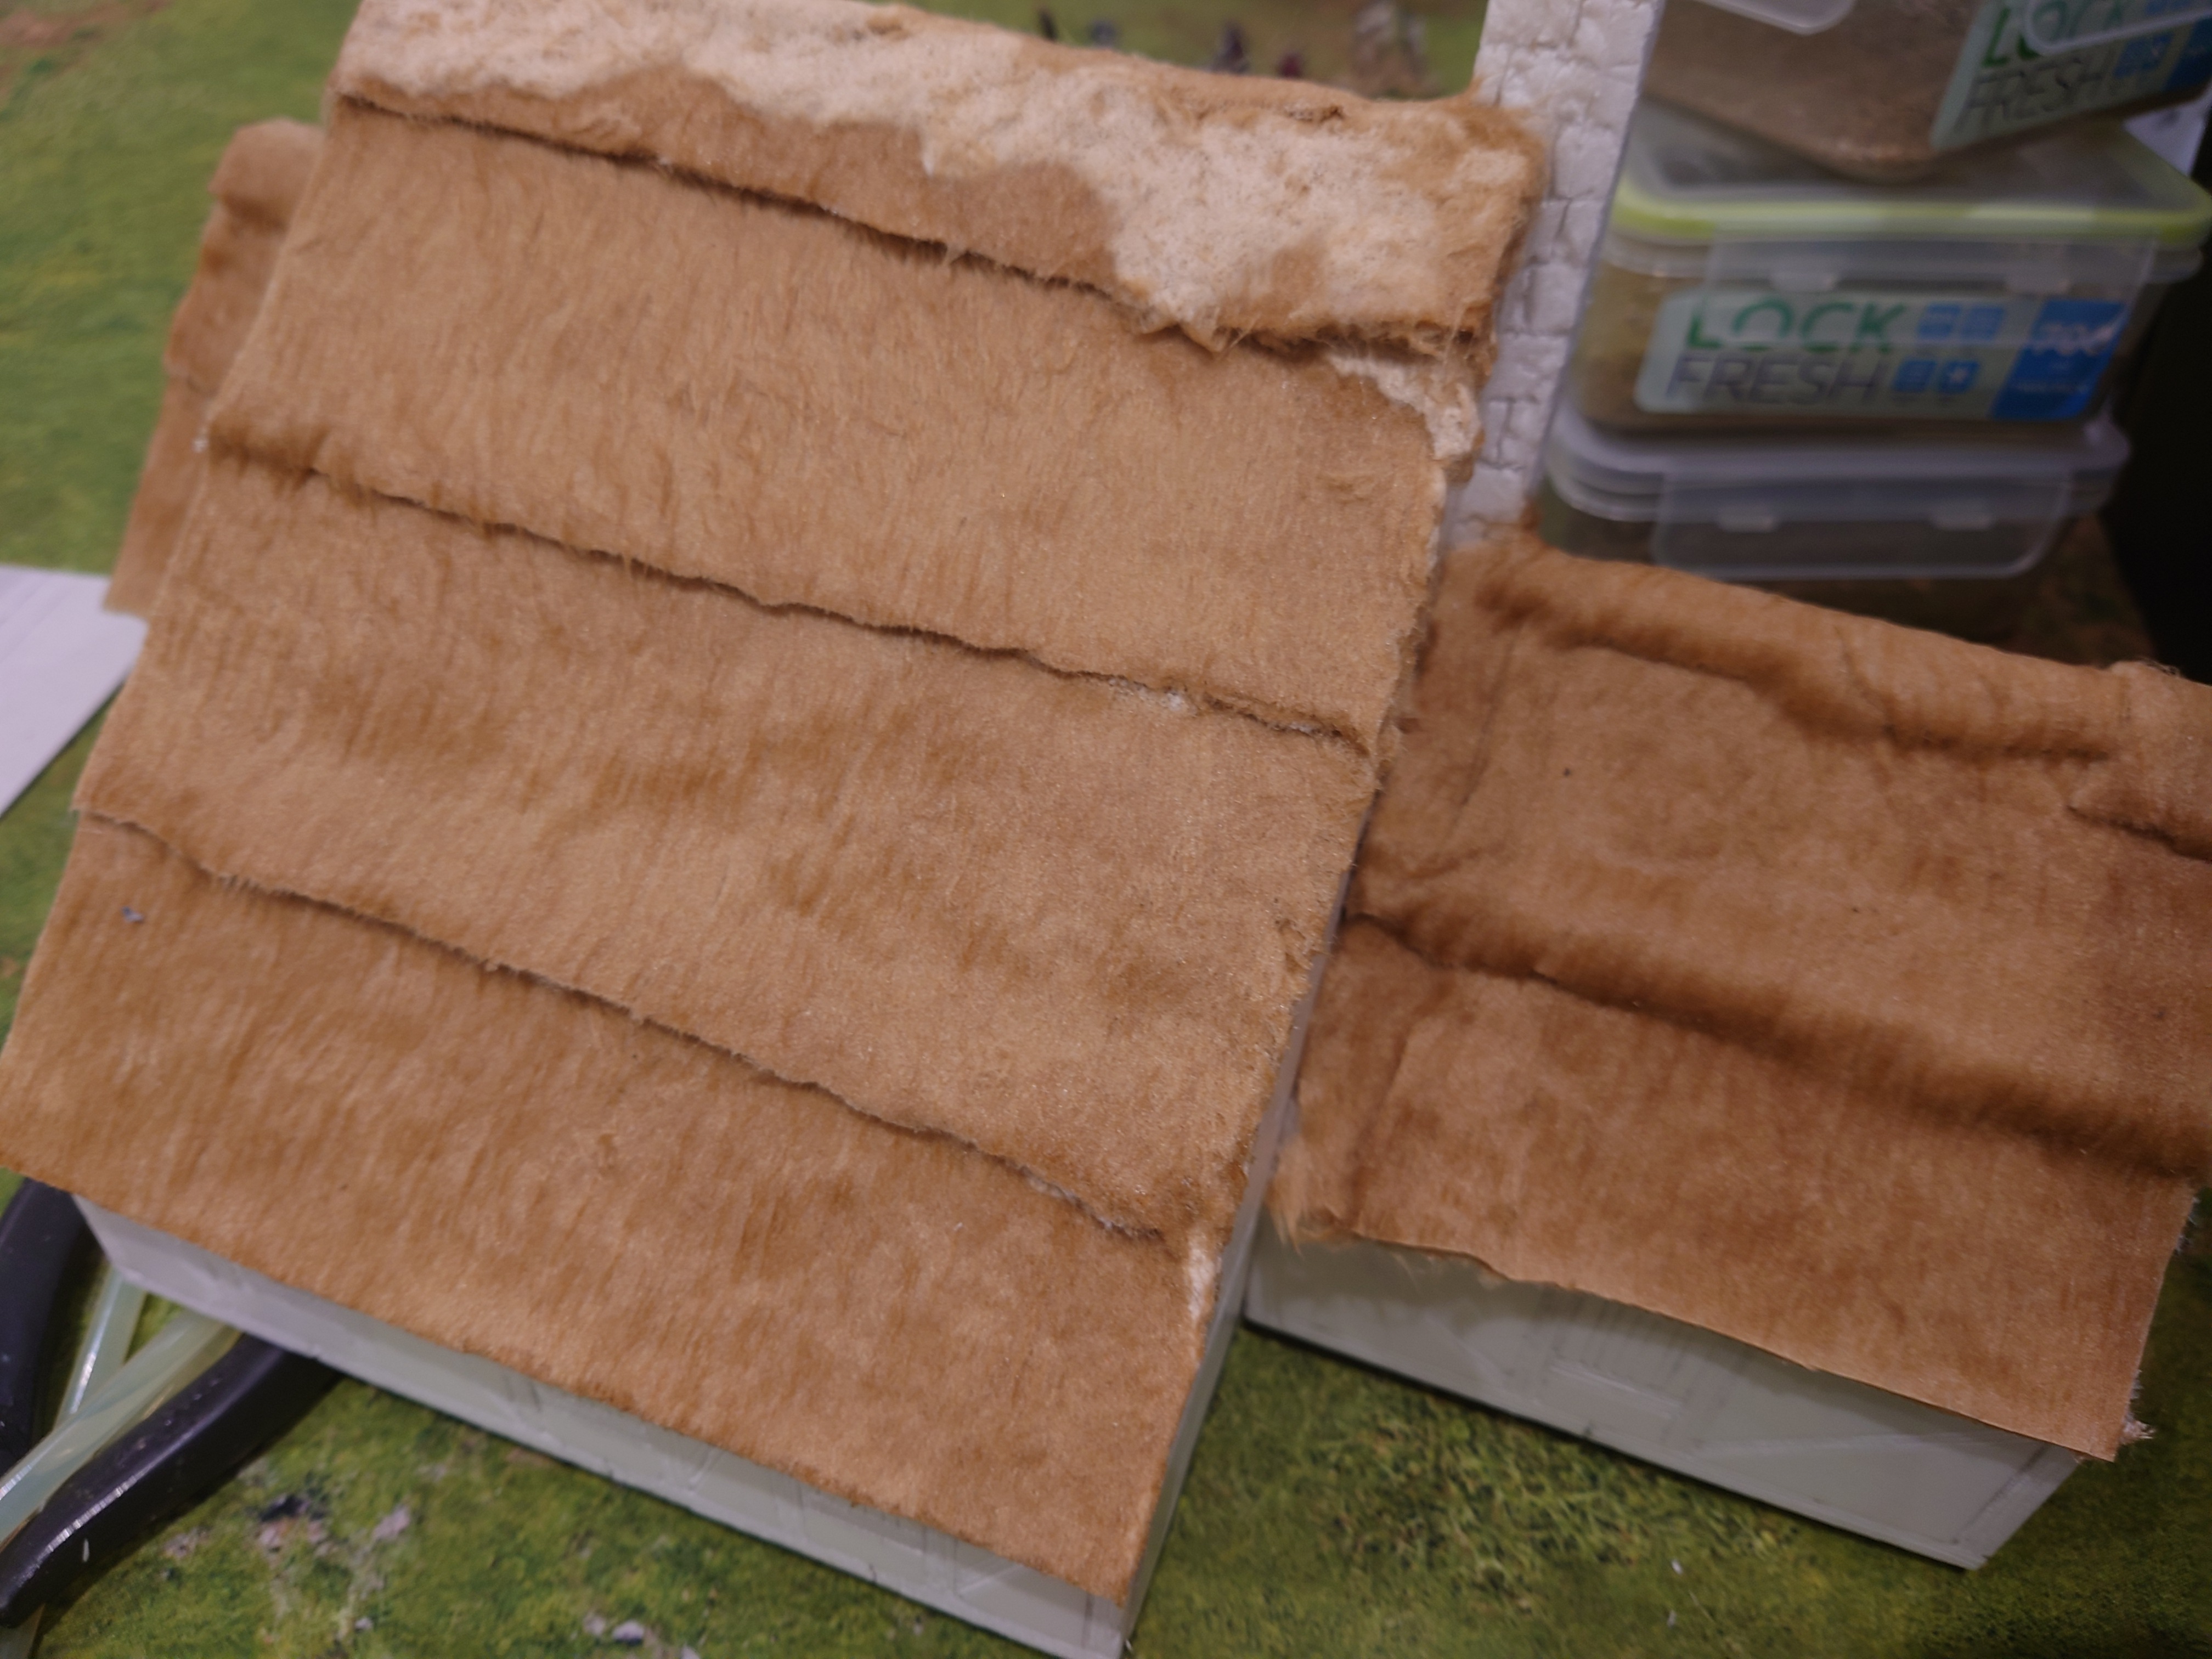 After a week of drying and adding buts and trimming the thatched roofage is nearly completed. That said I have discovered that I need to add additional furrage on to the roof to hide some of the backing material of the fur. This was done by shaving the fur and then using watered down PVA to stick it in place. I have decided that when I get the frame pieces onto the sides of the I will be building up the edges with more fur to even out the sides and hide the material.
Details details details
So on to the detailing. I have decided that I will up the level of detail on this model.
So what will this include
- Adding wooden frame to the building
- Interior walls
- Stairs
- A bar
- The doors
- The windows
- The Inn Sign
- Thatched roof ( this will be covered in a separate post)
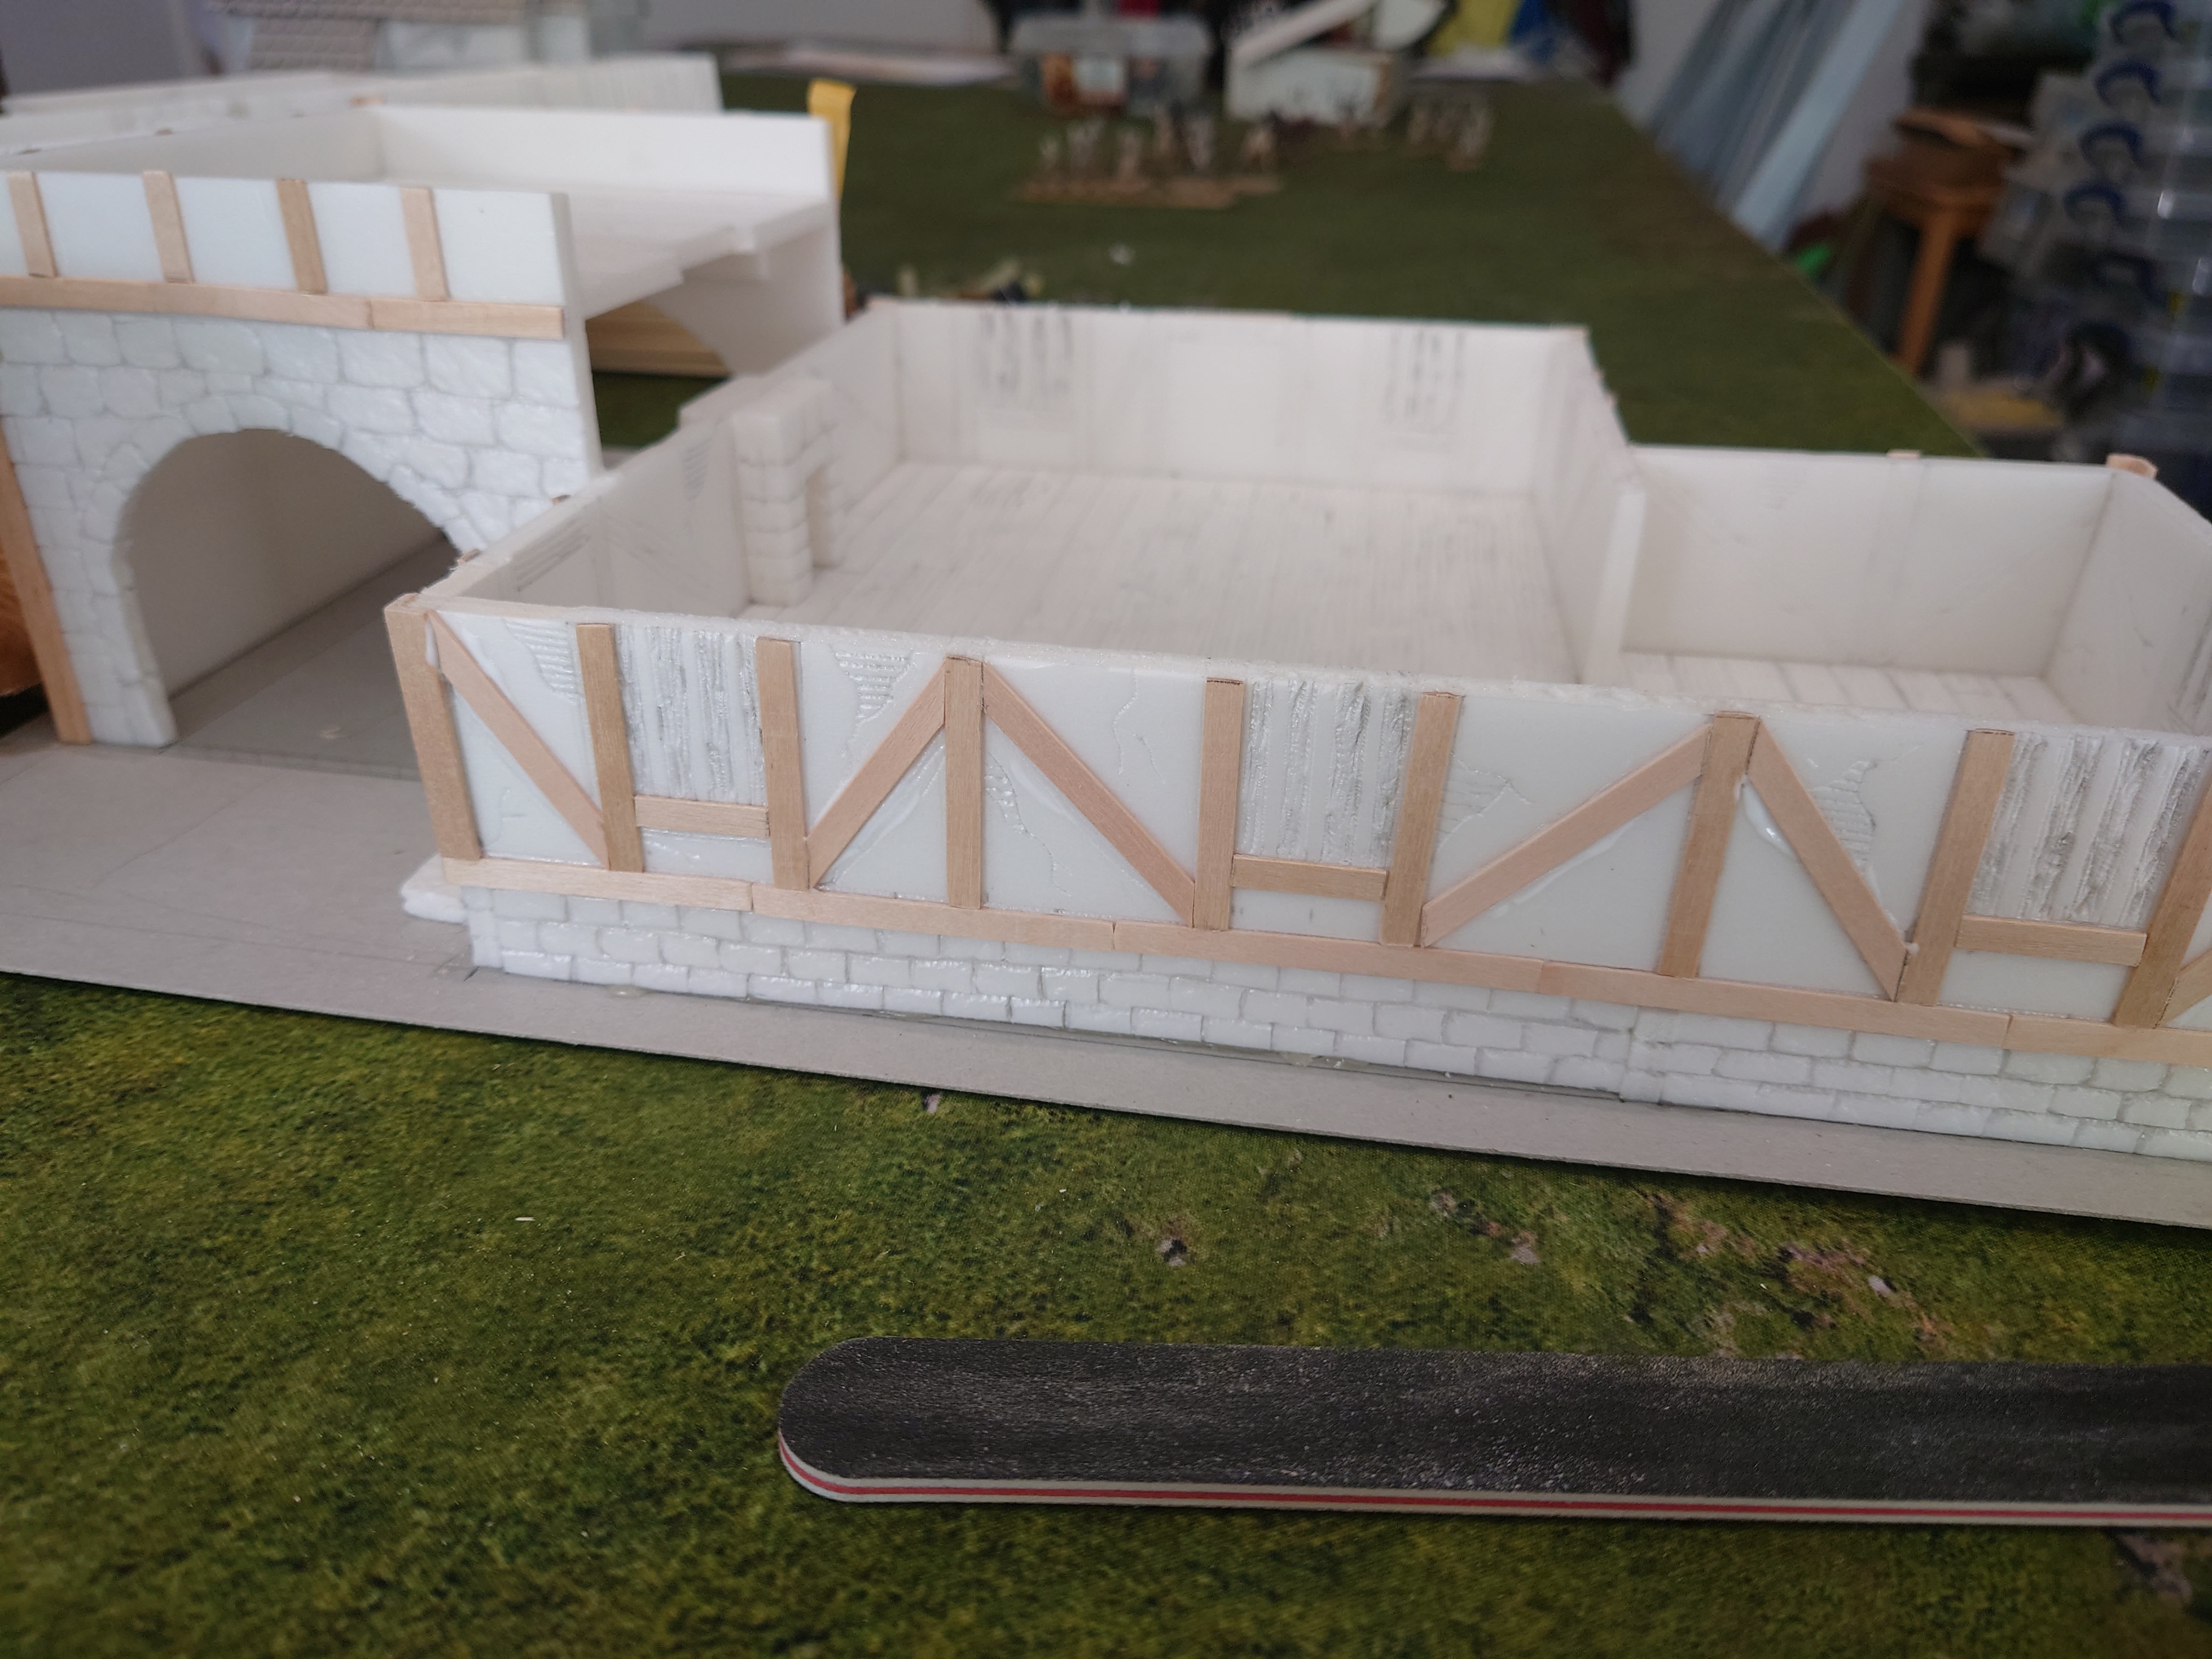
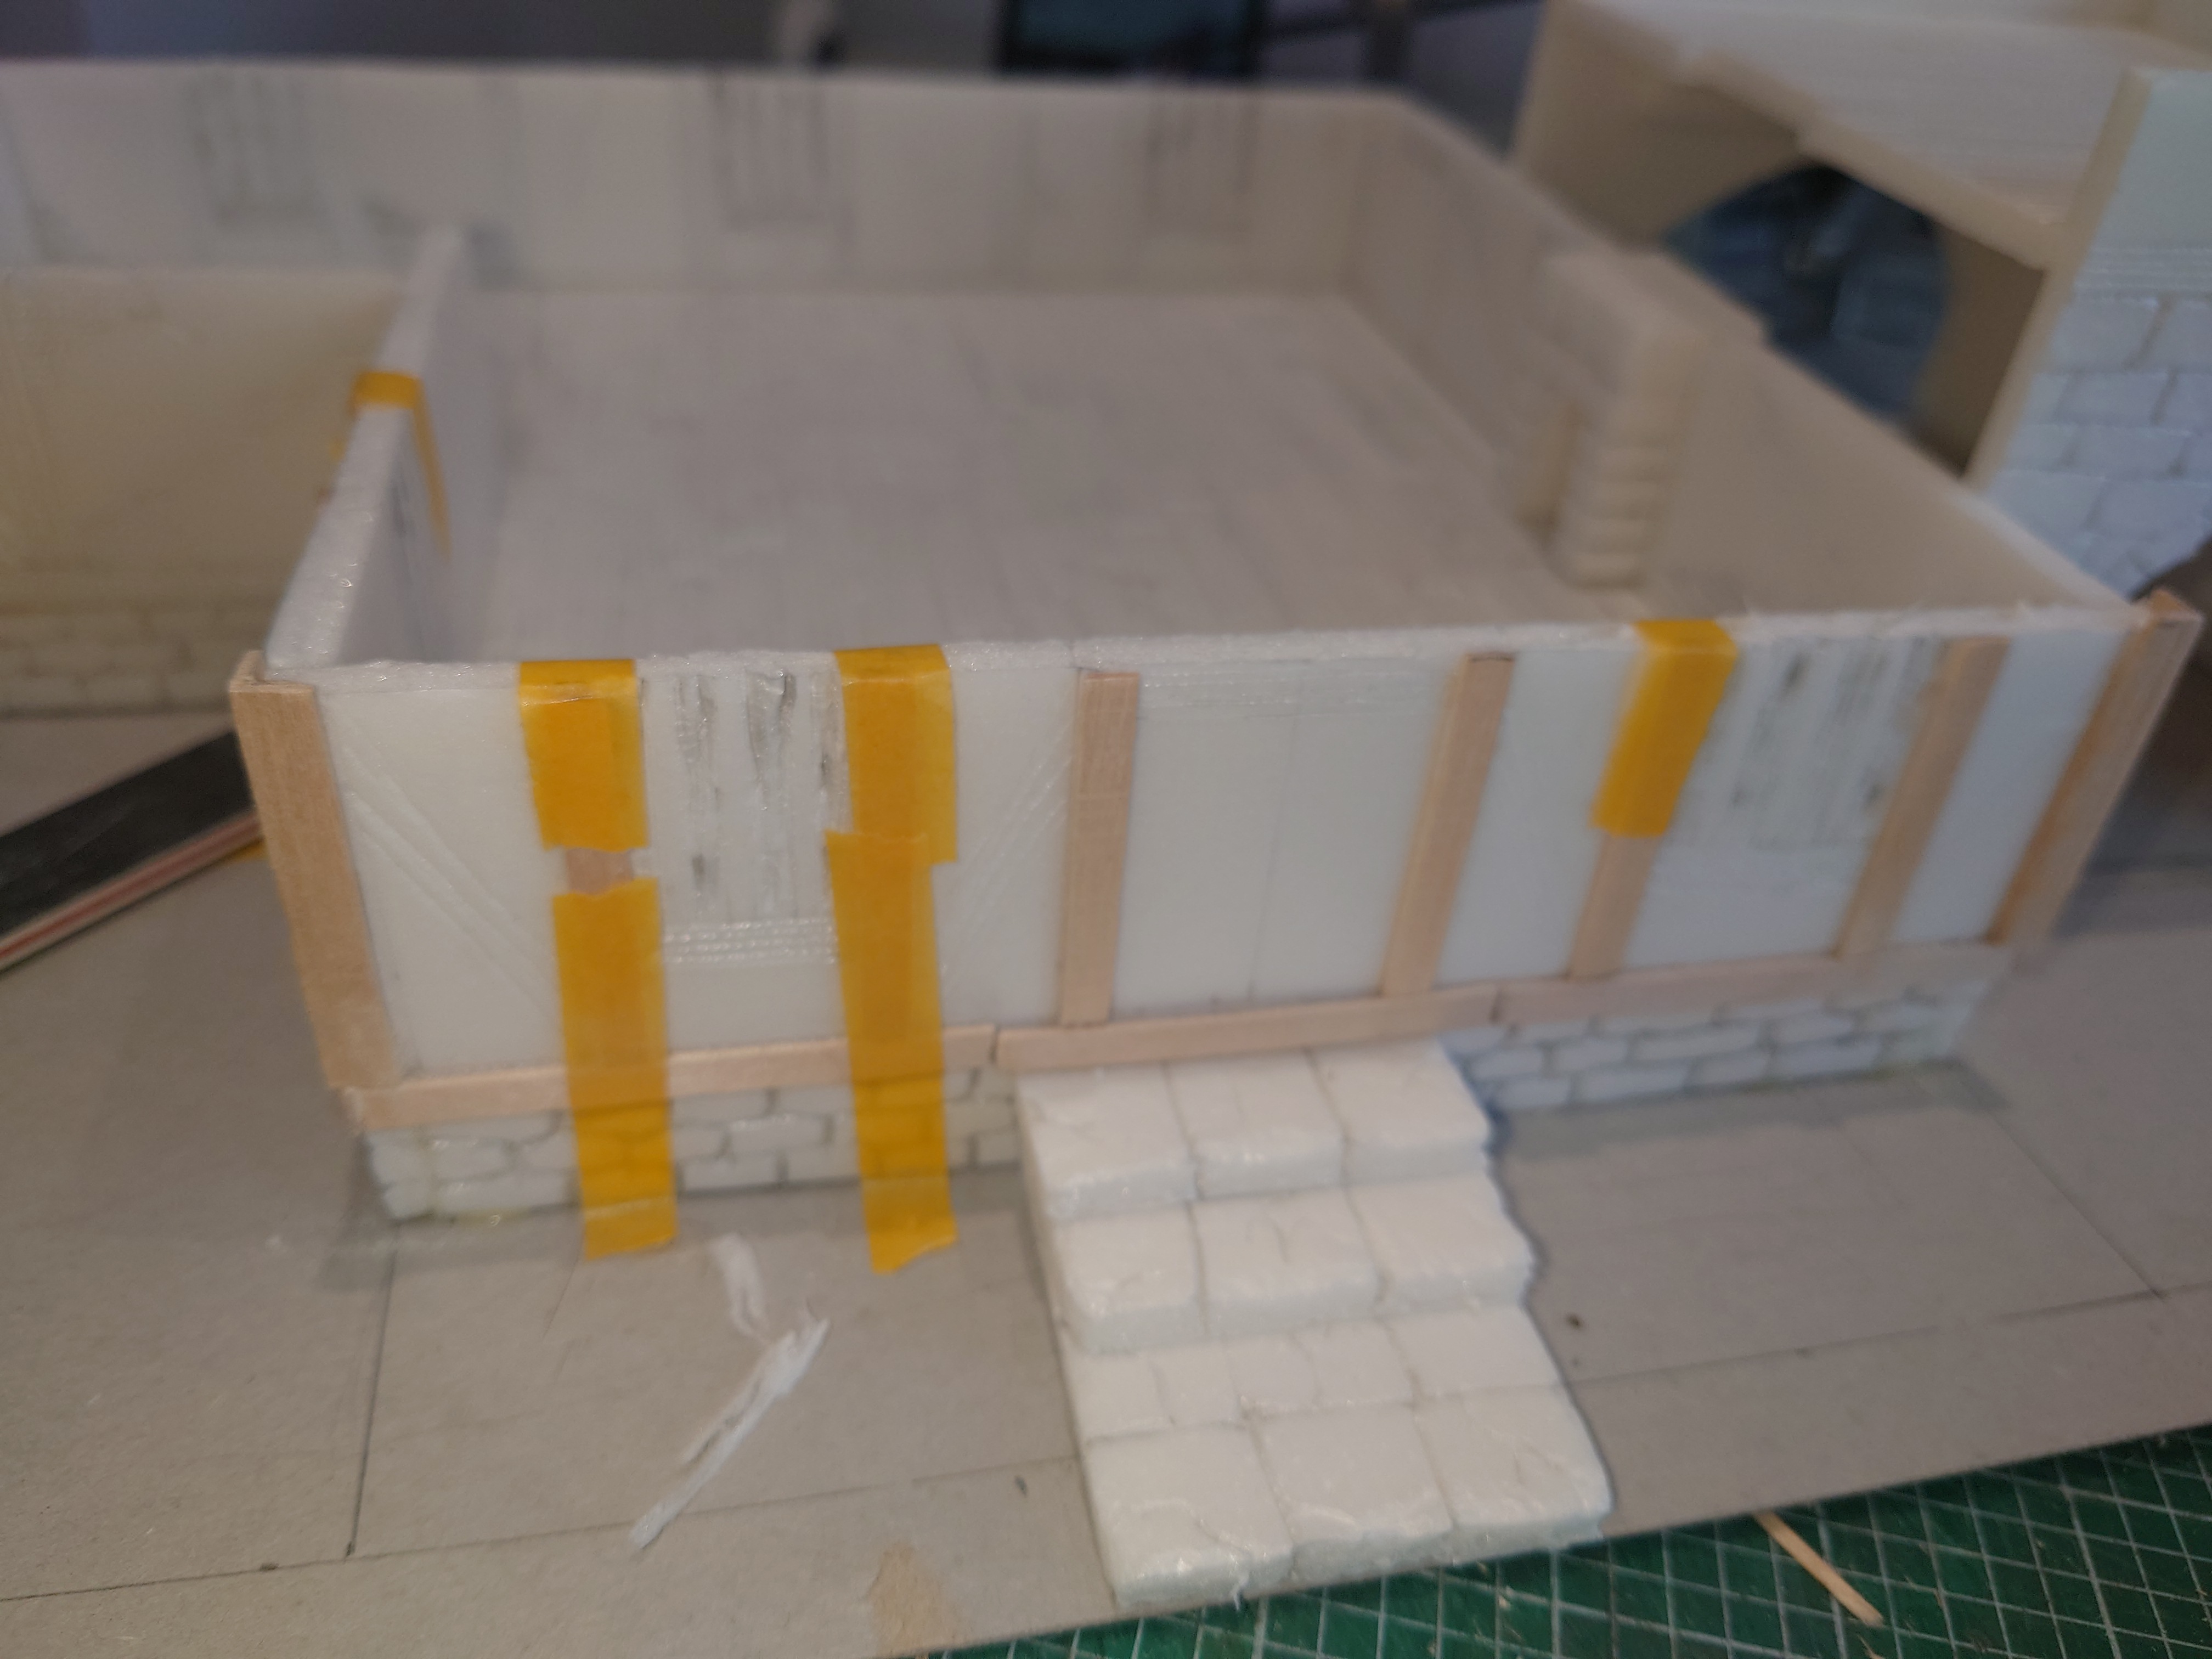
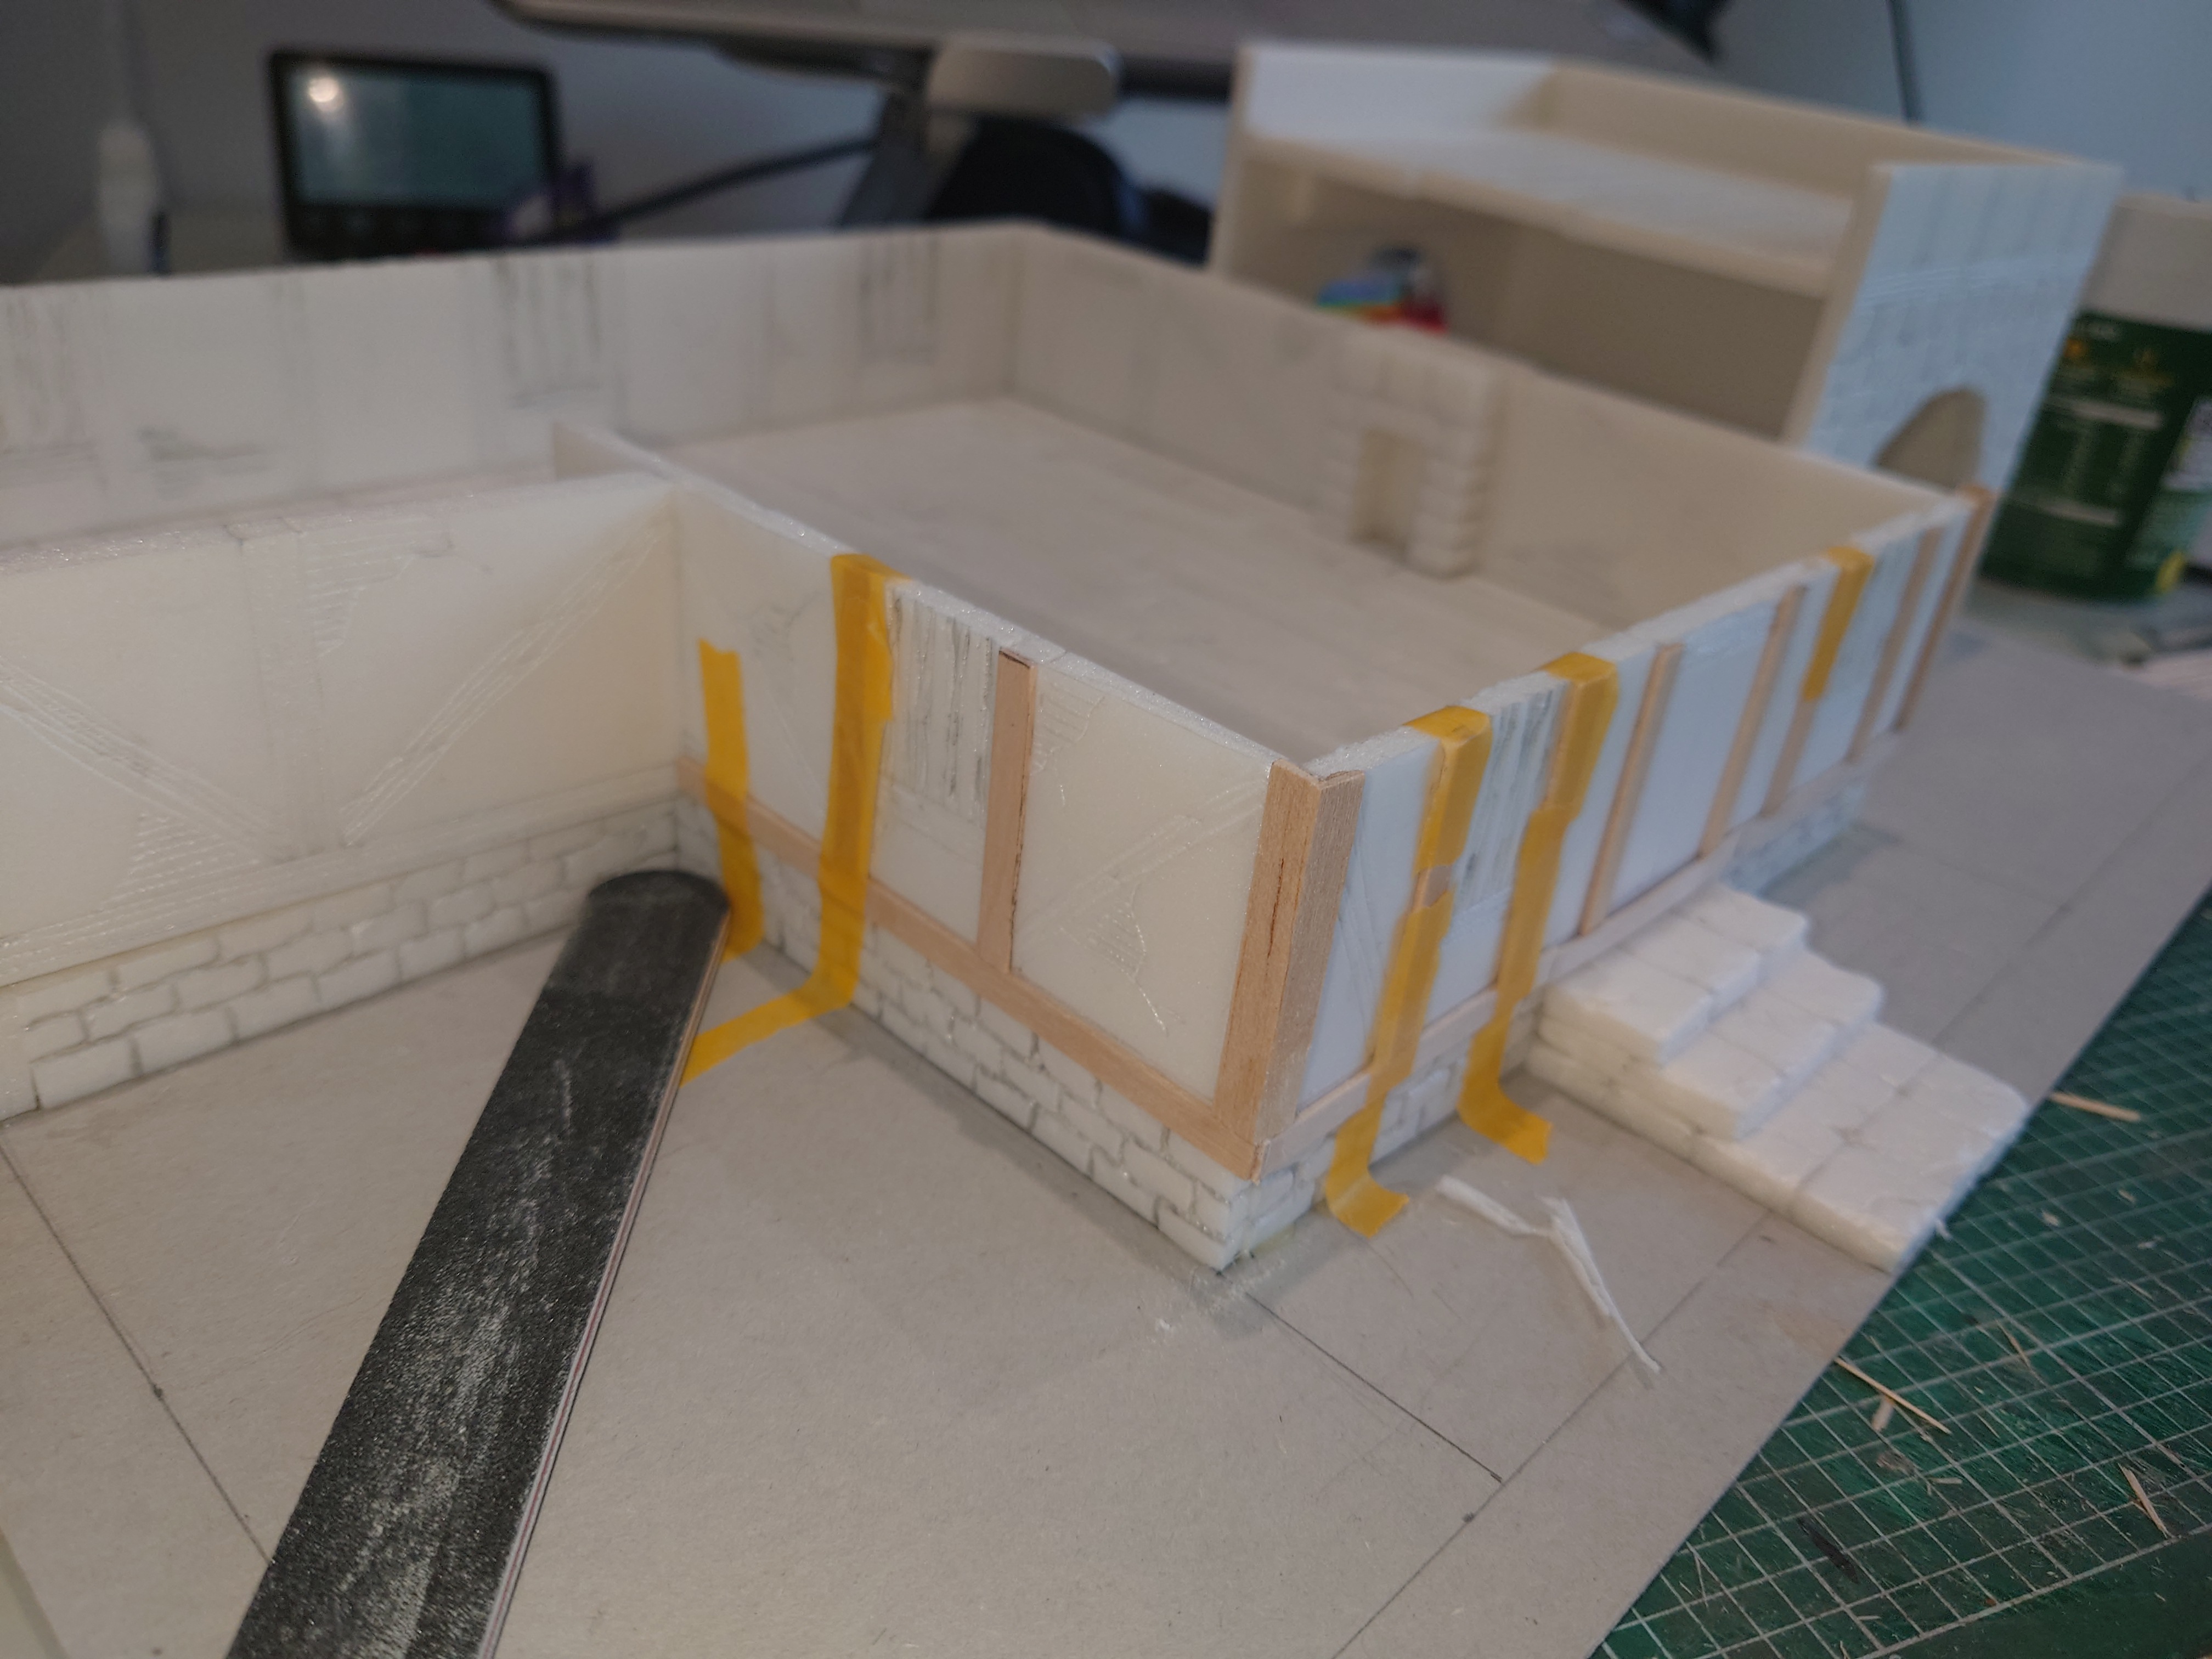
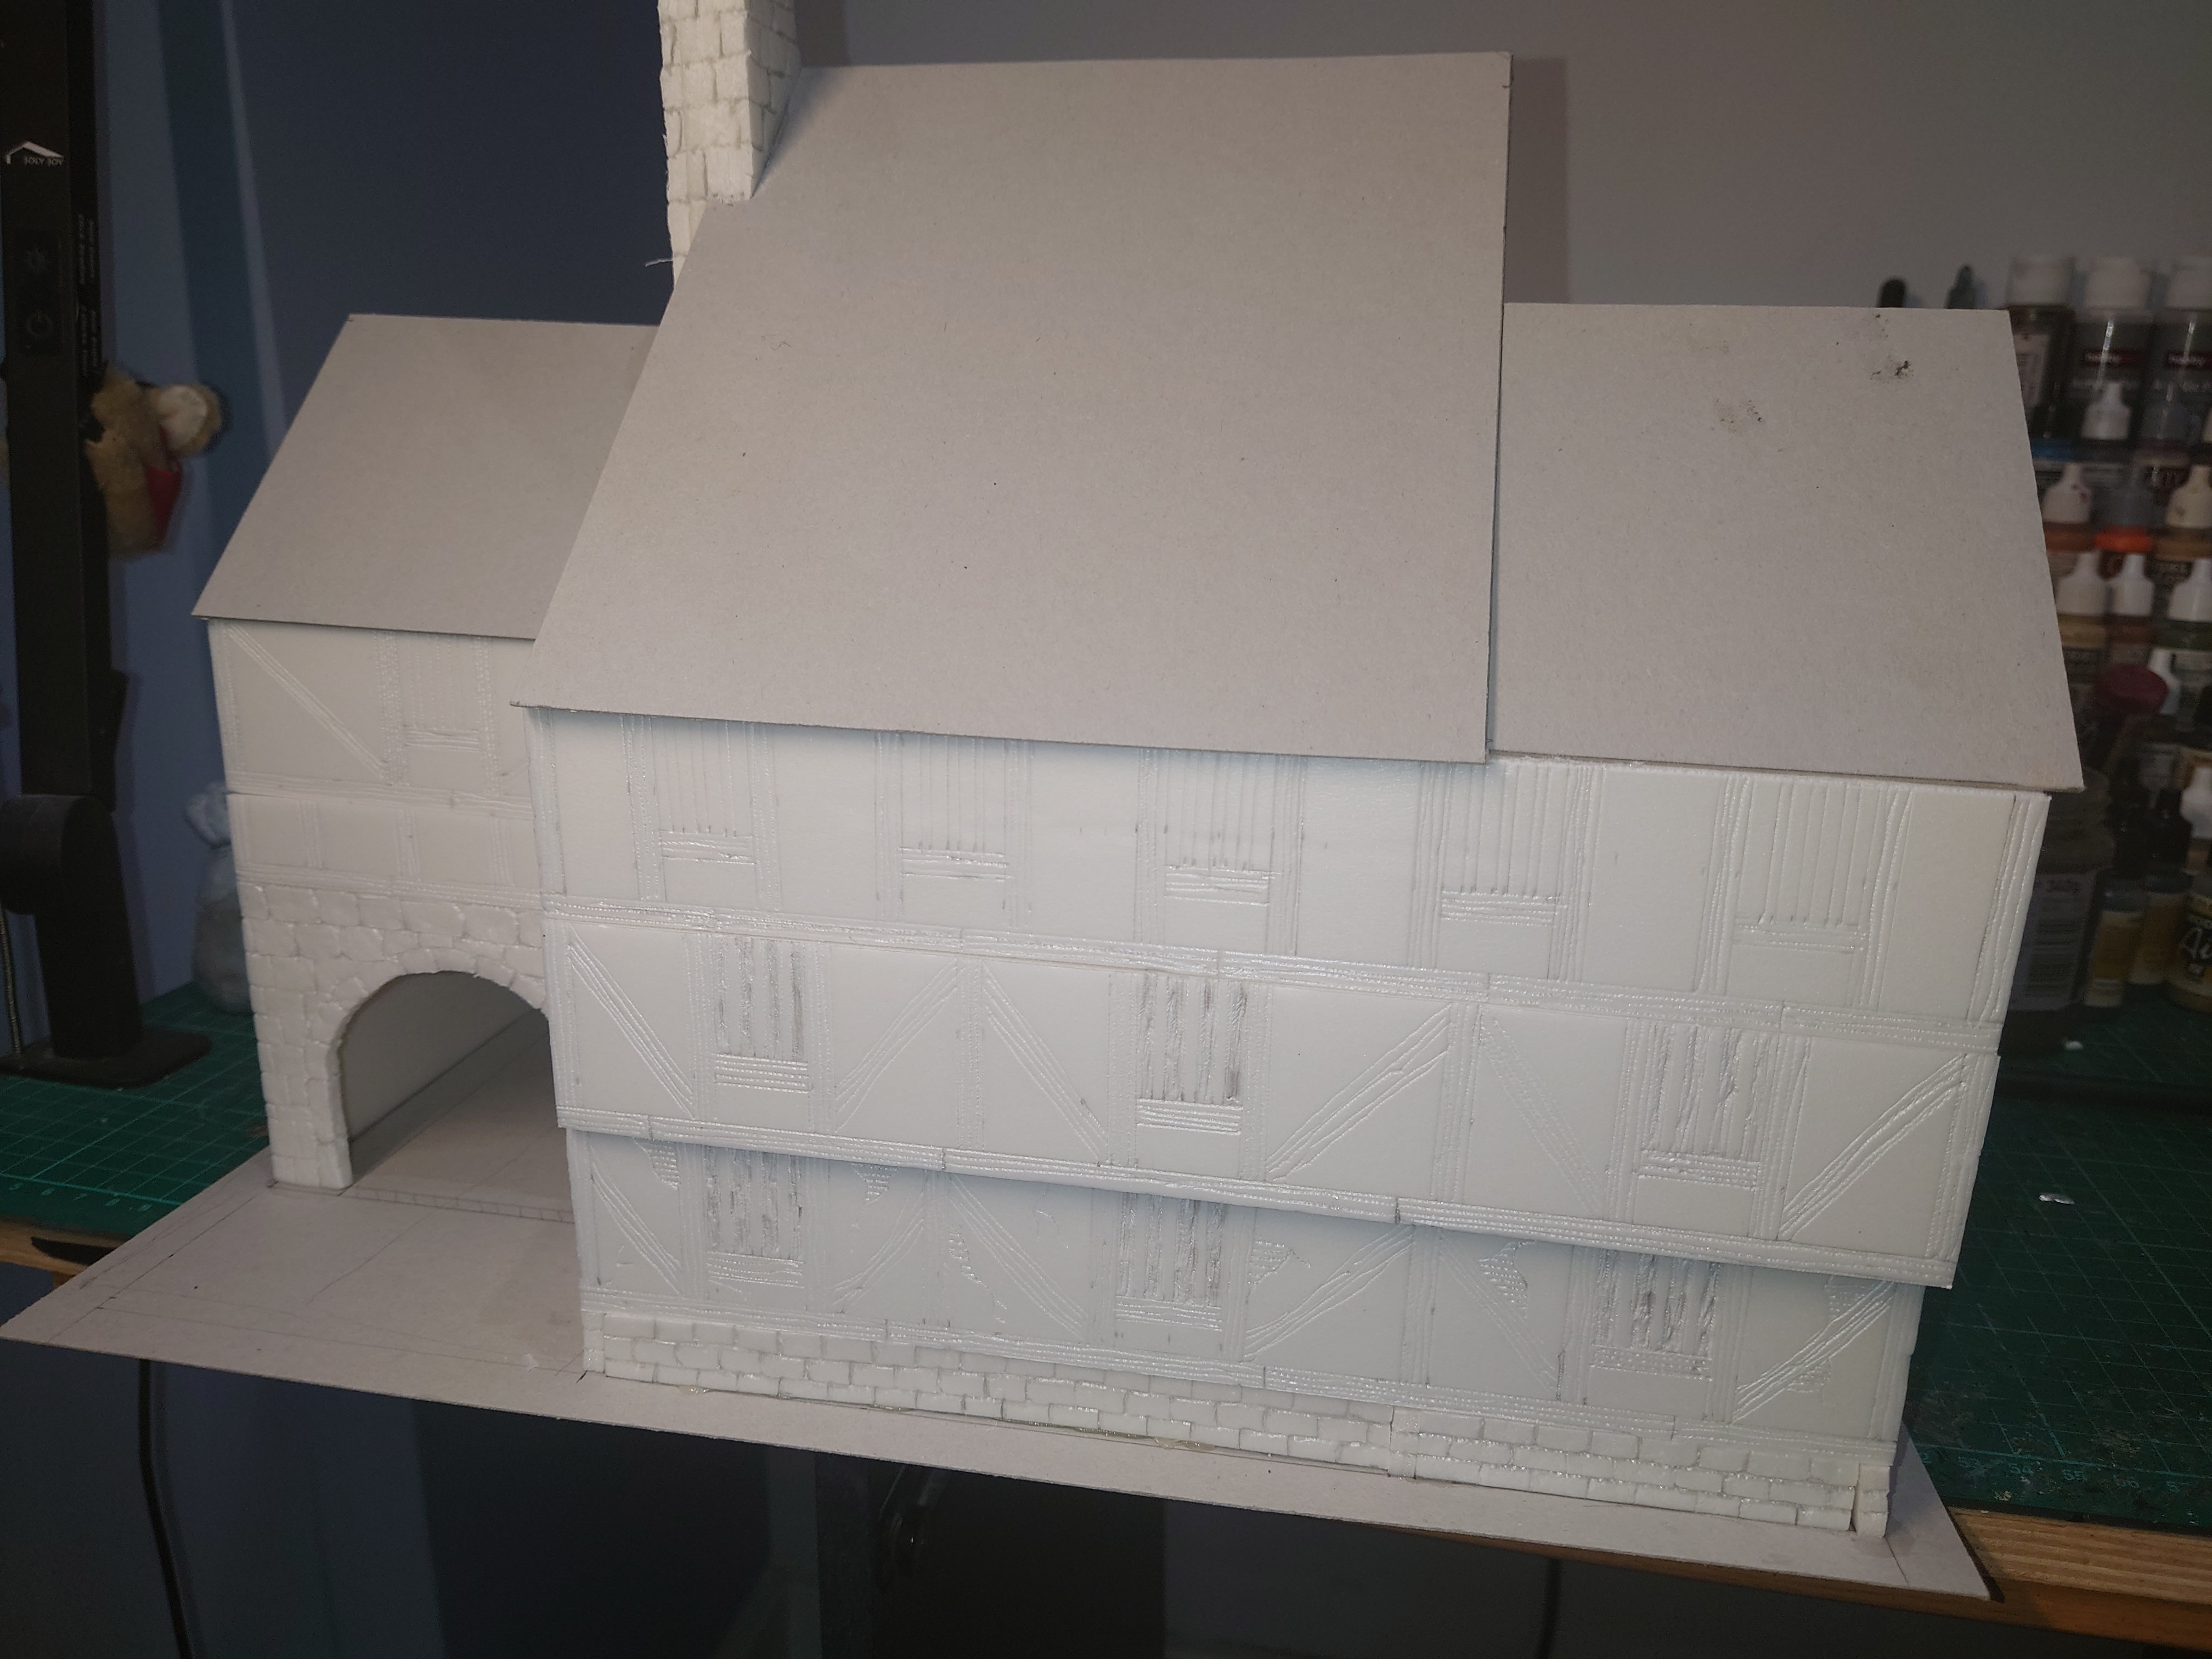
The wooden frame
Although I have carved the details of the frame into the foam core, it lacks a bit of dimension. So I have decided to start adding the framework of the building using 5mm wide coffee stirrers picked up cheap from and online store.


Details details details
So on to the detailing. I have decided that I will up the level of detail on this model.
So what will this include
- Adding wooden frame to the building
- Interior walls
- Stairs
- A bar
- The doors
- The windows
- The Inn Sign
- Thatched roof ( this will be covered in a separate post)
The wooden frame
Although I have carved the details of the frame into the foam core, it lacks a bit of dimension. So I have decided to start adding the framework of the building using 5mm wide coffee stirrers picked up cheap from and online store.
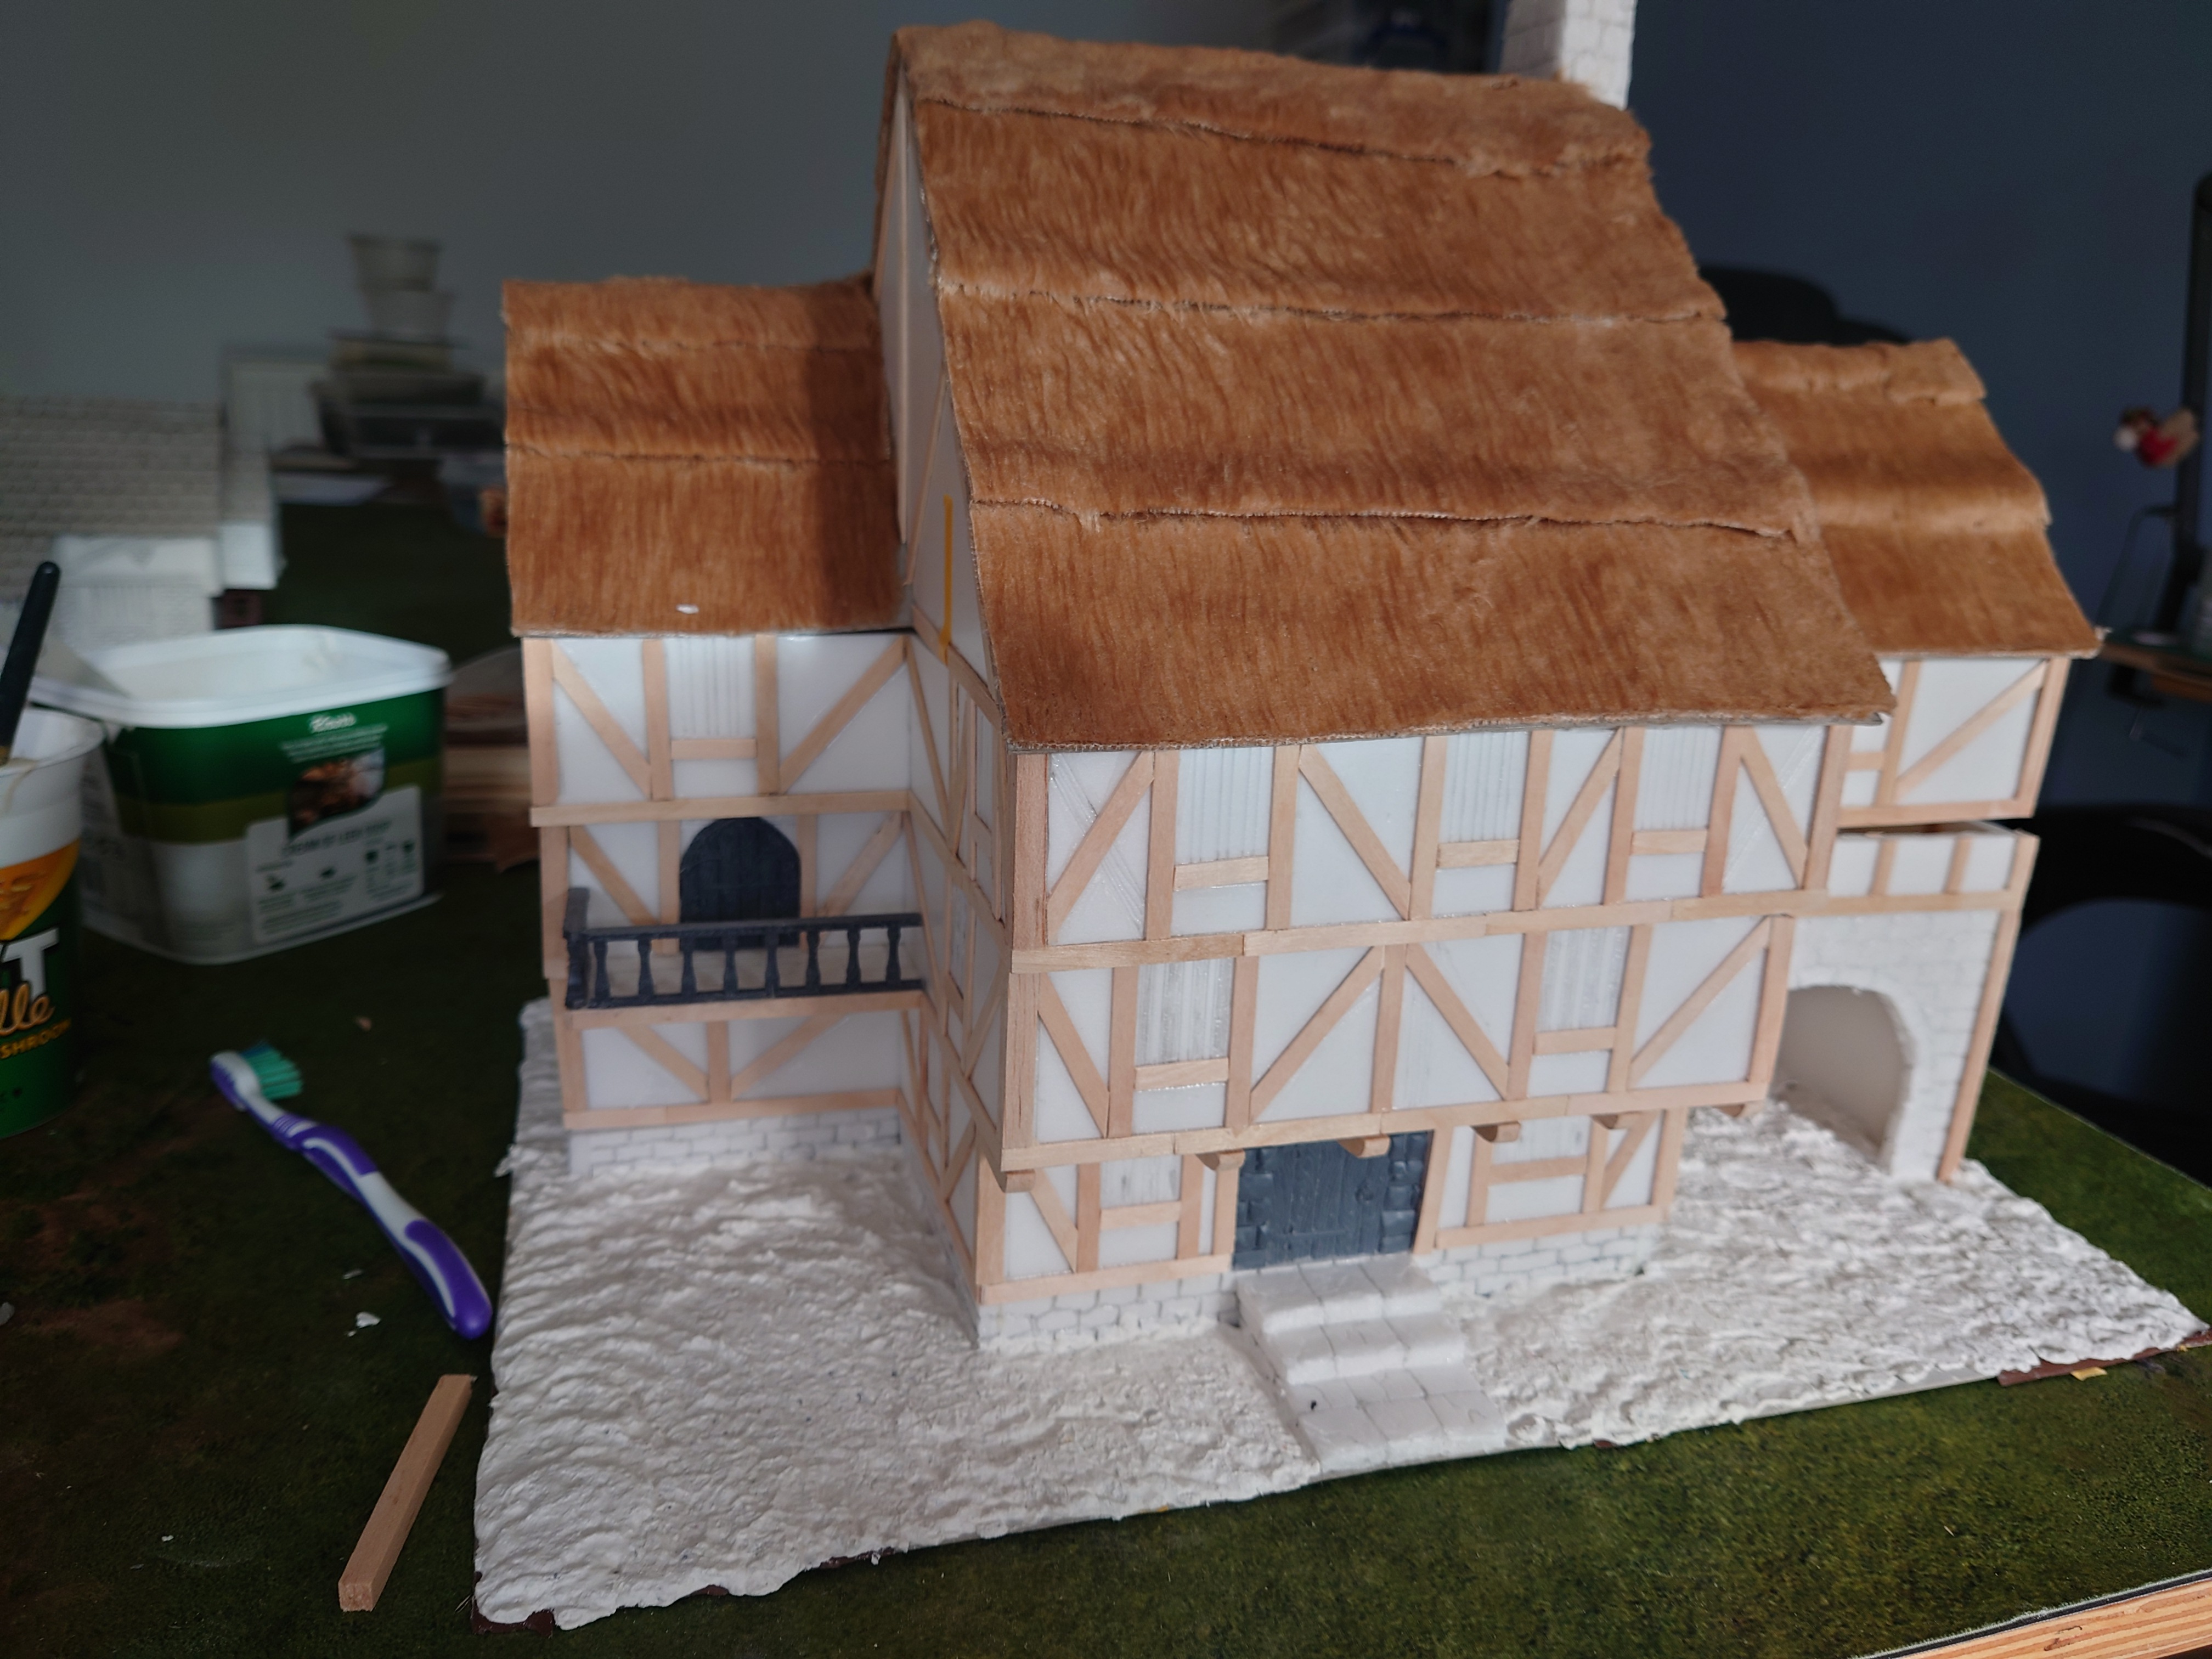
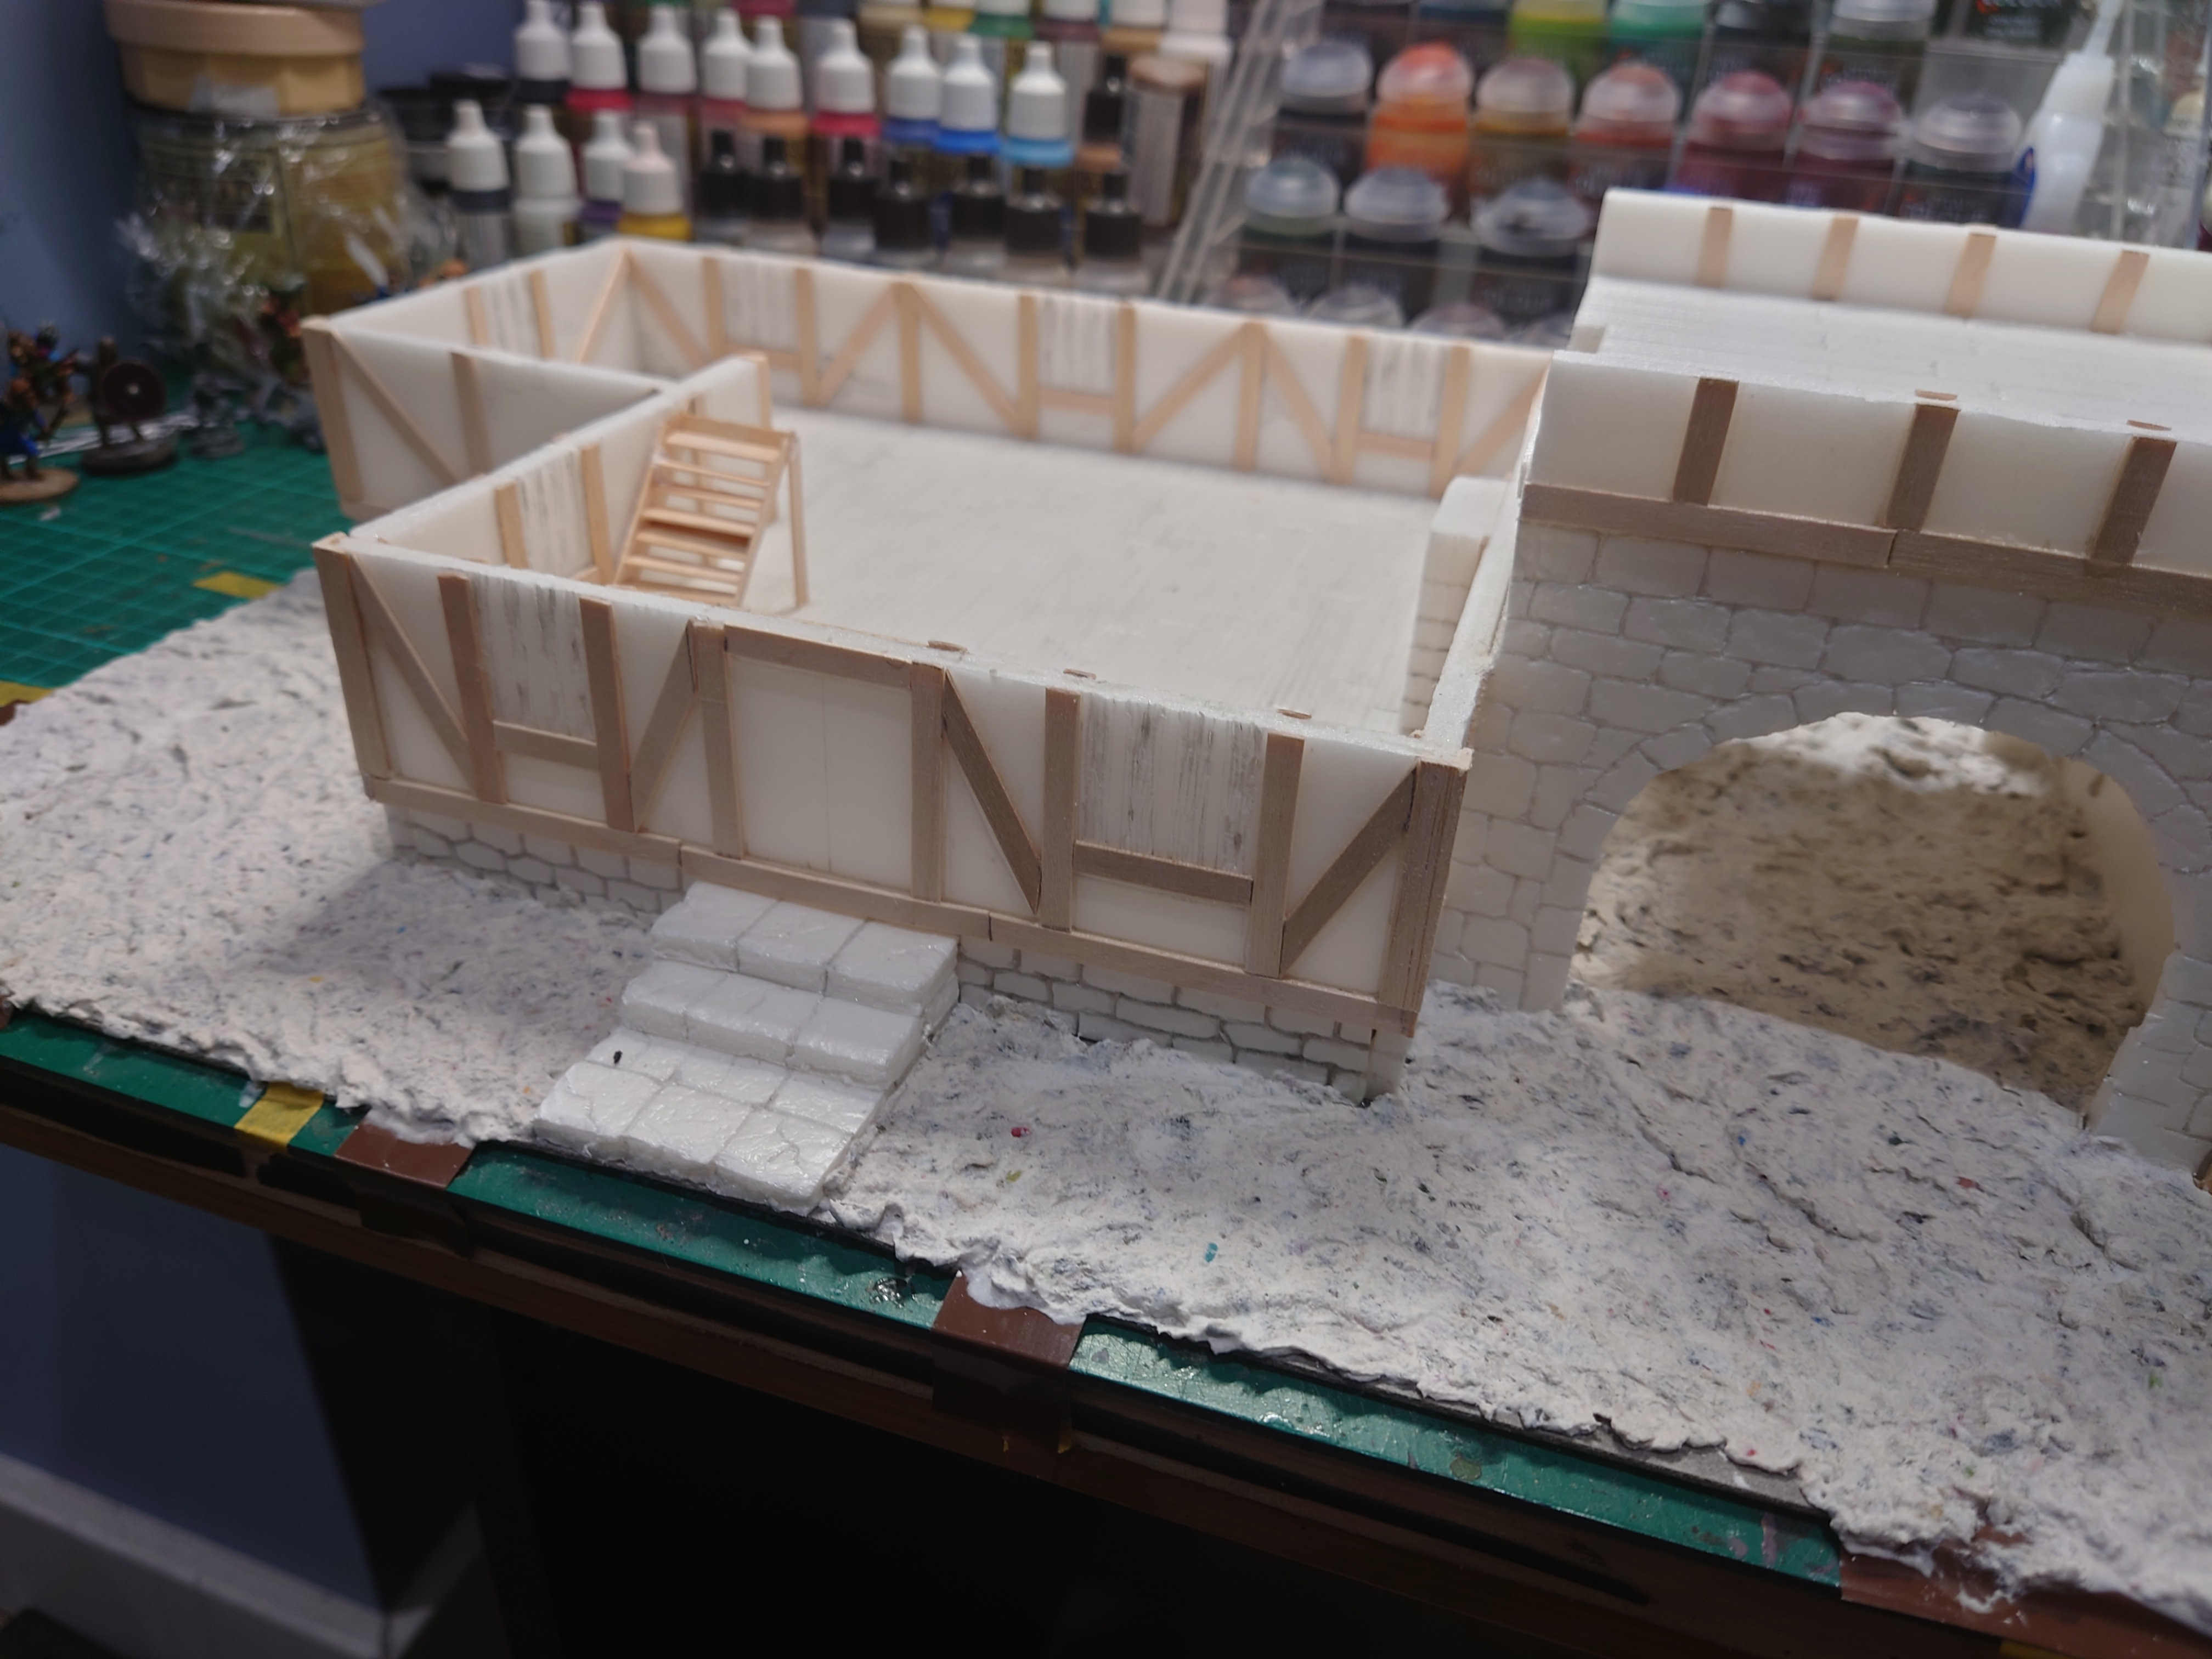
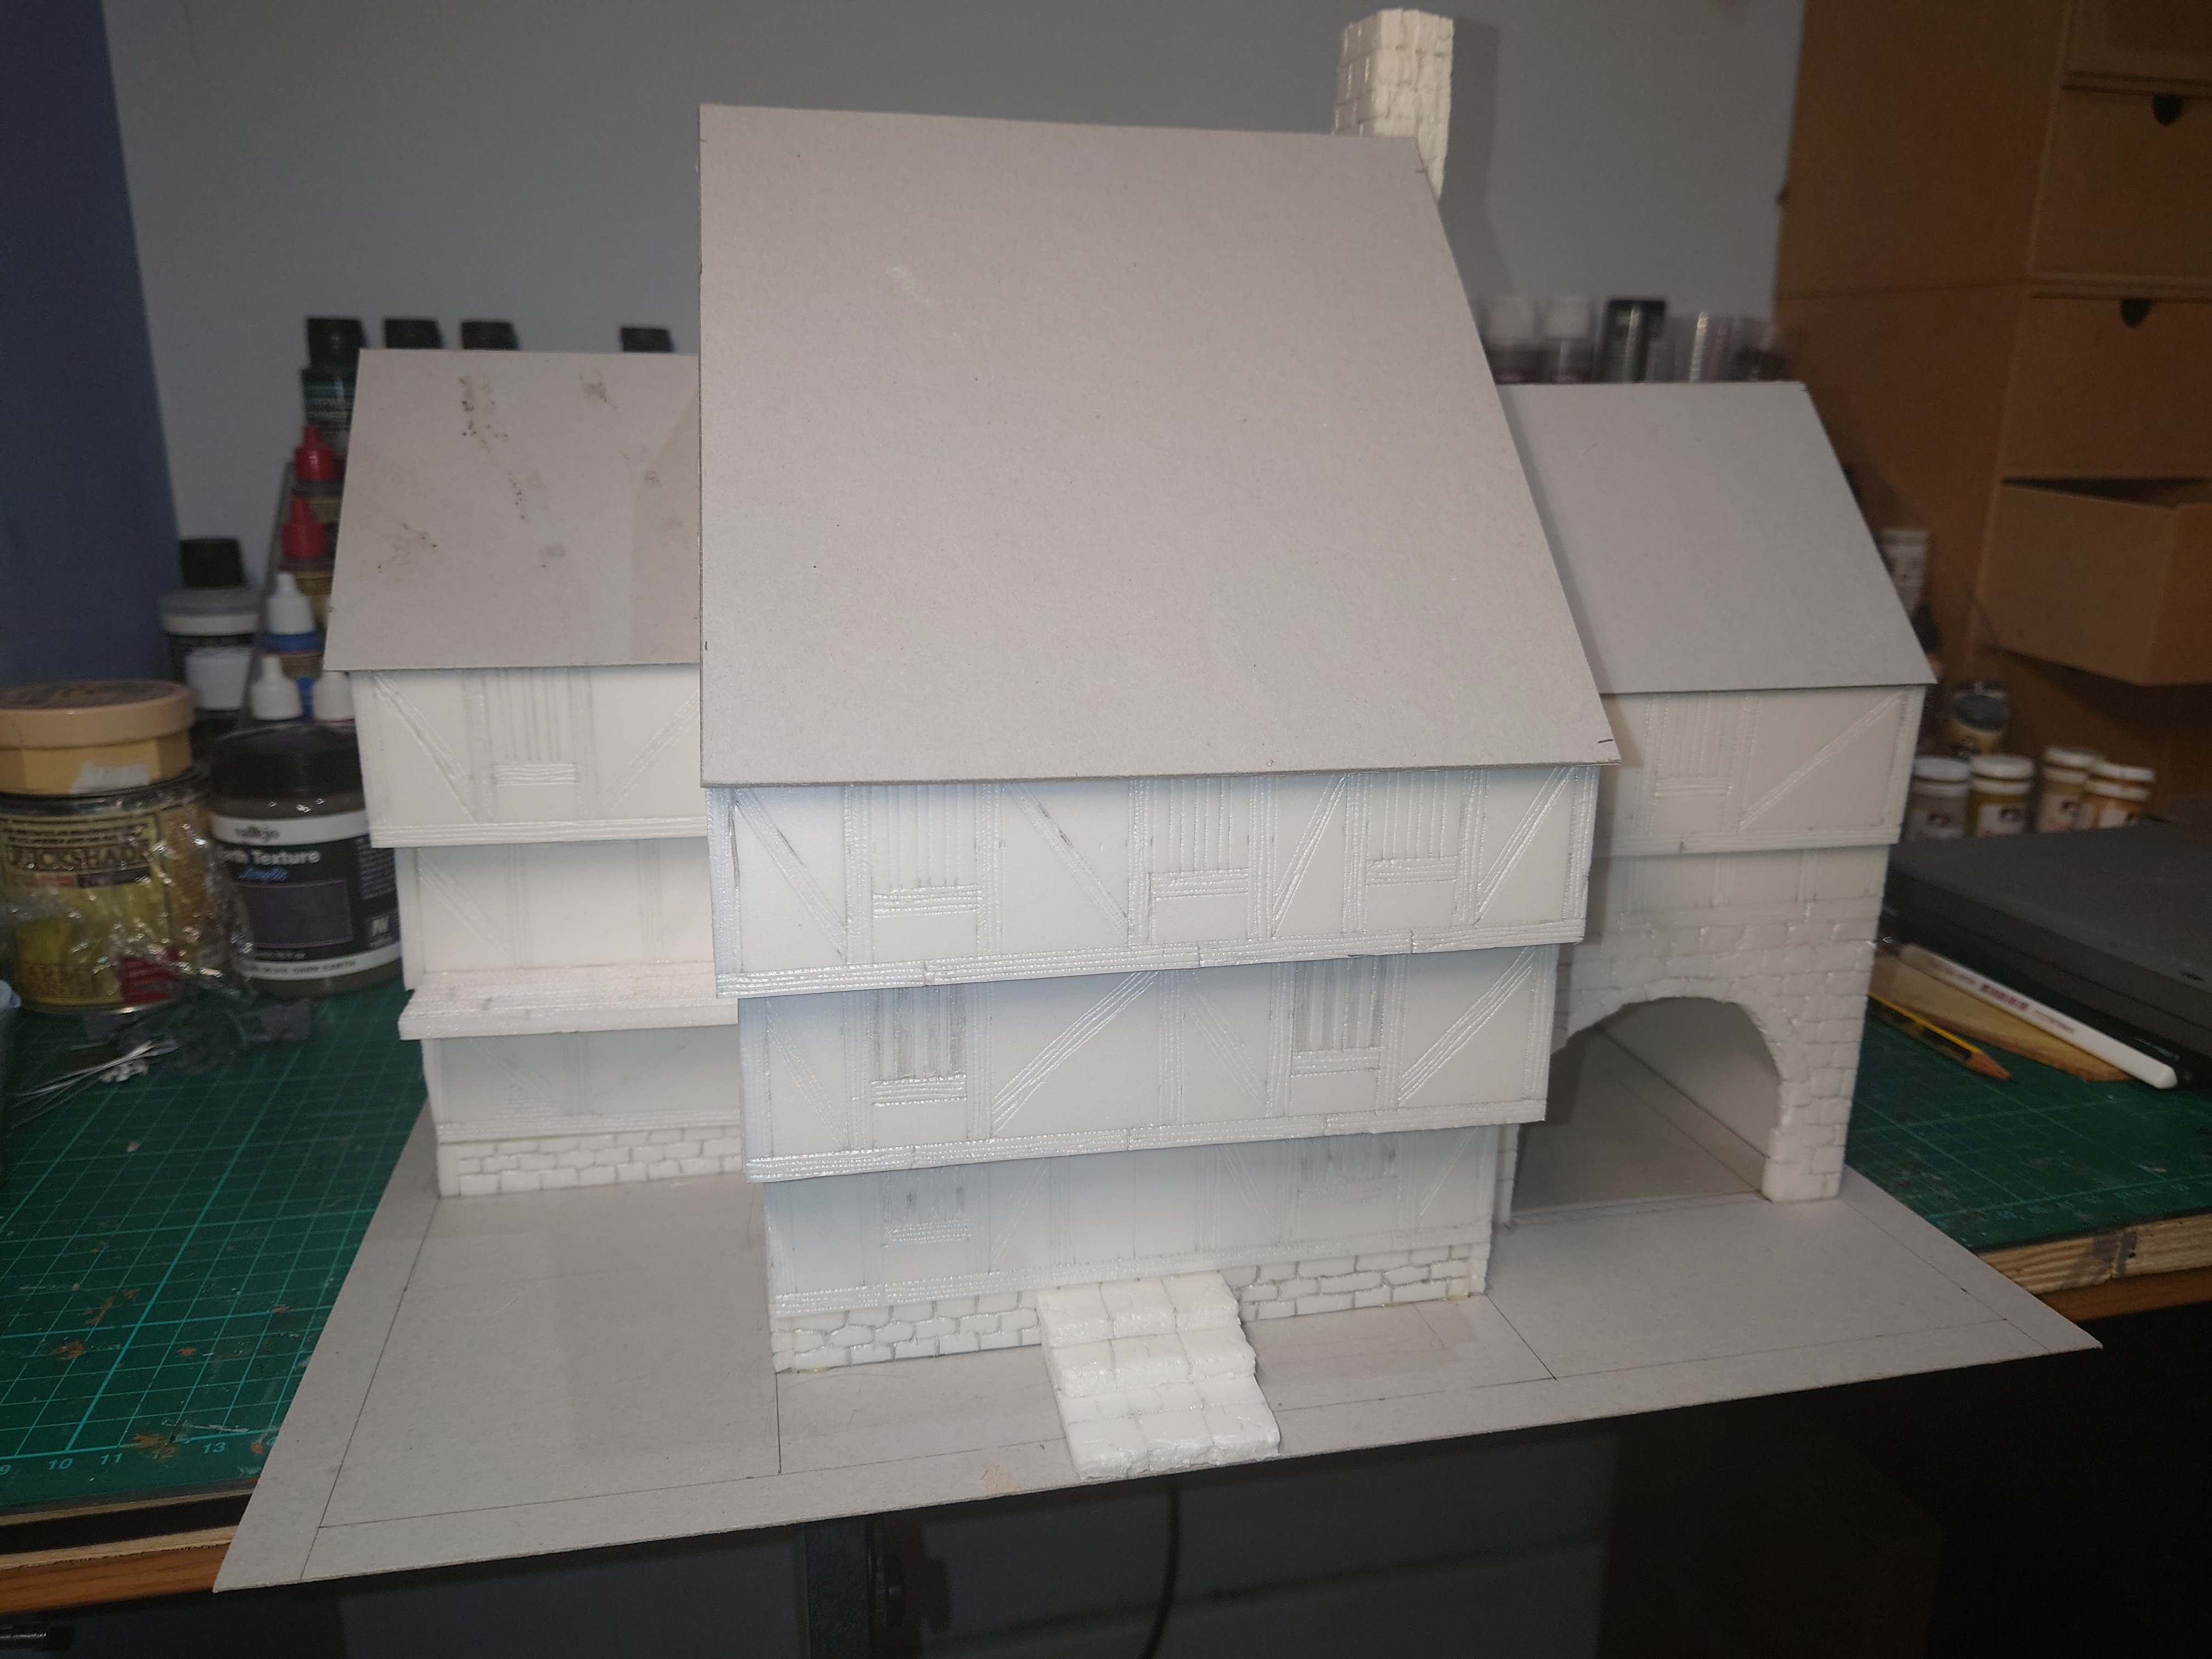
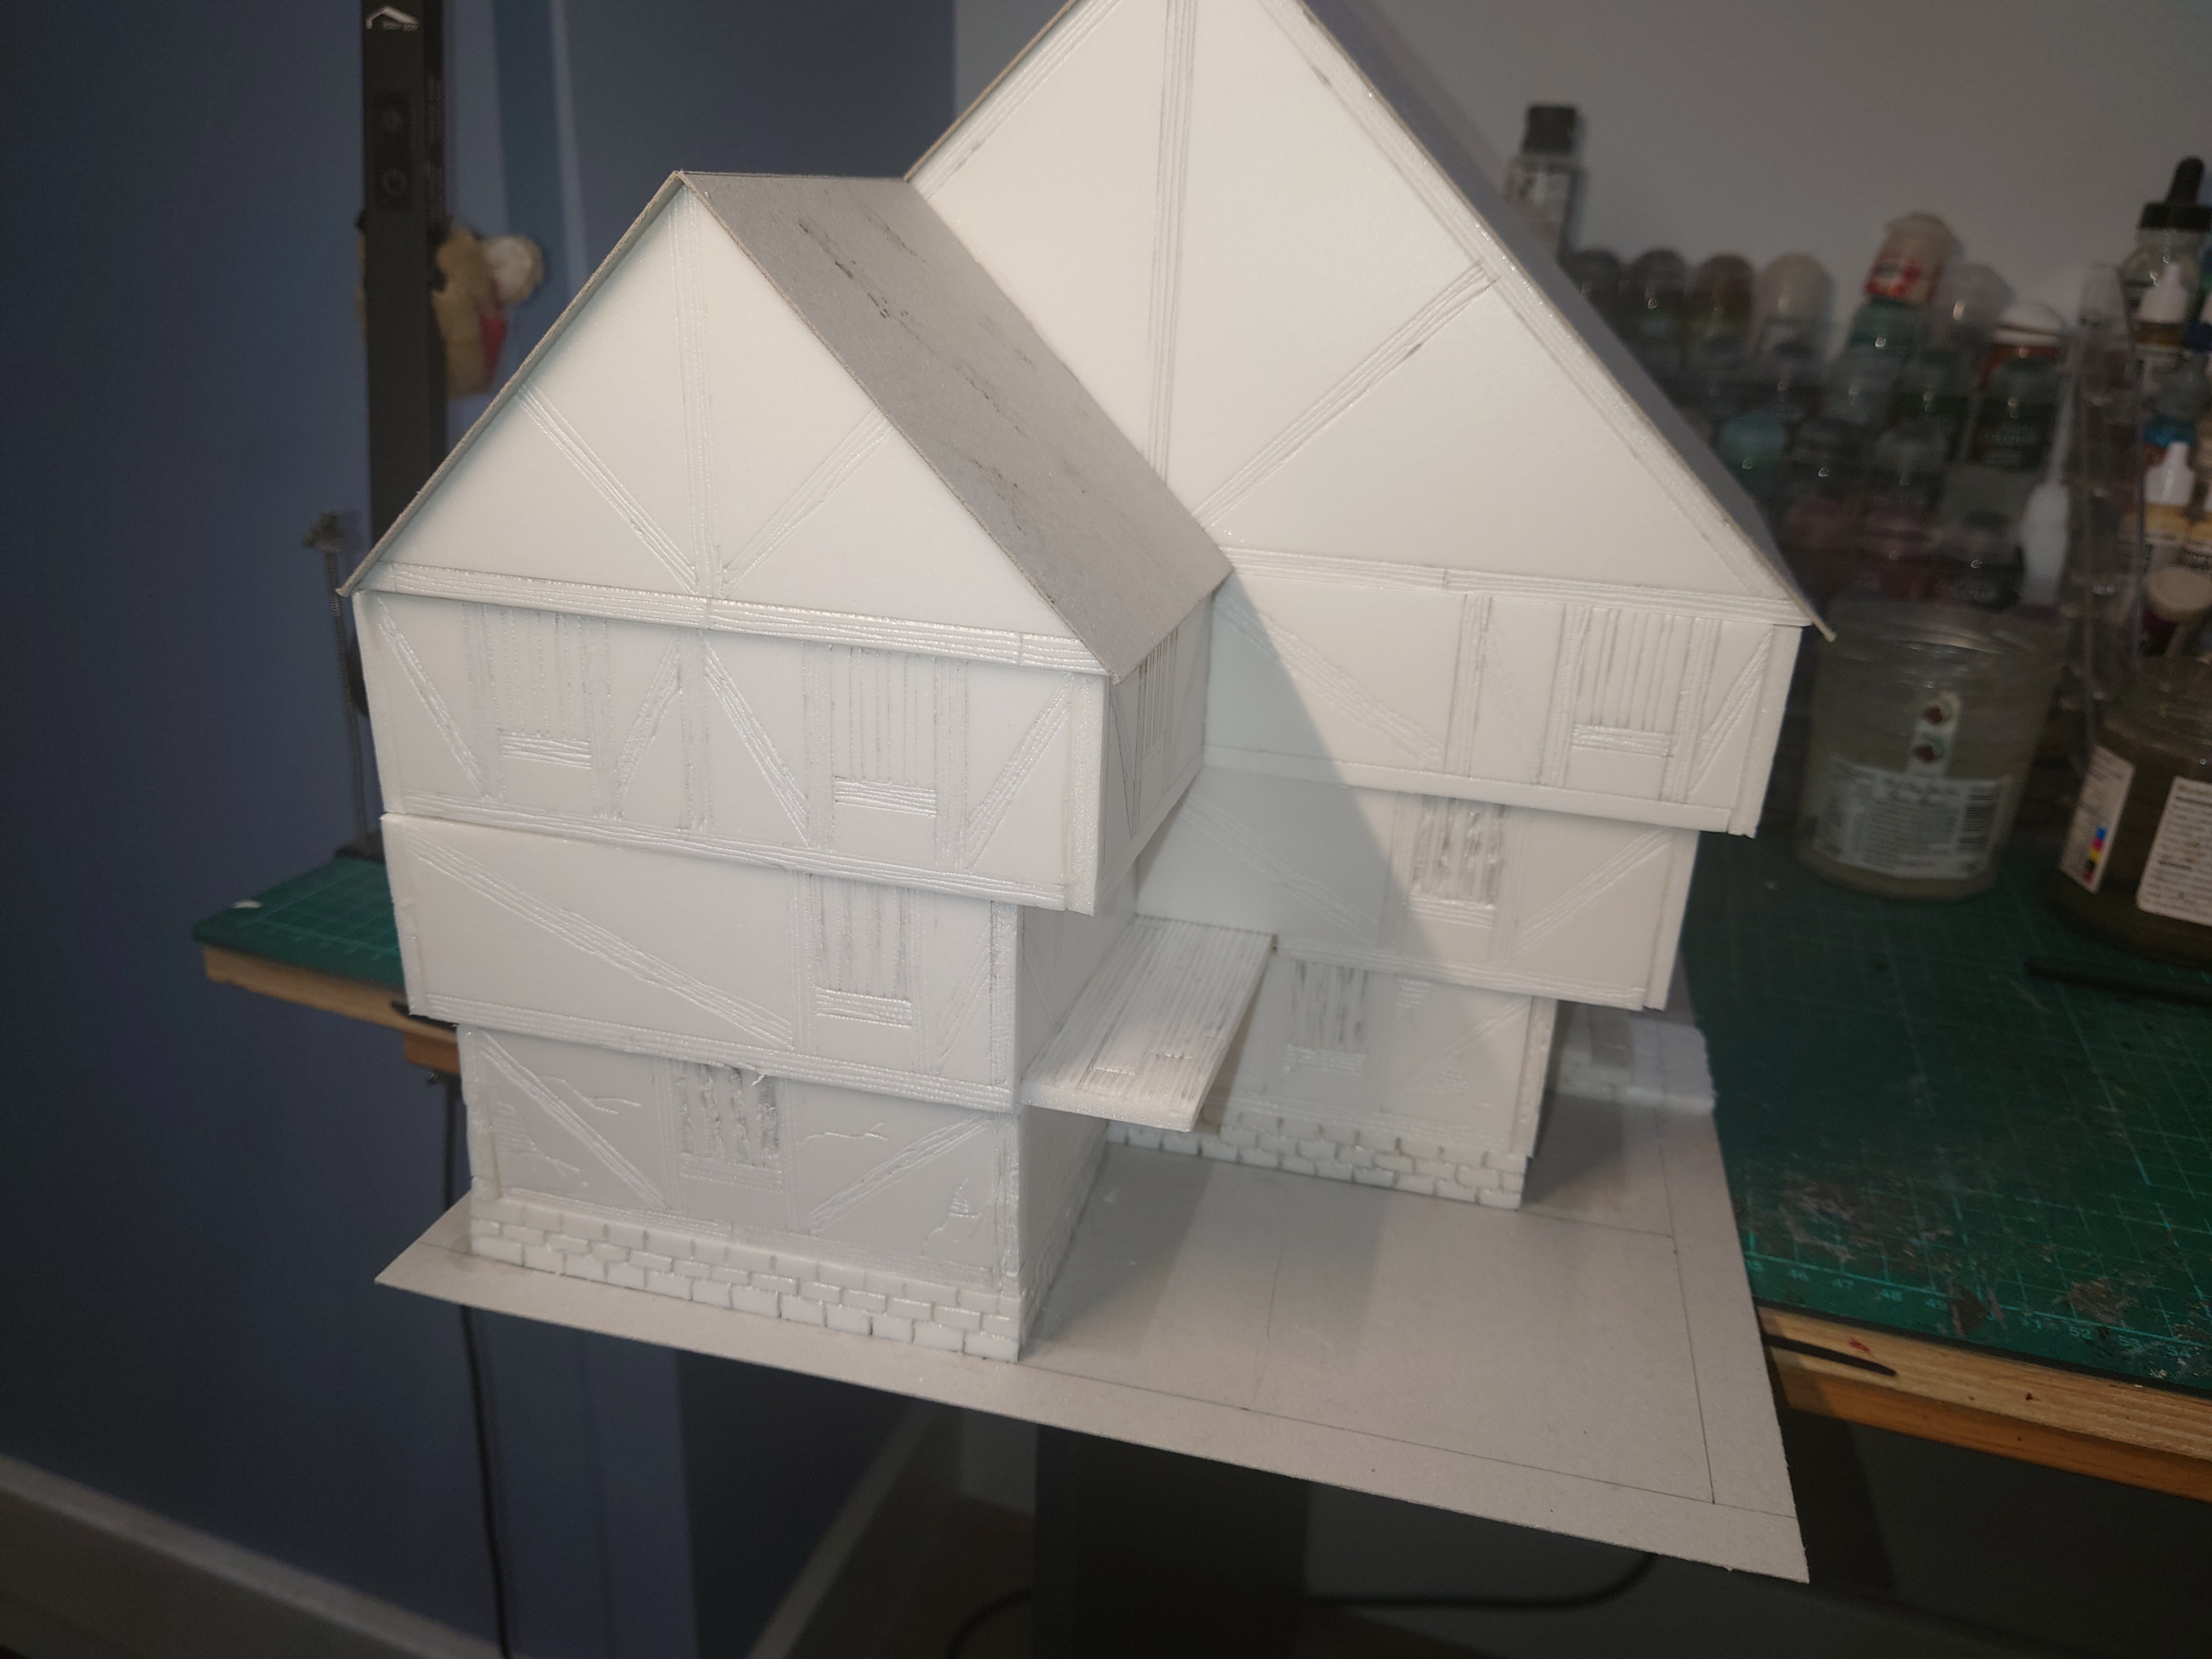
Main construction complete.
So with 11 days to go I have completed the main baulk of the building. I am pleased with how it has come out.
The list of things that I need to do.
Ok so now the main building has been completed. I still need to do the following:
- The roof- decide on whether I use tiles or thatch, I am leaning towards thatch, but needed to order some teddy bear fur ( I have no teddy’s to murder?)
- The details, this will include the stairs and the interior walls, the balcony, the exterior view of support beams and of course the inn’s sign
- Basing – this will likely be done using geek gaming basing stuff. Although I have to consider avoiding warping the base ?
- Painting – and last of all I have to paint the building.
So will I finish it in 10 days I don’t know, but I do know I will be playing with it as it is on the table this weekend in a practice game of Barons War.
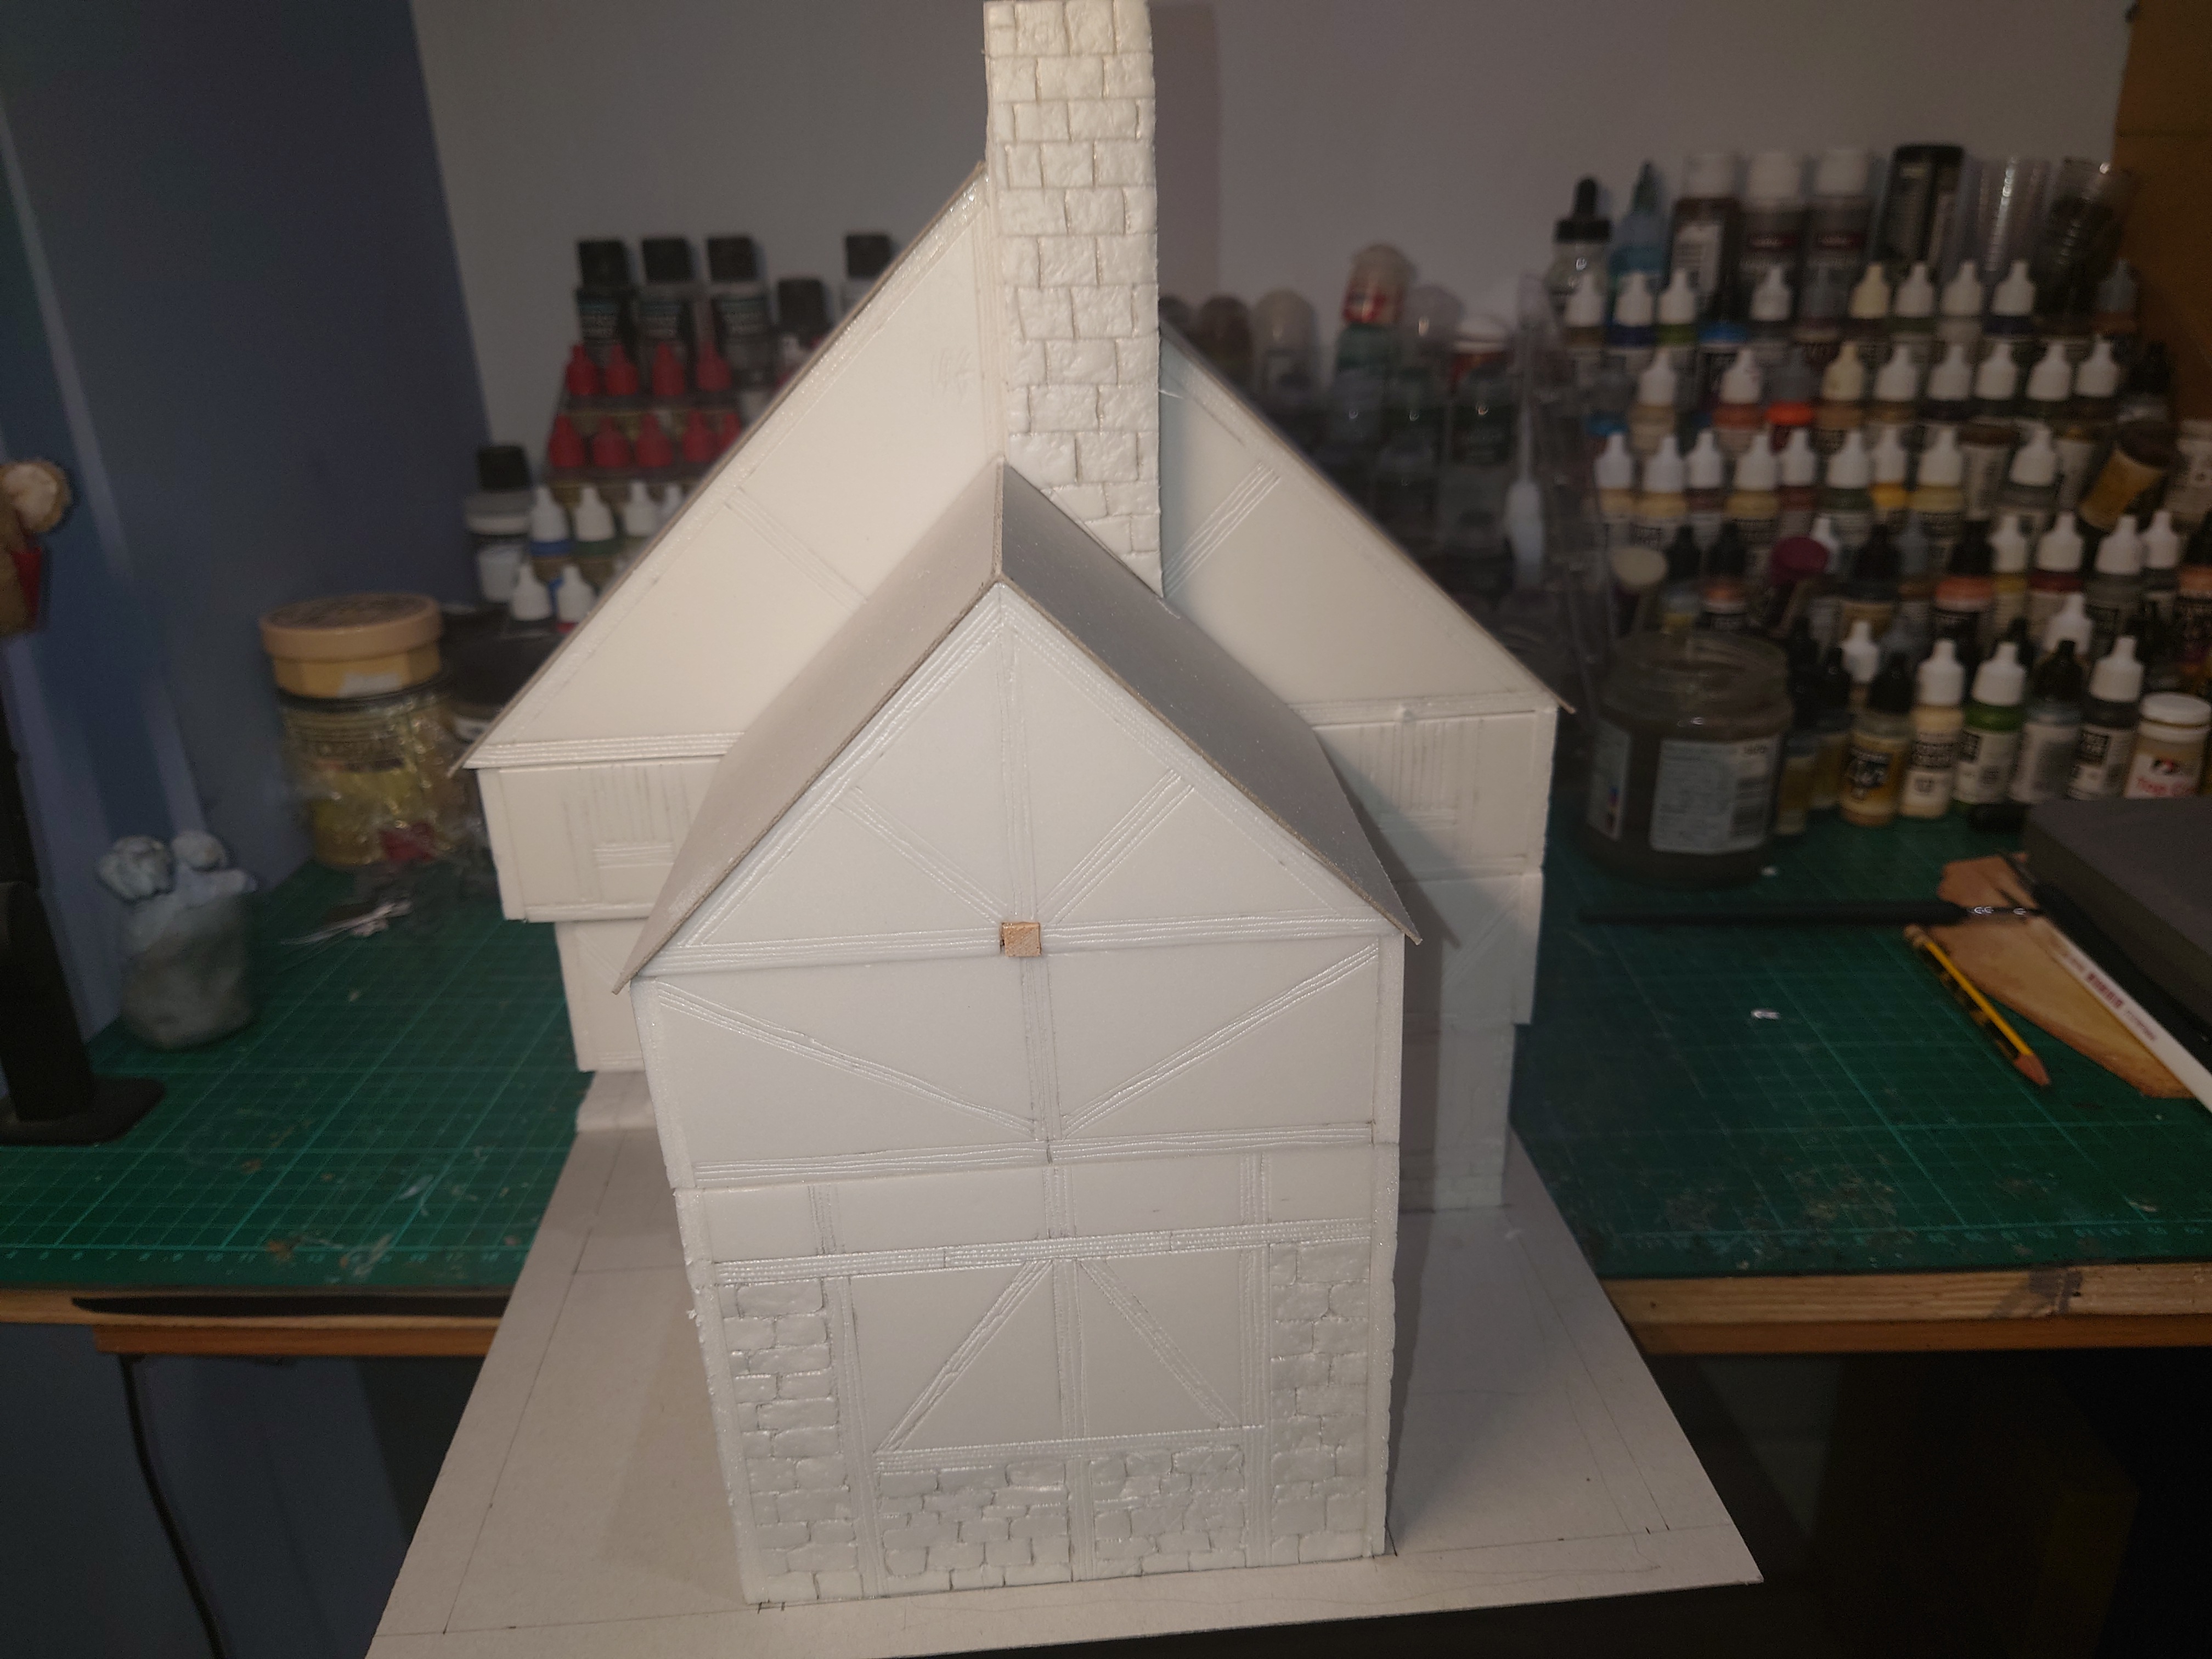
The Roof
So finally I have reached the top. Yes the roof. Here is where I have a decision to make.
Do I use tiles or do I do a thatched roof.
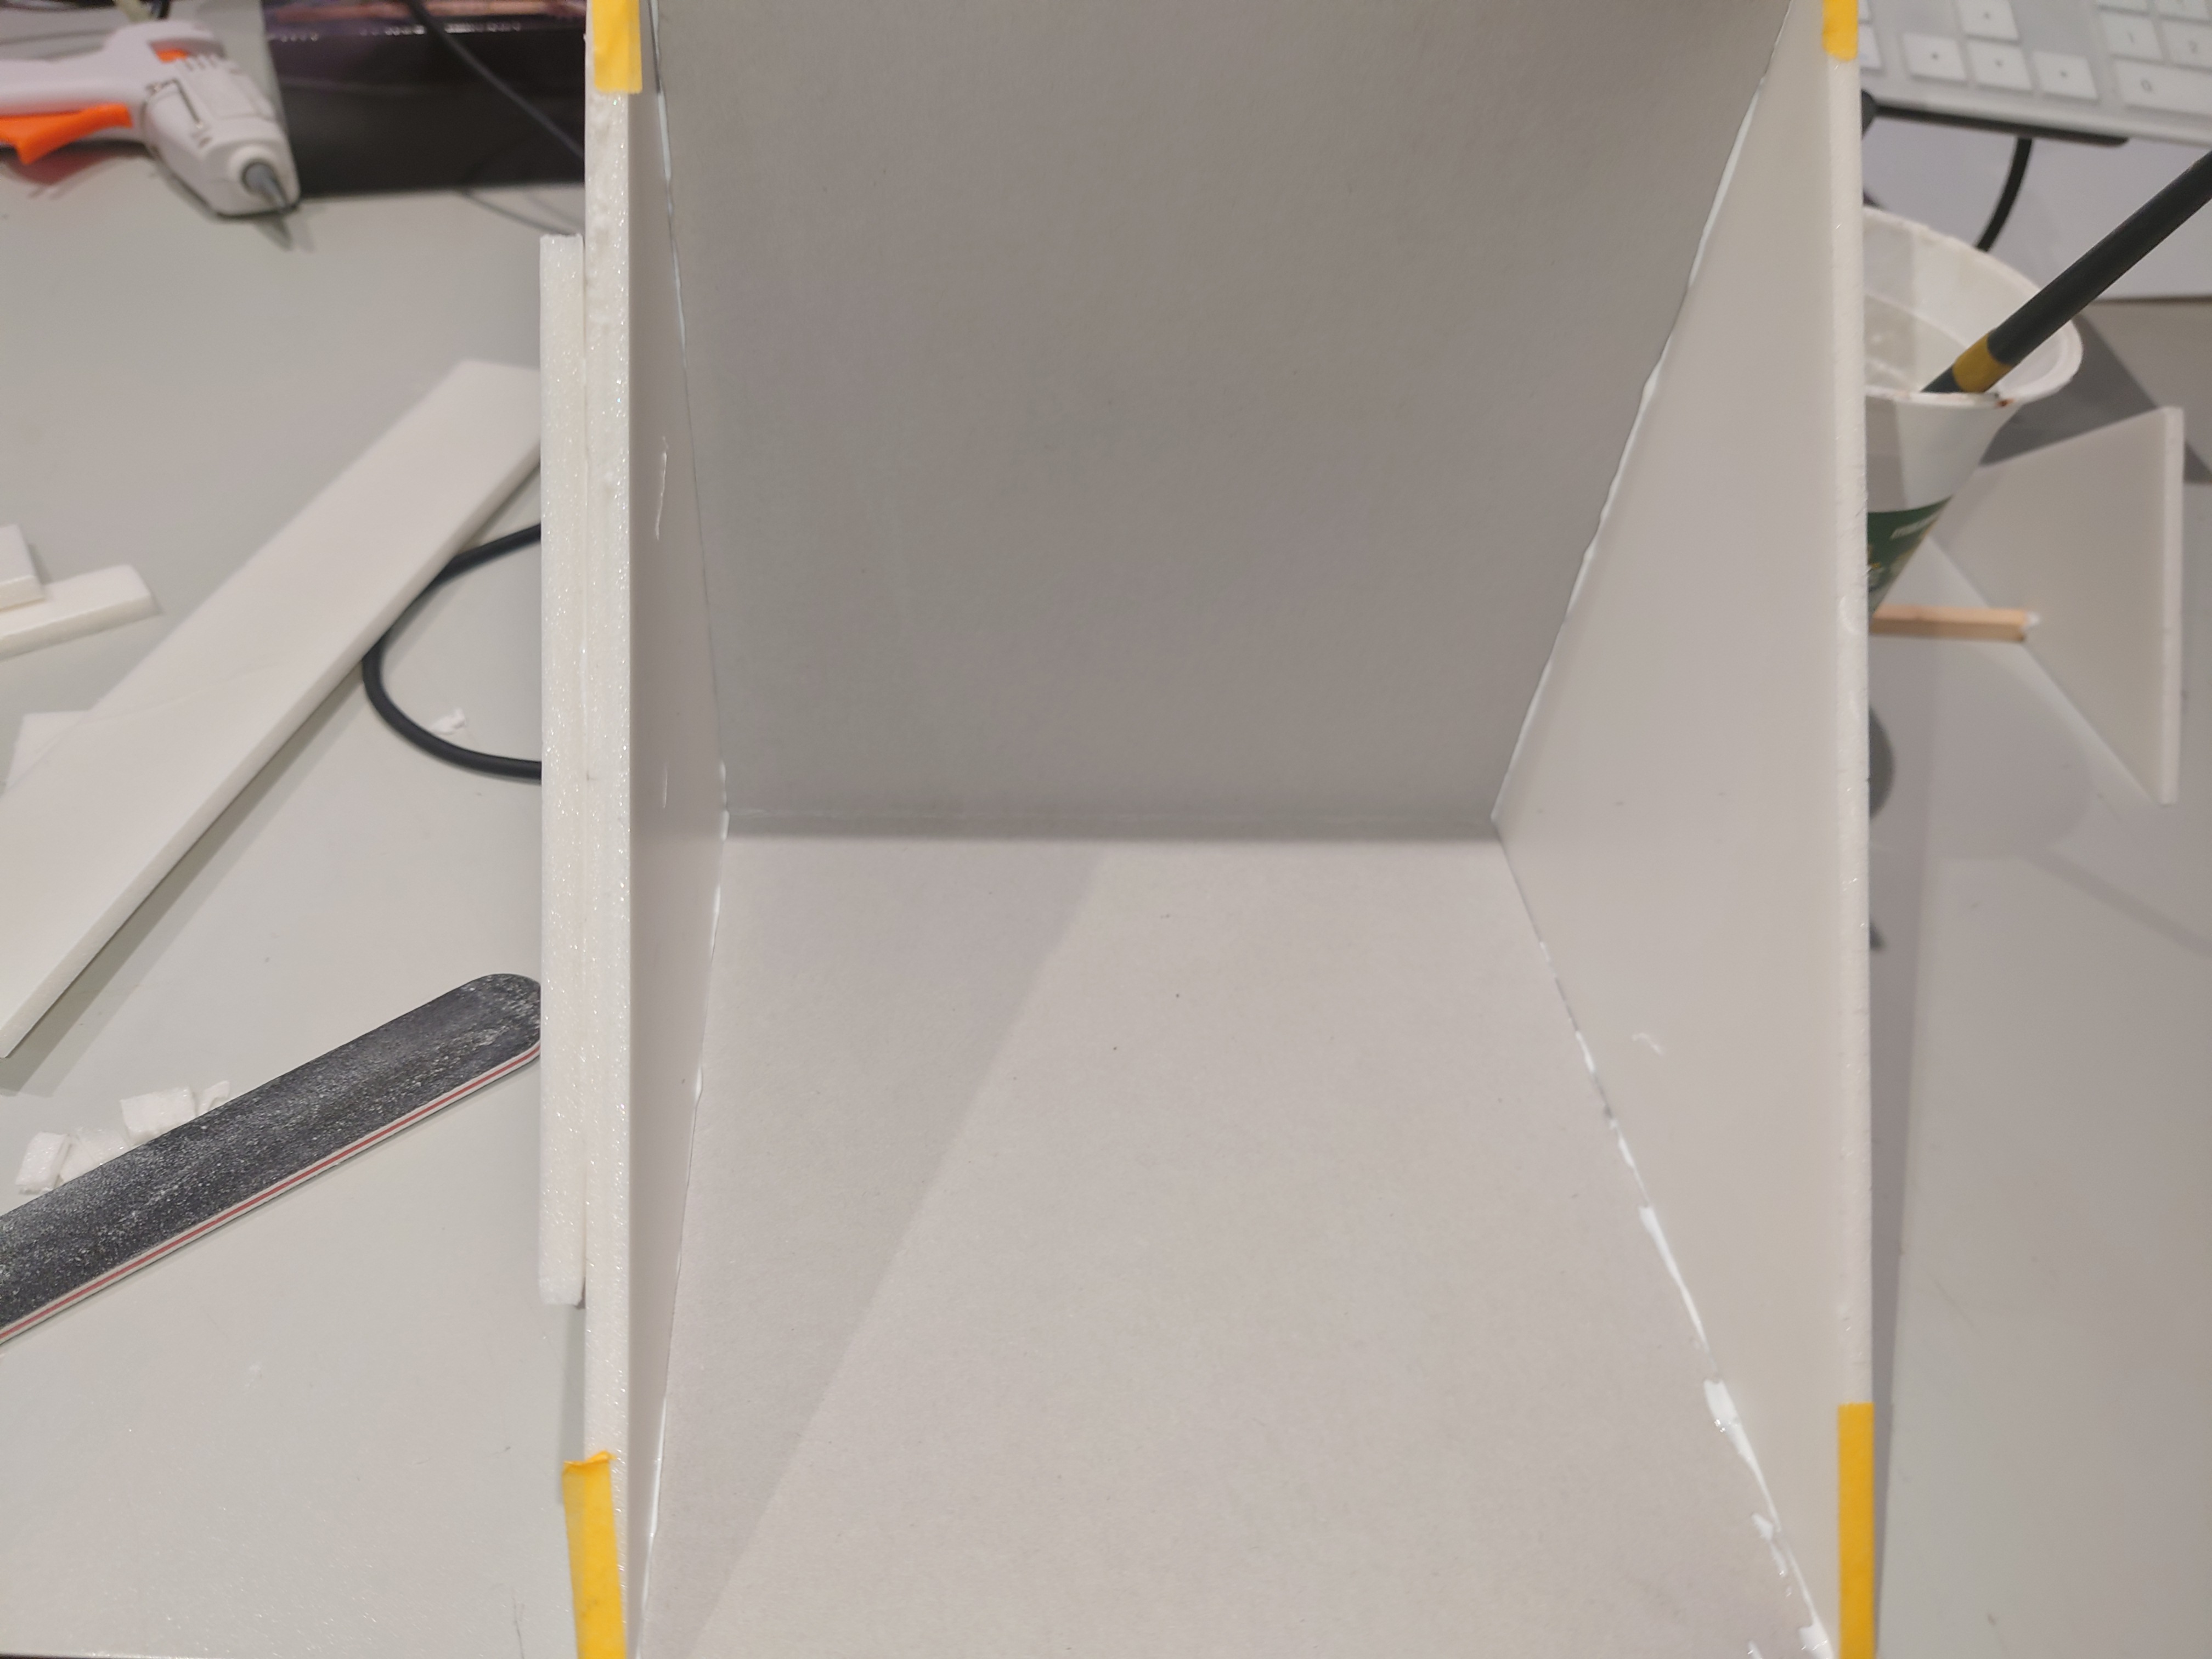
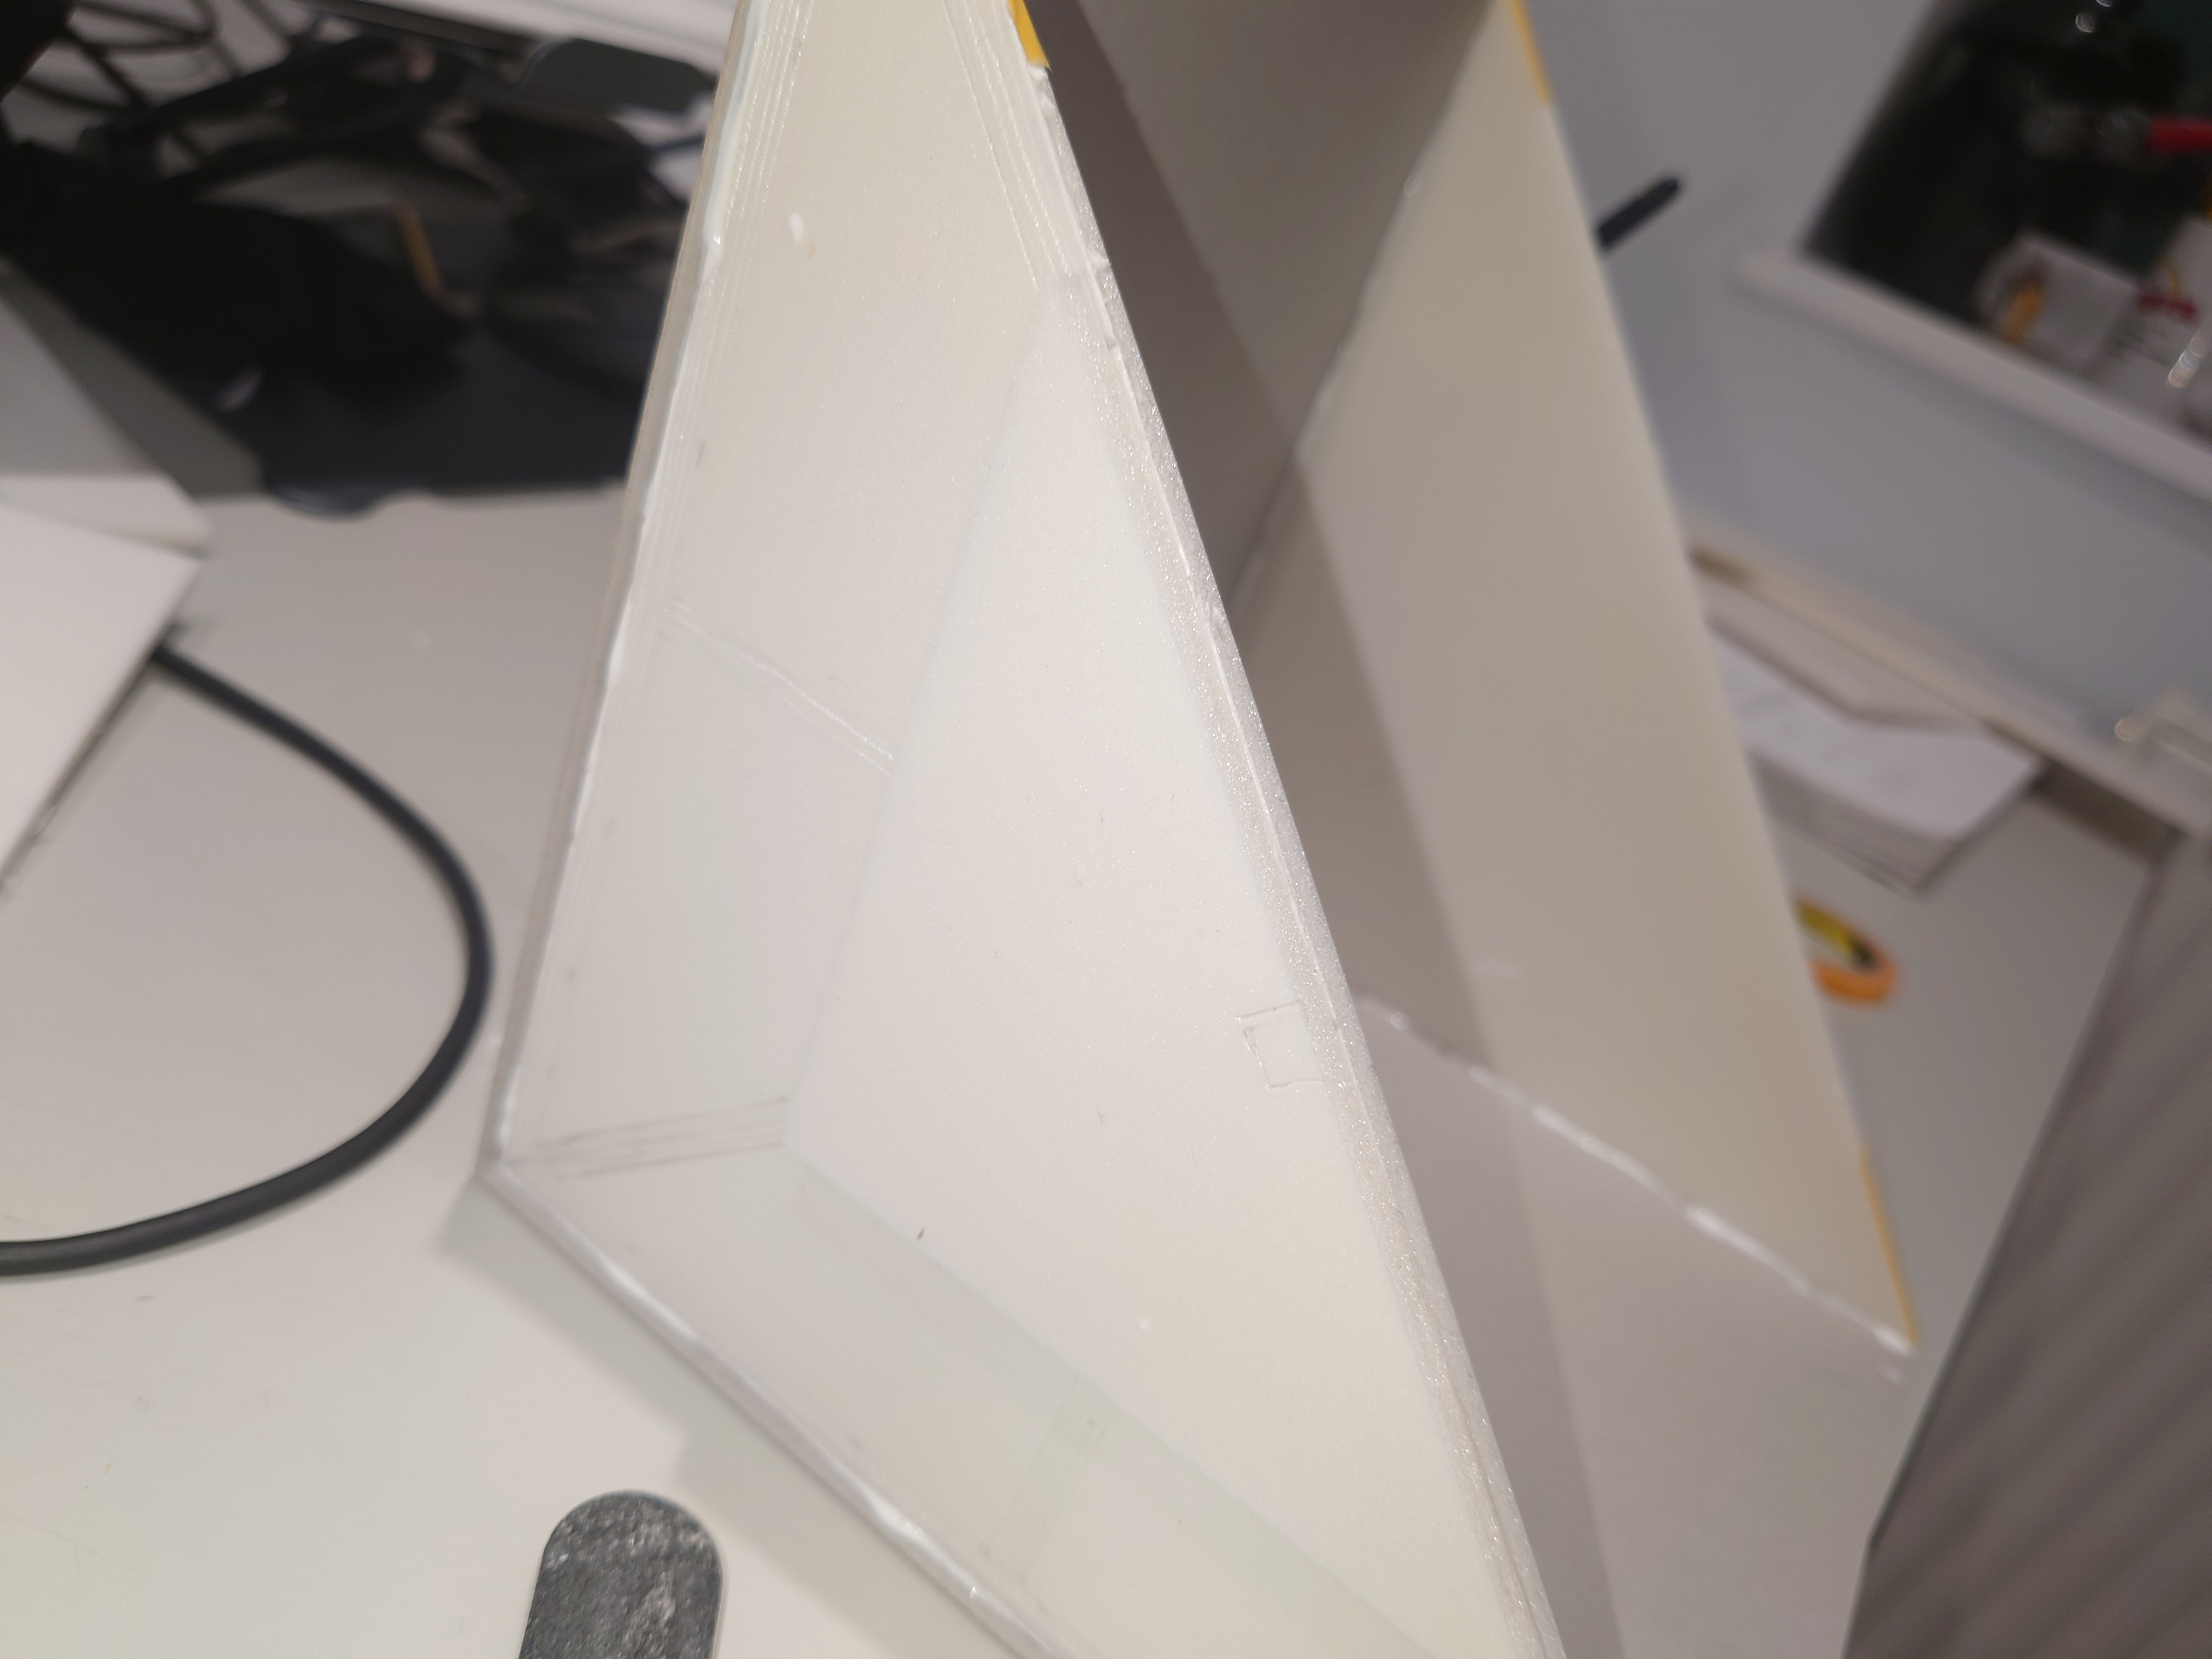
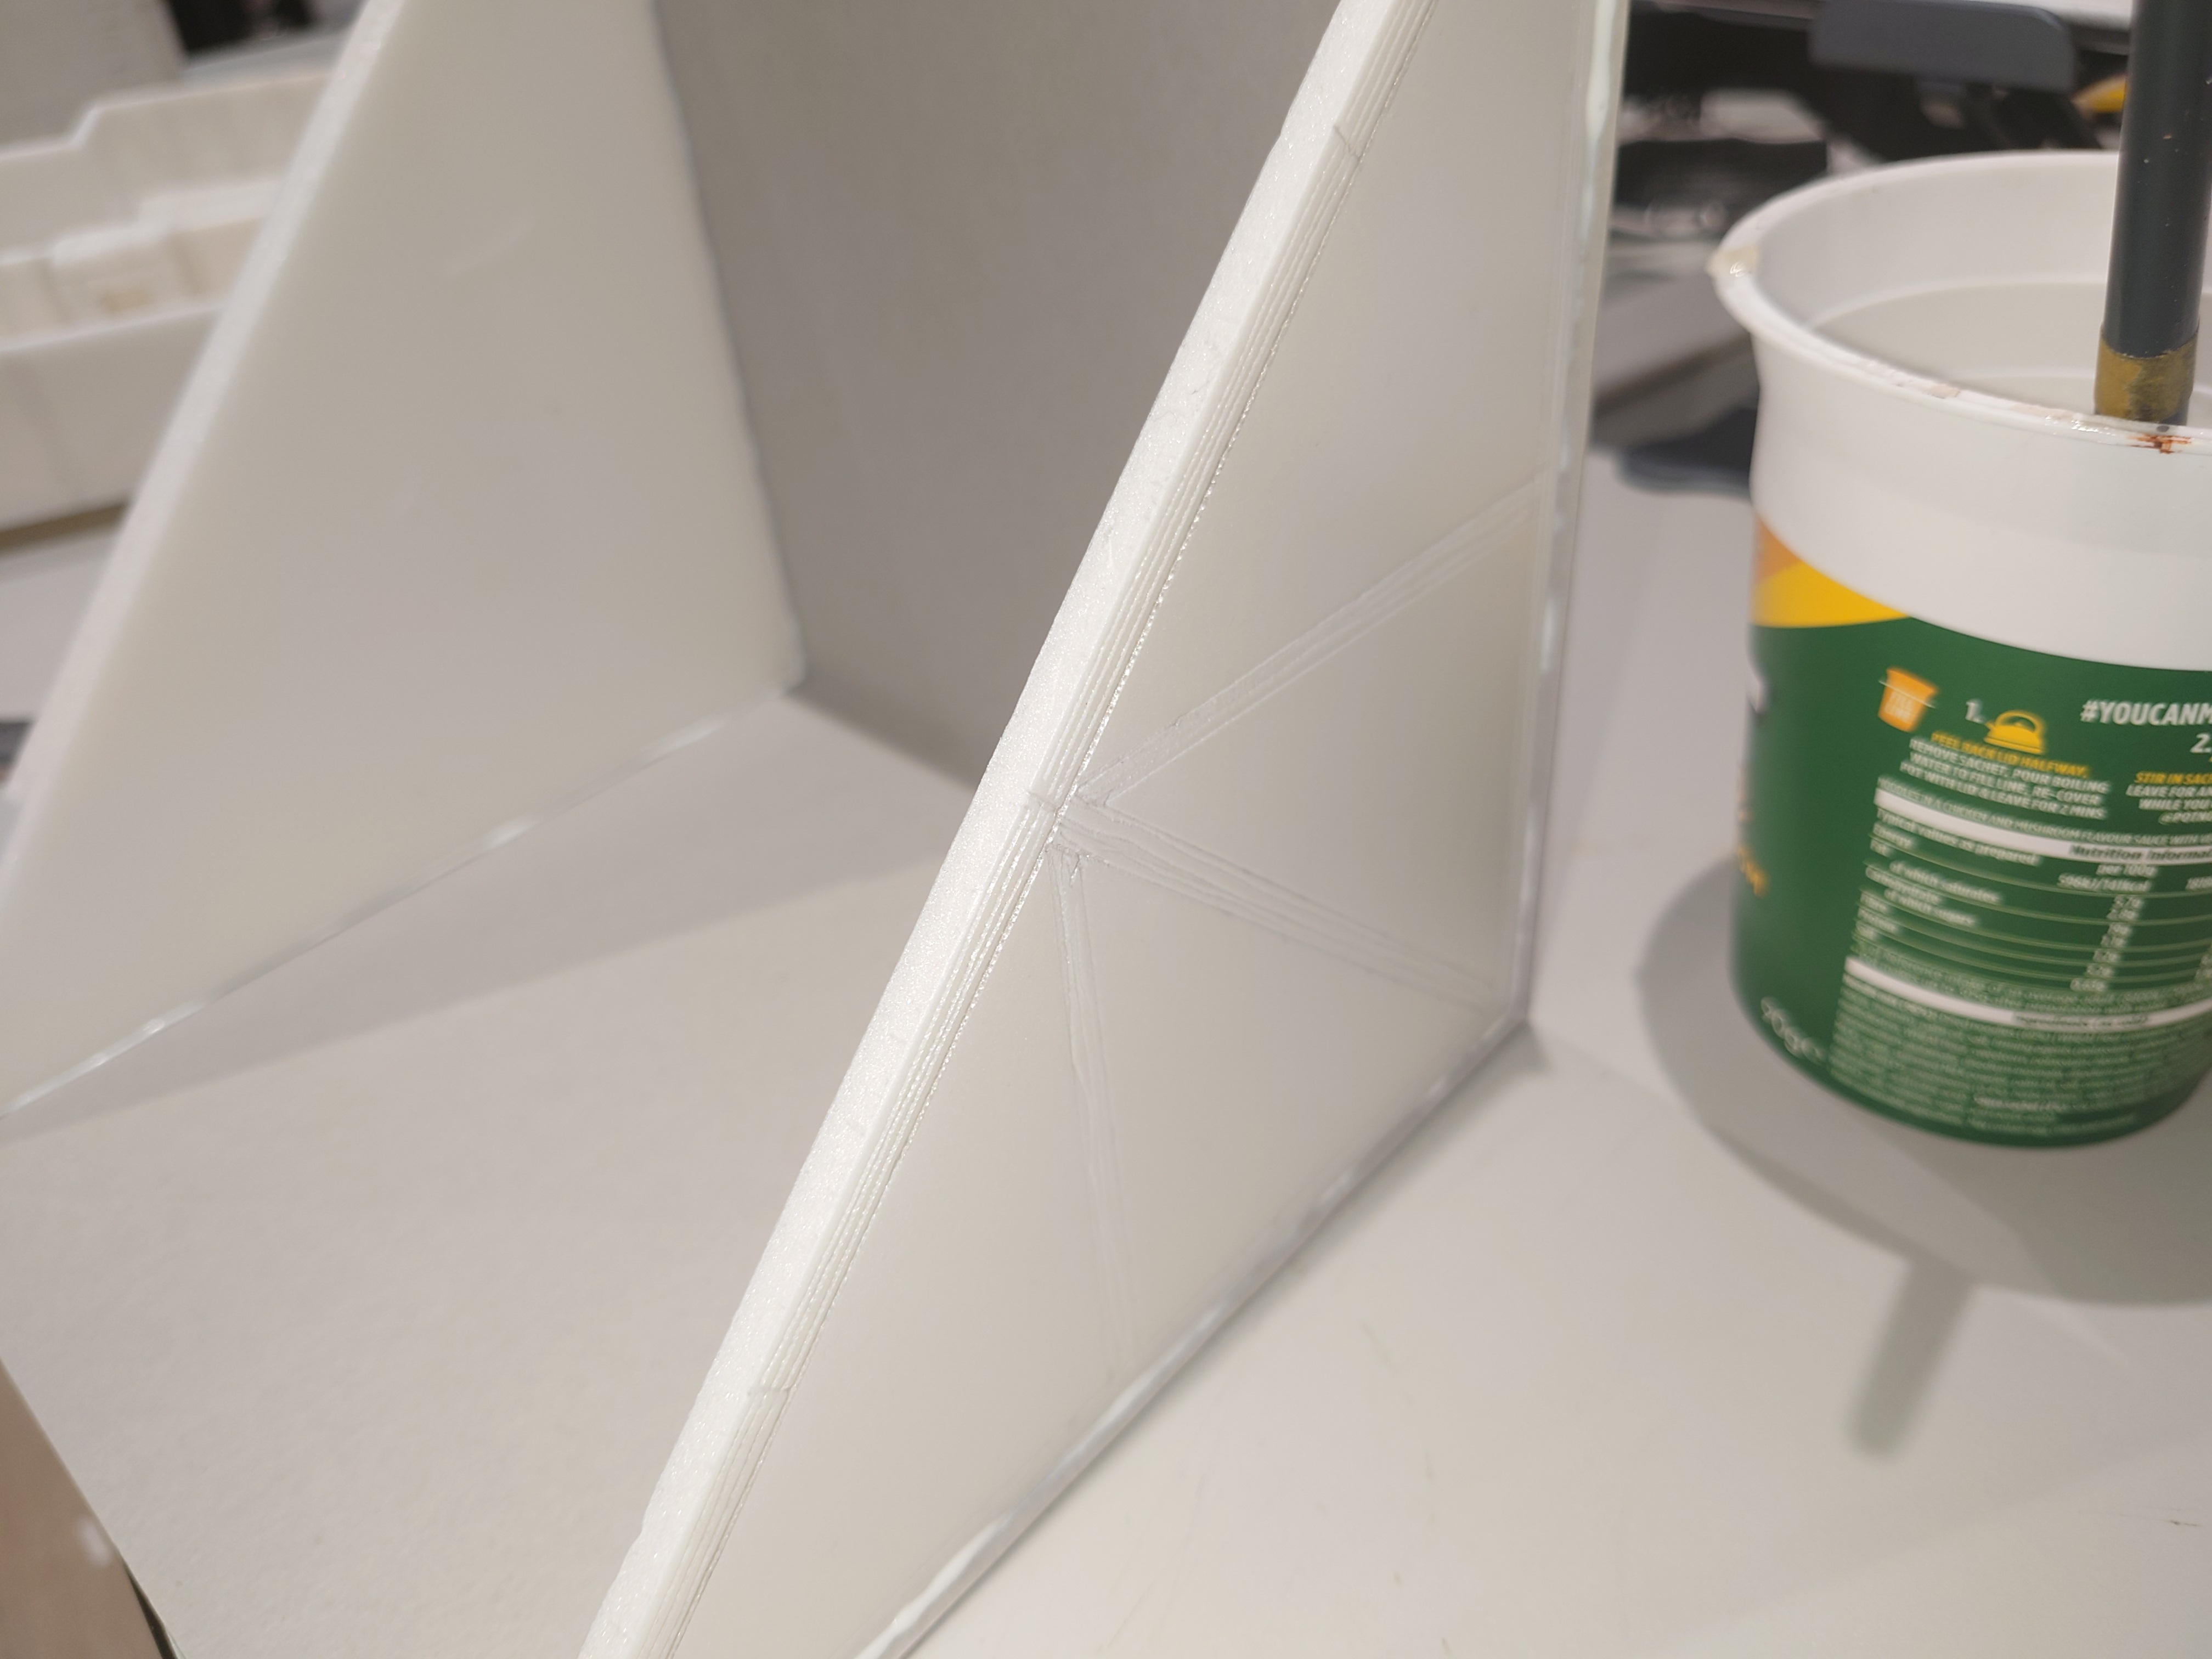
Still both require the same basic construction.
First off triangles for the sides then card stock to create the base of the roof on which tiles or straw can be added.

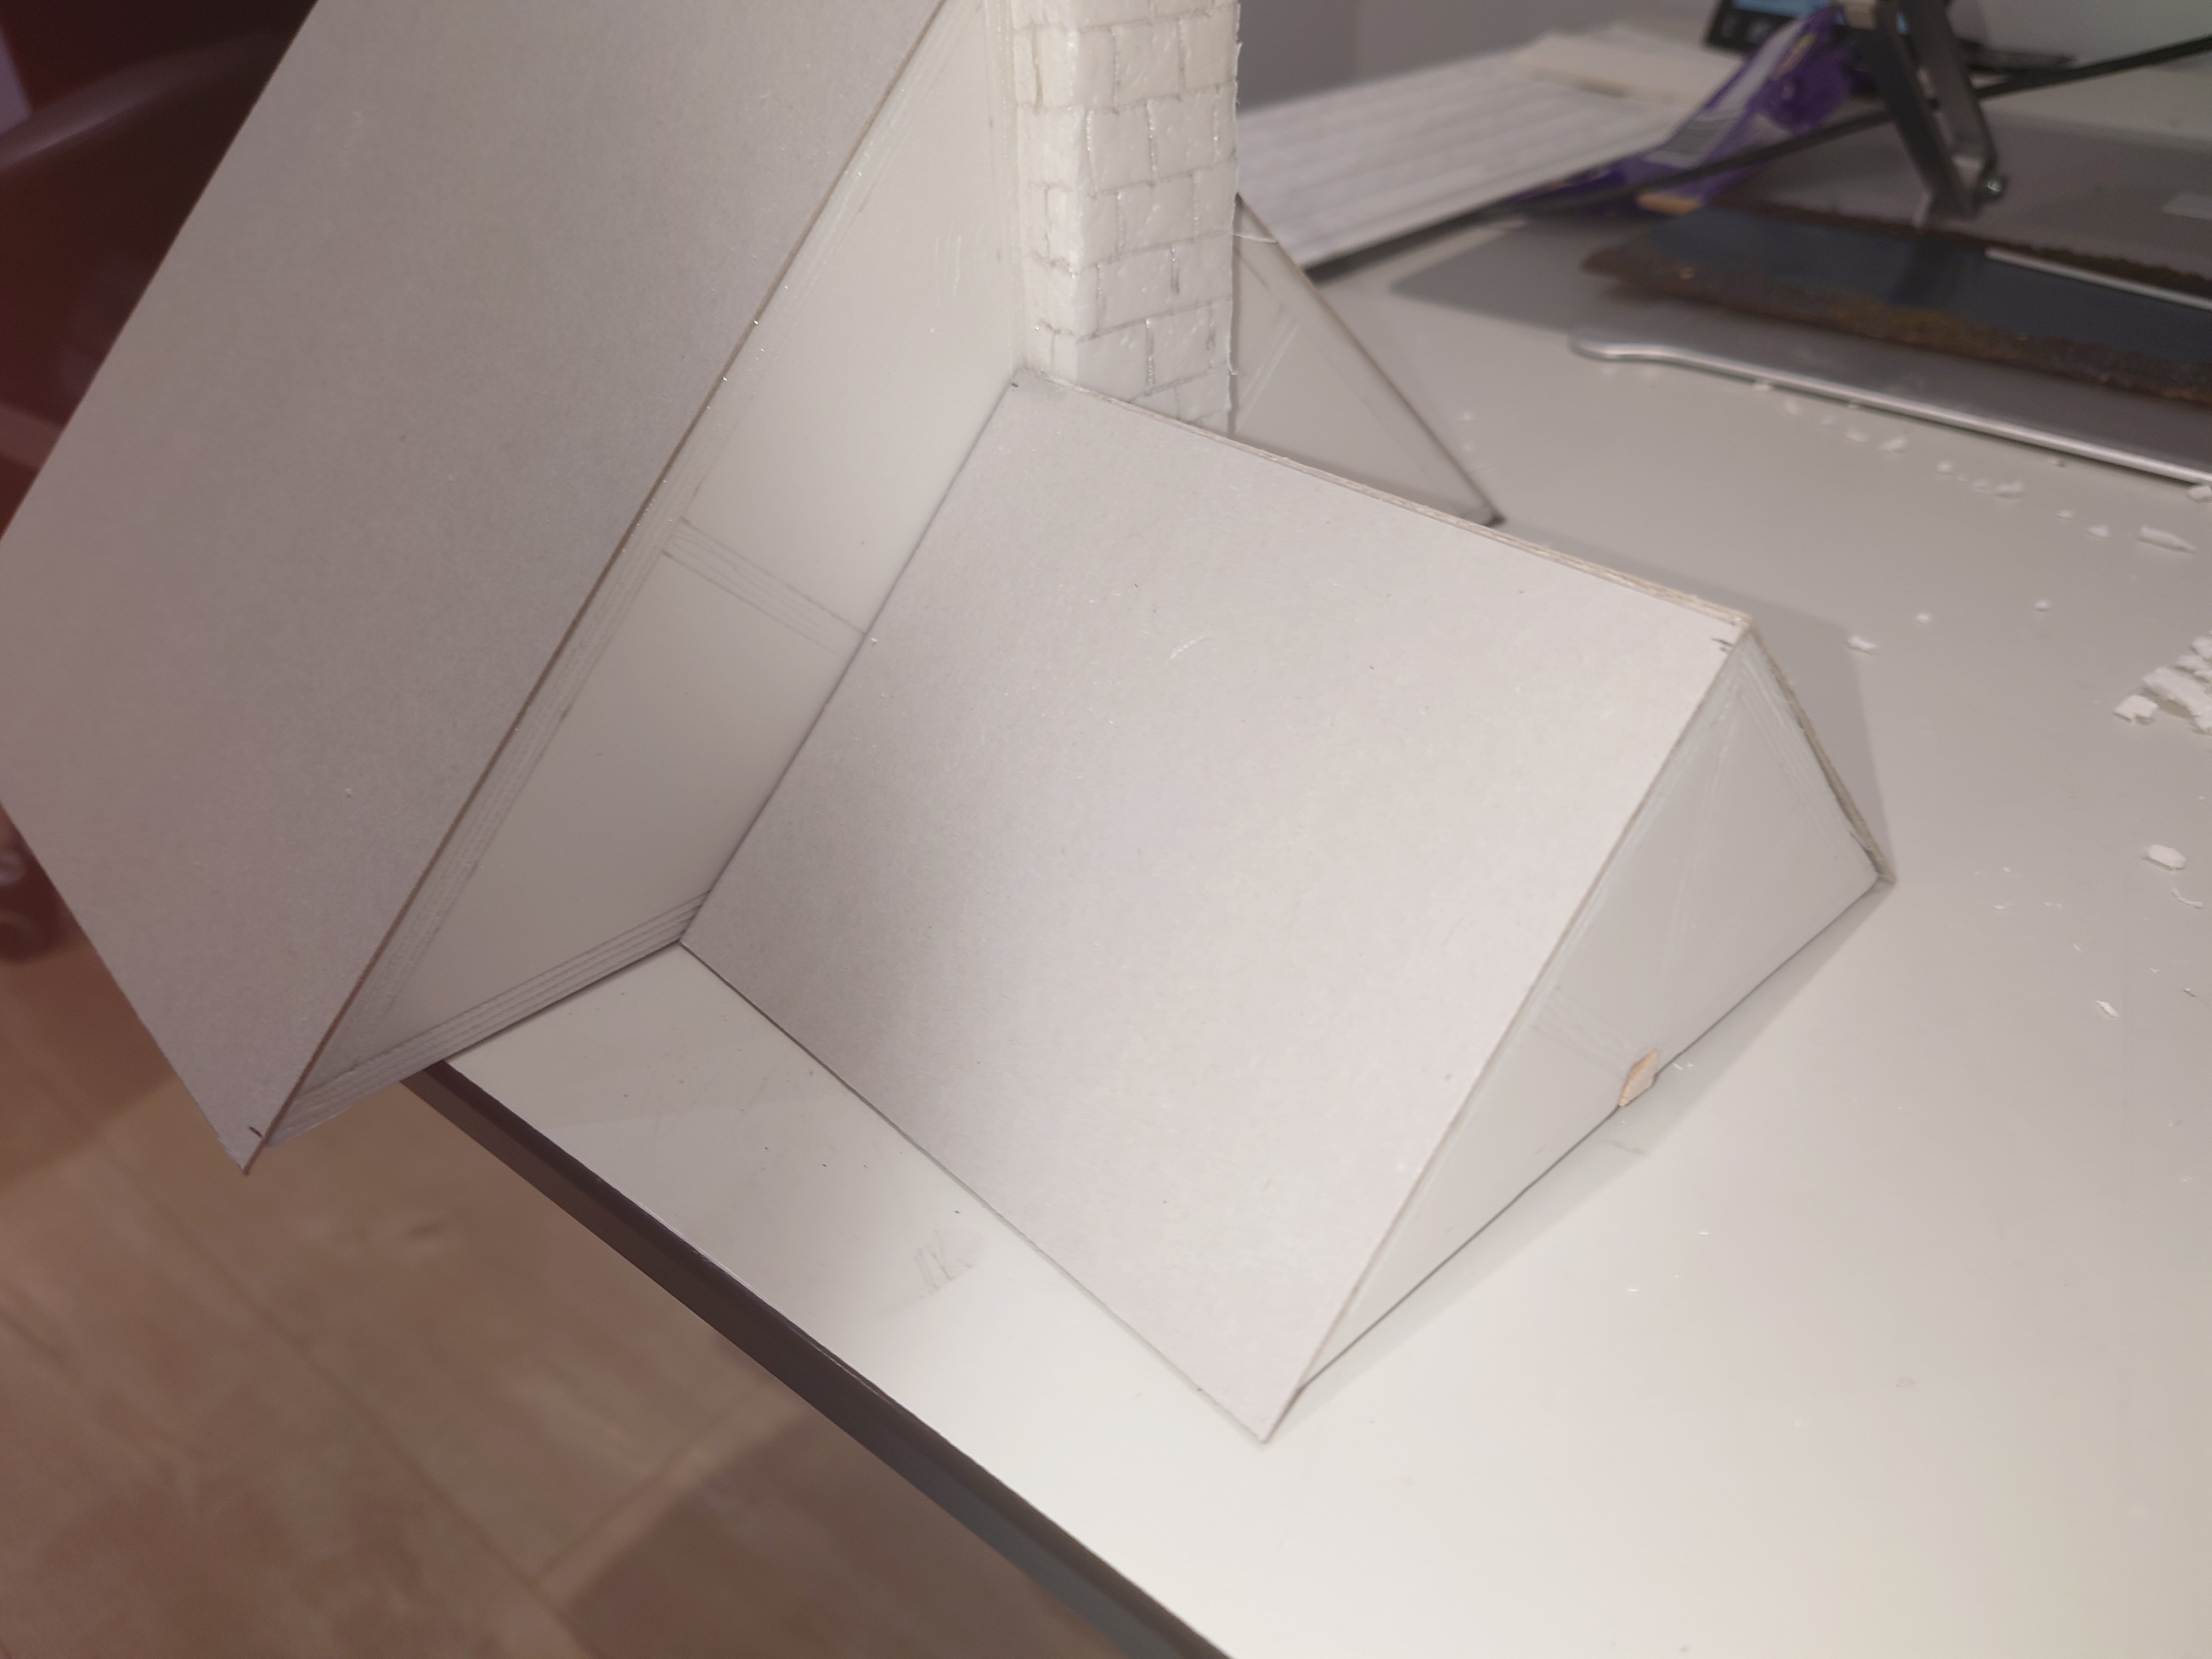
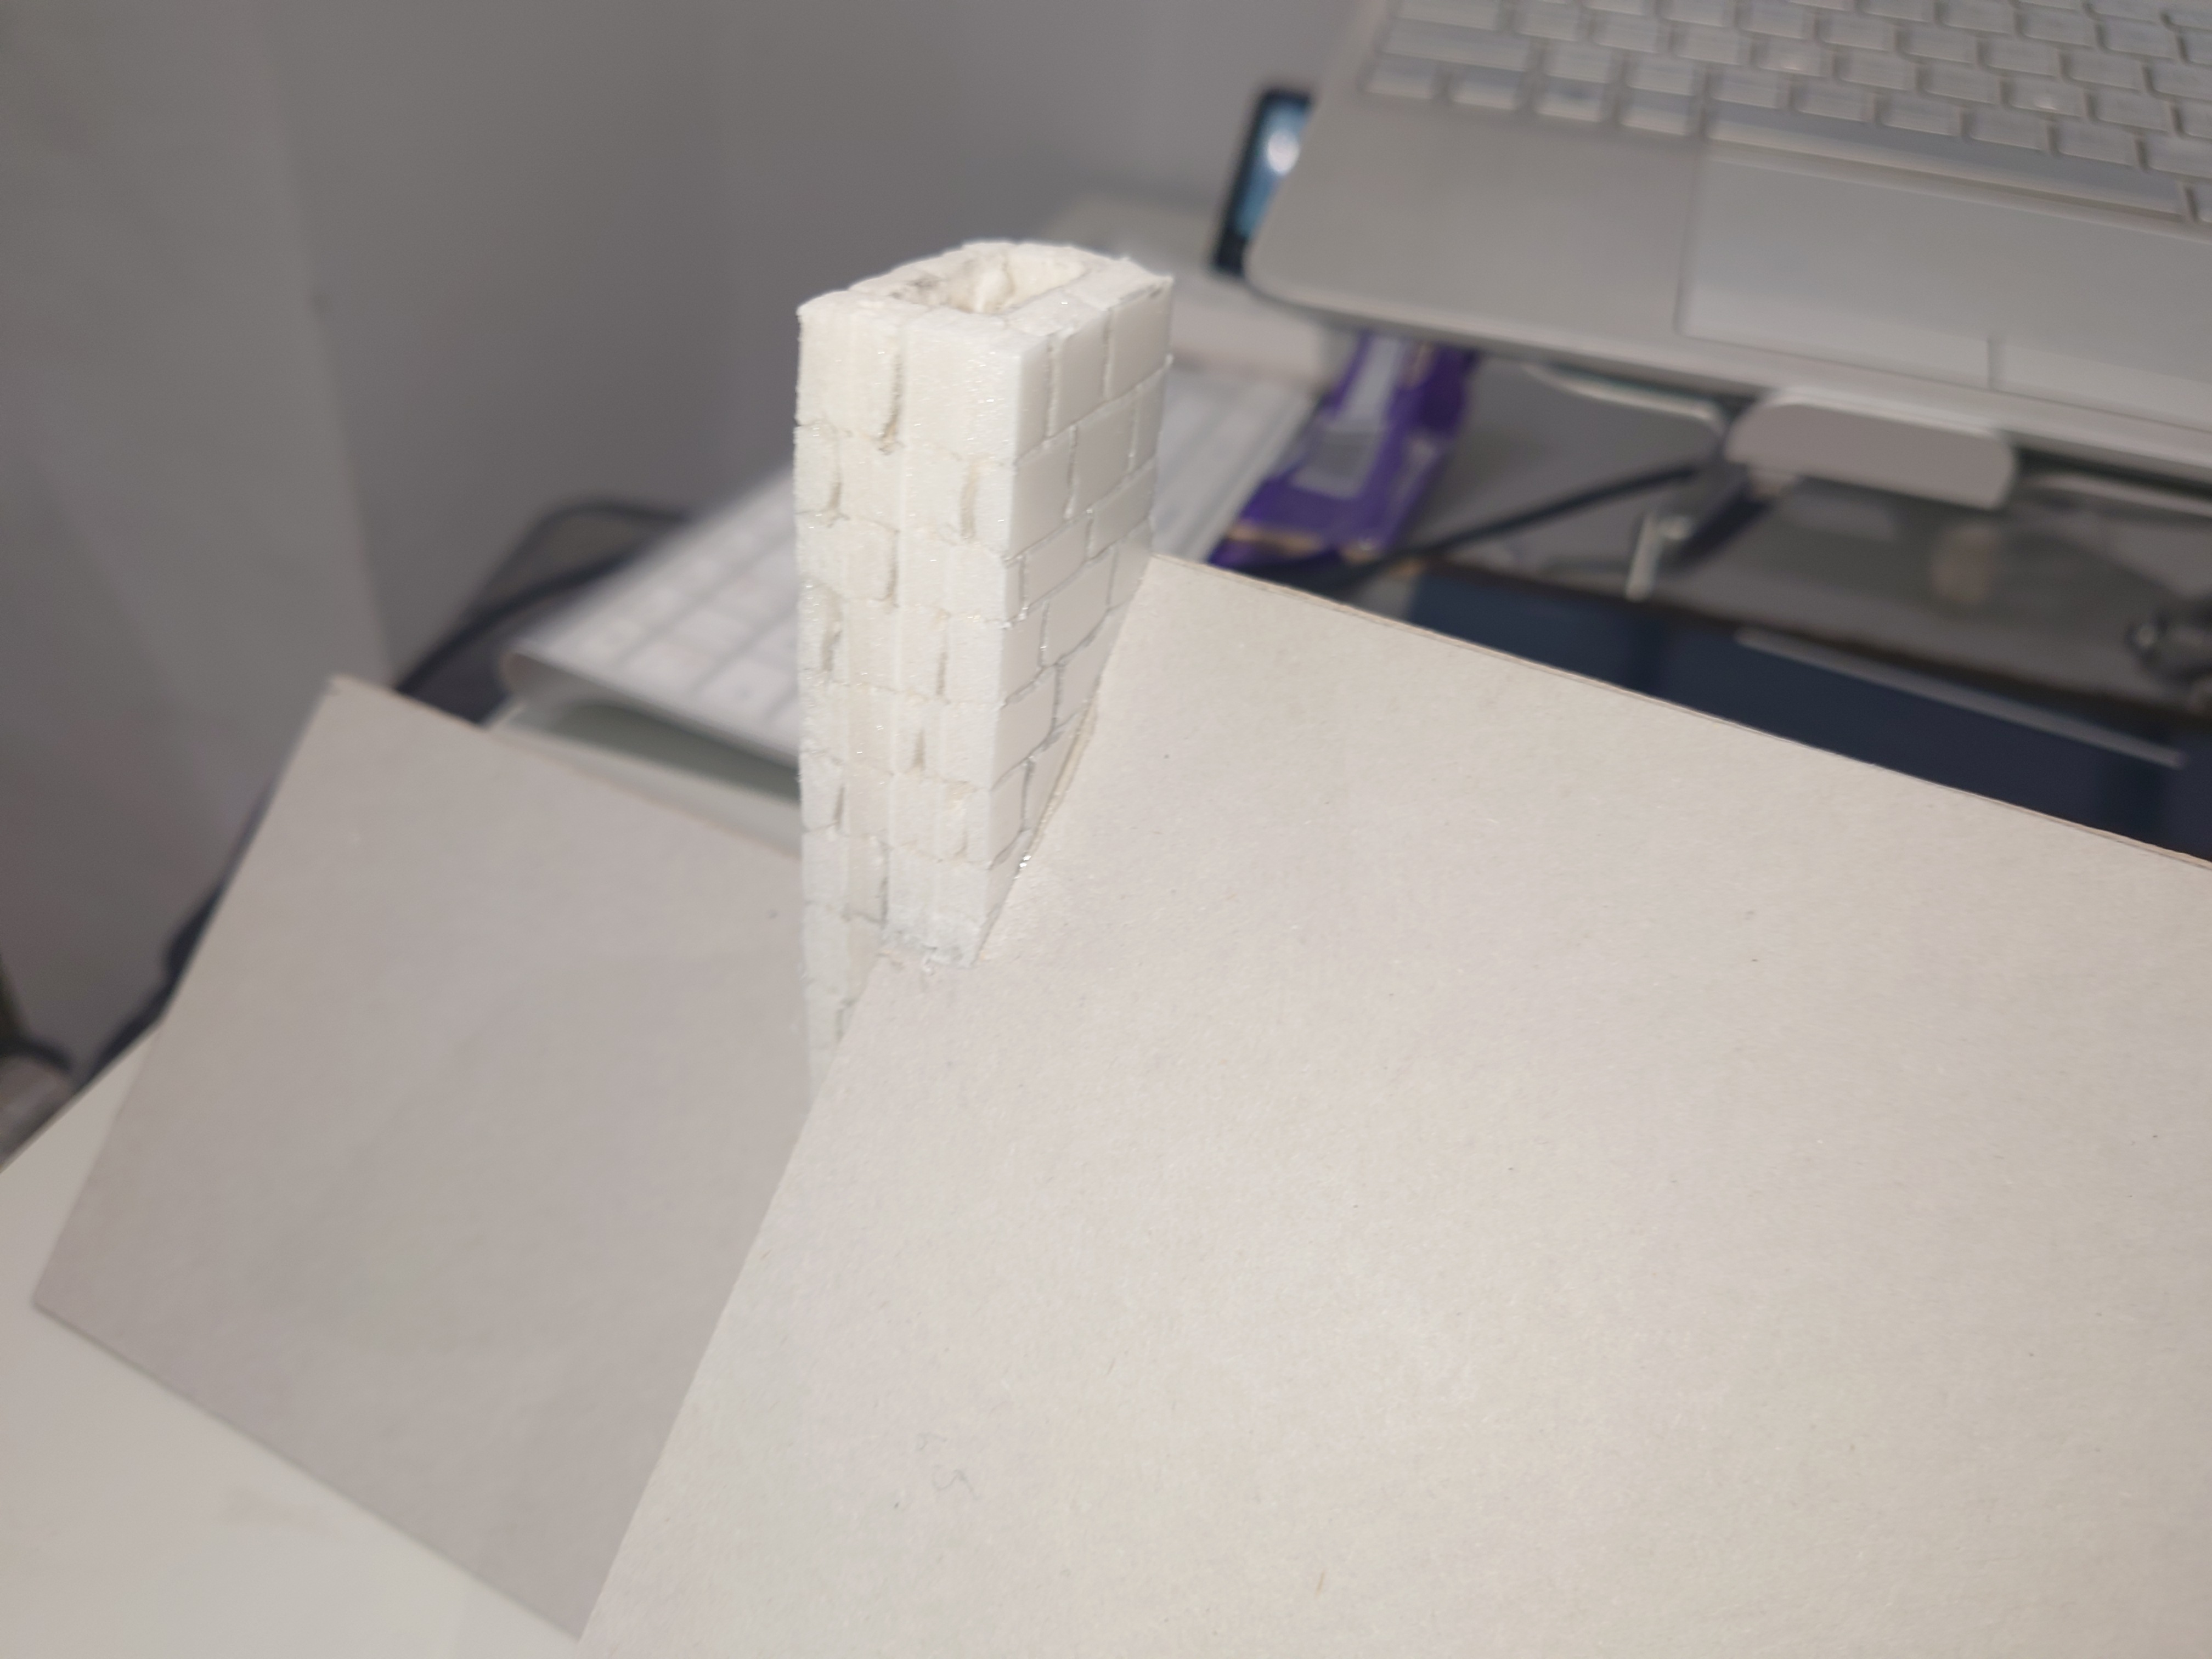
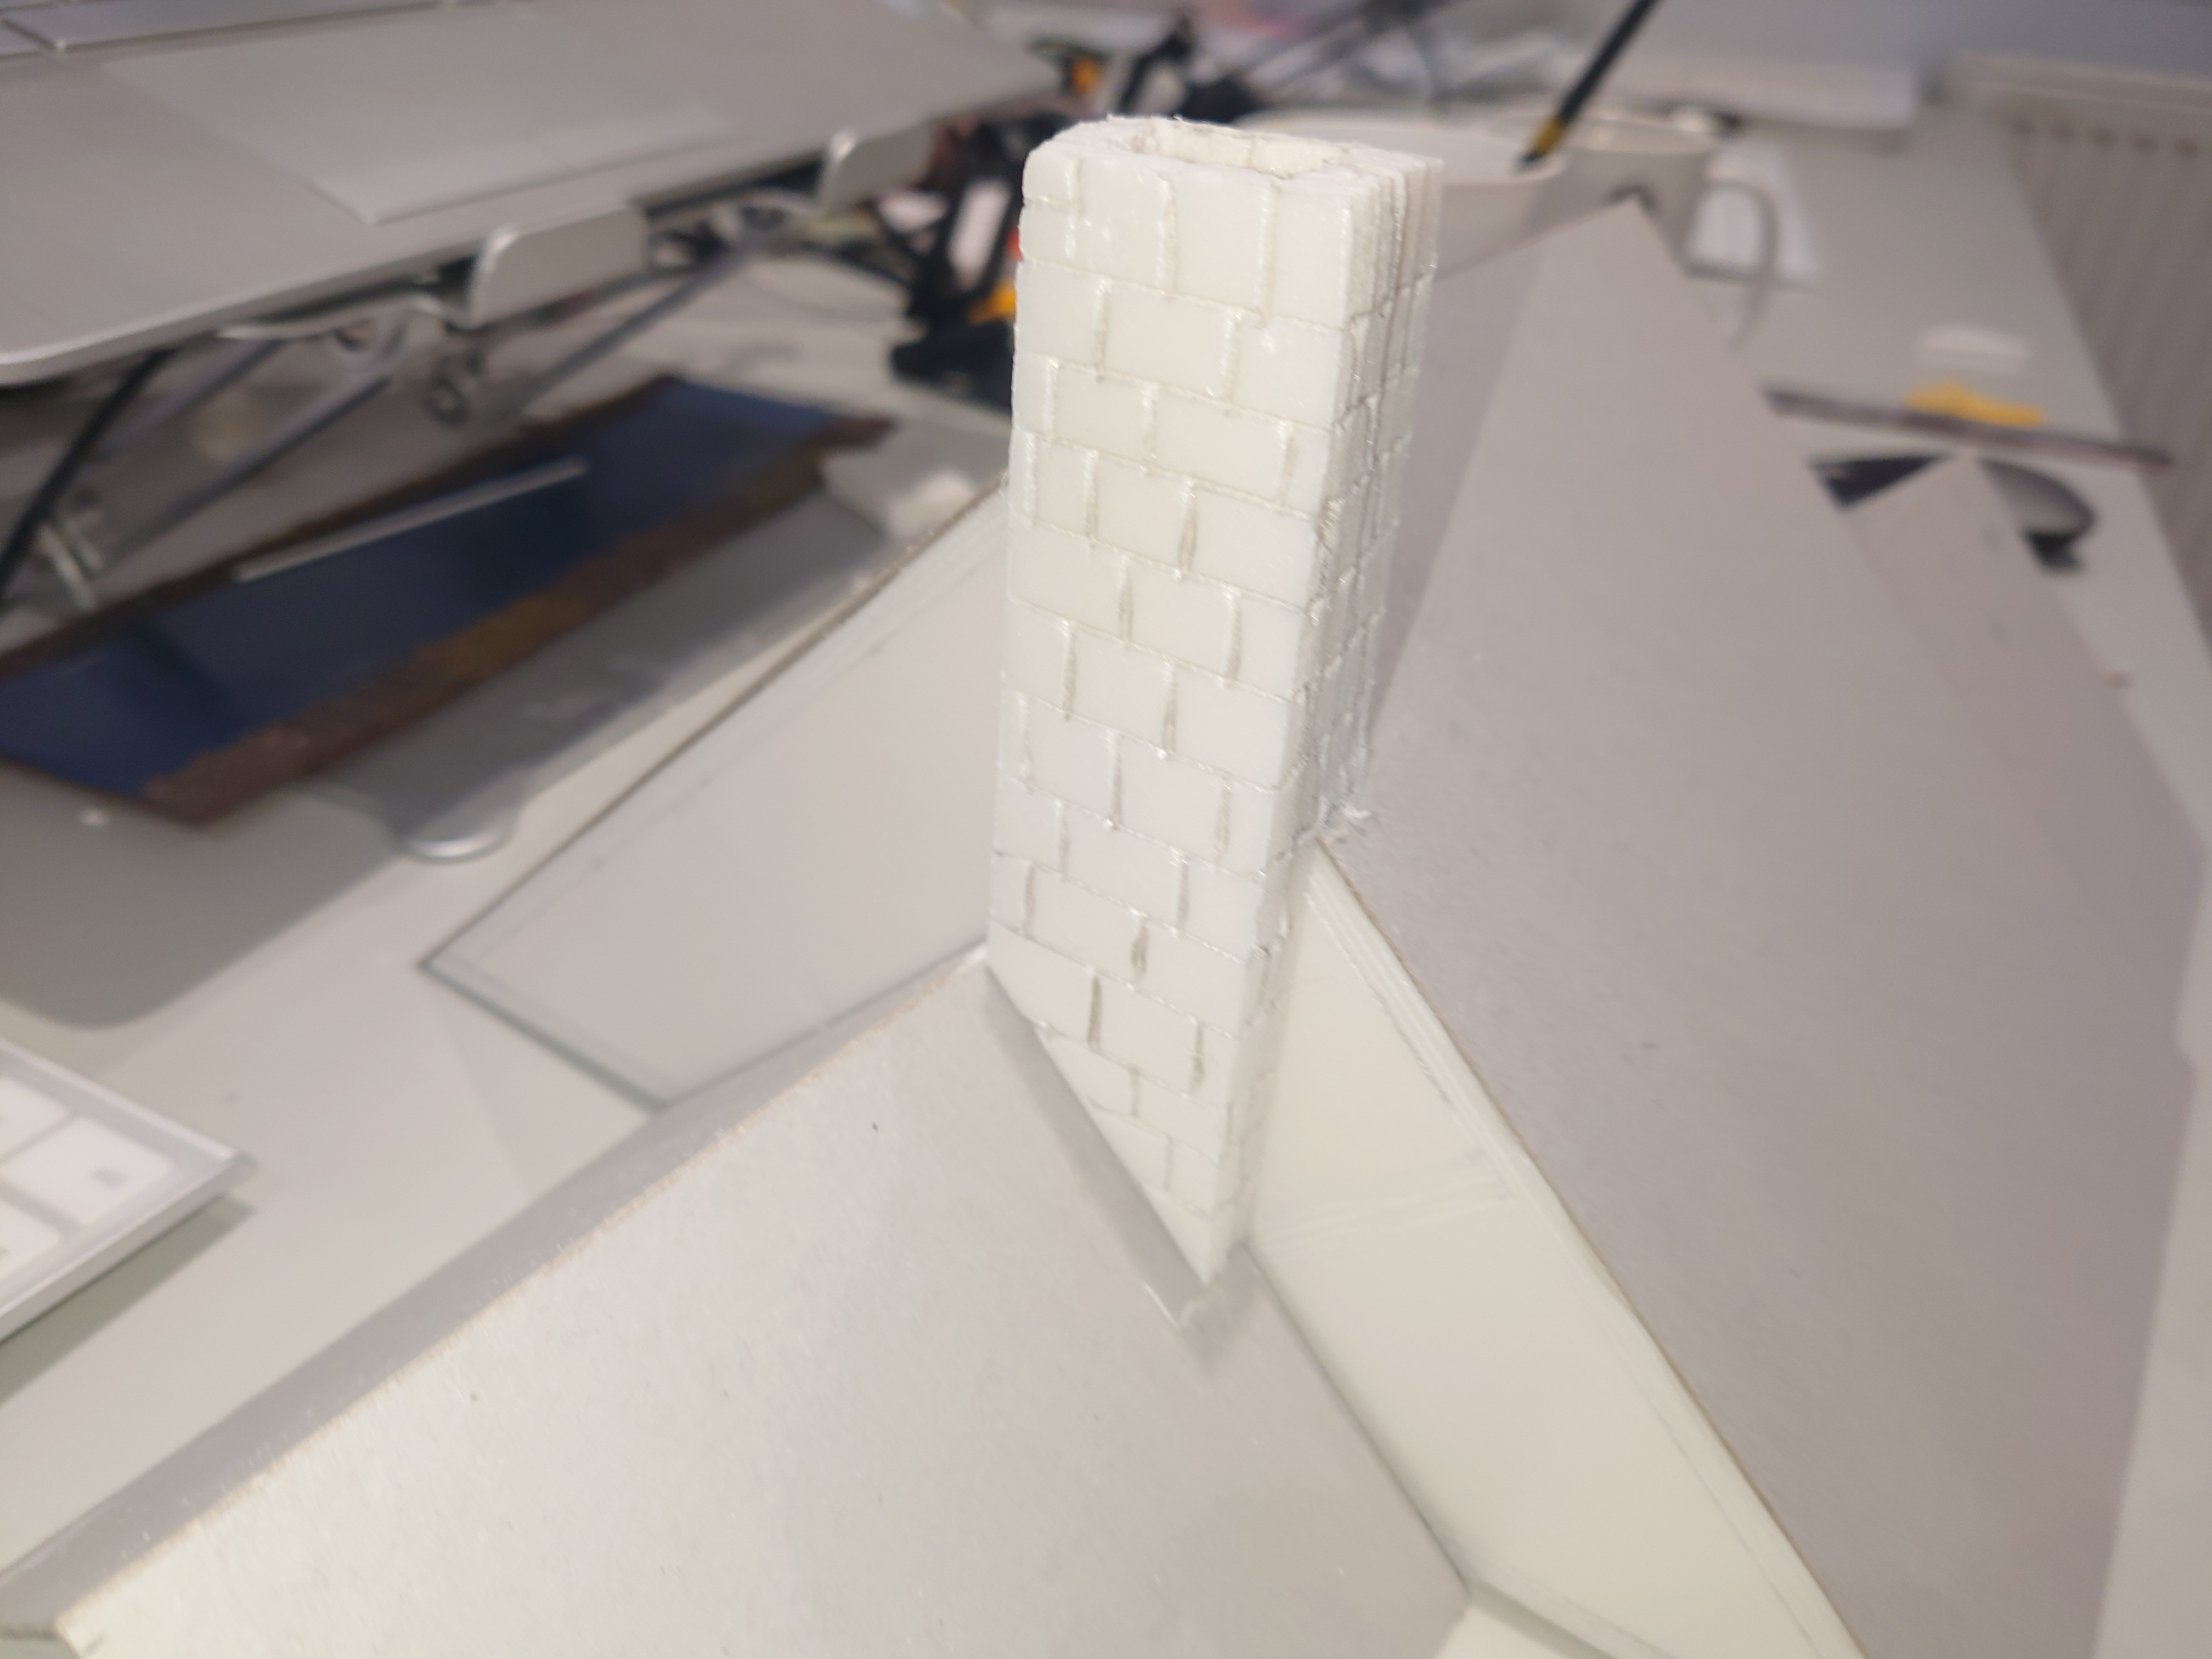
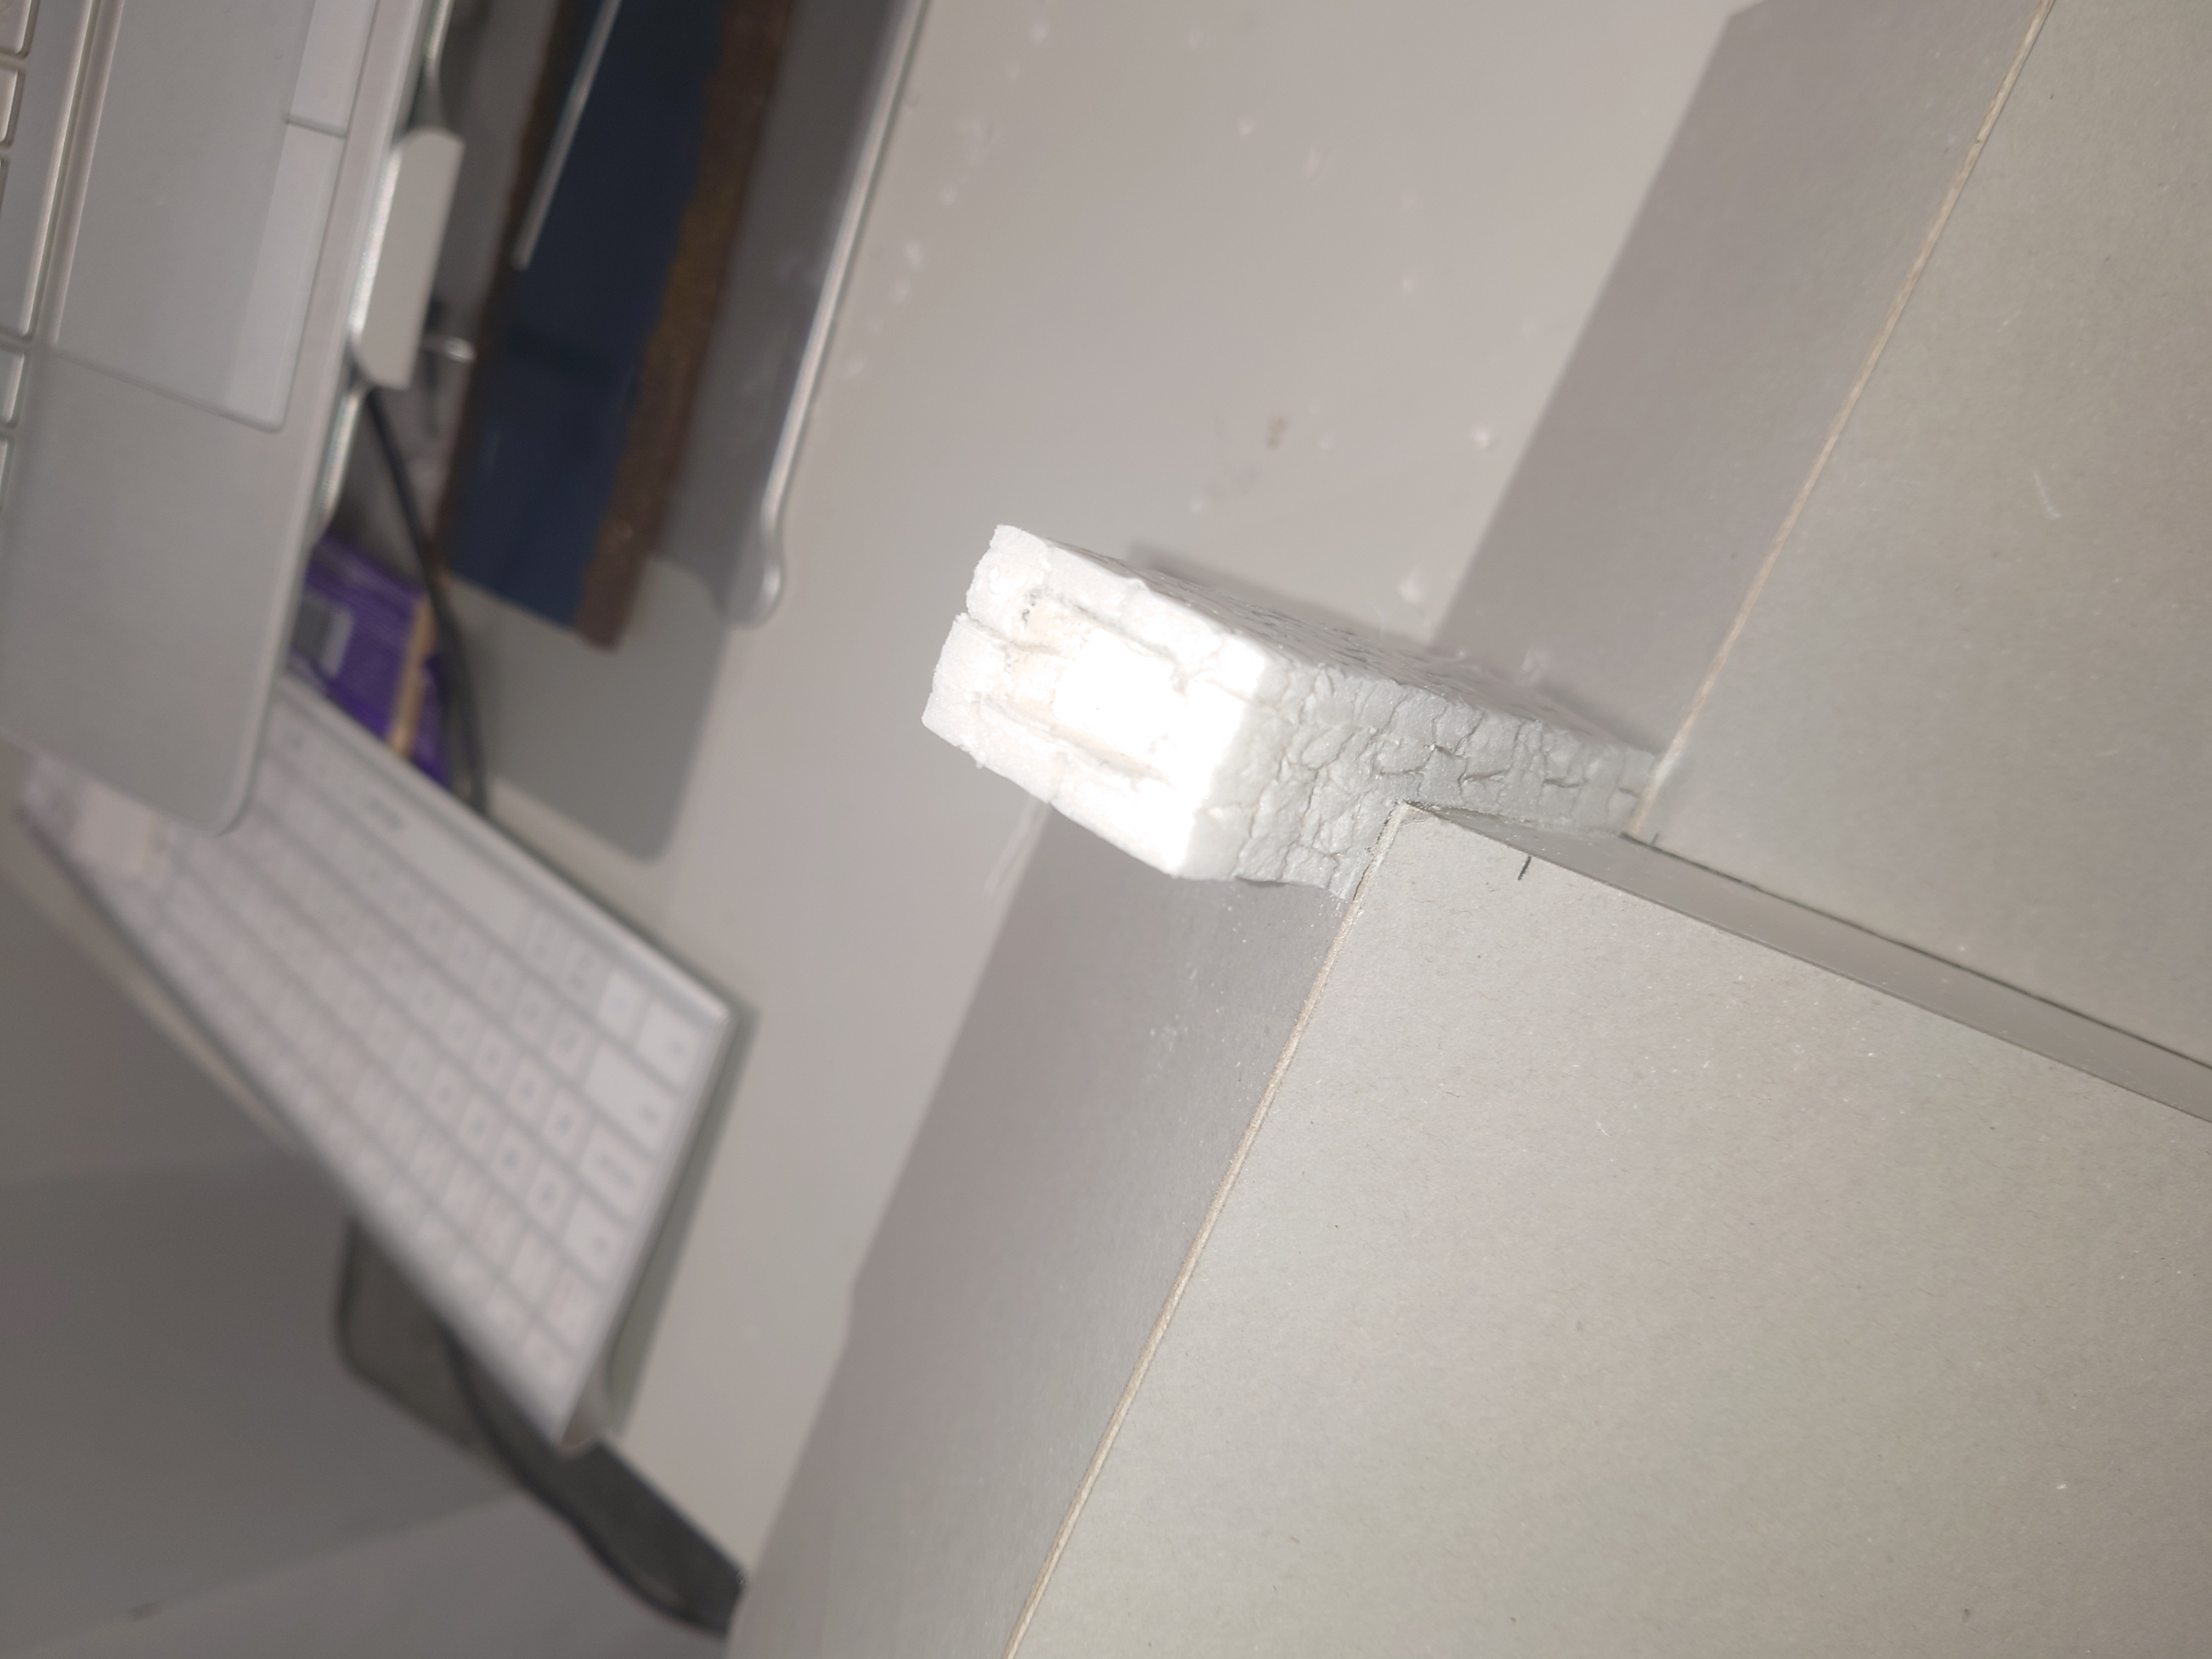
The Chimney
The last bit of the construction is the Chimney stack. This was created using four sections of the foam core together.
These were then glued together and added to the roof. I did not texture it before gluing, but that was so that I could cut and shape it in site.