


Gorram Plays with Toxic Chemicals


Recommendations: 30
About the Project
Here I'll talk about my journey into the world of 3d printing as an idiot with a willingness to mess up.
Related Genre: General
This Project is Cancelled
Testing Round Two
So after a few days break thanks to work, I’m officially on holiday for the next ten days! I have a bunch of inconvenient interruptions like seeing family and friends but I should be able to fit in a fair bit of printing going. Which is good because that would justify spending more money on STLs. That’s how that works, right?
Having got the first bed out of the way, my excitement is abated enough that I’m ready to run another round of calibration tests. I’ve added a section to my paint scheme notebook to number and keep track of the setting for the various calibration tests. I’m going to try reducing the layer height and changing the exposure times.
There are two settings of specs that I’m swapping between to come up with numbers. The first are the specs for the printer itself, Anycubic Photon Mono. The second set is for the resin, Sunlu ABS-like.
Test 001 was very much within the safe limits, a comfy fit. Test 002 is aiming to reduce layer lines because the bulk of this month’s printing is going to be smaller scale models and I feel like layer lines will be more noticeable on them. I have no idea if that is true or not.
Test 003 and 004 quickly followed. Layer height was fine but exposure times weren’t doing quite what I wanted. The Phrozen test I’m using has this page for an idiot’s guide to reading the test.
 I didn't have any interesting photos to put in here so here's me pondering too much
After test fourI noticed at the very bottom of the page there was a note:
“Once you’ve found the optimal settings using the Phrozen XP Finder, we recommend increasing the normal layer exposure time by at least 10% for actual prints and by 20% for larger models over 12cm. This can help to ensure the best possible results and prevent errors or print failures. By following these tips, you’ll be able to achieve high-quality, precise prints with your Phrozen 3D printer.”
I started to overthink everything and then I remembered that I don’t want to focus on the minutiae, I want to not let my obsessive nature to take over. So I set up the next test… this time though, it is testing not for calibration but for the next project.
The First Prints
First evening of actually printing and I ran a calibration test. My eyes might not be very experienced but as of right now it looked pretty good to me. It was a bugger to get off the build plate which the internet tells me is because the bottom layer exposure times are too high. Reducing them, it would be sensible to run another calibration test but here’s the thing… I’m an enormous child who just wants to play with her new toy properly. The same way I follow the quick start guide and never look at the rest of the instruction manual, I picked out some STLs that I had downloaded in anticipation and went about filling the build plate.
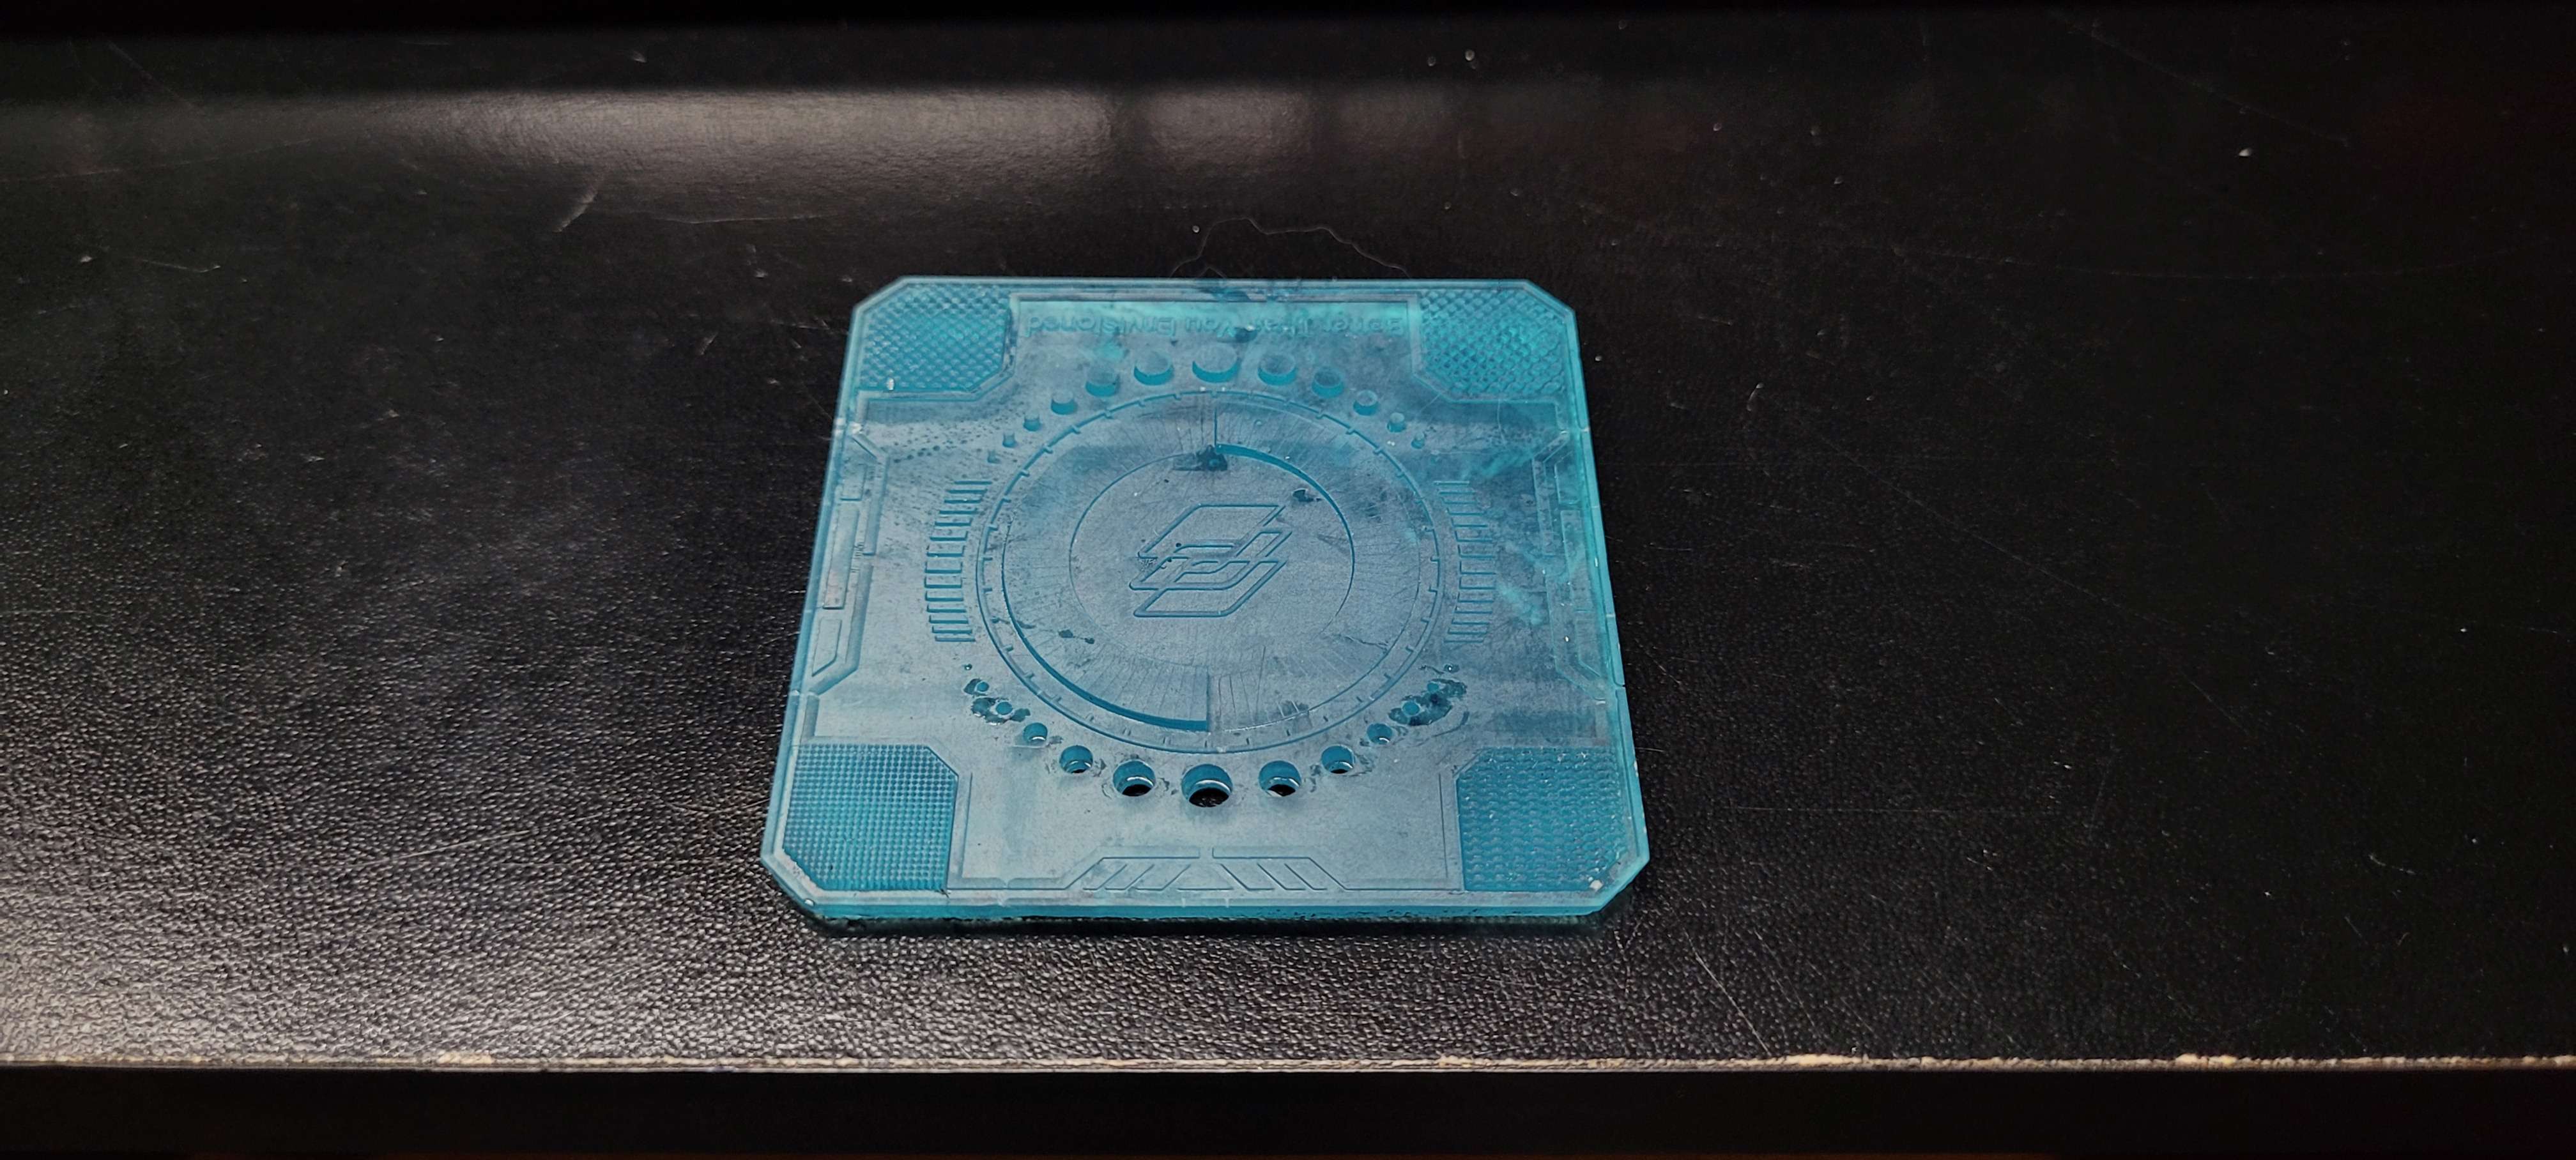
First evening of actually printing and I ran a calibration test. My eyes might not be very experienced but as of right now it looked pretty good to me. It was a bugger to get off the build plate which the internet tells me is because the bottom layer exposure times are too high. Reducing them, it would be sensible to run another calibration test but here’s the thing… I’m an enormous child who just wants to play with her new toy properly. The same way I follow the quick start guide and never look at the rest of the instruction manual, I picked out some STLs that I had downloaded in anticipation and went about filling the build plate.
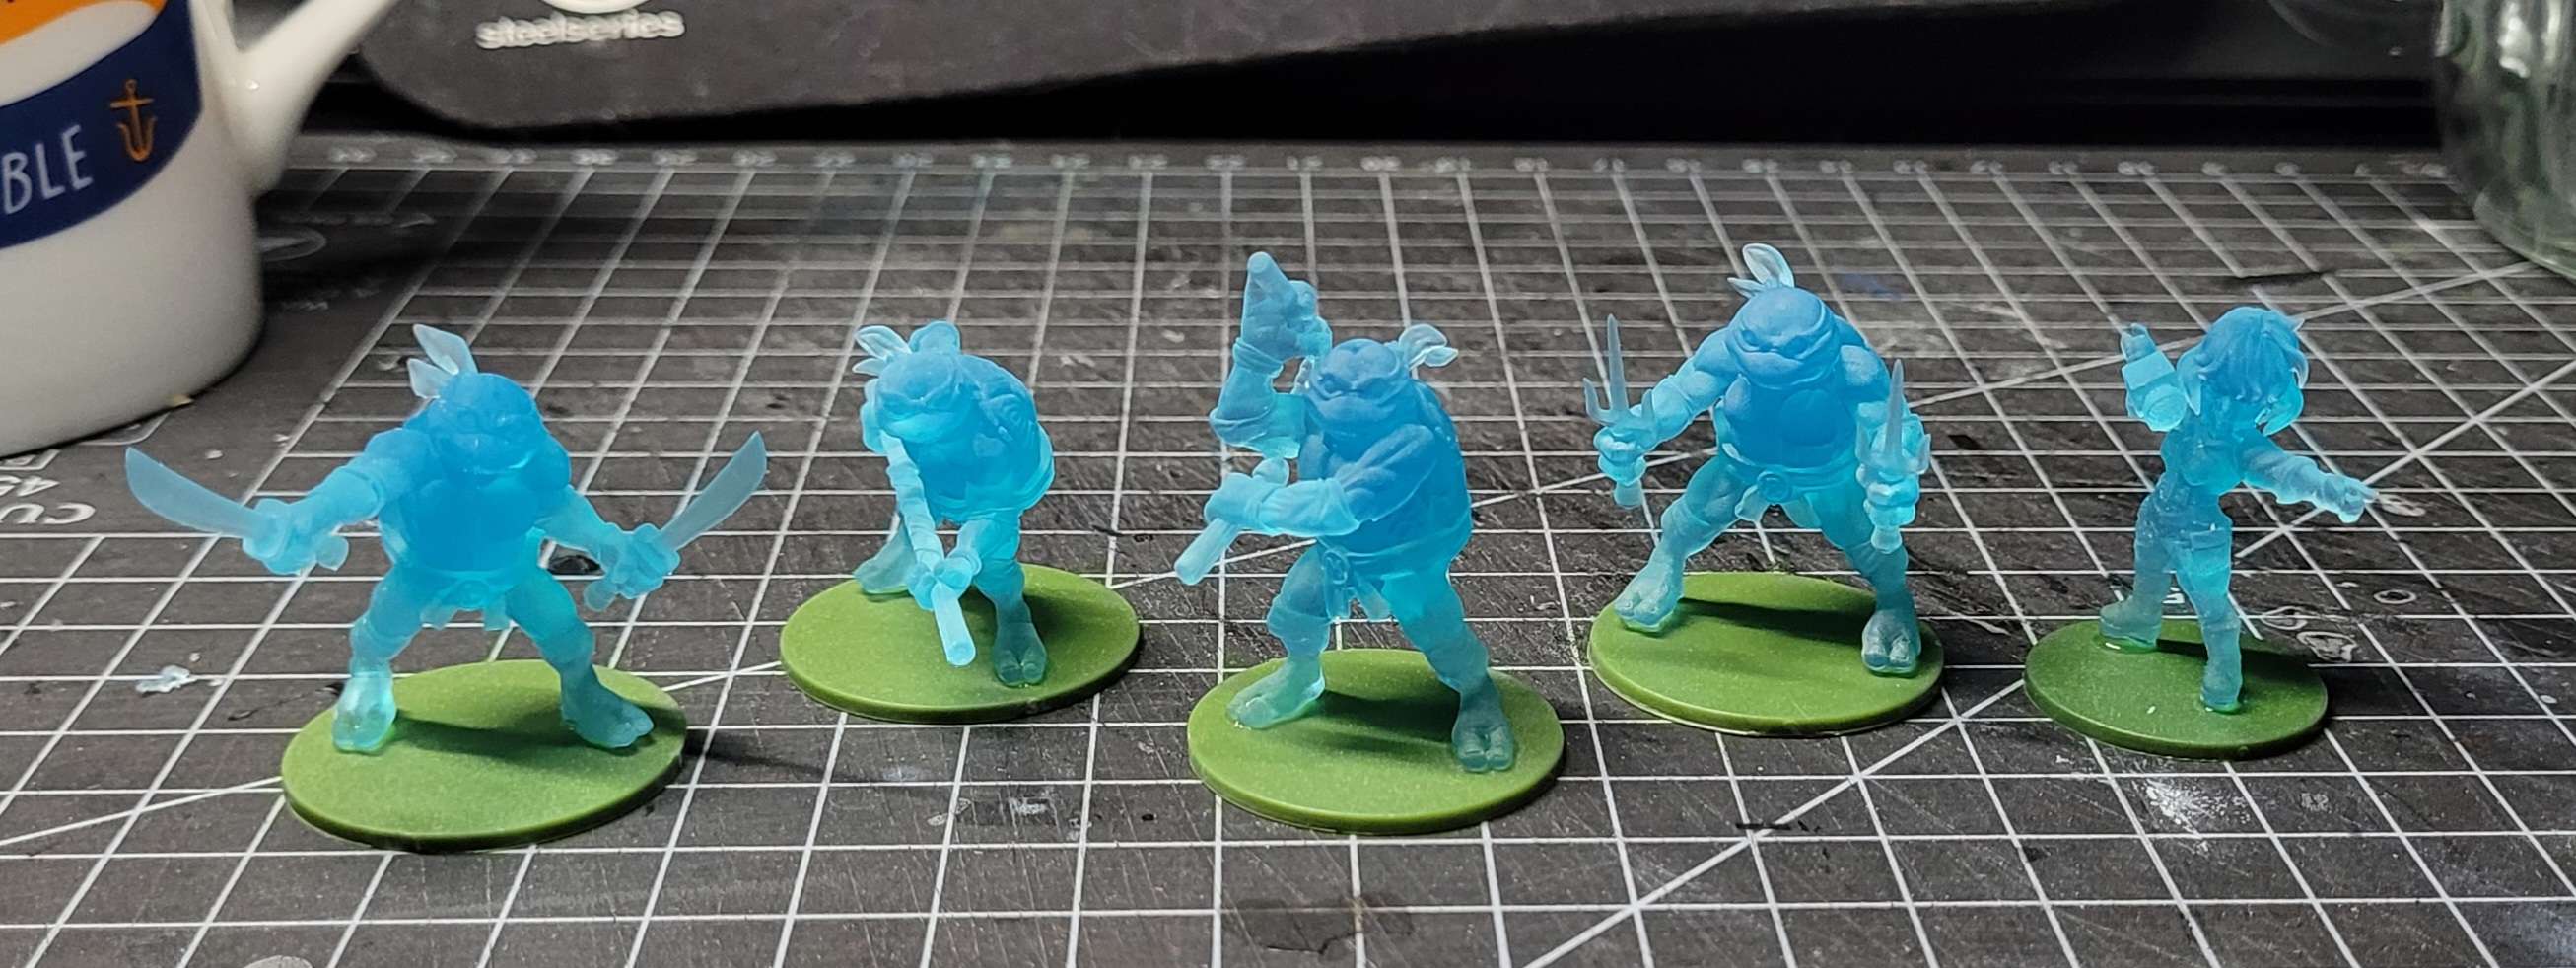
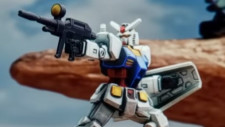
Worth staying up past midnight to wait for the print to finish? Absolutely! They were much easier to get off the build plate, the scale is largely spot on, the prints are clean and, with the exception of two support heavy areas leaving a bit of detail lacking on their little turtle butts, the models are great. I’ve got them on bases and primed waiting for me getting in from work tonight.
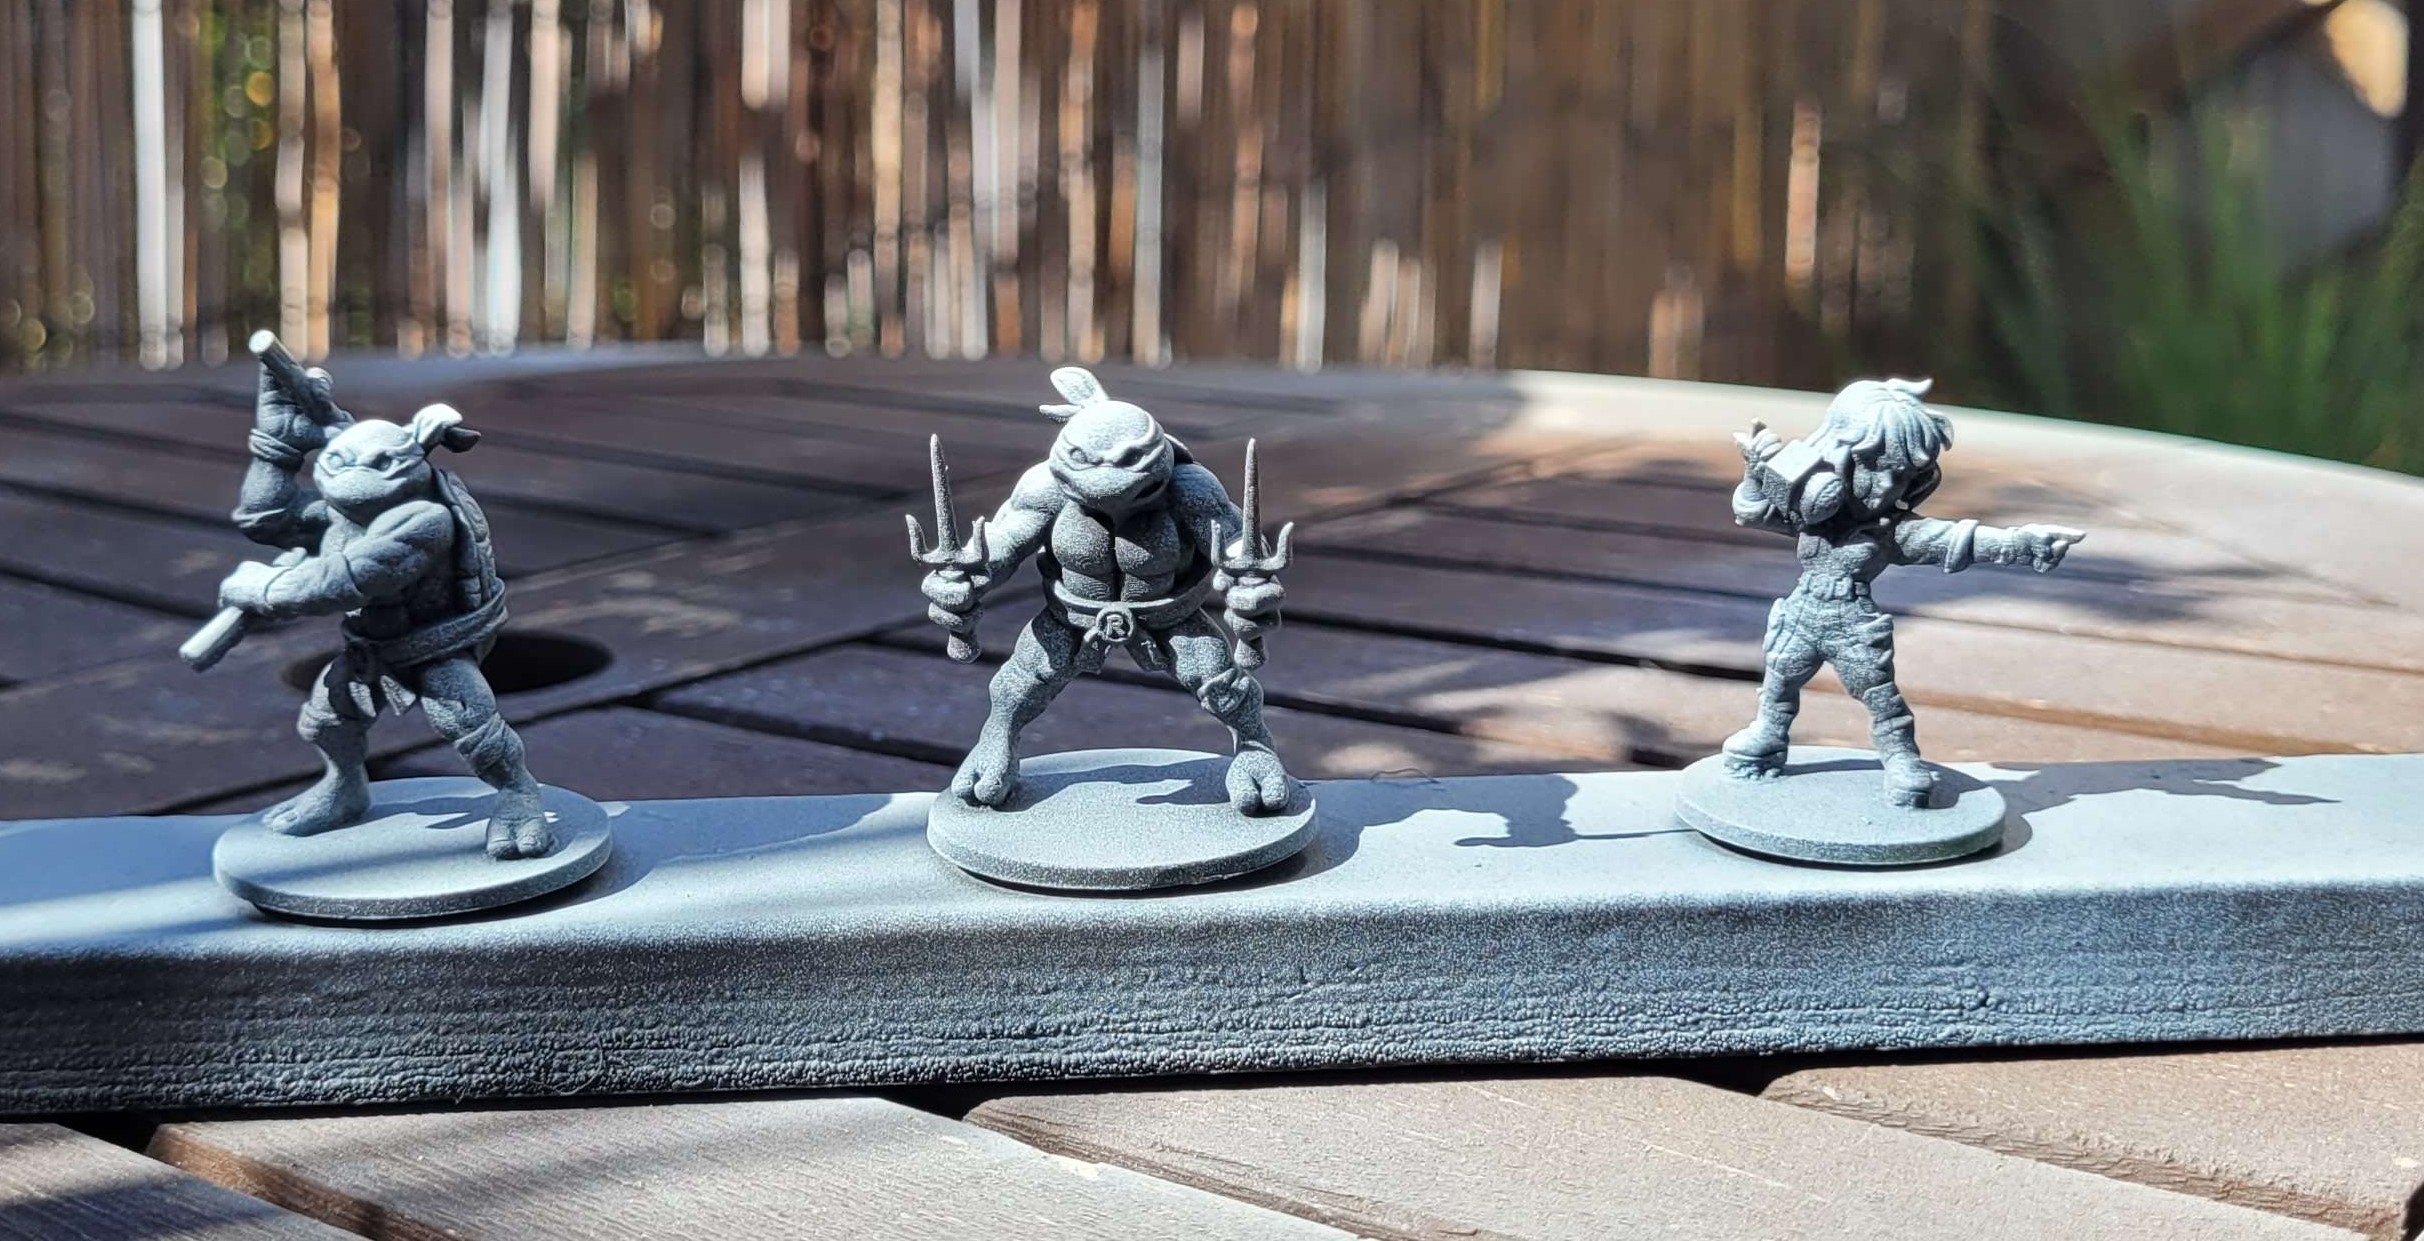
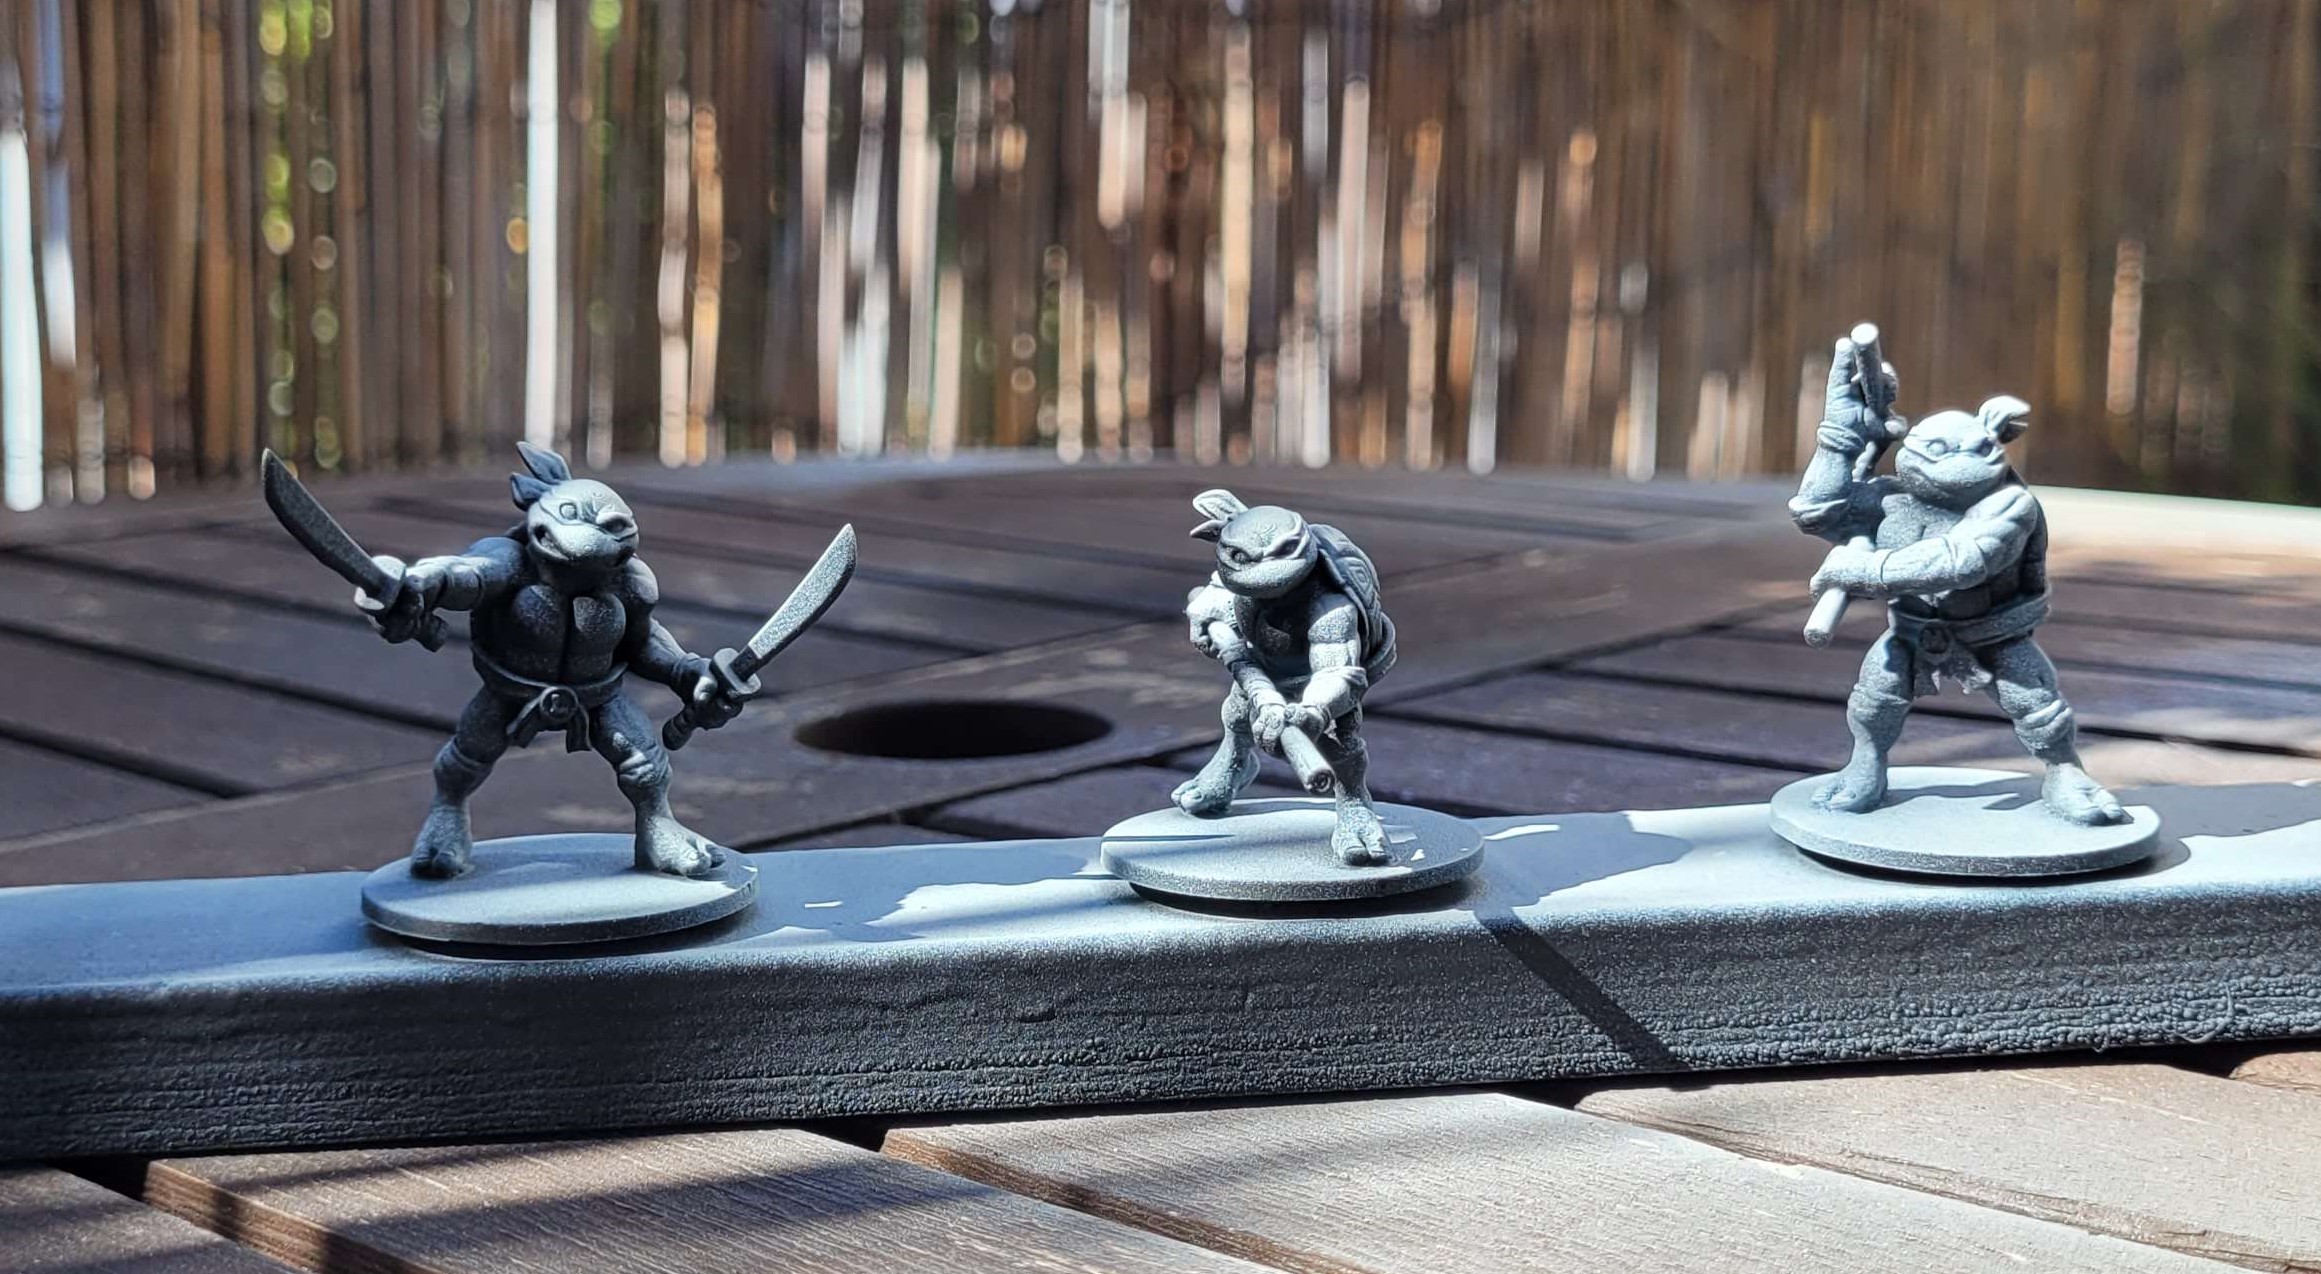
I know there’s so many detractors for 3d printing in our hobby but honestly I’ve been grinning ear-to-ear since taking my turtles out of the curing station. Yesterday these models didn’t exist in the world, now they do. There’s a folder of STLs on my hard drive just waiting to be explored, most of them free, a couple of them not. I have plans for this weekend’s printing and my first full army beyond that. Just need to find a way to keep on top of the painting so I don’t end up with another pile of shame!
Cleaning and Setting Up
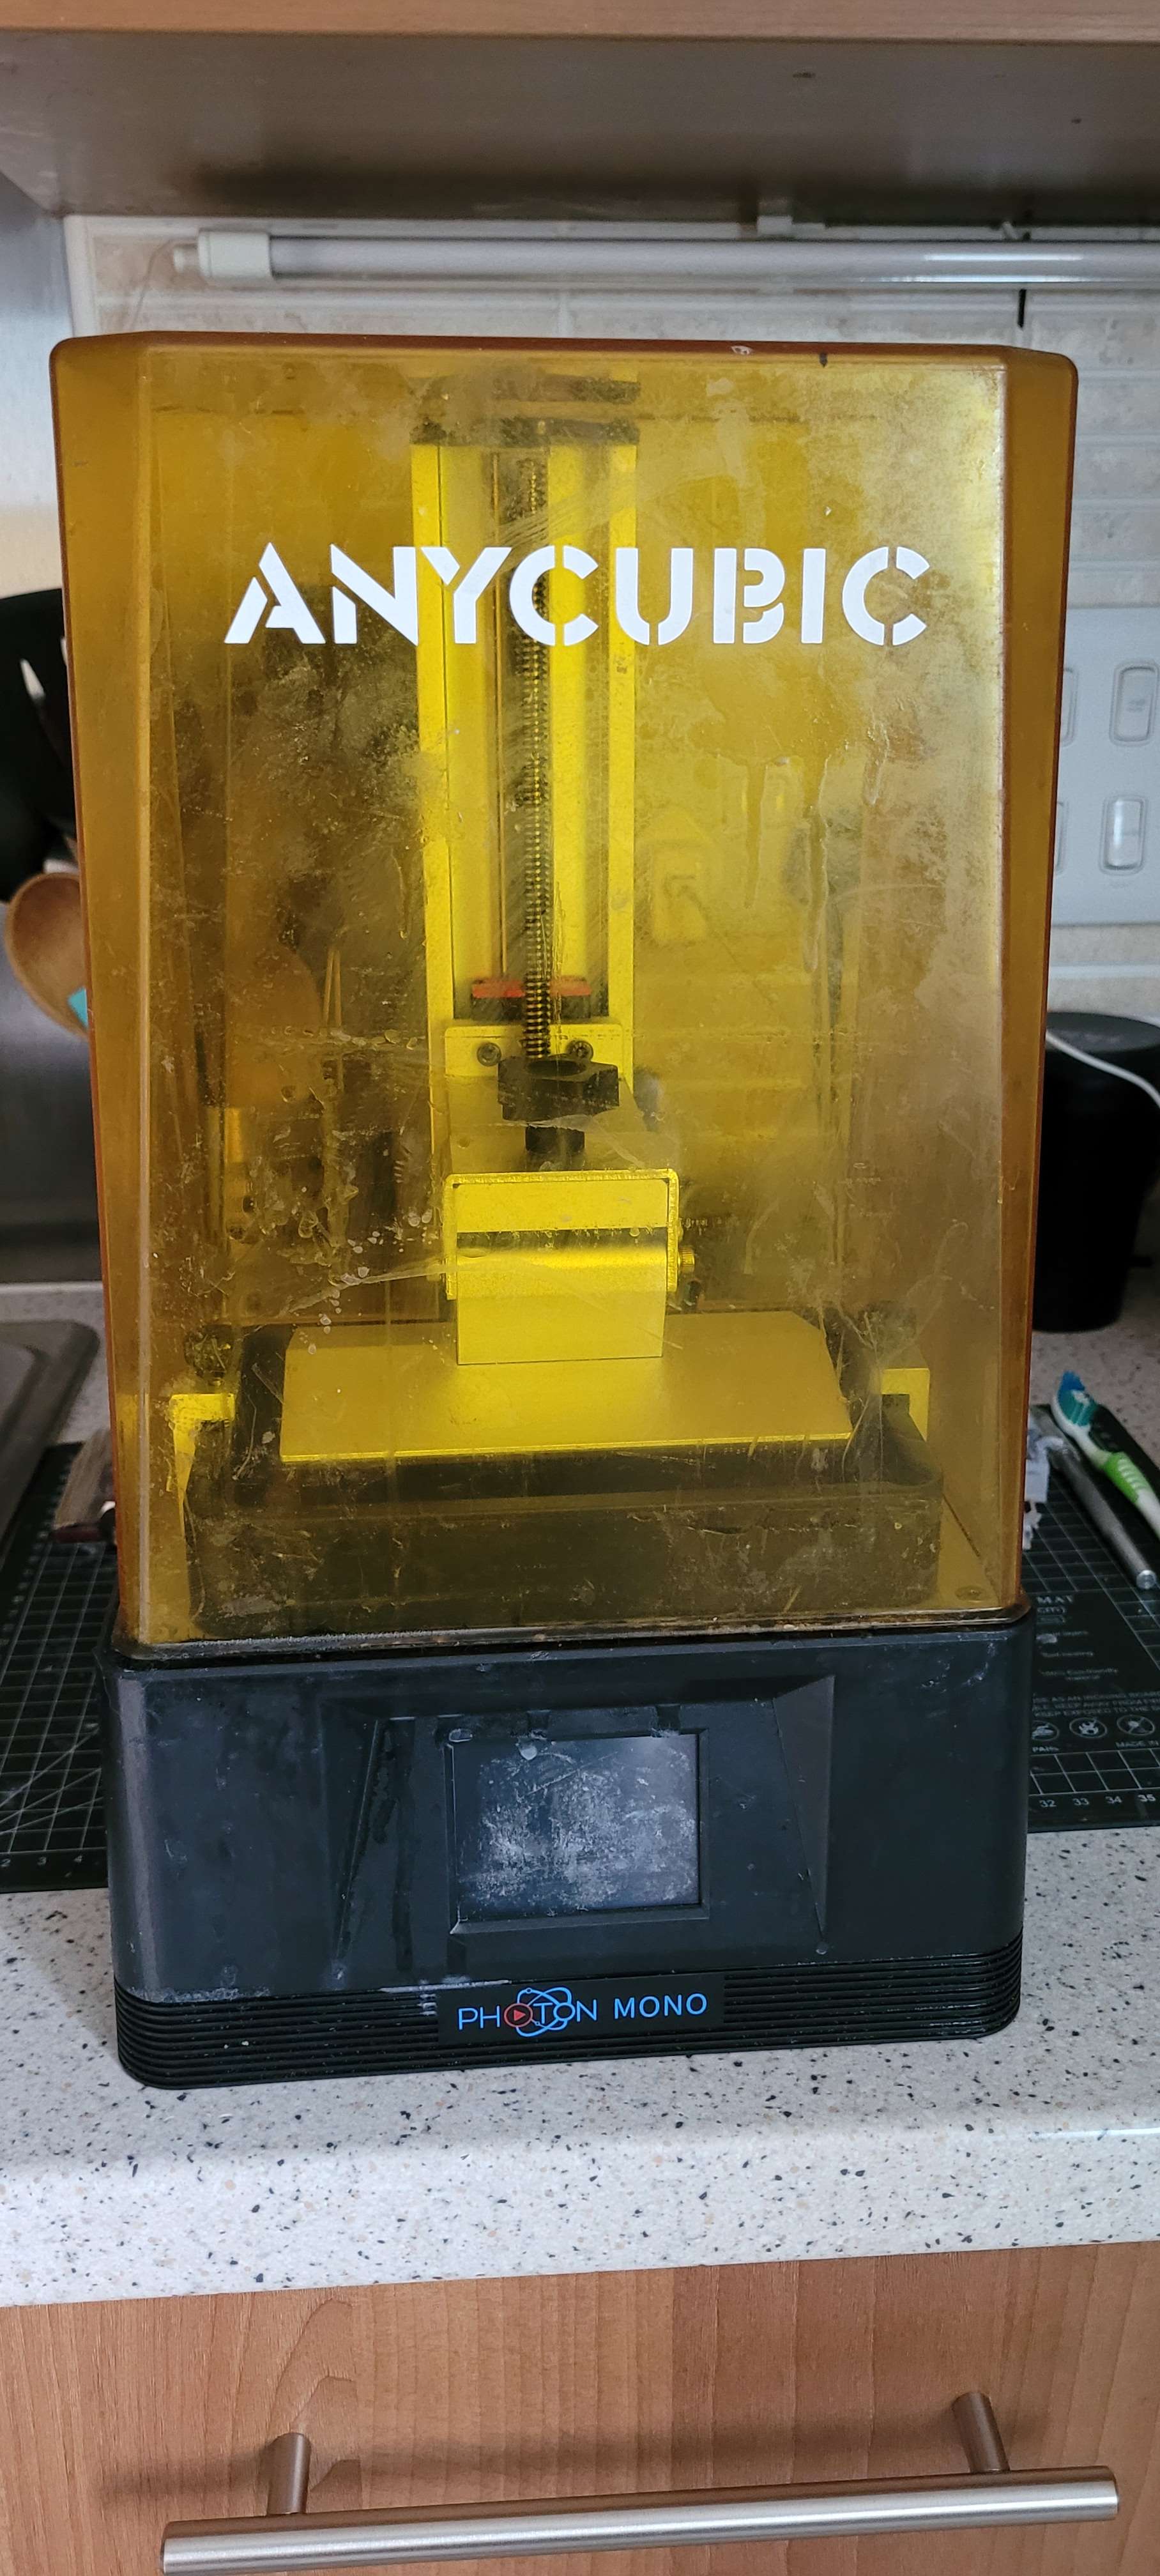
The machine I was given was in a bit of a state. There was resin all over the outer casing and the stickiness was just gross to touch. As a neat-freak kind of a person, I needed to deal with this before anything else.
An hour or so of hard graft and it is no longer sticky. The cover is still pretty nasty but there’s no uncured resin gumming up anything. After that was done, I reset the x and z, as well as testing the screen. All working fine… at least as far as I know.
Next up was updating the firmware – quick download from the manufacturer’s website, load onto a usb and “print” the files in the machine to push the software updates. No actual printing.
Picking a slicer next and I’m a fan of third party for most things. They tend to make more useful software. I don’t know how long I’ll have this machine and a lot of the more recent ones are tying themselves to Chitubox. It doesn’t seem great but it’s shortfalls can be fixed with other software and then exported over for final slicing and printing. To get used to Chitubox seems like a good opening move and so I downloaded and installed it.
Next I wanted a calibration print test. There are many out there and I first downloaded the Cones of Calibration however looking into it, that takes 40 minutes to print. The similar tool from Phrozen takes around twenty minutes. As cool as the cones look, it kind of seems like a waste of extra time. I’m working on this in the evenings after work so my time is limited. Sorry cones.
Although my machine comes up in the printer list in Chitubox, it is too old to come with resin profiles pre-loaded. I’ve decided to go with Sunlu resin as it is cheap but has good reviews for minis. A visit to their website gave me the ranges for the particular resin I was using. Obviously, actual settings (mostly here we’re talking about exposure times for bottom layers and the rest of the print) vary from printer to printer and room temperatures. So next up is calibration and first prints *fingers crossed*
First set of expenses
The actual cost of 3D printing is something that I’ve been wary of. I have a very limited budget and don’t want this to end up being a money sink. There was always going to be an initial set up cost though so let’s start with that.
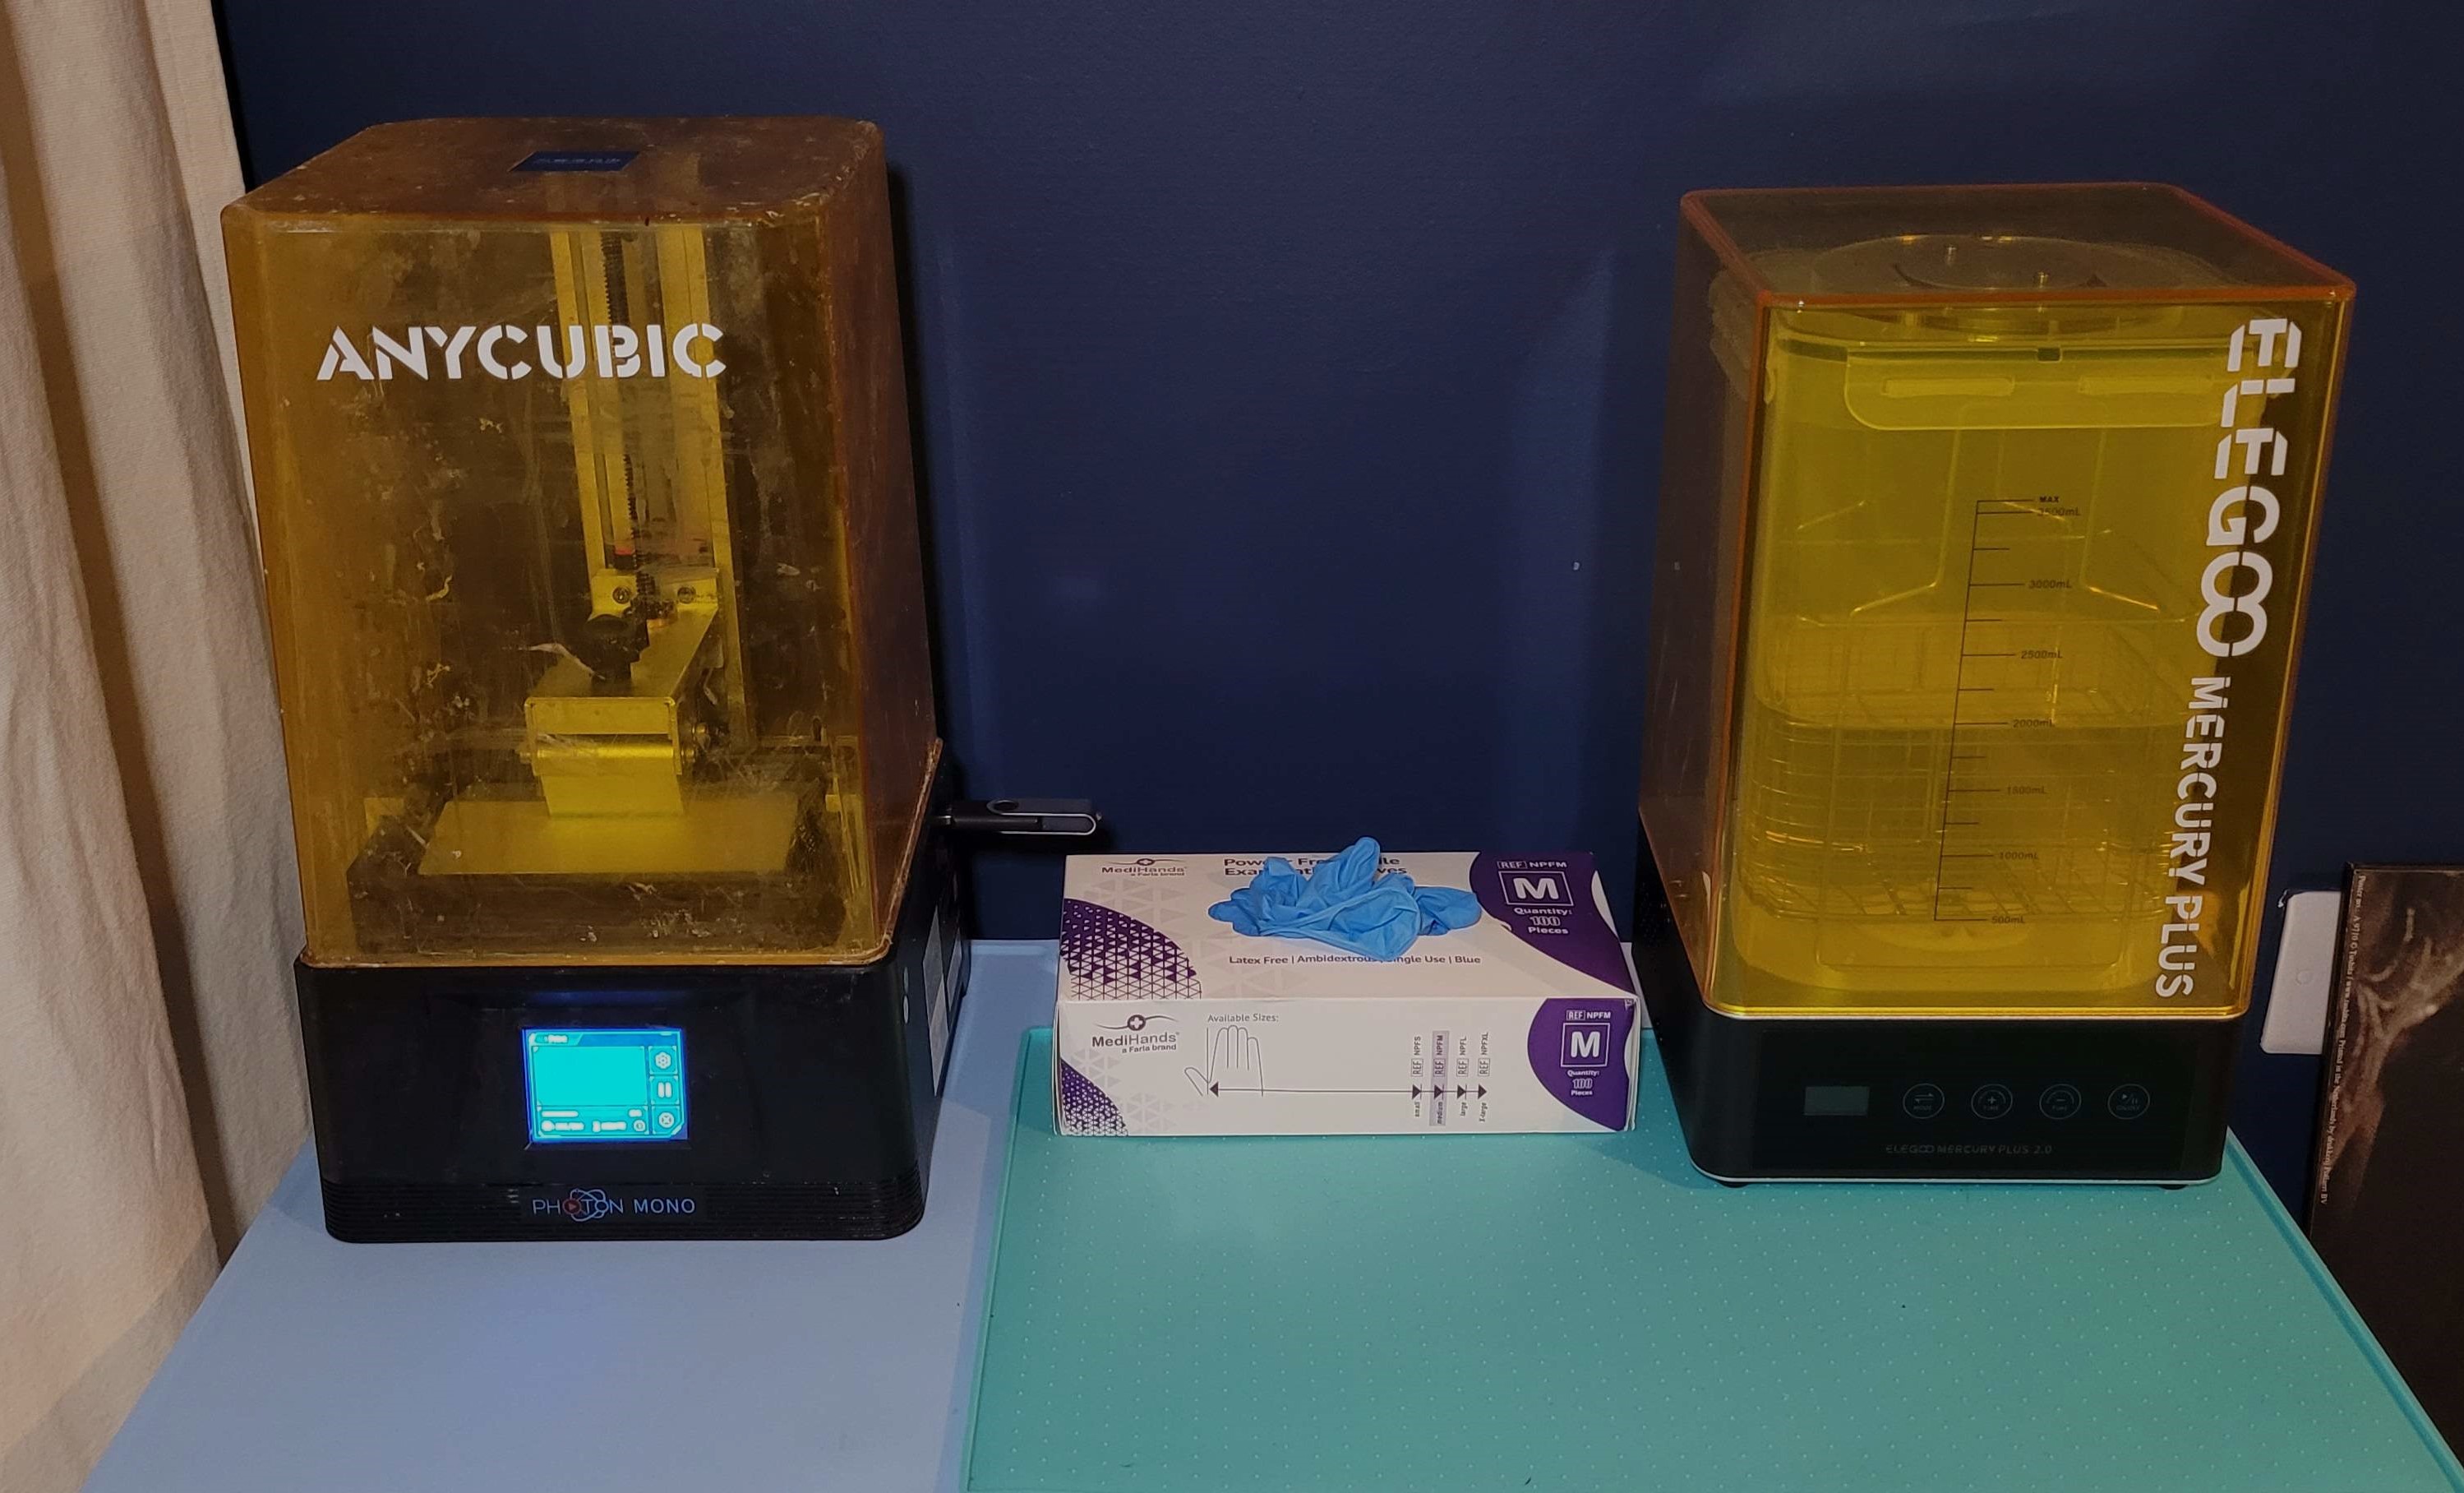
- There are cheaper, homemade options for washing and curing but I decided to just spend the £90 on the Anycubic station. Why? Cos I’m cheap but also lazy.
- Basic consumables; kitchen towel, paint filters, latex gloves etc
- Isopropyl alcohol for the wash station
- Scraper for build plate, plastic scraper for the resin vat and a couple of other tools
- Safety equipment; I don’t have a garage to set this up in so I need to make sure that the space can be used safely and that there won’t be any risk to my cats who have access to the room normally too
Trying to dodge any kind of hobby tax, I went to one of the world’s biggest tax dodgers for some of these things. Others I picked up at a local Screwfix or picked up at the pound shop. Still initial set up costs to get to the point where I can run the machine and do a calibration print was around £210 (that includes a fair amount of resin because the type I wanted was on sale).
Introduction
Like a lot of hobbyists, I’ve had half an eye on 3d printing for several years now. Earlier in 2023, I sat and figured out a budget for getting into it and then I looked at the pile of shame… nope, can’t justify that until some of mountain is dealt with thought I. Maybe next year.
Then someone in a local gaming discord upgraded their resin printer and offered their old one for free.
I’m Scottish, I can’t say no to free. They revoke my haggis hunting license.
Now, obviously I was missing a few things to get started properly but the printer is the most expensive part. I got the printer just in time for a weekend when I had a lot to do so deliberately didn’t order the rest of the things I need – I know myself well enough that if I had the means to play around with a new tech toy, nothing else would get done that weekend.
So here we are, two weeks later and I’ve had a delivery of tools etc sitting waiting for a couple of free evenings. I know very little about resin printing and only a little bit more about filament thanks to a work project a few years ago. Let’s give this a shot then shall we?


