Hutchs Battletech, A new Begining
Recommendations: 32
About the Project
With Battletech Finally getting more mainstream attention its time to jump back in the cockpit and spruce up my game.
Related Game: Battletech
Related Genre: Science Fiction
This Project is Active
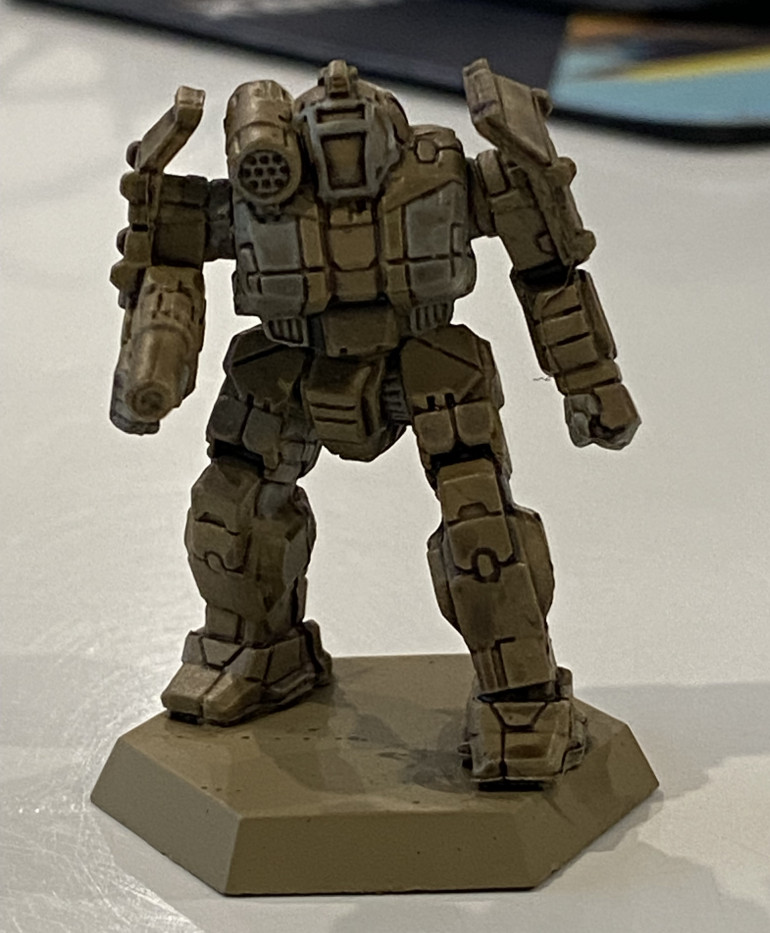
Camo scheme in stages
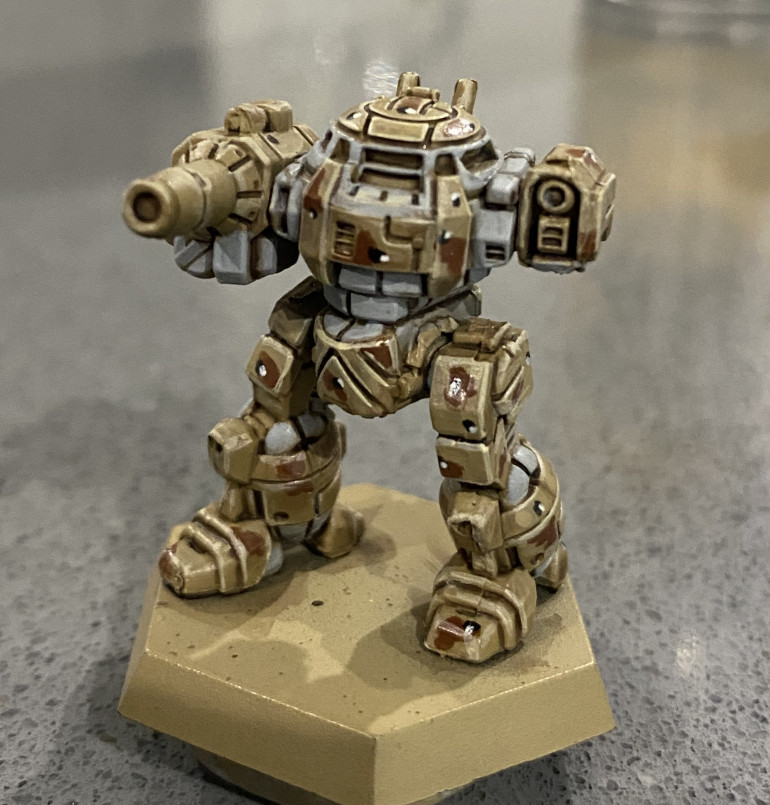
This is my quick and simple take on painting something similar to Chocolate Chip Camo.
My colour scheme is in no way intended to be accurate, rather just a simple and quick camouflage that I can replicate over and over again without too much thought or effort.
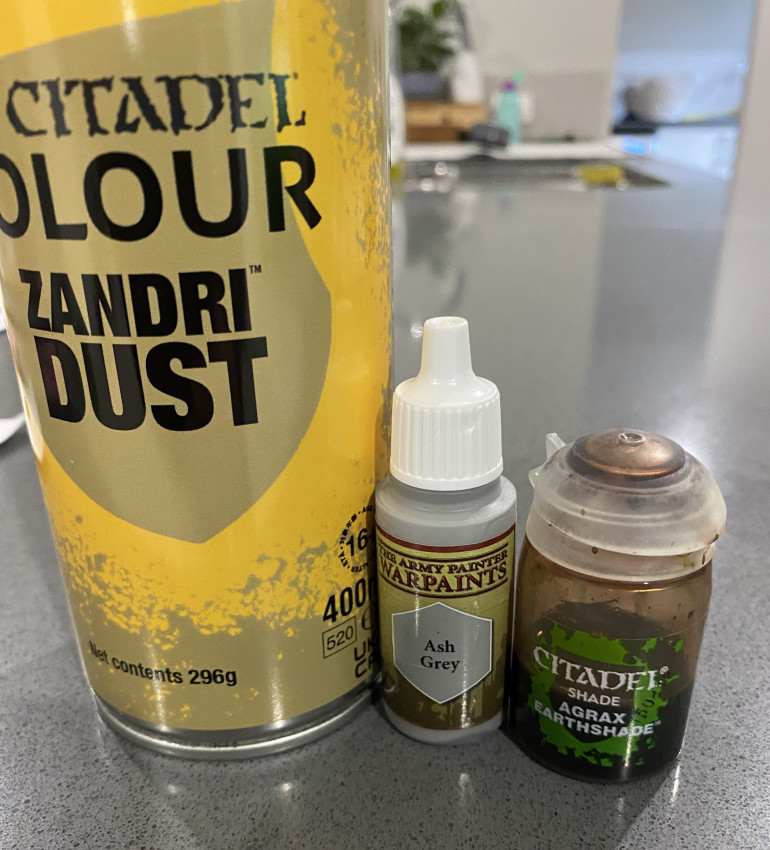
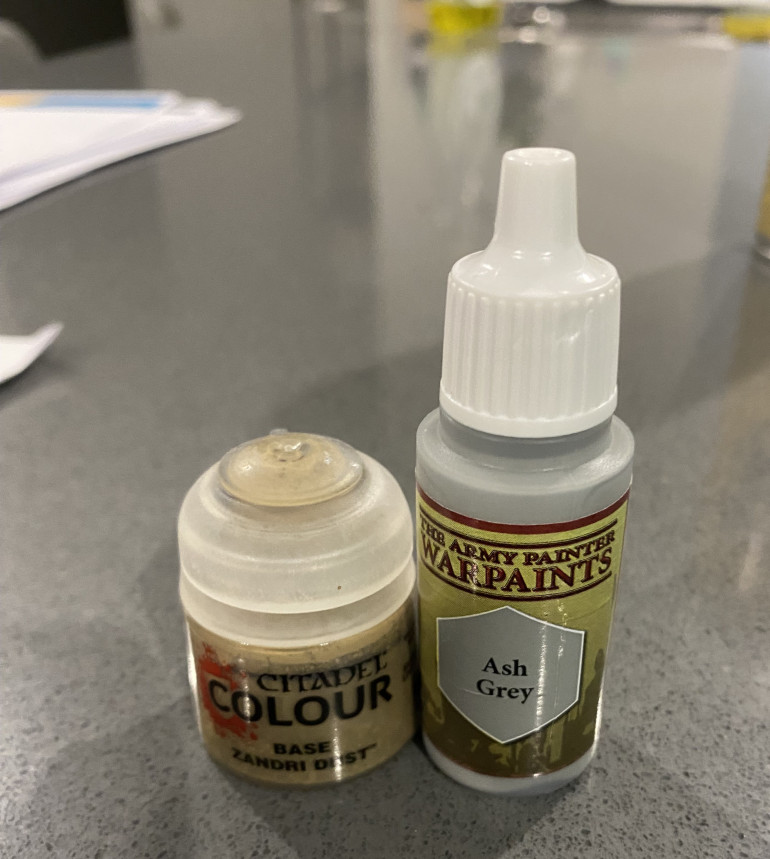
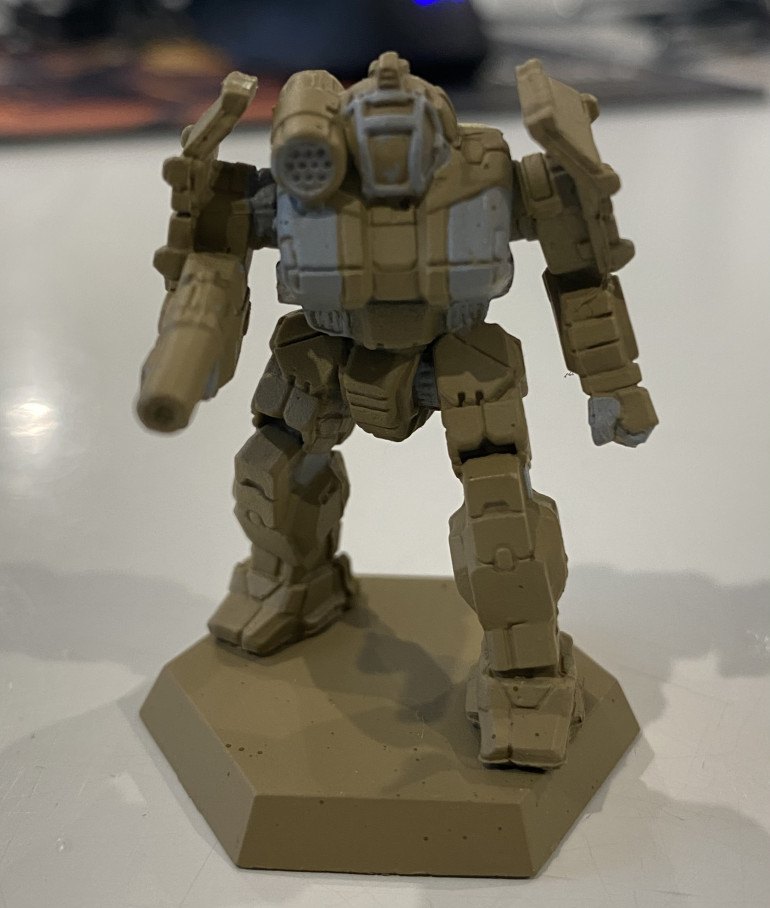 Spray Painted with Citadel Zandri Dust. A few panels blocked in with Army Painter Ash Grey. I just did one coat, and it was a pretty rough coat at that.
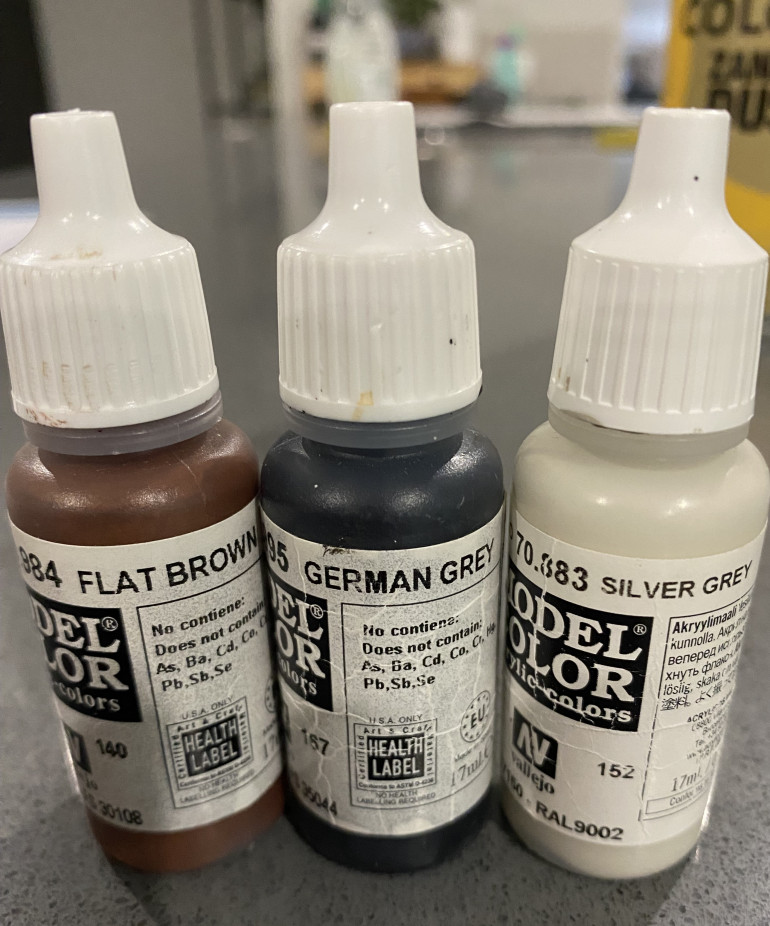
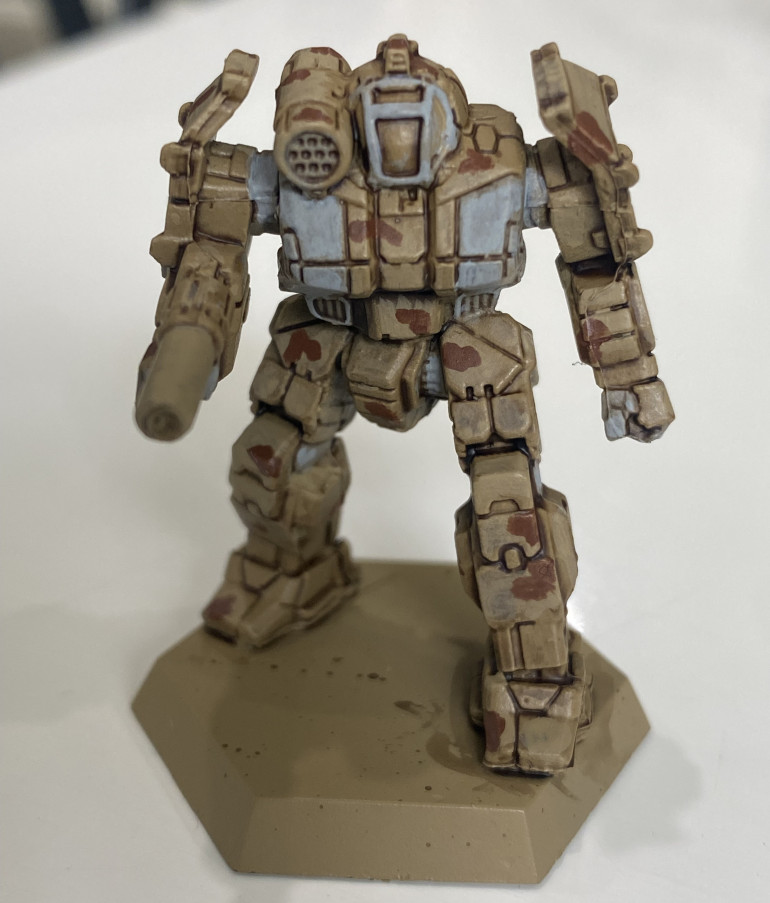 Re-apply Zandri Dust and Ash Grey paint to the panels, again no need to be too neat. Just try to keep the Agrax Earthshade in the recesses. The paint on small irregular blobs of Vallejo Model Colour Flat Brown. Not too many splodges as I wanted the sand colour to be the dominant colour.
 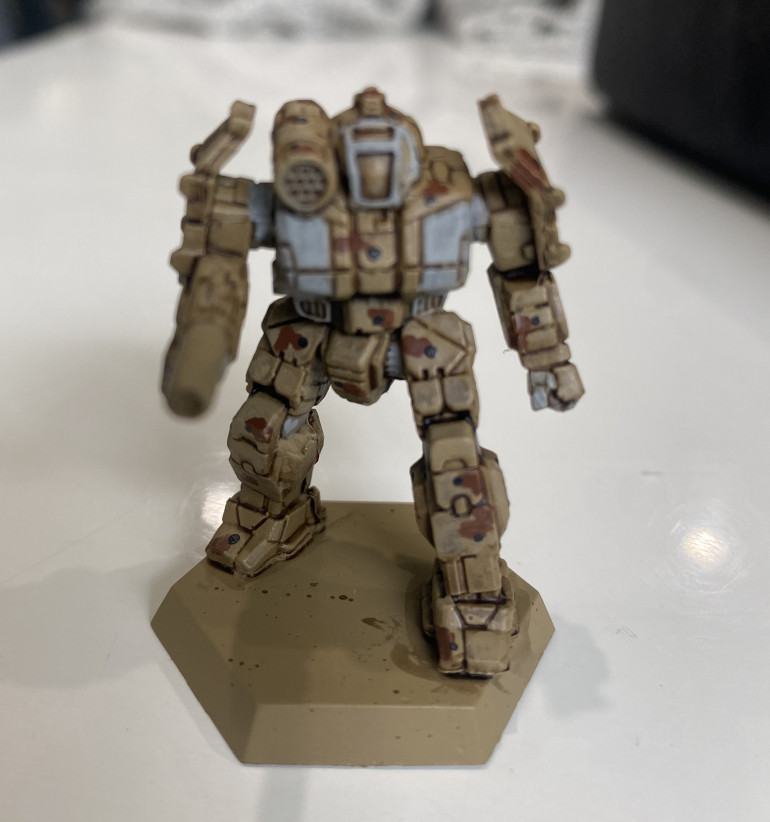 Next up was little dots of Vallejo Model Colour German Grey. I find it easier to use a little cocktail stick to put the dots on. Try it next time you do dot camo. It makes life so much easier. One small dot on the edge of each brown splodge and the occasional dot on other areas should be enough.
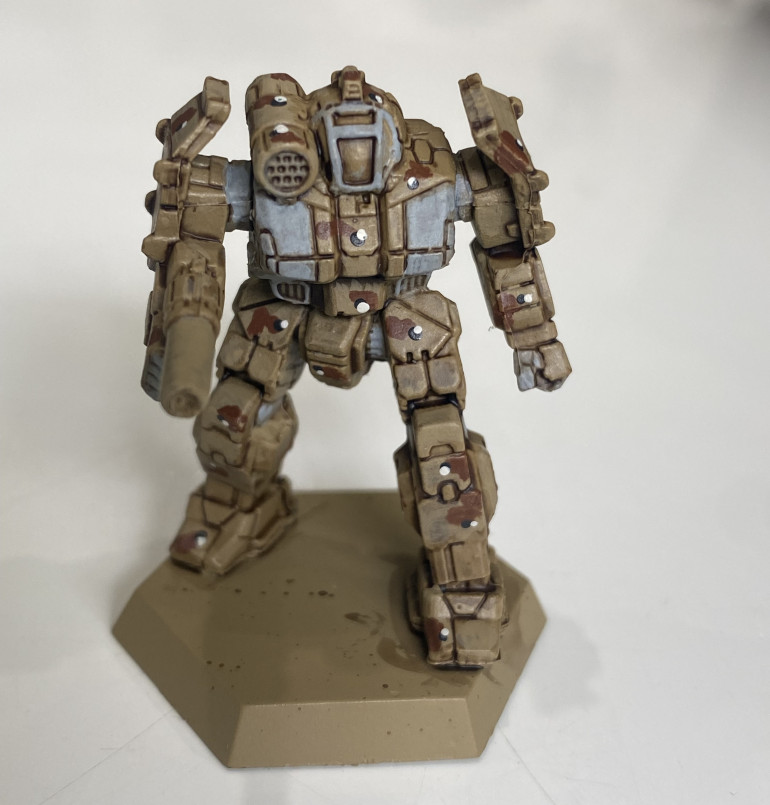 Then using the same cocktail stick method I applied a small dot of Vallejo Model Colour Siler Grey covering up most of the previously applied dark grey dots.
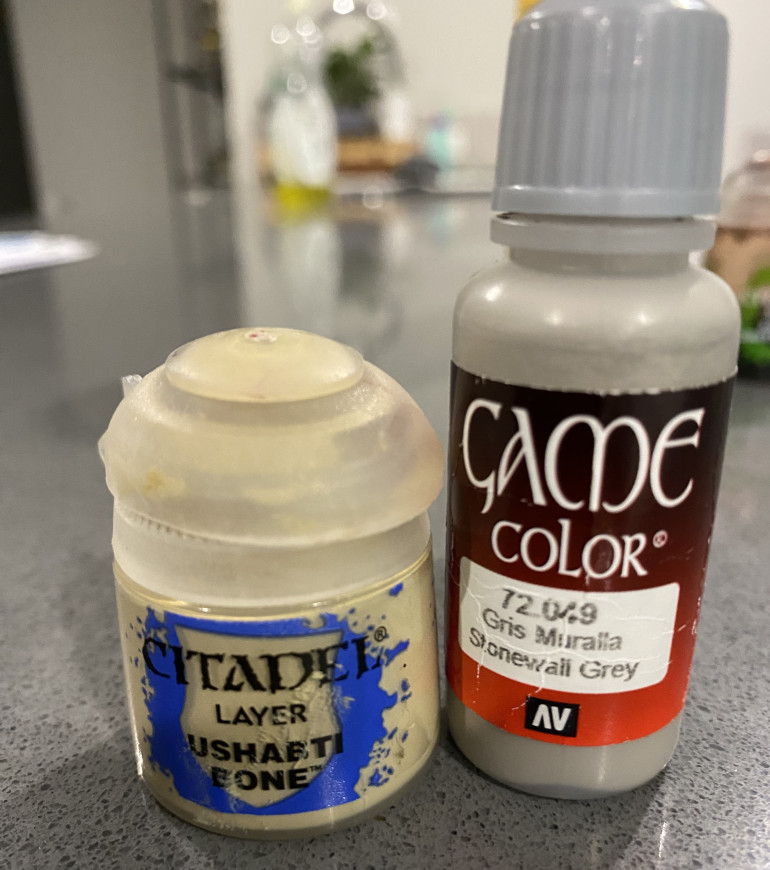
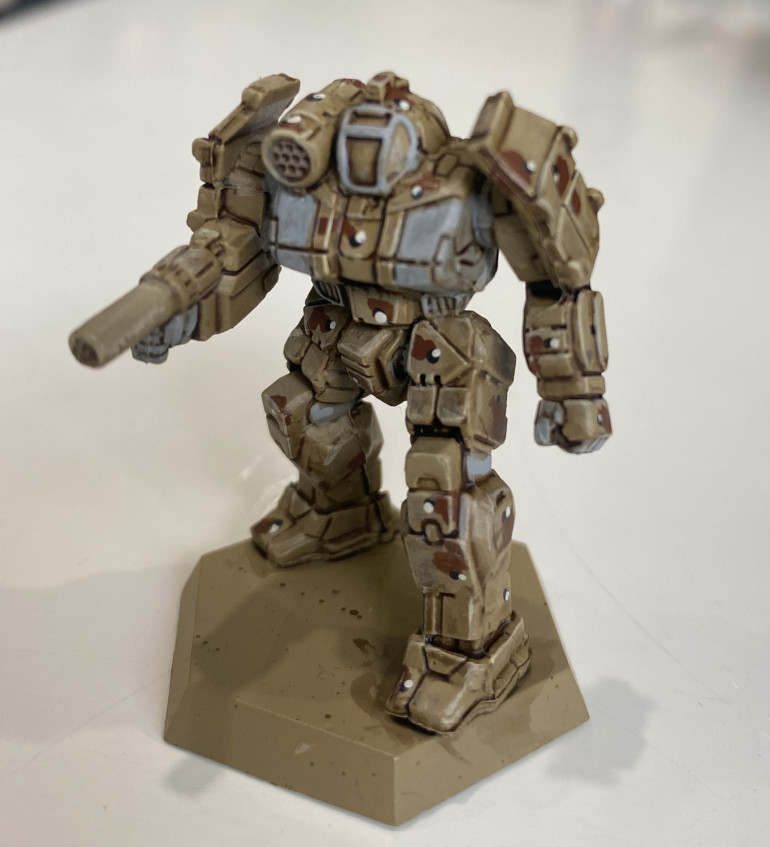 Edge highlight the sand areas next with Citadel Ushanti Bone. I didn't do every edge, just enough to create an effect. I made sure to use this colur to highlight across the previously applied brown splodges too. This helps tie the camo together a bit better. A light drybrush would probably also do the trick, but it may dull down the brown splodges a bit.
 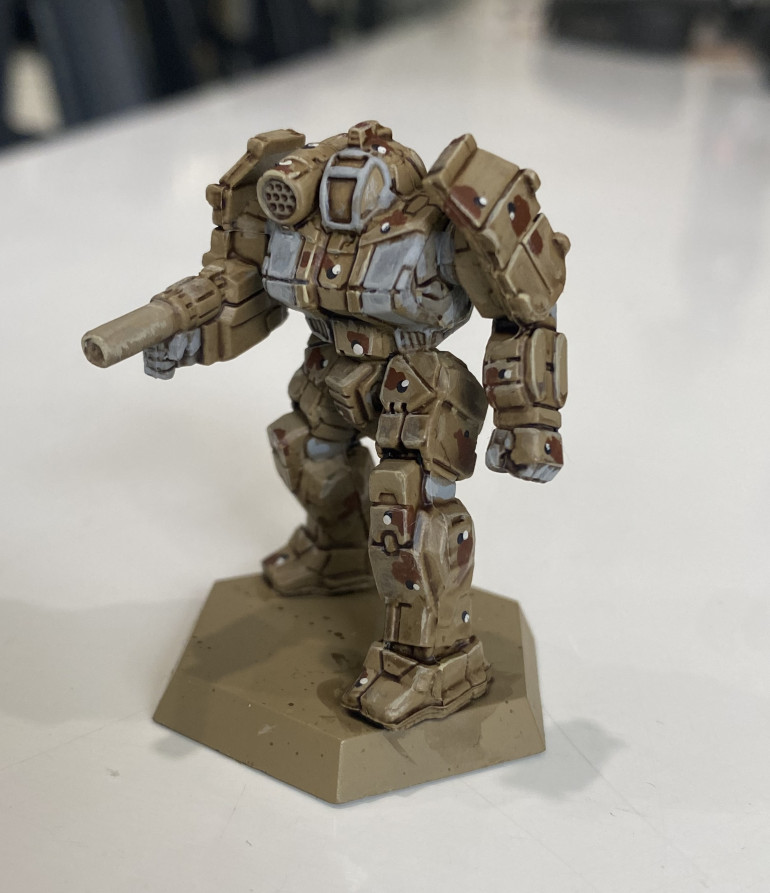 Edge highlighting of the grey areas was done with Vallejo Game Colour Stonewall Grey. Again, it doesn't have to be every edge, just enough to give an effect.
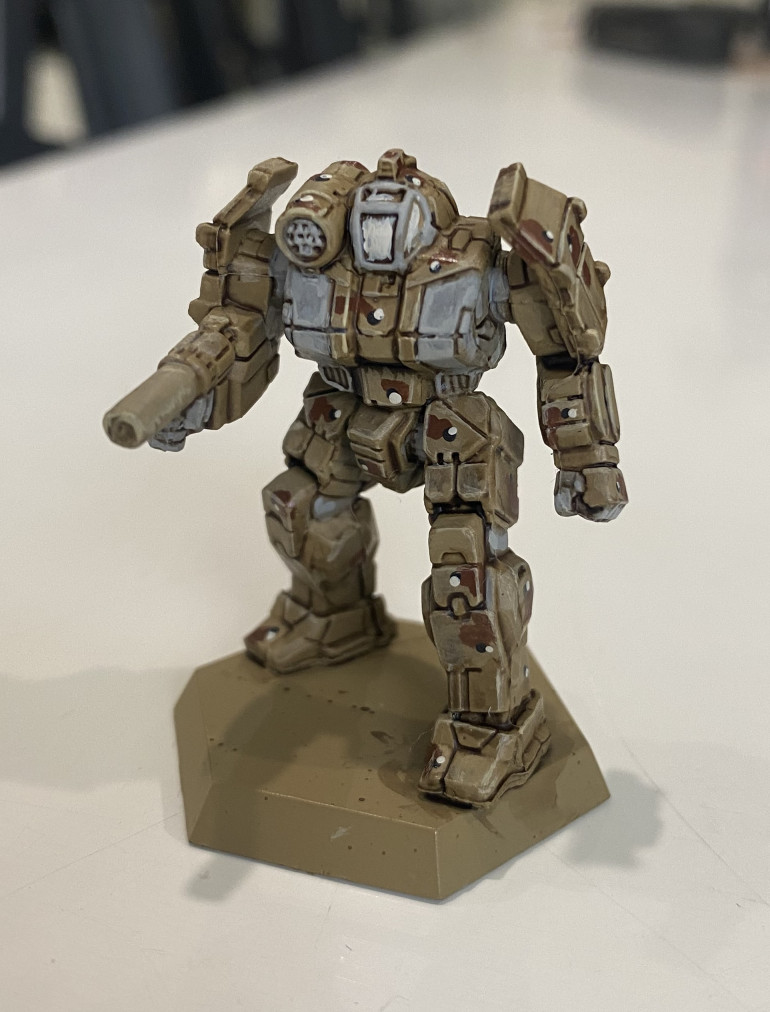 I blocked in the cockpit with Vallejo Model Colour Silver Grey. No need to be neat as its going to get covered up in a minute anyway.
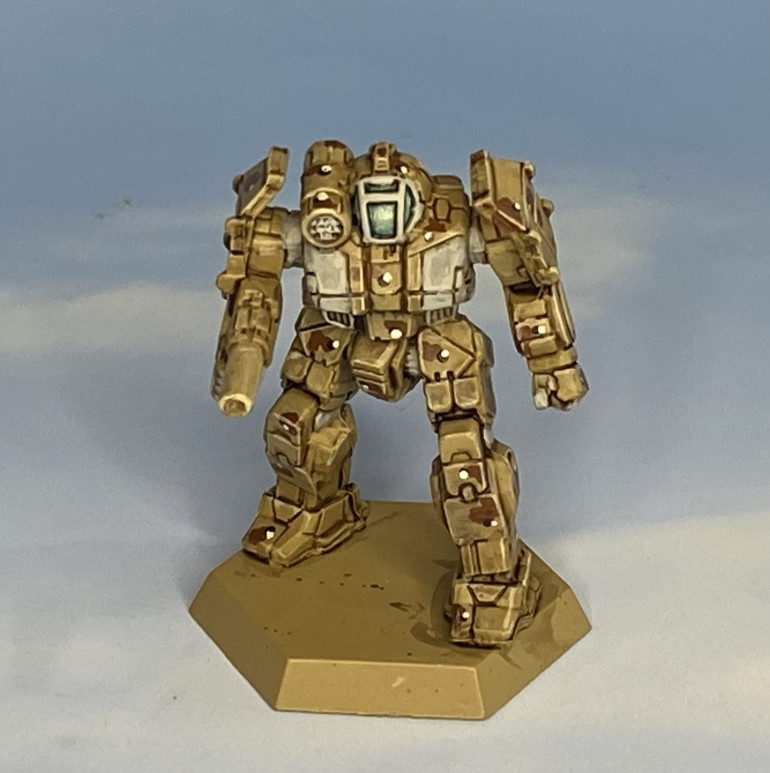 Finally, a coating of Citadel Coelia Greenshade for the glass. I did two coats. When dried the shade creates a nice effect around the edges. Then just neaten up around the cockpit with Vallejo Game Colour Stonewall Grey or Citadel Ushanti Bone if needed.
Once I get all my Inner Sphere mechs to this stage I will give some thought to how I am going to paint the insides of the weapon barrels.
The basing I will most likely do the same time I start painting up some new terrain.
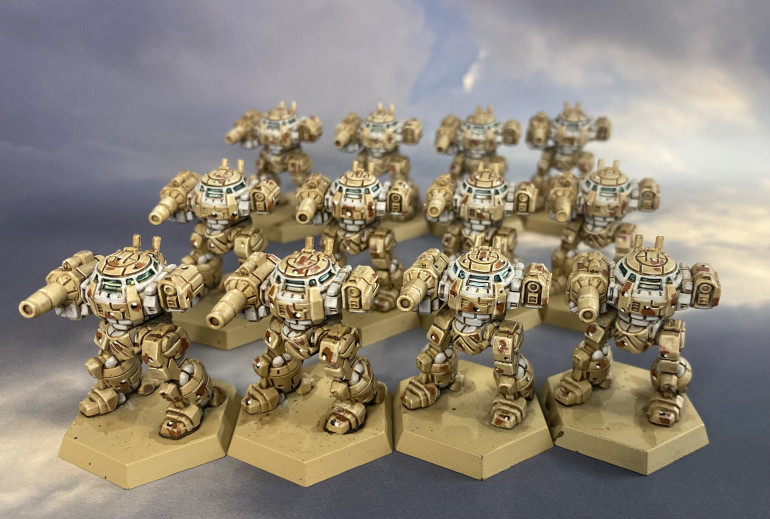
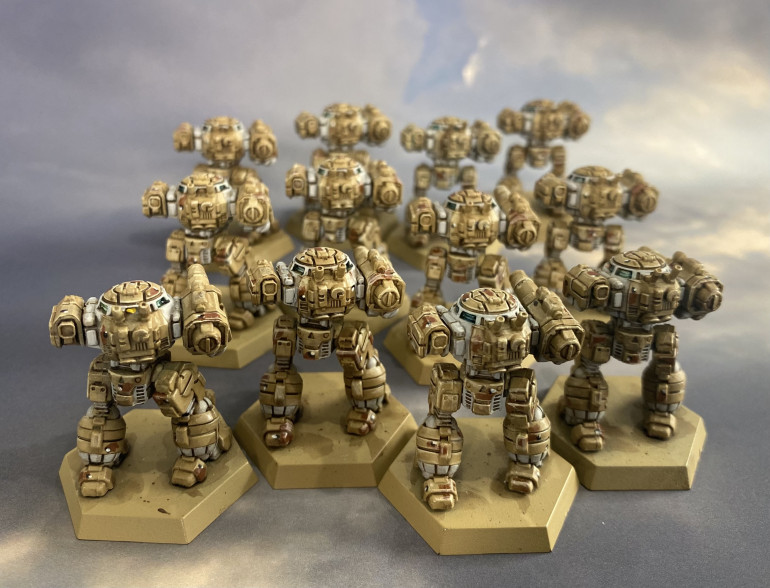
3's a Company
They say that three is a company, so let’s go with that. 12 little Urbies to protect the Urban sprawl.
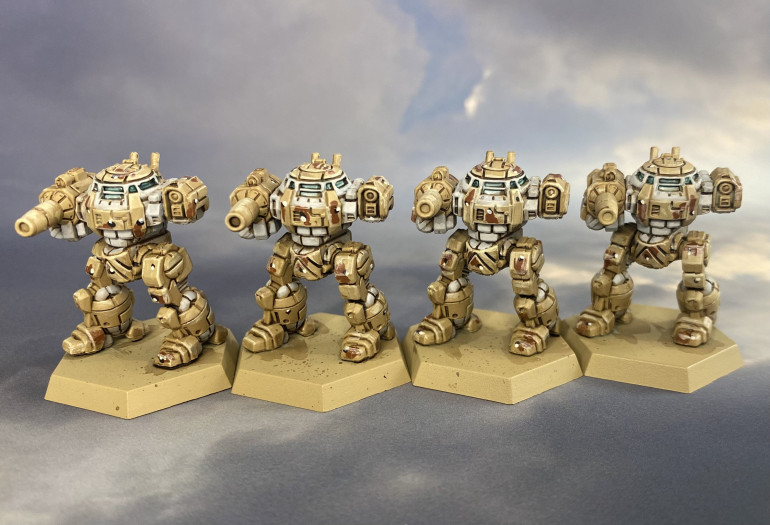
First Lance
So, one became four.
I am really impressed with the new Urbanmech design. So couldn’t resist painting up some more.
The Begining
With Battletech finally getting more mainstream attention it was time to dig out my Kickstarter Clan Invasion pledge.
Now I am not new to Battletech, having started playing the game when it was first released oh-so-many years ago now, but I have taken a break from playing due to life just getting really busy. This, however, has not caused my love of the universe to dwindle.
In previous times I just painted my mechs up in batches in various House or camo colours but this time I want to approach things from a different angle.
As nice as it was having so many different painted collections there was always that time when I struggled to make a nice looking and cohesive force for the points value or mission required.
This time around I plan to paint my Inner Sphere units up in one style and my Clan units up in another. That way I can mix and match units in a Lance/Star without them all looking completely different.
First up was to decide on what kind of tabletop I wanted to create.
The last tabletop I built was grasslands with hills and trees which was all very pretty but this time I wanted something different.
I settled on a more desert feel. Of course, I still plan to have trees and the like but will theme it more to dryer climates.
With that settled, I had to come up with a colour scheme that I could happily replicate over and over again without going insane.
Zandri Dust Spray Primer seemed like a logical place to start so without wasting any time I undercoated my first model.
The next step was to pick out another accent colour. Thie model I had selected was an Urbanmech, so to me, it seemed logical that a colour more suitable to built-up areas would be a good choice. I plan to have a city or at least some buildings as part of the layout as I cannot see a slow Urbanmech lasting too long in the desert dunes.
I chose Army Painters Ash Gray and painted up a few of the armour panels.
Once dry I gave the whole model a coating in Agrax Earthshade.
Once the shade had dried, I once again went over the model with Zandri Dust and Ash Grey repainting the panels but leaving the shade in the recesses.
The next stage was to start on the camo pattern. For this, I used Flat Brown to make irregular blobs on the Zandri Dust panels. I tried not to make too many as I wanted the sandy colour to be the primary colour on the model. I then used German grey to put little dark grey dots on the edges of the camo splodges. Once dry I used silver grey to put little dots partially covering the previously applied grey dots. I also added a few of these Dark/light grey dots combos to a couple of other areas on the mech.
Once all that was dry, I used Ushanti Bone to paint around the edges of the Zandri Dust panels, making sure that I also painted across any of the came splodges with this colour to simulate a highlight and also to help the camo splodges blend back into the model.
next up was Stonewall Grey to go around the edges of the grey panels on the model.
I didn’t edge highlight every panel, just enough to create an effect.
The next job will be to paint the cockpit glass and weapon barrels.






![TerrainFest 2024! Build Terrain With OnTableTop & Win A £300 Prize [Extended!]](https://images.beastsofwar.com/2024/10/TerrainFEST-2024-Social-Media-Post-Square-225-127.jpg)


