Legions Imperialis
Recommendations: 108
About the Project
Building some Terrain ready for the release of Legions Imperialis
Related Game: Warhammer: The Horus Heresy - Legions Imperialis
Related Company: Games Workshop
Related Genre: Science Fiction
This Project is Active
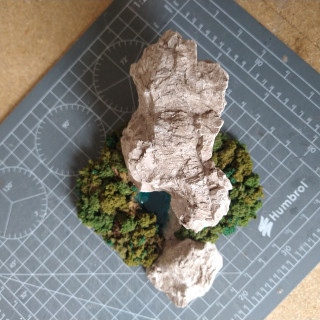
Table edge piece - finished
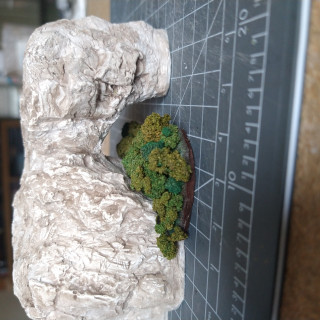
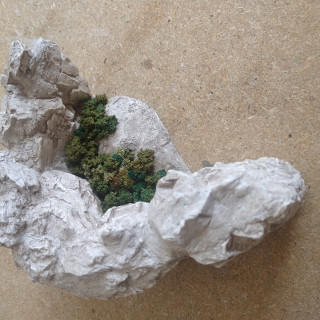
Today I managed to add in the clump foilage to finish off the table edge piece.
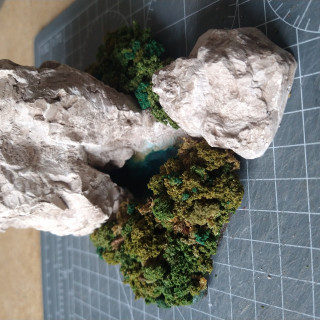
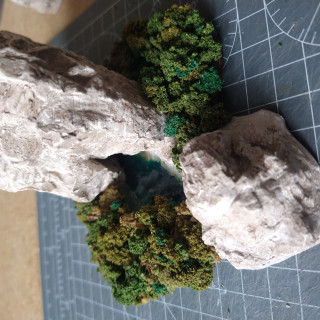
adding the water
Fairly straight forward,
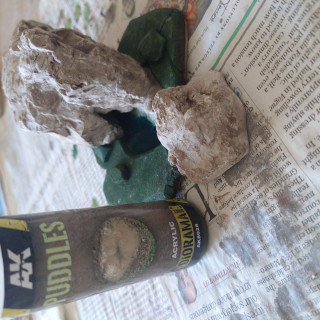
Once the base was completed and everything dry, AK Interactive`s “puddles” was added to the base.
This has a greenish tint, which would also help to add some depth to the water colour.
5th Scatter piece painted
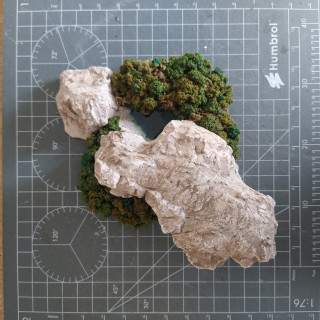
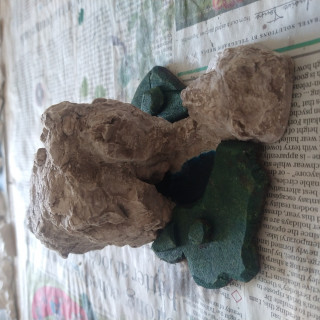
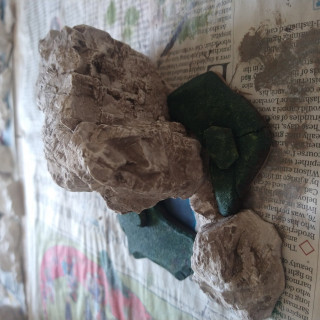
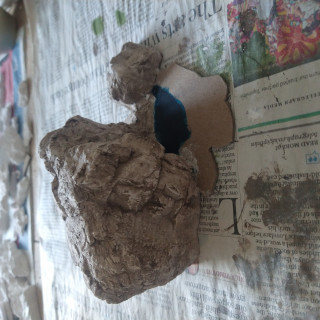
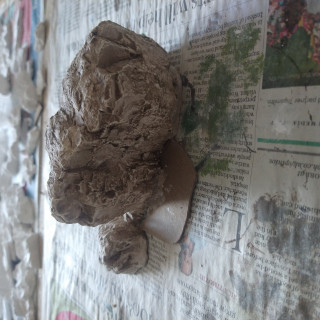
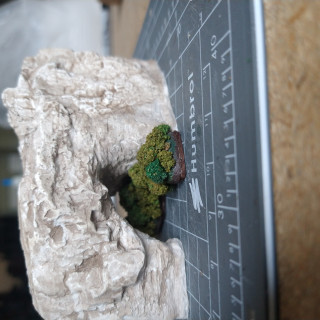
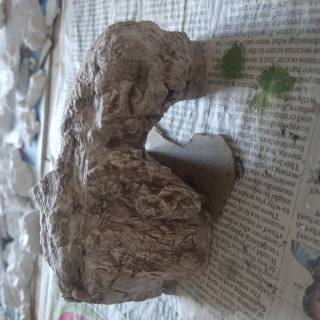
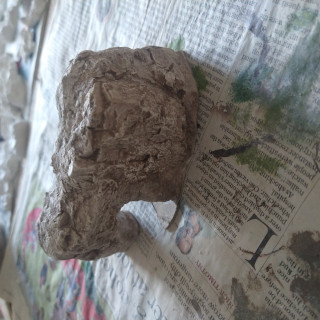
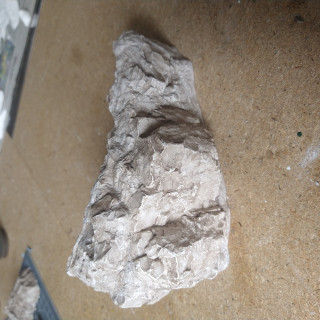
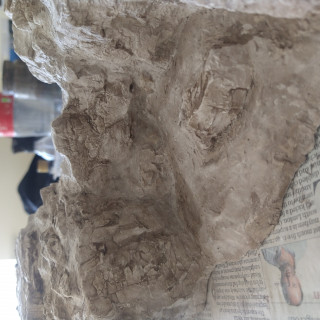
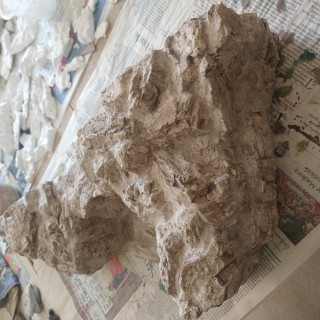
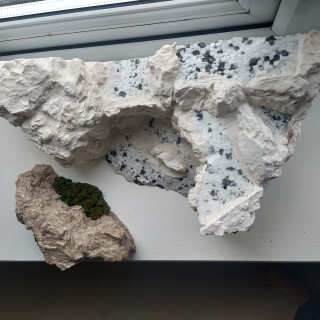
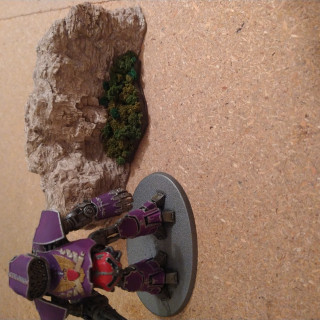
For this piece to build the “lake” when the main body of the rock was complete, I used another smaller casting to create a piece of seperated rock.
Both pieces were joined with a small ridge to try to stop there being any bending or warping in the chipboard base, and all was blended into the base the same way as all the other pieces made so far.
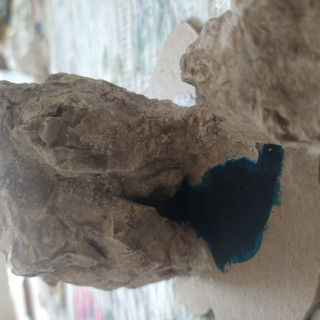
Once this was dry, the water base colour was added.
This was a mix of cheap black and blue acrylic paint. When this was dry a straight blue was painted onto the edge to make the area look a little shallower.
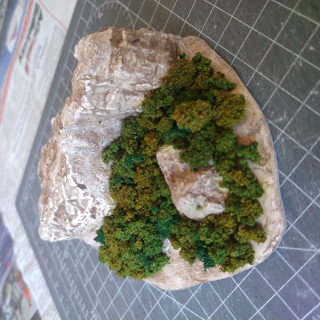
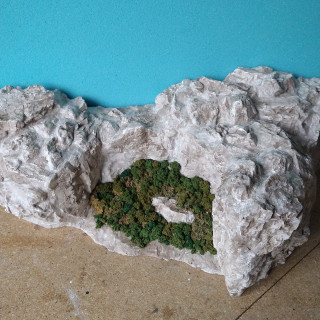
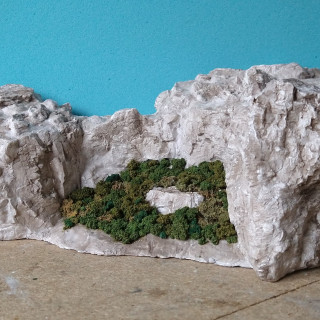
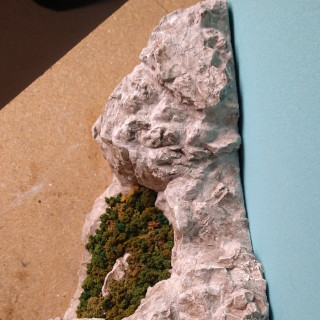
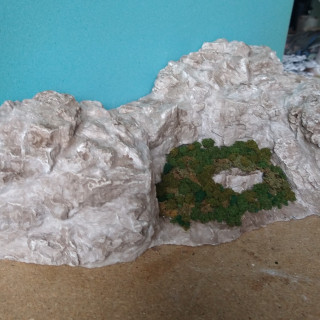
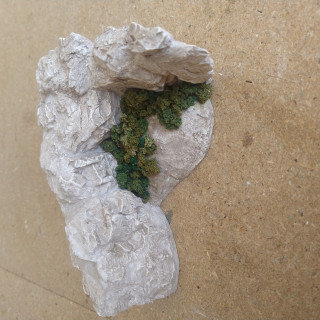
5th scatter piece
Who says a war can not be taking place somewhere nice?!?
For this piece, when it was being made I always had an idea in the back of my mind how this would go.
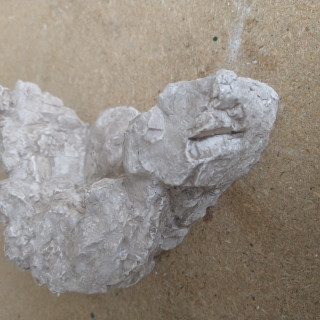
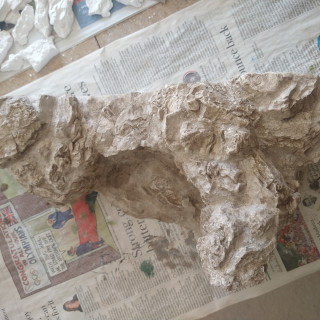
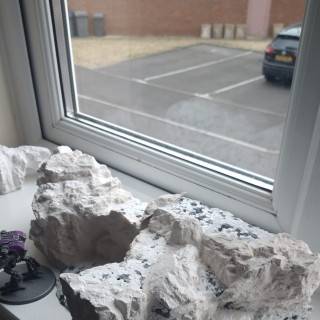
When hammering a rock casting down to size a piece broke of and when looking on how to place it, it looked like It could be turned into a cave into the rock face.
I also then though for something a bit different to turn the cave into a lake surranded by woodland.
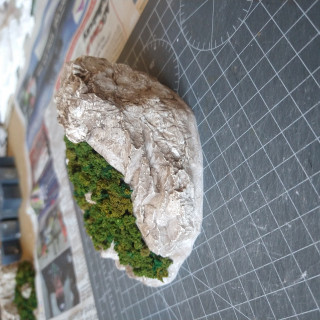
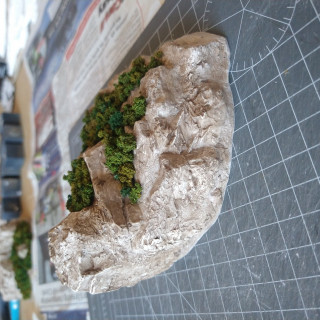
4th piece finished
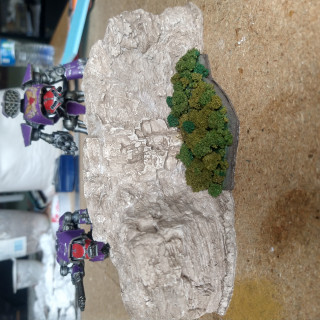
This was the first piece of woodland where I had angled down the edges of the styrofoam base.
I also made sure to add some small pieces of the clump foilage to the side to try and lower the canopy slighty.
Again – from gaming height, it all looks fine and passes the visual test. You really only start to notice the styrofoam base when you get right down to eye level – so I think this is a pass.
I have as a result, gone back to the first piece and added in a bit more foilage to the straight sides of the woodland to break up the square-ness of the lines.
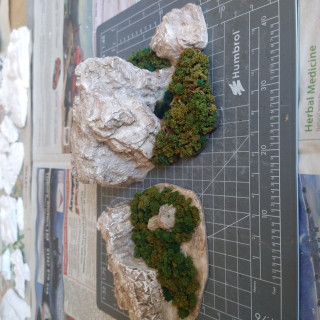
The smaller scatter pieces
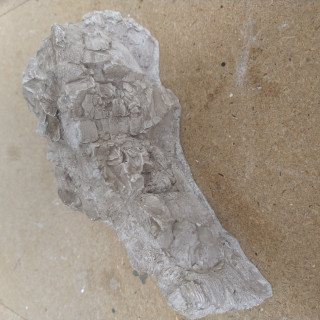
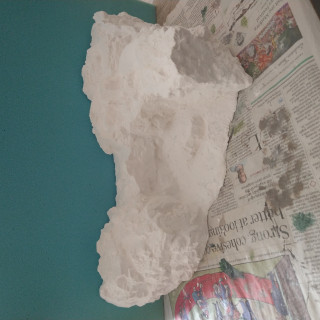
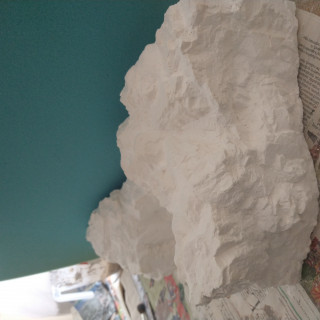
While the large table edge piece had been drying (and drying again after its wash) I have been slowly working through the other 4 small pieces that I had already put together but had left them in their “raw” white plaster state.
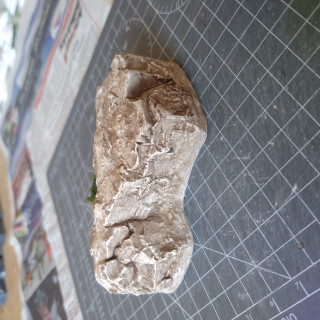
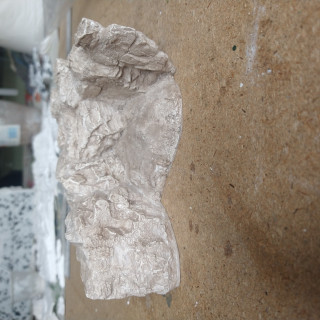
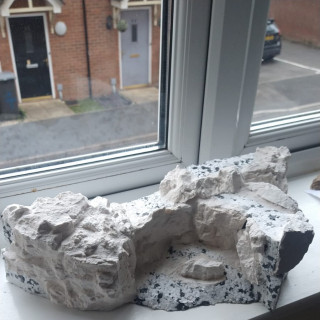
The second piece I decided to leave free from any forest theme so that it looks taller and isnt pulled down towards the ground with the other pieces with trees crawling up the sides of the rock faces. (or maybe laziness).
So this is being called “done”.
Table edge piece - painted
Table edge piece painted!
One its had a day or two to dry again then the slope will be “forested” to tie everything together along with the other smaller pieces.
Table Edge Piece
I did manage to complete the piece, and has been drying for several days up to this point.
It should be ready to take on the wash tomorrow (possibly) but has already lost about 1/2 its weight as it dries through.
This weeks Progress
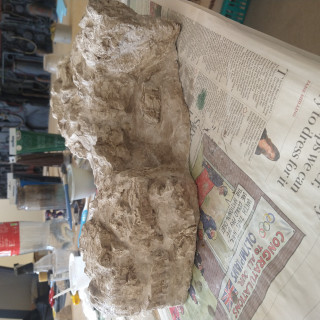
Most of this week has been spent working on the big table edge piece.
Its taken quite alot of time as I tend to mix my plaster with a higher water content, which while making the final piece alot lighter, does increase drying time quite significantly, both for the castings and also when you attach them to the piece (they reabsorb water and have to dry through again).
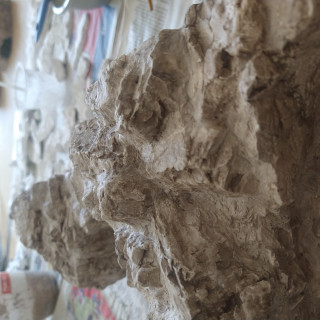
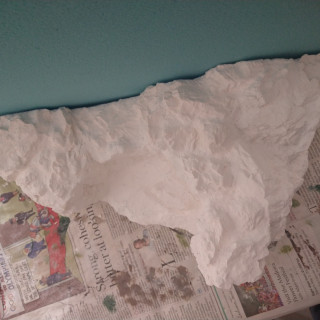
Below are some in progress shots
A Distraction
It didnt take long!
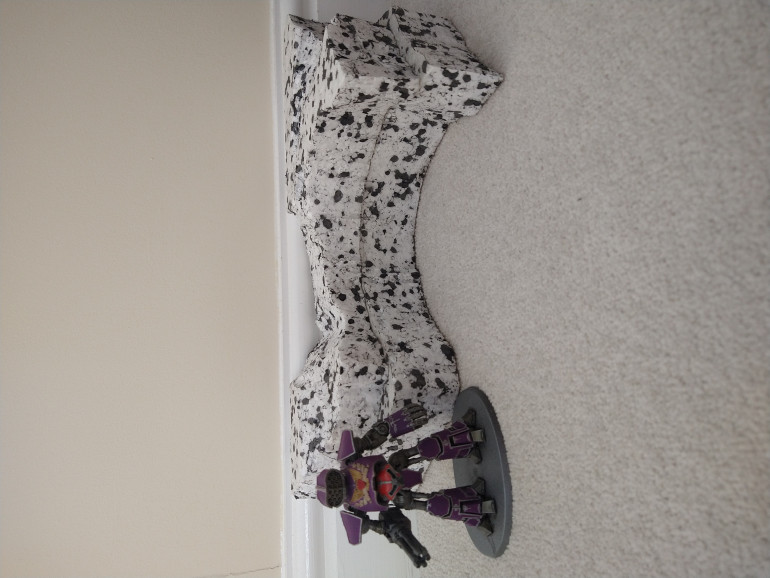
If you saw/followed my previous project – a Necromunda build, I built a huge wall to line the edge of my gaming area to add some atmosphere to the table and to really bed the terrain down.
And well …. not as grand (but far more time consuming) ….. but ……… a hint of whats coming …..
Scale
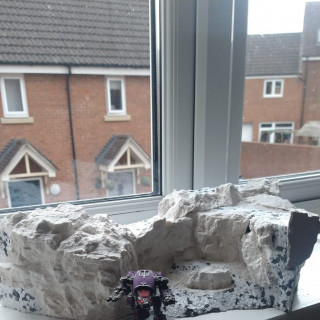
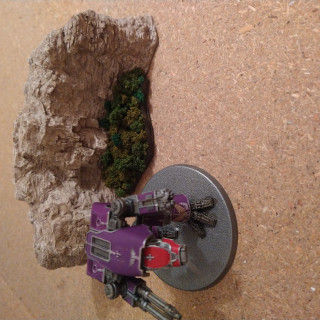
And to give an idea of scale, The first piece with a warhound and Reaver Titan.
Initial learnings to take forward ...
So, after this first piece has been completed, the only bit im not 100% happy with is the harshness of the edge of the forest.
Its too straight. From ground level it doesnt look right, but its fine from a gaming position.
For the next pieces, the edges will be sloped downwards. Ill loose a little bit of height on the foilage, but think overall it will give a much better look and feel as more will be hidden by the foilage.


