Necromunda – Nerfing my way Back into the UnderHive
Recommendations: 573
About the Project
My first project that Im posting - detailing my terrain build and journey back into Necromunda.
Related Game: Necromunda
Related Company: Games Workshop
Related Genre: Fantasy
Related Contest: Spring Clean Hobby Challenge 2023
This Project is Active
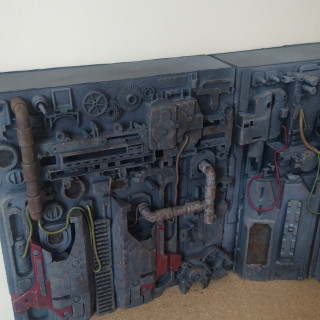
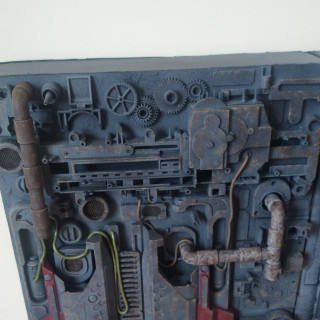
Final Piece of the wall completed
Been quiet for a few weeks, preparing for heading away for work for a short period of time as well as getting distracted by painting up some Moonstone figures Ive had sitting around for a while.
But Before I left, I managed to get the final piece of the wall painted up.
Thoughts so far .....
And were up to date!
- Next steps will be to finish weather the pieces that a base coated (2 towers and the final wall section)
At some point may go back through them all and add more weathering but for now I think were good.
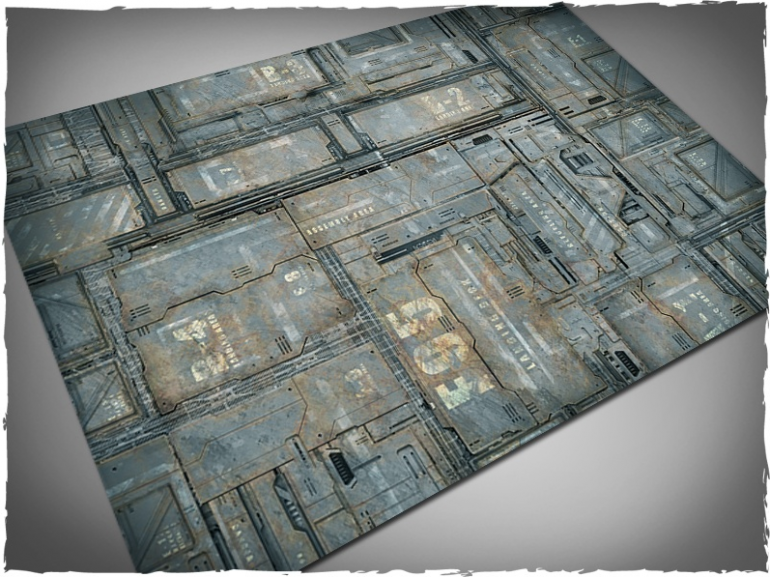
- I also need to start looking at a gaming mat.
I think I like DeepCut Studios Space Hulk Mat – Its grey, looks dirty and doesnt feel like its at ground floor level. Id have to see how bright it is, but a brown wash would dirty it up and tone it down if its too bright.
- I need a few more pieces of scatter terrain to pack out the battlefield which I think I have the pieces left that I need to do this.
- More towers ….. I think at least a couple more are needed …. just need to find some suitable donors.
Scatter
And now for the first few pieces of scatter terrain ….
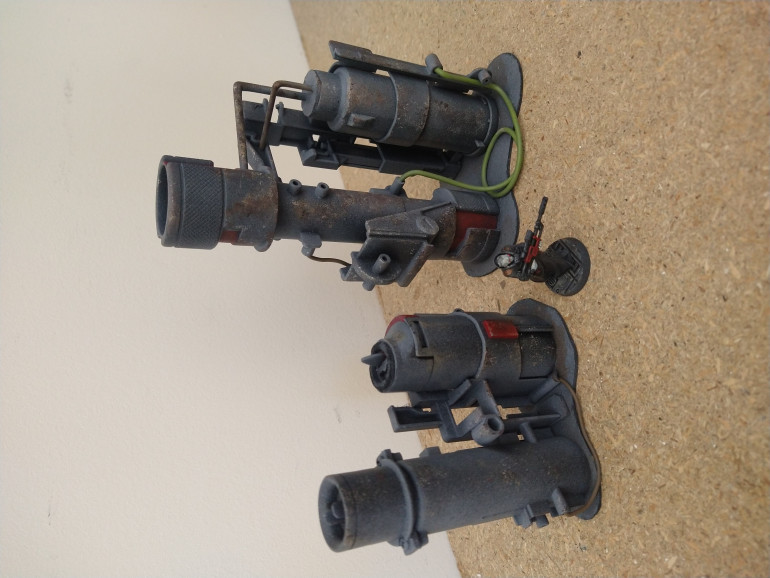
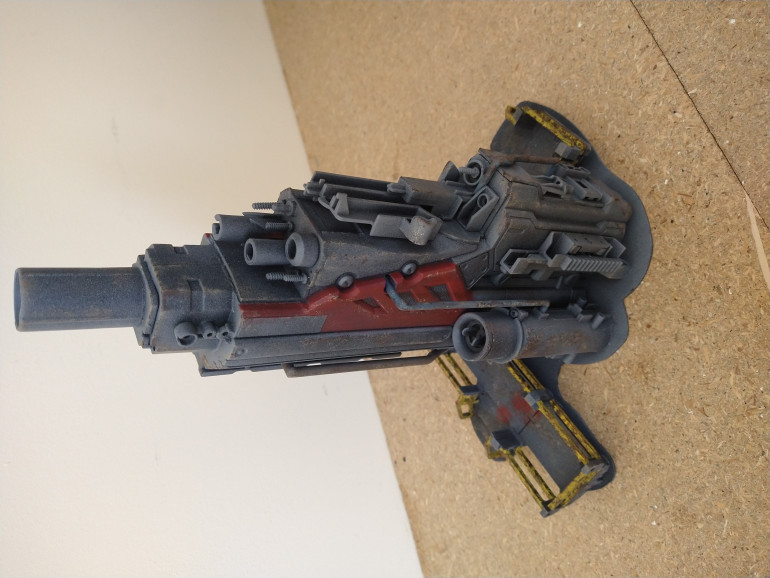
All made from internal Nerf Gun parts and a little bit of pipe bending and cables being added.
**DISCLAIMER**
If you have made it this far ….. well done! really well done!
We are nearly up to date …..
A problem Identified
Nothing major than cant be gamed around, but …..
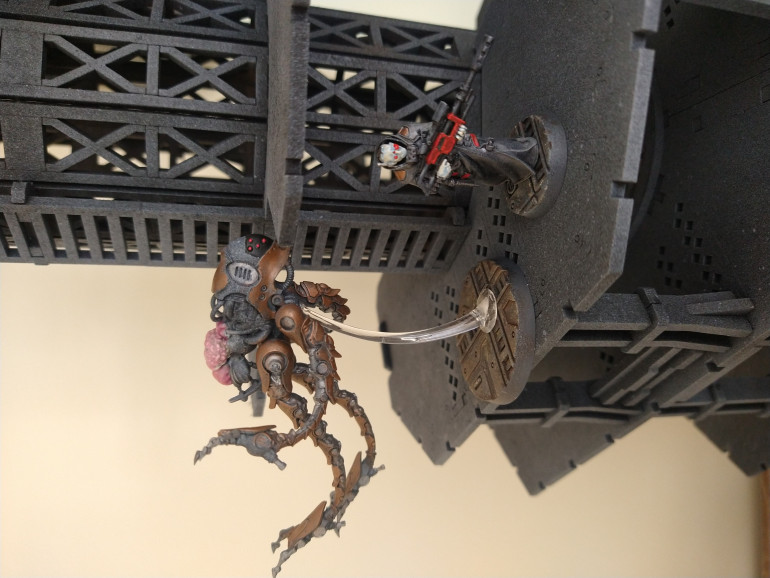
The walkways from MAD gaming are a little narrow for the larger figure bases!
ANNNNNND …….
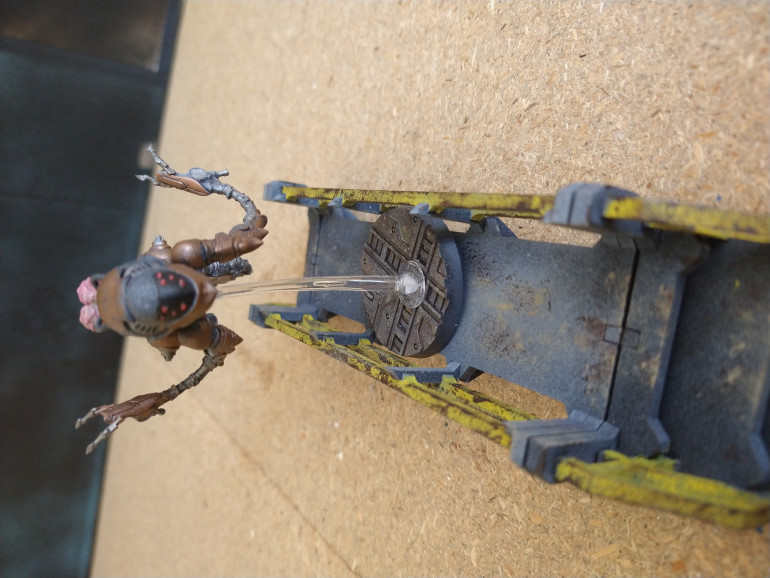
From the TTCombat Cloud Burster model …. the half height floors at 6cms high ….. are too low for flying gribbys!
But its nothing that cant be gamed around in a fairly easy way.
Walkways and Stairs
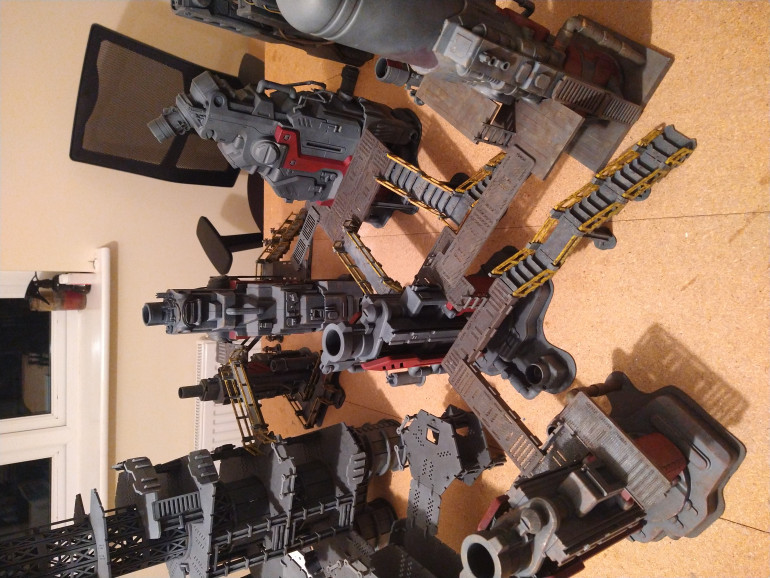
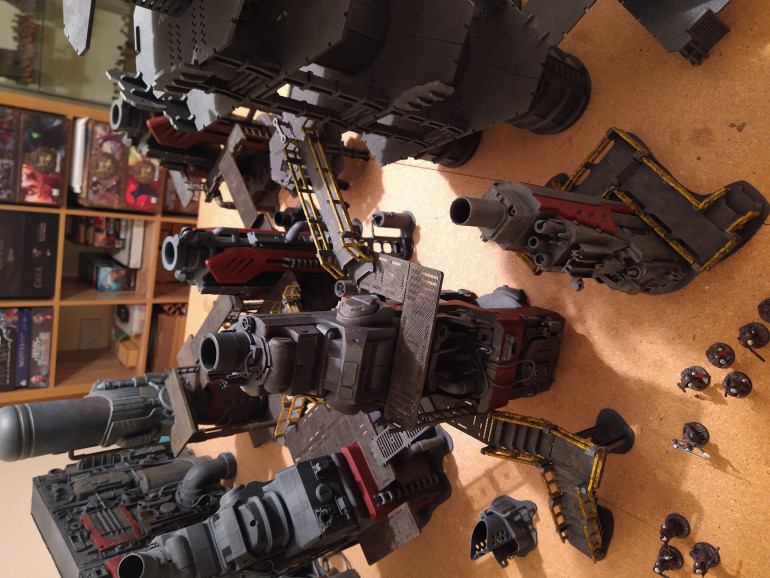
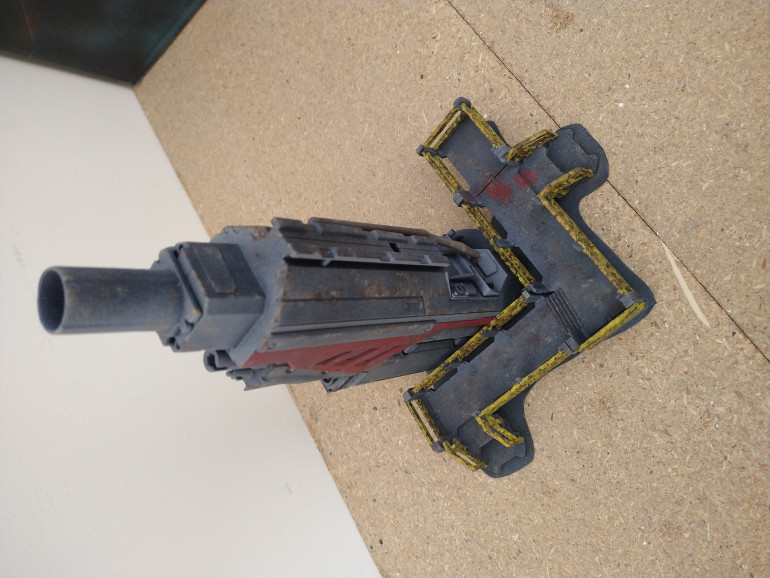
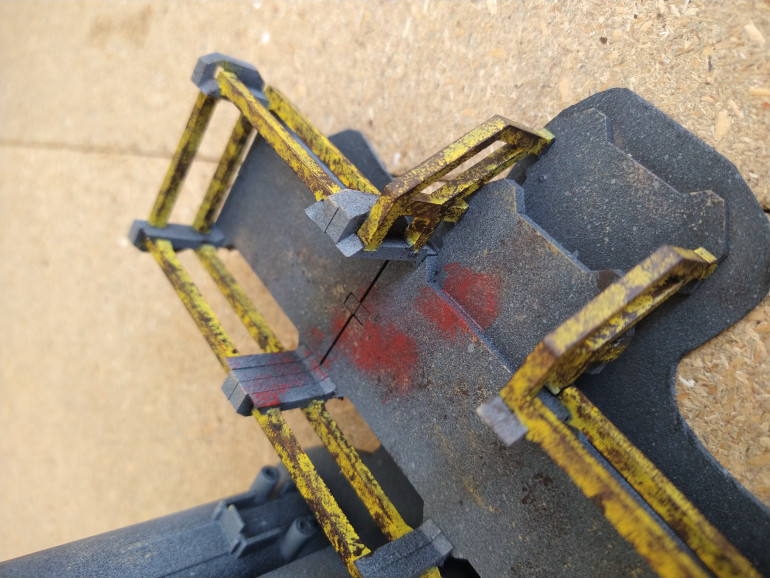
Built some additional walkways in the same style as those used on the towers, and also used some walkways with railings from a set from MAD Gaming (Orinigally I had ordered some of their kits but to cover a 4ft board would have gotten out of control from a cost point of view – while the models are pretty cool and customisable, decided they ultimately didnt quite do what I wanted them to do) – these were magnetised so can create different lengths if needed.
I also then built up some flights of stairs (not everything can be ladders) using MADs stairways kit.
The supports for the stairs were made from thin strips of chipboard cut 5mm wide and glued to make a “H” frame for support and to just give the impression of girders holding everything up…. also provides a little bit of cover/clutter to ground level.
3 different sets of stairs were made all with a different direction of travel for some variation.
Again, all painted in the same way as everything else up to this point with Yellow being the spot colour on the railings rather than red.
The Gang
The Gang was painted with a slight change ….
Black / Grey spray
2 coats of Nuln oil all over the model to darken it all down
Some Balthazar Gold on the body armour
and white with a blue wash for the skin
Some red on the guns to tie into the red spot colour i had used on the terrain.
Im not the best painter in the world, but think they came out alright.
Enter the Delaque
Inbetween the tower builds I slowly worked on the Delaque`s.
Everything was essentially painted in the same way as the terrain to be honest with just a few tweeks.
As they are the House of Shadow, I wanted them to blend in with the terrain.
The bases were painted the same way as the walkways – black / grey spray, a Brown wash, and then some weathering.
Some more photos of the other tower ....
Still needs to be weathered though
The next pair of towers
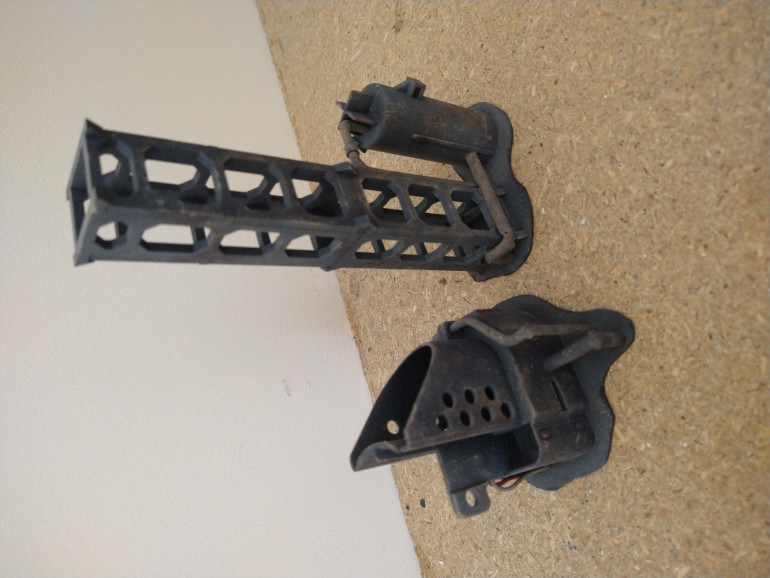
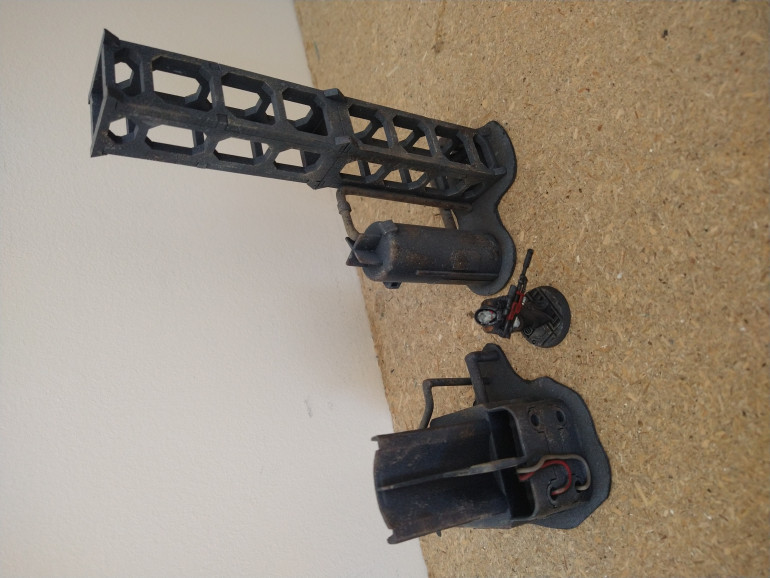
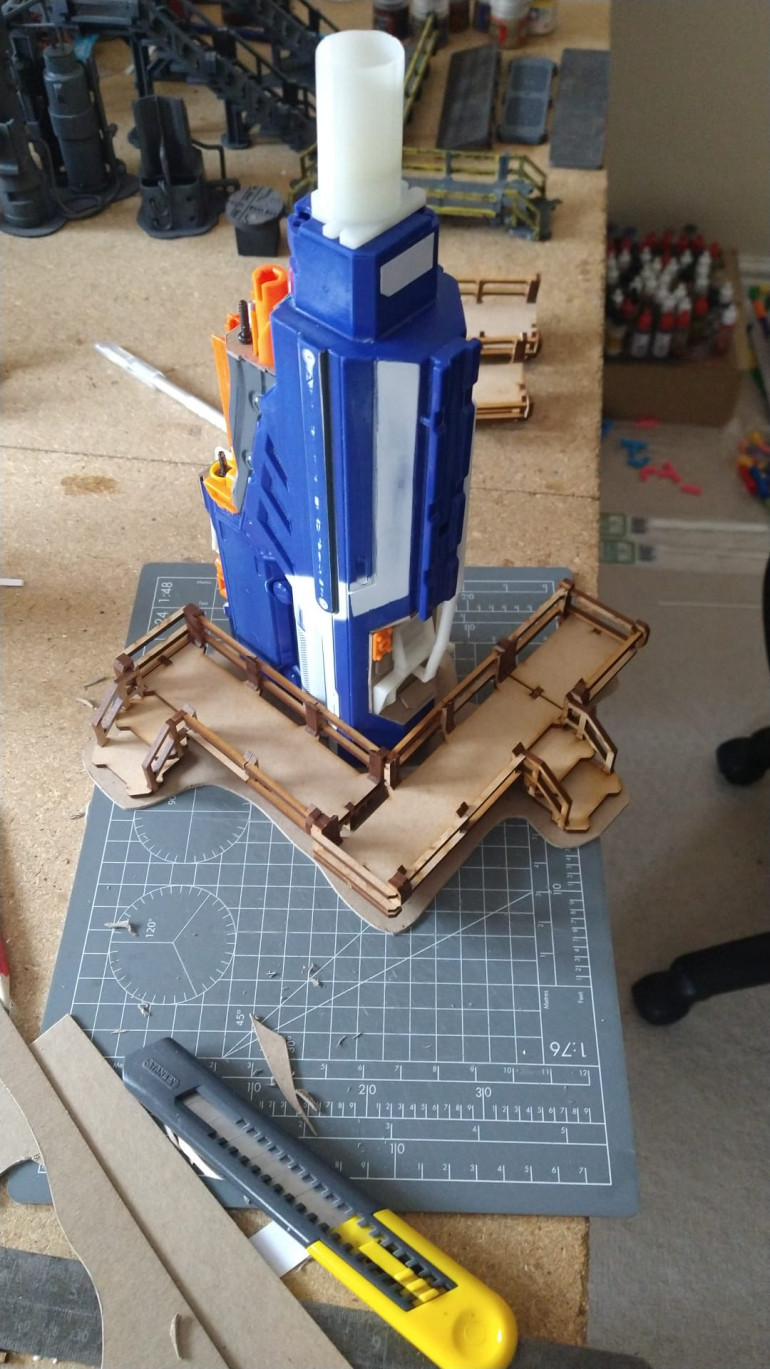
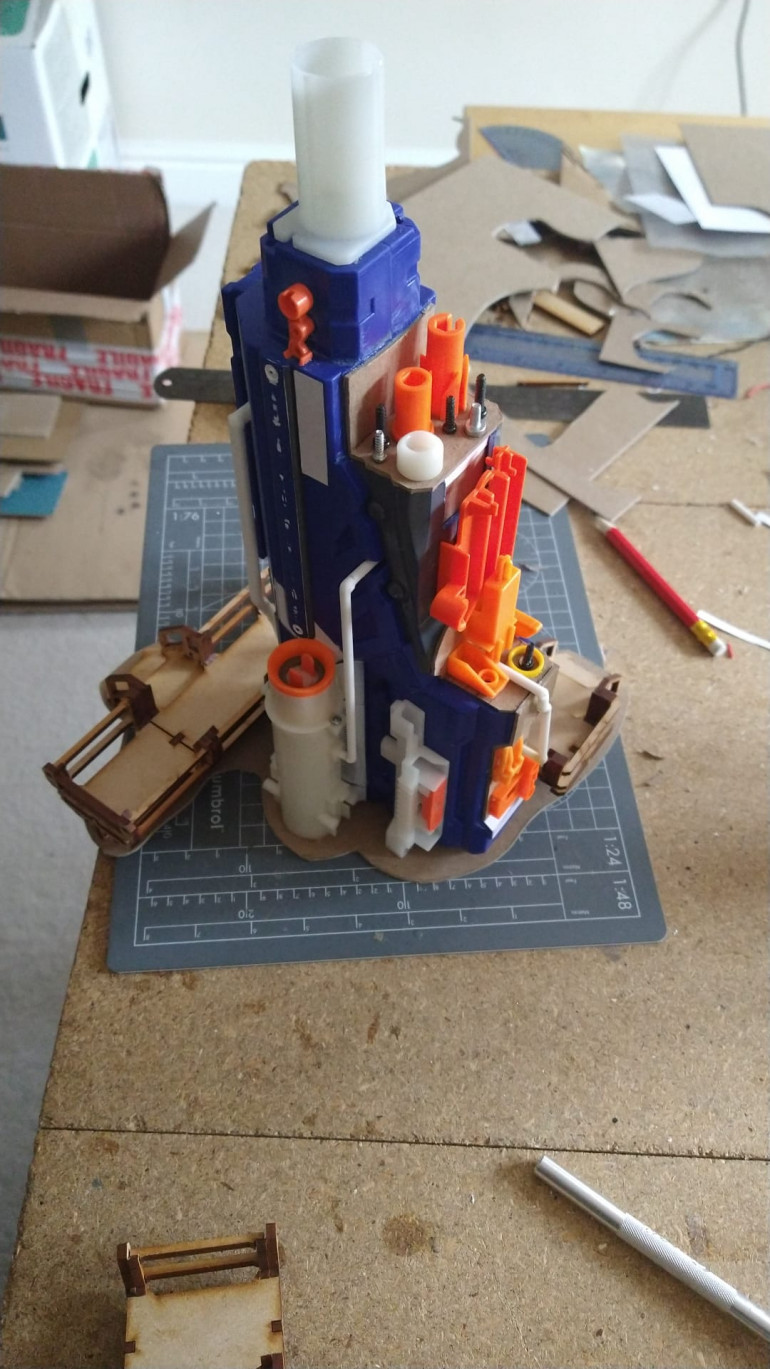
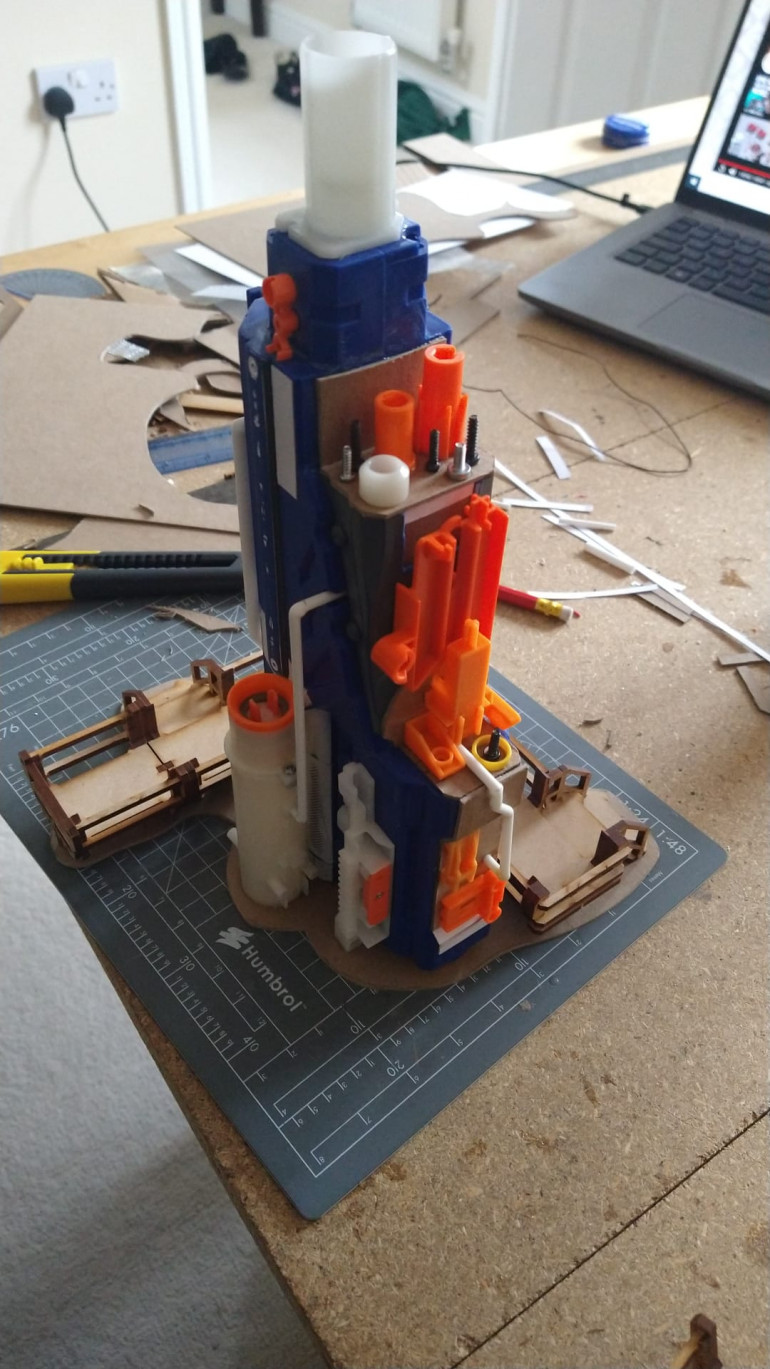
Next up was to use the other half of both the Havok Nerf Gun.
Again, for interest, they were built in slightly difference ways to make things more interesting.
The first one I didnt have the “ammo box” cover and so made some of the internal workings of the machine exposed.
One the other, I made a double wide walkway to give it a wider footprint.
The walkways were all at the 12cm height so it matched up to the TTCombat Cloud Buster piece.
For one of these towers to add some interest into one of the flatter facings, I did some of my own pipe bending by warming a platic tube over a flame and bending into position (be careful – it catches fire pretty quick if your not careful) … went ok, but not brillant, but I wasnt too worried about some deformation in the cirular-ness of it, as it made it look battered and dented and old.
The towers are just either side of 16 inches in height as each has a different cap at the top.
Construction shots
Here are some photos of the tower being built and pre-painting……
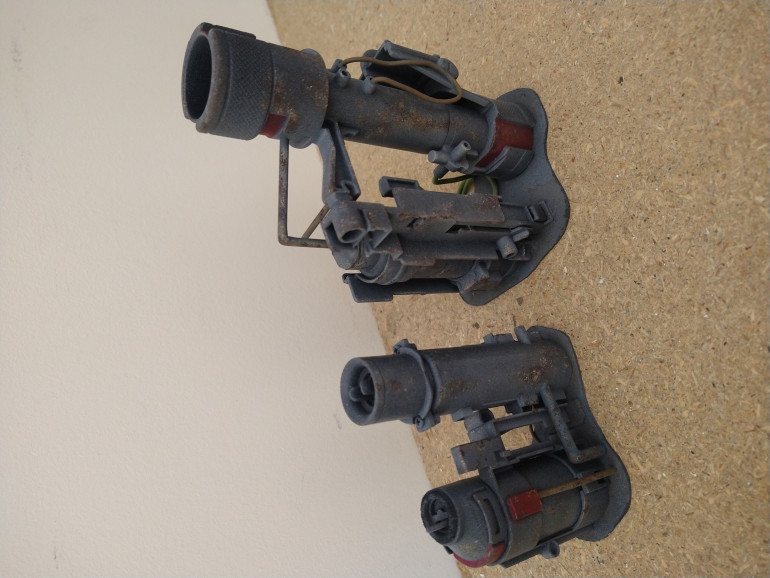
Whats better than an EBF-25 reactor ......
TWO EBF-25 Reactors!!!
I managed to find another Nerf Havok EBF-25 gun cheap on Ebay and liked the appearance and feel of the first one so took the plunge.
Again the gun was cut in half, and built in a slightly different way so they are not 100% identical to add to the hap-hazard nature I imagine the HIVE being built.
No changes to the paint method. The 2nd tower still needs to have the weathering applied … but side by side gives a good Idea of the before and after shots.
Next Steps and Ideas for the wall
Now Ive still not decided, but they are rattling around in my mind as potential next steps further down the road …..
I may look to add a walkways winding its way along the full length of the wall so that it has the opportunity to become a bit more interactive with the game, rather than just themeatic.
Also …. If i decide im crazy enough, I may look to build another 4ft section of wall to sit opposite what Ive already made ….. this time being the doorway out into the Ash Wastes!
I have the parts from a shoulder stock from one of the Nerf Guns that would make the frame of the door and its big enough to get a LandRaider through it. I would need to find some more donor parts first though to be able to pack out the wall to add the detail.
If I do make additional pieces, I may also look to cut some recesses into the frame so I can have pipes running behind the detail in the foreground to add even more depth to the pieces
All just ideas for now …. but were have to wait and see.
The final wall section ..... for now
This is where I jump alittle out of chronilogical sequence but thought Id show the final piece of the wall (which was build over the last week)
Its had the first two layers of paint – so now needs to spot colour and rusting added.