Star wars legion: Camper Van spring cleaning challenge 2023
Recommendations: 233
About the Project
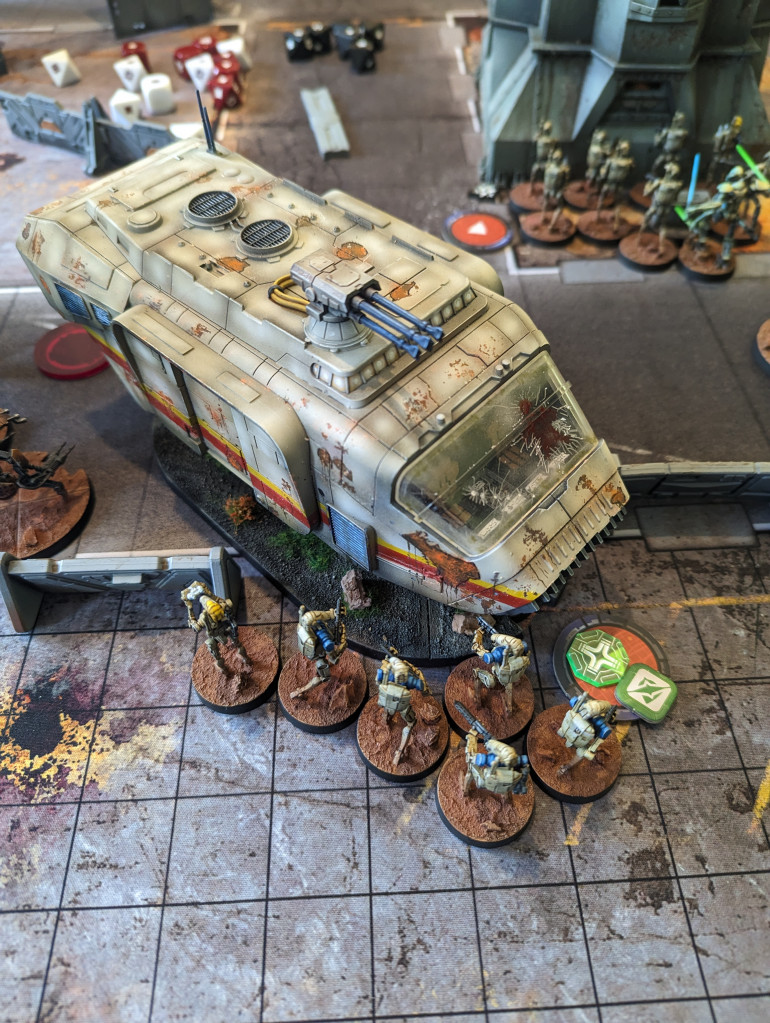
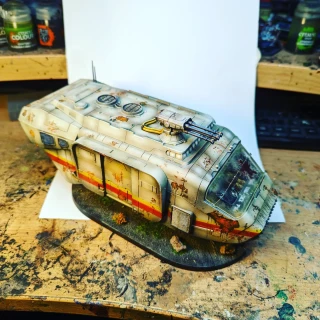
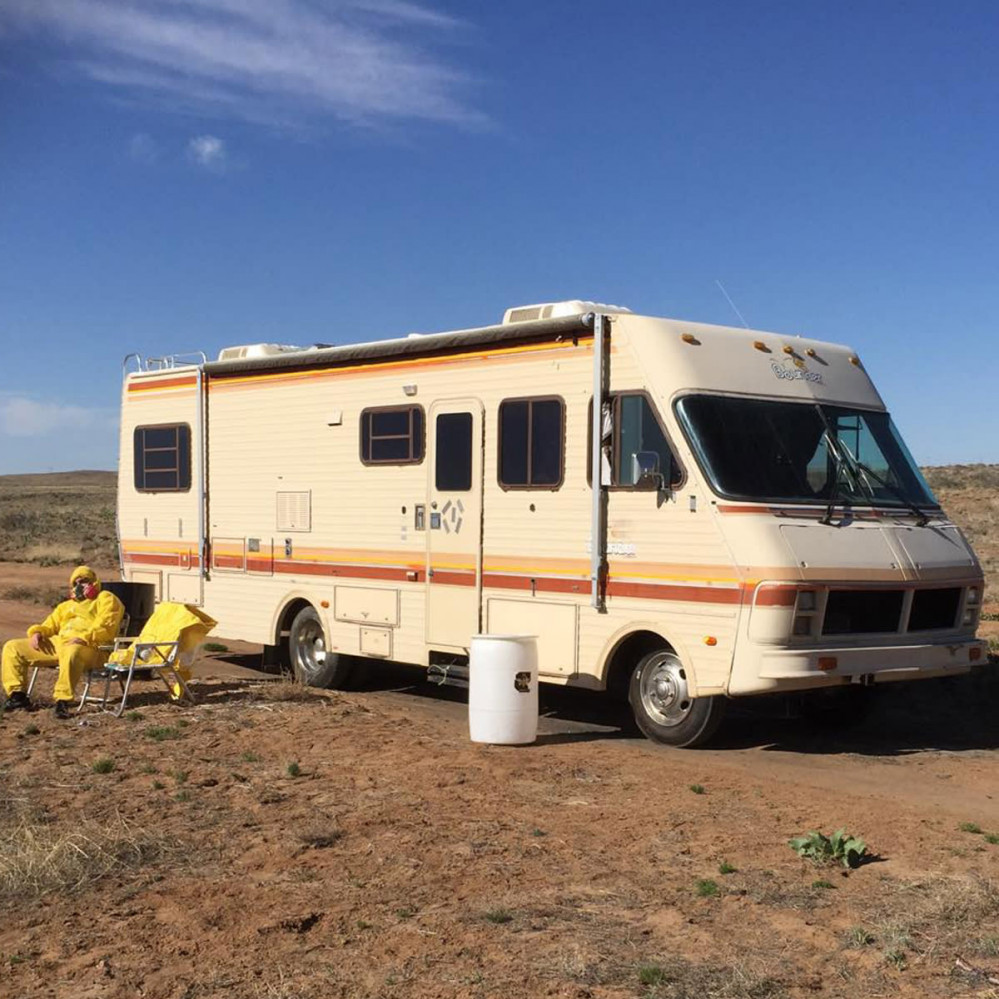
So I pre ordered the A-A5 'speeder truck' and it arrived at some point in the distant past. The pandemic meant I stopped playing star wars legion but I'm starting to play Again and I'm inspired to finally build and paint it up! Let's see how it goes..... I'll be basing my van on the one used to cook crystal meth in breaking bad by the way...
Related Game: Star Wars: Legion
Related Genre: Science Fiction
This Project is Active
Test drive
If course I required it with a reckless driver so I could drive over droids.
Here is the first and second time I ran over squads.
First time 8 white dice, zero casualties.
Second time 4 white dice, zero casualties.
…………
No fun at all
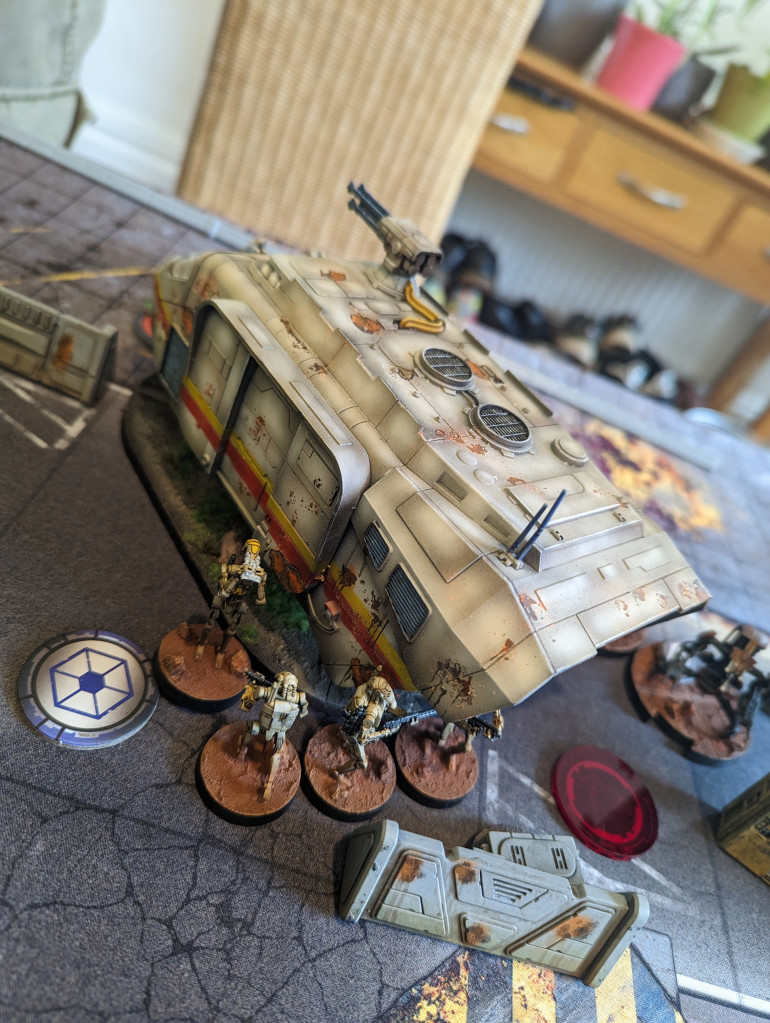
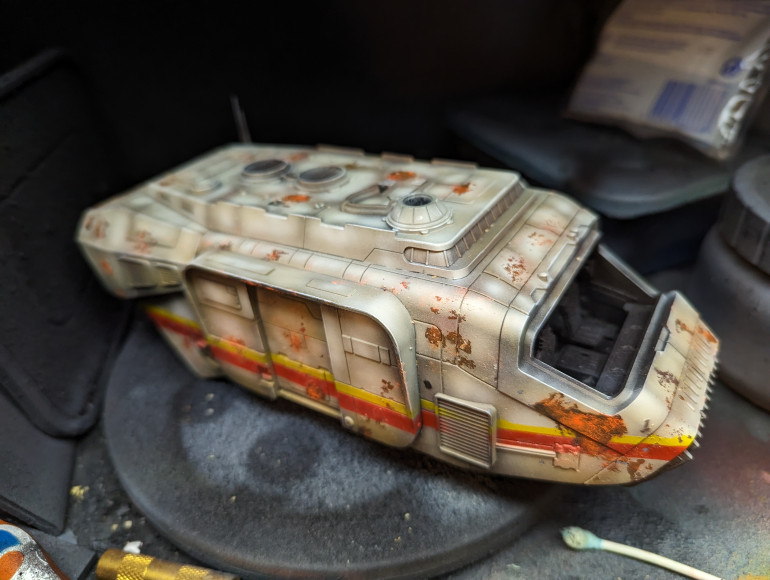
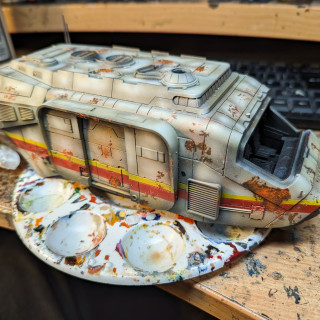
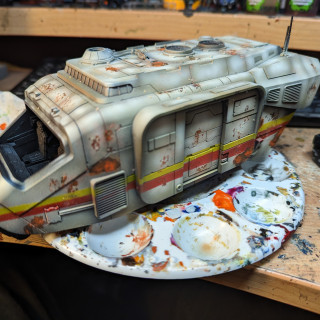
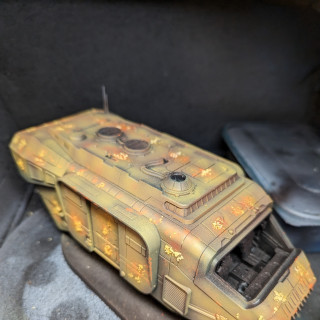
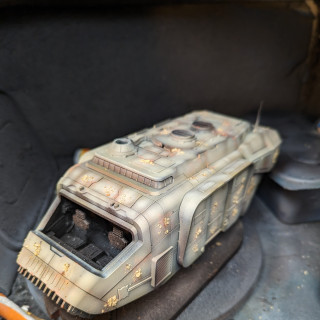
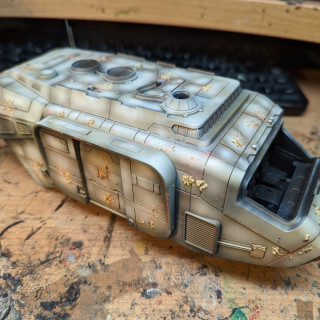
Finished :)
All done. Now to take it on a test drive!
Walter White
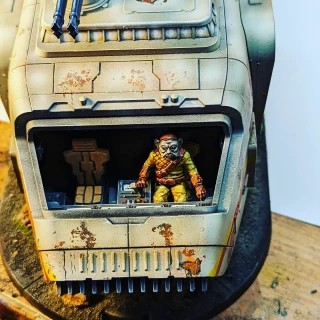
It would have been stupid if me to paint the driver in anything other than a yellow hazmat suit.
It would have also been stupid of me to spend too much time on him as you can now hardly see him through the windscreen.
For the yellow I did a base of Averland sunset, sepia wash, flat yellow then flat yellow with ivory highlights.
For the belt gloves and boots I did a base of red leather, strong tone wash then gradually added ivory to the red leather to highlight.
Face was rakarth flesh, strong tone wash the back with the base colour and hilighted with added ivory
Black eyes and white spot for light reflection.
Ready to hit the road!
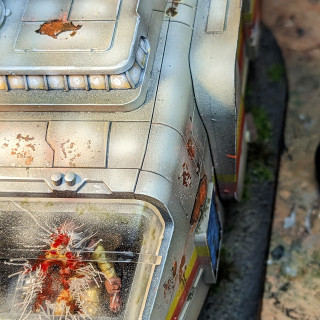
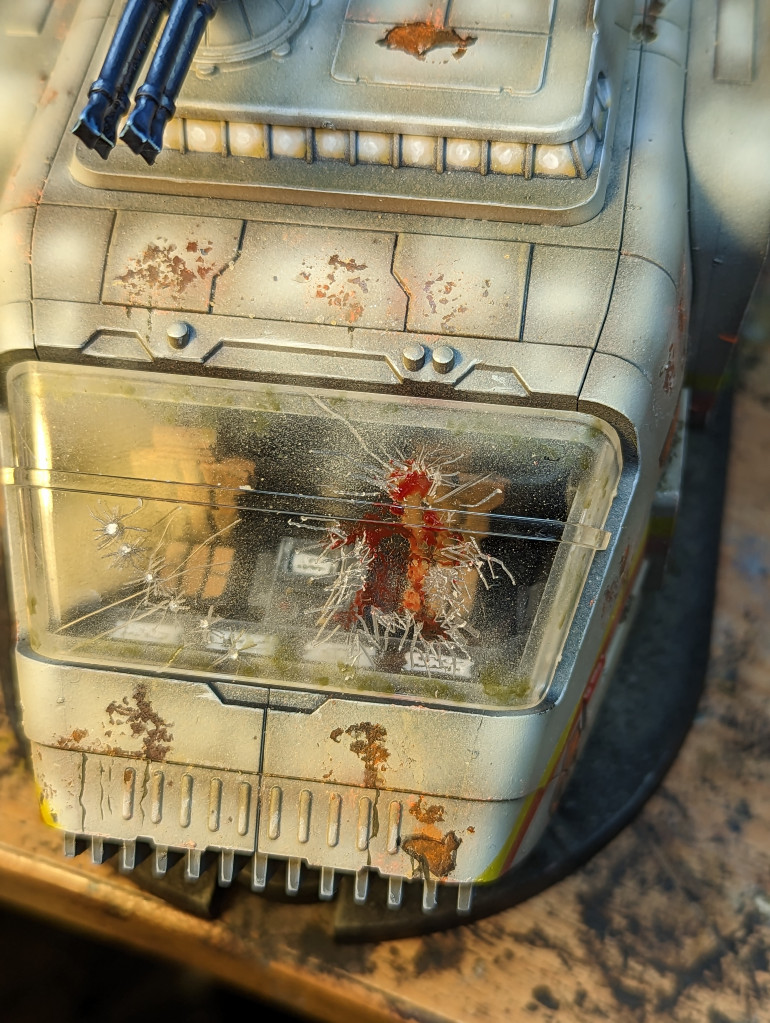
There has been a terrible accident
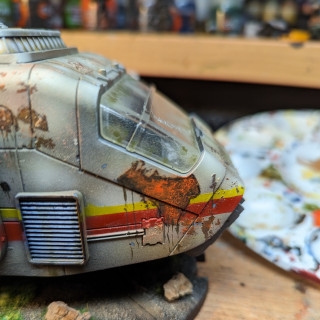
So an Ewok fell out of a tree. It was definitely an act of aggression. Not had time to clean him off properly yet. The van will wear this war wound with pride!
Finishing touches
With all main areas complete I took care of the details.
Firstly I painted the cables with Averland sunset, have them a sepia wash and highlighted with flat yellow.
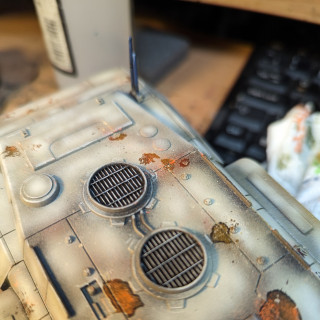
For the front grill and top grills I simply edge highlighted the black/grey with white grey
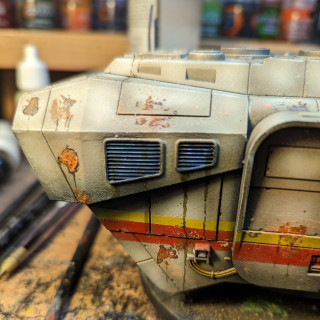
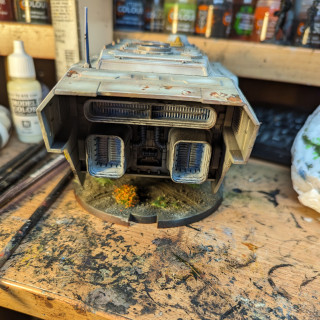
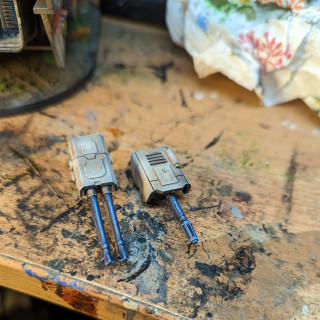
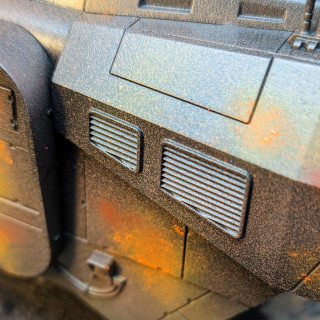
For the engines, I airbrushed the innards white then dry brushed black on the raised grills and outer edges. Then a simple blue glaze on outer bits of white. For the metal on the side grills and fun barrels I used a base of ‘the fang’ inked with dark tone then gradually highlighted up blending the fang’ with sky blue to create a rugged NMM effect.
Ok the grills I then used more streaking grime to represent the whatever oily residue oozes out as a by product of their crystal meth production (it all goes to fund the rebel war effort against the Space Tories to I’m all for it!)
I wasnt entirely happy with the rust patches at this point so I added a very thin layer of black line around the larger ones to give them a bit more definition
Finally the base was just PVA and sand with air brushed flat earth then dry brush of Iraqi sand. I added some army painter Tufts and battlefield rocks as well as static grass. Most of this won’t be seen as it’s under the camper van, but I’ll always remember my grandma saying ‘don’t forget to wear underwear in case you get knocked over. I’m taking her advice.
Just the driver to do now!
Windscreen carnage
So with the main body done, it’s time to do the details. I started with the windows or were they headlights at the top of the van. I decided they were lights so I filled in each square with Averland sunset, put a shark circle of white in the middle of that then using the 0.15 needle, airbrushed white to blend over the top creating a lighting effect.
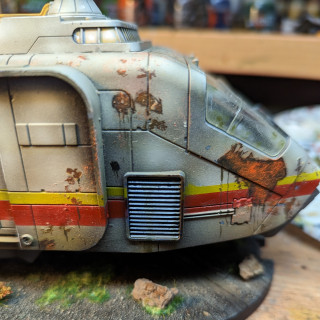
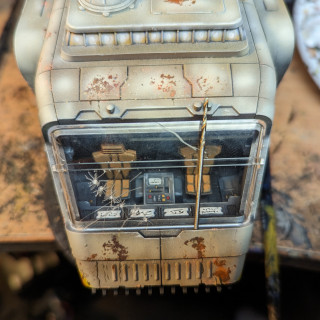
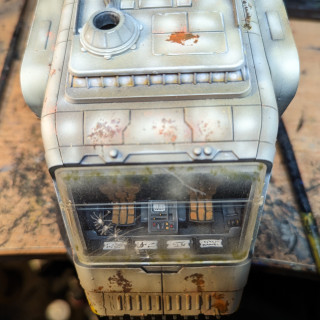
Next the windscreen. I wanted it to be scratched, shot up and dirty to fit with the rest of the van. So taking a small drill bit I bored a series of bullet holes in the passenger side, using the same but I created impact cracks as well as other cracks in various places, looks cool!
I then applied yellow sand via the airbrush at a low psi around the edges and finished off with a stippling of Streaking grime. Job done!
Bridge? Cockpit?
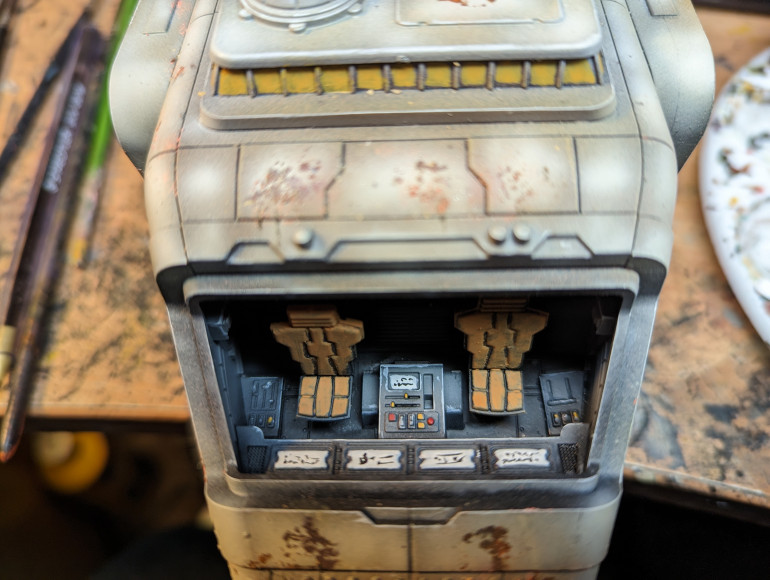
well, it’s the moment I’d been dreading. The cockpit.
Oh how I wish I’d done it pre assembly when it was open to the world, I dismissed it at the time. What an idiot.
Anyway it’s fiddly. I air brushed sea grey all over which have some natural definition. Edge hilighted with white grey all the bits then picked out a few buttons and sliders with red and yellow. I painted the monitor screens white and did some rudimentary display text and stuff (black squiggles, I can’t actually write in huttese or whatever)
Finally I painted the chairs in US field drab, I like to think they are leather. Luxury!
This was fairly quick and I didn’t bother with too much detail as you probably won’t even see 90 percent of it once the wind screen goes on :/
Streaking
I just remembered that I bought some Vallejo streaking grime.
If not now, then when?
Anyway to cut a long story short I used it to create the effect of rust dripping down.
Maybe I’m just trying to avoid doing the cockpit….
Edging
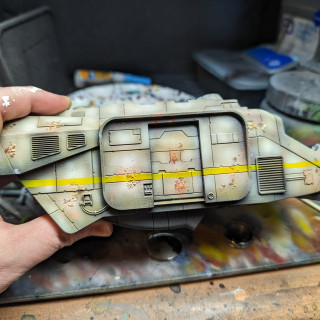
In added edge hilights using ivory to all the vehicle.
I did this fairly roughly as I didn’t want to make it too ‘clean’
It’s popping a bit more
I’m not looking forward to the cockpit. Maybe I’ll do that next to get it out of the way….
DisaStars and Stripes
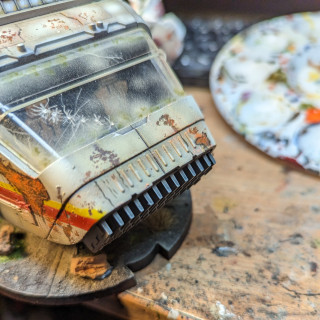
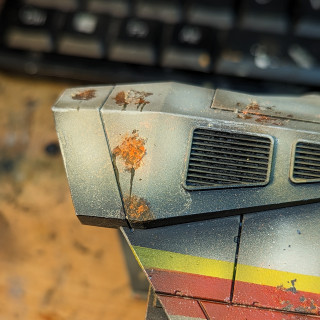
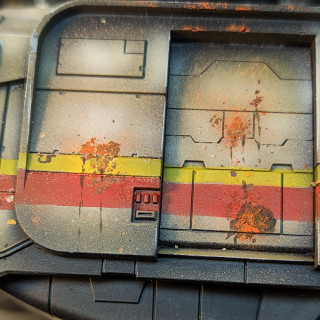
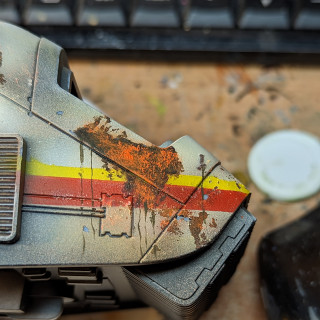
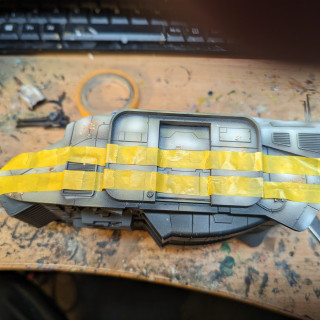
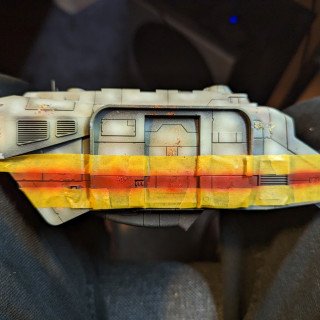
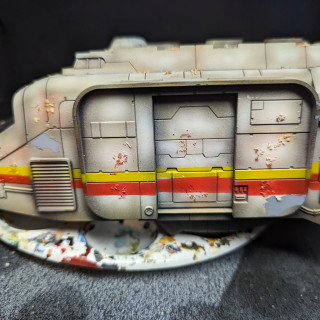
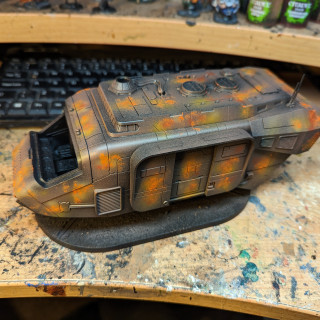
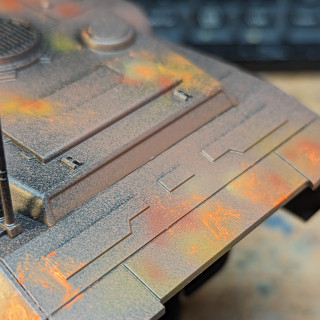
Well seeing as I’m basing my truck on the breaking bad camper van, I need to put the yellow and red go faster stripes on! I making taped then in turn and air brushed fire red and medium yellow. This looks great APART from the masking tape pulling off several sections of paintwork down to the plastic (see photos). I wanted to cry.
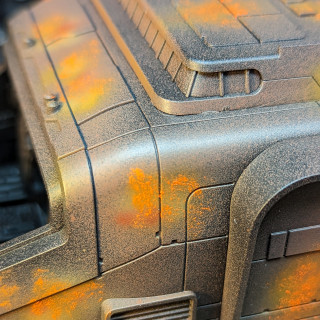
Anyway I decided to make these more ‘happy accidents’ and simply rebased with black via brush, then use some typhus corrosion and dry brushed Ryza rust to build up big rusted areas.
It’s not the end of the world as I wanted it to look as old and war ravaged as possible so in for a penny in for a pound!
I followed this up by using a small dry brush and water to scratch off the salt and chipping medium.
Hey presto it’s REALLY beaten up.
A hunk of junk, the land based millennium falcon……
Excellent
Panel Beating
Now I’ve got my base and chipping stuff down I need to build up my main colours on the panels.
For this I air brushed (infinity CR plus by the way, this stage I swapped from the 0.4 nozzle to the 0.2 for a bit more precision) the following on each panel, blending up from dark to light (all colours Vallejo air by the way):
Armour brown
Wood/ivory sand
Ivory sand
Ivory sand/ivory/white
Pleased with how it looks now, panels starting to pop!
Chipping away at Salt Bae
Well I did a full matt varnish to protect the under rust.
Next I applied (probably far too much) chipping medium. I’ve never used it before and panicked that I had no idea where I had put it, so when I spray over it, how do I know where to scratch away at??? Anyway I solved this by sprinkling salt in those areas. It’s what I’ve used before successfully and as it creates a bit of a texture I’ll know where to chip away. Looks disgusting
Getting dirty
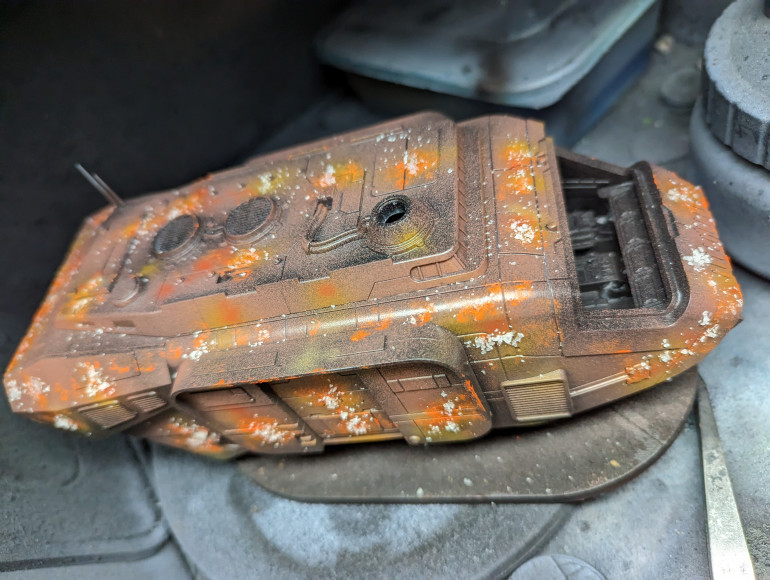
- So I’ve decided to heavily weather it, never really tried too much weathering before so looking forward to experimenting.
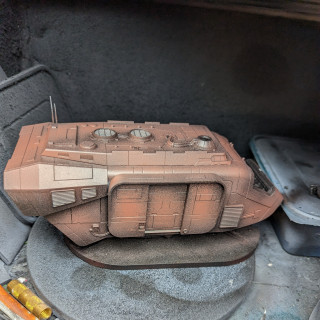
After a black undercoat (by the way this was a chore, no t sure if there was something in the plastic but it struggled to take in places, should have washed it!) I did a rudimentary later of Vallejo ‘rust’ my air brush was playing up so it did a load of splatter and wasn’t very smooth, but I don’t care, it may even be a ‘happy accident’ as wholesome afro sporting Bob Ross used to say!
After the initial brown I built up smaller areas with air brush mixing various red browns and oranges (red terracotta, armour brown, firey orange, a bit of yellow) then finally stippled some Ryza Rust on the most orange places.
This will serve as a base for the next stage and act as rust areas revealed through chipping medium after I add the main colours.
I actually think it looks pretty cool like this! Riddled with space STDs after several ‘adventures’…..
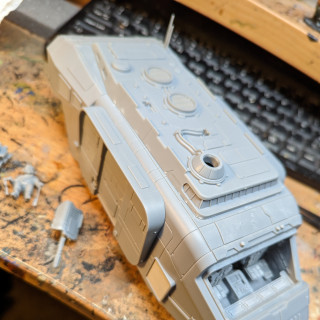
It's built
Well done fantasy flight games. Very easy to build and tesolated well.
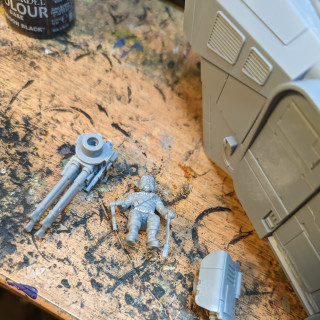
I thought about keeping it in separate peices to build, paint them separately and then assemble.
But then I got over it


