


![Very Cool! Make Your Own Star Wars: Legion Imperial Agent & Officer | Review [7 Days Early Access]](https://images.beastsofwar.com/2025/12/Star-Wars-Imperial-Agent-_-Officer-coverimage-V3-225-127.jpg)


Nemesis – Painting the Intruders and the Crew


Recommendations: 53
About the Project
Nemesis has been languishing, unopened, on my shelves for quite a while and I decide3d, on a whim, to paint the miniatures 9appreciating there are less than in your average Ameritrash game) and delve into the claustrophobic corridors of the ship.
Related Game: Nemesis (Board Game)
Related Company: Awaken Realms
Related Genre: Science Fiction
This Project is Active
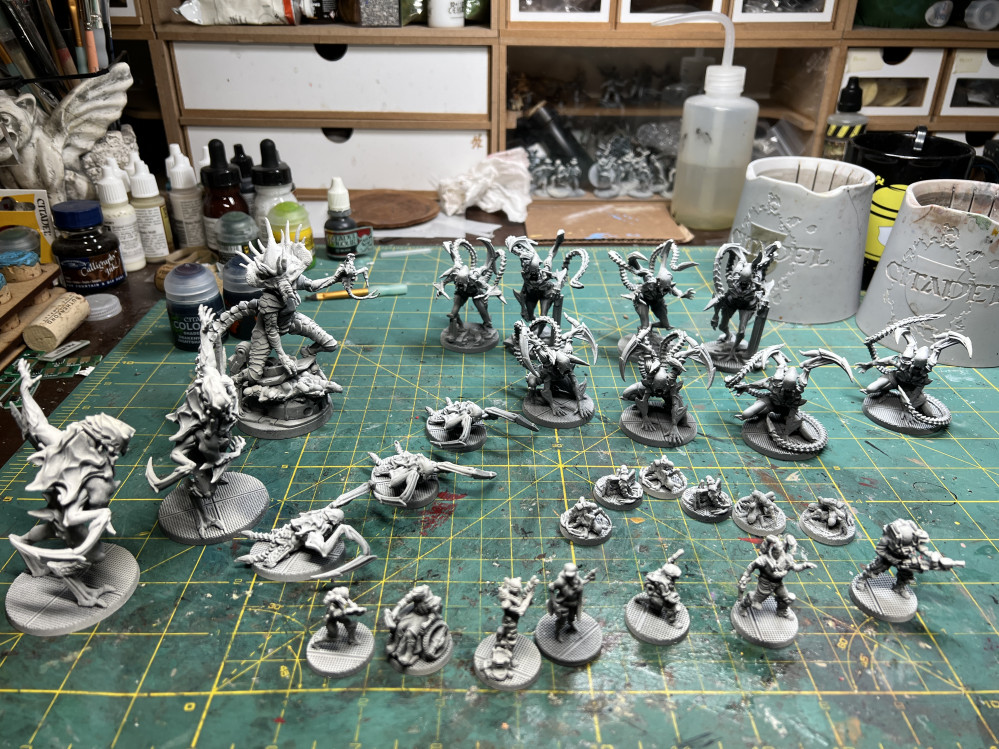
Nemesis Part 7 - The Crew
Intruders are ready to roam the ship and devour the crew, which means the doomed crew now has to be painted. I used a variety of paints for these (almost too) details miniatures and will not detail each one, rather presenting them to you before we jump into a battle report…
 The Captain
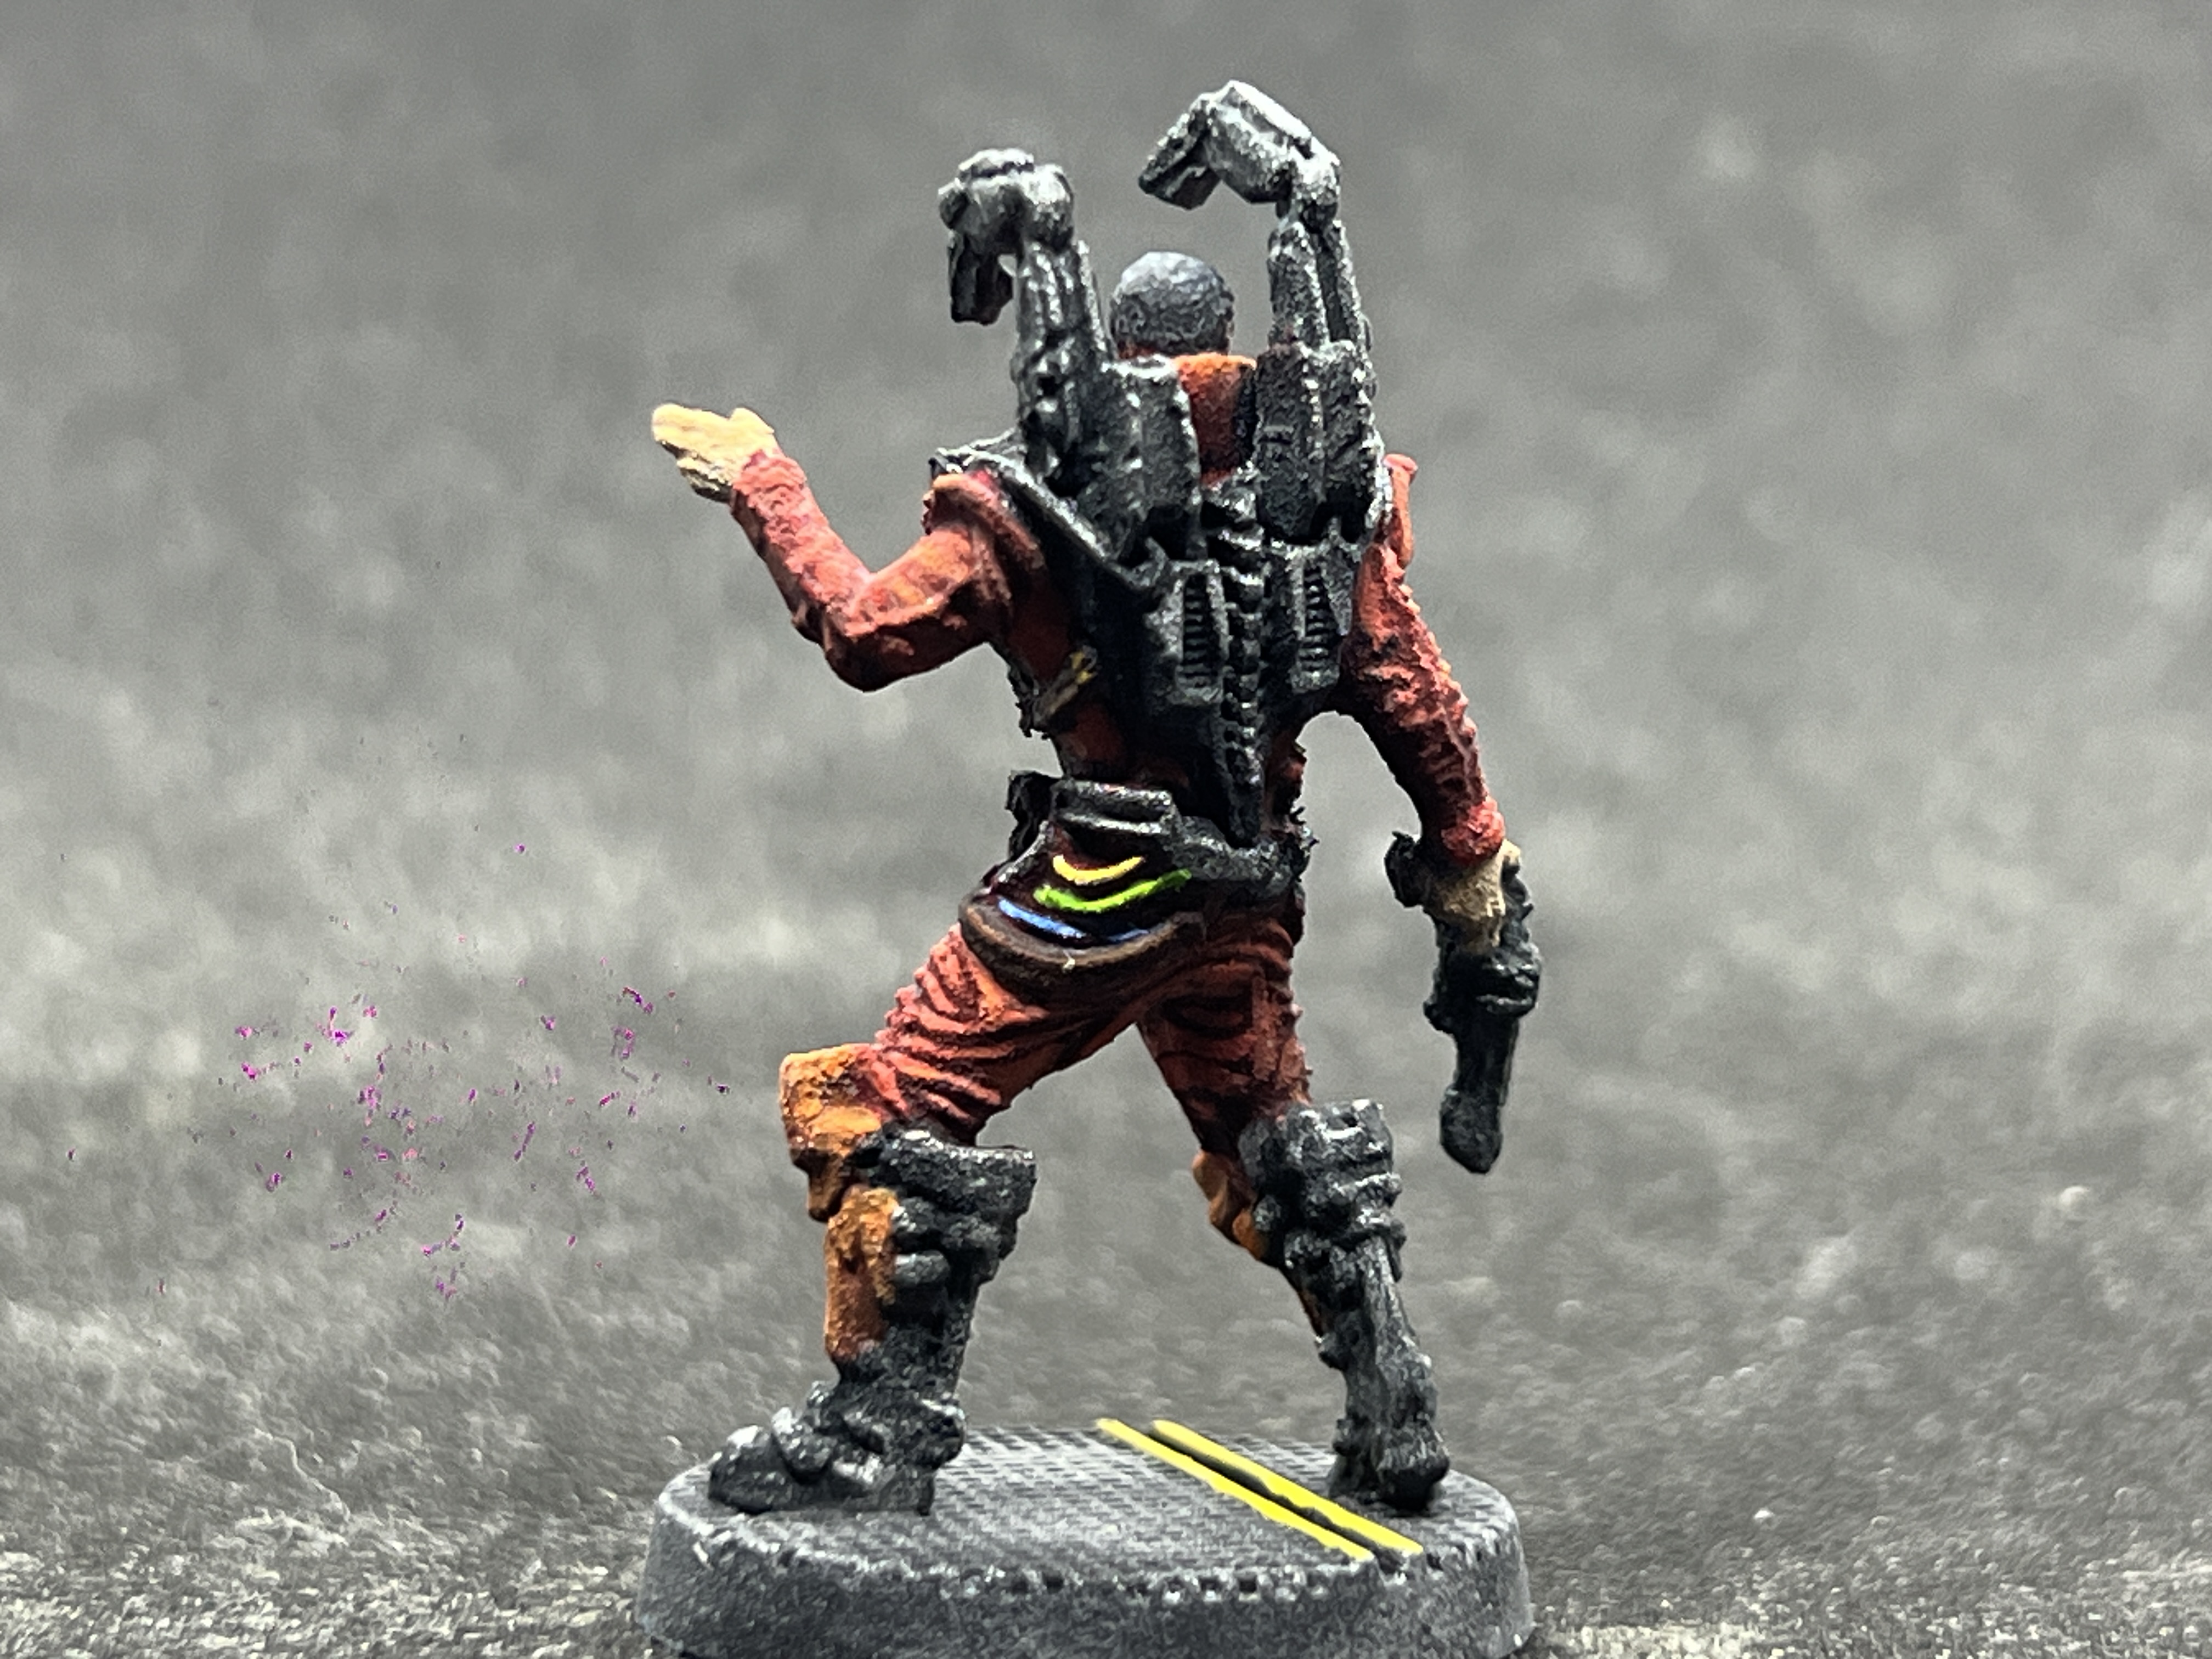
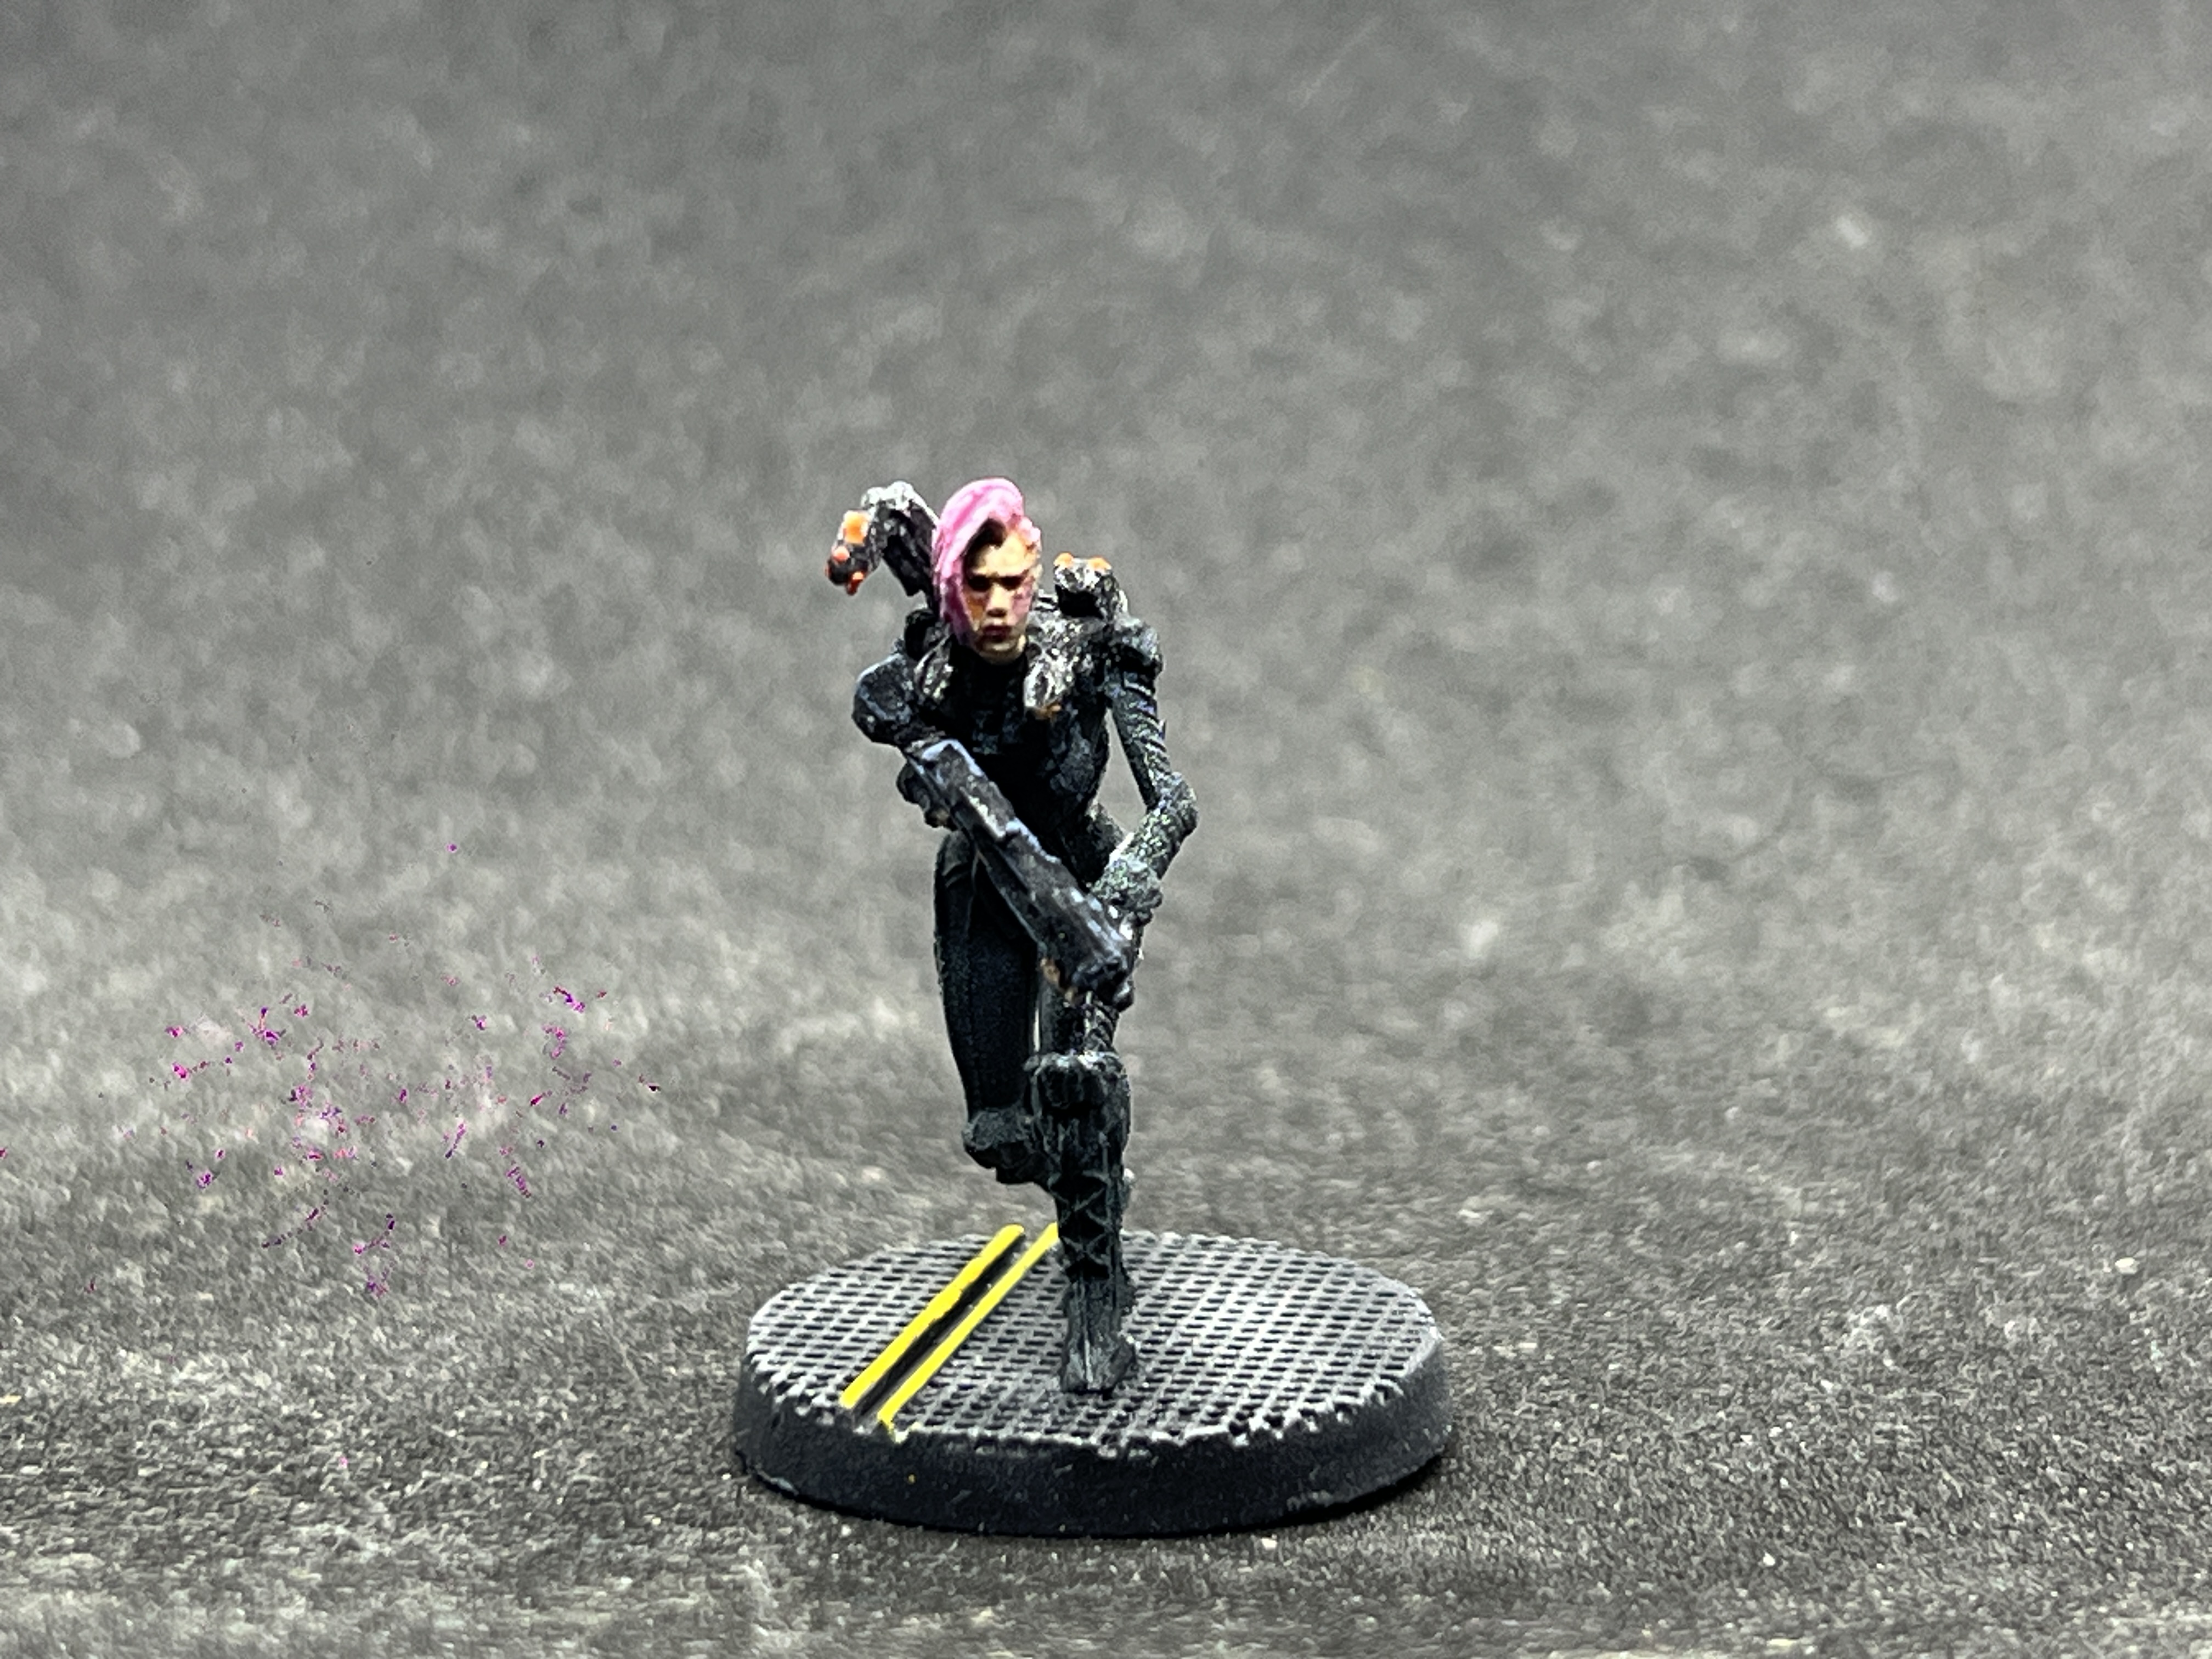 The Scout
 The Mechanic
 The scientist
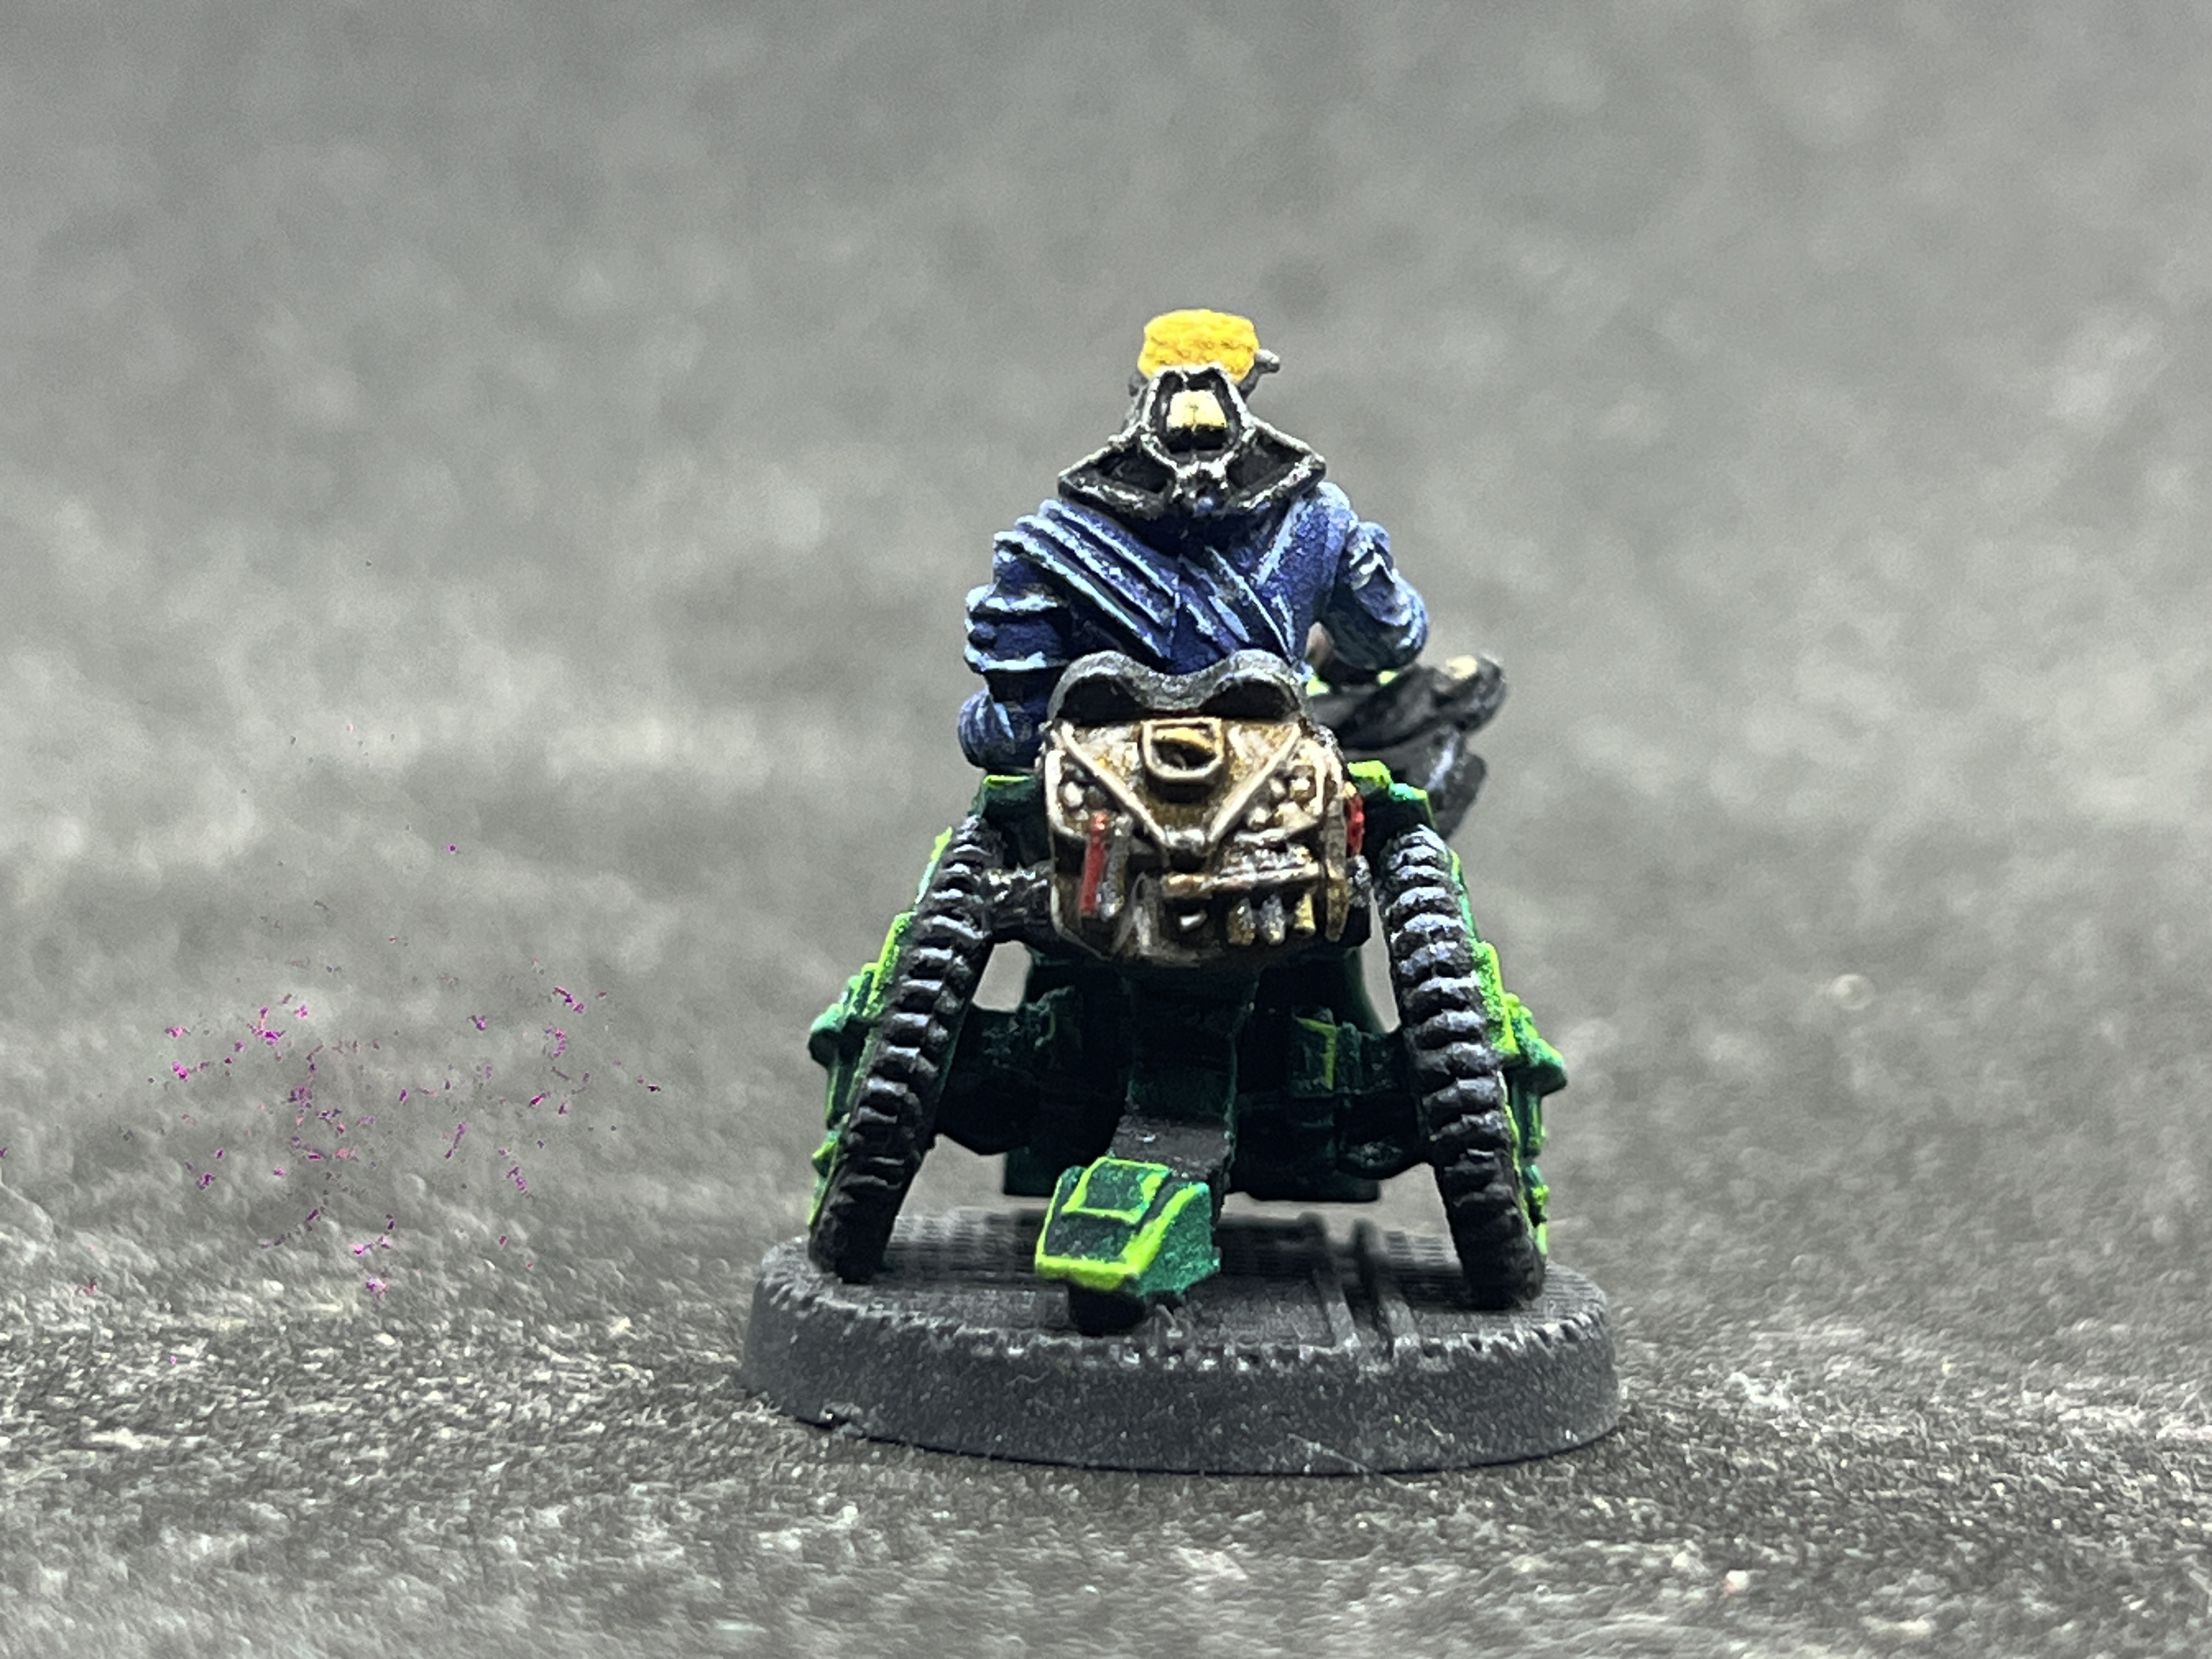
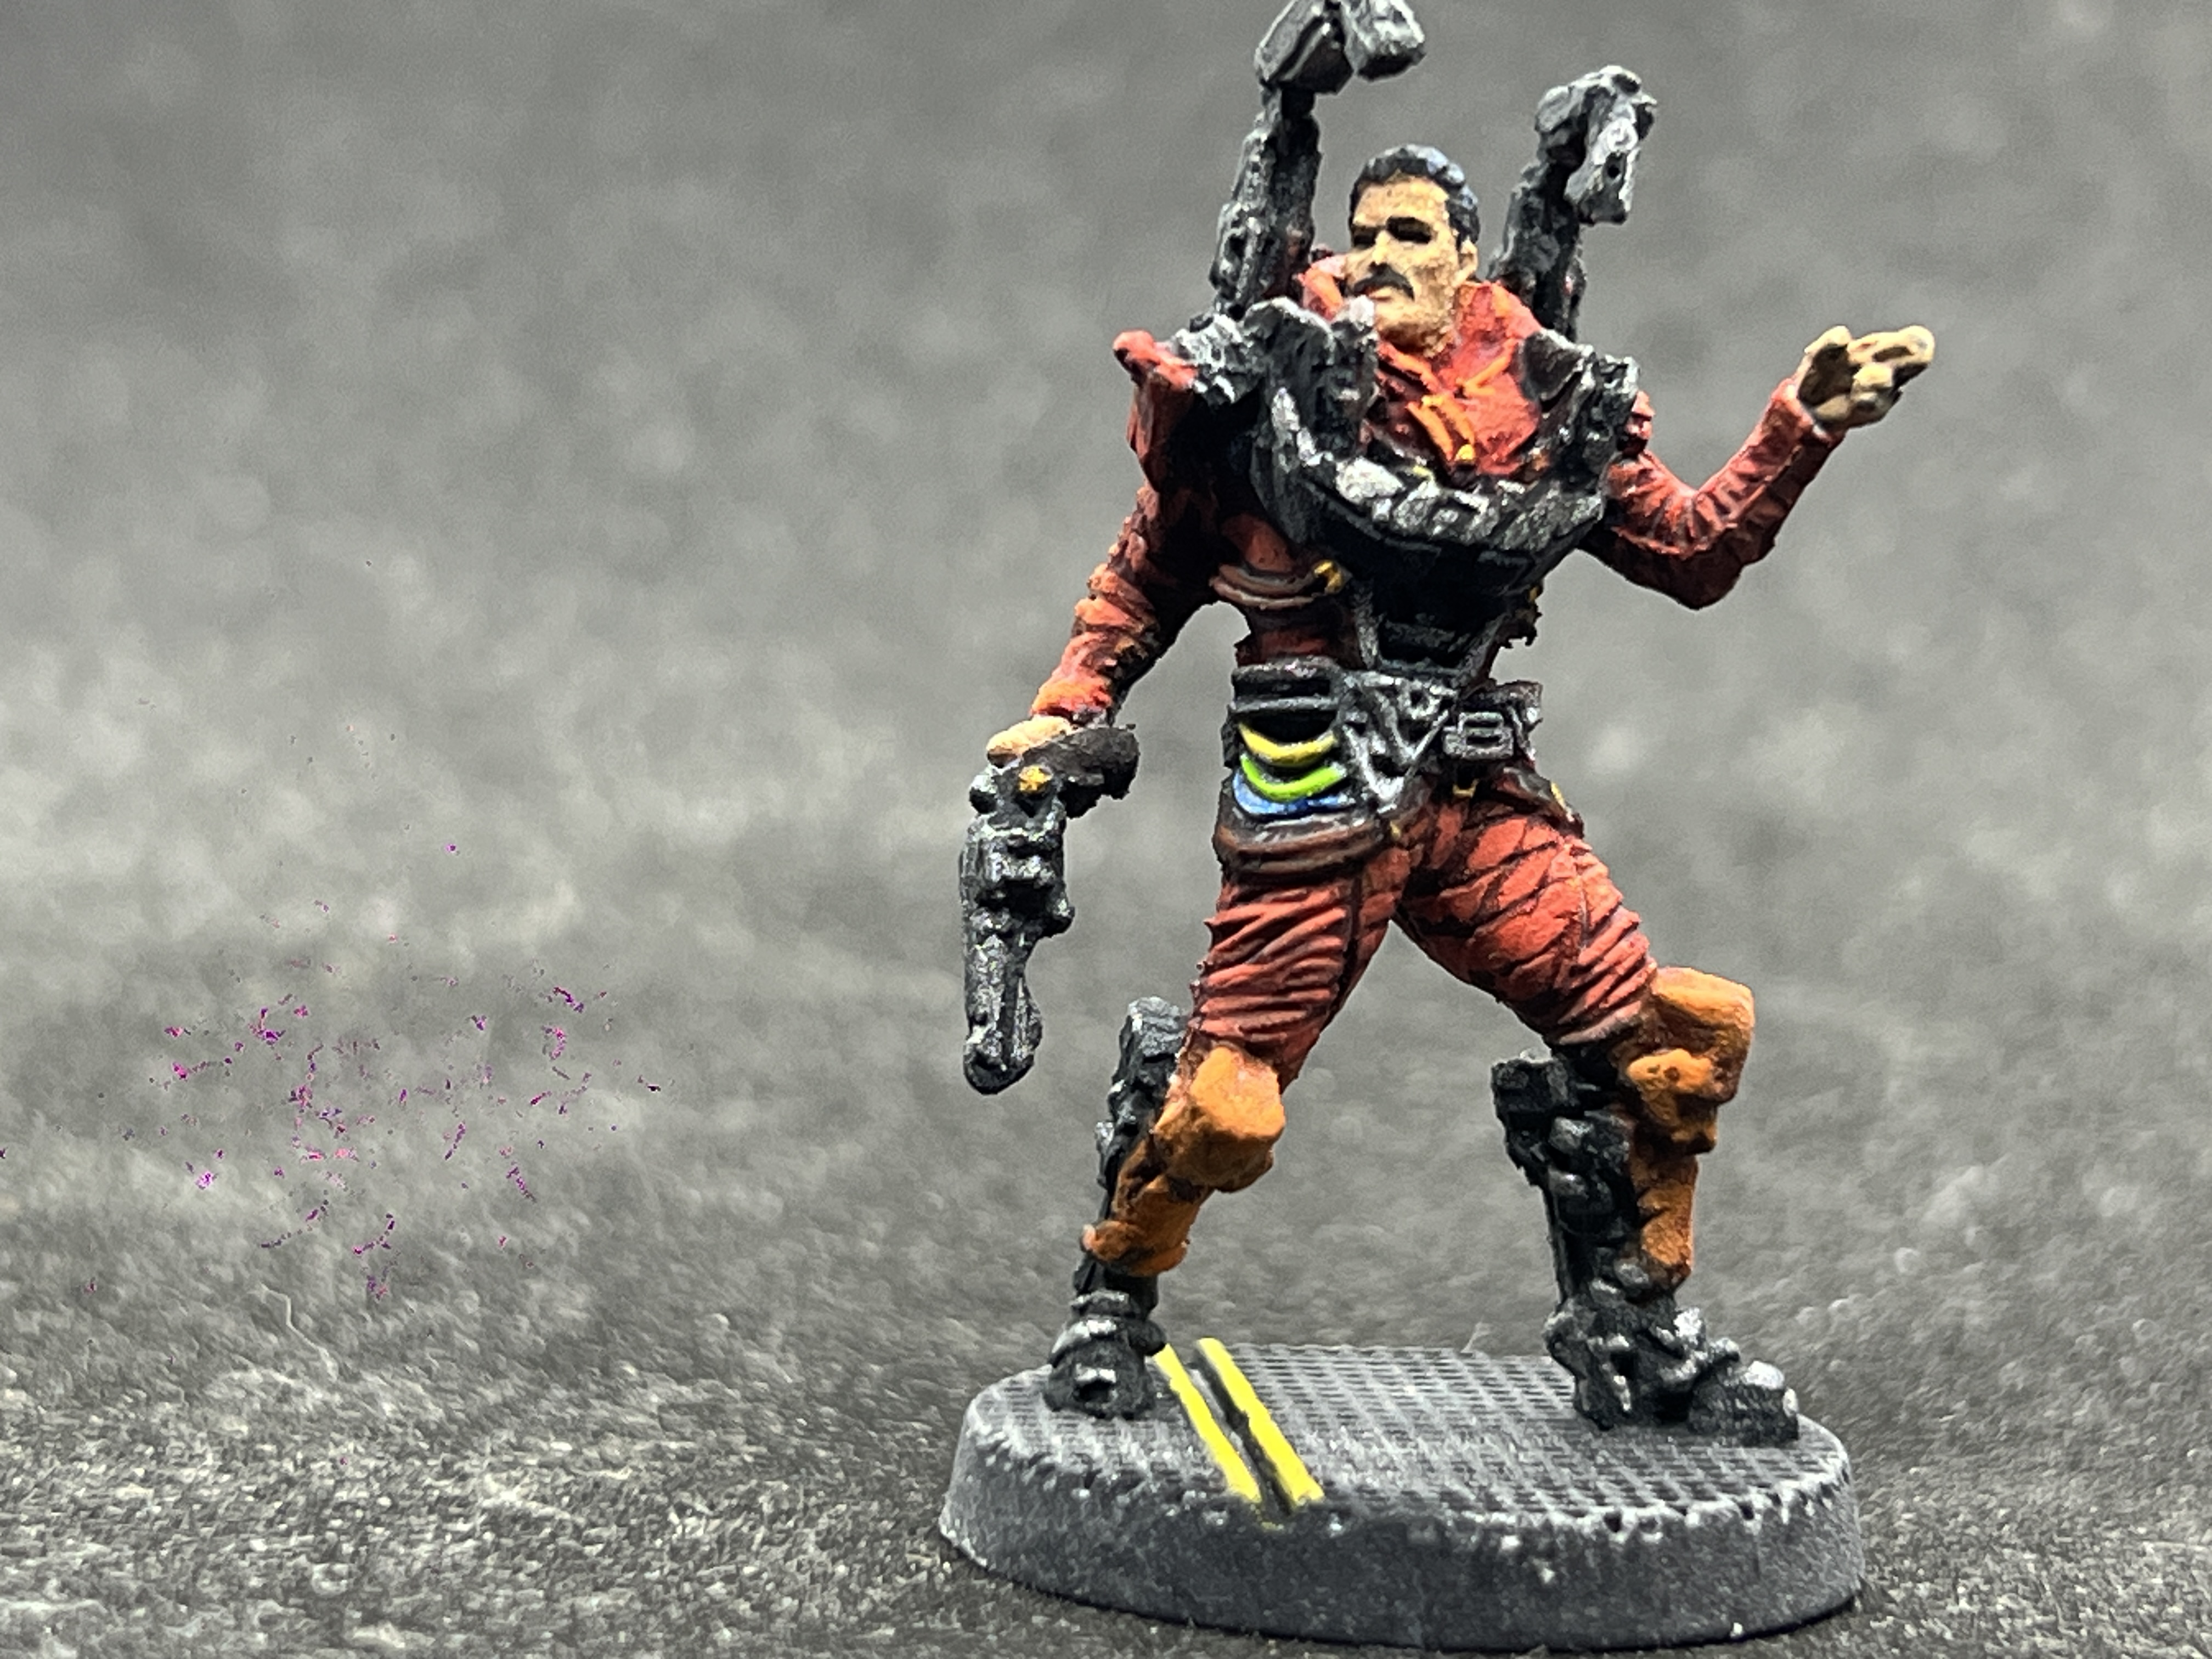
 The Pilot
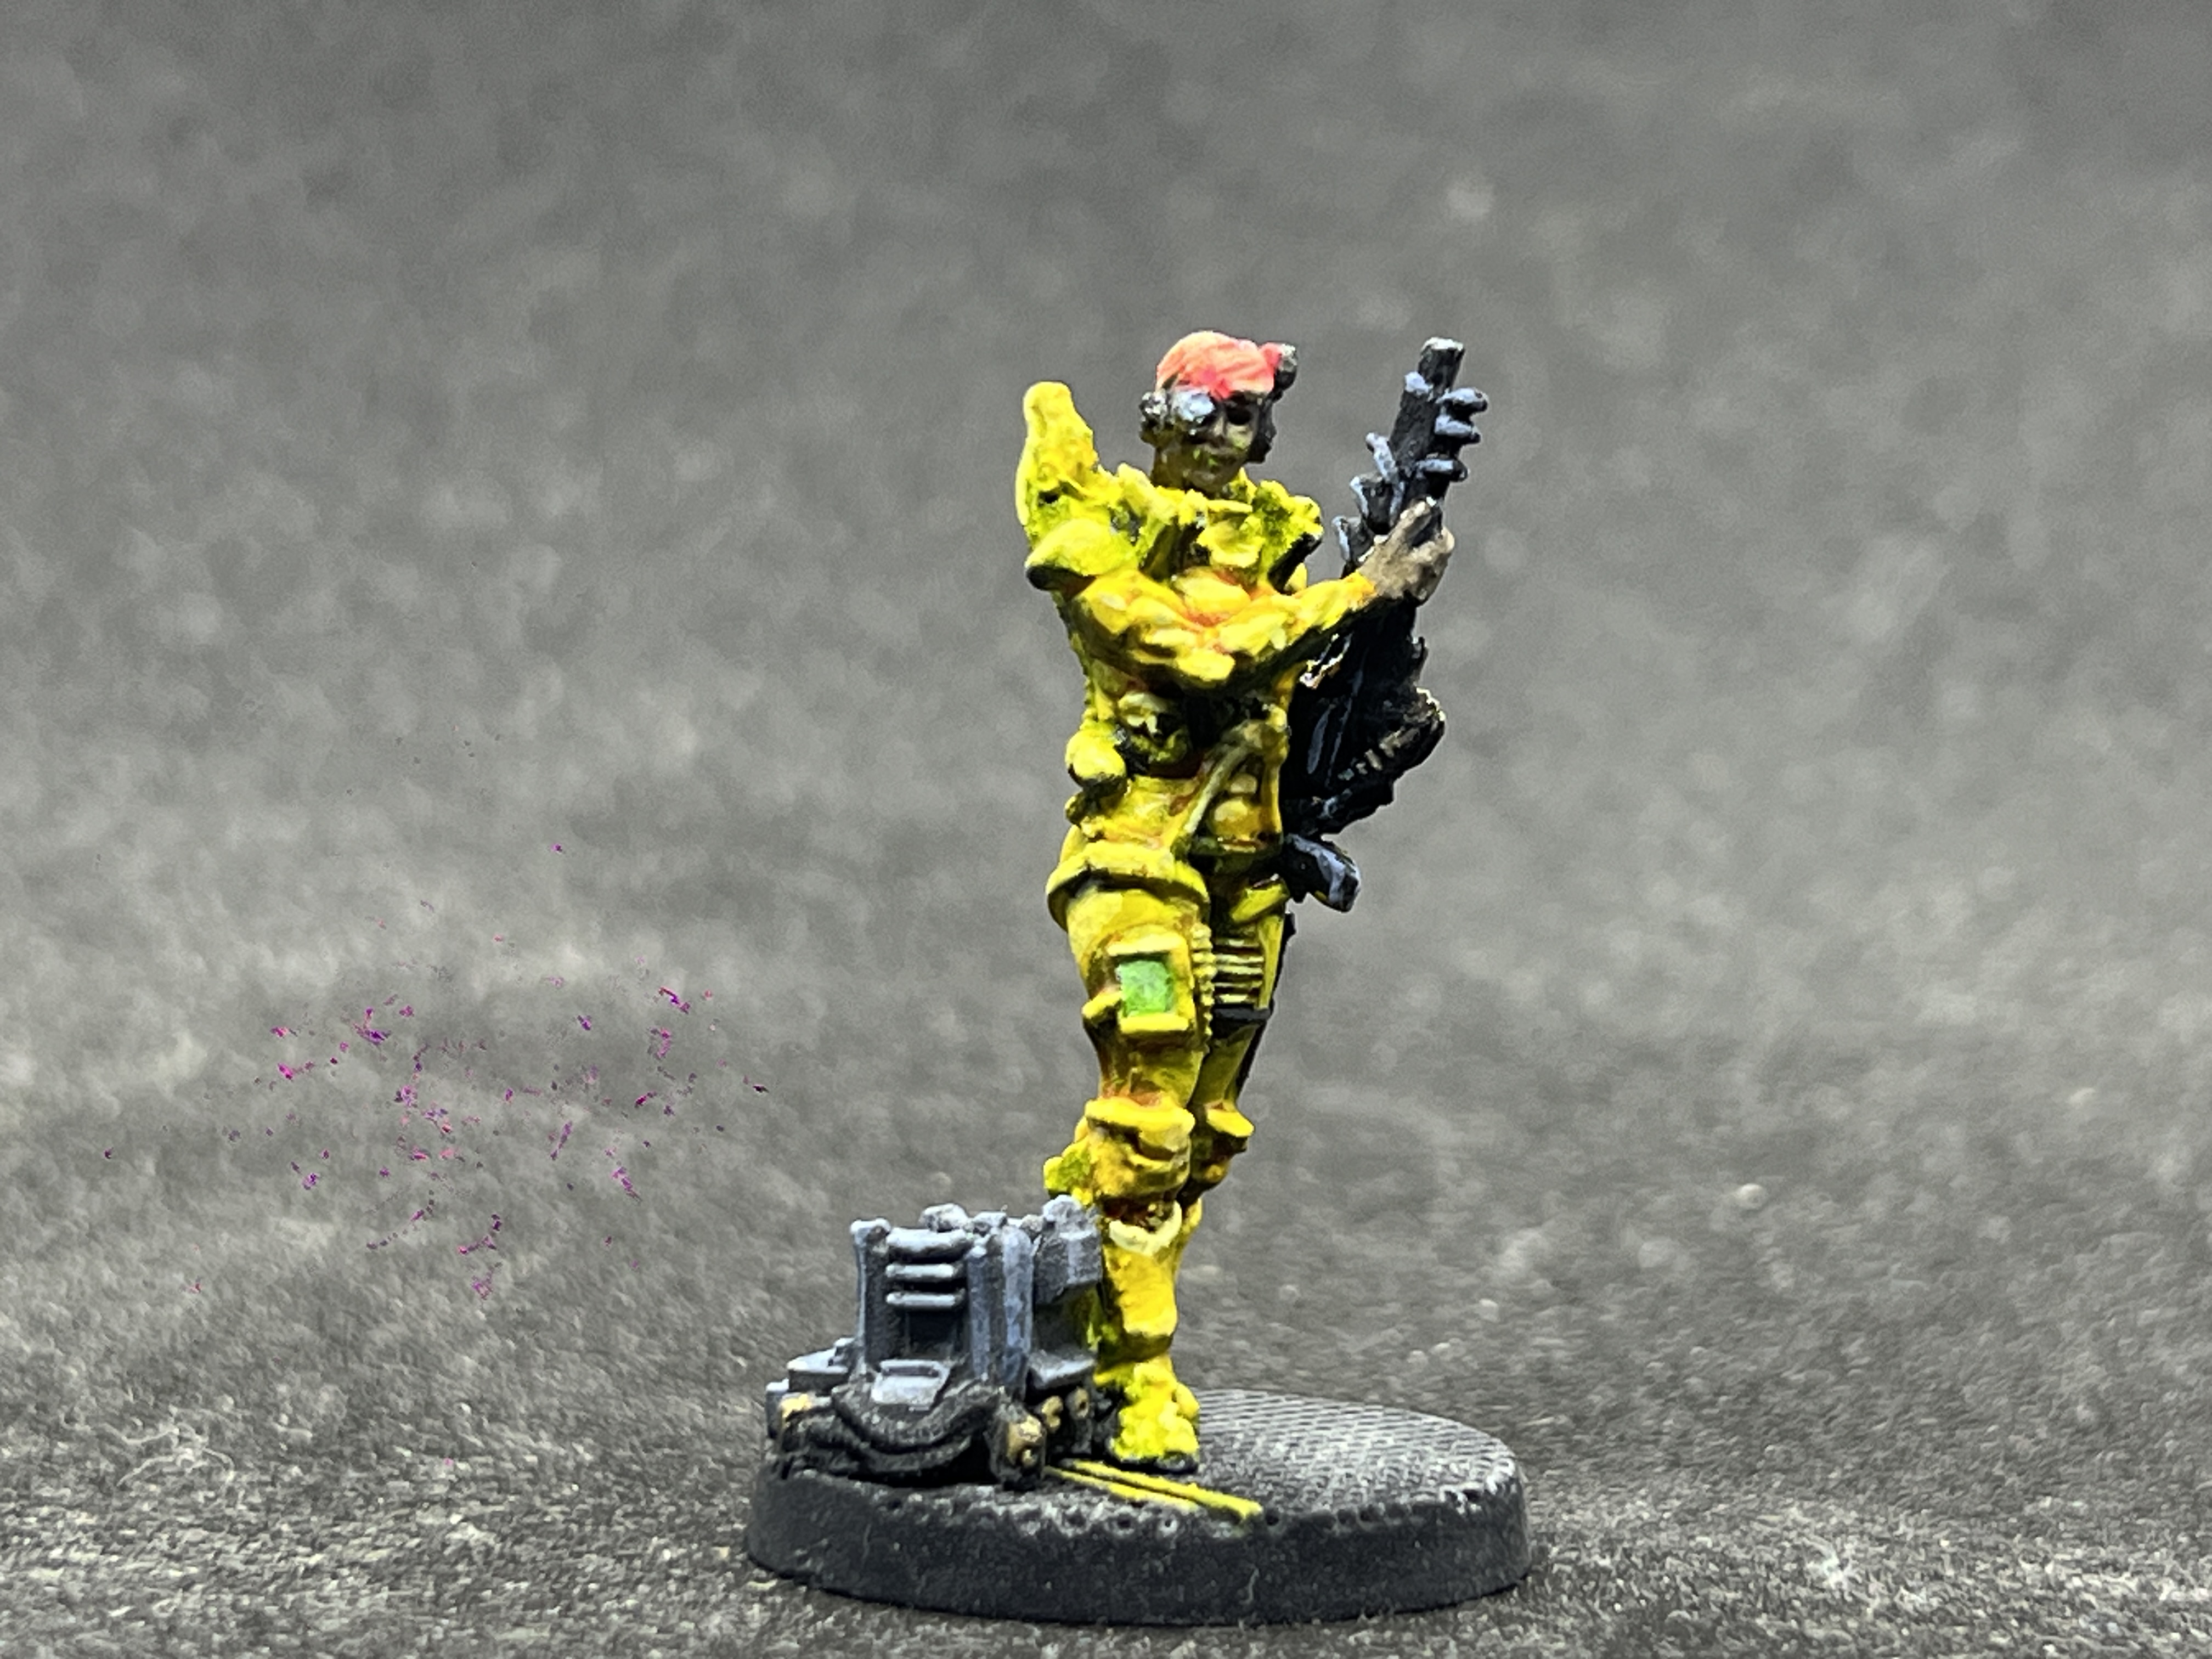
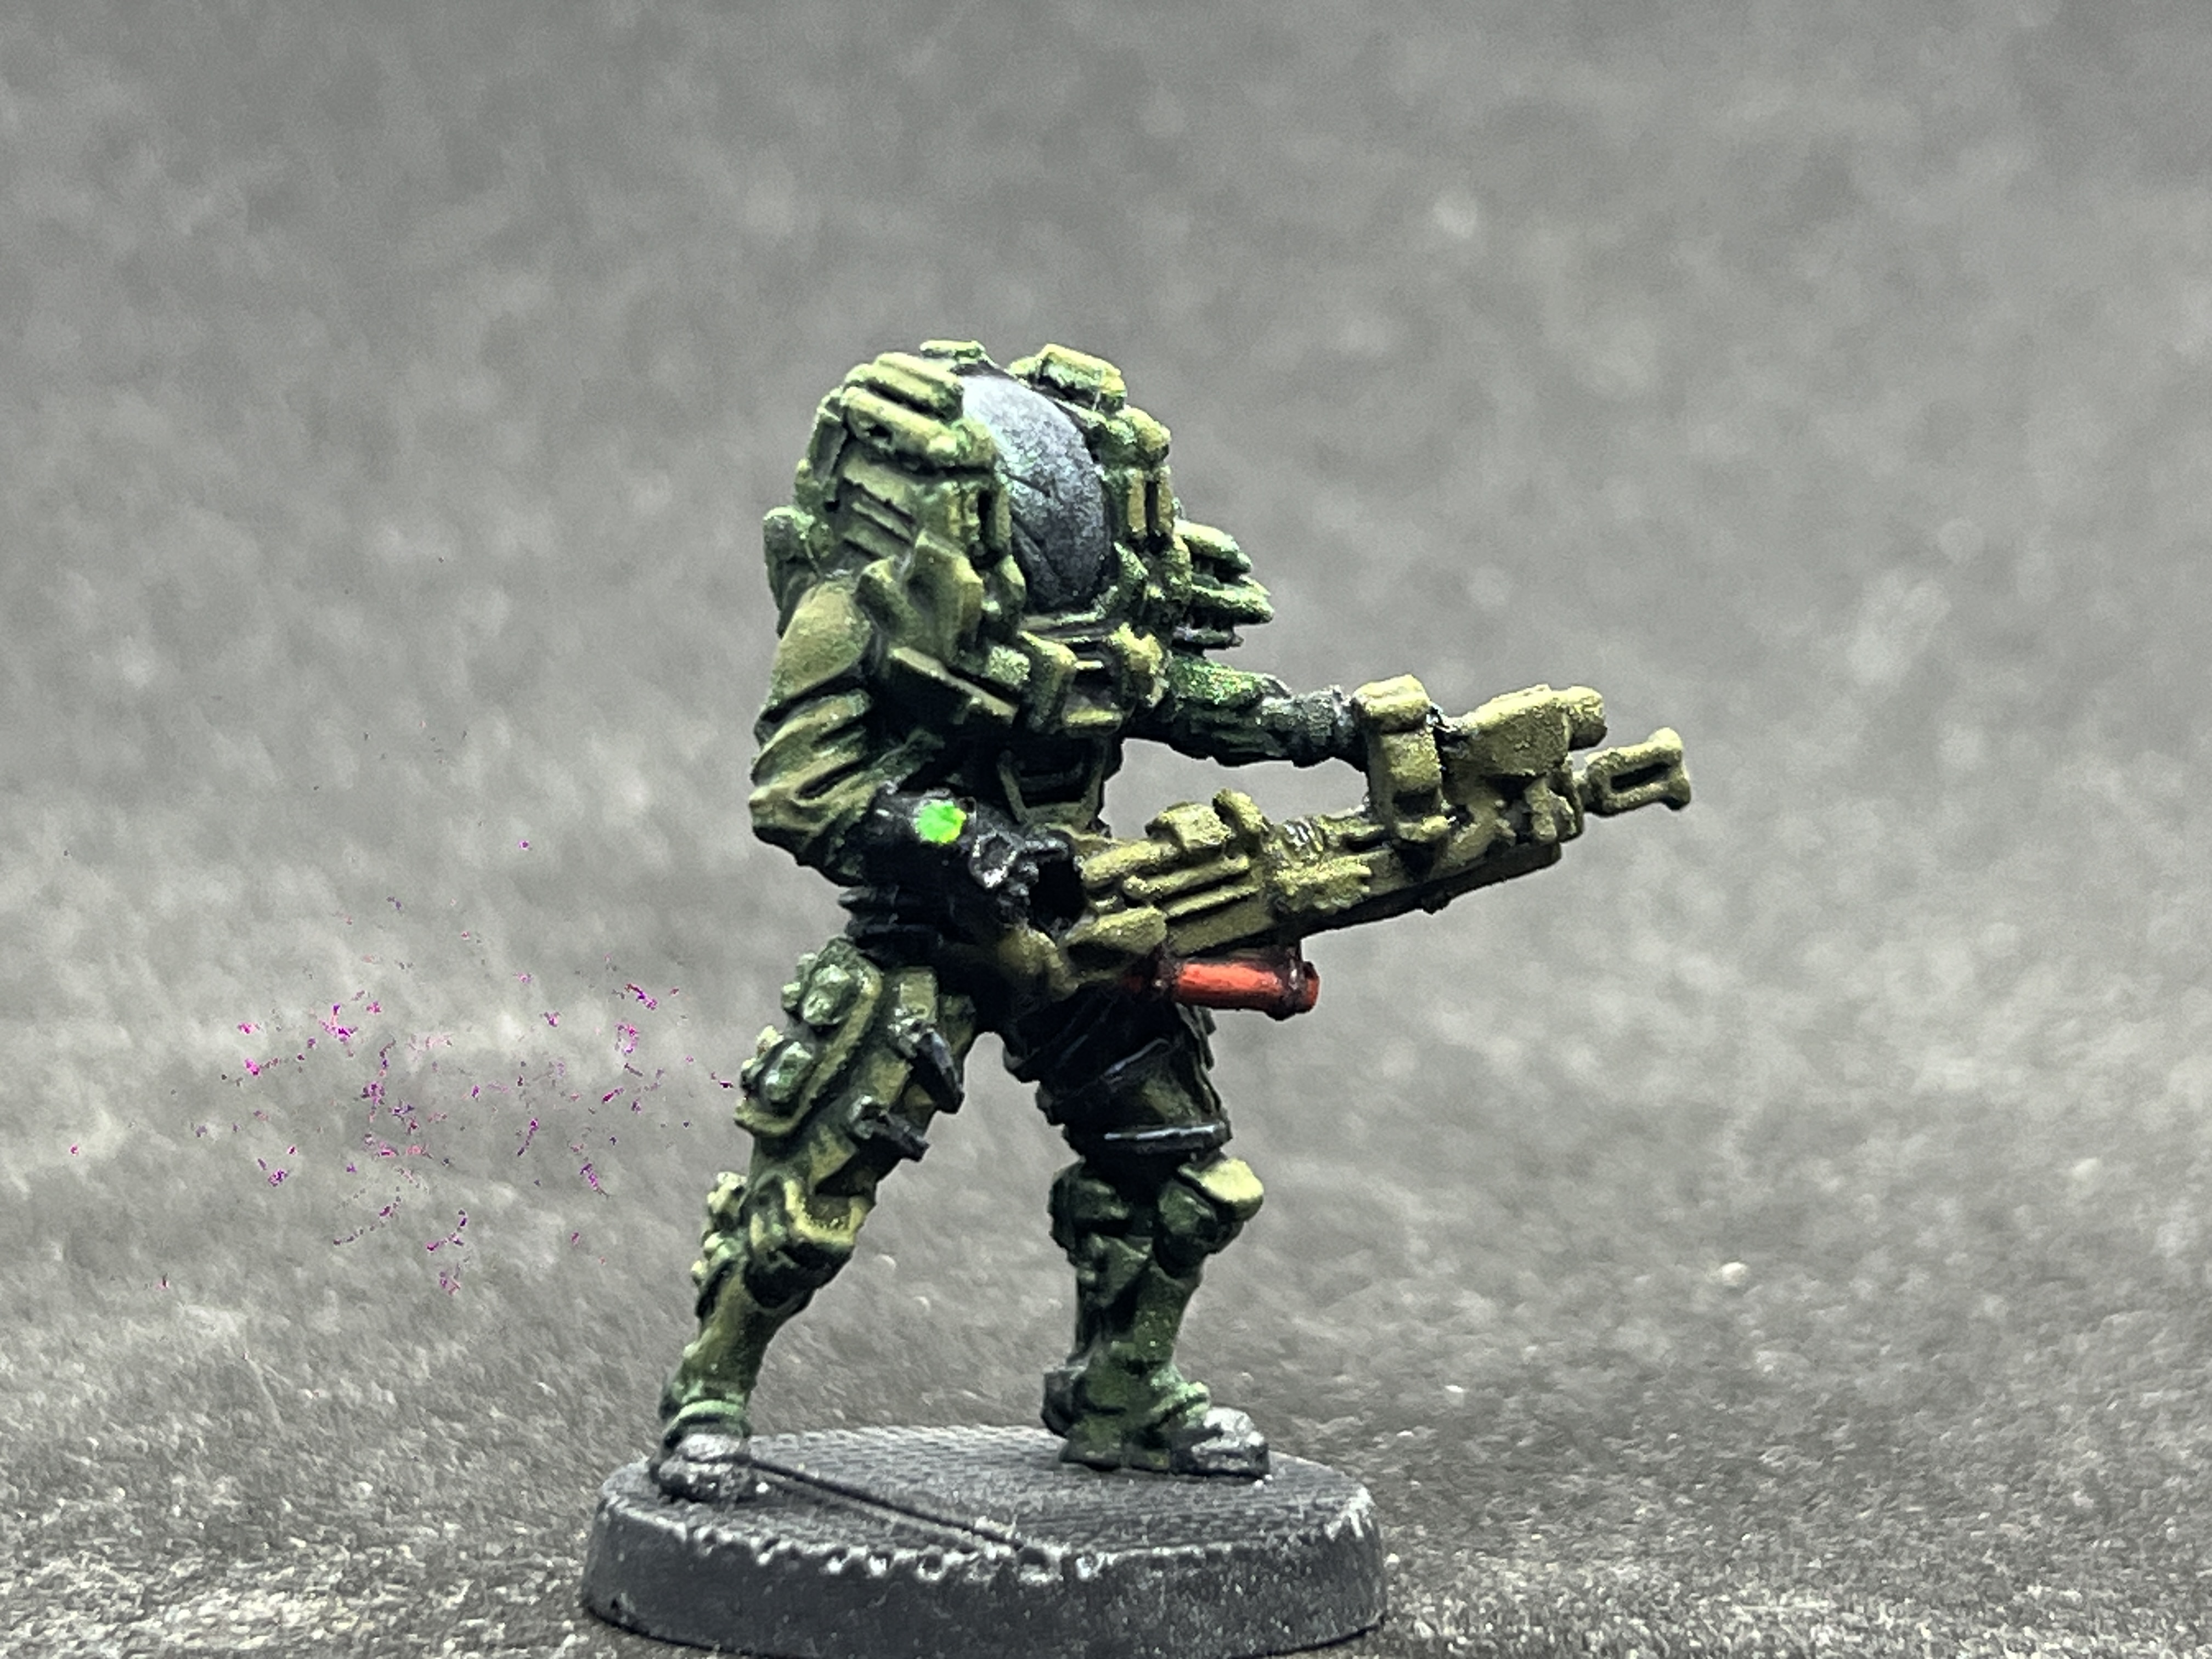 The Soldier
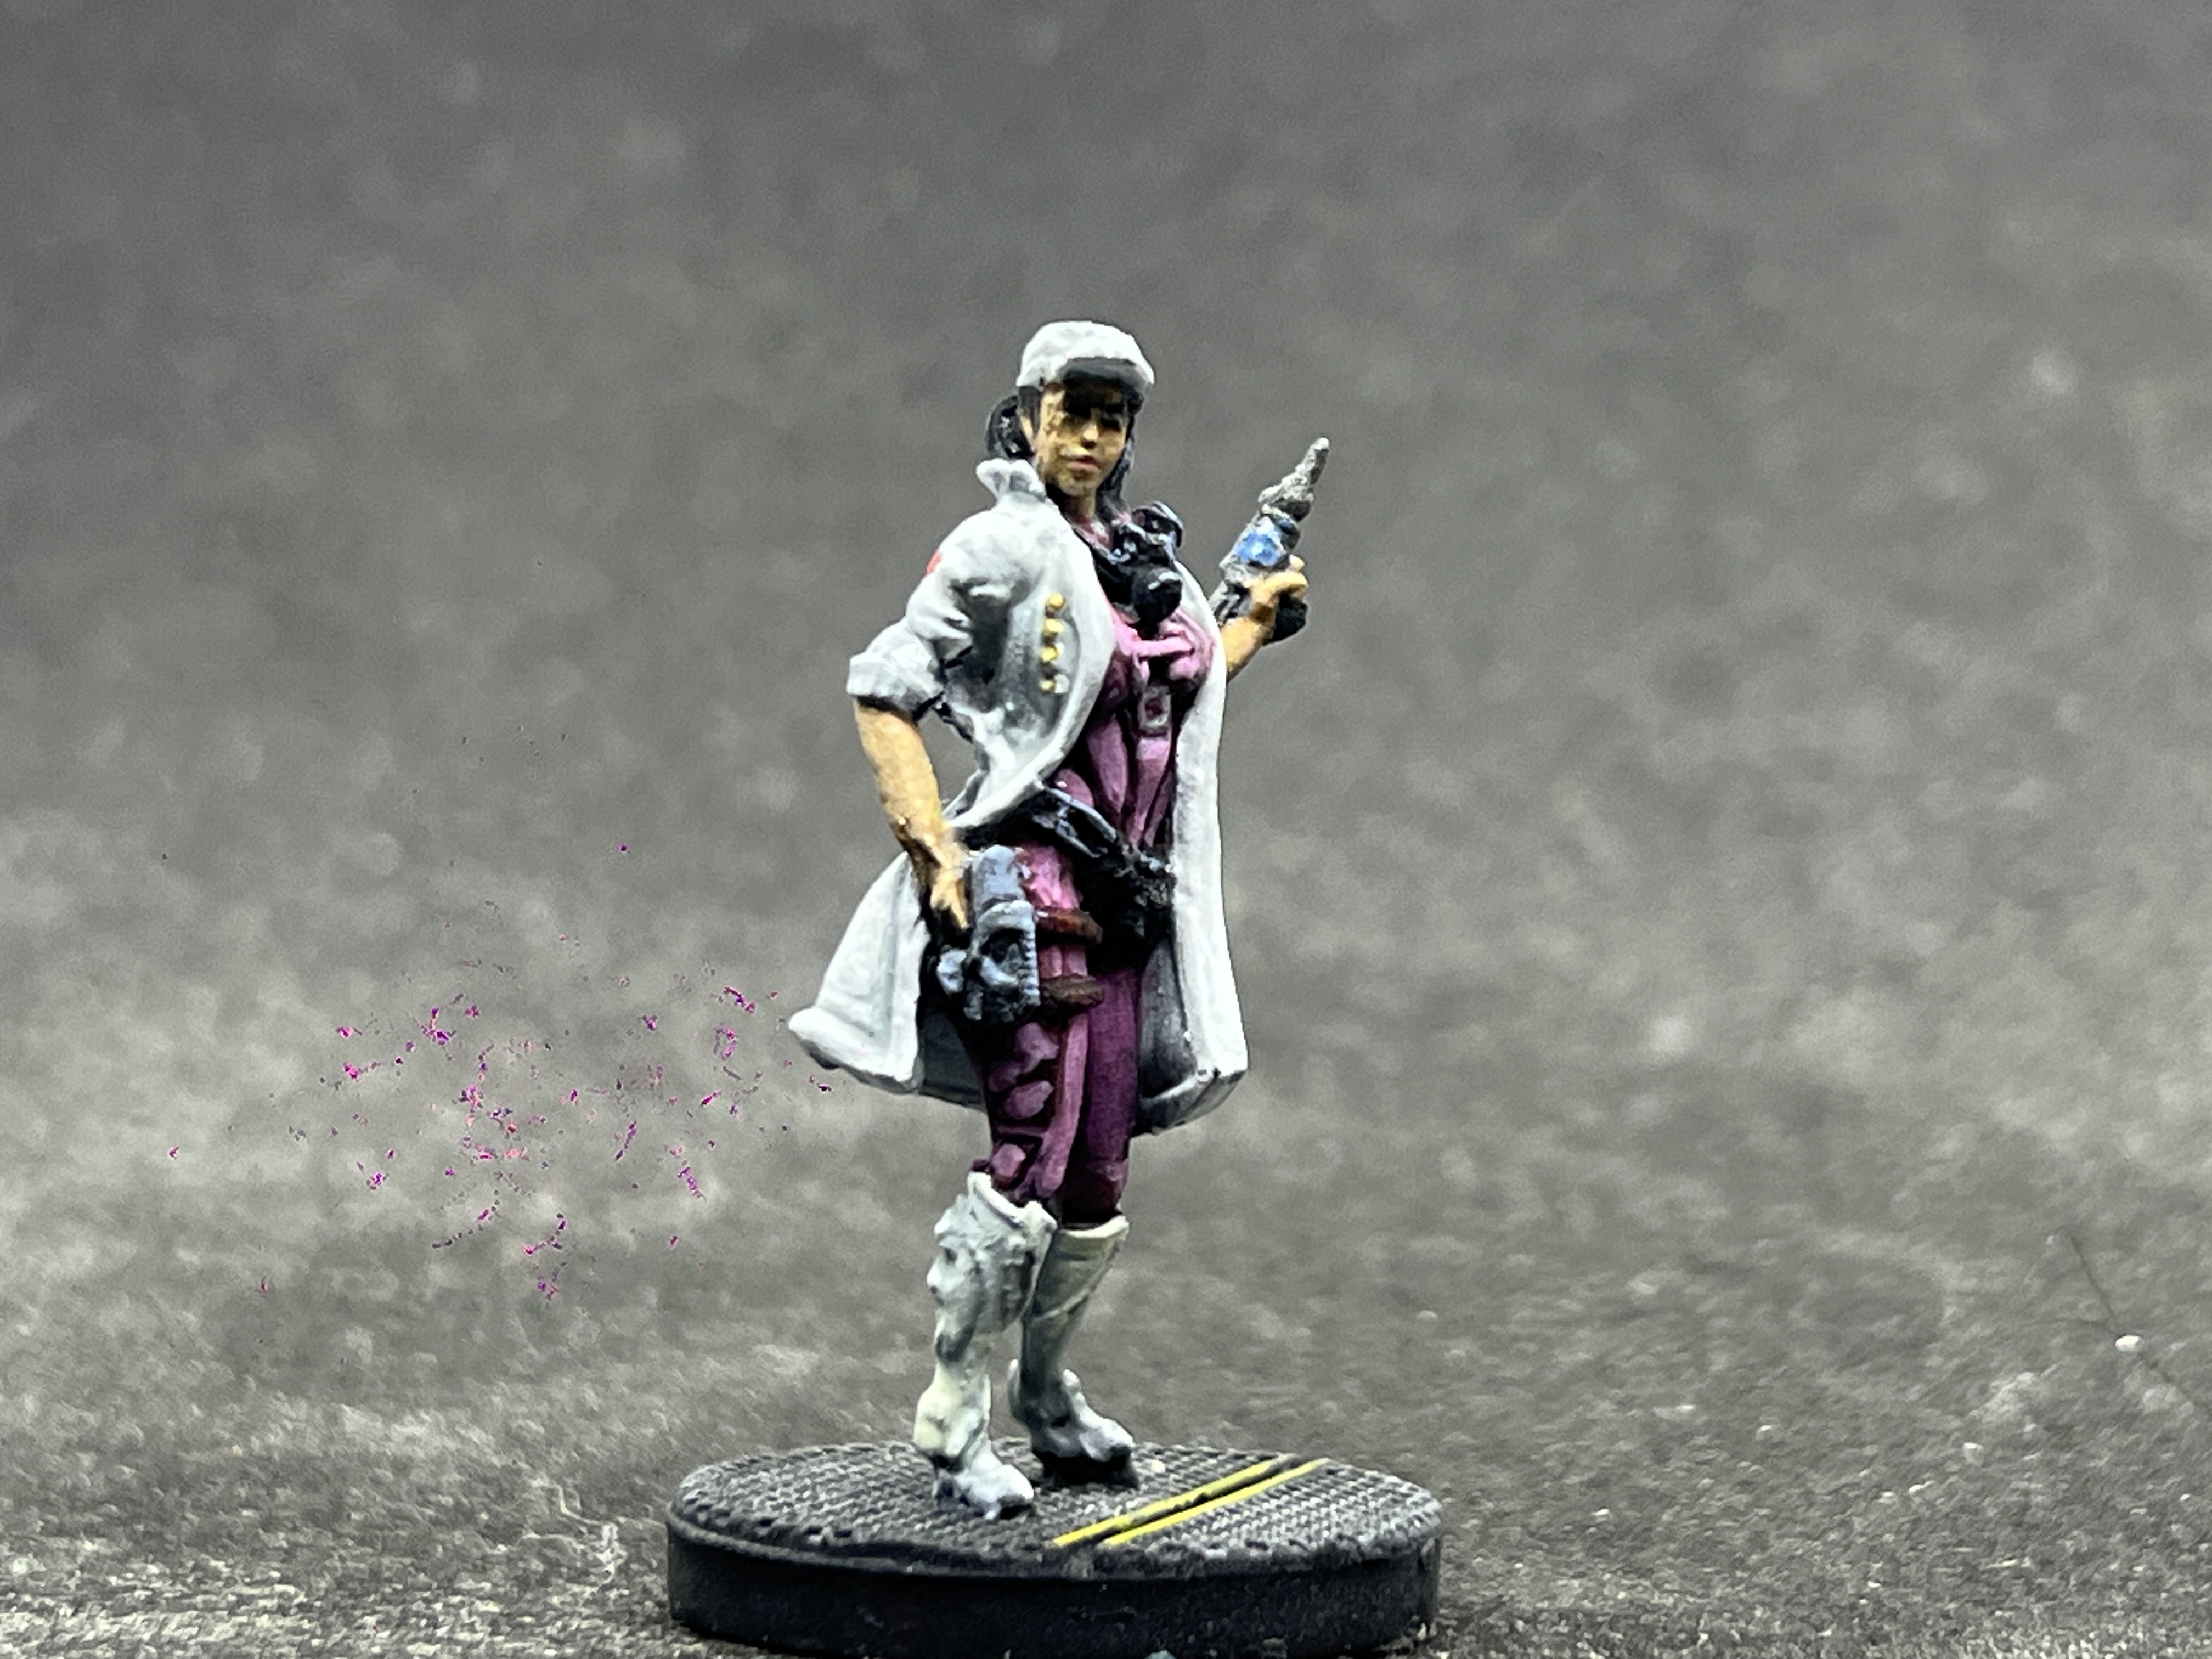 The Doctor
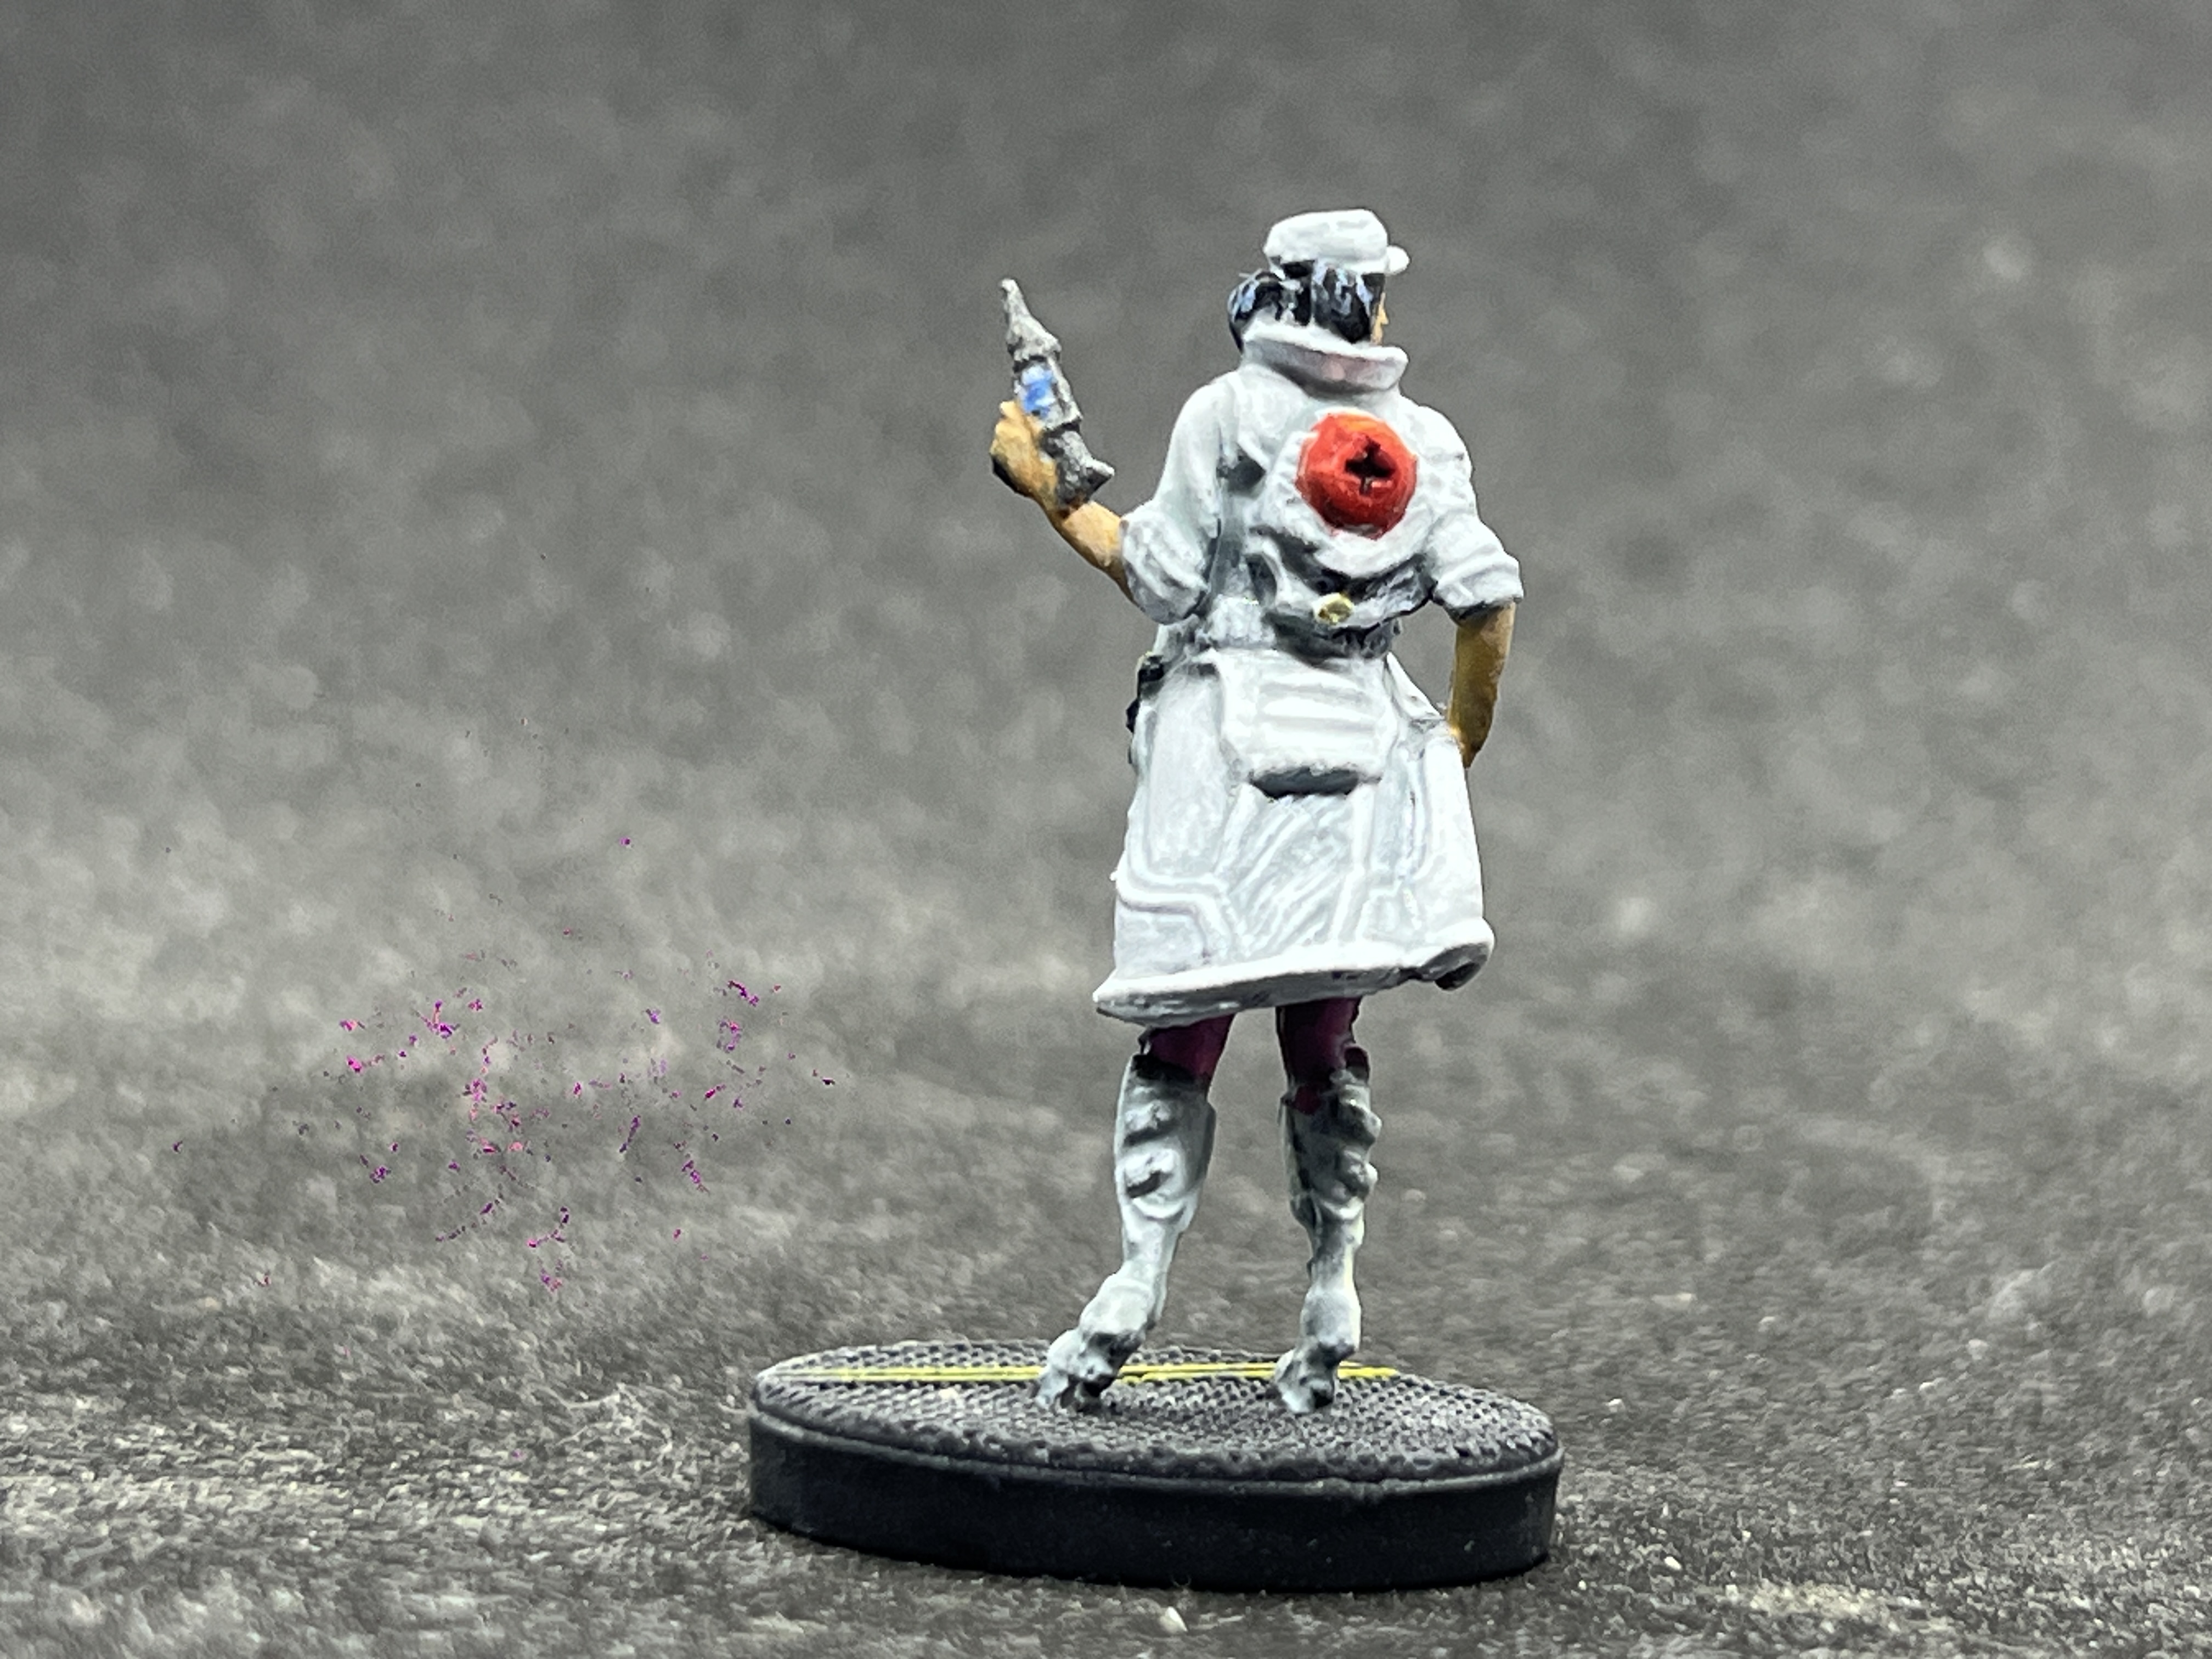
Nemesis - Painting the Intruders - Part 6: The Queen
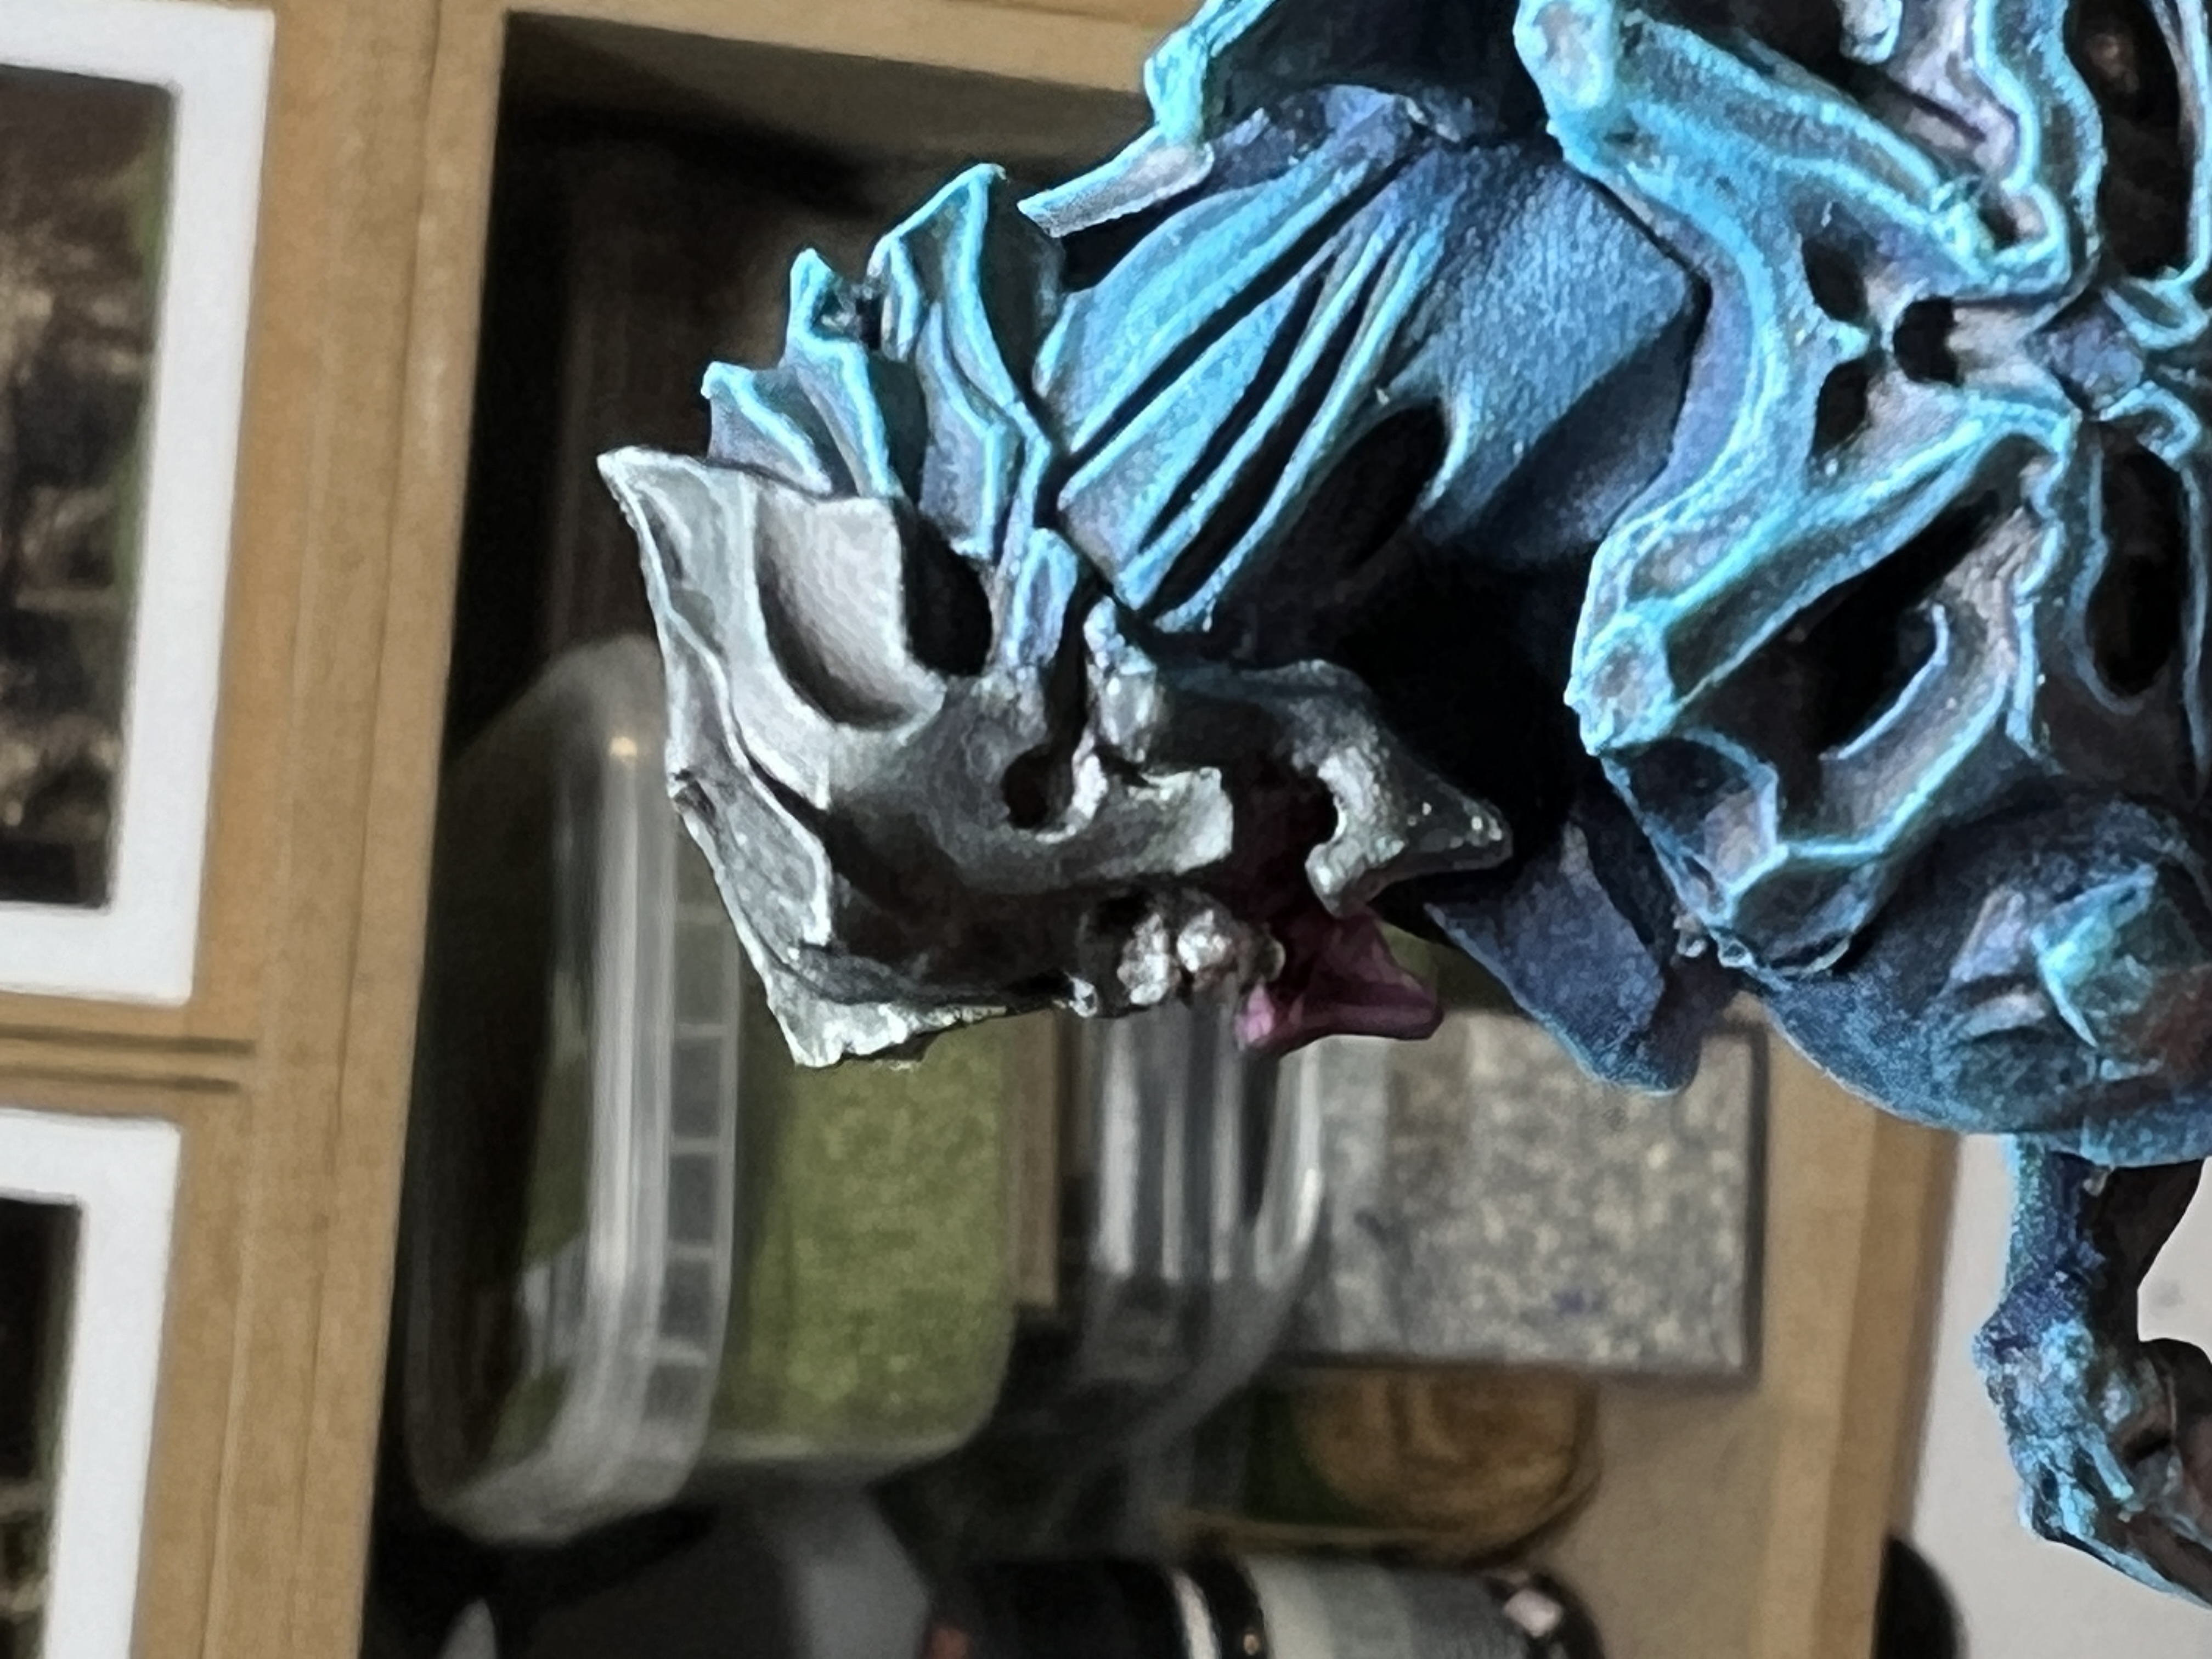
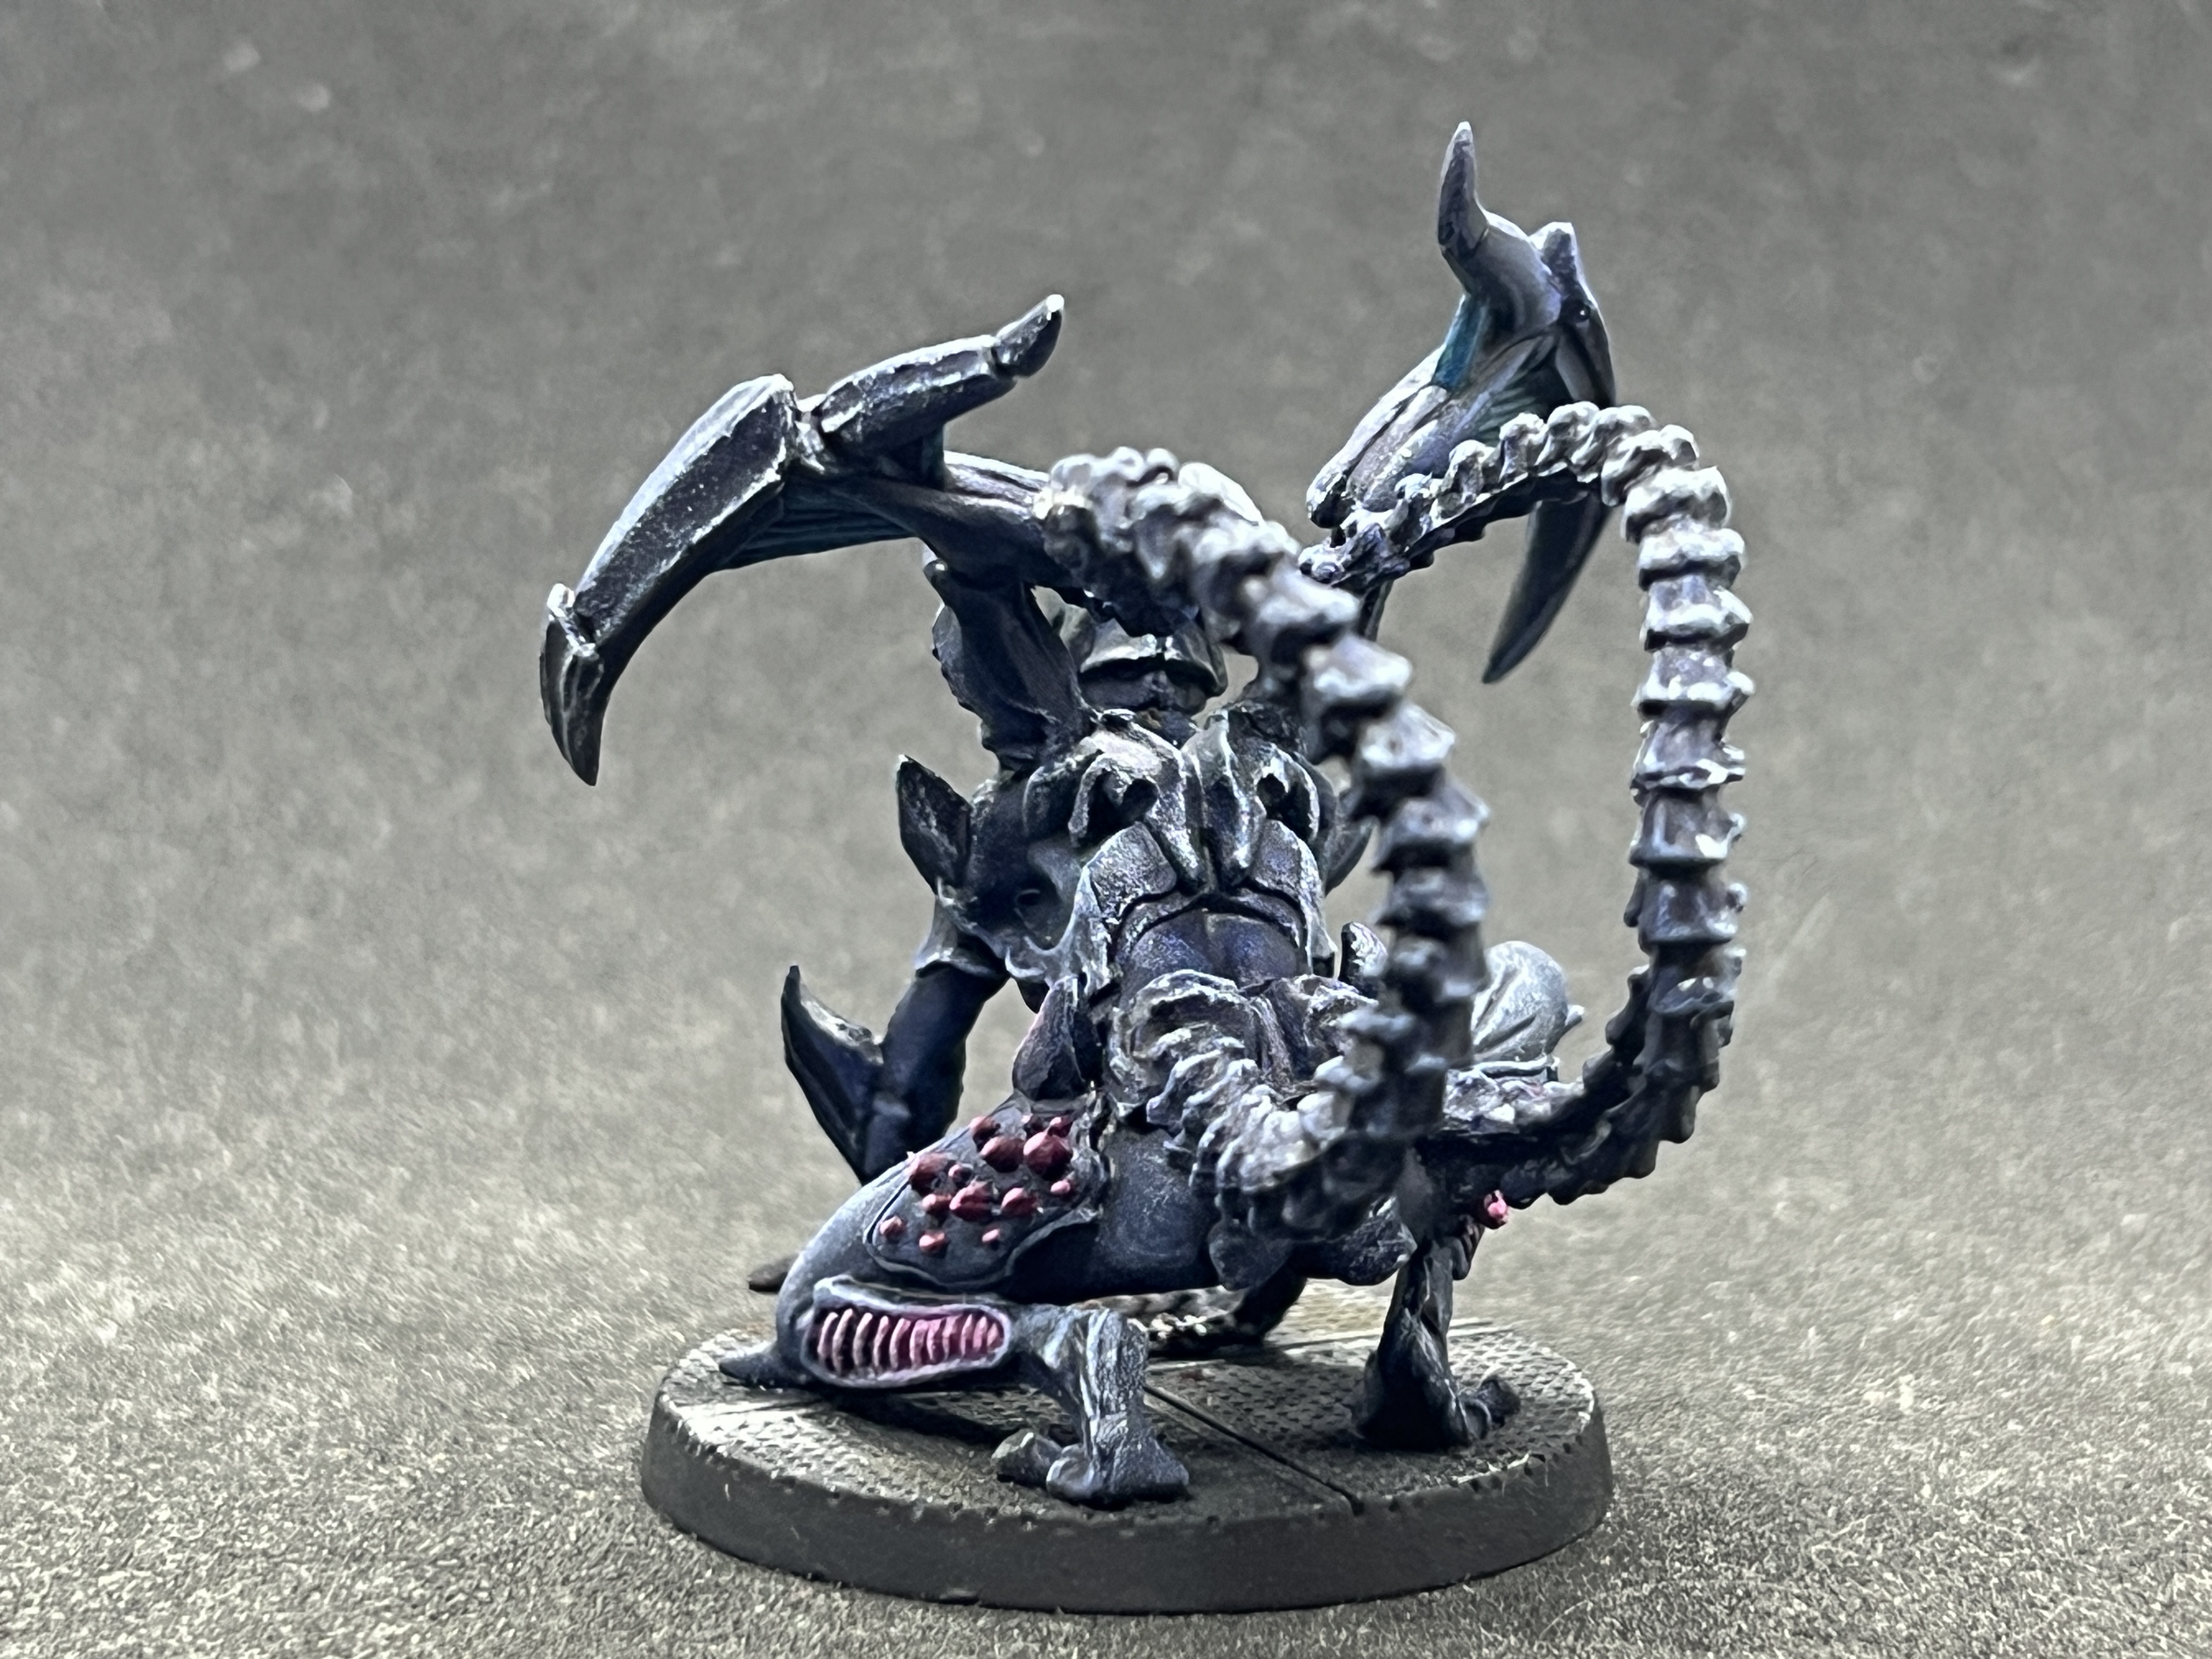
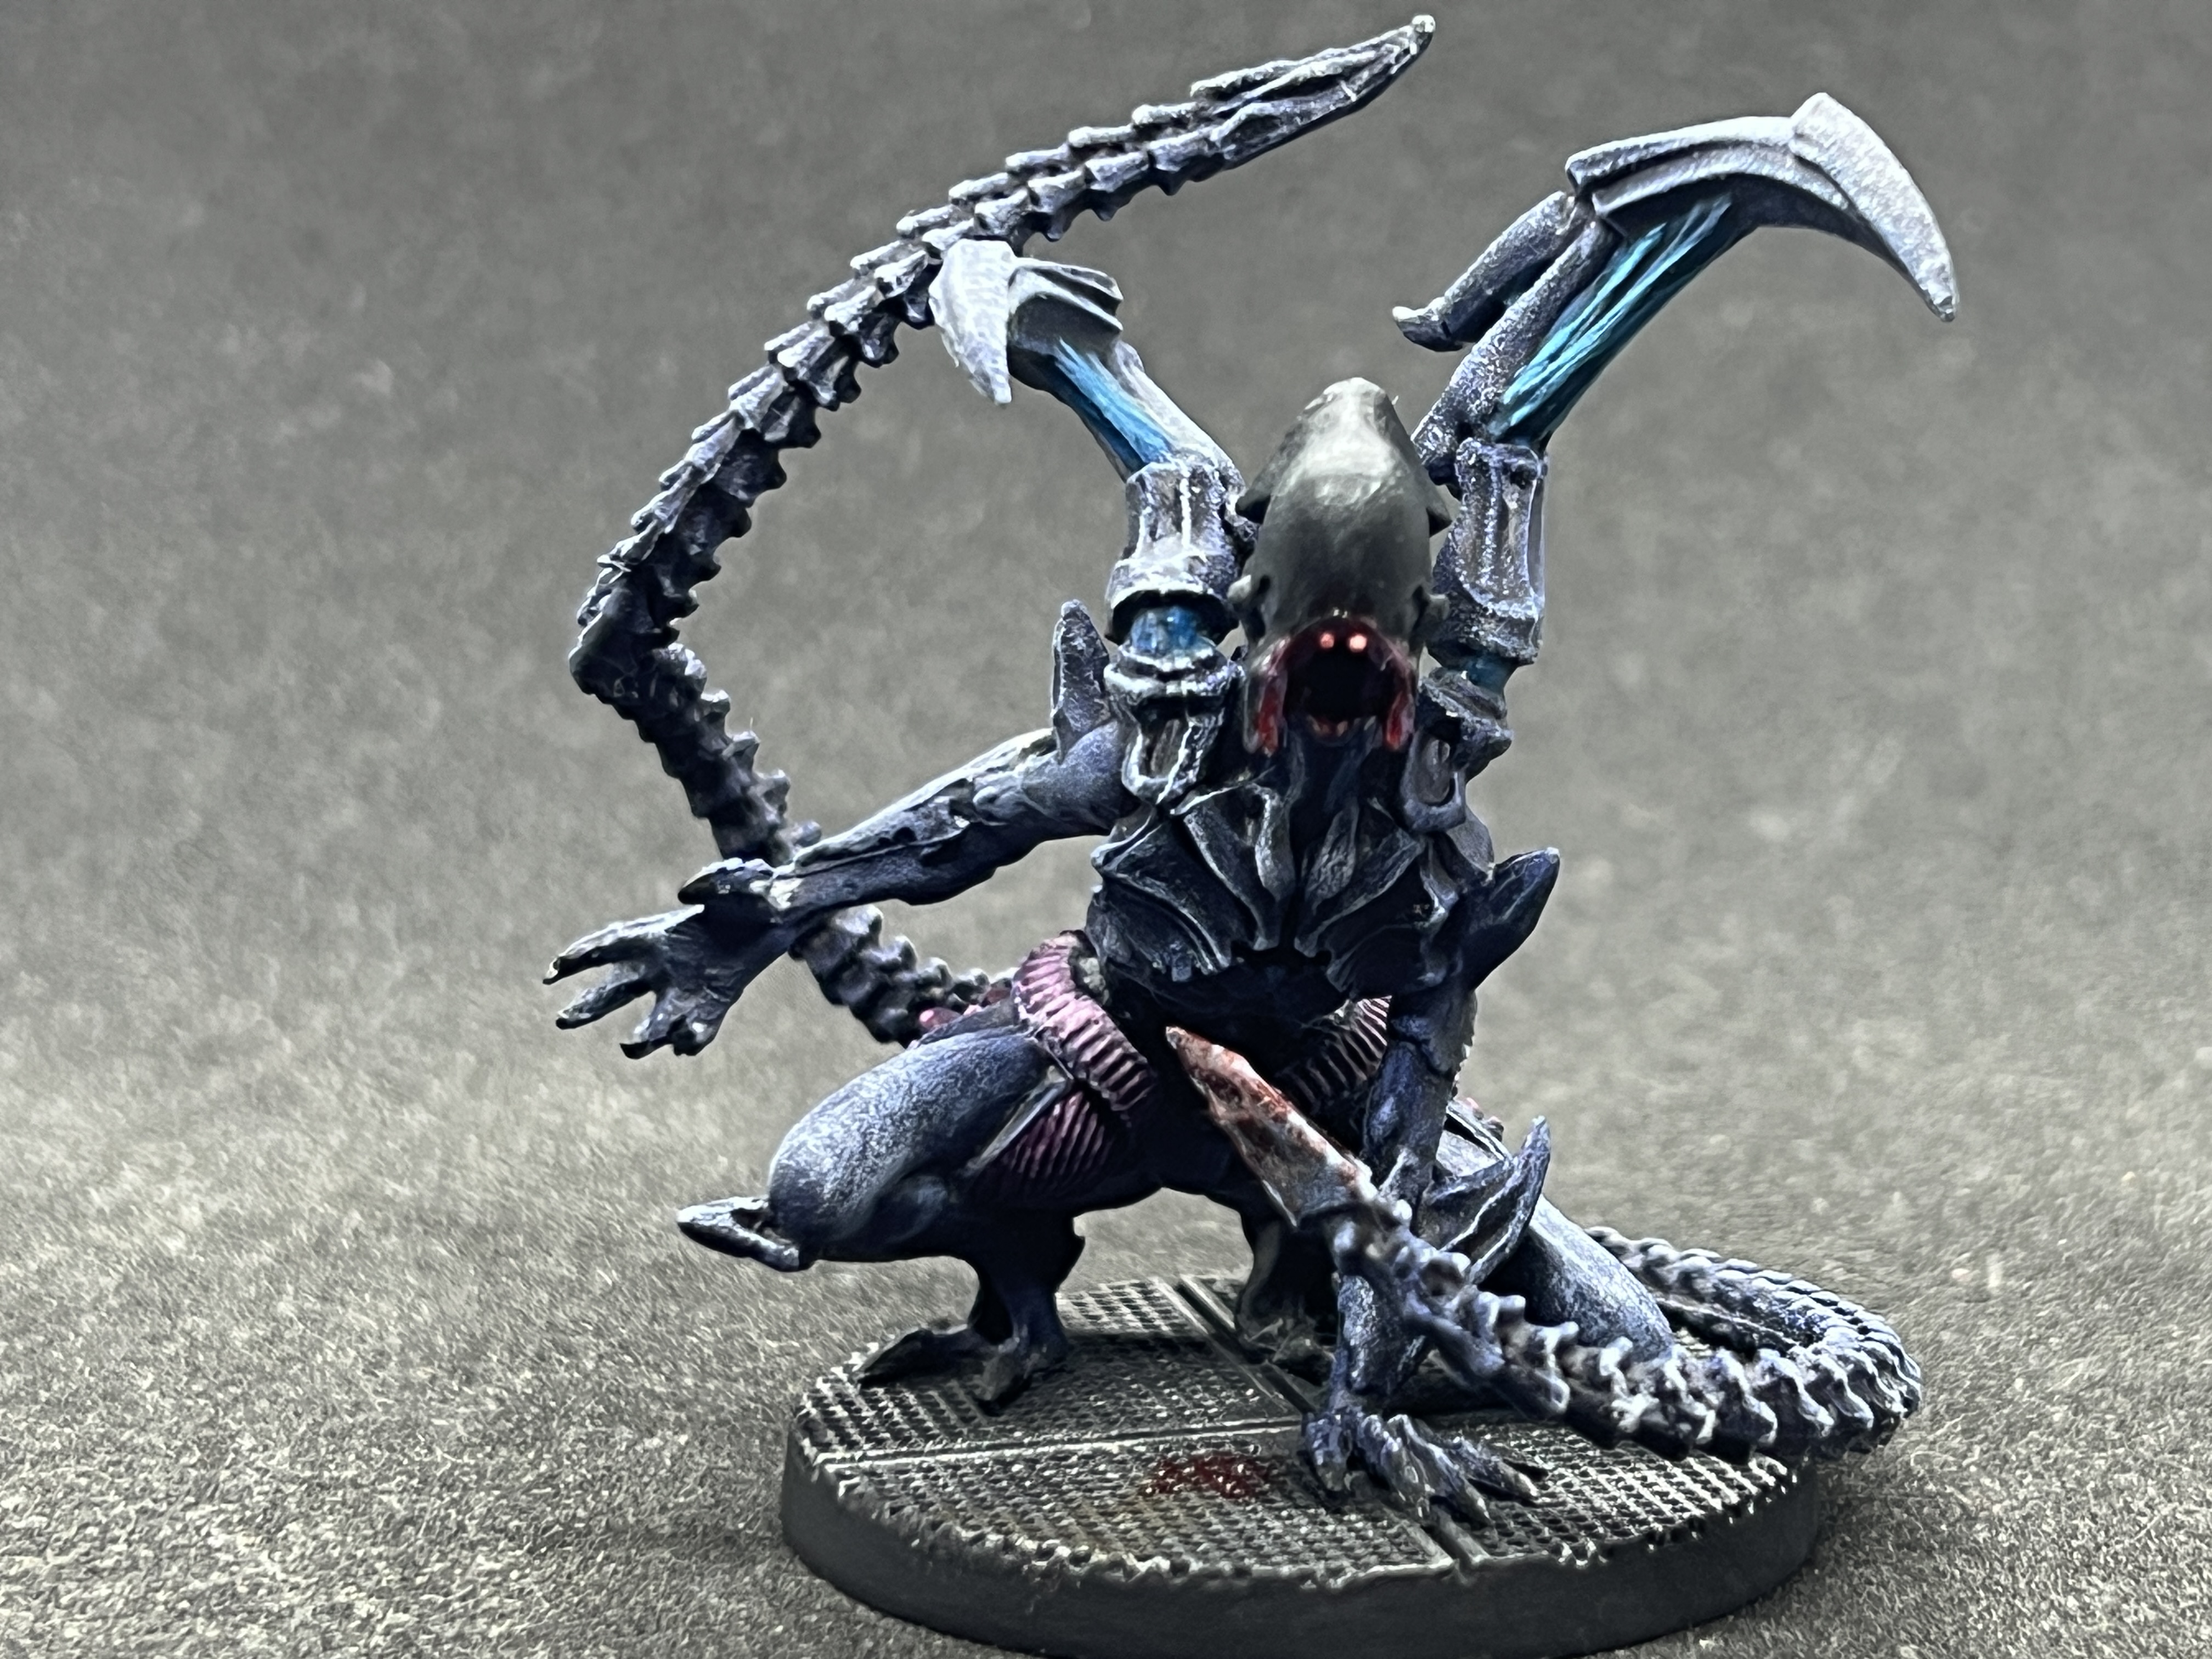
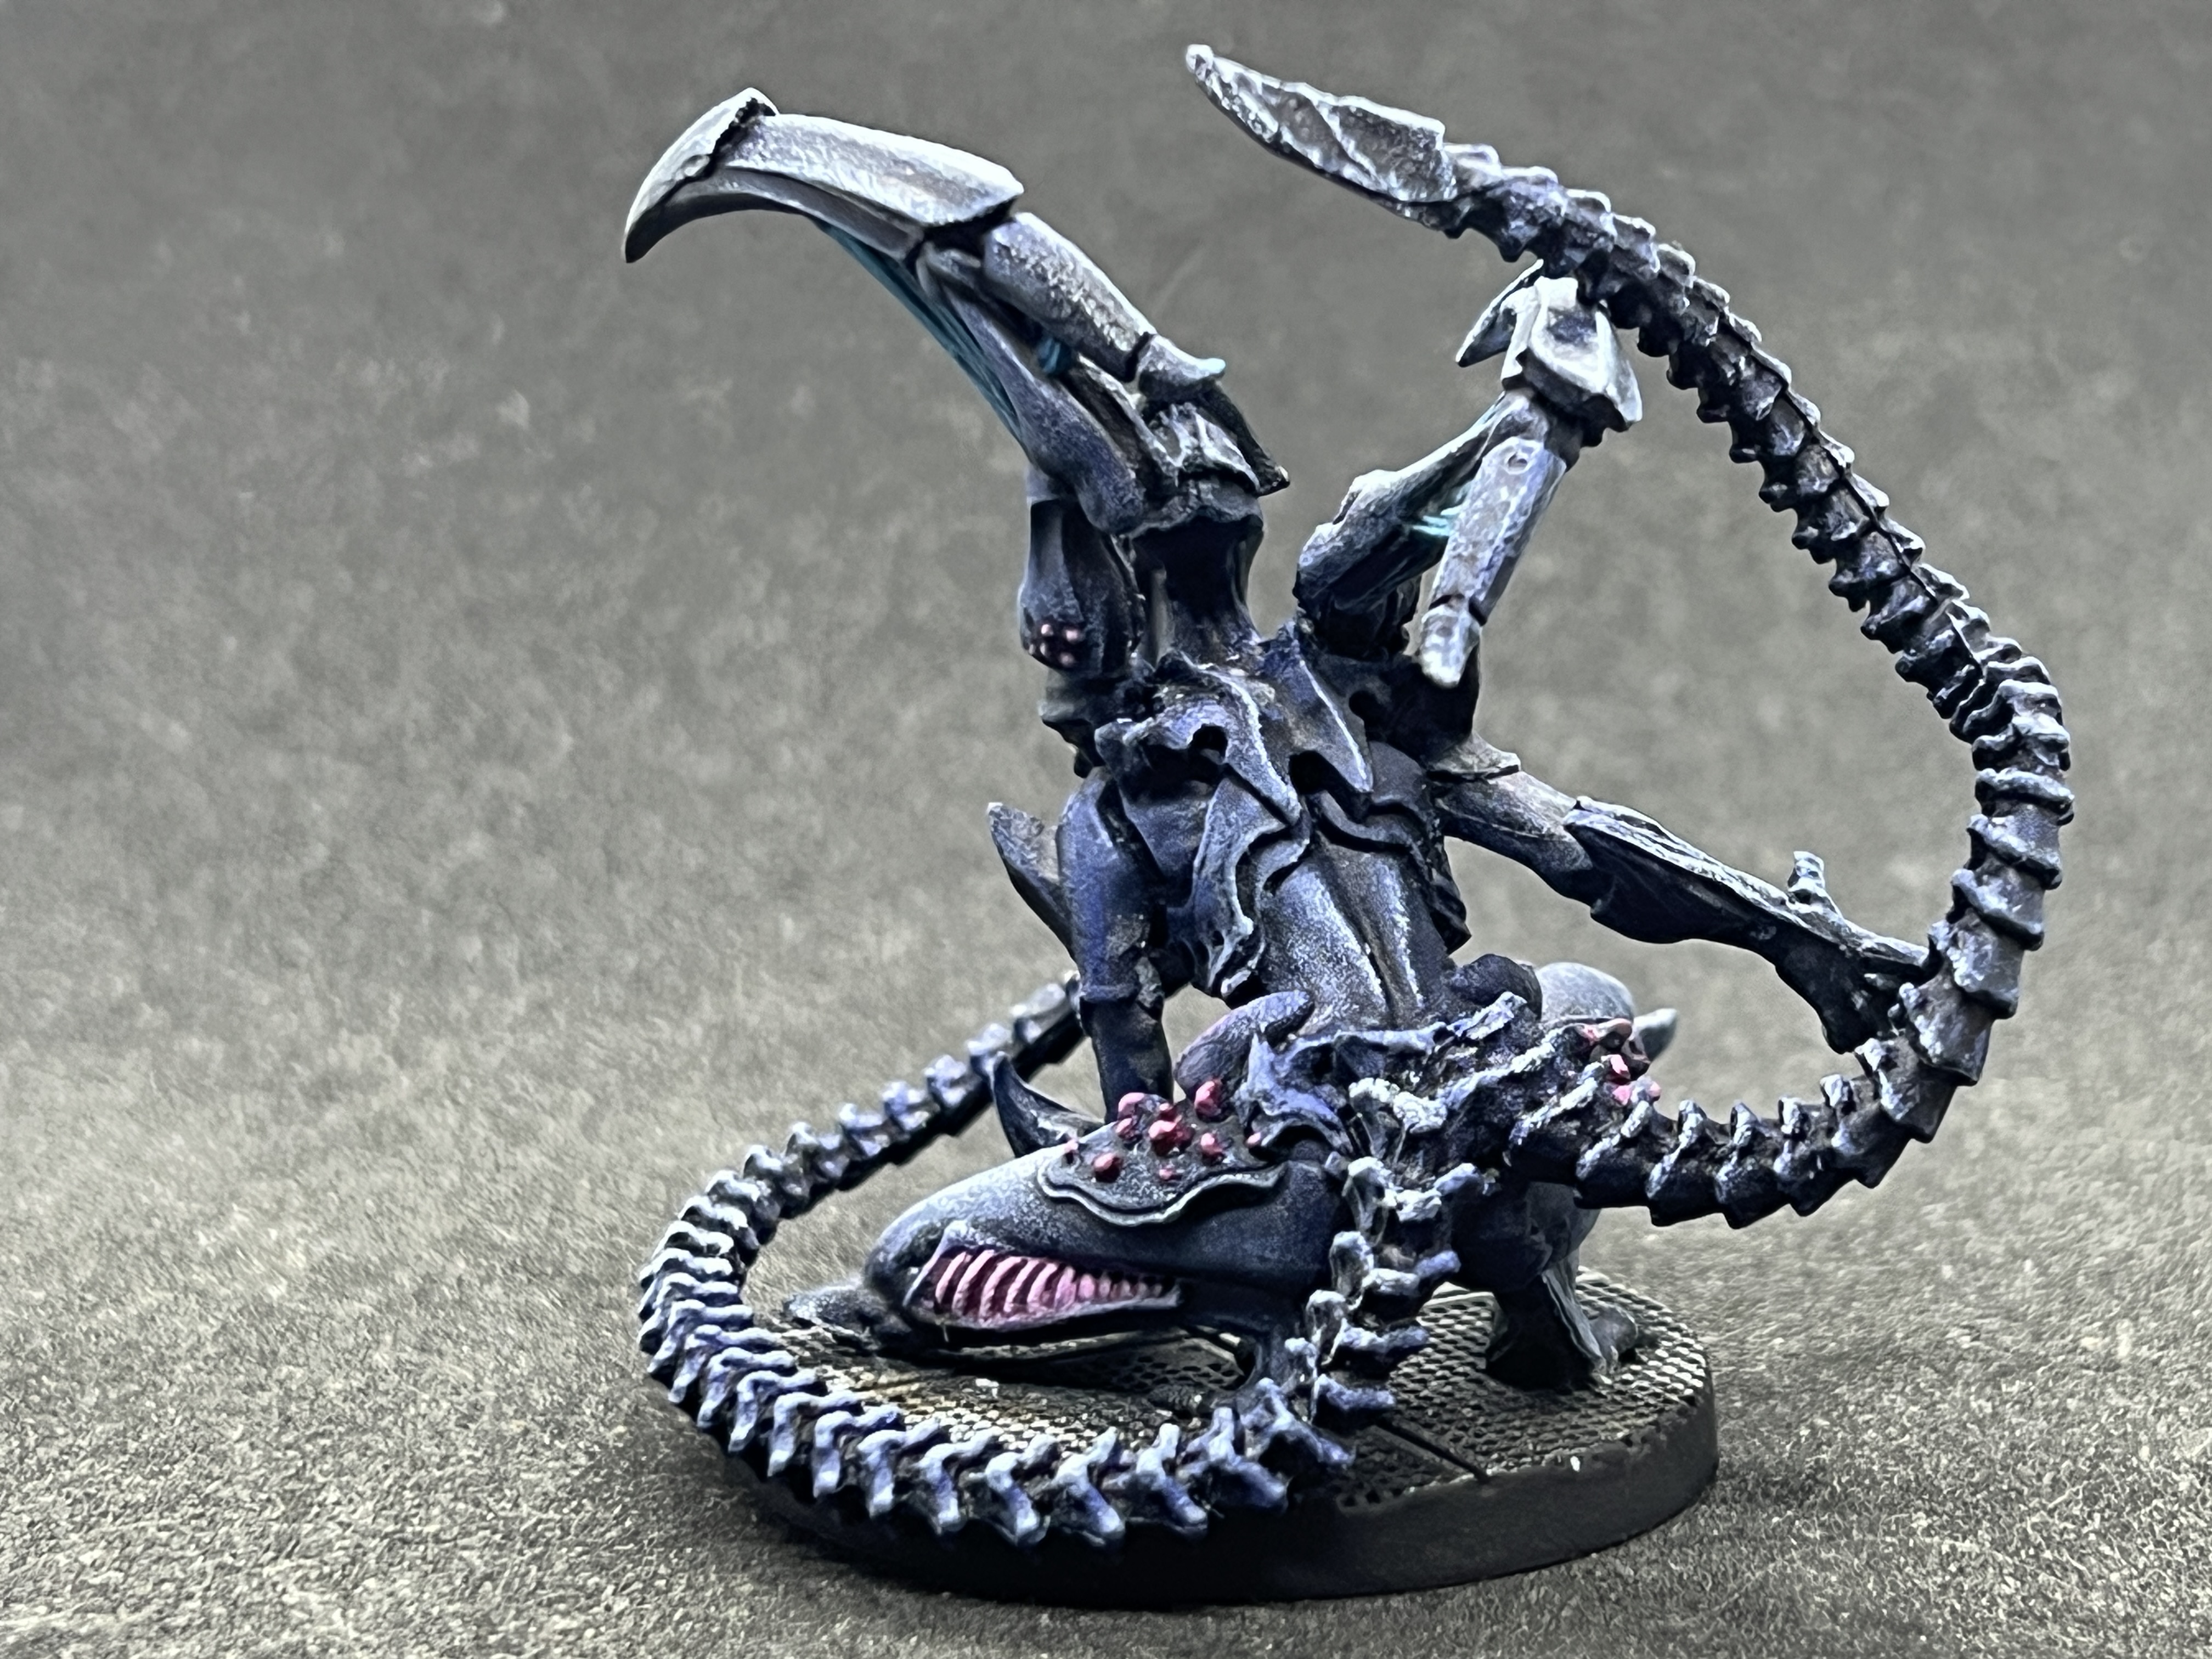
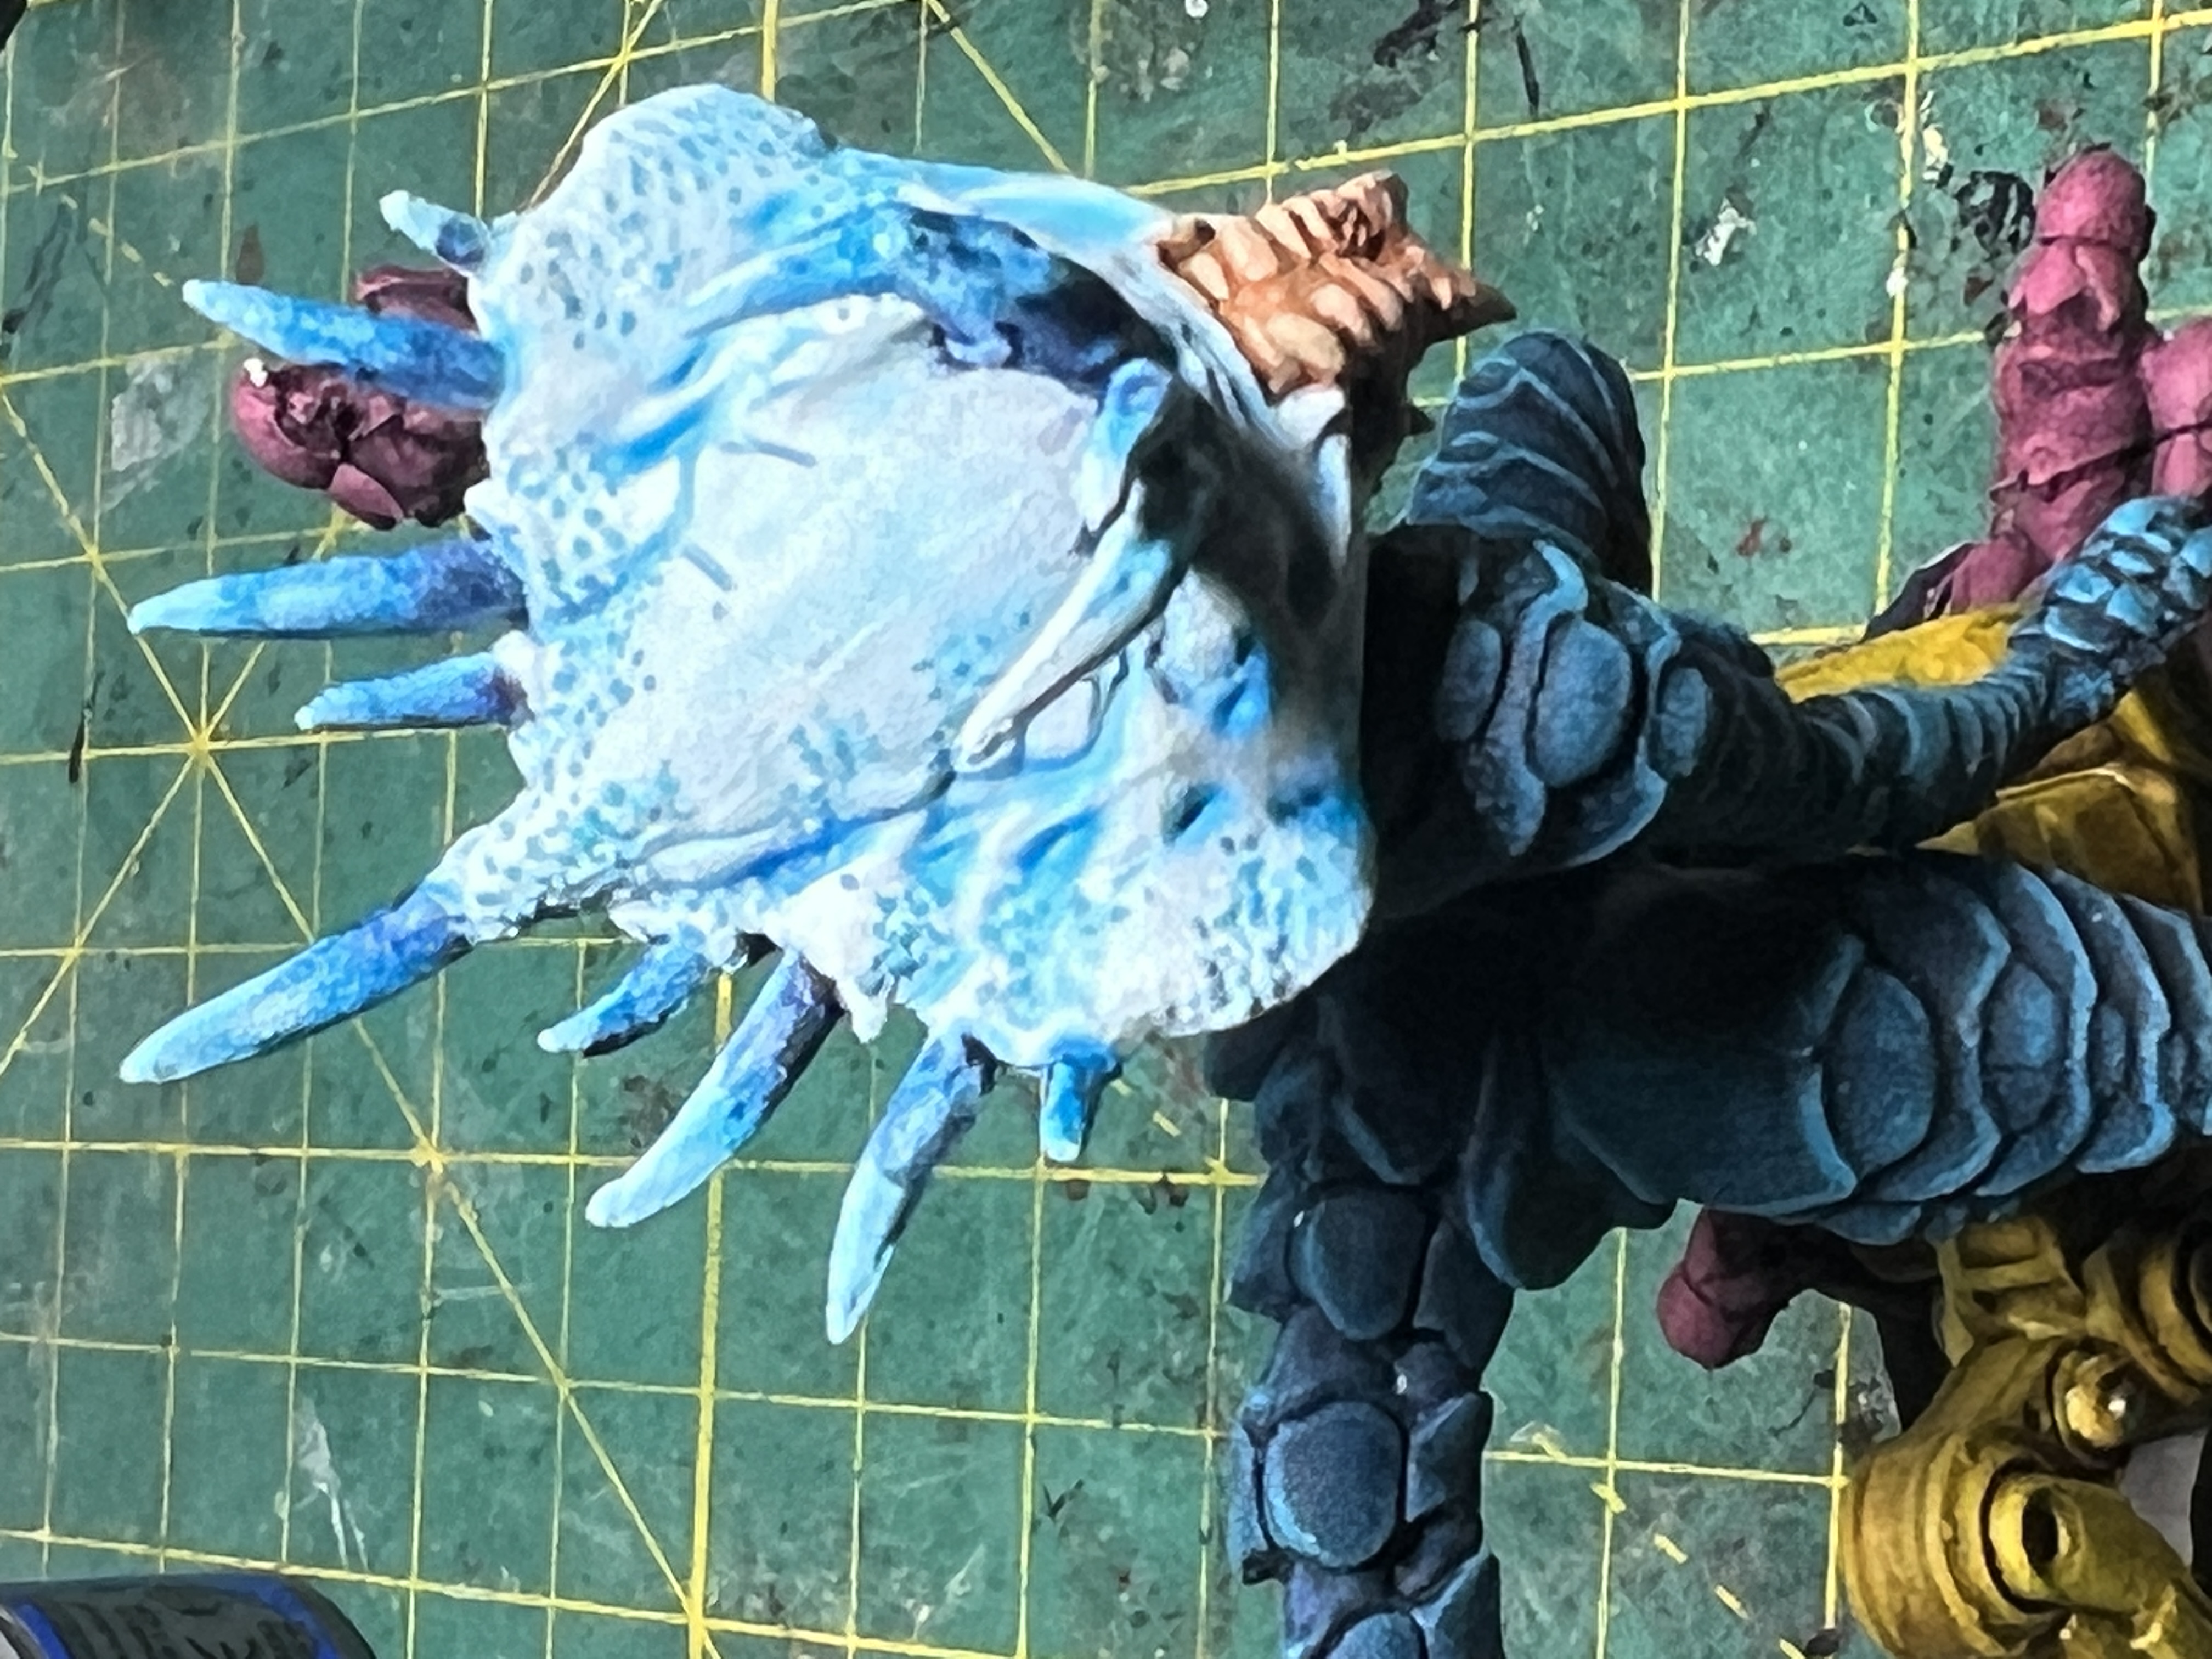 The queen was painted using previously detailed methods except for the head, which was painted using light blue GW contrasts paints, while the spines were painted with gradient blue contrast GW paint, from light blue to dark blue.
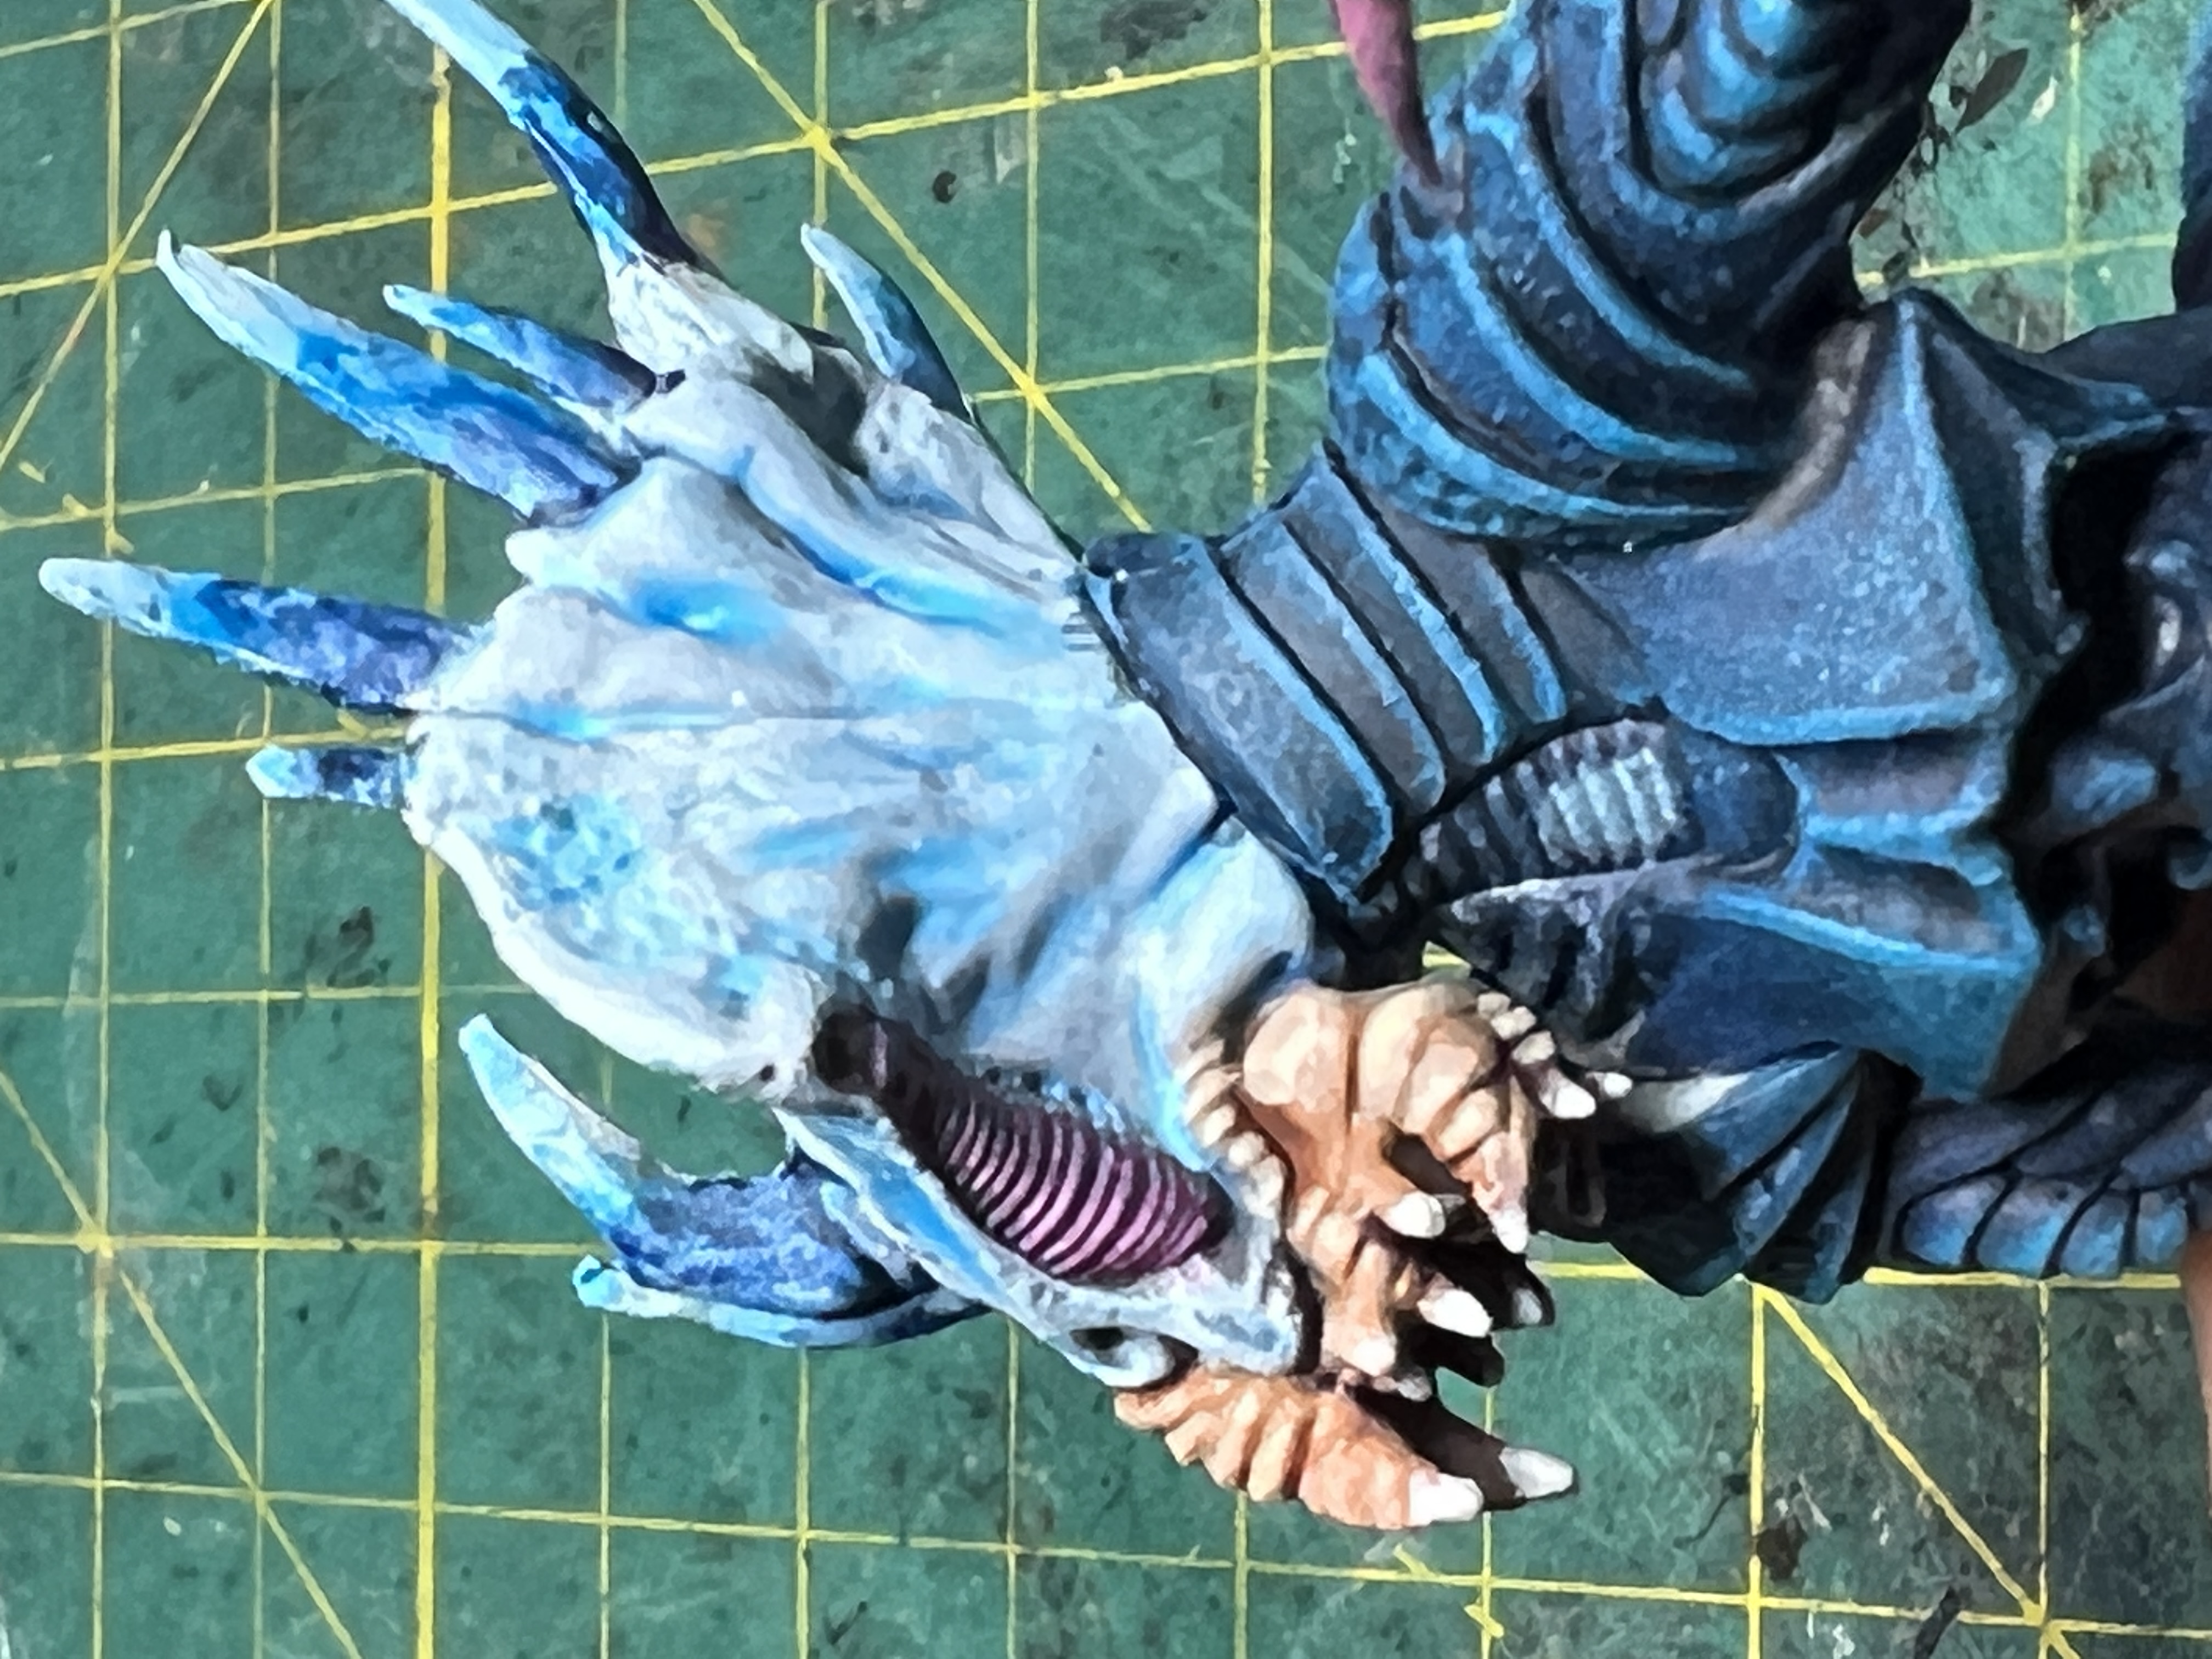 The mouth was applied GW Cadian Fleshtone, followed by a flesh wash and highlight using the original flesh color with some white added.
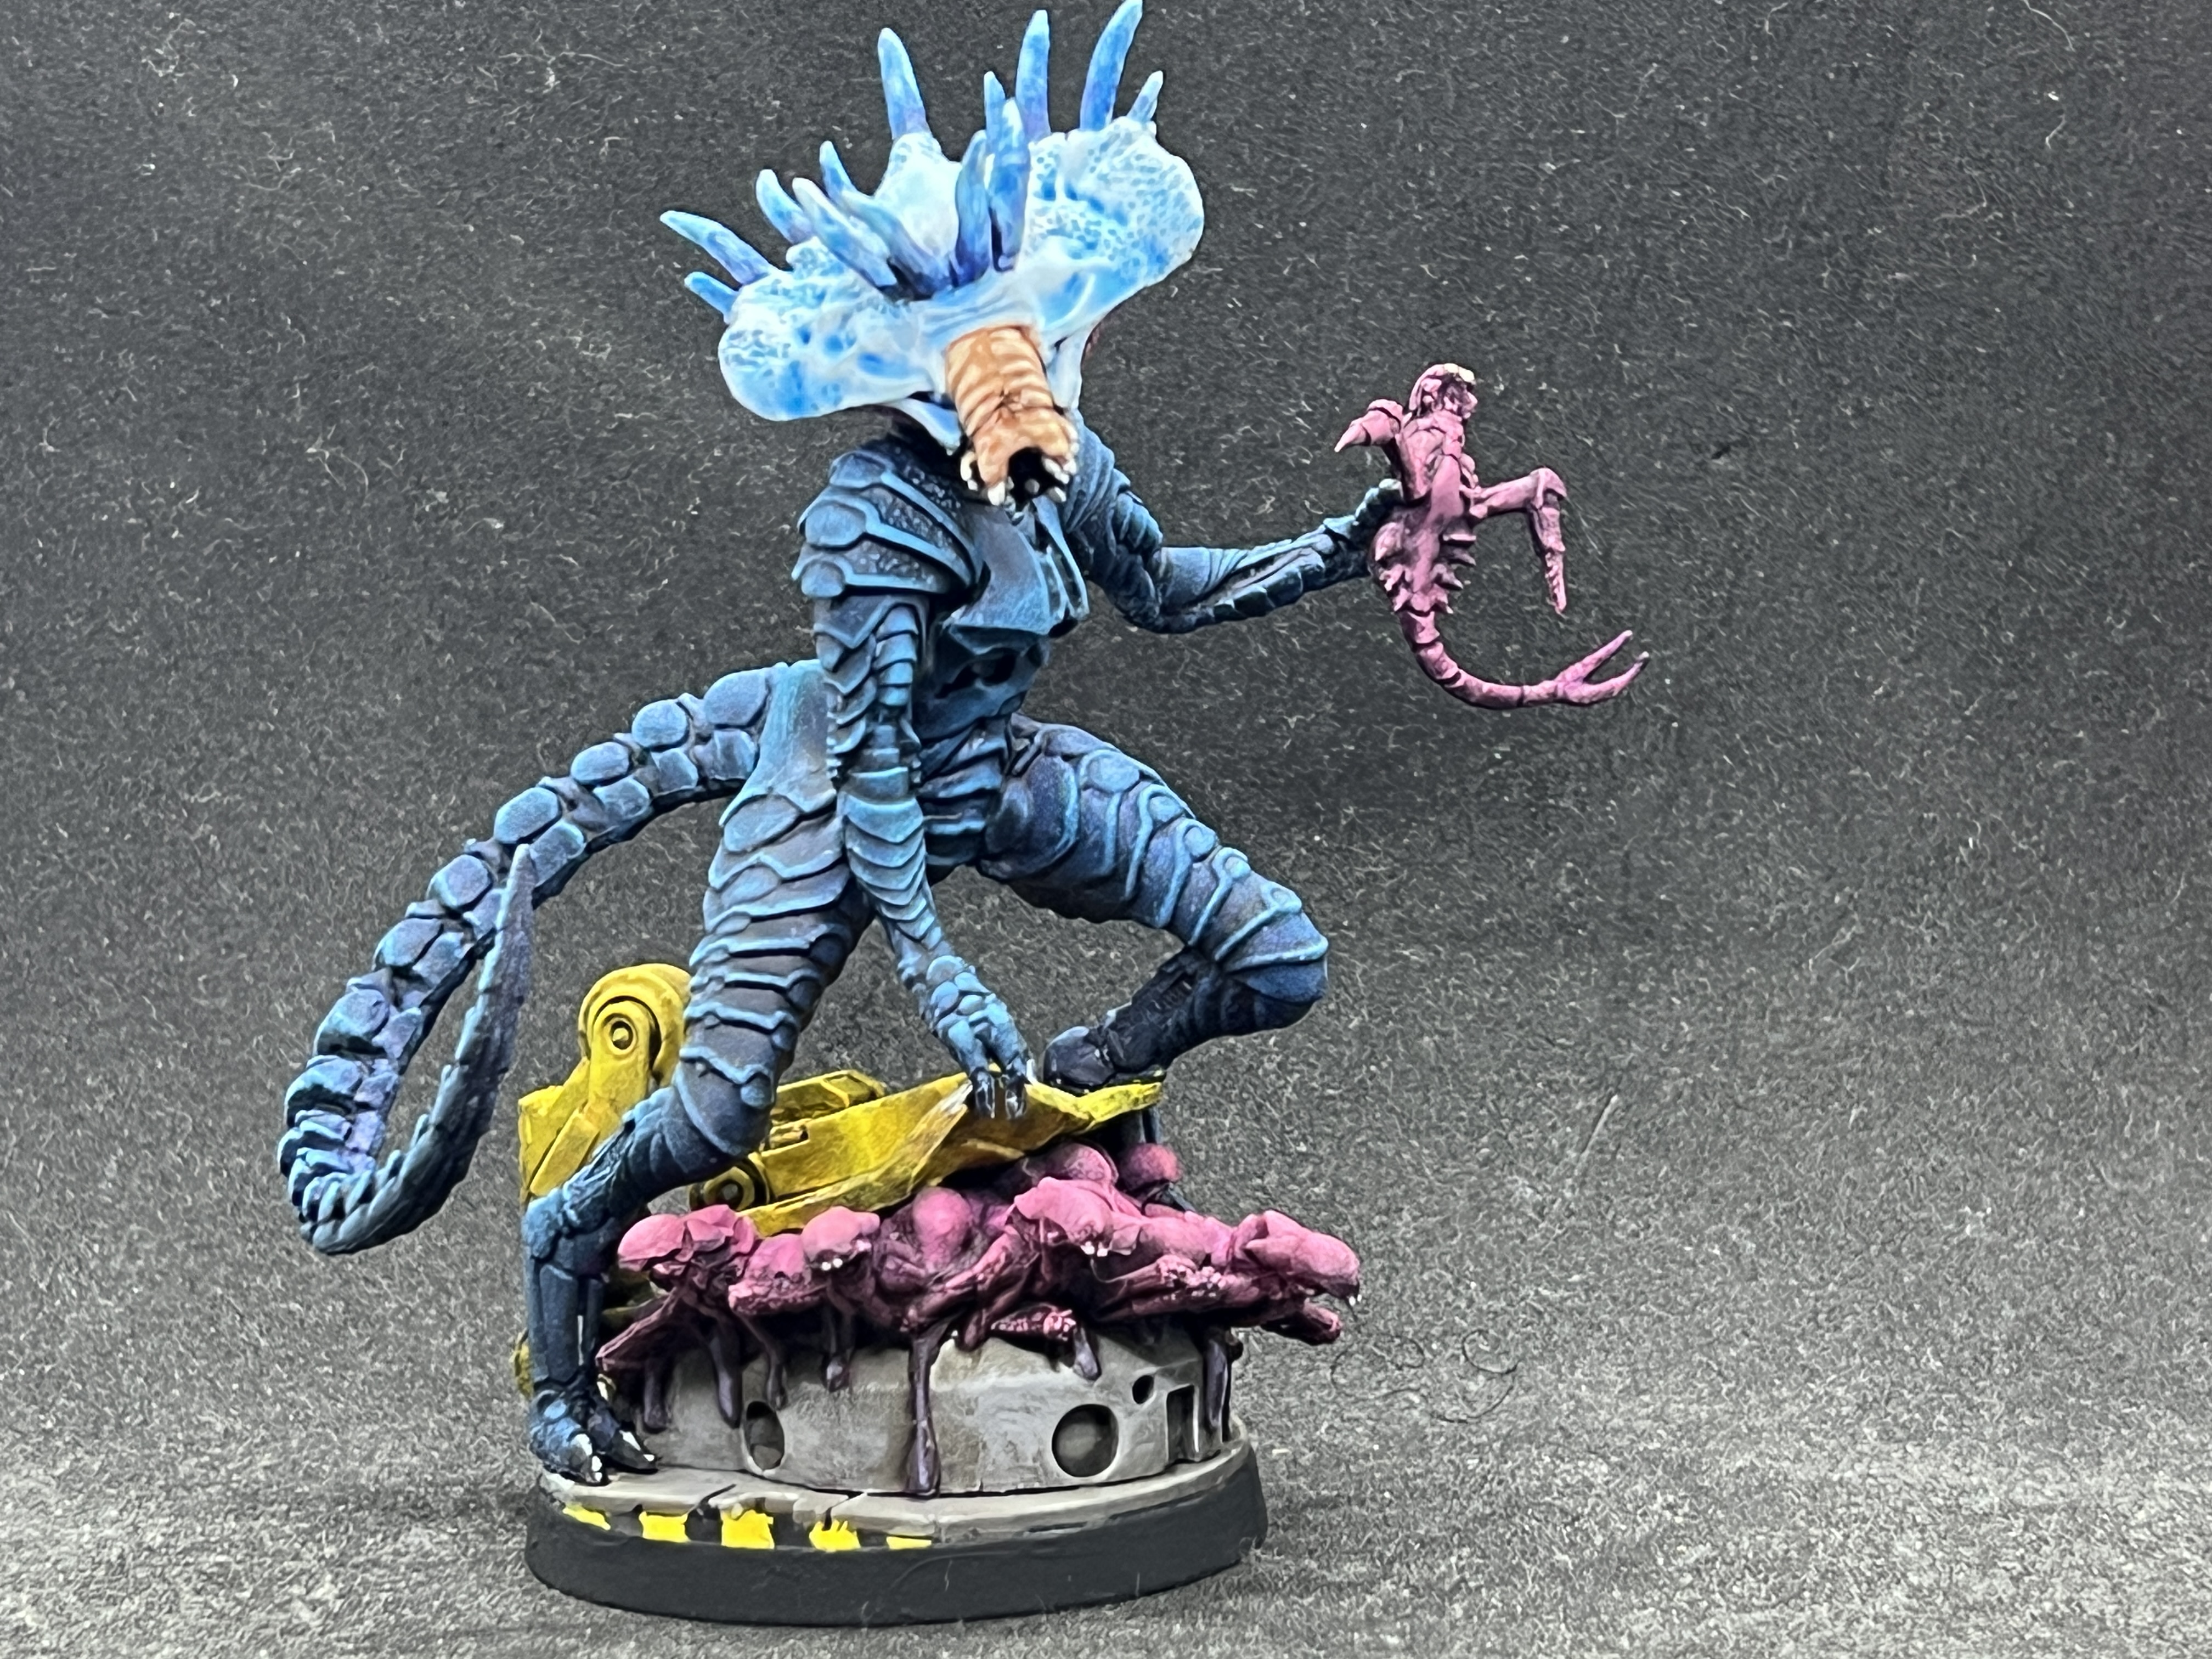 The basse was painted light grey and washed with GW Agrax Earthshade before being highlited with a drybrush of lighter grey. The hatch was painted yellow and washed with Agrax Eartshade before being highlited with the original color, while damaged edges were given a a light dry brushing of metallic color.
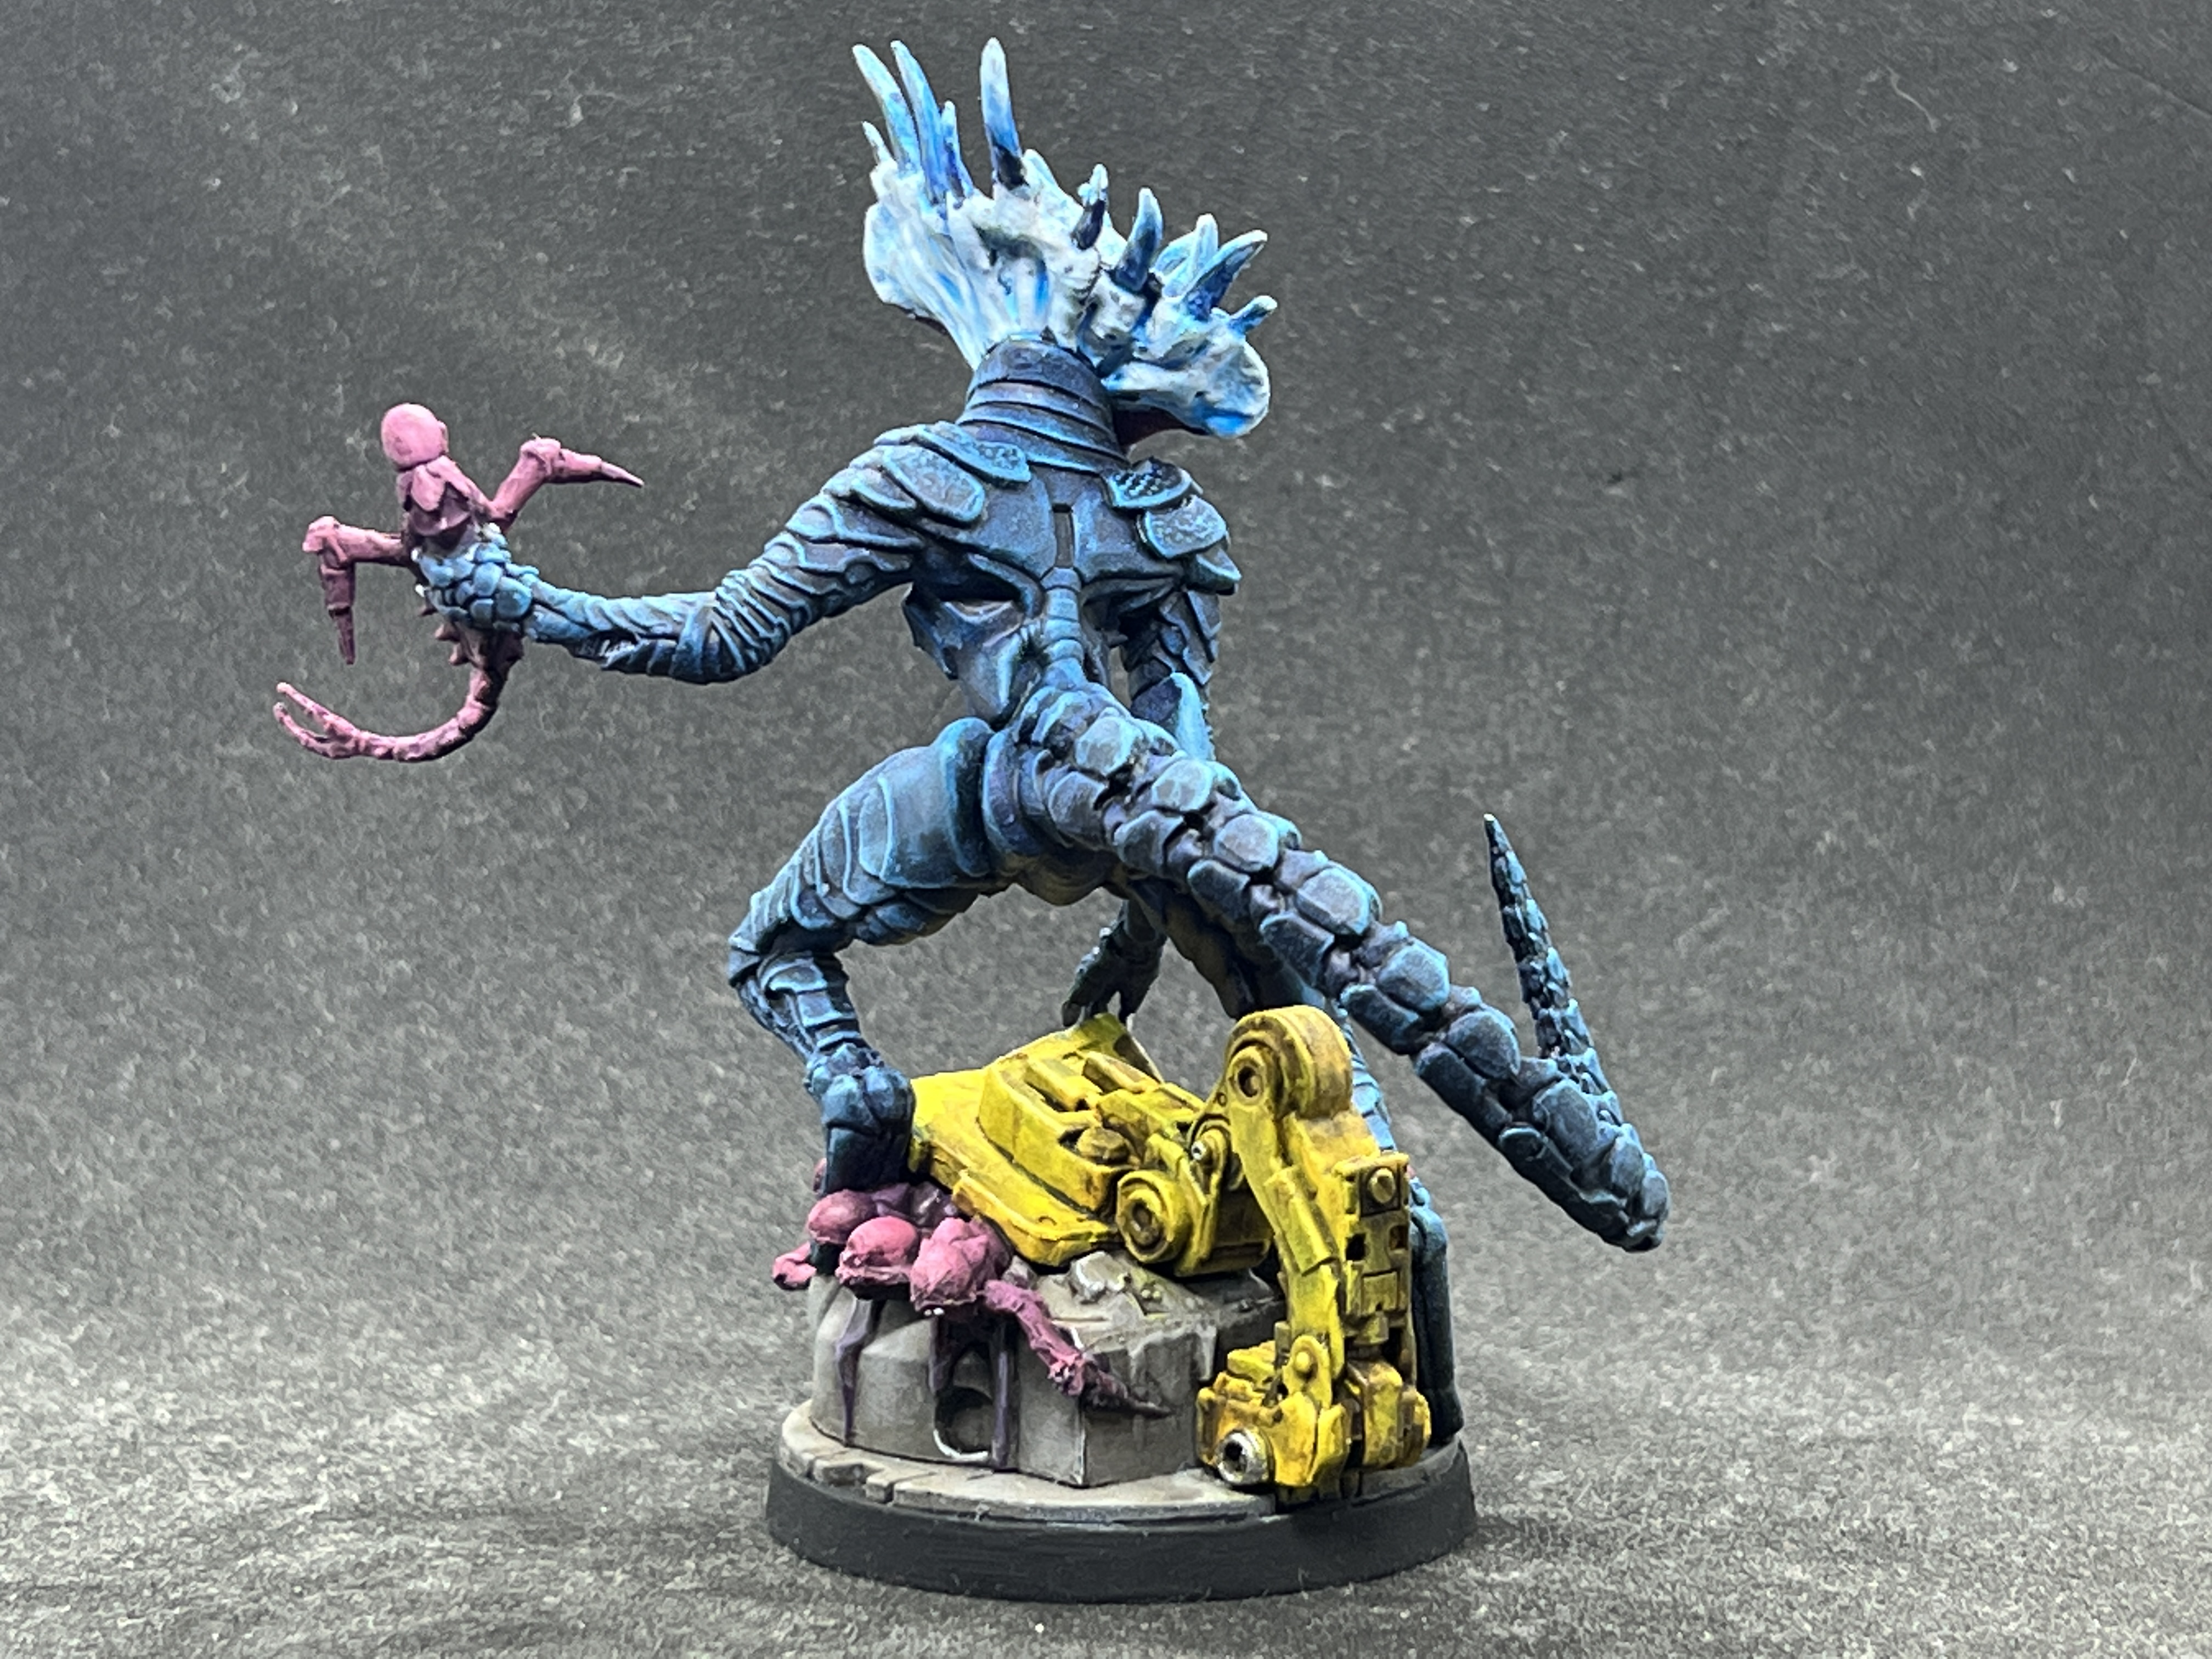
Nemesis - Painting the Intruders - Part 5: Breeders
 Paint the breeders skins the same way as you painted the adults (see 2 previous posts)
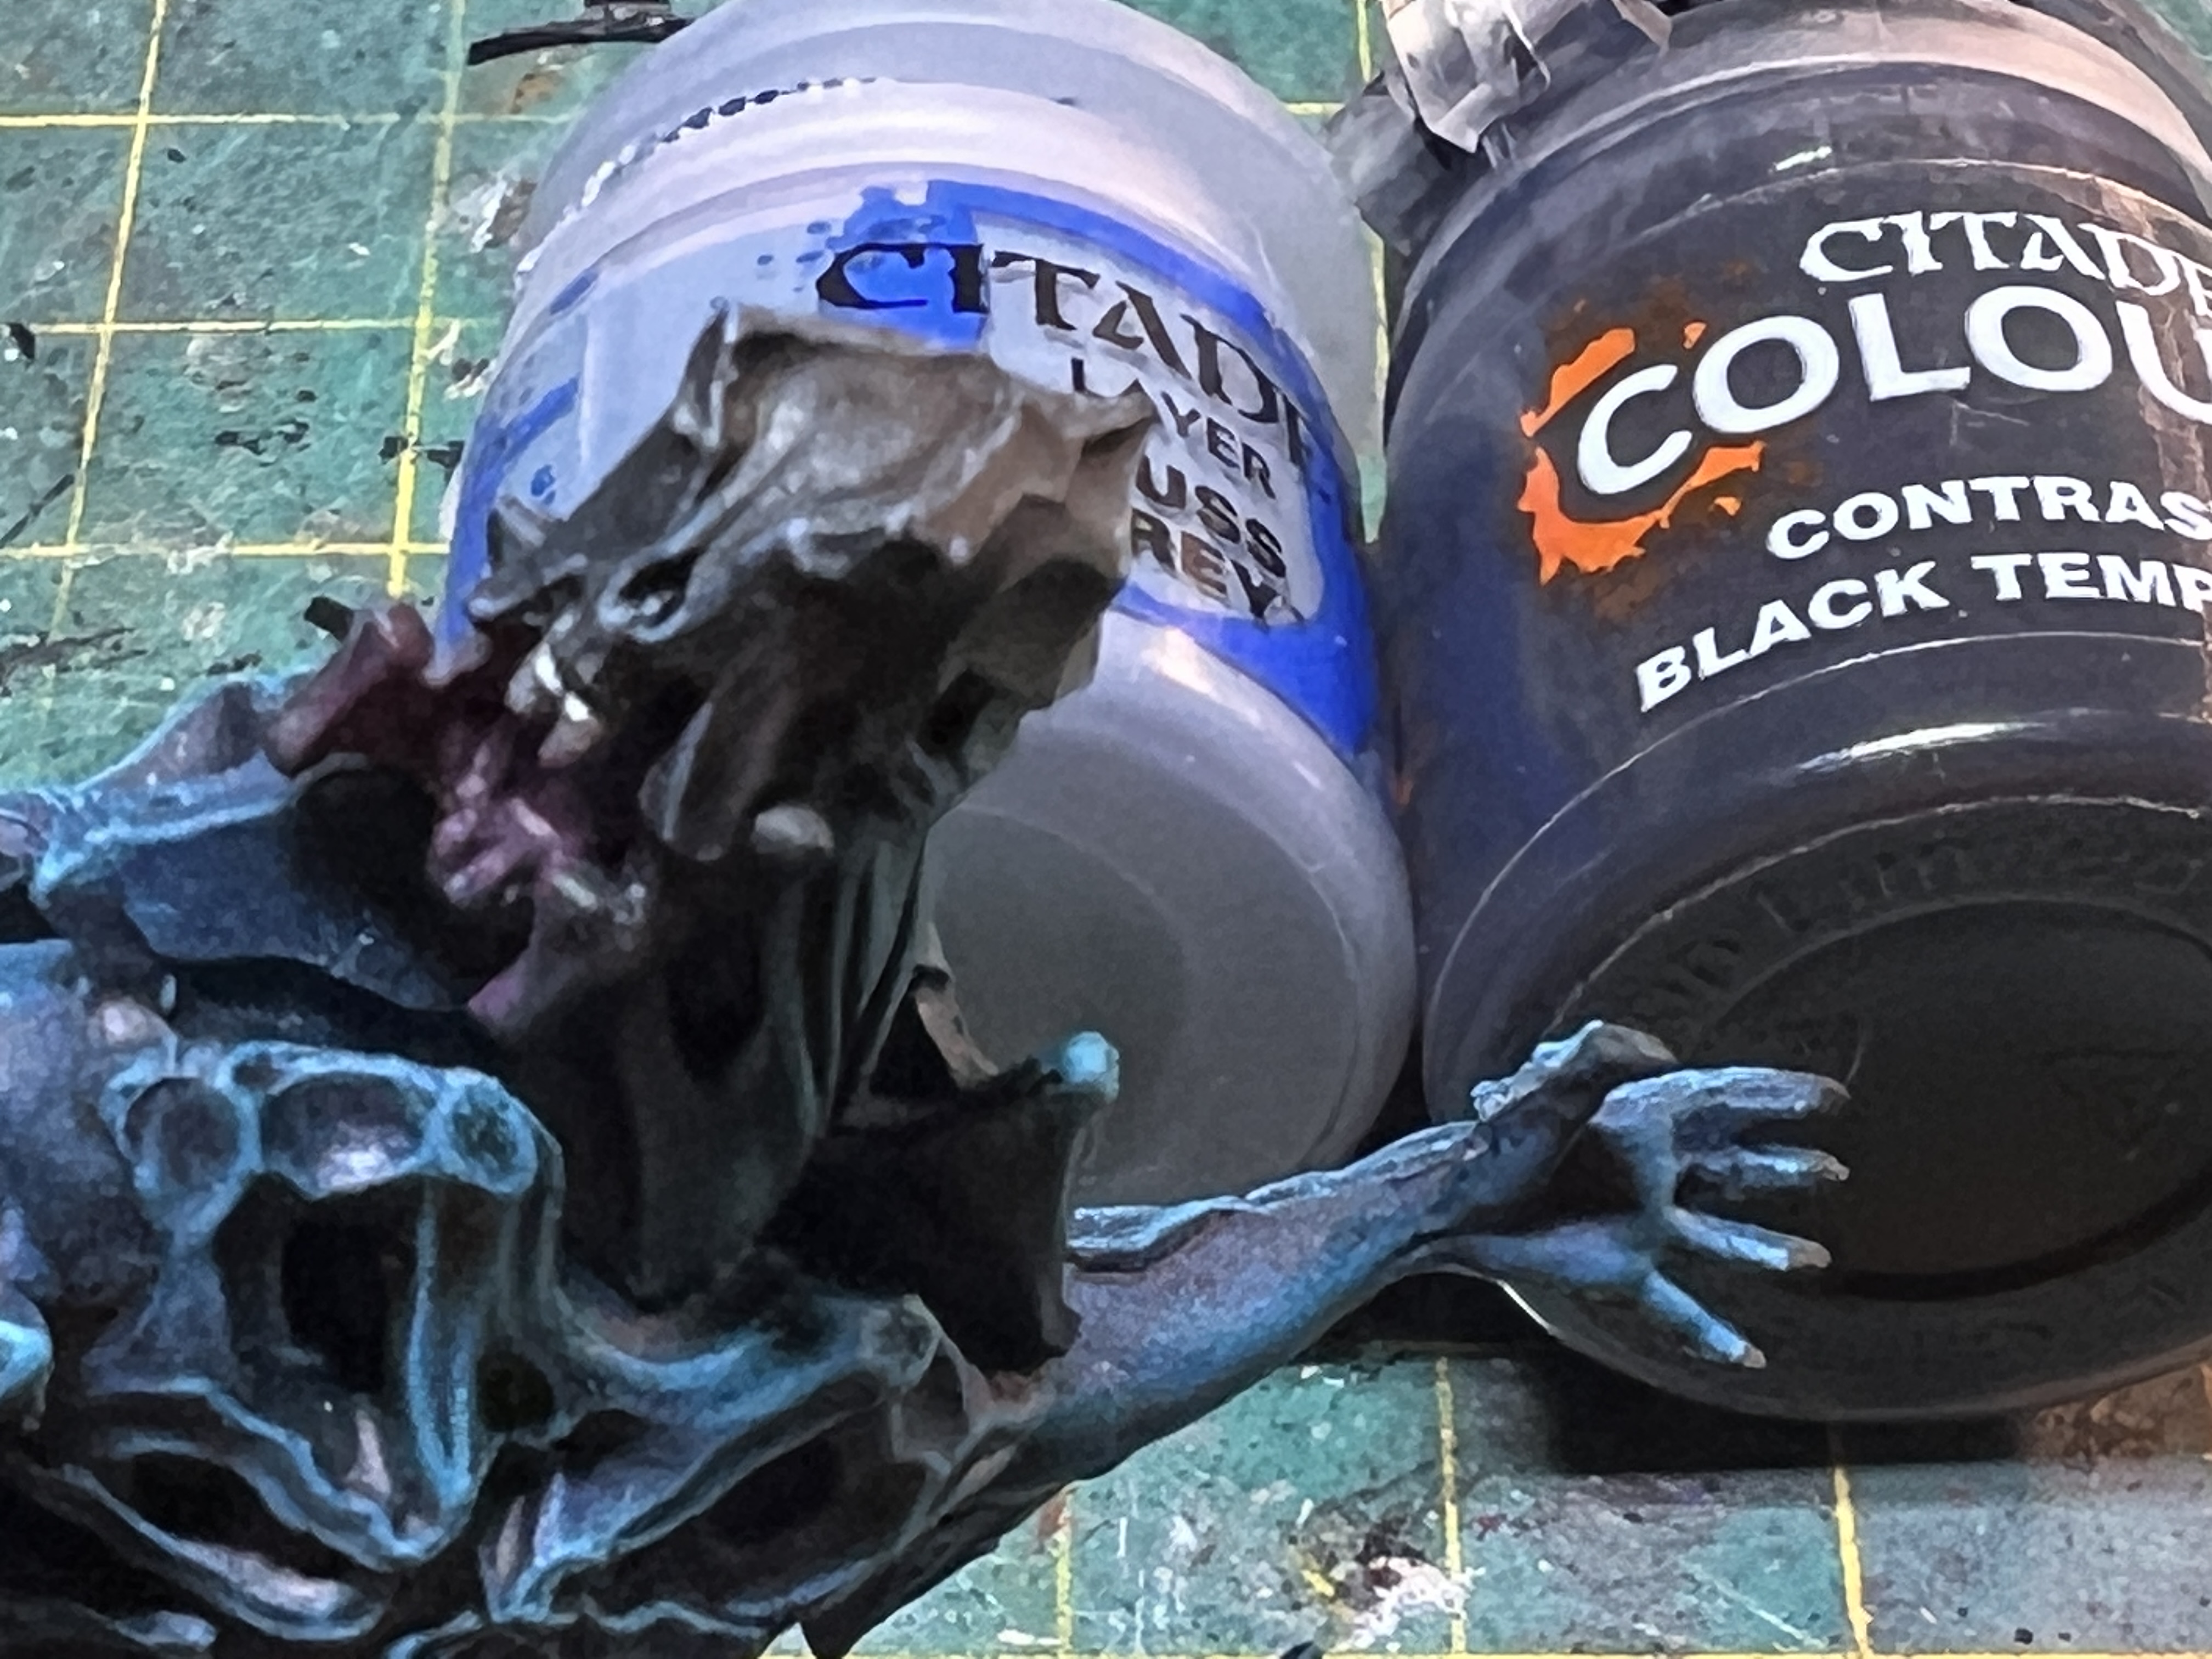 The heads are painted using GW Contrast paint with highlight using GW Russ Grey.
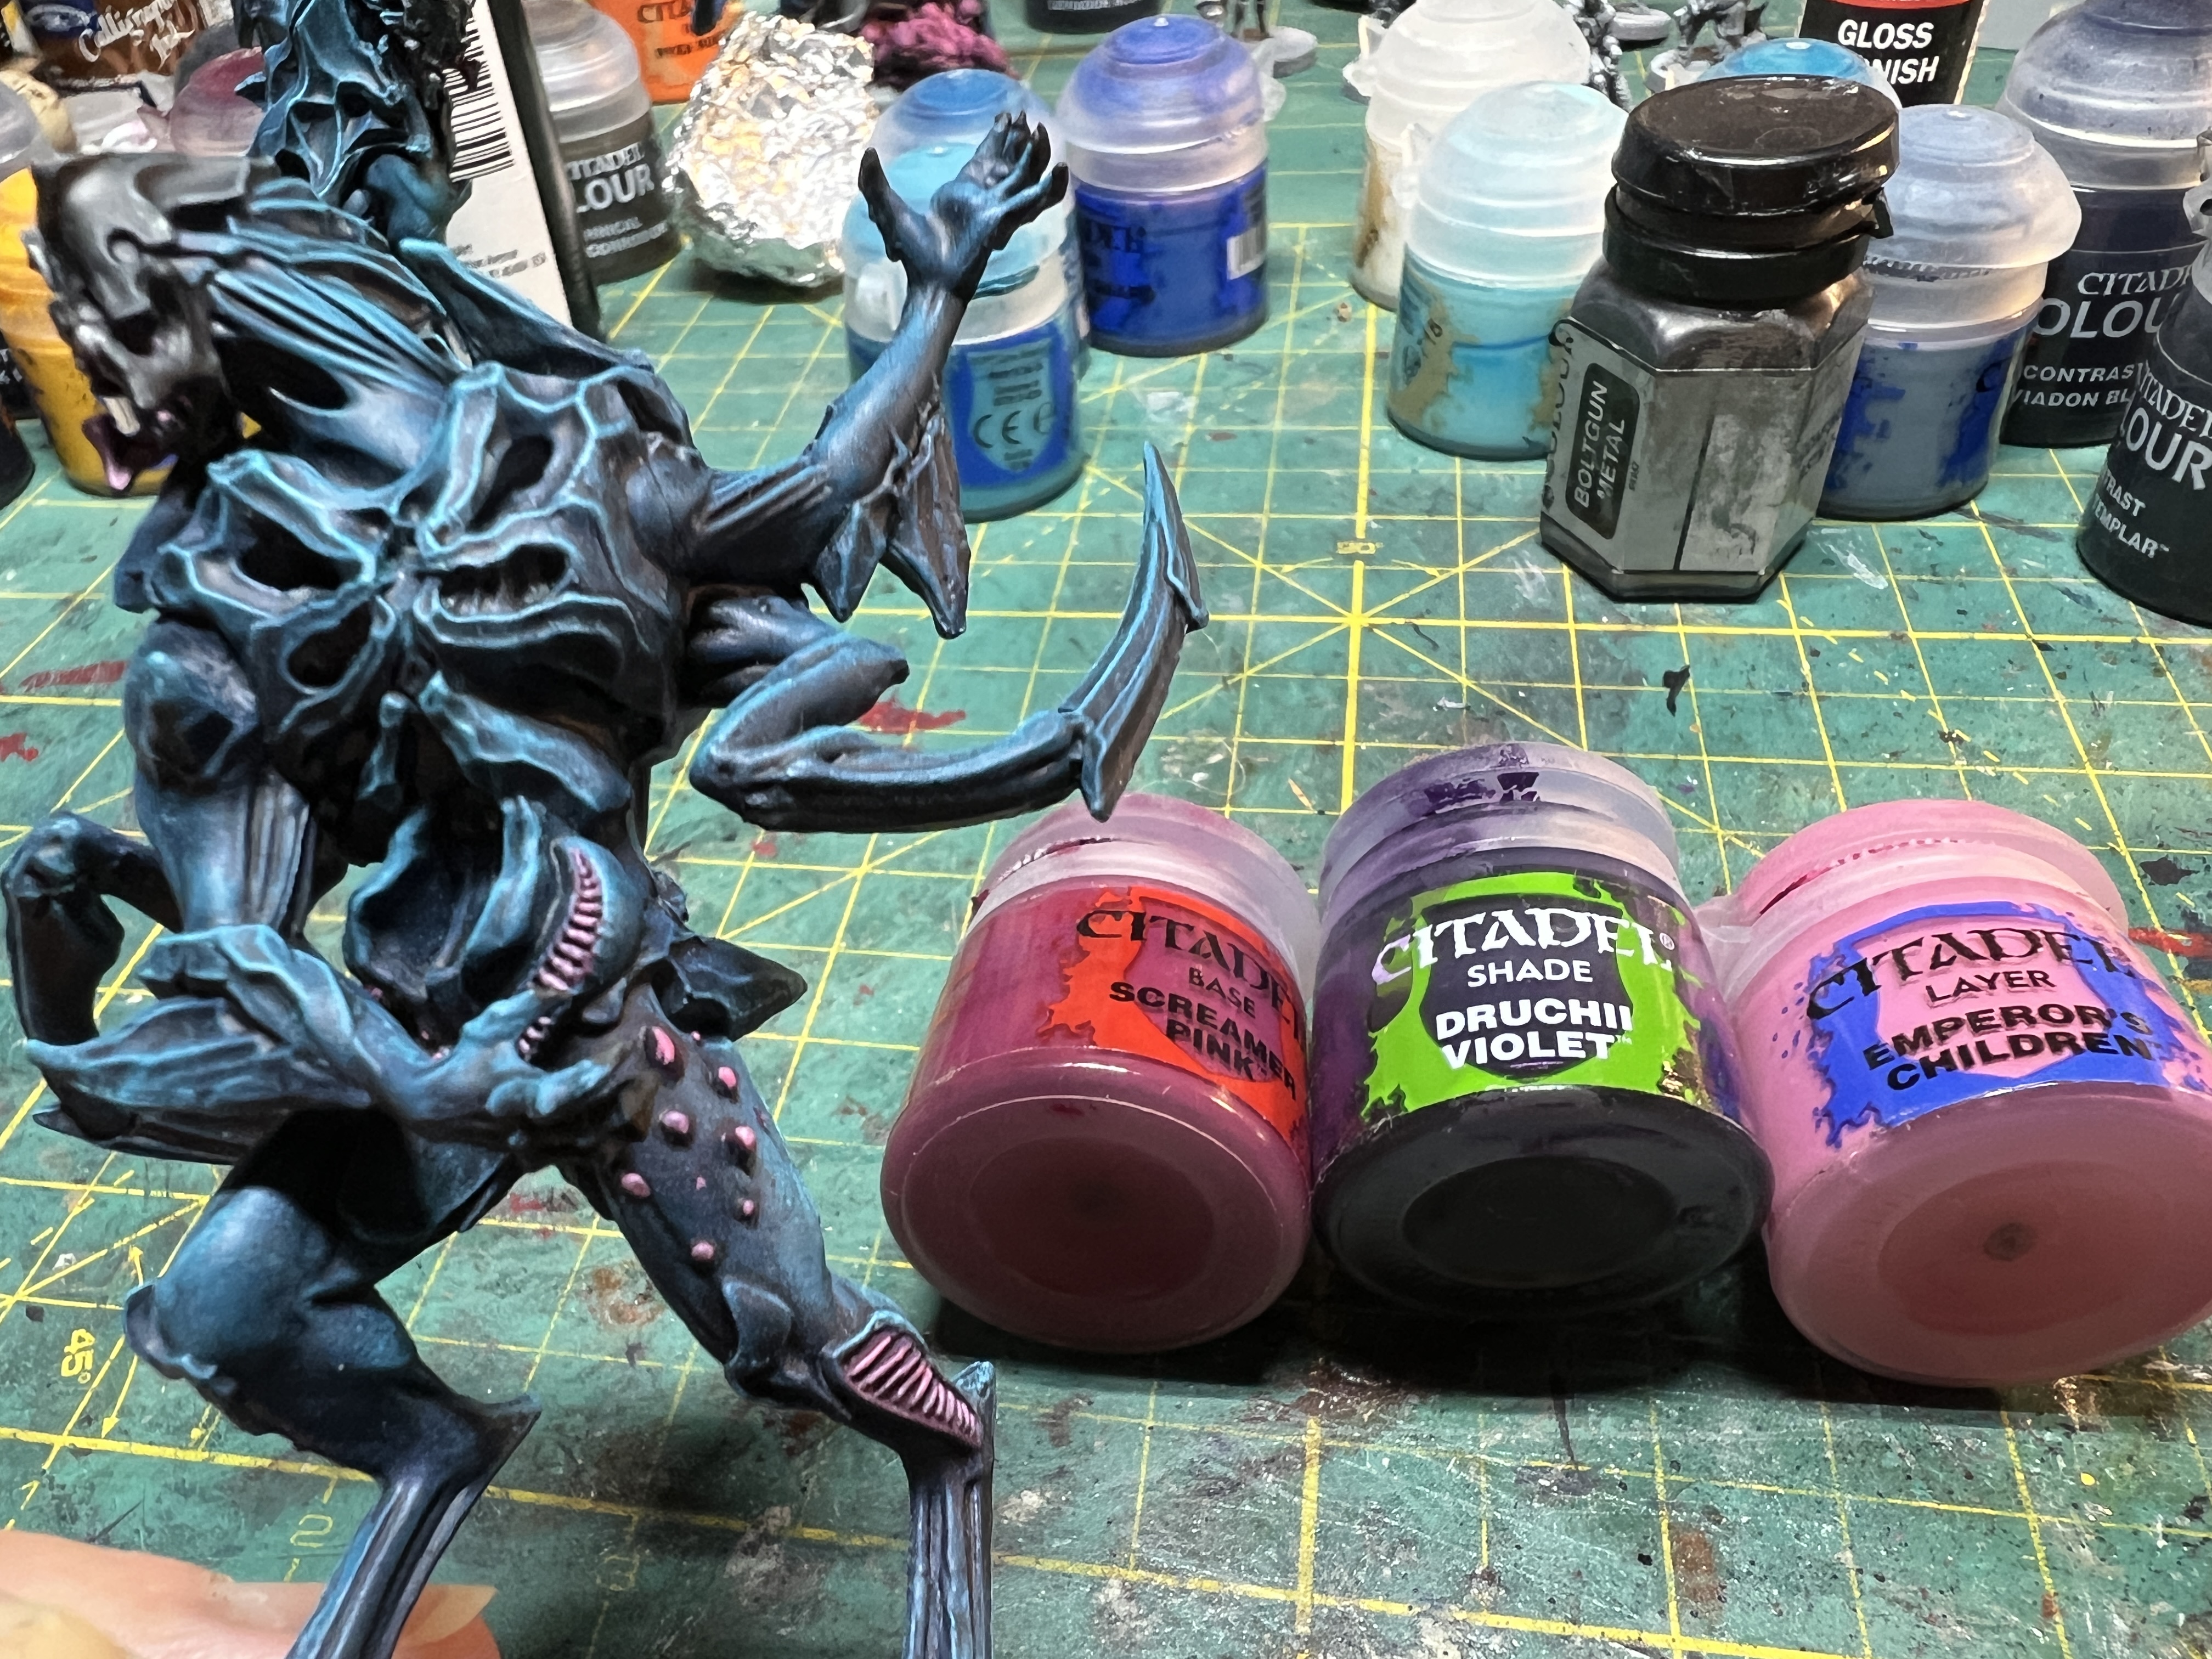 The inside of the mouth, membranes and leg protrusions are painted using GW Screamer pink, washed in GW Druchi Violet and highlighted with GW Emperor Children
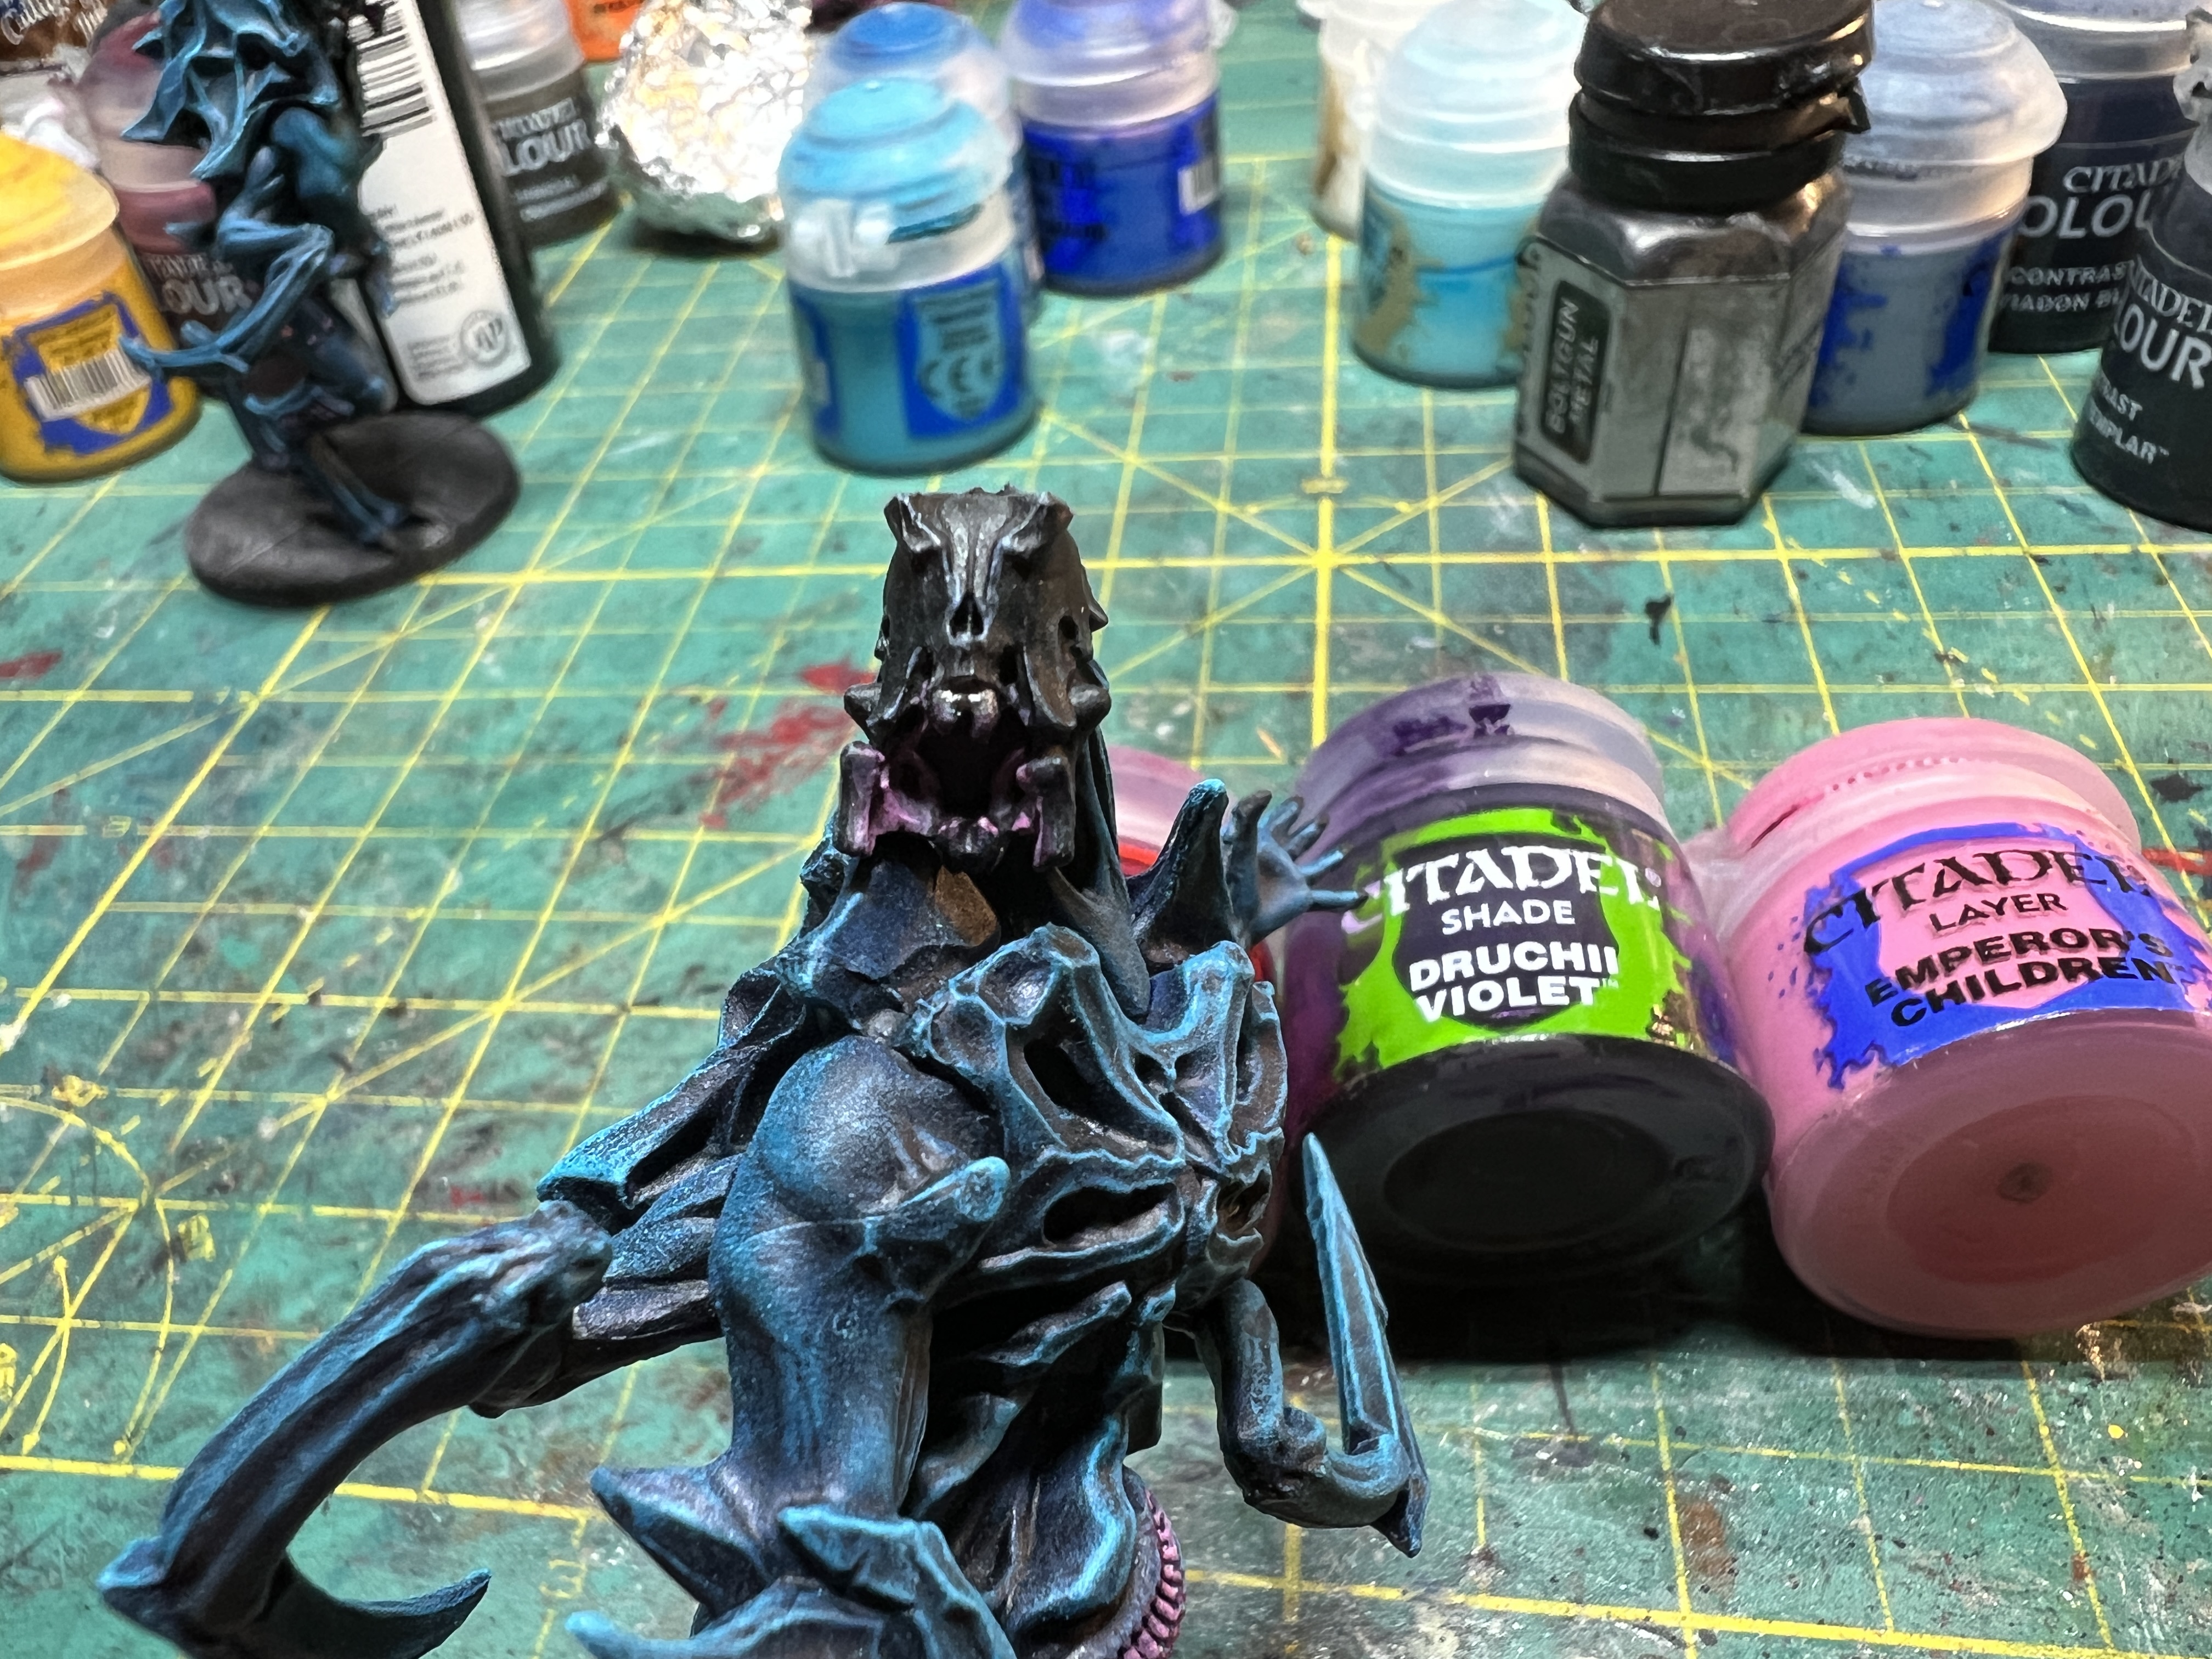
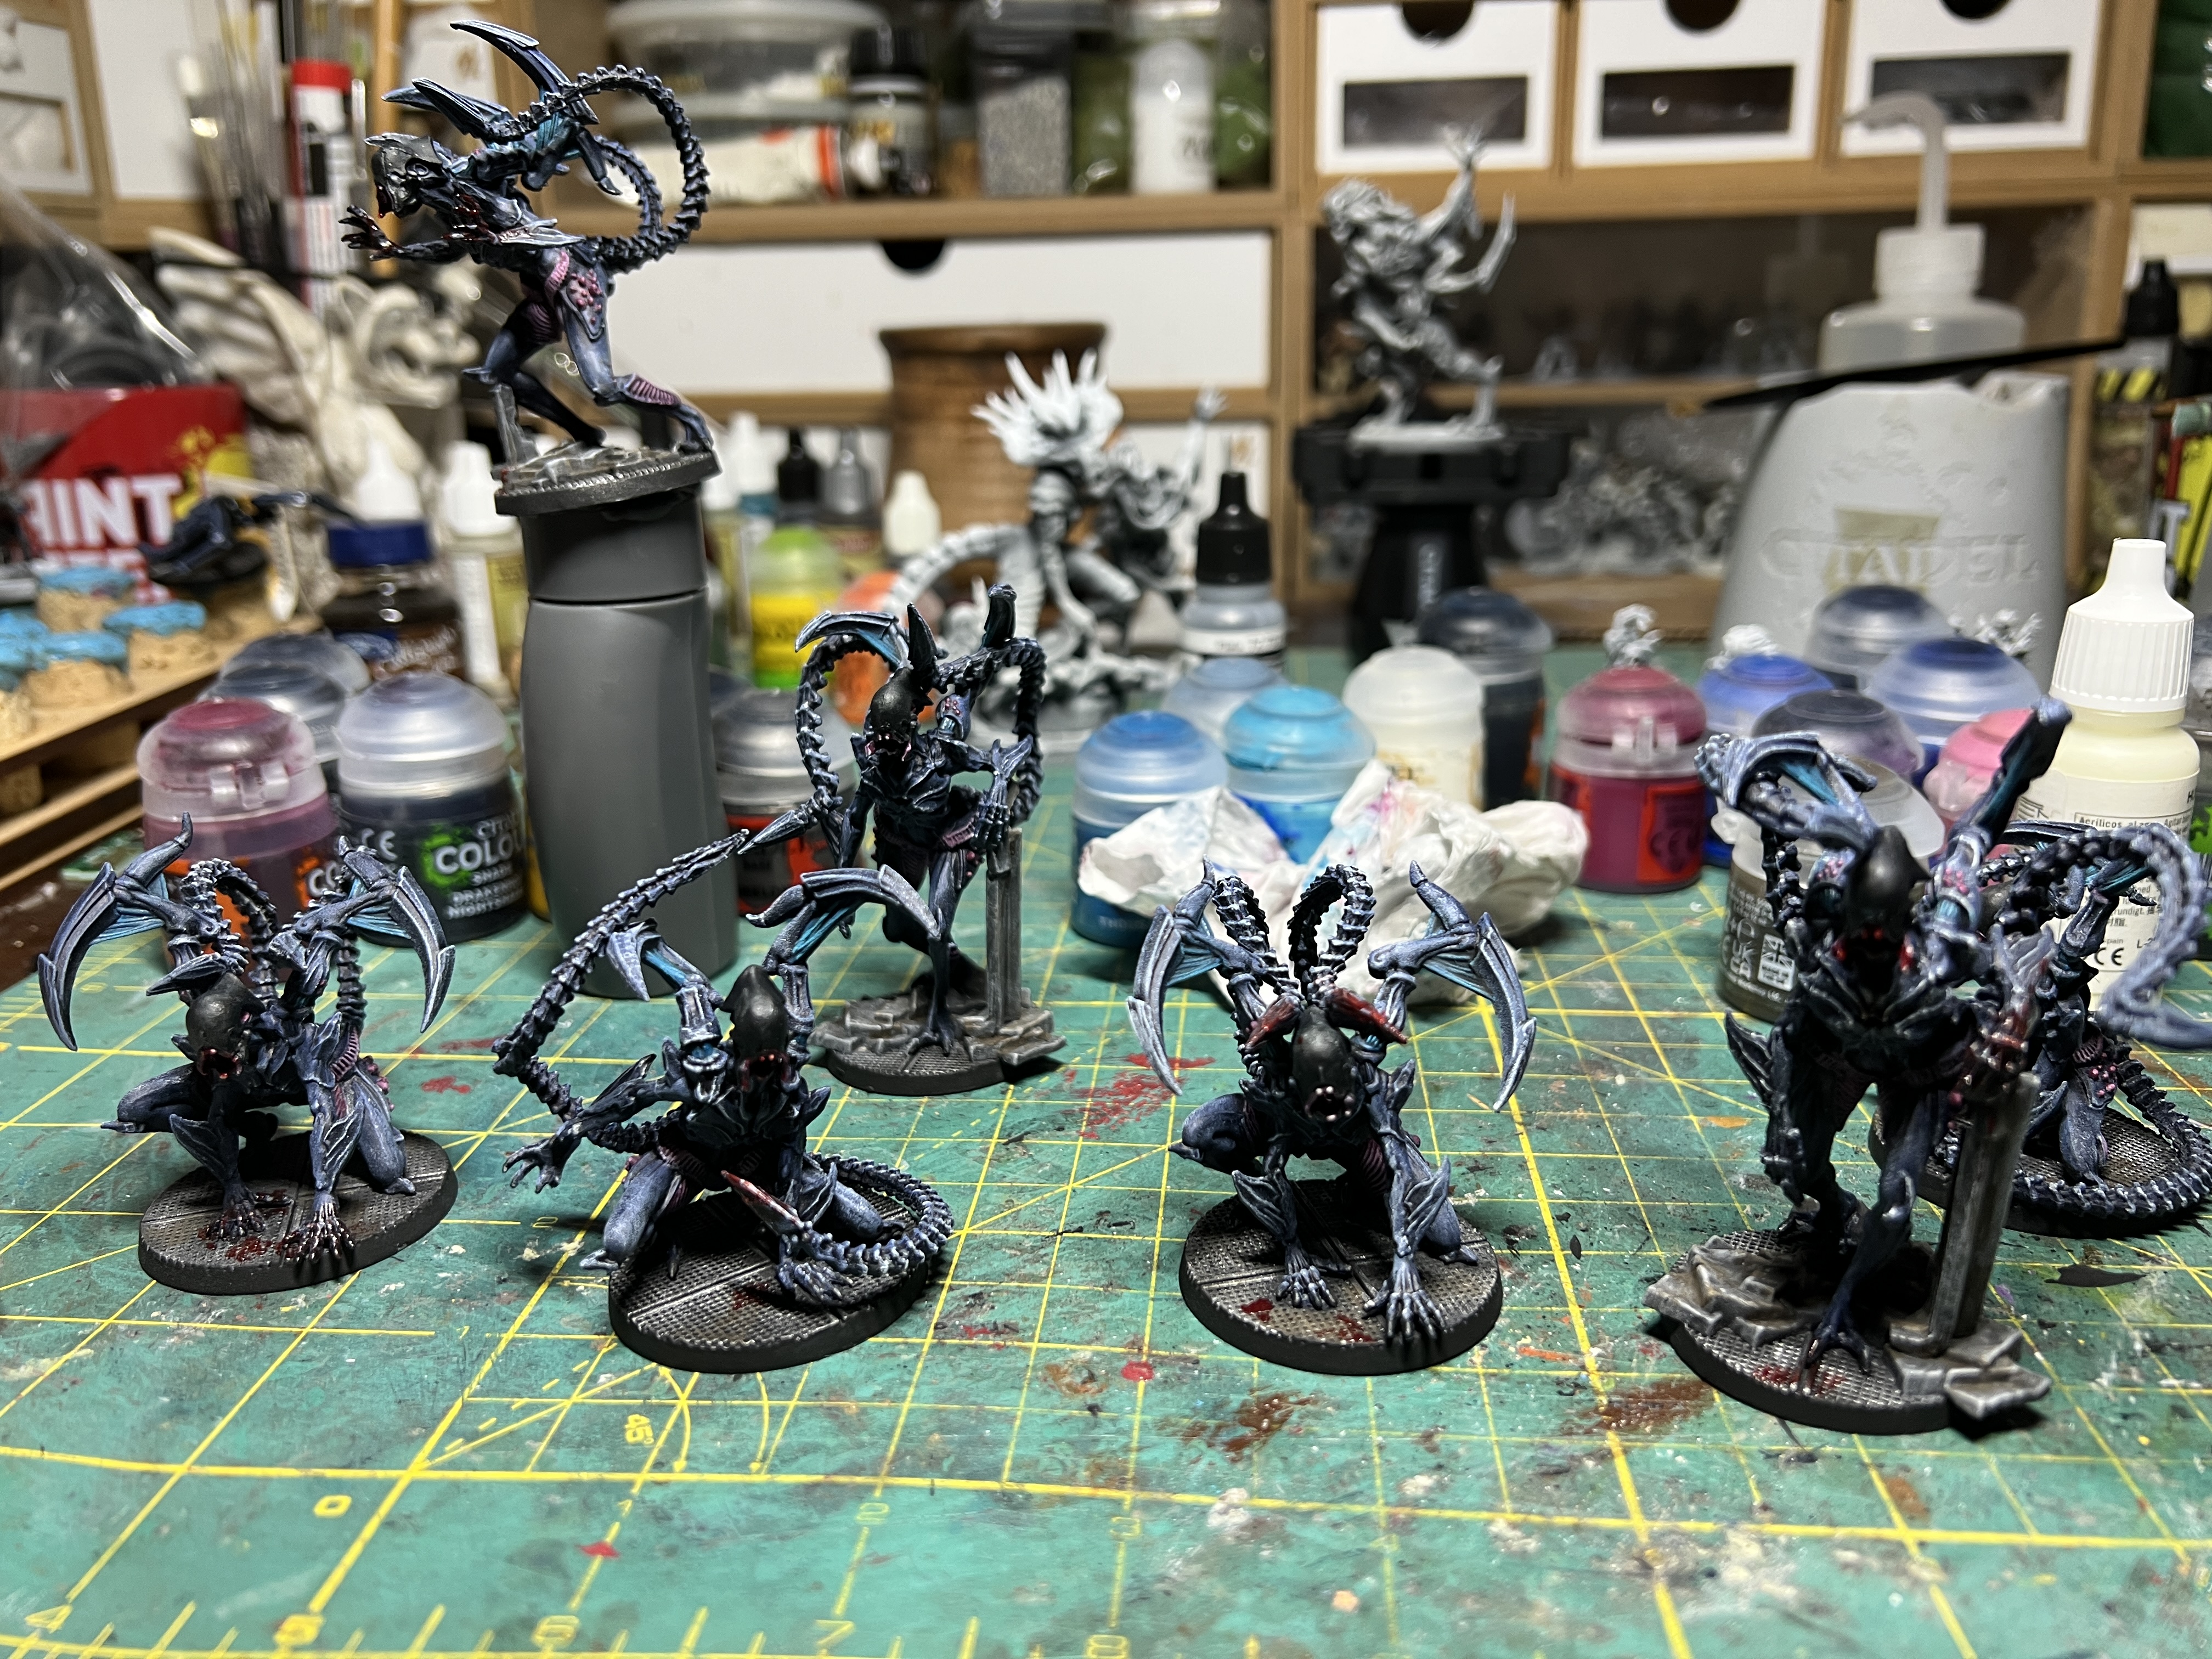
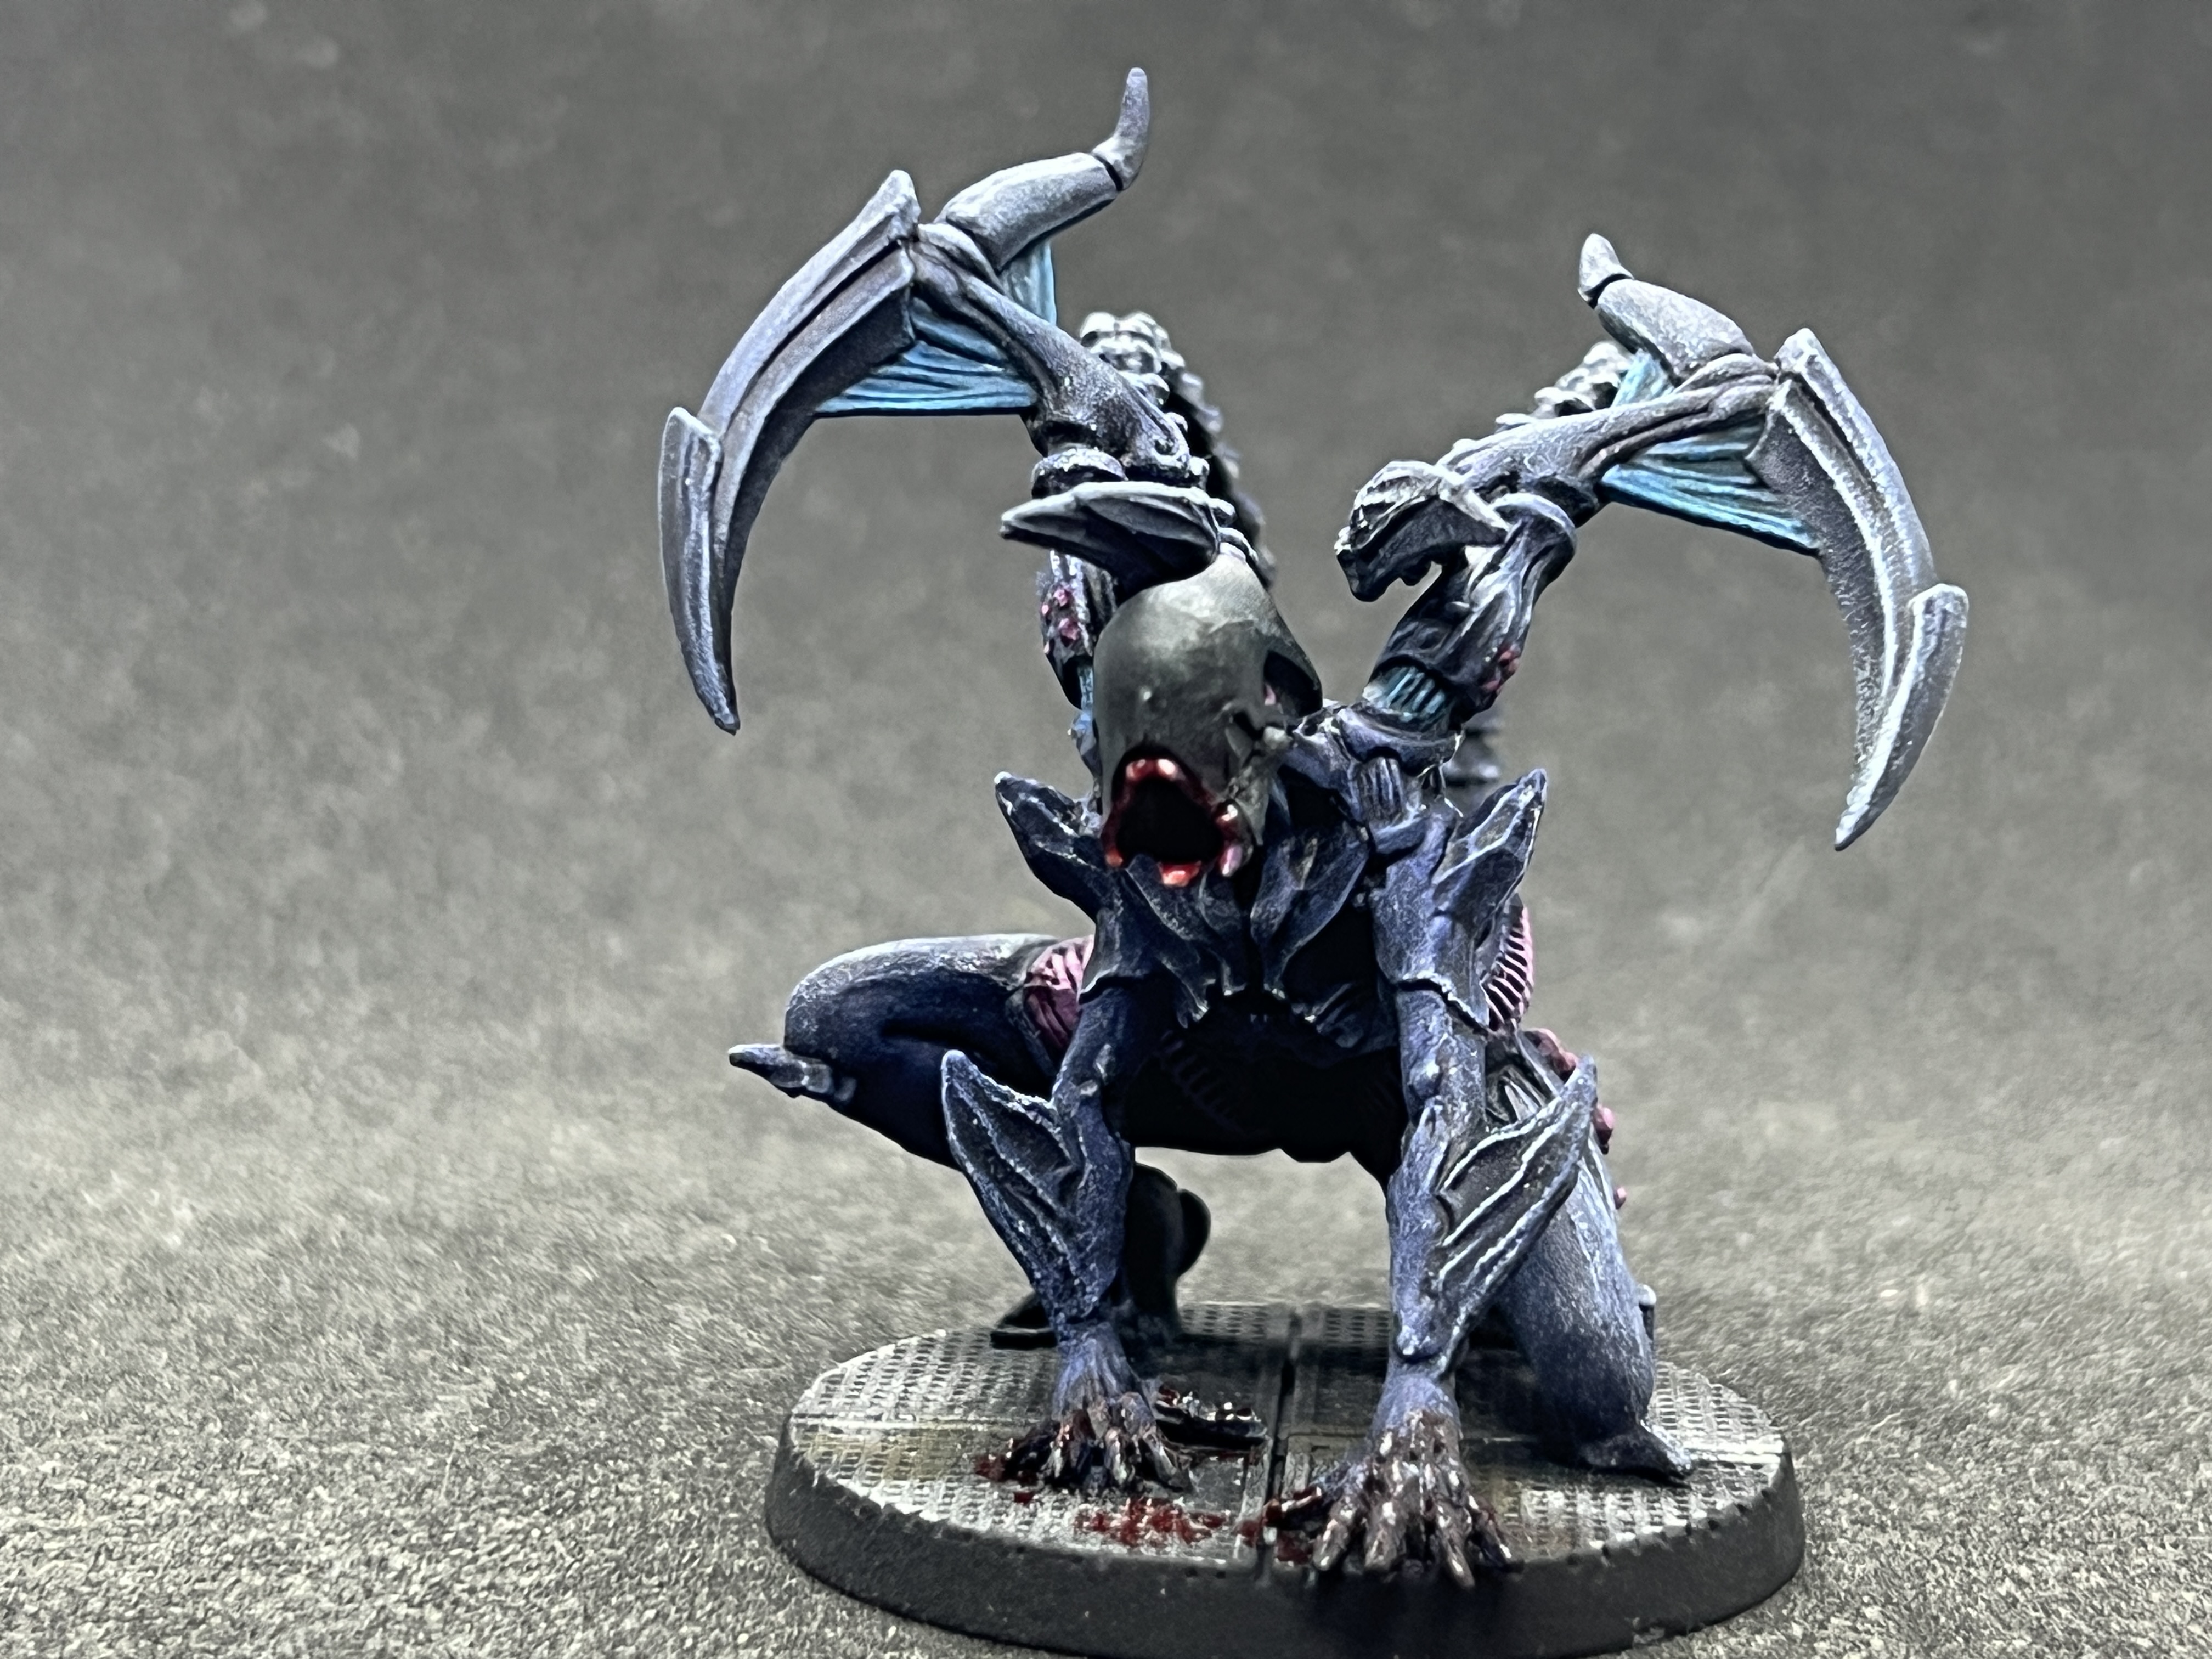
Nemesis - Painting the Intruders - Part 4: Adults Photographs
After completing the Intruders adults, I felt compelled to create an entry to just display photographs of the models, which I really love and will certainly use in other games, of the skirmish type (Stargrave, I am looking at you).


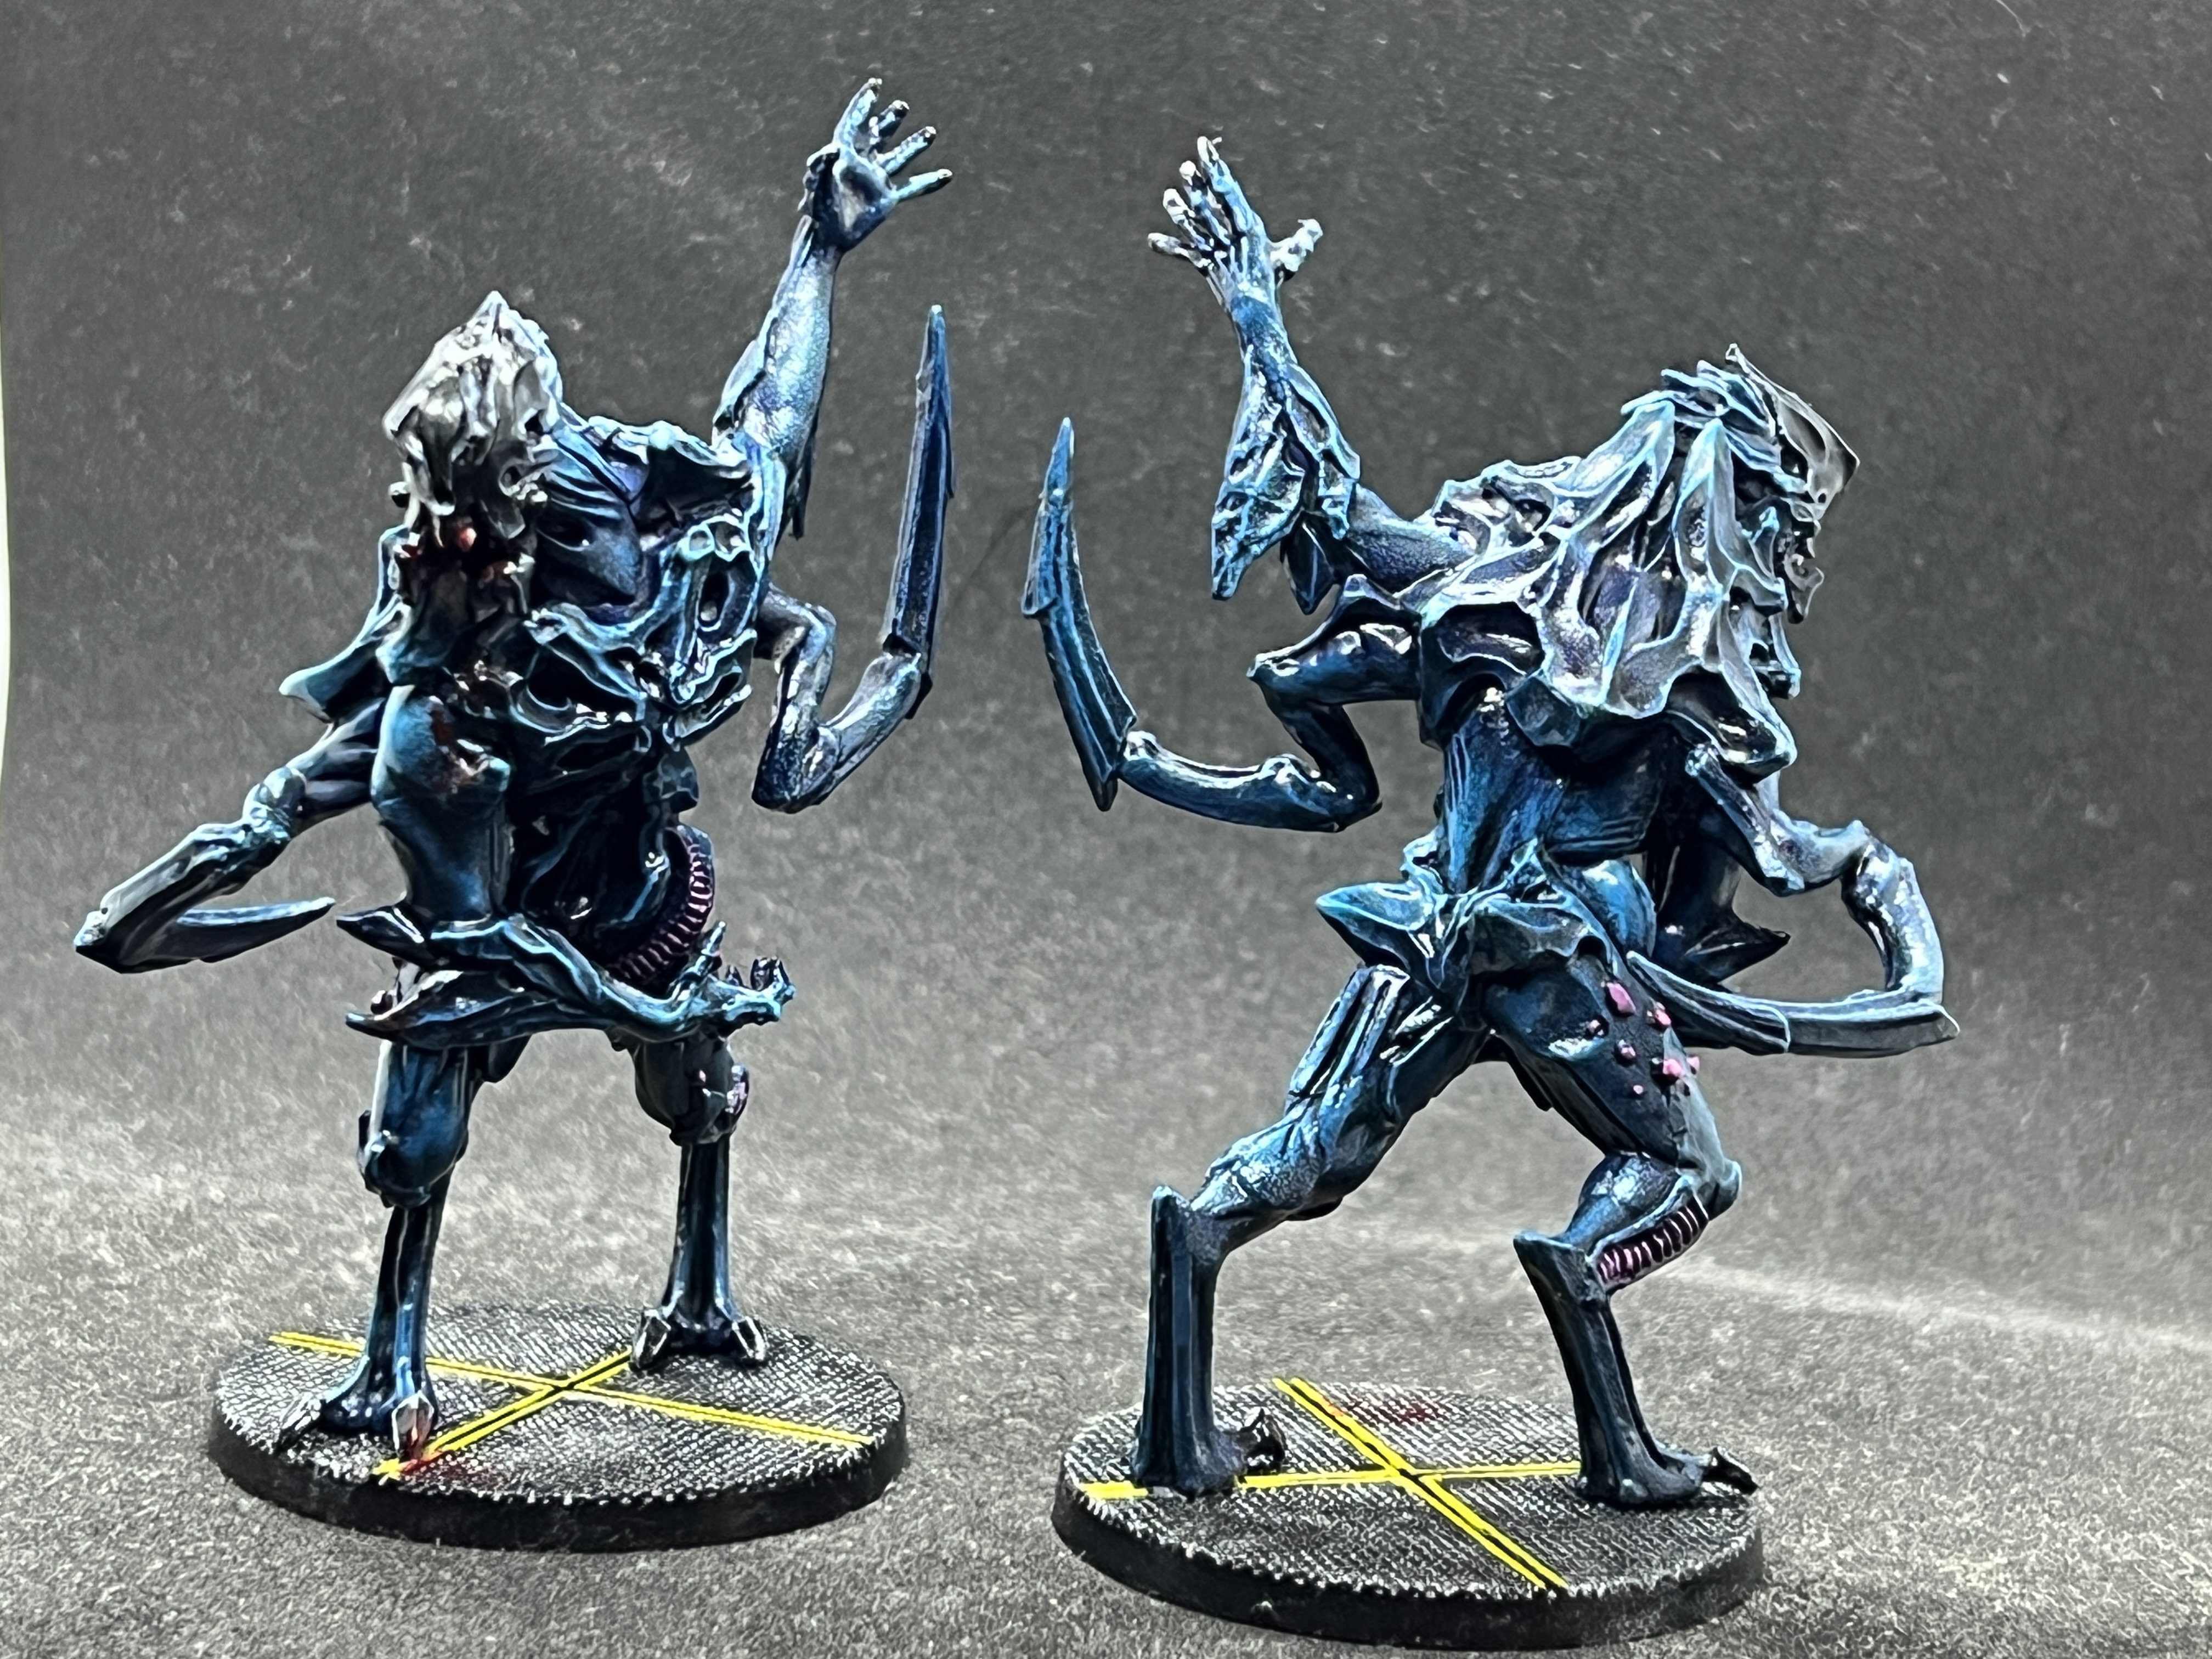
Nemesis - Painting the Intruders - Part 3: Adults
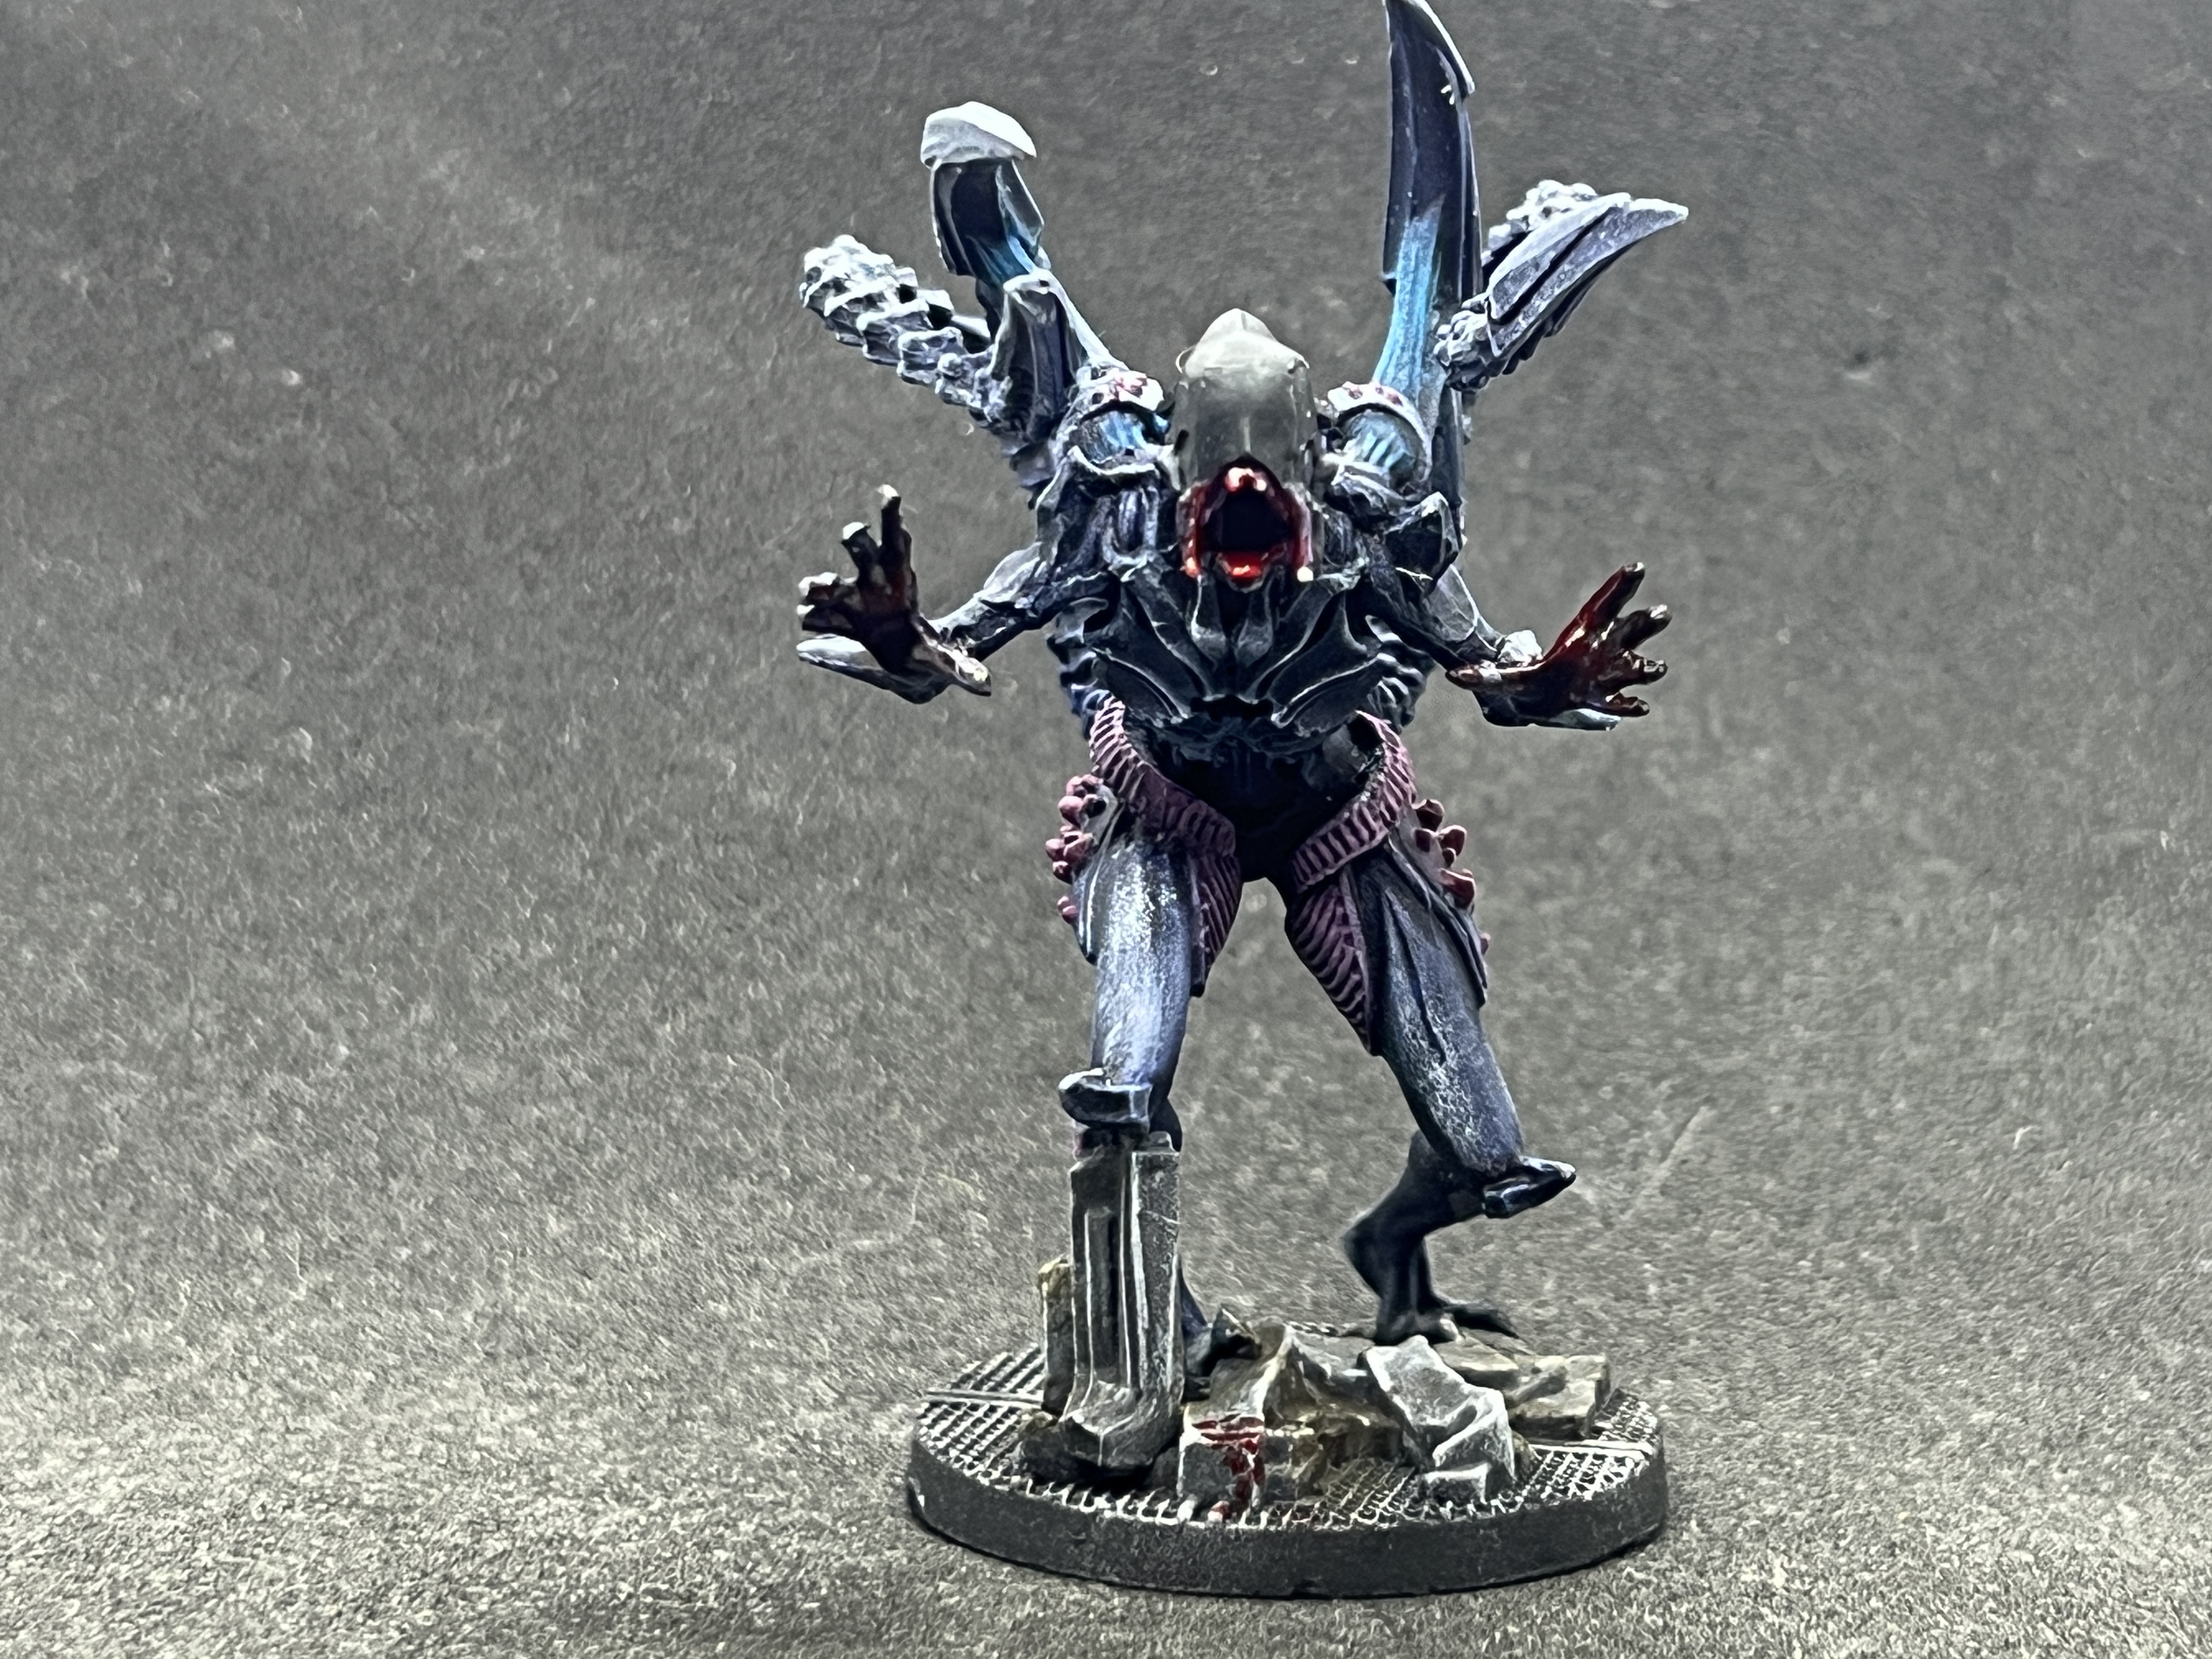
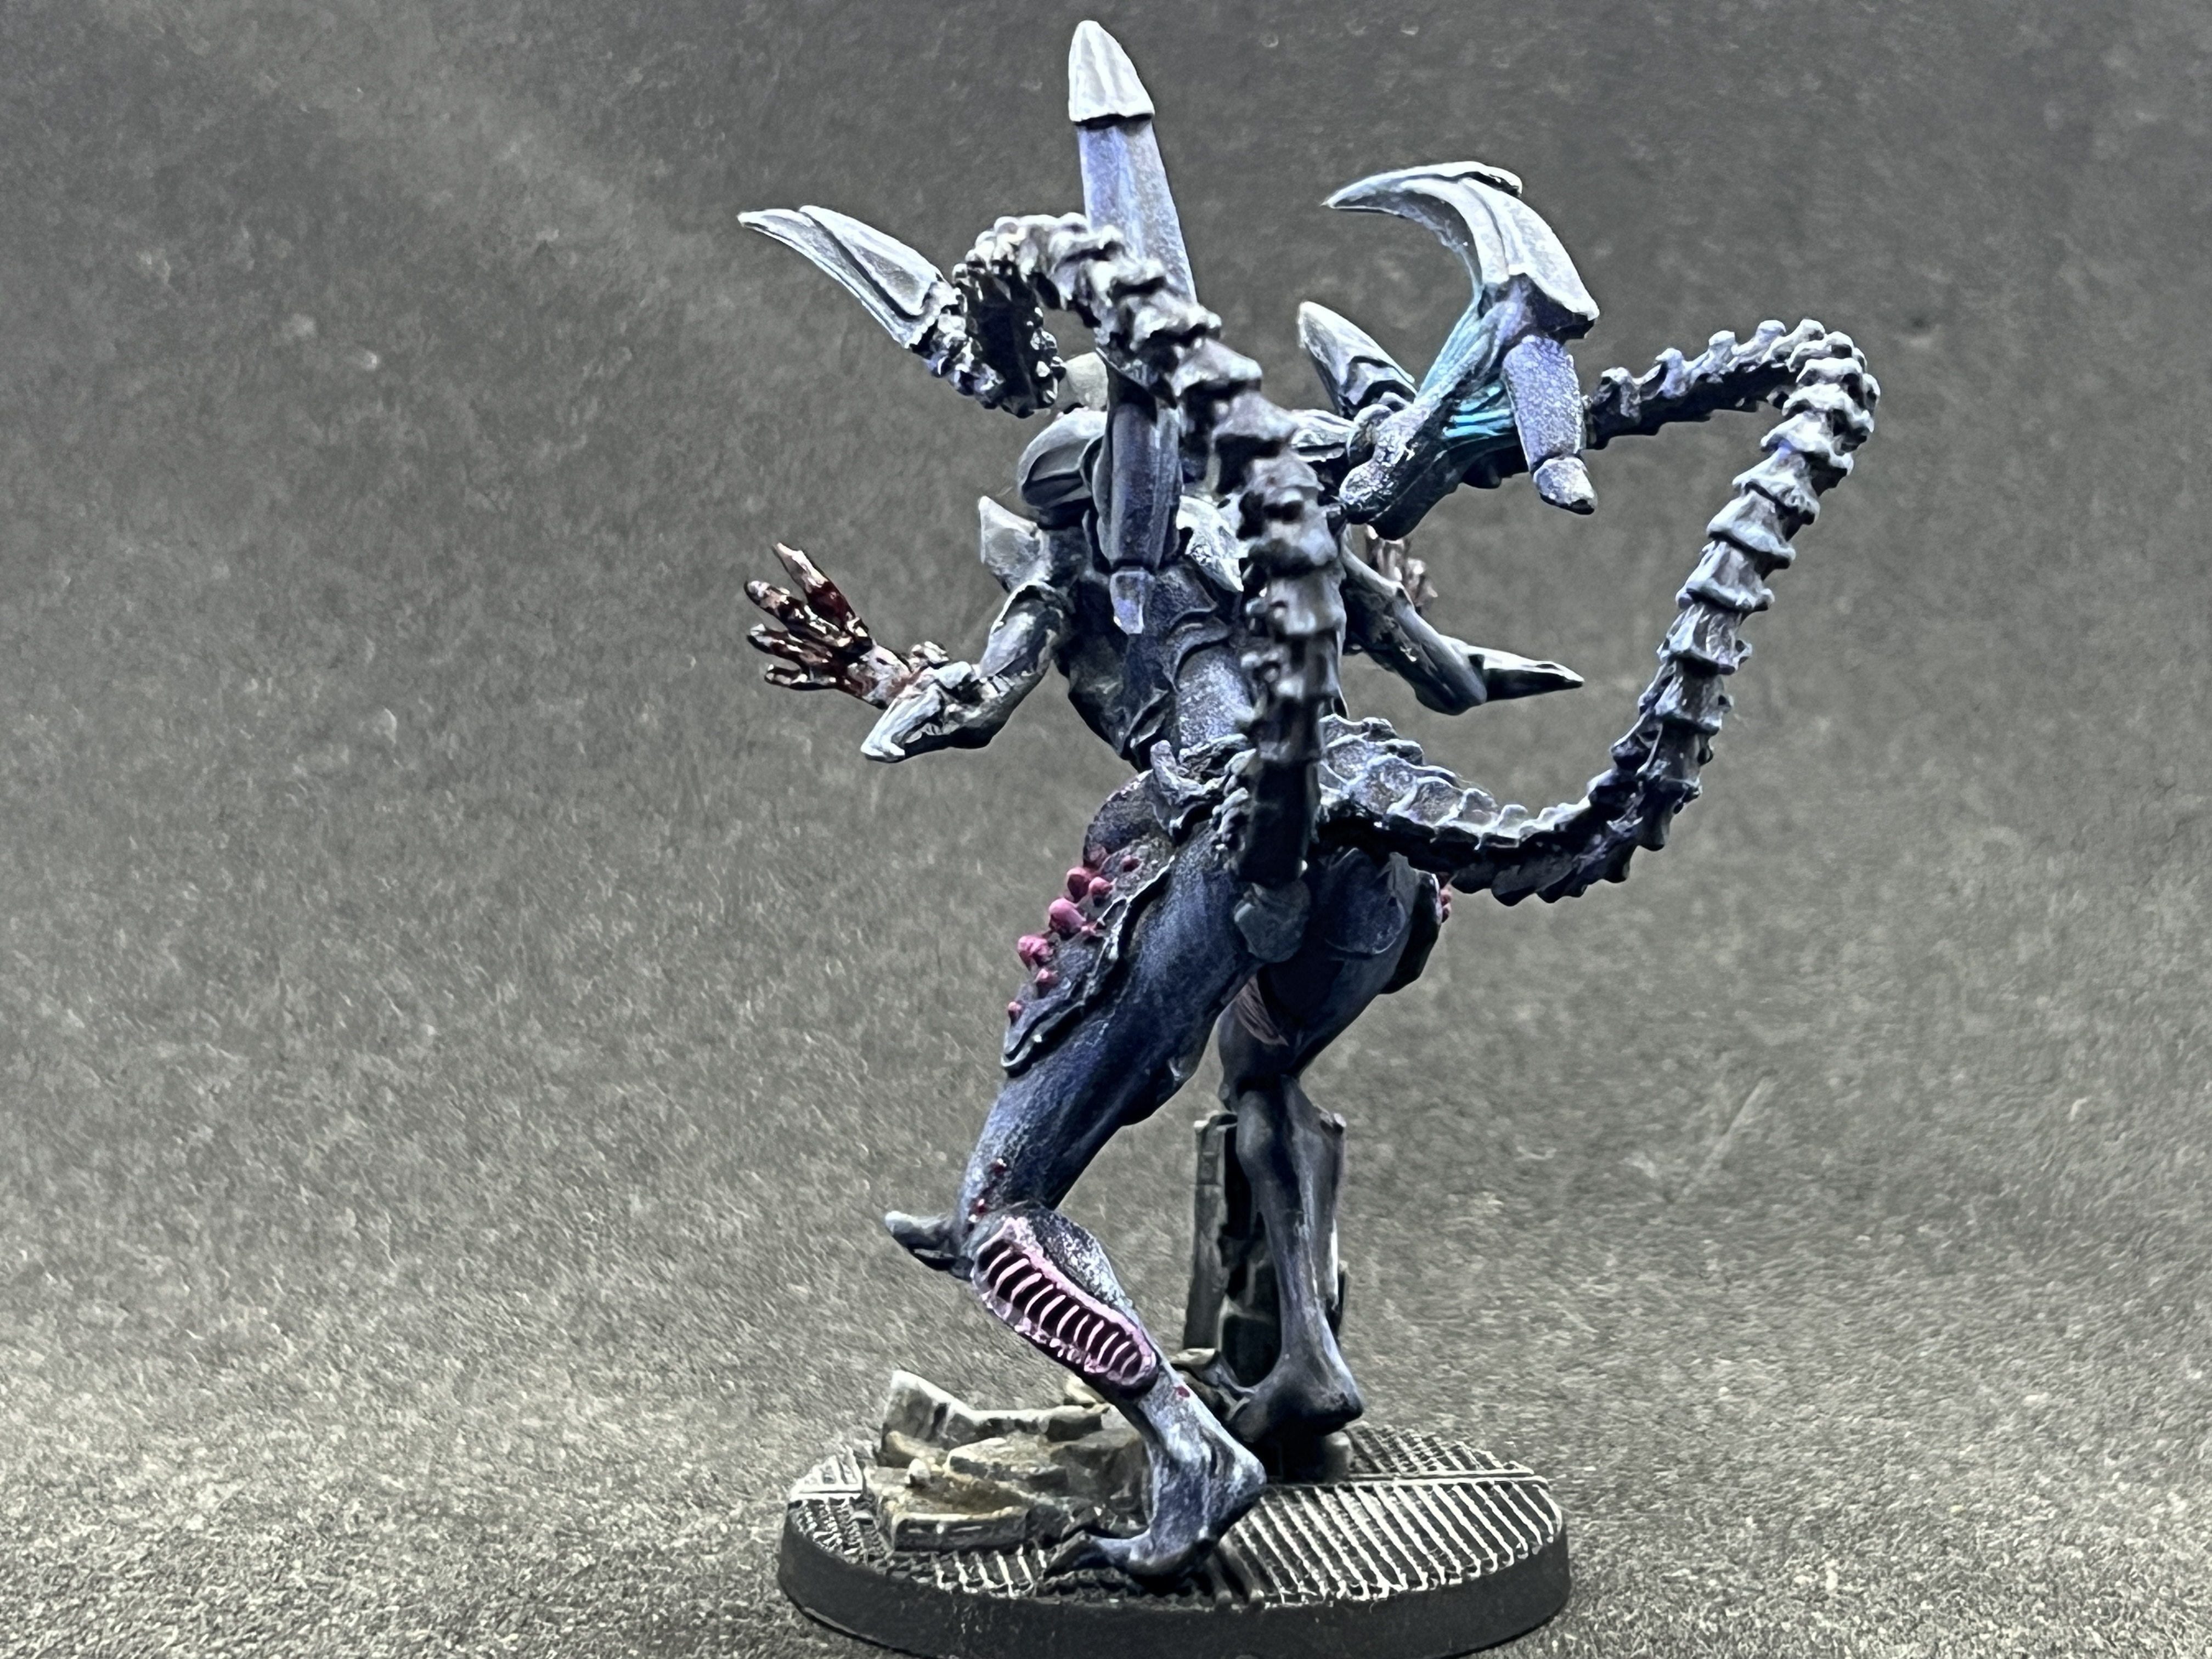
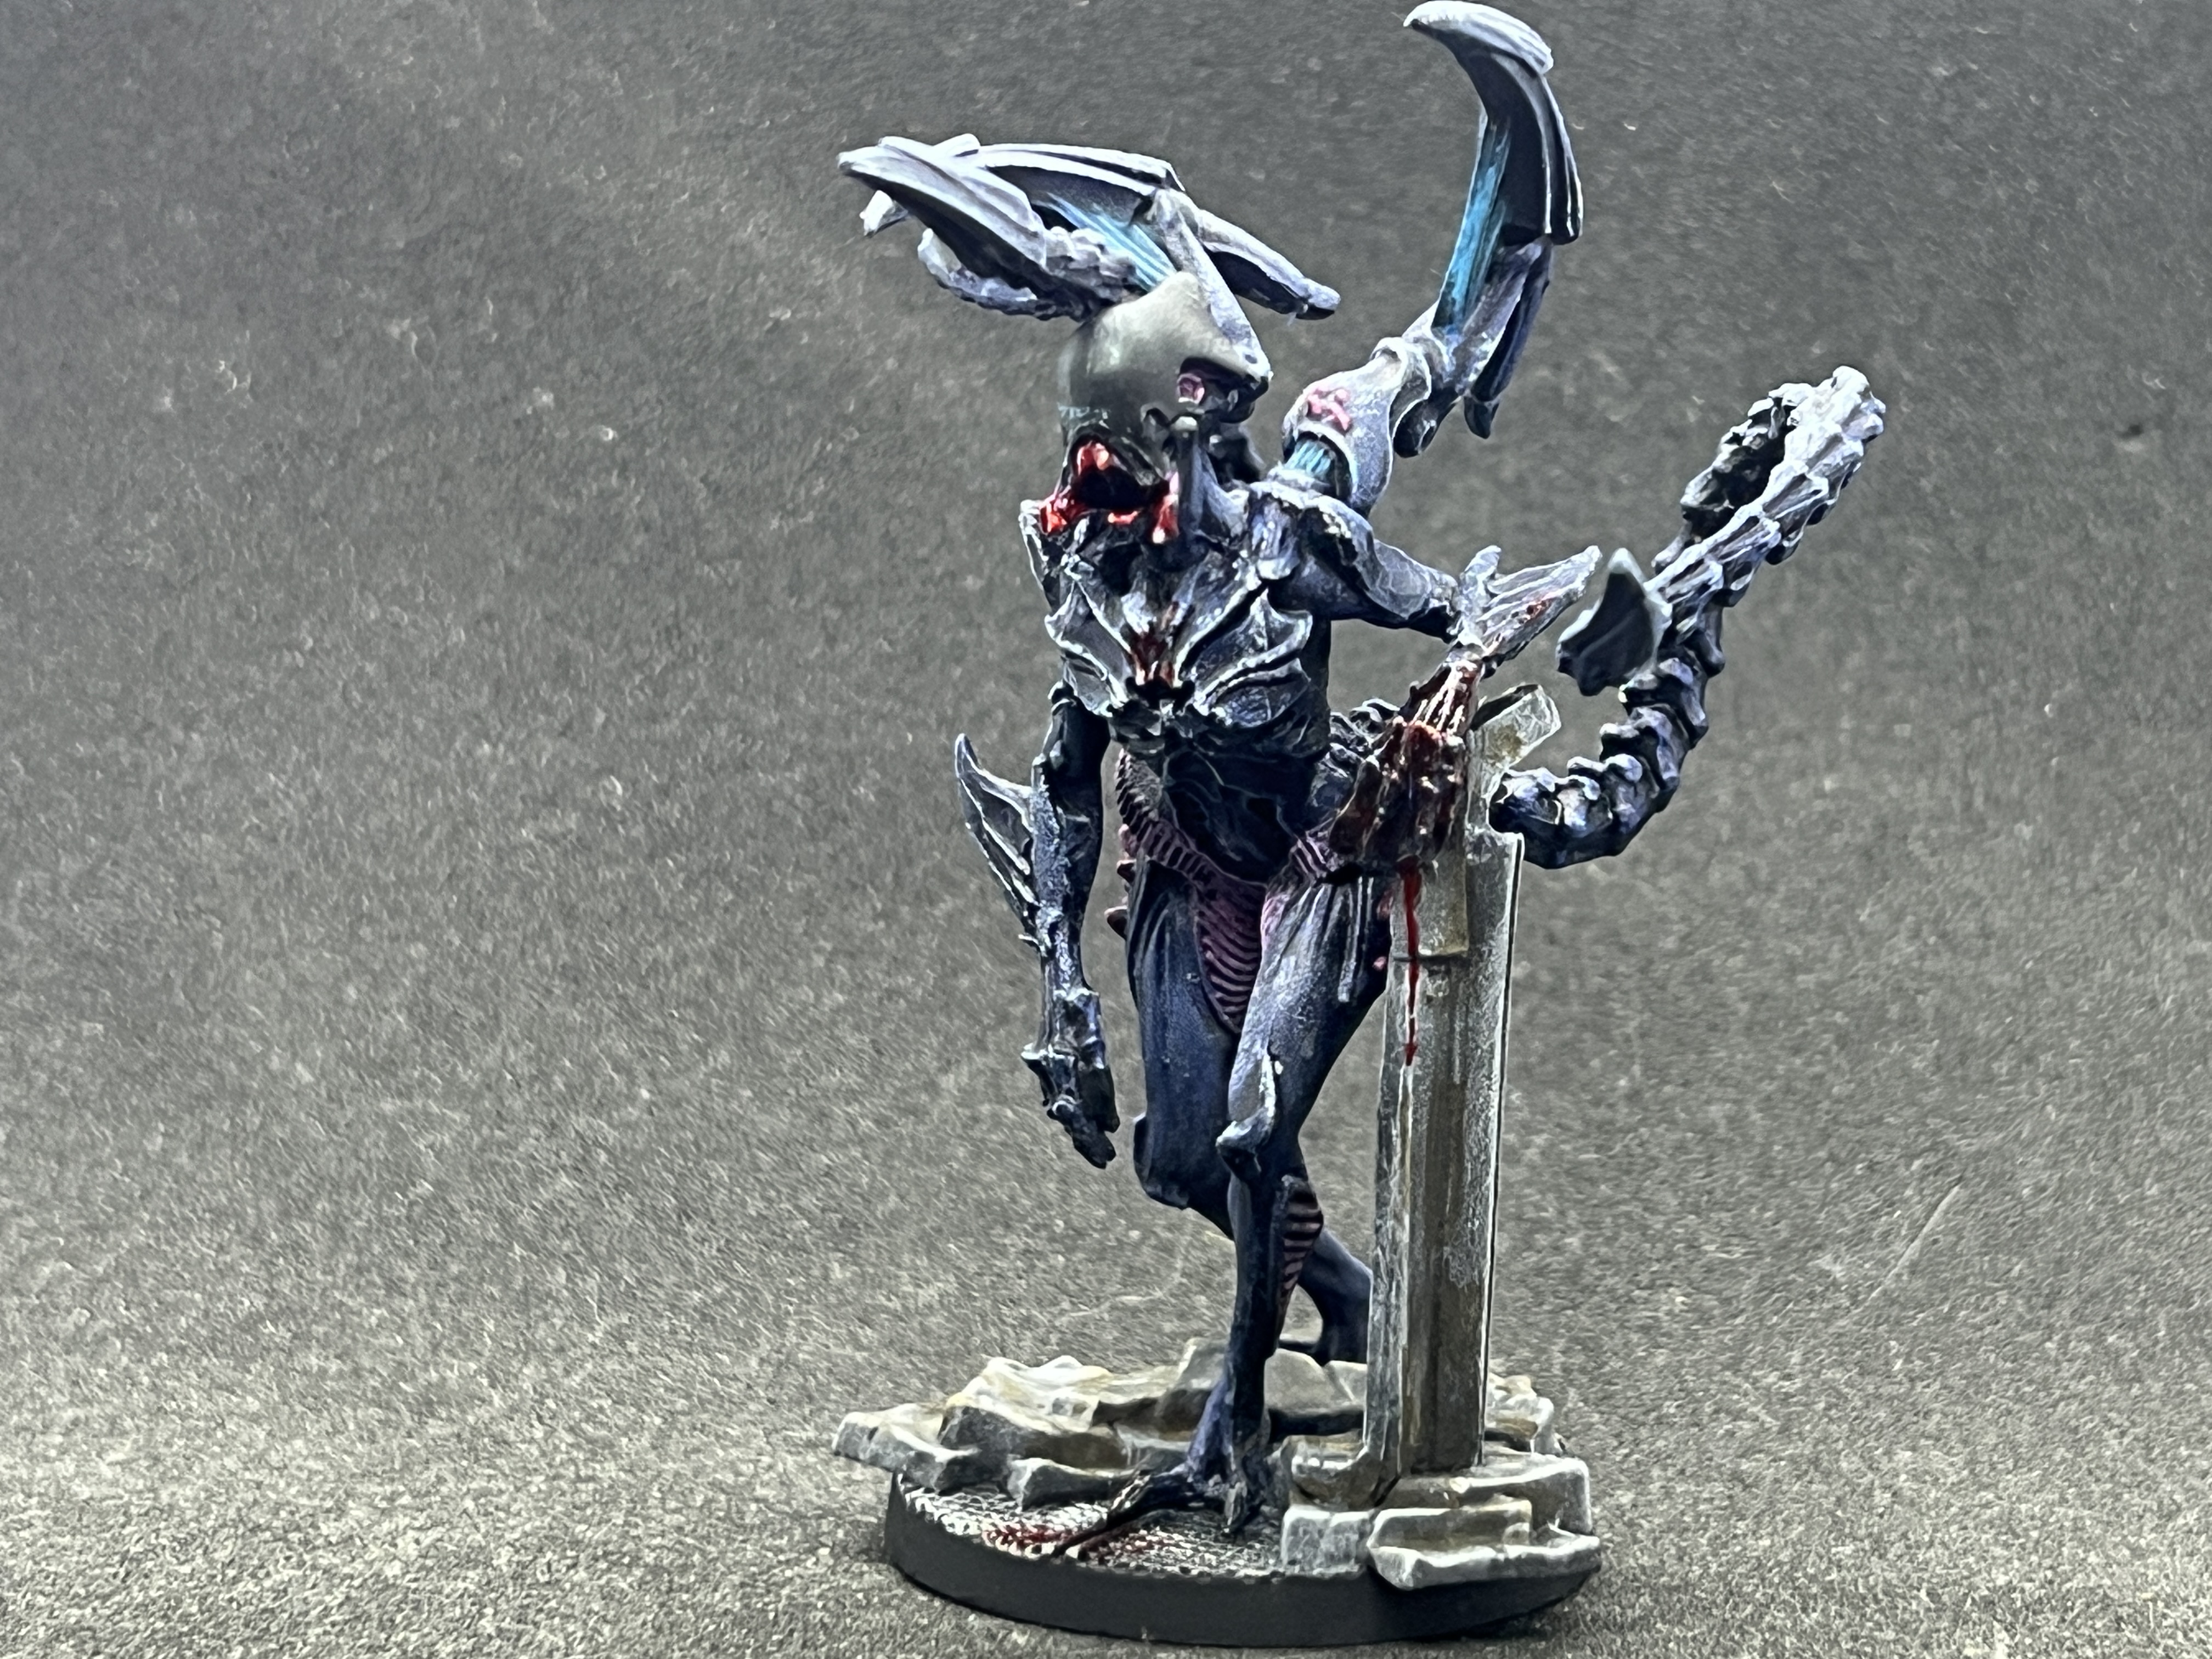
Adults are the most numerous intruders and come in 4 different poses, all interesting and very reminiscent of the original ‘Alien’ creature.
 The body was treated in an identical way to the creepers with progressive and narrower drybrush of blue over zenithal highlights and metallic drybrush.
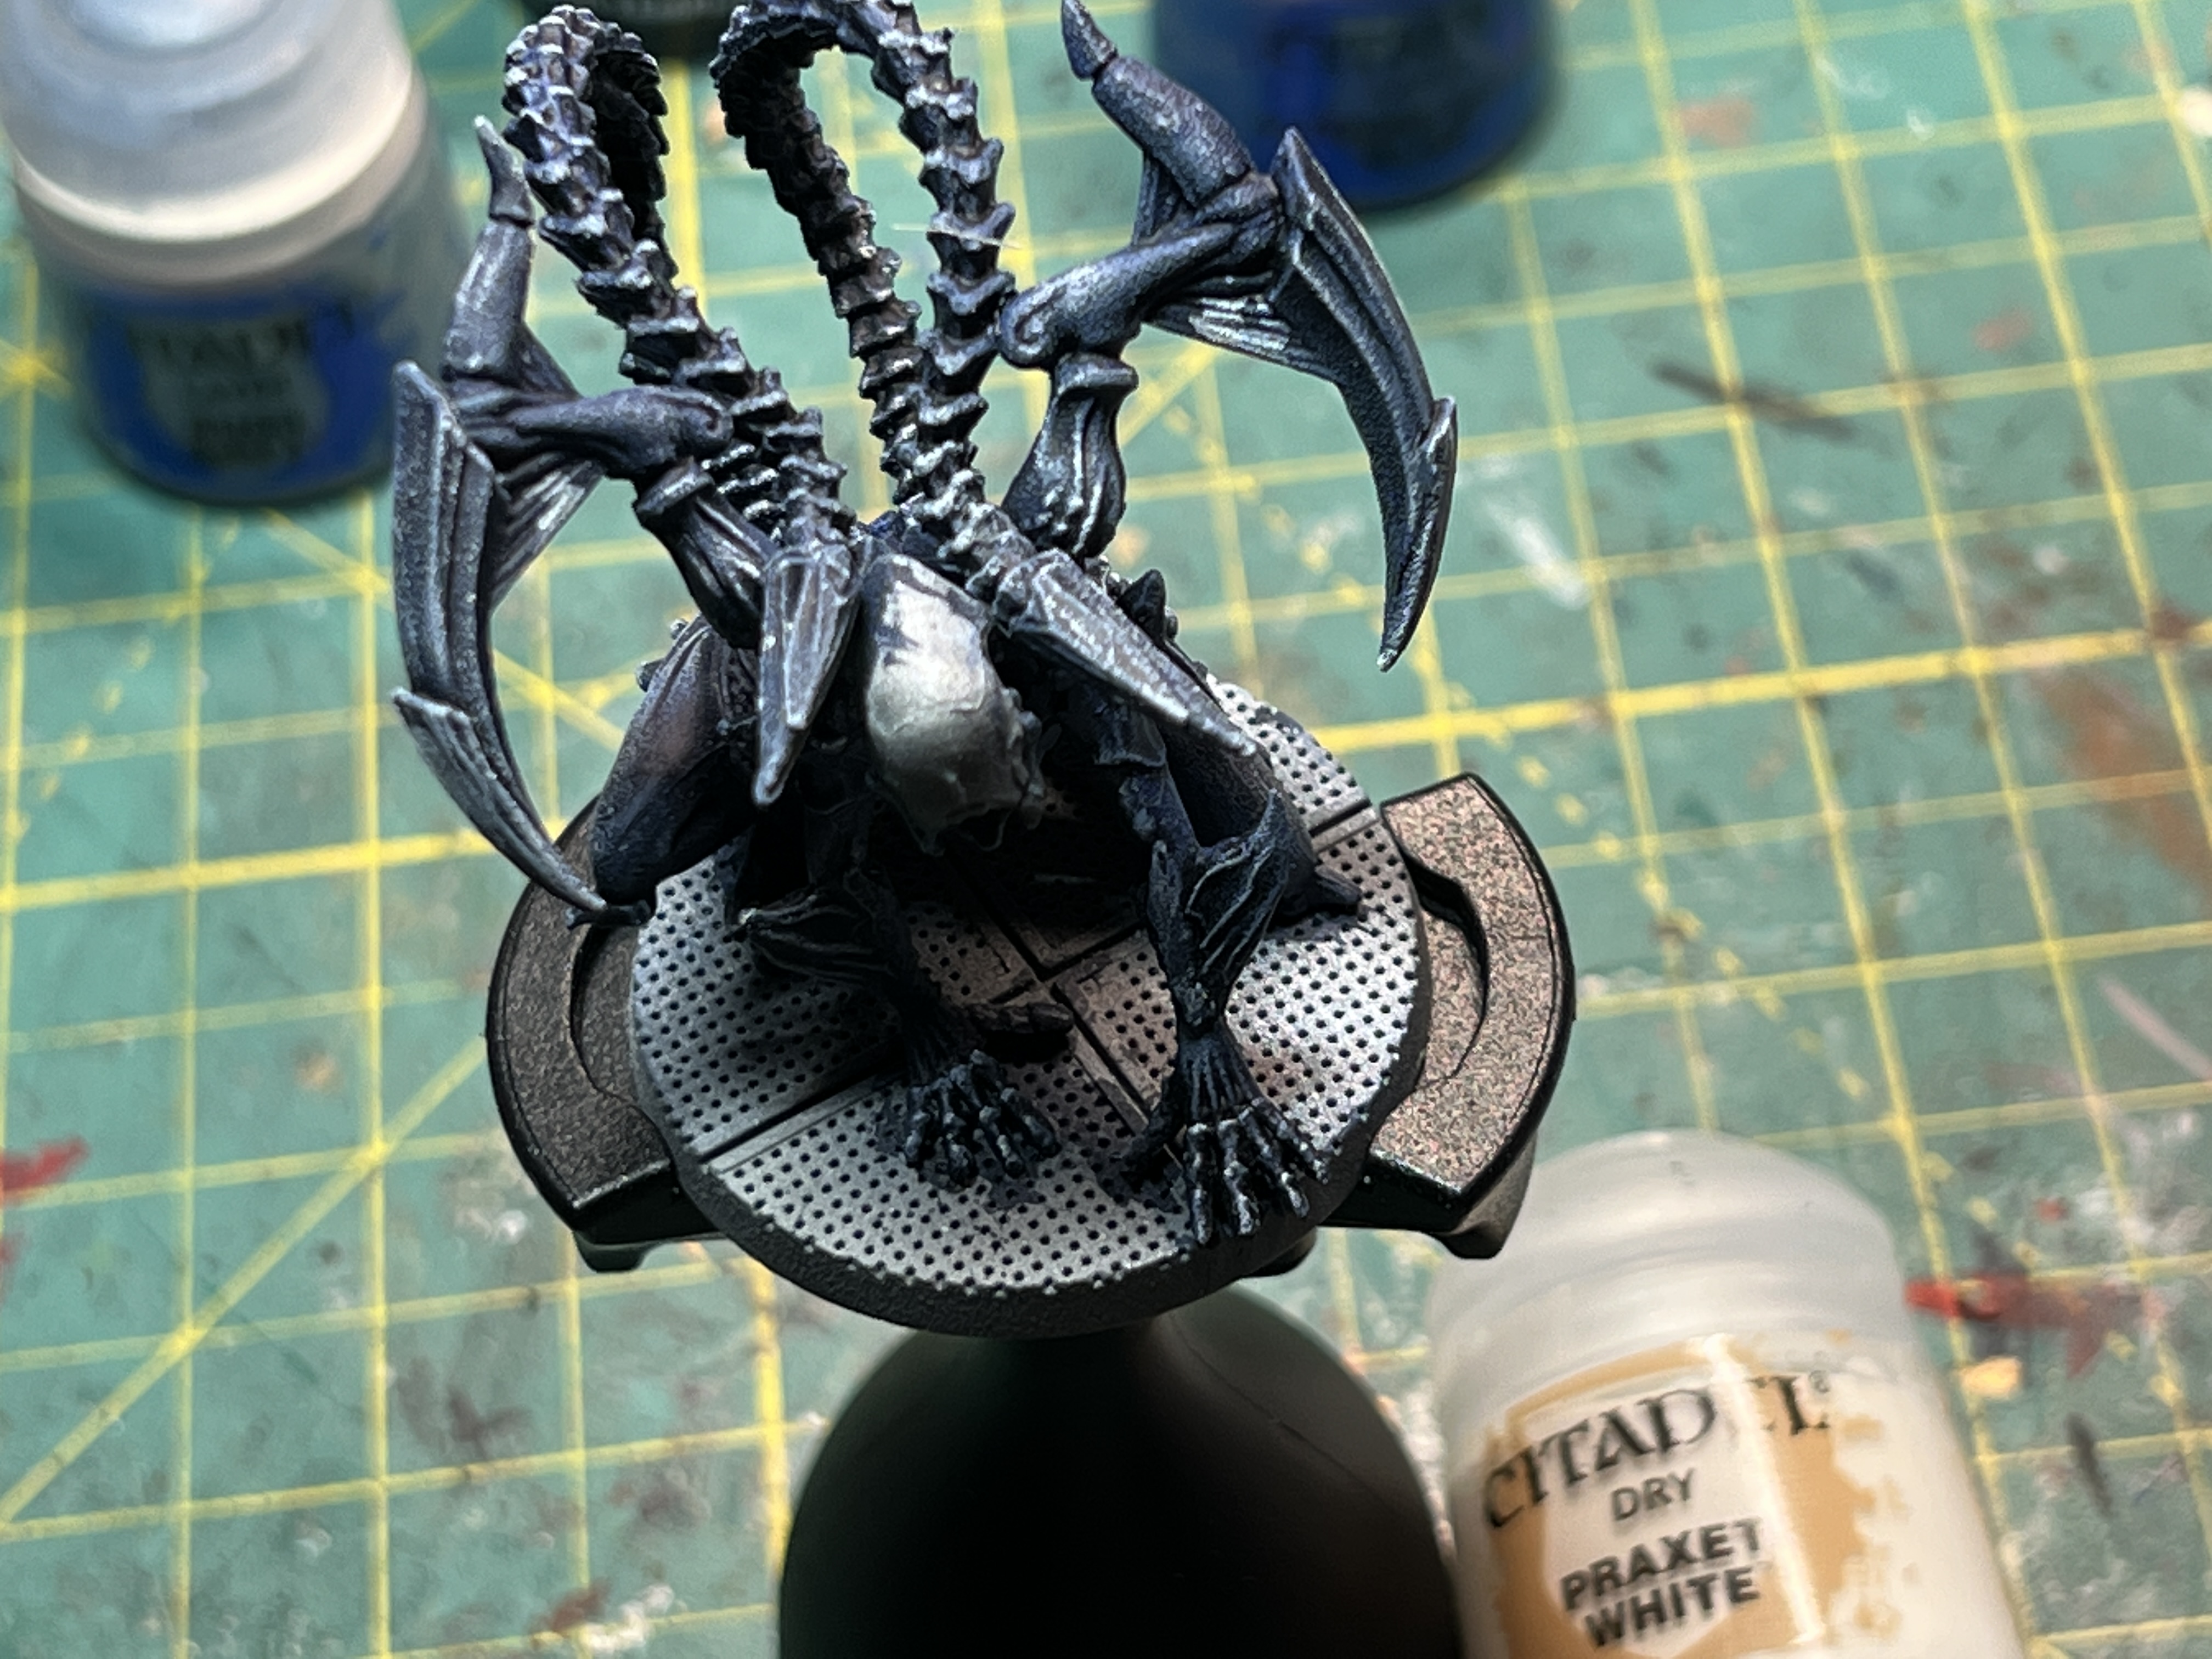 With a final drybrush layer of dry white.
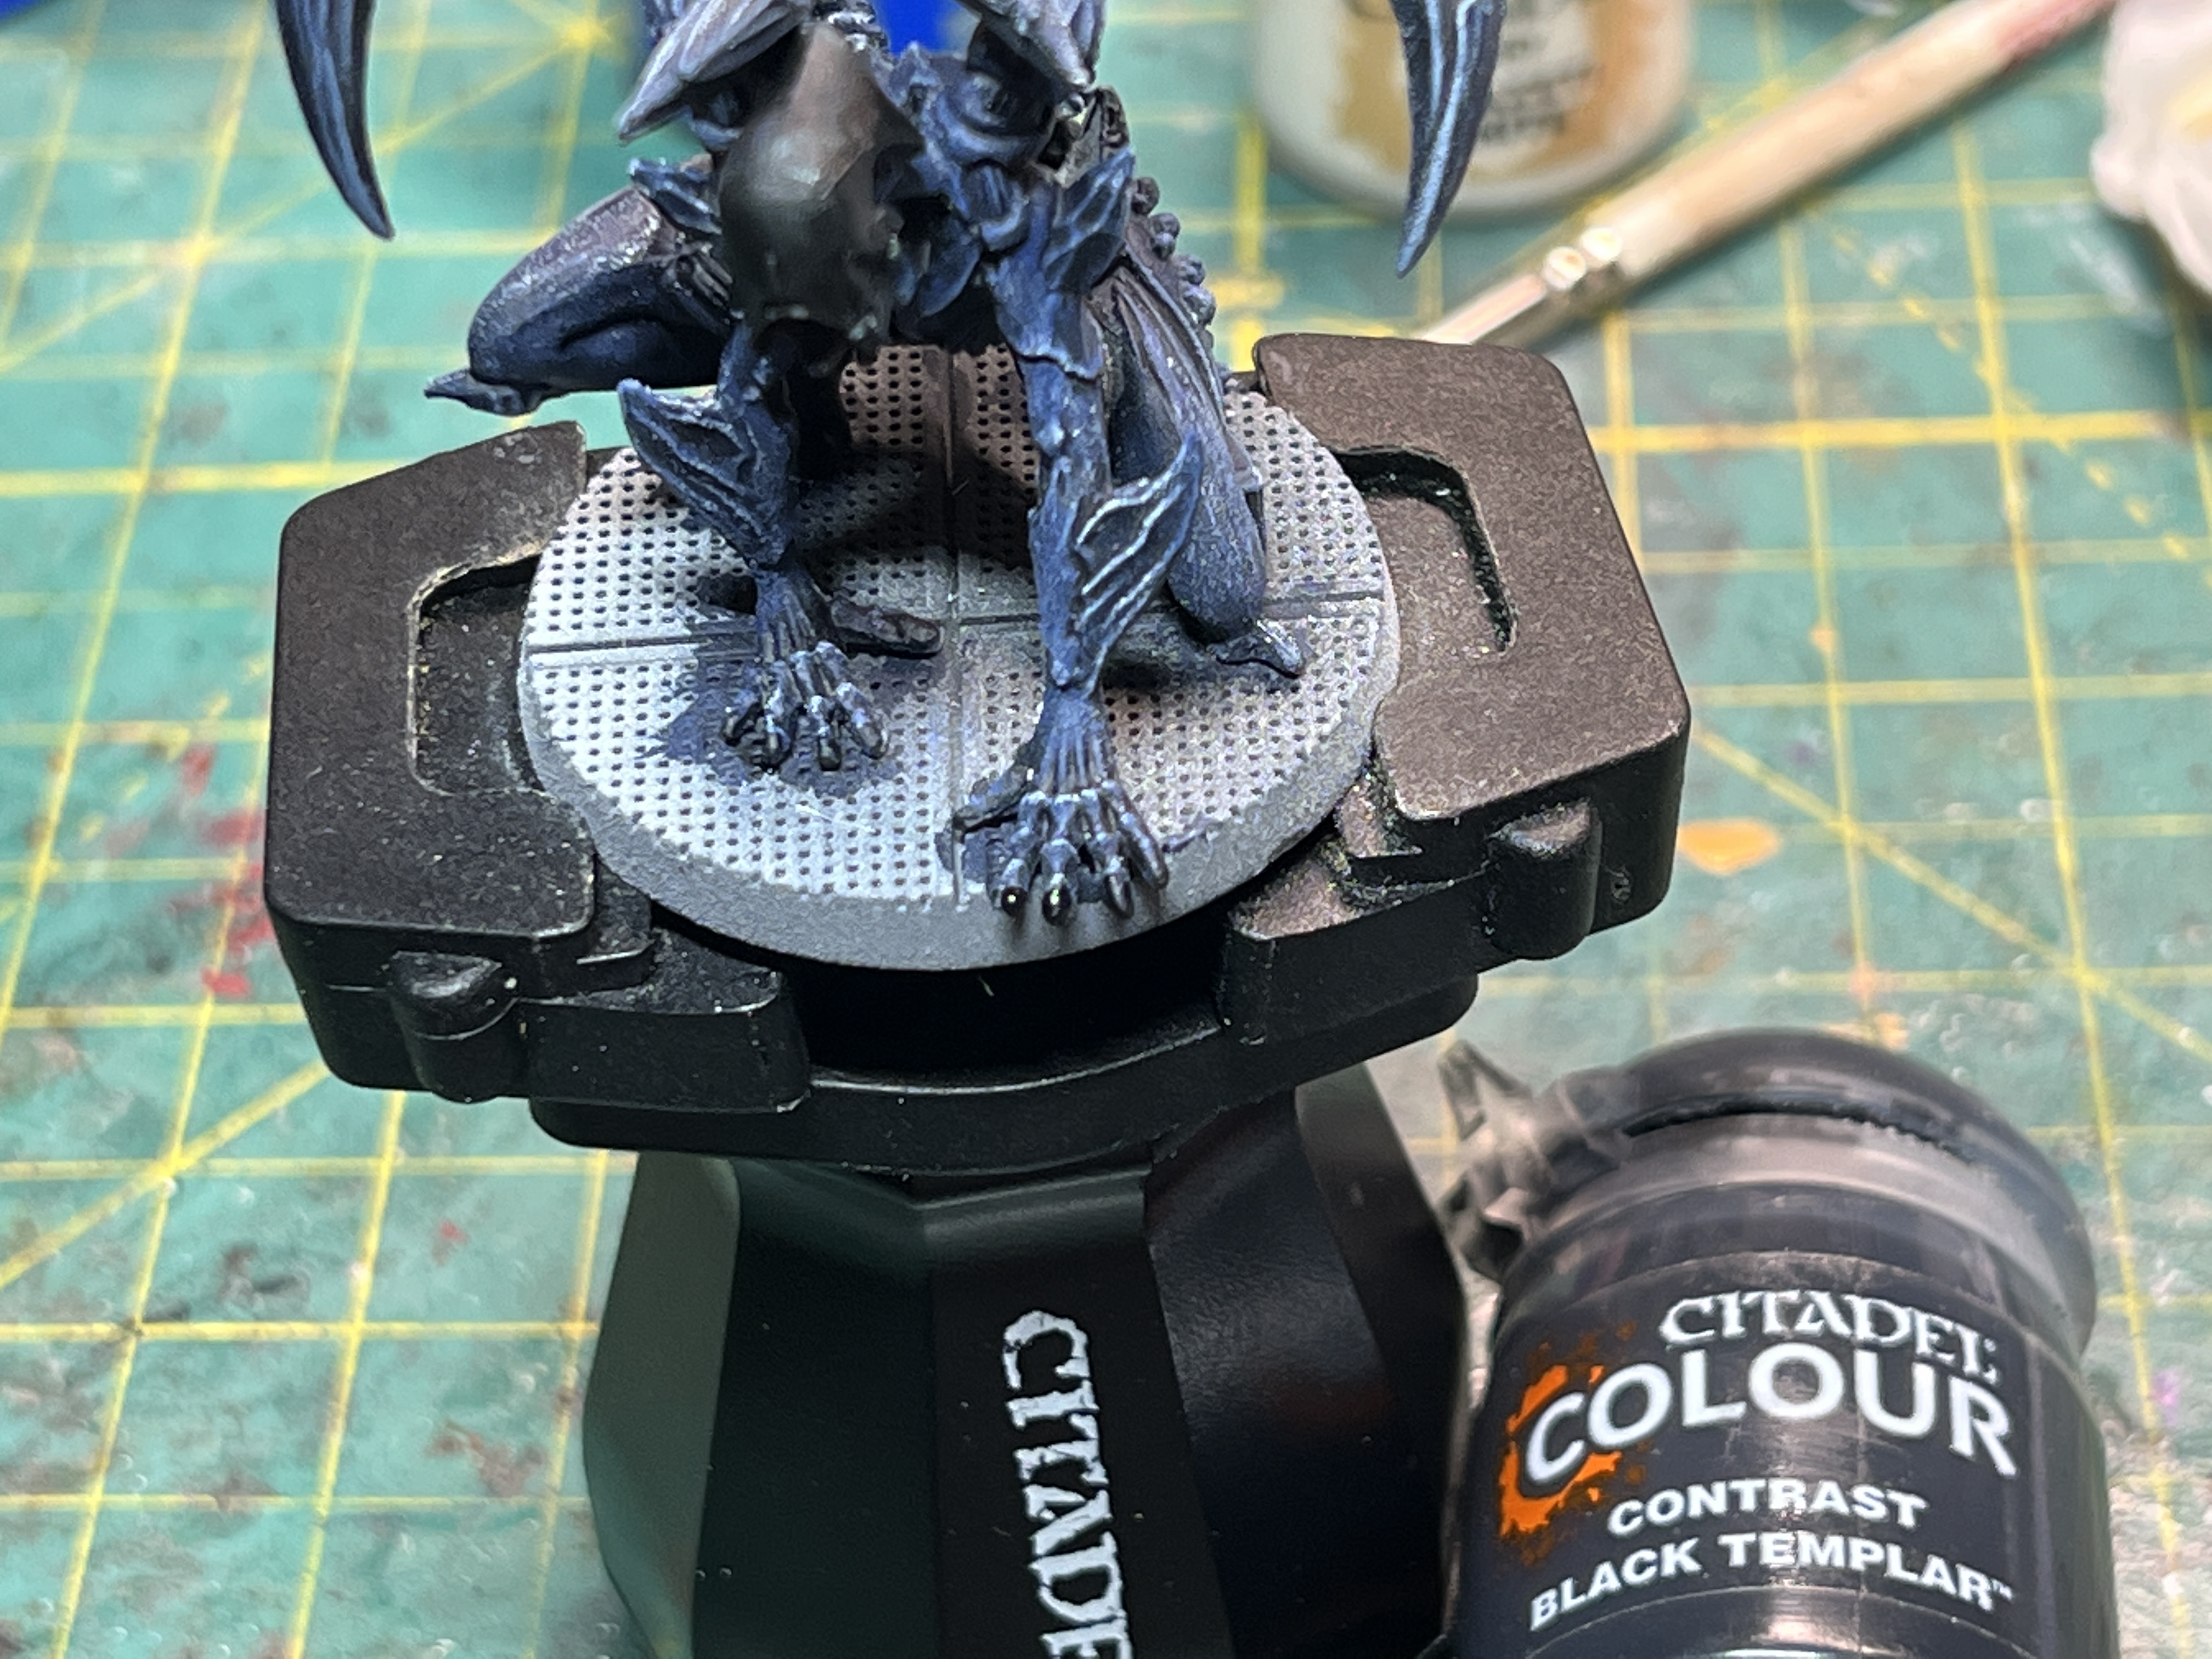 The head is painted GW Contrast Black Templar.
 Upper appendages ligaments are dry brushed with GW Thousand Sons and Temple Guard Blue.
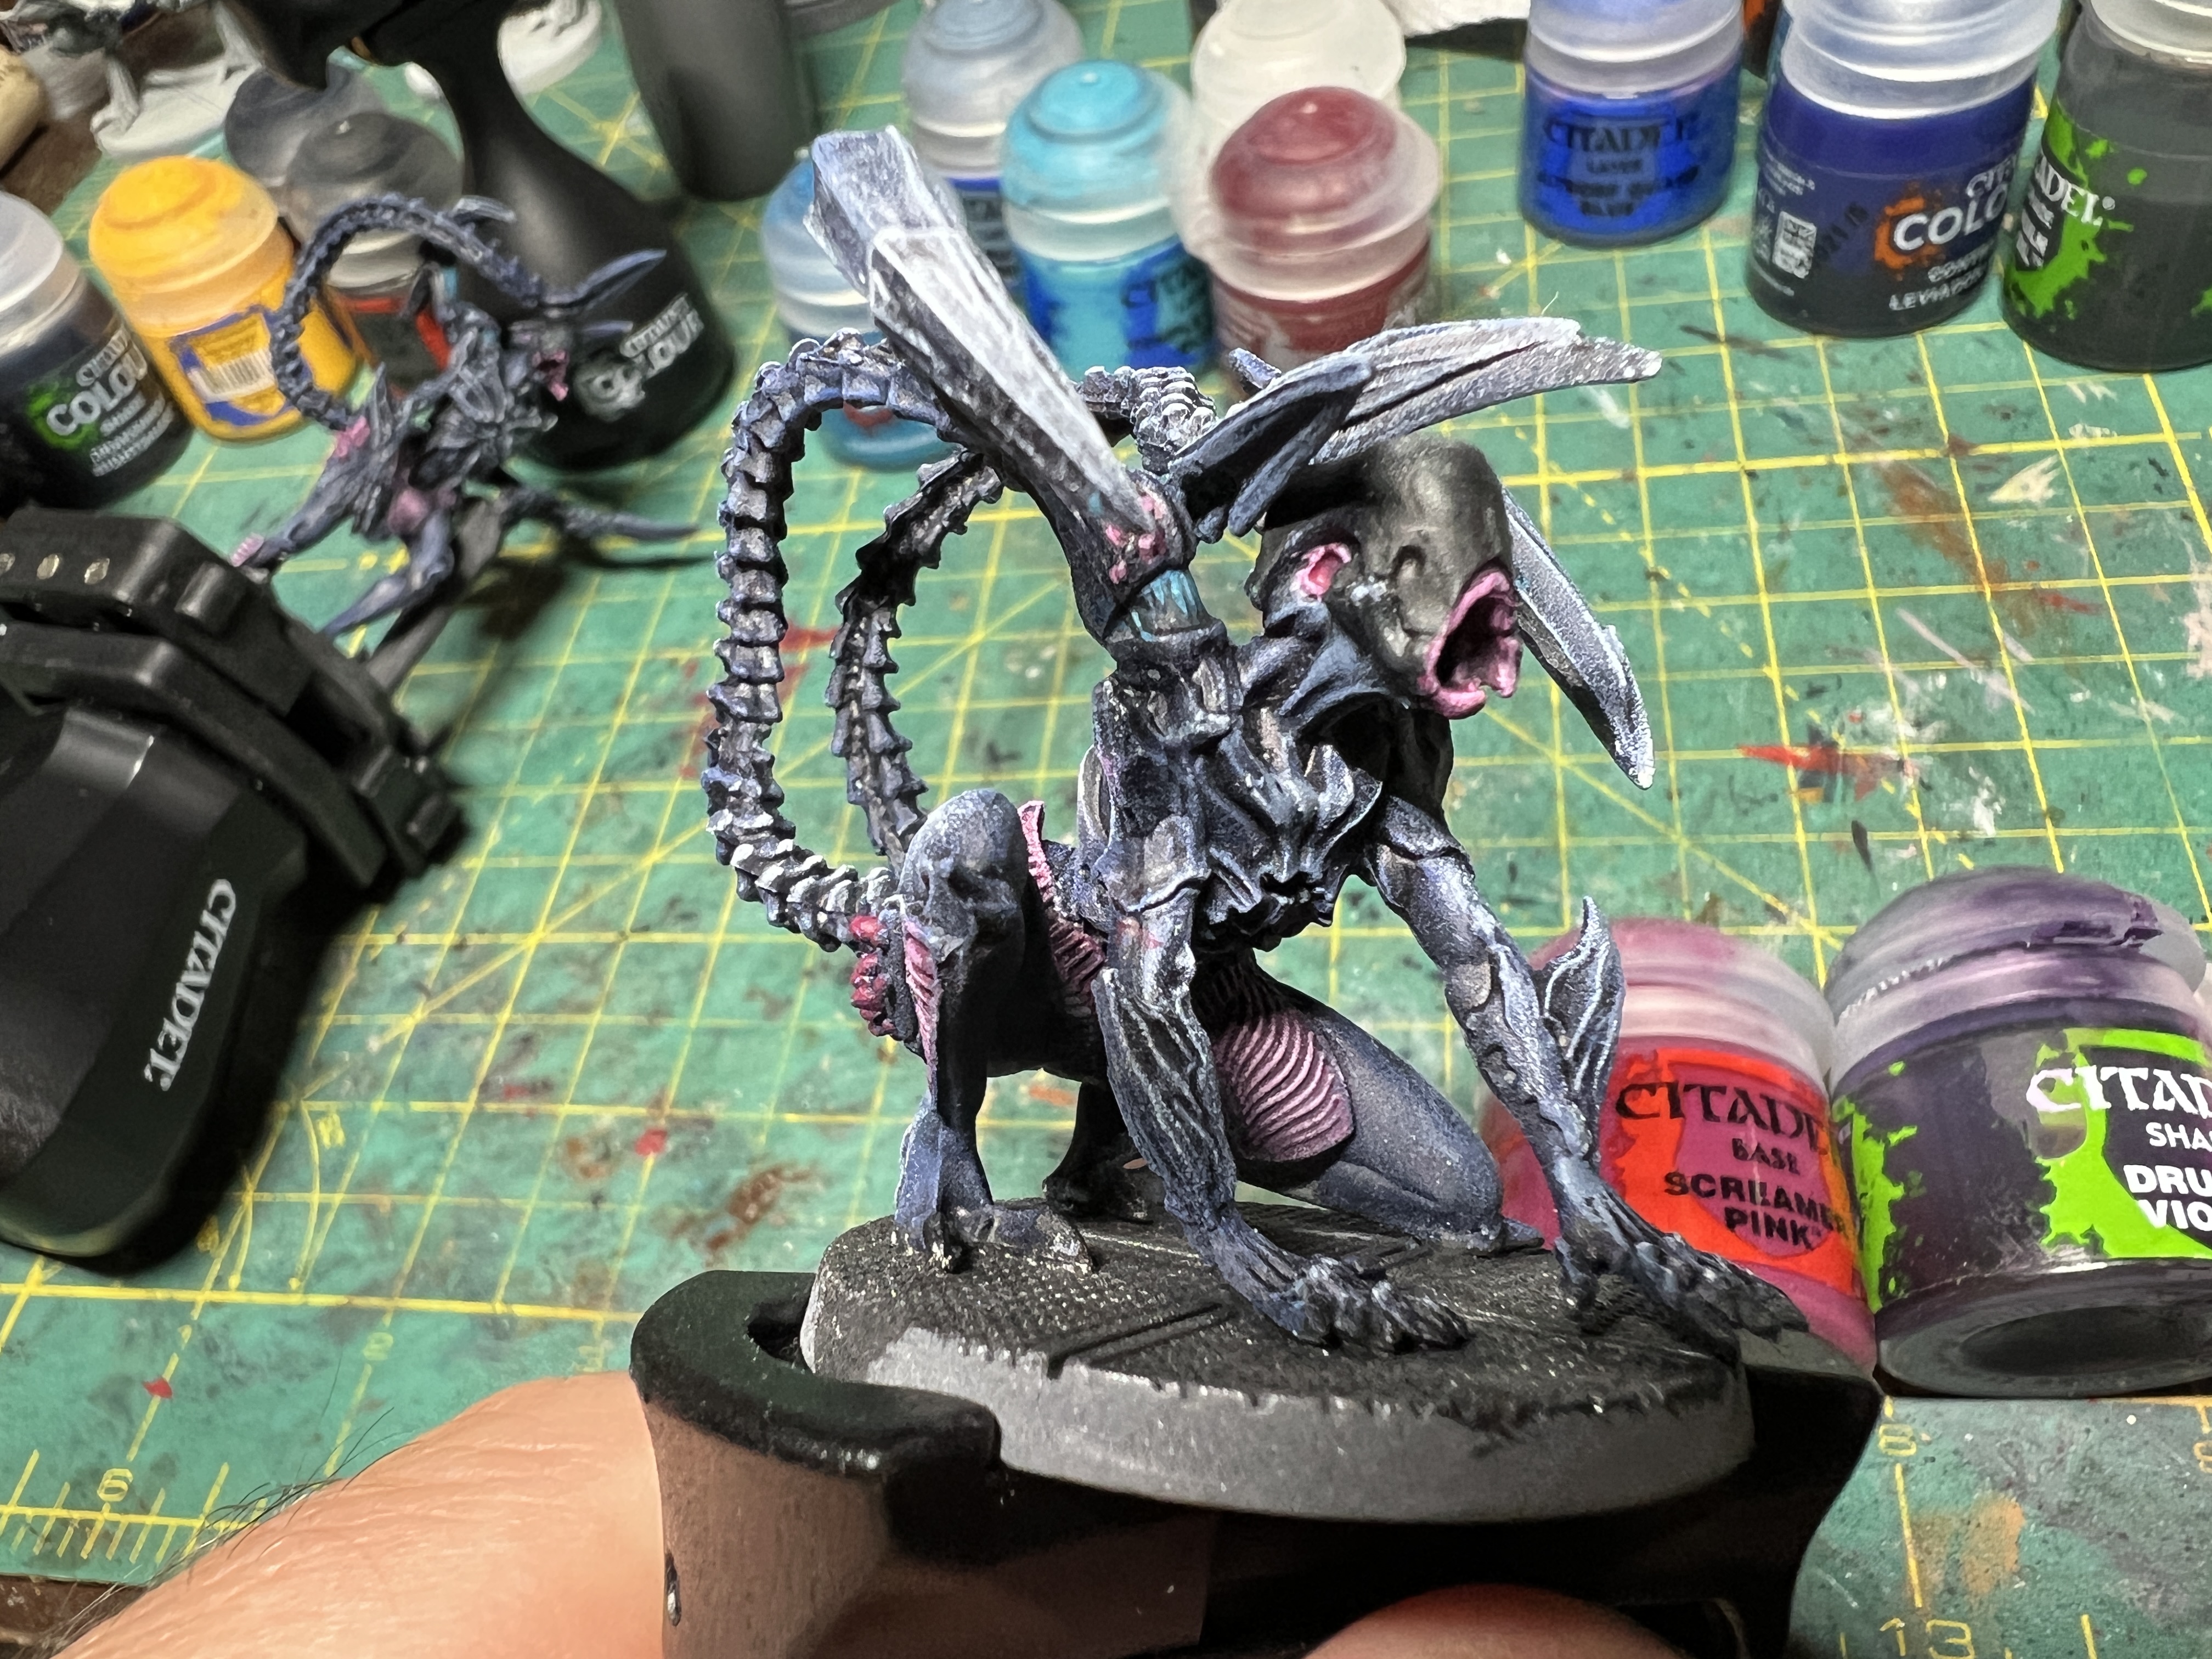 Lower membranes, the mouth and the auditive orifices are painted GW Screaming Pink, washed with GW Druchi Violet and dry brushed/line brushed with GW Emperor Children lightened with 1/5 white.
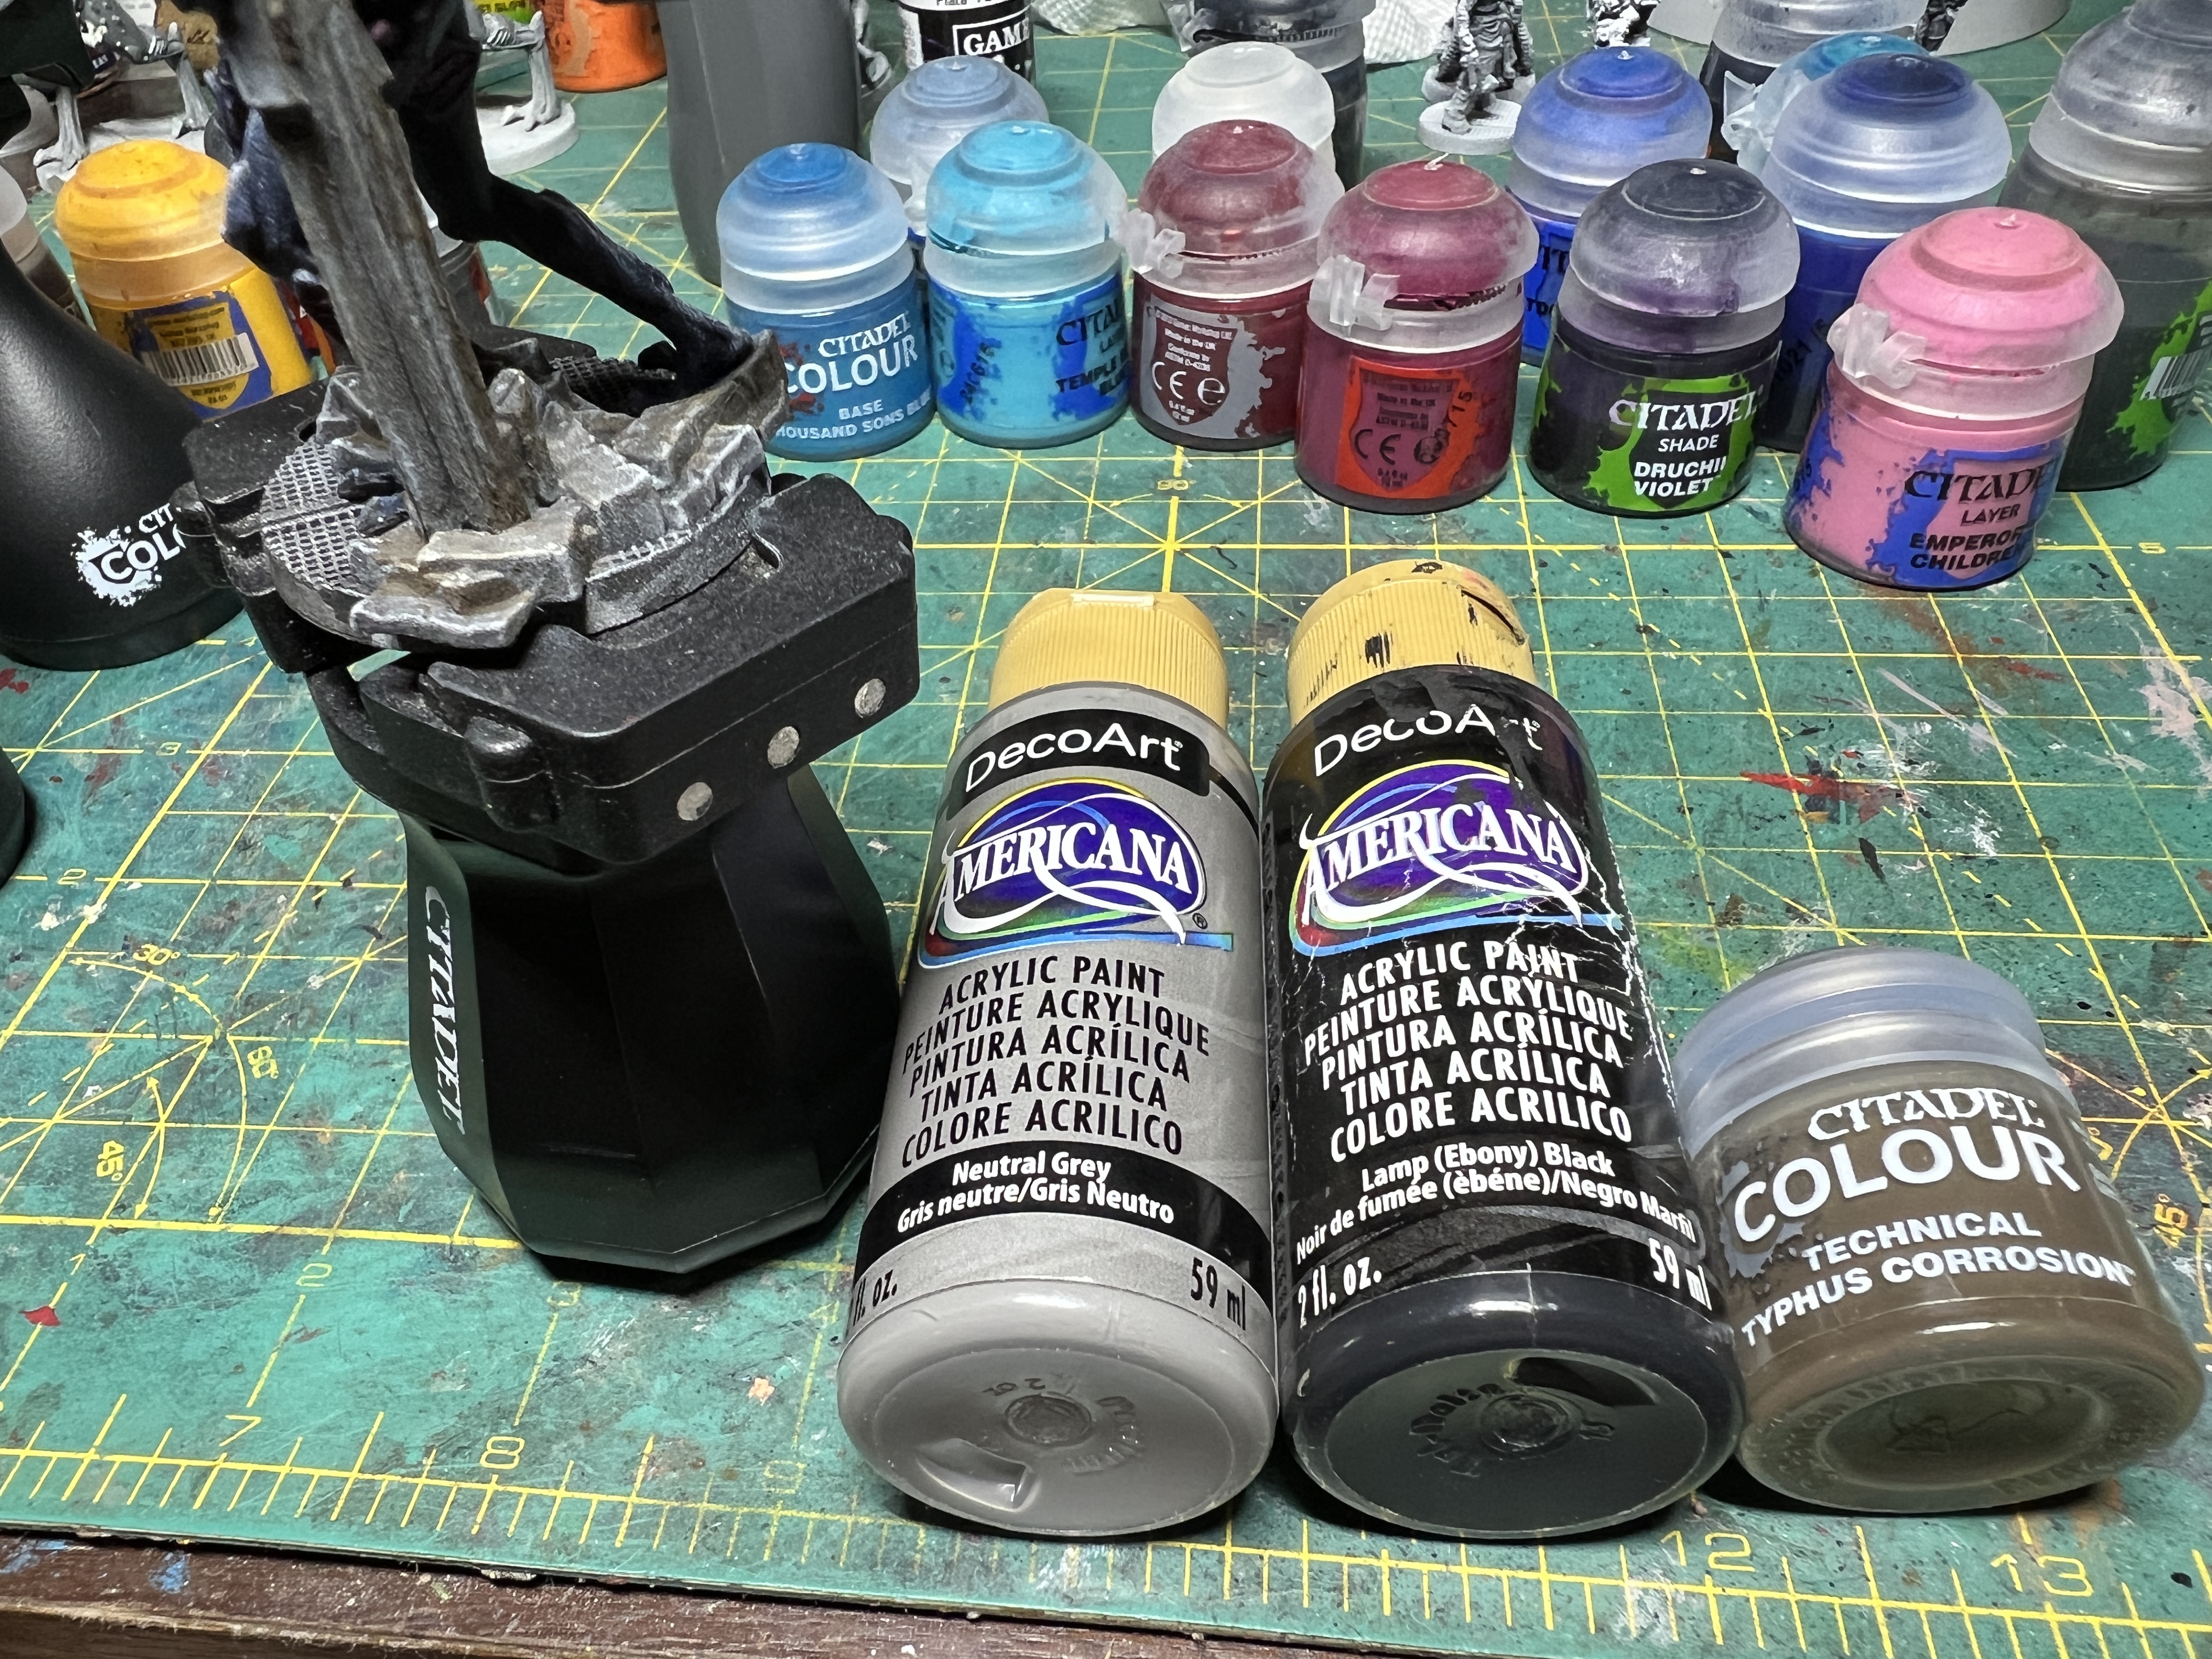 The debris on the base (which grating was painted identically to that of the creepers - see previous entry) are painted medium grey (I suggest craft paint), washed with a customer wash (thank you Black Magic Craft - https://www.youtube.com/watch?v=I5U7UFFuX-Q), dry brushed with the same grey to which was added 2/5 white and finally dirtied with Typhus Corrosion.
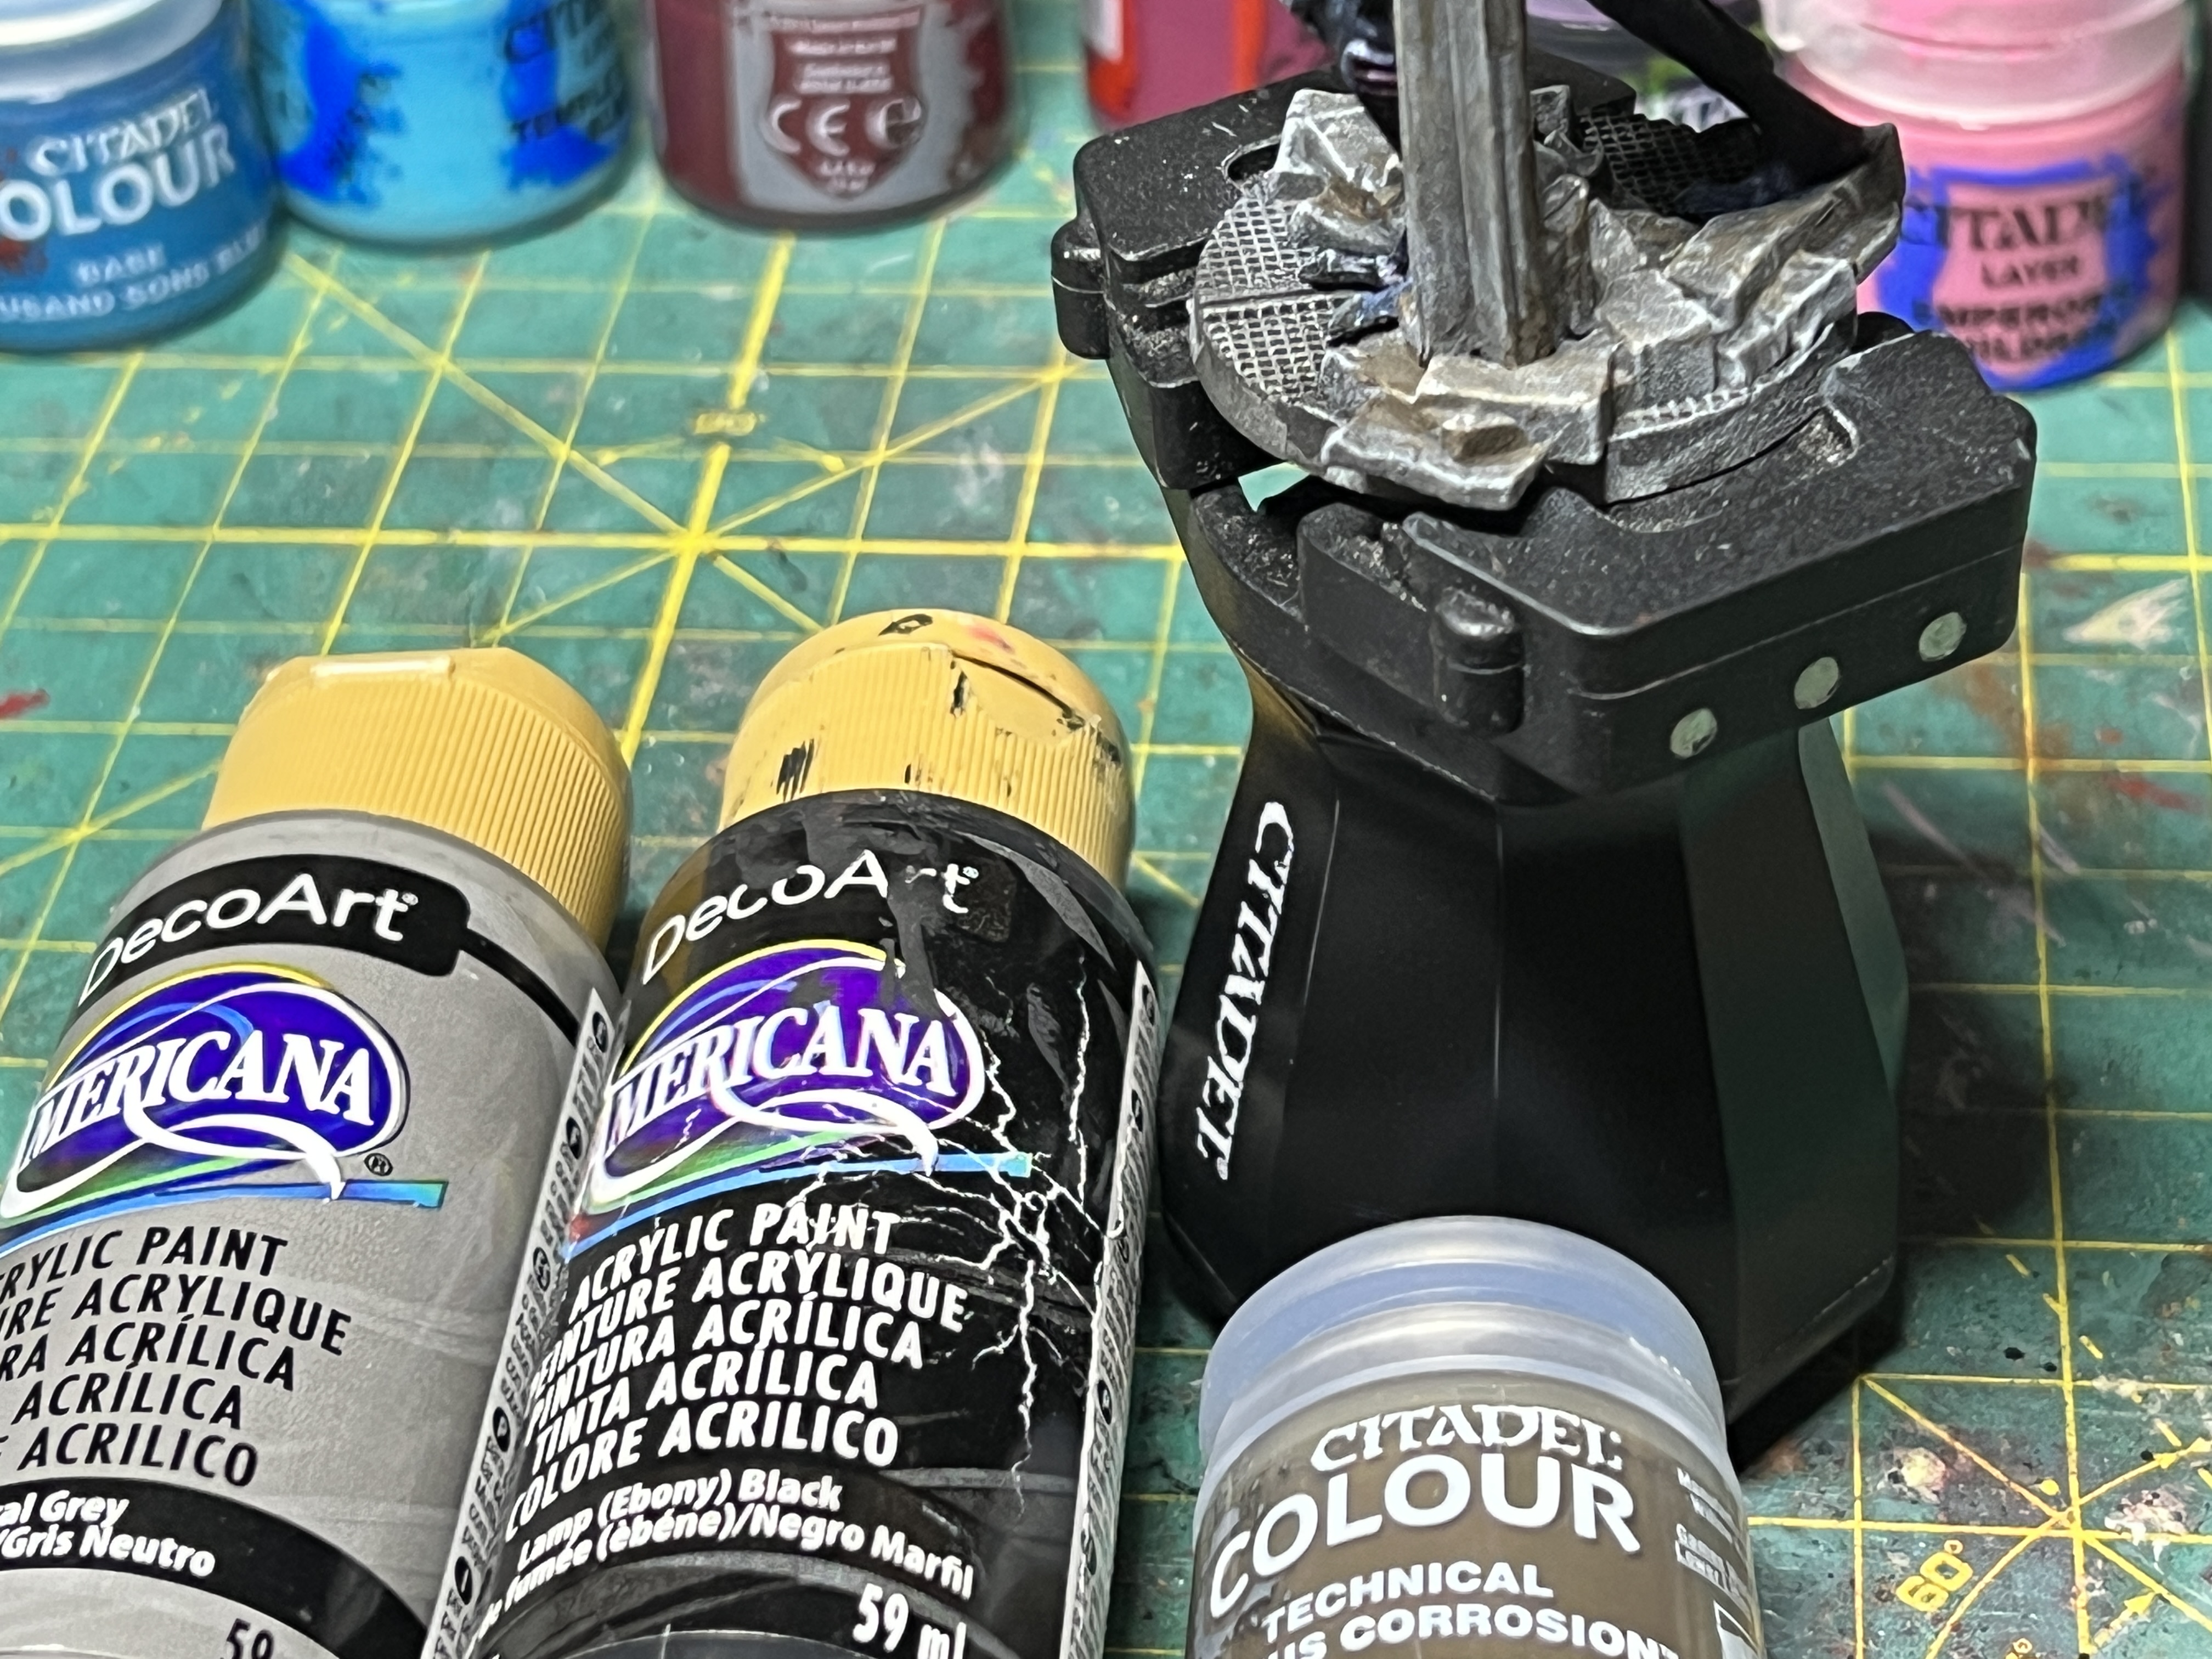
Nemesis - Painting the Intruders - Part 2: Creepers
I am not in love with the creepers miniatures, mostly due to their rather pedestrian pose, but as I painted them they grew on me.
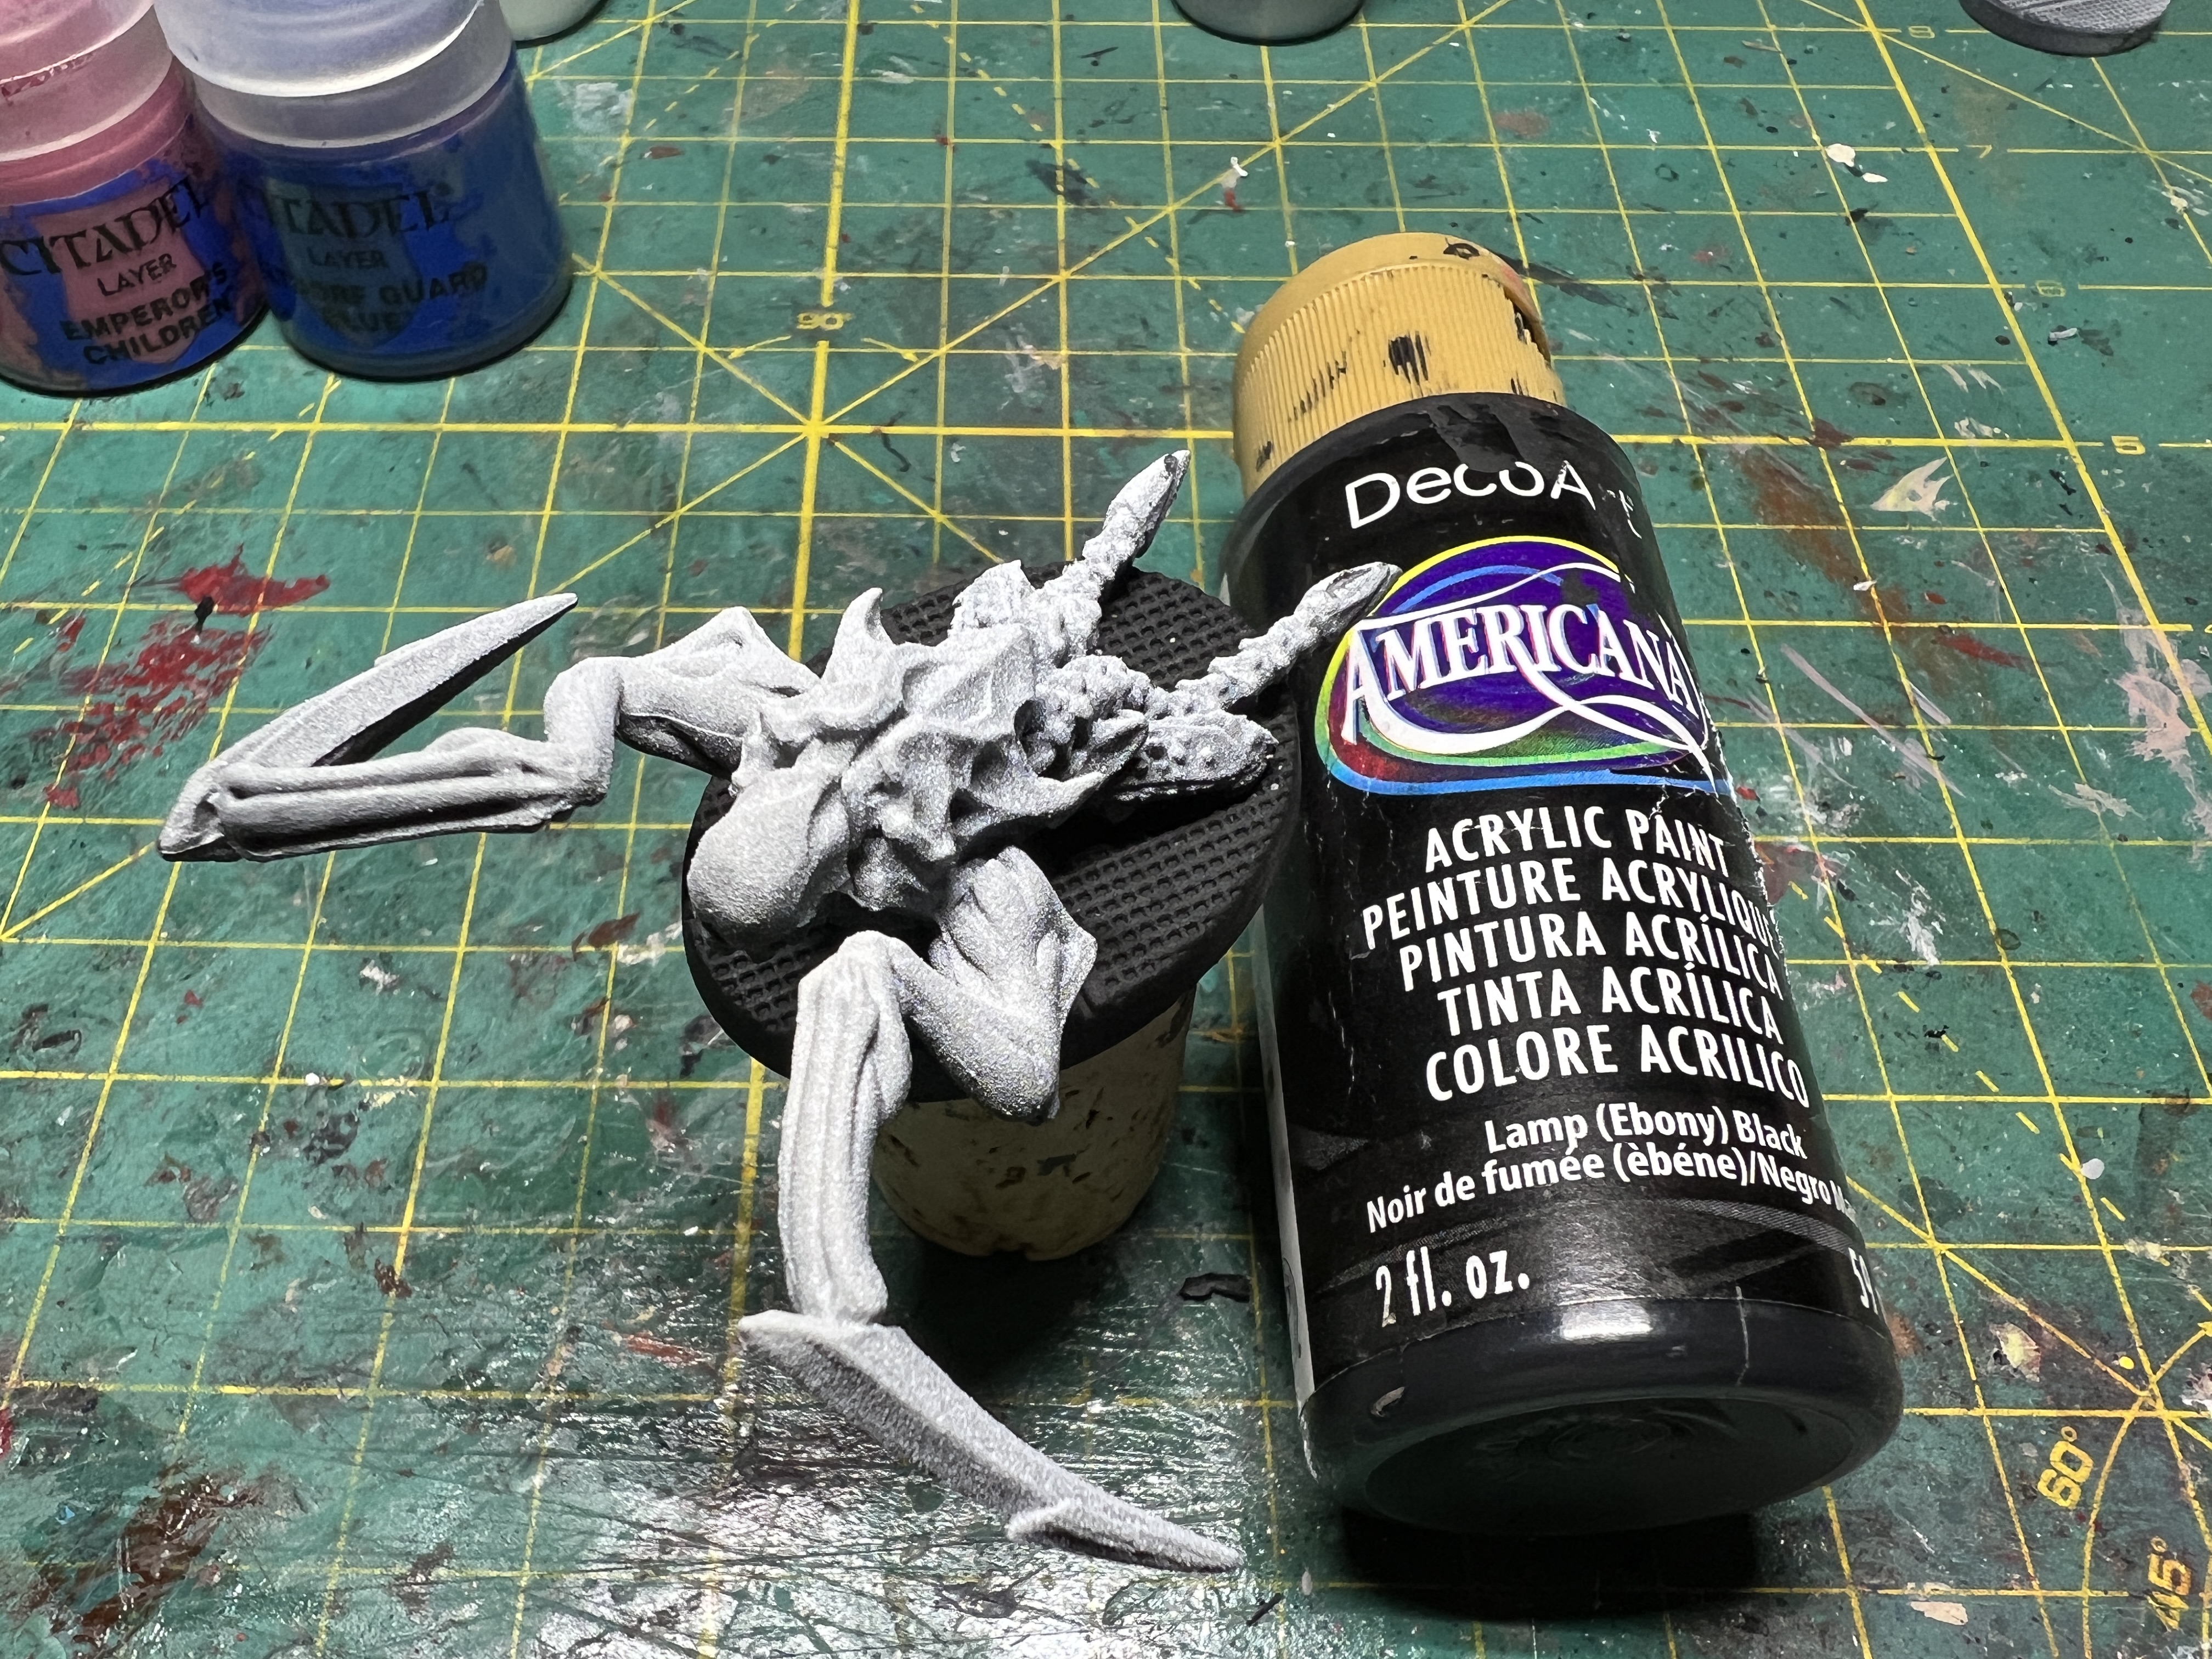 I chose to paint the base first, with flat black.
 Followed by a metallic drybrush, to avoid leaving metal streaks on the body later. I saved the weathering for last.
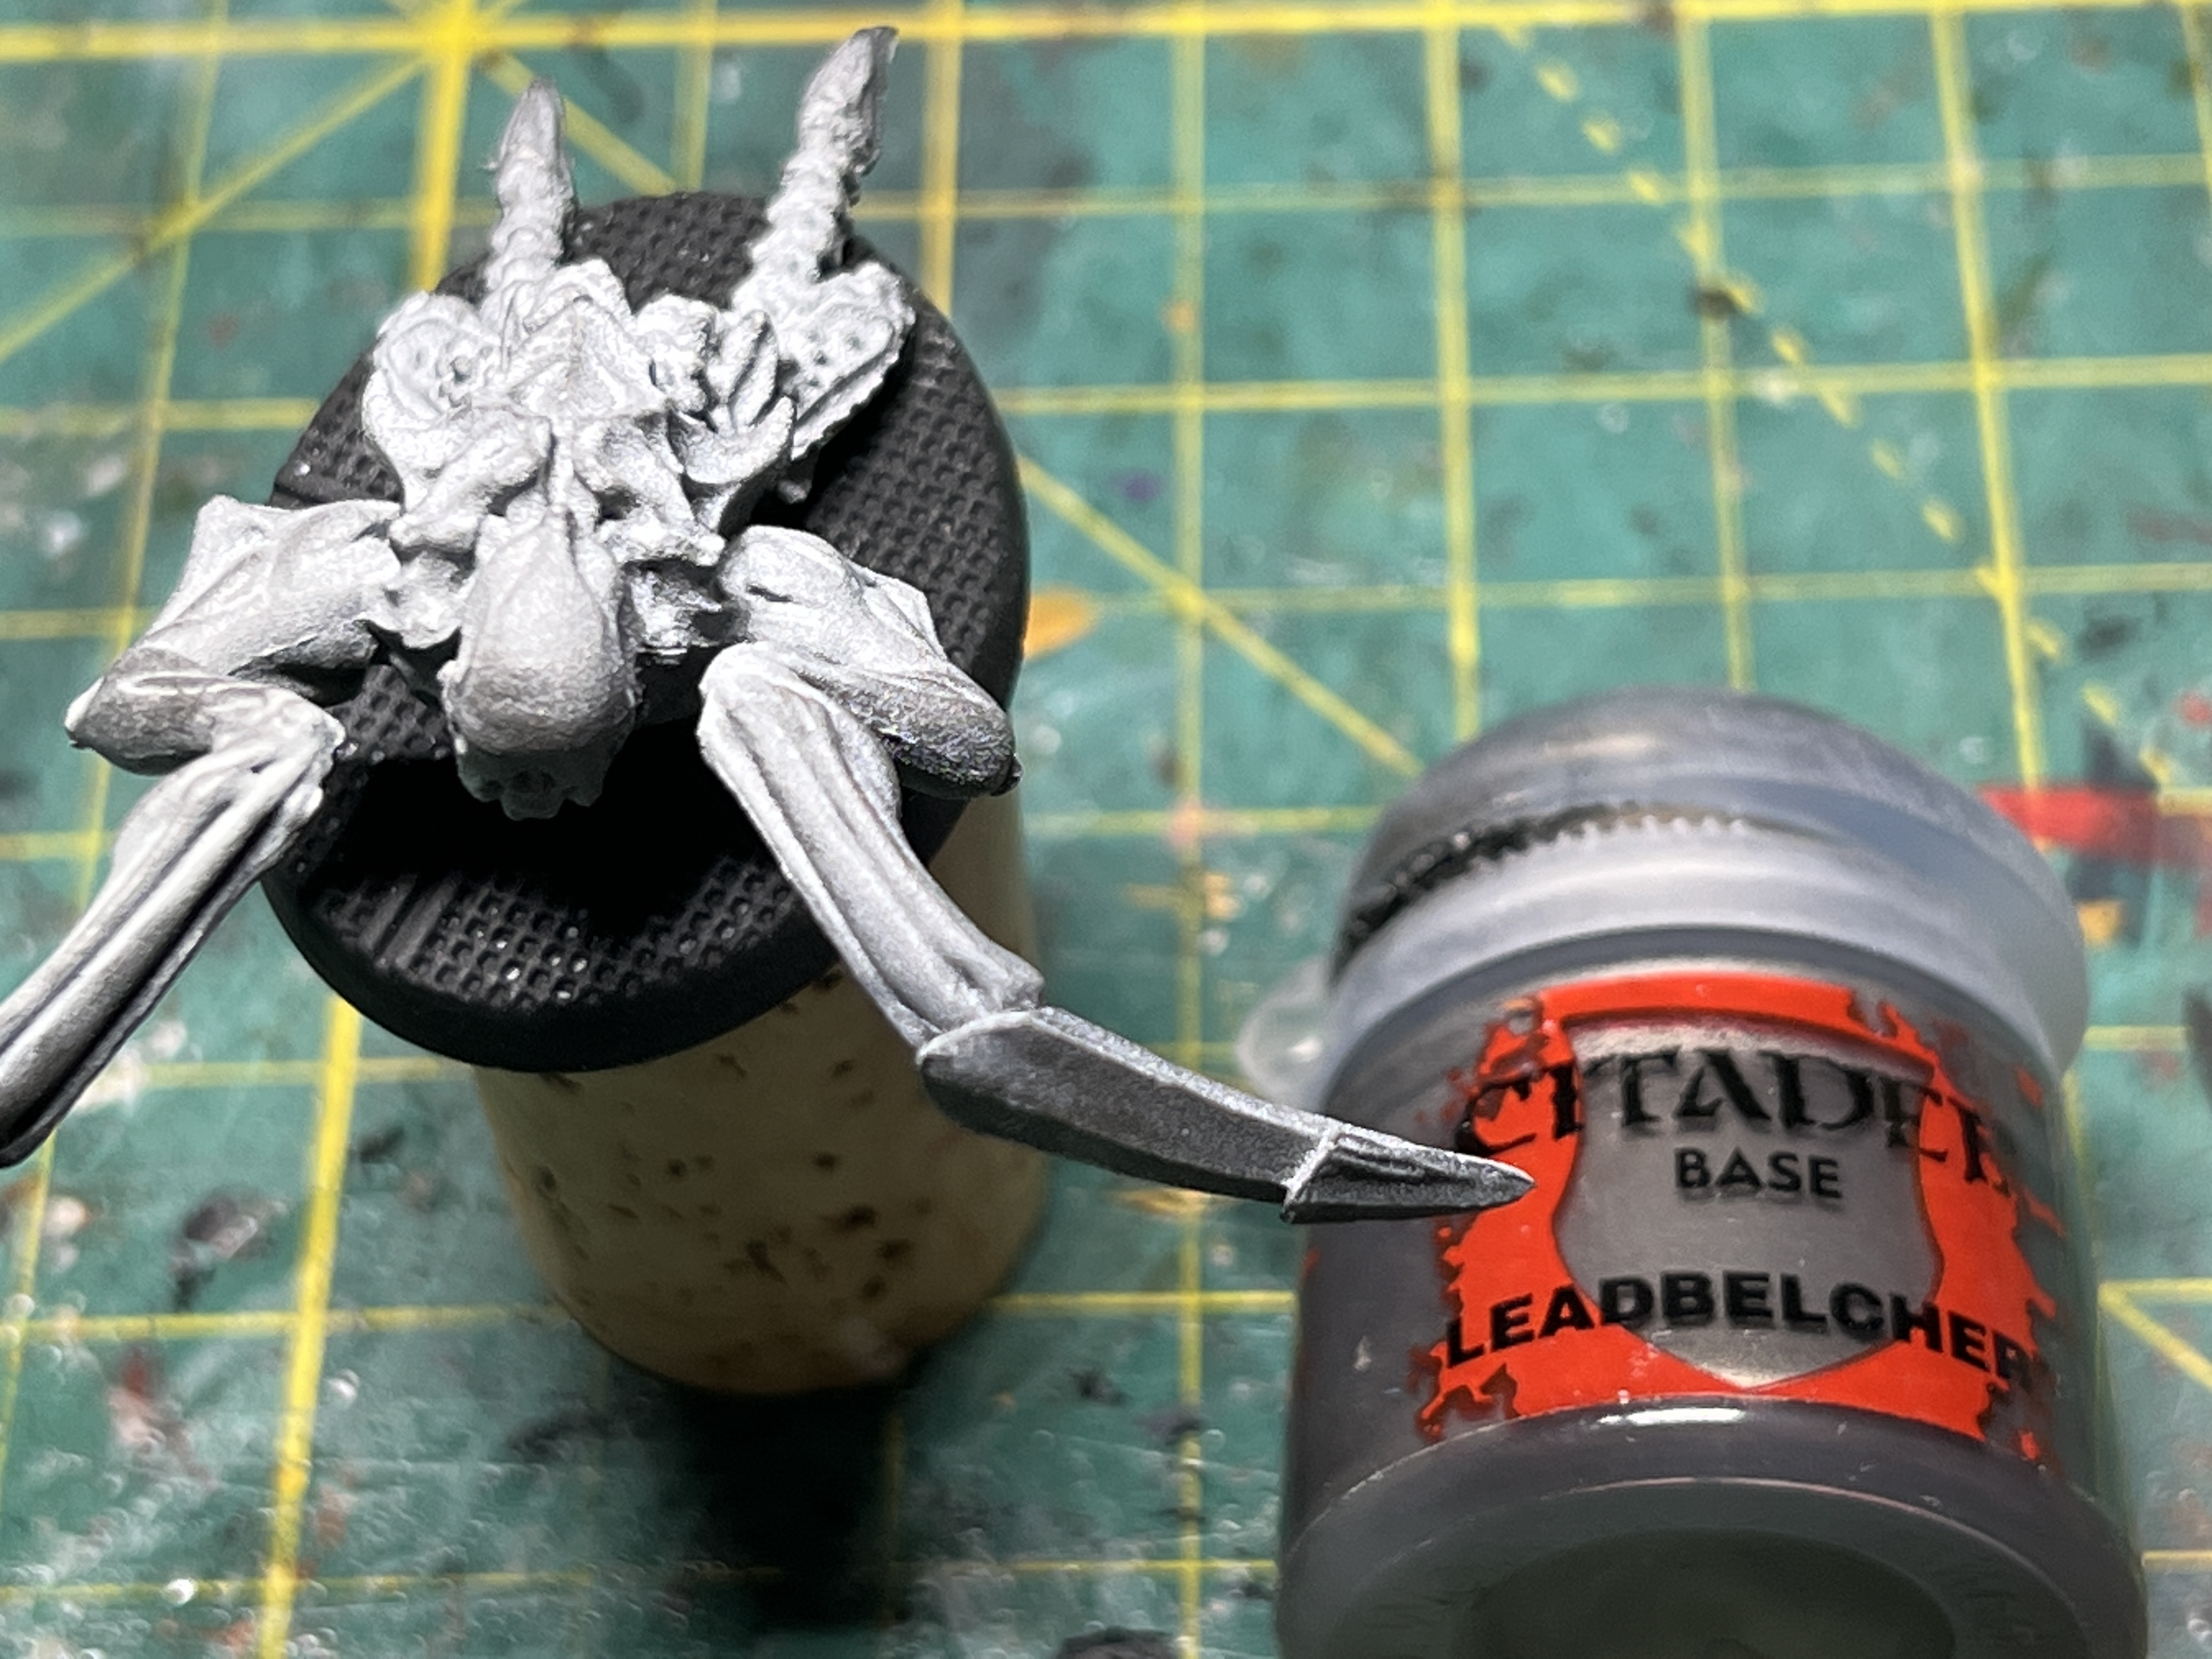
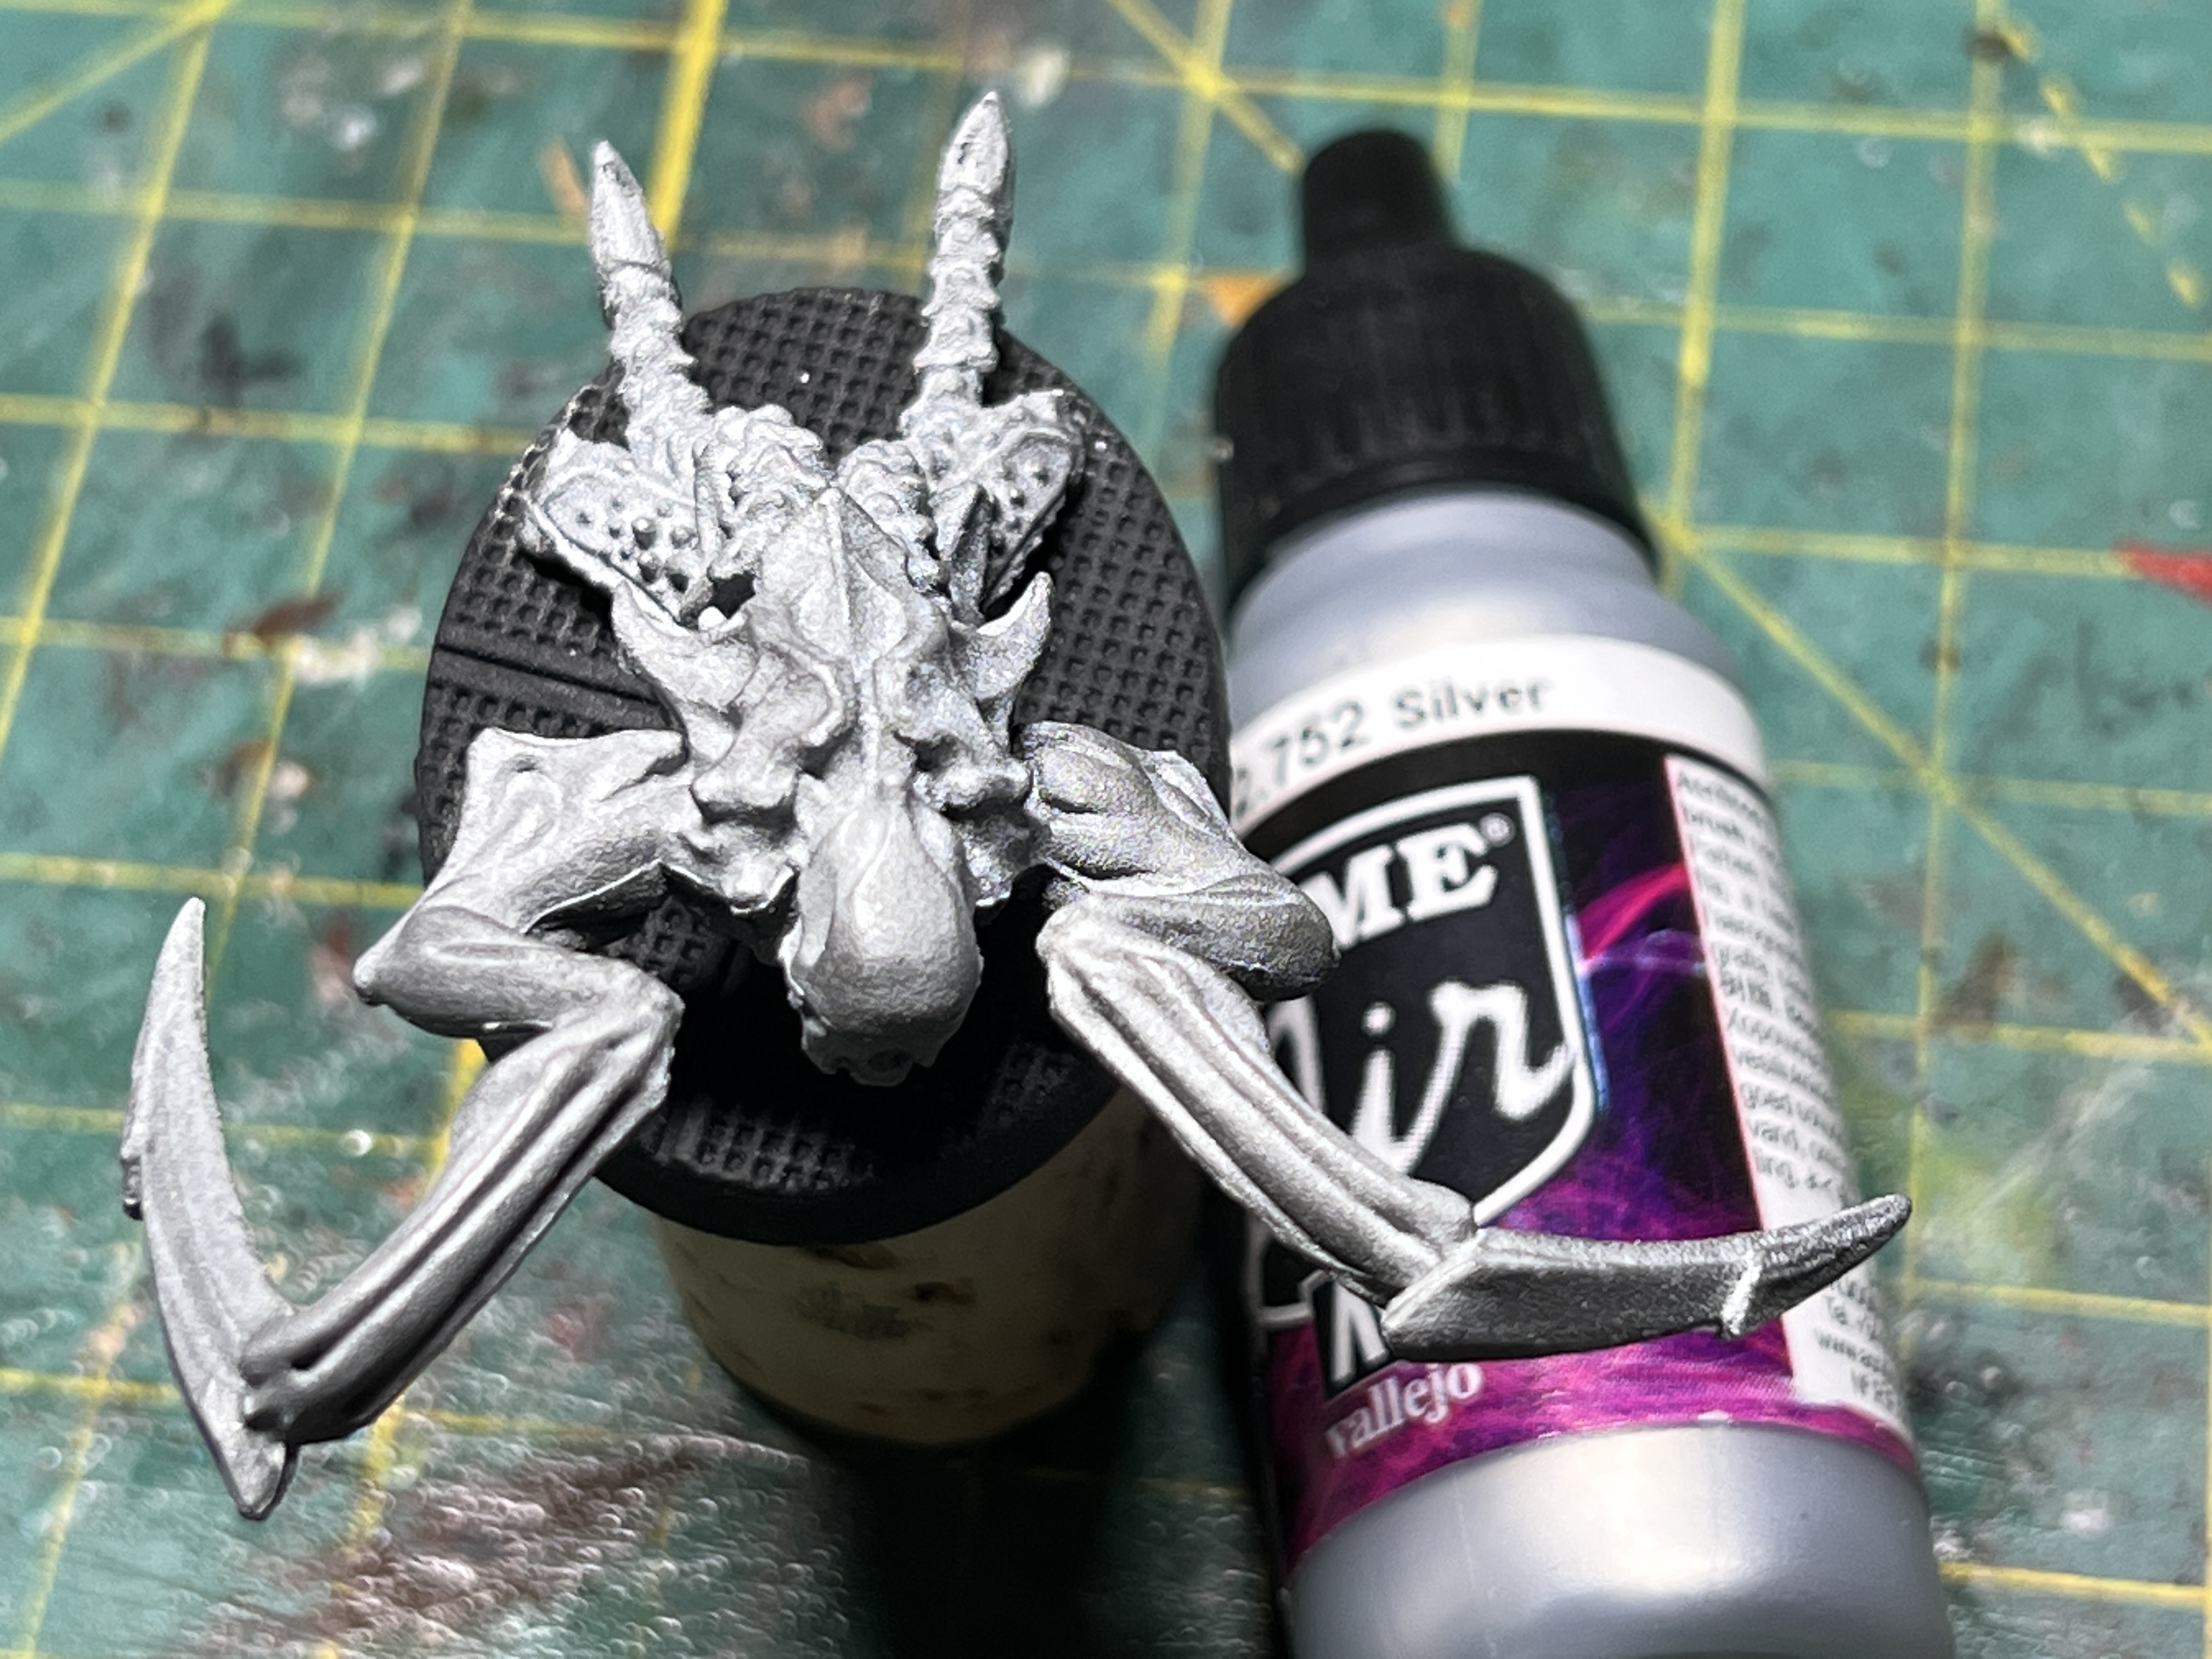
I then applied two dry brush layers of lead belcher and silver. This is not very visible when first applied but will be revealed as a metallic shine after the next step.
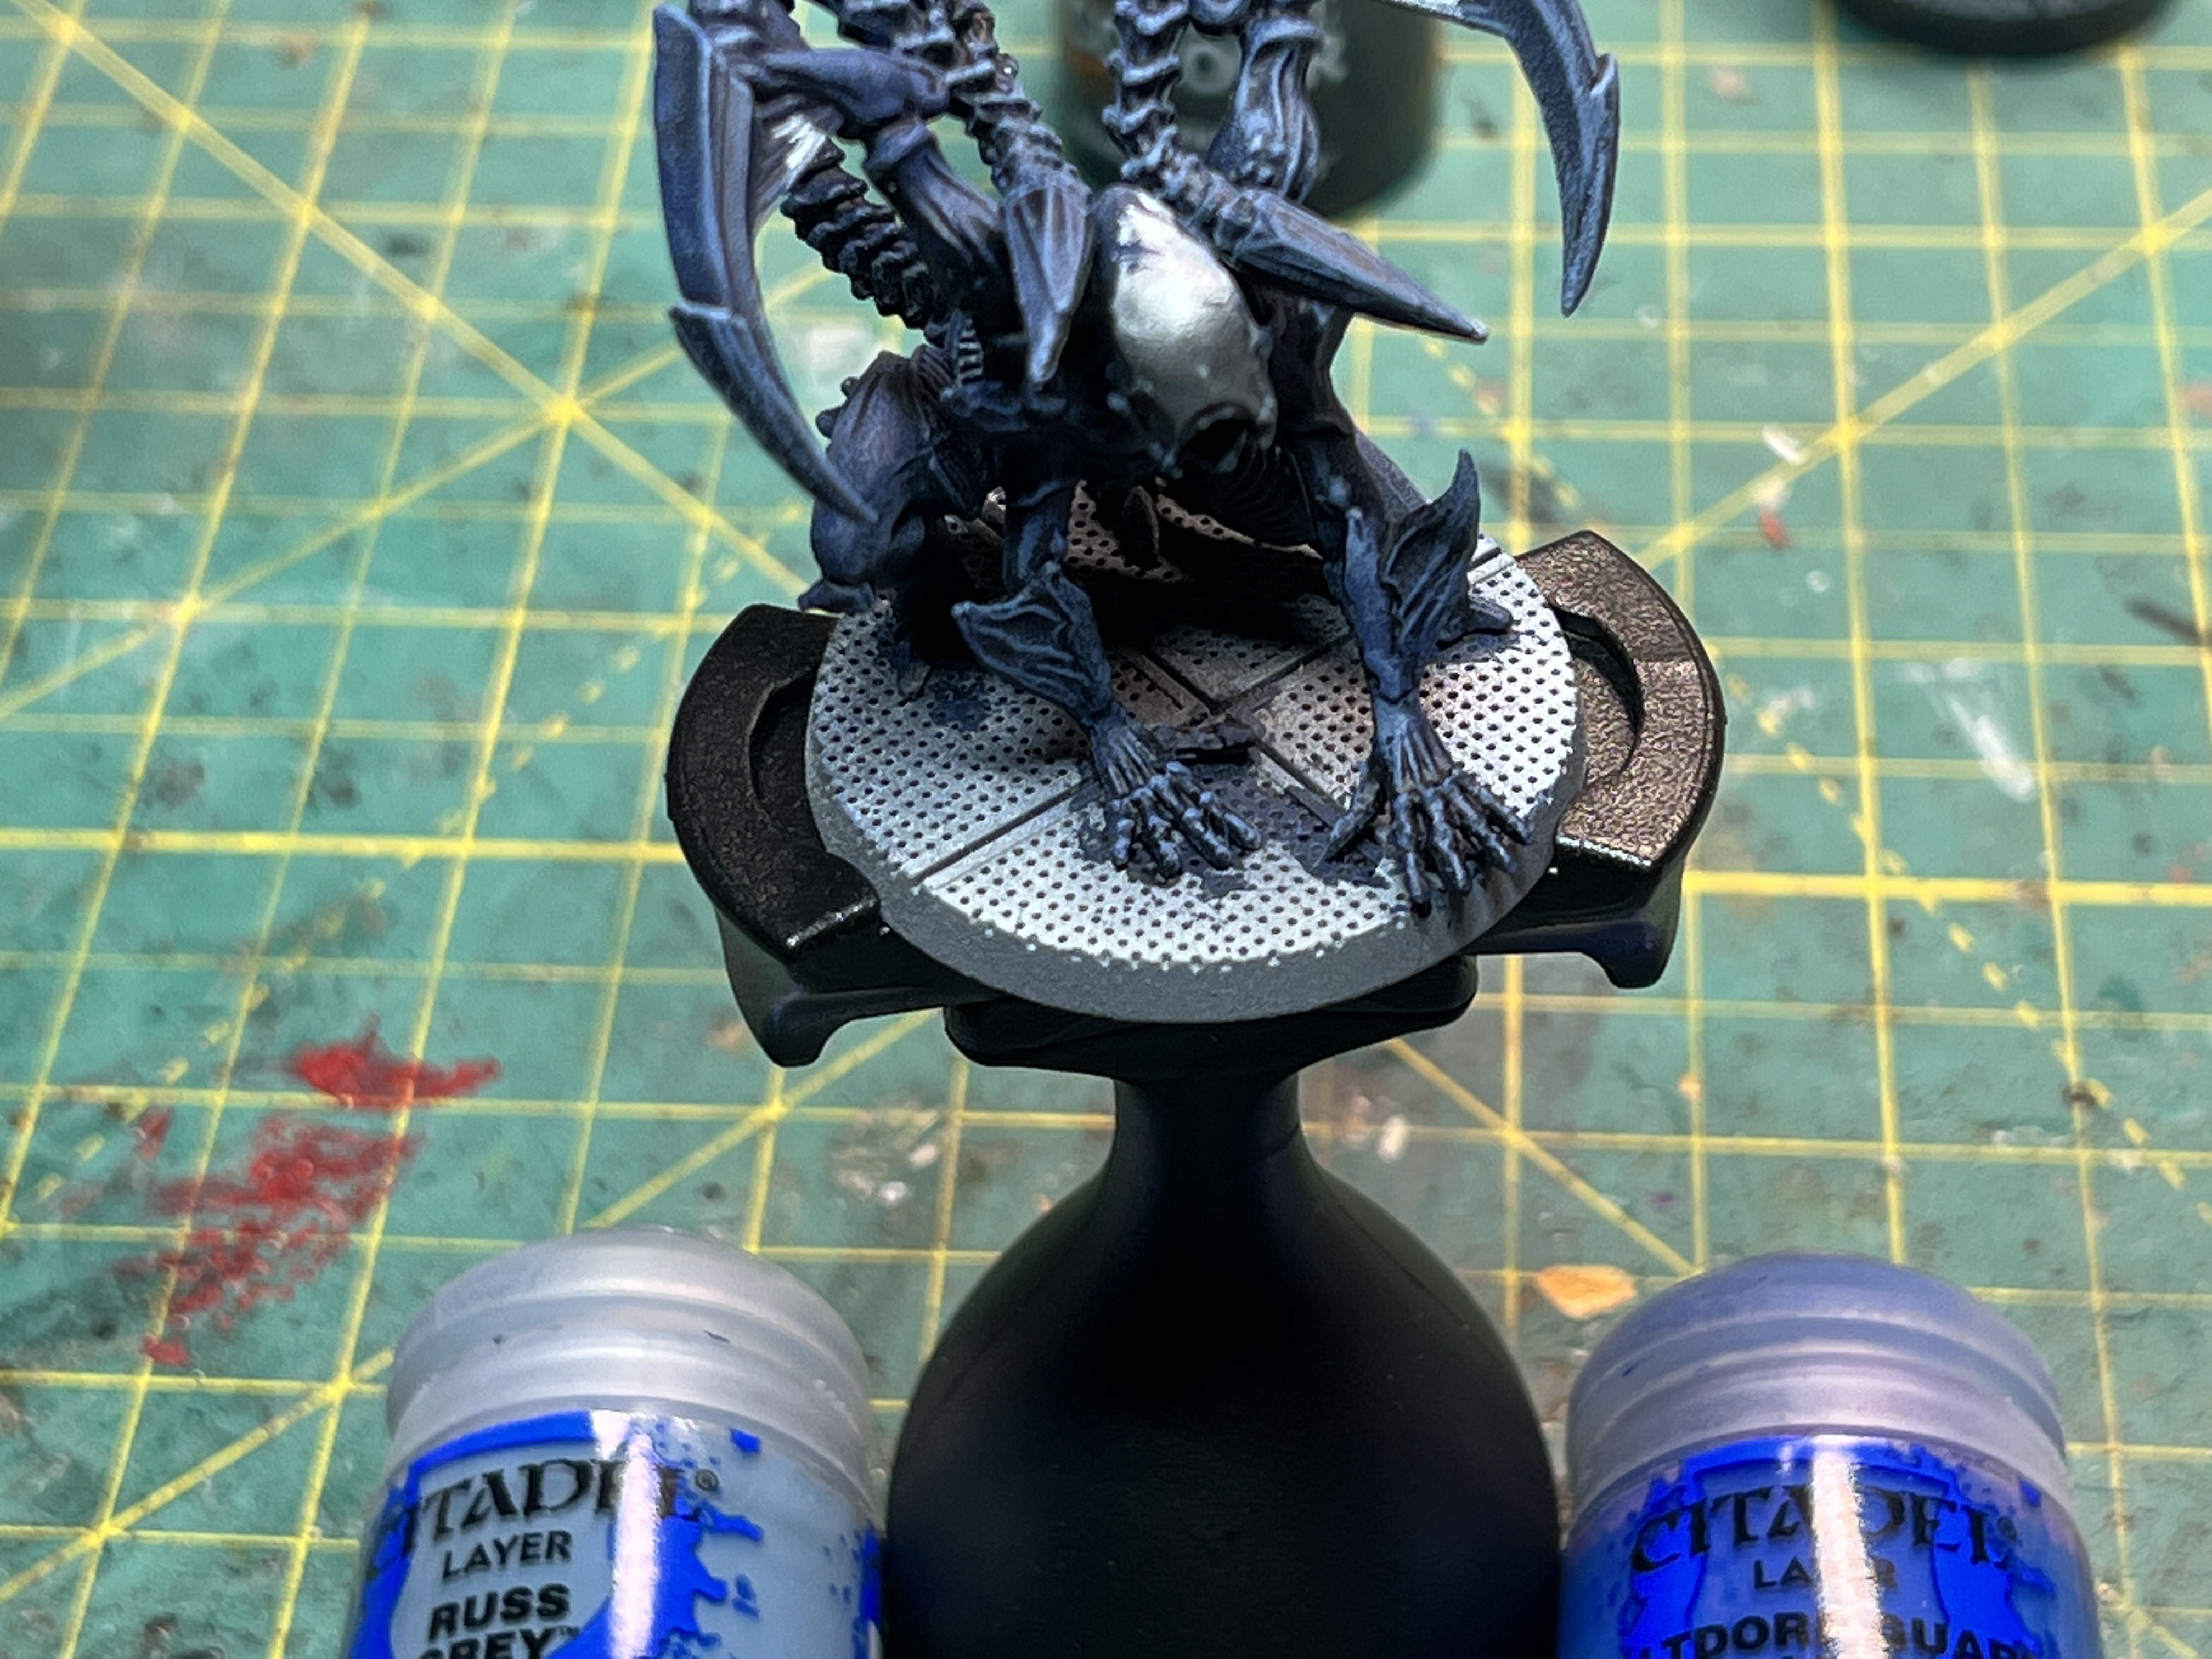
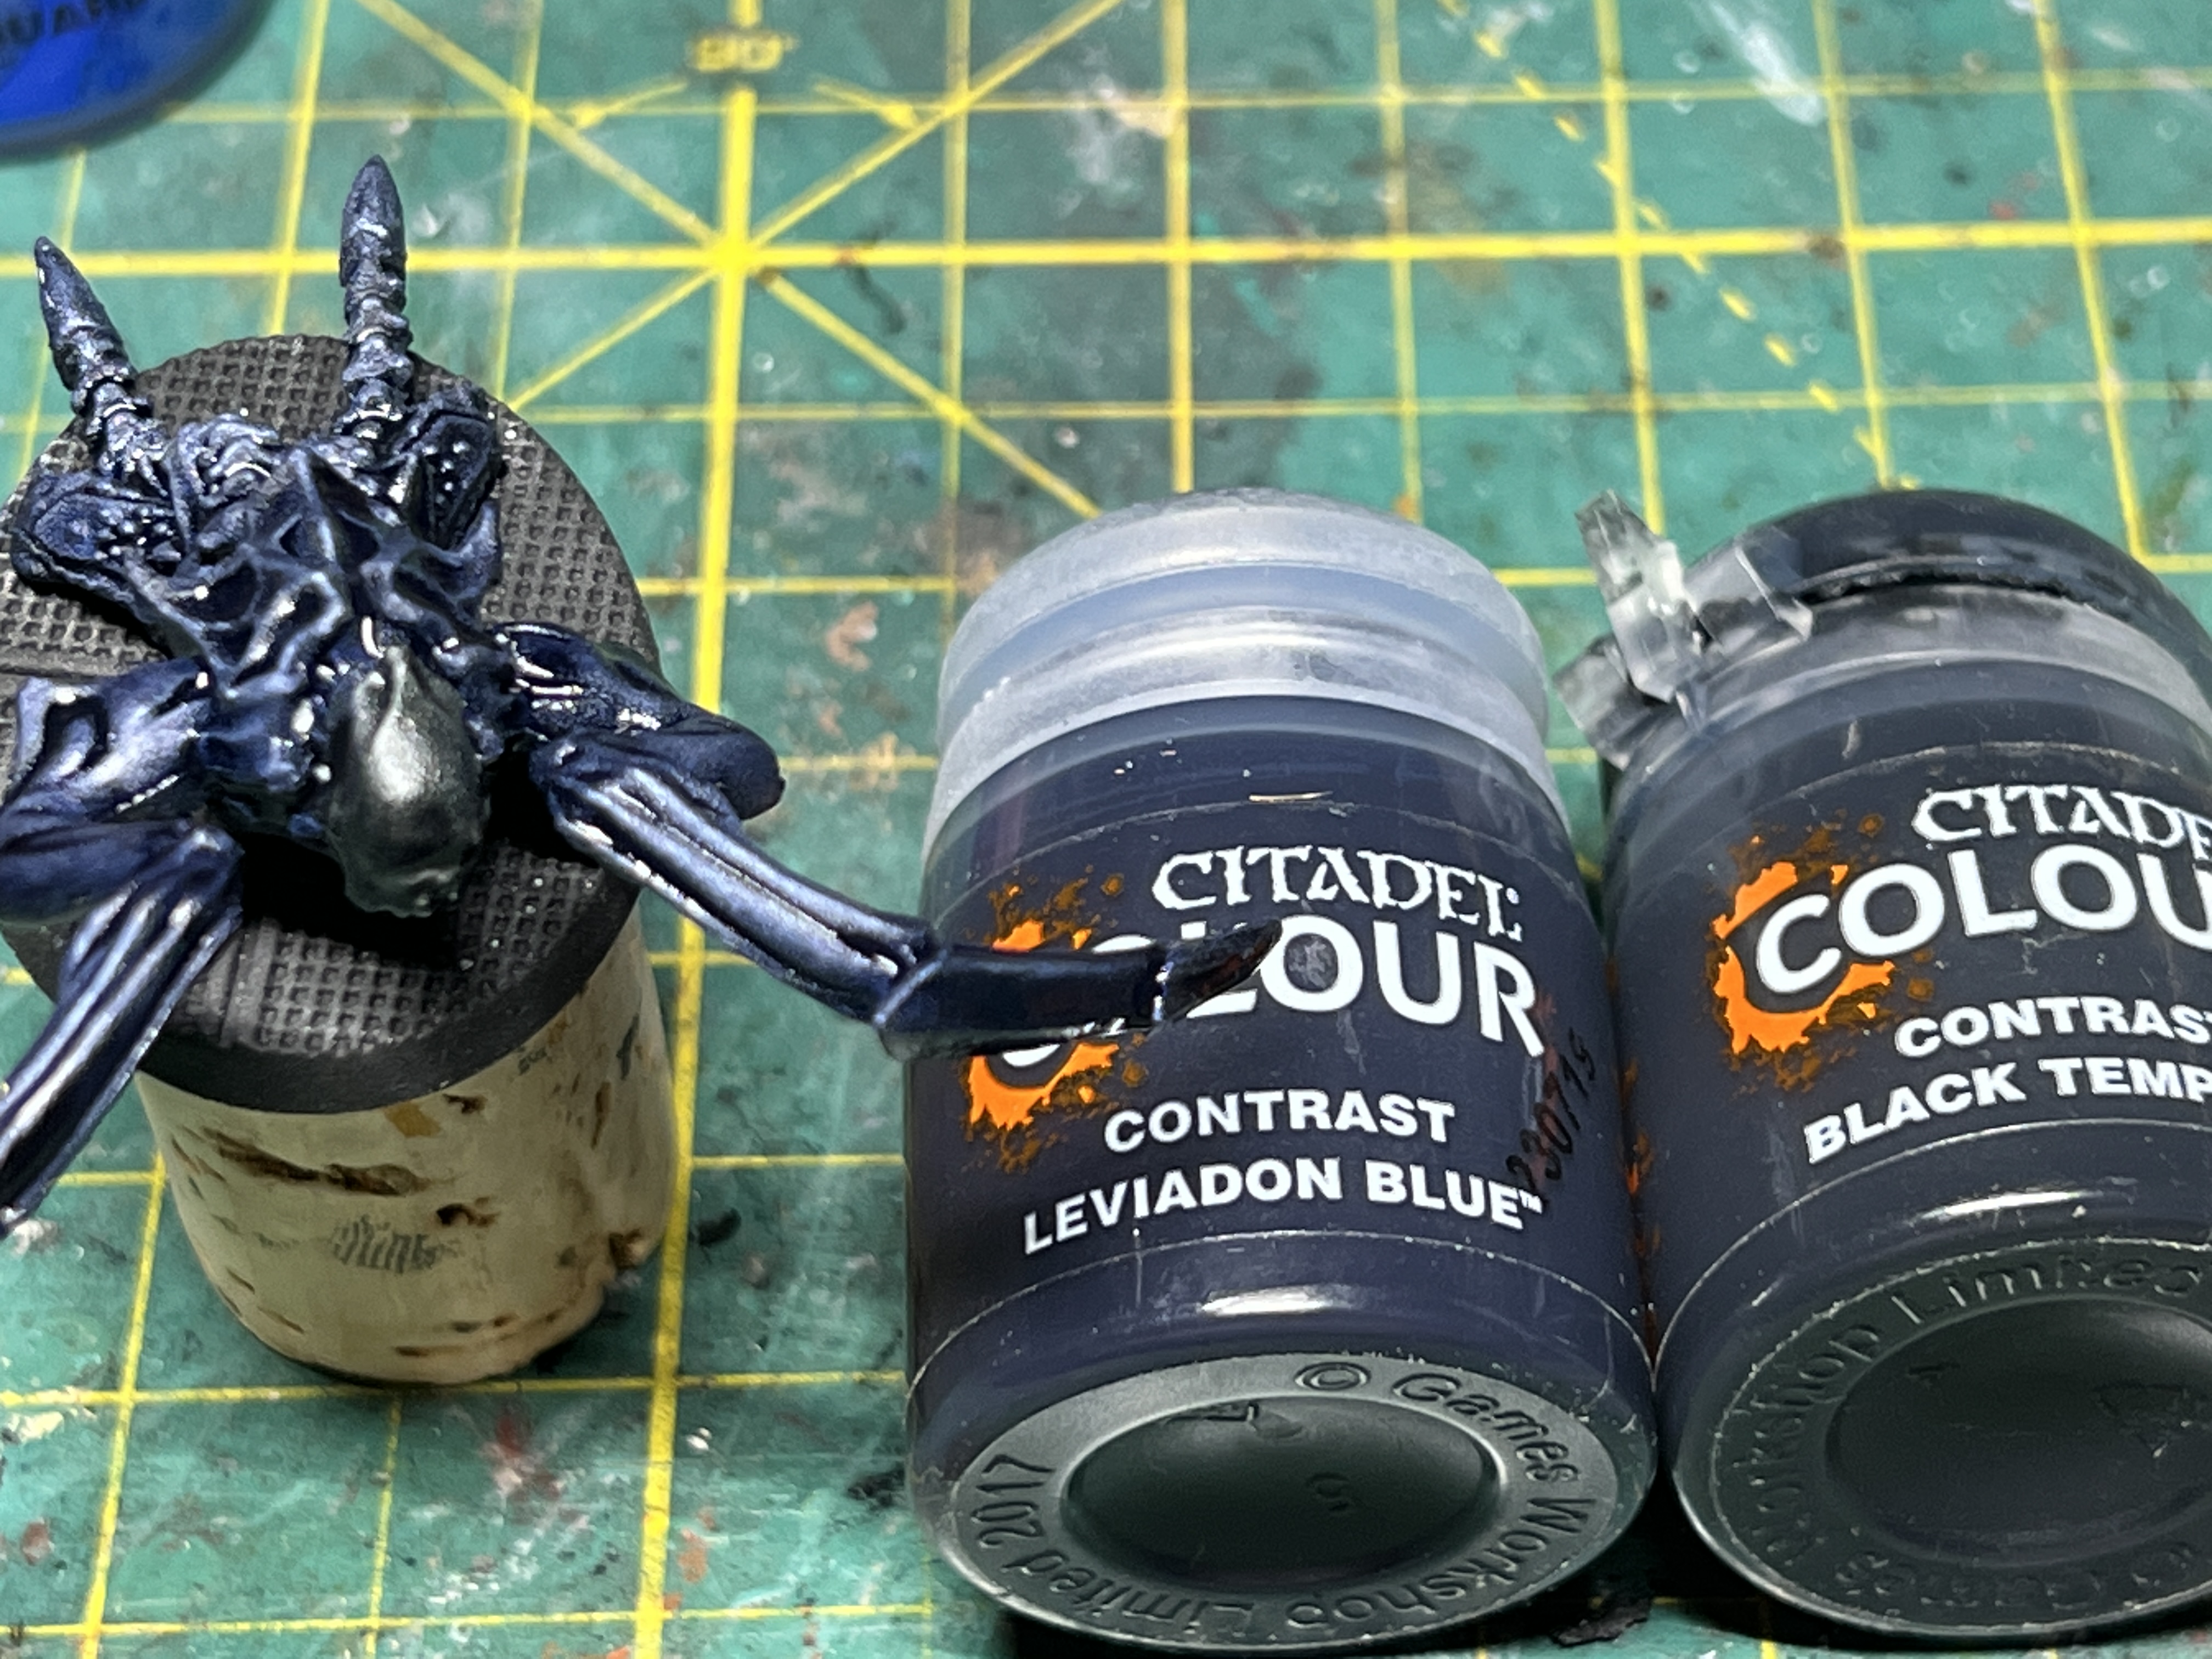 The body received a coat of GW Contrast Leviadon Blue and the head a coat of GW Contrast black templar. The metallic drybrush applied in the previous step becomes very visible at this stage.
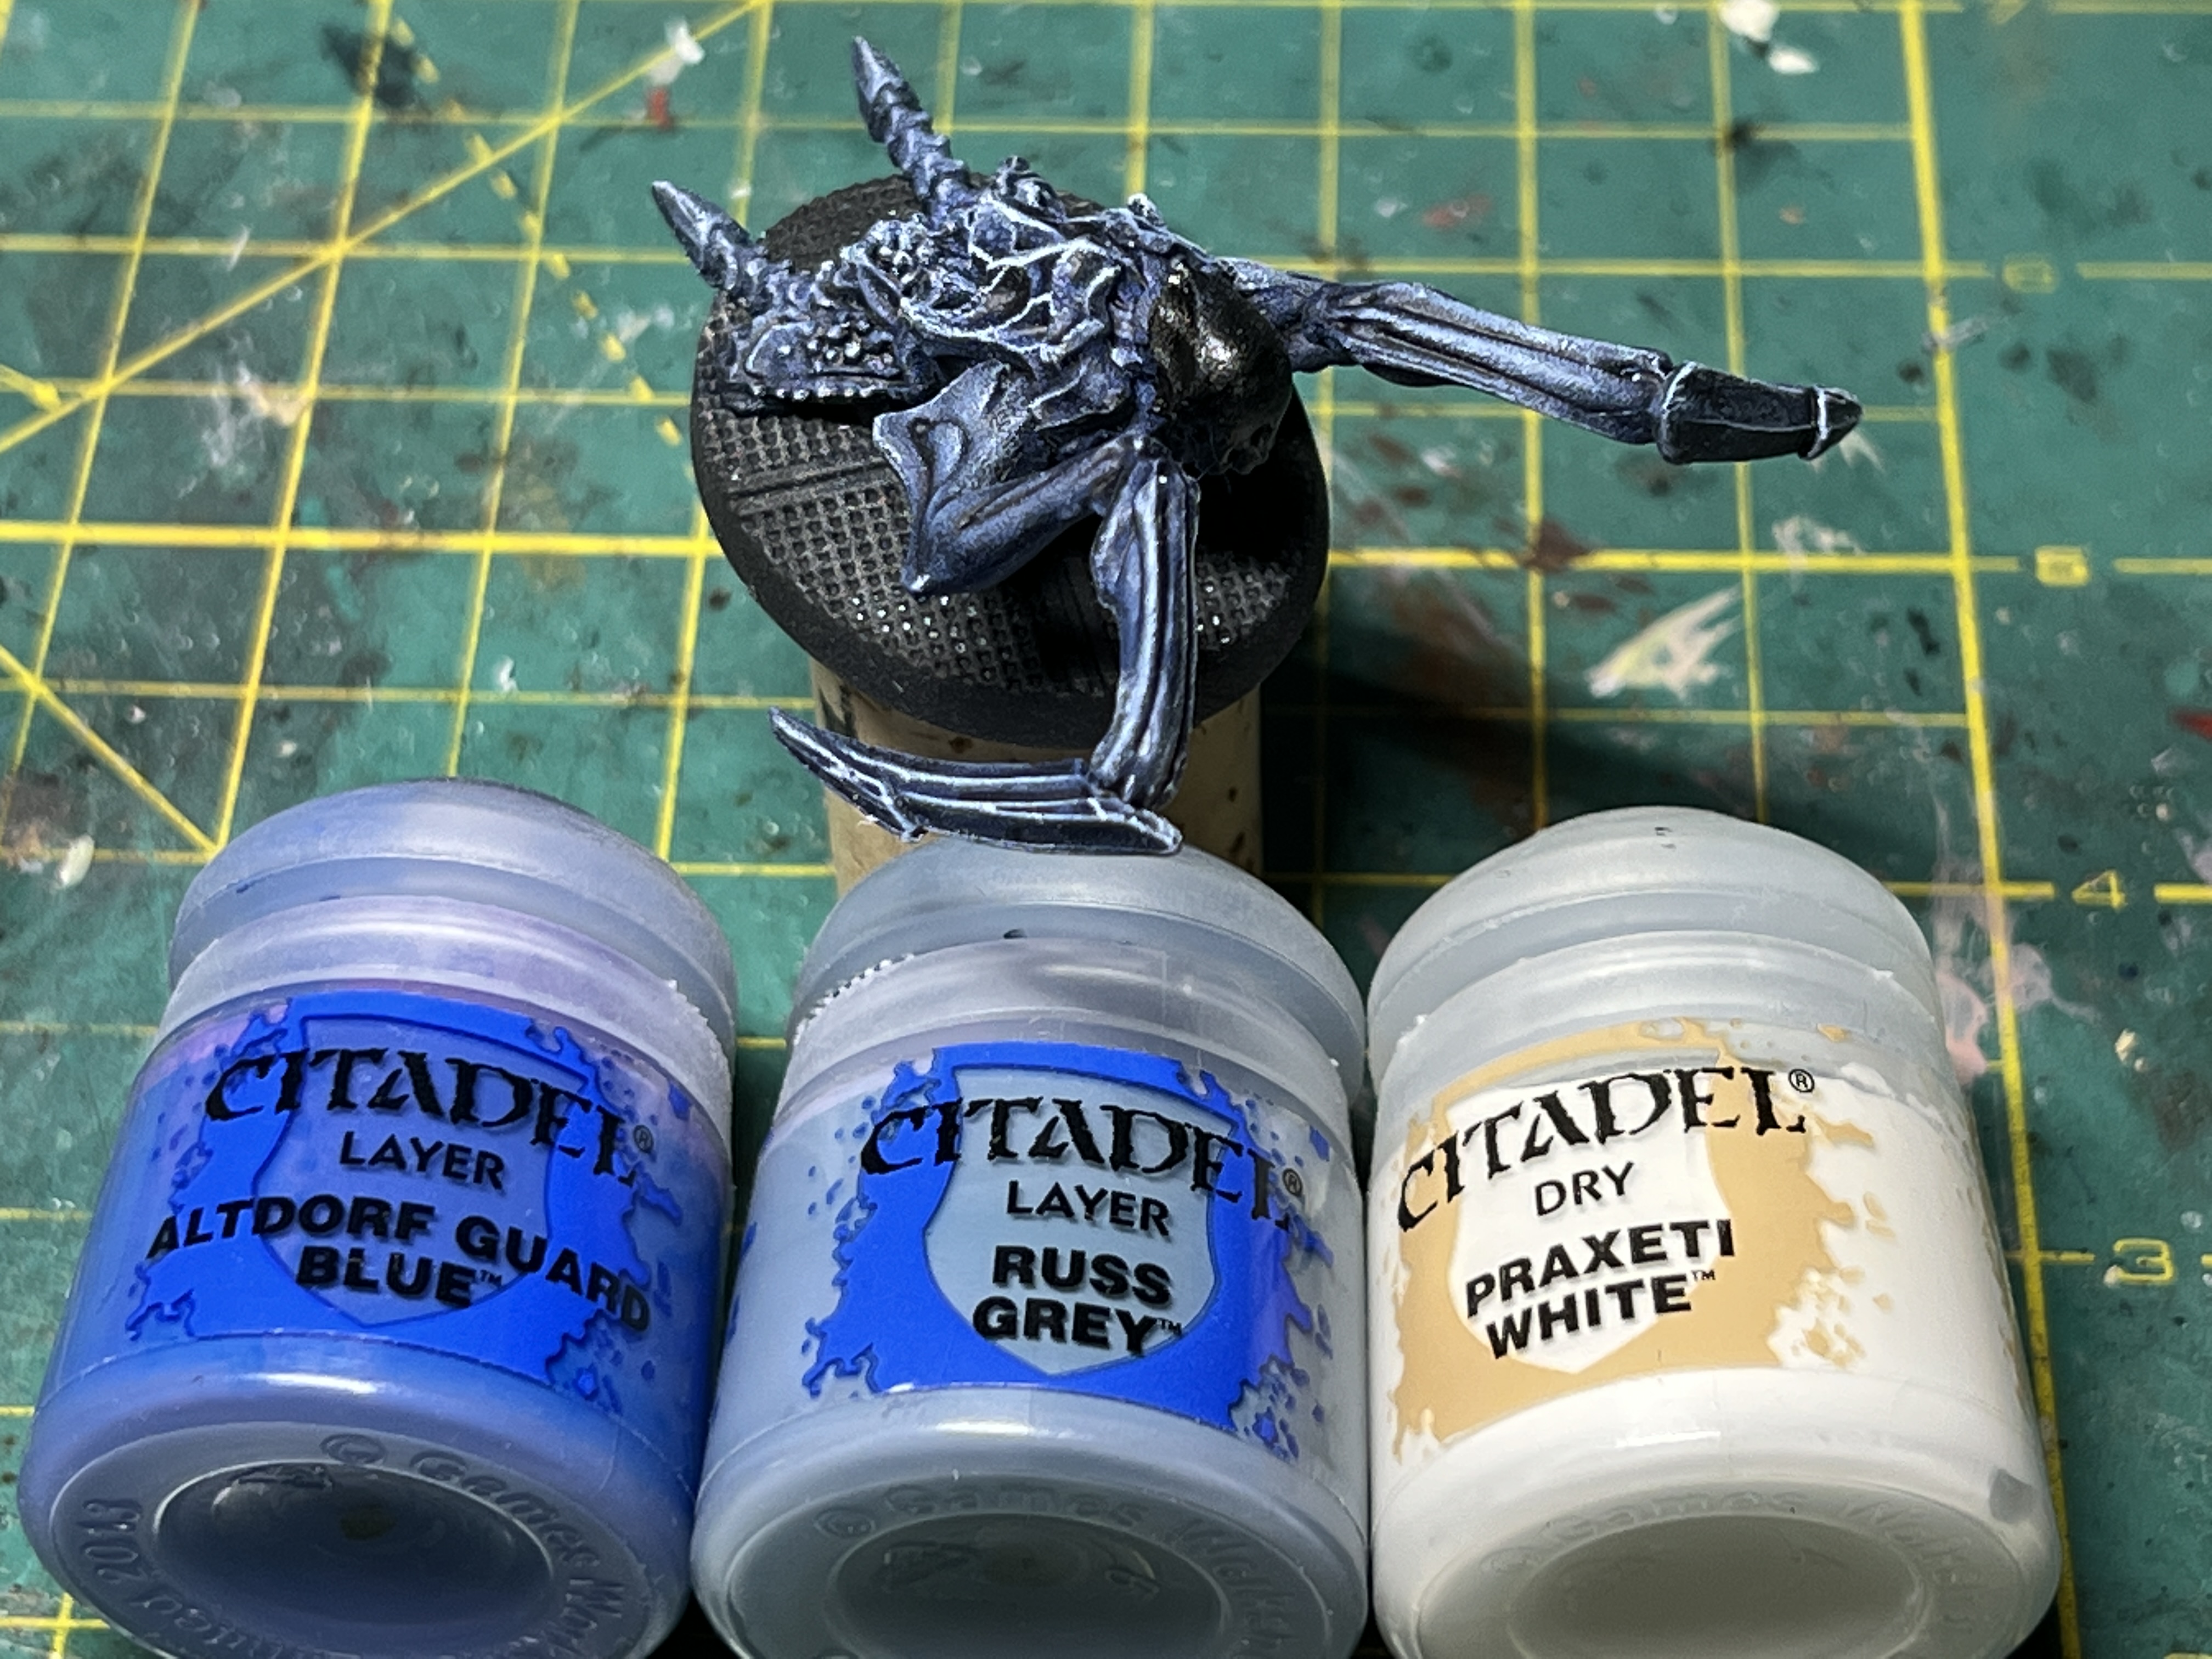 Once dry, the body received three progressive drybrush layers of GW Altdorf Guard Blue, GW Russ Grey and GW Dry Praxeti White, in progressively smaller and more light-exposed areas.
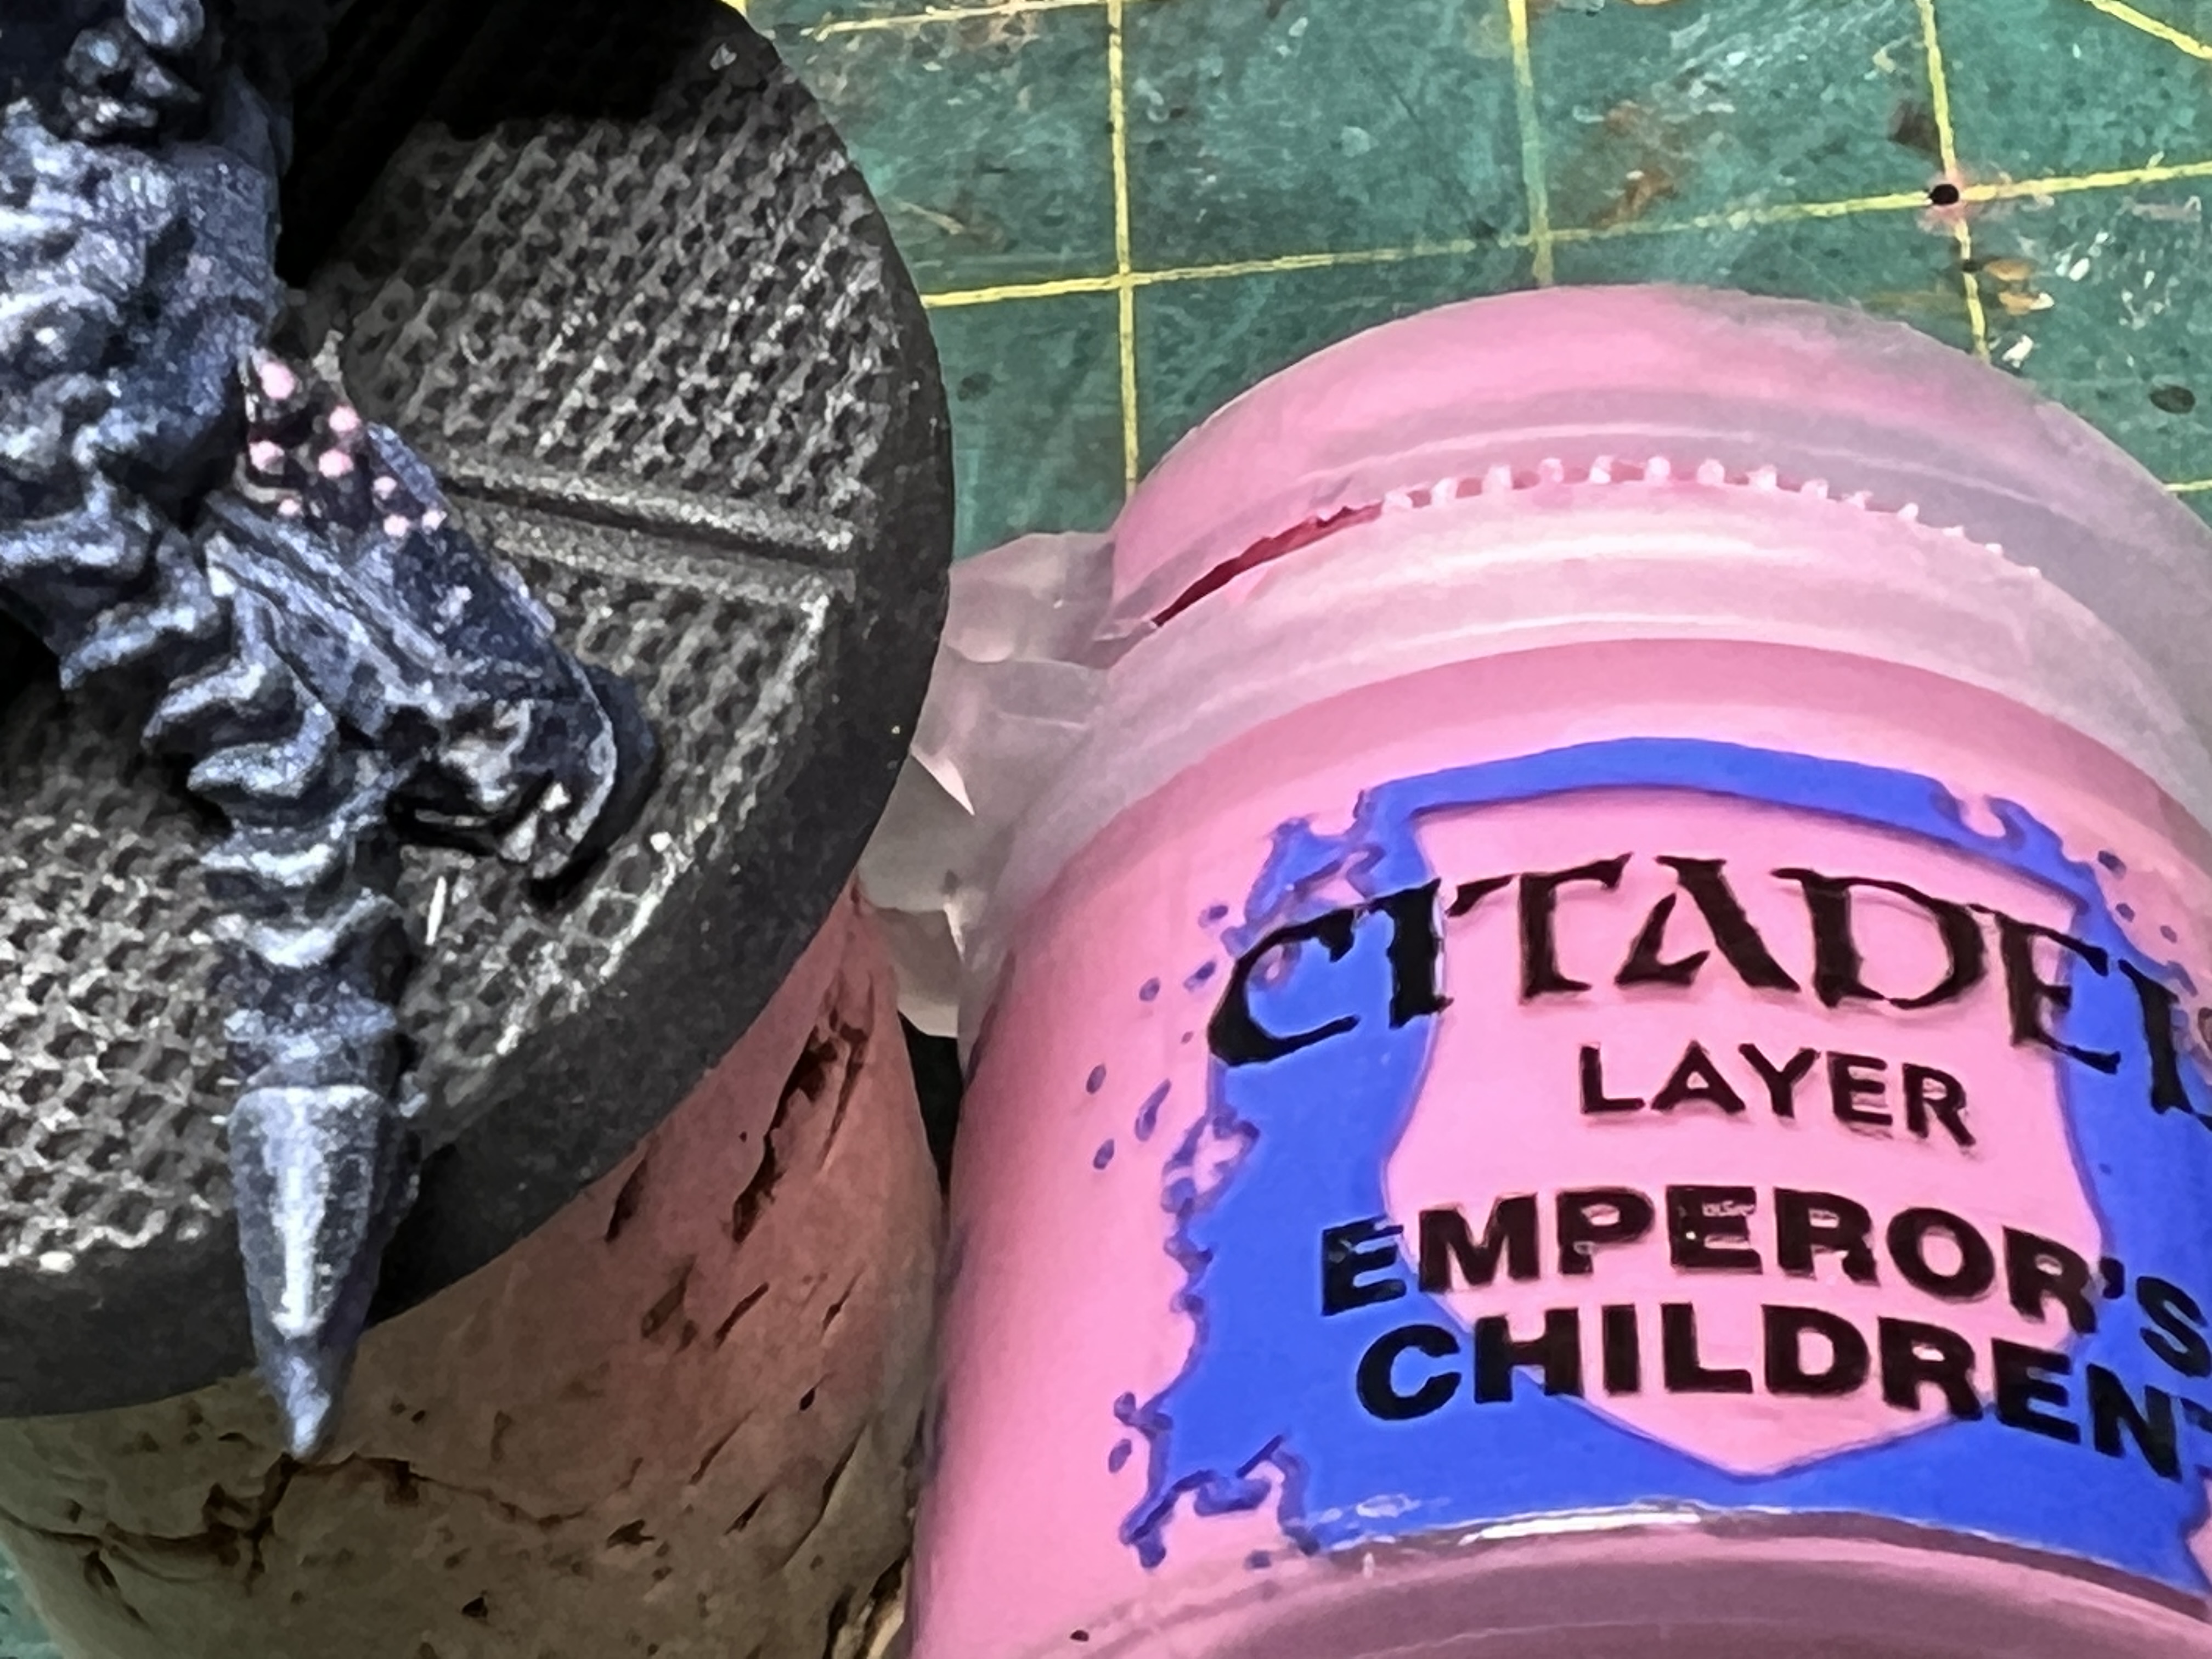 Finally, the little bumps on the creeper's backlog received dots of GW Emperor's Children. The base was spottily dotted with GW Typhus Corrosion followed by very light drybrush of Ryza Rust.
The Larvae
 I first cleaned up (not a tremendous amount of mold lines) and zenithal primed the miniatures using black, grey and white.
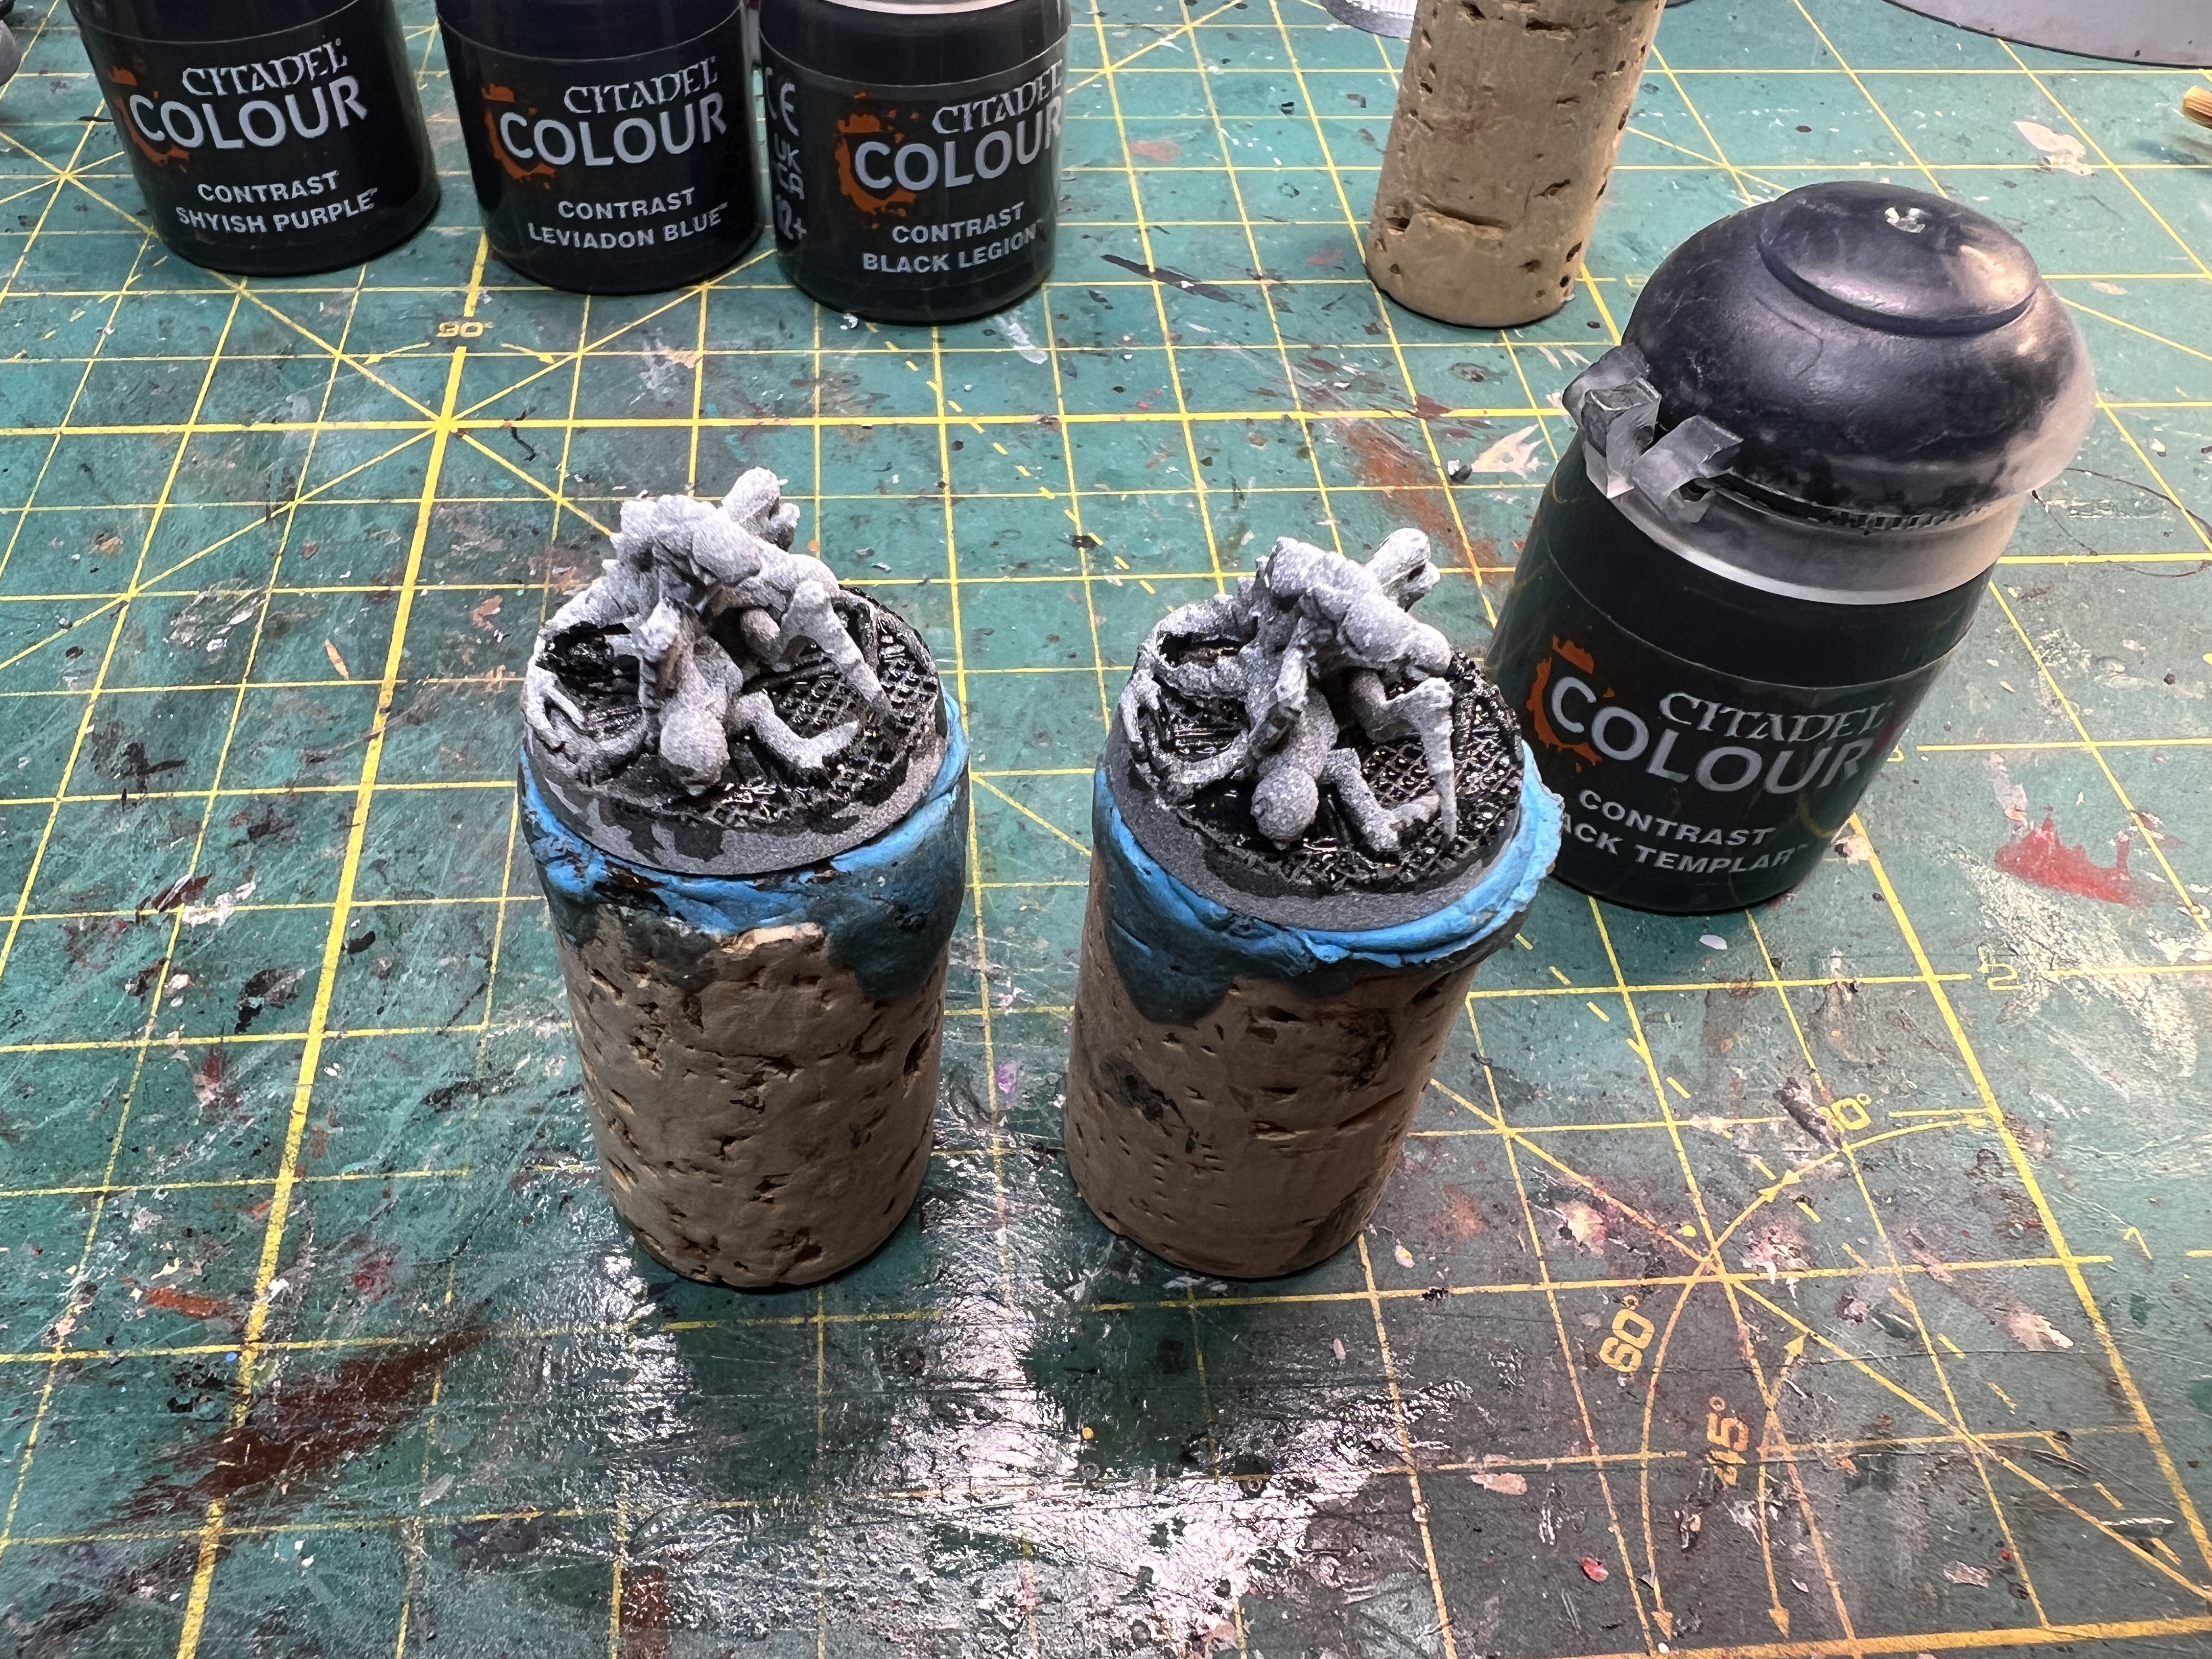 I decided to start with the larvae, portrayed in the game as a swarming mass of newly born creatures. The bases are applied a coat of in Black Templar GW Contrast.
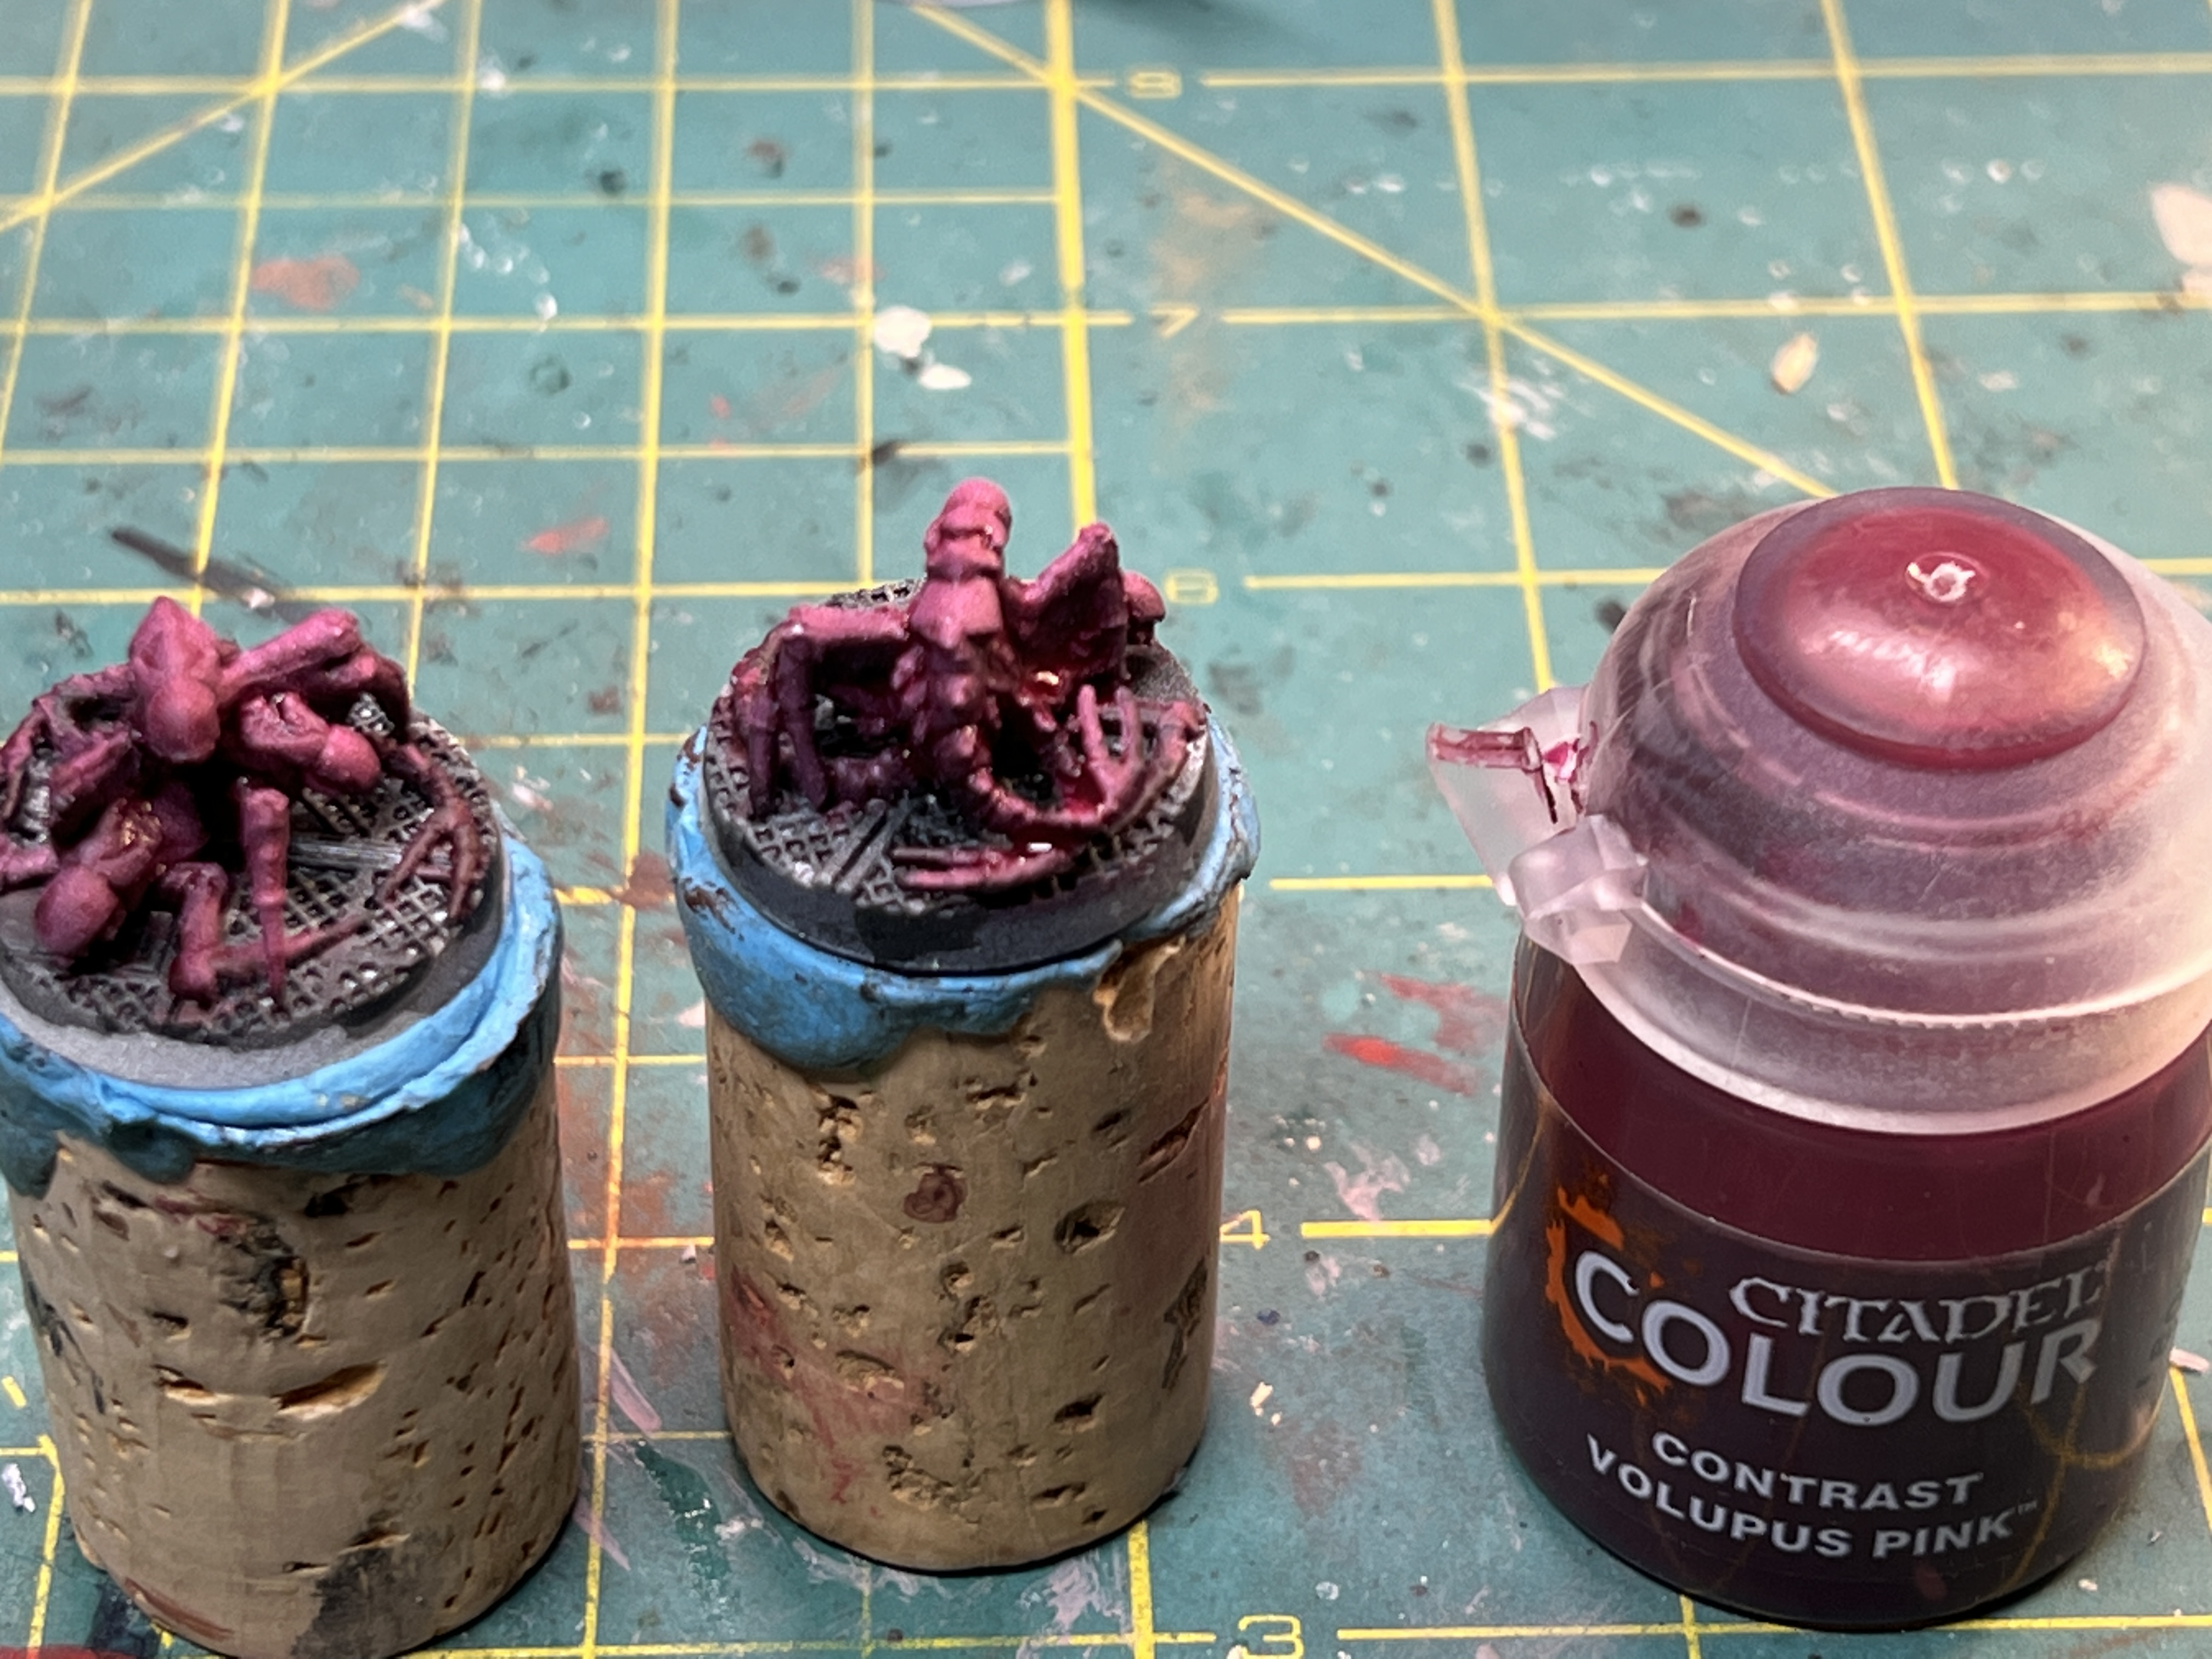 Followed by covering the entirety of the creature bodies with GW Contrast Volupus Pink
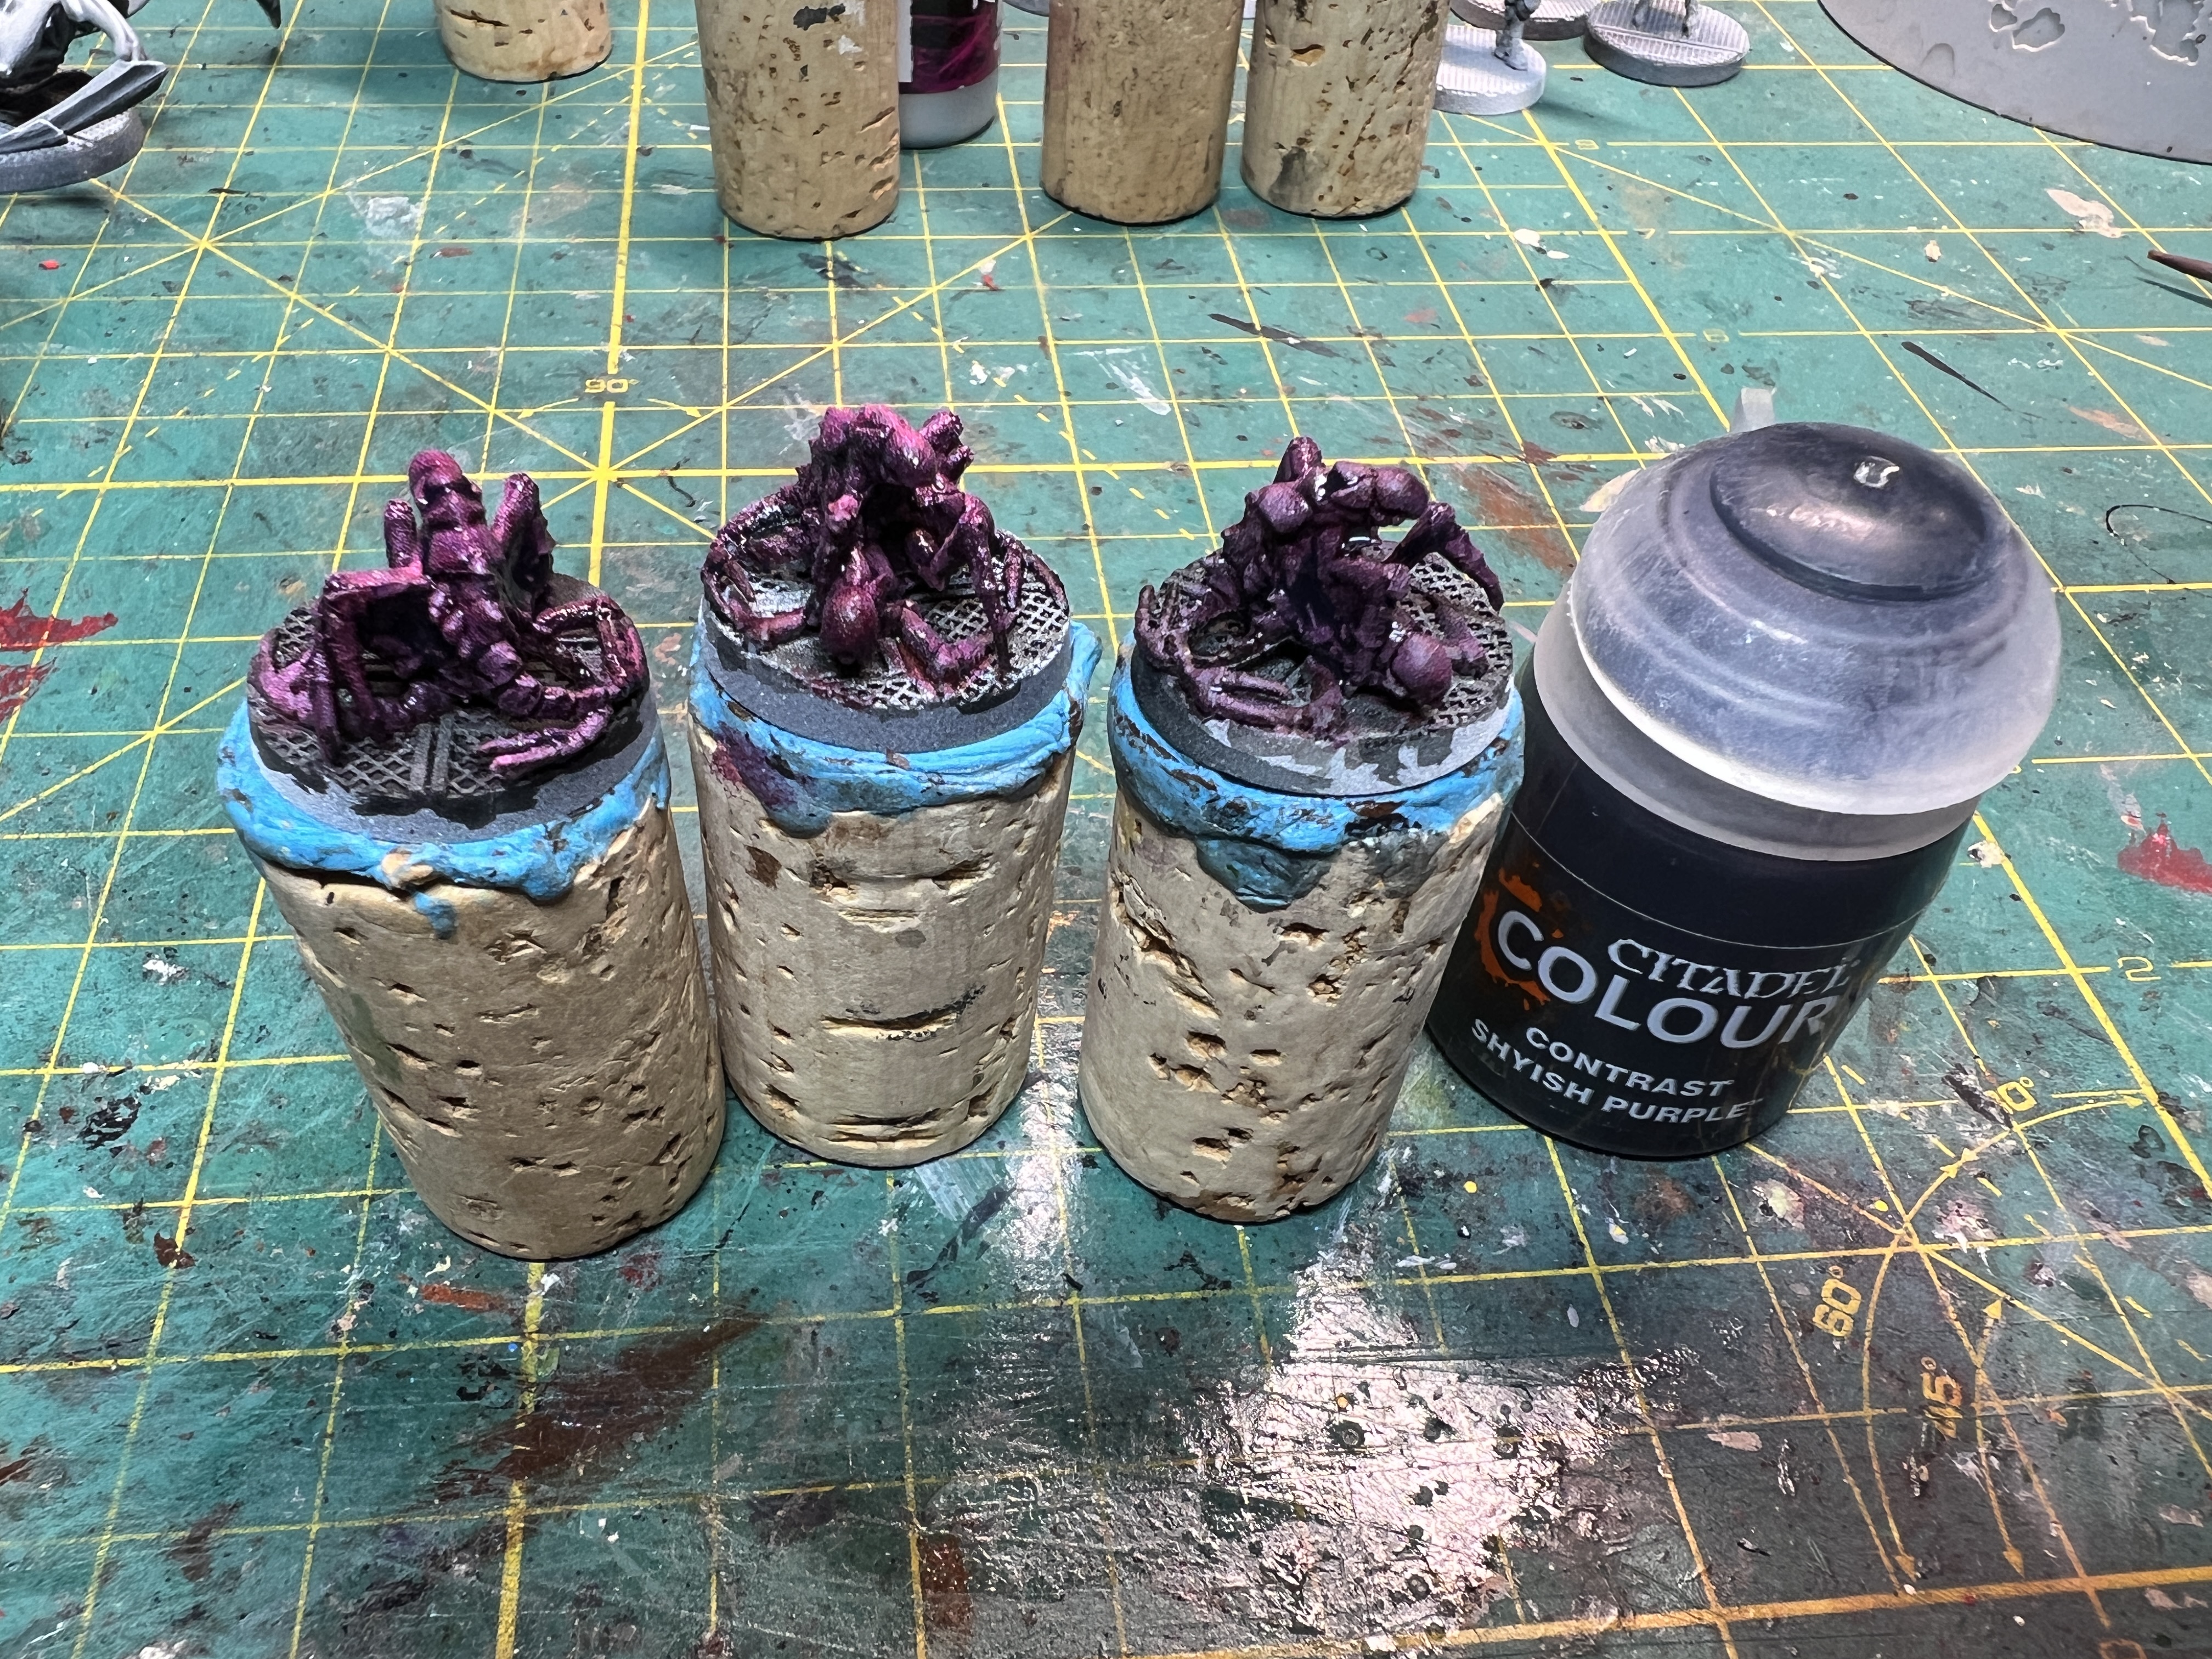 Apply a wash with GW Contrast Skyish Purple (or GW wash Drakenhof Nightshade)
 Once dry, drybrush with a pink color (here, GW Emperor's Children) and apply a drybrush of GW Lead Belcher to the base.
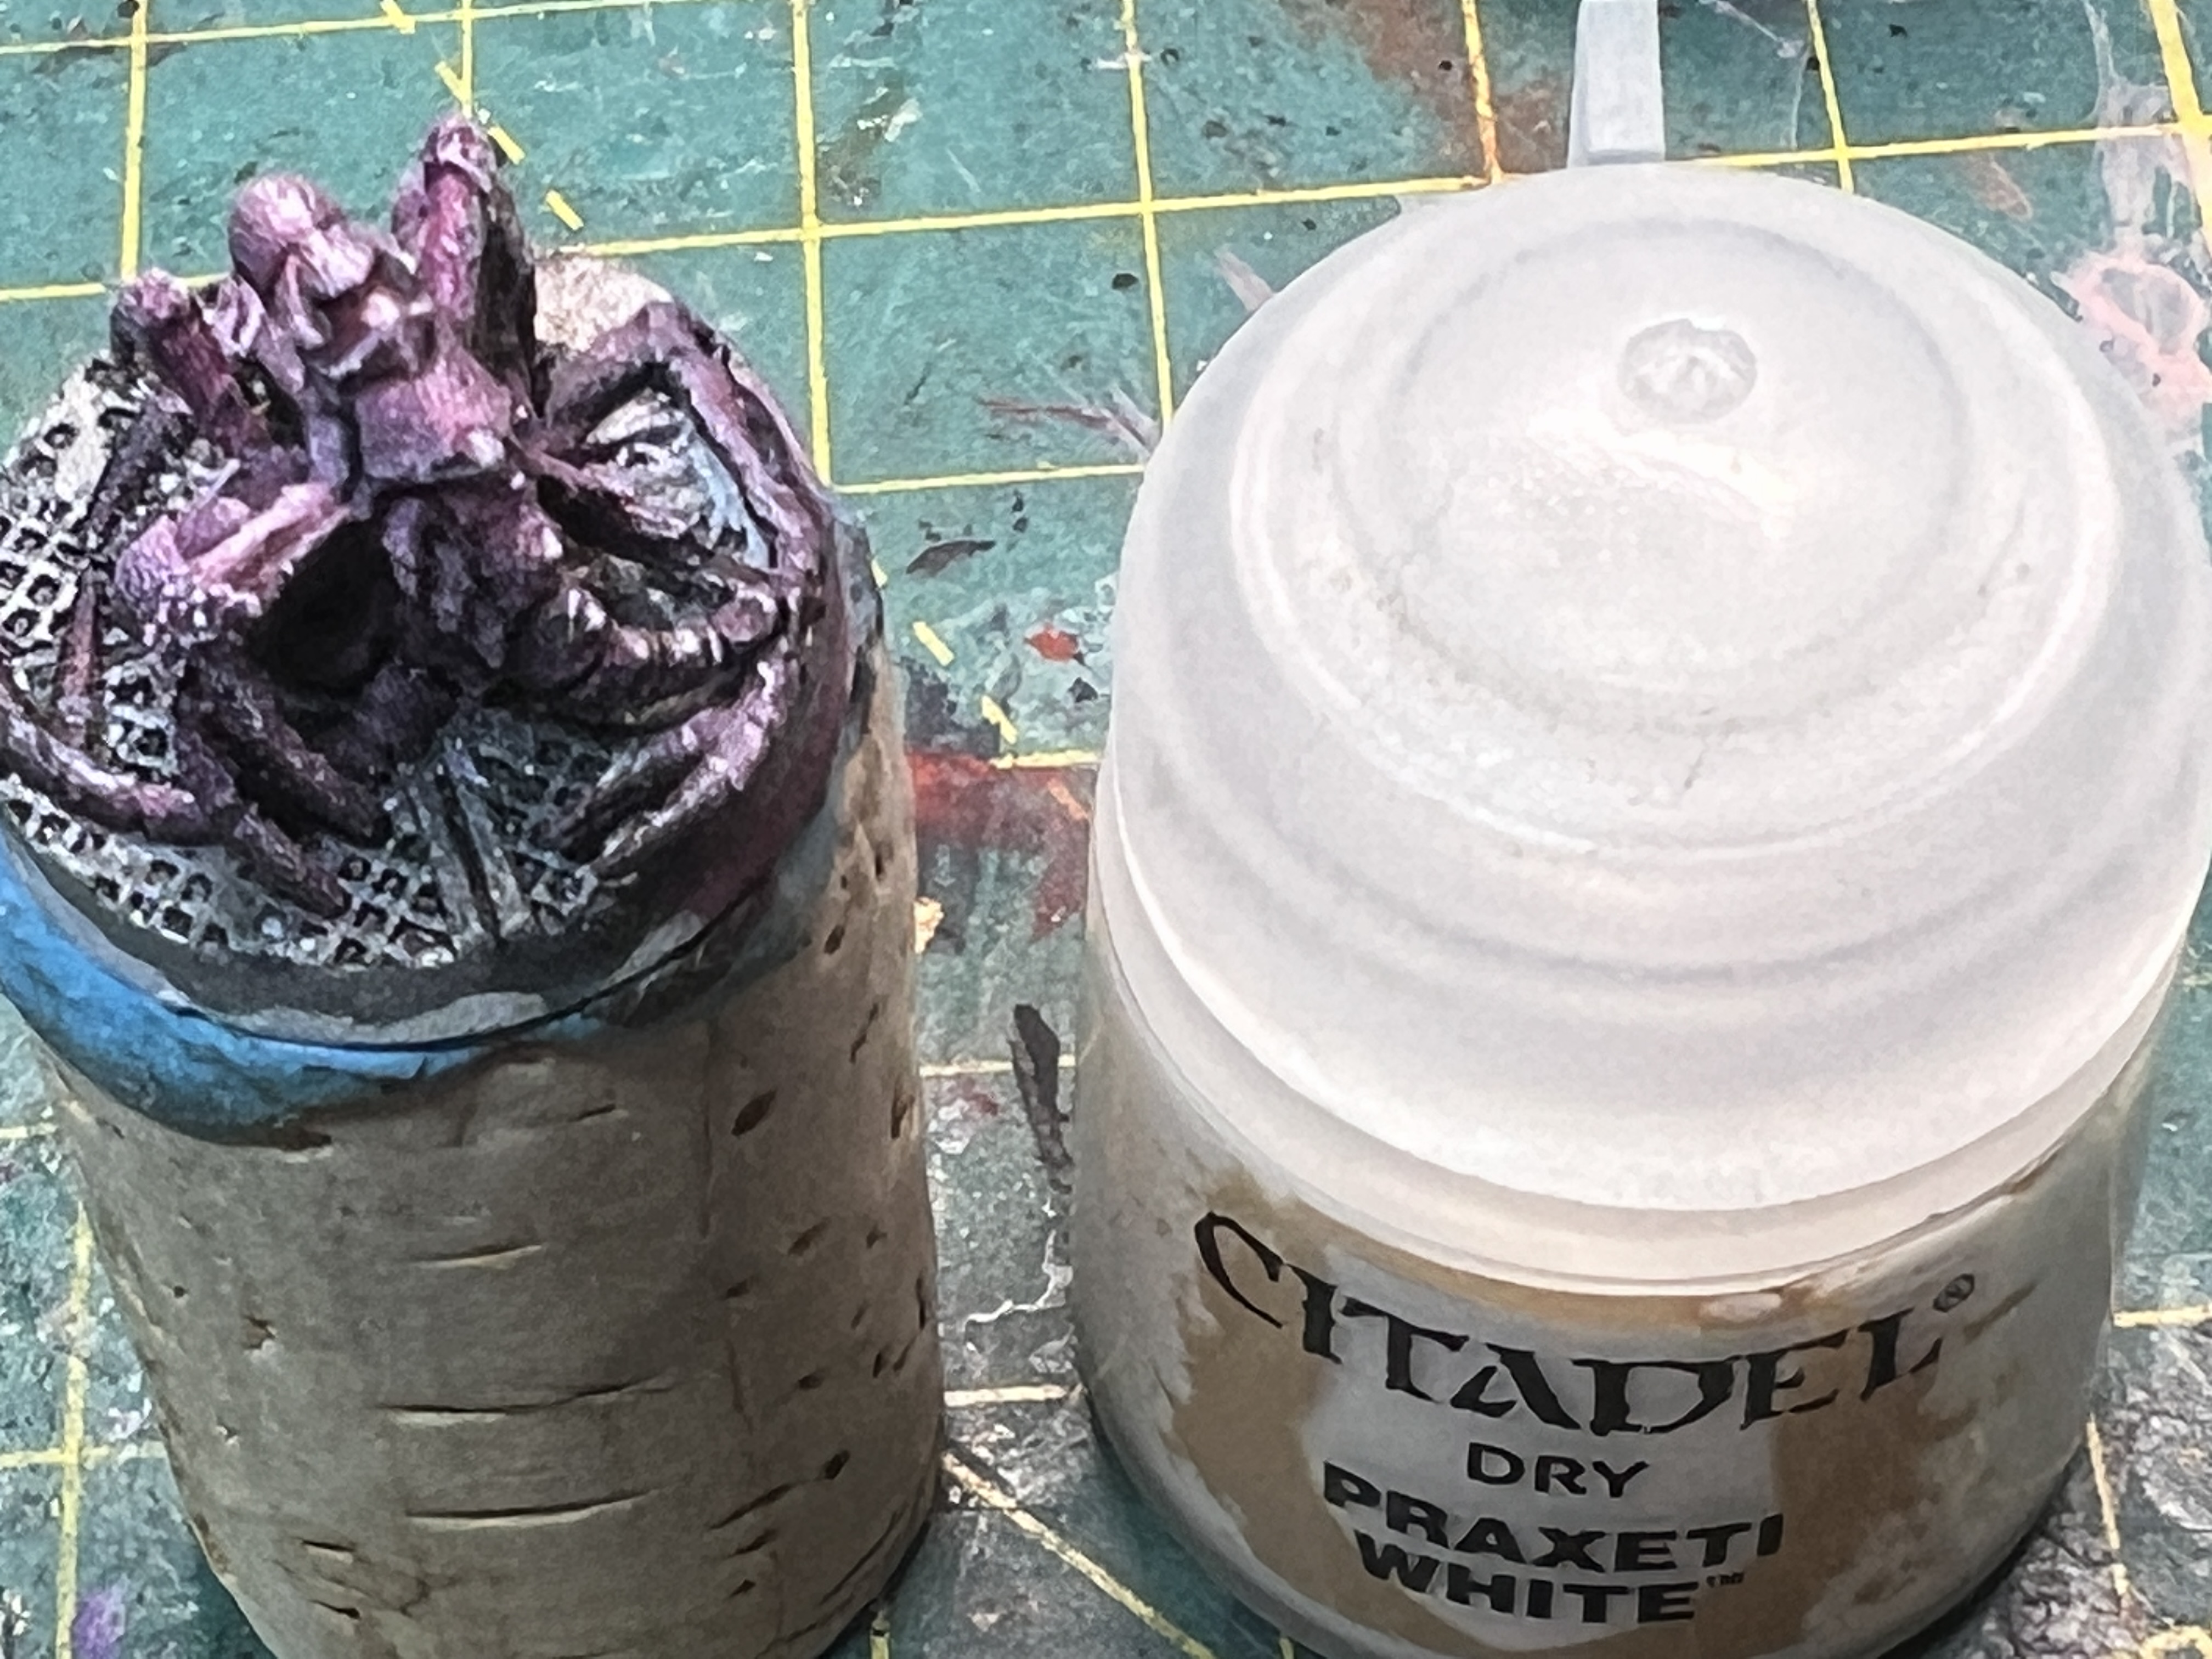 A final highlight provides a good touch of contrast for the larvae. I used an old bottle of GW Dry Praxeti White.
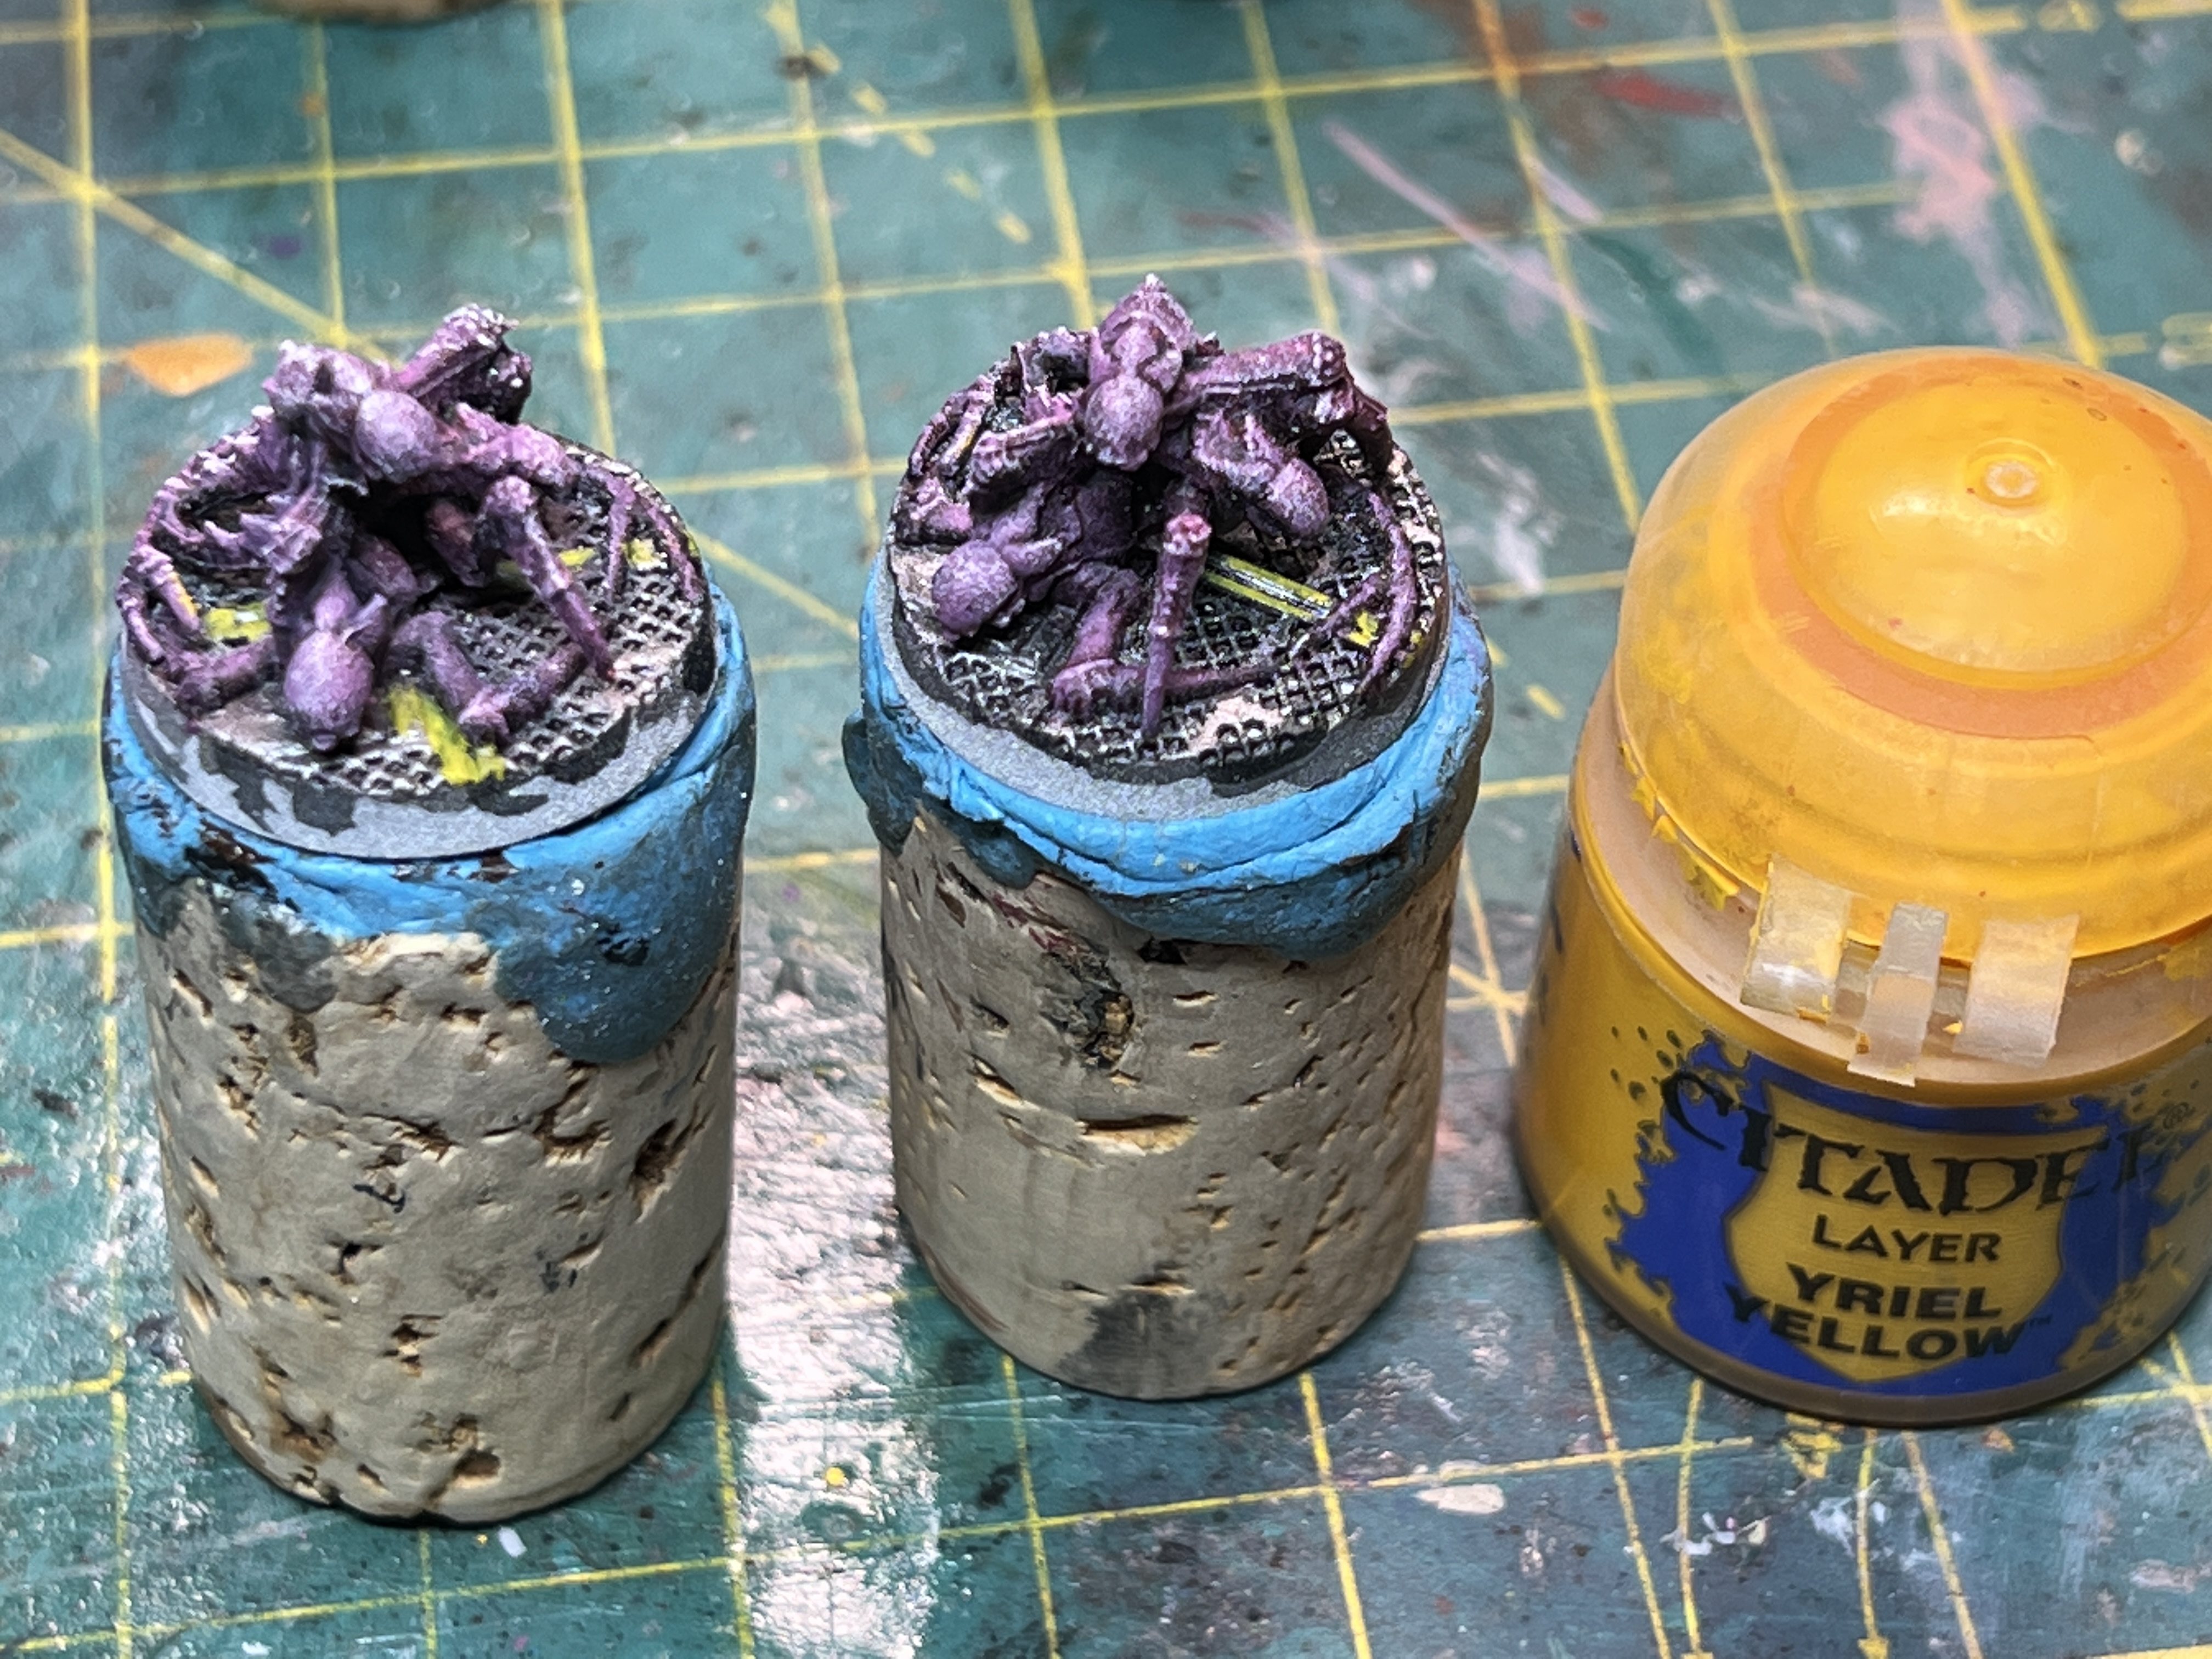 For variety, I chose to add yellow marking to the floor of the bases, for a more realistic industrial look.


