The Wolf of Languedoc – A 28mm Diorama
Recommendations: 204
About the Project
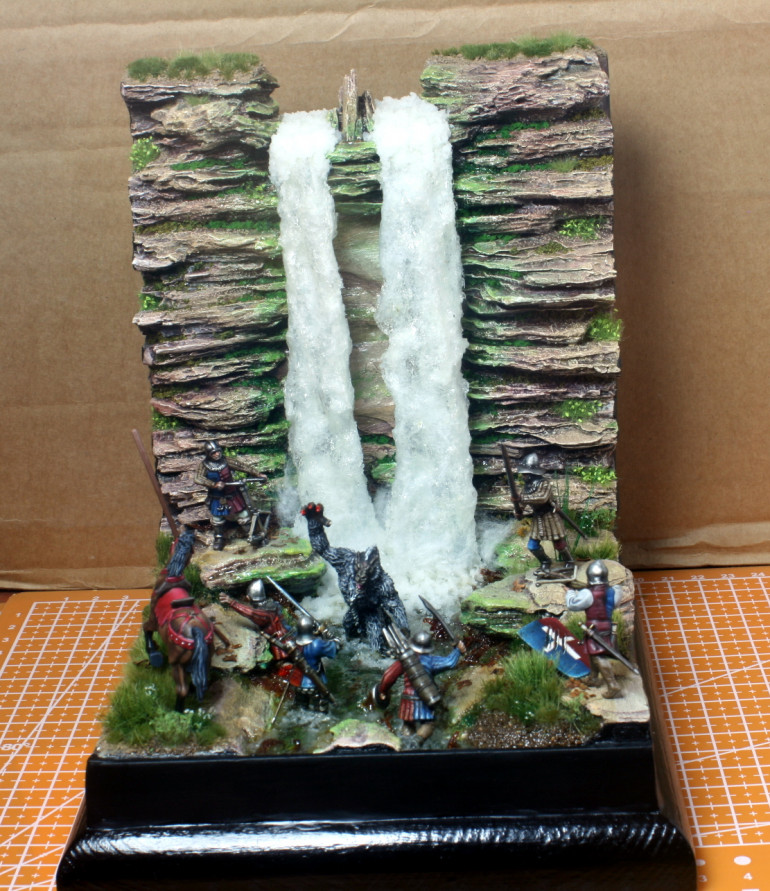
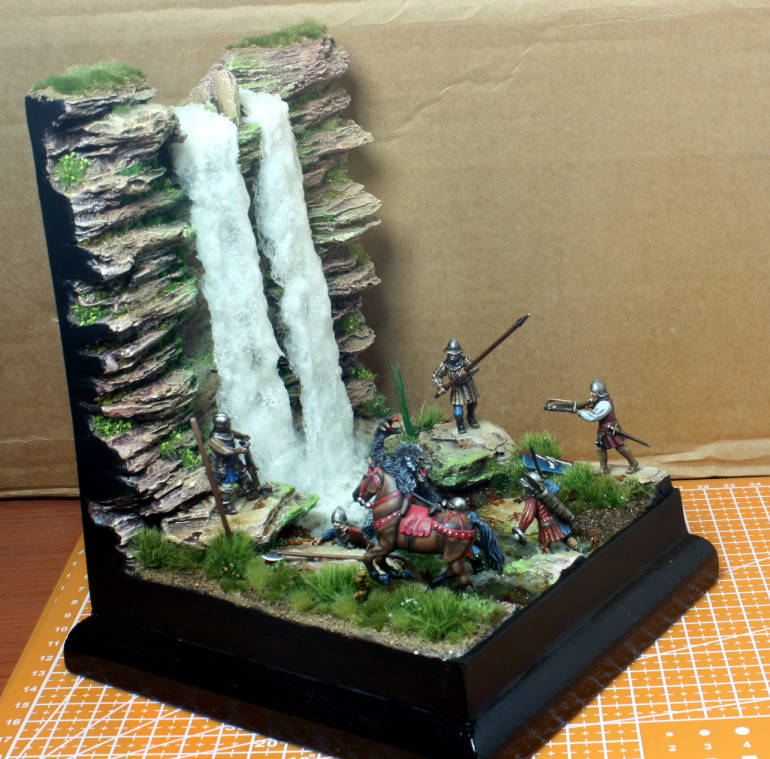
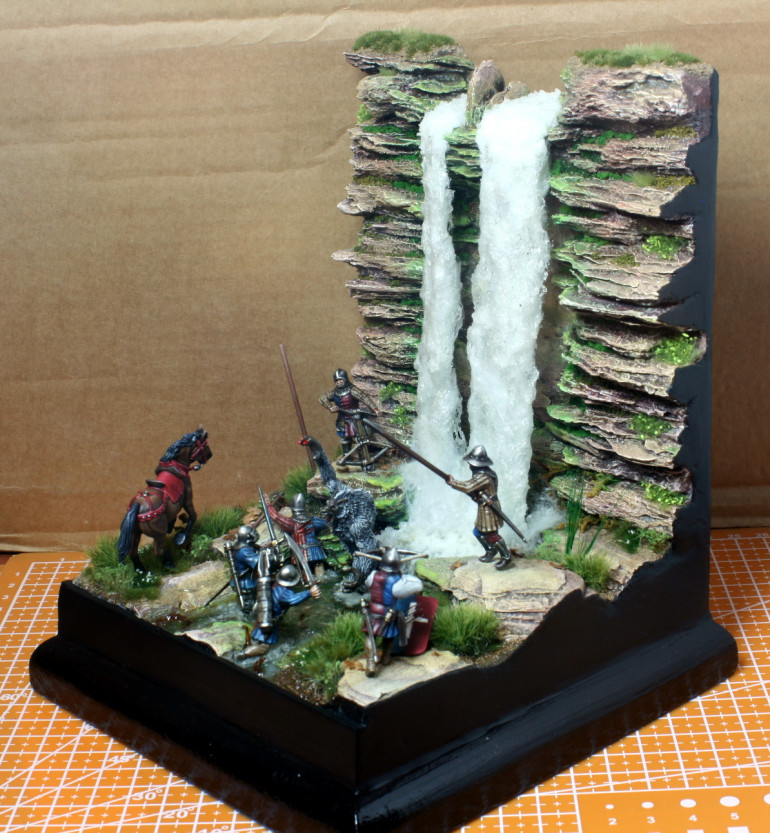
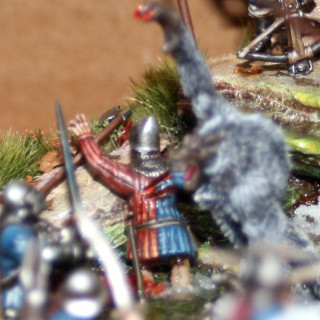
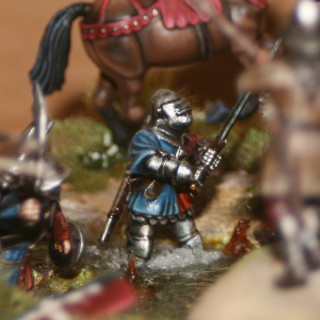
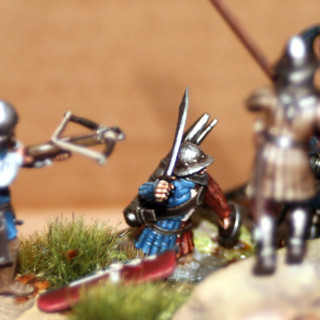
This is another small diorama about a werewolf terrorizing the old French province of Languedoc set in the 13th century AD. It was inspired by the story of the 'Beast of Gévaudan'. Initially I was going to do the Gévaudan story, but I did not have the miniatures to pull it off, so I went with Perry plastics and a Reaper metal werewolf that I was going to use for my 'The Silver Bayonet' project.
Related Genre: Fantasy
This Project is Completed
The Project Begins.
Hi everyone,
Once again I embark on a small side project to help me recharge and relax while doing other more demanding projects like army painting – (which I actual dislike doing).
This project was inspired by a program I watched on YouTube about the Beast of Gévaudan. The beast terrorized South France during the mid-eighteenth century and was more of a giant wolf-like creature.
Unfortunately, I do not have any models or figures from that period. I also wanted to use the figures I already have to build these side projects. Therefore I opted to set the diorama in the late 12th or early 13th century and use a werewolf as the evil monster.
The name ‘The Wolf of Languedoc’ is purely my invention and I coined it this way to make it sound reminiscent of the Beast of Gévaudan.
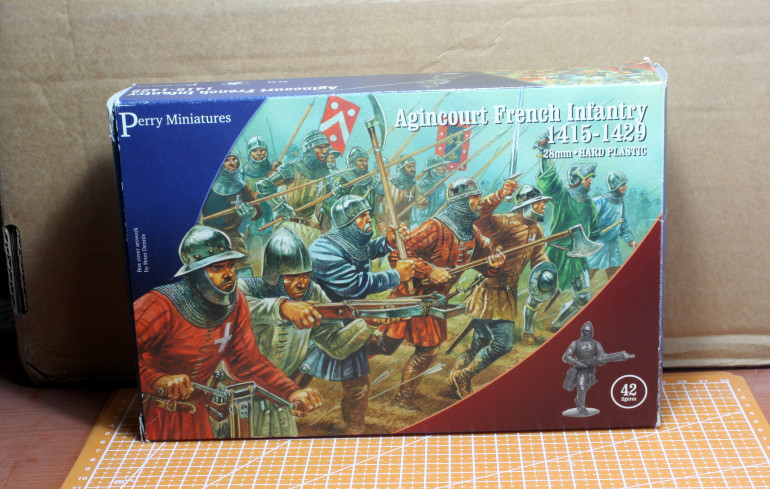
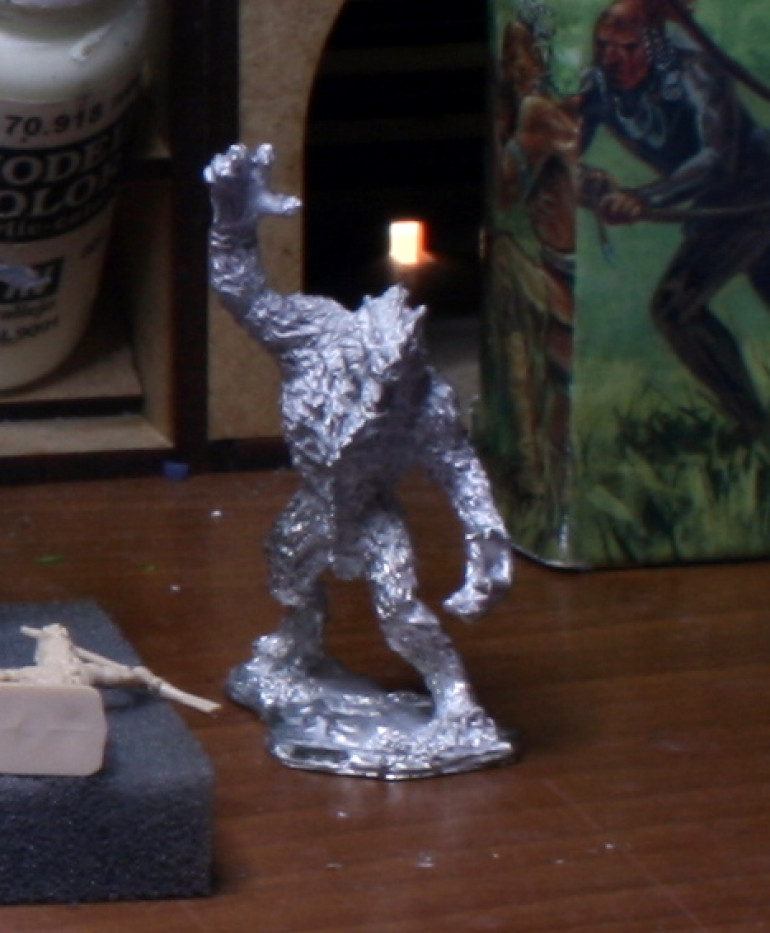
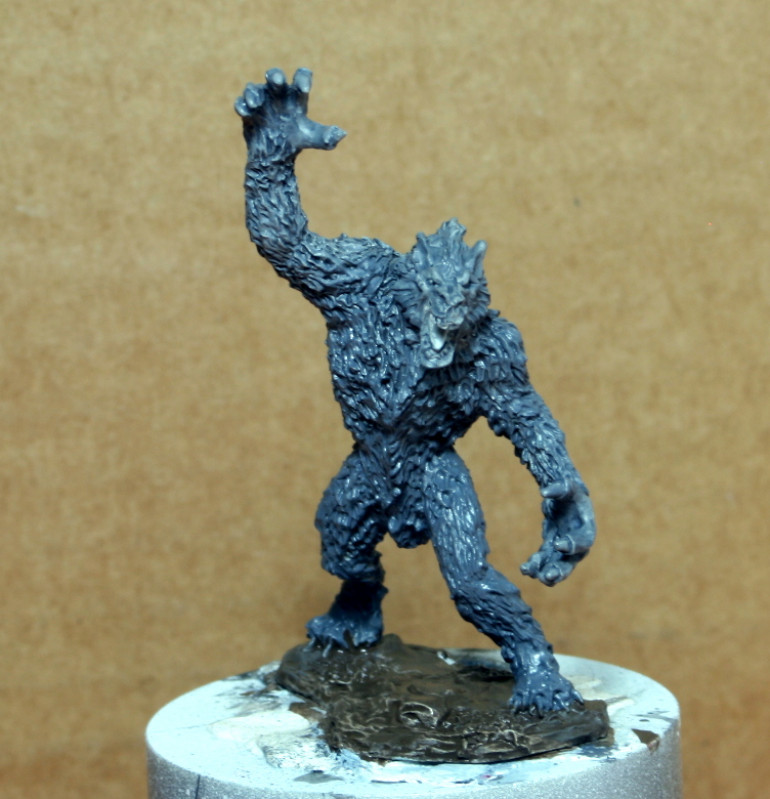
The miniatures I am going to use are the above. The plastic Agincourt French from Perry Miniatures and a metal werewolf from Reaper Miniatures. I bought the Perry miniatures simply because they were on sale during a past Black Friday deal. I am a sucker for 50% discounts! The werewolf was going to be used for Silver Bayonet, but it did not match my other werewolves so I discarded it.
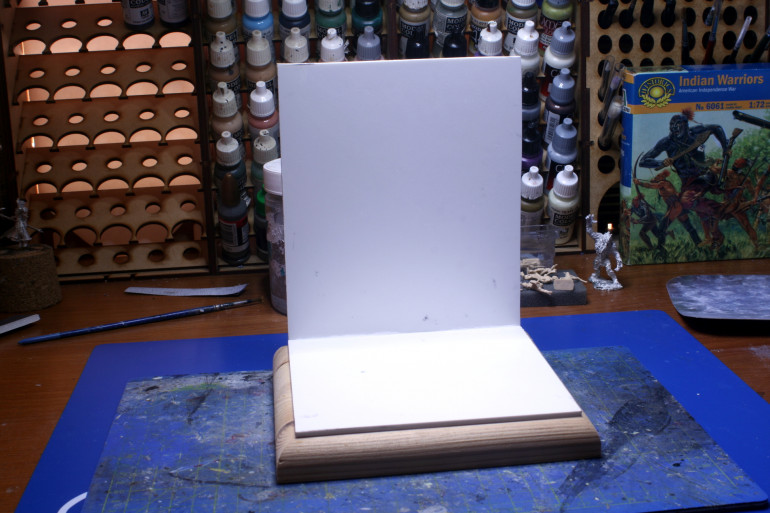
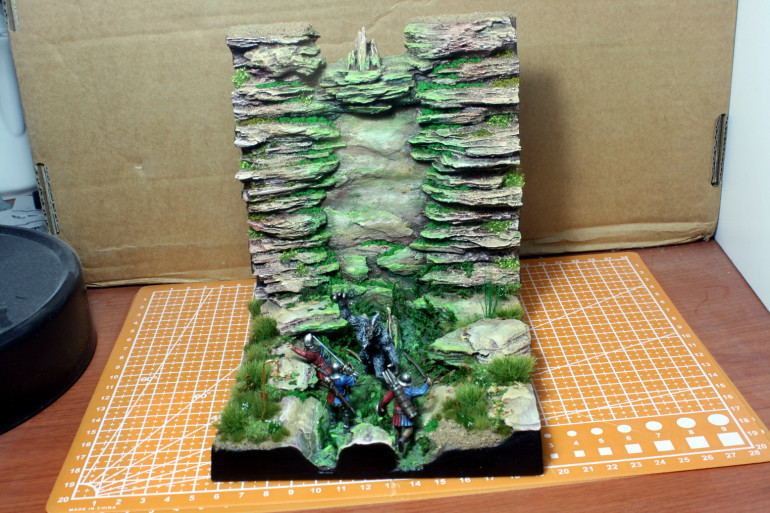
The first step was to create the scene. I was not sure how many figures to use, so I opted to create the scene first, then fit as many figures as possible. Thus fulfilling two of the Dioramantine Laws. Always make sure there is a focal point in the scene and to keep the scene as compact as possible.
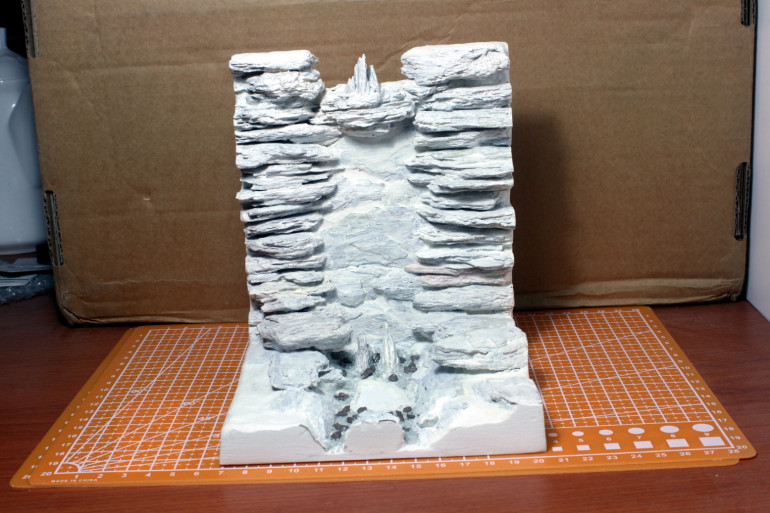
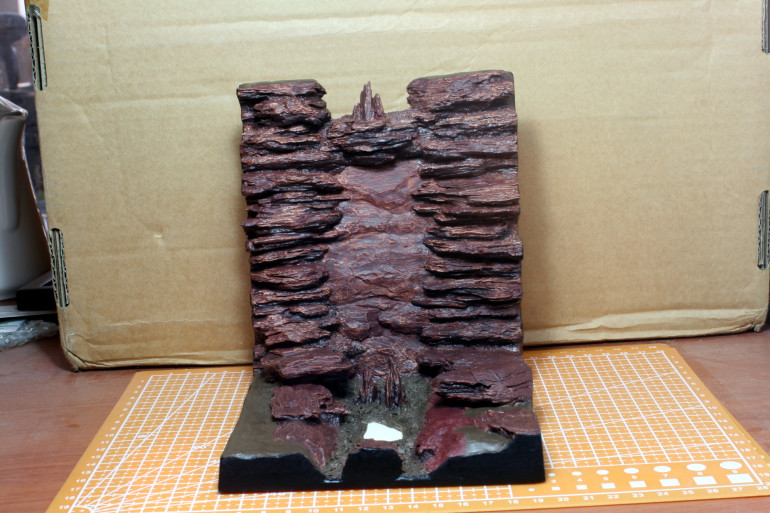
I then started to build up the scene with wood-bark chips. I want to construct a waterfall in the background and have the werewolf fighting in water. I have never did a water-based scene or waterfall before, so I decided to give it a try.
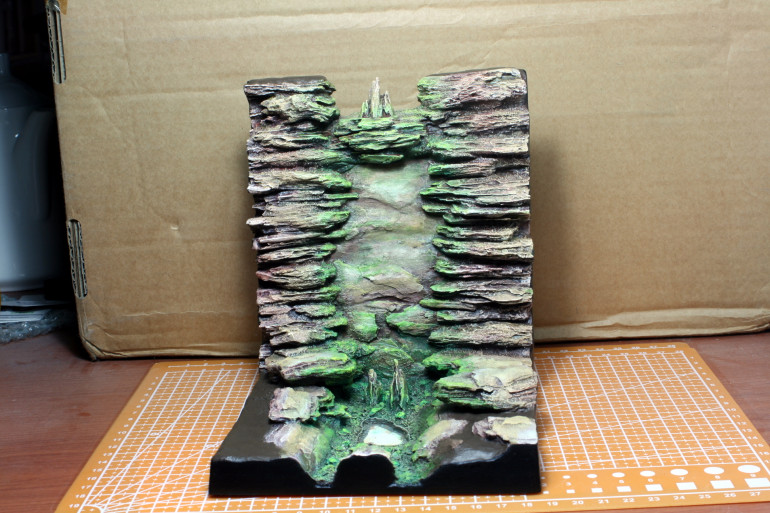
I also forgot to take a picture before I primed the diorama. The next photos show the brown base colour and the paint work finished.
The base is now ready for vegetation and water, but that will come at a later stage. In the next post I will start work on the figures and determine how many I will put in the diorama.
Until next time stay safe and have fun.
NR
The Werewolf is Ready.
Hi everyone,
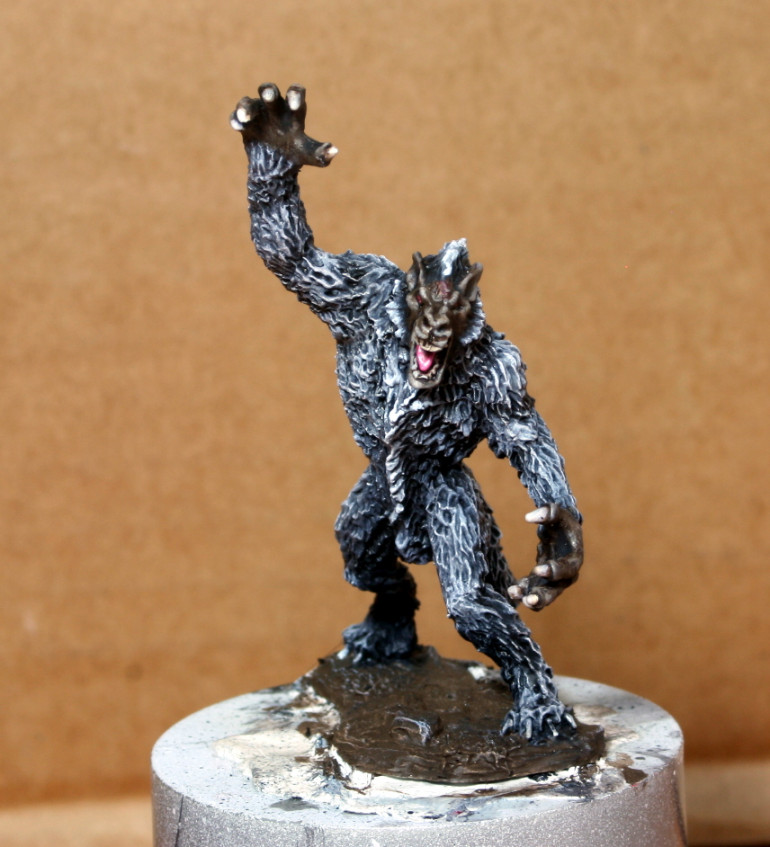
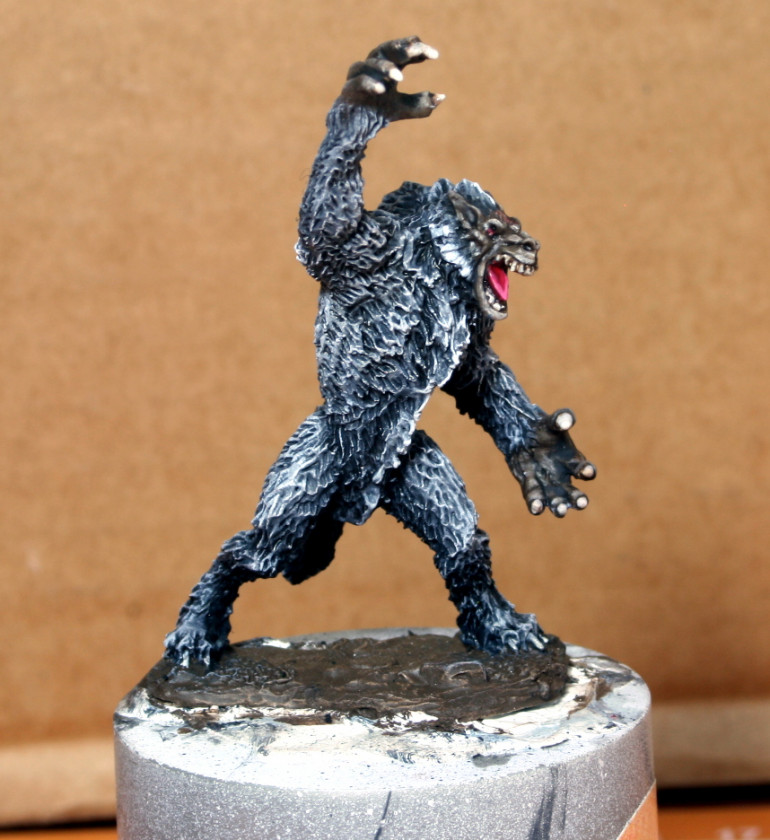
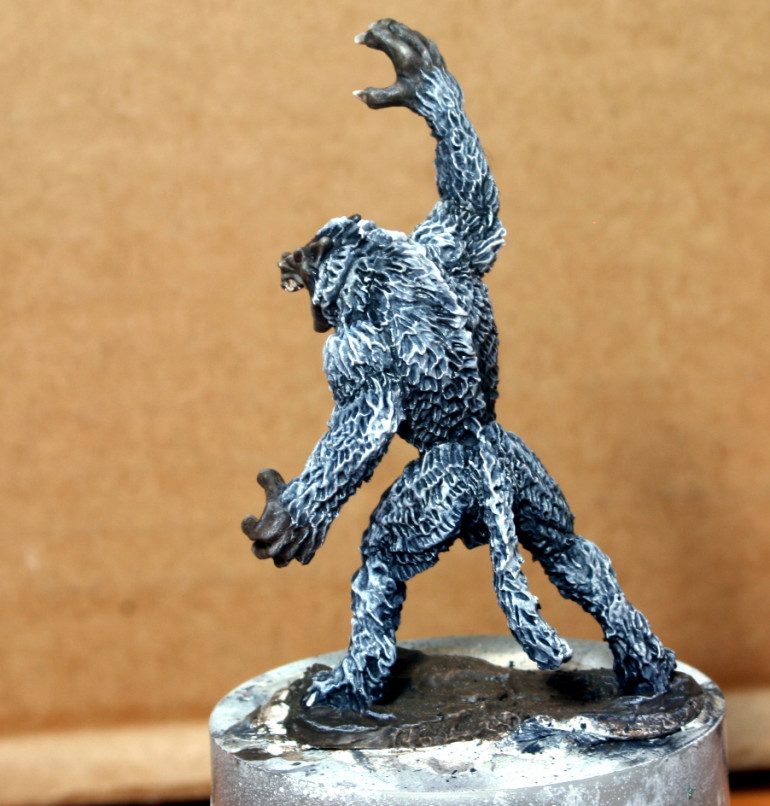
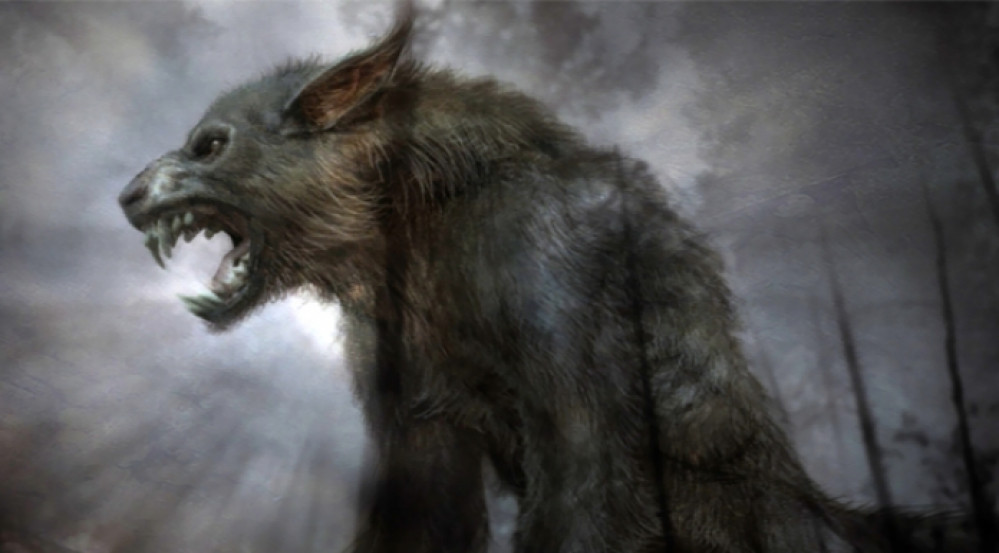
I have finished painting the werewolf today, and I am happy with how it turned out. I went with a more greying look with the intent of making him look older.
Next come the brave French soldiers hunting the monster down. I have decided to do six soldiers altogether, as well as a horse. I think packing the scene is the way to go with this one.
Until next post stay safe and have fun.
NR
Perry Plastic Pleasantries.
Hi everyone,
I have been busy on some older projects lately, but I did get around to dedicating some more time to this diorama this week.
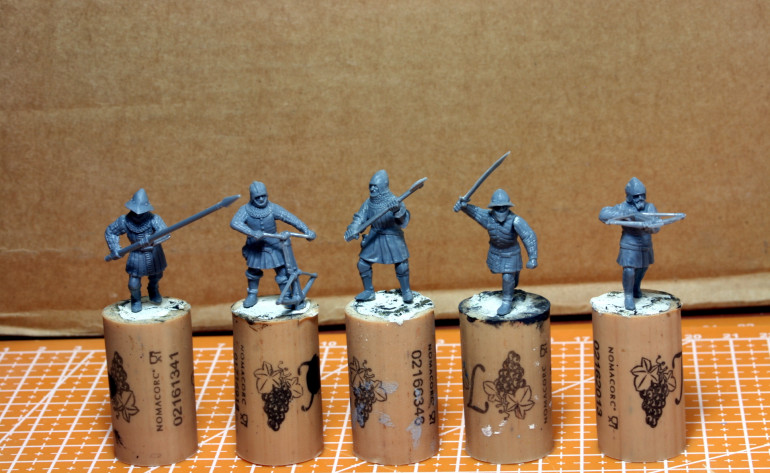
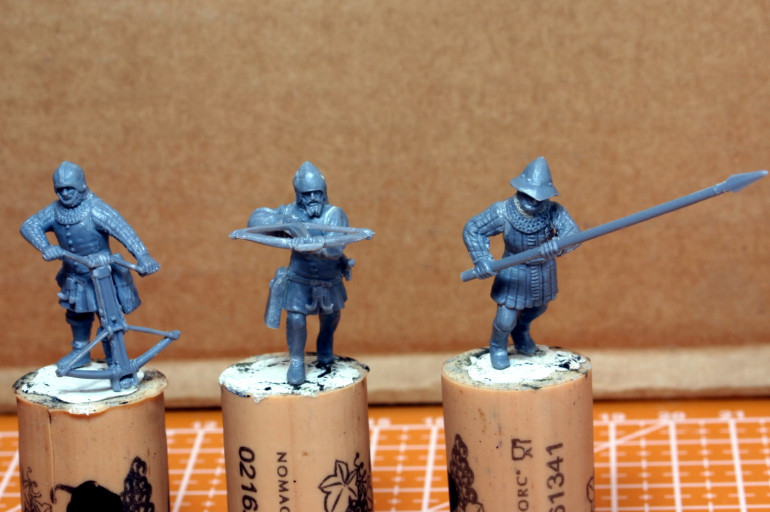
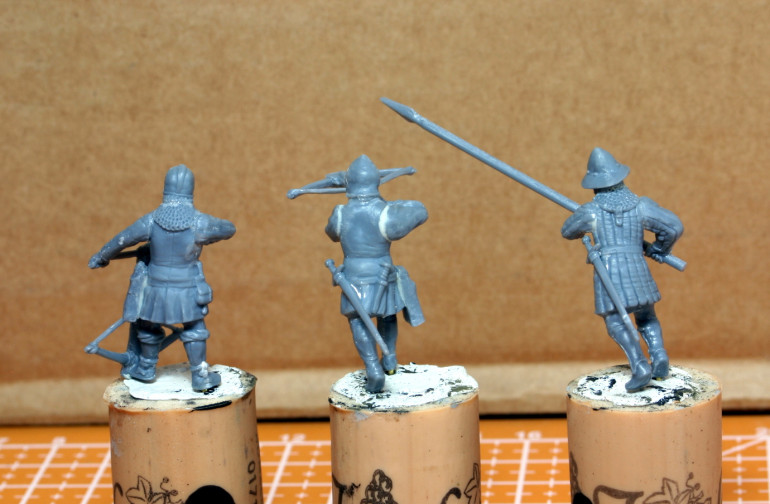
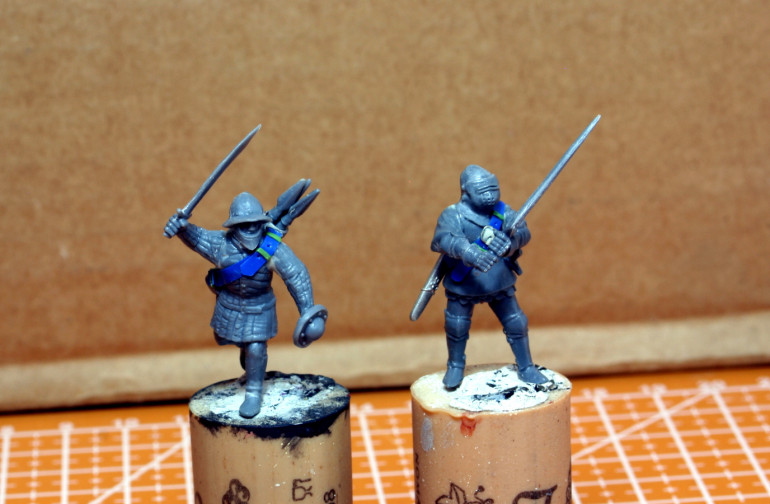
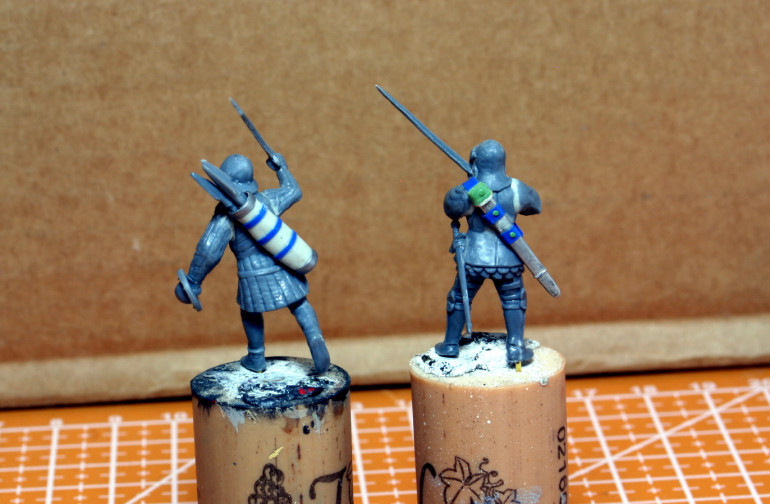
I started to build and finished up the soldiers fighting the werewolf from the Perry plastics range.
At first I decided on five models, but I quickly changed my mind and added a sixth.
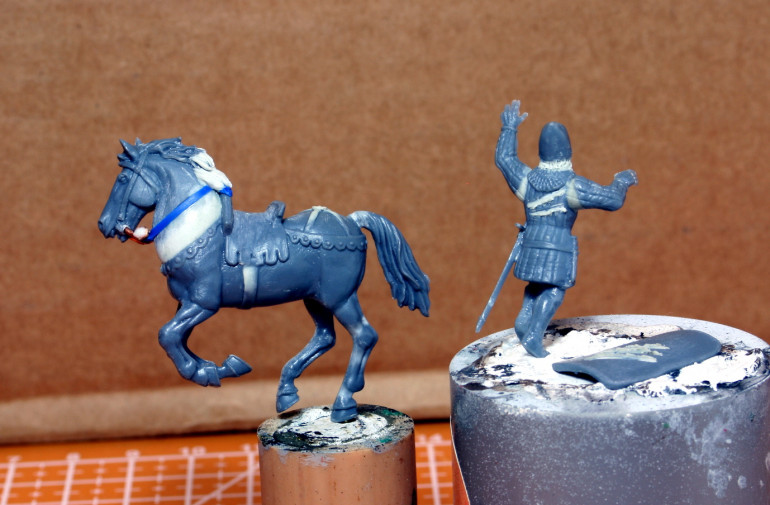
I also did some conversion work on three of the models as seen below.
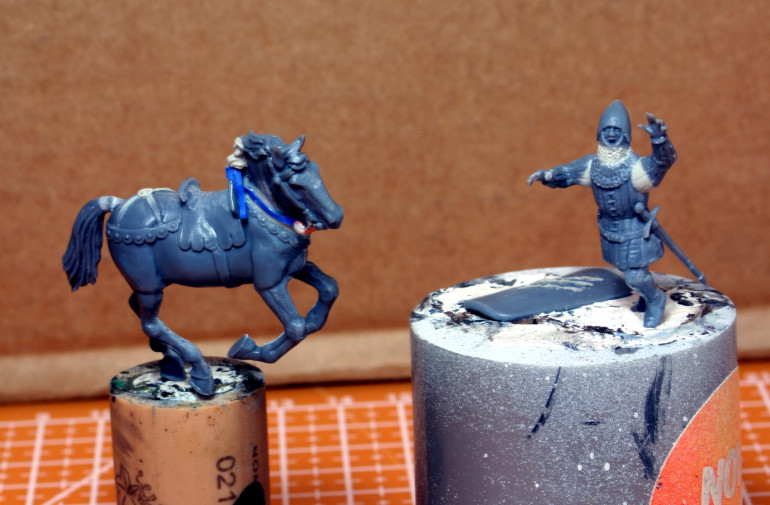
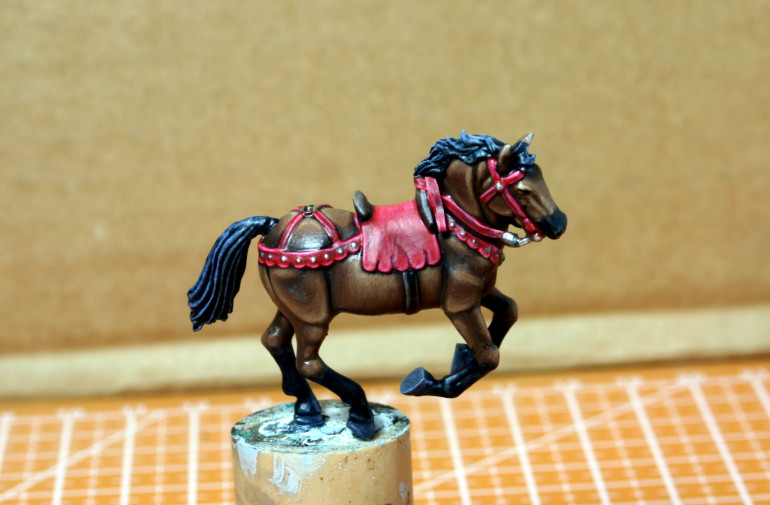
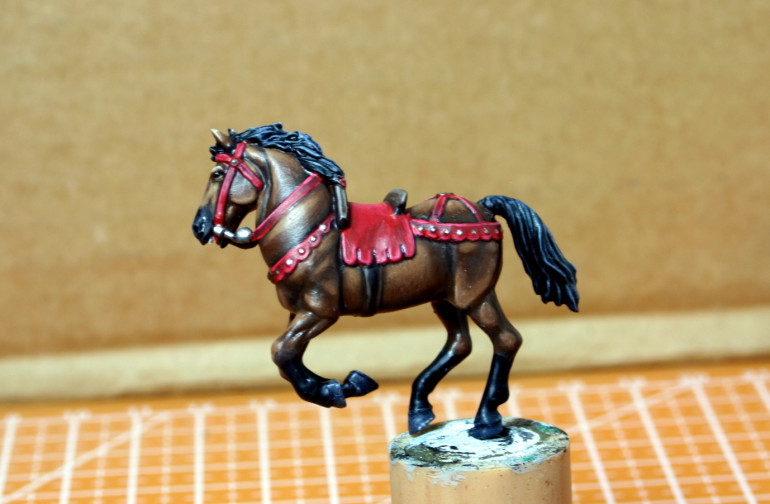
I also decided to add a horse into the mix. I wanted him rearing in fear at the sight of the wolf. I am still not sure if he will fit in or not. I will wait until I do a dry fit of the scene after the figures are painted up.
That is all for now. Until next time, stay safe and have fun.
NR
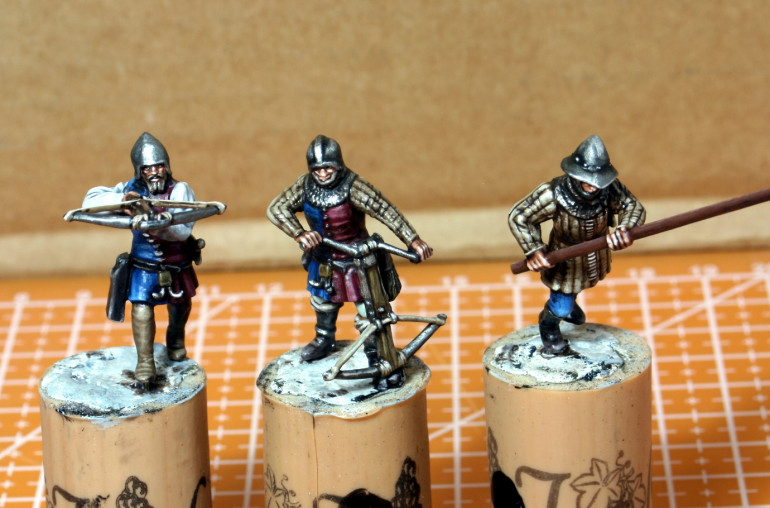
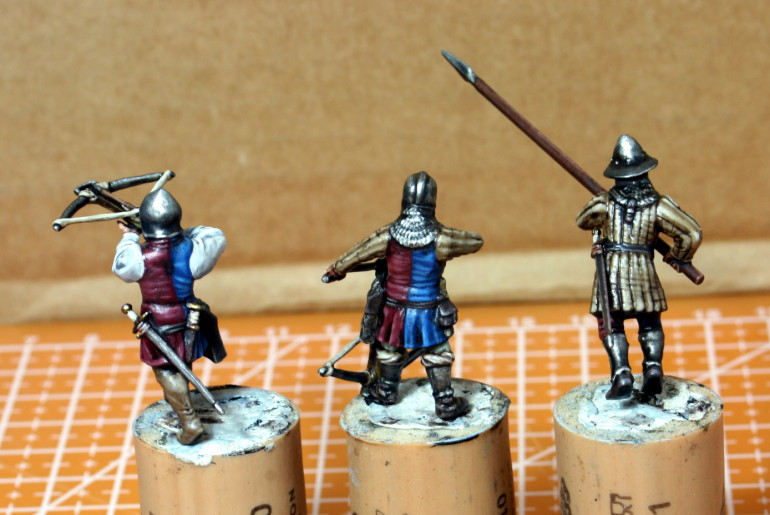
The First Soldiers Painted Up.
Hi everyone,
I just finished painting up the first 3 soldiers. The paint scheme is not exactly ‘historical’, but I am not really fussed about this. I just want them to look coherent and era appropriate.
That’s all for now. I will start on the other figures and hopefully I will finish them by the end of the next week.
Till then, stay safe and have fun.
NR
Some More Figures Painted UP.
Hi everyone,
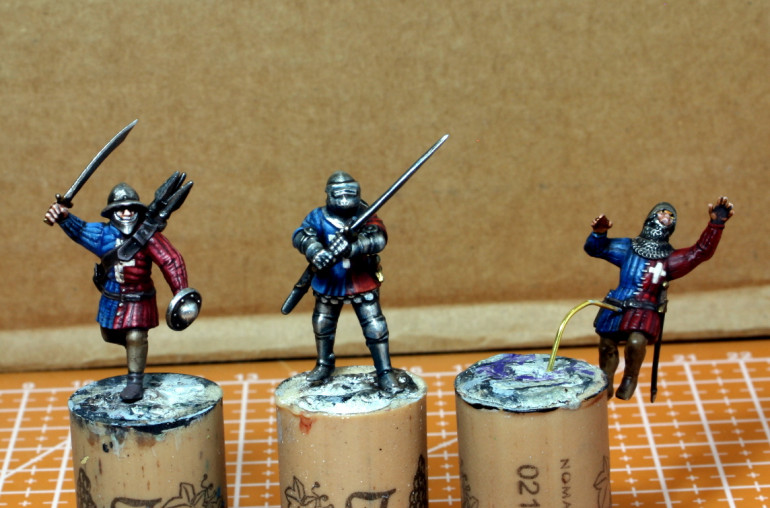
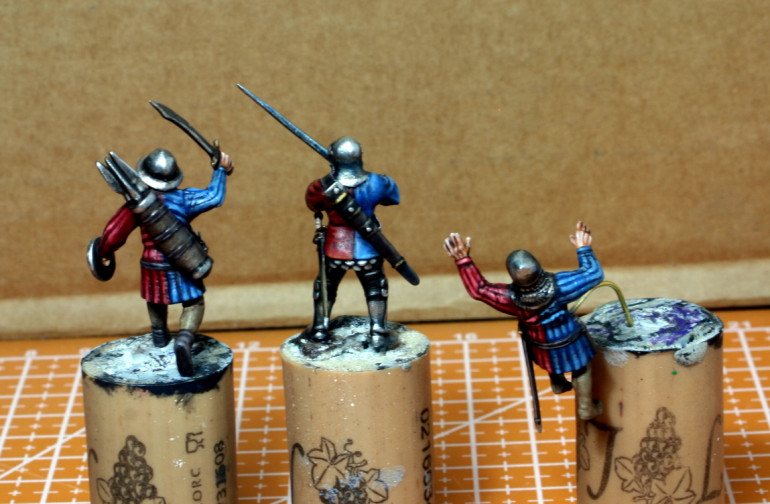
Another short update this morning. I finished up 3 more of the brave Frenchmen hunting down the werewolf.
These three will be the ones actually in the water fighting the monster. When I get the time I will take shots of the models’ fitting – time and memory permitting.
I currently have 4 projects open on my desk. Usually I keep it at two – maximum three, but my club is very volatile when it comes to gaming and they do not have the mental fortitude to stick to two or three game systems for more than 2 weeks. So I end up capitulating and building new forces in order to play.
Hence the crawling pace of this project!
That is all for now. Back to painting ACW miniatures! Until next post.
Stay safe and have fun.
NR
Adding Vegetation.
Hi everyone,
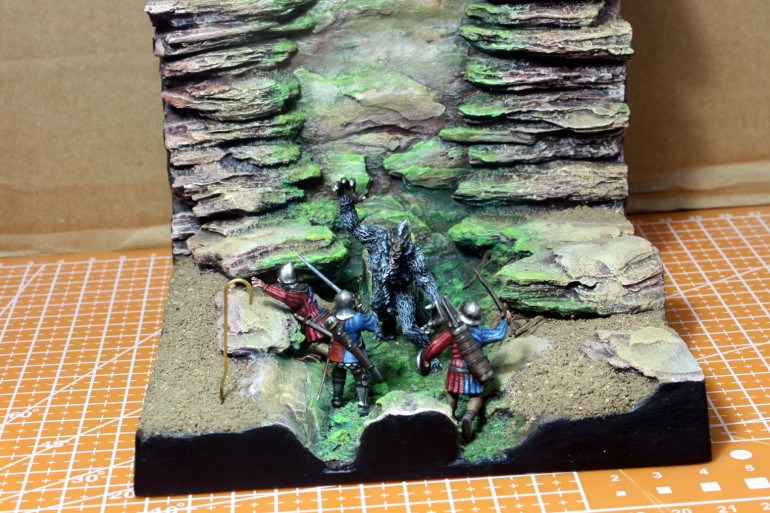
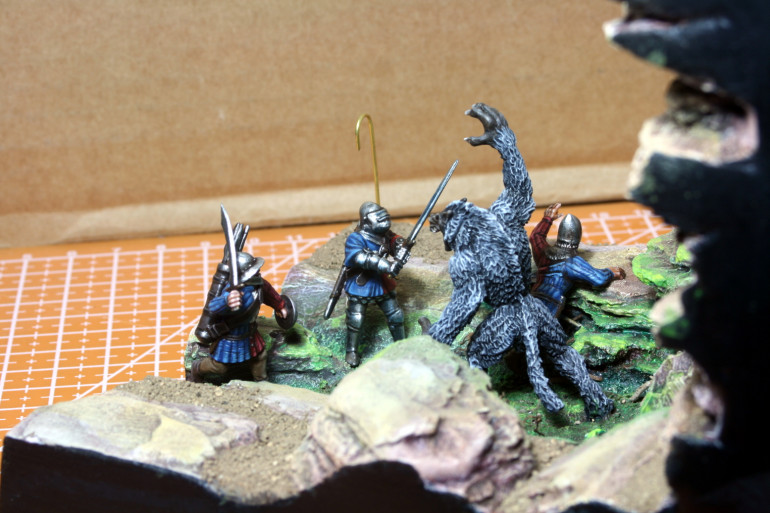
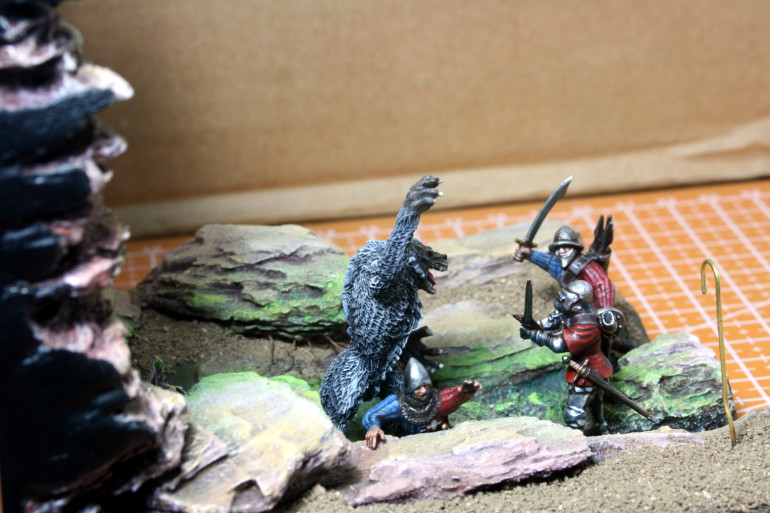
I managed to find some time to continue work on the diorama. This time I took some photos with the initial posing of the miniatures in the river before I pour in the resin. I also added the first vegetation to the scene.
I have also painted up the horse as well. The horse will go where there is a paperclip sticking out.
That is all for now. I am not sure when I will get enough time to work on this again, as it all depends on my day job and I am very busy this week. The little time I have, I will probably dedicate to the Sharp Practice ACW in 1/72 project – as these do not take a lot of effort and I can do a lot in little time.
Until then stay safe and have fun.
NR
Disaster and Repairs.
Hi everyone,
If there is one thing I have striven to do for the last few years – is to finish what I start. In my youth I started and discontinued more projects than I care to remember.
Fast-forward to today, things have changed and I have altered my crooked ways, but sometimes things happen. A note in point with this project!
After attaching the vegetation in the last post, the next step was to pour in the resin. I had some resin I had used in other projects and applied that. This was a 50% resin/harderner ratio – so very simple to mix. The curing time was normally 24hrs.
The problem was two-fold. The first was that the diorama was not properly sealed so some resin started to pour out. The second problem was that the resin would not cure!
I honestly did not understand what I did wrong, I poured it in the right proportions, I mixed it well before pouring and yet it would not cure. Some local modellers told me it is because the hardener was old and off. Whatever, it did not matter much now!
All I could do was cover it up and leave it, hoping the resin would cure eventually. Several months later and two weeks ago, the resin had hardened enough to work with. It was still sticky, but the leak had settled. So I decided to pour some UV hardening resin on top and cure it with a UV lamp.
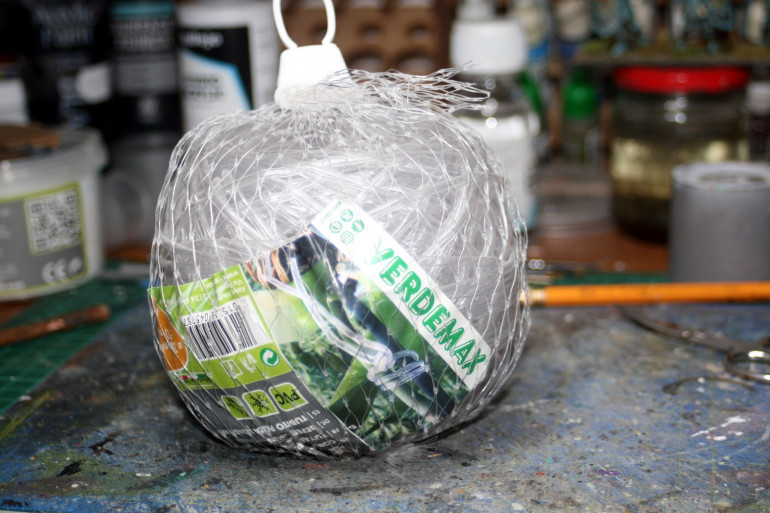
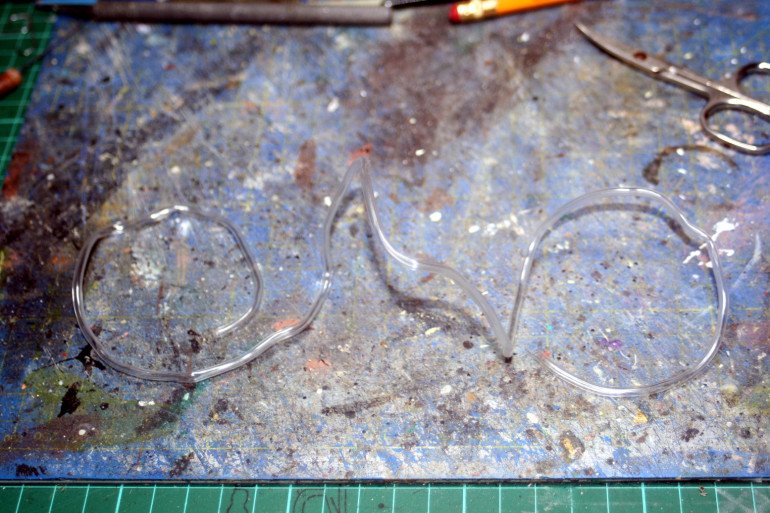
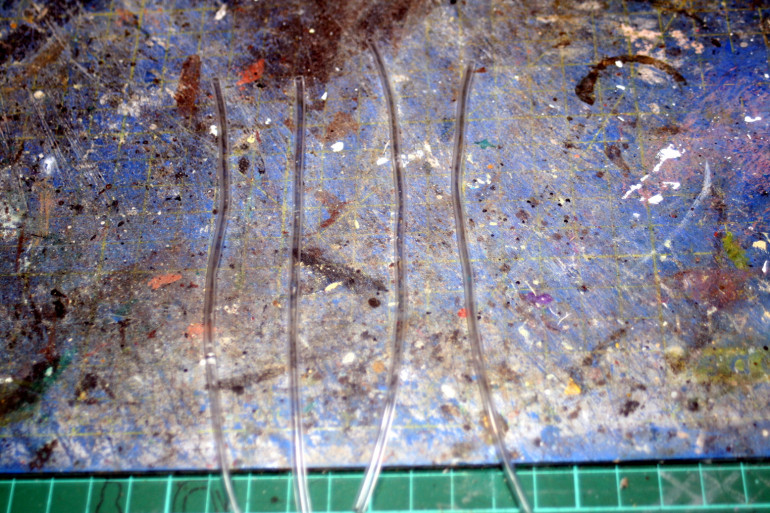
It seems to have worked, so now I will continue to work on the waterfall. I found some transparent tubing at my local gardening shop. I do not know what it is used for, but it was ideal for me.
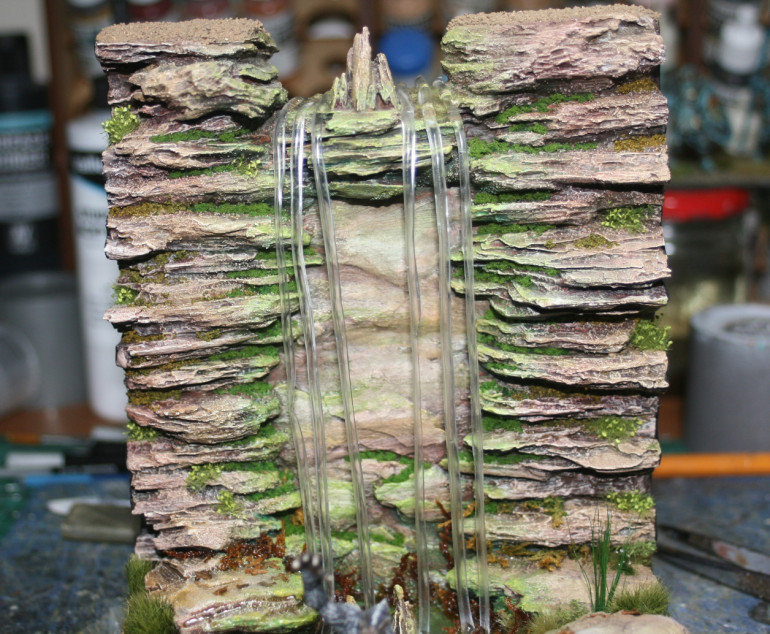
I heated the tubing up in order to straighten it. Then I cut it in half and glued it into place as supports for the cotton-wool and acrylic-gel I will use to mould the water with.
This is my first time making a waterfall. I hope nothing else goes disastrously wrong!
The next post will be my last and this project will definitely be ready. I wanted to add more to this post , but it seems the gel is taking ages to dry due to the cold weather.
Therefore, it might be several weeks before this is ready, but since I have waited so long, a little bit more should not hurt!
Until I cross the finish line with this one, stay safe and have fun.
NR
The Project is Complete!
Hi everyone,
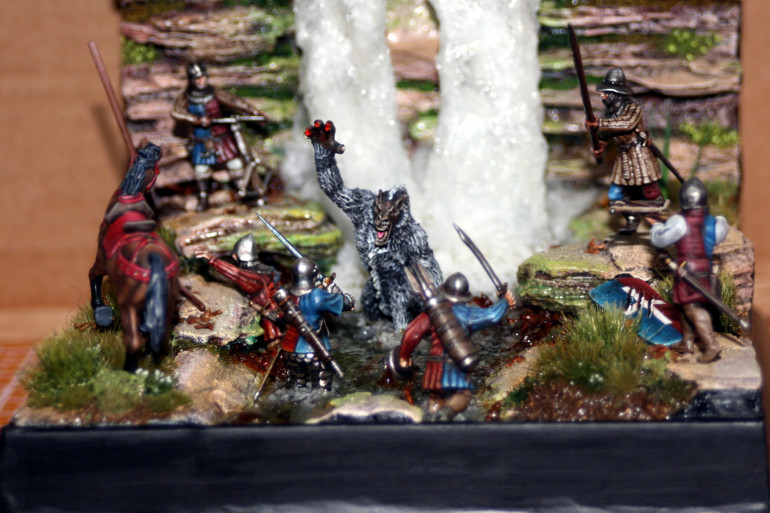
The project is finally finished and has been placed in my showcase. There were times I was going to throw this project into the garbage, but now with foresight I am happy I didn’t.
Now I can concentrate on a new diorama.


