Skip to toolbar
3D Wolsung Terrain (spring cleaning challenge 2023)

3D Wolsung Terrain (spring cleaning challenge 2023)

Supported by (Turn Off)

Project Blog by tomd

Recommendations: 452

About the Project

Back around 2017, after watching BOW-OTT demoing Wolsung steampunk skirmish game i was hooked. I back their first Kick starter and started playing some game with what hero and henchmen i could get on Ebay. I always love the Wolsung terrain but it was hard to find here in the US. 2017 I also got my first 3D printer and try to create some terrain to match the MDF terrain from Micro arts studio was a disaster for the start. The PLA filament i used cause a lot of issue with the 3D model i made in tinker CAD. Clogging and under extrusion made my first prints weak and unusable. My plans to make the interior of an Airship were dashed :(. Fast forward to today i have desided give this project another go and see what i can do.

This Project is Active

Stairs

Tutoring 6
Skill 6
Idea 6
1 Comment

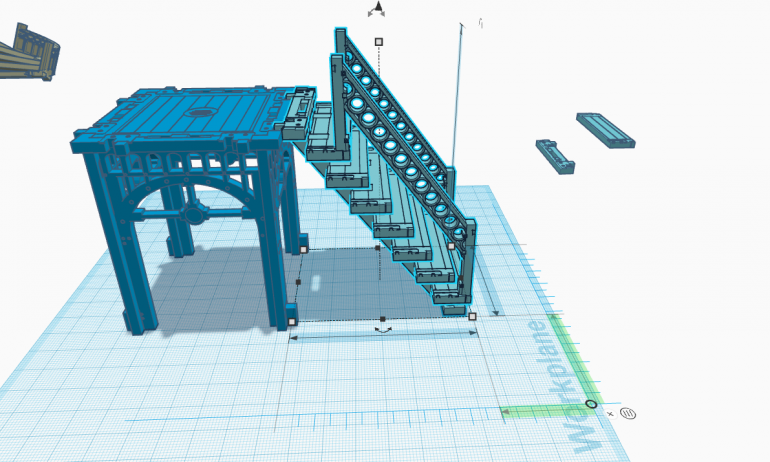
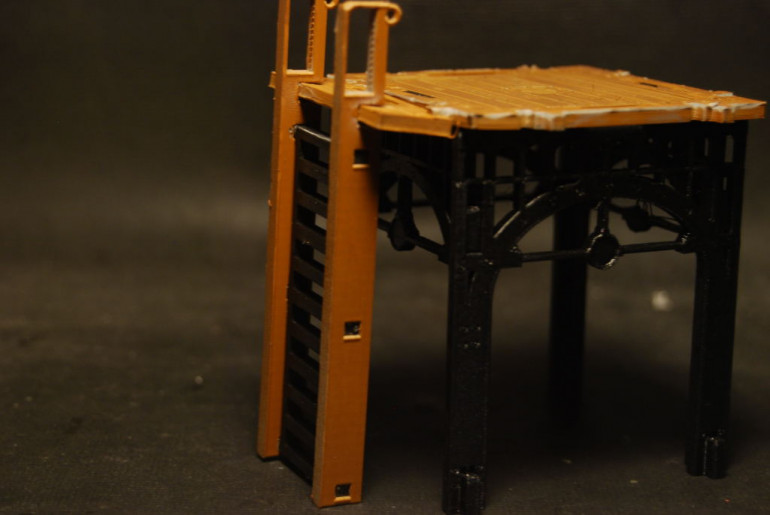
Started working on some stairs design base on the Mirco Arts studio MDF version.  It didnt fit what i wanted.

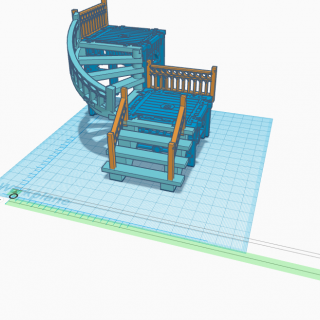
This is the design i came up. Off to the printer :).This is the design i came up. Off to the printer :).
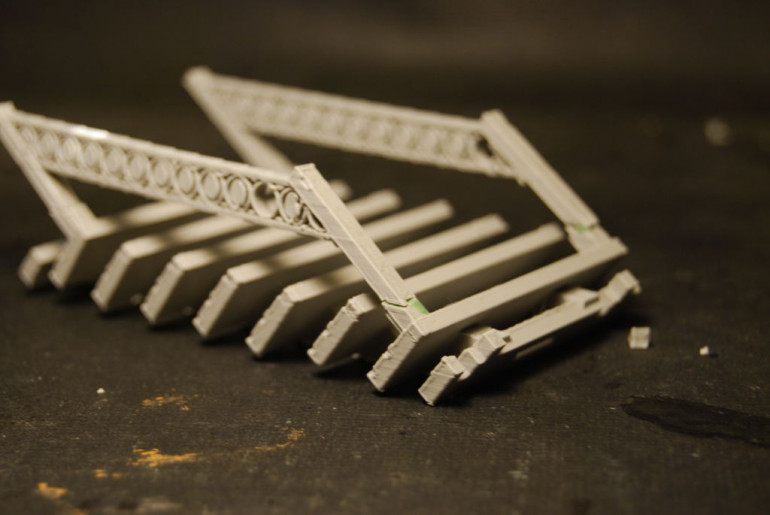
Trying to remove the supports, I  have broken the rails. Back to Tinker CAD.Trying to remove the supports, I have broken the rails. Back to Tinker CAD.
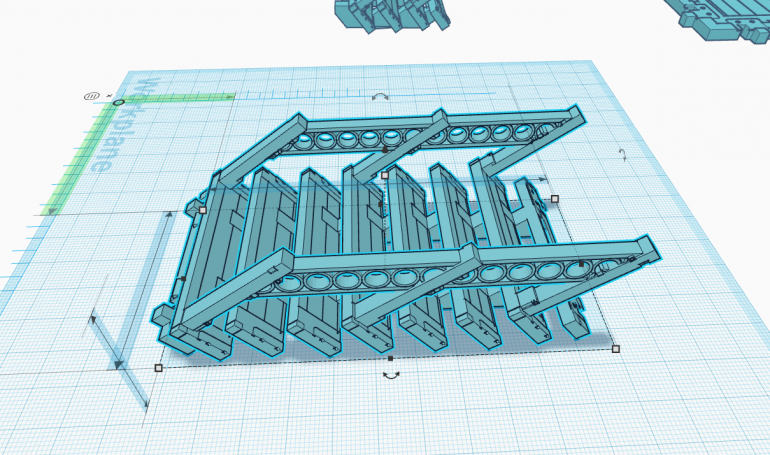
I added an extra support.  Easy Fix (i change the orientation to print faster).I added an extra support. Easy Fix (i change the orientation to print faster).
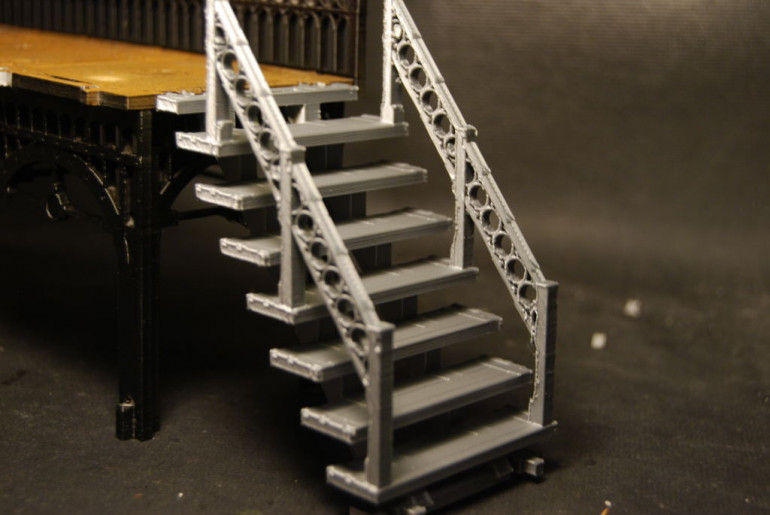
Job Done.Job Done.

Ladders

Tutoring 6
Skill 6
Idea 6
No Comments

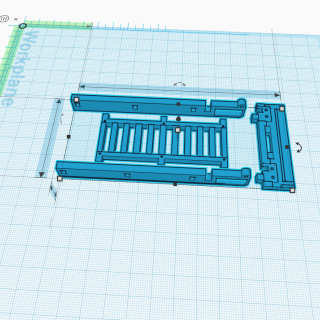
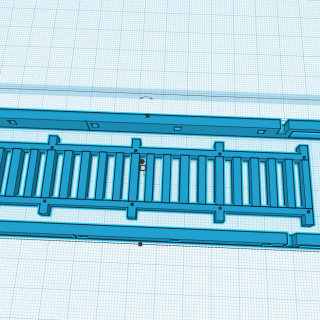
I made some ladders design base on the MDF ladder found in Wolsung.
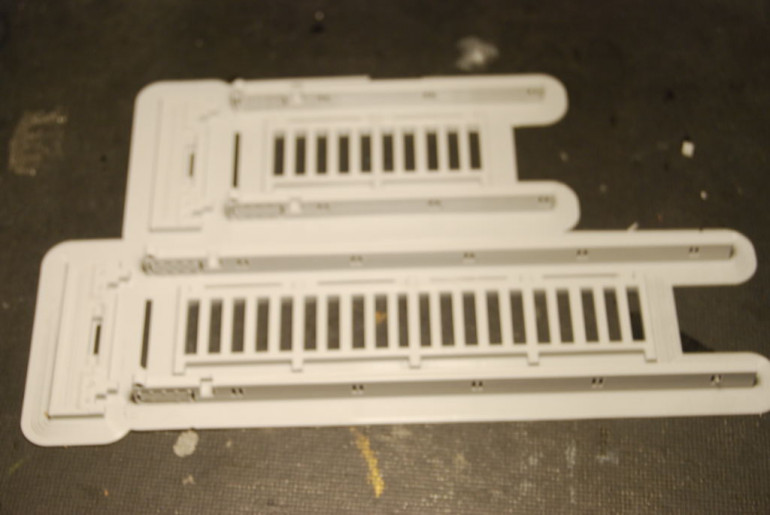
Hot off the printer with some tight tolerance. i had to trim to fill each tab on both ladders, at least i didnt need to glue them together.Hot off the printer with some tight tolerance. i had to trim to fill each tab on both ladders, at least i didnt need to glue them together.
the standard ladder was a prefect fit. i made test sample about 3 years ago, and i knew it was  good.the standard ladder was a prefect fit. i made test sample about 3 years ago, and i knew it was good.
I made a longer version and it 3.5mm to short.  Back to Tinker CADI made a longer version and it 3.5mm to short. Back to Tinker CAD

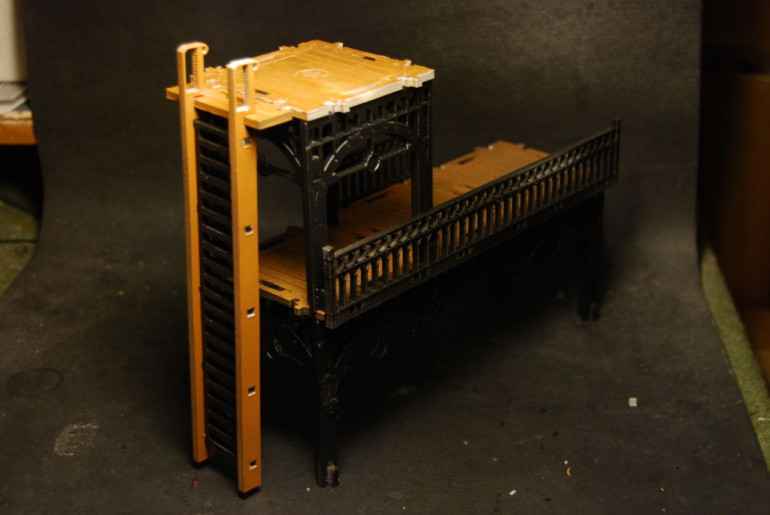
grand stairs case complete

Tutoring 9
Skill 10
Idea 10
3 Comments
This did not come together as plan. Mirroring the left side change the location of the tabs and i had to print it again :(.This did not come together as plan. Mirroring the left side change the location of the tabs and i had to print it again :(.
I had issue with fit after i print the second version to correct the mirror.I had issue with fit after i print the second version to correct the mirror.
Off by about 3 mm. Back to Tinker CAD yet again.Off by about 3 mm. Back to Tinker CAD yet again.
Finished  oops  forgot to fix the short stairsFinished oops forgot to fix the short stairs

Grand stair case

Tutoring 9
Skill 9
Idea 9
1 Comment

I have tried to make a grand stair case out of MDF ,but it wasnt quite grand enough:).
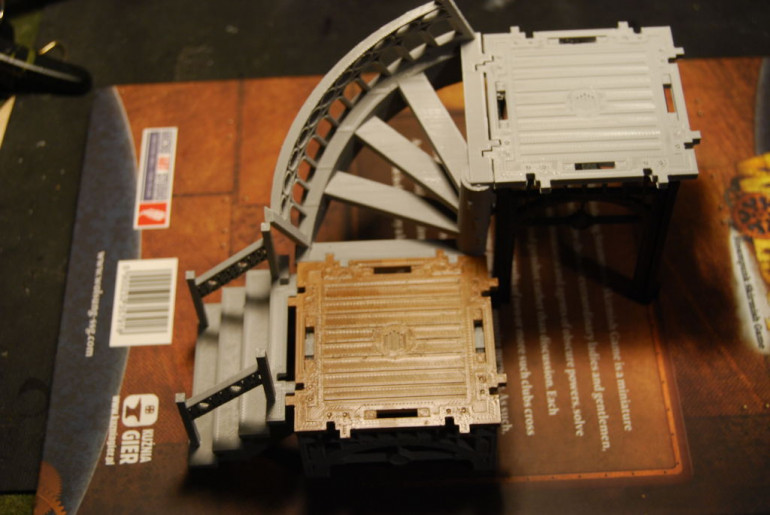
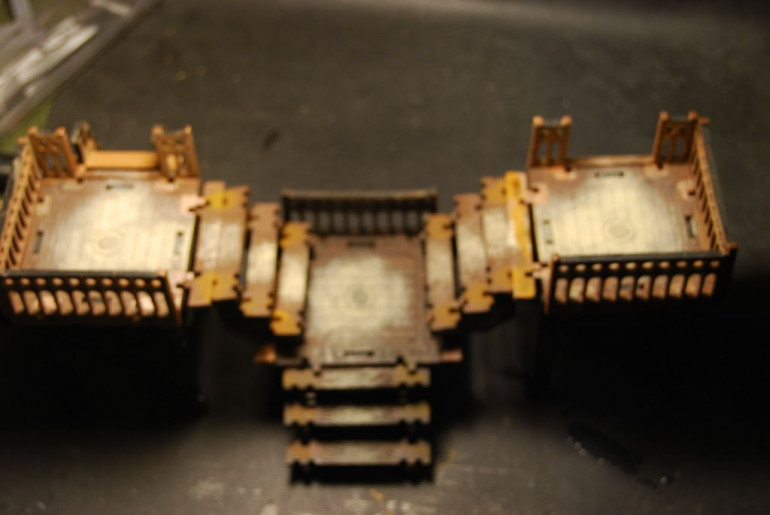
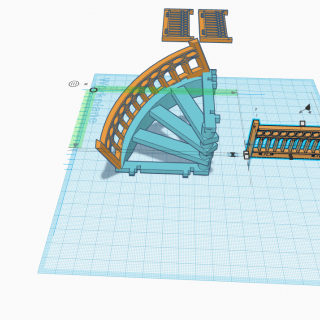
This is what i came up with using MDF, and this is what i did in Tinker CAD.This is what i came up with using MDF, and this is what i did in Tinker CAD.
i started by print this short walkway.  Its half the size as original .i started by print this short walkway. Its half the size as original .
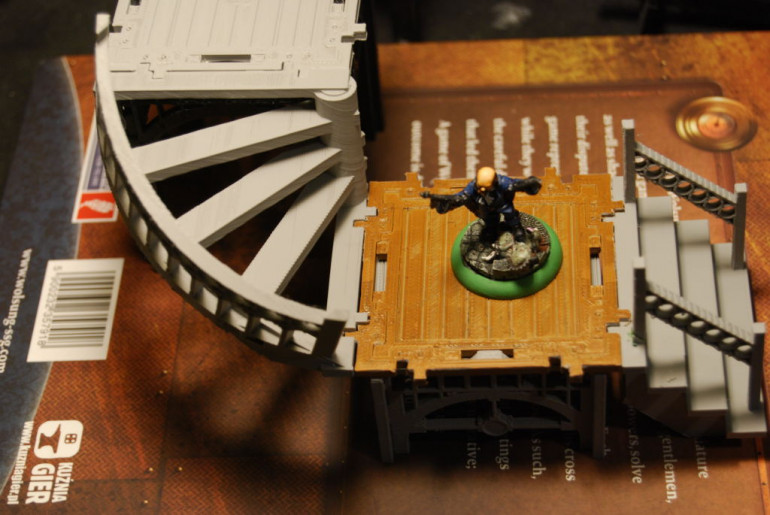
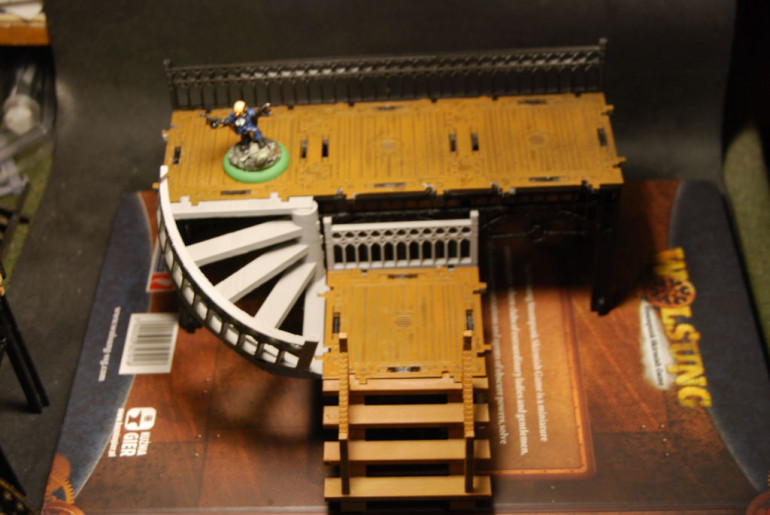
Overall i am happy with the look. I just had a issue with alignment of the short stair not matching up. Overall i am happy with the look. I just had a issue with alignment of the short stair not matching up.
Printed the short stairs again, and i change the angle of the image to print faster and got sawtooth hand rail :(.  I will try a redesign at some piont.Printed the short stairs again, and i change the angle of the image to print faster and got sawtooth hand rail :(. I will try a redesign at some piont.
Awesome progress so far. I mirror the image of spiral stair case and sent it to slicer for printing..Awesome progress so far. I mirror the image of spiral stair case and sent it to slicer for printing..

Triple Arch

Tutoring 8
Skill 8
Idea 8
No Comments

Micro arts studio didnt make anything that would traverse over streets. so i mashed together some walkway file.

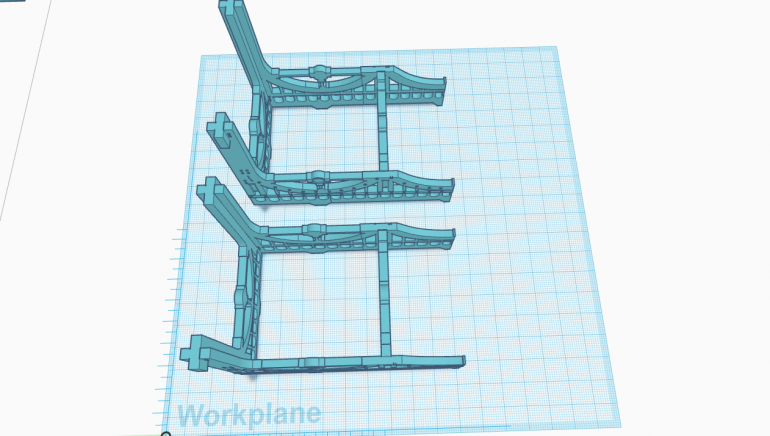
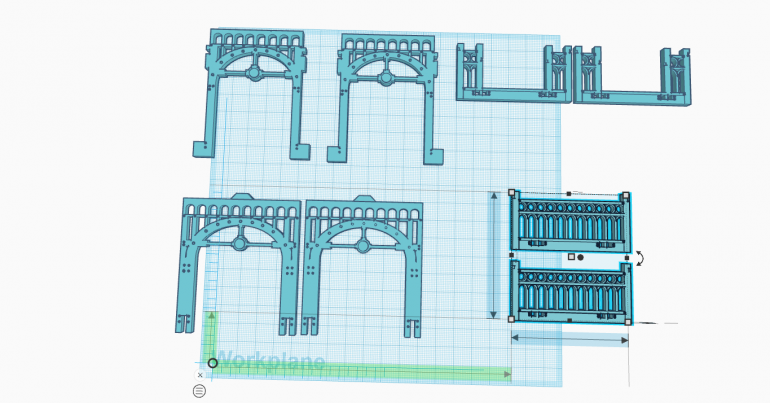
This is what i came up with.  The first test i made was in 2 parts it was on the flimsy side so i printed the arches in one piece.This is what i came up with. The first test i made was in 2 parts it was on the flimsy side so i printed the arches in one piece.
This is what i decided on, Time to print This is what i decided on, Time to print
These 3 prints took about 21 hours. So far so goodThese 3 prints took about 21 hours. So far so good
A perfert size to span the streets in Wolsung.A perfert size to span the streets in Wolsung.
This was a straight forward design with some minor tweek in Tinker CAD, but the 21 hours between test prints made it more difficult.This was a straight forward design with some minor tweek in Tinker CAD, but the 21 hours between test prints made it more difficult.

Waiting for my next print to finish

Tutoring 8
Skill 9
Idea 9
1 Comment

By the way, I running a Creality CR-10s with a build volume of 300mm by 300mm x 400mm it my second FDM printer after my first one had a motherboard failed.

The filament i mainly use is Hatchbox PLA (Grey) or Esun PLA+. i have tried cheaper brand like sunlu and sayo, got varies results. i found the cheaper bands damage my nozzle faster  so the 0.4 nozzle wear out in about 2 KG (spool) to 3 KG worth of filament.

I made this while i was waiting for my next print to finish :). I made this while i was waiting for my next print to finish :).

Curved balcony

Tutoring 9
Skill 9
Idea 9
1 Comment

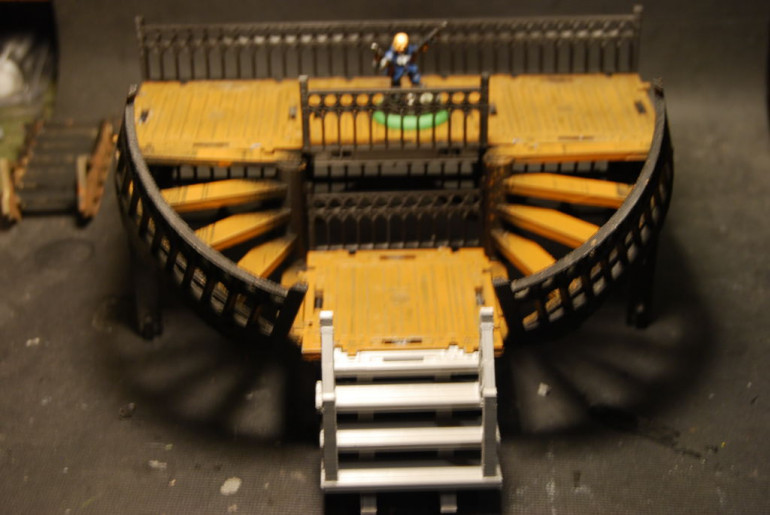
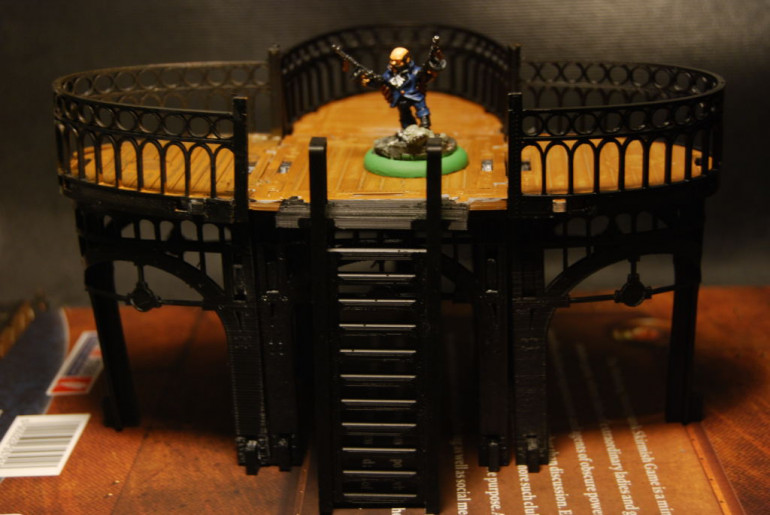
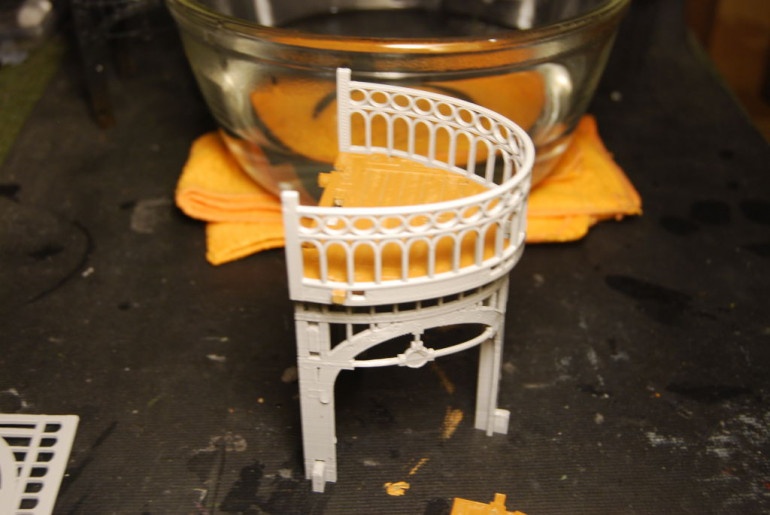
One thing MDF kit struggle with are curves parts. That were 3D print can excel.
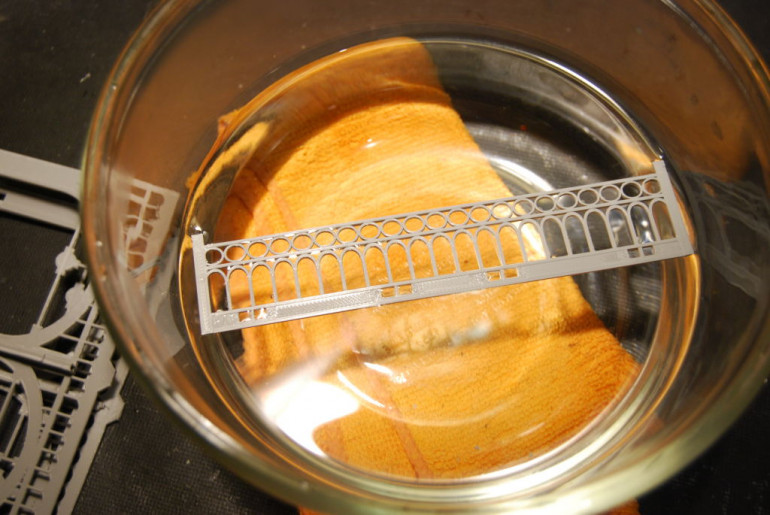
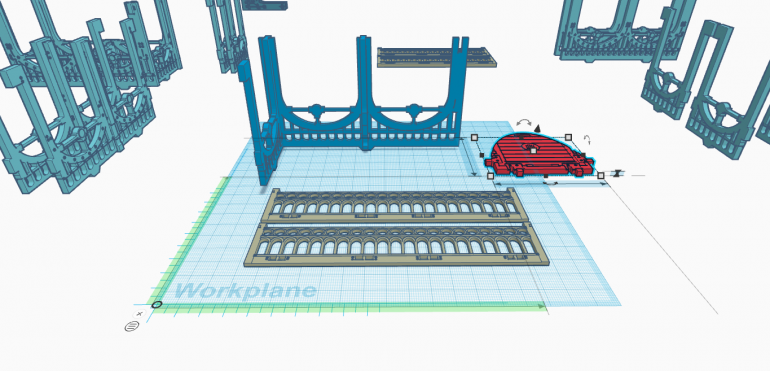
My work space in tinker CAD may be clutter but some of my best idea come out of al that mess :)My work space in tinker CAD may be clutter but some of my best idea come out of al that mess :)
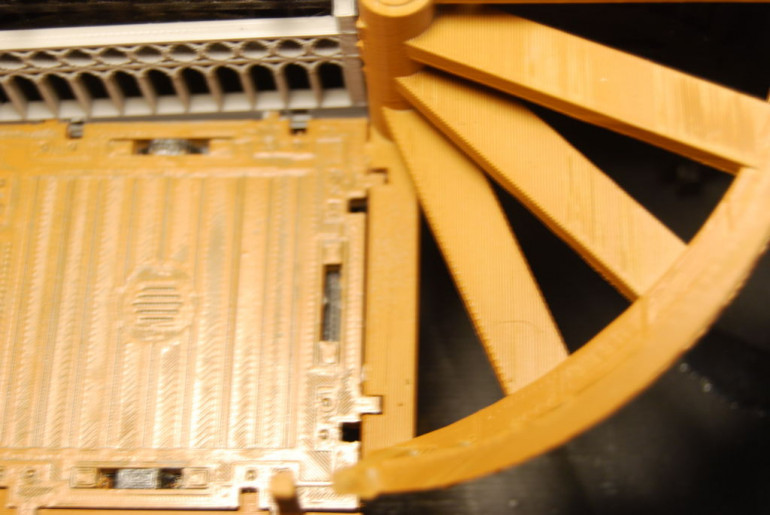
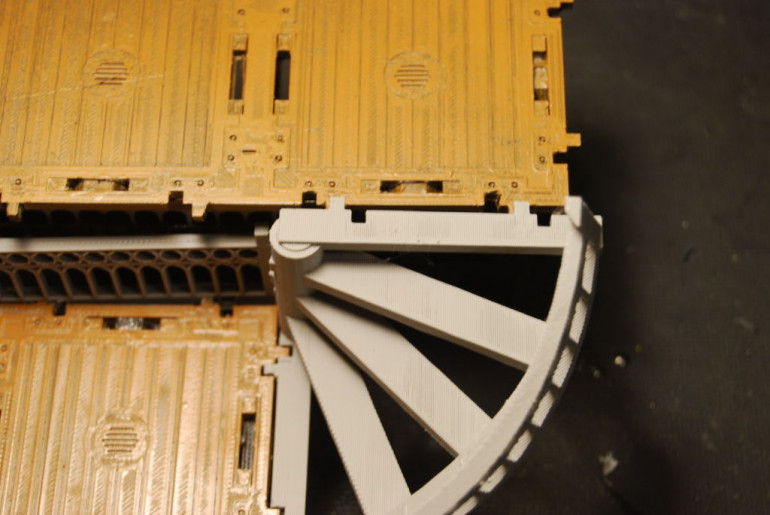
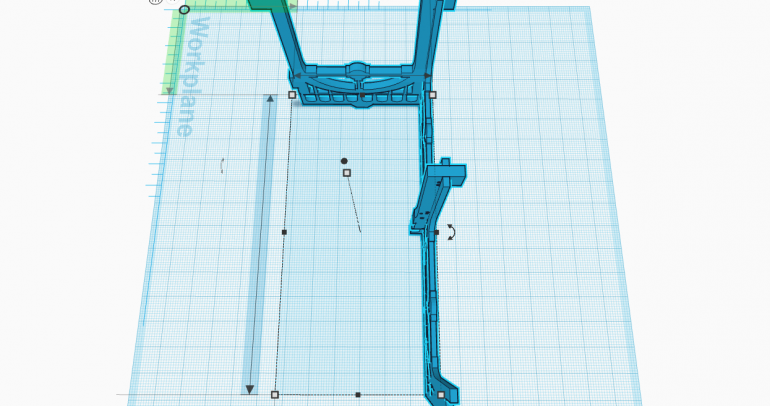
By reducing the thickness which parts i want to bend. I am able create curve that look very cool.By reducing the thickness which parts i want to bend. I am able create curve that look very cool.
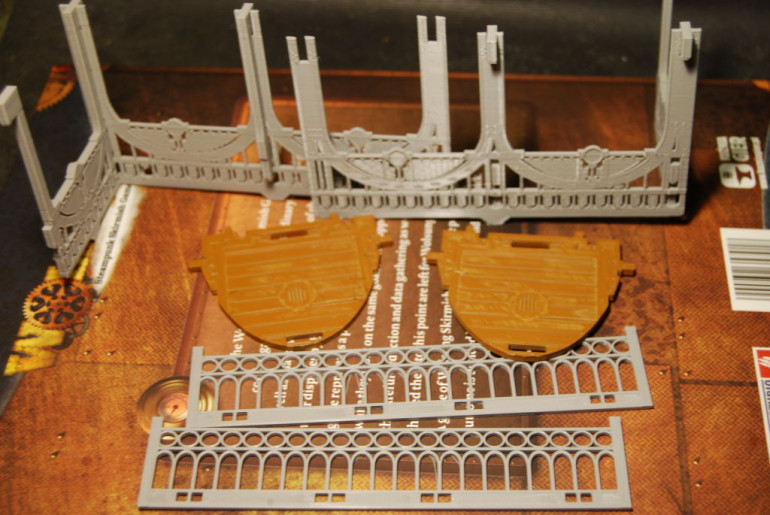
Off the printer and ready to create a pair of balcony.Off the printer and ready to create a pair of balcony.
My secret is hot water(not scalding) dip part for a sec to test the filament reaction. It should take a few second to become malleable.  Use cold water to set the shape just like resin.My secret is hot water(not scalding) dip part for a sec to test the filament reaction. It should take a few second to become malleable. Use cold water to set the shape just like resin.
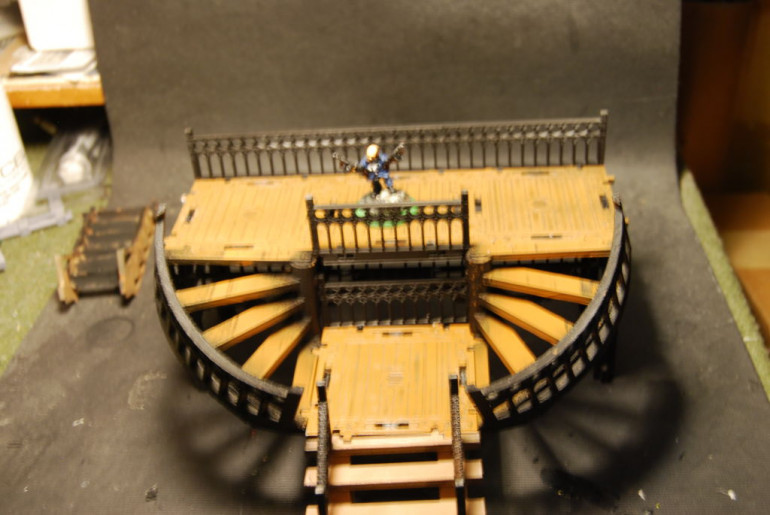
all the parts are holding there shape and i need to let it dry before i can prime them.all the parts are holding there shape and i need to let it dry before i can prime them.

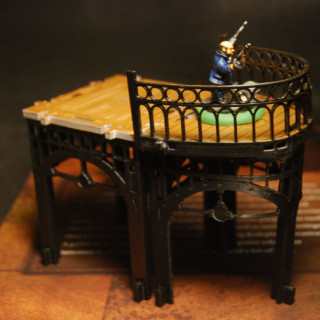
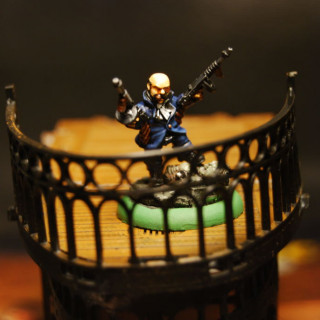
It look pretty cool. I am very happy about the way these turn out :).

Double arch disaster

Tutoring 10
Skill 10
Idea 10
2 Comments

Last week i spent some sleepless night correcting the test printing terrain files.  I should have just went to bed. Lesson learned lol :).

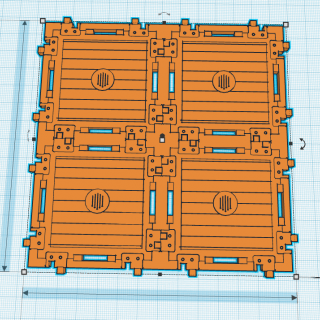
Concept for a 2×2 walkway that i didnt need and spent way to many hours tweeking the design and print failure and mistakes.

I started getting break in my prints ( first time i notice it anyway).I started getting break in my prints ( first time i notice it anyway).
i started printing with supports and finally got enough complete parts to test the fit.i started printing with supports and finally got enough complete parts to test the fit.
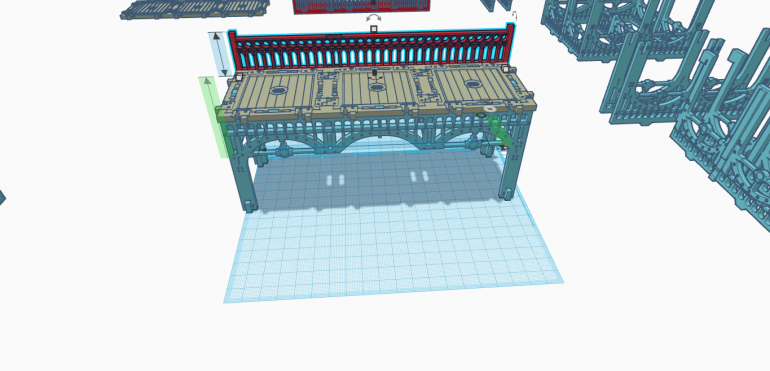
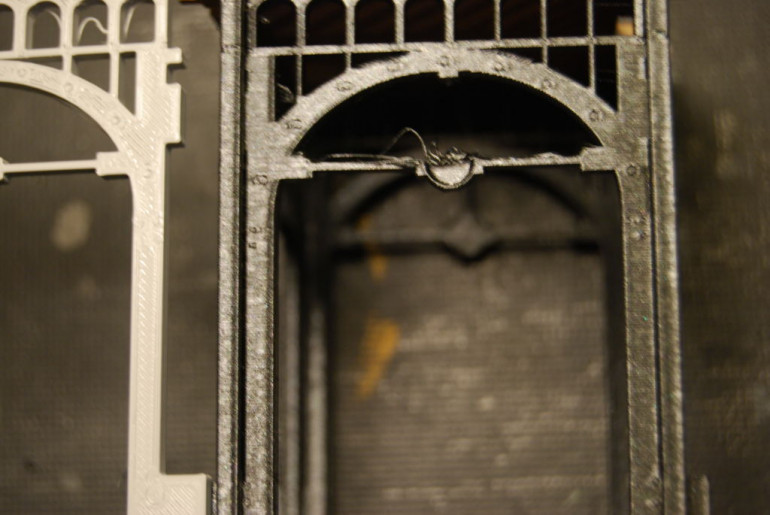
Test fit is good, but i found mistake i made in centering the lamp thing on my double arches.Test fit is good, but i found mistake i made in centering the lamp thing on my double arches.
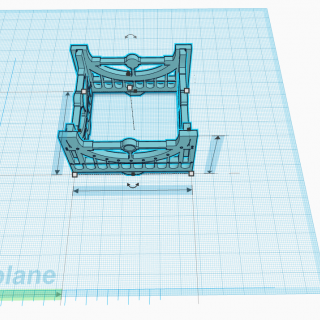
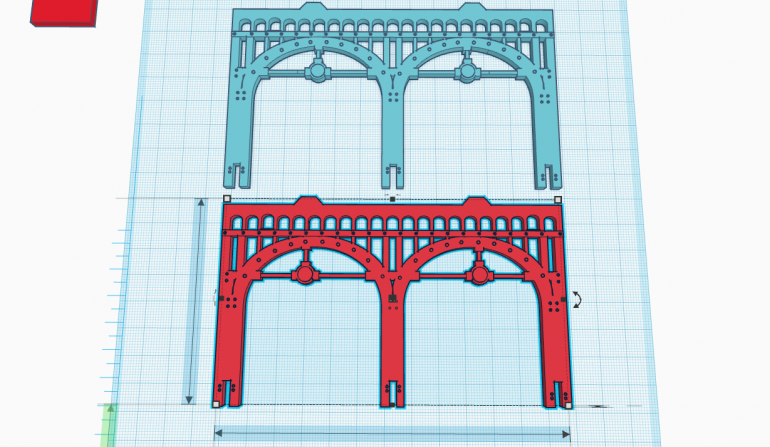
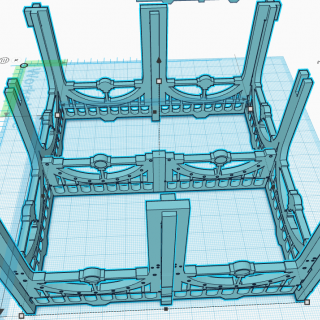
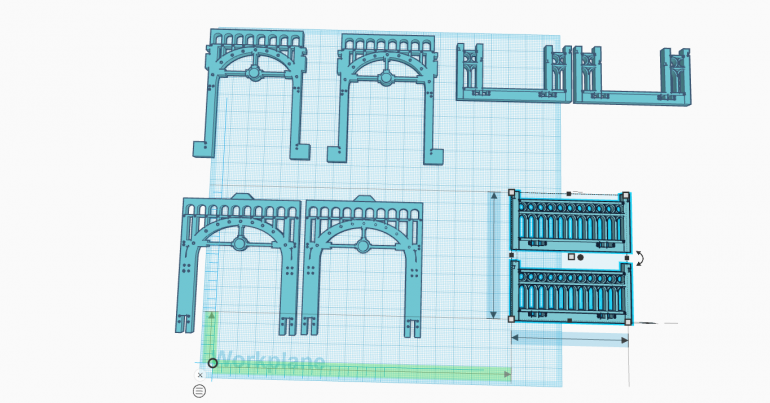
It look like i did not center the lamp for these file easy fix. First i made copy the lamp by removing everything but the lamp and transpose it over the old image.  You can see the spicing line finish image.  The blue image is the corrected version.It look like i did not center the lamp for these file easy fix. First i made copy the lamp by removing everything but the lamp and transpose it over the old image. You can see the spicing line finish image. The blue image is the corrected version.
Good enough, Its time to test print.Good enough, Its time to test print.
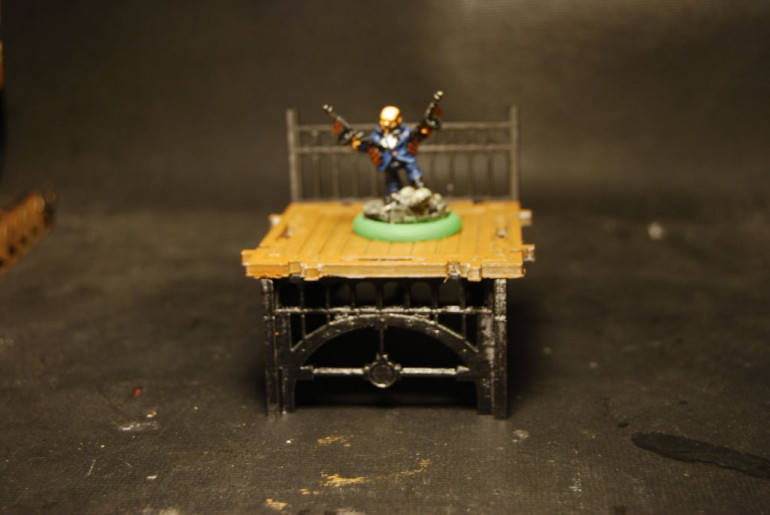
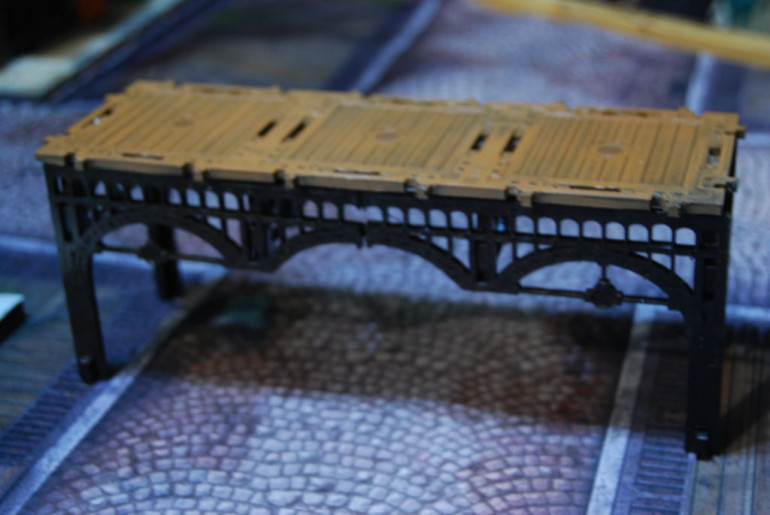
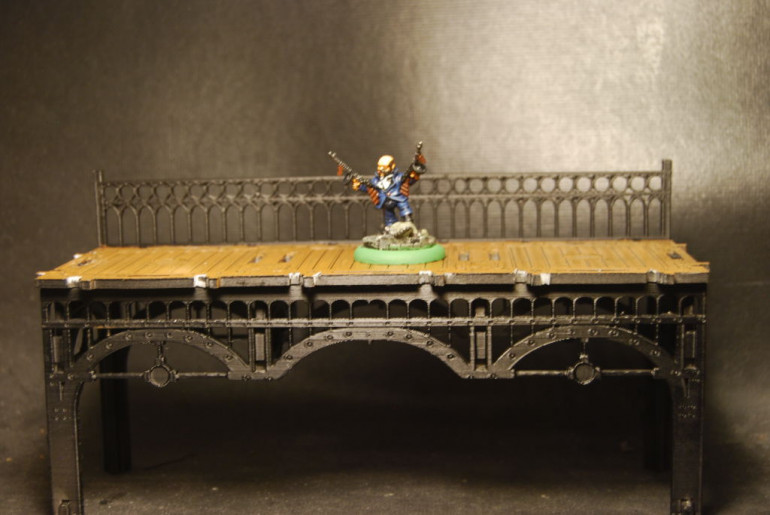
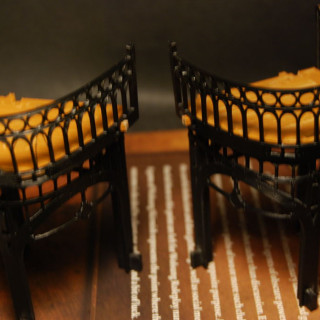
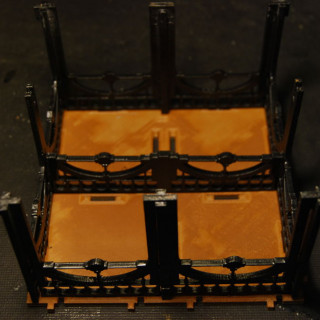
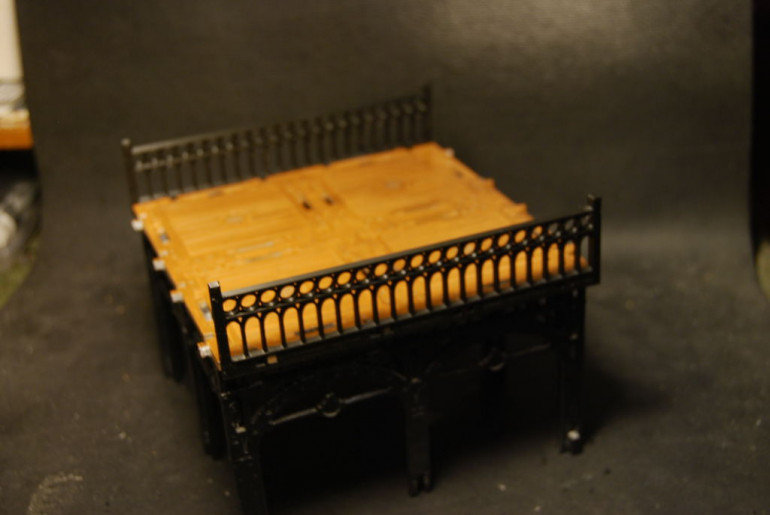
On with painting. I priming with black primer from a rattle can and use warm caramel for the brown.On with painting. I priming with black primer from a rattle can and use warm caramel for the brown.
Finish test Finish test

Resurrecting an old idea.

Tutoring 8
Skill 8
Idea 8
1 Comment

Looking through my files i made in 2018 for Wolsung it look promising .
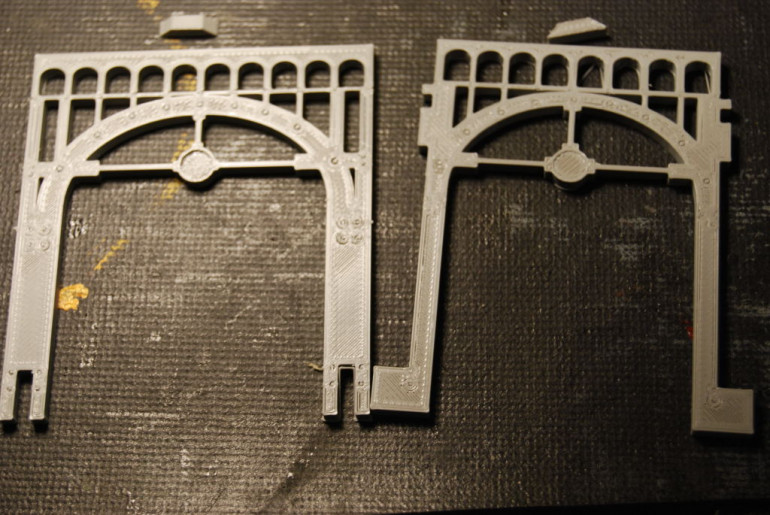
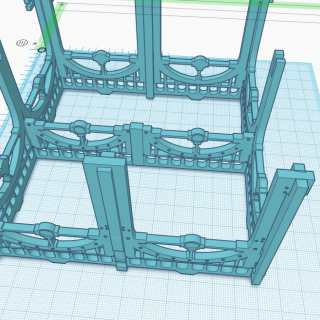
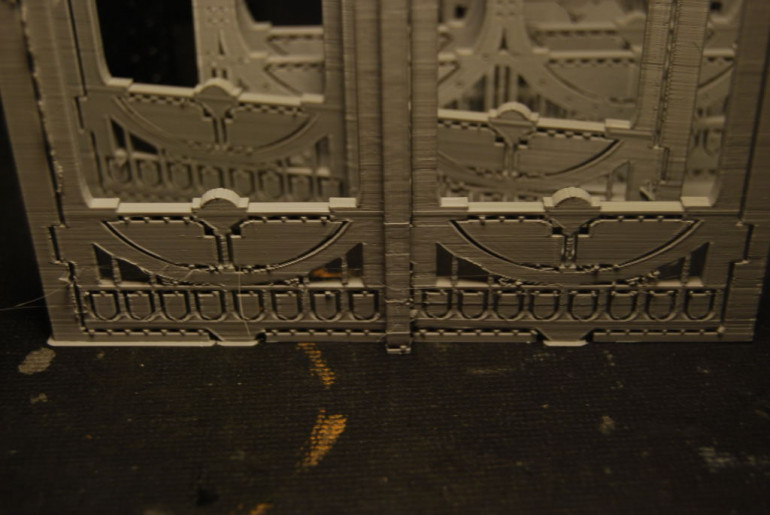
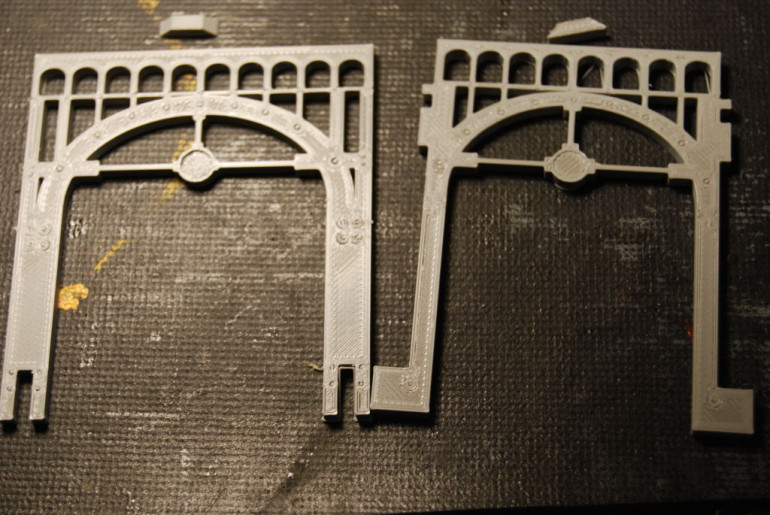
I started test printing these files as is and ran into a whole host of issue.I started test printing these files as is and ran into a whole host of issue.
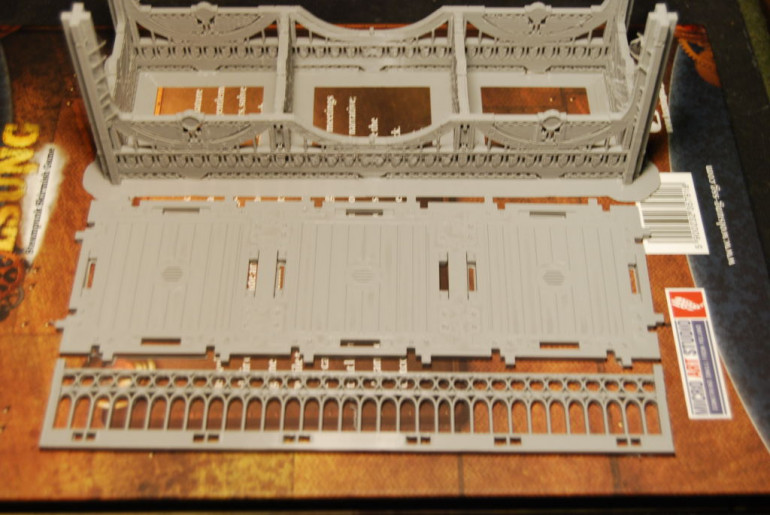
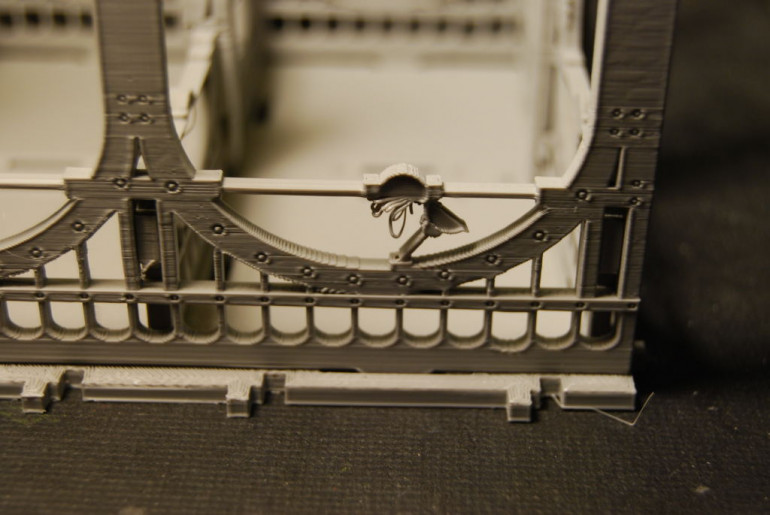
The test print has issue with slotting tabs at the top not being imbedded into the arch. so it was printed separate from the body. . Easy fix :).  Also i dont like the texture of these prints, FDM printer dont print well flat.The test print has issue with slotting tabs at the top not being imbedded into the arch. so it was printed separate from the body. . Easy fix :). Also i dont like the texture of these prints, FDM printer dont print well flat.
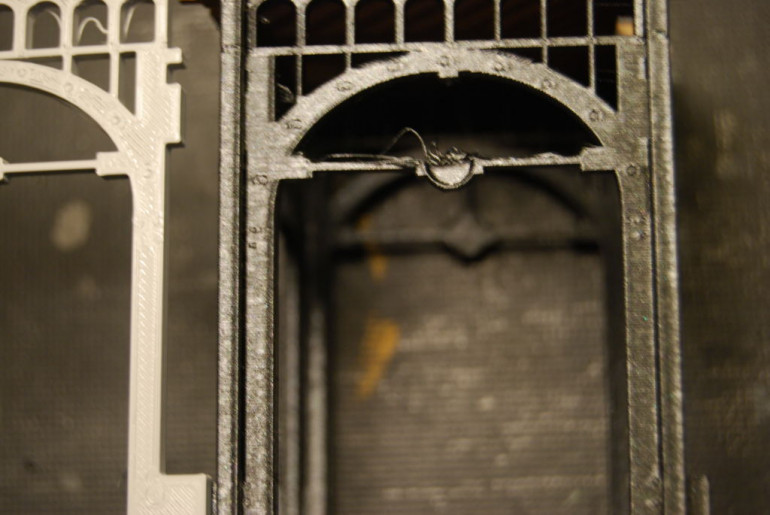
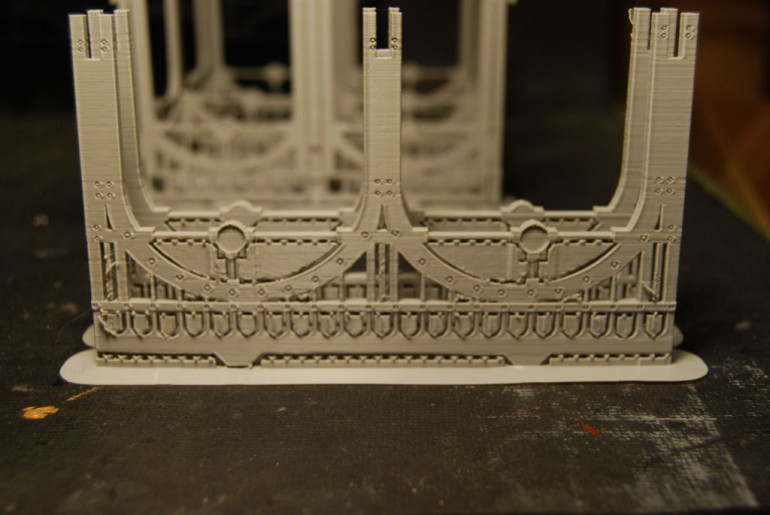
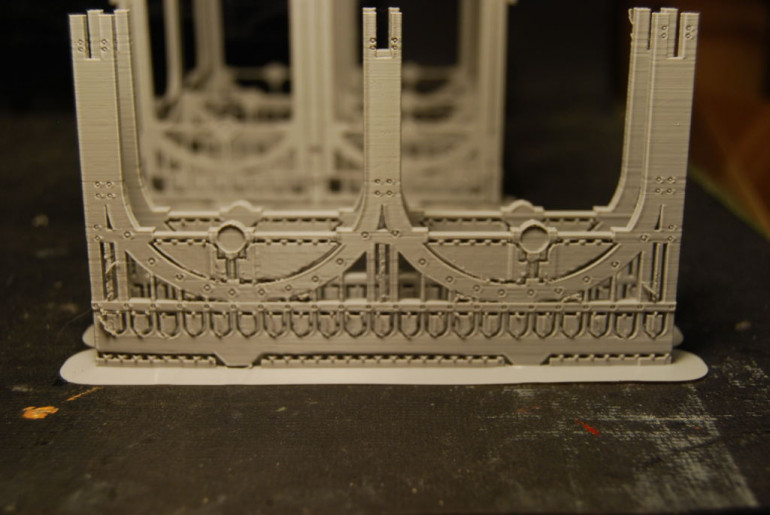
The next test print was vertical  with 4 side meshed together.  I had some issue with print breaking at a very weak point and i would correct this by printing with supports in the future.The next test print was vertical with 4 side meshed together. I had some issue with print breaking at a very weak point and i would correct this by printing with supports in the future.
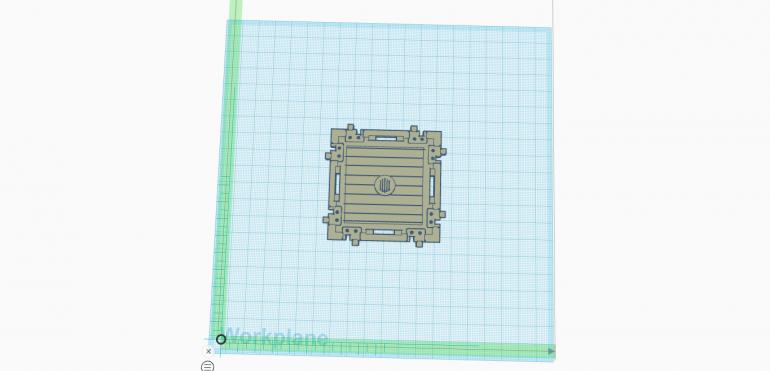
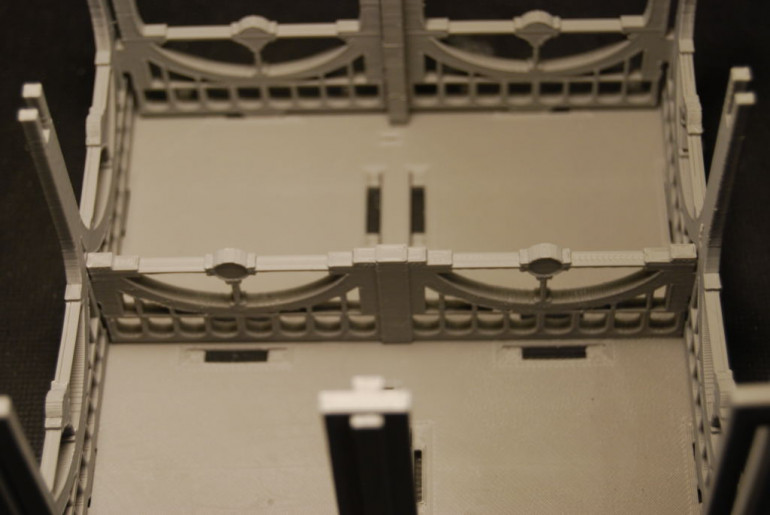
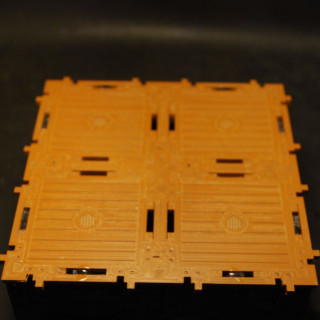
Next file i printed was for the deck that adds to the top. I printed this file vertical and it take about an hour longer to print and the smooth texture is not as good as printing it flat.Next file i printed was for the deck that adds to the top. I printed this file vertical and it take about an hour longer to print and the smooth texture is not as good as printing it flat.
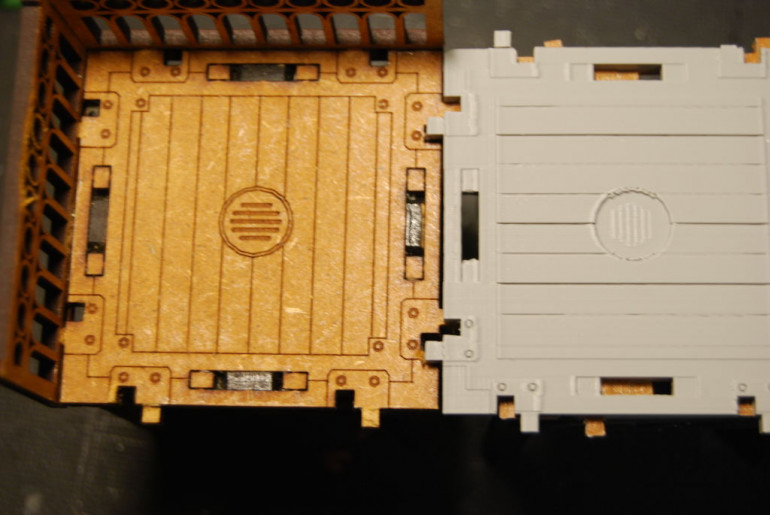
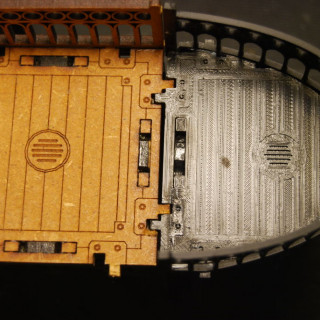
oops my measurement is off by about 3mm.  notice one of the tabs in the top right corner was broken off when i test fitted with an other 3d printed deck i made . This tight fit will bite me in the ass later :).oops my measurement is off by about 3mm. notice one of the tabs in the top right corner was broken off when i test fitted with an other 3d printed deck i made . This tight fit will bite me in the ass later :).

I spent the whole weekend editing and printing my old files and i finally got a matching walkway.  I found out  the tight fitting tabs are damaging my MDF terrain from Micro Arts Studios but when i remove about 1 mm from each side it became to loose to hold together. My logic at the time was it better to have a tight fit than a loose one.  Oh boy that cause alot of extra work fitting parts for me.

Resurrecting

Tutoring 8
Skill 8
Idea 7
No Comments

Looking through the files i made in 2018 for some raised walkway for Wolsung look promising .

I started test printing these files as is and ran into a whole host of issue.I started test printing these files as is and ran into a whole host of issue.
The test print has issue with slotting tabs at the top not being imbedded into the arch. so it was printed separate from the body. . Easy fix :).  Also i dont like the texture of these prints, FDM printer dont print well flat.The test print has issue with slotting tabs at the top not being imbedded into the arch. so it was printed separate from the body. . Easy fix :). Also i dont like the texture of these prints, FDM printer dont print well flat.
The next test print was vertical  with 4 side messed together.  I had some issue with print break at a very weak point i would correct this by printing with surpports in the future.The next test print was vertical with 4 side messed together. I had some issue with print break at a very weak point i would correct this by printing with surpports in the future.

Supported by (Turn Off)