First Contact – local farmers are introduced to Imperial war machines.
Recommendations: 136
About the Project
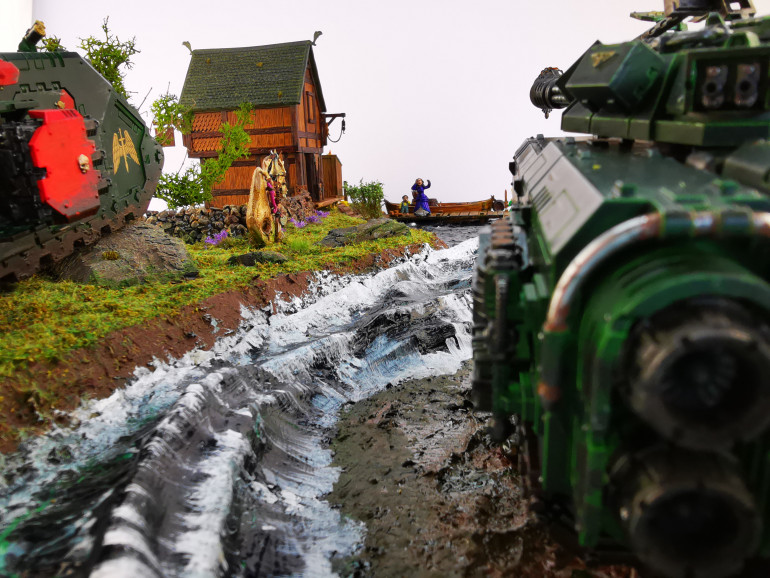
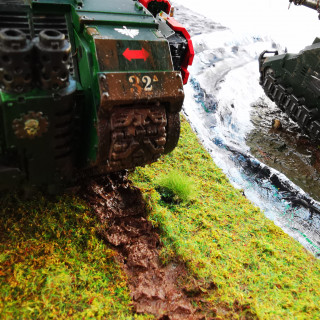
We rarely see the arrival of space marines from the perspective of the local civilians. Instead, we see these events from a largely military view, with countless tales and images of armies versus armies on distant, blasted battlefields. In this diorama, I'm creating a violently interrupted pastoral scene. A young family fills their boat with produce to sell at the local market across the lake. A boy, dressed as a knight, stands at the end of the dock, costumed and armed with a wooden sword. Another child runs through the farmhouse garden with a stolen apple. The final child stands by his mother, picking its nose and dragging around a teddy bear. The mother is dressed in her finest frock, ready for a market day socialising with the other villagers. A few minutes later, when this diorama freezes its moment in time, a pair of Dark Angels tanks hurtle up the lakeshore towards this peaceful scene. The Repulsor Executioner's energy downwash forces the lake water away in all directions, so much so that it even exposes the lake bed. The Land Raider Crusader carves muddy scars across the farmland, toward the gardens of the house. The mother cries out but is frozen in place, the apple thief runs a little faster through the garden, and the little knight on the dock plants his feet, raises his wooden sword, and prepares to engage the Angels of Death. Will the tanks stop in time, evade the farm with deft driving, or will they power through, and fail to even notice the tiny homestead and its residents? It's a perspective we rarely experience in the grim dark 41st Millennium, but I really hope to capture the stark contrast between hulking war machines and normal civilians, going about their business. It will be the single, largest diorama I've ever attempted and will involve kits from the Middle Earth Strategy Game, Warhammer 40,000, and Midlam Miniatures.
Related Game: Warhammer 40,000
Related Company: Games Workshop
Related Genre: Science Fiction
Related Contest: Spring Clean Hobby Challenge 2023
This Project is Completed
Introducing the kits I'm using for this mammoth diorama.
So here are the kits I’ll be using for this diorama:
Games Workshop – Warhammer 40,000
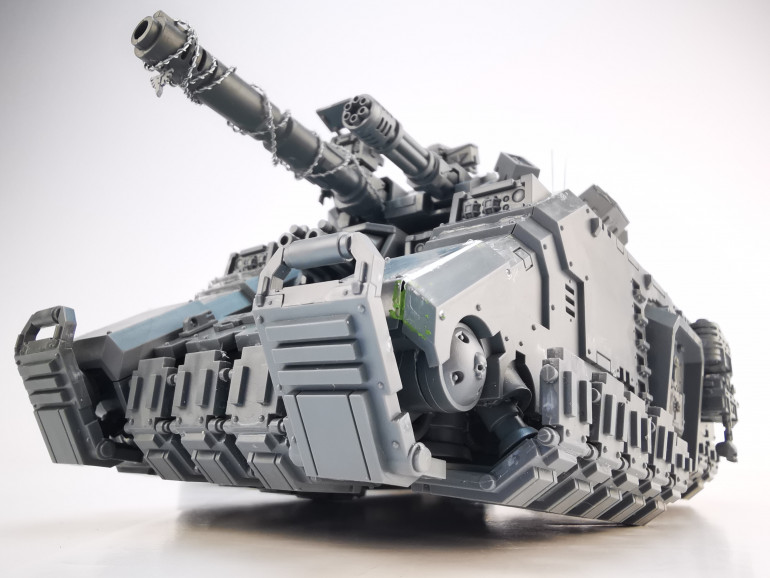
Space Marines Primaris Repulsor Executioner
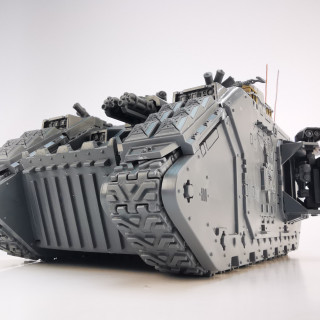
Space Marines Land Raider Crusader
Games Workshop – Middle Earth Strategy Battle Game
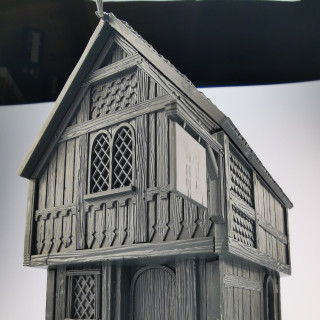
Lake-Town House
Midlam Miniatures
Little Lord Grumpington
Lady Berris
Boy running with stolen apple
Young Edward
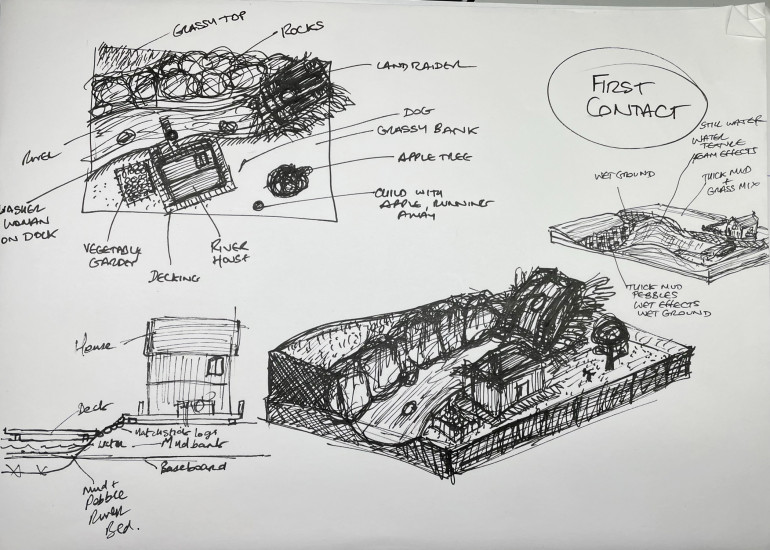
Some planning drawings and testing the concept out.
All of my dioramas start with a sketch, usually drawn while sitting uncomfortably in a Dublin coffee shop while also cradling a latte. I try to stay faithful to the initial concept sketches as I build out dioramas and often pause to test the concepts as I work.
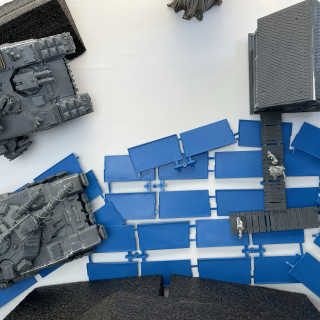
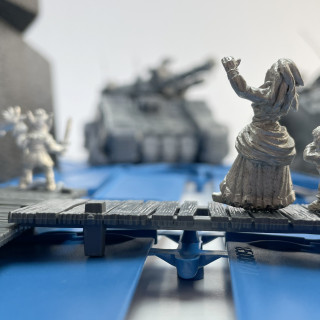
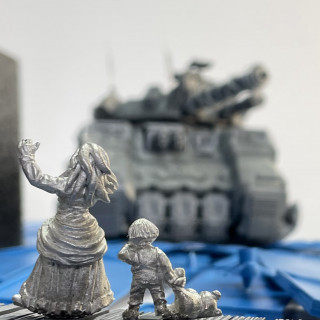
Here are a few early images of the layouts with blue plastic dividers acting as the river.
This phase also gives me an idea of how the diorama will photograph later on, and I can make tweaks.
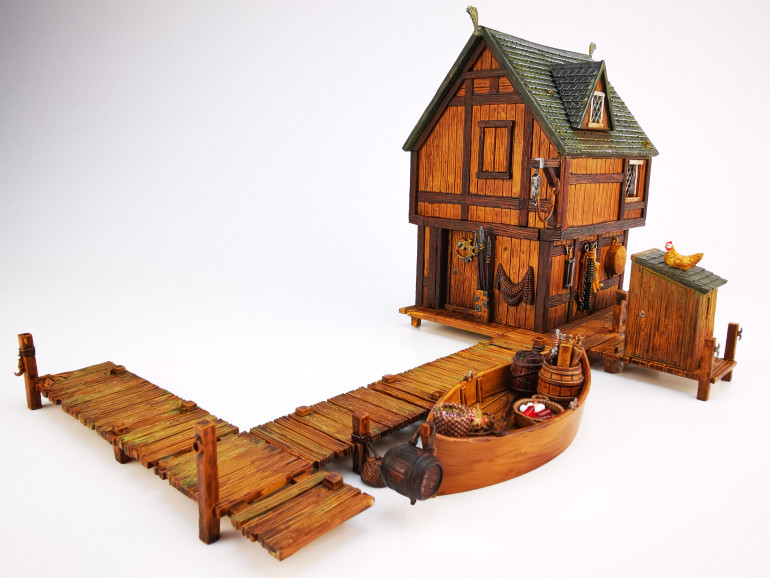
Painting the Lake-Town House. I think Tolkien would've been very upset with my diorama.
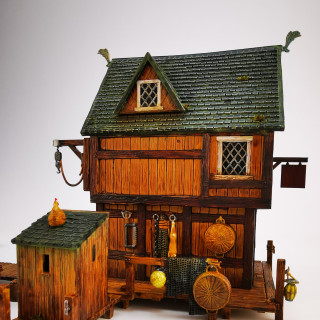
So, this little house is completely different from almost everything I’ve painted up to now. Seeing something so pretty come off a GW sprue just seems so weird, and it really is exceptionally pretty!
I wish they did an entire village of these things, and it makes me feel that GW should think seriously about releasing more generic buildings, rather than just a torrent of grand structures and ruins. Where are all the cottages or hab blocks? Come to think of it, where are all the locals? I really struggled to find non-combatant miniatures for this diorama, but I’ll get to that in a later update.
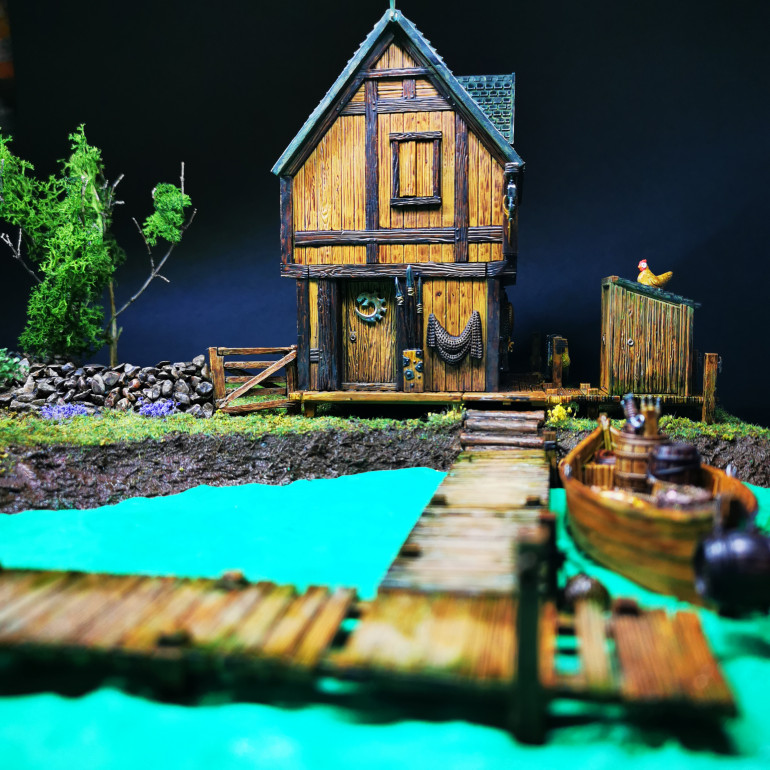
Every surface of the house is packed with detail – fishing nets, wood grain, lead flashing on the windows, etc. It’s wonderful looking even in its raw, grey plastic state! It comes with some sections of boat dock and a cute little rowing boat, complete with spindly oars.
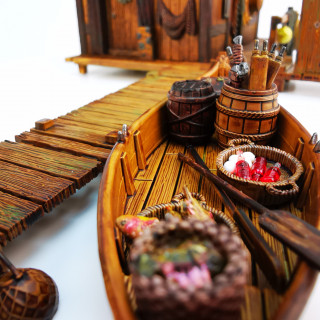
I added some extra bits to the boat as I really wanted it to look like the family are loading their boat with produce to take to market. Some notes below:
- The clear resin wine bottles are from GSW and are coloured red using a tiny amount of Tamiya Clear Red. I think they sell these bottles now in a red and green transparent resin set.
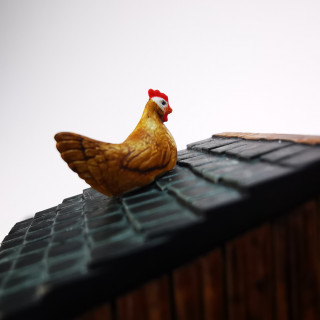
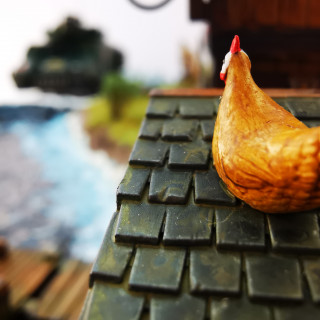
- The chicken eggs, Camilla the chicken, and the dead hare are all from the Tamiya 1/35 Livestock Set.
- The fishes in the basket are GSW’s Resin Fish Collection, which is a nice wee set. I painted these with some pearlescent paints I found in a drawer from a company called Createx.
For painting the house, I used the following flow:
- For wooden panels, deck, and dock I based with Vallejo Model Air Wood, then washed with GSW’s Walnut Brown Intensity Ink. I also used some AK Moss Deposits to give the sense of slow rot.
- For the exposed beams I used the darker Vallejo Model Air Mahogany and washed it with Citadel Agrax Earthshade.
- For the roof, I used Citadel Contrast Black Templar, then washed it with AK’s enamel Moss Deposits. I then removed some of this with AK’s Odourless Thinner to leave a nice mossy residue in and around the roof tiles. I then added small bits of moss from AK to add realism.
- I used Golden SoFlat Titanium White on the window frames and immediately soiled it with AK’s Decay Deposits.
- For the lead flashing on the windows, I used LeadBelcher from Citadel.
In my next update, I’ll talk about how I painted one of the tanks that are about to turn this beautiful lakeshore home into a pile of splinters!
Painted Land Raider Crusader
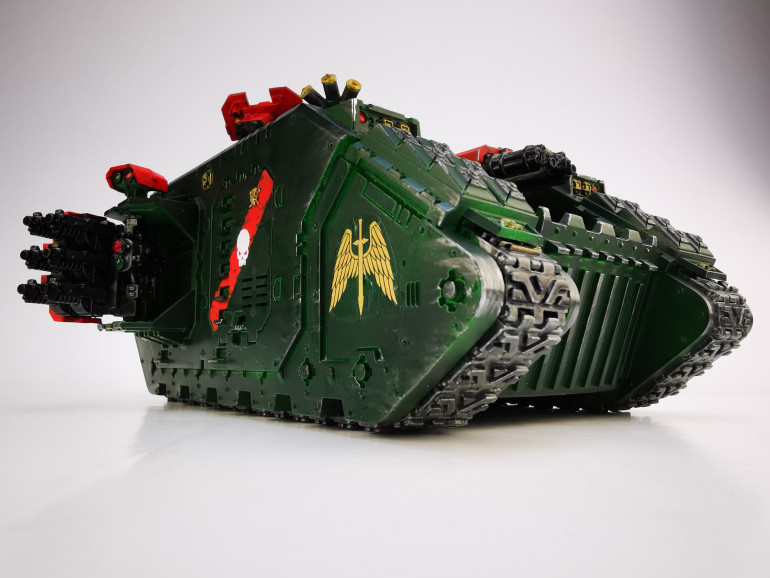
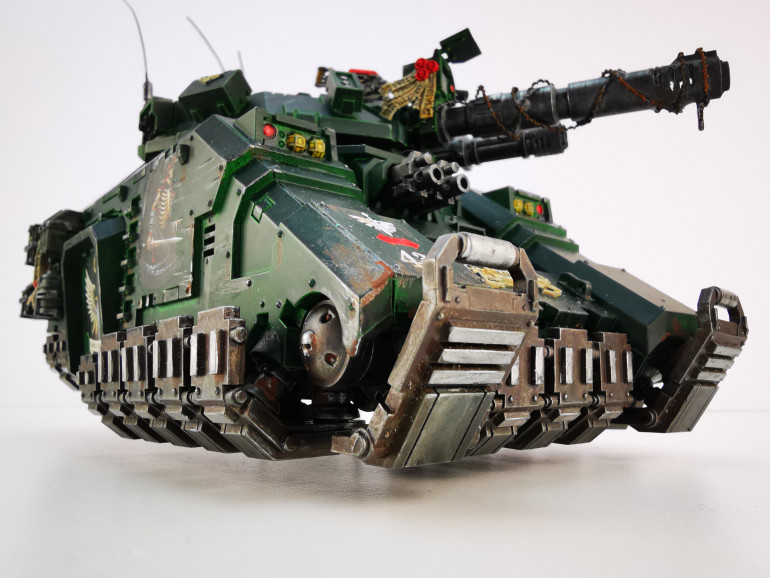
This is a Dark Angels Land Raider Crusader assault tank from Games Workshop. I built mine with sponson-mounted hurricane bolters (essentially 6 linked bolt guns on each side of the tank), a roof-mounted twin assault cannon, a storm bolter, and a hunter-killer missile. It’s part of the Dark Angels 4th Company, which is nicknamed ‘The Feared’.
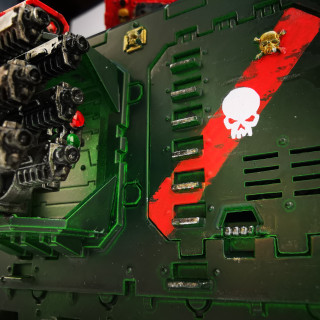
On the starboard door, you can see the 4th Company identification panel, which is a diagonal red stripe on the green. I added the little skull decal because it looked cool.
The other decals come from the Dark Angels decal sheet from Forge World. They’re expensive, but you get a BUNCH on an A4 sheet, and several of them are full colour or metallic.
I’m not an experienced airbrush user and I made some epic mistakes when base coating this tank, using badly mixed Vallejo Game Color Dark Green. After messing this up (and the Repulsor Executioner too – which will feature in my next update), I redid the whole thing in Vallejo Model Air Olive Green. Being pre-mixed for airbrush made it much easier to work with, and the few areas where my washed-out Dark Green base coat peeked through made it look like I’d done edge highlighting. Happy little mistakes indeed!
Tank armour recipe:
- Vallejo Model Air Olive Green
- Vallejo Game Color Dark Green
- AK Decay Deposits
- AK Engine Grime
- Ammo Streaking Grime
- AK Engine Oil
- Vallejo Model Color Bronze
- GSW Liquid Pigments Black Soot (for exhausts and vents)
- Vallejo Model Color Bronze
- GSW Liquid Pigments Verdigris
- Vallejo Model Air Red
Tank tracks:
- Vallejo Metal Color Gunmetal grey
- Tamiya XF25 Rubber Black (For road pads on tracks)
- Vallejo Model Color Bronze (For recurring aquila motif on tracks)
- Vallejo Metal Color Silver
- AK Track Wash
- Vallejo Thick Mud – Brown Mud
Guns and exposed metal:
- Vallejo Metal Color Gunmetal grey
- Vallejo Model Color Bronze
- Vallejo Metal Color Silver
- Citadel Shade Nuln Oil
- Dirty Down Rust
- GSW Liquid Pigments Black Soot (for barrels of weapons)
- Vallejo Model Air Red (for weapons armour plate)
Purity Seals
- Citadel Contrast Skeleton Horde
- Citadel Agrax Earthshade
- 0.05 Black pigment pen
- Citadel Technical Blood for the Blood God
Next up, I’ll share the work I did on the gigantic Repulsor Executioner!
Painted Primaris Repulsor Executioner
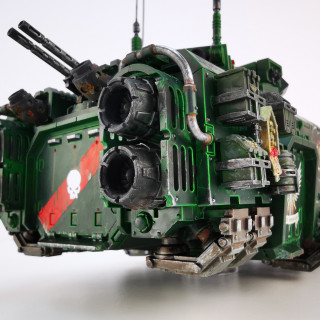
This is a Dark Angels Primaris Repulsor Executioner battle tank, which can carry up to six Space Marines and their gear, but the massive turret-mounted weapon is what really makes it stand out.
As this is a hover tank, I figured it would look coolest in the diorama if it floated over the lake, pushing the water down and away so effectively that the lake bed is visible as it drives along. It would also create a bow wave big enough to threaten the little lakehouse dock. How would I achieve this effect? Well, that’s an update for another day!
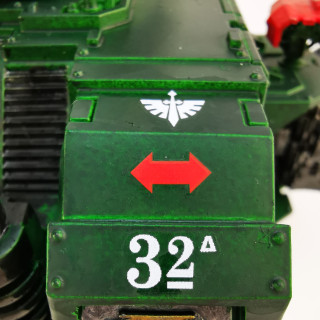
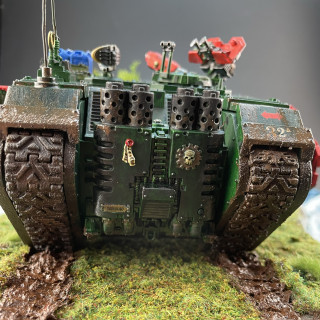
Much like the Land Raider, this tank is attached to the 4th Company of the Dark Angels. For this unit, I placed the 4th Company identification panel on the rear door, which again is a diagonal red stripe onto green.
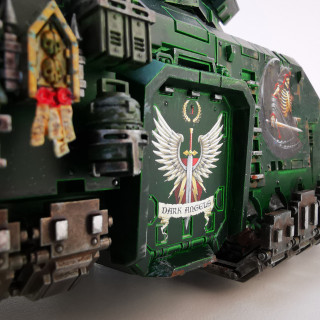
I used some more decals from the Dark Angels decal sheet from Forge World for the Angels of Death design on the flanks. When I’m doing decals, I prepare the surface with a light coat of Vallejo Decal Fix, and once the decal is nudged into the right position with the tip of a water-dampened brush, I set it in place with Micro Sol liquid. This gives it that painted-on look, and it can sometimes need a few coats. Once the decal is dry and looks like part of the paintwork, I coat it will AK Ultra Matte Varnish which knocks the sheen off the decal.
Much like I did with the Land Raider, I goofed up the initial base-coating of this tank with my airbrush, and once again I redid the whole thing in Vallejo Model Air Olive Green.
Tank armour recipe:
- Vallejo Model Air Olive Green
- Vallejo Game Color Dark Green
- AK Decay Deposits
- AK Engine Grime
- Ammo Streaking Grime
- AK Engine Oil
- Vallejo Model Color Bronze
- GSW Liquid Pigments Black Soot (for exhausts and vents)
- Vallejo Model Color Bronze
- GSW Liquid Pigments Verdigris
- Vallejo Model Air Red
Repulsor panels
- Vallejo Metal Color Gunmetal grey
- Vallejo Metal Color Silver
- AK Track Wash
Guns and exposed metal:
- Vallejo Metal Color Gunmetal grey
- Vallejo Model Color Bronze
- Vallejo Metal Color Silver
- Citadel Shade Nuln Oil
- Dirty Down Rust
- GSW Liquid Pigments Black Soot (for barrels of weapons)
- Vallejo Model Air Red (for weapons armour plate)
- Tamiya Clear Green and Red (for optics)
Purity Seals:
- Citadel Contrast Skeleton Horde
- Citadel Agrax Earthshade
- 0.05 Black pigment pen
- Citadel Technical Blood for the Blood God
In the next update, I’ll be building the diorama base, which includes a grassy bank, a tidal wave, and a hand-stacked stone wall, and I’ll share a use for yoga blocks that doesn’t involve stretching.
Building the lakeshore and farmyard.
Originally, I wanted to base this diorama on a section of a river, but adding the opposite bank was making the whole thing too large. I knew it was going to be big anyway, as the two tanks are complete monsters, but building an entire extra riverbank seemed unnecessary. So instead I went with a lakeshore idea, allowing the Lake-Town House to live up to its name.
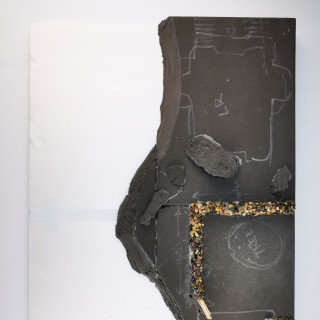
I started with a 30cm x 40cm sheet of XPS foam from The Army Painter’s XPS Scenery Foam Booster Pack. I find Army Painters stuff to be a bit hit-and-miss, quality-wise, but this pack is great when you need cheap XPS. I added a smaller, second layer of XPS to represent the stepped-up swell of water being affected by the approaching tank’s hover systems.
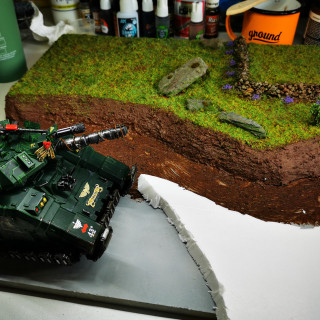
For the farmland, I used high-density EVA yoga blocks measuring 30cm x 20cm x 2.5cm. Yoga blocks are easy to carve, suffer from nearly 0% retained deformation when compressed, and are often reasonably priced. The ones I used were non-reactive with spray can primer and super glue, which is a nice bonus.
I carved the shape of a gently-sloped bank into the foam and used the off-cuts to add curves to the rest of the waterside and also some rocks to the farmland.
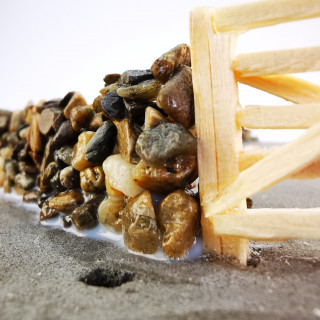
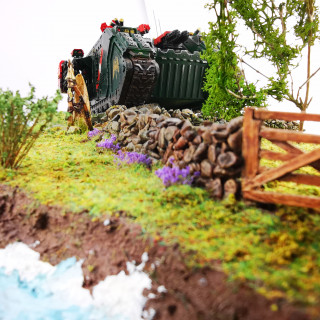
I then moved on to building a little stone wall, which would mark the boundary of the farmhouse’s garden. It would also give the impression of being a pitiful and ineffective barrier against the fast-approaching tank.
For the stones, I used Dark Stone gravel from the Pets at Home ‘Premium aquatic gravel’ range. It comes in a 2 kg bag for £5.50, which is under $7. It’s insanely good value and is dust-free, and this bag will last me forever. I’ve bought hobby-brand versions of gravel like this in the past, but they’re always so dusty, and obviously much more expensive. I made the wall using individual stones, each dipped in PVA glue and gently piled them on top of one another. Making it with real stones give it an authentic feel I hadn’t been expecting, and putting it all together was a long but very zen experience.
I made the little garden gate out of matchsticks and PVA glue, but only after doing a Google image search for garden gates. It’s amazing how often you draw a blank on what commonplace objects look like when you attempt to make them from scratch.
After priming the bank I used air-drying clay to create the impression of layers of waves in the water, as it is being pushed away by the tank’s repulsor systems. I also added choppy water effects with the clay to the water immediately behind the tank, to give the feeling of a turbulent wake being caused by the aft thrusters.
I would later discover that this clay shrinks and cracks as it dries, so the remainder of the pack went in the bin!
I coated the land area with Vallejo Thick Mud Acrylic – Brown Mud and added a mossy green flock while the mud was still wet.
I coated the lake area with Vallejo Water Gel Acrylic – Pacific Blue and added foam with Vallejo Water Texture Acrylic – Foam Effect. In the area where the Repulsor has exposed the lake bed, I used more Brown Mud, glued on some small pebbles, and coated the area with Vallejo Water Texture Acrylic – Still Water. This gives a nice wet finish and creates very natural-looking puddles.
I glued some lichen to a stick from my garden to make a tree and added some Gaming Scenics lavender, Green Stuff World shrubs, and finished it off with a few dabs of Dirty Down Moss.
In the next update, I’ll put the whole thing together and share images of the finished diorama.
Building and painting are complete!
The build and paint process is 99% complete, and the two-month journey to get this from a concept sketch to a finished diorama is almost ending.
I have some patching to do on the lake surface as the clay underneath shrank as it dried. I’ll get that fixed and then post a few more images to wrap things up.
I also completed the video for YouTube, so I have linked that as well. Enjoy!






![TerrainFest 2024! Build Terrain With OnTableTop & Win A £300 Prize [Extended!]](https://images.beastsofwar.com/2024/10/TerrainFEST-2024-Social-Media-Post-Square-225-127.jpg)


