![Very Cool! Make Your Own Star Wars: Legion Imperial Agent & Officer | Review [7 Days Early Access]](https://images.beastsofwar.com/2025/12/Star-Wars-Imperial-Agent-_-Officer-coverimage-V3-225-127.jpg)


Waaagh! It’s Spring Clean 2023!


Recommendations: 283
About the Project
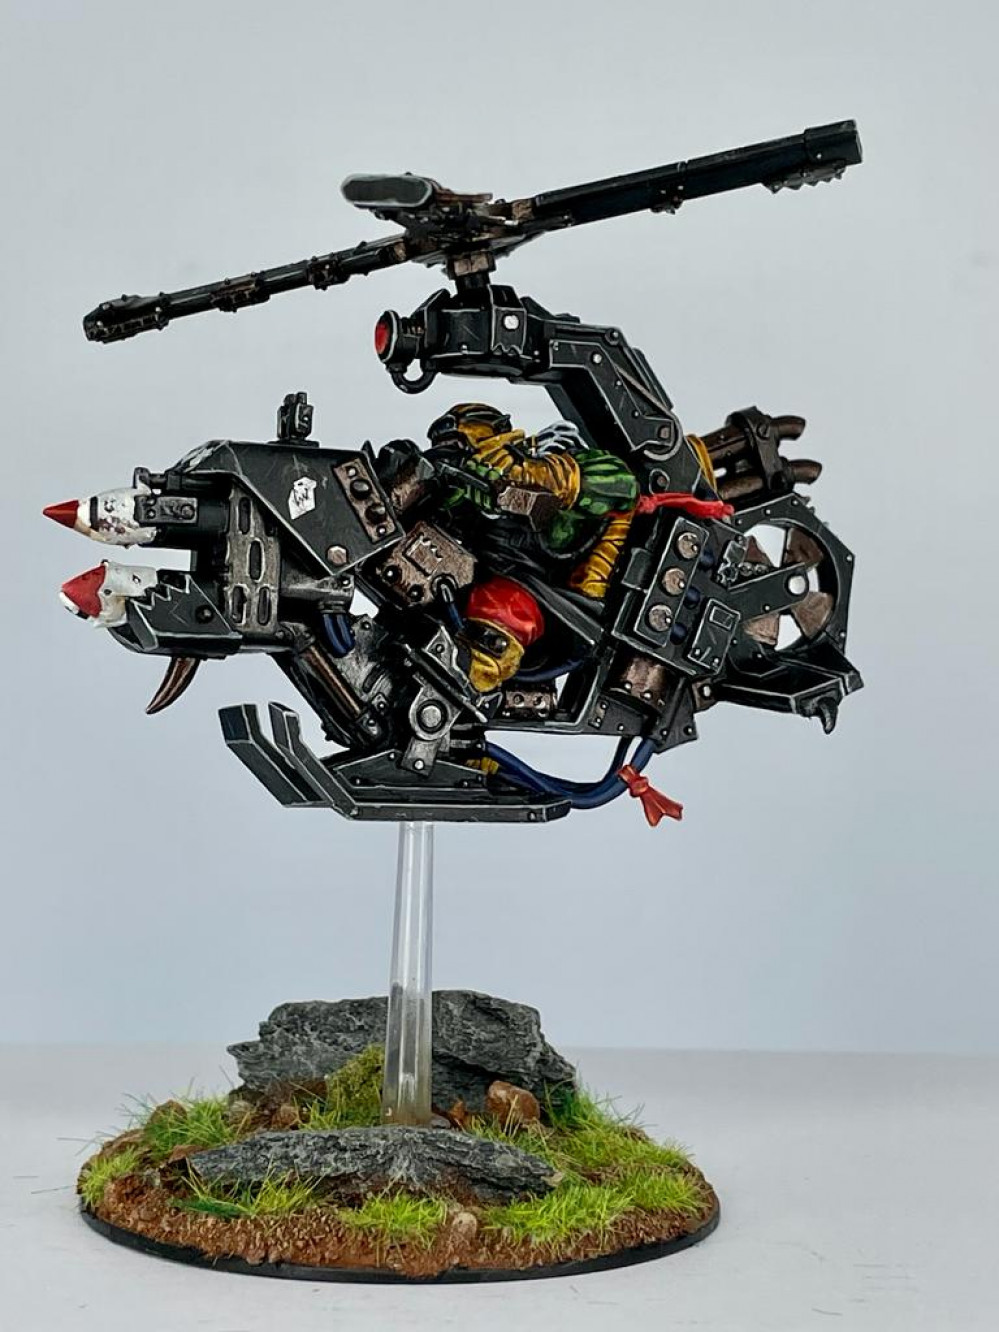
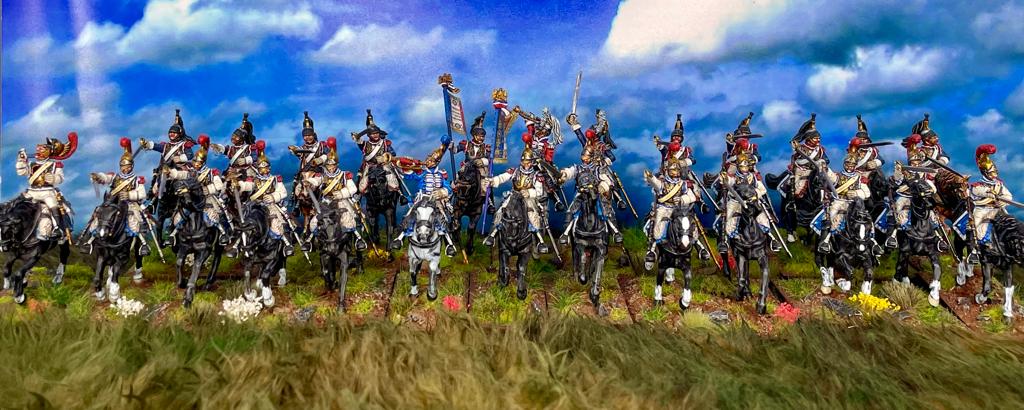
My project goal last year was to attempt to paint as many French Napoleonic cavalry as I possibly could. Here I would like to paint at least two more regiments. I would also like to complete all the 40K Orks that are currently hiding in the garage. So along with Napoleonics and Sci/Fi I will also be dipping into the following: WWII, Wars of the Roses, and anything and everything that I find lurking in my pile of shame!
Related Genre: General
Related Contest: Spring Clean Hobby Challenge 2023
This Project is Active
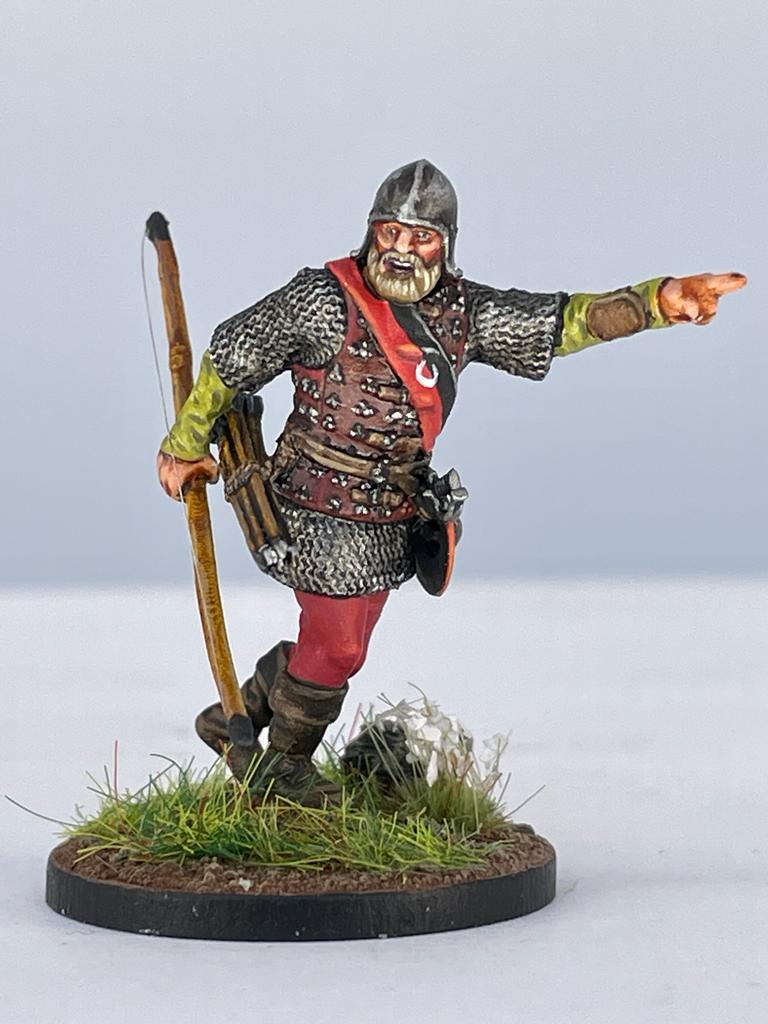
RaggedStaffMinis Archer Captain
These 28mm scale models are all lovely characters. The figure can also be modeled with a hand weapon. Again this is another superb example of the talent behind Reconquer Designs working from Martin Brook’s brief. Please see my earlier piece in the project showing how I string bows in this scale.
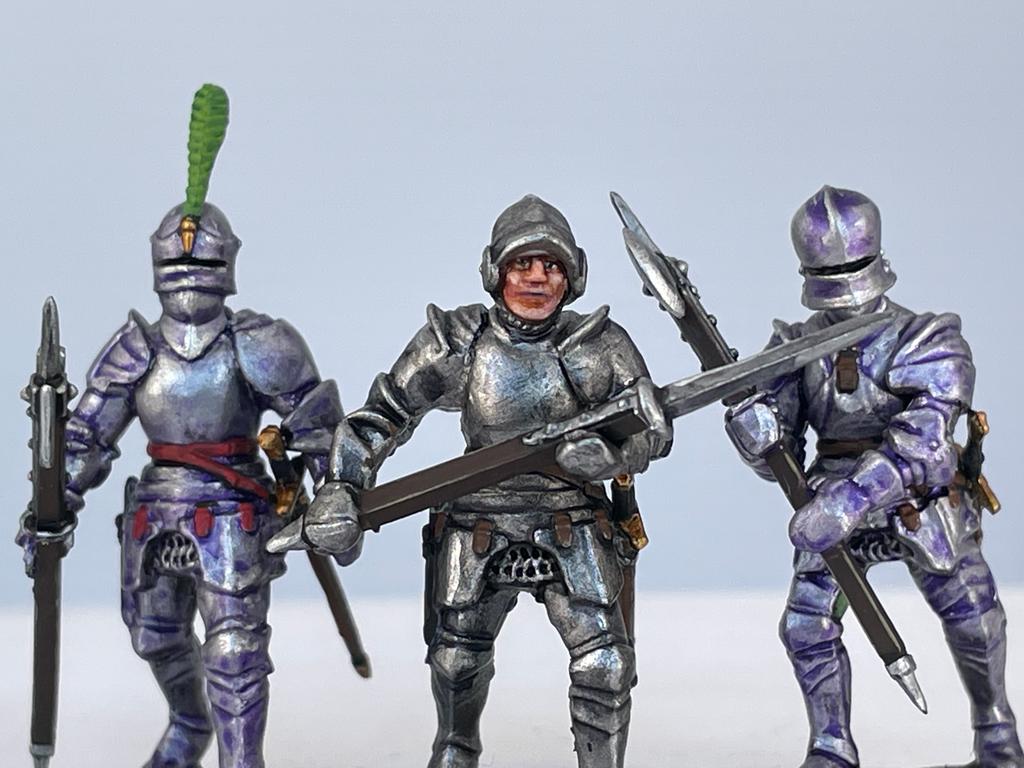
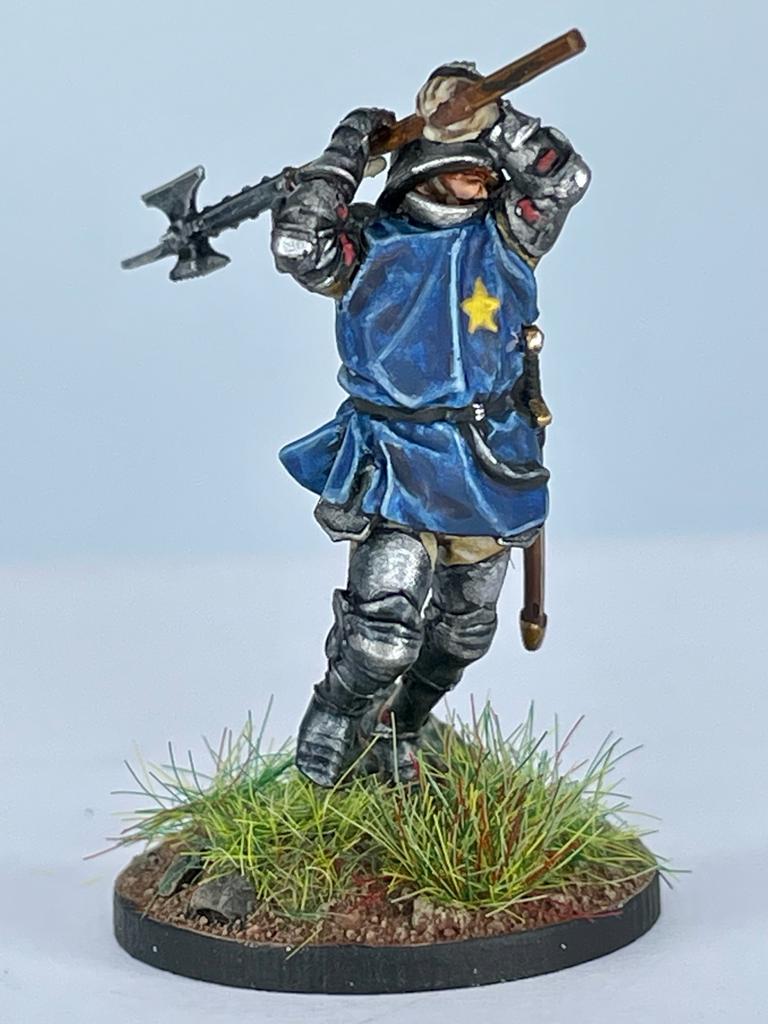
Perry Miniatures Foot Knights 1450-1500
I painted these to join the infantry in the foreground for the photograph I wanted to do to replicate The Never Mind The Billhooks Deluxe cover art. Although here they are part of a Tudor Bill unit they actually will be used in a dismounted unit of Richard III with his retinue. As they are not wearing surcoats that was easy to do. Please see my guide to painting armour earlier on on this project for the methods I used. The kit is mainly designed to produce action poses but I wanted a more ‘at rest’ look for the unit as they might have appeared during the early morning on Bosworth Field.
Using Phone Apps
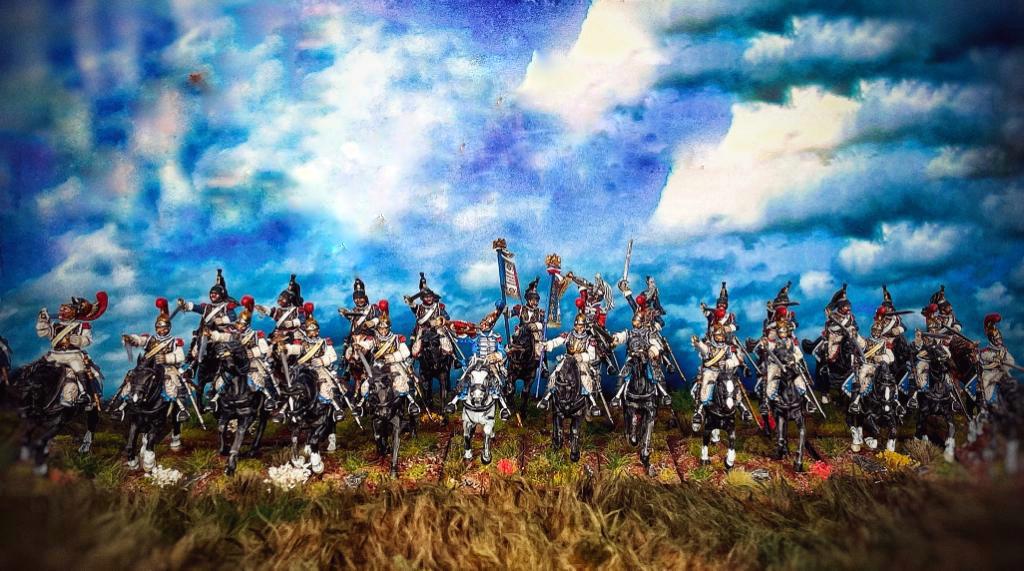
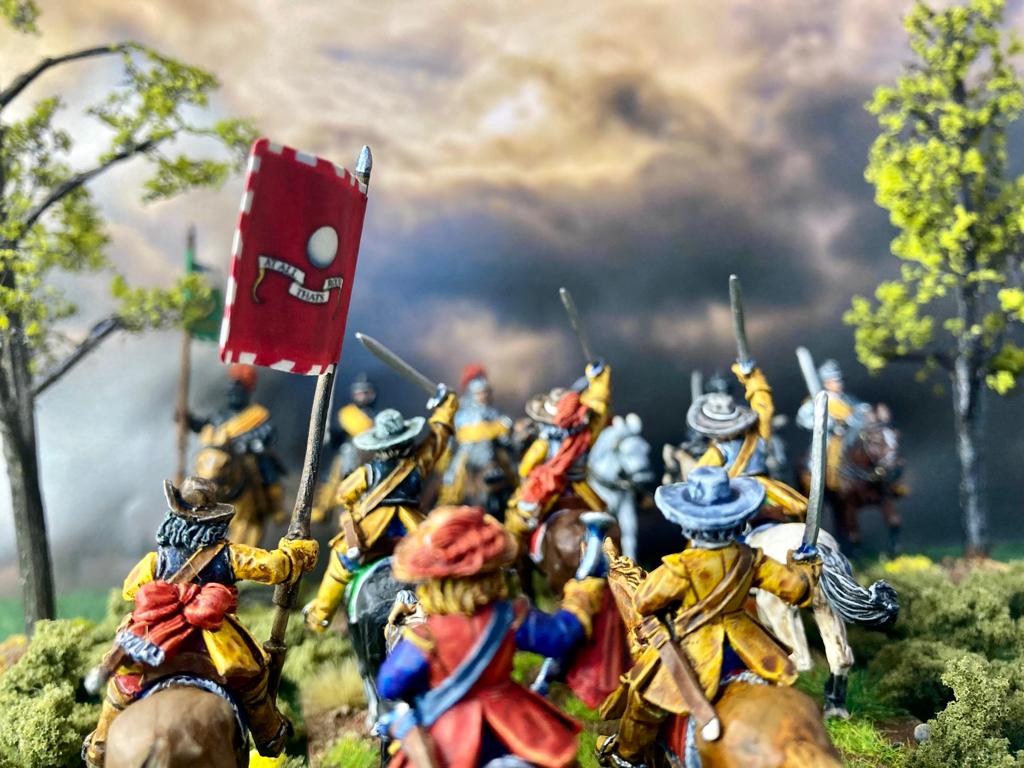
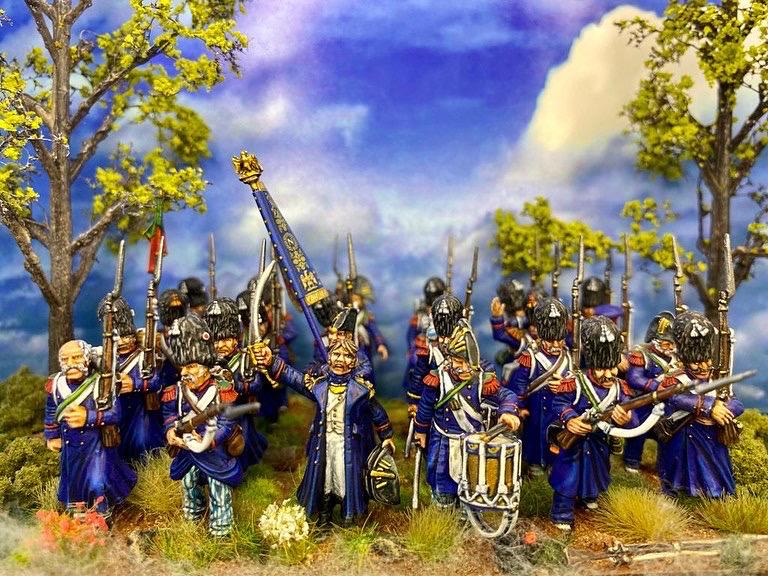
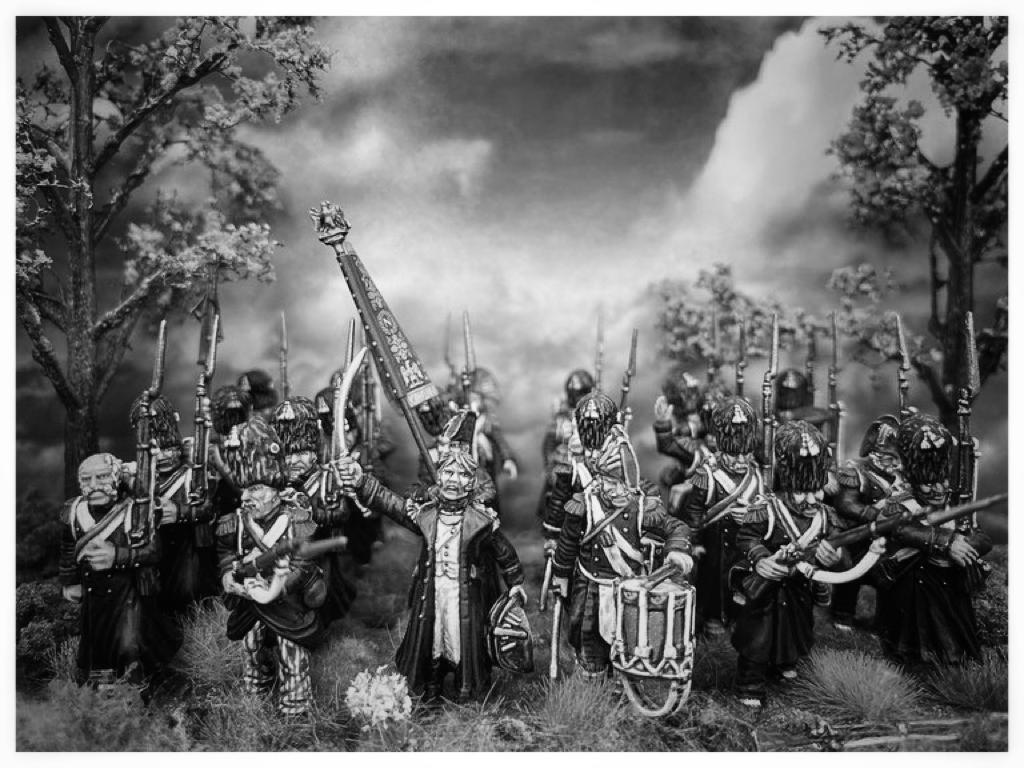
Obviously not from my pile of shame but something I have been dying to do for ages was explore phone apps to improve or vary the look of my photographed miniatures. I downloaded the popular app Snapseed and although I am far from an expert with it I think it has a lot of potential. With the charging heavy French cavalry I expanded the scene and tried to give it more of a painting look rather than a photograph. I went for a moody look to the ECW scene darkened the clouds and blurred out the trees. This is probably my favourite before and after photo. The last scene changes the picture obviously from colour to black and white but I have also added a frame which again gives it more of a painting than a photograph look to the miniatures.

New Wars of the Roses figures
I was lucky to be sent some pre-release figures by Martin Brook from 7th Son wargaming channel. He is going to be releasing a range of Wars of the Roses figures which will be available shortly as soon as he adds one more figure to his range. His Etsy store will be RaggedStaffMinis. The figures have been designed by the very talented Marcos from Reconquer designs and are a joy to paint.
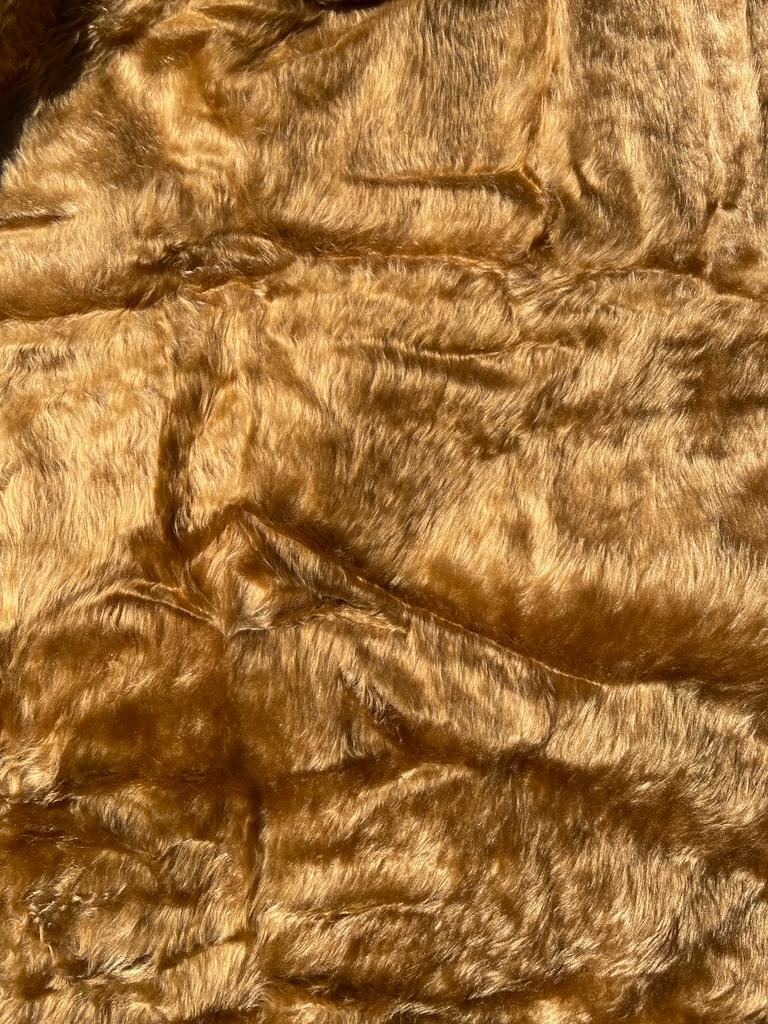
Teddy bear fur mat
I came across an excellent blog showing you how to make one. I purchased a large piece from Amazon called Antelope Brown ( see first photo) and also bought some cheap hobby paint from Home Bargains and B and M (see photo). The three different colours were blended into each other and resulted in a pleasing effect. Having not read the blog properly I applied the paint directly to the mat and should have placed it on my hands and rubbed it in. This resulted in me having to spend a lot longer combing the fur and trying to get tats out. However I was pleased with the final effect and it looks good with the figures arrayed on it. Note these are for eye candy purposes only and I did not paint the cavalry as part of this years challenge.


Richard III Bow Unit
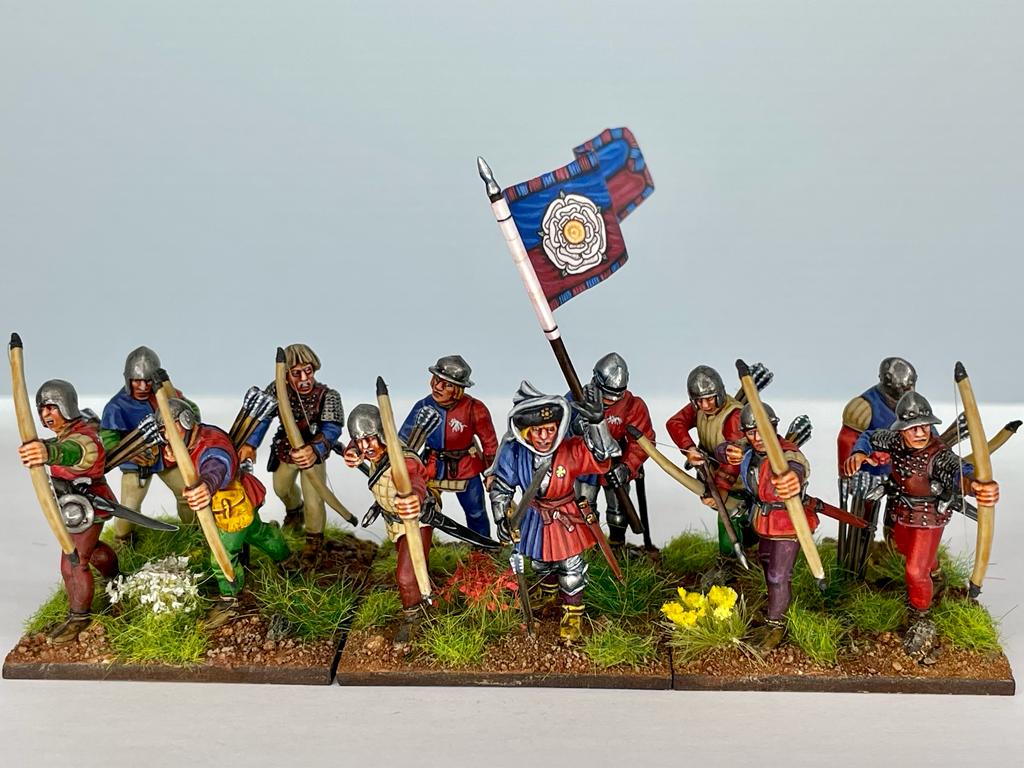
These miniatures were all made from Perry plastic kits primarily the Bill and Bow set for the Wars of the Roses. The bow strings were kindly donated from my wife’s head. I have tried thin string before and the hair results in a much more in scale look. A loose knot is tied on one end of the hair and inserted over the bow. This is then tightened and a small dot of superglue is applied. The other end is the done in the same way but also ensure that the bow string is tight. This is tricky but results in a nice effect.
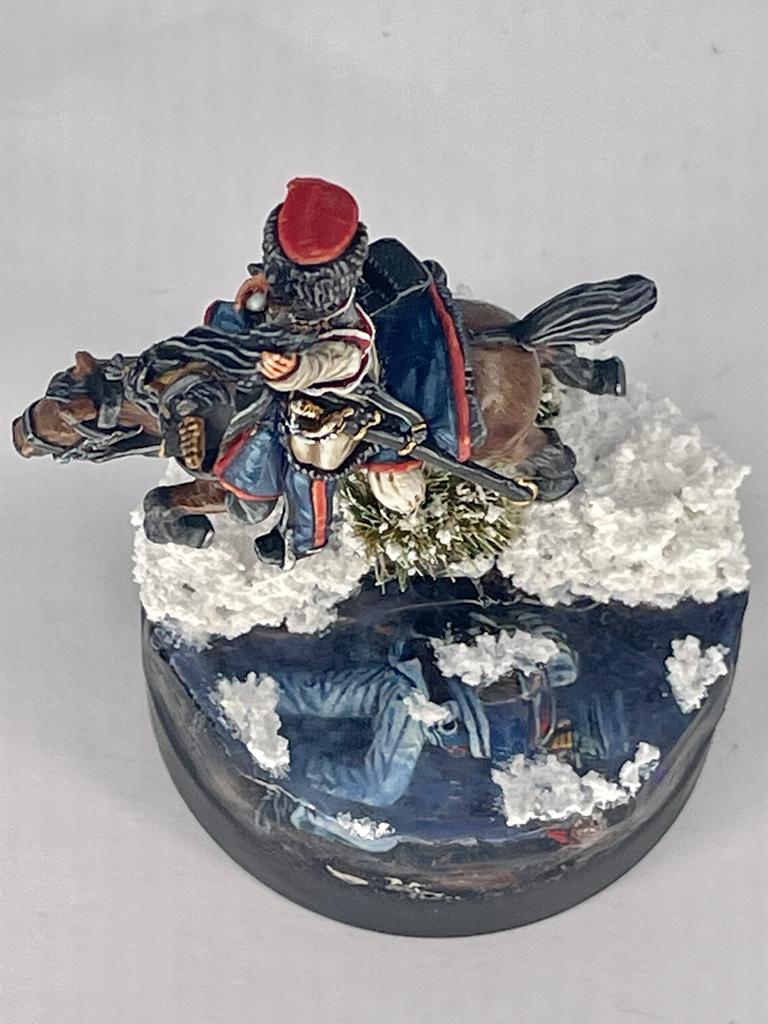
Completed Cossack 1812 Vignette.
I painted this to the best of my ability and invested quite a few hours into it. Like the base I also tried a few techniques that I had not attempted before. I was hugely impressed with Andy Wardle’s Golden Demon Elrond piece and wanted to try the horse fur method he had used. Luckily I came across a video by Vince Vintrella on Youtube where he explains how you can apply fur texture to horses. Overall I was pleased with the conversion and hopefully my sculpting fits with the parts I had used from the Perry kits.
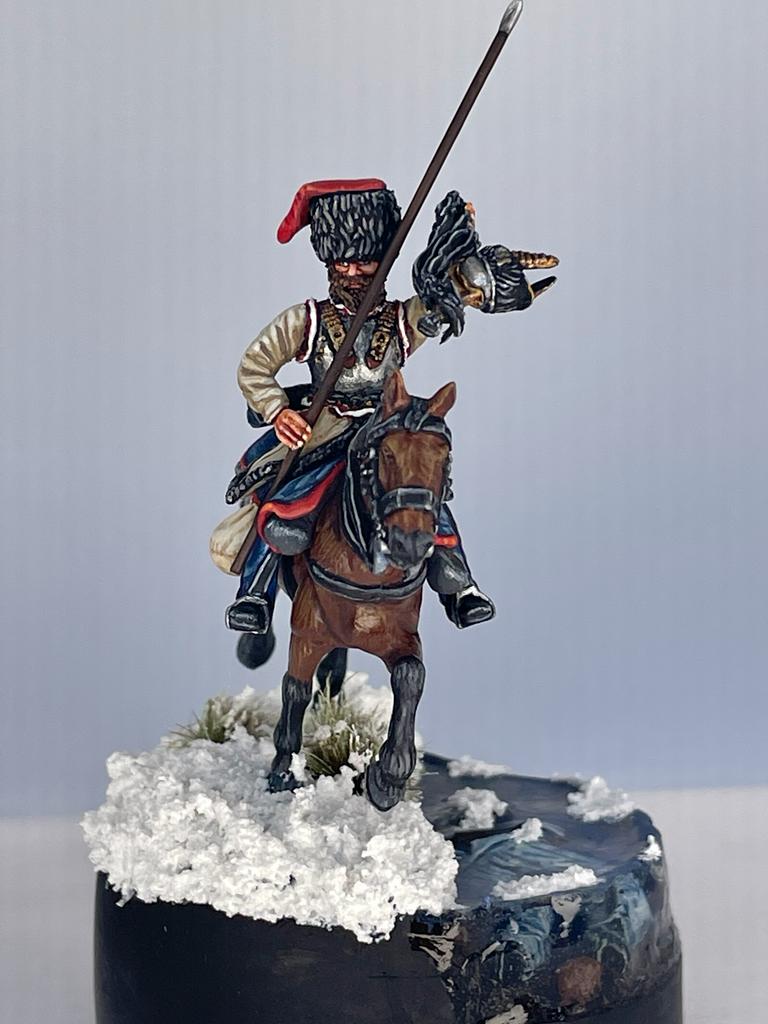
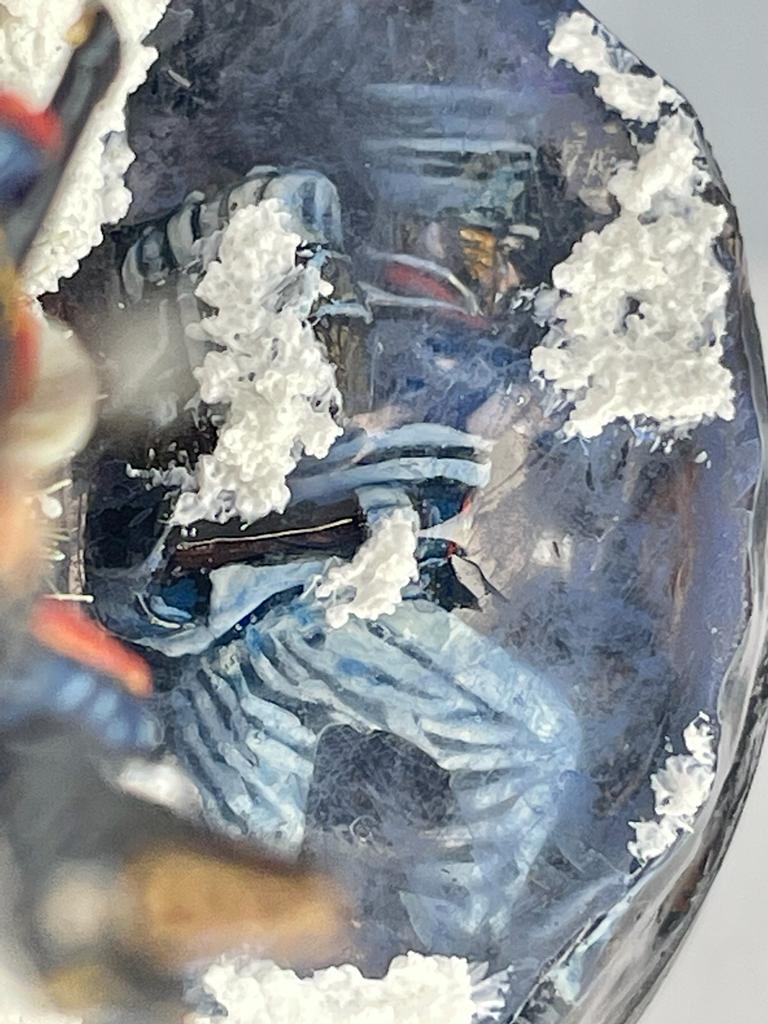
French Casualty under the ice 1812
The base of my Cossack Vignette features a dead French line infantryman. I attempted to follow Megzike’s tutorial on Youtube to make the ice and adapted it to the products I had available. I built up the base to make the river bank with Milliput. The bank and bed of the stream were made with sand and grit. Once painted I then added the figure. I used Tamiya masking tape to form the barrier in which I was going to pour the resin. I had chosen Vallejo still water for this . I would have been better off using a two part epoxy resin as the Vallejo product is only really suitable for shallow pours. This resulted in me having to apply several layers.
The surface was crystal clear but the masking tape left a residue on the side and even though I attempted to clean it off with turps it was still quite cloudy. I painted with a brush more resin onto the sides and the eventual result looked like solid ice which I was fairly pleased with. I roughed up the surface of the ‘ice’ on the top of the base with sand paper to represent frost and then glazed this with blue and white paint. The base was finished with Vallejo snow and a couple of dead looking tufts which I also applied the snow product to. The cossack was then pinned onto the base.