


Delving back into Deadzone


Recommendations: 982
About the Project
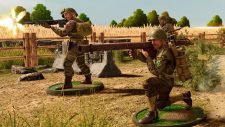
After recently finishing my Warcry Red Harvest project, and finding that process beneficial for my motivation, I decided to start on my next project – a return to Deadzone. I backed the first Kickstarter for Deadzone (from Mantic Games) many years back now, but only ever played a few games due to a lack of uptake in my area. Over the following years I have continued to pick up bits for it, buying more minis (to add to the original KS ones), plus purchasing the subsequent rule books and expansions since I had an interest in the setting and the aesthetic for the game. A friend from my local gaming club also has quite a bit of Deadzone product, and we keep threatening to roll it out; but with other distractions, limited gaming time, and then Covid – it just never came about. I picked up the third edition starter set soon after it came out, and did actually get around to running my wife through some demo games of it, which she enjoyed. So, having gained a little confidence in completing the Warcry box set I have chosen to make a push and return to Deadzone…… Scenery first, then a couple of Strike Teams
Related Game: Deadzone
Related Company: Mantic Games
Related Genre: Science Fiction
This Project is Completed
Trying out some paint pens... eventually
12th December 2022
With work, and the season’s demands, I have only made some small progress this past week unfortunately.
But, for what it’s worth, here it is:
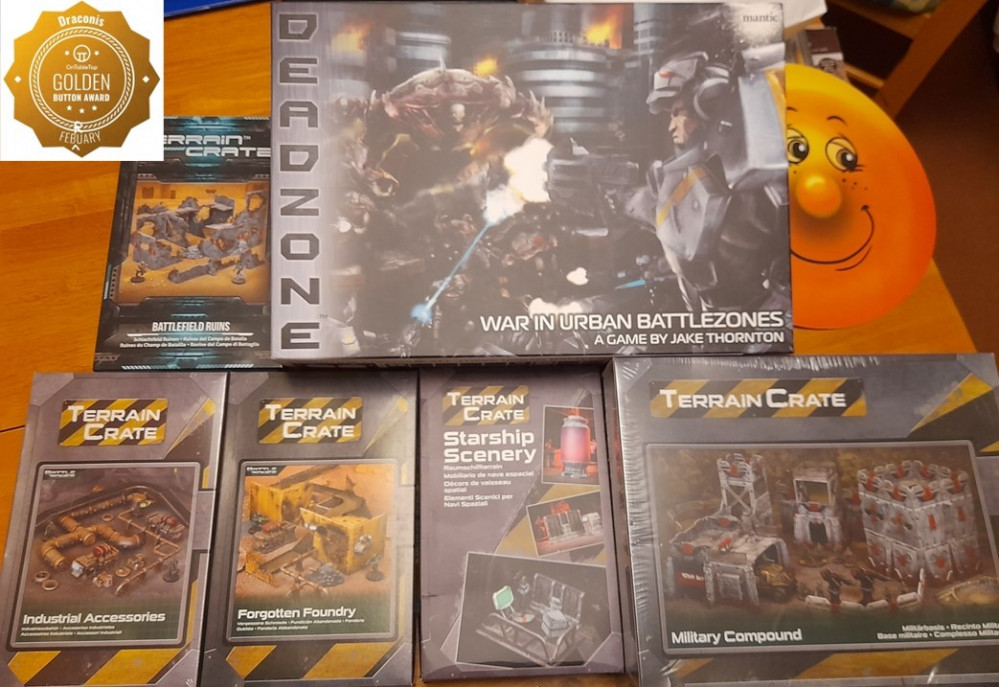
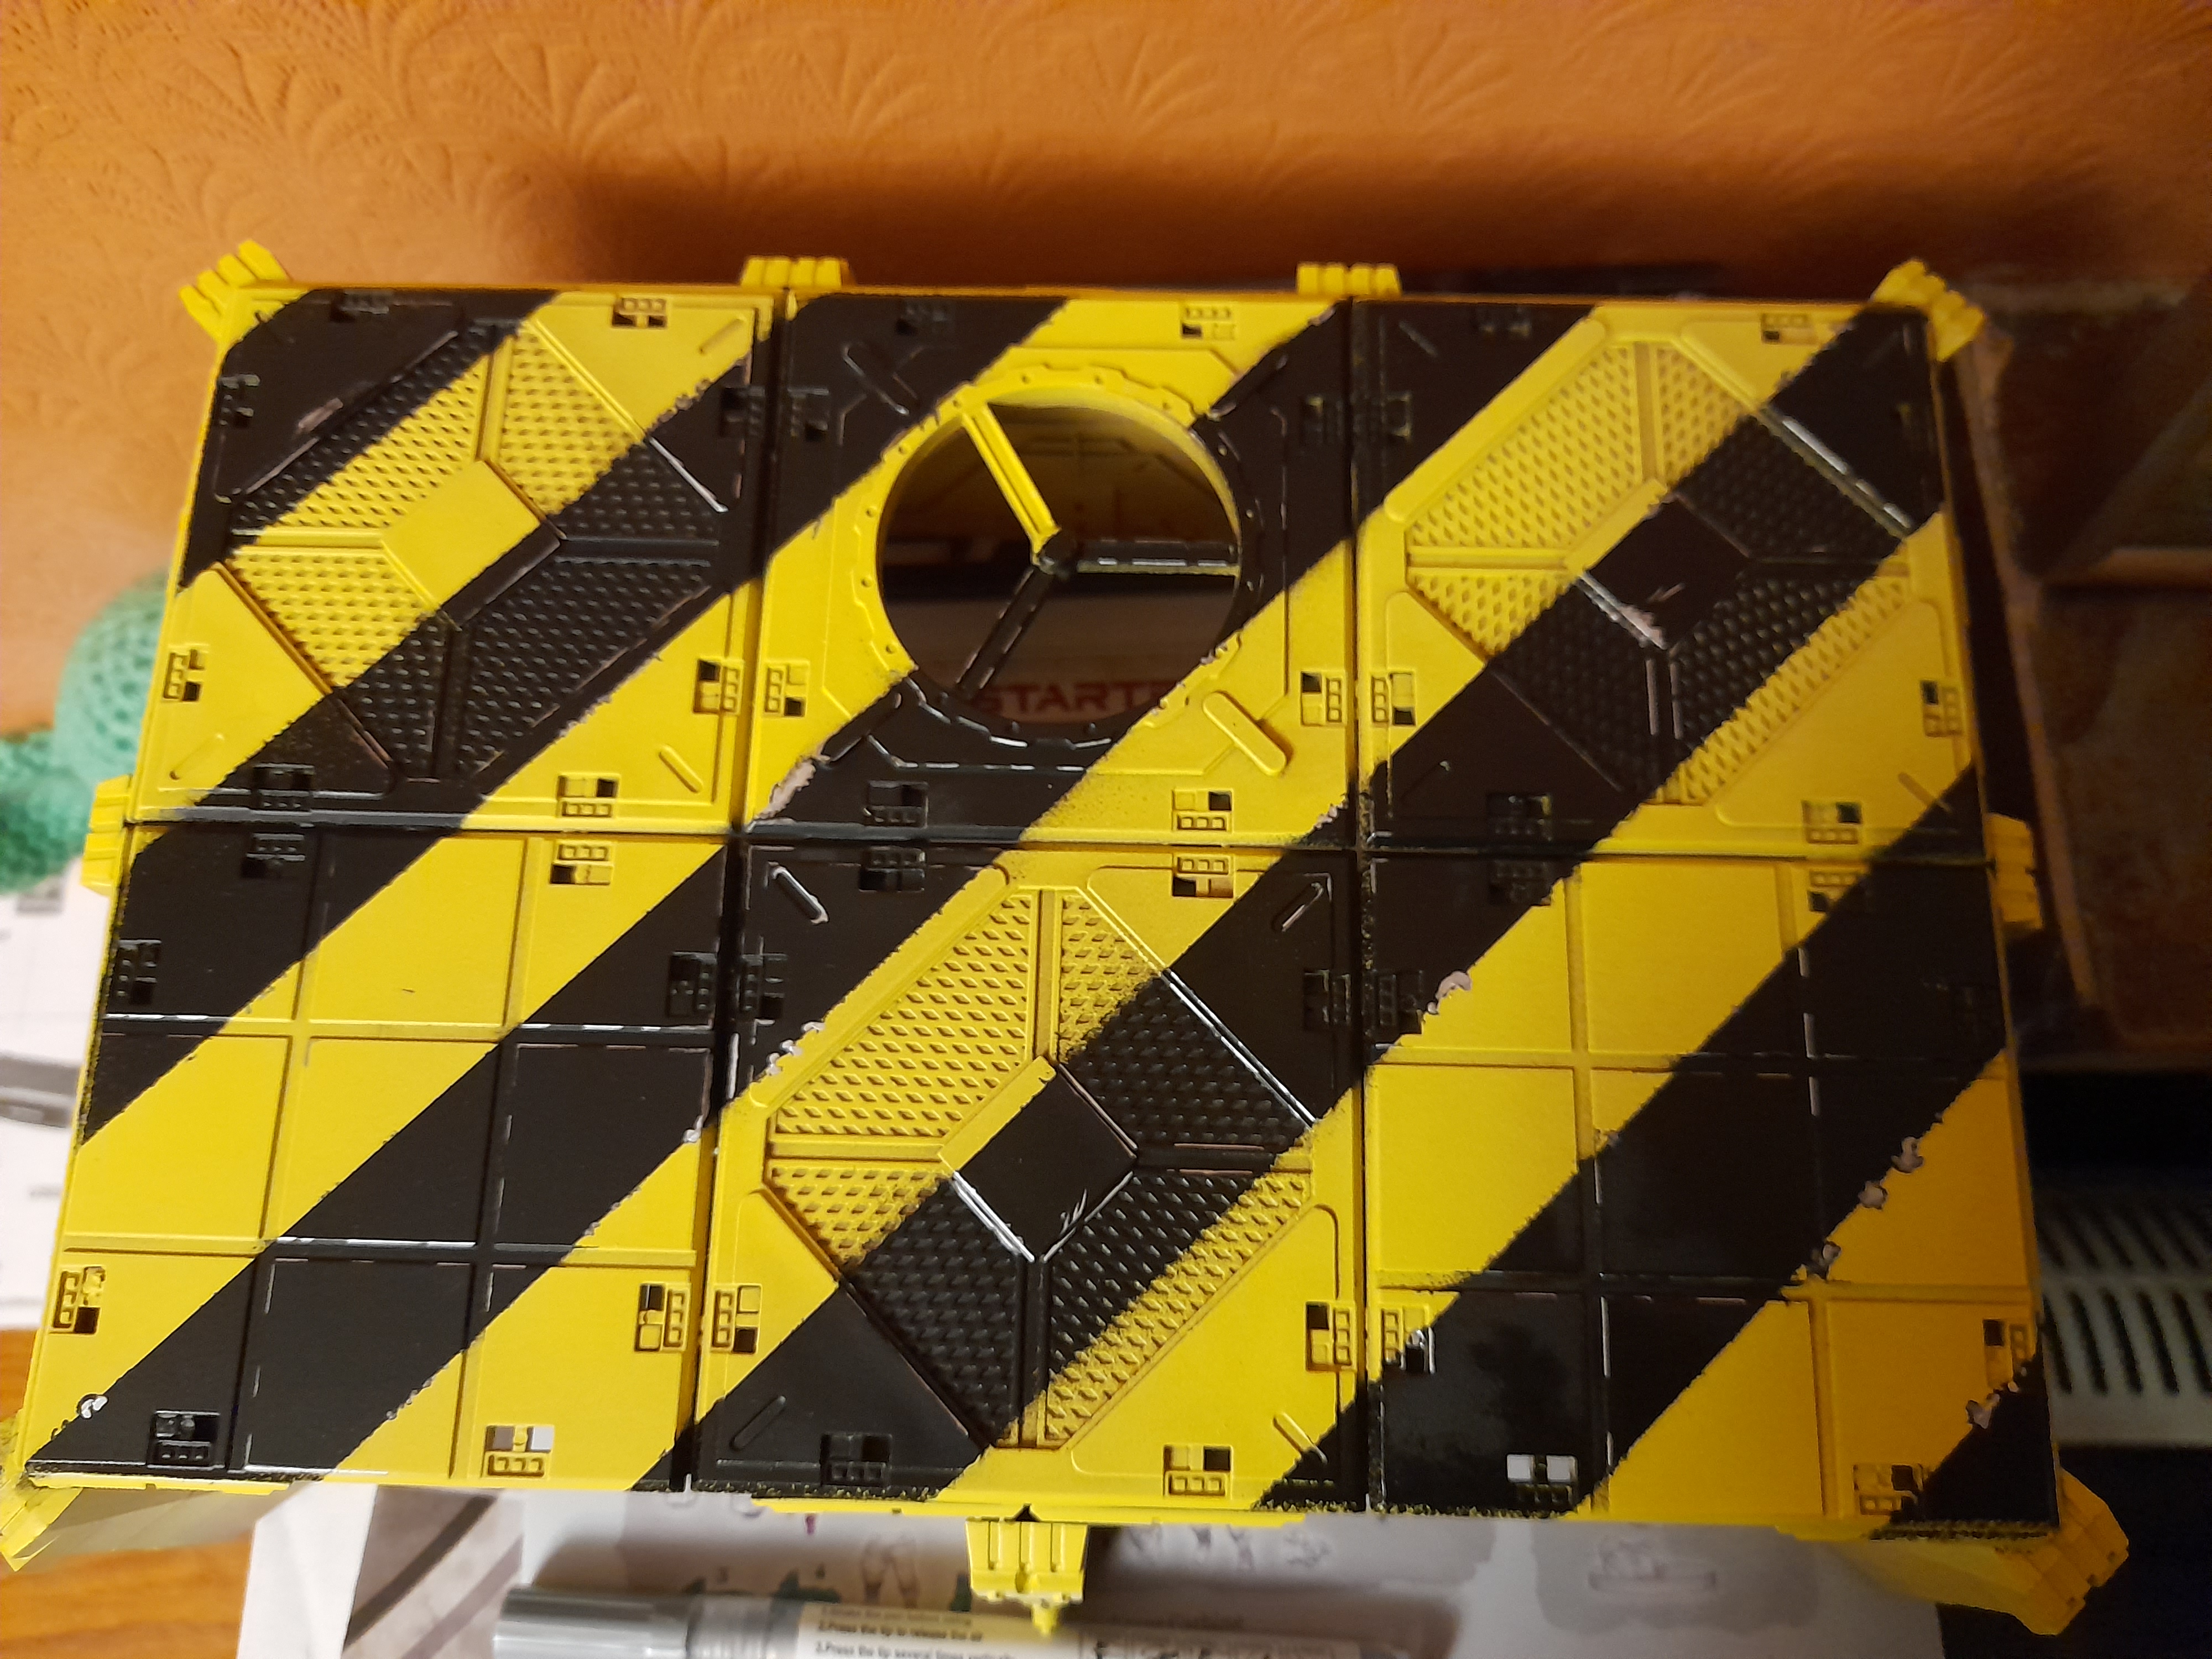
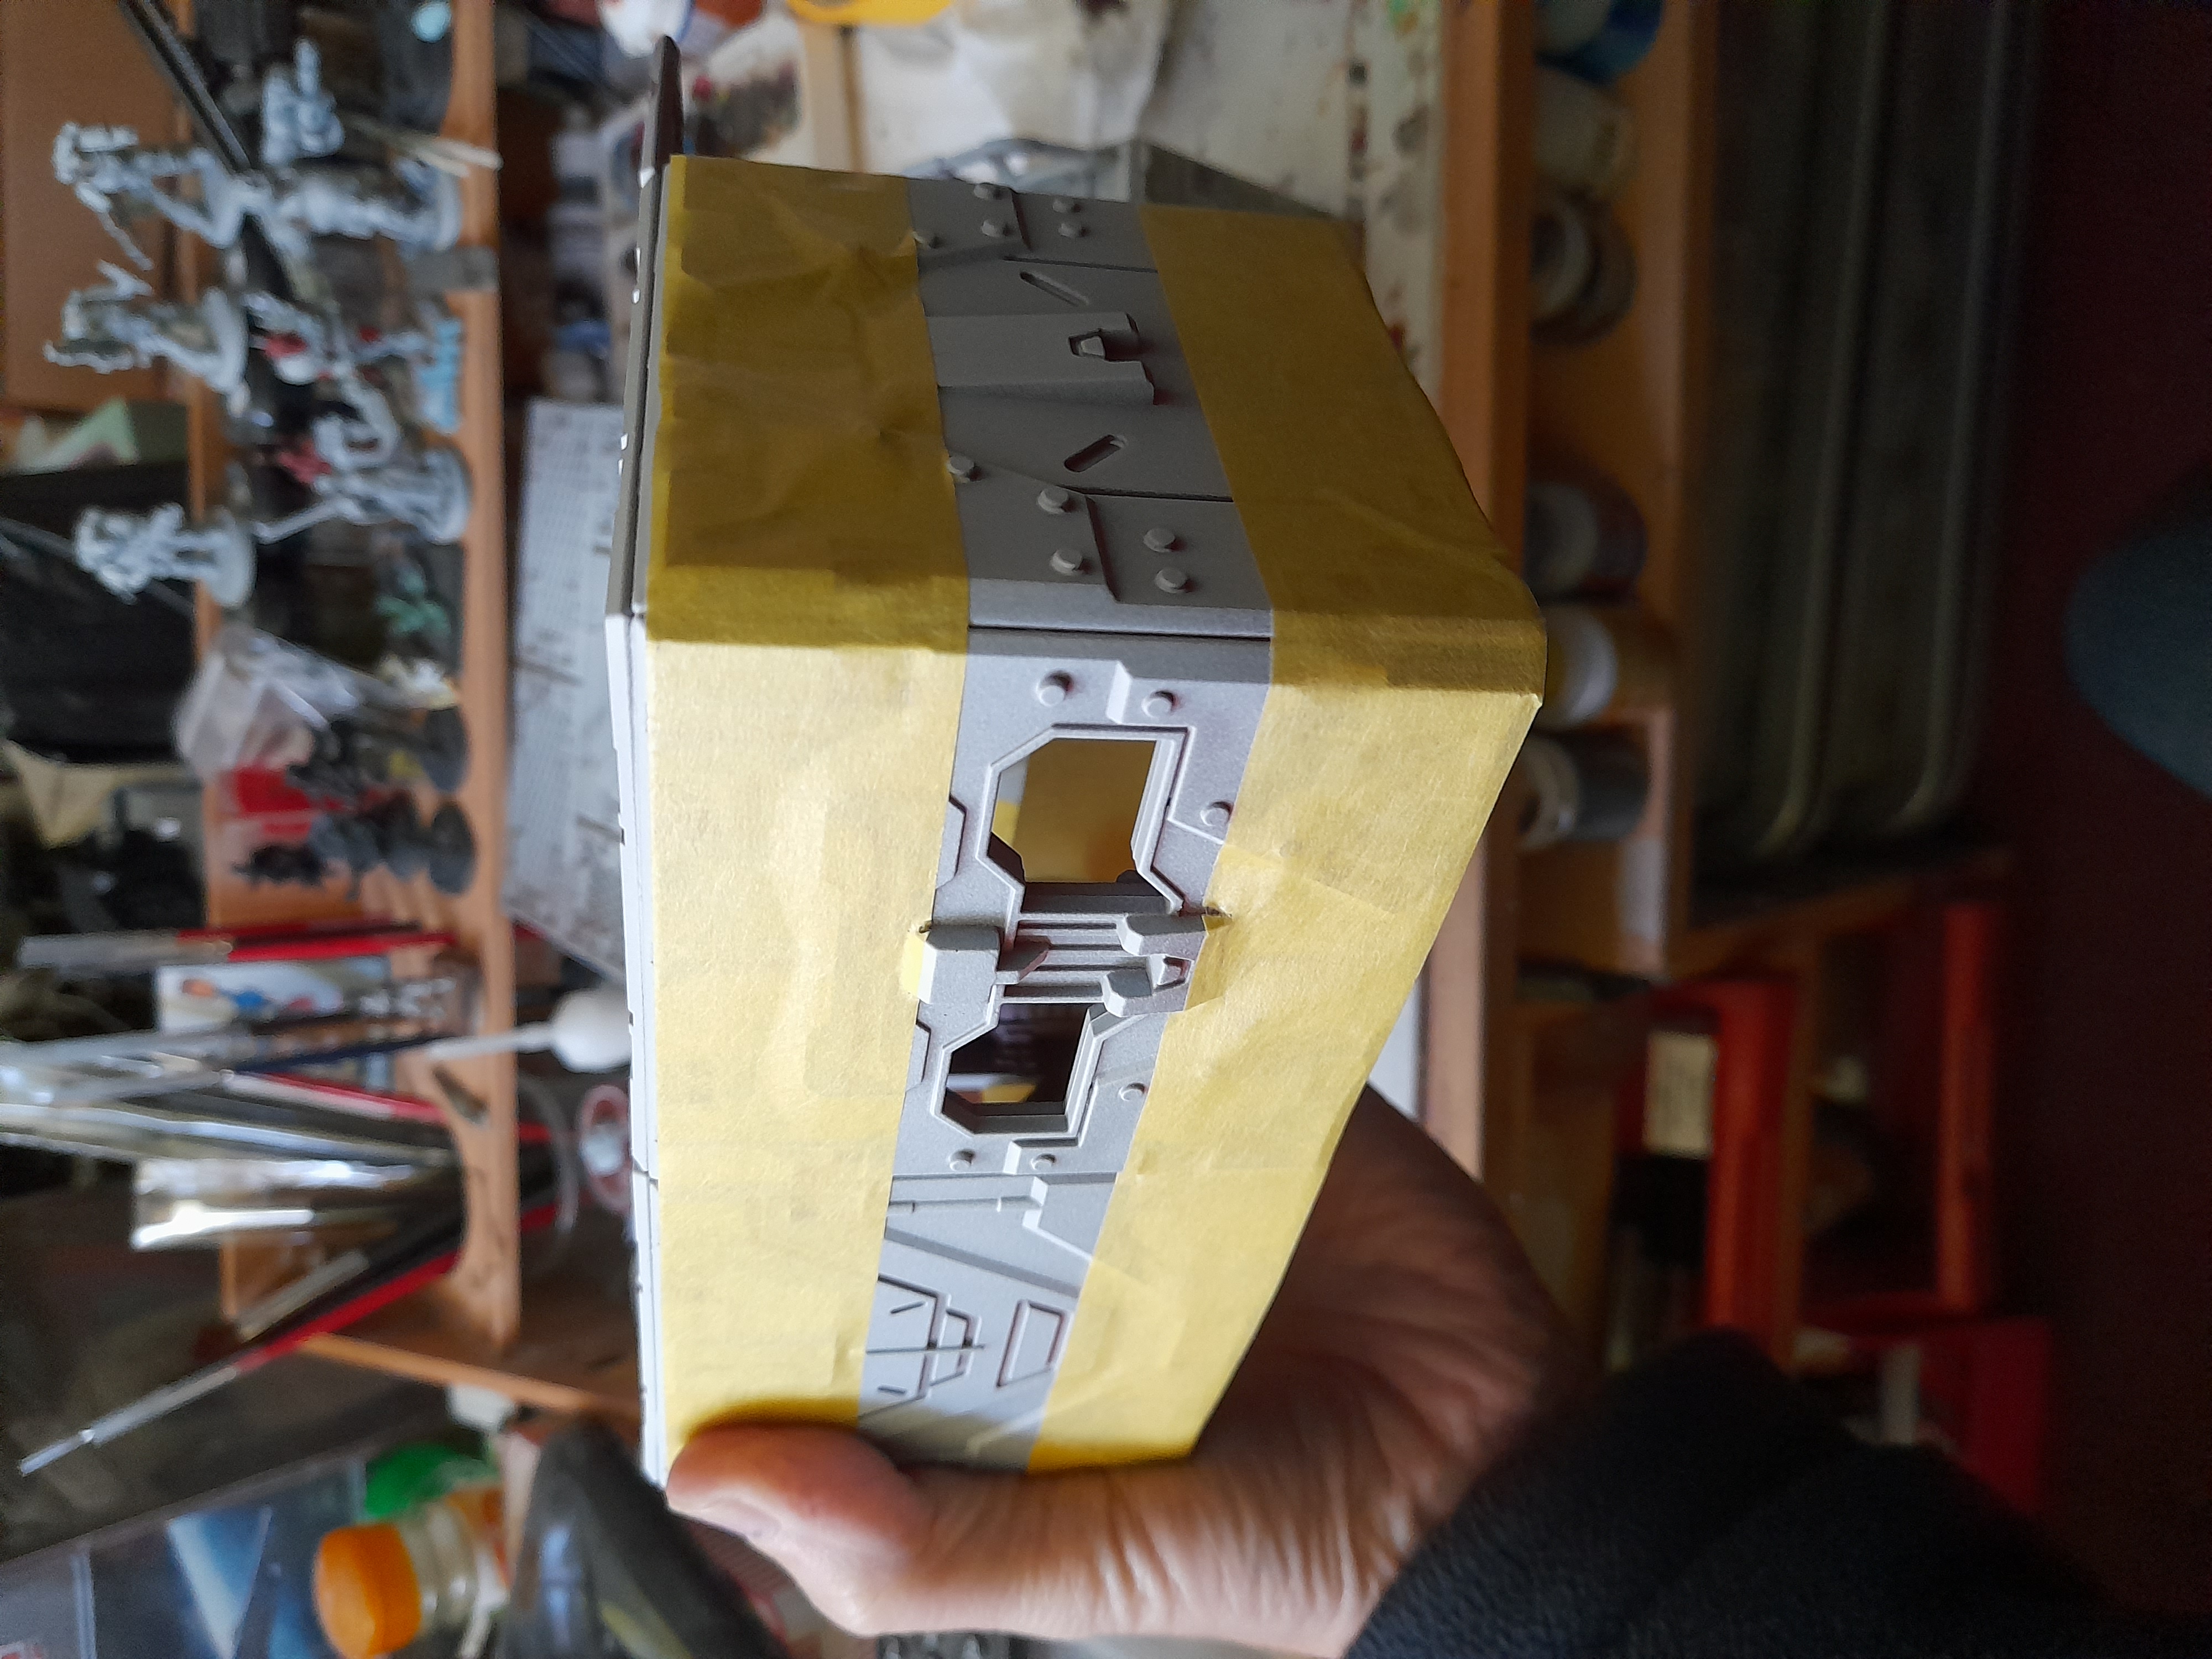
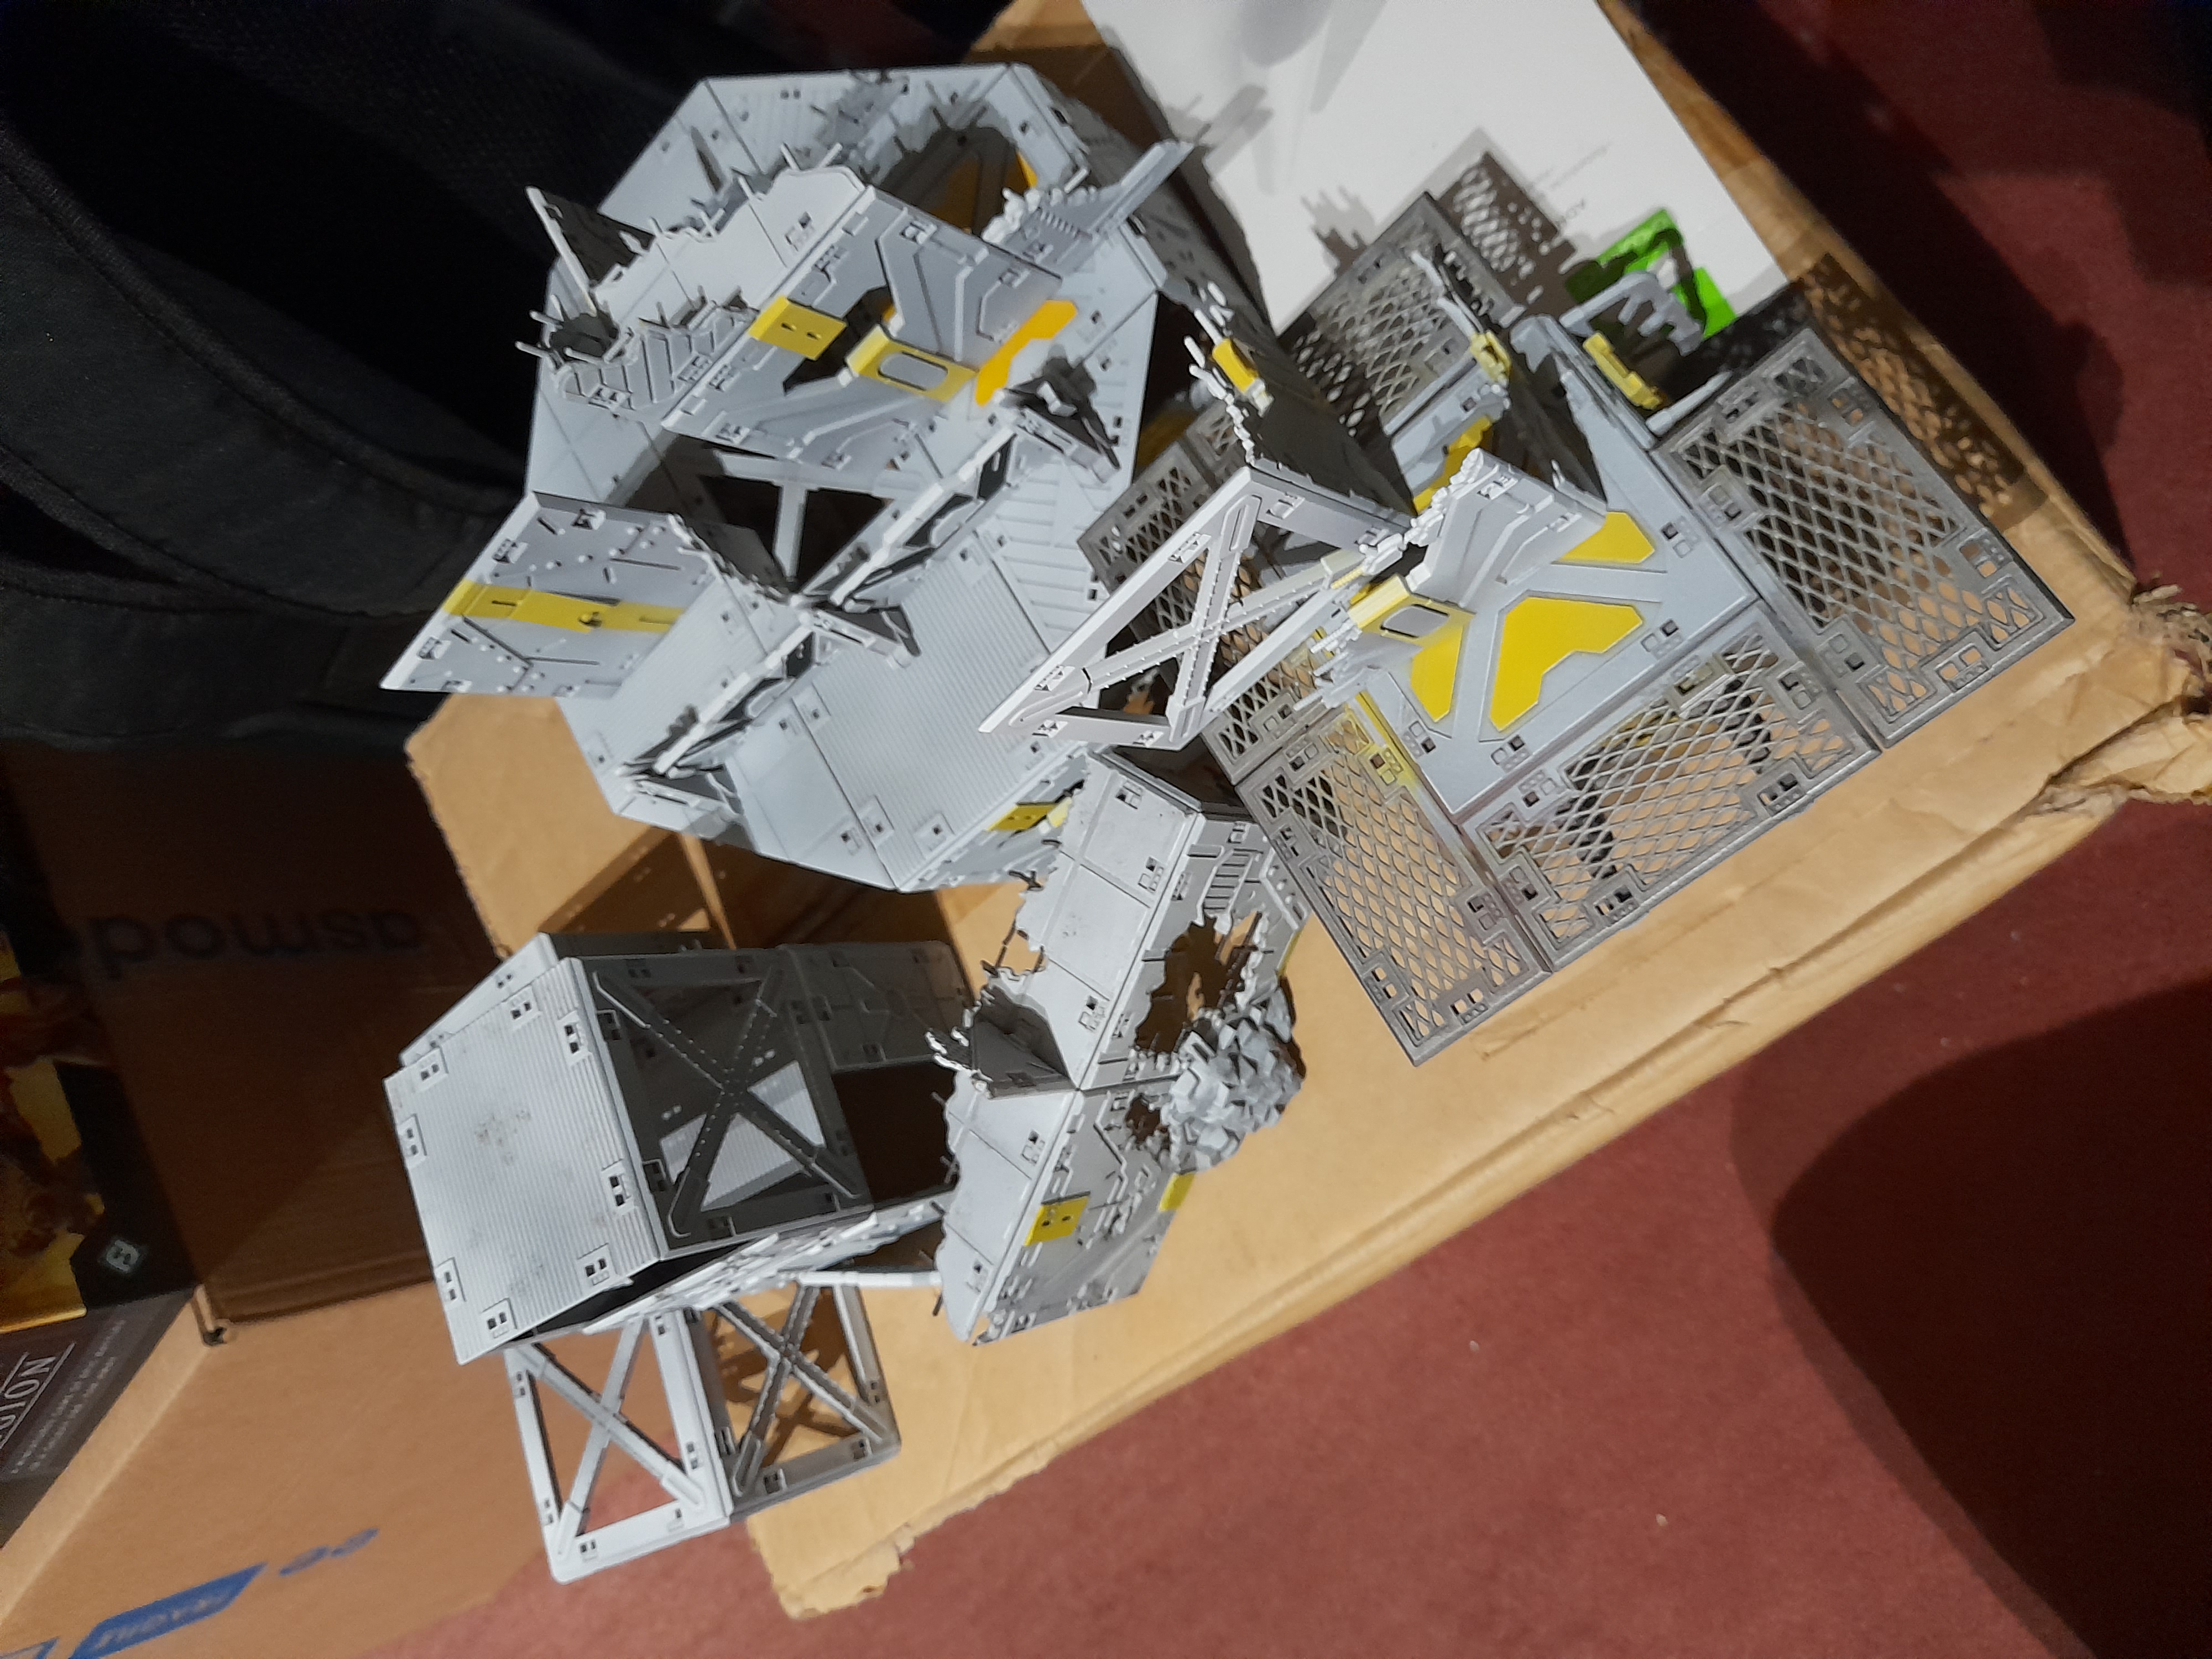
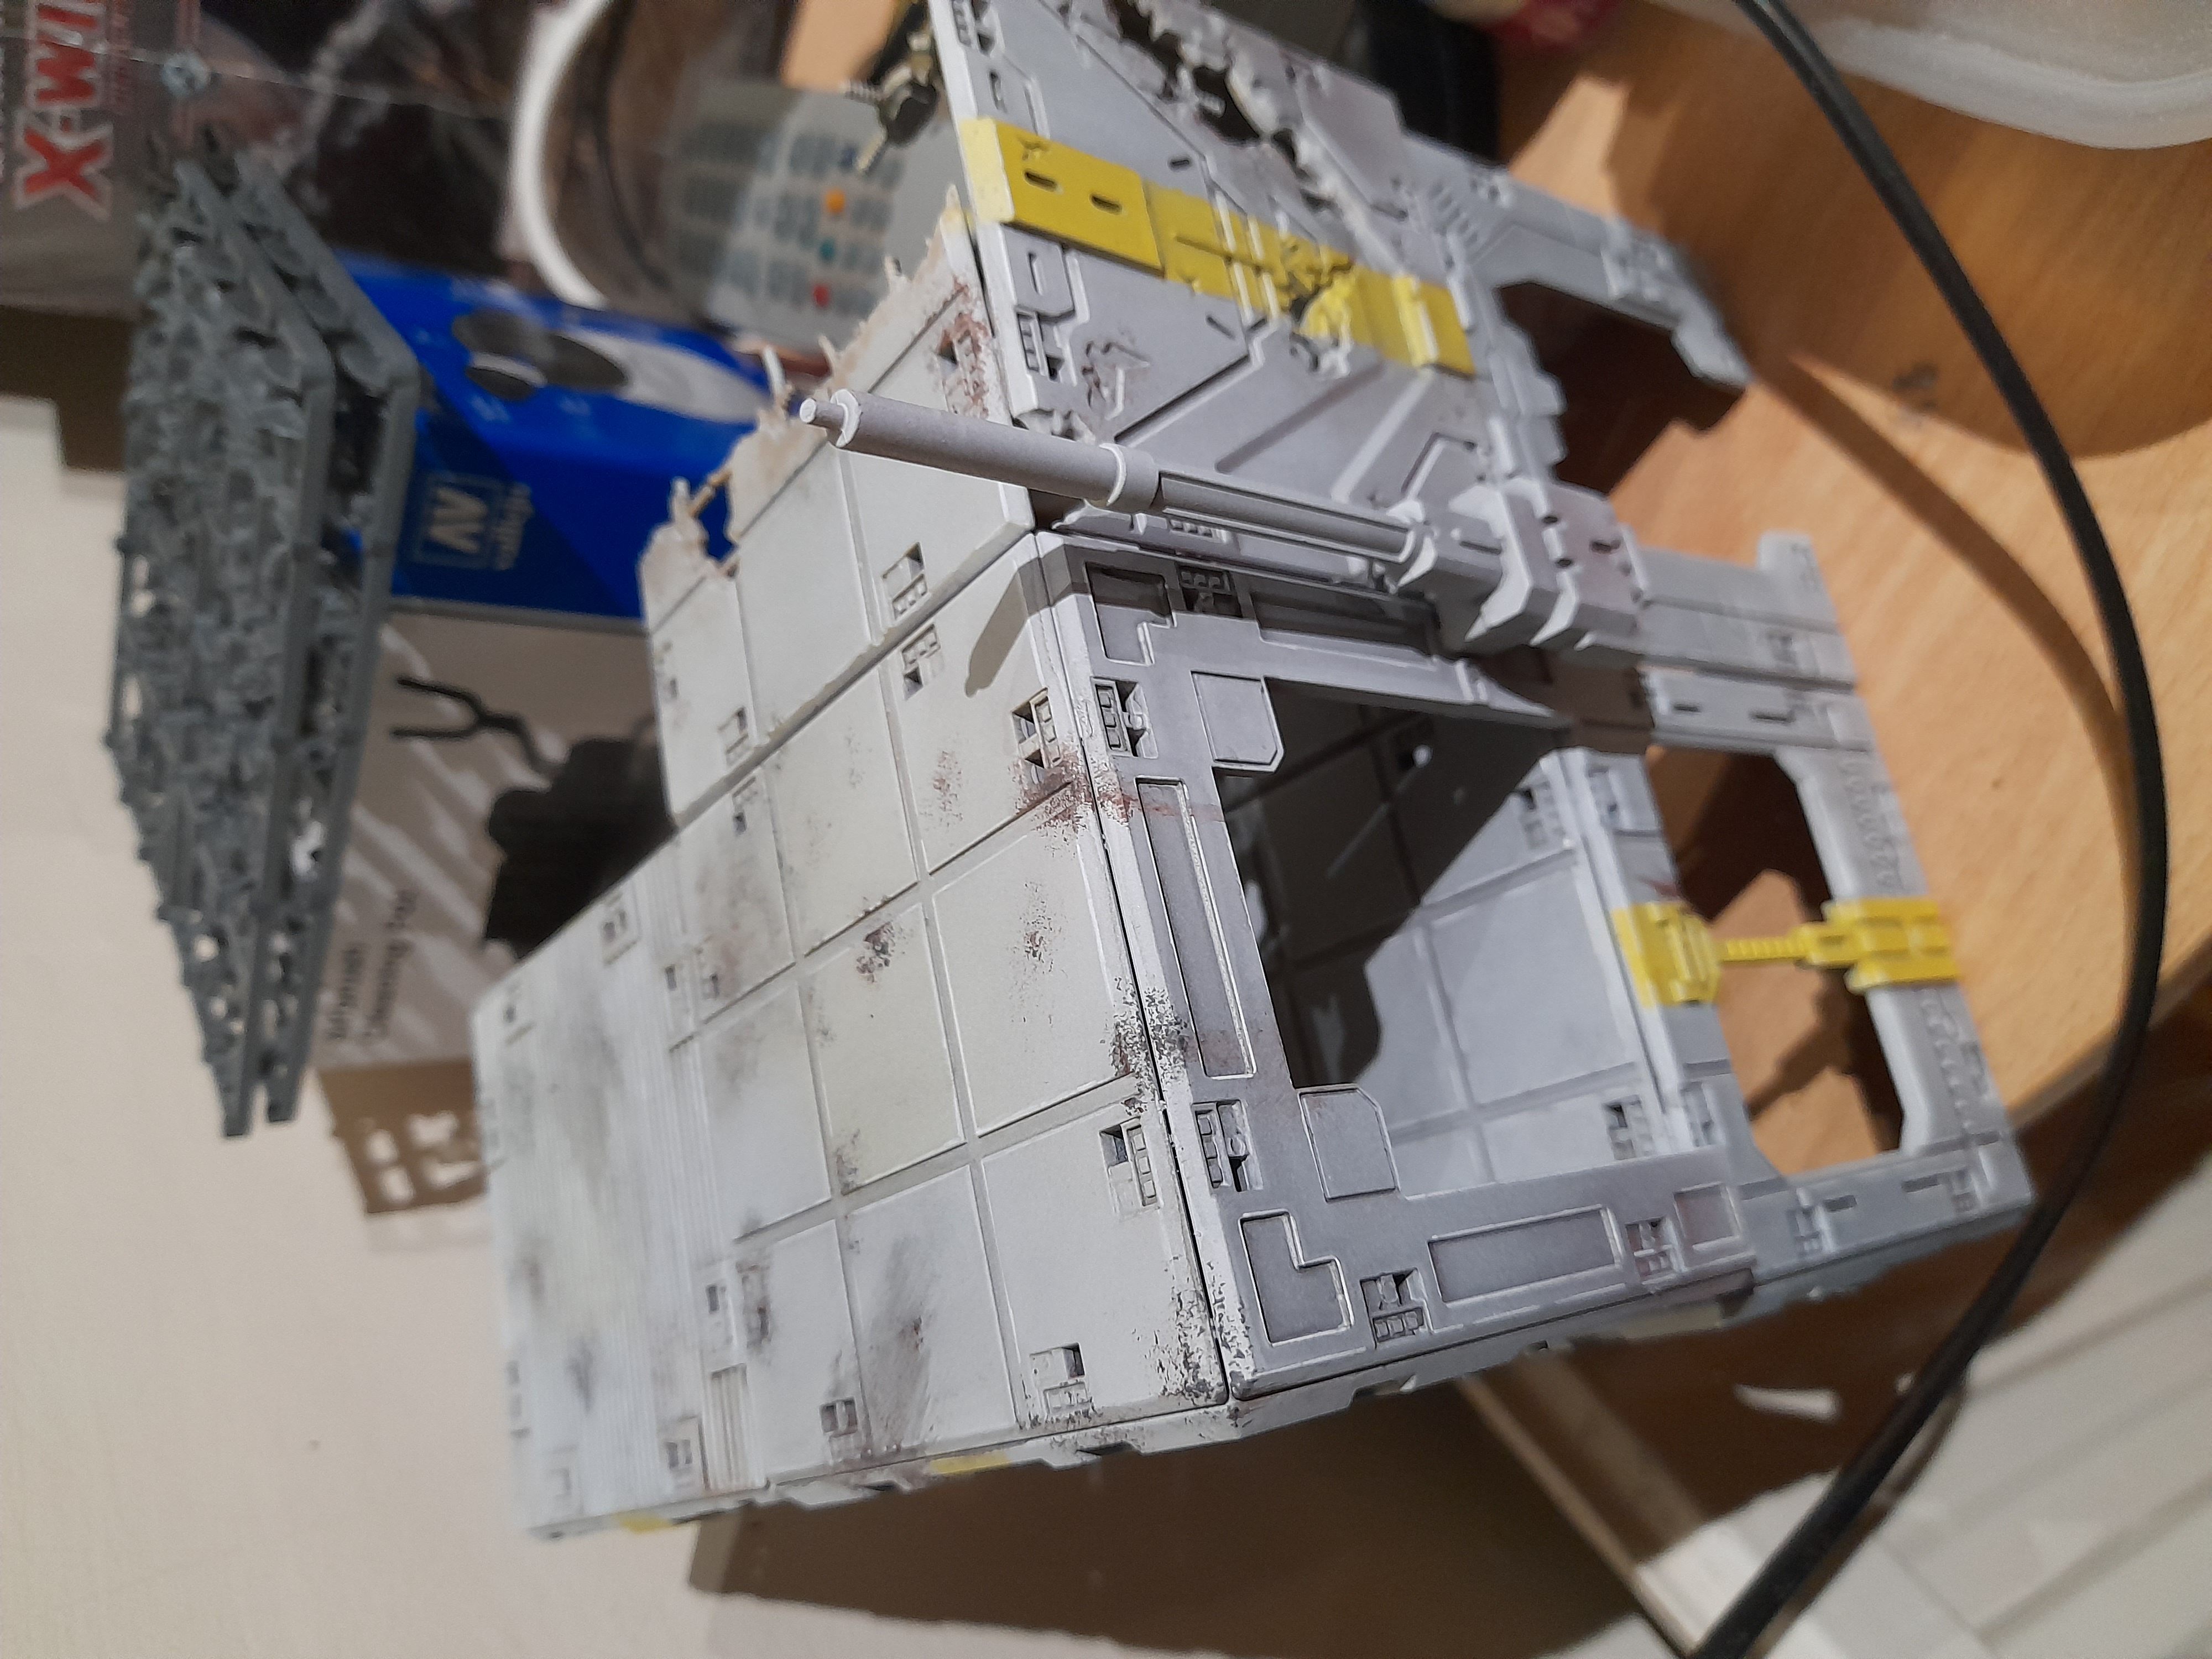
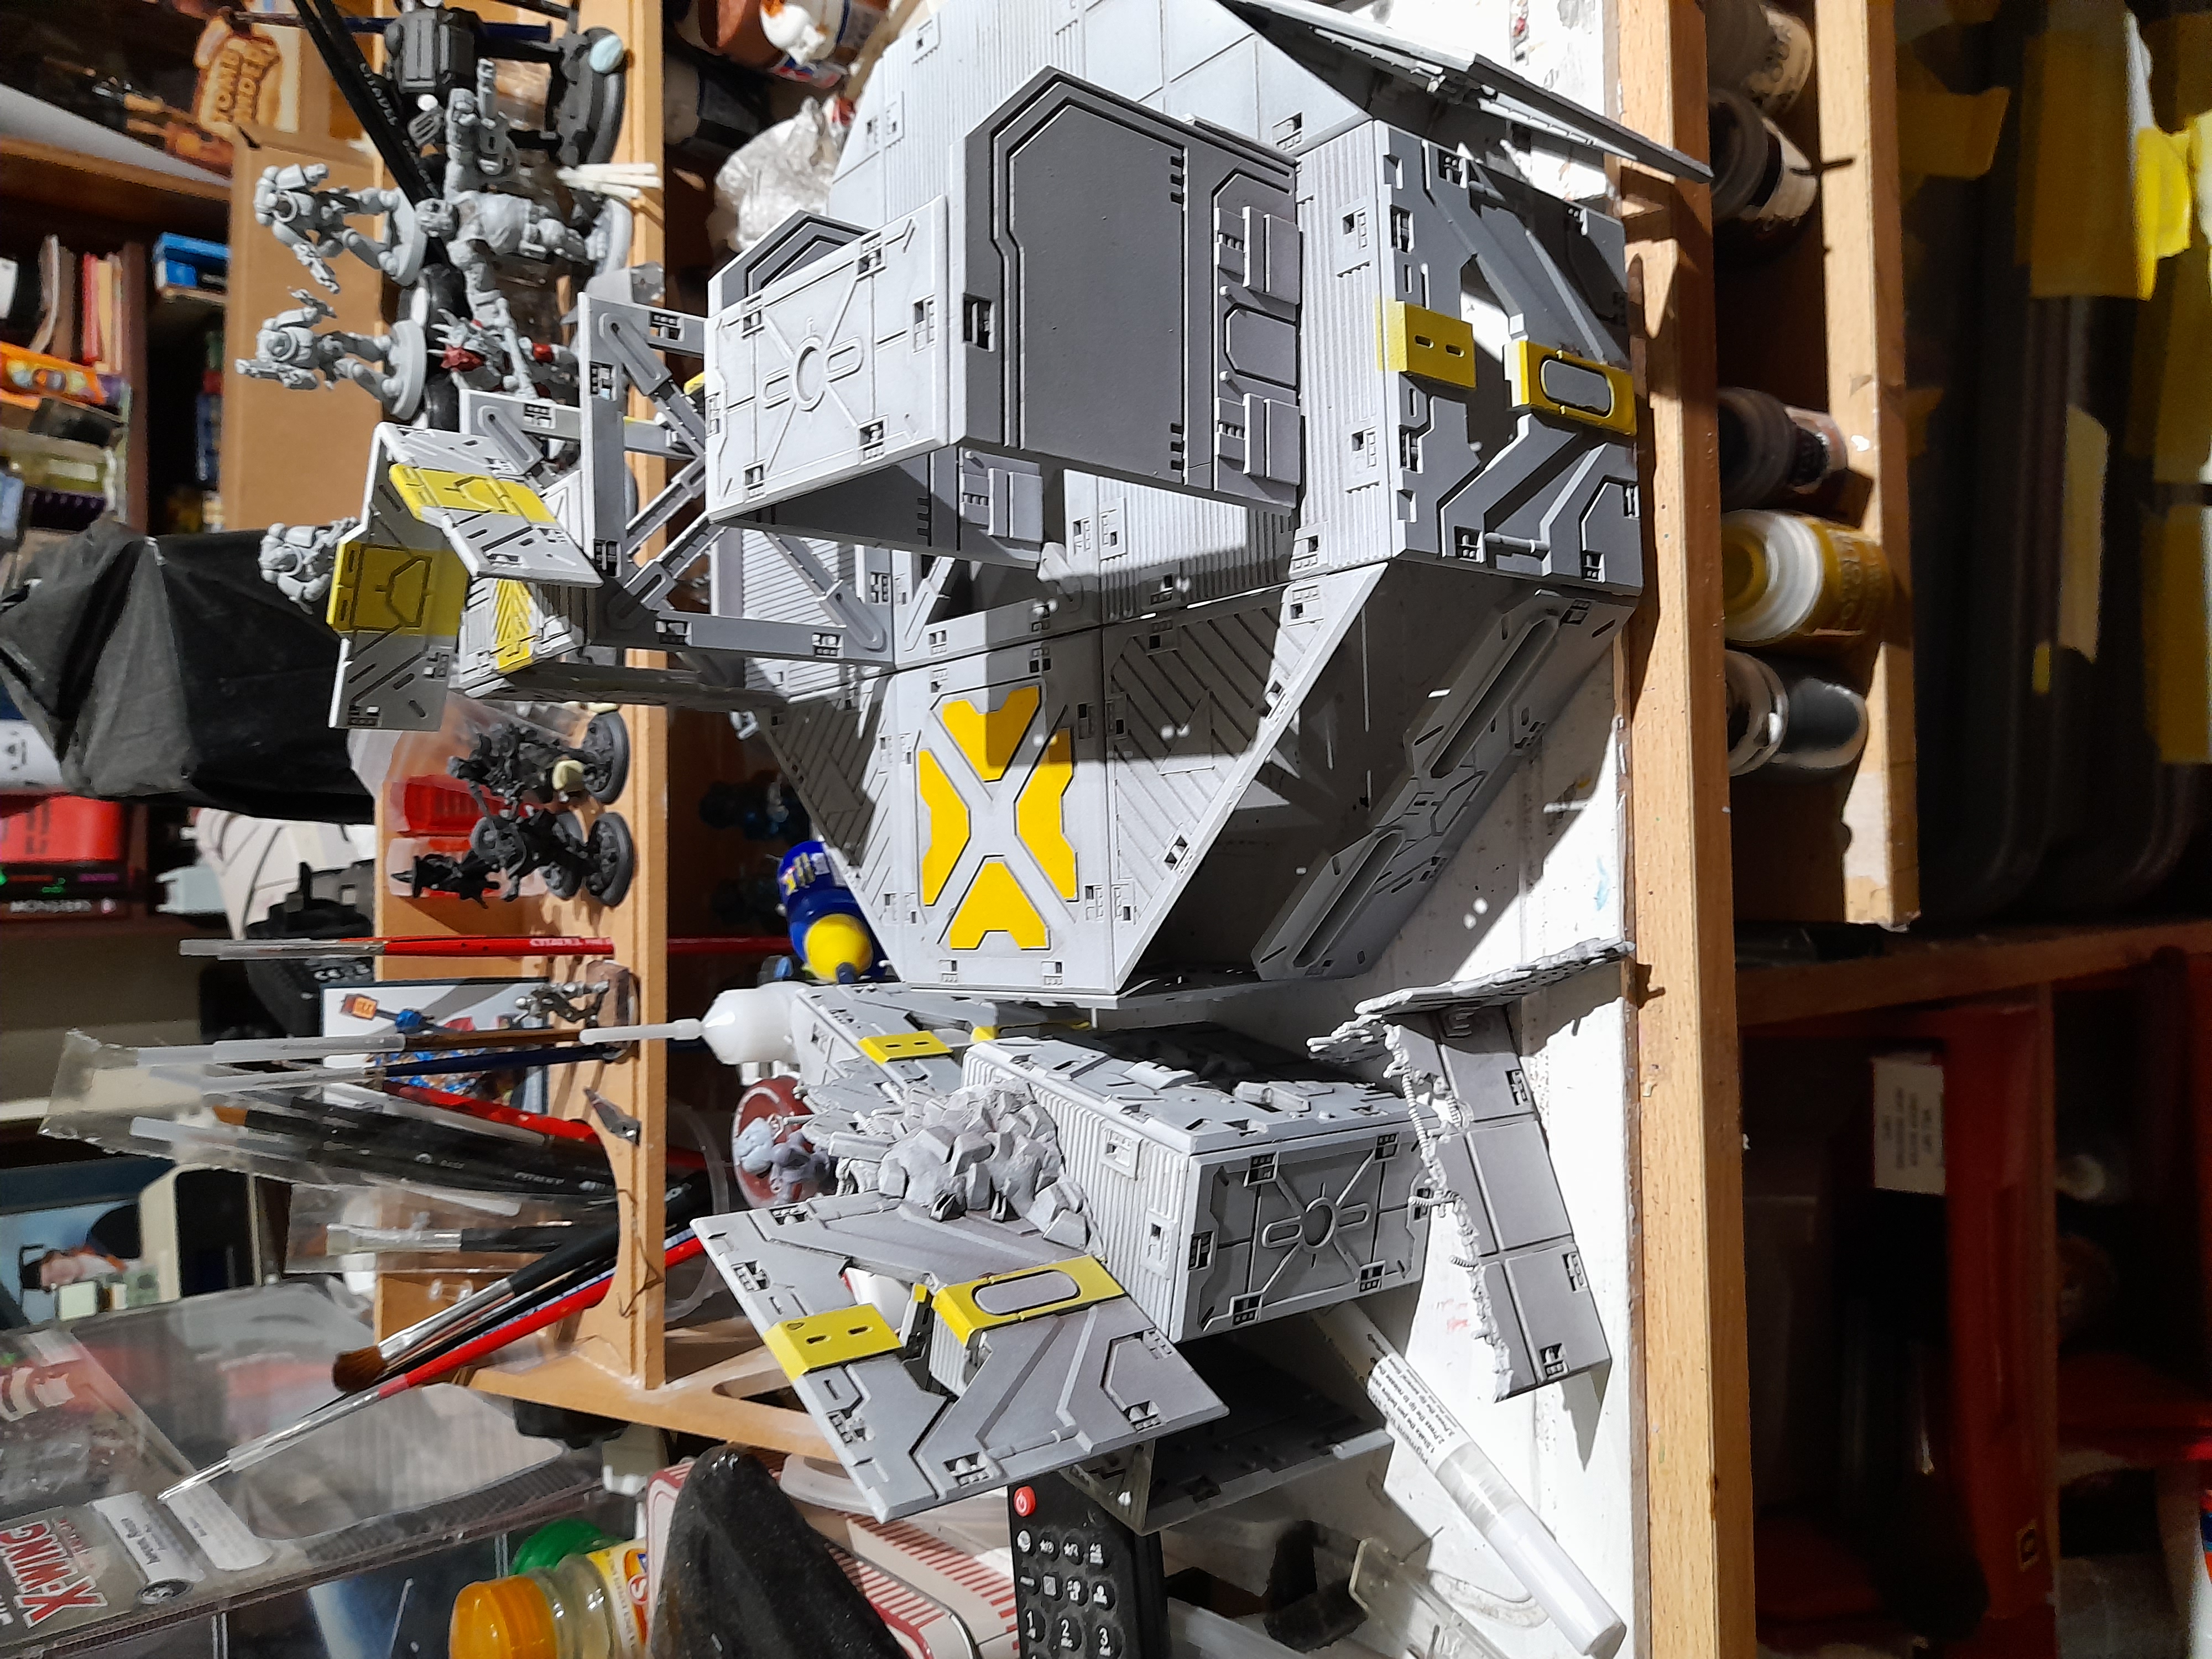
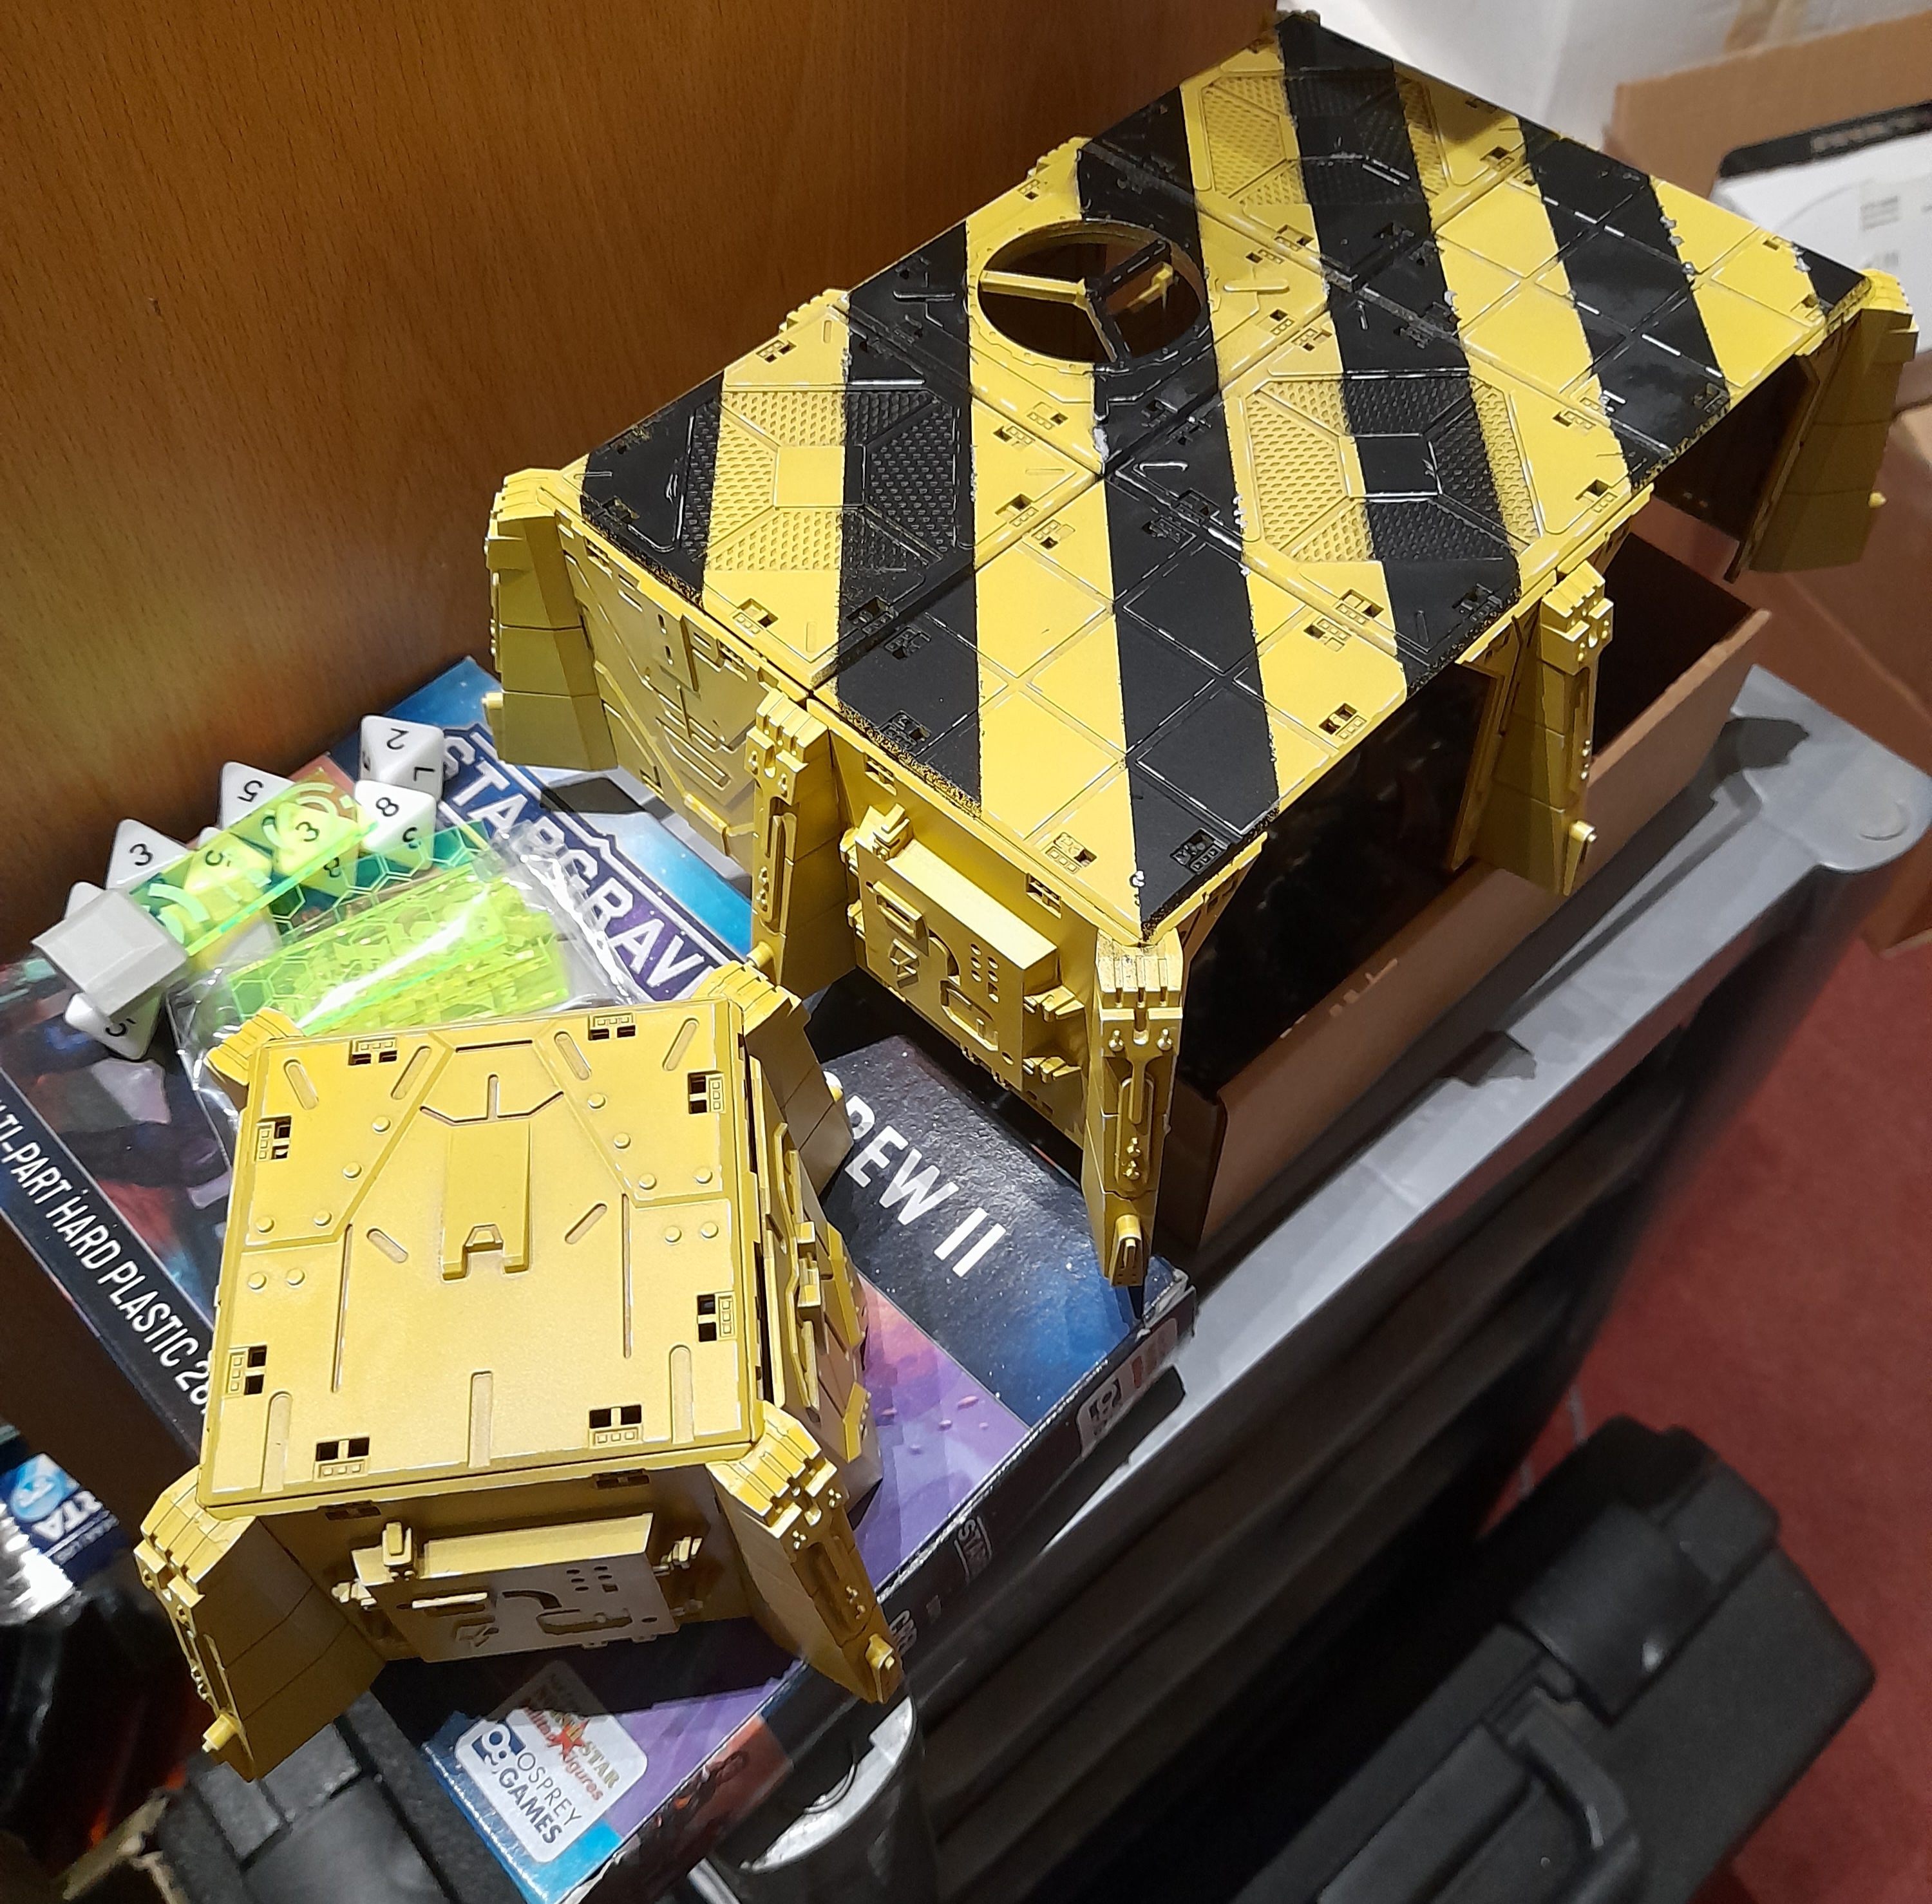
For the repair bay I wanted to add a bit of visual variety to the roof area, so I chose to put some broad hazard type markings onto it.
I masked the roof off with some low tack masking tape that I bought for decorating. In hindsight I should possibly have reduced the tape width, but its done now ?
The low tack was perhaps a little too low in some places, and I did get some bleed under of the black. To work with this I have treated it as areas of damage / wear, where the yellow has been abraded.
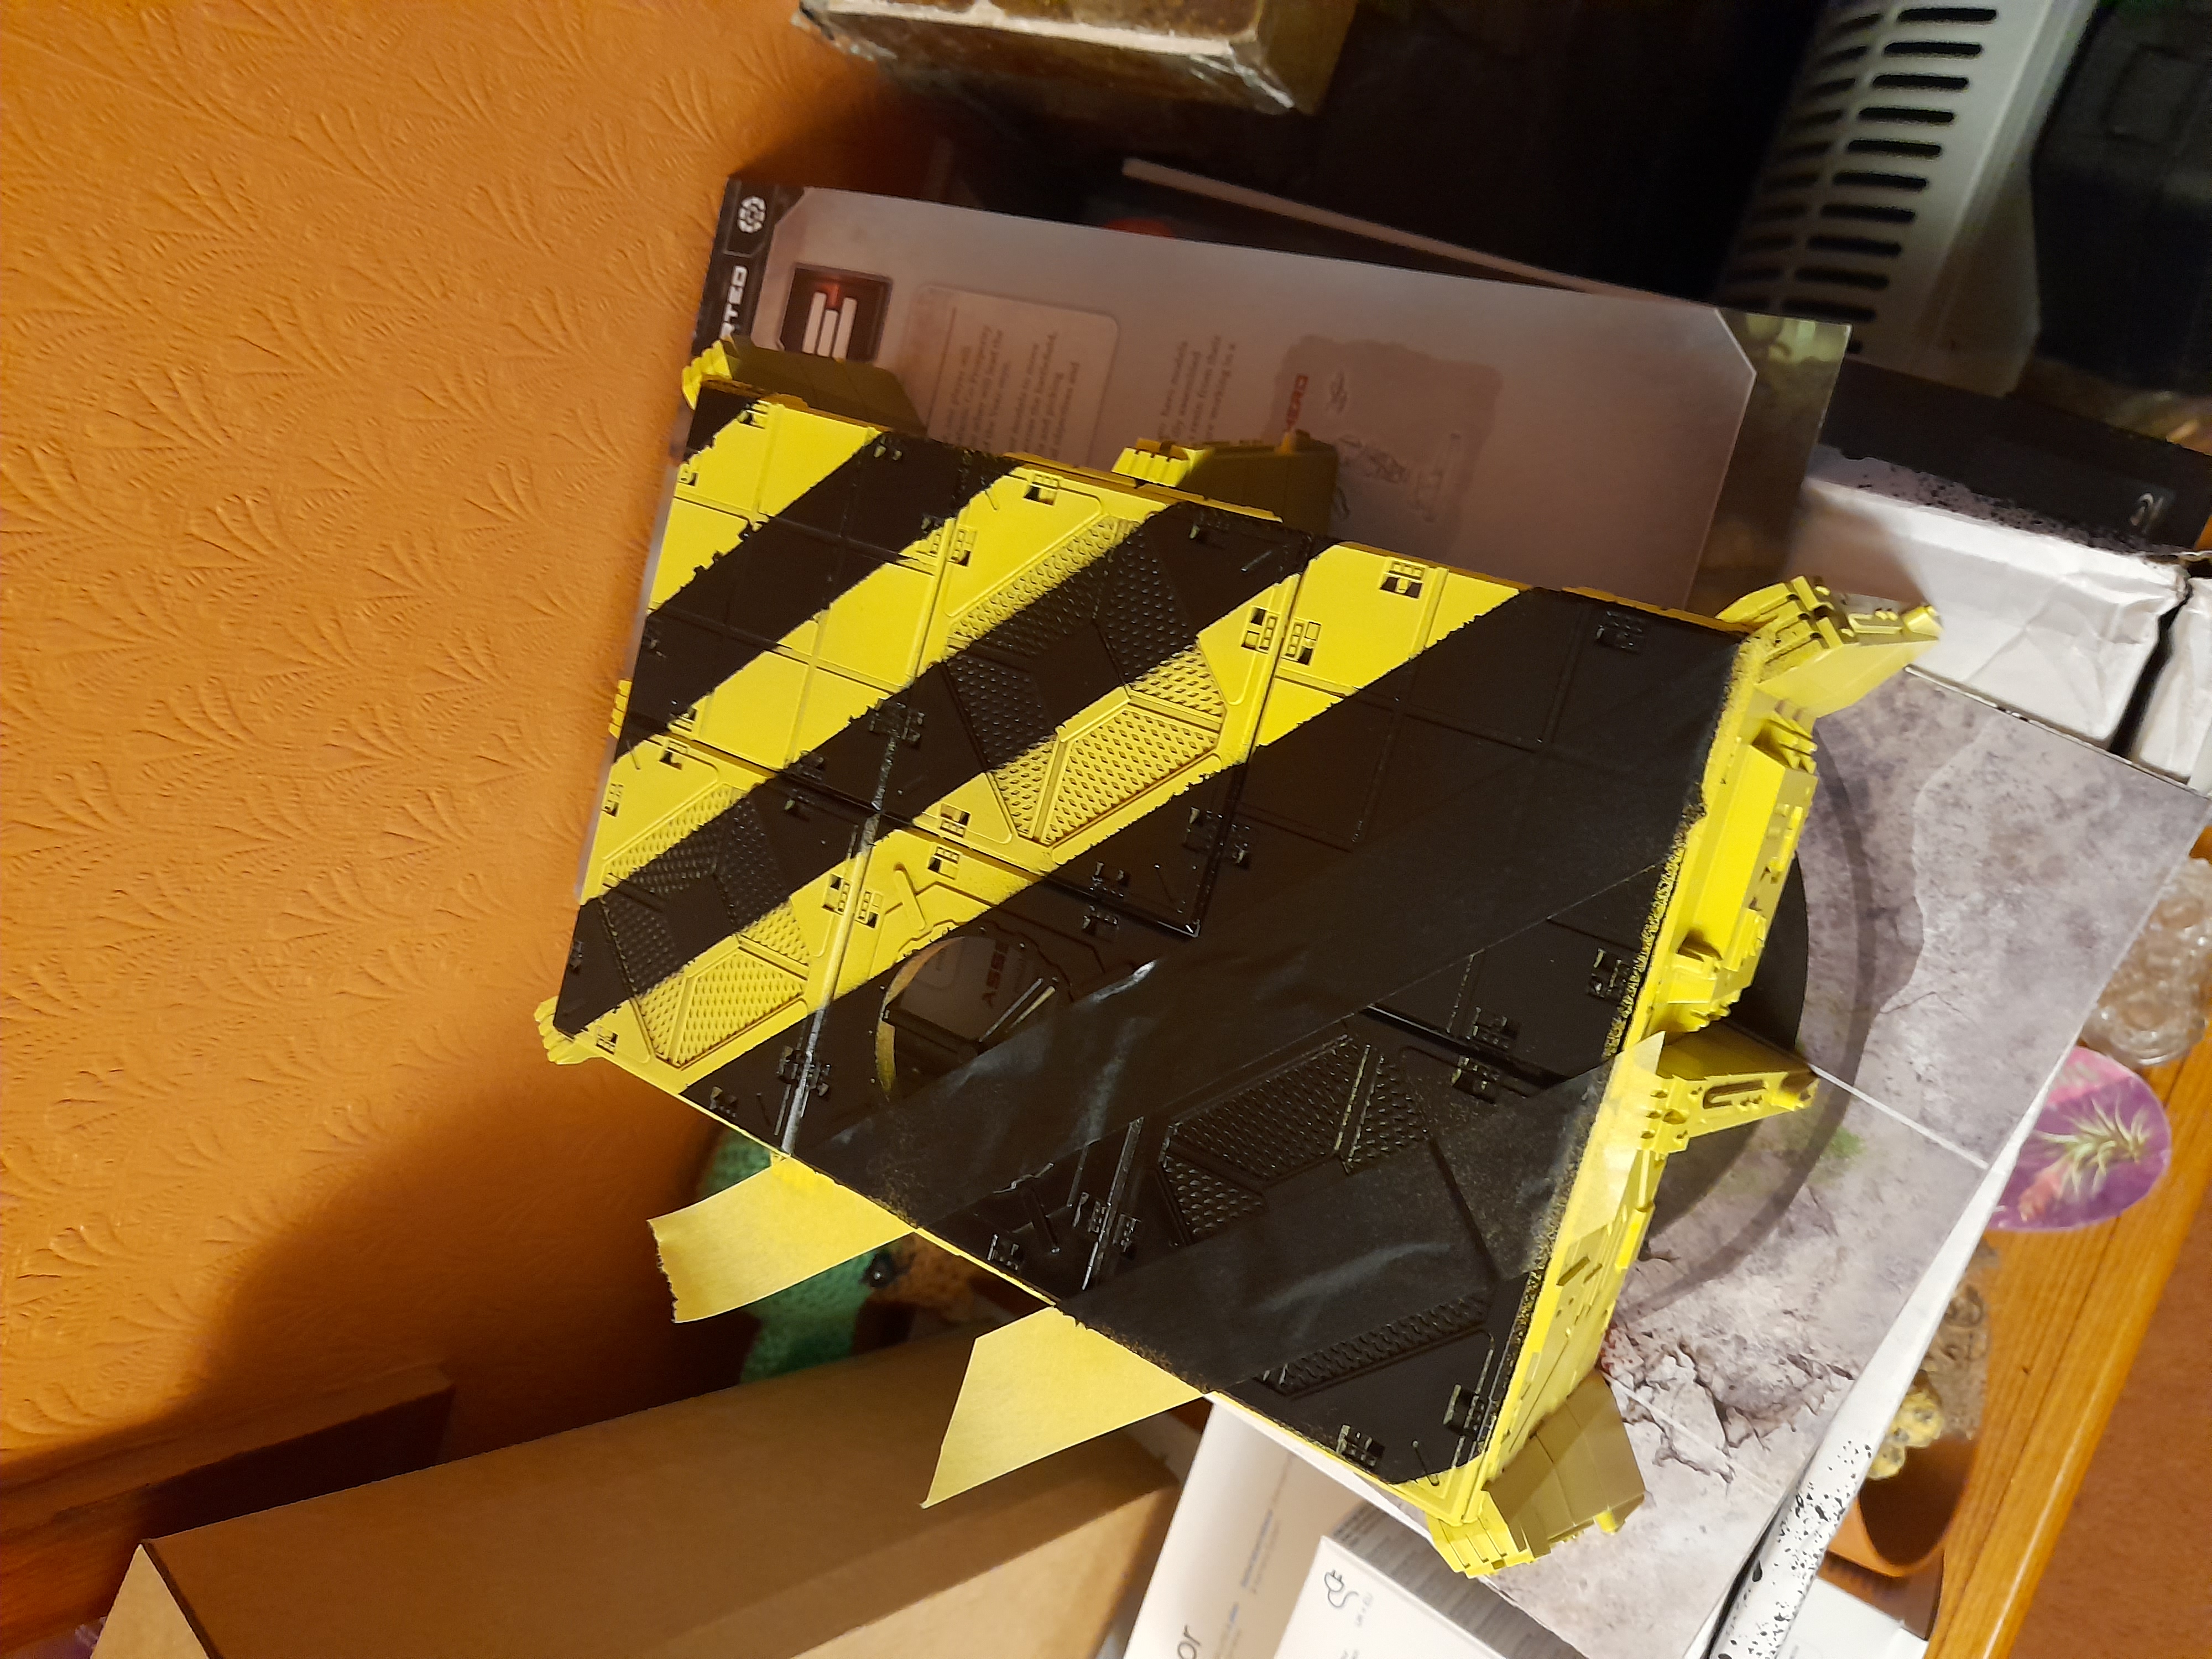
The paint pens that I ordered finally arrived, so I set about using the silver to add some edge highlights, scratch marks and such like to areas of the black on the roof. I’m actually quite pleased with how it came out in places.
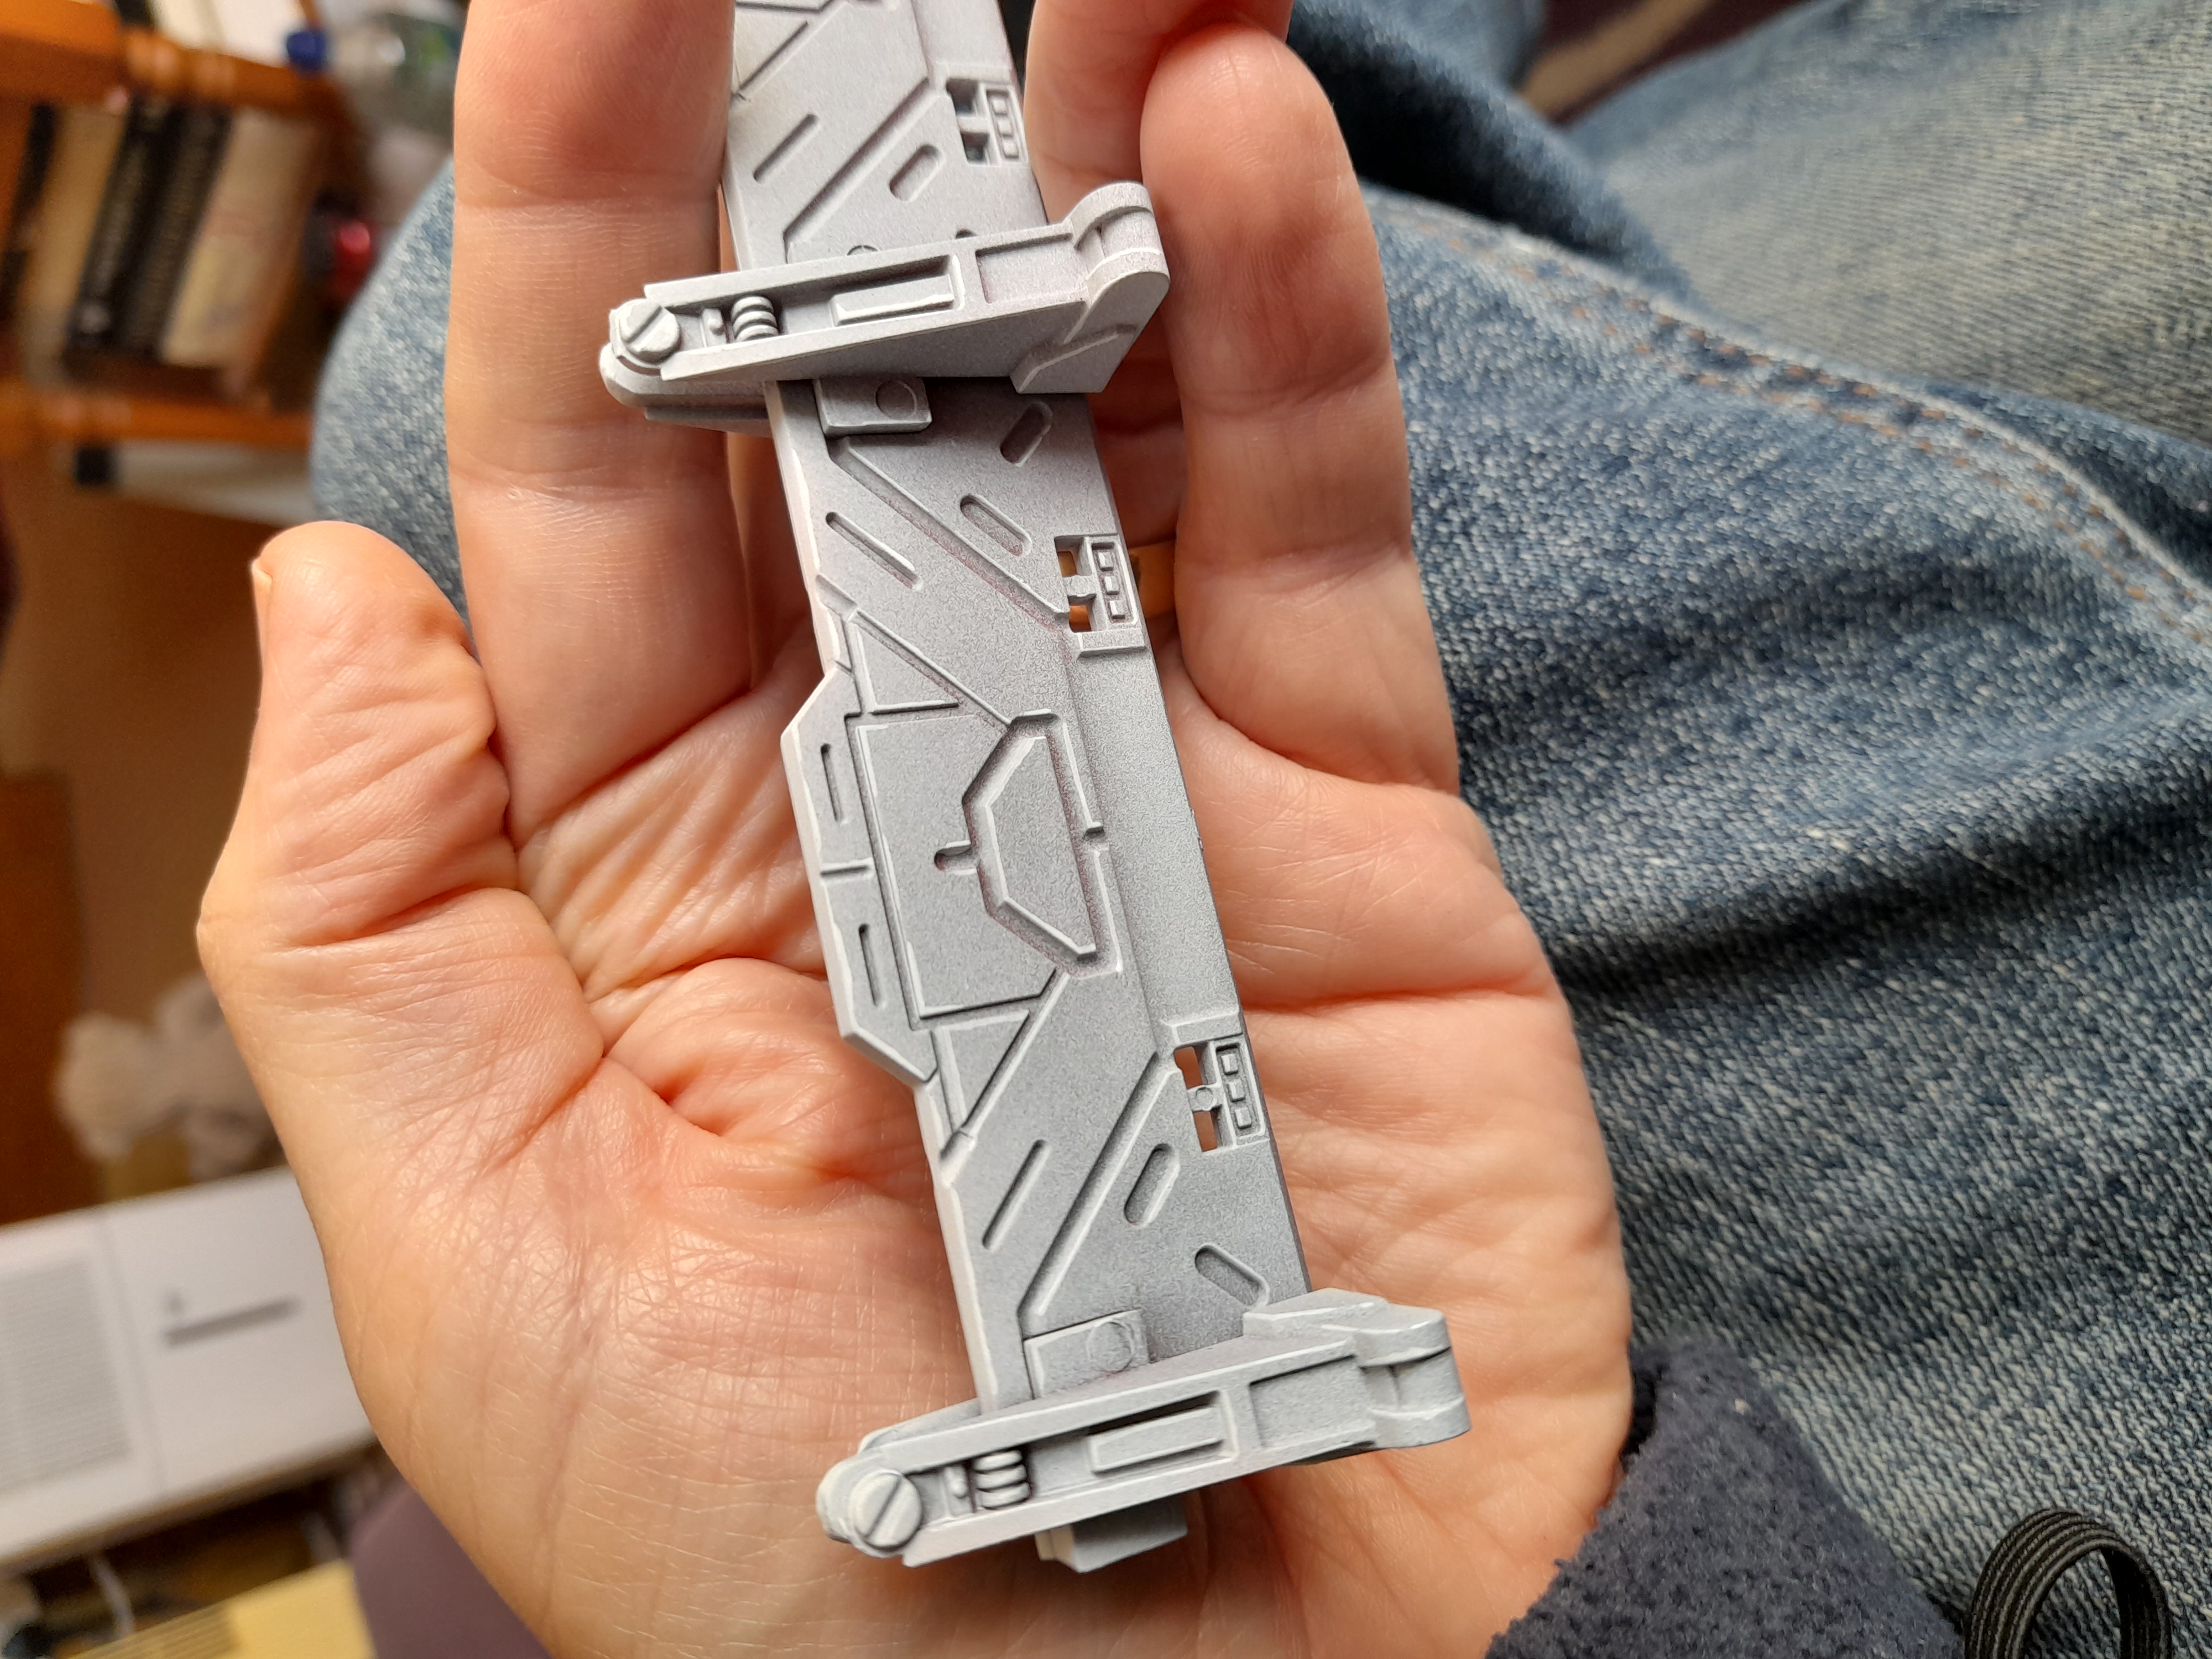
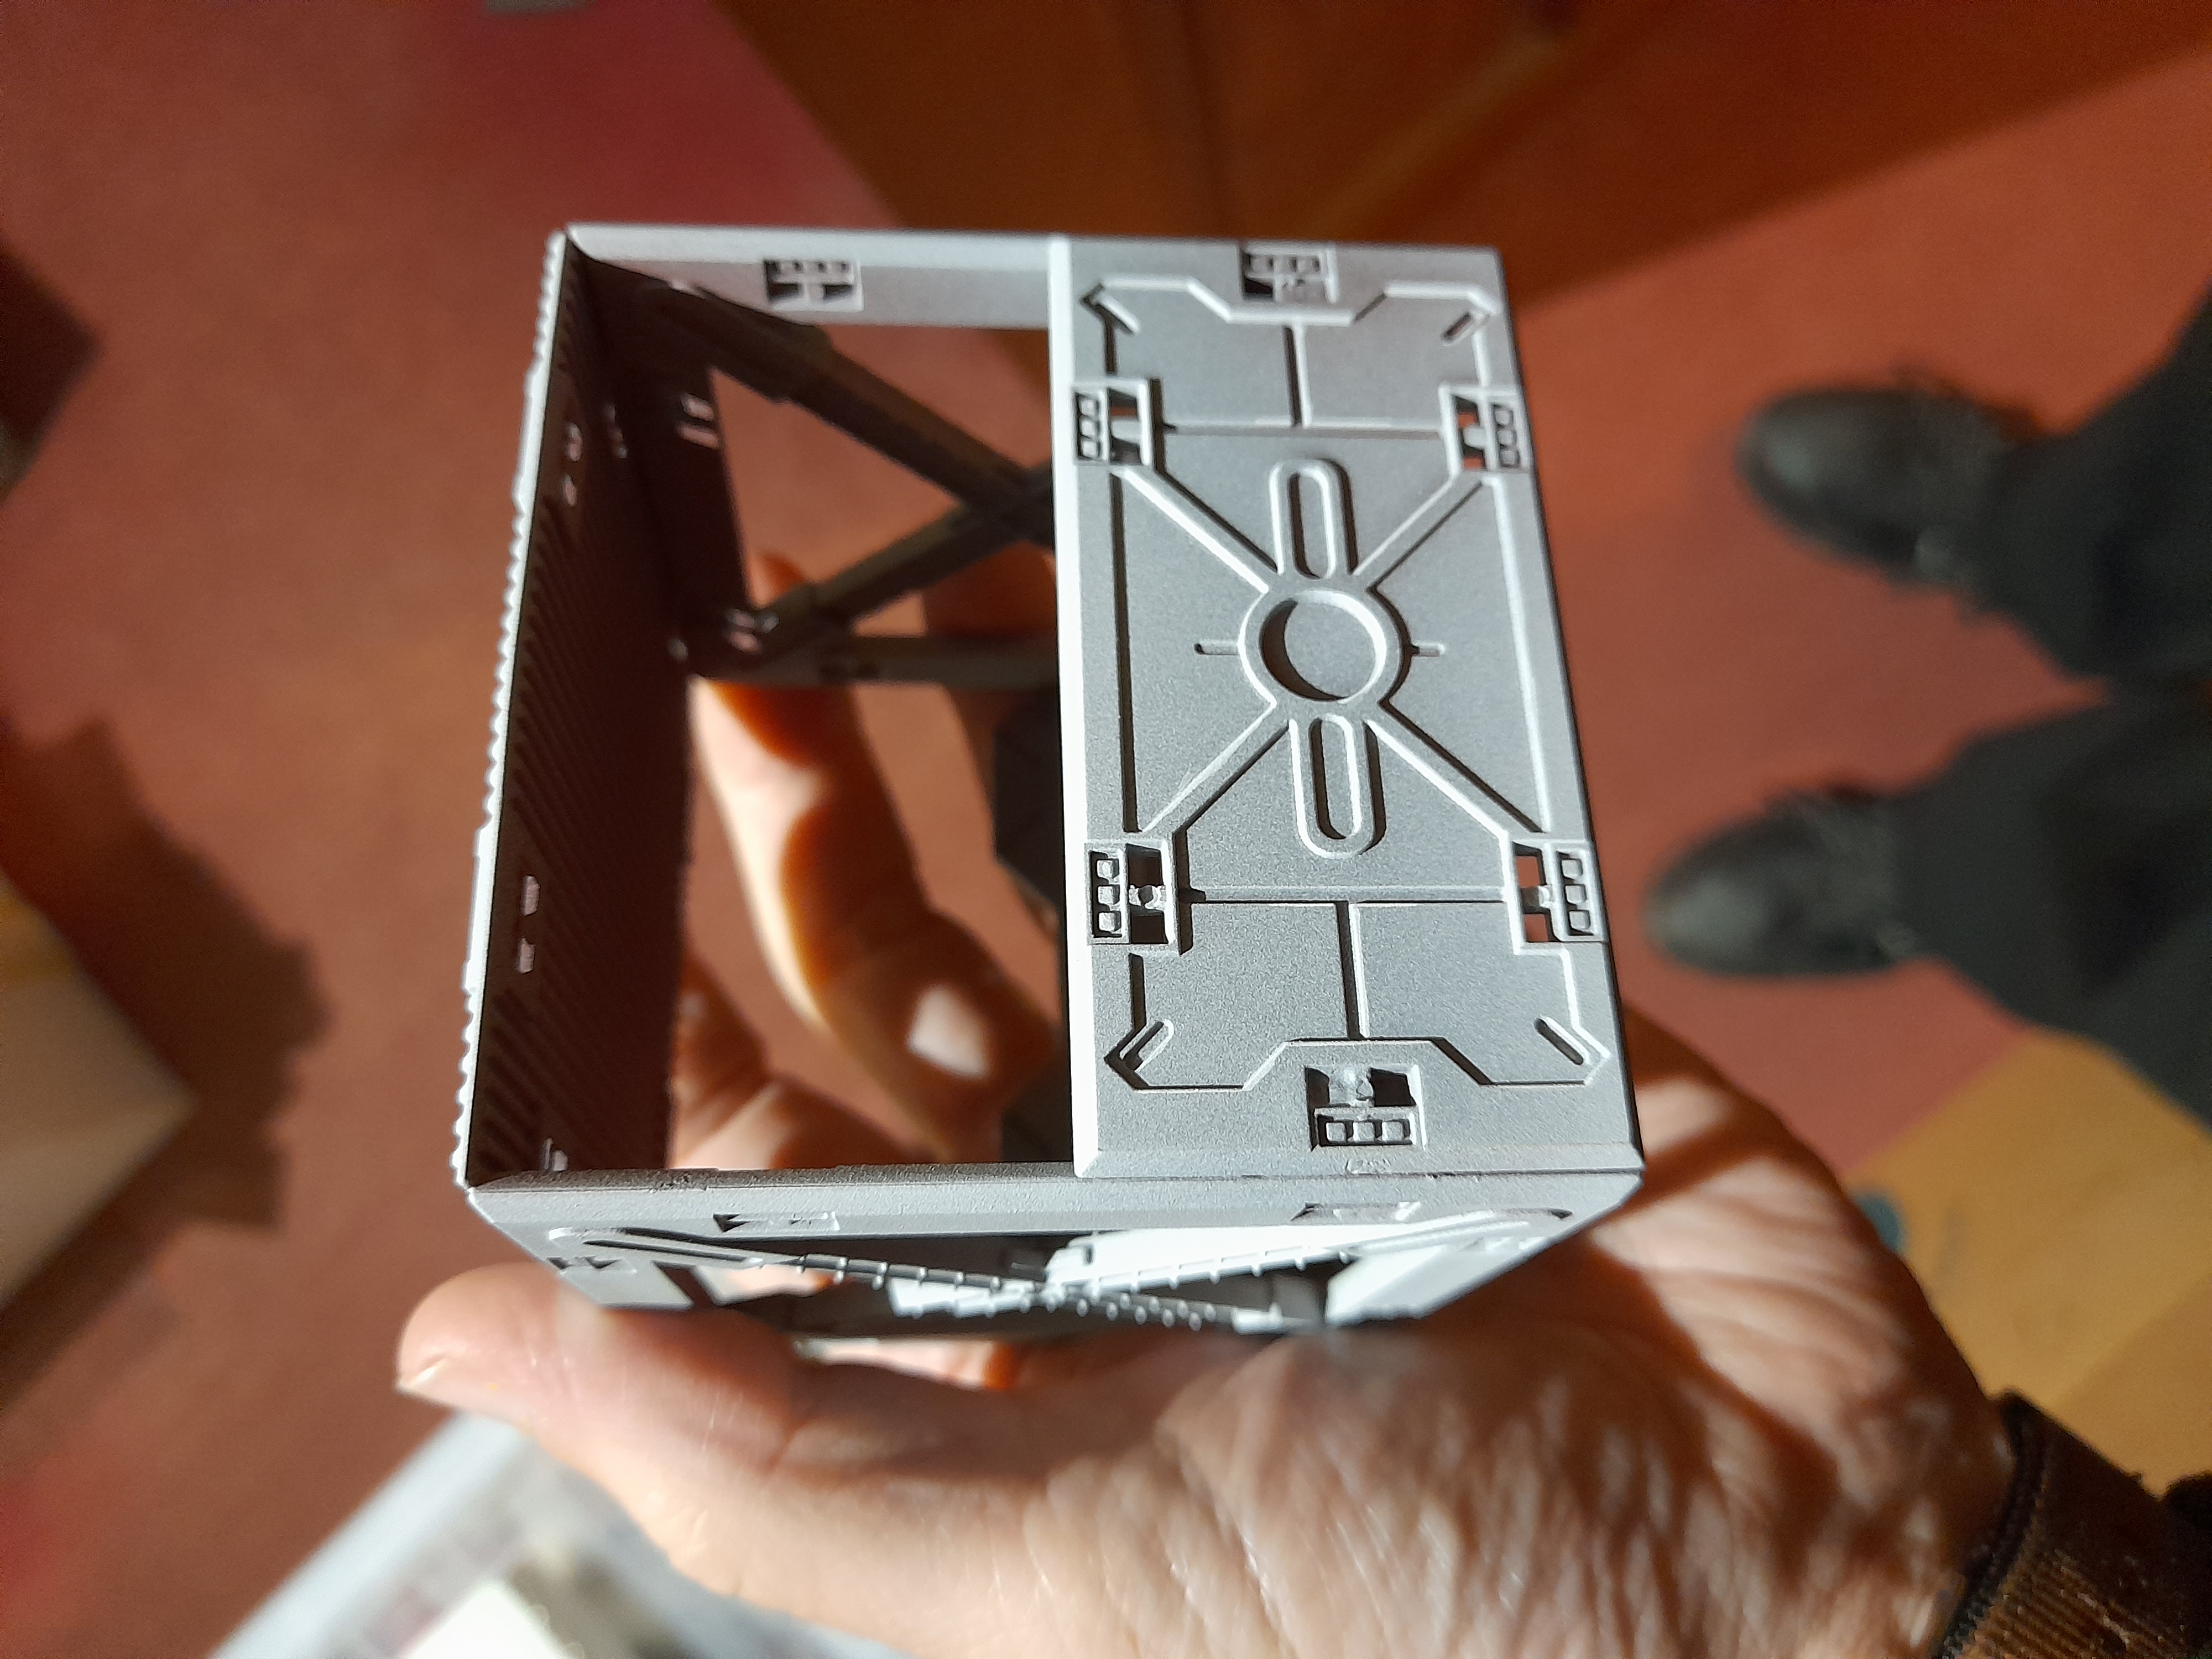
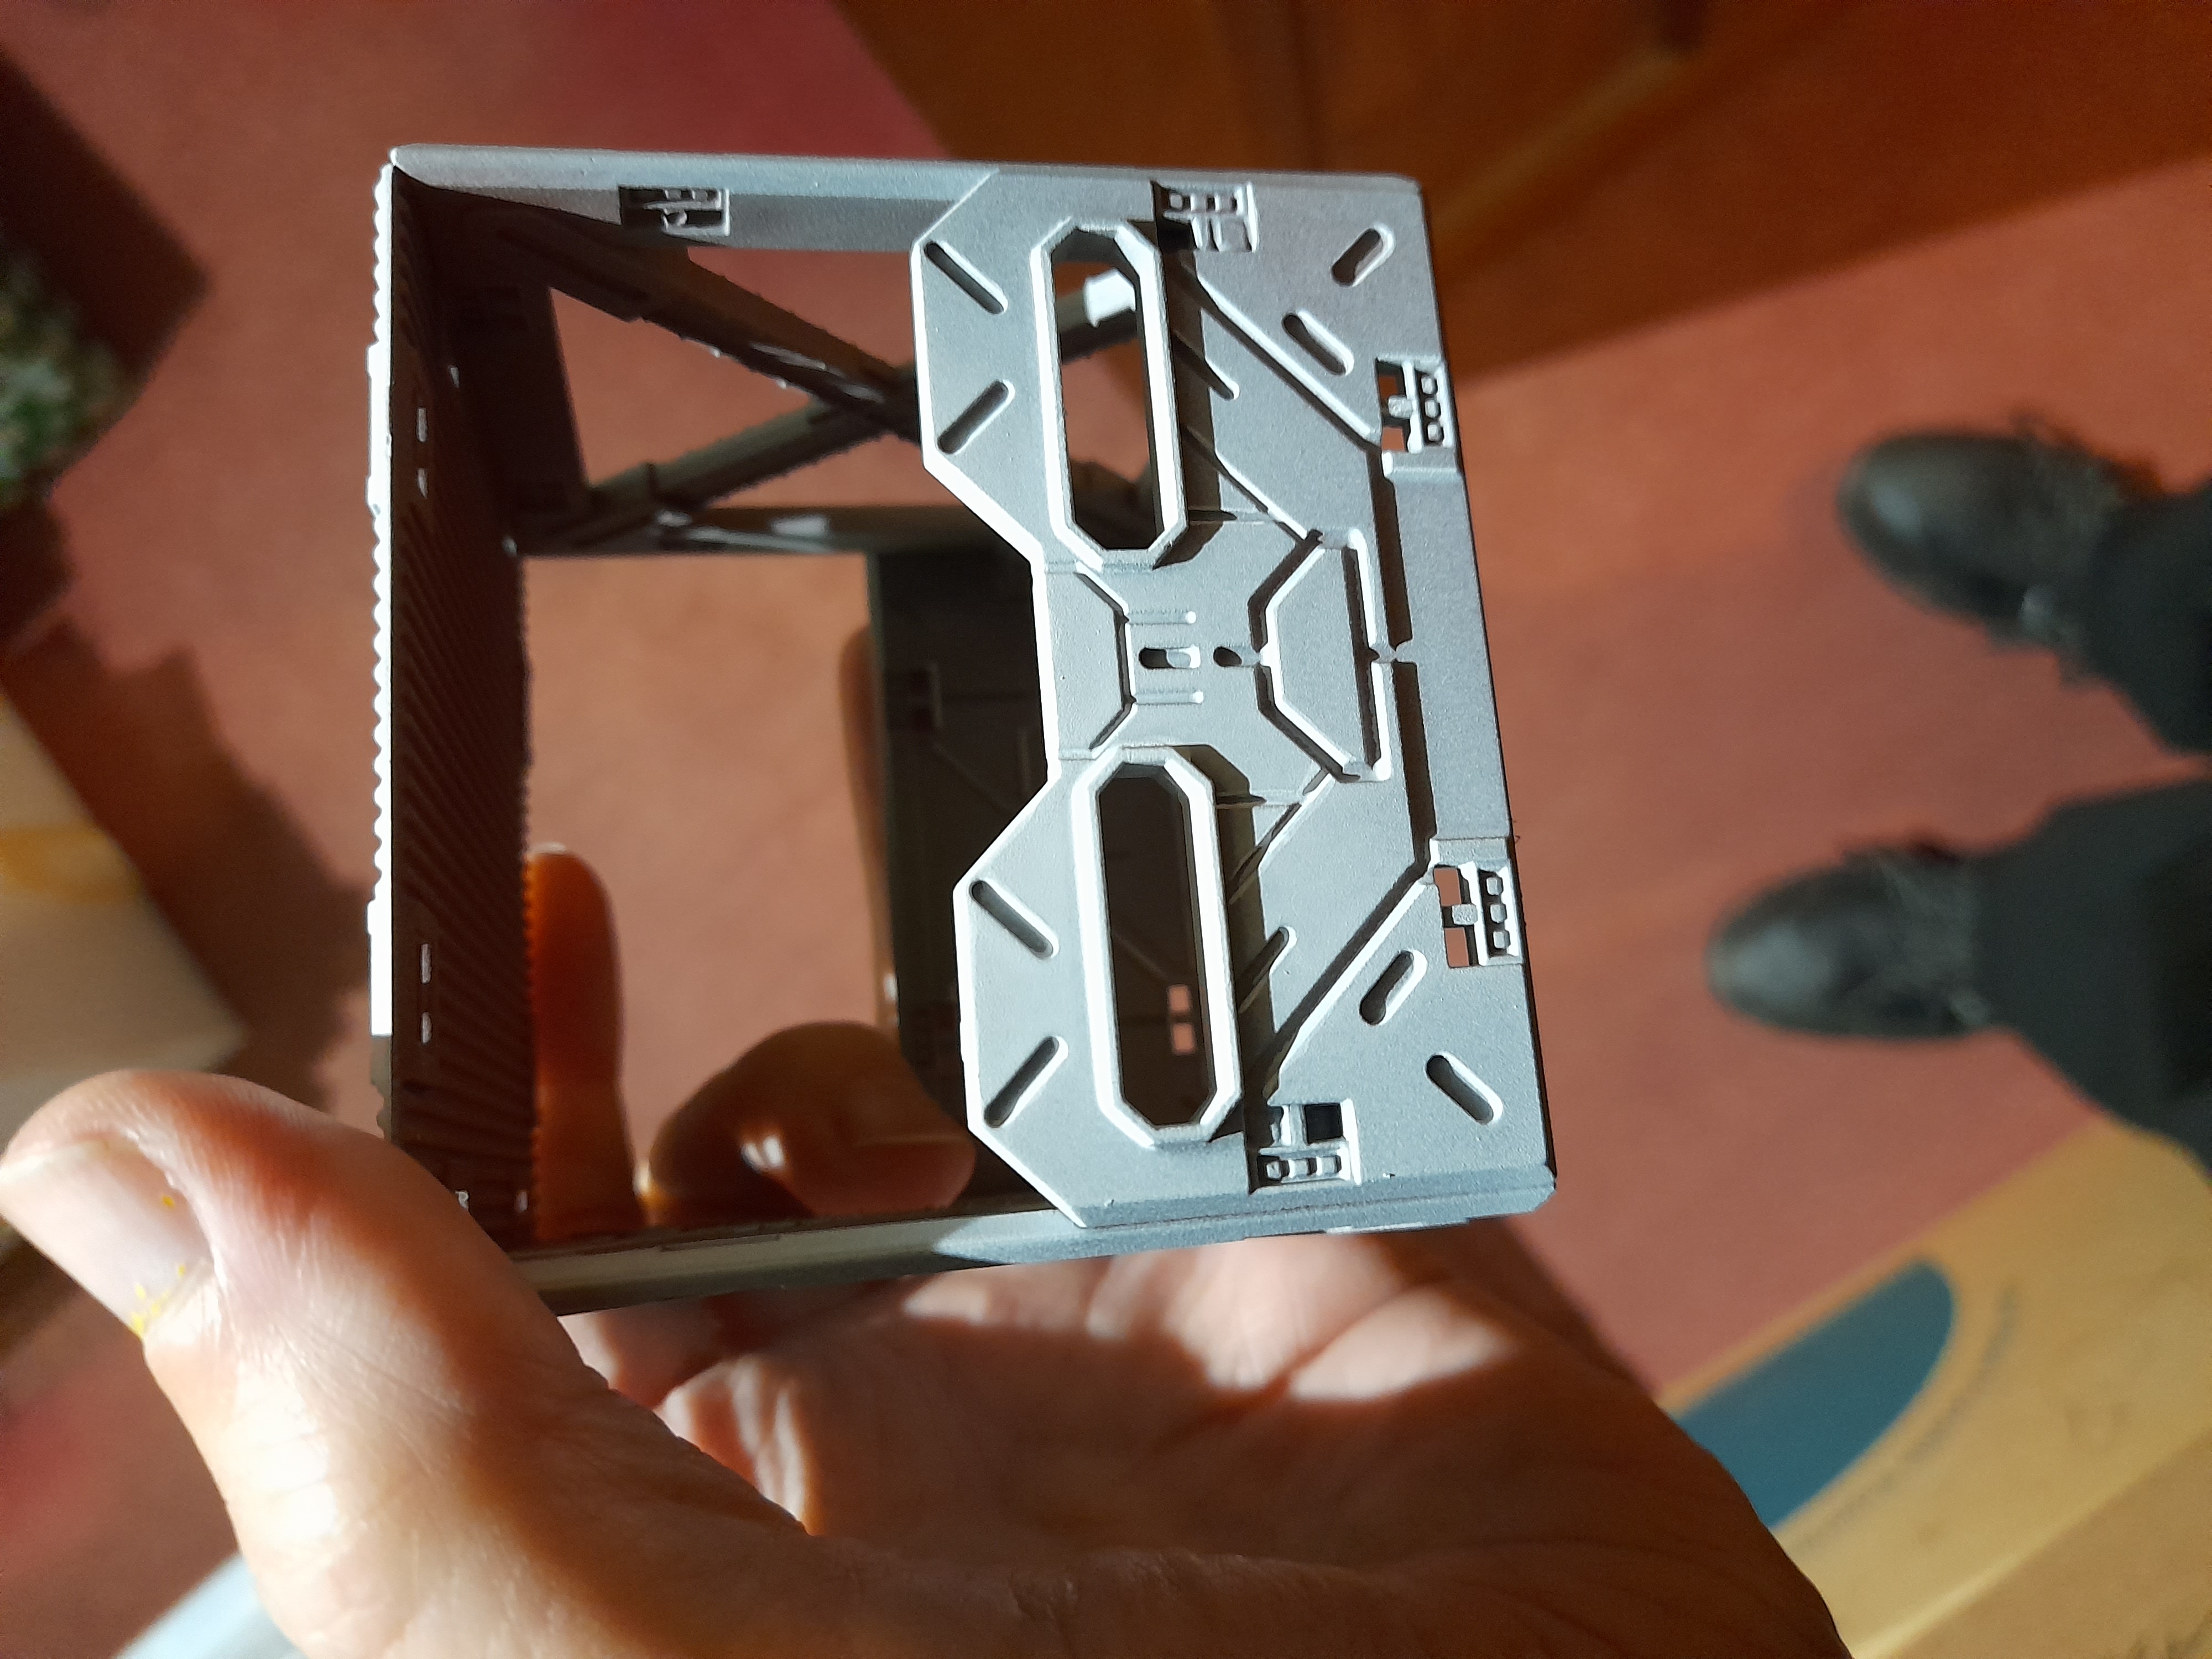
The pack also had white paint pens (the main reason I got it) so I just had time to try that out on one of the grey terrain pieces.
Not sure if I will be able to get much more done this week sadly, but if I have anything to show at the due date of next update I will post it up ?
Changing tack
21st December 2022
Due to a combination of work (including being on call evenings and weekend for a week) and still waiting on a delivery of hobby materials, my terrain progress has pretty much stopped.
I have done a little more with the paint pens, but an insignificant amount tbh.
Realising that this was impacting my ‘hobby mojo’ somewhat I decided to change tack, and crack on with building up the strike teams that I want to use to run intros.
I had a few (3 GCPS and 3 Verr Myn) already built for running the small board mini intro (plus the leader models), but was unsure of how to build the rest. Seeking advice, I popped up a post on the Deadzone fanatics FB page. I had a couple of replies, and took on board some of the suggestions where viable with the starter box contents.
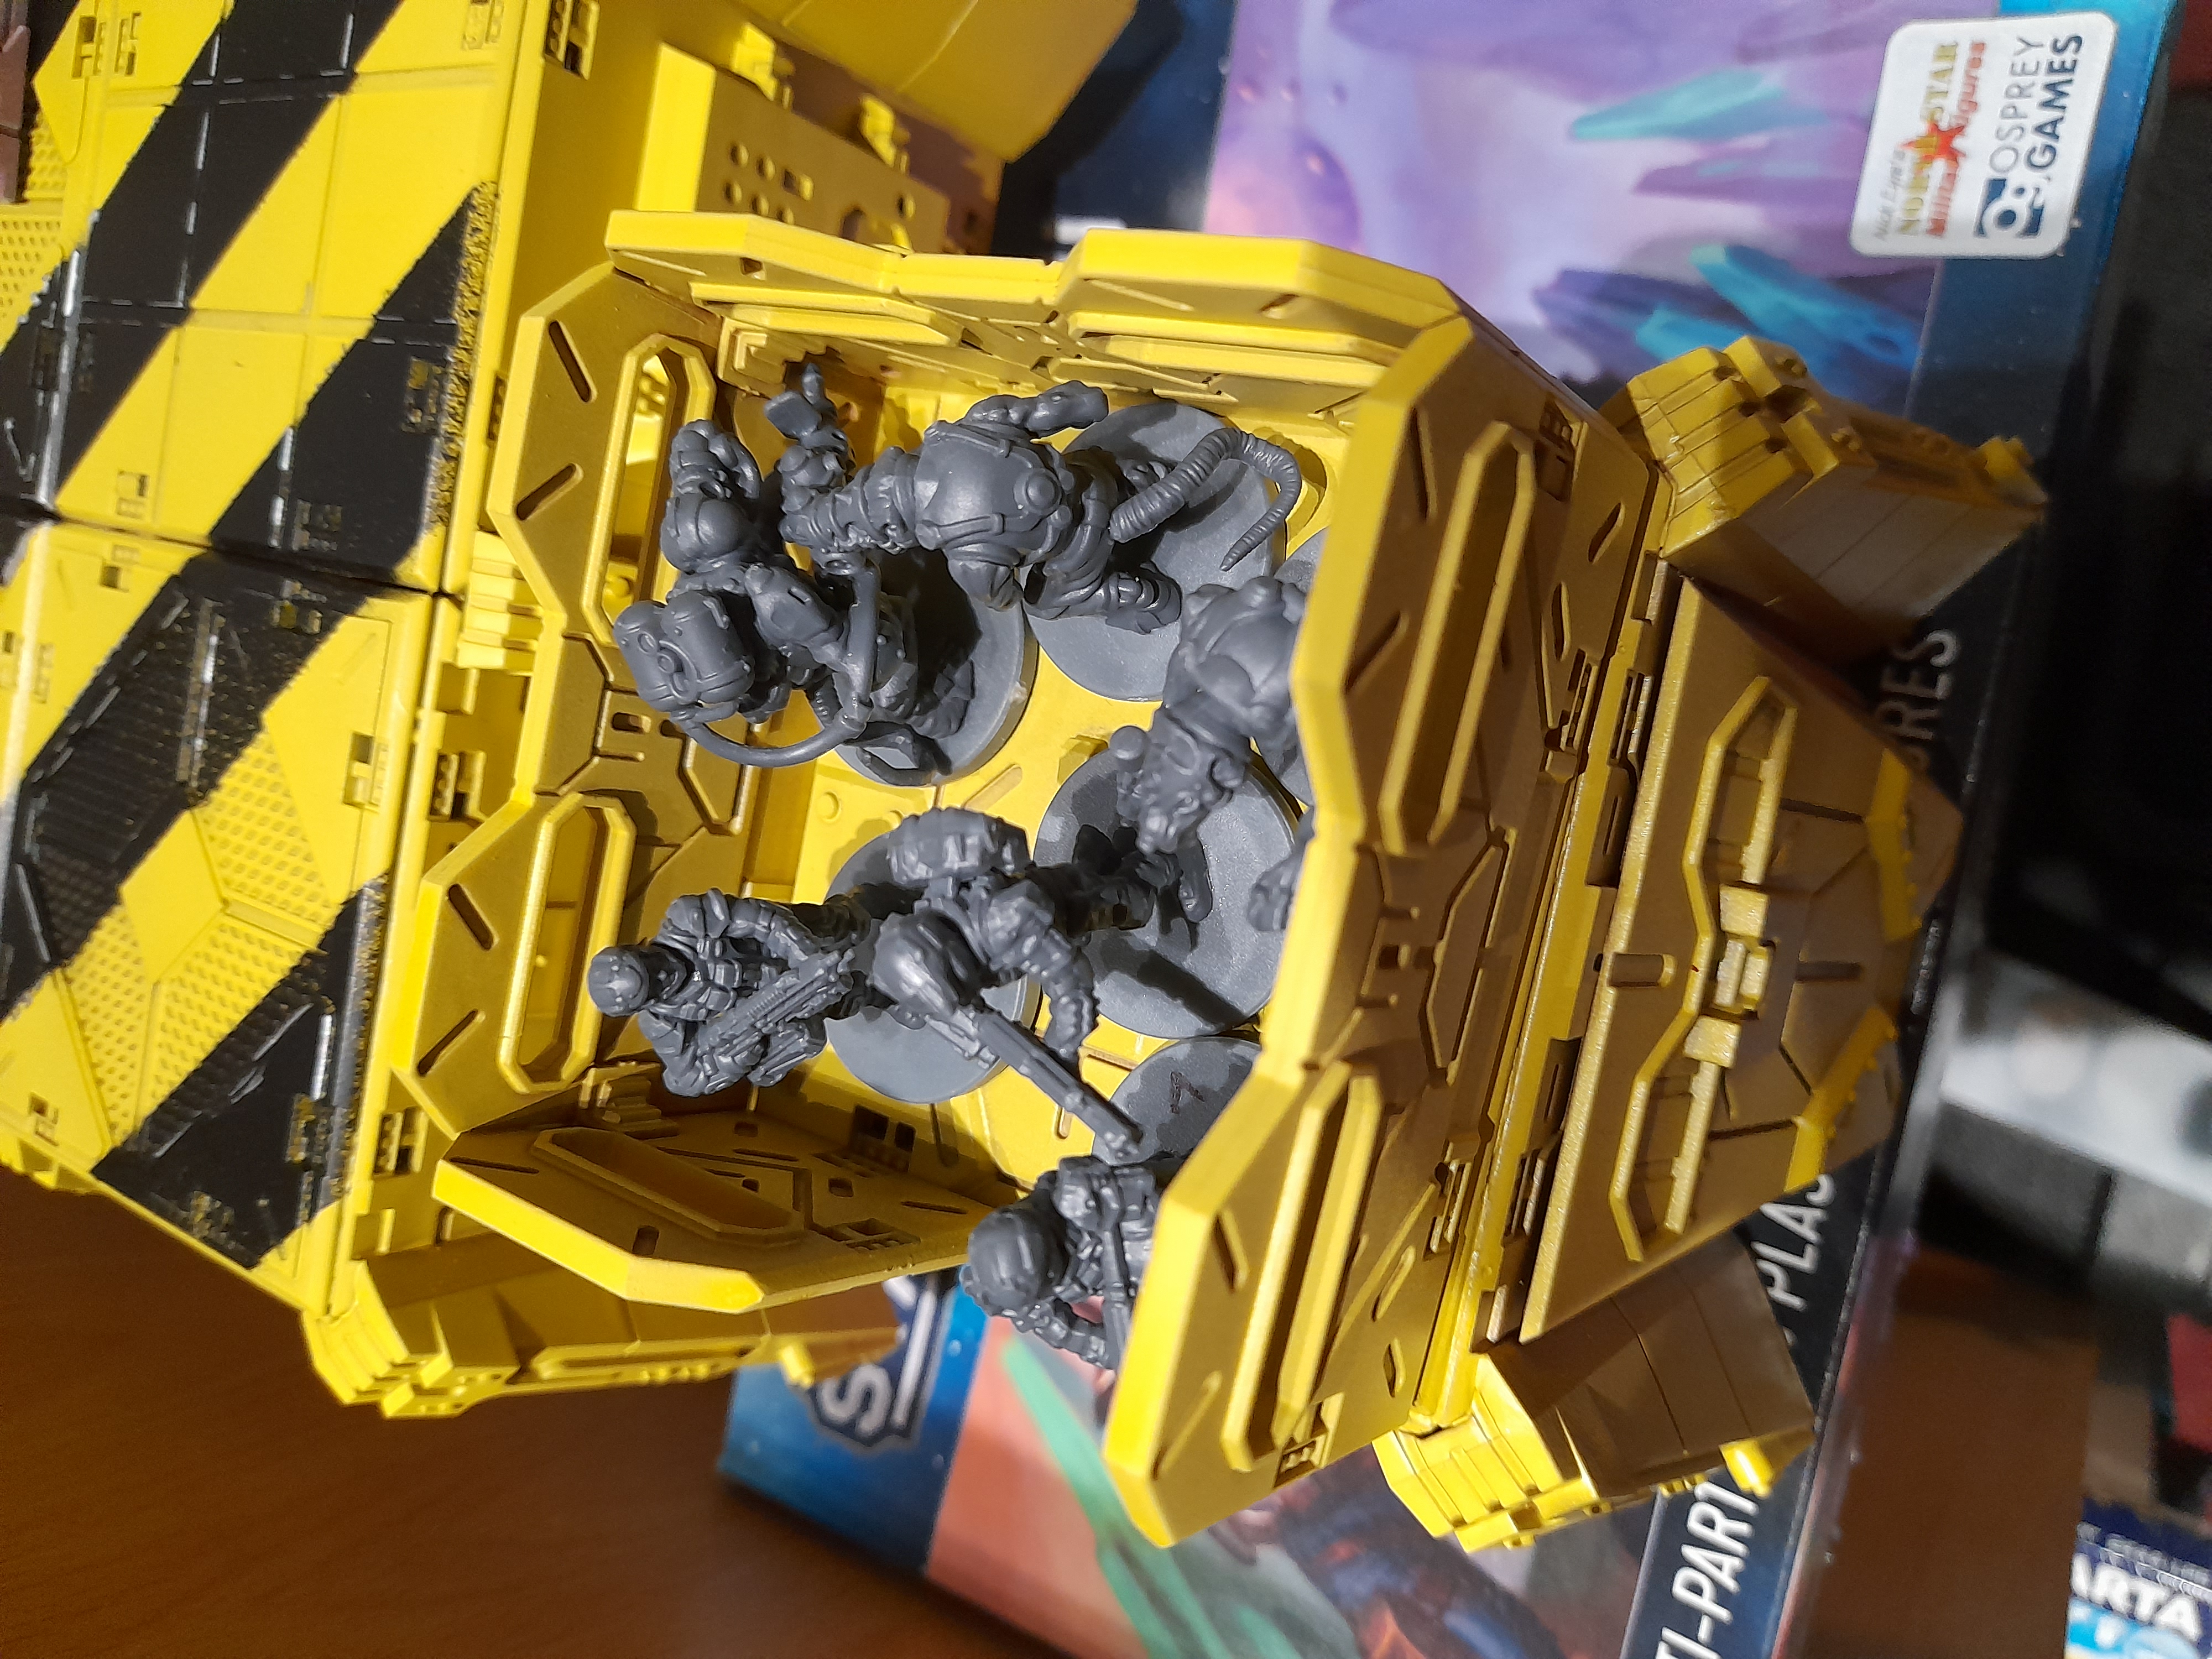
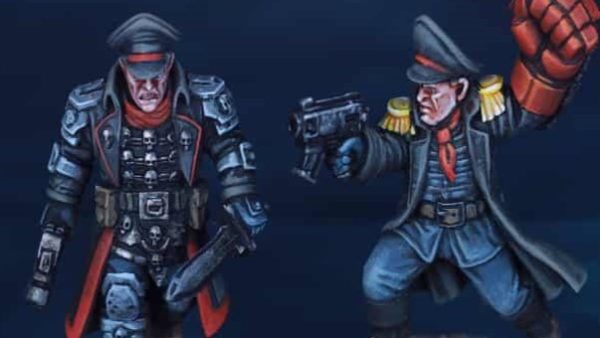
Over the last couple of days I have been able to build up the GCPS contingent.
I wanted to make sure I used the flamethrowers and grenade launchers on the new plastic sprues, but doing so meant I didn’t have many minis to be just the ordinary rank and file. In steps my old stock ? I have the old Corporation army box that contains 40 ‘restic’ corporation troops.
These compare pretty well in size and design, so the old restic ones could become my basic troopers to make up the numbers.
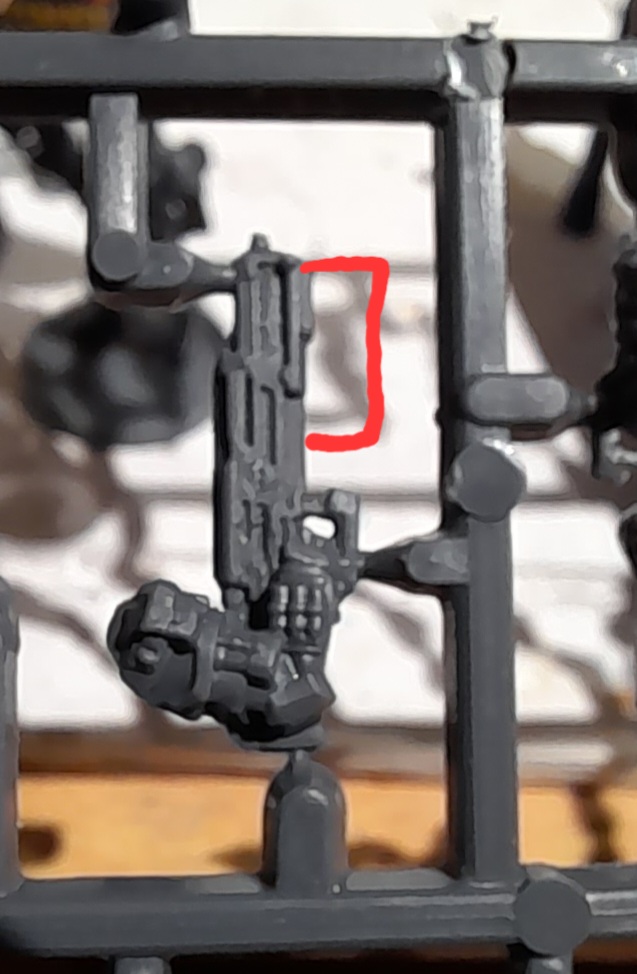
For the special weapon troops on the plastic sprue there is only one left arm that is used for both the FT and the GL. With plenty of spare arms I found one that was close and just bent it a little to fit. Then repeated for the second sprue.
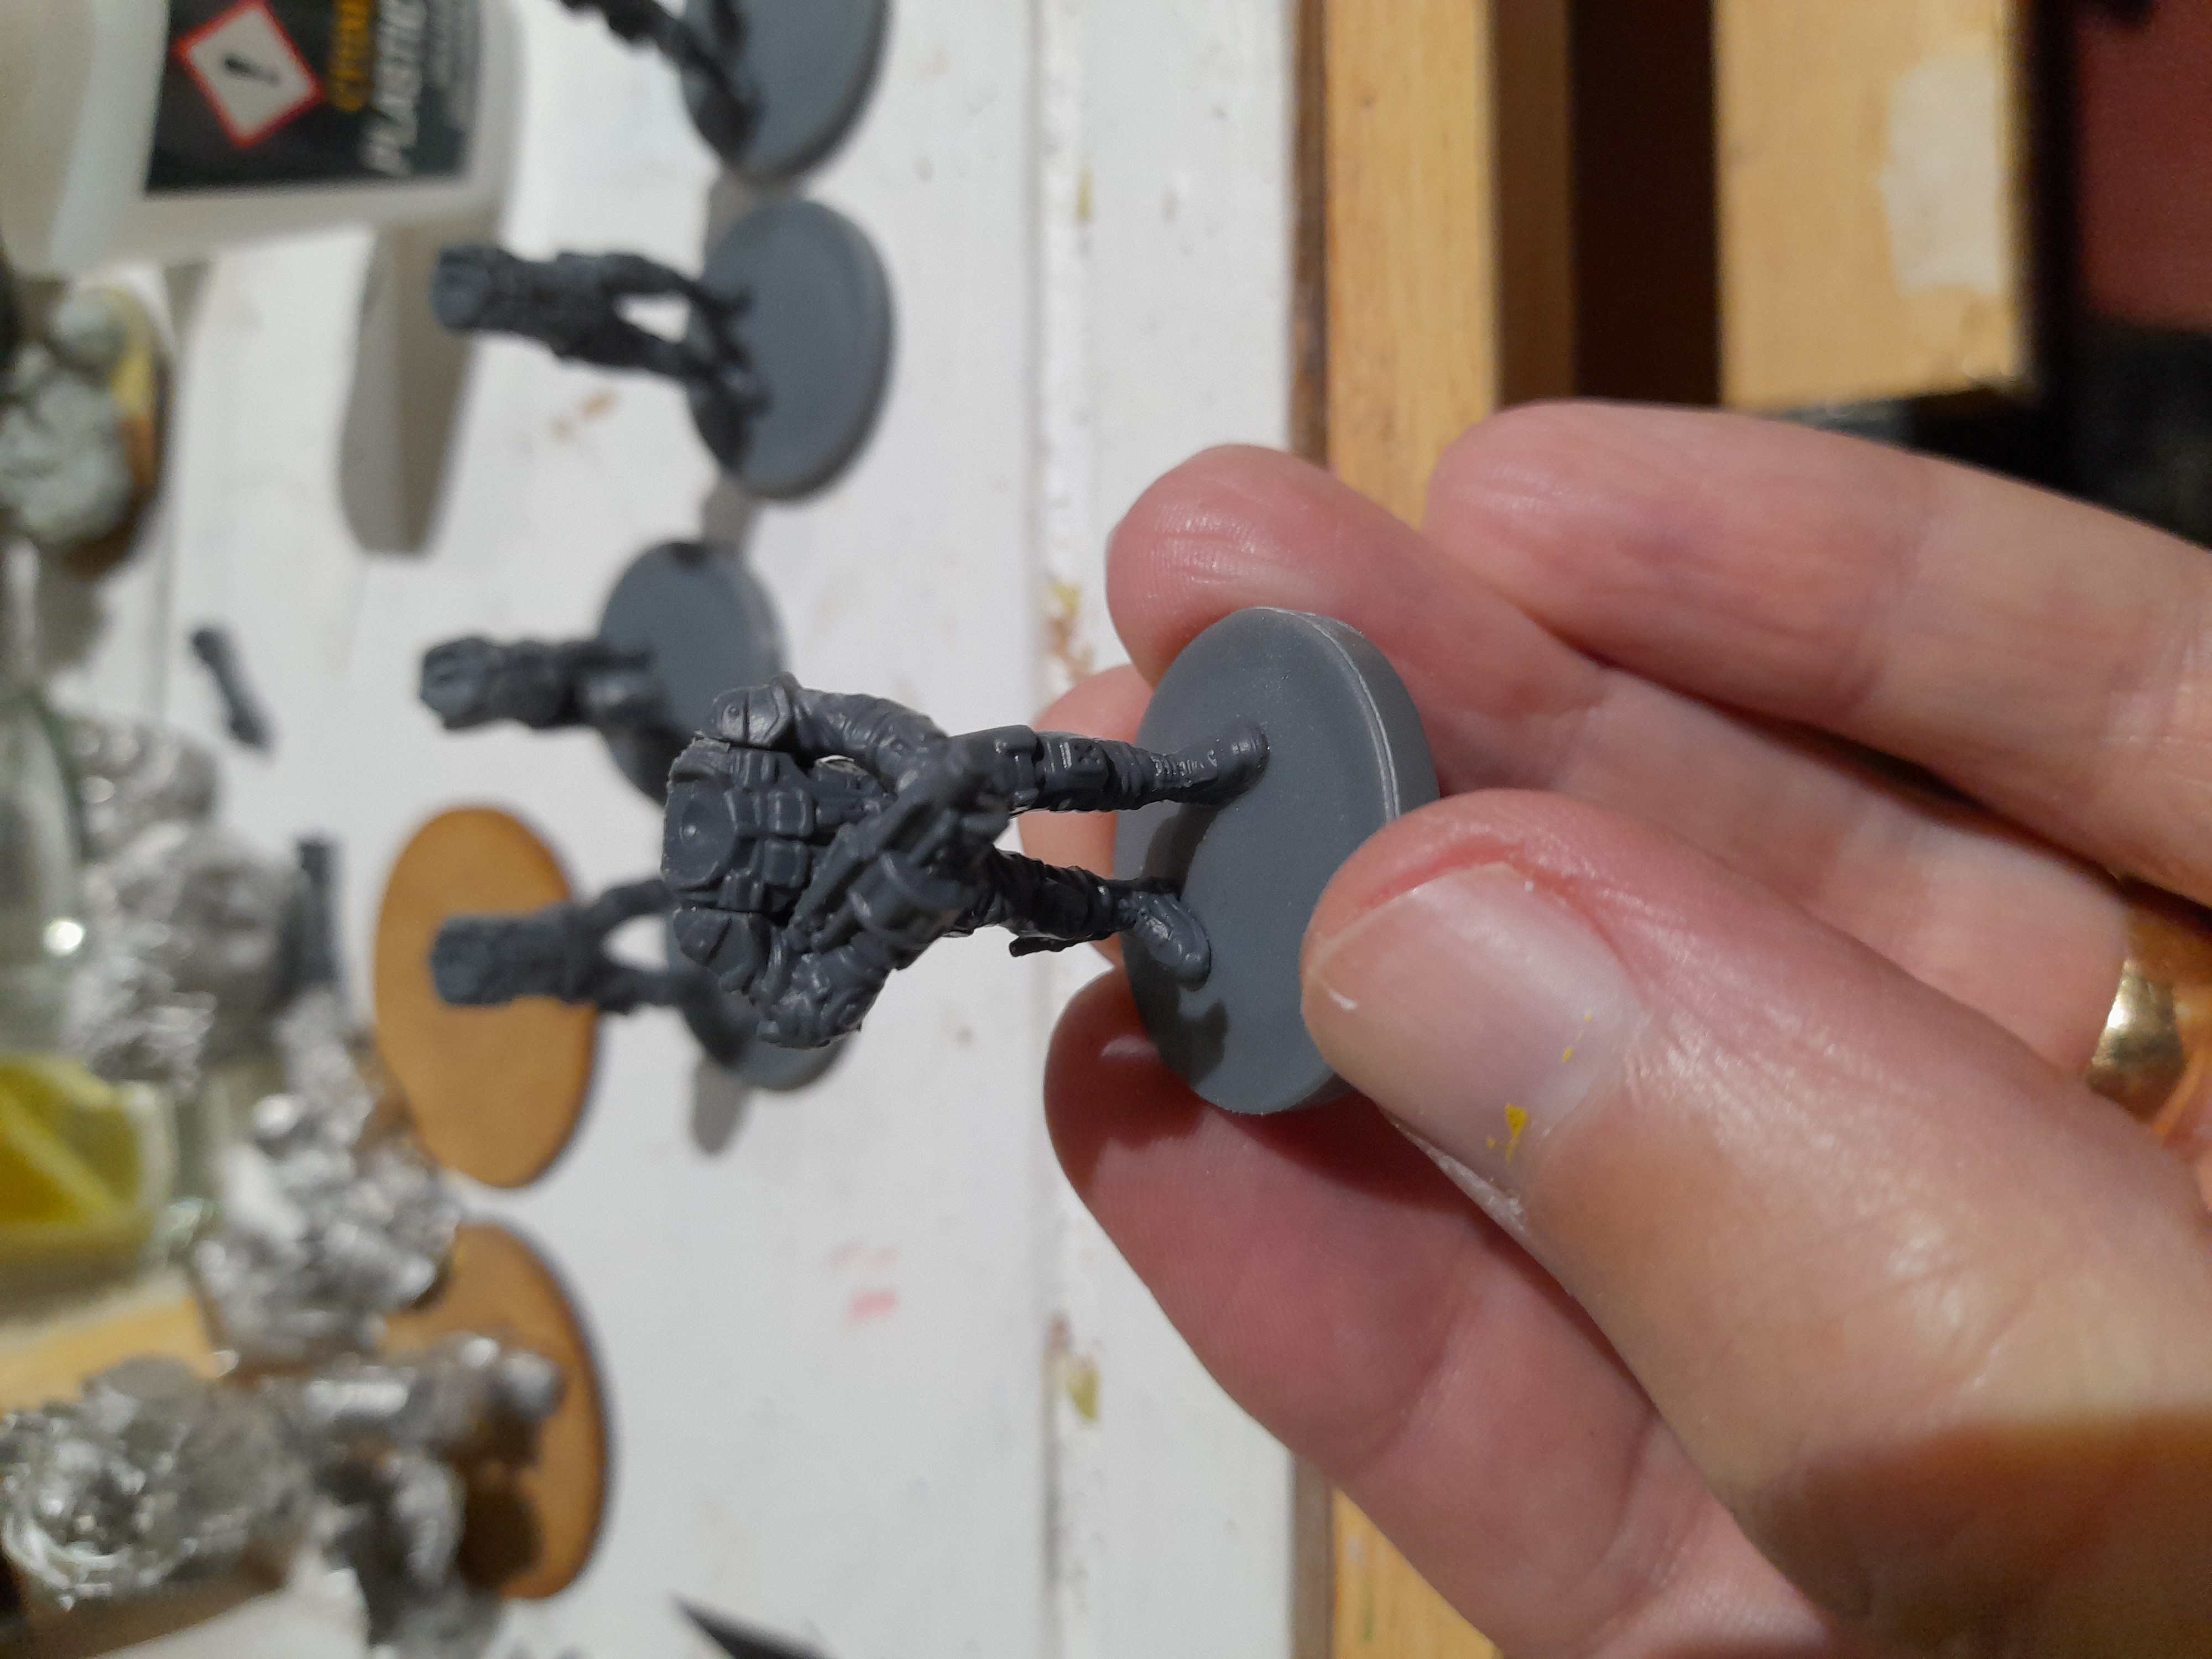
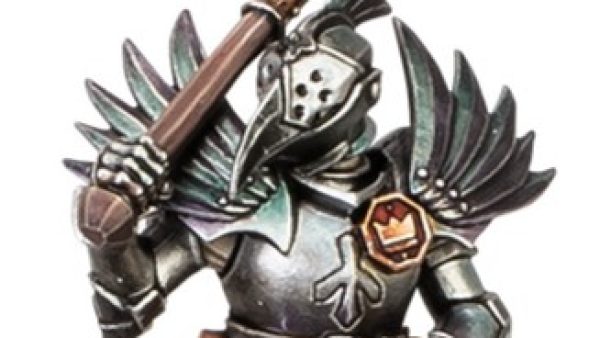
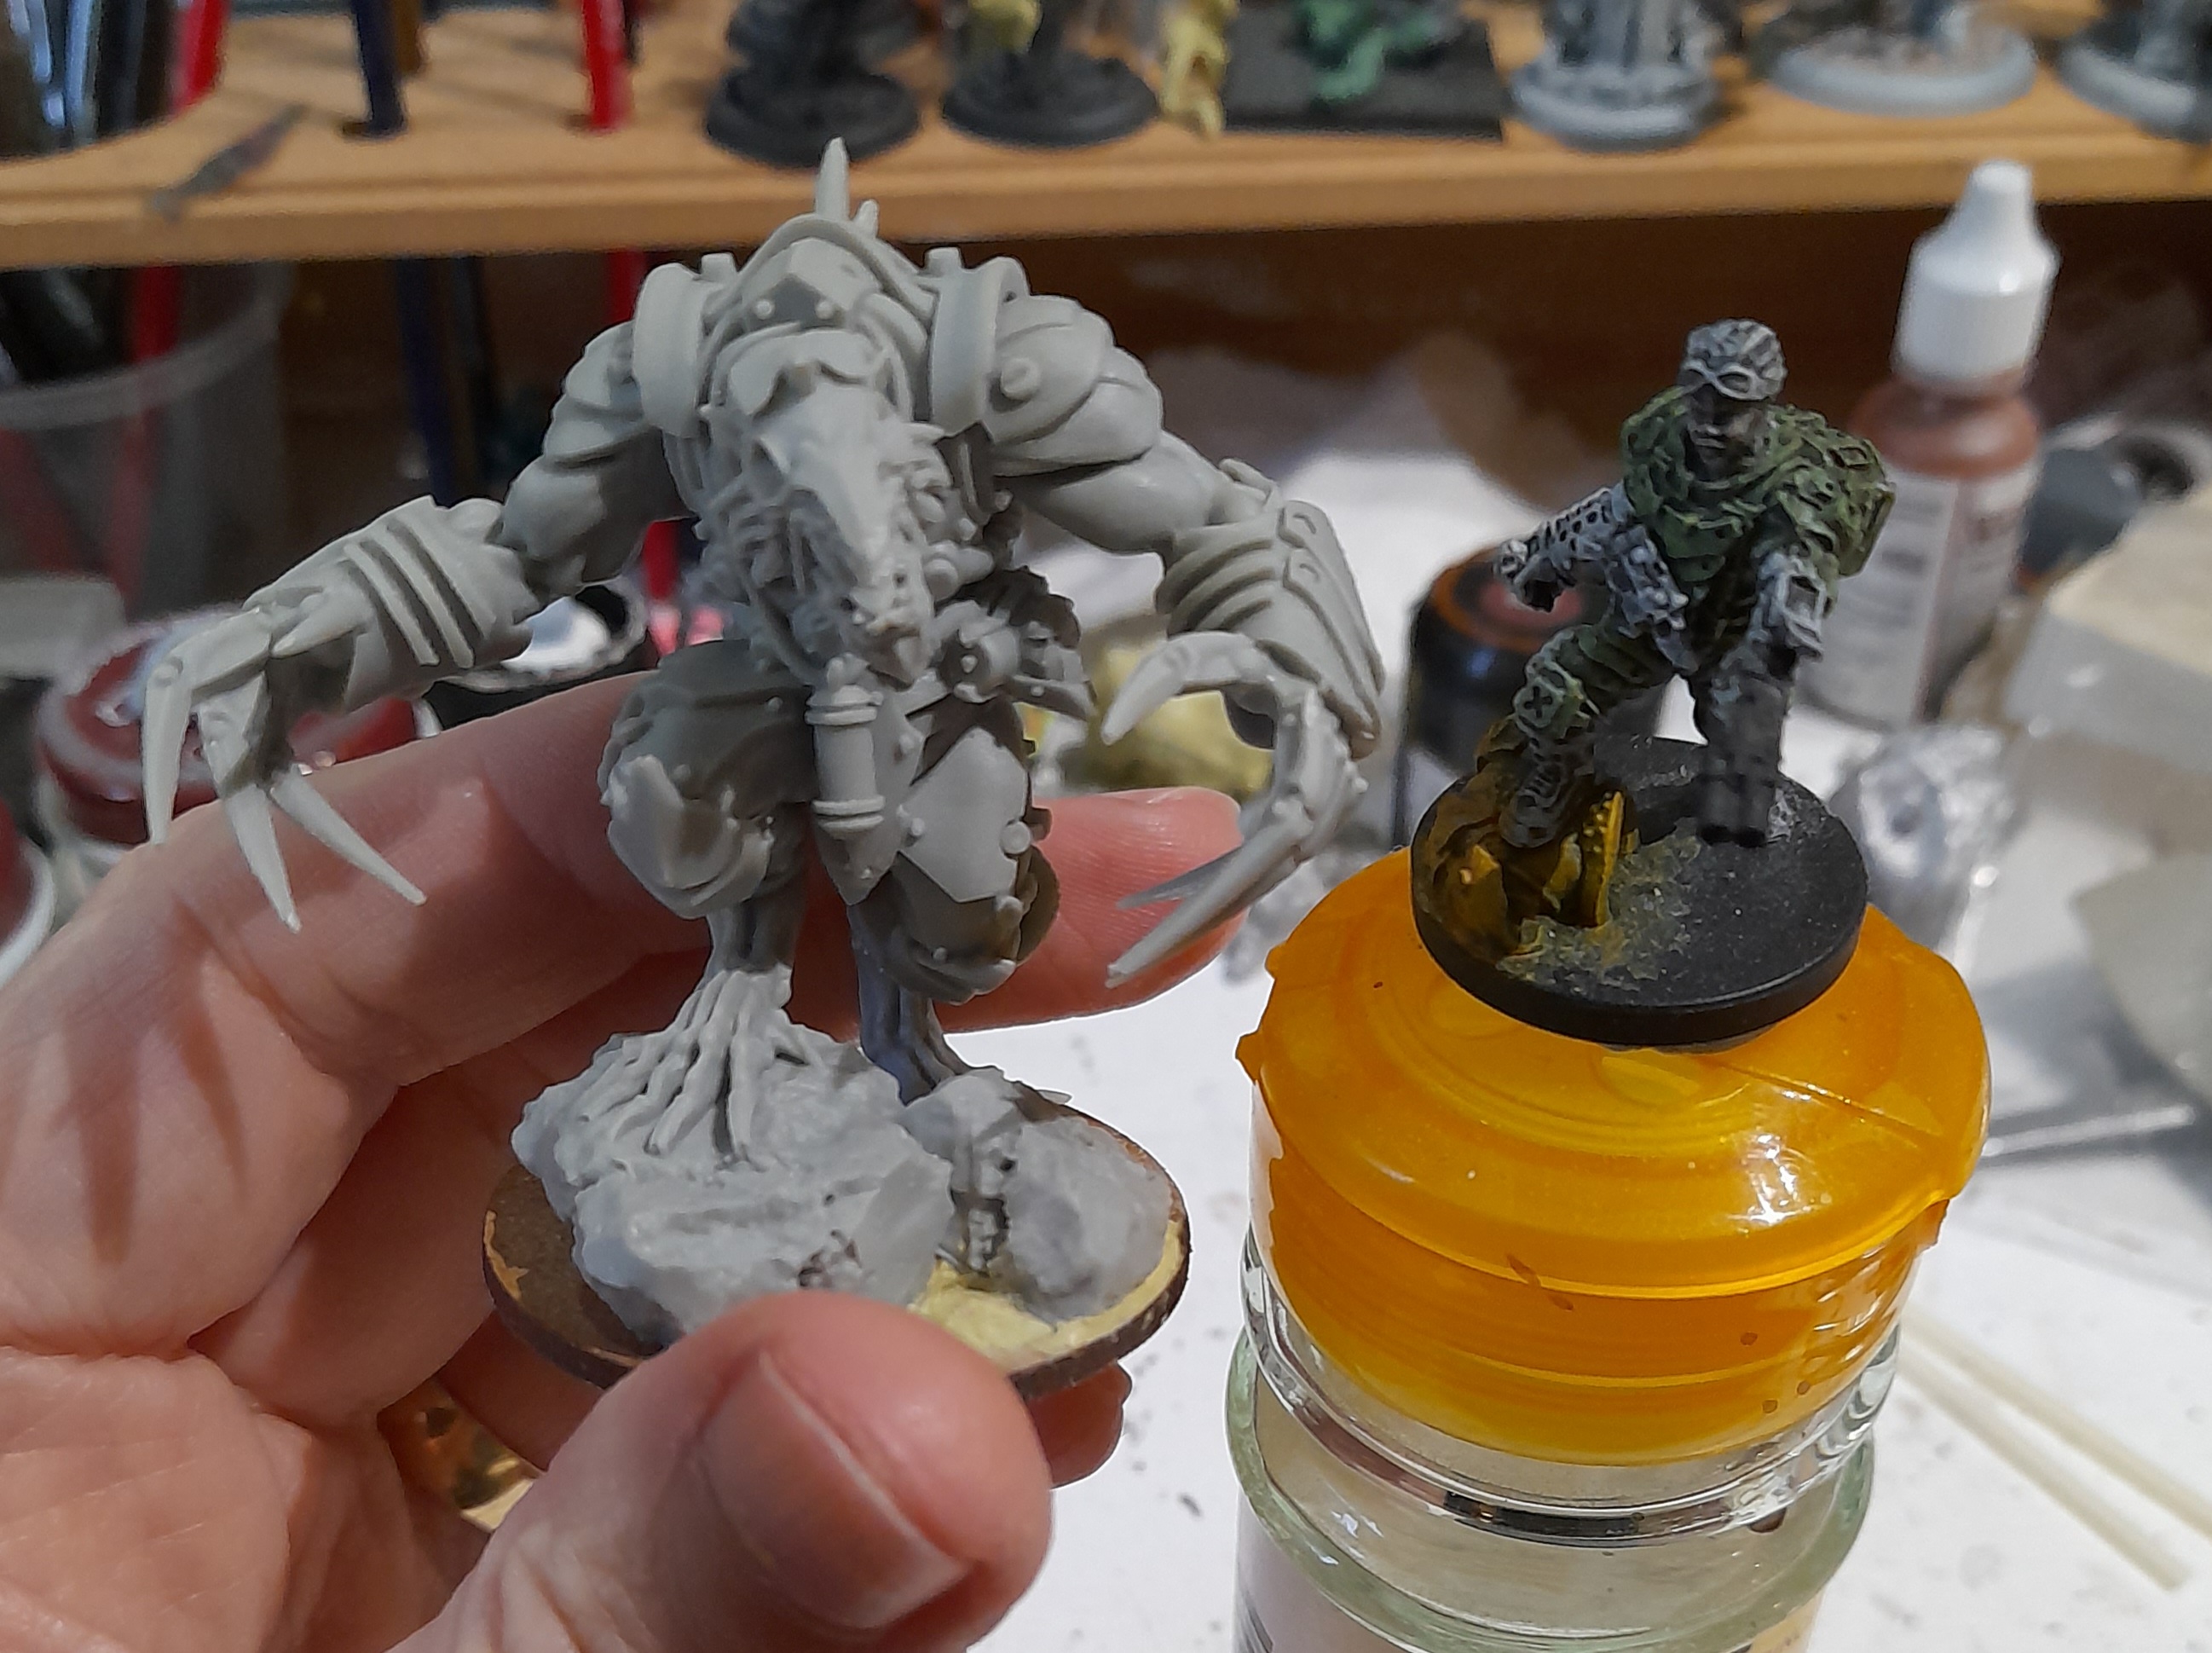
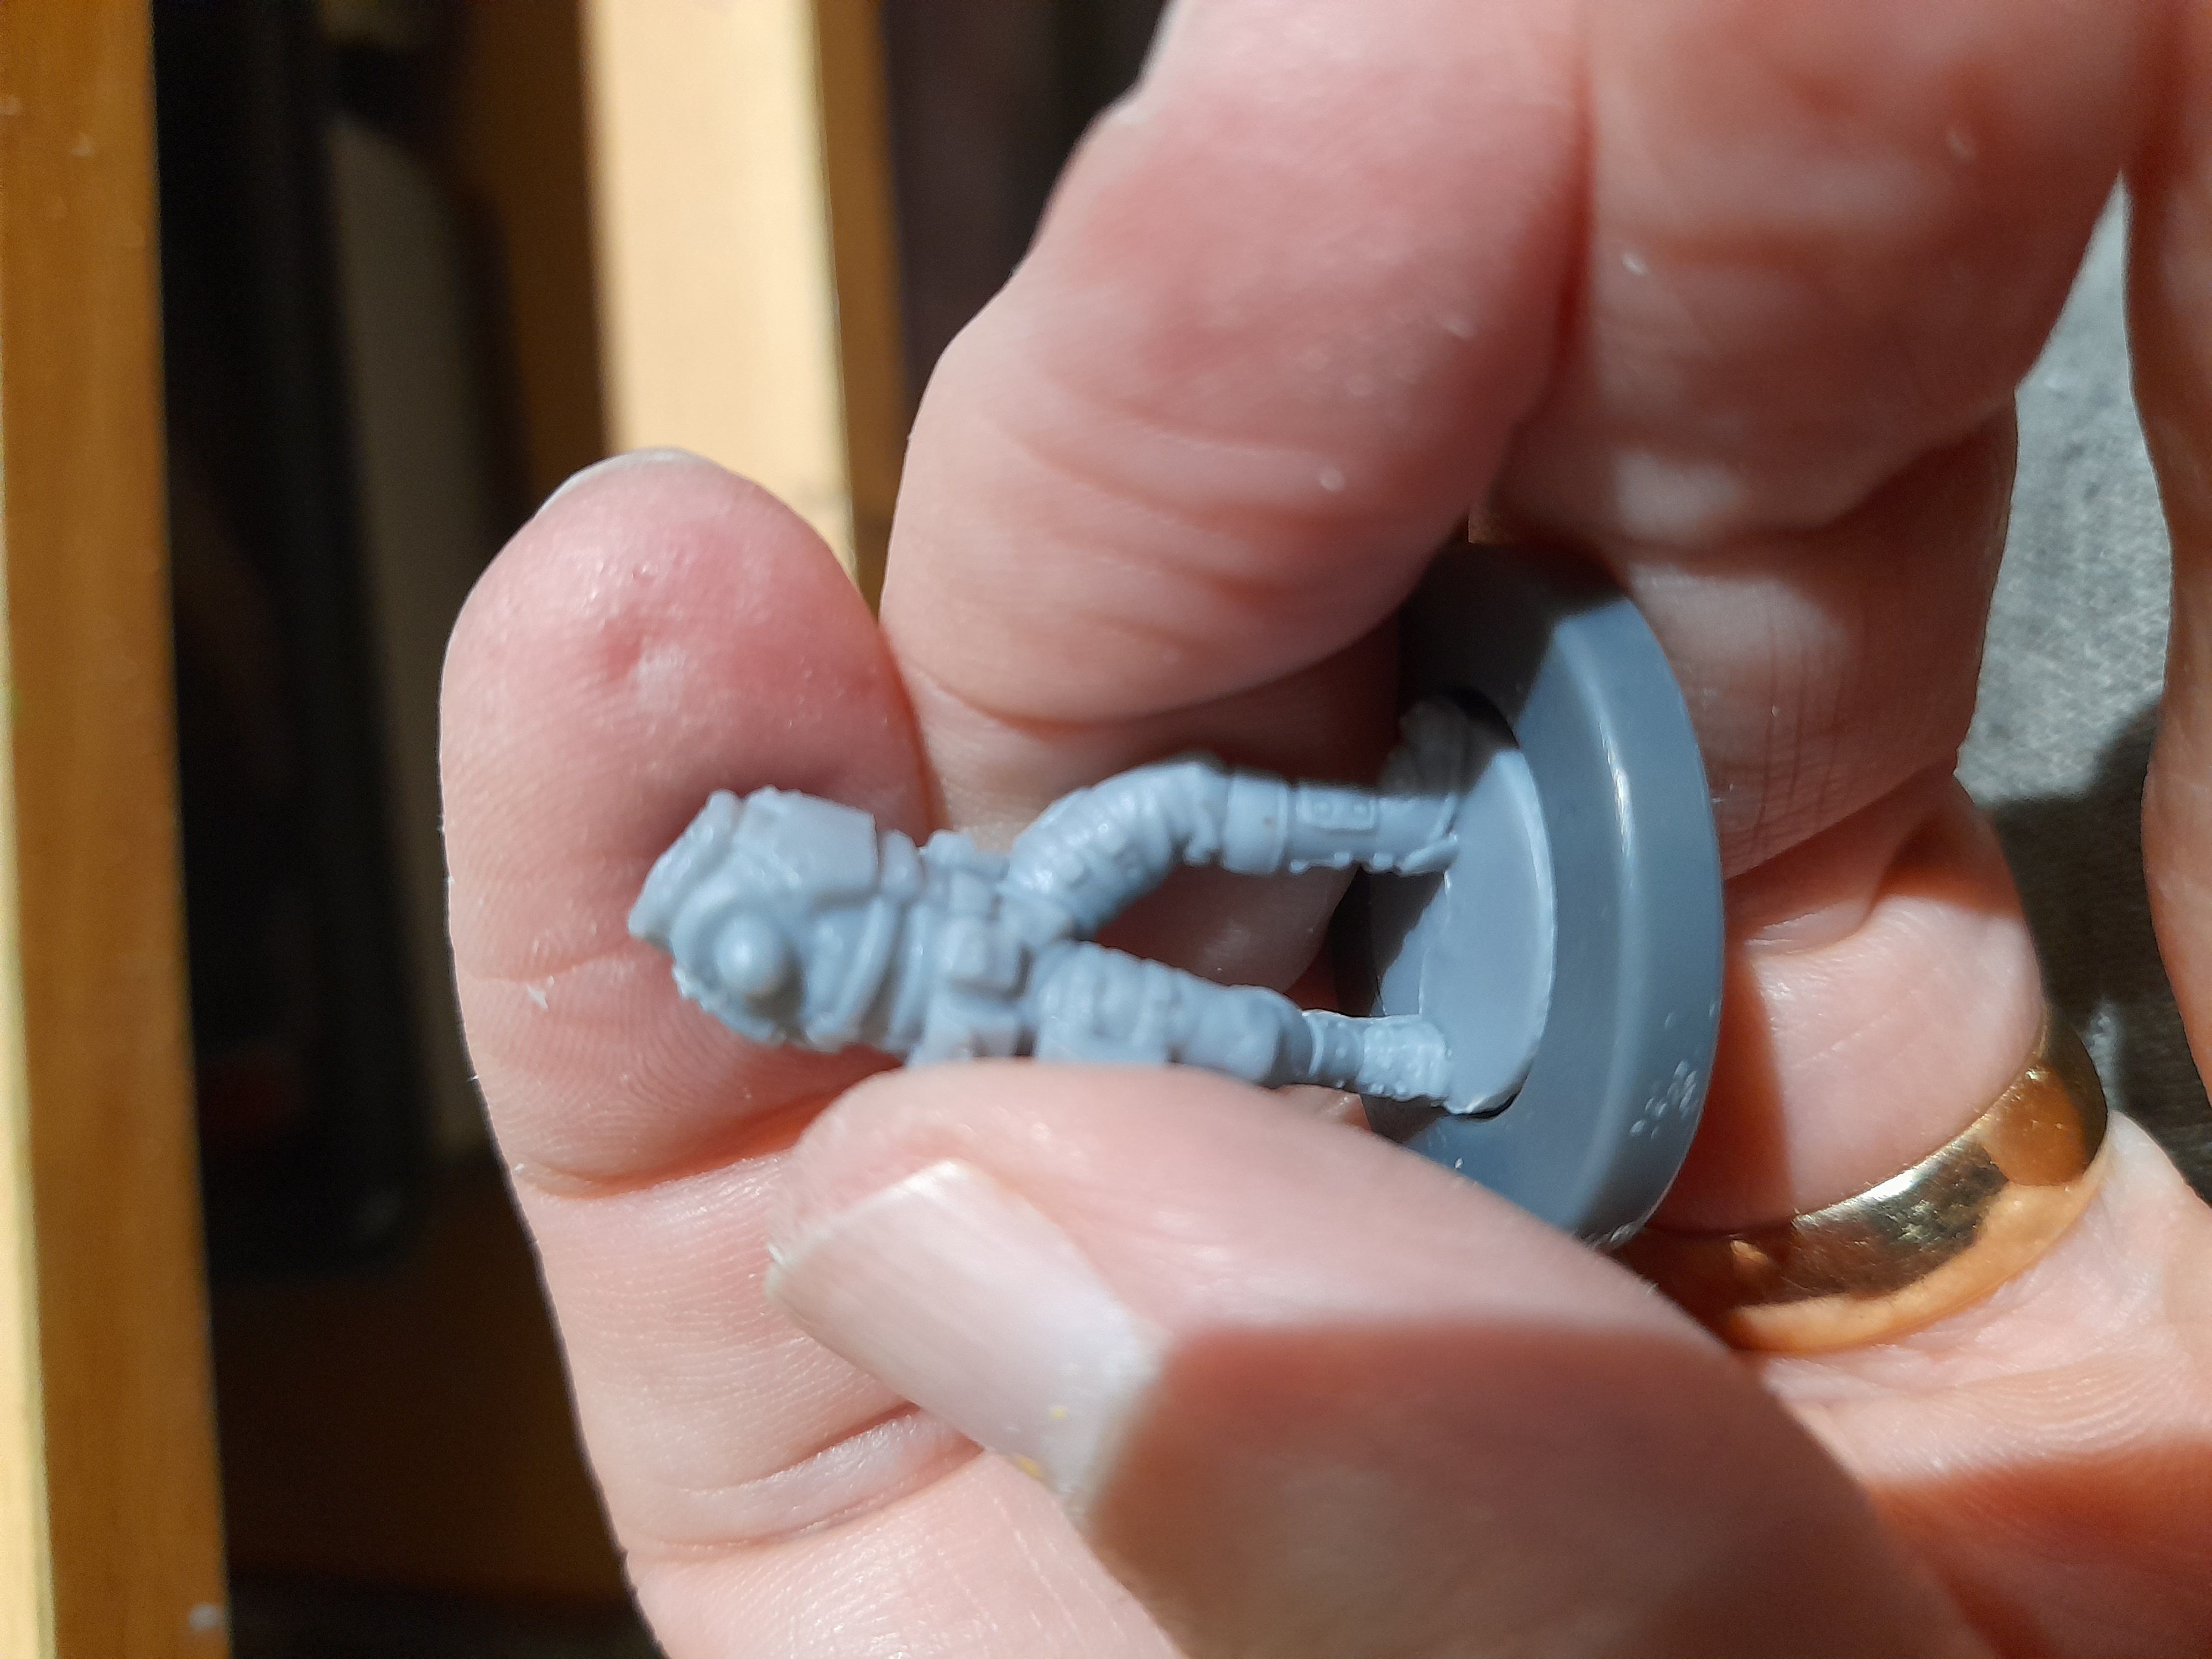
I then put together some Rangers (as I really like the helm and overall look… should have made more but not really viable for an actual list), followed by coming back to the restic models.
There were three designs of torso, and three sets of laser rifle arms. I started out by just putting three troopers with laser rifle together. Then I knew I would want more, so planned out another three.
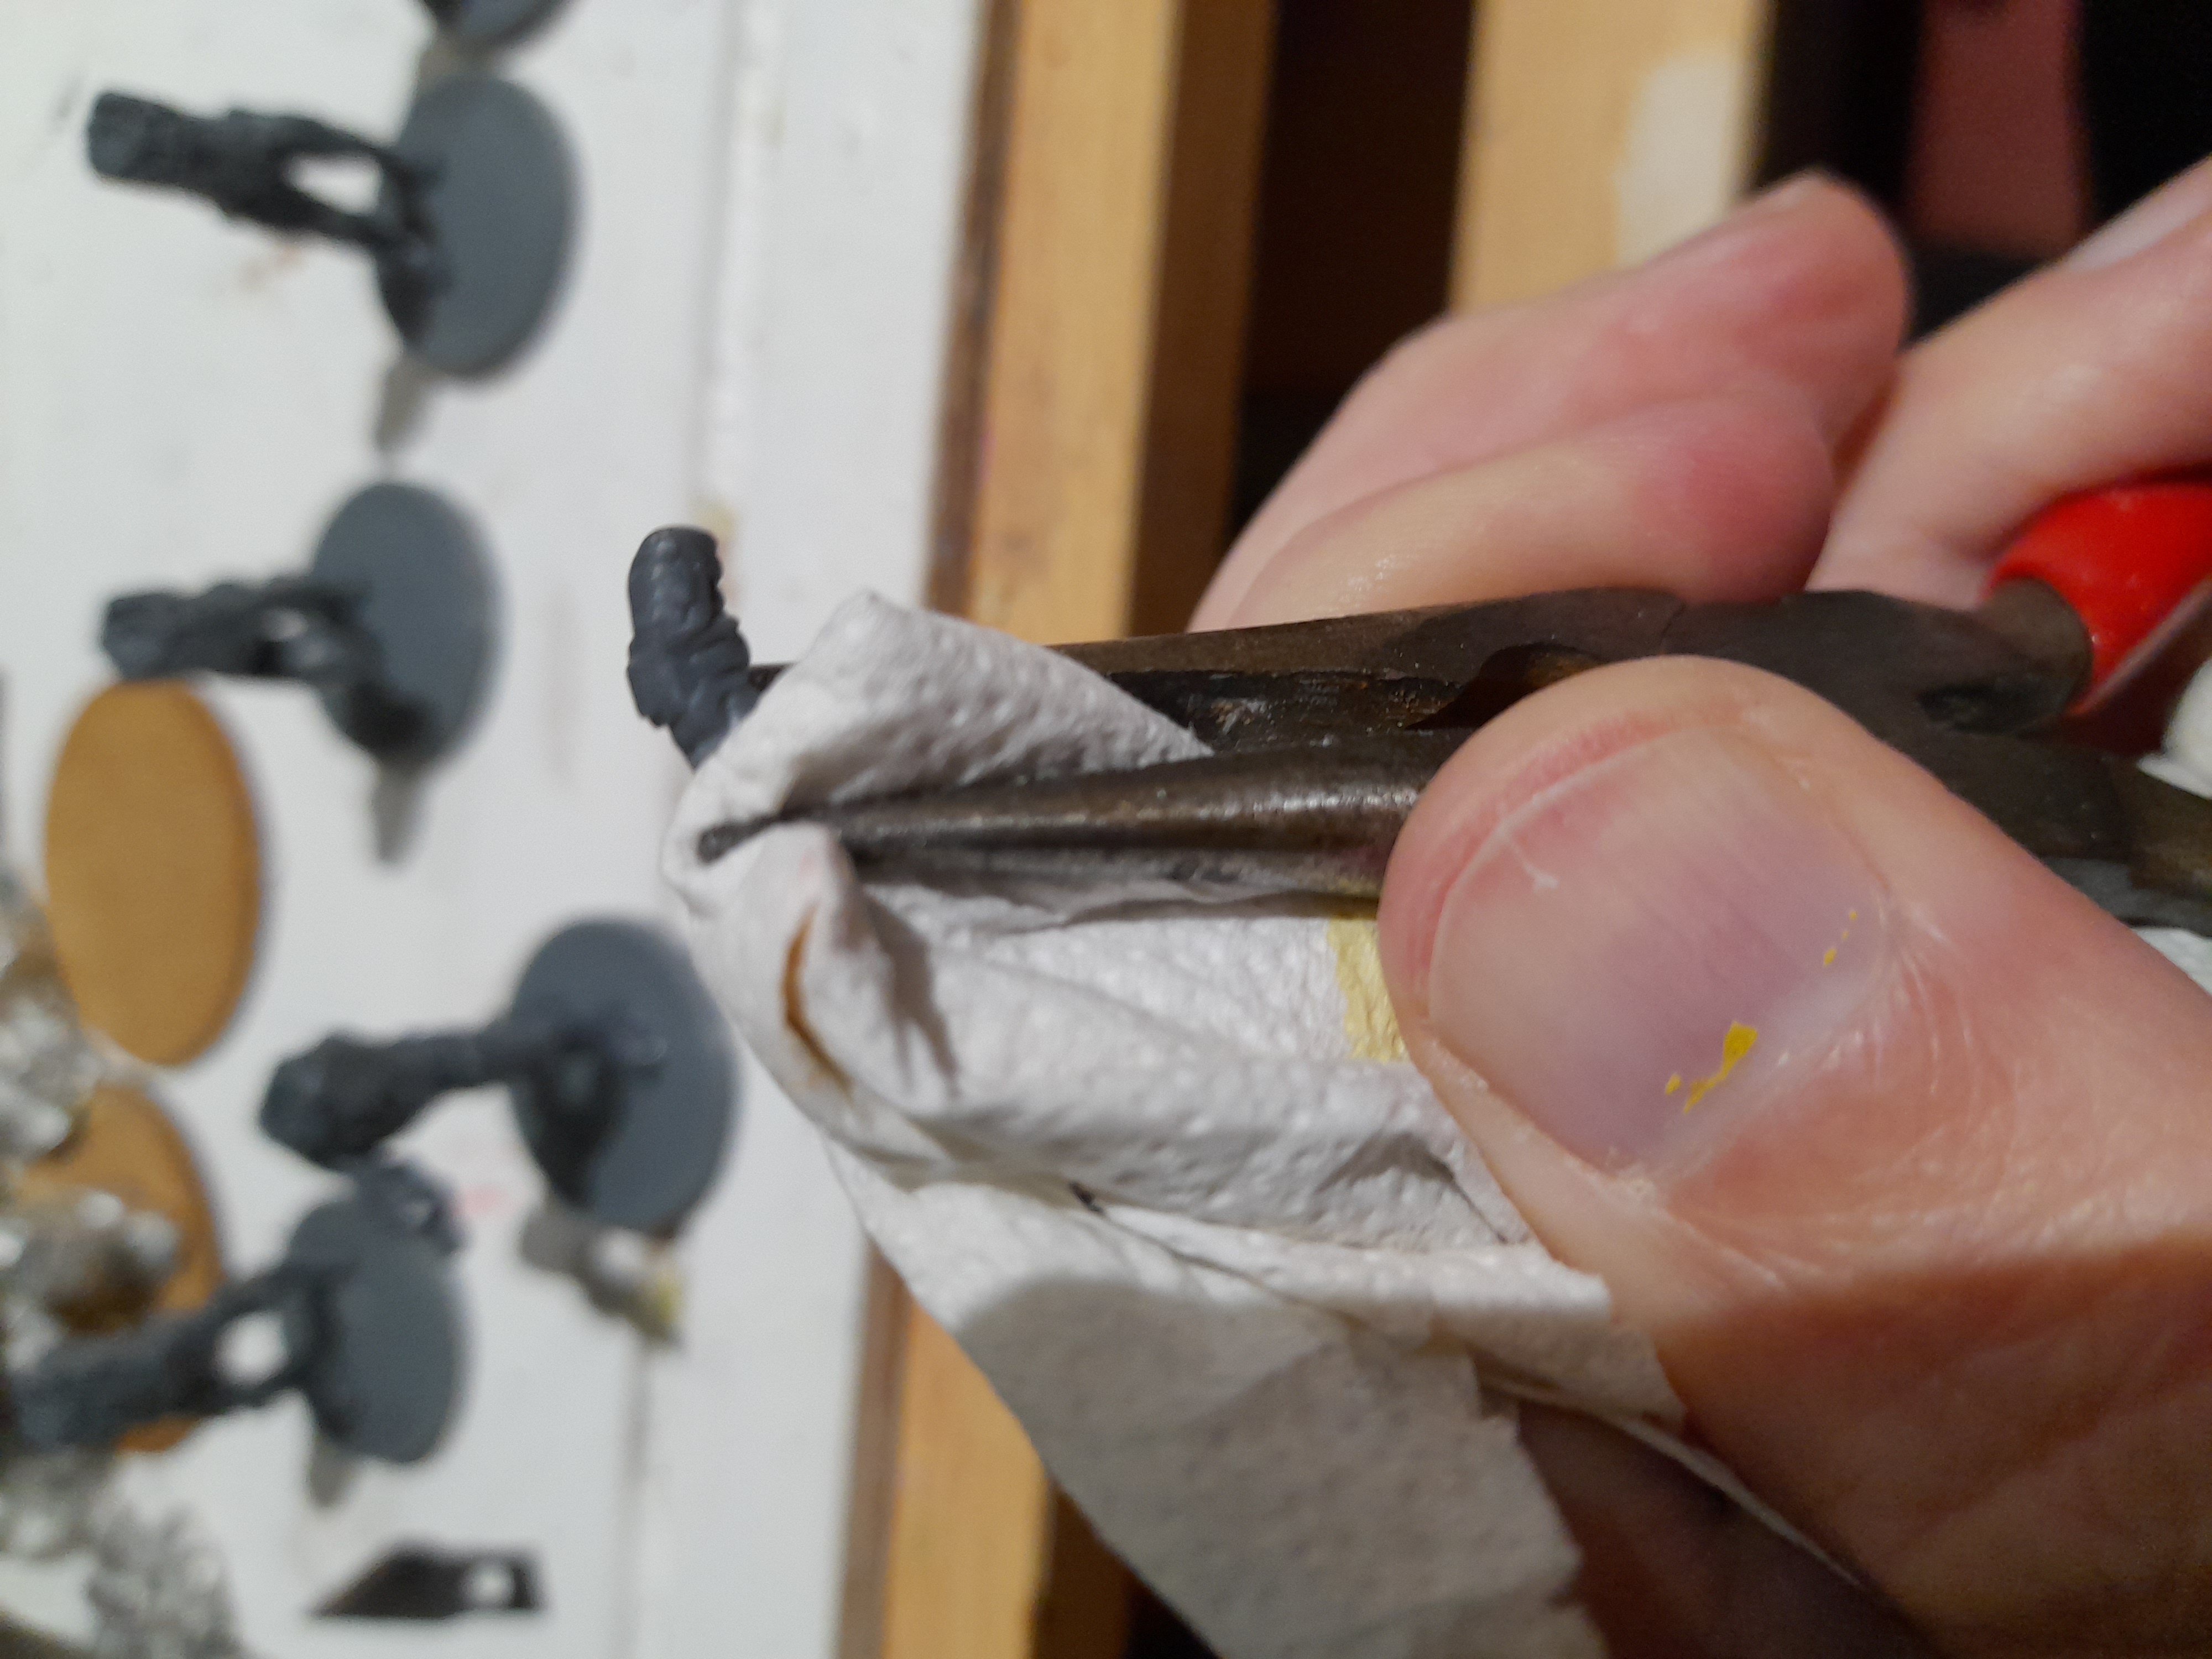
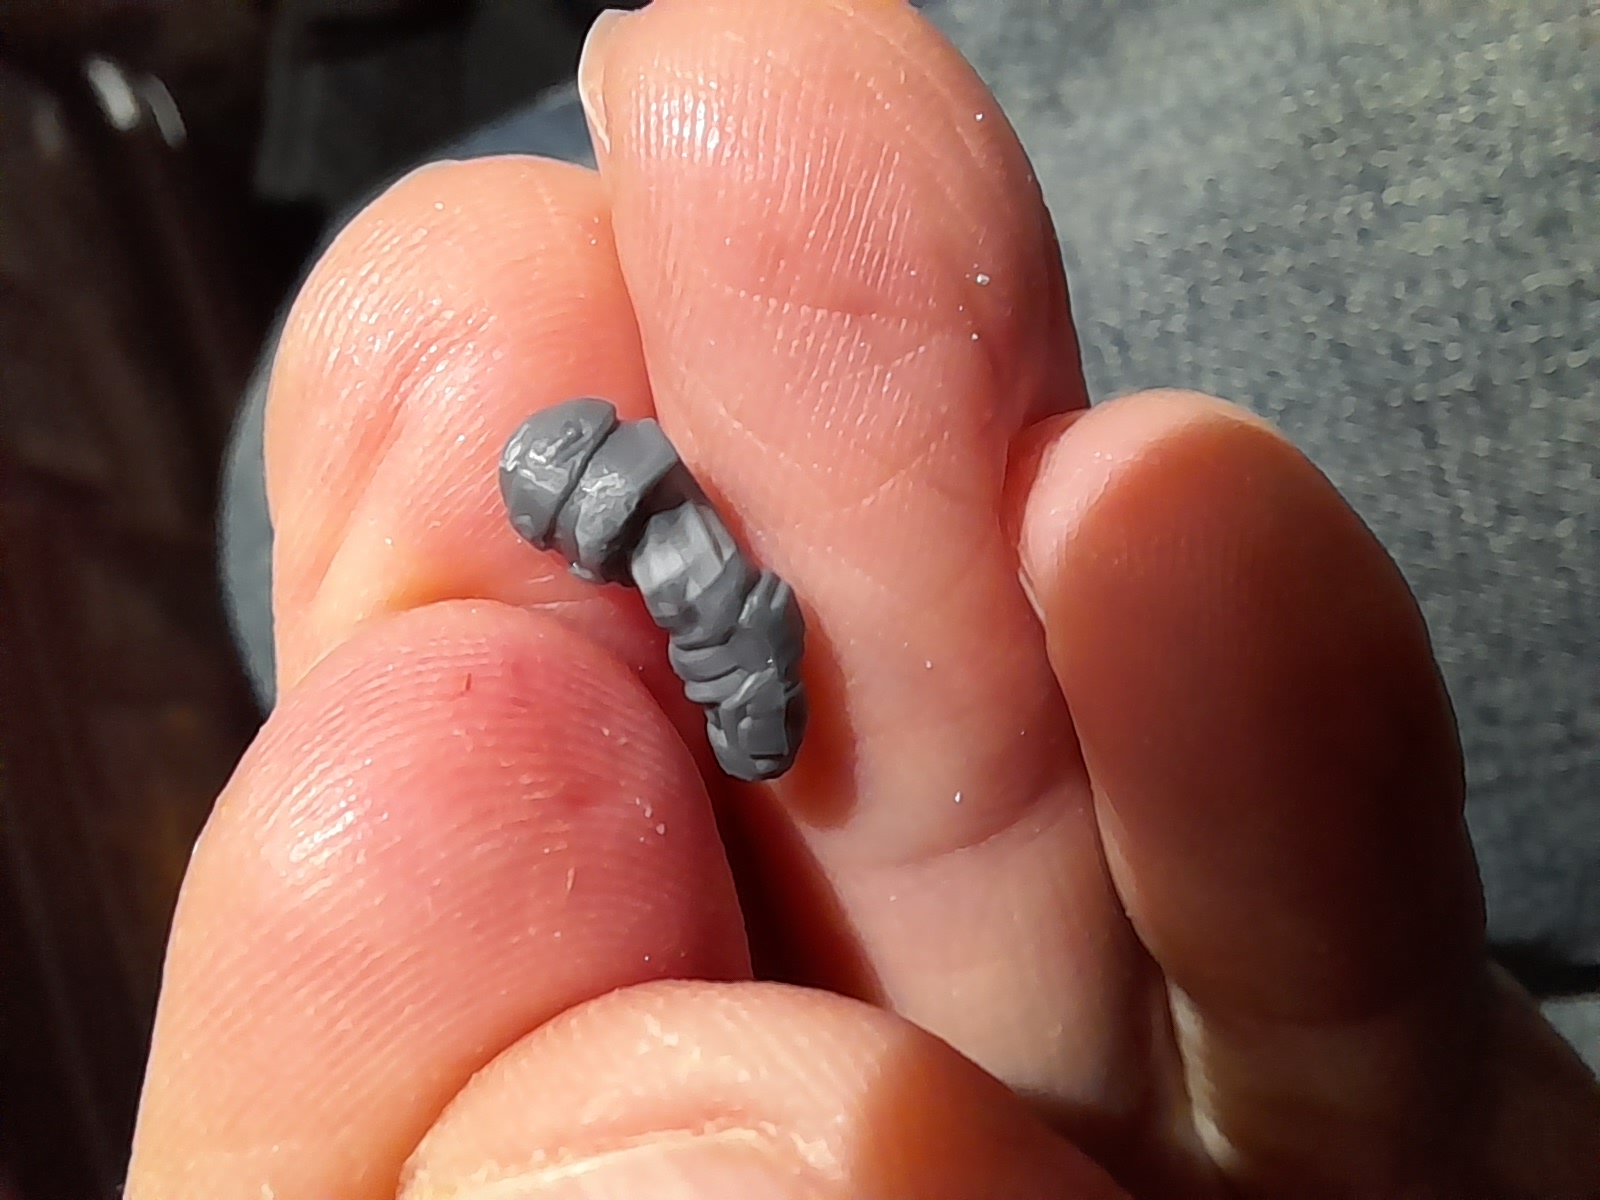
Initially I was just going to build them as is, but make sure they had different arms to the previous matching torso – but then I realised I had plenty of plastic parts spare, so did some test fits. Due to the mounting point on the restic bodies I had to bore out a socket on the plastic arms. Craft knife time…
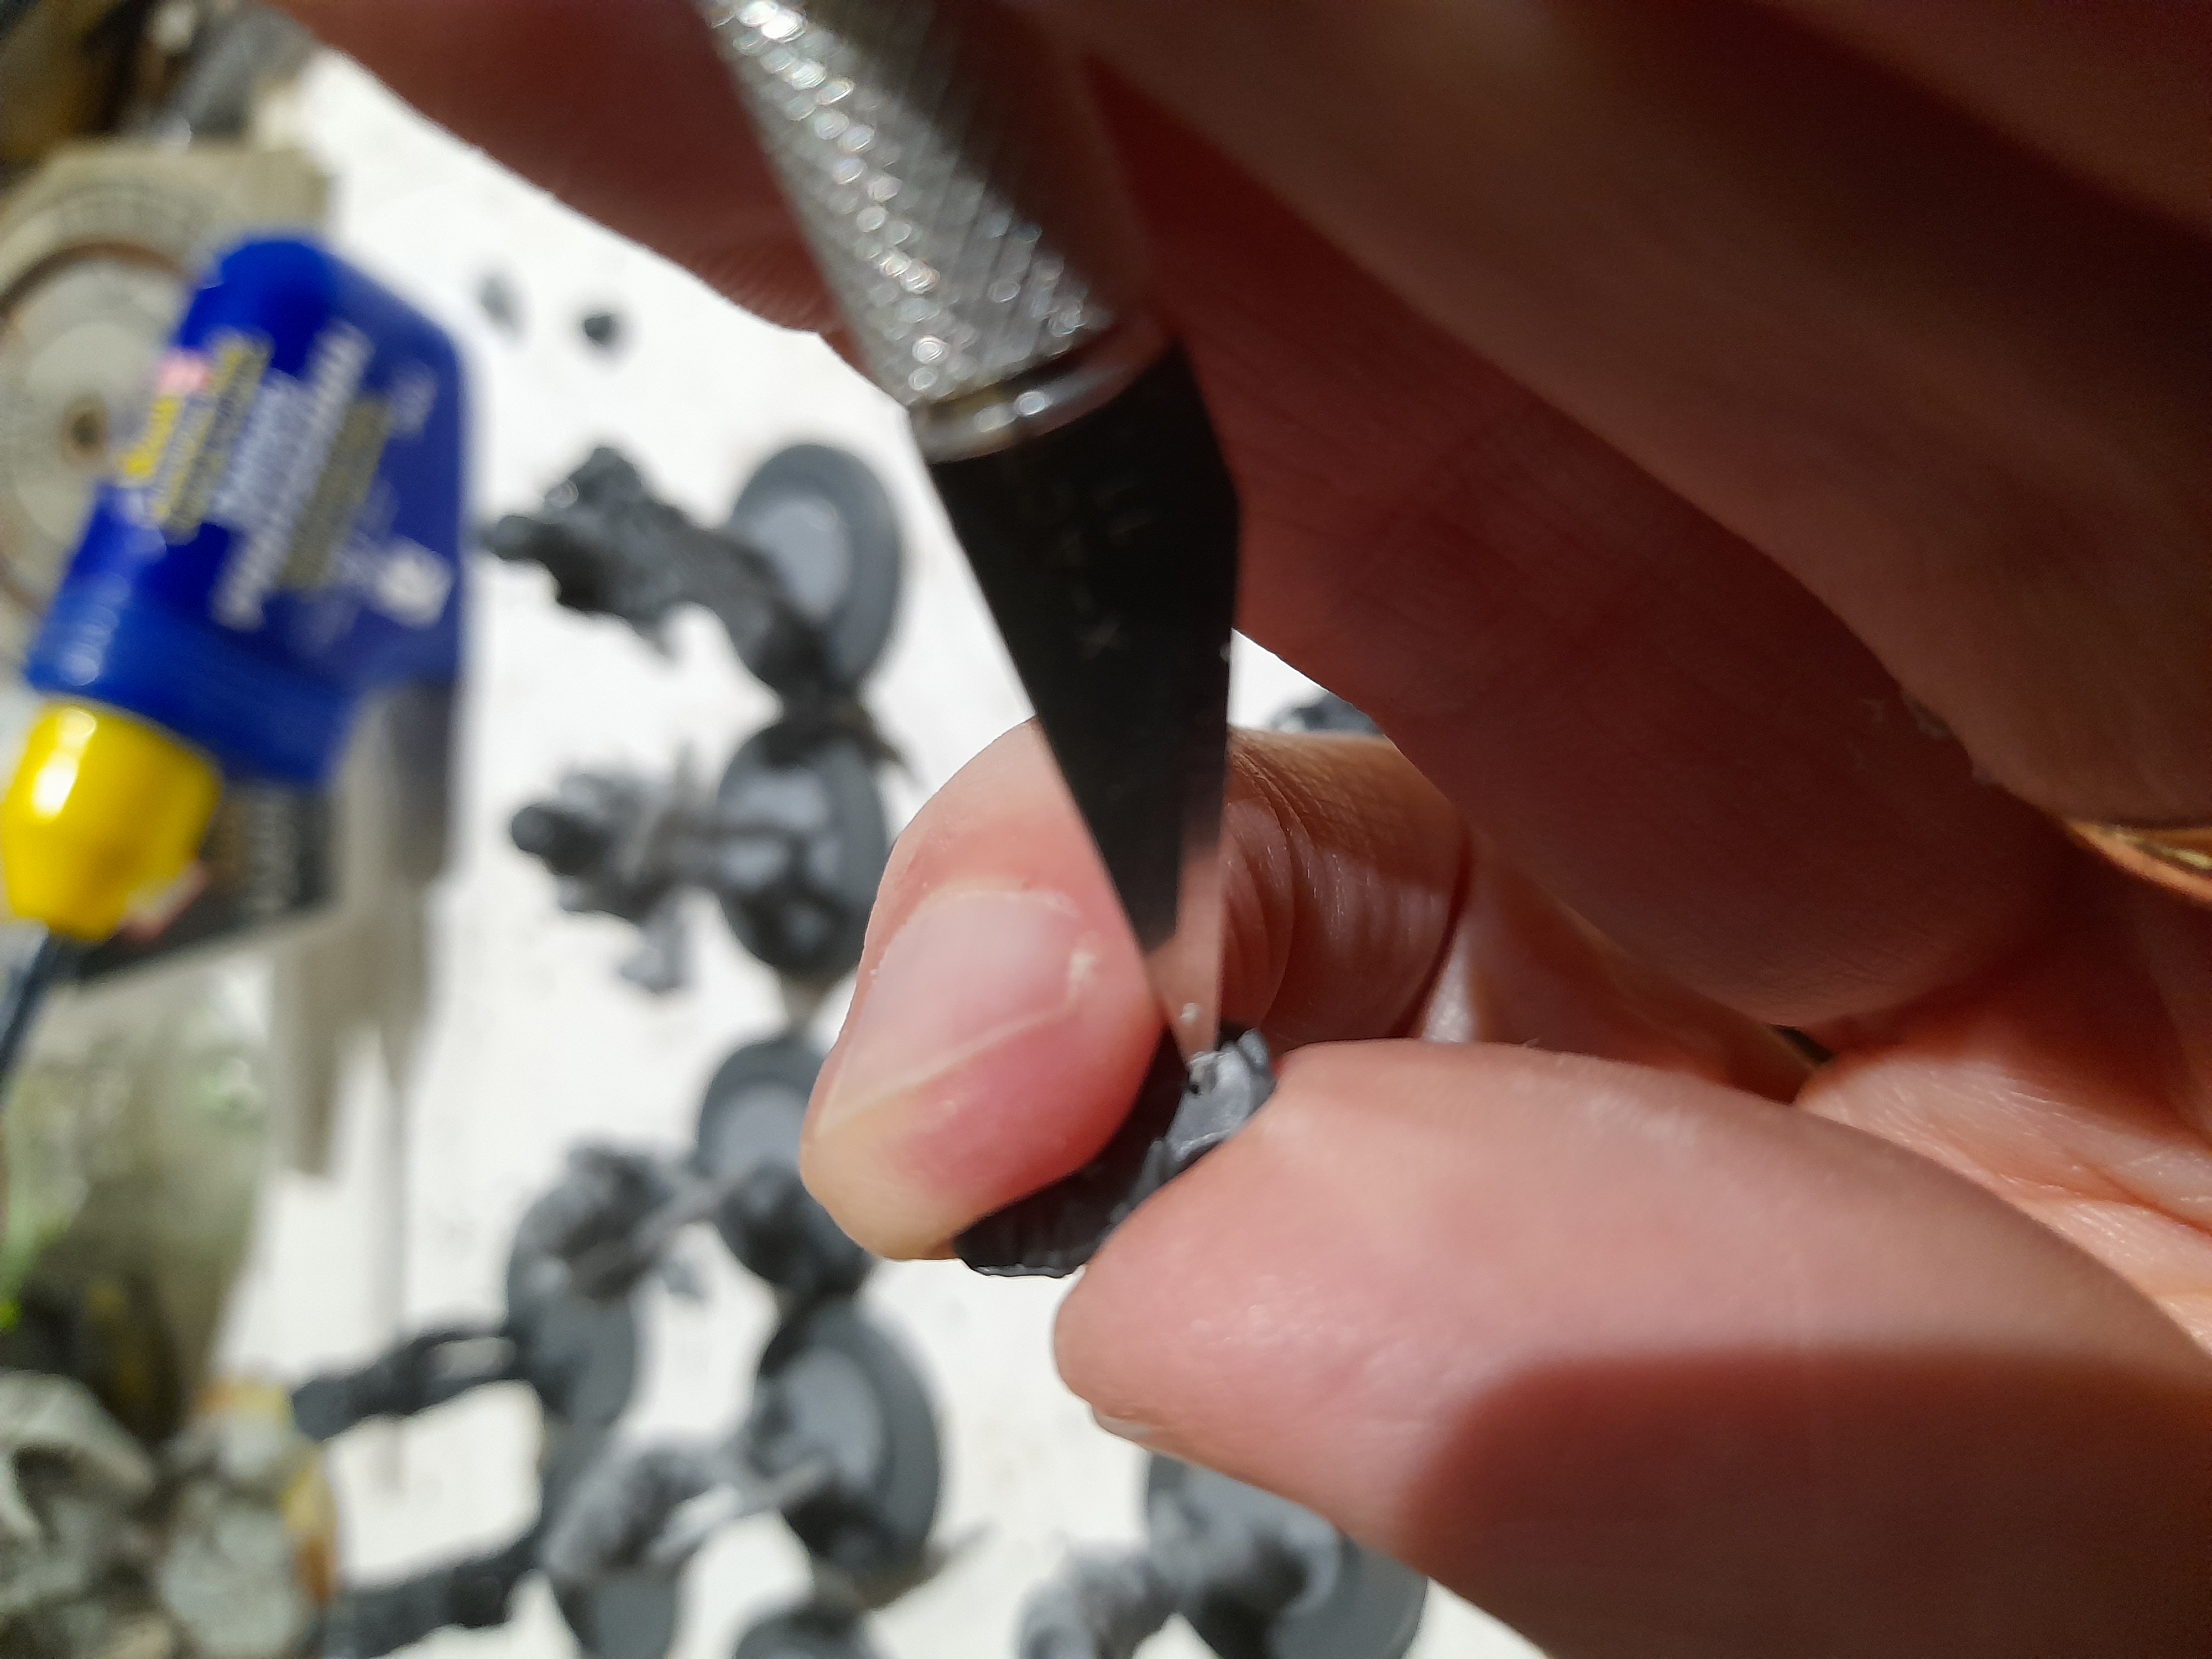

A few minor conversions later (the heads fit pretty well already) and the restic bodies had a bit of variety between them. The guns are a little thinner on the restic versions, but I think that once painted they will blend in well.
I also converted one of the rangers to have a different looking gun (possibly use as thermal rifle) by chopping up one of the pistols and sticking it under the barrel.


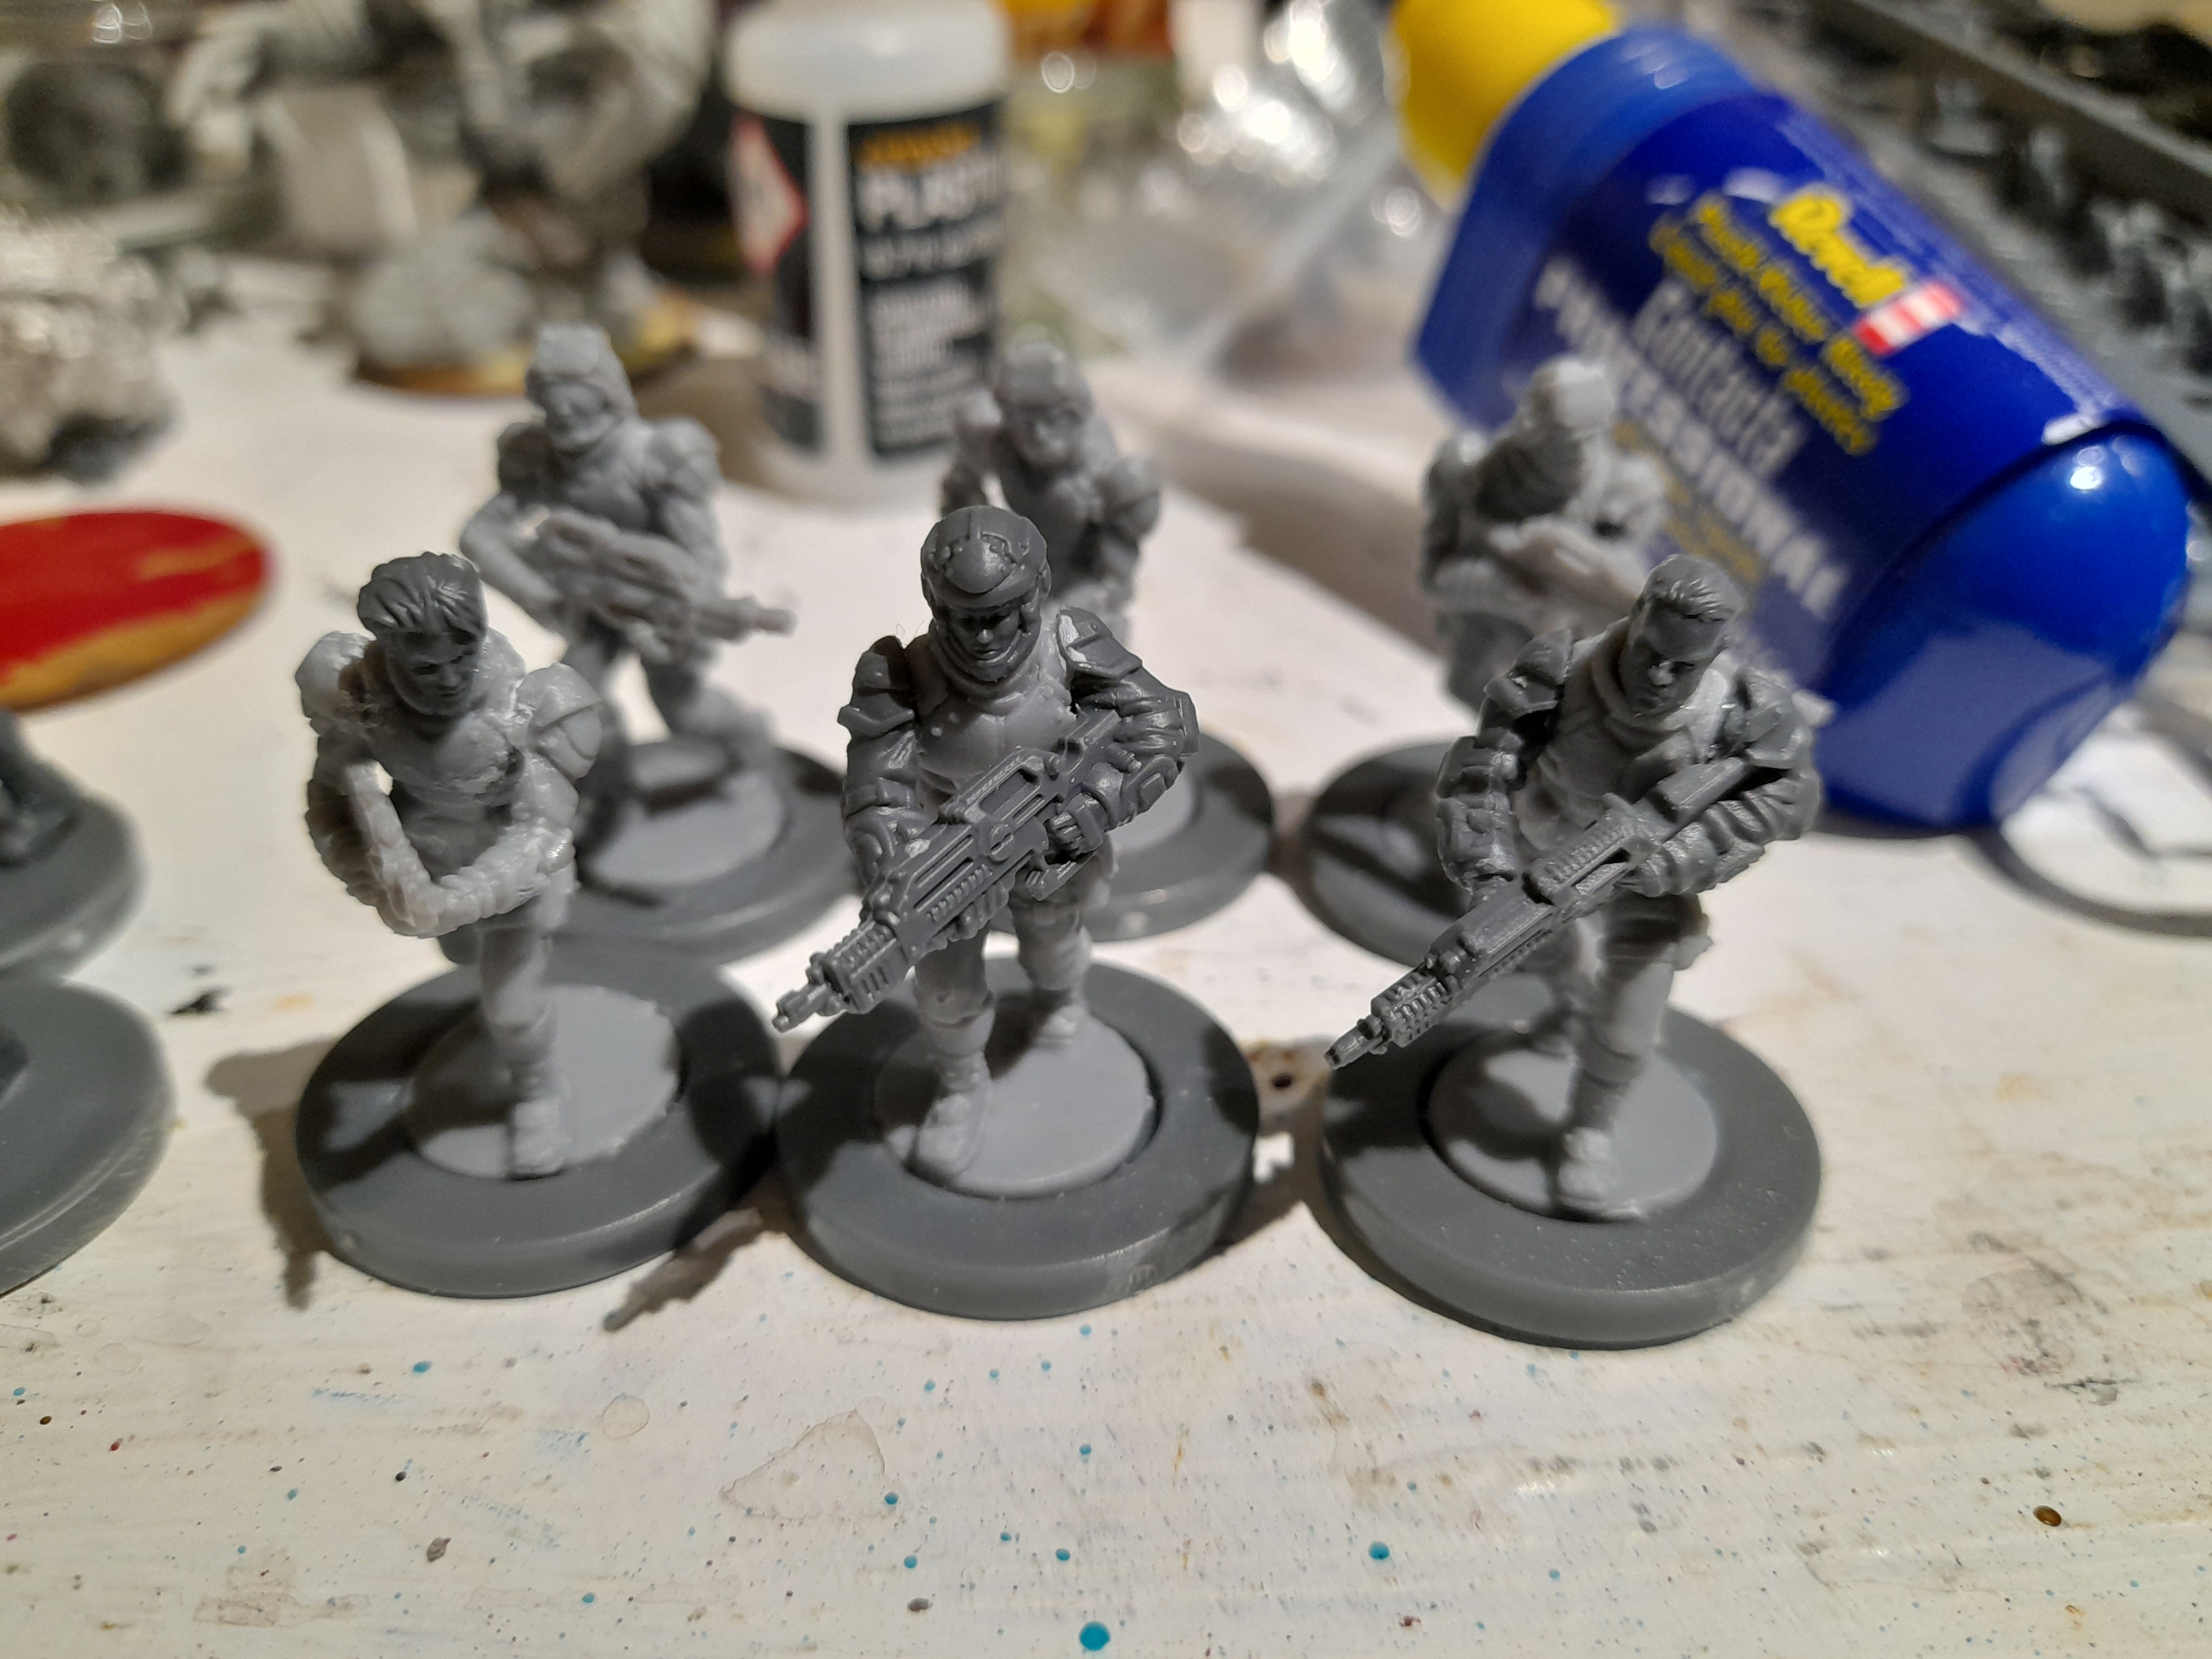
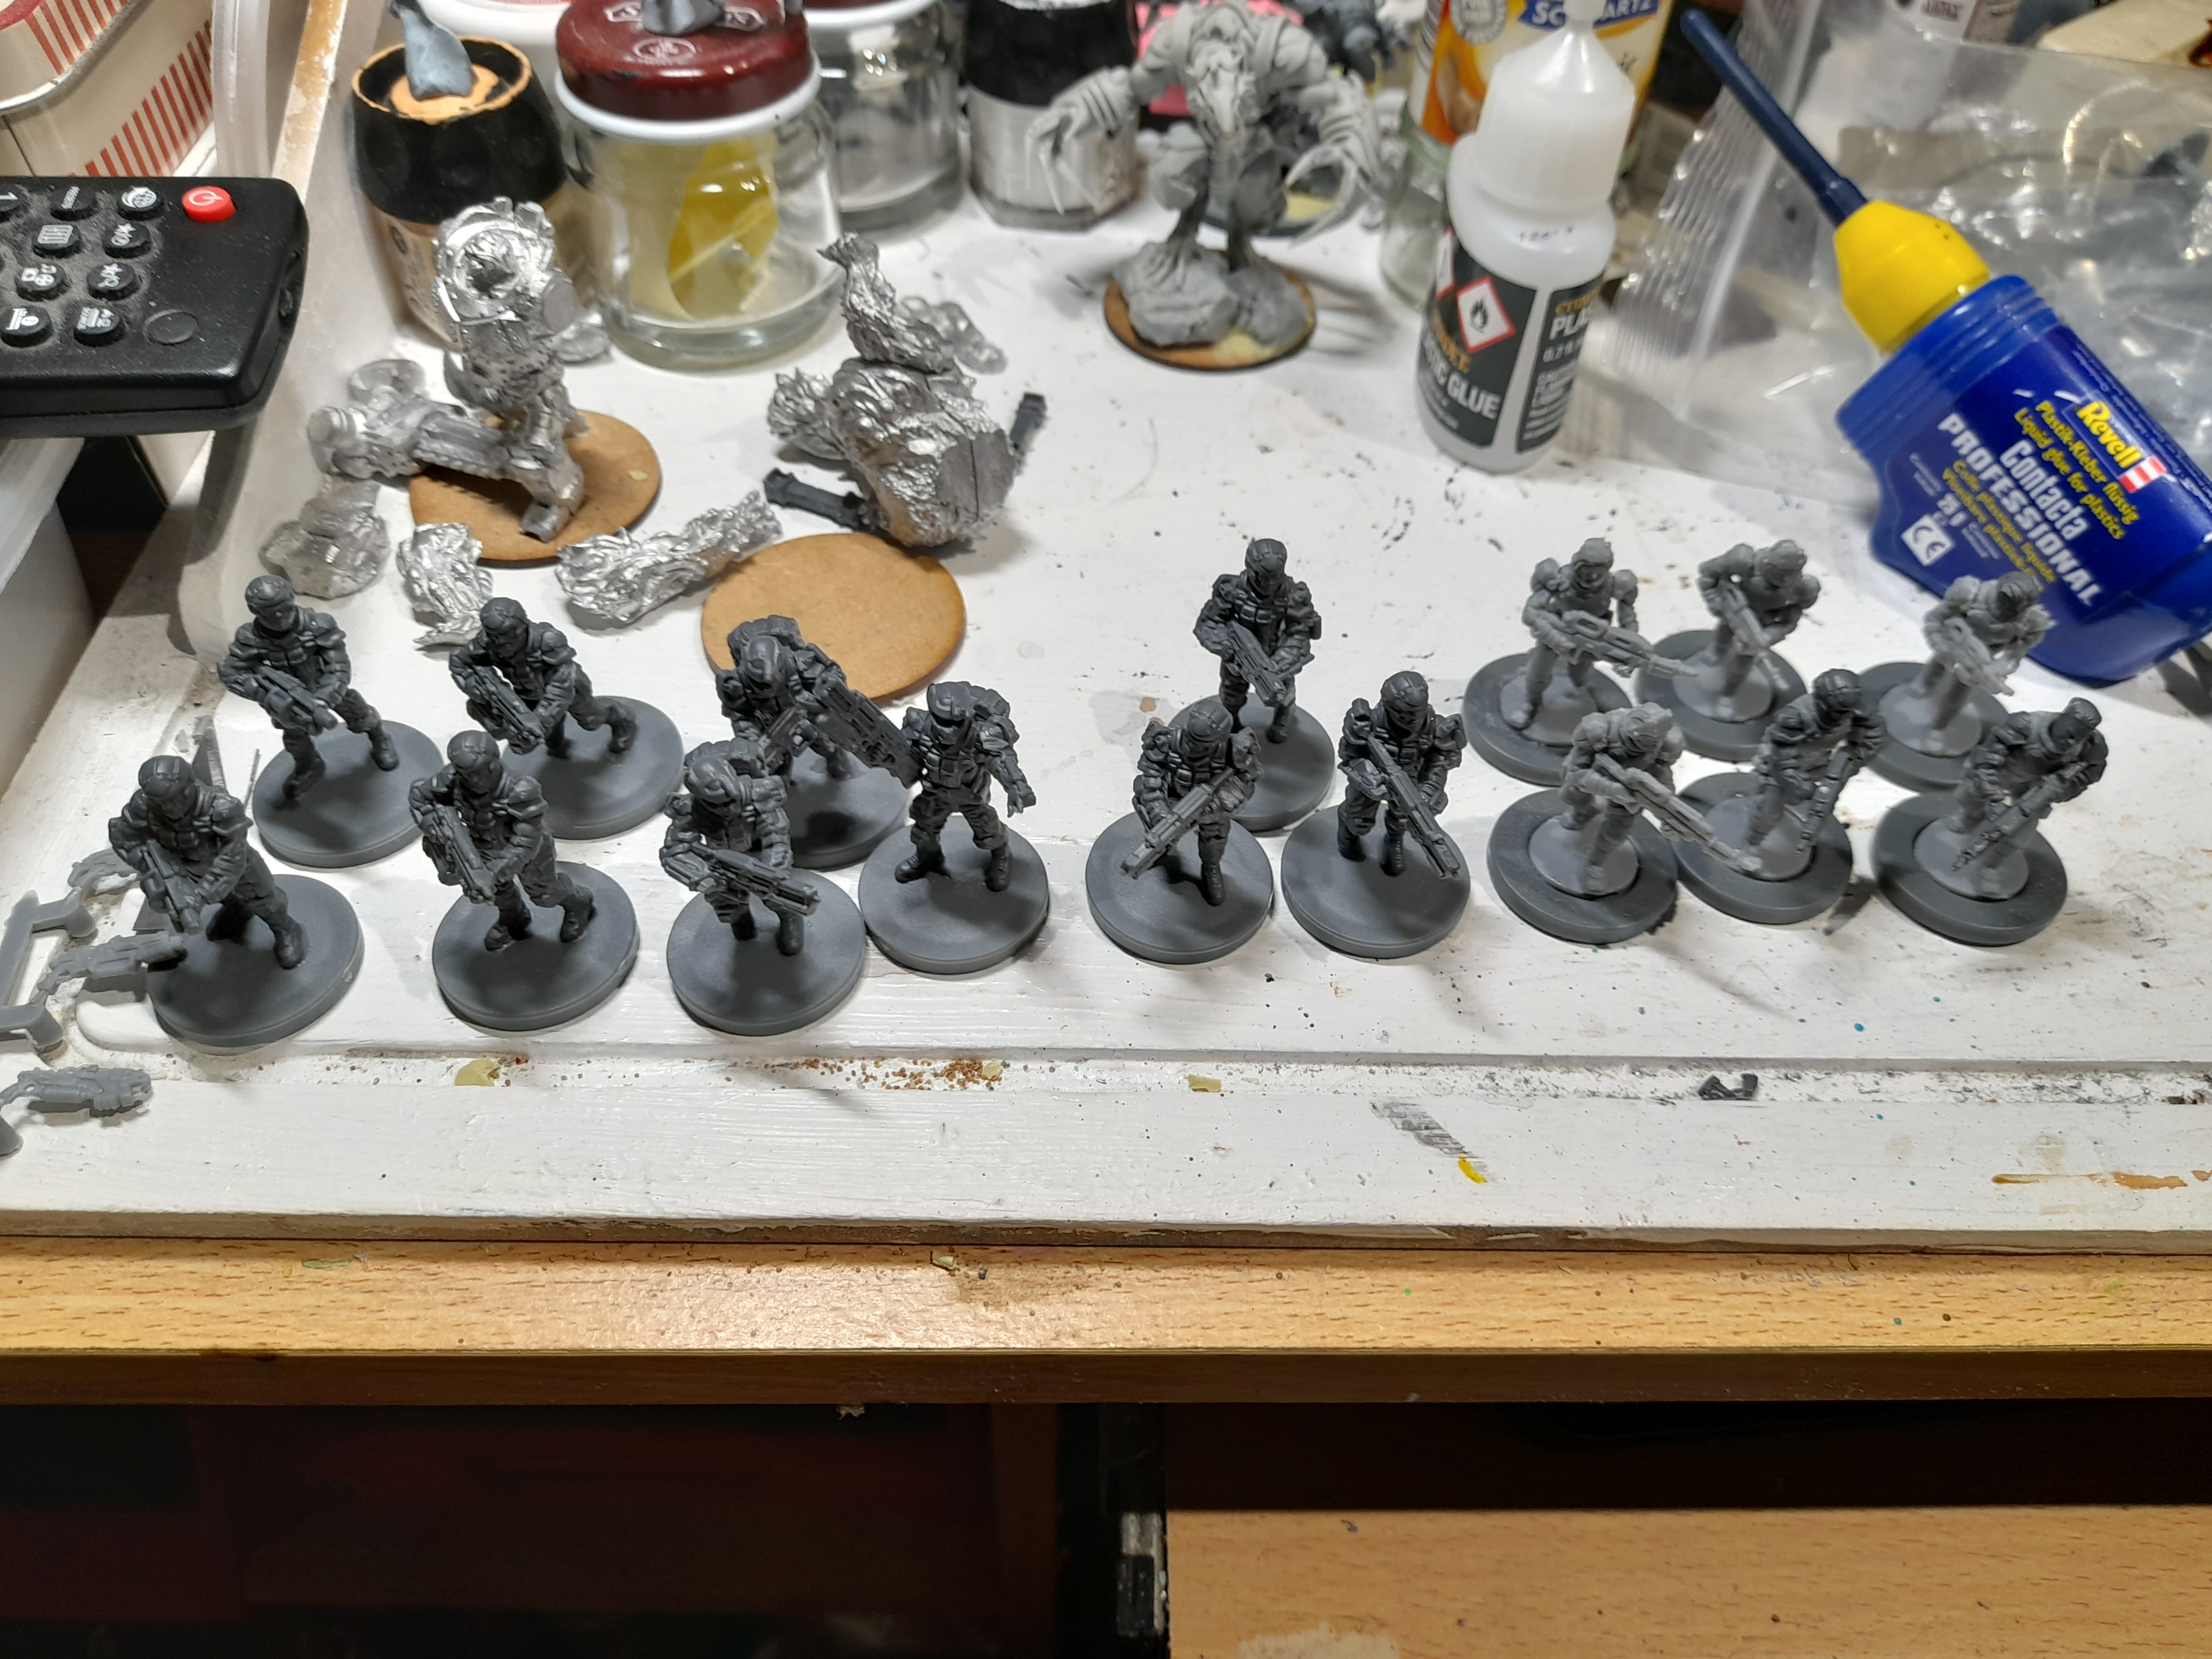
GCPS built
21st December 2022
So, this is where I got to yesterday evening…
A few finishing bits, and I have 16 GCPS ready for painting up, when I get to that stage. Up next…. Not sure, depends on mood, time and motivation. With Christmas on the way I’ll just have to see how it goes.
Testing out some weathering
28th December 2022
Having taken a brief break from the scenery (building the GCPS) this past week I returned to it with some more energy.
Having tried out some paint pen work the next step was to test out some options for weathering.
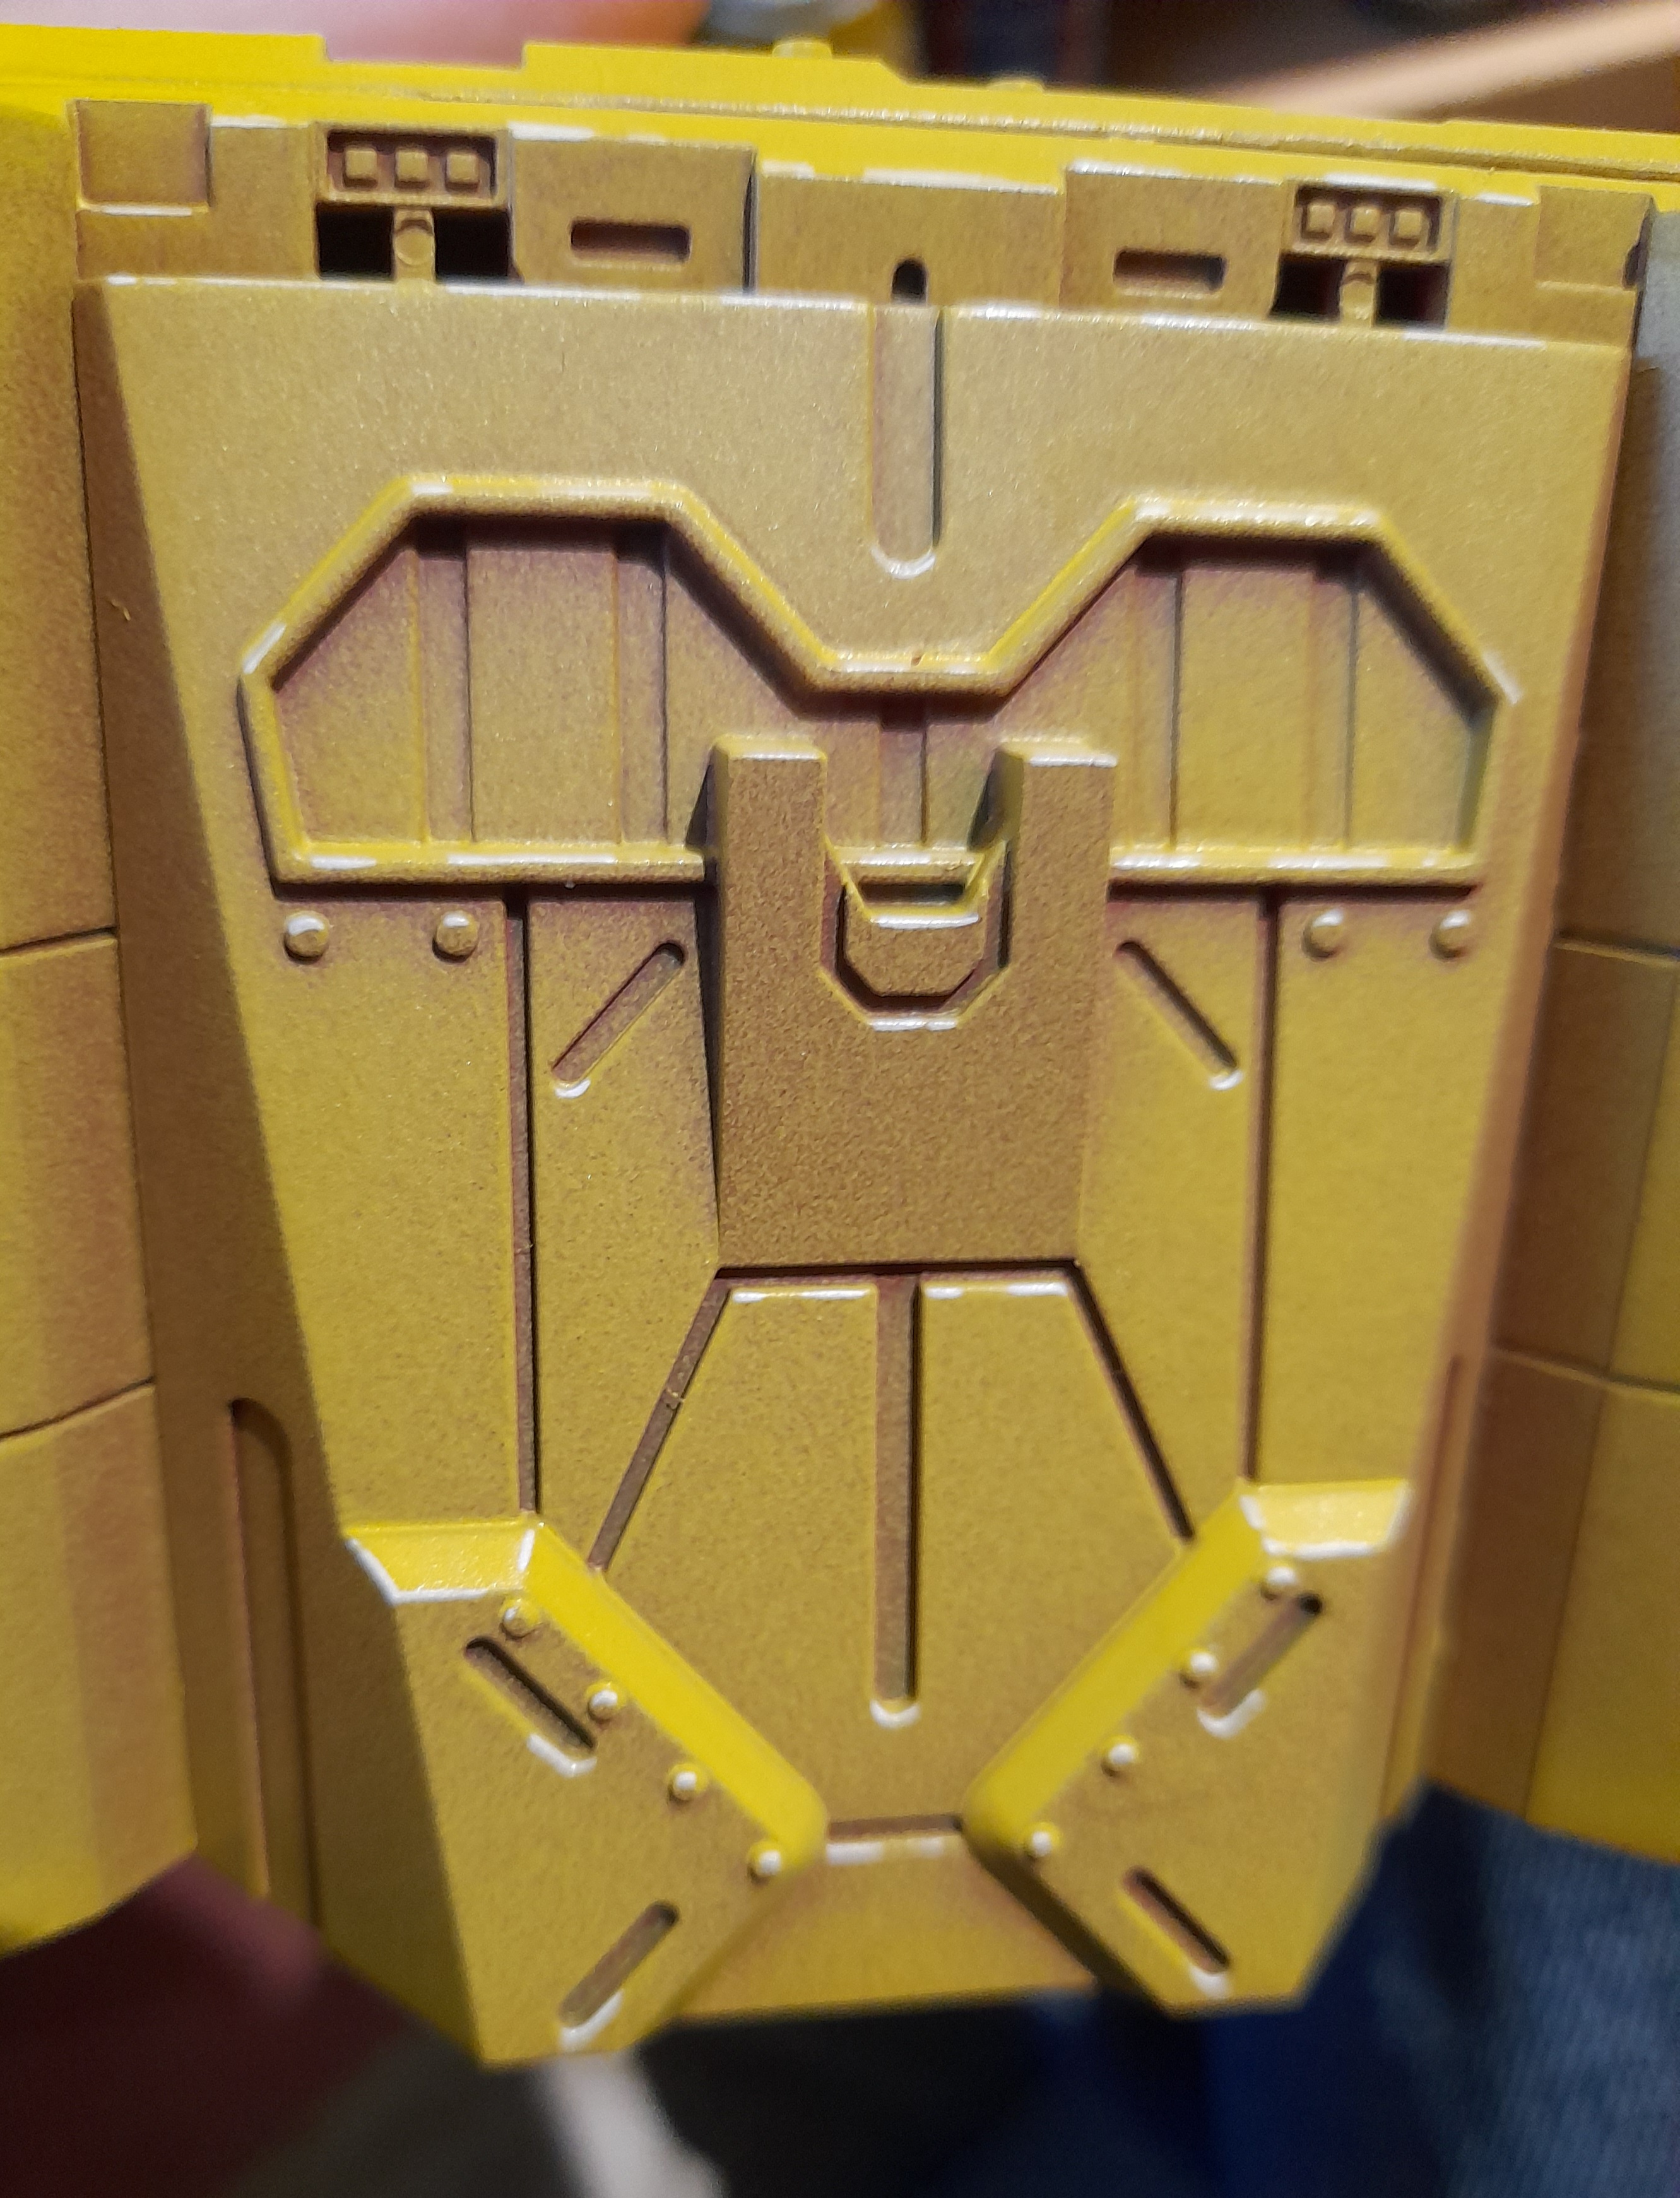
My plan here was to give them an overall thinned down dark wash (wiping away excess on flat panels).
Followed by sponging on some splotches with a darker colour, to represent areas of dirt or general wear and tear.
Started with a mid grey, then I tried out a darker brown contrast (Wyldwood) as I thought that may both give a slightly warmer tone, and keep fluid longer.
I tore up an old piece of sponge from packaging, and using some tweezers dabbed it into the paint, tested on an old tile, then applied it in a series of dabs in various locations on the terrain piece.
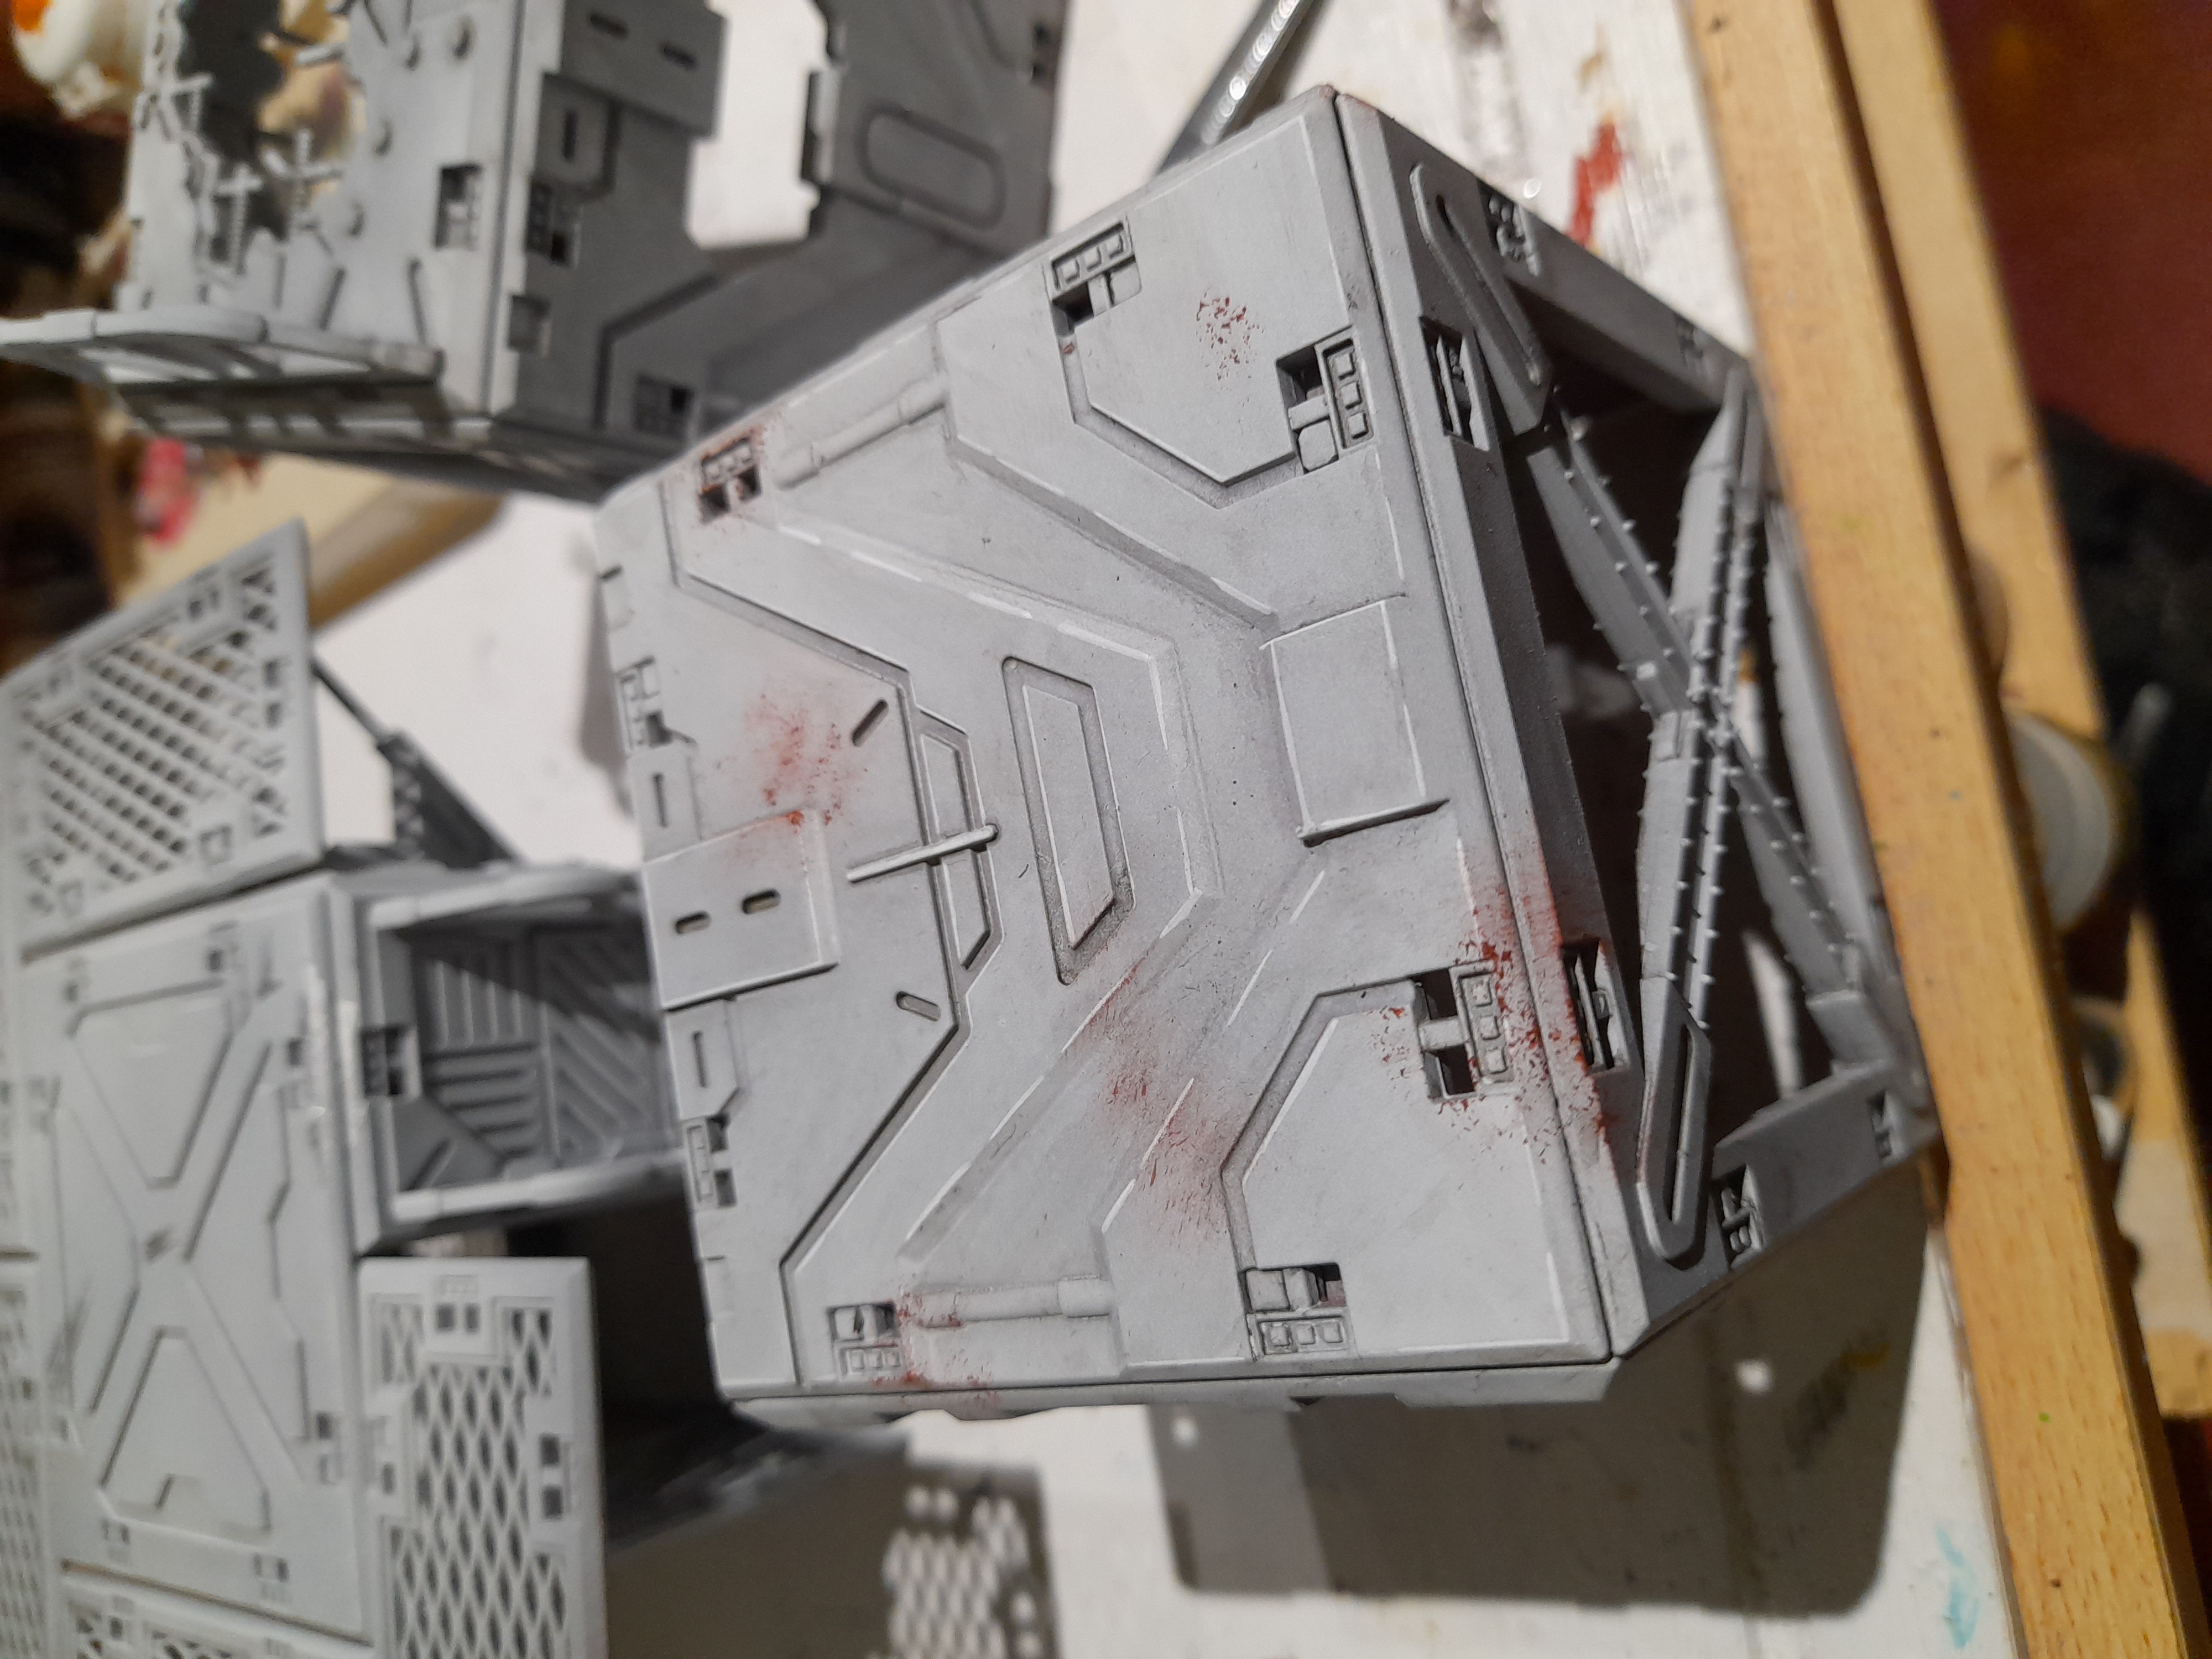
The combination of the two colours on top of the wash seemed to work pretty well, so I will look to roll this out across the rest of the terrain (quite a daunting task at the moment).
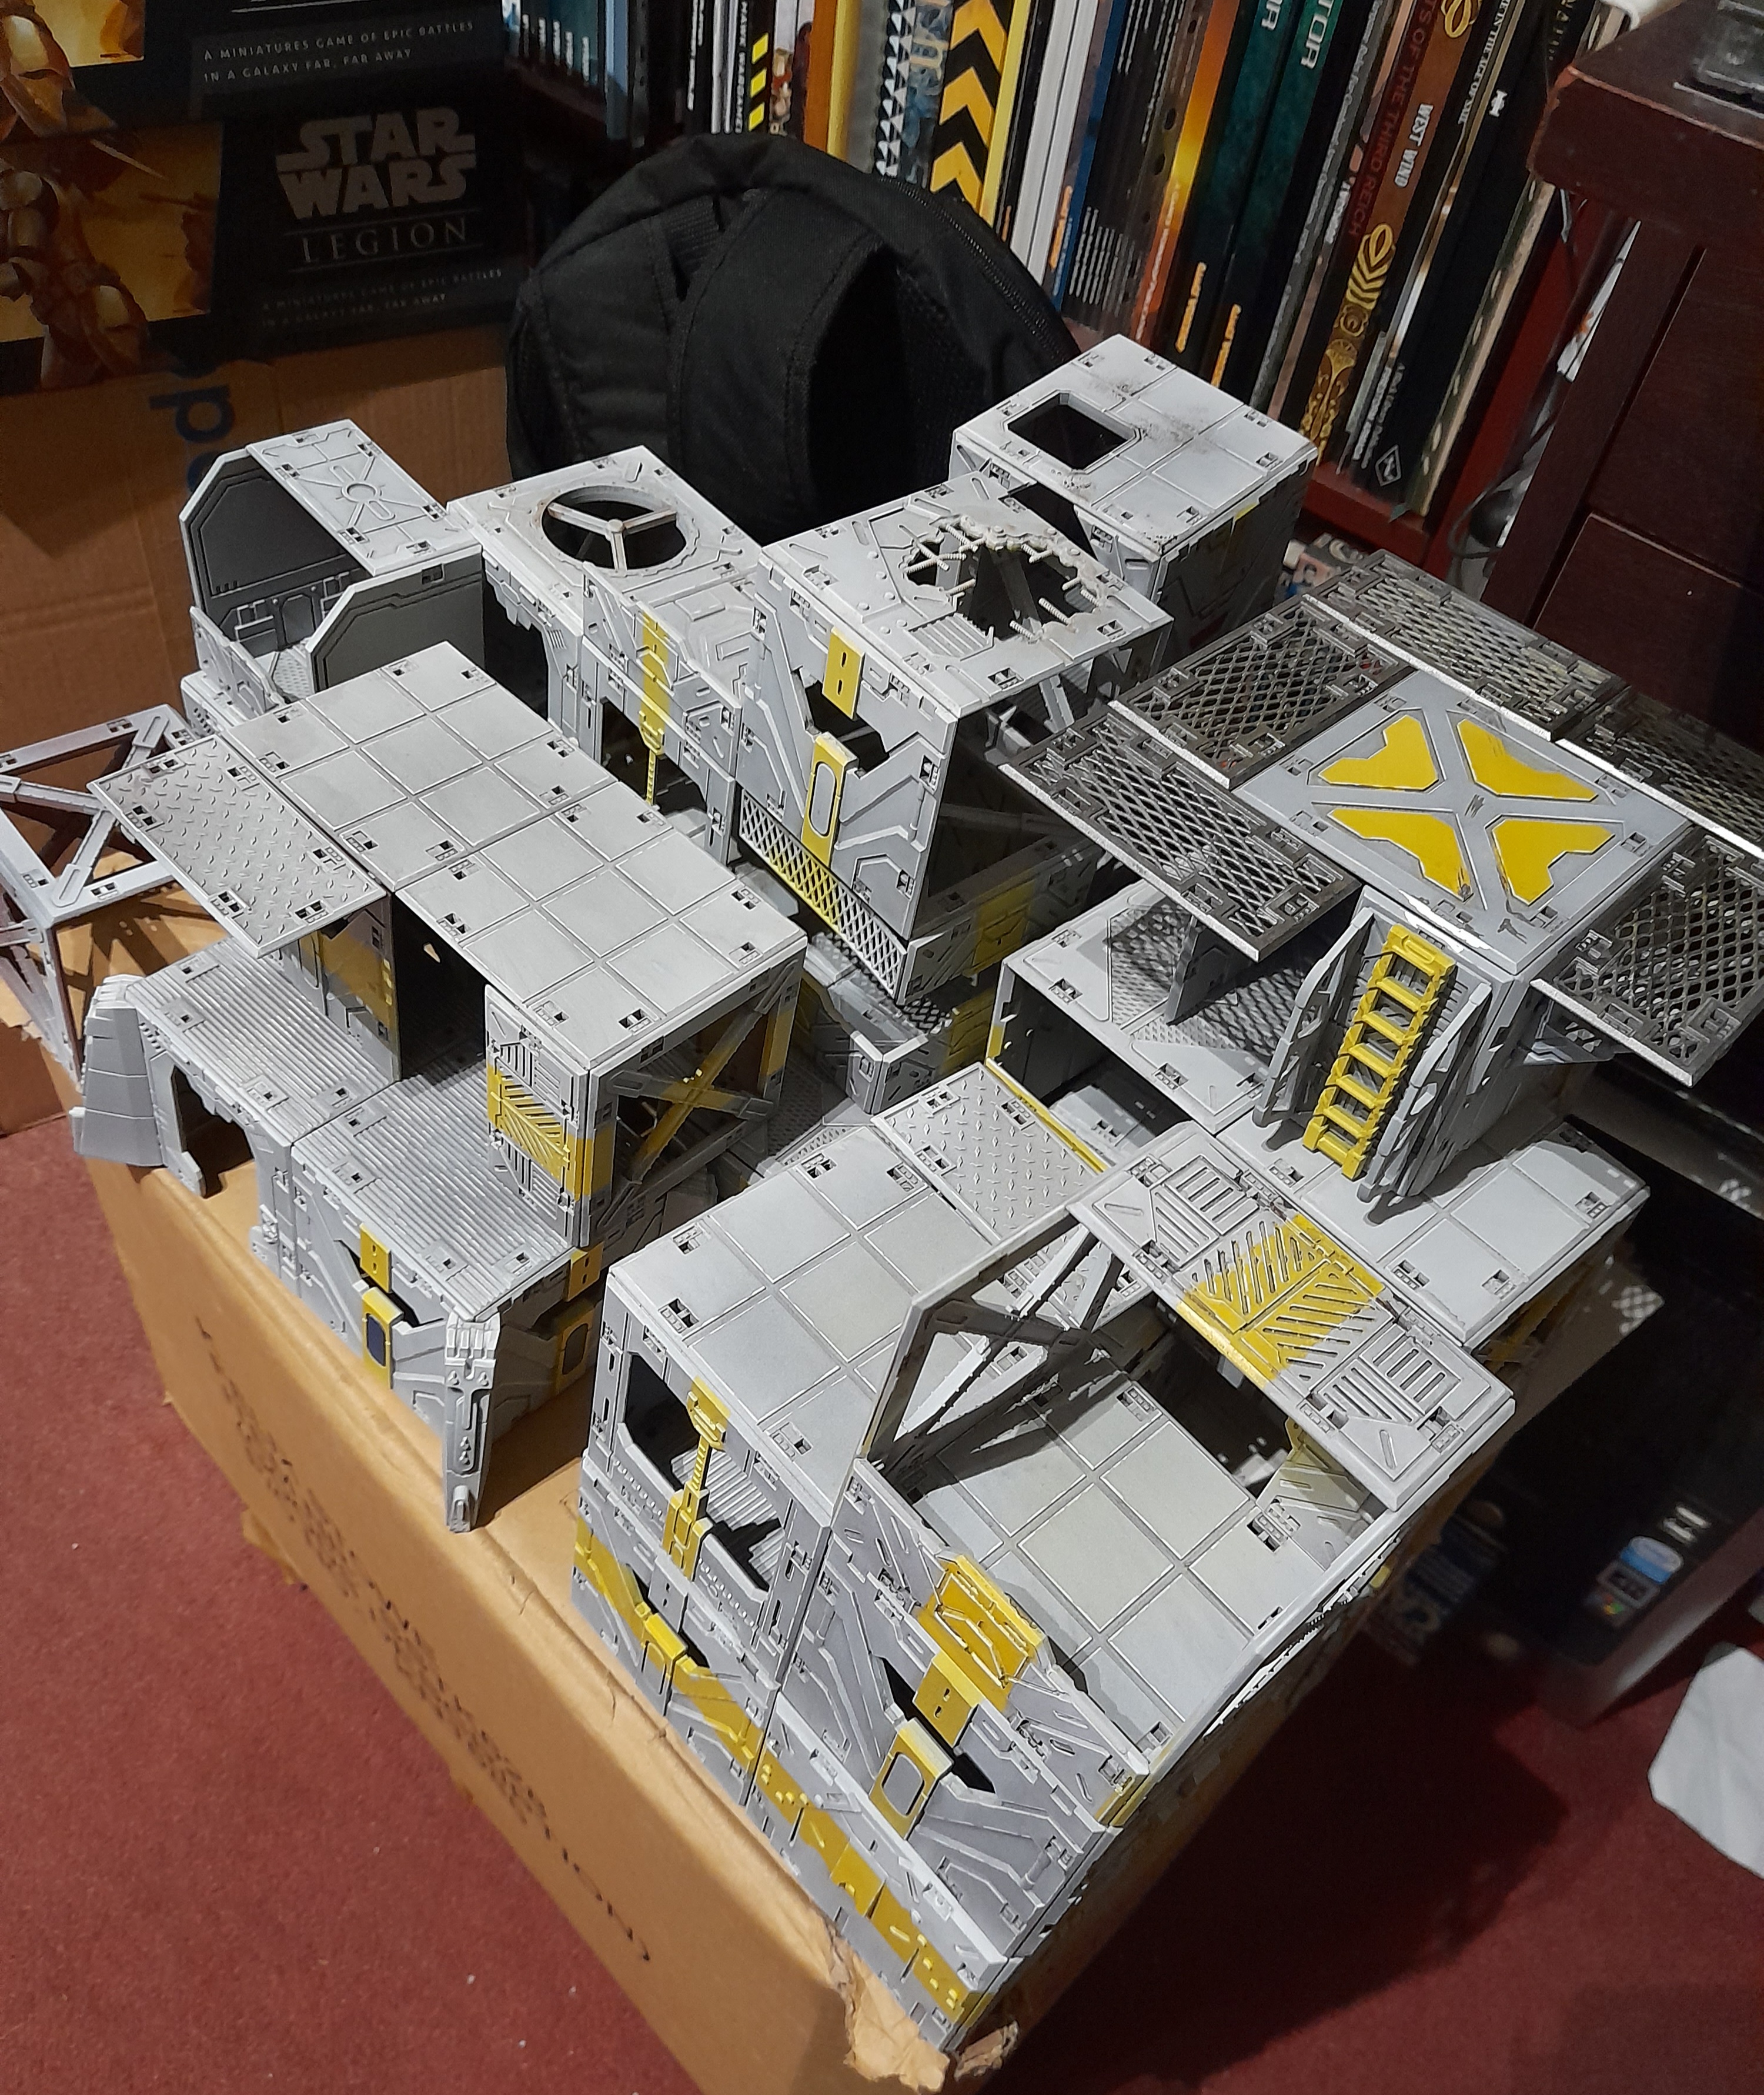
Adding a splash of colour
28th December 2022
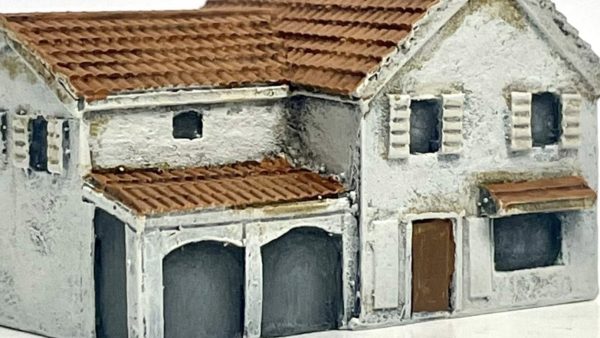
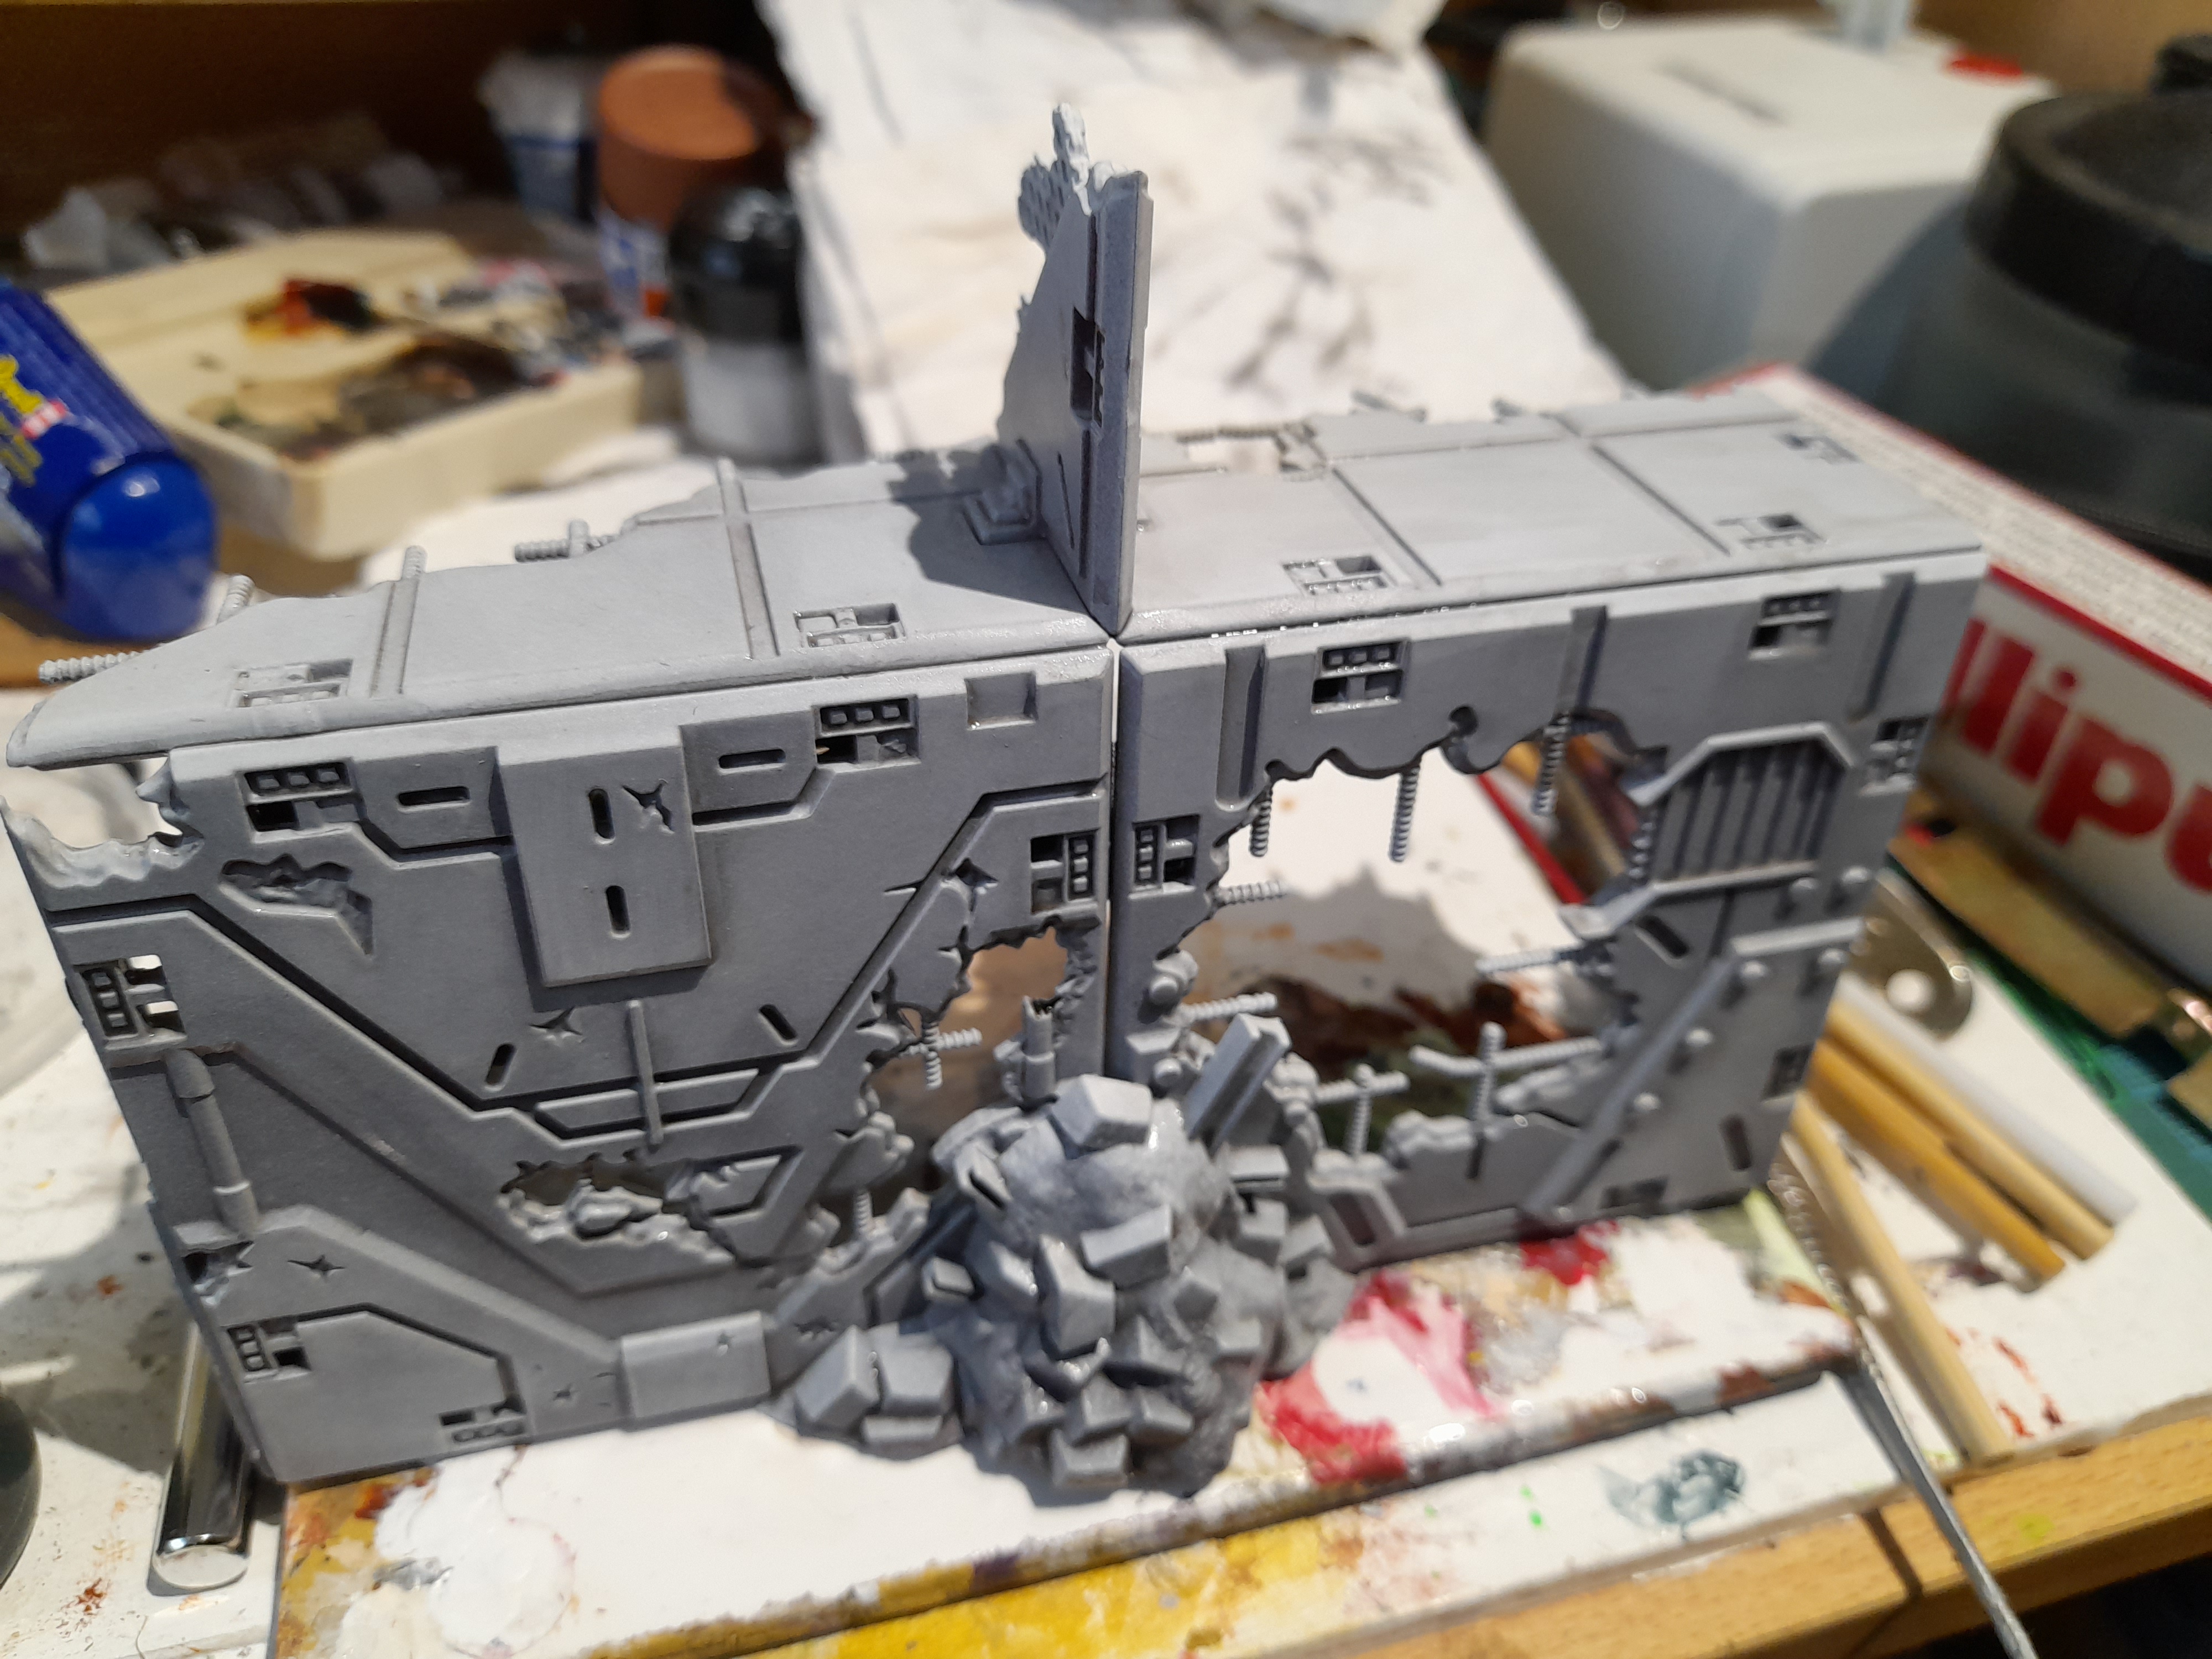
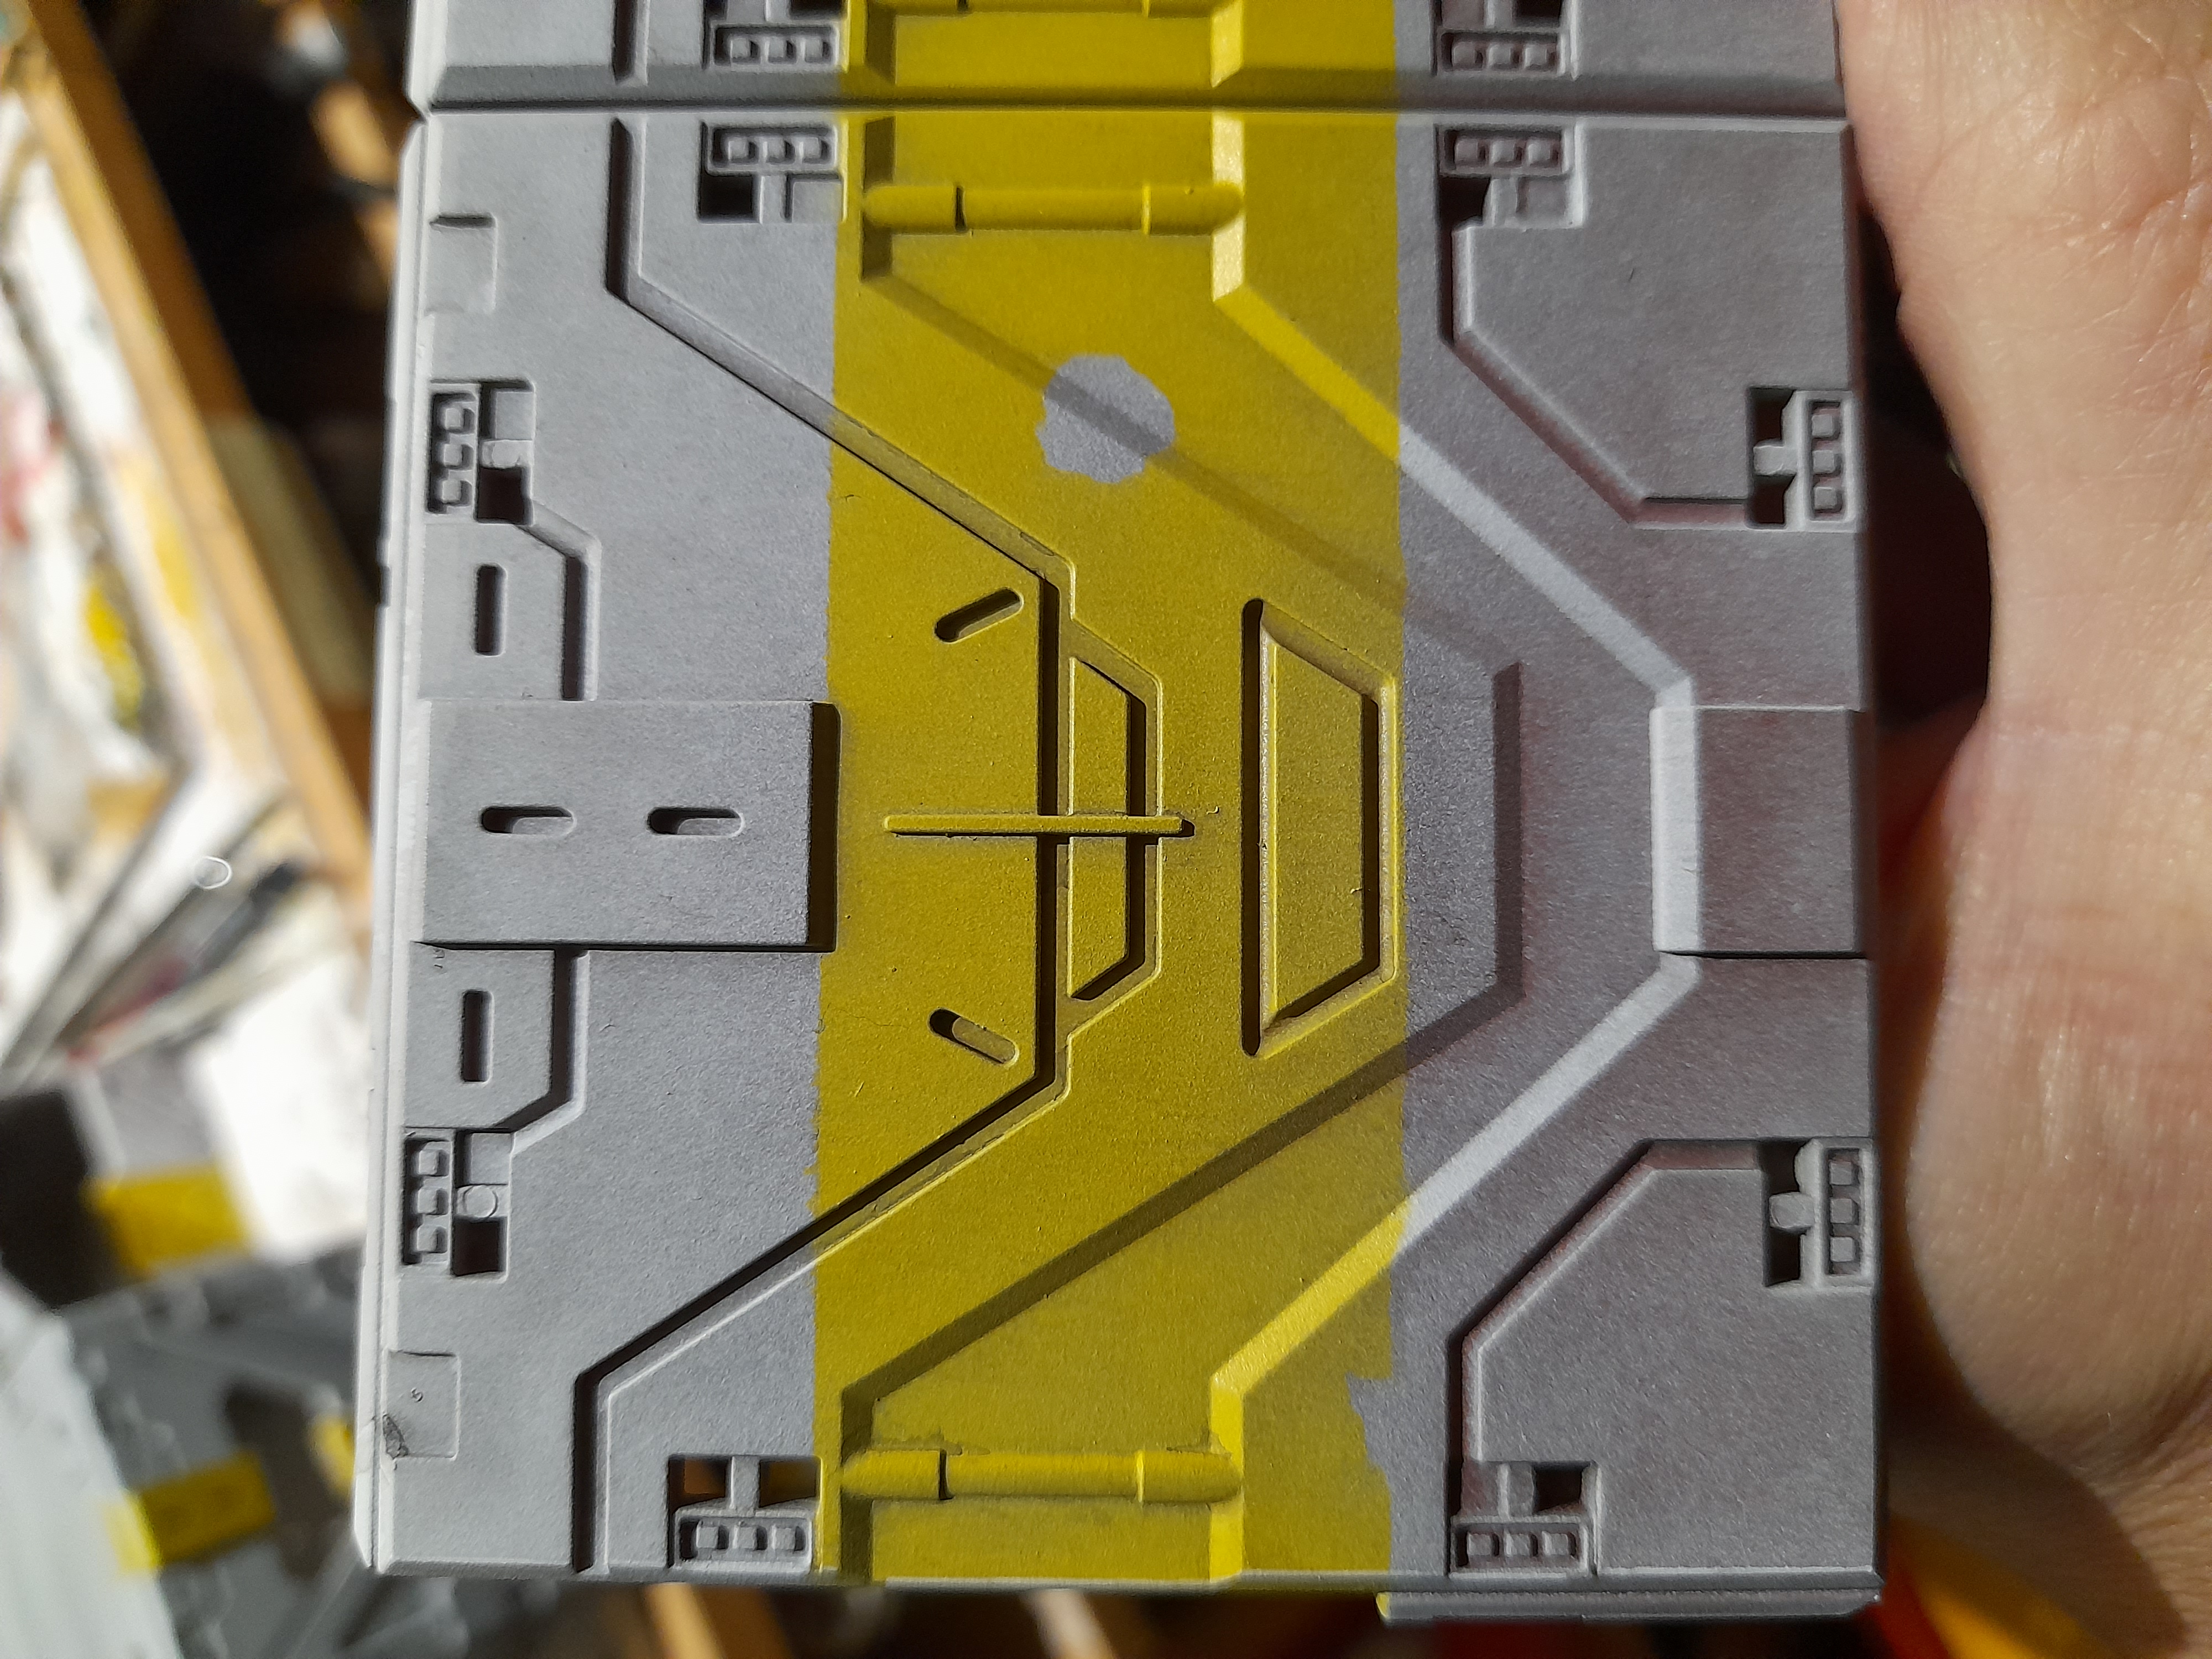
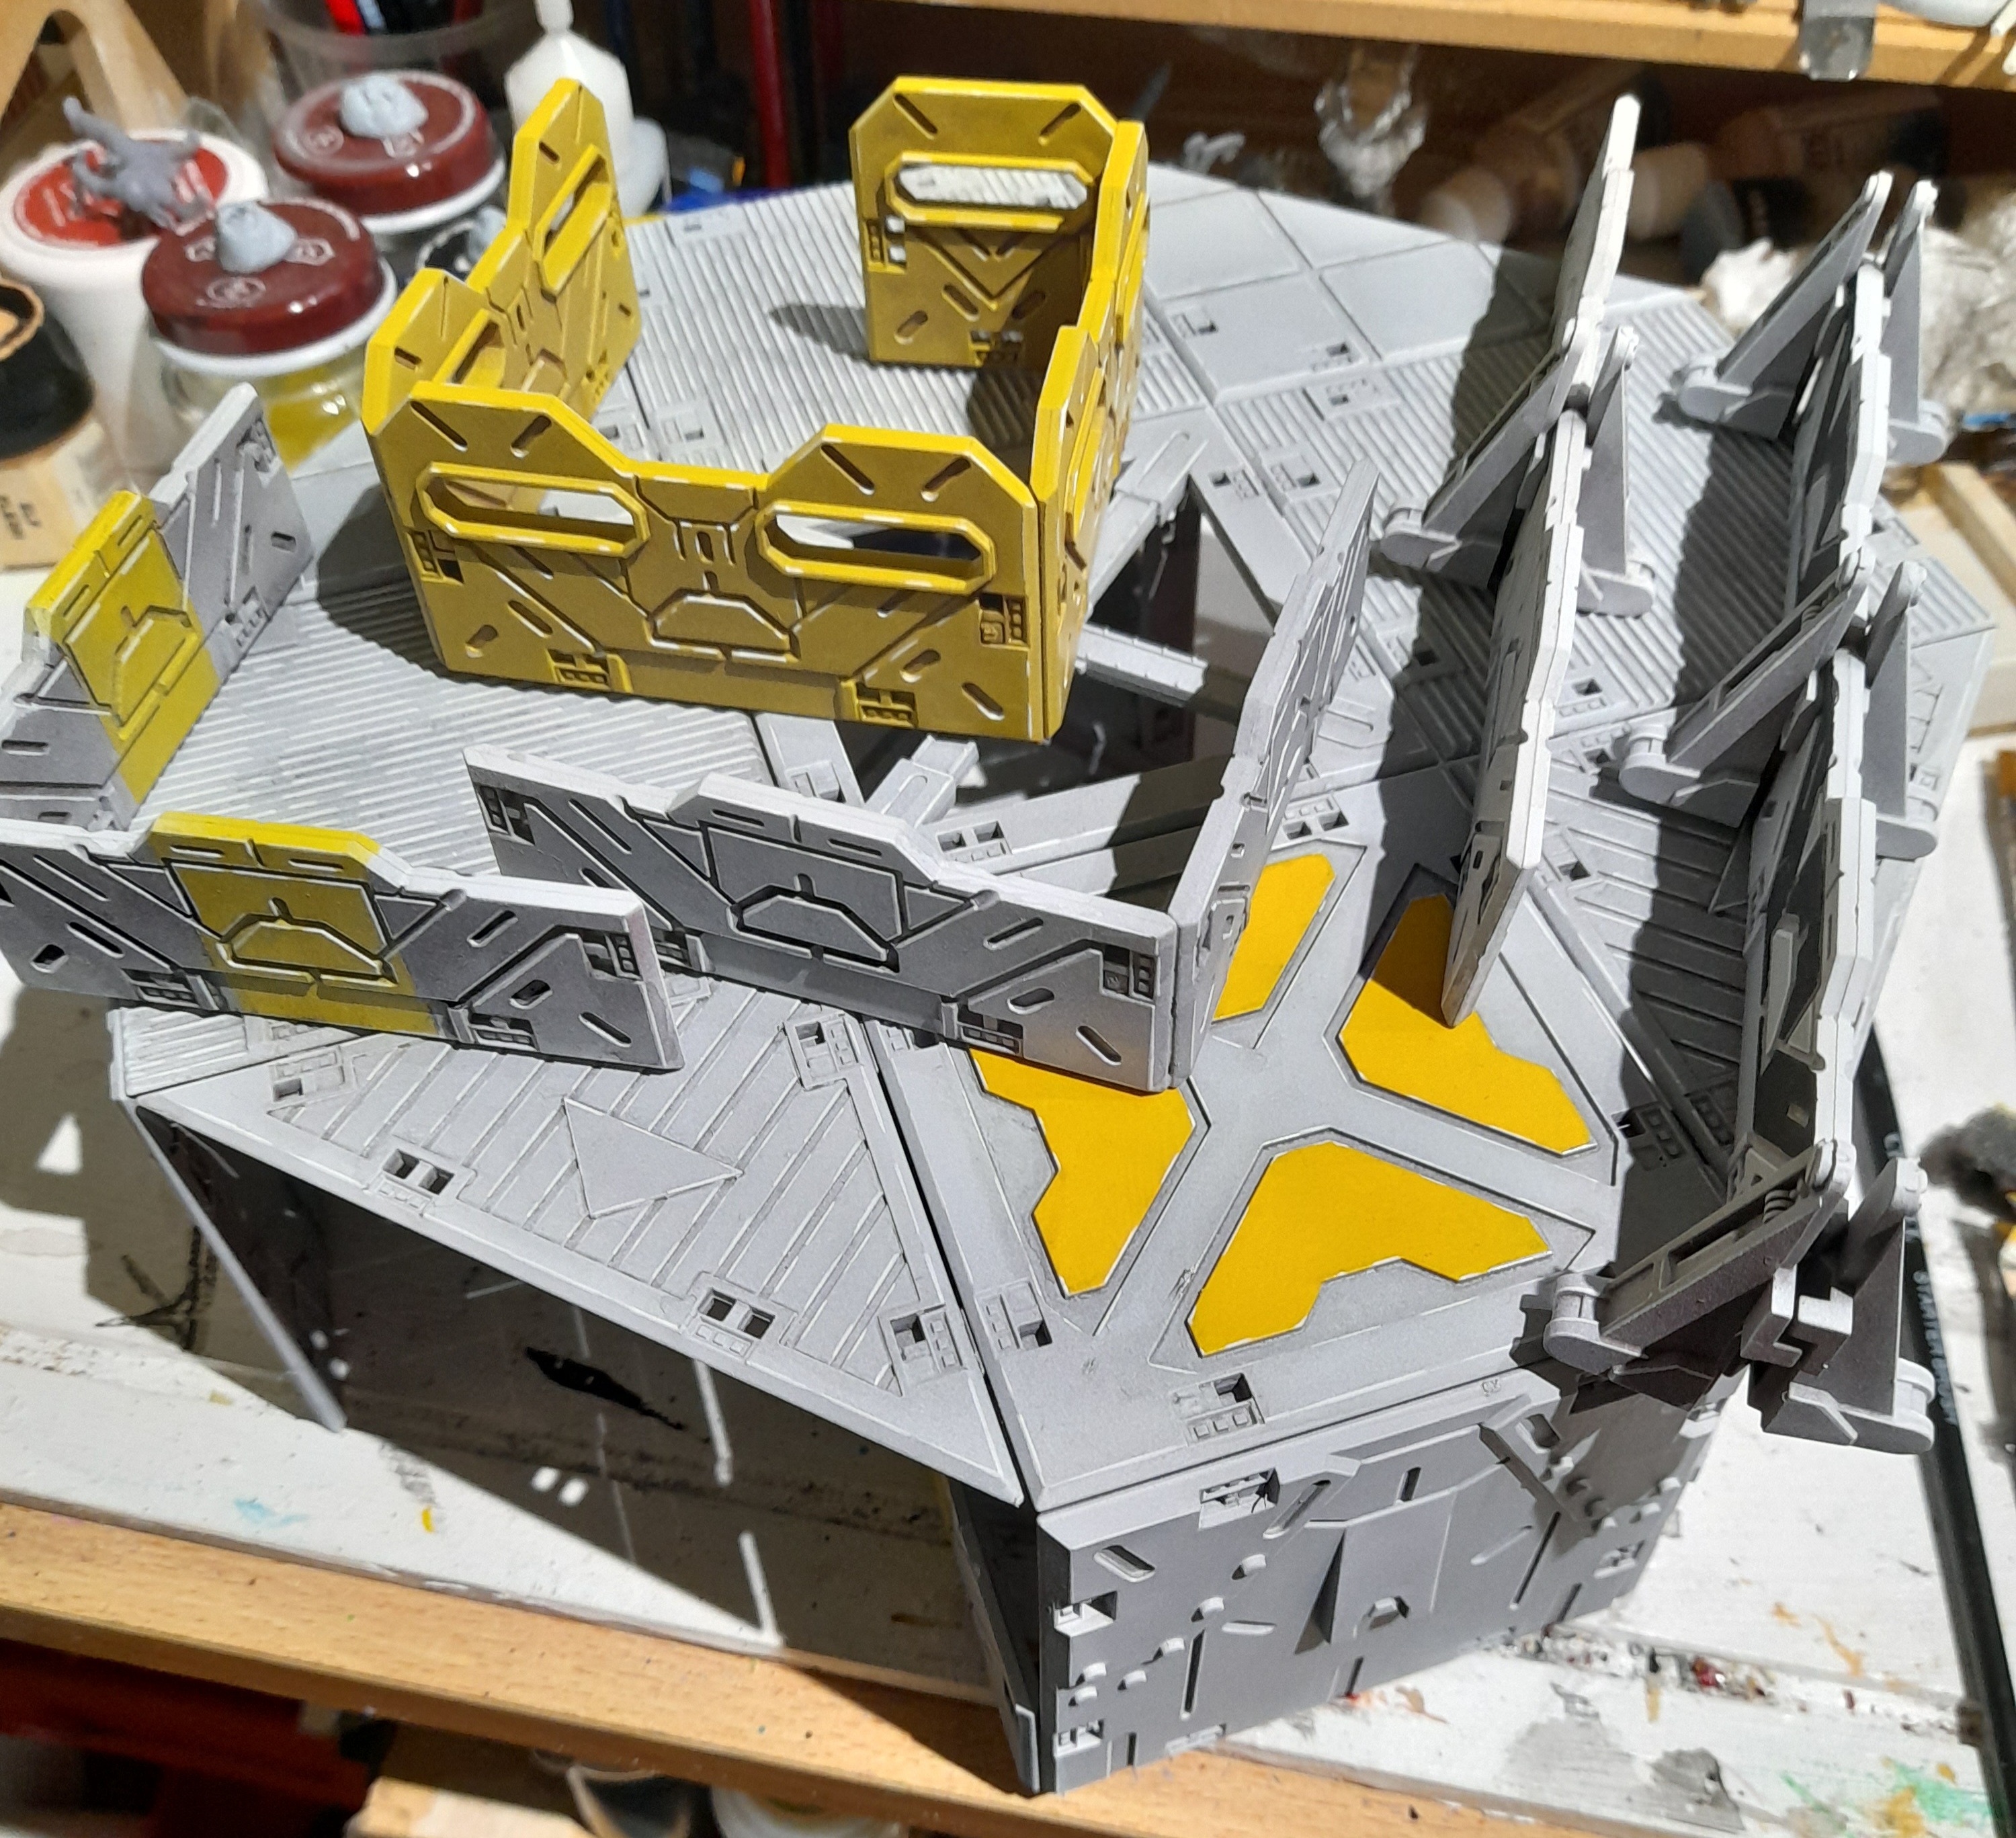
I have a few buildings that have yellow as their overall colour, but at this point the rest of my terrain was looking pretty drab. The weathering test came out quite well, but from ‘play height’ the majority of the terrain is pretty plain grey. So, time to inject a splash of colour!
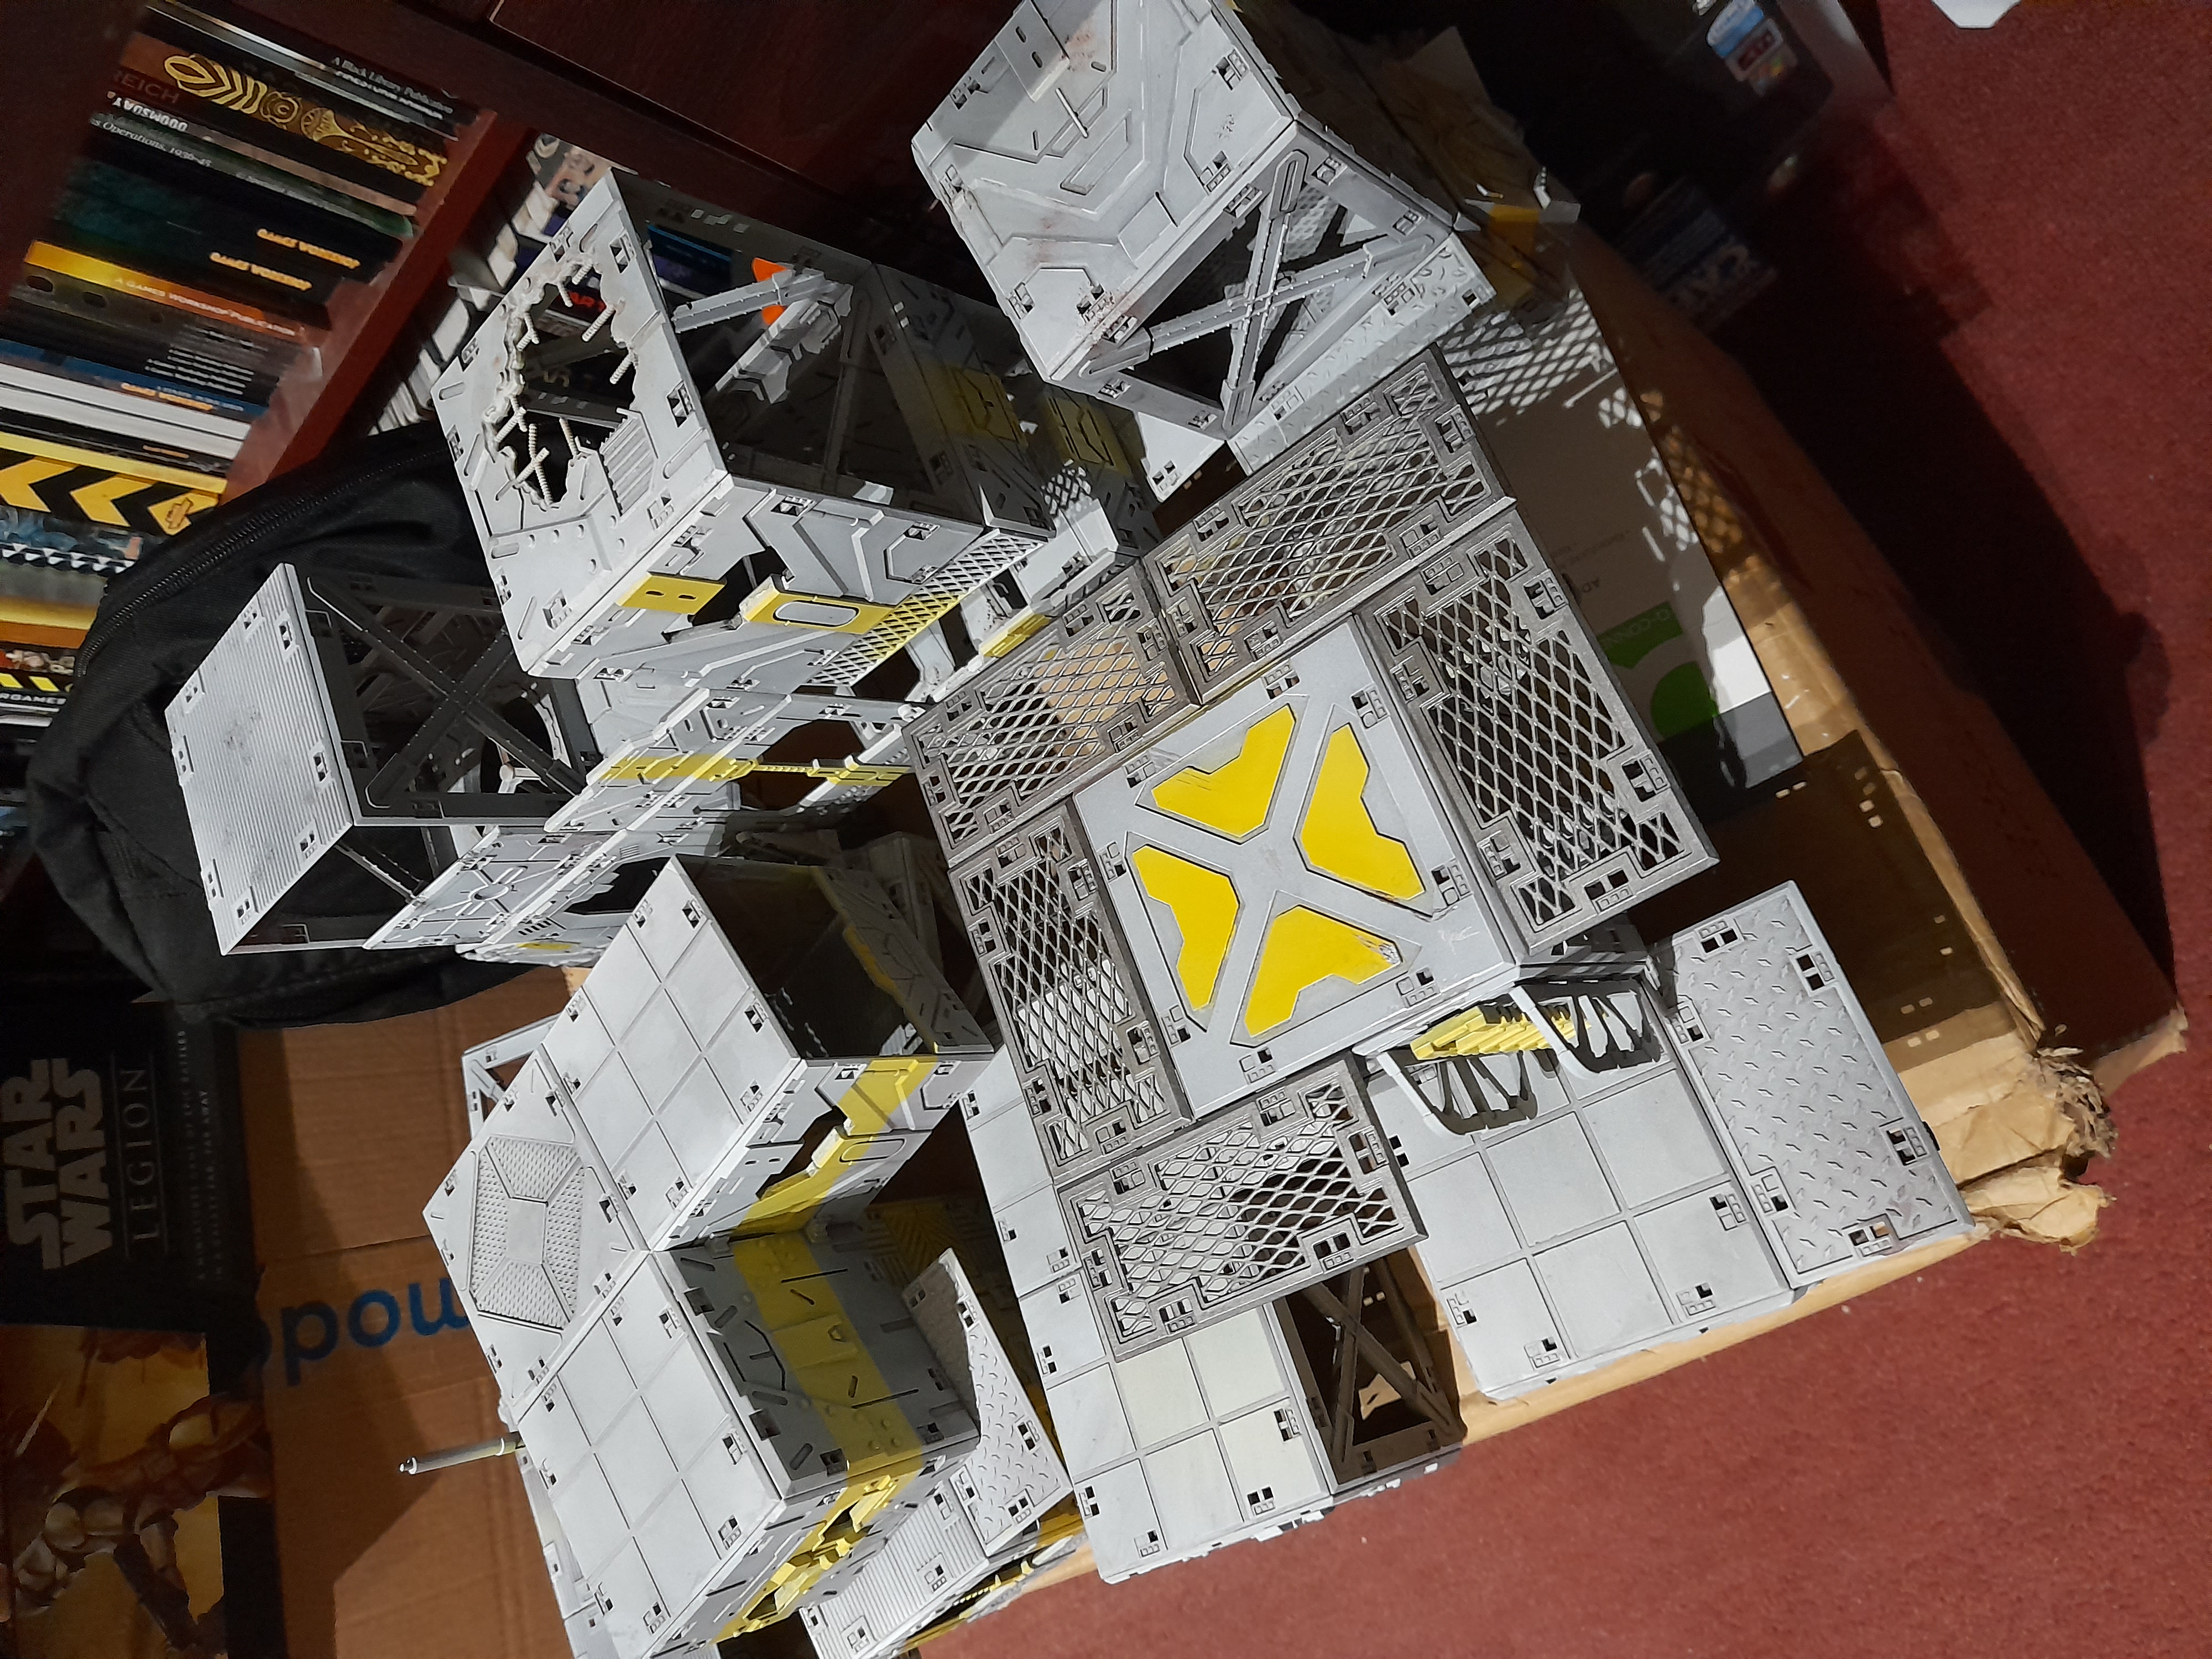
To endeavour to tie in with the other buildings, I thought I would try using yellow as a spot colour on the grey buildings. ‘Cry ‘Havoc!’ And let slip the tape of masking!’
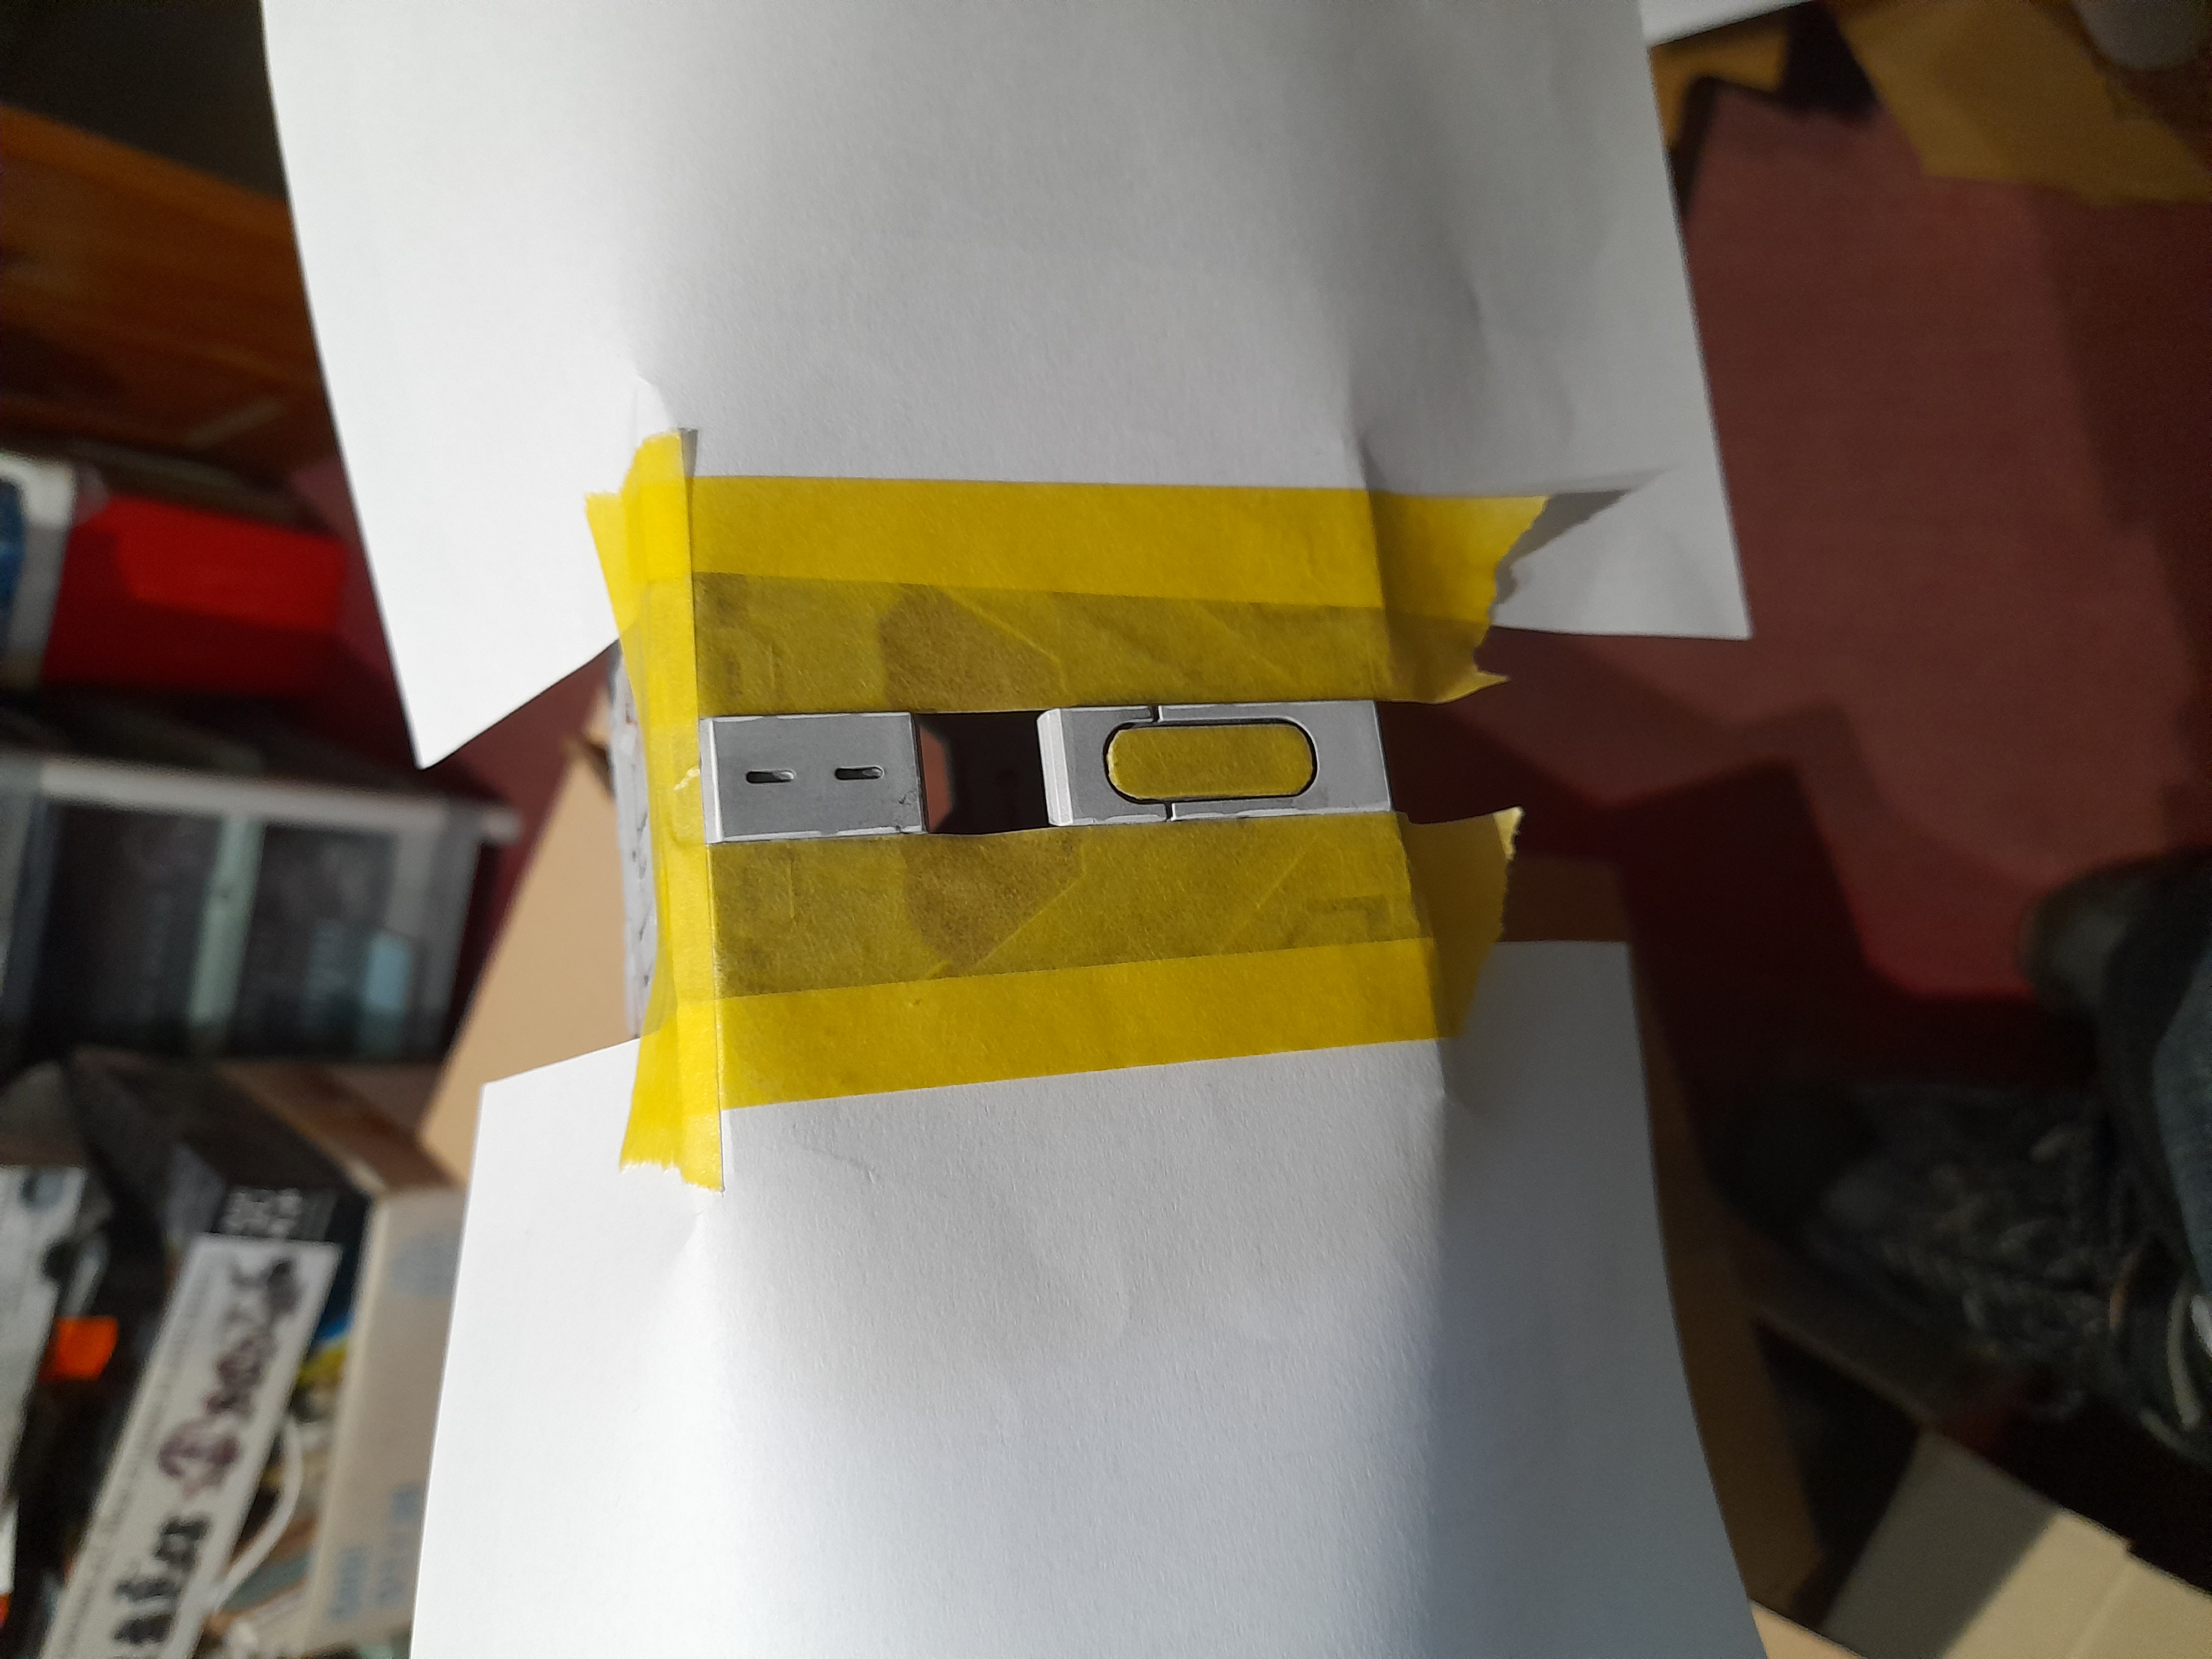

Out came the masking tape again. For some of the buildings I went for a broad horizontal band of the spot colour. On others, where it seemed more appropriate, I picked out the vertical embellishments on the panels (carefully masking off the lozenge parts on them).
Much masking, spraying, masking and spraying again and I have quite a stack of now somewhat more vibrant terrain. Ready to be finished off with the weathering techniques I have decided upon.
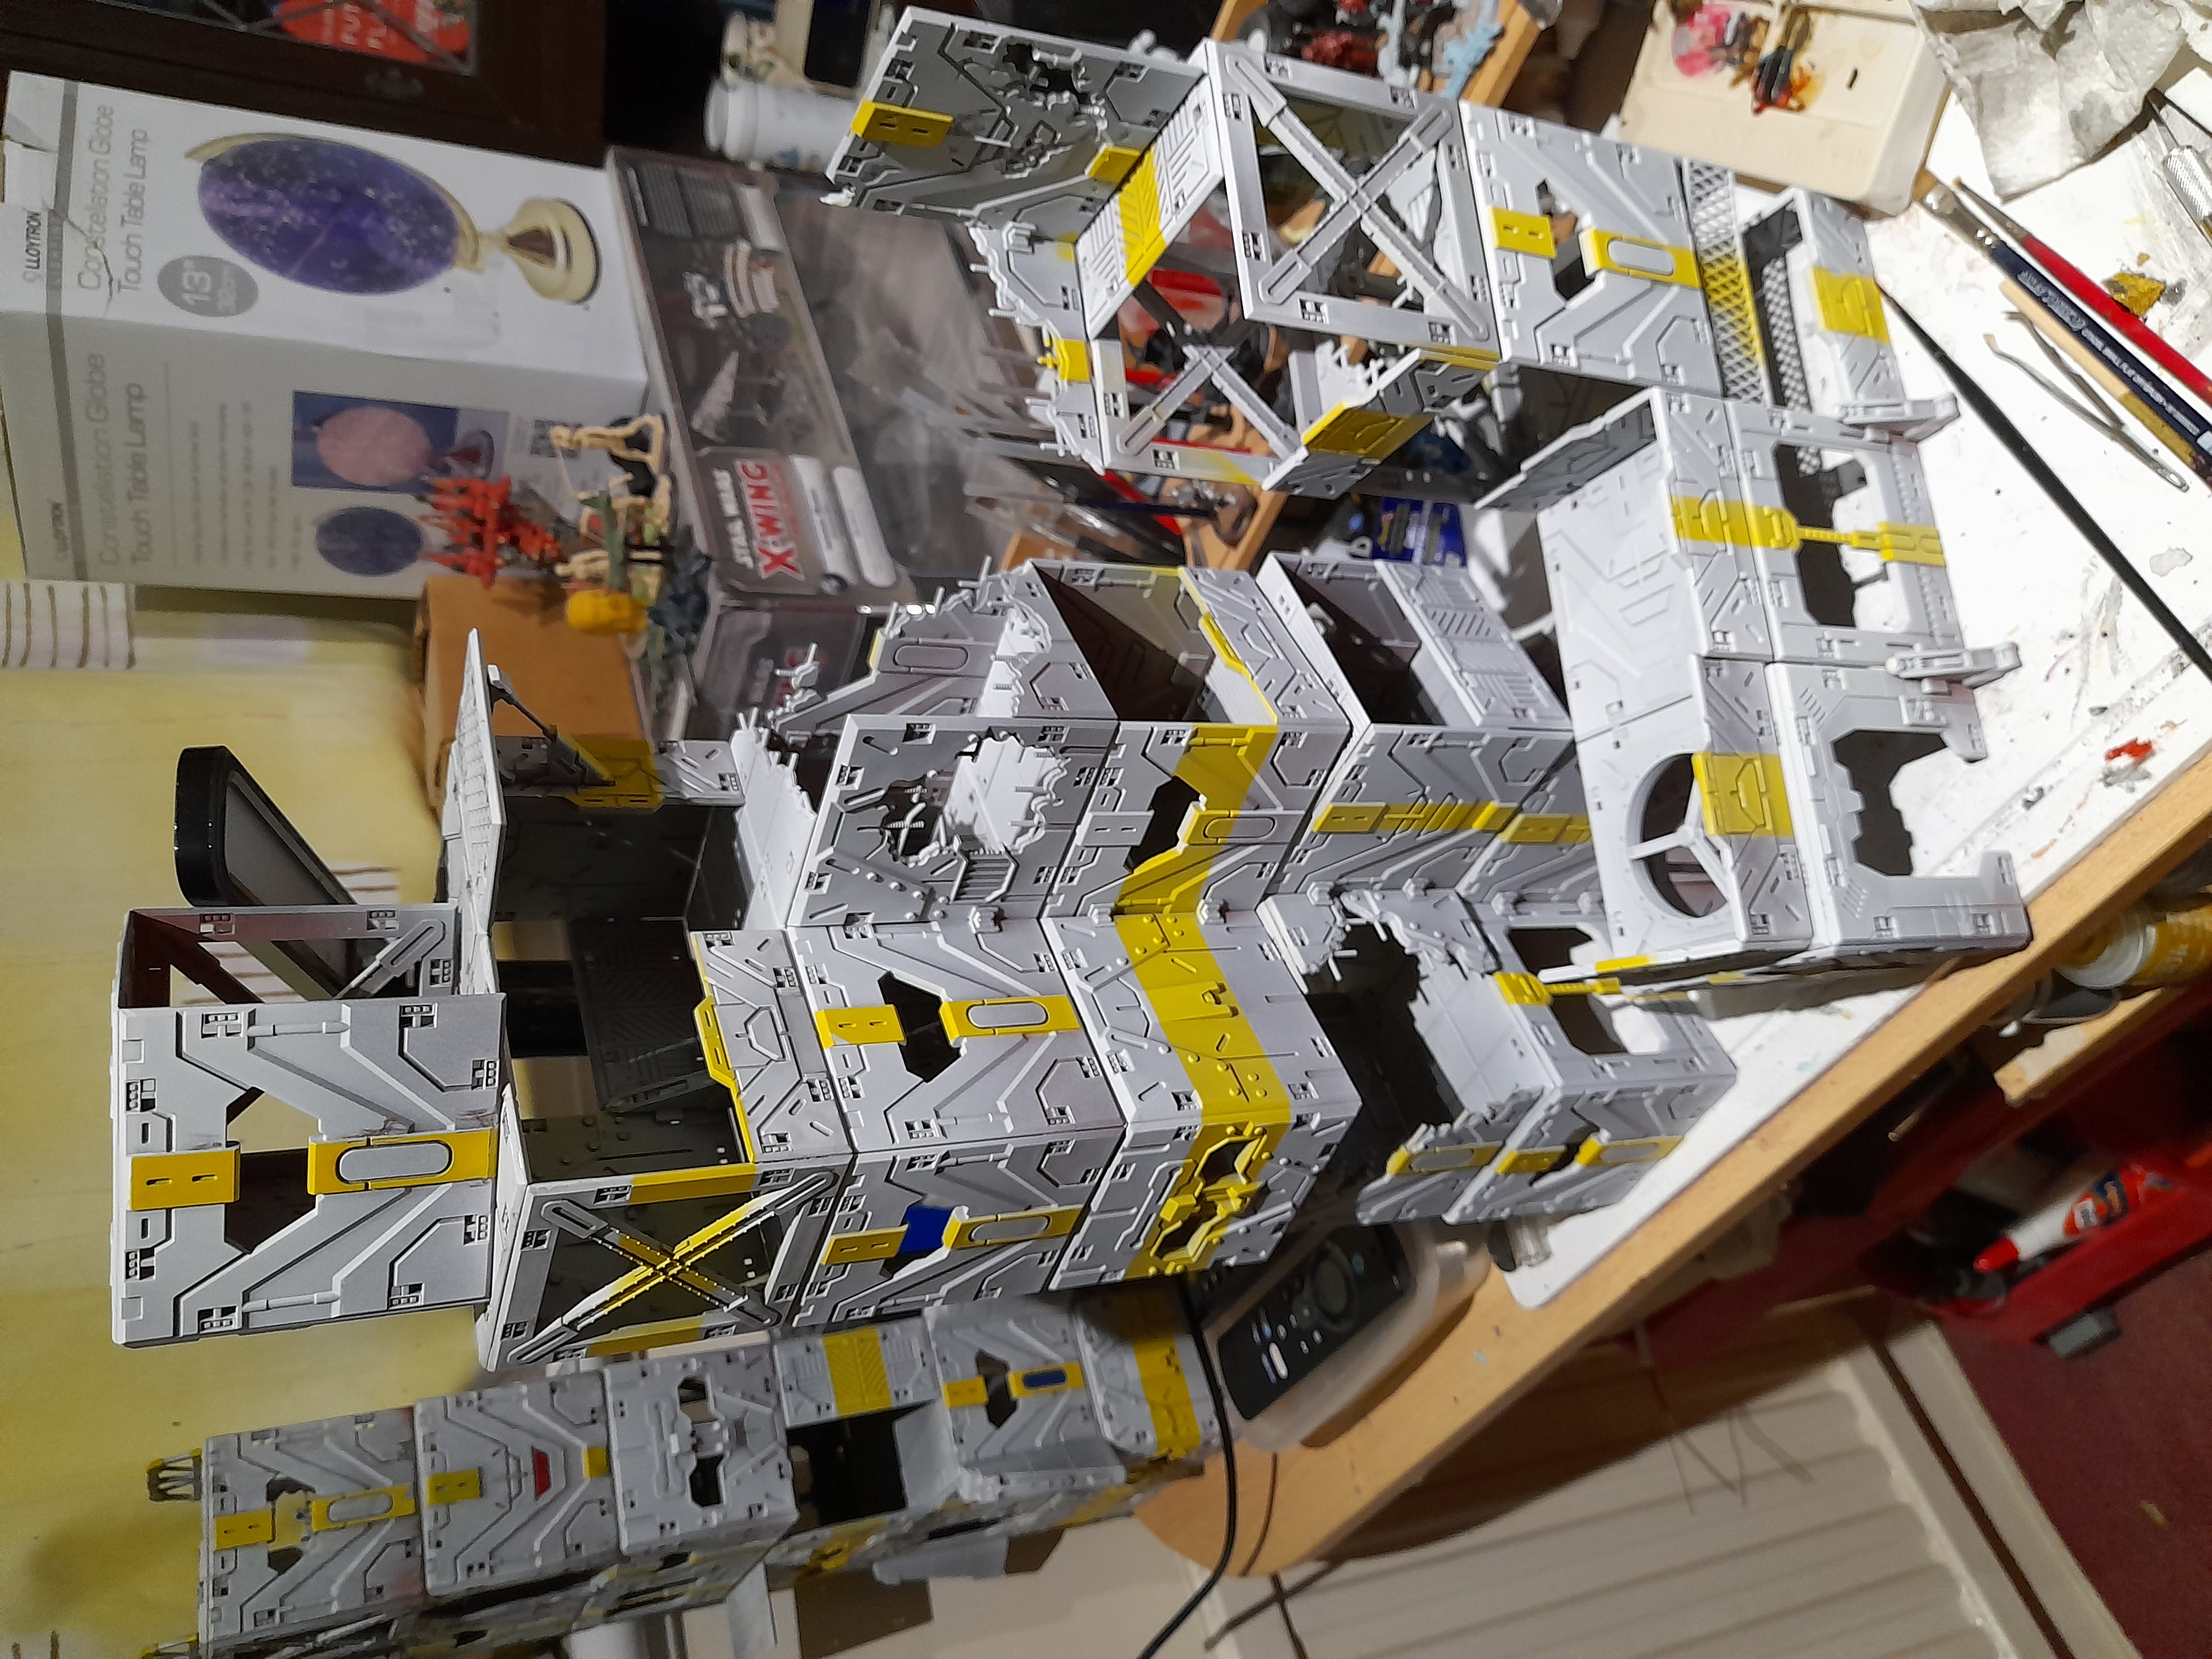
Once that is done I will need to work on the signs, bridges, scatter and such – so still quite a way to go on this yet….
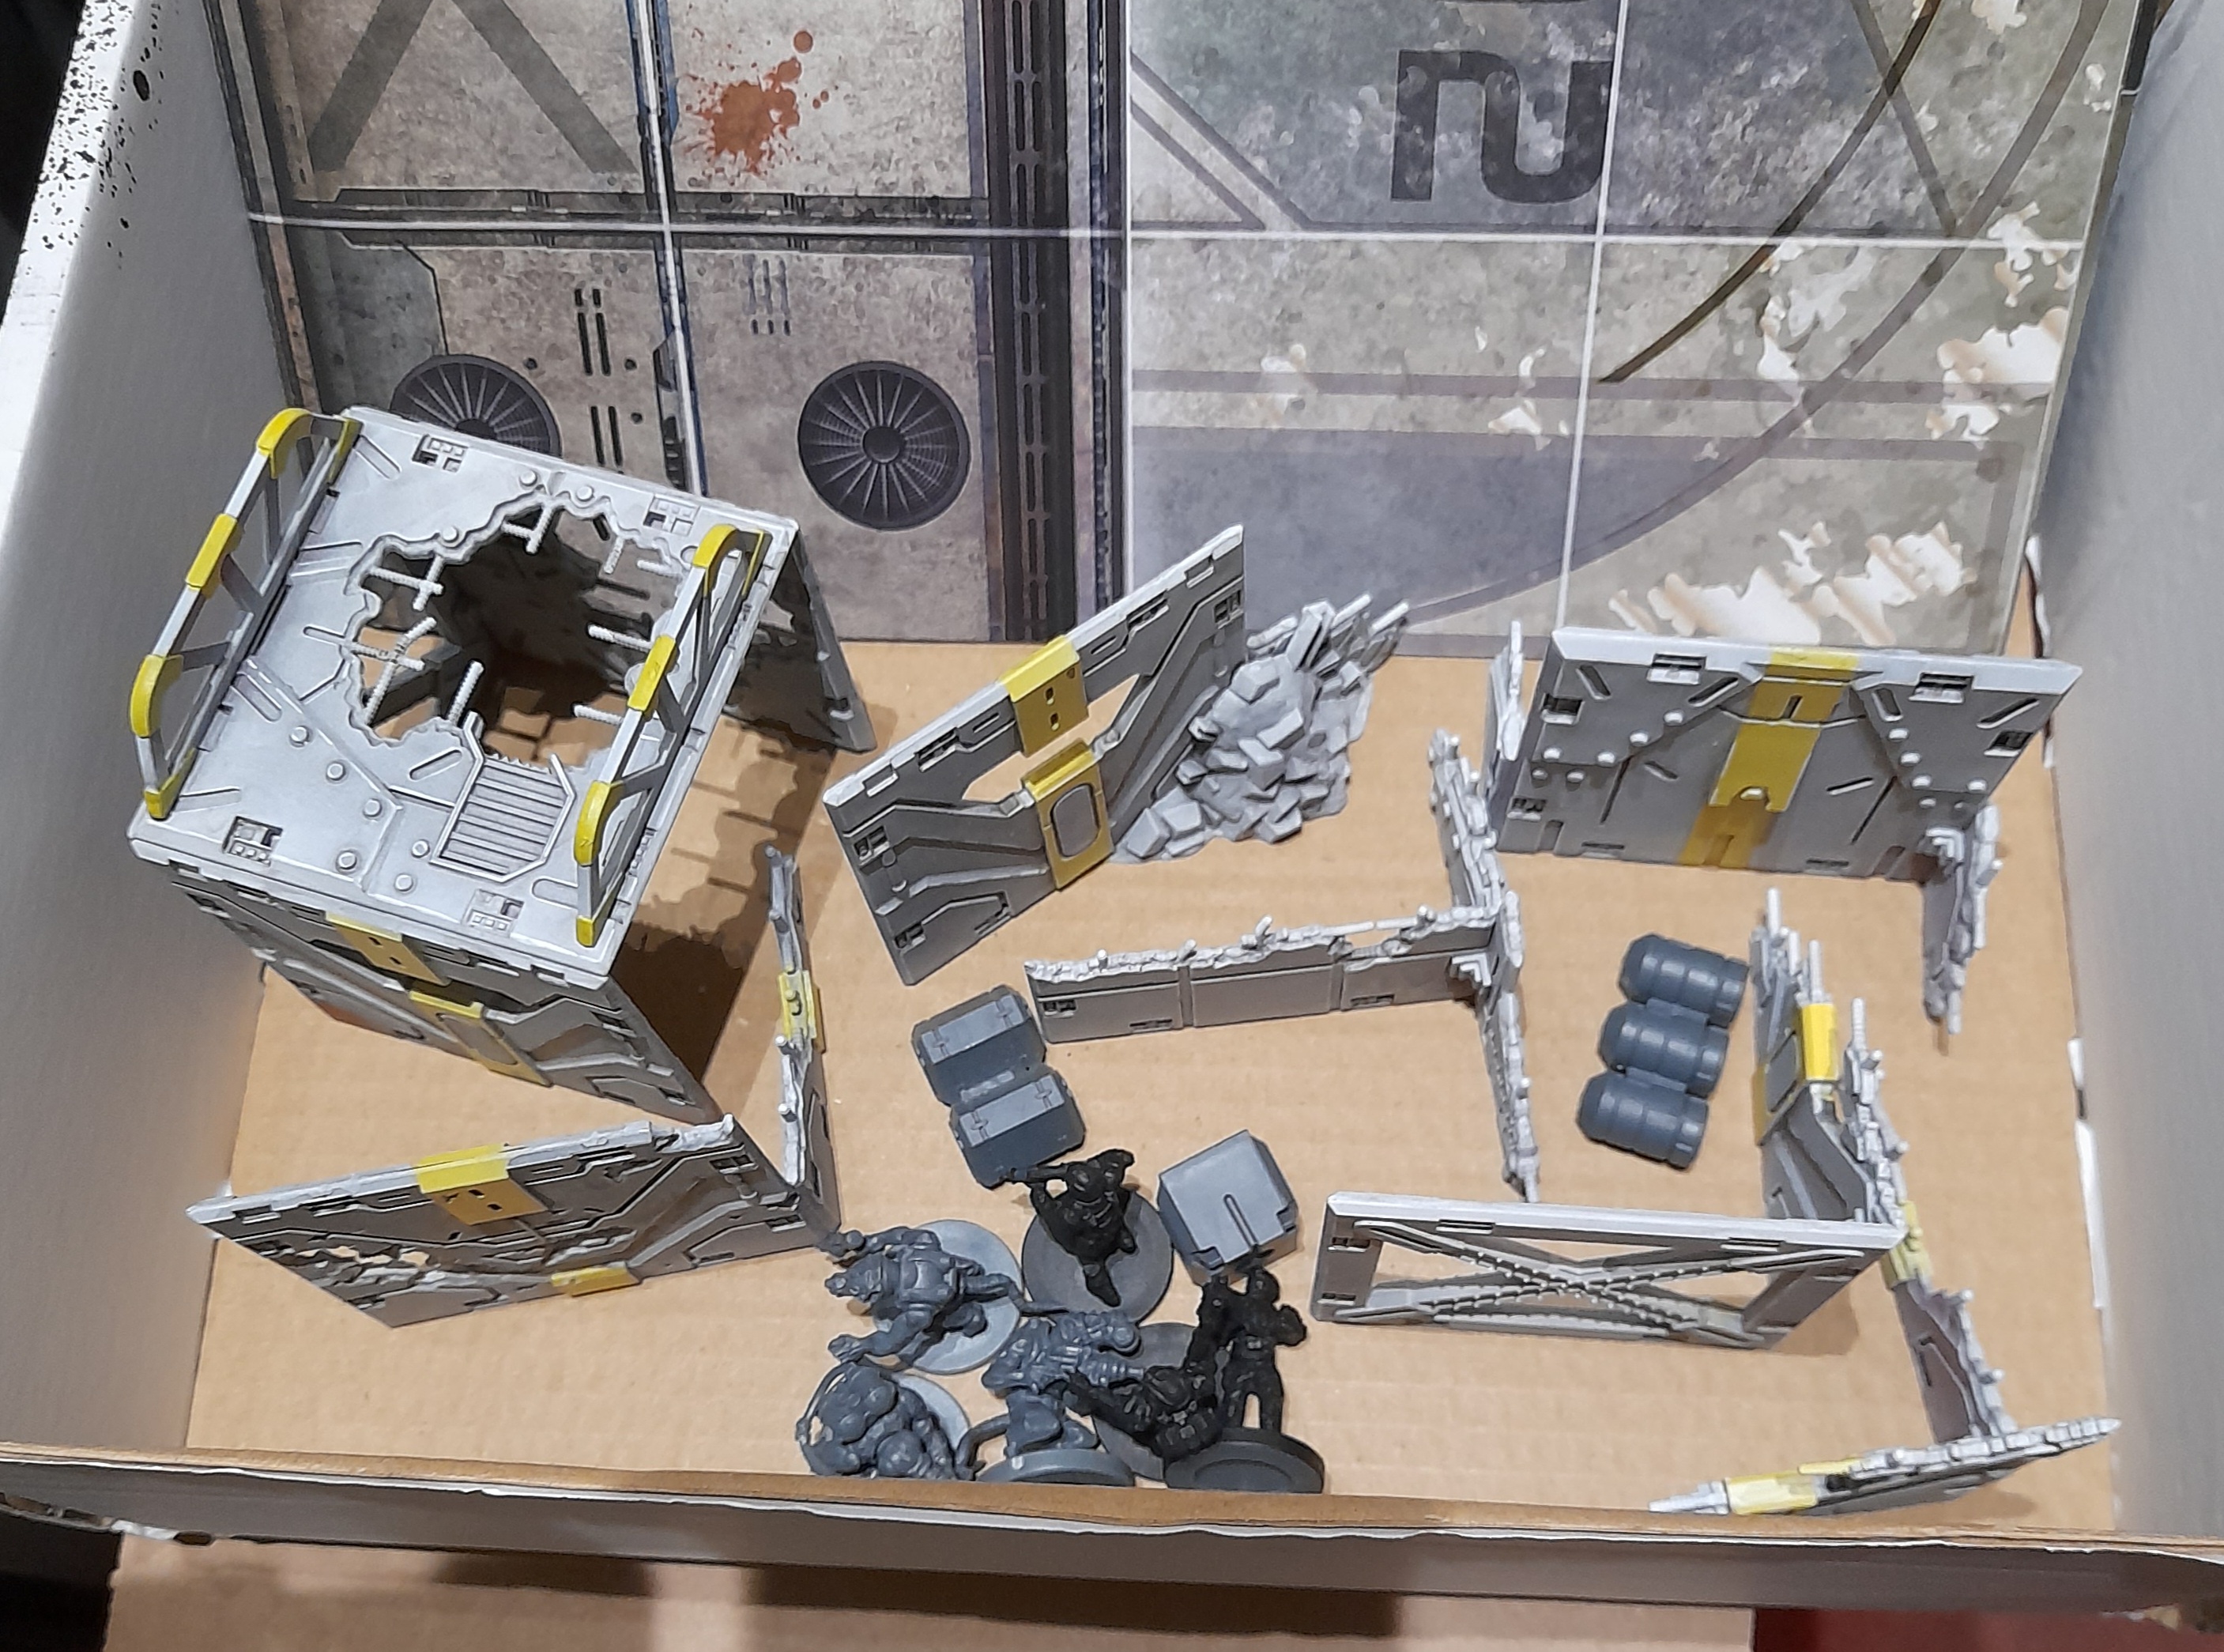
Getting in some demo games
An old friend of mine came over on New Year’s eve for some board gaming.
I had discussed Deadzone with him, and he was up for trying it out.
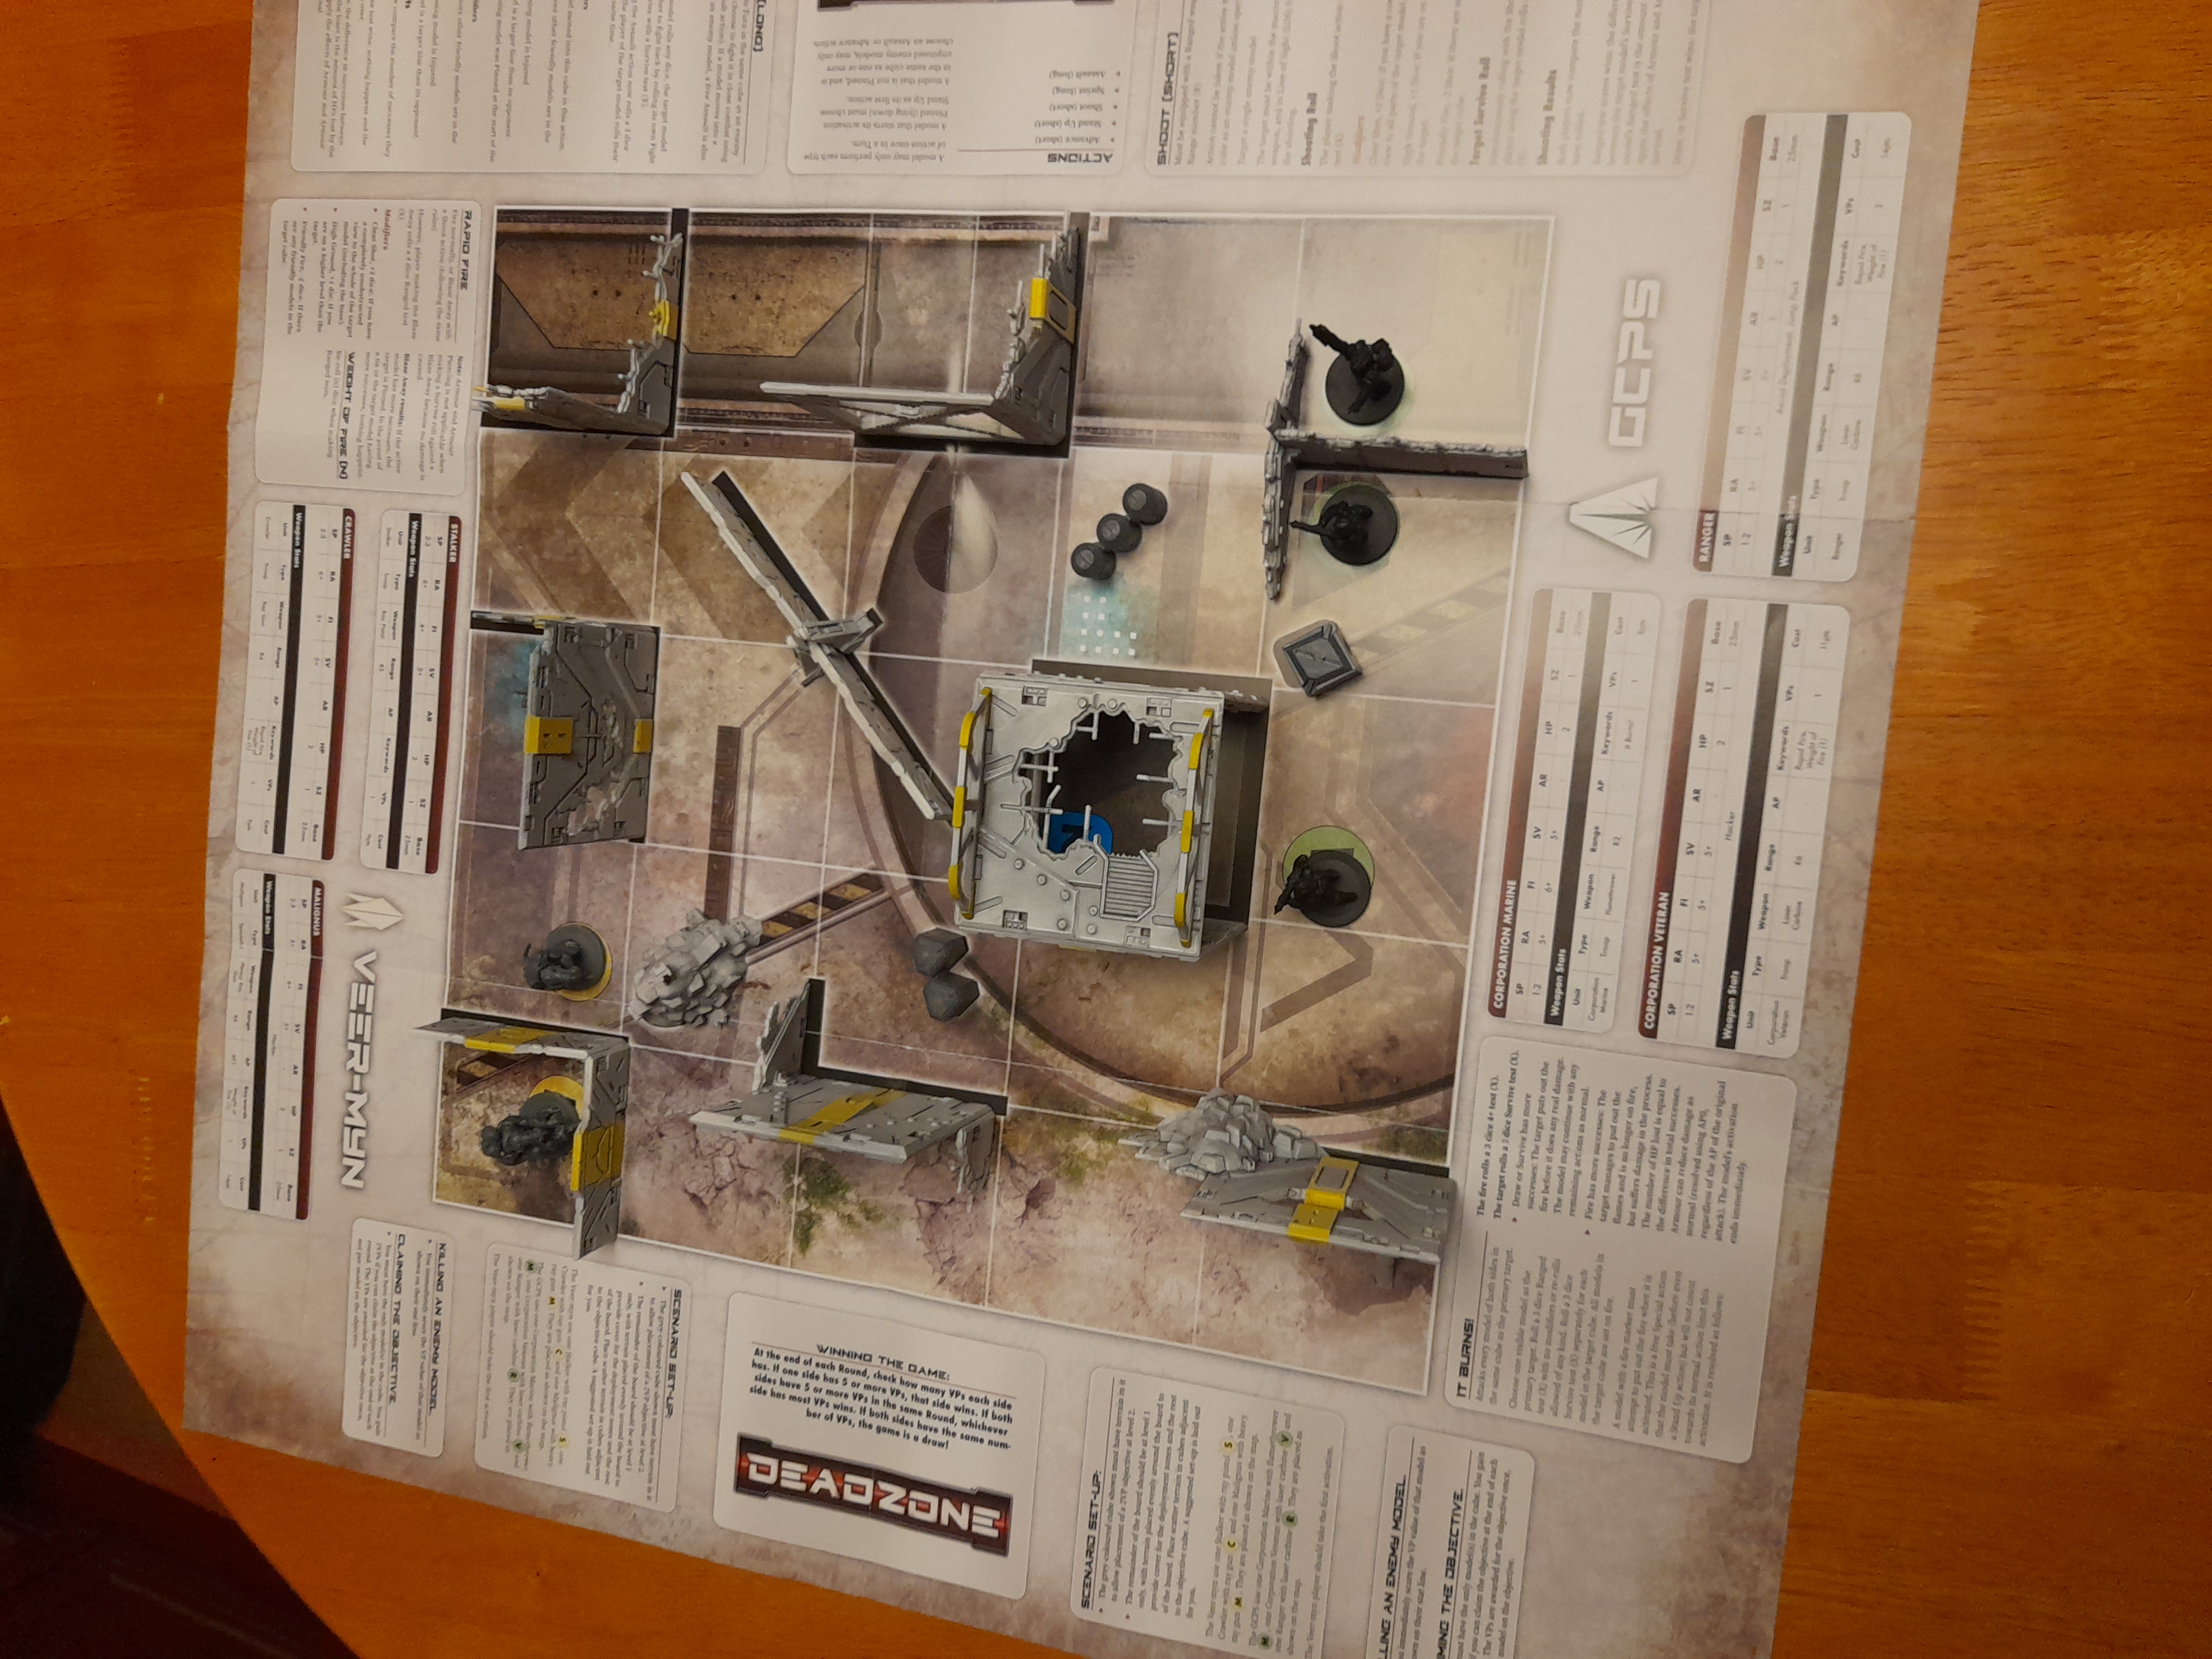
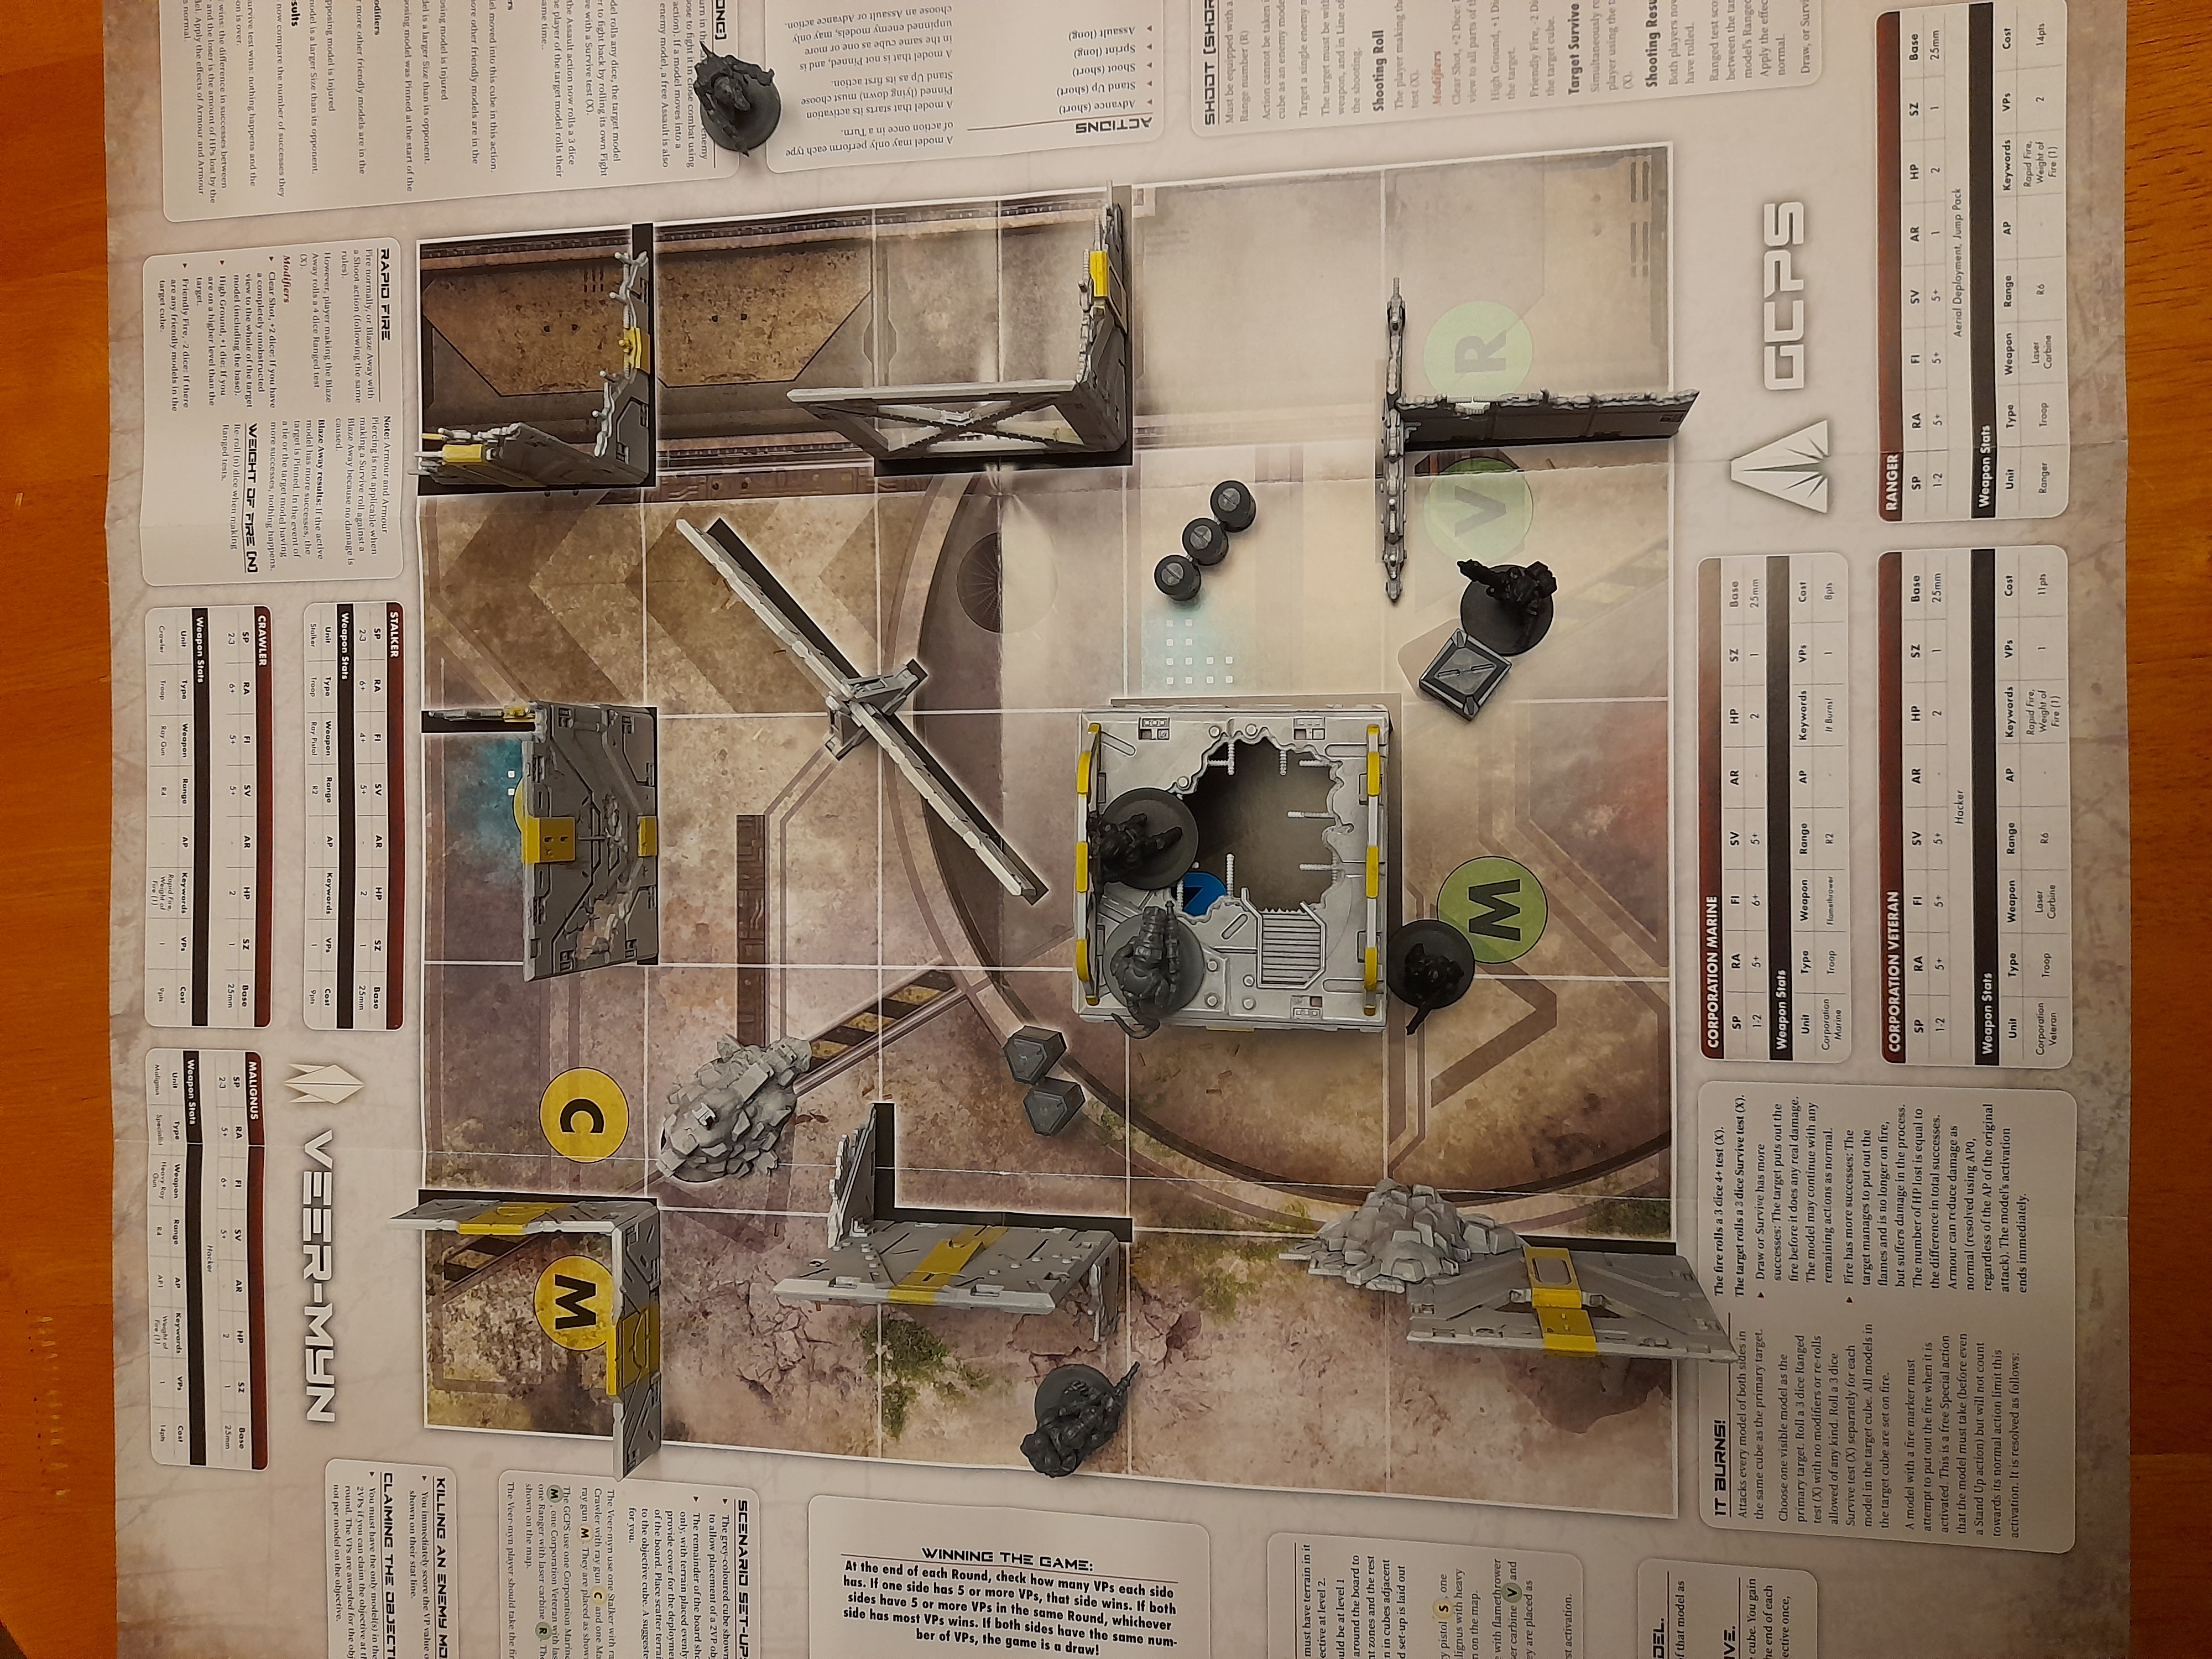
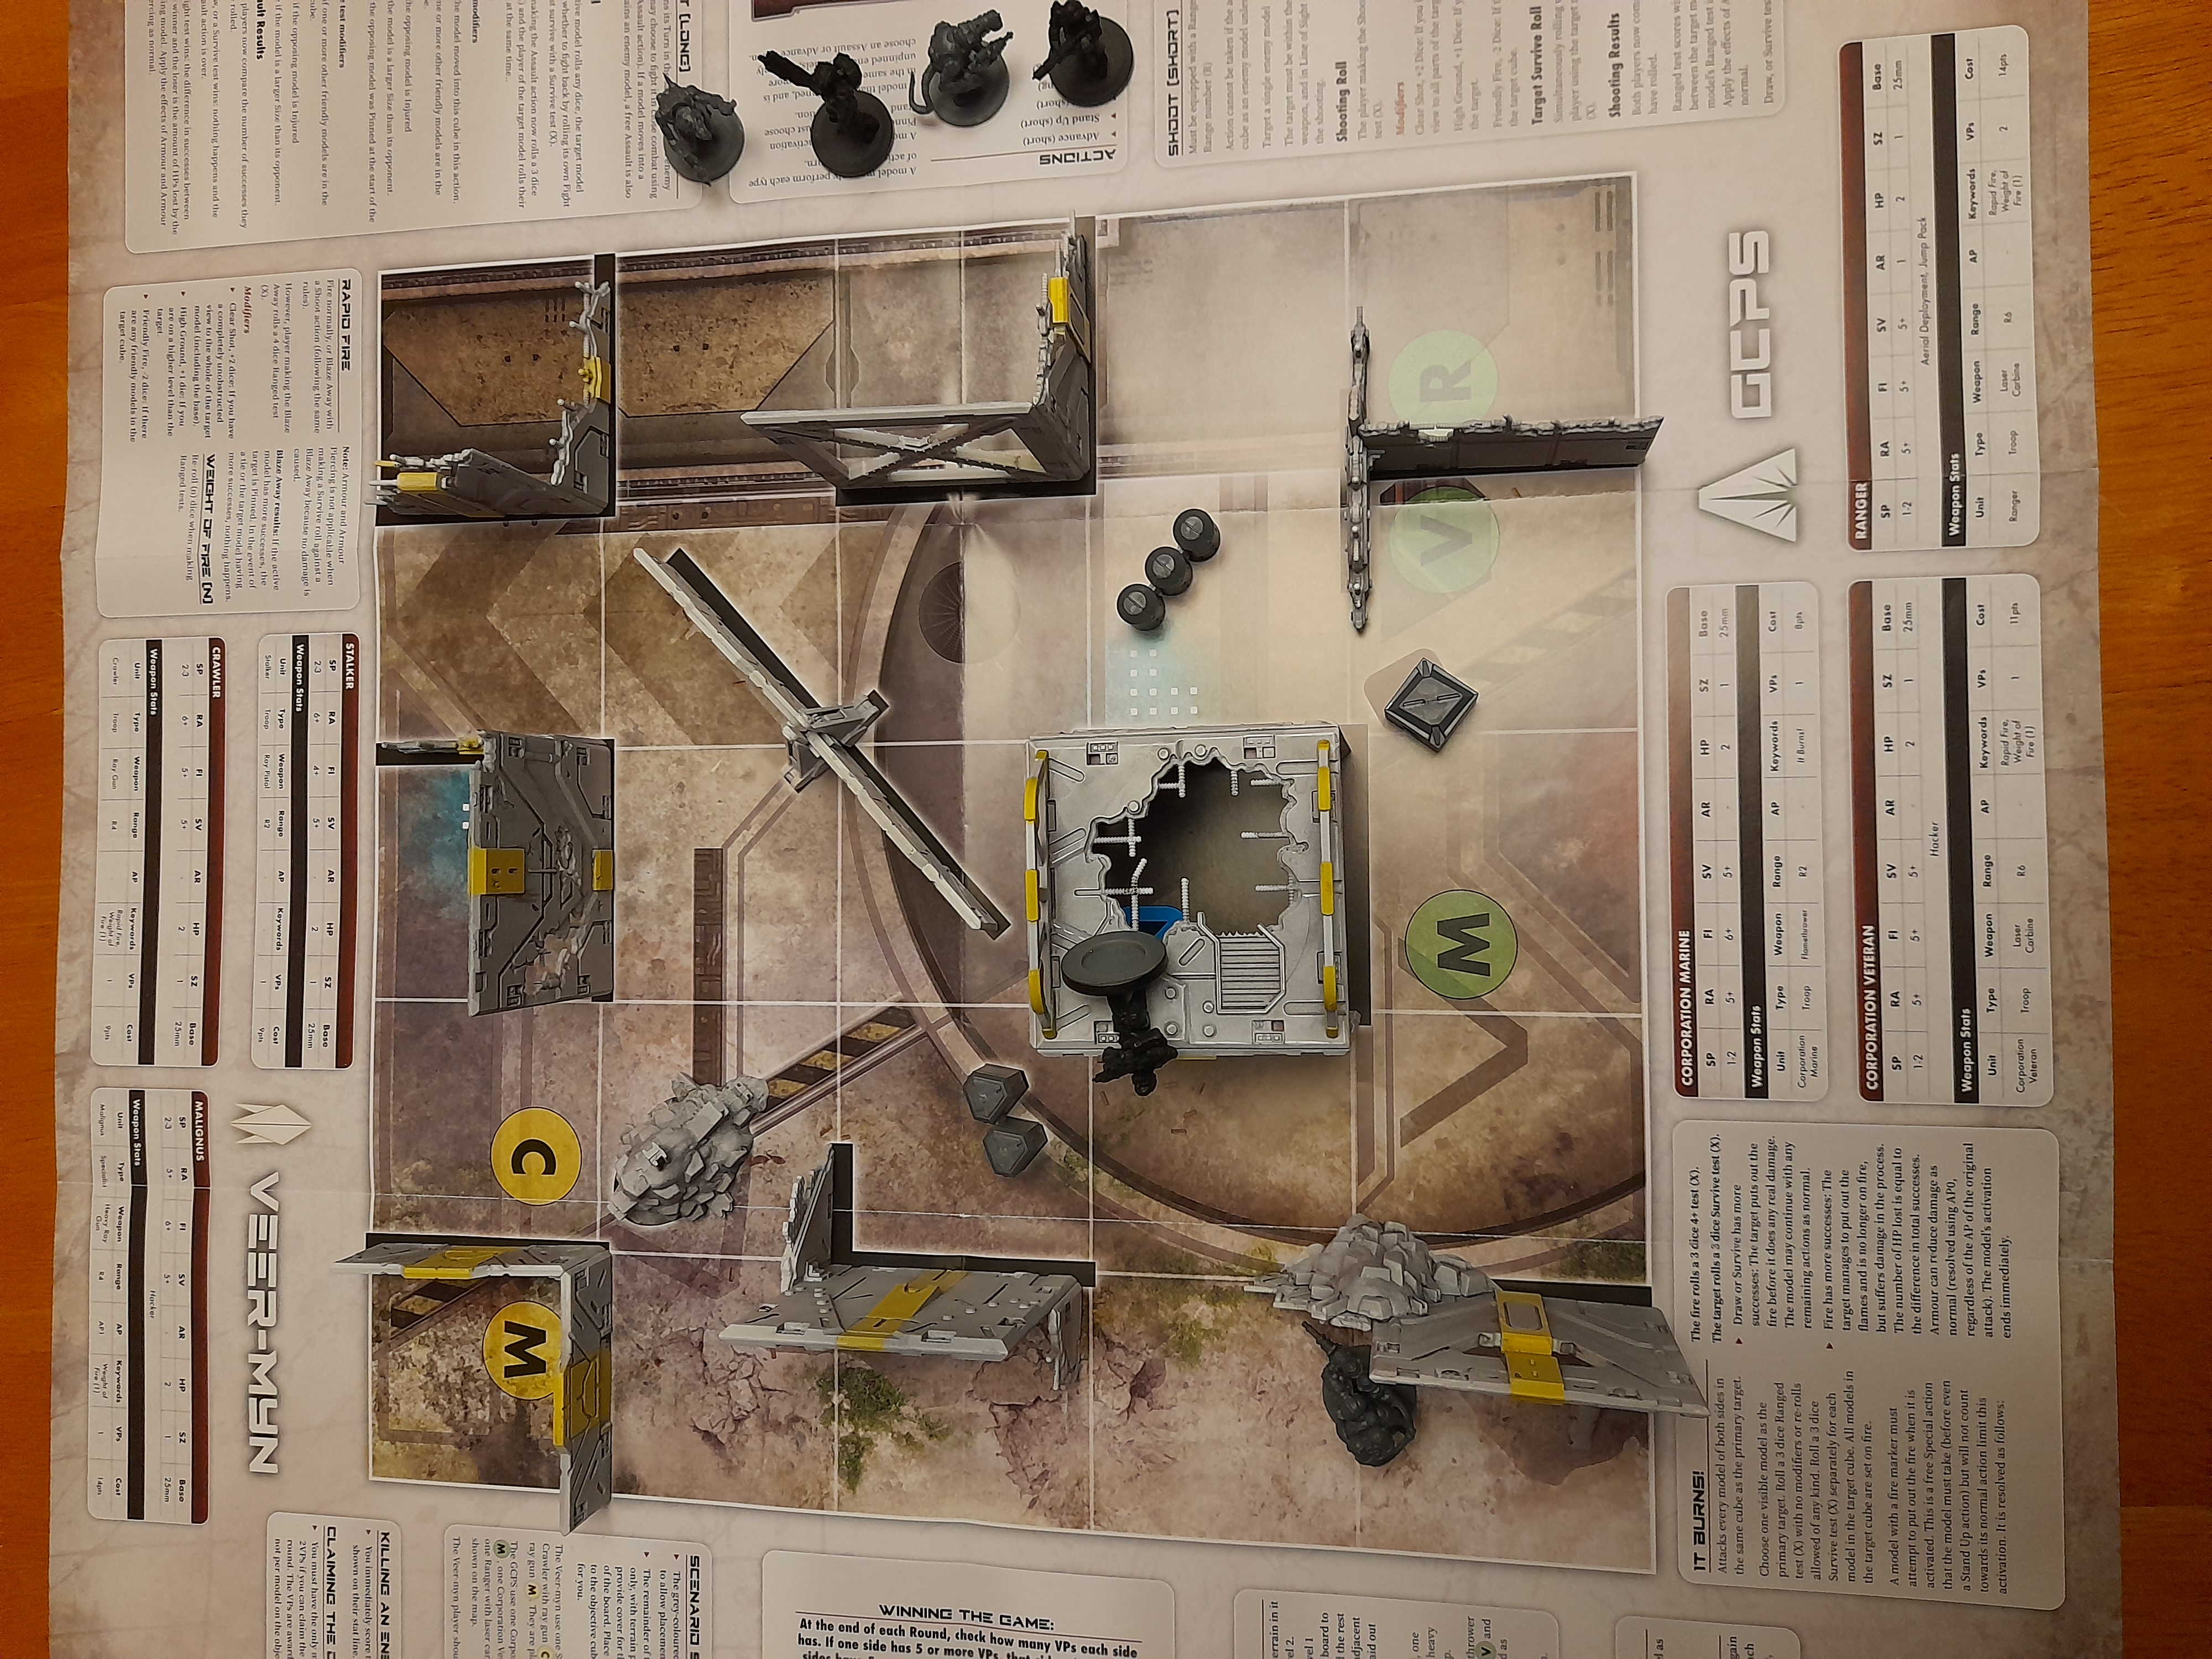
So, I set up the small demo layout from the 3rd ed starter (3 vs 3 models, Veer Myn and GCPS, on a 5 x5 grid instead of 8 x8).
I gave him a brief run through of the key rules, then we were straight into it.
He picked it up really quickly, and seemed to have fun.
Plus my wife kept up her 100% record (loosing both games ?).
The GCPS under Mike’s control won the first game, then they switched sides and played again. This time the Veer Myn won.
Standout moment was my wife making a save roll for her Ranger, with the armour value of 1 saving it…..then Mike quickly muttered ‘AP1’…… followed by my wife shouting ‘No!’ very loudly. ?
This second game came down to one model left on each side, with the Veer myn taking it with a final mid range shot.
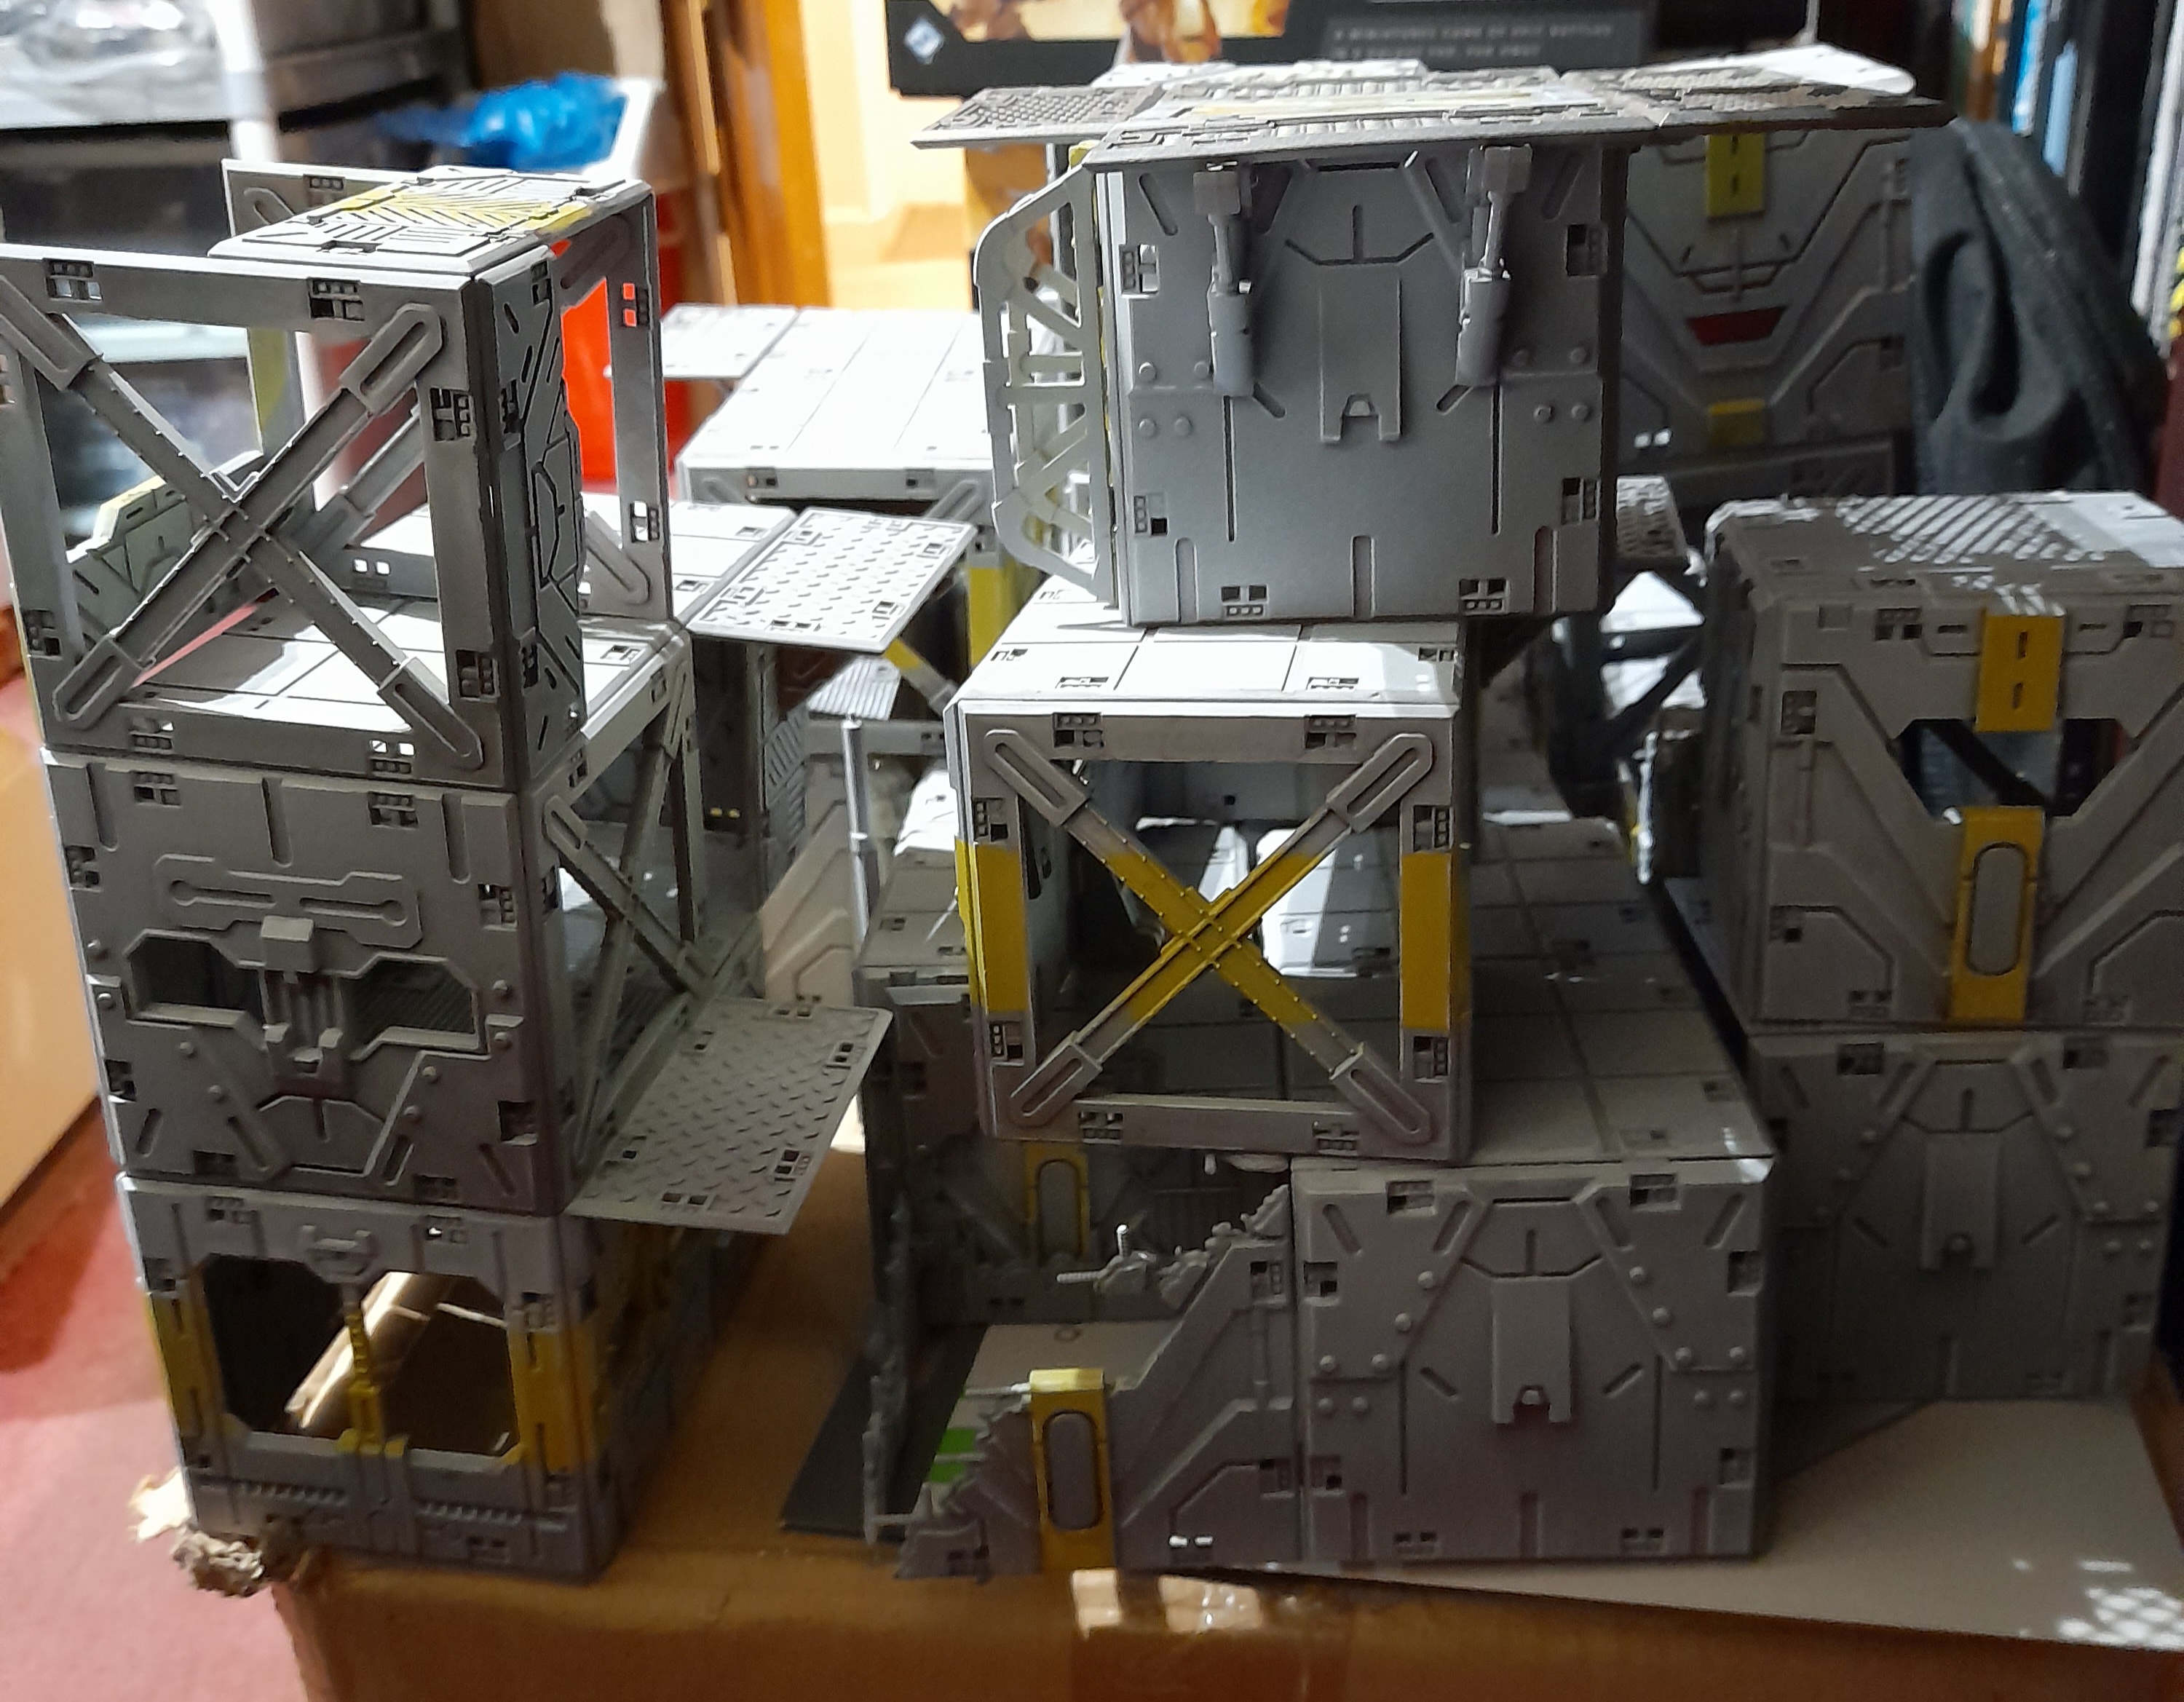
Keep on keeping on…..
4th January 2023
I have made some moderate progress over the Christmas period.
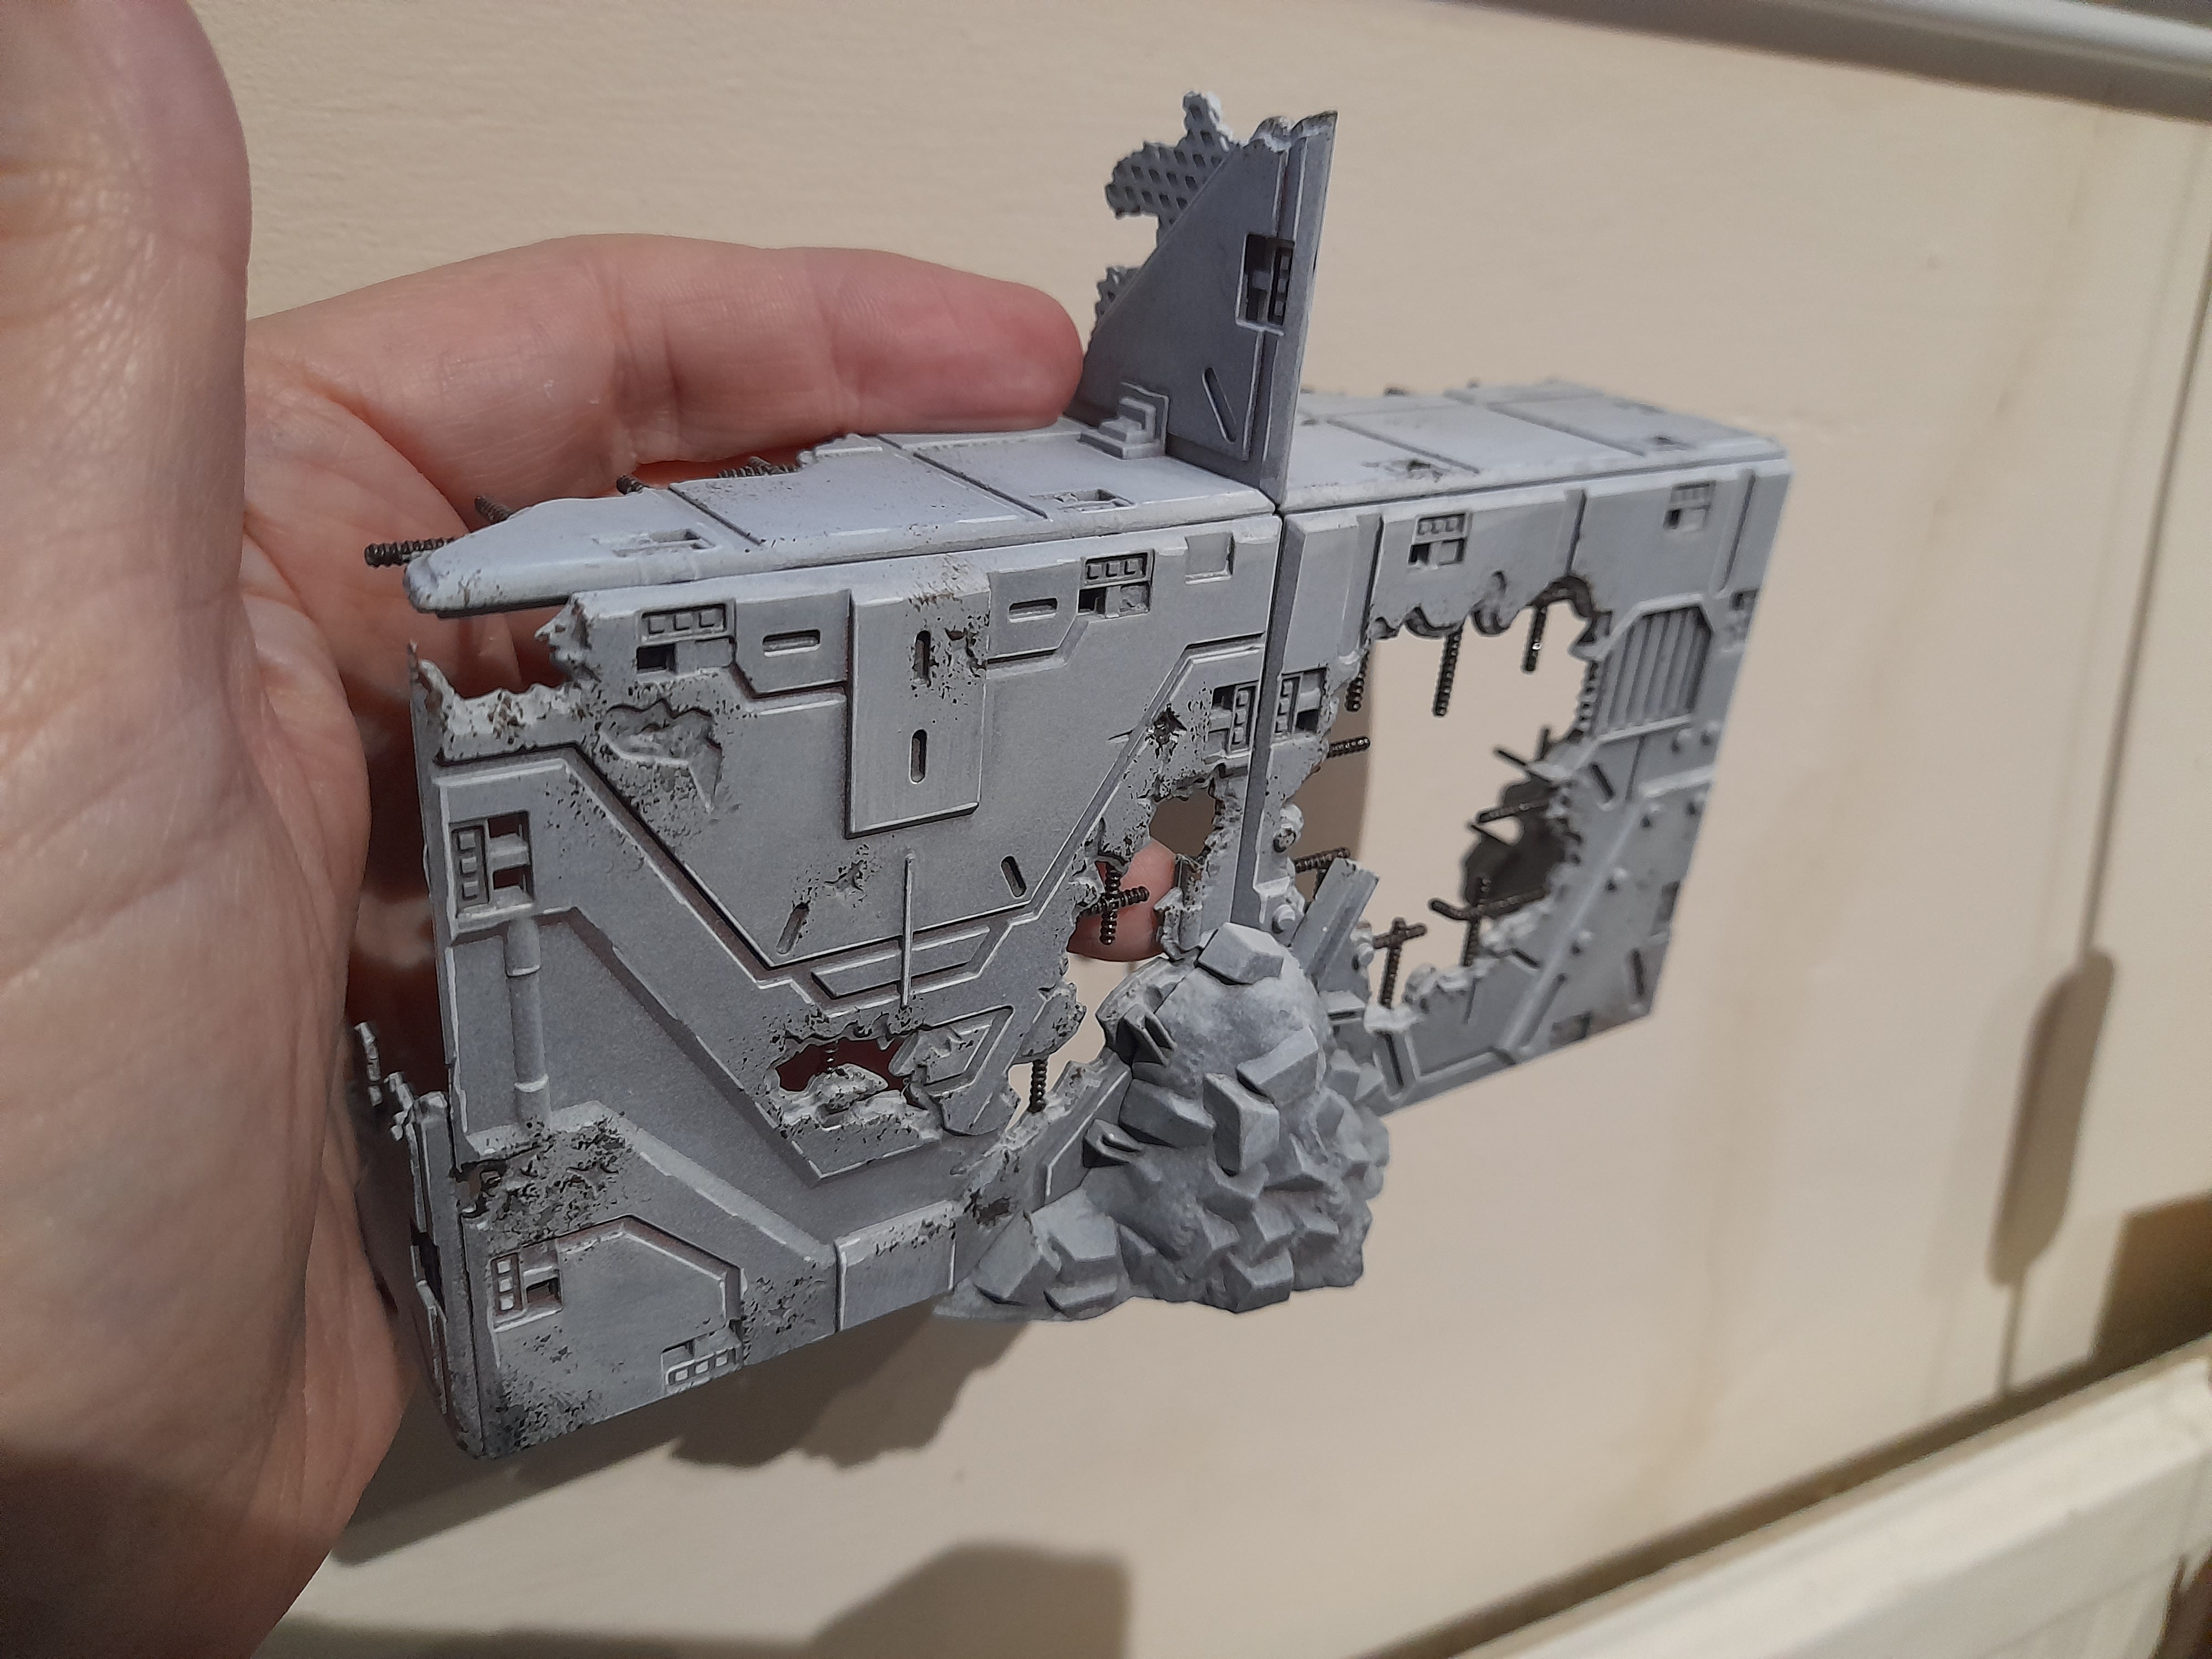
All of the light grey buildings have now had their wash pass carried out, and I am now working through the edge highlighting with the white paint pen. A few smaller buildings have had the sponge weathering stage carried out as well.

I think though that I severely under estimated the amount of work involved in getting this all done. This has gotten me down a little, however as long as I keep plugging away at it then it will get finished, eventually ?
Paint pen progress – complete
8th January 2023
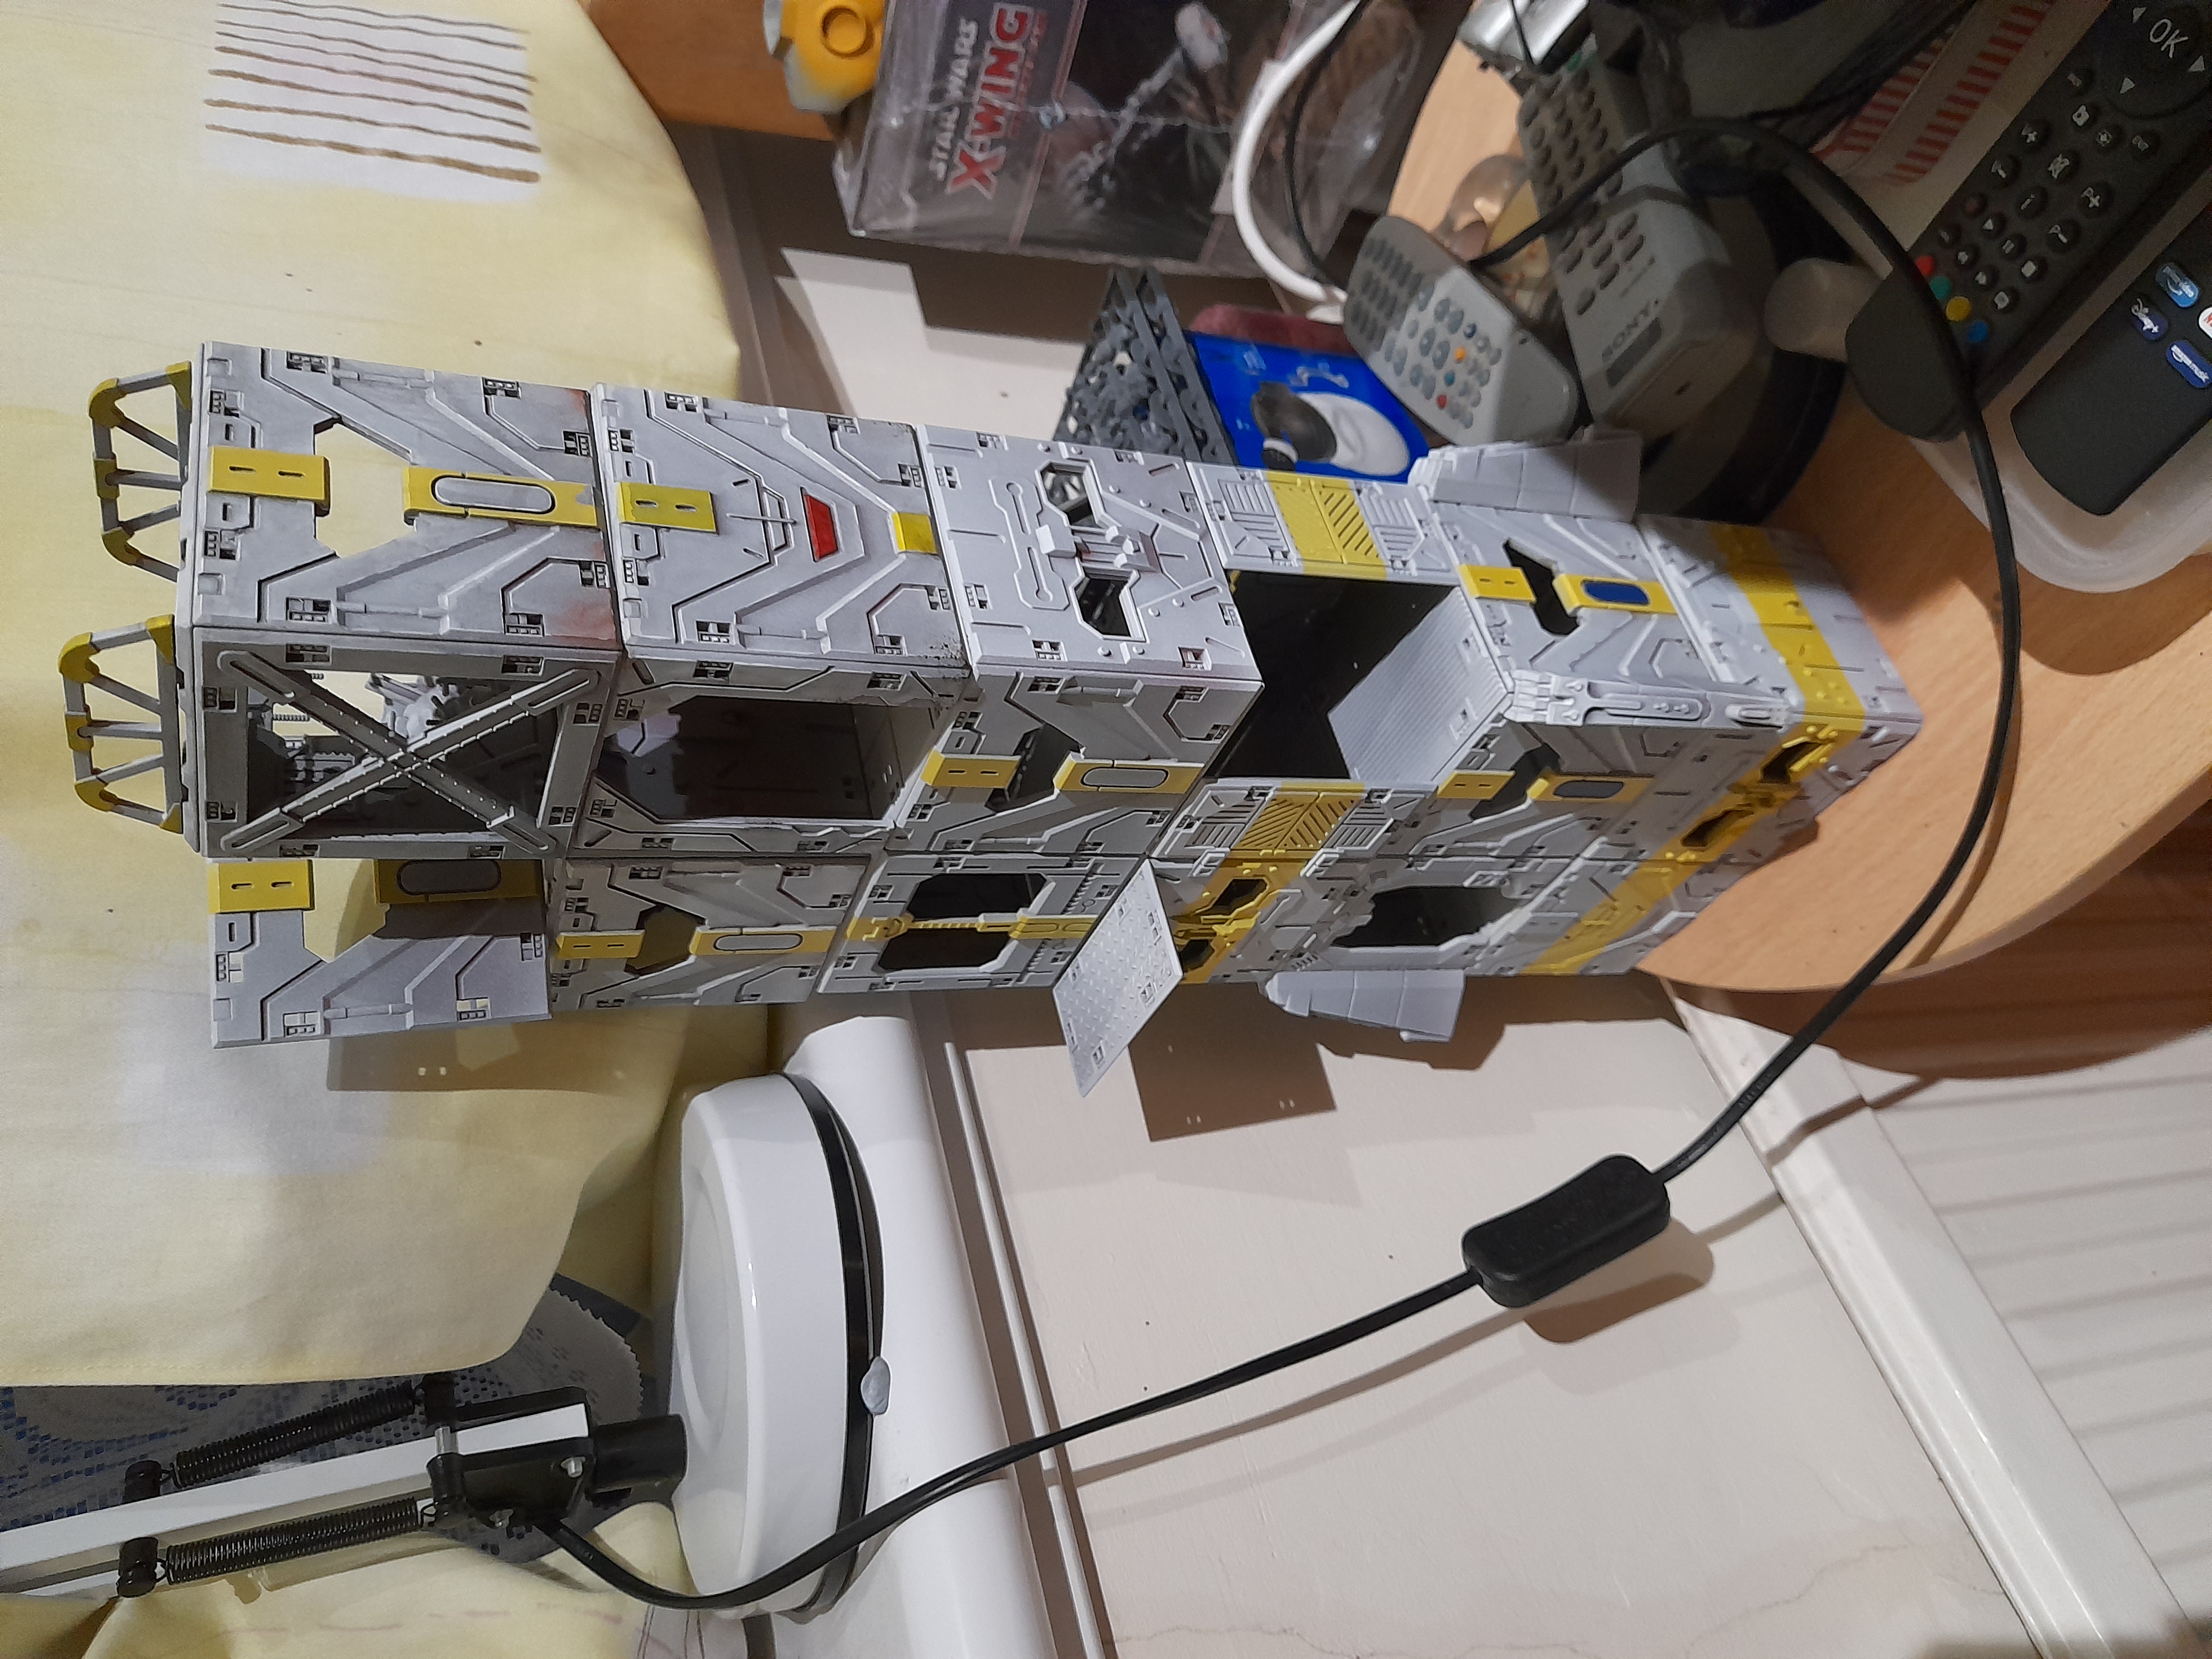
I have been using the paint pen on almost all the panel edges of each part of the terrain…. Yep, it’s a lot.
Some pieces I would just apply a dashed line, to make it stand out slightly more than a solid highlight. Sometimes the dash will draw the eye more than the solid line.
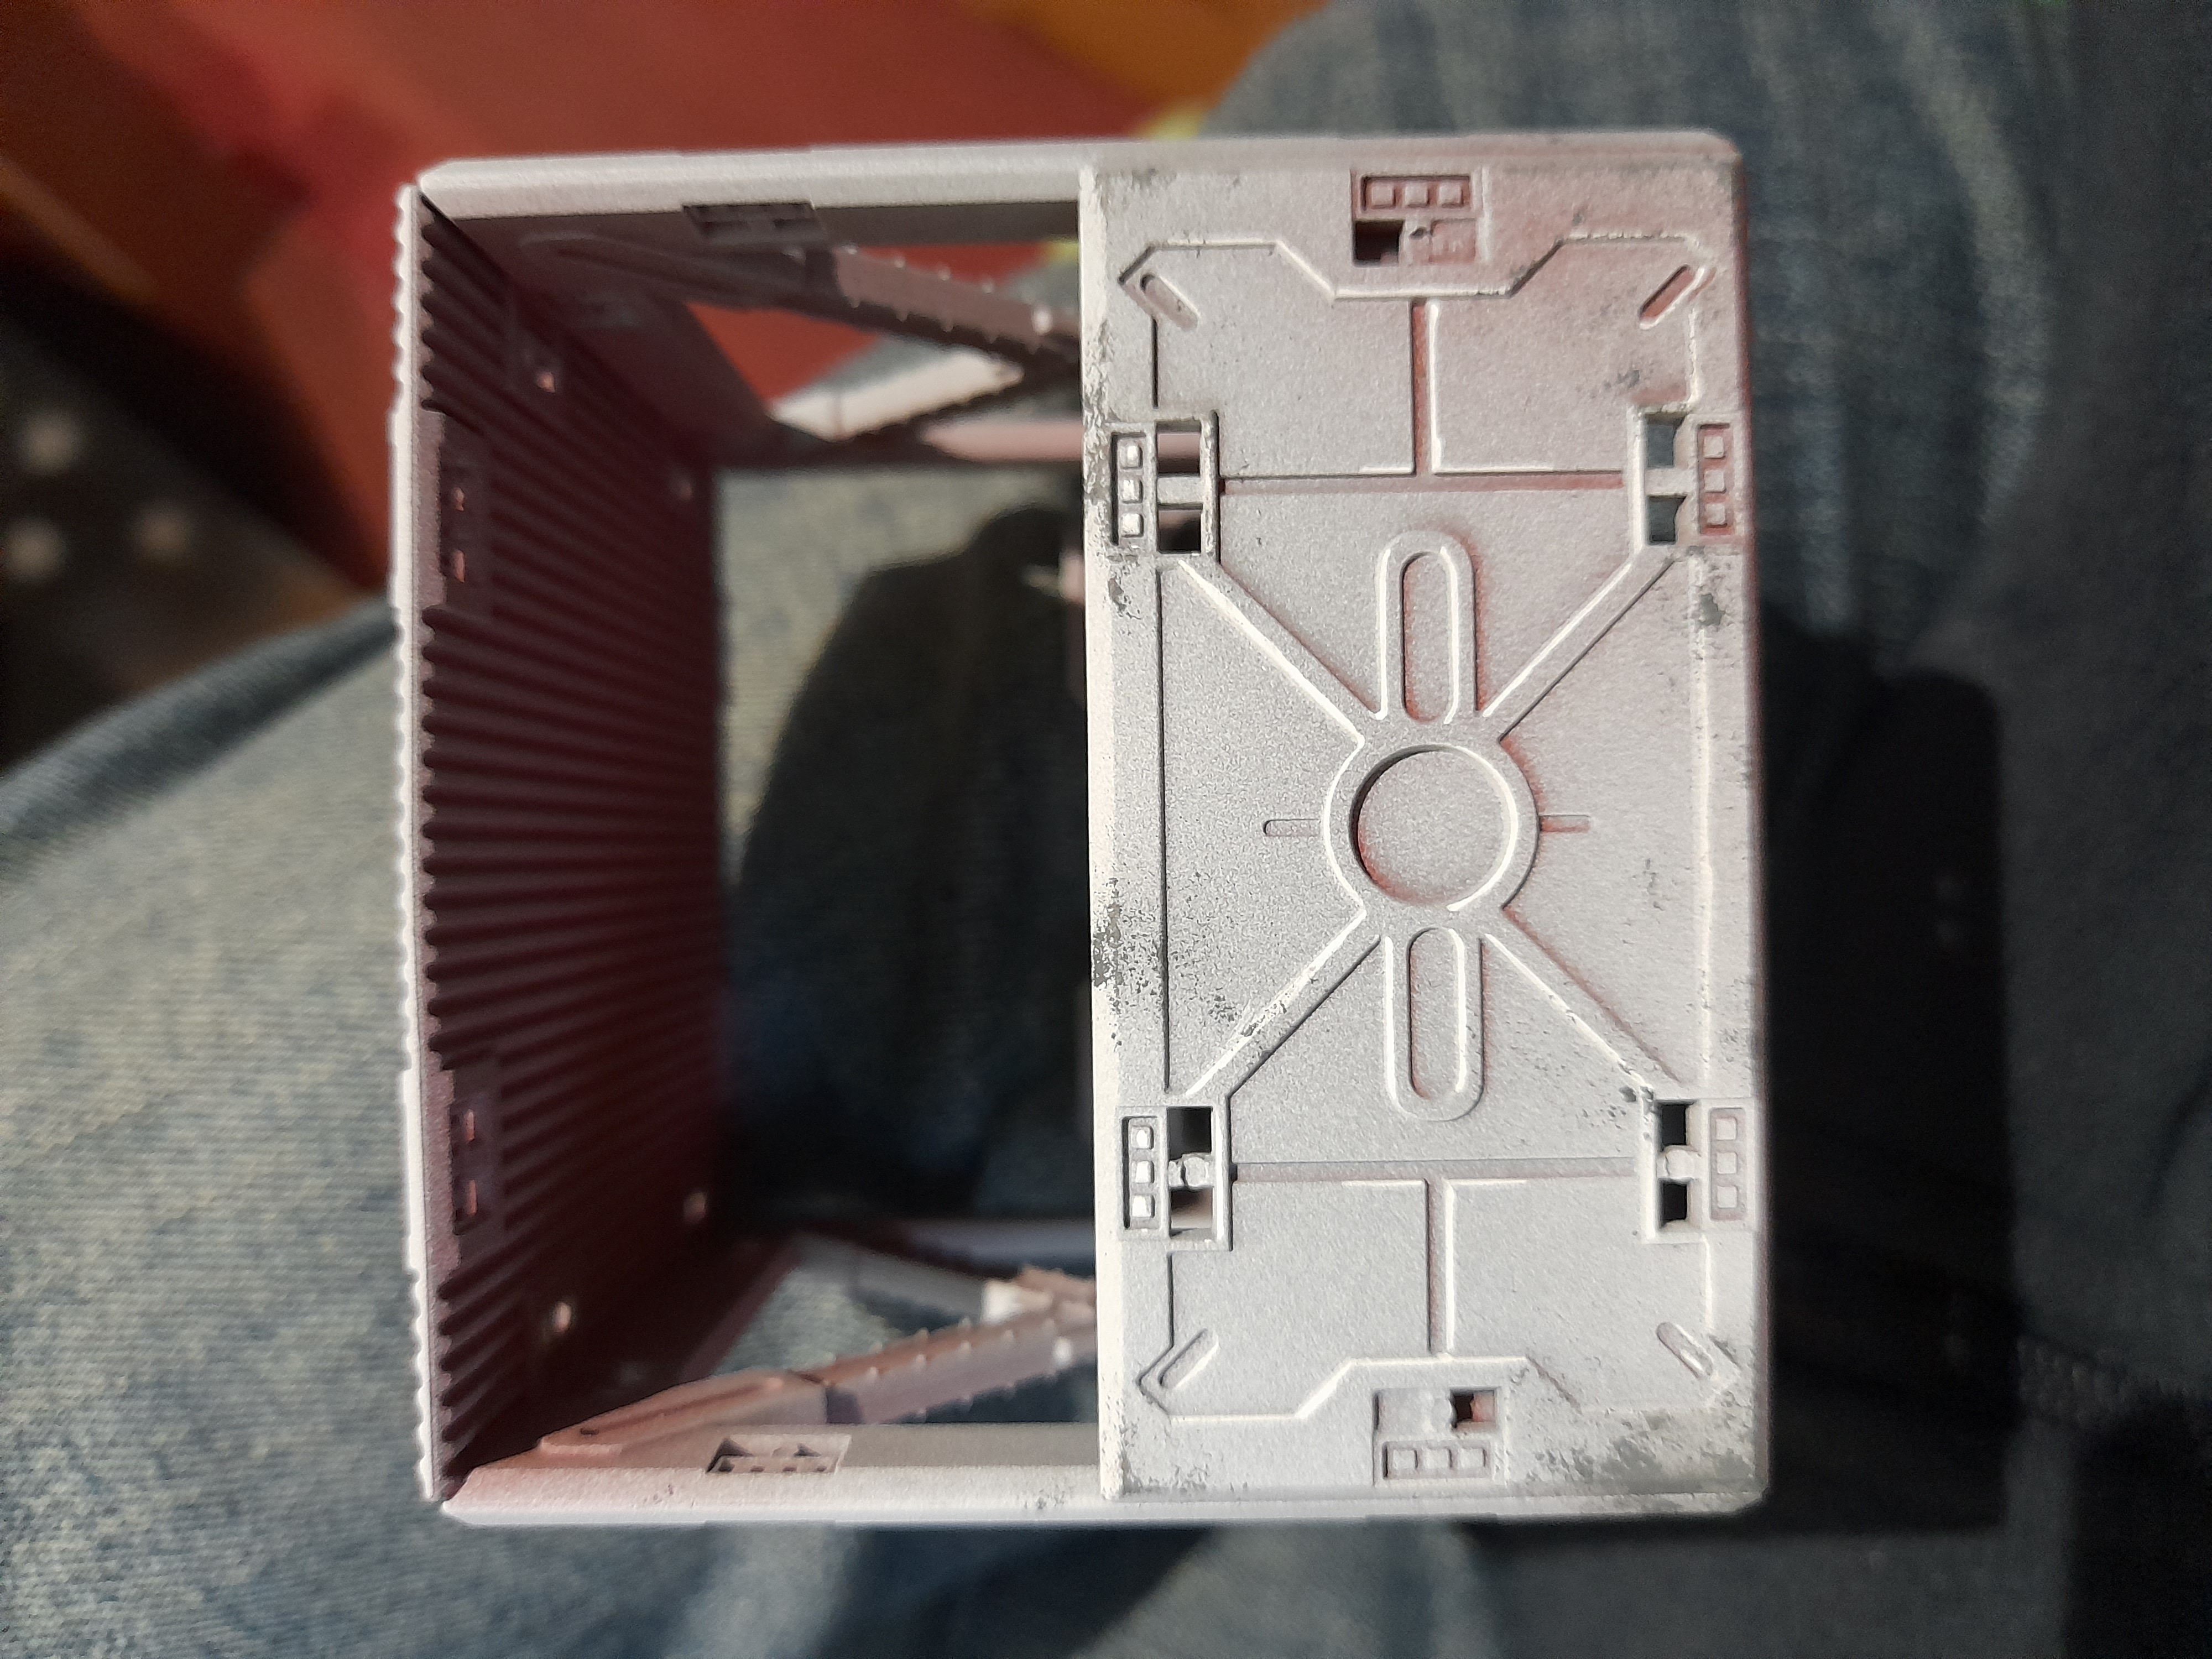
 From this....
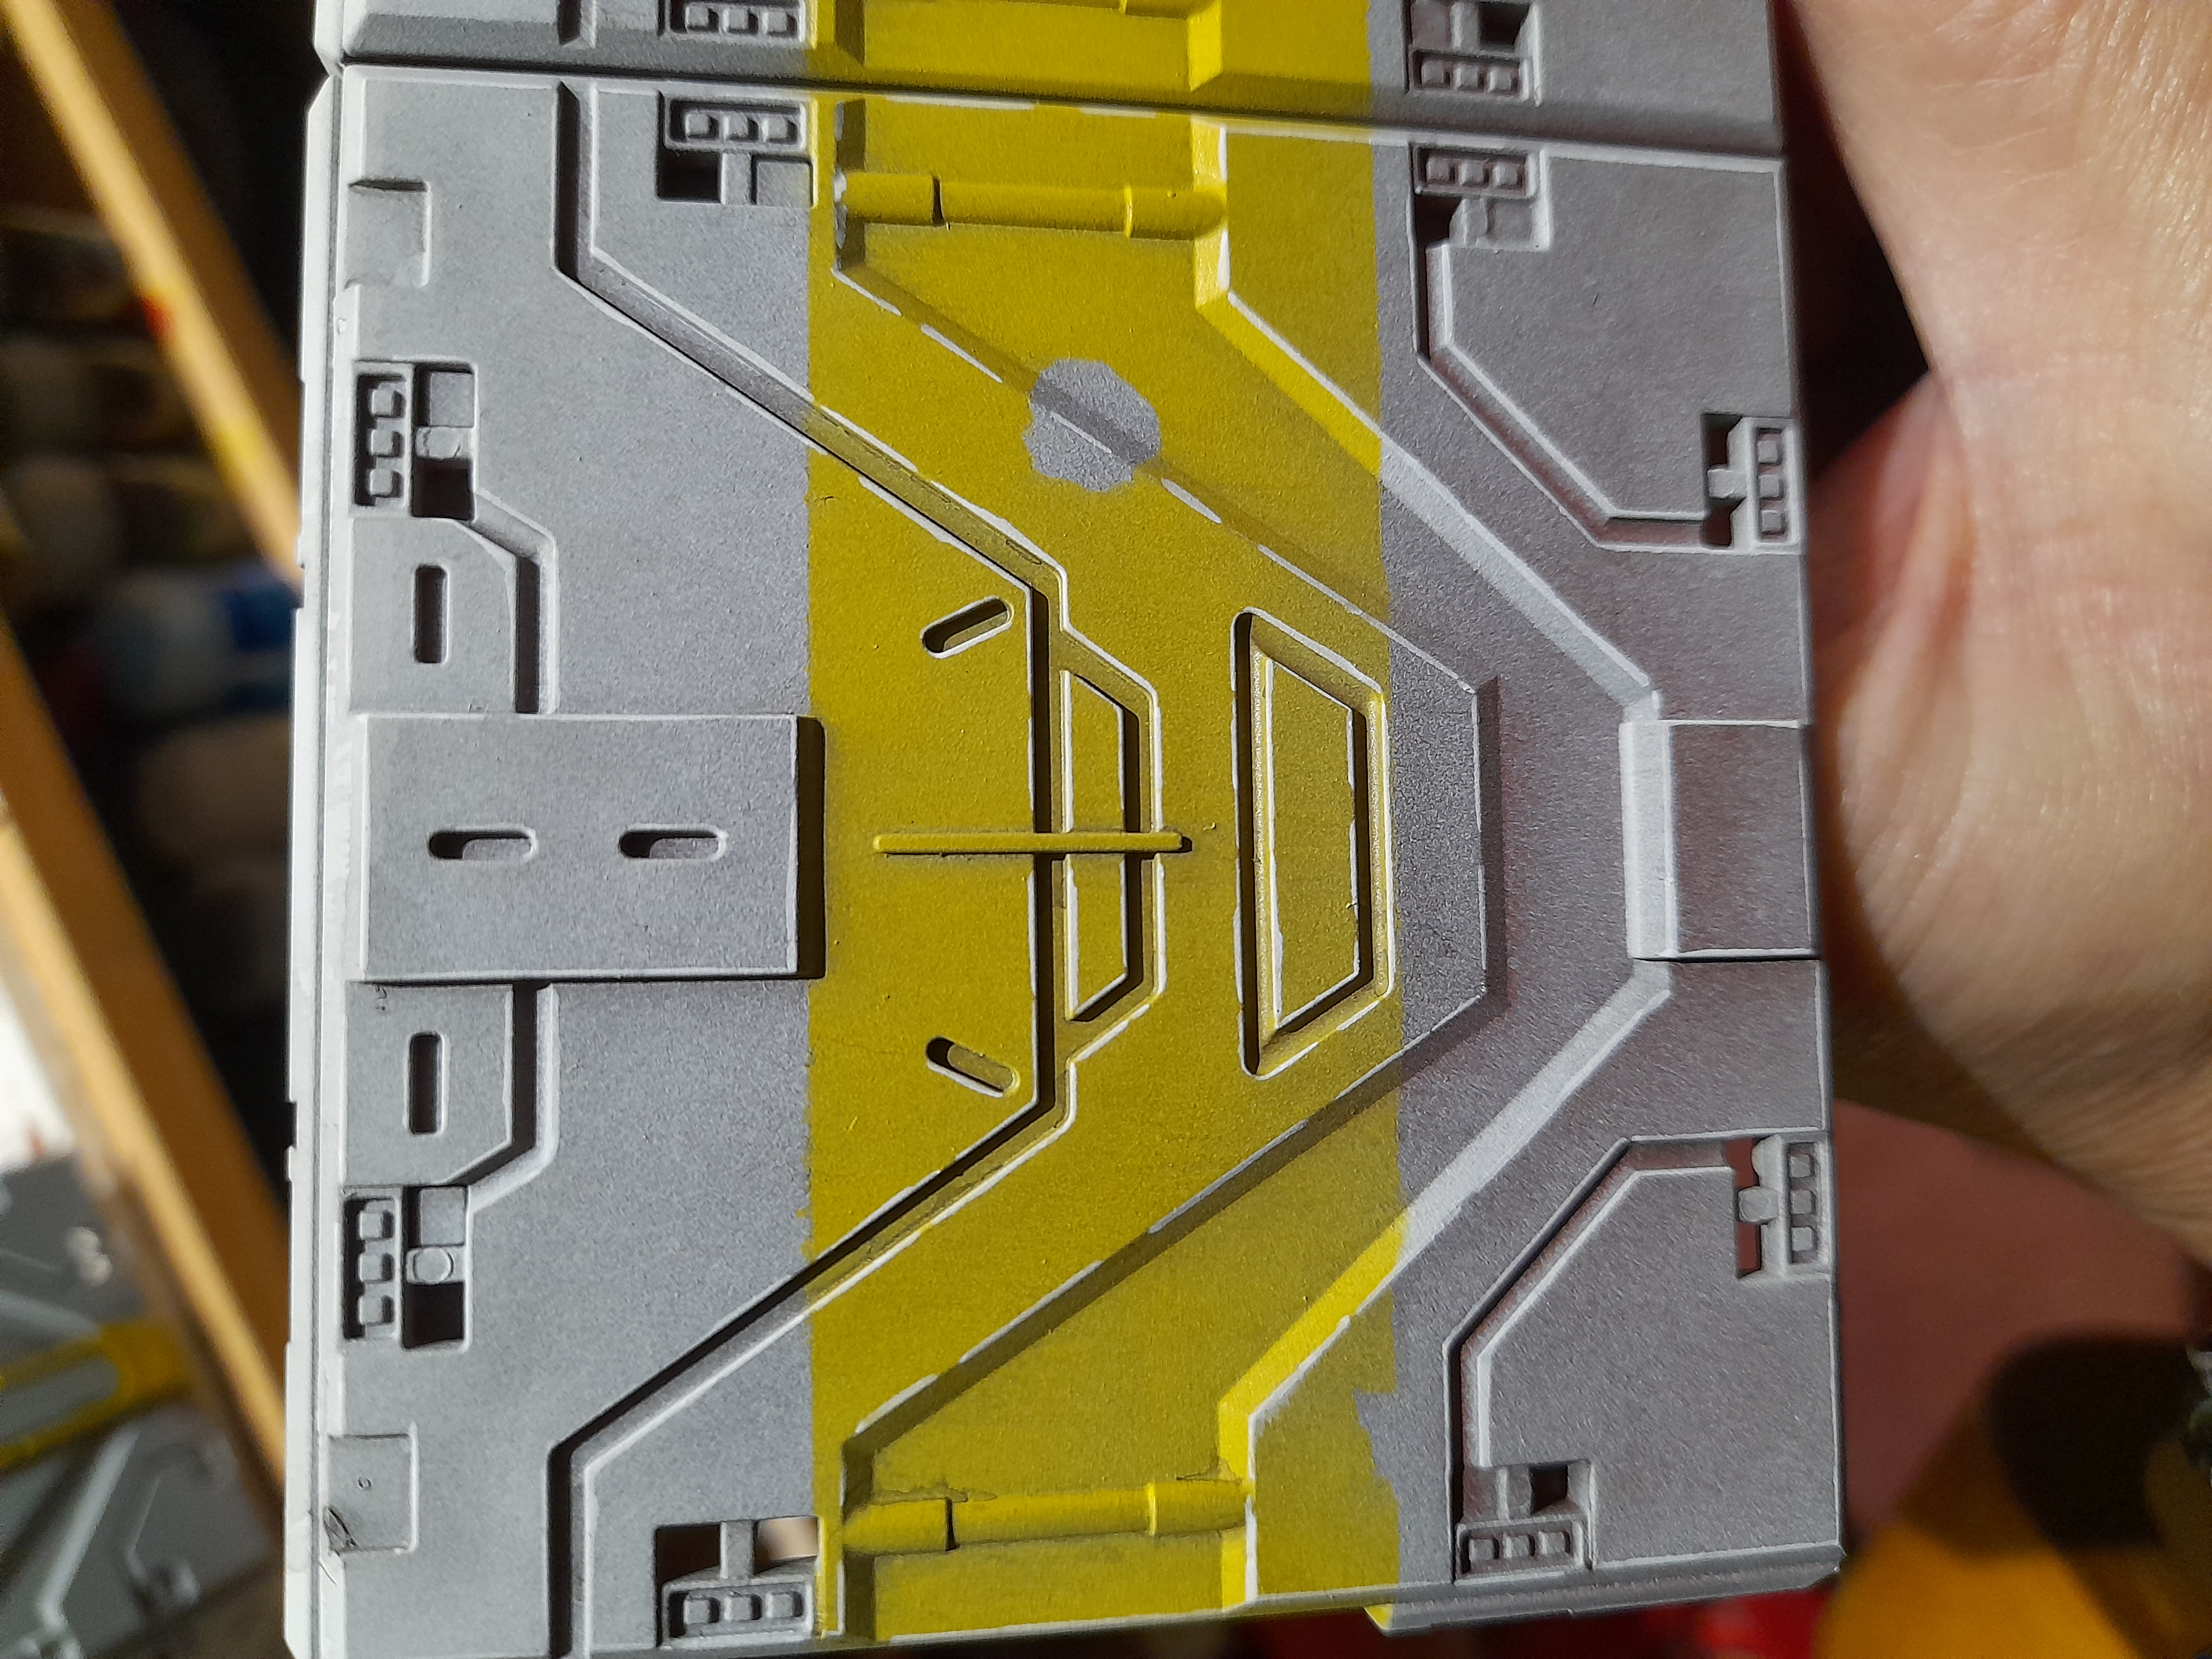 ...to this
I also used the white on the yellow slightly more sparingly than on the grey/white parts.
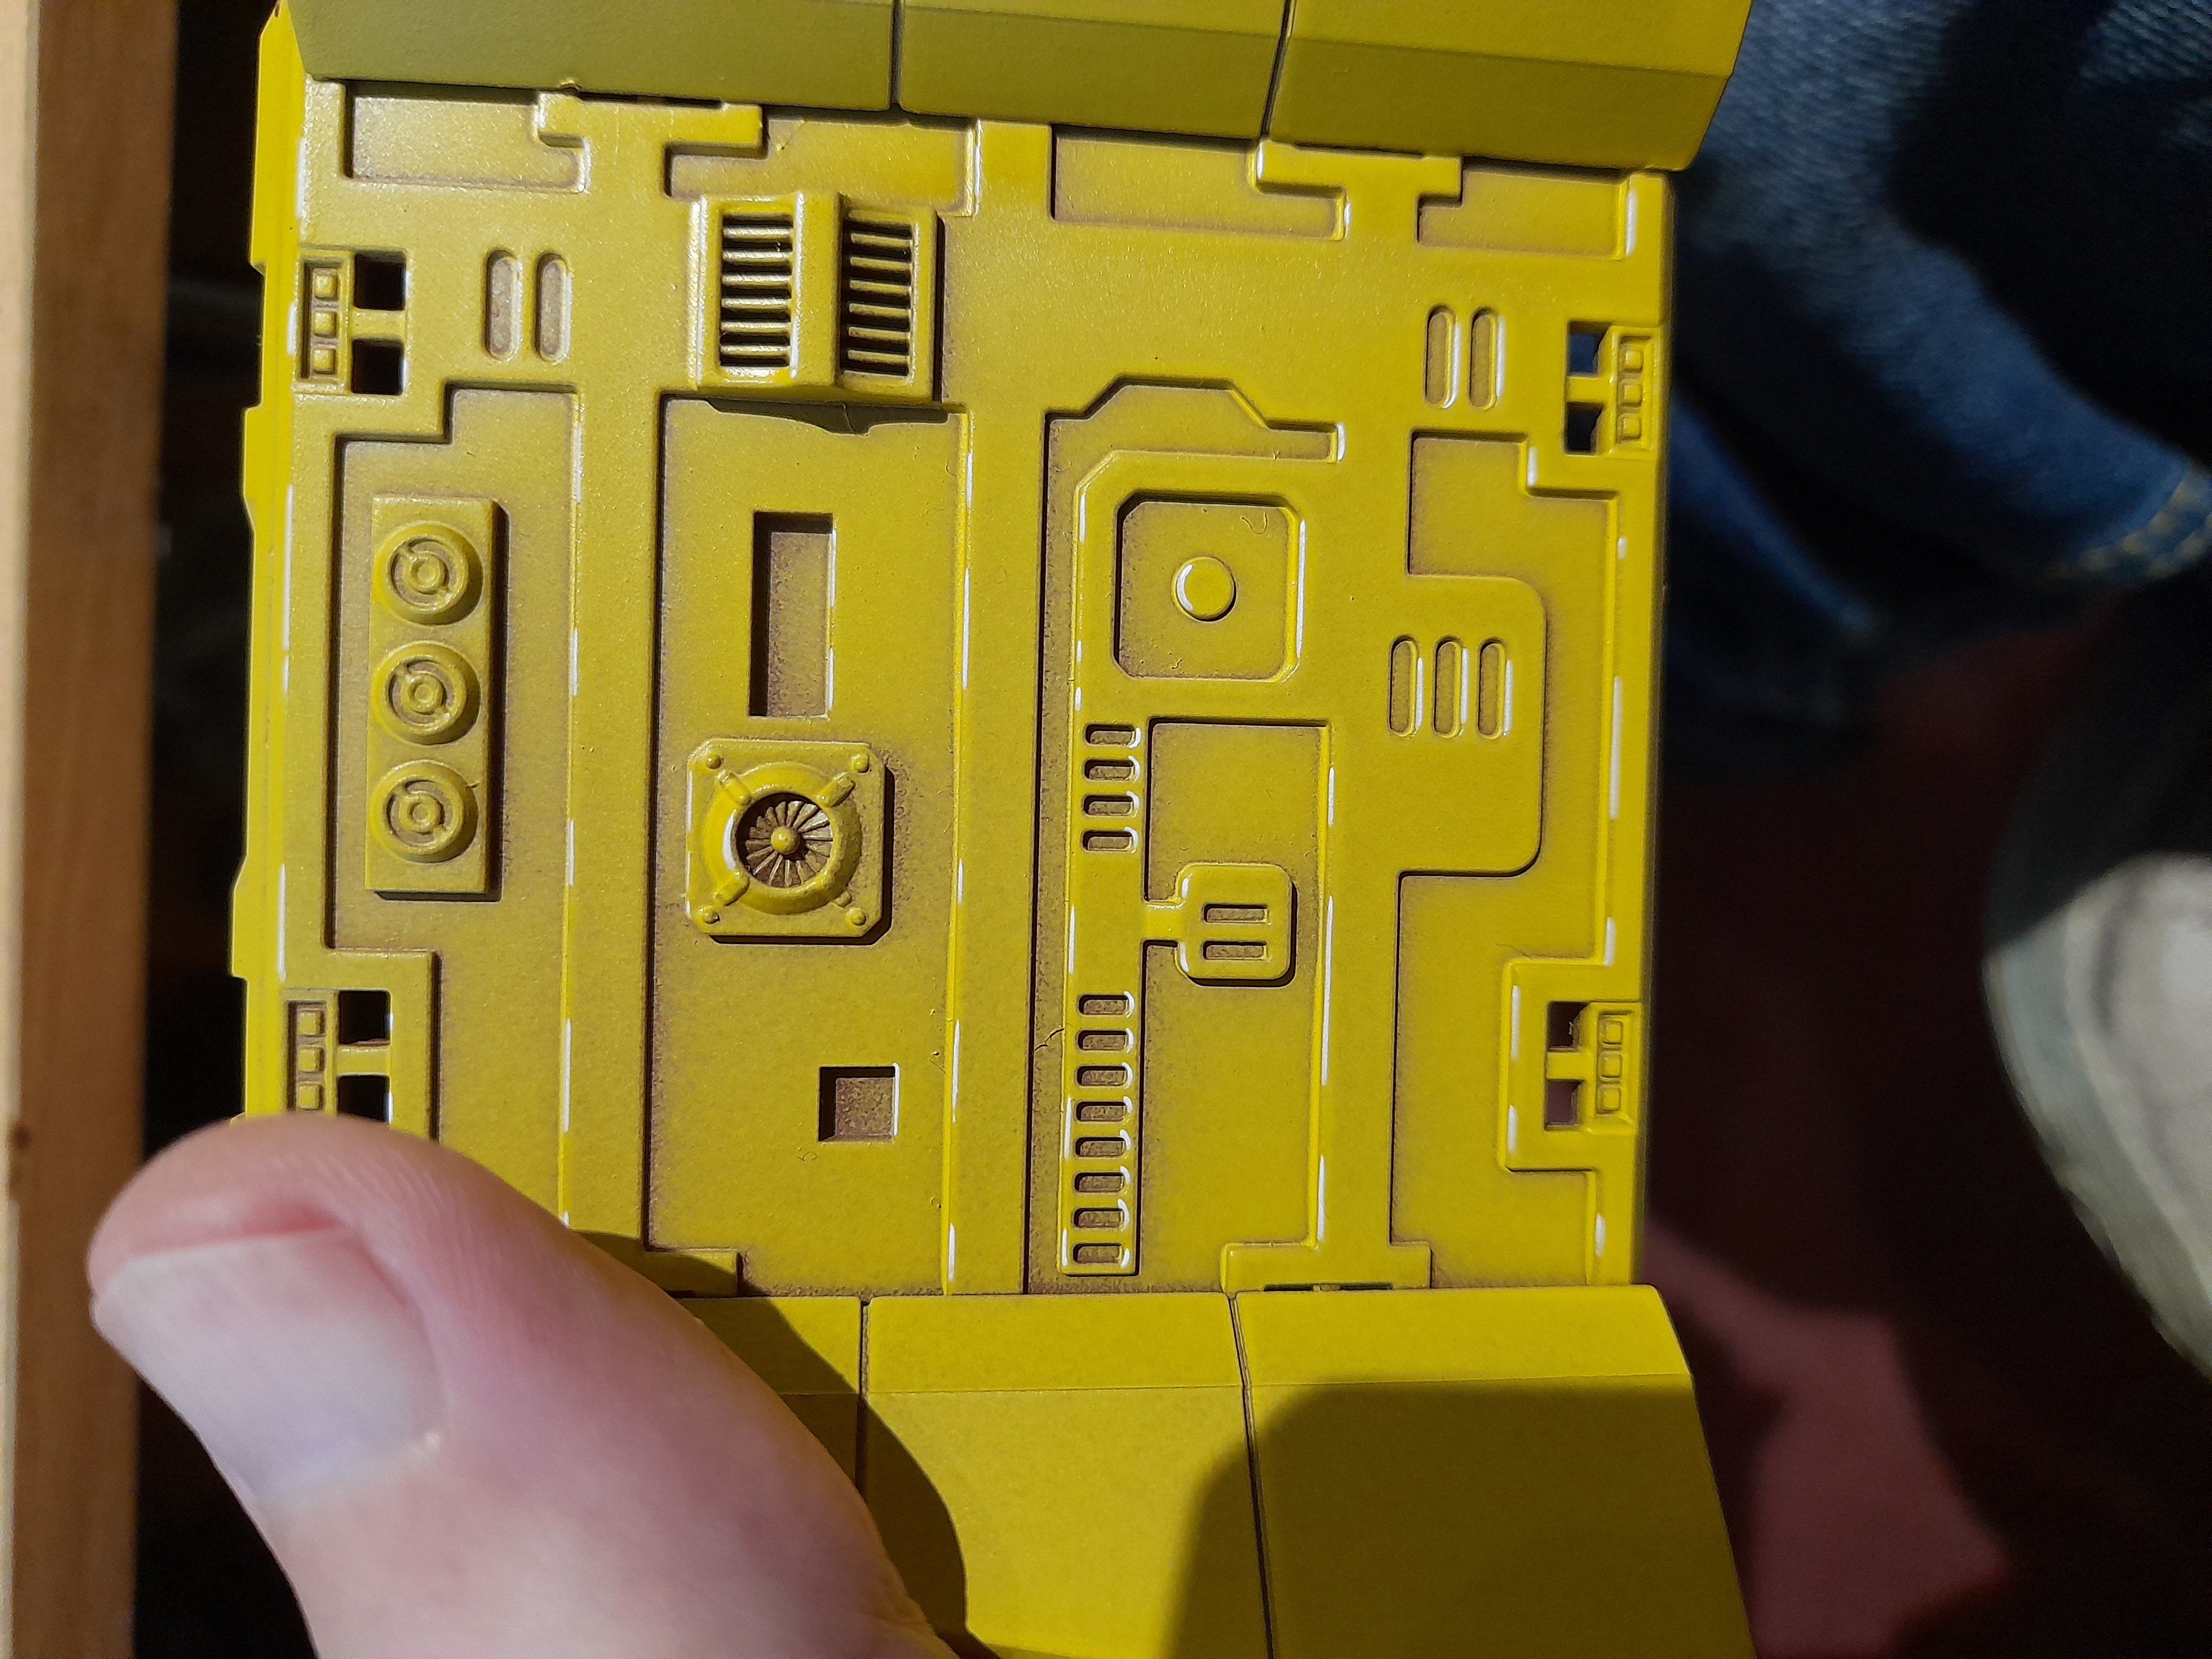
It has been a bit of a slog, often feeling like work due to the sheer amount of terrain I am working on at the same time, but the main paint pen highlighting work is complete ?
For this project the paint pen was so much more convenient than hand painting all the panel edges, so I have to thank my friend for the suggestion.