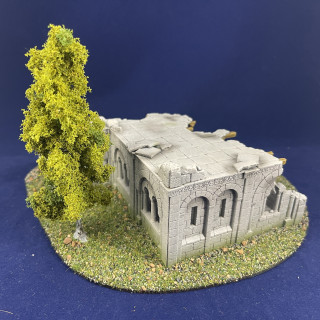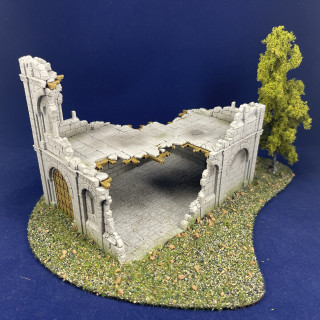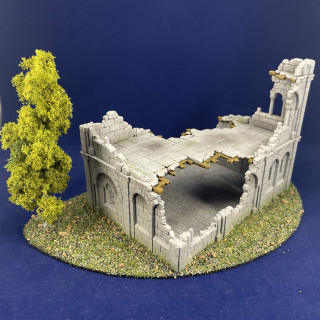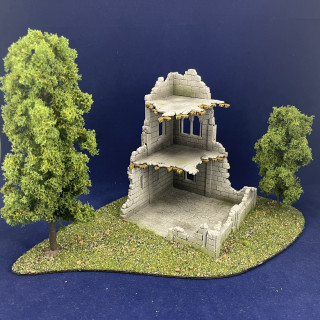
Collins does the defence of Minas Tirith
Recommendations: 552
About the Project
I'm dipping my toe into Middle Earth and doing it starting with the battlehost of Minas Tirith
Related Game: Middle-Earth Strategy Battle Game
Related Company: Games Workshop
Related Genre: Fantasy
Related Contest: TerrainFest 2023
This Project is Active
Tart up your presentation for TerrainFest2023!
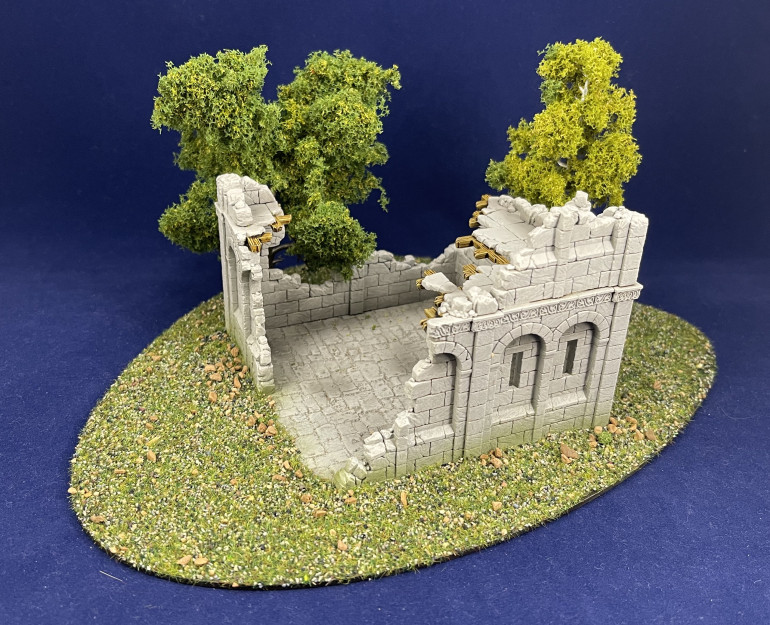
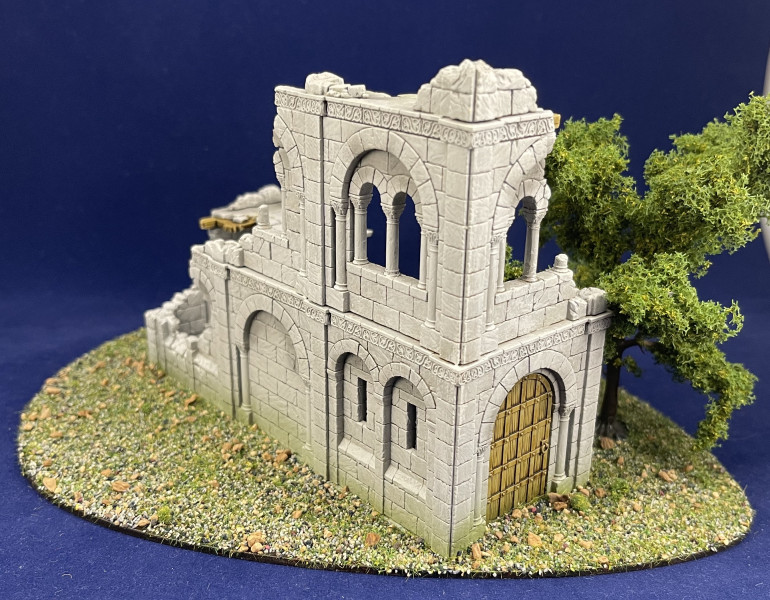
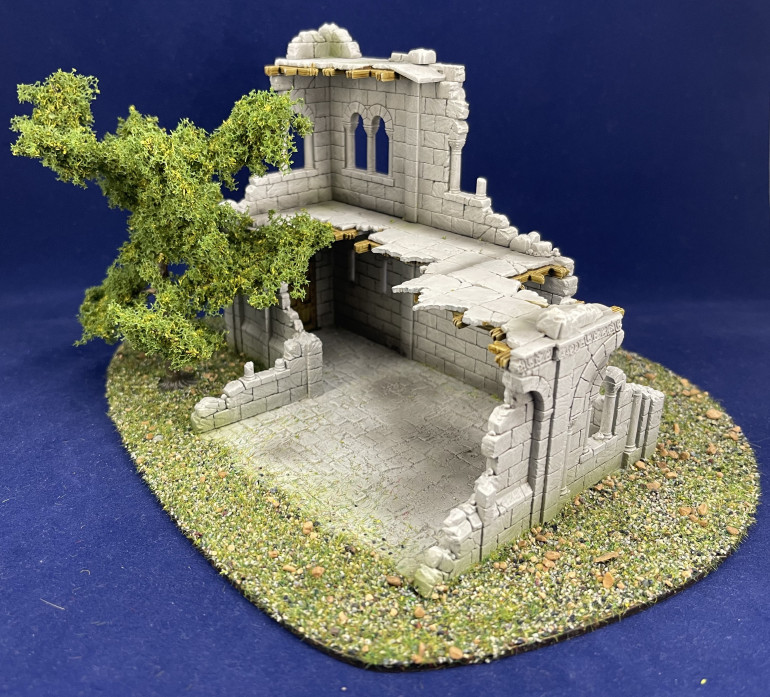
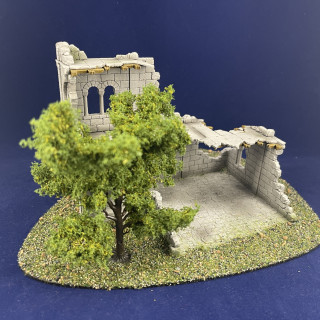
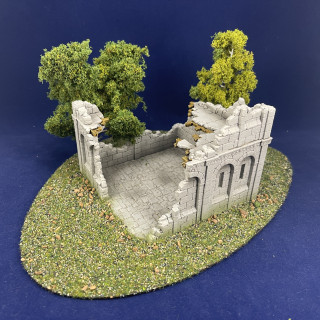
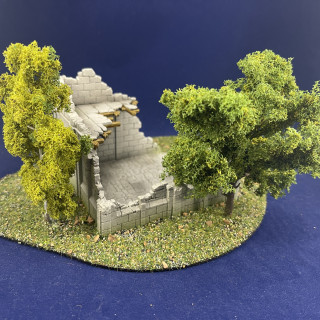
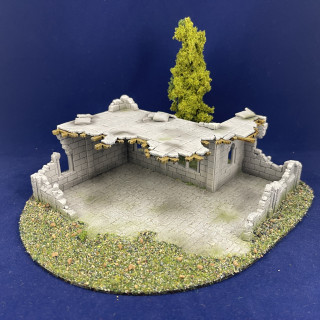
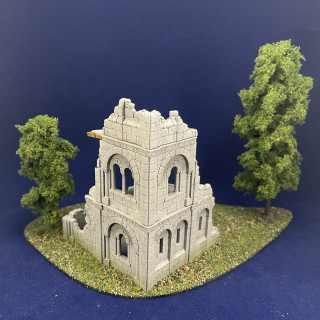
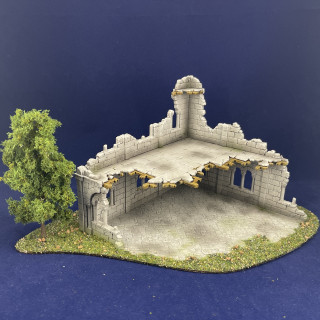
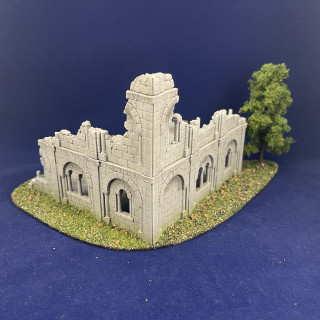
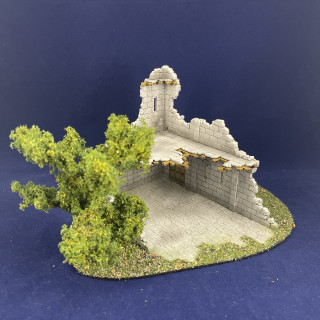
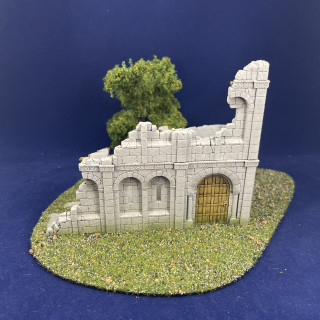
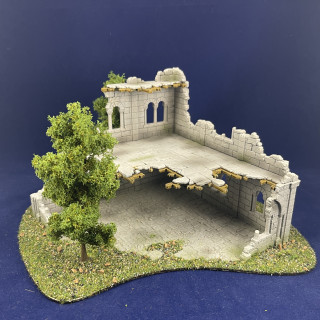
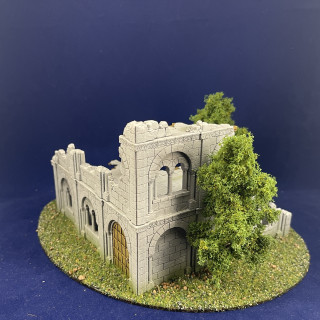
Ok, so now you’ve seen a small selection of the ruin in a standard photo light box with a nice clean blue background…
Amazing aren’t they, bloody magnificent! could you do better? bet you couldn’t because these are mine and your vote doesn’t count for how I’ll enjoy my toys lol.
But I hear you… battle reports you all cry out for! and I’ve had all these painted minis for almost a year now and still not played a game so how can I provide you with a battle report?
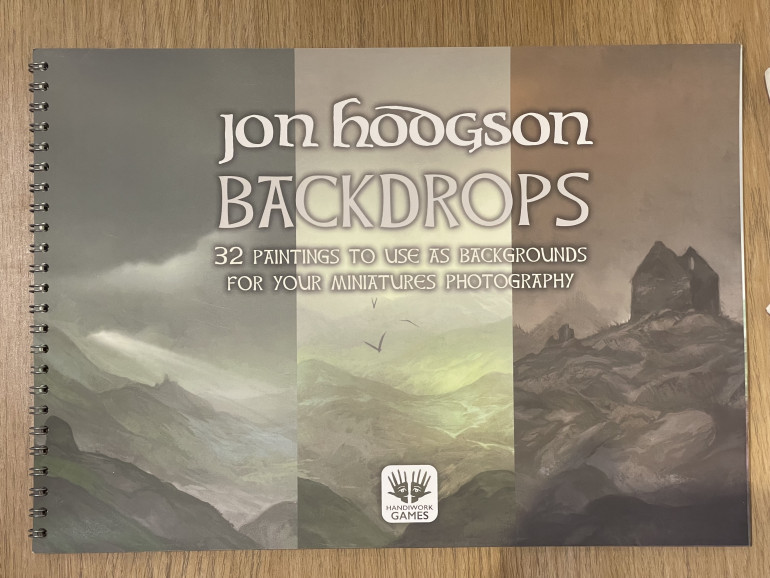
Easy! by using Jon Hodgson’s backdrops…
and maybe a little imagination….
I bought this book from kickstarter but I’m sure if you visit www.handiwork.games you’ll be able to buy your own copy for currency of the realm. You can even buy a commercial license too.
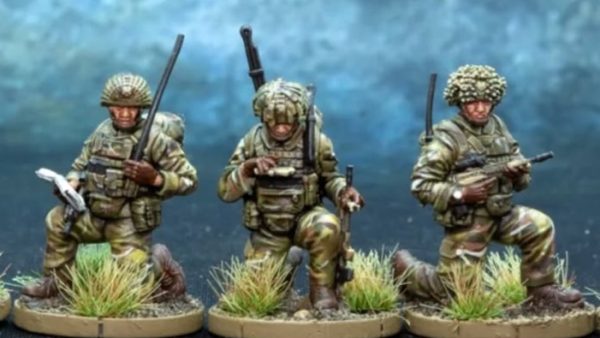
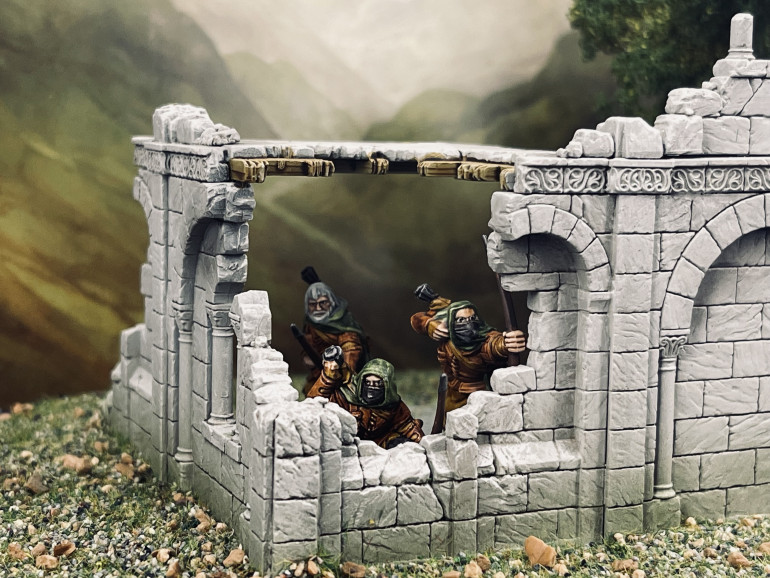 The rangers scout up through the valley before reaching the outskirts of the ruined city... skulking through the outer building they easily exploit the gaps in the perimeter defences silently dispatching sentries at range with the tranquil efficacy that come with decades of experience with the bow
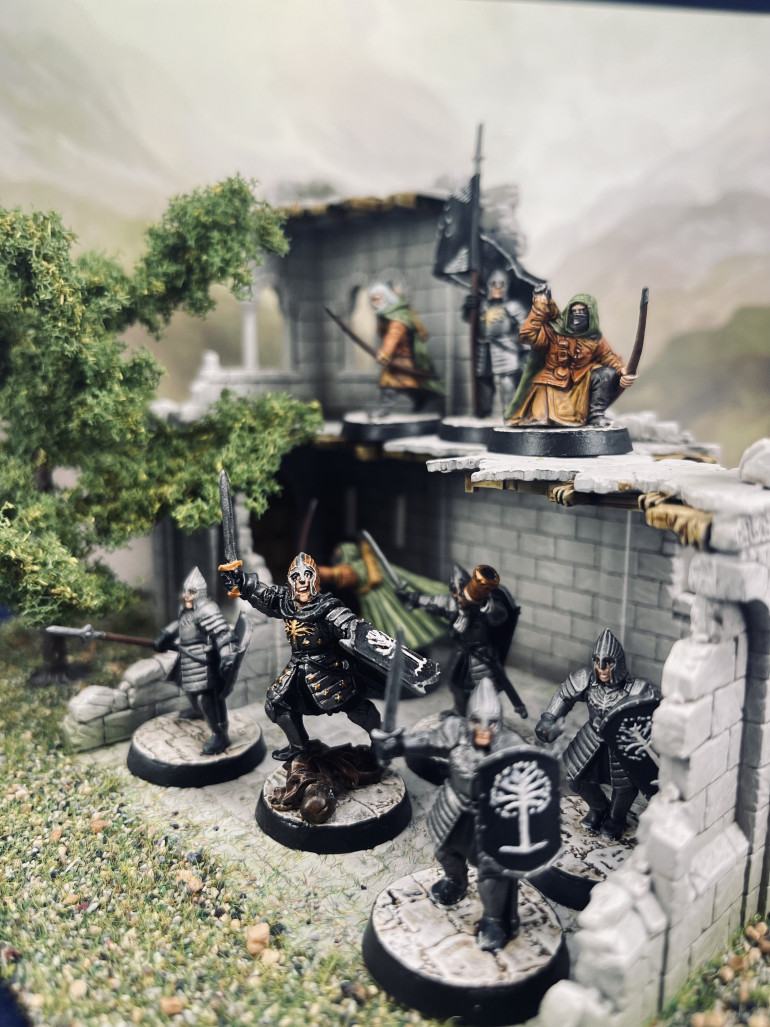 Having taken hold of the perimeter the rangers send signal to the rest of the column to move up. Led by an eager young Captain of Gondor the warriors of Minas Tirith take up positions for their next bound deeper into the city. Demonstrating his metal the Captain slays a sentry that wondered carelessly too close to the position
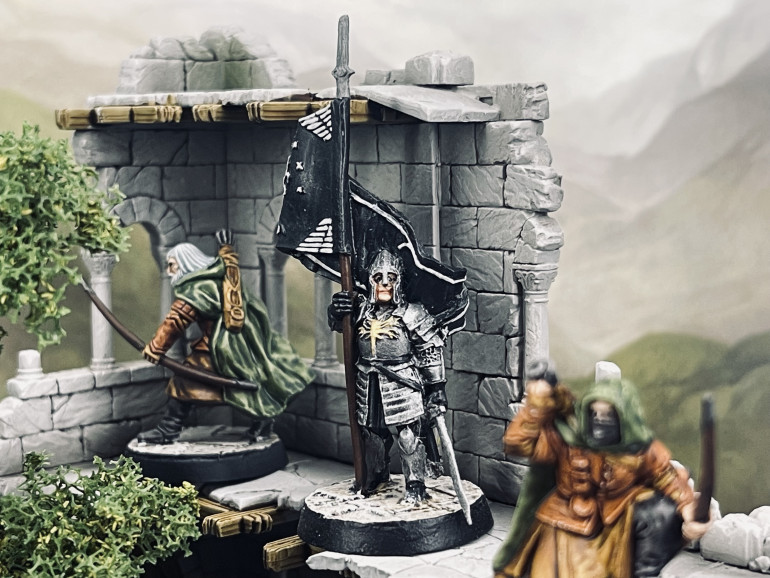 Now ready to spring their surprise attack to retake the first district of the ruined city. With the Rangers providing overwatch the junior Ensign climbs to the upper levels ready to raise the standard of Gondor once more to signify victory and liberation of their ancestral capital
Boom! Terrainfest 2023 challenge complete and even a lovely (not at all cheating) battle report done at the same time, fantastic.
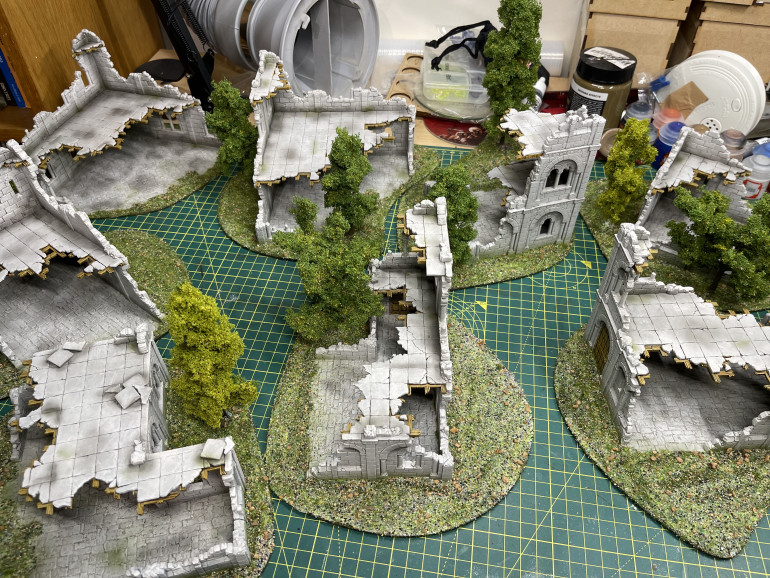
All jokes aside however, im quite happy with how they call came out. I’m super glad I decided to add trees onto the set on pieces. I know that in reality Osgiliath wasn’t depicted as covered in trees and was a bit dark and dower to reflect the impending evil of the oncoming hordes but I think they really add a little bit more interest to the pieces and some much needed colour.
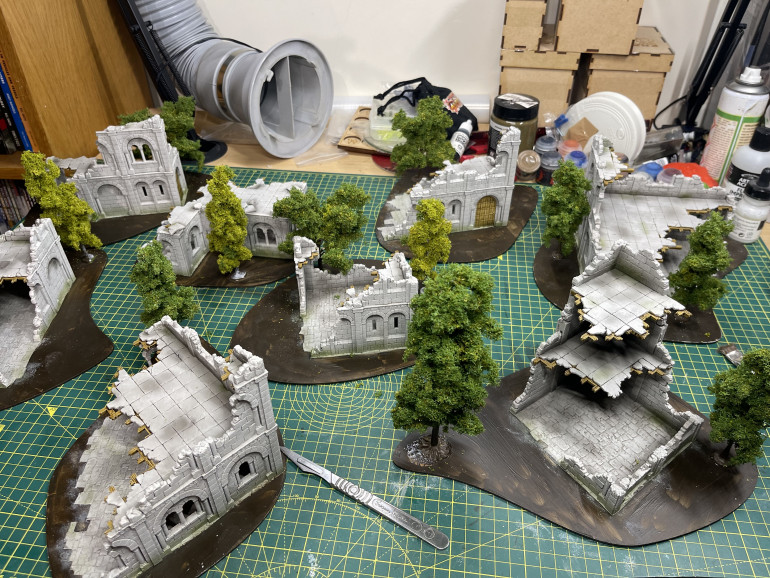
I now have 8 ruined buildings that can easily fill a 3×3 board in an interesting way, all different but all the same and all ready to have a little scrap over on a generic green mat, arguably in multiple systems too, not just MESBG, I can see Star Wars Legion playing out on these too to be fair plenty of ruins encountered in SW games etc
Use what you have
I have a half box of trees left over and a few bags of ground scatter in the box of stuff.
no point going and buying specific stuff when this is a quick get it done section of the project.
So the trees were superglued down where they looked good with half an eye on not blocking line of sight too much so not to affect the benefits the elevation can give in gameplay.
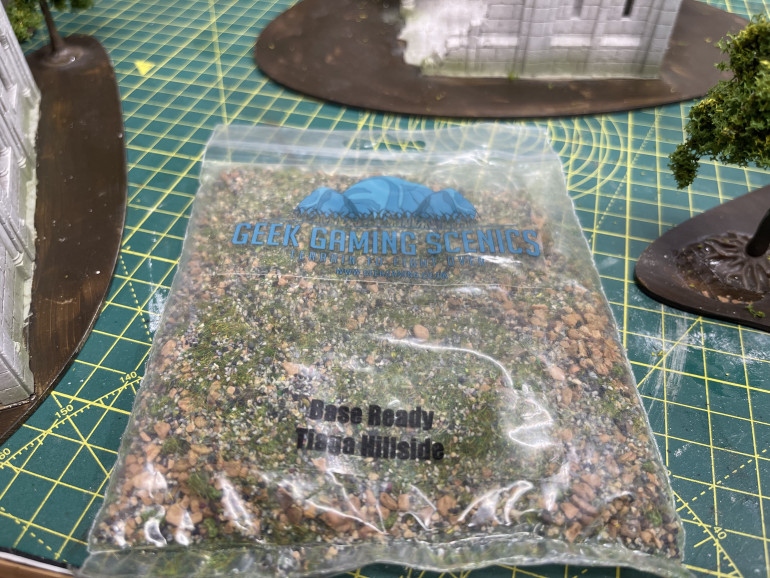
The ground scatter I selected from my box of random hobby stuff was Tiaga Hillside. it kinda struck me as the most New Zealand like bag I had with the little brown pebbles that stick out very much like you can see in the wild in NZ (from my memory at least)
I went quite heavy on the PVA to make sure there was enough to grab the different grades of sands and that way I potentially wouldn’t need to go back over it with a Water/PVA/Varnish mix. trying to save time and utilise the drying/down time as best as possible for me.
Below is a photo taken whilst they’re still wet to see how they look early on
Adding a bit of depth or interest
I broke out the airbrush and added two colours
nuln oil (translucent black) and Astra militarium (translucent dark green)
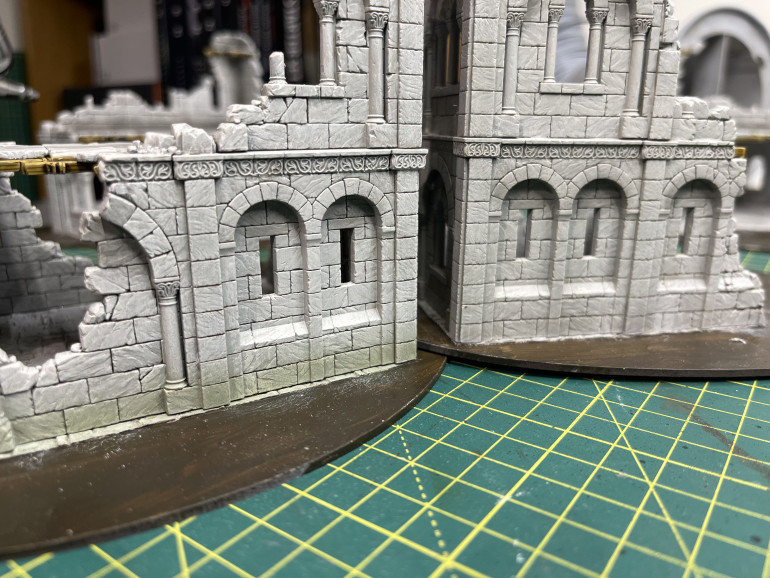
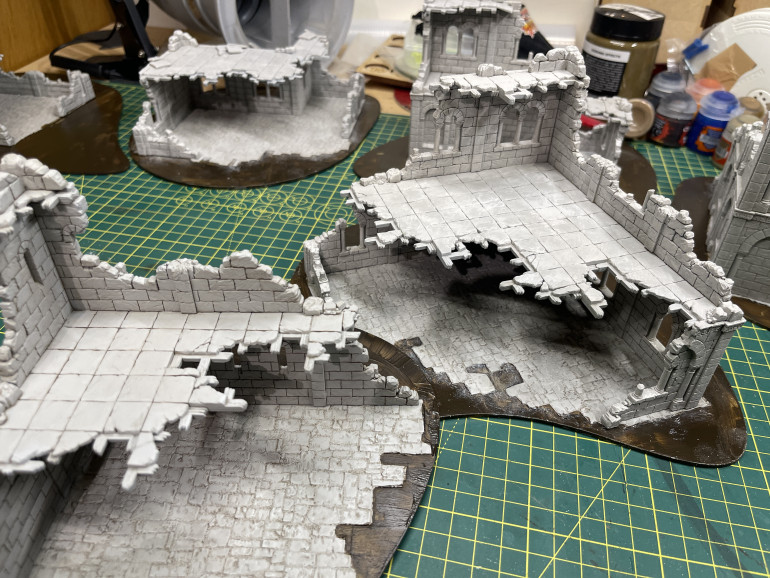
the idea was to add some shadows with the black, eg underneath the arches or in the corners of building which gives so rough defining lines. Also on the cobblestone floors adds an element of weathering to them.
secondly the green around the very bottom of the ruins to show algae growth coming up from dampness splash back during rain etc as the boards they’re on are going to be mud and green textures so it helps blend them in and make them look ‘not set on’. In the image above you can see the left has been greened but the right has not and just how much more natural or real the left one looks with that one different colour
Drybrush and wooden details
I gave everything that’s stone a reasonable dry brush with pallid witch flesh just like my original bases has had done to them
i tried to see whether I had any emulsion or house paint in a similar colour but they weren’t ‘purple’ enough and generally too warm in hue. So I stuck with GW paint and it didn’t take all that much to be fair so I need not have worried
Before the wood effect was added they looked very bleached out and quite bland. If I was so inclined I could go in and alter some of the stones to a slightly different light grey for variety but atm it really is a case of bash it out for the end of the month (competition).
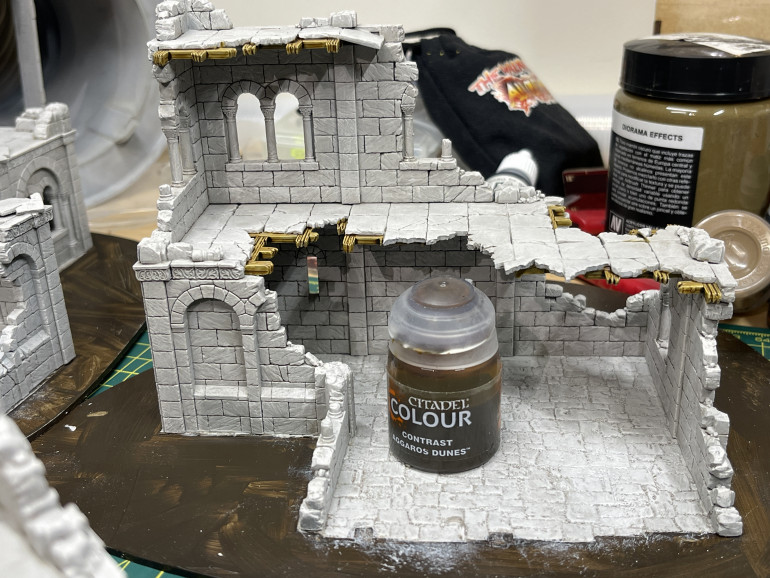
now with the wood painted with contrast paint it is starting to look a bit more than simply a grey block
Sleepless nights and oil washes
So I’m no expert at oil washes but this is how I do it.
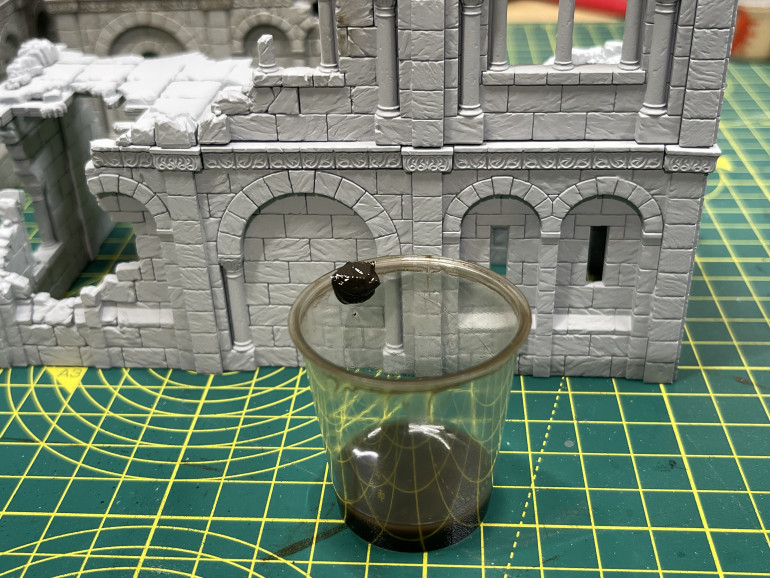
I dump this much brown oil paint into a shot glass and then add small amounts of solvents and gently work the solvent into the paint rather than the paint into the solvent.
once all dissolved i then add more solvents until I have the consistency and volume I want.
I also use a synthetic brush that I don’t really care about.
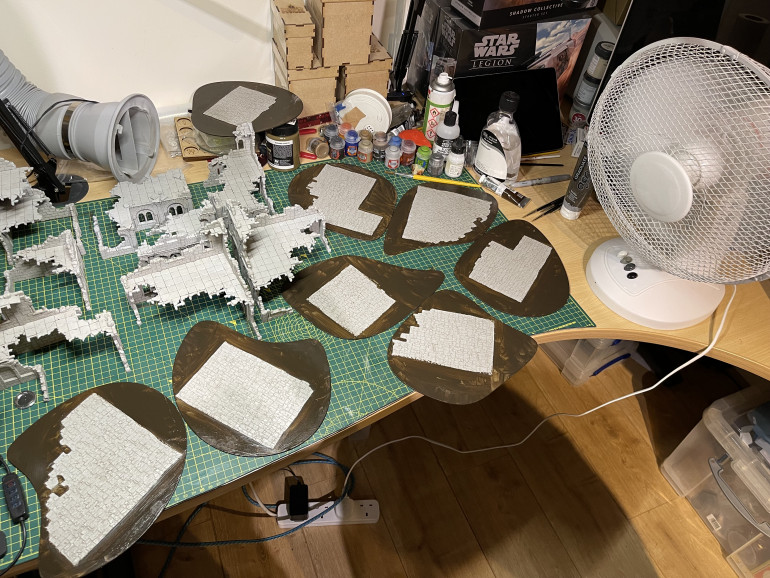
In attempt to speed up the drying time I put a desk fan on it just to create a breeze to carry away the solvents. It worked well but the points of contact (with the table or base) still were wet. Overall, worth it.
next up drybrushing and glue
stone floors for stone floors
this is the same wall paper I’ve used for the models in this project.
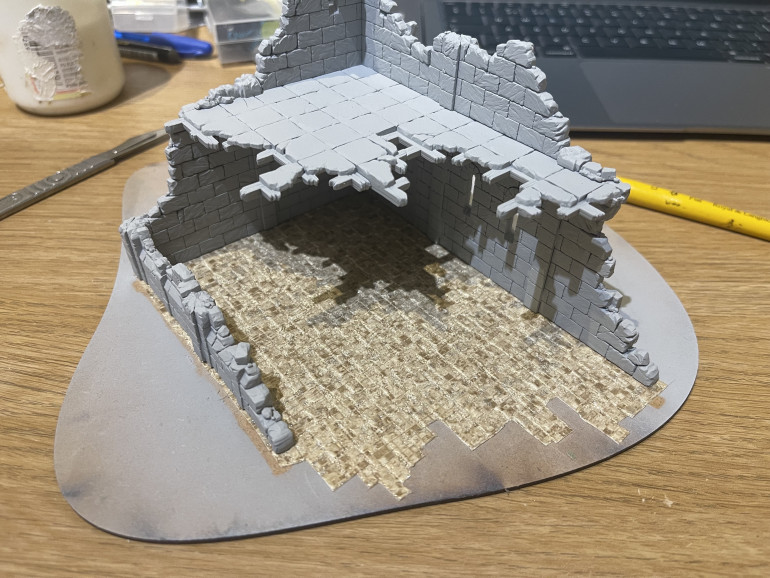
at first I just started randomly cutting out and laying down but half way through I realised that the smooth cut lines wouldn’t be how the stone flooring would fall apart. sure it would break up but not in nice smooth cut lines.
so I went back in and started cutting out following the pattern of the bricks to try and make it look a lot more natural. it might however all change when I paint and add scatter to the bases.
grey seer primer.... bubbles?
Im not certain what happened here! when priming with a warmed and shaken (not stirred!) grey seer rattle can I seem to have had some bubbles form on some of the ruins (not consistently, randomly). these were eliminated by another pass but does anybody know why this happened?
The Building Phase
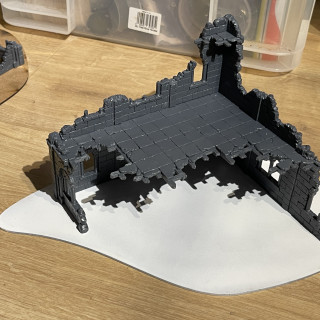
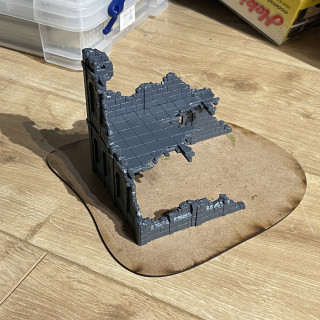
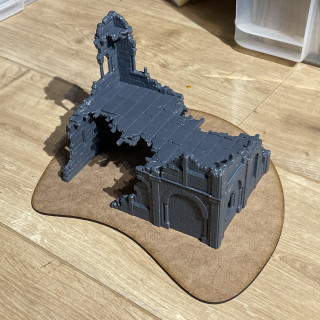
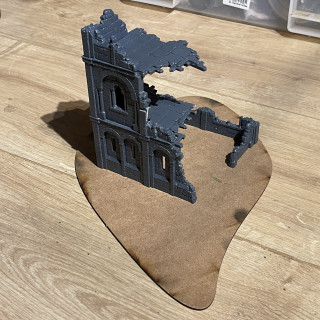
As I have 2 sets of the ruins terrain (because one is never enough) I started off by following the guide to learn how to use the kit.
I spent 1 night making each ruin, watching a lot of TV at the same time.
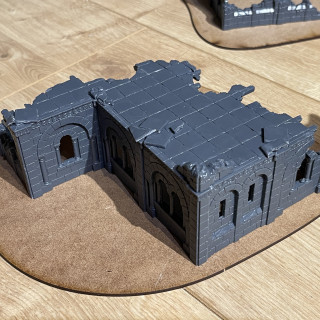
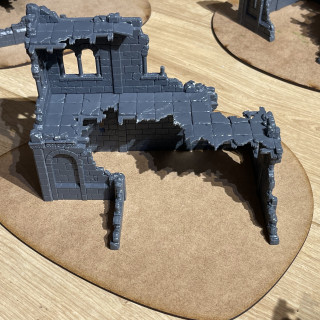
once id made the four following the guide I went off piste for the next four just going with what I thought would be cool.
im glad I did as I feel the 3×3 size buildings are a bit too big and boring (note, I’ve never played the game) so I went with 3×2 as a nice compromise instead








![Very Cool! Make Your Own Star Wars: Legion Imperial Agent & Officer | Review [7 Days Early Access]](https://images.beastsofwar.com/2025/12/Star-Wars-Imperial-Agent-_-Officer-coverimage-V3-225-127.jpg)
