Asterian quick and easy paint job
Recommendations: 90
About the Project
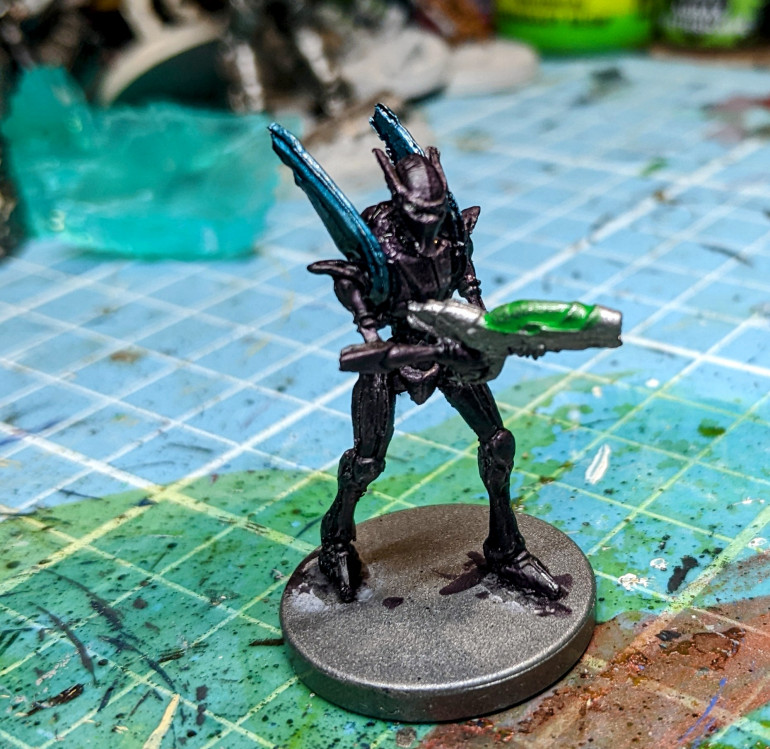
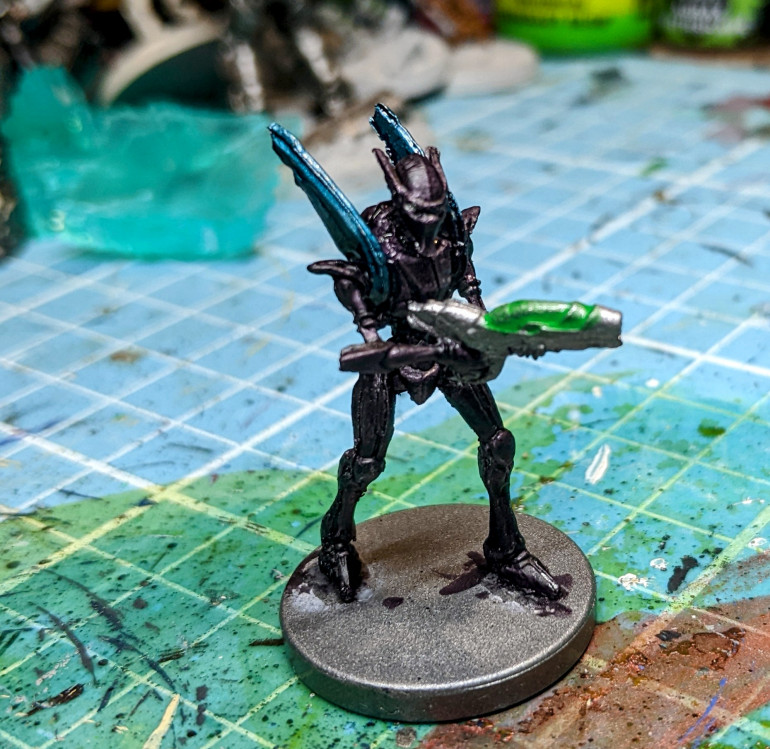
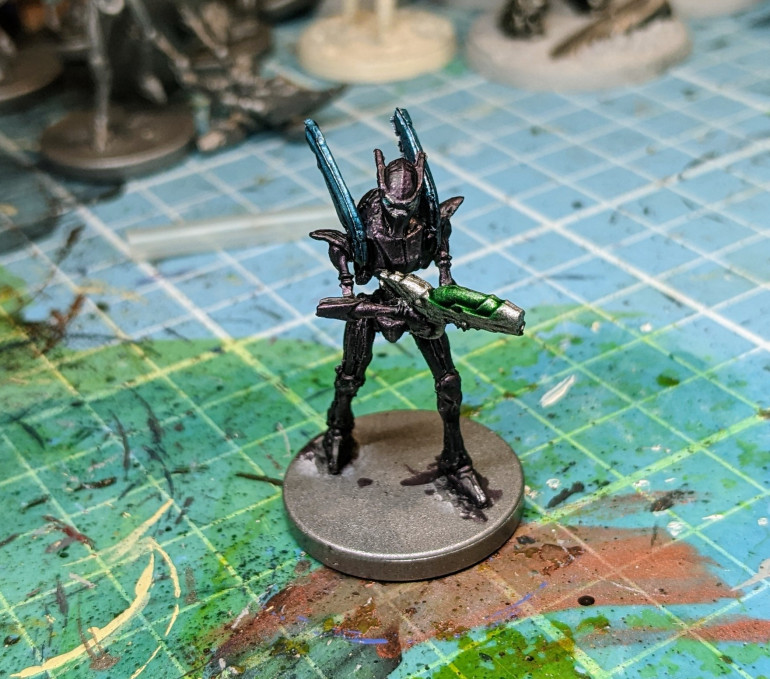
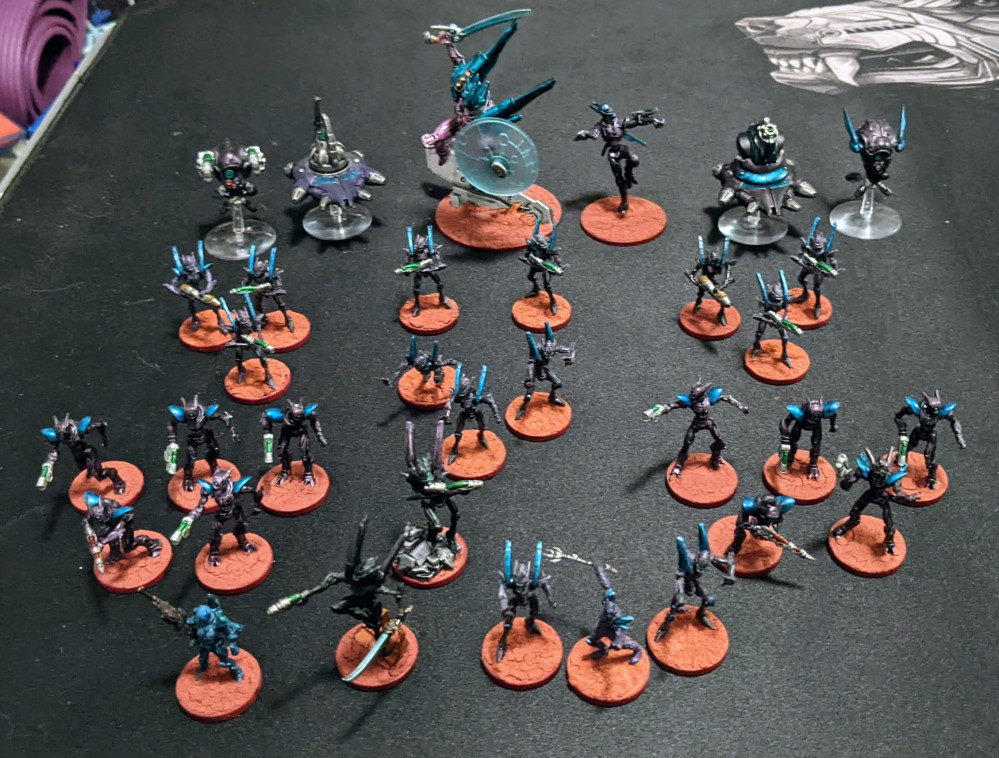
I wanted to share my quick and easy paint scheme for my Asterian forces.
Related Game: Firefight
Related Company: Mantic Games
Related Genre: Science Fiction
This Project is Completed
Introduction and colours
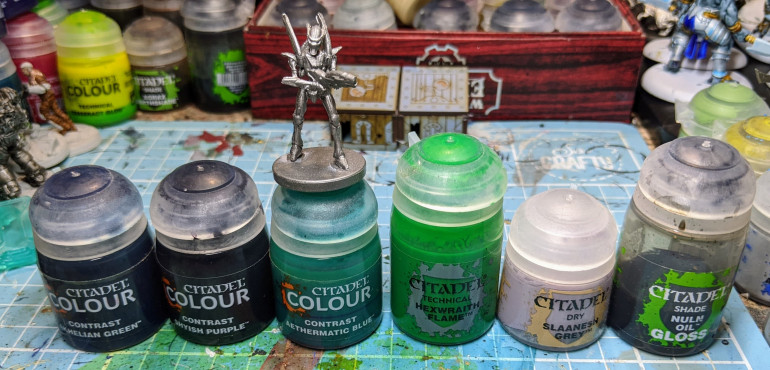
As I am taking part in the Blackjack Legacy Firefight slow grow challenge I thought I would share the quick process I have used for my Asterians. It has 7 easy steps and seven paints. Here’s the list of paints I used but similar paints can be substituted for the process;
Metallic primer spray I used Colour forges Steel
Shyish Purple
Ankhelian Green
Aethermatic Blue
Hexwraith Flame
Nuln Oil Gloss
Slaanesh Grey
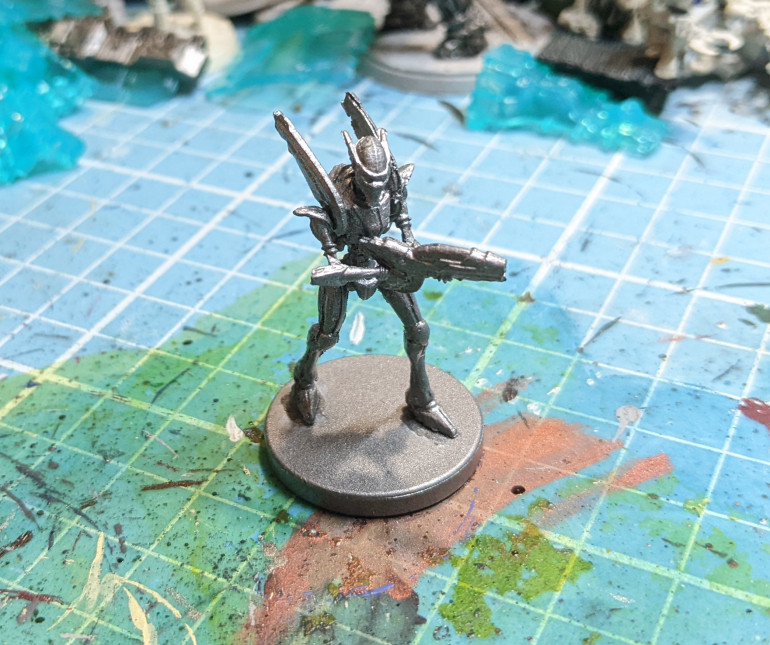
Step 1 Priming
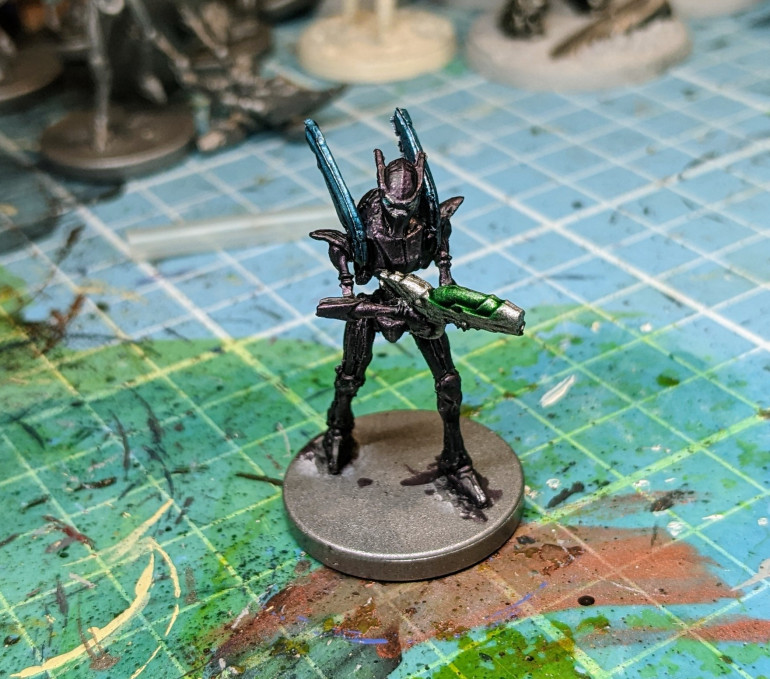
Prime miniature in a metallic colour I went for a steel colour as I want it to come through a little later on. I think if you are using an airbrush then using a metallic shade of the base colour you want to use could work just as well.
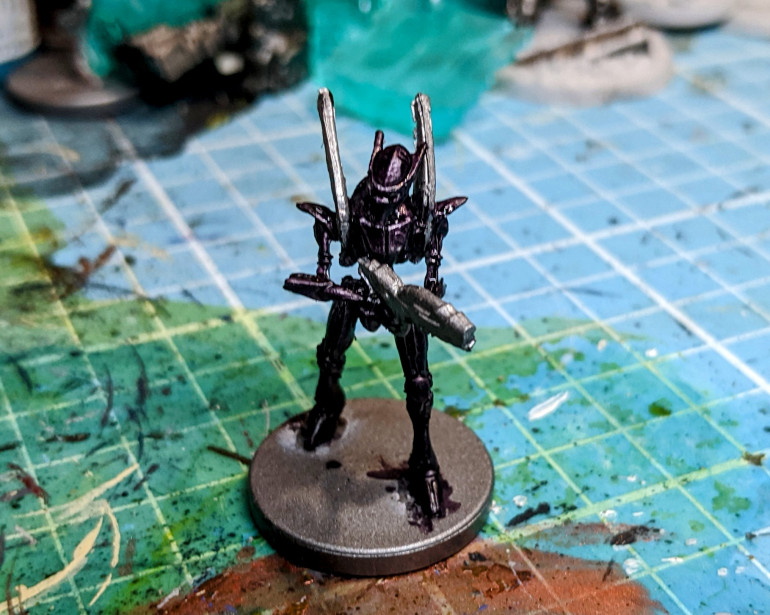
Step 2 Main Armour colour
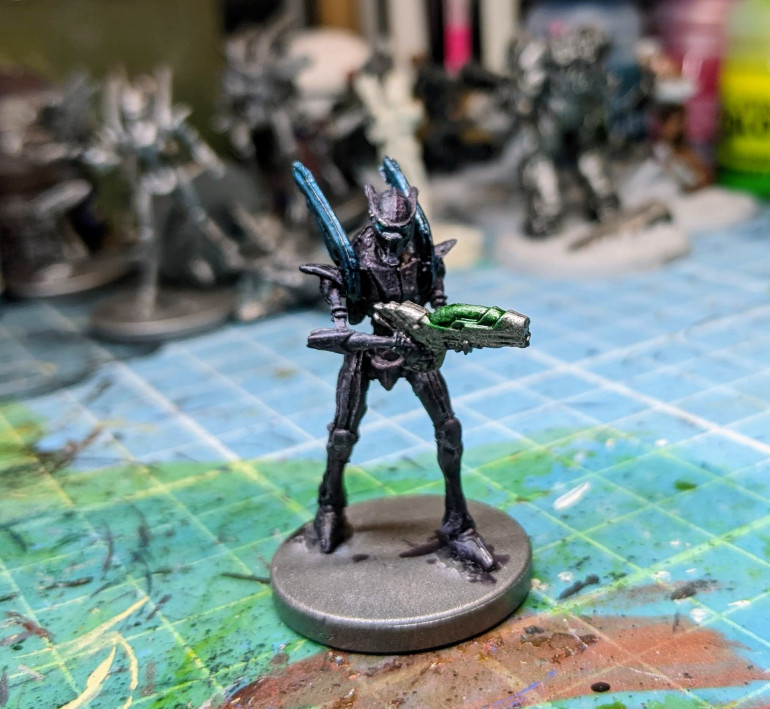
I used the Shyish Purple contrast colour as my main body and head colour. Try and avoid the eye sockets if possible but they can be easily painted over with a metal colour if you catch them by accident. The idea is to apply it thinly over the main armour so the metallic sheen still comes through the contrast. Using a heavy wash, ink or speedpaint applied thinly would still work. Obviously I went for purple but any colour would work just as well,
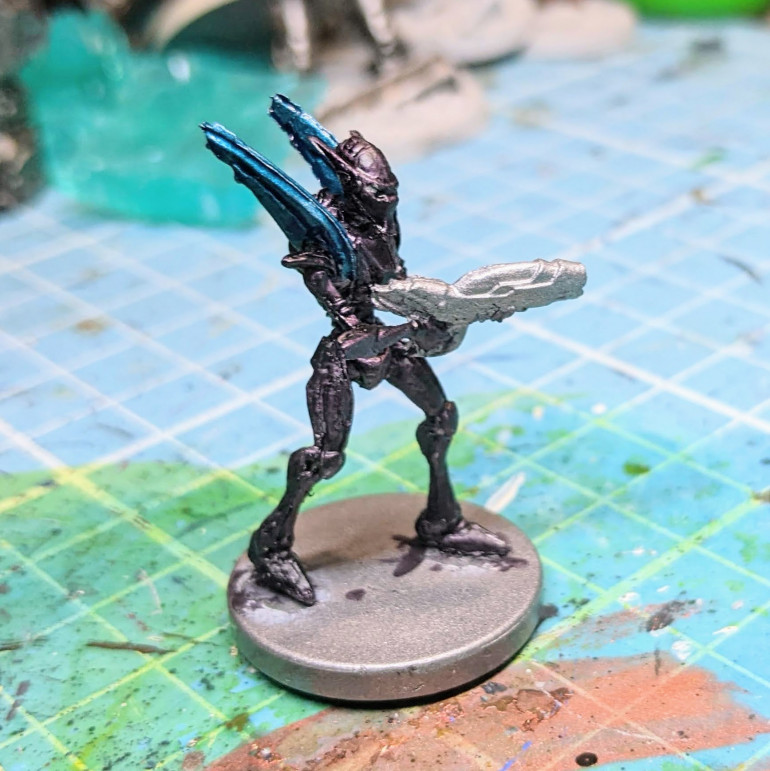
Step 3 Accent colour
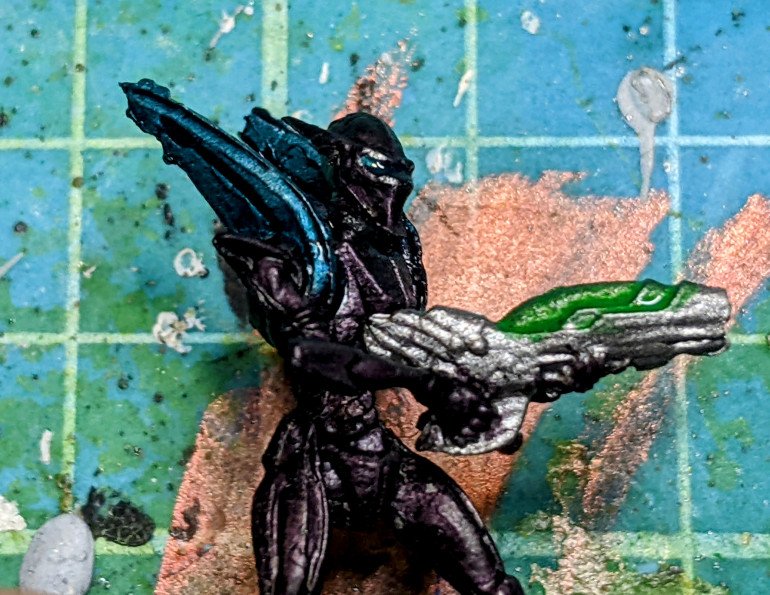
I used a similar technique as before for application with the Ankhelian Green colour on the shoulder fins. This needs to be as neat as possible to avoid colour spills onto the body. Again this can be any thin Contrast or shade colour you want that compliments your main body colour. Use this as a spot colour on any other miniature just as accent to break up the miniature a little.
Step 4 Powersource glow
I used Hexwraith flame to make a glowing power source on top of the rifle. This needs to be applied a little thicker near the edges. Don’t worry too much about over spill here; it gives a glowing power source effect or can easily be tidied up with a metallic colour later. Again any part of other miniatures in the range just use anything you think would glow for any reason.
Step 5 Eyes
Use the Aethermatic Blue in the eye sockets to give them a glowing blue quality. This can be blobbed on but with a very fine detail brush and it won’t be too much.
Step 6 Gun details
Once the green glow effect has dried go over the weapon with the Nuln Oil gloss to bring out the details and show the segments in glowing segment. Apply as you see necessary but don’t be too light with it otherwise the details won’t come out as well as needed.
Step 6 Gun details
Once the green glow effect has dried go over the weapon with the Nuln Oil gloss to bring out the details and show the segments in glowing segment. Apply as you see necessary but don’t be too light with it otherwise the details won’t come out as well as needed.
Step 7 Armour Highlighting
Finally once everything is dry go over the purple armour with a light dry brushing of the Slaanesh grey to make it pop a little. I used a thin small dry brush so I could keep it fairly accurate. If you went for a different main colour then just dry brush whatever highlight colour you feel works best. You can also do this on the shoulder fins and weapon if you feel it’s needed but that’s a personal choice. Now just base the model as desired and you are done. These simple steps can easily be transferred to most models in the Aeterian range and yield similar results. All in all 1 model took me less than 30 minutes so it’s a really speedy process.


![TerrainFest 2024 Begins! Build Terrain With OnTableTop & Win A £300 Prize! [Extended!]](https://images.beastsofwar.com/2024/10/TerrainFEST-2024-Social-Media-Post-Square-225-127.jpg)


