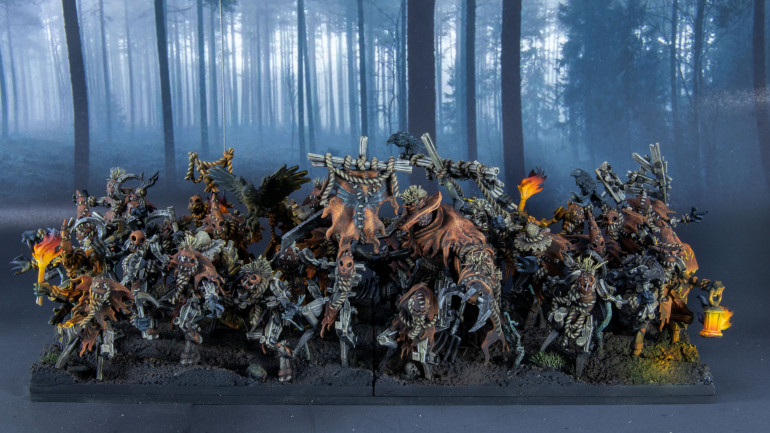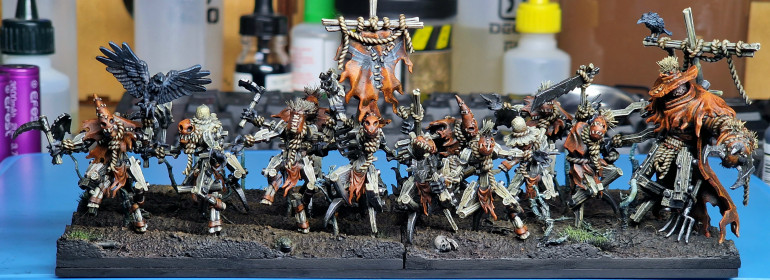
Soap Dodger’s Kings of War.
Recommendations: 156
About the Project
Low effort one here in terms of the project. Open to you asking anything you want to know more on, however.
Related Game: Kings of War
Related Company: Mantic Games
Related Genre: Fantasy
This Project is On Hold
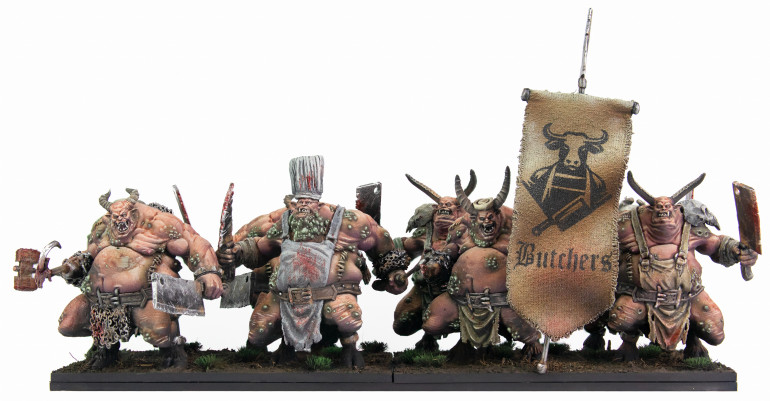
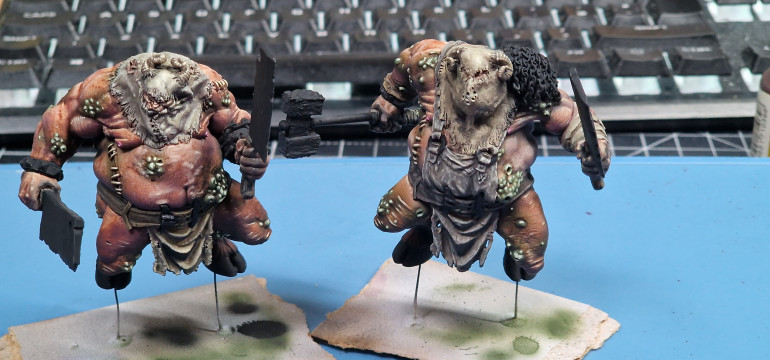
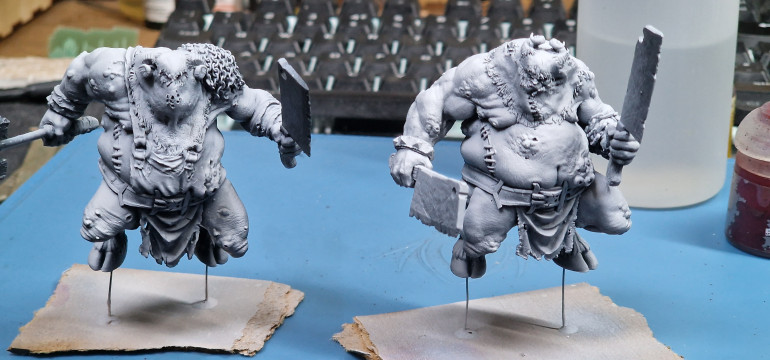
Butchers part 3
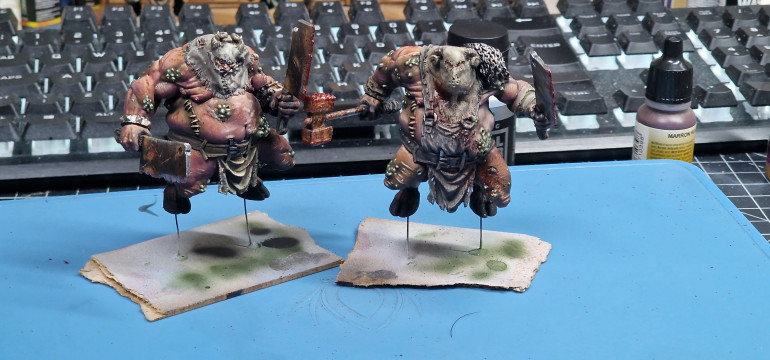 added blood using blood for the blood god an old brush and using the airbrush to sprey the paint from the brush to the model. Also dragged the blood on using the old brush.
 Basing
So I had my models all looking done enough. how I needed to mount them.
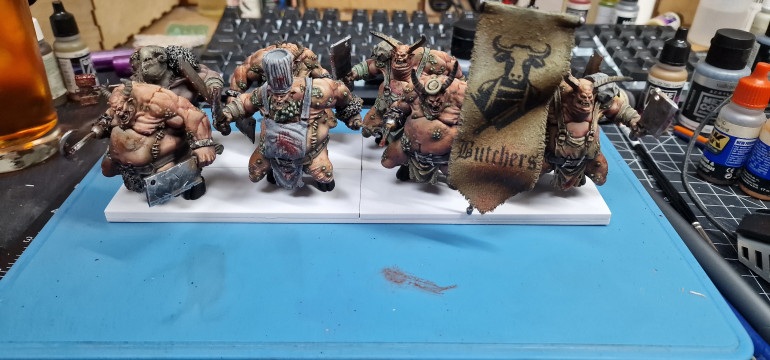
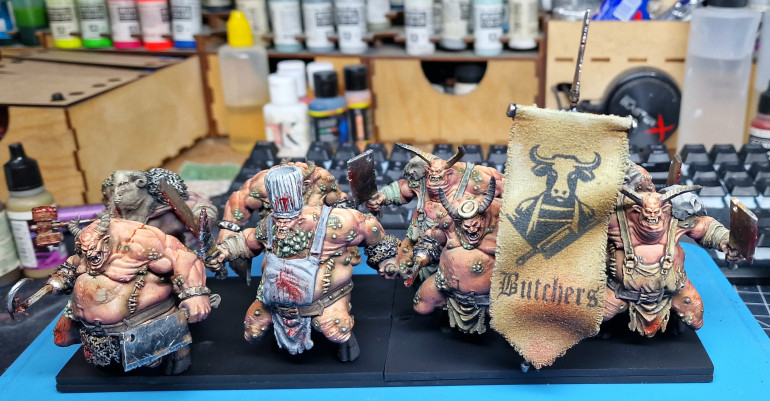
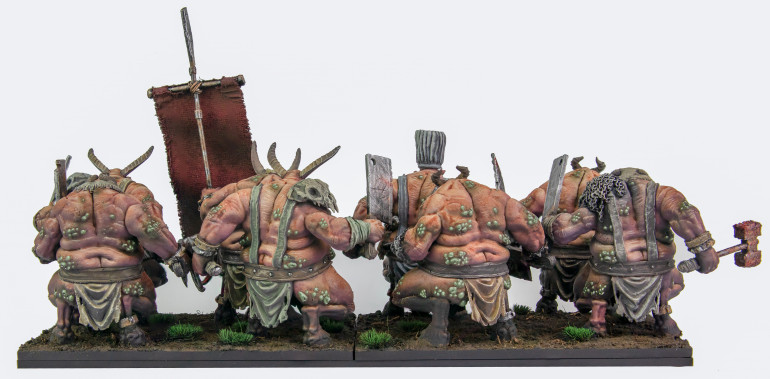
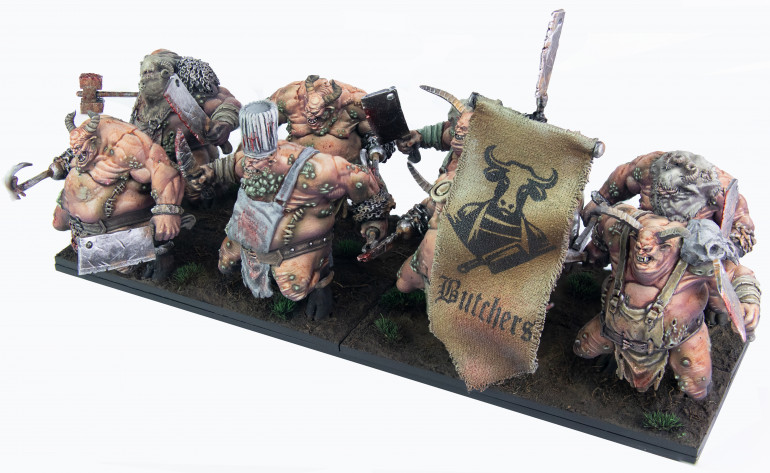
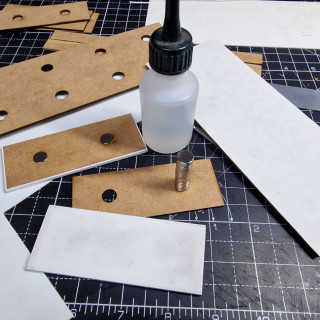
I done my bases as before using laser cut magnetised bases clad in plastic card. I initially set out to make two bases of 3 models for two regiments or a horde. I painted these a little big and also got my base sizes wrong and through they were monstrous infantry instead of large infantry.
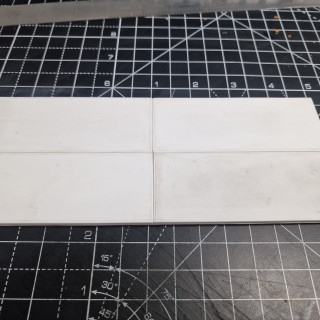
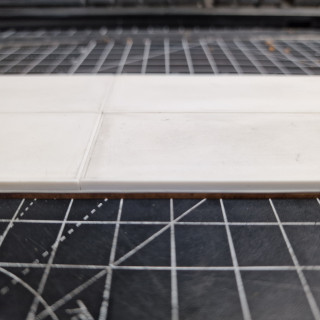
So two models per base instead of 3. should still be ok considering you can play the game with just the bases. I also made these so they can split onto 4 regiment bases, 2 horde bases or 1 legion base which you can see below.
Basing
I based these as before I tried to do this quickly with the same steps.
- Terrain dark earth effects
- Scatter some foam flock
- Scatter some roots from a bag of sterilised roots from the garden (no glue required) push it down a little in places
- Wait until dry
- Add tufts using superglue
- Spray tufts black
- Paint dark green by hand and highlight with lighter green.
- Black oil wash to give the look of dead farm / scrubland.
- Nice black rim and matt varnish via airbrush.
I was just getting this done so didn’t take photo’s and you can see similar steps below.
Photography
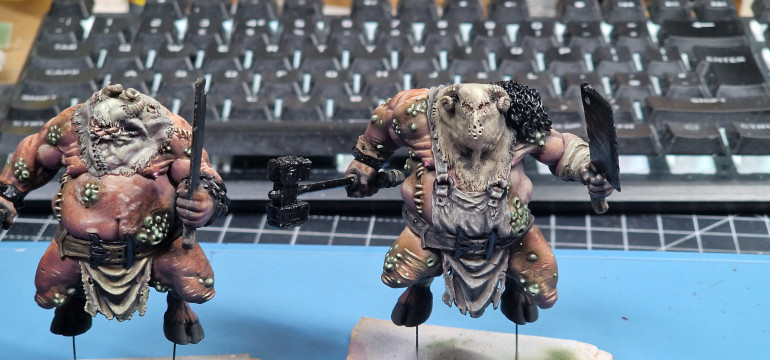
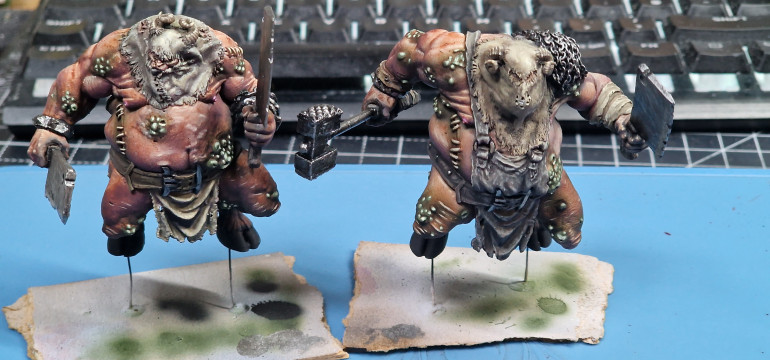
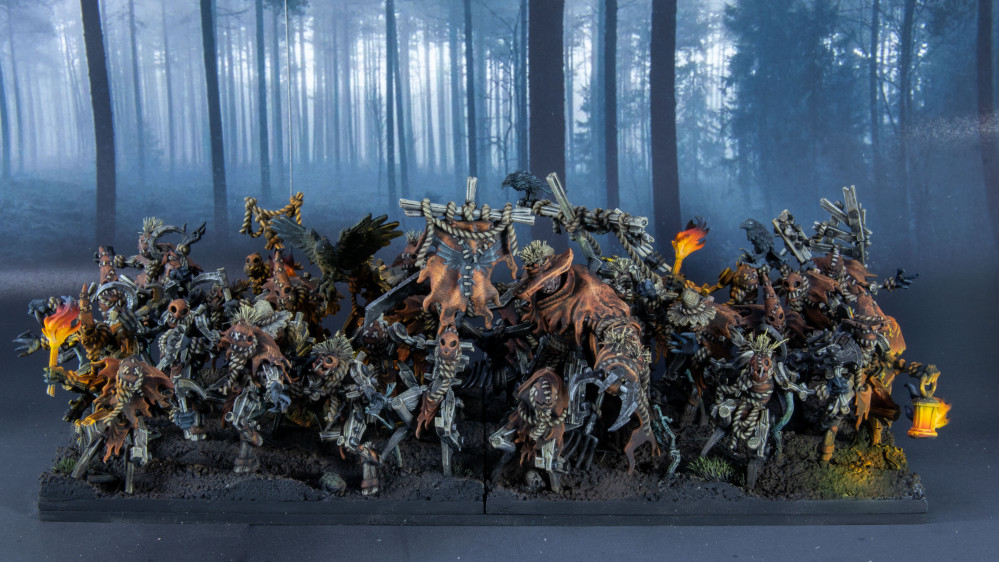
I hate taking pictures of regiments Nothing is big enough. Here I cheated a little. don’t think these are forever photo’s but it shows them much better than before which is the point.
I go through phases in photography, trying to get infinite blacks in camera and whites, fully made scenery pieces then backdrops. but recently i have been doing them like this:
https://youtu.be/3ggrYDmdnLw?si=0T42uRrXP6o9HnOa
This takes ages and I want to paint more things so I cheated and used different selection tools and just didn’t bother to cut out the middle of stuff. I also lost focus on a couple of the sections of the photos. So these are not forever photos but i think they show the detail much better then the phone shots above. So 10 minutes for 3 photo’s instead of around an hour a photo.
Butchers part 2
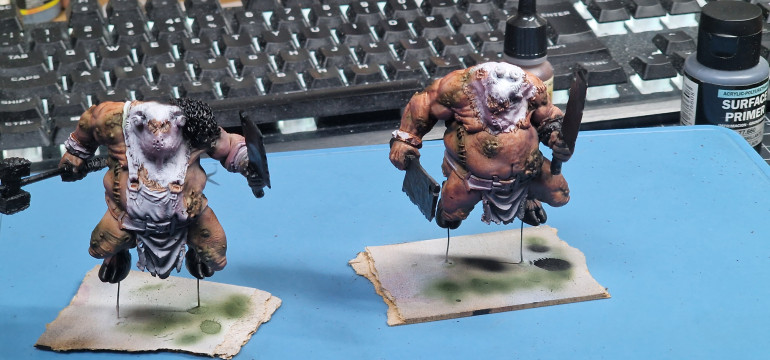 I then sprayed black on the hooves I didn't want any attention to these at all and also sprayed some of the exposed details like the weapons. I went overboard a little here, but honestly it doesn't matter this is just the base.
 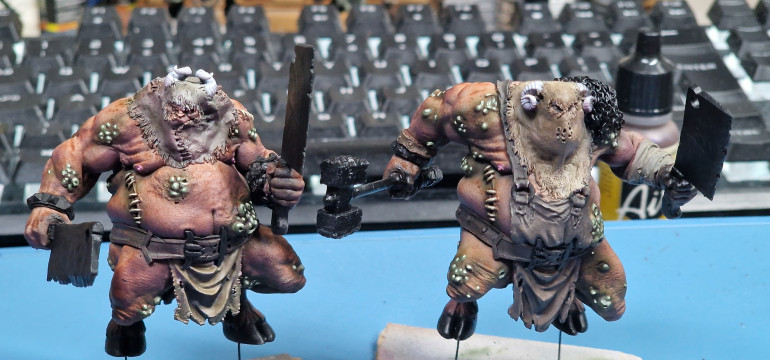 used some of the brown mixes on my pallet and filled out the rest of the colours leaving the horns for some unknown reason. I had wet blended these on other models I also painted the nipples pink and painted the stiches.
 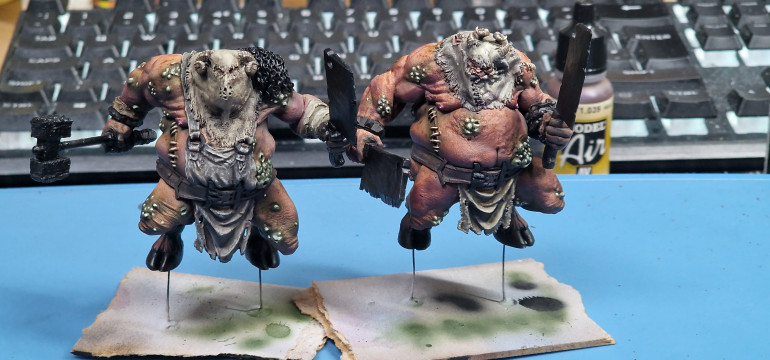 I finished the fabrics, they look slightly better than here but you should see better in a bit. I also painted the horns.
 Butchers part 1
I am always on the lookout for the next unit for the army. Being quite particular, I have limited options. The easy way would have been just to buy the mantic stuff. The hard way is finding models with not enough sculpts.
So I had the models. I like a leader and a standard barer and i do like a musician. Don’t know where i got this idea from but it’s with me.
Conversion
So I had to convert these models.
My butchers are more like ogre butchers. Real big and like long pig or real pig, it really doesn’t bother them which.
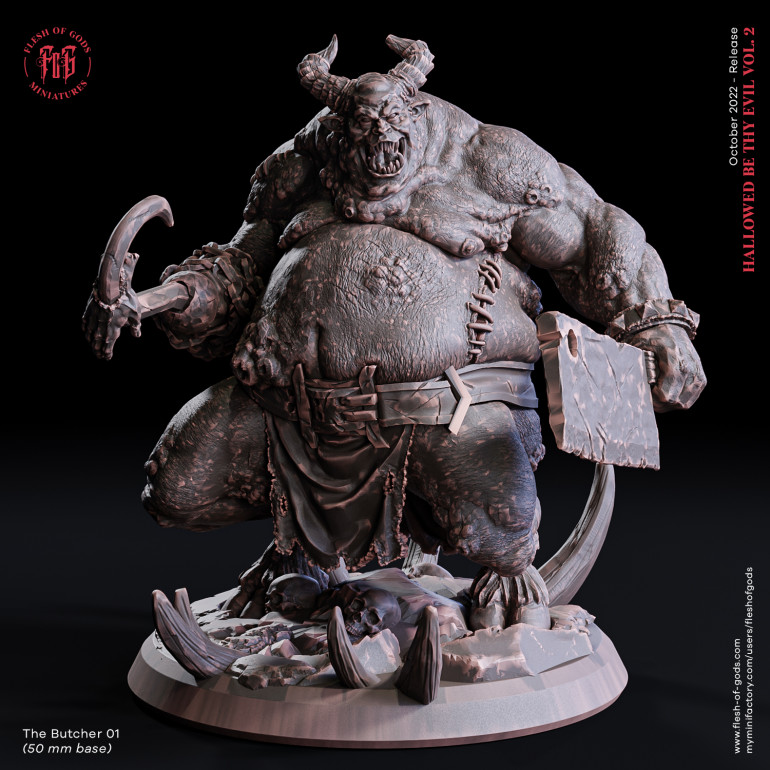
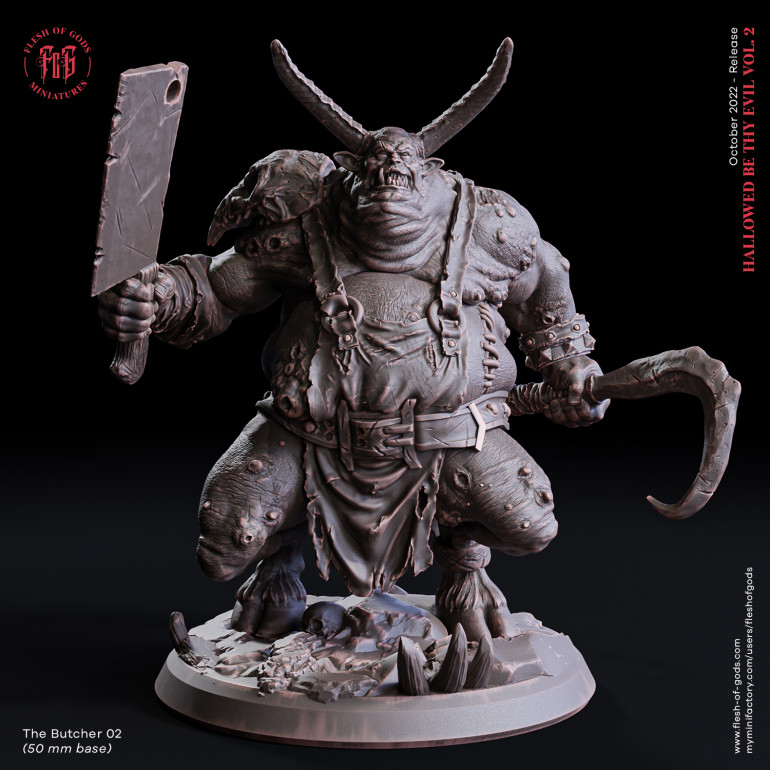
My physical sculpting sucks but my digital sculpting is better. So I decided on physical improvement doesn’t come from not doing it. got out the old saw and greenstuff. Also I printed out 2 copies of each then flipped them and printed out another 2 copies.
I would go through this process but it’s mostly roughing with Milliput on top of armature wire drilled and fixed into the models after hacking up the models. I know there are much better tutorials on this on YouTube and the projects system so will skip this.
Banner
After converting a banner barer I needed a banner. I used real cloth but with a tight weave on the fabric and frayed the edges. I laminated two parts of this with some tin foil from a chilli puree tube. You could also teal the foil from a tomato puree tube. I just superglued this on. No in progress shots but you get the idea.
I painted the model after an initial test model but i will come to that later. I was going to freehand some stuff onto the banner but to be honest these are not display models and my life is too short on this occasion. I was also having a brain freeze. I knew what I wanted but couldn’t visualise it.
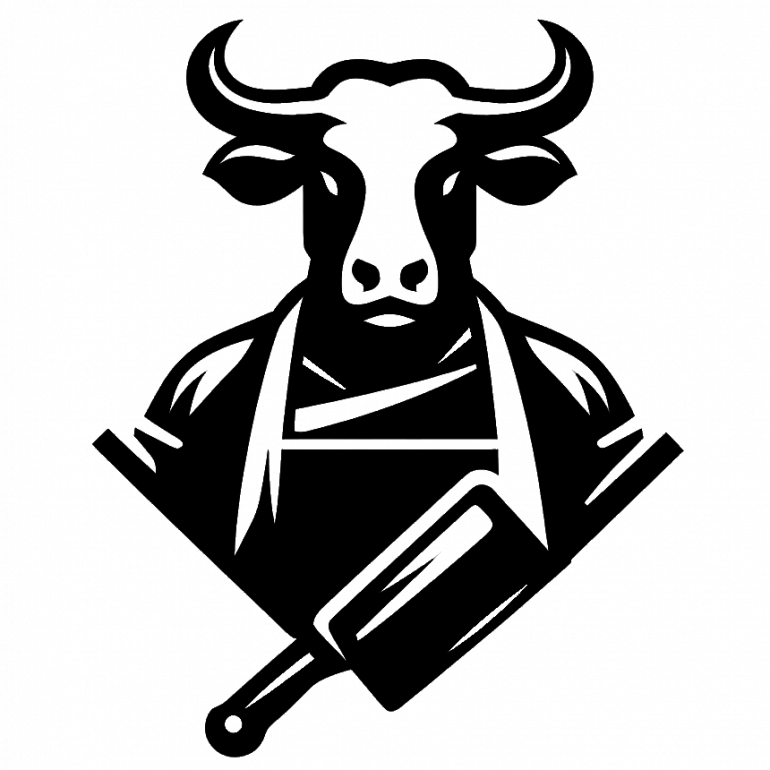
So I turned to AI. I asked it to make me a logo for the butchers guild in simplistic style in black and white and then edited it after I got close removing fiddly details and actually making it black and white.
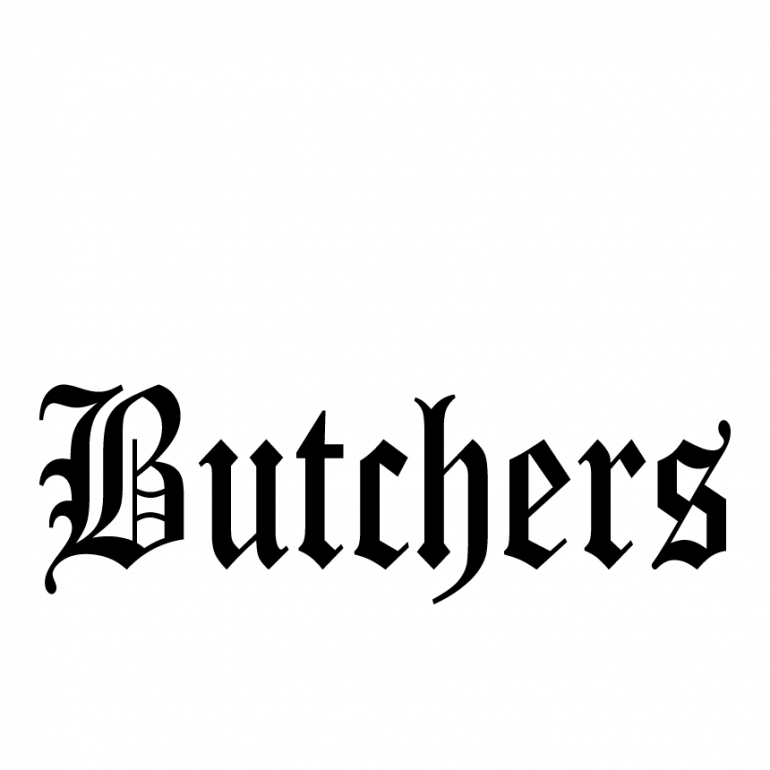
I got the image and put it into the Cricut Cutter software (it’s poo but works) cut this in vinyl and used it as a stencil airbrushed onto the banner. I also then seen I had a large space at the bottom which I added the text Butchers in old English font using the same method.
This method worked great I will 100% be doing this in the future without worrying about directly copying someone else’s artwork. Instead I let the AI do it for me and change it just enough legally for me not to care.
Painting
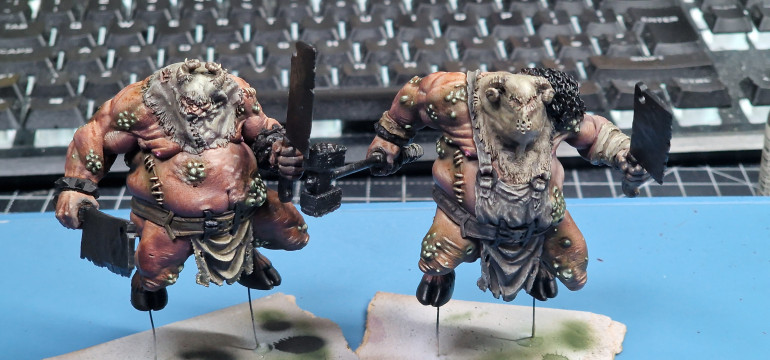
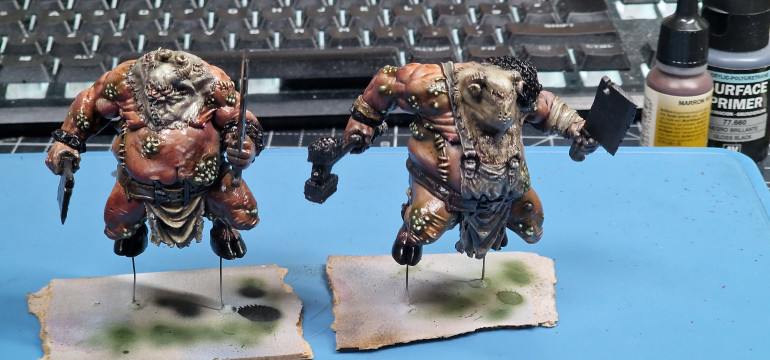
I wanted something simple mostly based around a few brush strokes to amplify what’s already present. So I looked at the colours I had which are many and seemed to pick out a kind of Zorn pallet The Zorn Palette – What It Is And How You Can Use It (drawpaintacademy.com) This weas due to me wishing to use natural fabric colours and skin I also had some puss balls to paint so this ended up being green.
I don’t normally say much positive about my own work it but I love this pallet for this I will use this in the future for more detailed work.
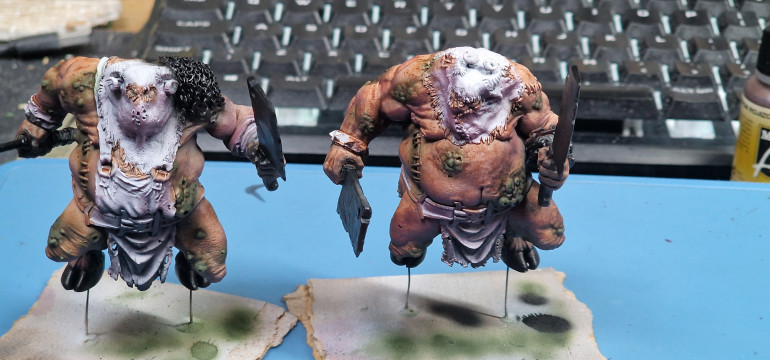
This is what I done with it. These are the last 2 models so much less care was taken here but so if you think the others are painted better, you may be right.
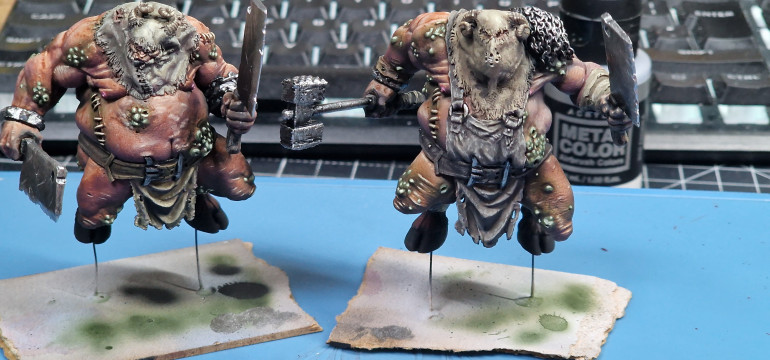
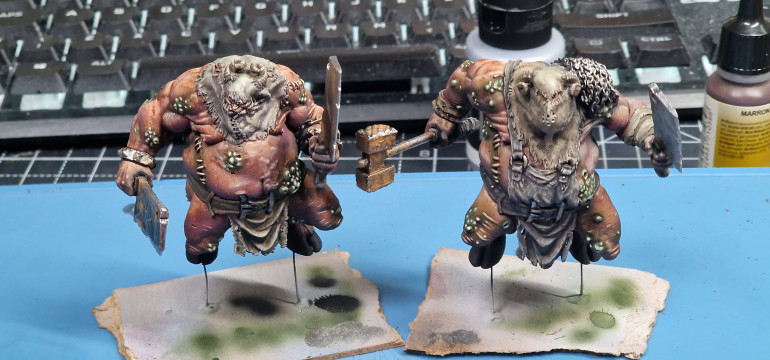
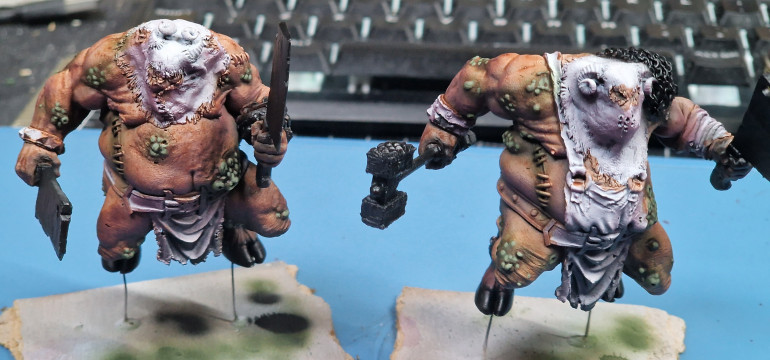
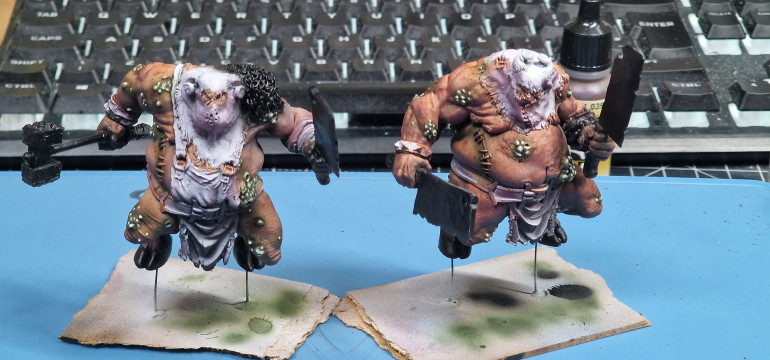
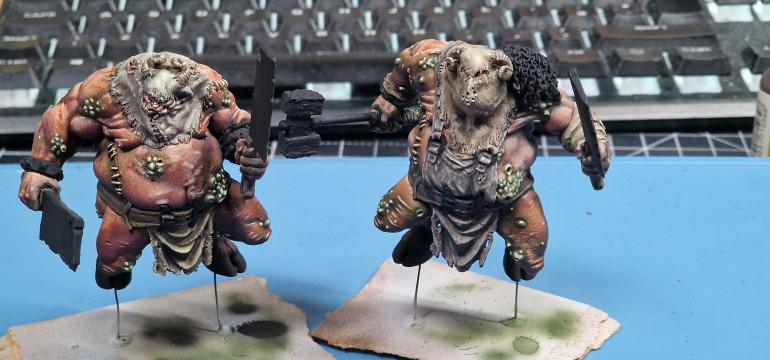
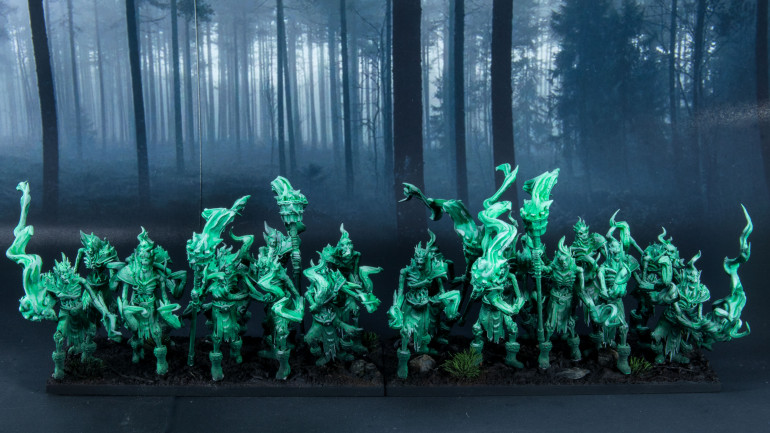
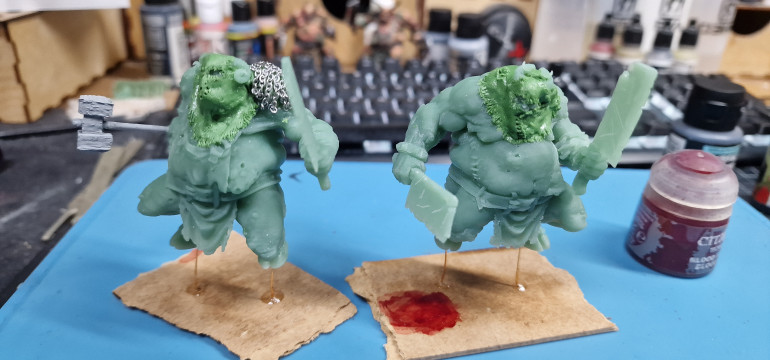 2 prints, converted enough to look a little different. I made a meat tenderiser out of cork and greenstuff in about 5 minutes and put some backs on heads, also known as tea bagging I also cut off the big skull and added chains instead from a costume jewlery set and superglued it. You should use thin superglue to do this but I didn't have any so used thick and then an airbrush while wet to spread it out. I also done an arm swap. Why are they ghostly green? I ran out of grey resin for the 3d printer and made do by adding green to grey.
 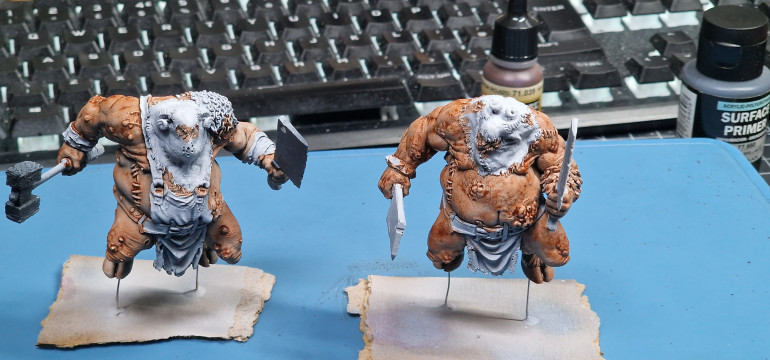 Wait this isn't slap throbber. But I did use dwarf skin xpress colour for the skin. I wanted something patchy and horrible looking so applied it improperly. This done some work for me. You will see.
 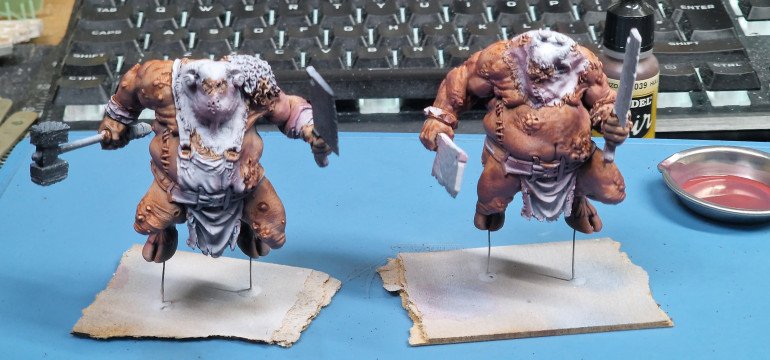 I then got Vallejo purple shadow and sprayed from the bottom, I tried to catch under each muscle of bingo wing this is to provide shade and exaggerating the contrast.allowing me to push only the highlights to gain maximum contrast while keeping the steps low.
 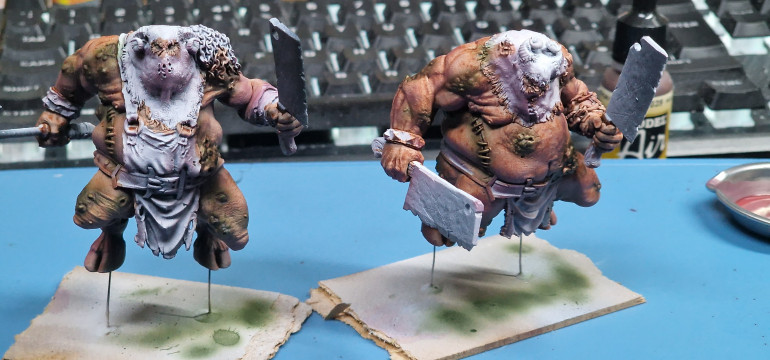 I needed a translucent green. I have a few green inks but I wanted a more natural tone. So I used plague green contrast paint as an ink and sprayed each group of pustules. this again added to contrast and saved me days of glazing. I also didn't pick out every patch on every model to give more variety.
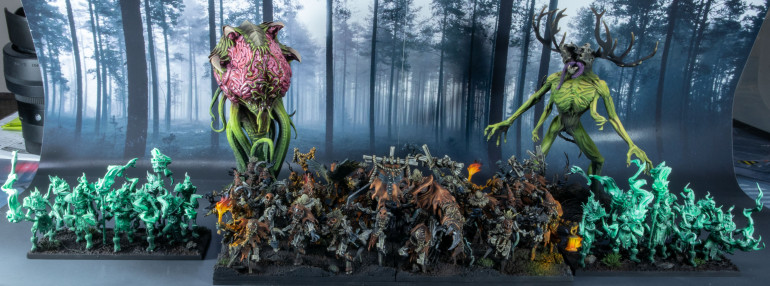
 Army so far
At each stage of losing the will to live I done something I didn’t really document. As it was for fun and just for me. These will be one off’s and even if I need to paint the exact unit again, I want differences in colour.
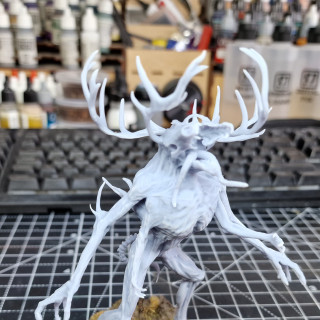
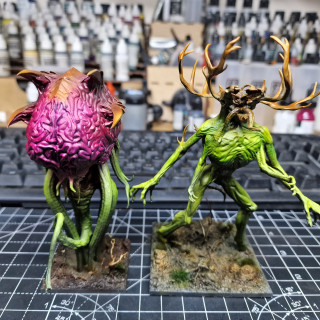
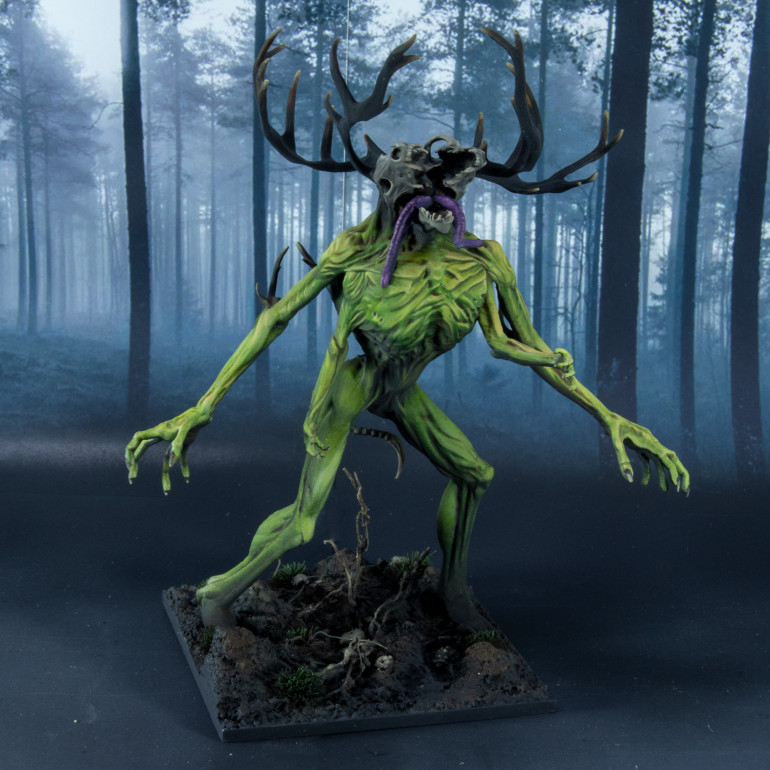
I found a Leshen for my umber hulk.
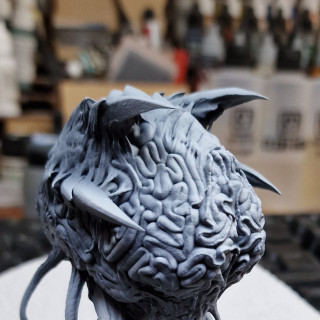
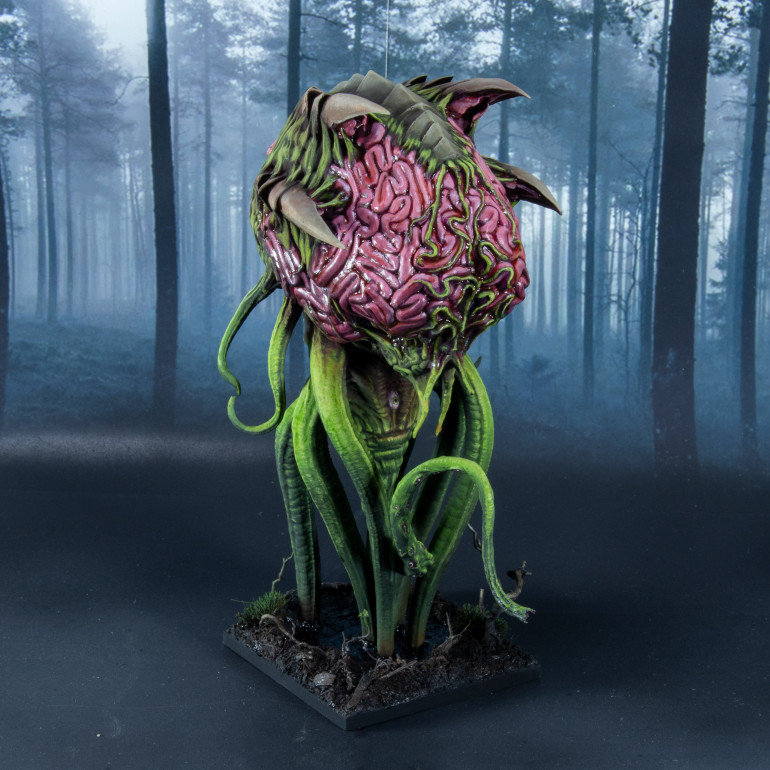
I found a sort of floating brain for a mind screech.
I found some not forever 3d prints (as I want something more heroic scale) for a couple of smaller or one medium unit of Specters.
All of these were done started with airbrushing inks then hand brushed the rest of the way.
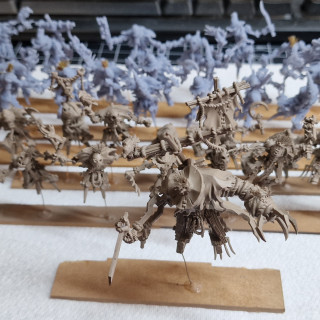
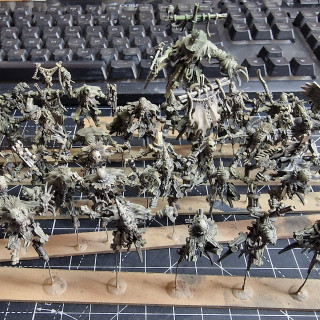
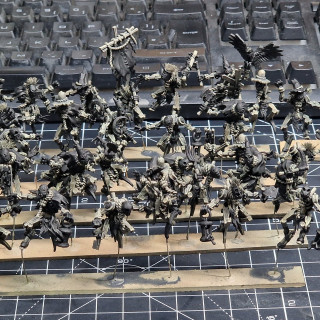
I think I only have three WIP that I will put down below.
I also needed to figure out how to take a photo of these. Borrowed a picture from the internet made it bigger and printed it would over 4 sheets of paper and stuck them together. Now I have a paper backdrop which still turned out too small.
So that’s a good start on an army. But it is a drop in the ocean. There are loads of interesting units in my initial list.
I really want some creatures wearing villagers faces as my doppelgangers for example. If you spot any amazing units, you feel would be right at home here, let me know. Not completely focused on 3d printing so either physical or digital.
I will be back here. I have the space and means but I have got to get back to infinity. I have a full project I haven’t uploaded, and two new infinity projects started as well as loads unfinished.
So little life so much to paint! (And I do want to eventually play this as well, but dont hold your breath for a battle report)
Painting every model for four hours - First Contact
The title was my original plan.
40 models for one unit are a full infinity faction… I have done Code one forces which have less and they take about 2 months of work.
Meaning I don’t have time left in my life for that. I turned to an old enemy of batch painting.
I dislike Batch painting as it takes the fun out of life and eats my soul. But I was committed now. Needs must.
I used bronze wire to mount all the models and base coat them in a grey brown. This was my first time using bronze wire for this. All I will say is when you go bronze you will never go back.
I also replaced 3d printed Chips (meant to be straw) with tufts. I removed these digitally after the first prints.
I done multiple sporadic passes picking out limbs in slightly different browns (should have bothered), dry brushed in a slightly lighter grey brown (very soft) then used a grey was on all of the models. this set the basecoat of all the wood.
I then painted all non-wood areas black for a base and contrast.
I will spare you further picture dumps form each stage as it was at this point, I lost the will to live.
I can point out the stages though as I think I will need another one of these units at least.
- I stippled the cloth in black red
- I then done a first stippled highlight of this mixed with red leather,
- I then done a second stippled highlight of red leather mixed with orange brown
- I done a third edge highlight of orange brown.
- I then touched up the wood
And properly lost the will to live again.
I then took one strip at a time and:
- edge highlighted all the wood in desk tan mixed with grey, brown.
- then picked out points on the wood with straight deck tan.
- base coated all the rope and each stich the wood colour and then washed with smoke paint.
- first highlight of beige and then adding in some yellow for the final highlight.
- Added more yellow off the pallet and done the straw hats and tufts.
- Stippled a black metallic paint on the meta-areas.
- Stippled a lighter mediatic paint on the metal,
- washed this with smoke paint and edge highlighted with the lighter metal. This was done for every nail head and rivet.
- Painted the birds with a blue black and added deck tan to highlight.
I then stopped here and done this for all 40 models. (Only ended up using 36 fml)
I did add some details like a raven freehand which seemed to fit as a banner. shame there is stitching right through it. I should have made this pop more but when I tried that it looked so out of place, I painted it darker again.
I needed to do some last highlights and a couple of details that I needed to do OSL on. The light would hit the models behind and in front of the models so there was no point doing that at this stage. I needed all the models to get done.
I stopped taking pictures at this point of my progress.
Again, I will outline what I done to get to the final pictures coming up in my last for a while post next. (More for me than you)
- I painted the candles with colours that were on the pallet and just needed white (which wasn’t on my pallet at the end for last highlights.
- I used the airbrush to white ink the flames
- Then a full coat of the lightest game air yellow all over.
- then a more orange yellow missing the root of the flame.
- then an actual orange fire for the flames.
- Used a darker orange for the top half of the flames
- used a red for the tips.
- Went back to the darker orange for the start of the OSL.
- Then went in with a brush for the highlights with yellow and white and orange putting it where it felt right.
- finished the tops of the flames with black airbrush then grey for the tips
- Final brush was sections of the base of the flames in white.
I then went done positioned the models where they were going to stay and finished the OSL on adjacent models the light would hit.
A final spot highlight with sand yellow mixed with orange grown and a few more deck tan highlights.
I also added OSL to the base missing out the middle which would be in shadow due to the lantern but missing the torches off this step completely due to them being held higher.
And that’s how to do this in 238234232 easy steps. Stay tuned for the end results. (Which come to think of it, you seen on the way in…
Basing
I supported and started printing off batches of models, this gave me some time to look at basing.
I looked online then remembered I have a laser cutter and cut bases with room for 10mm/ 2mm magnets. this should be strong enough for any unit at it’s smallest size. I made these 2mm short on top and a side as I also planned to clad this in plastic card. Reason? I wanted to use wet material and didn’t want to warp the MDF or use Perspex for the bases.
I also made this morular so I could break up larger units for smaller ones and made a further larger base with magnets This I didn’t clad on the sides but used sand sealer on as it’s not getting moist.
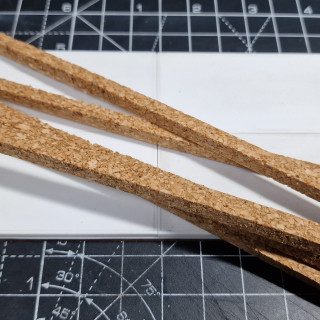
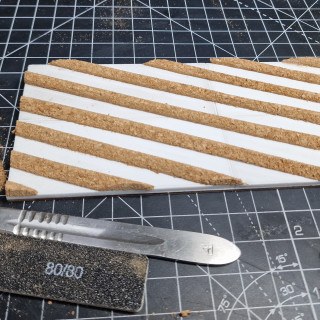
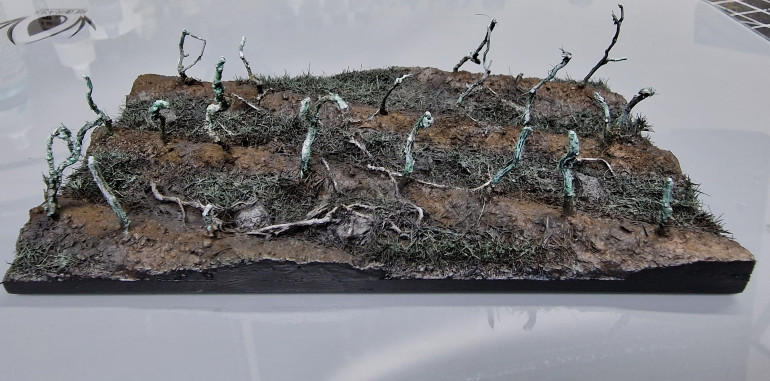
I then needed to make the plough lines so used cork, superglued it on then shaped with rough sandpaper and then put that shaved cord back in the middle of each row for texture.
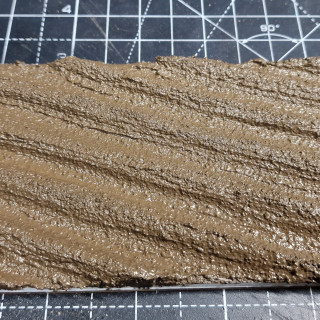
I then covered the full thing in hazelnut spread (aka texture paste).
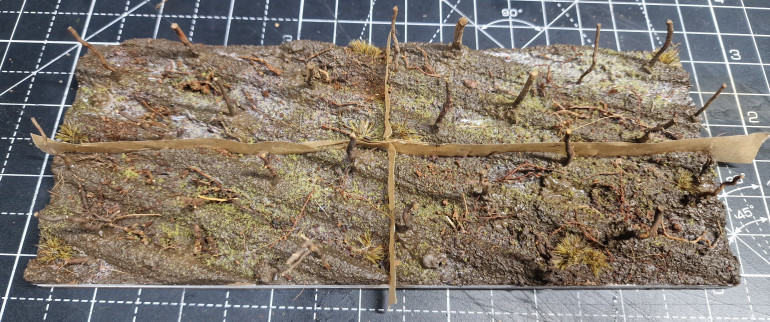
While still wet I added roots I have dried, bark ground up, coconut fibres, flock, tufts, small broken plaster for rocks, anything I could find. I also stuck some roots as a crop that failed.
I also 3d printed some toads and tortoise for mascots of death.
I decided to paint this as I wanted more drama than a natural setting, I also wanted to match the basing to others models I already found and was starting.
My basing was set. Not all units will have the plough lines in them only scarecrows, but all are going to be spooky assed rural themed.
While doing this I had cut and cleaned the prints from the sprues.
Planning
Second time writing this so I will be brief.
I needed to plan the project so thought long and hard on what rank and file to play and decided on KOW. I think I may still do 28mm ancients and 6mm Napoleonic. KOW is also great as it’s miniatures agnostic.
My initial self-brief was to create an army with each model given as much attention as my skirmish models.
I set out finding an army and after much thought aa great freeing suggestion was made of the Nightstalkers. Good points are that the faction is a faction of nightmares leaving my scope open to do pretty much what I wanted. I don’t want a complete joke army like doing the Tory party and their followers. Little men, woman or things are serious business.
I dislike the official models, something on each of them I dislike strongly. That left me to find models I wanted. I started with Scarecrows. These seemed like a good unit you would have a lot of. Sadly, I looked at a few of the options and they were not really what I was looking for.
So, I thought, lets sculp 40 unique scarecrows with pumpkin heads. (You already scoffed but at this time I thought I could be bothered.
You have choices these days. like mediums of old you have digital or physical and different techniques. As it was probably about 1am and I couldn’t be bothered moving I started digitally.
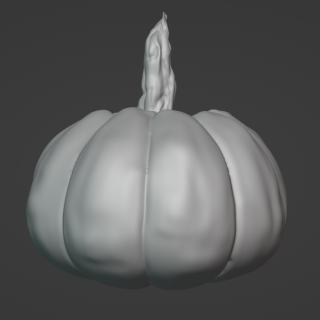
I started with Blender. I had never really used this program much for making anything original. So, I thought it would be easy. I have previous experience in other programs, what could go wrong? I wanted something quick so spent 3 hours getting to grips making a pumpkin and my initial plan was to make 40 moulds of various pumpkins from a master friction cast in Sculpy and then stamp a face in it and clean it up. I didn’t like the end result and could have stuck with it but if it took me 3 hours to do the first one it would have taken an eternity to do 40 and that’s without bodies.
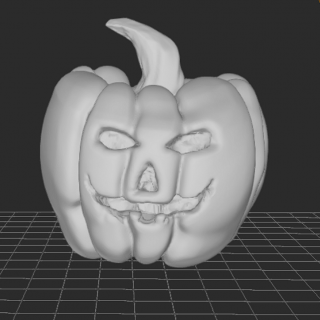
I felt that blender was too mathematical for me. It removed a lot of the creativity added complexity, so I turned to a free browser based took and done something in 20 minutes. I was not happy with the results but hey it didn’t take 3 hours.
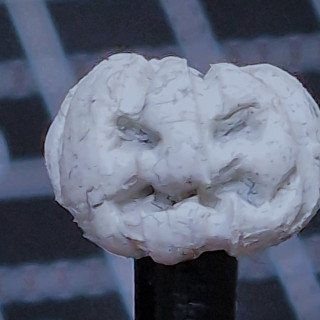
Then as I was falling asleep, I made something in about 3 minutes from a blob of white tack that I was happier with.
I thought I was set… I has also found 3d files for the bodies but was reluctant due to breakages. https://www.myminifactory.com/object/3d-print-harrowhaunt-fryghtener-pack-163578
I thought I would give making the full thing a go through.
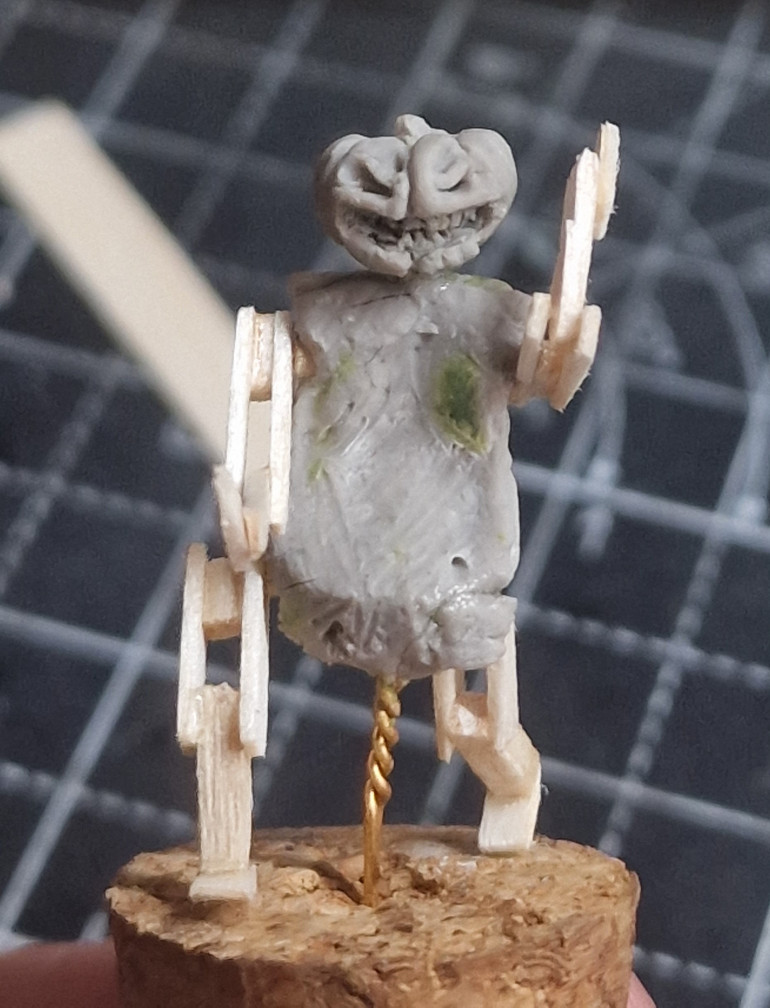
Idea was to have a sack as the body and use wood for the limbs. It looks Janky as I was trying to find the best fitting method and tries a different option on each limb. I think I could honestly finesse this. However, it was very fragile. So I may need to fill and cast it. This was turning into a job at this point and also the scale of the project needed more thought.
After rethinking I went ahead and just purchased and printed one of the scarecrows, I also got some ABS like resin to try which seemed on these models much better and more flexible. (It is, I like it but it’s not a silver bullet).
I still don’t like the cartoon heads. This is much more cartoony than I really wanted. But it did come with 5 sculpts and a variant of it with a cloak so that’s 10 sculpts and if I mirrored them that’s 20 unique sculpts meaning I would only have a duplicate two if I went with 40 for a hoard.
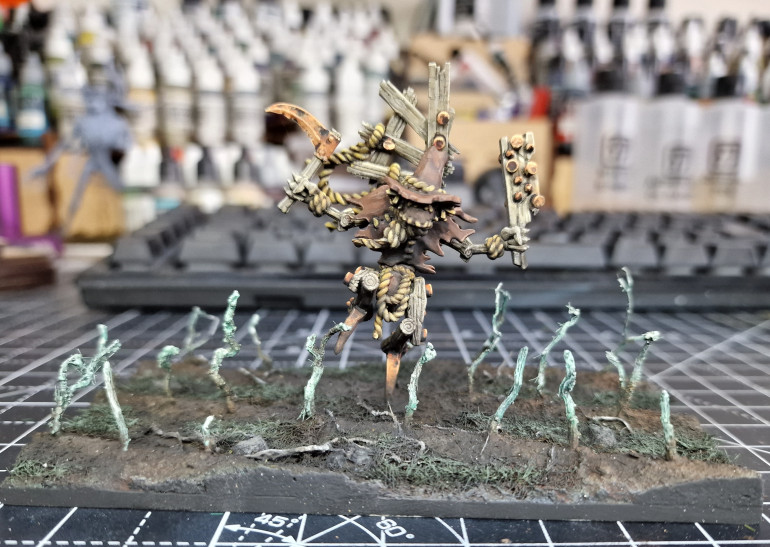
On my test model I initially thoughts let’s not use metallic paints and NMM all of them. This looked ok but was a bit jarring. Then though lets then use rust on them and this clashed. So ended up deciding on metallics. Also, the brown cape thing also clashed so moved the orange tones to there instead and made the wood greyer.
I went on and done the base as well. This was done from a scrap bit of wood. I wanted them in a field and after a few in progress changes I was pretty happy with that basing idea in the end.
So I had my first unit planned. During all of this I had also downloaded the free getting started rules and setup my rough army list using easy army.
I then realised I had a lot more work to do to get a 2000-point list. This again scaled down my initial brief.
But at least I would get started!


