Spring clean challenge… Cry me a river
Recommendations: 126
About the Project
As an avid gamer over the years I have always sort to expand my selection of terrain… this time around I plan on making a modular river section useable for both fantasy and historic games……realistic and a bit weird as well.
Related Genre: Game Aid
Related Contest: Spring Clean Hobby Challenge (Old)
This Project is Active
Water effects
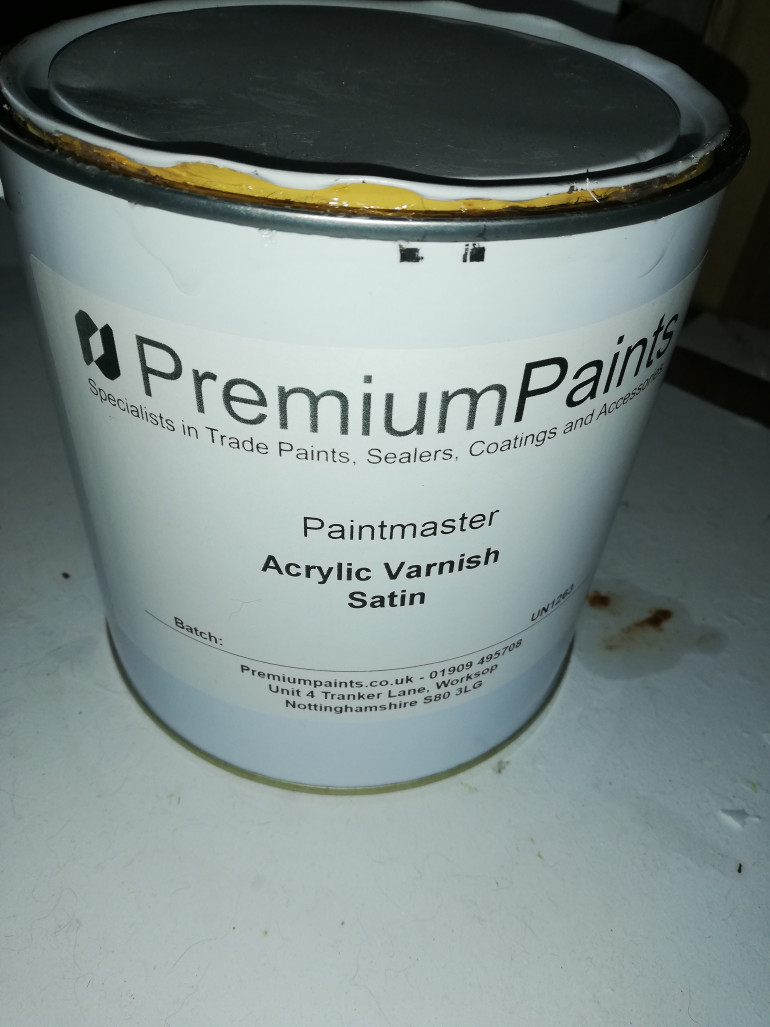
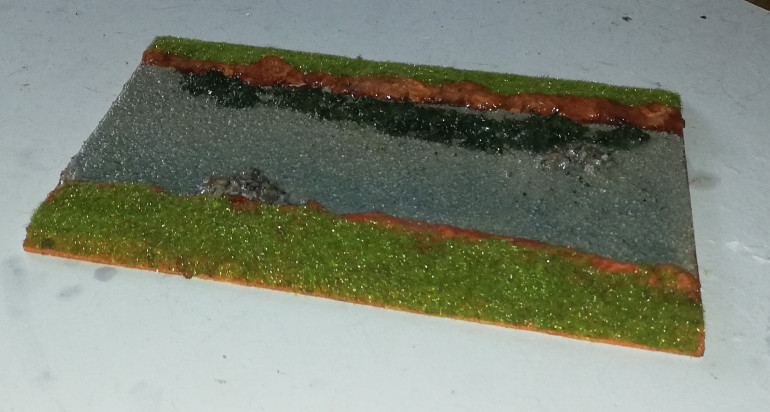
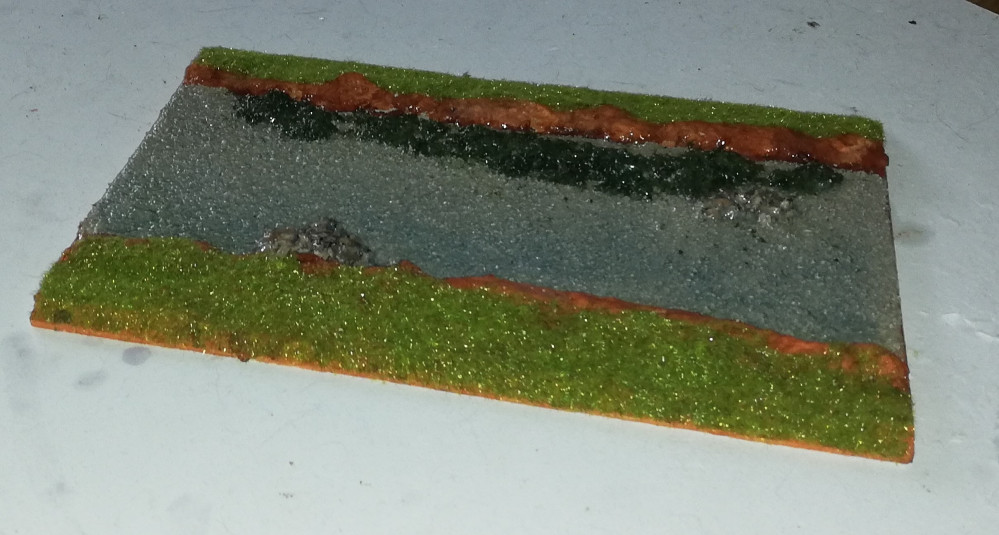
Next up comes the water effects, several types of effect can be used from resins to varnish. We chose to apply layers of varnish. As a personal choice of finish Satin varnish was applied over the river bed with different inks added to the varnish to colour the water.
Bedding it all in..
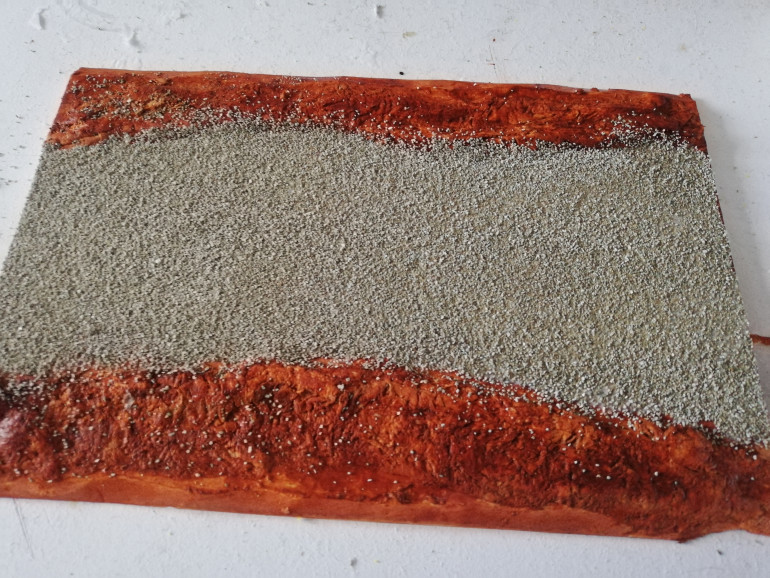
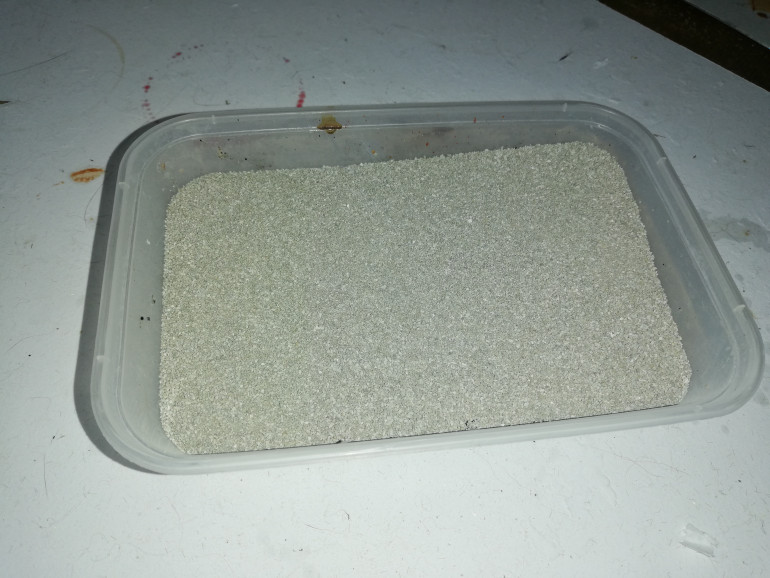
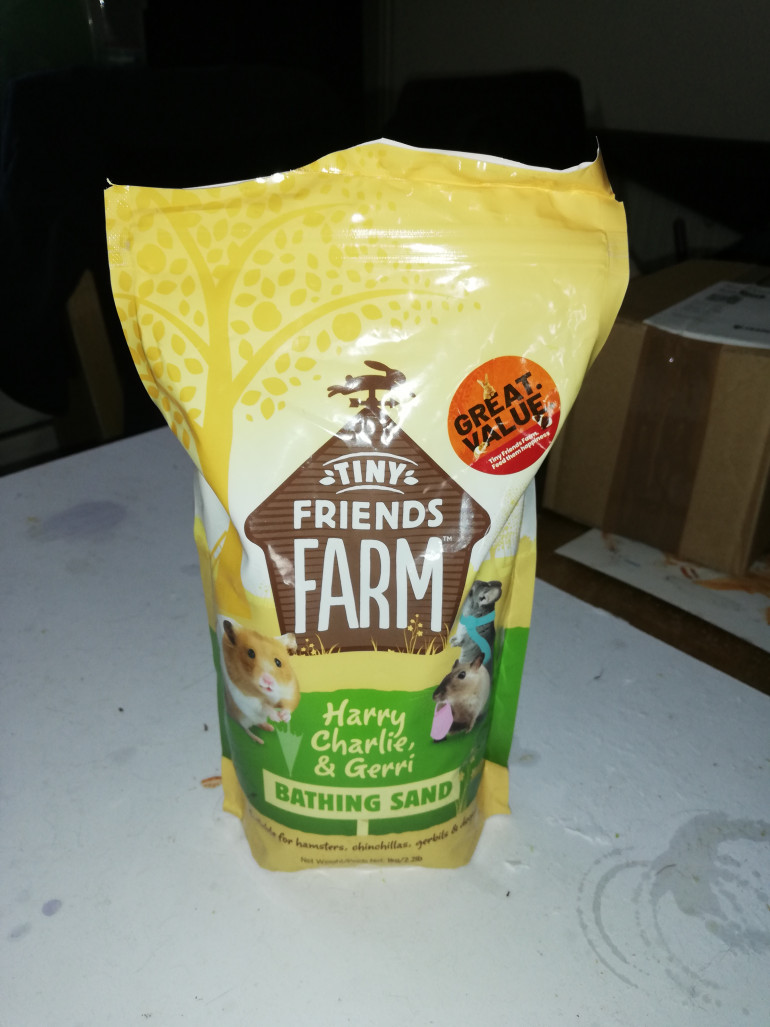
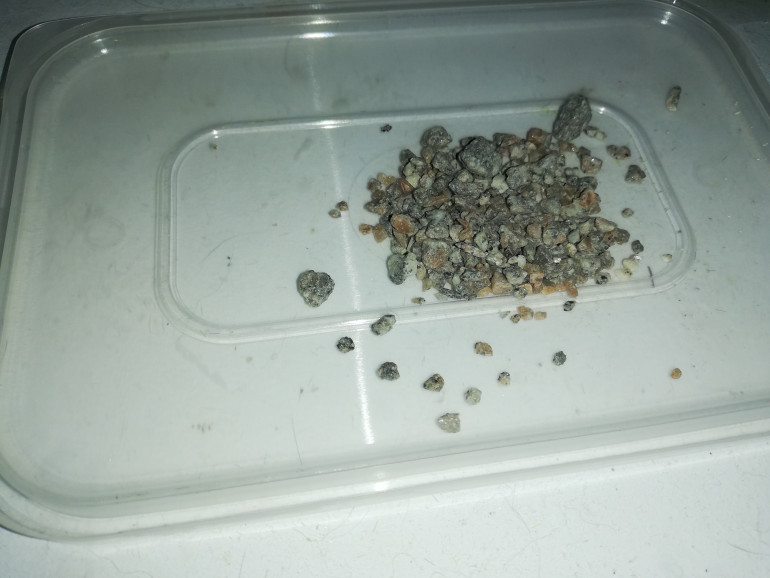
Now that the base is shaped and coloured it was time to add the river bed and bank coverage. Now it has to be noted that as a hobby we are always on the lookout for some new and interesting things to use….this brings me to the river base that I found whilst collecting supplies in the local pet store…Rodent bathing grit AKA grey sand.
This fine grey sand is sold in the pet store for use with small rodents to keep their coats in good condition, for me it was a cost effective alternative to the usual play sand I use. A small 1kg bag retailing around £3 GBP ….and this stuff goes a very long way.
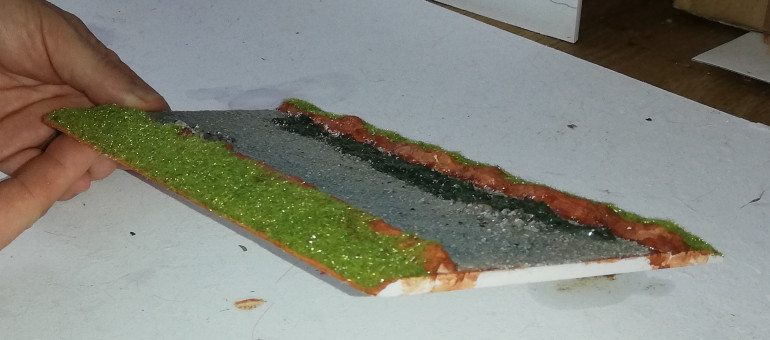
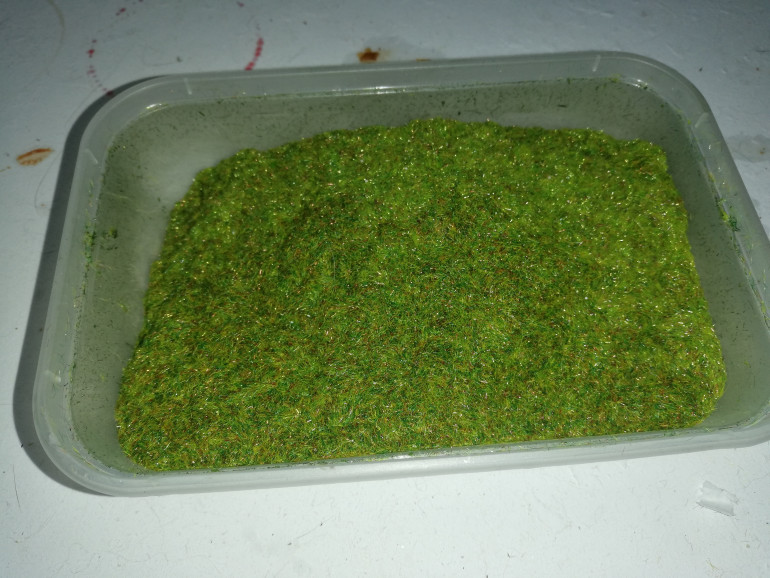
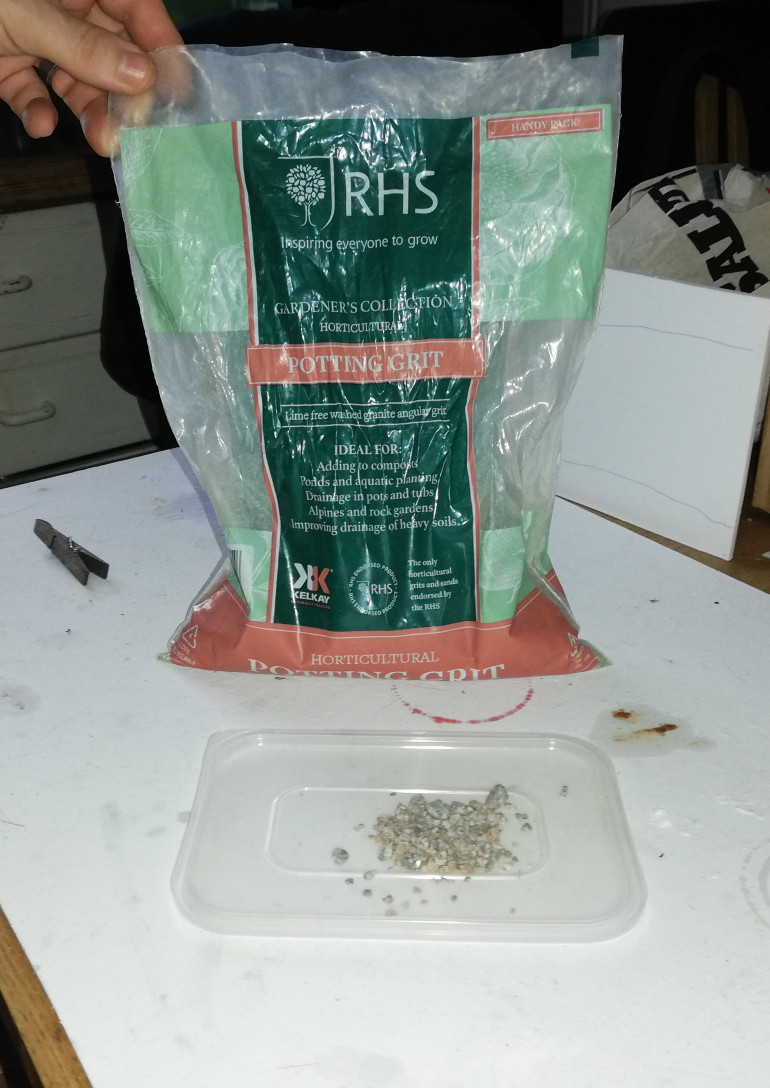
The remaining bank cover is a mix of different coloured 2mm static grass .All the ground cover stuck down with watered down PVA along with the addition of some potting grit for larger boulders in the river for a change of asthetic.
Let the colouring begin
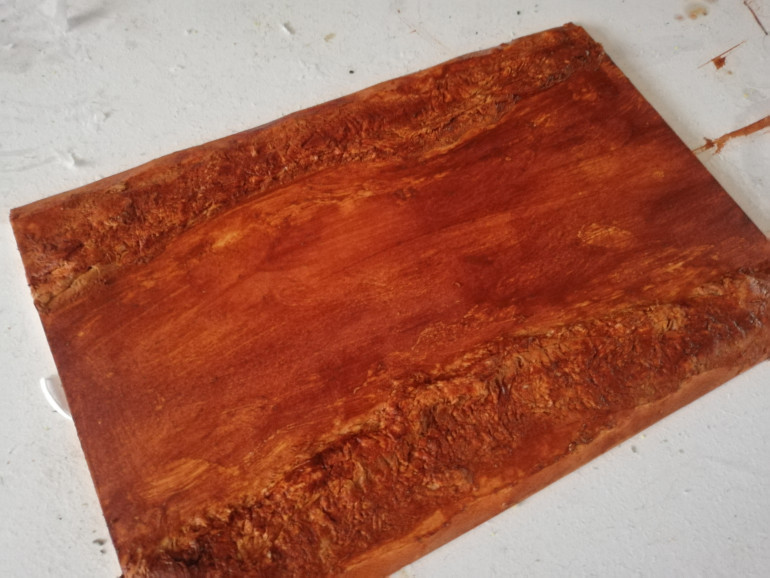
Next in the queue of things to do is colour the base before adding a river bed/bank with sand/gravel and static grass.
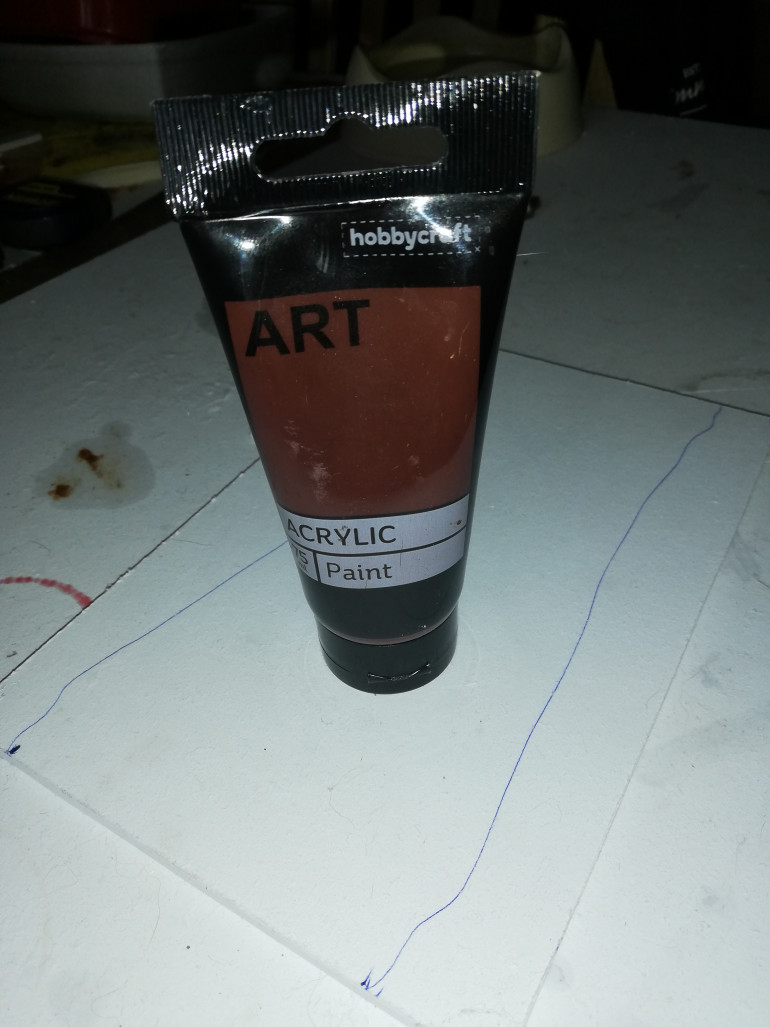
Any paint of the desired colour may be used at this stage, we used hobby craft acrylic paint as this has a very high pigment base and goes a really long way when watered down to a wash/runny consistency rather than the paste it comes out the tube as. A liberal coat is applied to get an even coverage.
Further texture/shaping
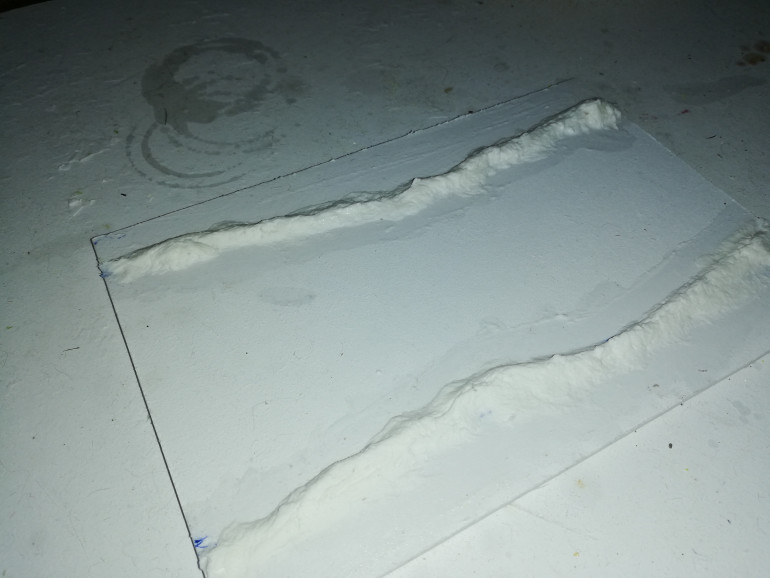
Now that the main bank shape has been roughed out, shaping of the base and smoothing the transition from bank to edge of the base can begin.
Again choice of material is up to you.
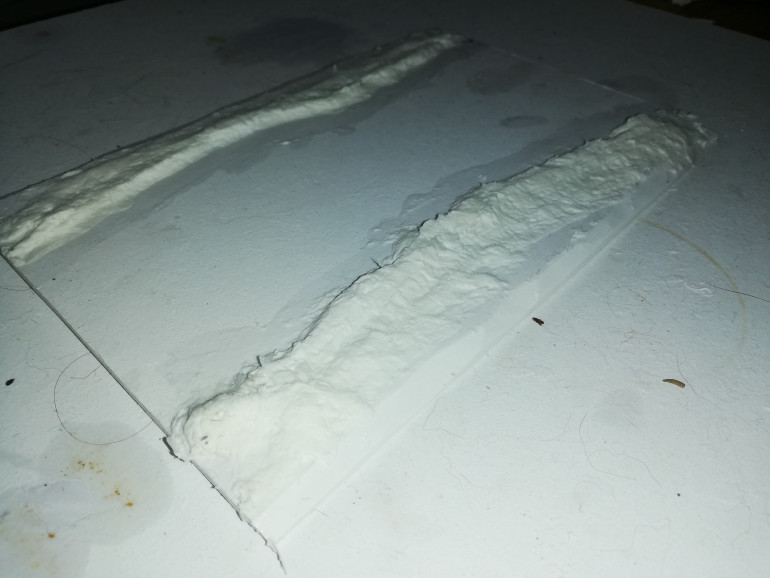
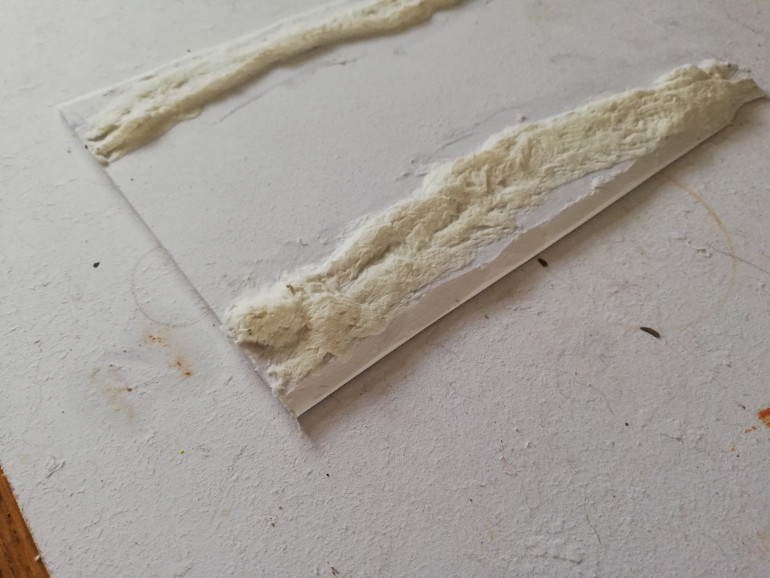
We chose to continue using the tissue and pva glue to smooth out the difference from the bank to the edge of the base.(PVA used from local DIY store that can be watered down to required thickness )
A point to note if you want a more organic edge the base can be shaped/contoured with more curves to the edges and thinner edges to blend with the tabletop.
Texture the banks
Once the chosen base and dimension were decided upon then texture for the banks needs to be applied…..depending on budget and available materials this can be as simple as paper mache or in more detail with rock molds and sculpting compound. We chose to keep it simple with toilet tissue and pva glue.
The foundation of things to come.....
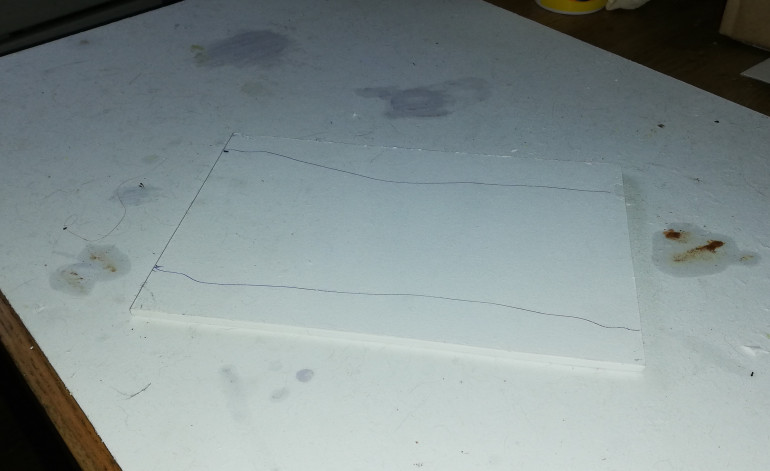
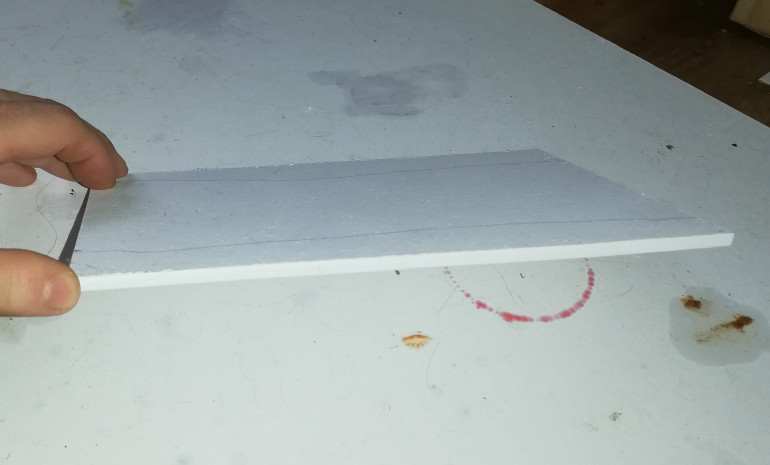
To start this project I would like to say that the items chosen can be swapped out for what each person has to hand or is able to source ,for my self I have been able to source a type of poster board as the base material but any firm base like MDF would work just as well. With the help of my daughter I will be designing and making a modular river for use in either roleplay or wargaming settings.
To start sizing can be flexible depending on the scale used for the game in mind, however as this idea is generic for smaller scales of game this will become a much larger river.
We started with a 6″ by 9″ base to create a river 4″ wide and 9″ long.


