Xmas Present – Modelling – Theme: “A Storm in a Teacup”
Recommendations: 94
About the Project
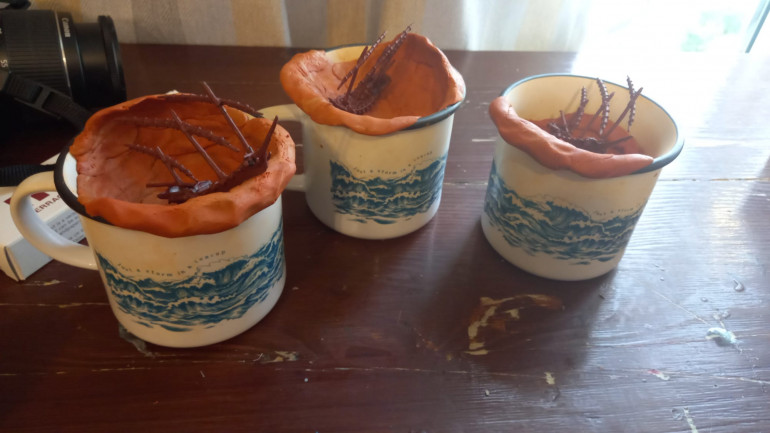
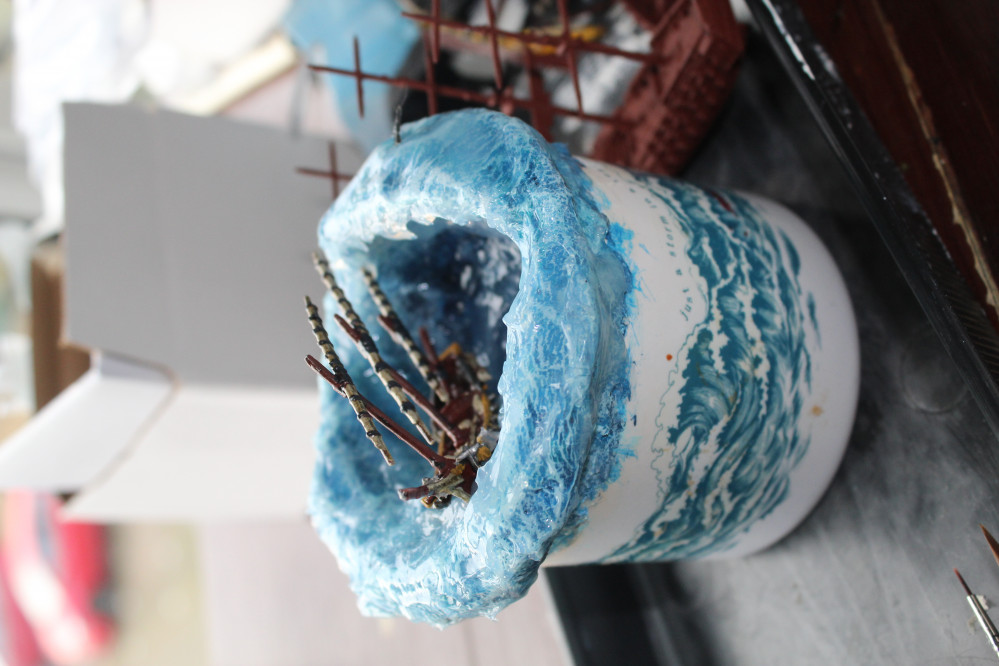
I've wanted to play around with water effects. I saw someone do a 3d printed base to put in a teacup for a "storm in a tea cup" and thought, 'i could model that'. I now have 3 on the go for an aunt and two cousins
Related Company: Warlord Games
Related Genre: Pirate
This Project is Active
The second wave
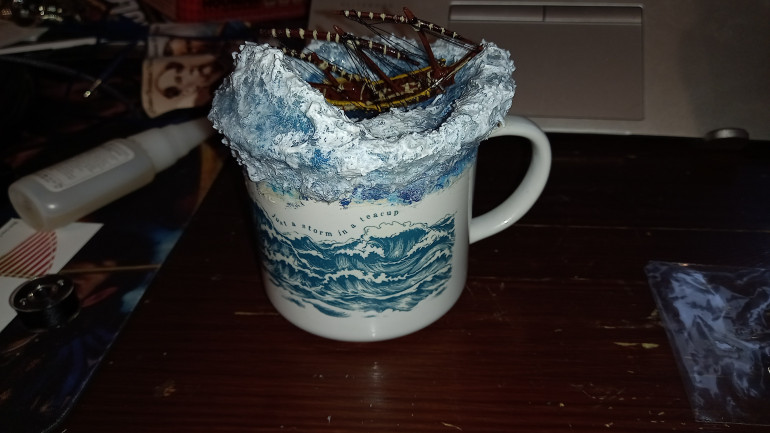
The last picture showed the sealand/white spirit mix.
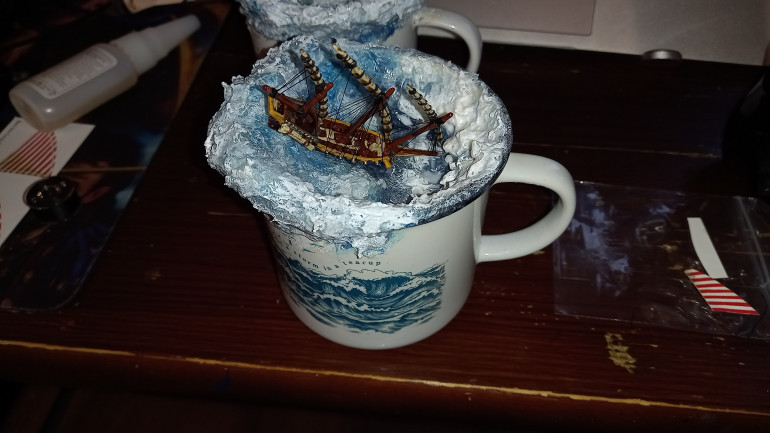
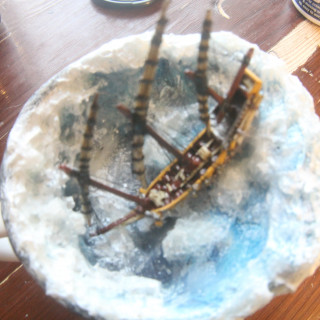
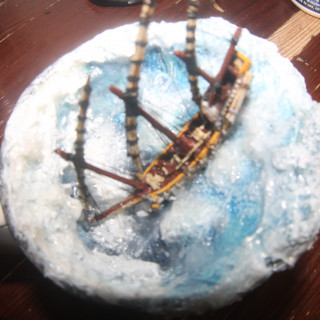
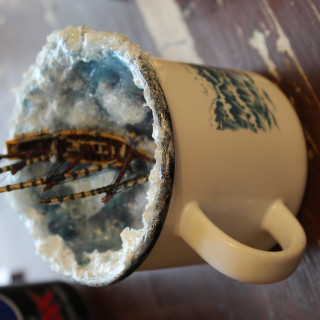
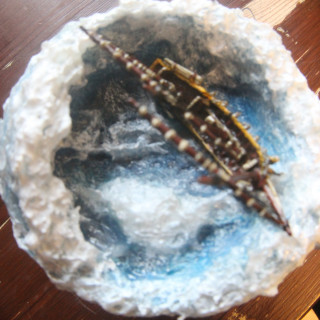
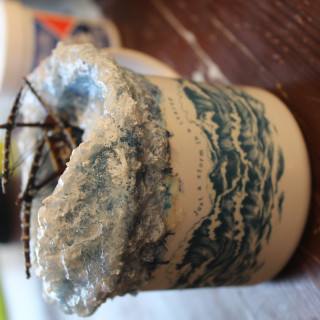
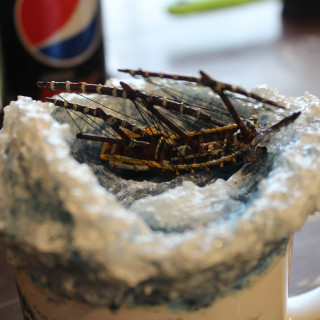
The last few parts I did was to touch up the over spill of ‘water’ over the cup using more of the making waves and then with a white paint dry brushing alot of it to pick out the crests. I think in hindsight i probably over did this..
After this I touched up the peaks with white paint
varnished the whole thing
and filled in the gaps between the boat and the sea again.
I was quite suprised the turn around time for this, I had these done within 4 days, this wasnt non stop as tonnes of waiting time for layers to dry.
The only real cost was the making waves for the crests of the waves all other technical bits used were house hold items of craft bits i had.
I might try this again at a later date as I feel i went overboard on the white foam parts. However happier enough how they ended up
The WAVES
So I didnt follow one idea of how to do the waves. I mixed three youtube videos together:
the first one I used was the toilet paper technique from this video:
Things I used from this:
– How to build up the toilet paper / with modge podge
– general idea of mixing colours
– the use of water effect resin as i have never used it
the downside was his scale/waves were not as majestic as I needed.
so I mixed the TP technique with this video:
This video opened so many doors, this is the video where i thought i could do this, but using milliput as the base.
because of the milliput i missed his early steps and although i agree the water colour paper looked great, it was too much effort for my small area. The toilet paper seemed much quicker for the job i needed – and proved as much..
I layered up the toilet paper about 3-5 layers deep. I used the above video to again improve on my big wave colour pallate and to be honest this video was a god send!
I used layers to add extra bumps in the sea which the last youtube video and the one above really hit home with me (dont make it too flat!)
the second and last one had one thing in common the mix of sealant (transparant) mixing it with white spirit and globbing it on. This makes the surface have undulation. If I am honest. THIS. IS. THE. KEY. without this the sea realism isn’t there!
And then lastly this and the last video pushed home, working on the foam using specialist foam textures (thanks my local friendly modelling shop – Shout out to gravesend modelling centre! Where i bought some extra “deluxe materials making waves”
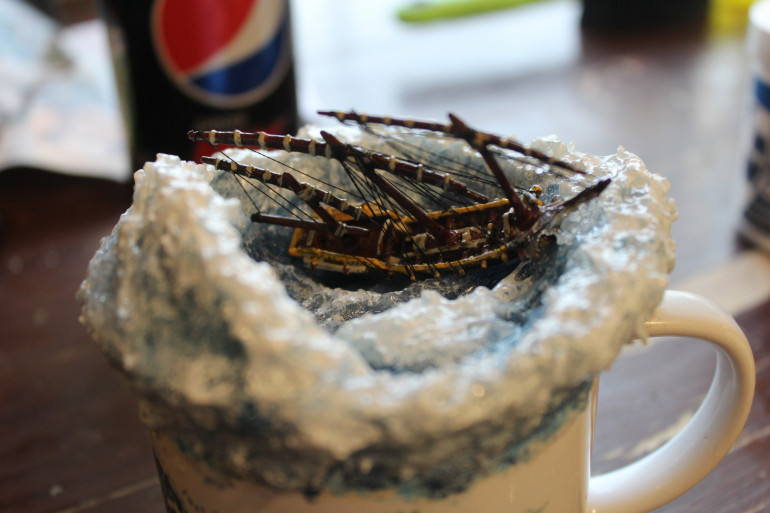
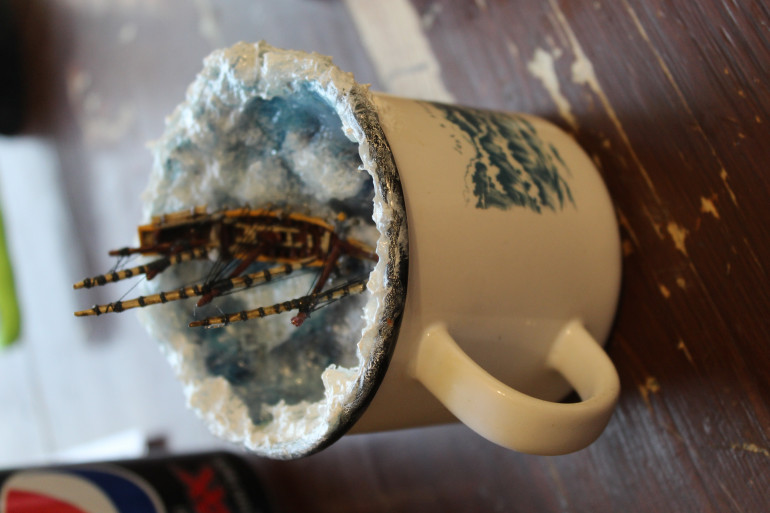
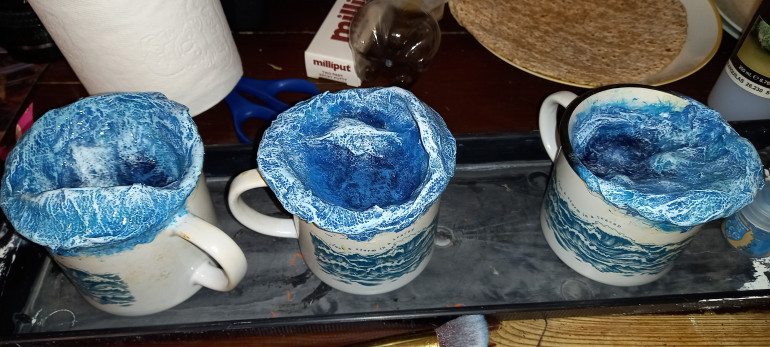
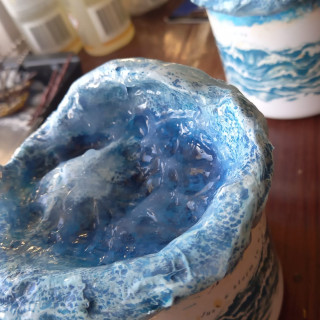
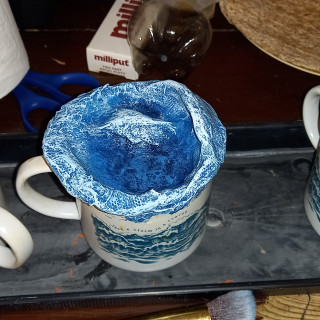
The below pictures show the end product from following the second video.
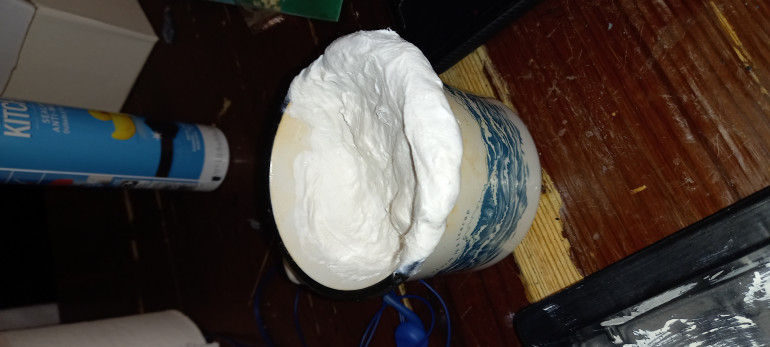
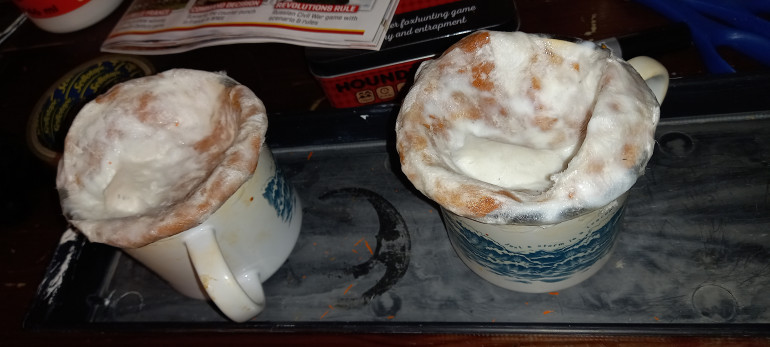
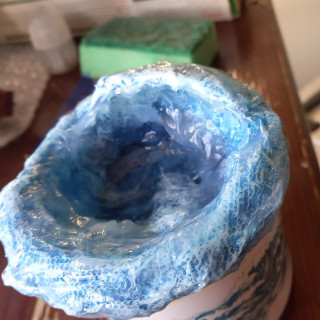
After the toilet paper
building up the colour pallate
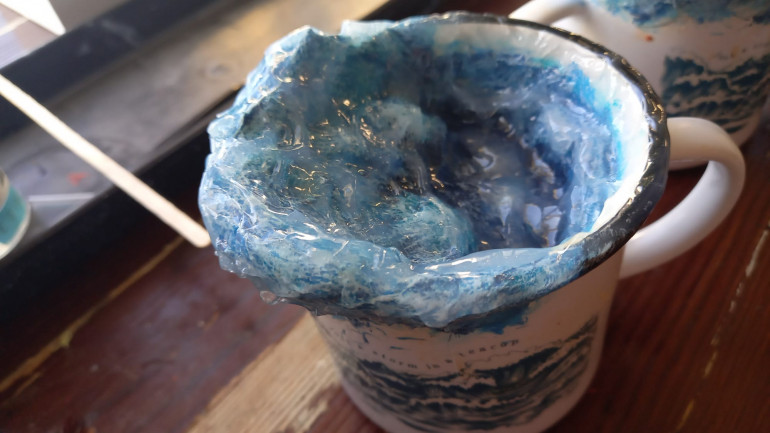
adding water texture resin
adding the transparent sealant + white spirit mix
adding some white paint
adding ‘making waves’
adding some more white paint
the third youtube video was this one:
which i took technical elements away from to reinforce the second video
The ships
This is a small message just to say…
I wanted napoleonic huge ships of the line. I bought these:
apparently I have no understanding of scale… because these are MASSIVE.
I then had to buy these, i liked these cause they were smaller, but also i thought would be a nice aesthetically nice ship/galley:
upside i learnt what a xebec is!
My painting of these was fairly simple, three colours a dark reddy brown, a lighter brown, a bone colour and then a yellow and metal for highlights – wash the crap out of them, wind some string around them and call them done
I tried using the sails they had with them but tbh they were too fiddly and i thought it wouldn’t add too much to the finished artical. There will be pictures of these later on
The Cup is Half Full
I wanted to add some weight to the mugs and also stop them being top heavy.
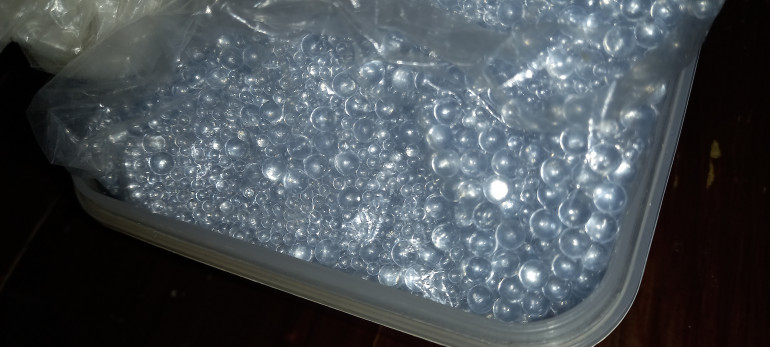
For this I used something that has been taking up space in my flat since my wedding. I had bought miniscule beads of glass to weigh down our centre pieces (which were fiasco bottles, i wanted glass beads to then shine some light back up)
the picture below is after i dropped them all over my front room and had to then find each small ball again. I tell you these were a pain in the glass balls!
In the photo in my first post you can just about see that I then cut out a piece of cardboard to stick over the top of these glass beads.
I used gorilla glue to keep in place, mainly because this is the glue i have which is most gel like and wont seep away between the gap of cardboard and mug.
I forgot to take a picture so apologies i dont have a better one. the cool bit which was an accident but works is that there is a slight gap, so when the mug is moved there is a rain stick ‘water’ sound. I will pretend i did this to add ‘immersion’
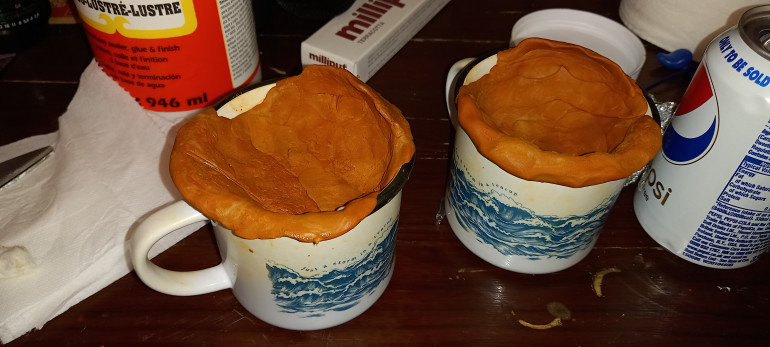
The next thing I did is take out the milliput (once the glue was dry), i moulded in the mugs the vague lows and highs of what will be my waves
Starting off
I can’t seem to find the original video i found of someone creating a 3d printed base to put in a cup to create ‘a storm in a tea cup’
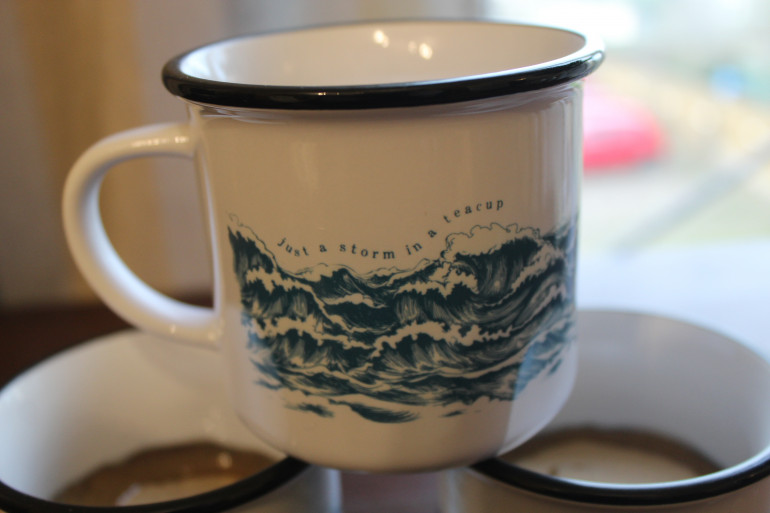
However I found these lovely mugs:
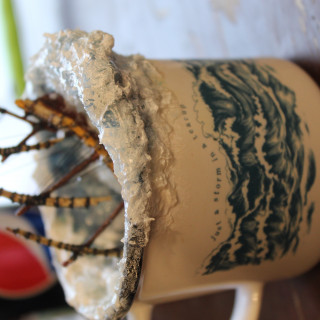
'Just a Storm in a Teacup' Ceramic Mug
This company also plants trees in places around the world for this order, which for the people i am giving the presents to is a bonus as the love getting charitable or ‘giving back’ sort of presents, the trees for these three we planted in Madagascan groves and in Tanzania.
I have been looking for cups with this phrase on for a while and these were by far the prettiest and cleanest look to what I wanted


