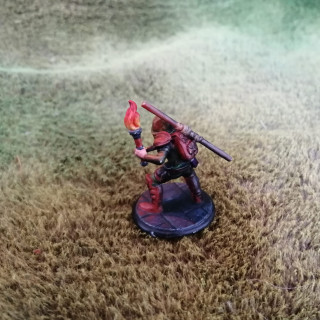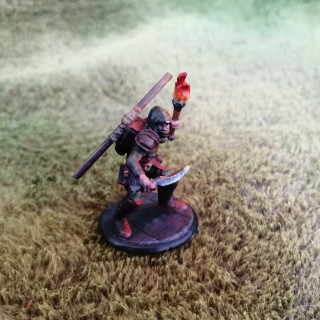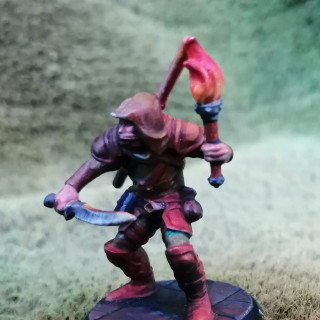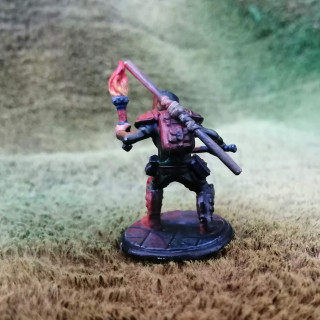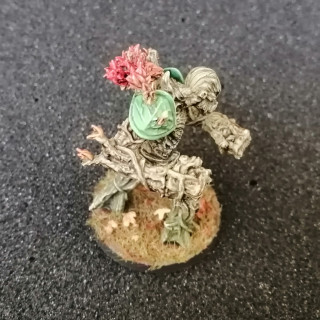
Stuff what I been painting
Recommendations: 686
About the Project
This project has no reason or purpose. It is just a collection of stuff that I've been painting. It might be linked to other projects I have running or it might not. It also exists to track my tackling of my pile of potential.
Related Genre: General
This Project is Active
More guns
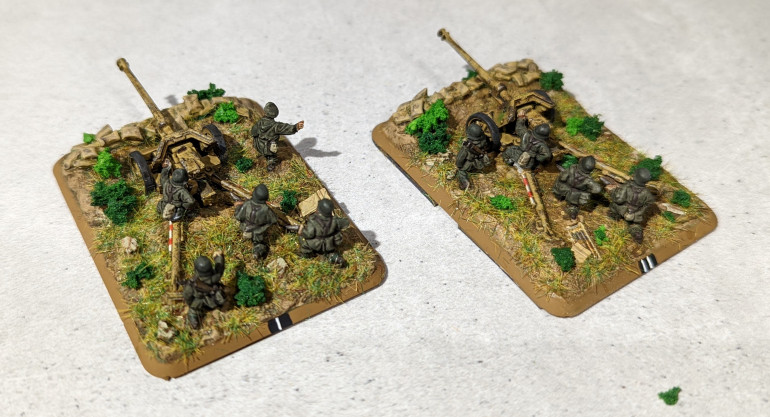
My previous entry here was the initial deployment of my US 1st Armoured Division. The arrival of these new tanks into my Italian forces set up has the defending Germans a little worried and they have called for some additional firepower. So, to plug the gap in the lines, I’ve painted up some PaK 40 Anti Tank guns. The punch on this should easily penetrate the thin armour of the M4A1 Shermans!
These two guns are the Battlefront plastic kit. Easy to put together and reasonably quick to paint. Colour scheme is a simple dunkelgelb with some brown and green airbrushed on to create a camo effect. Chipping is just applied quickly with a sponge and gunmetal. Crew are a standard German Field Grey with a wash. A quick and easy approach.
The bases are polyfila mixed with a brown paint (to avoid the issue of any chips leaving a stark white patch) over which I sprinkle some sand and small cork chips. I pile the polyfila up at the front to create a ‘dug in’ look. The sand bags are home made from greenstuff.
Old Ironsides
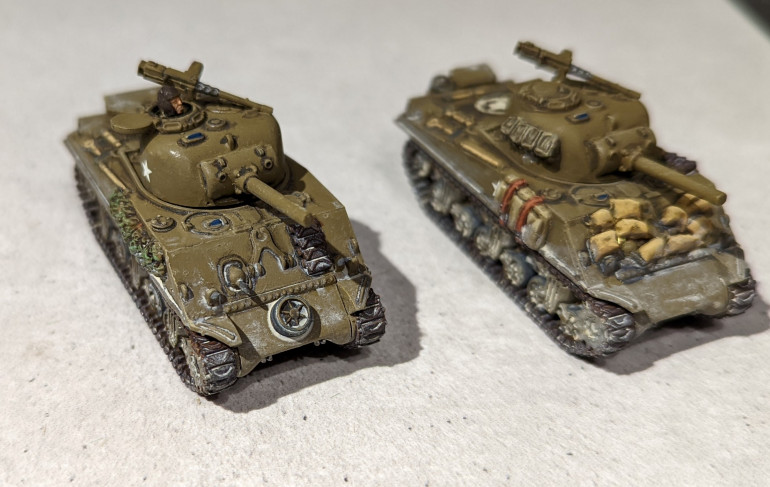
Back to painting 15mm and I’m turning my attention to some tanks. As I like my ww2 Italian campaign (see my other projects!) I’m going to start building up some US forces. In this case, some tanks for the US 1st Armoured Division otherwise known as the Old Ironsides.
This Division was landed at Anzio and spent several months dug in there while the US and British army groups to the South tried to crack Monte Cassino. While they tried to attack out of the beach head, they also had to repel a number of German attacks, most notably from the Herman Goring Division that was across the battle line from them.
During late May 1944, as Monte Cassino finally fell, they did lead the US break out of Anzio.
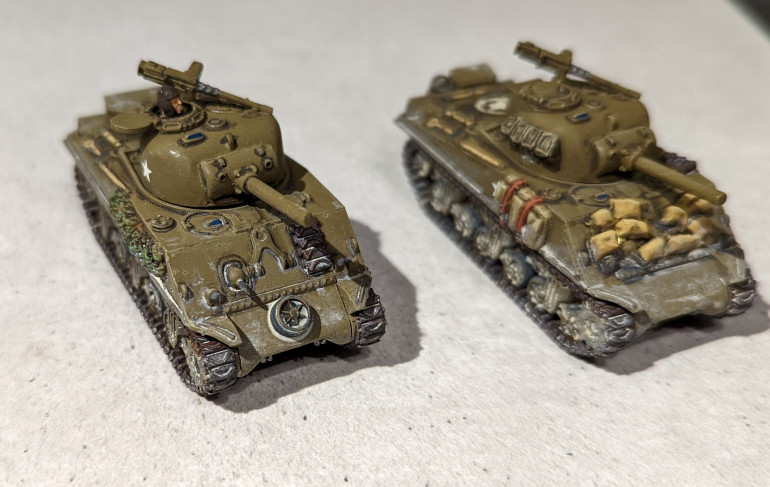
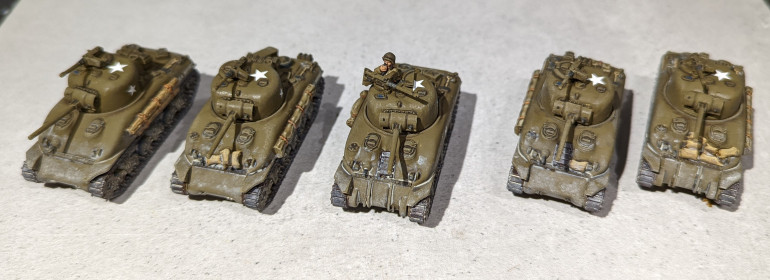
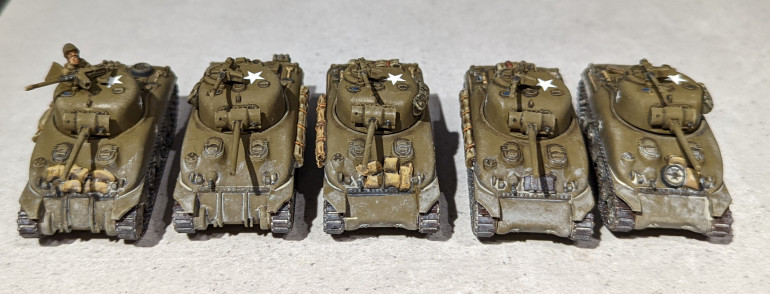
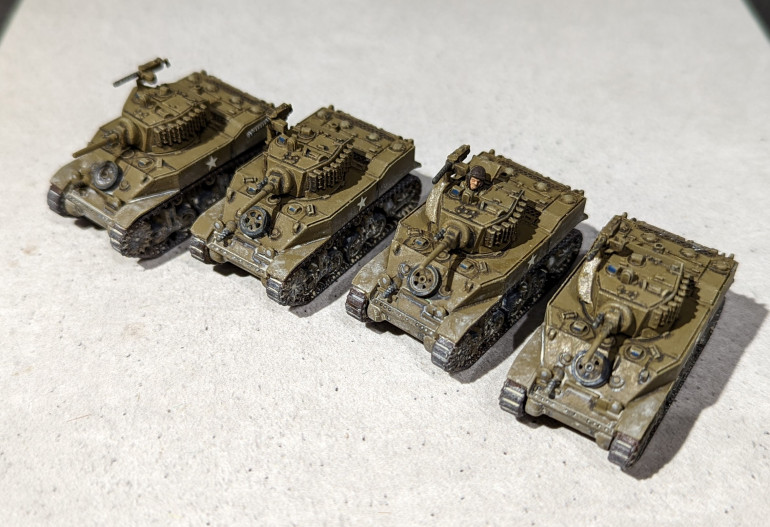
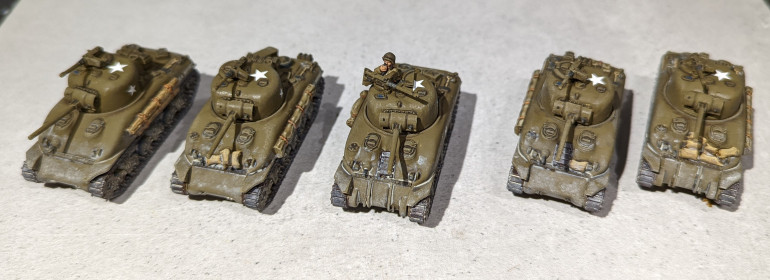
For my US tanks, I wanted to differentiate them from my British VIII army ones in painting style. My British tanks are muddied and chipped so I’ve opted for a much cleaner look for the US tanks. I’m also going for a dusty look rather than mud – not entirely historical given the heavy rains and mud during the Gothic line fighting but again, something different.
I’m also trying out some enamel paints here for the first time. Everything is base coated using usual acrylics but I’ve then applied an enamel pin wash. I liked this and it was very easy to use despite the smell. So this might become my go to method.
I’ve also used an enamel dust effect. This I found harder to use and get right and I’ve been a little heavy handed in places. I definitely need more practice here.
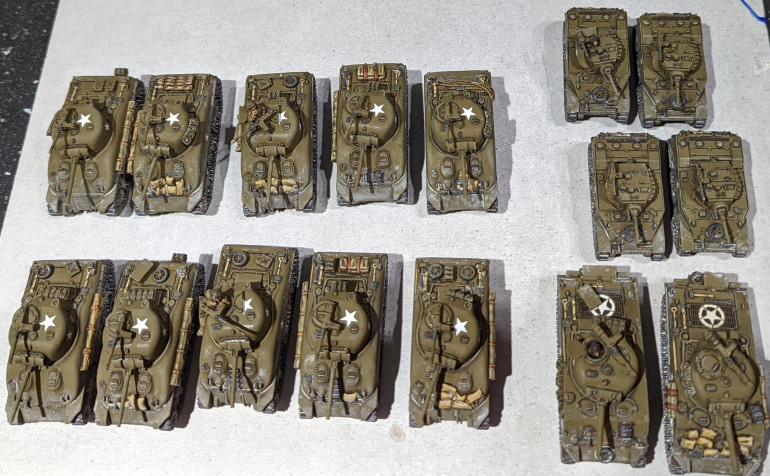
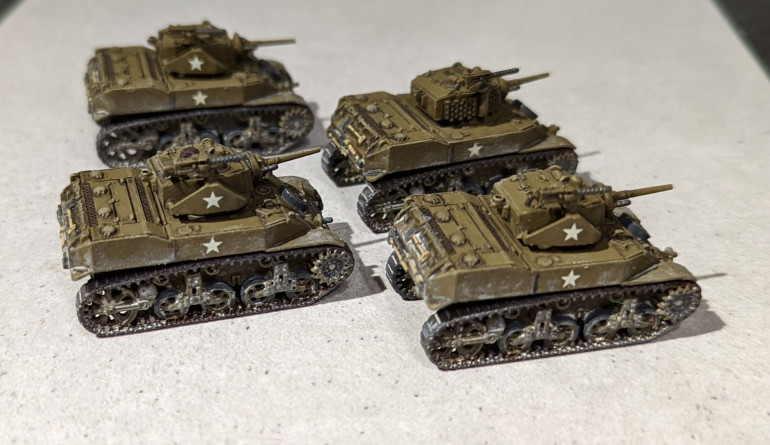
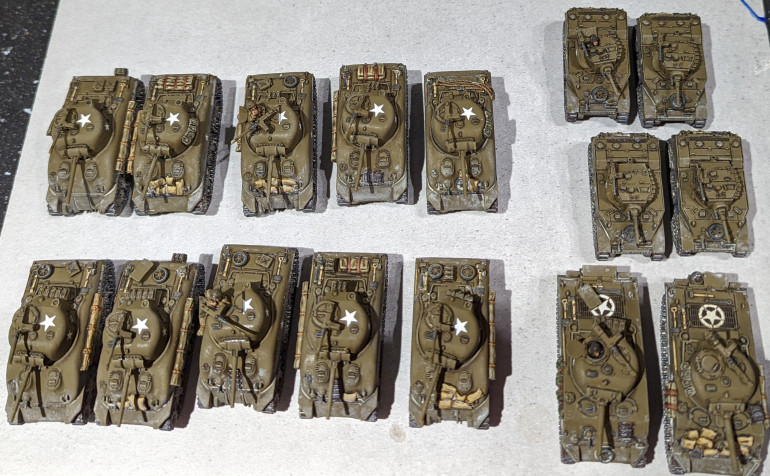
So rolling off the production line, we have,
2 M4 Sherman 105mm tanks
2 Platoons of 5 M4 Sherman 76mm tanks
1 Platoon of 4 M5 Stuart tanks
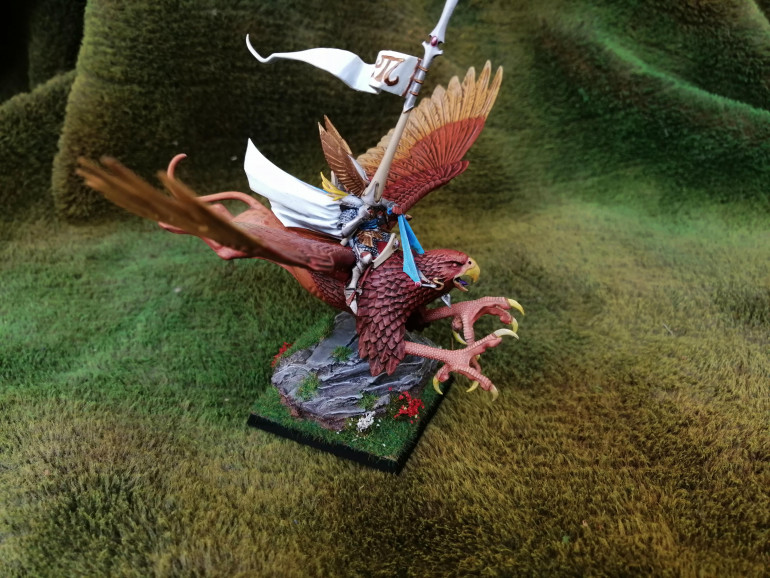
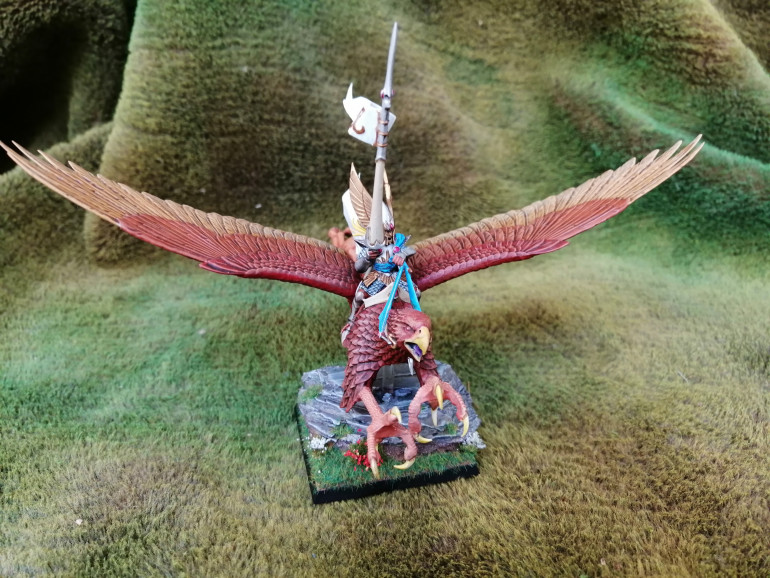
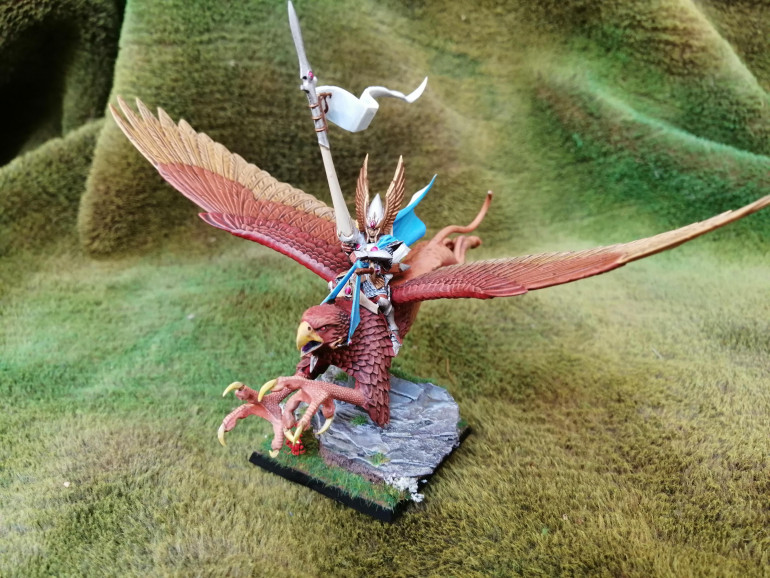
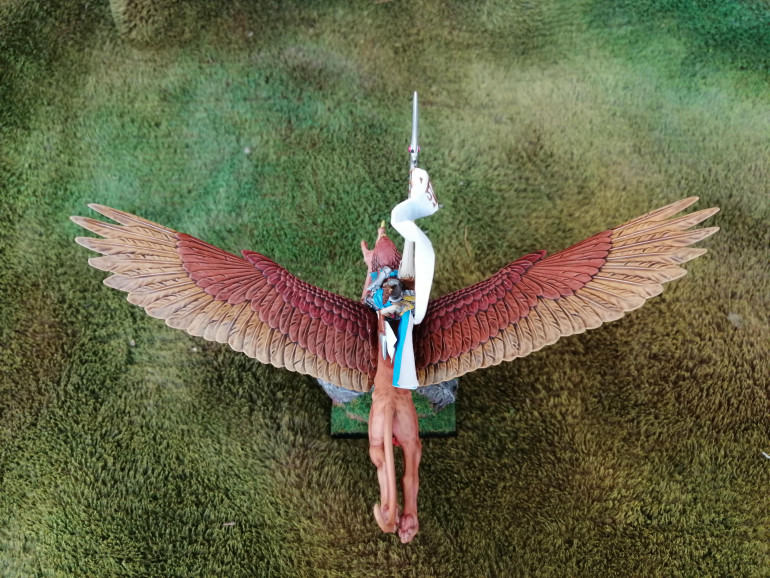
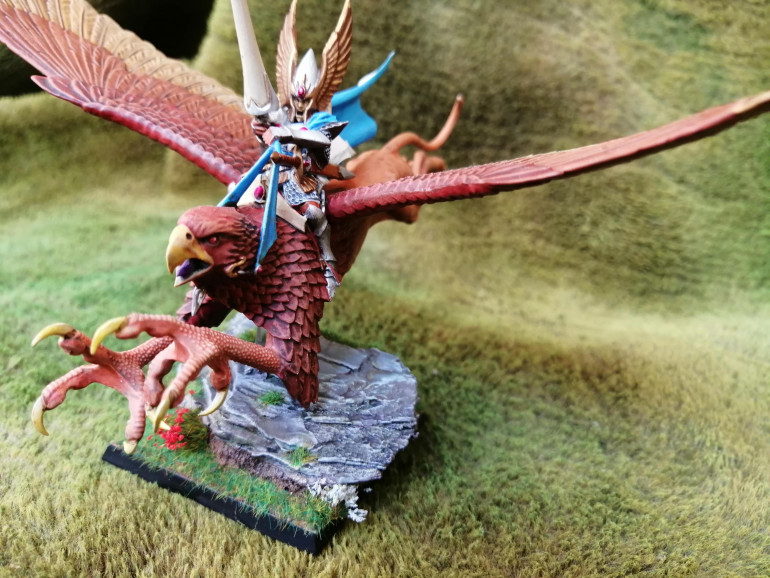
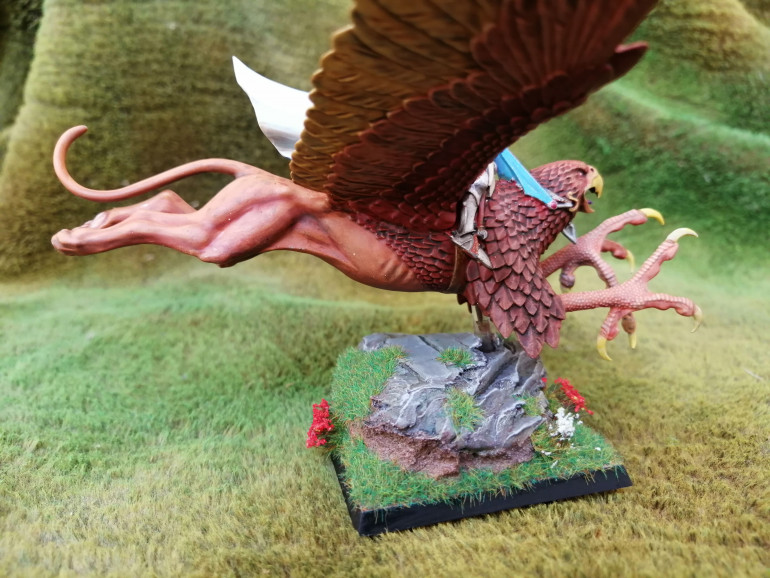
High Elf Griffon Rider
This is a model that I have had in my collection for years. I base coated them but then stopped as I found it too daunting to take it further. This is a centre piece of an army and I wanted to do it justice, but didn’t have the confidence to take it on. So it went in a box and stayed there.
But you don’t get better if you don’t try. So I gave it a crack and went to work.
Skaven Warlord
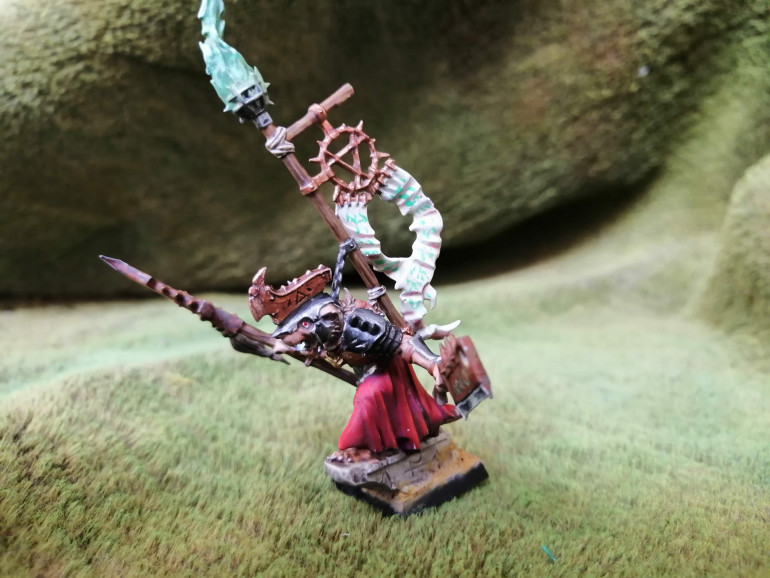
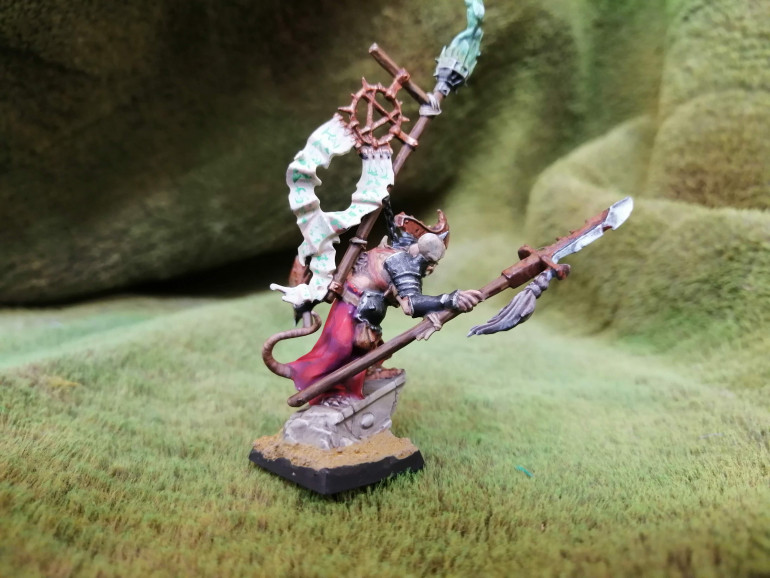
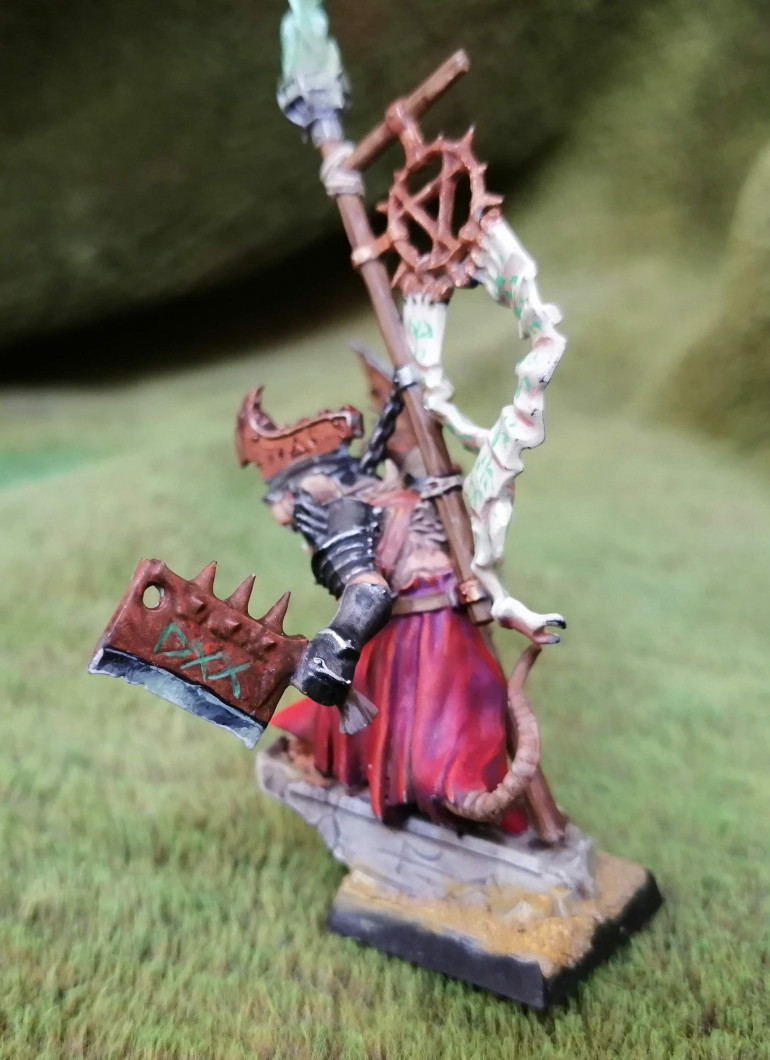
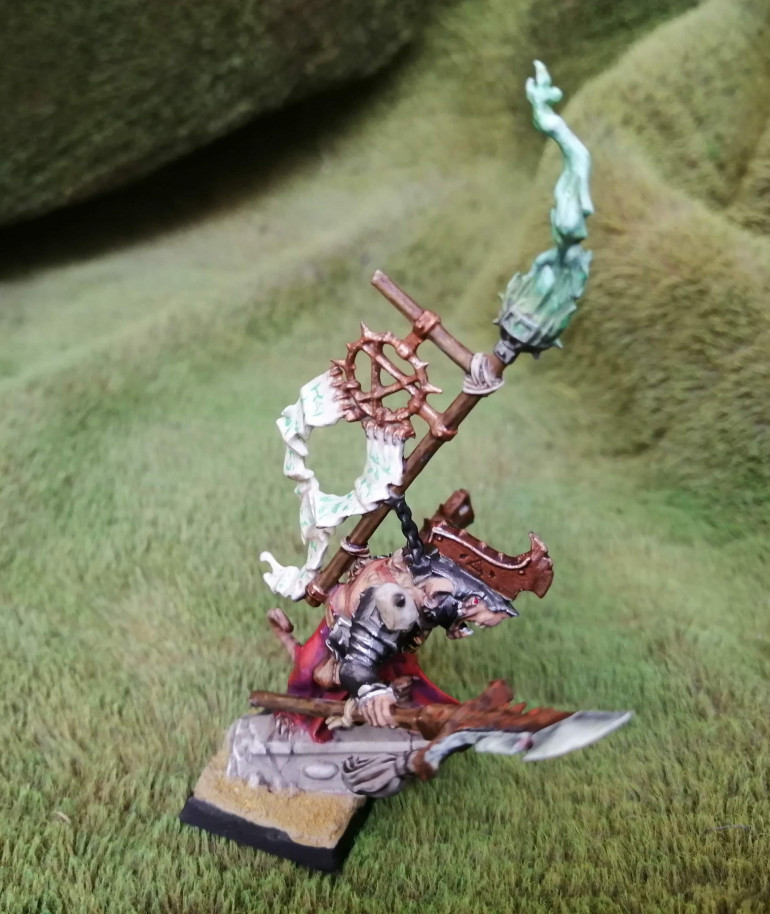
I’ve got a lot of grey plastic skaven and high elves sat in a box, a lot of it from the Warhammer starter set. I find painting whole units tiresome (although with the release of Speedpaints, I may have found a solution) but I do enjoy painting single models. One thing I have never tried before is non metallic metal, mainly because I’m not sure that I really understand the concepts of doing it and the angles that light shines from to make it look realistic.
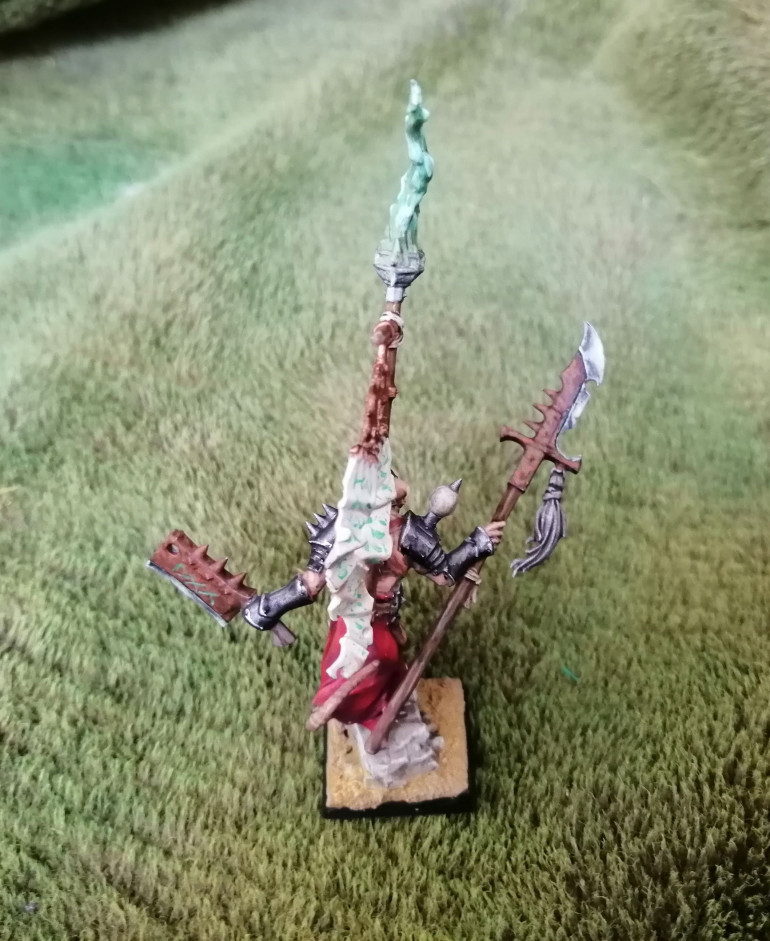
So, after consuming a few youtube videos, I gave it a crack. I selected a skaven warlord to be my trial subject and decided to try this only on the weapon blades and paint the armour in my usual way. Here’s the results.
Miniatures for RPGs
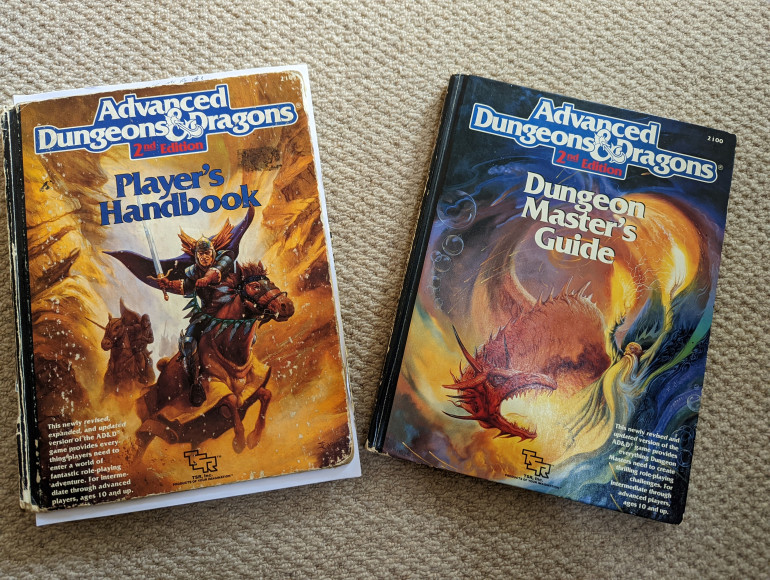
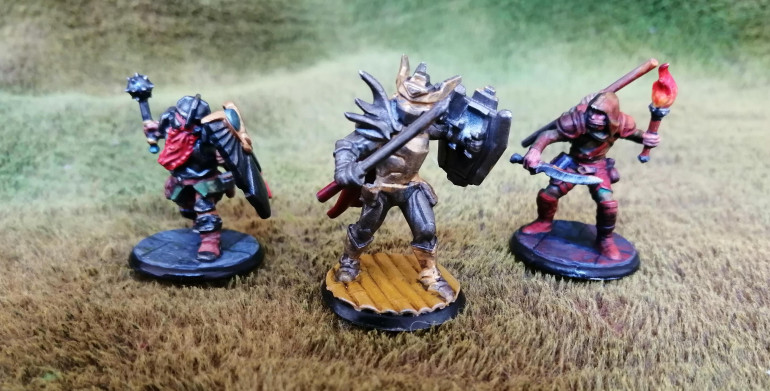
In the run up to Christmas, I though I’d introduce my 10 year old son to some RPG action. I’m old and never progressed beyond AD&D 2nd edition so I dug out my old rule books and we set about creating some characters. My son opted for a fighter, liking the idea of running around with a Katana to beat up the monsters, who duly got named Yo. I plucked a dwarf cleric who my son named Gromli and I also created an Illusionist/Thief called Veron. This small party of three covers all of the bases.
My son has never played an RPG which is great news for me, as I don’t have to think too hard about coming up with adventures and encounters. The old tropes for me are fresh for him. So, we started our adventuring life in a tavern, as that’s where all good adventures start and off we went.
Just to get to grips with the mechanics, the tavern owner had some problems with some giant rats in the cellar. We duly dispatched these before being asked by the captain of the guard to investigate some strange happenings in a local cave. This all went well and my son really seemed to be enjoying it, really getting to grips with the story and his character, Yo.
Next up, we headed for a ruined temple complex to assist a Knight who was searching for a lost holy hammer. There, we encountered a Rust Monster, which I thought would be amusing to see how my son dealt with this as his sword and armour disintegrates. After losing his sword, he said “So my katana has just turned to rust? And the monster is just eating the rust on the floor?”
“Yes, that’s right.” I replied. “What do you want to do next?”
“I’ll pull out the metal spikes that we bought in the village and throw those on the floor. Does the monster start eating those?”
The little sod worked that one out quickly! But I’ve yet to try a mimic!
My son is quite a visual learner and it quickly became apparent that having some miniatures to focus on while playing would really help his experience. I’m aware that there are some out there who, incorrectly, believe that miniatures should not be used in RPGs. But then why own miniatures if you aren’t going to use them?
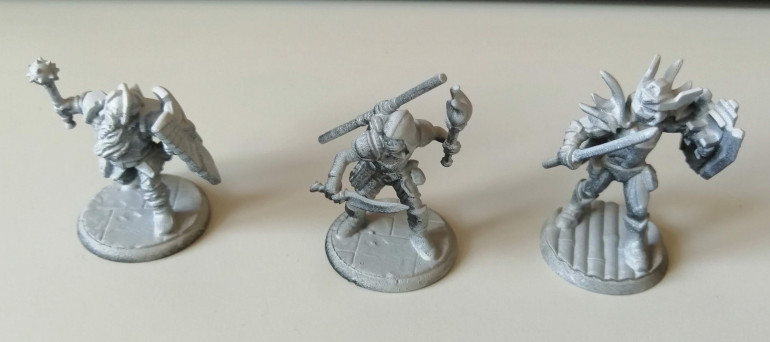
To get what we wanted, we hopped over to Hero Forge and got to work. Here’s the models of Gromli, Veron and Yo.
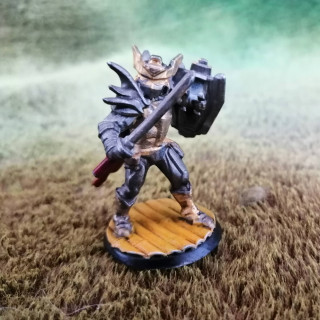
I got my son to work on painting Yo. It’s the first miniature that he has painted fully.
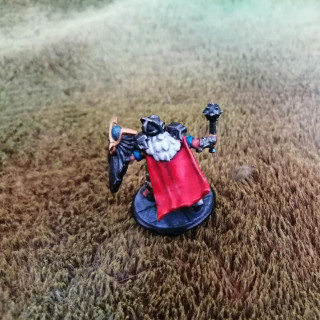
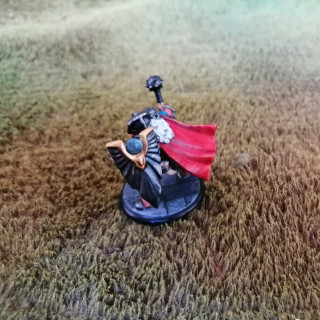
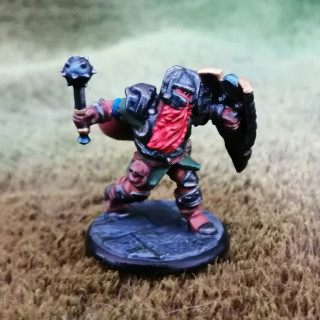
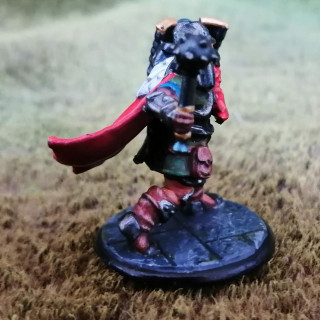
Gromli got a standard paint job, at least for a dwarf cleric.
I thought I would try some OSL for Veron. I’ve never tried this before but I’ve always wanted to. For this attempt, I painted the model in its base colours first, then shaded and highlighted as you would do for any model without OSL.
To create the shadows, I then glazed a midnight blue over the areas that I thought would not be getting light from the torch. After each glaze dried, I added another glaze but slowly reducing the area to the most shadowed parts.
I took the opposite approach for the areas that would receive light from the torch, using a yellow/orange glaze and gradually building this up. I think I may have slightly over done this but overall, I think it looks OK.
And here’s the three merry adventurers together.
Some More Germans
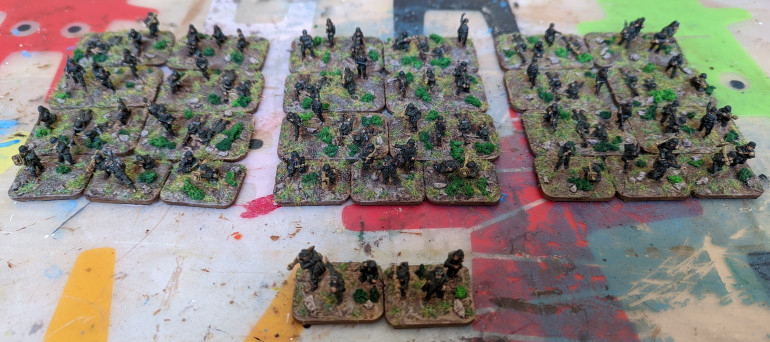
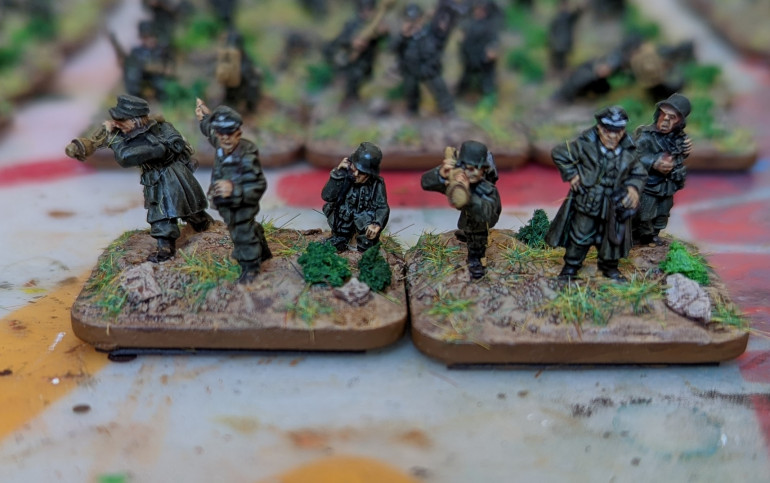
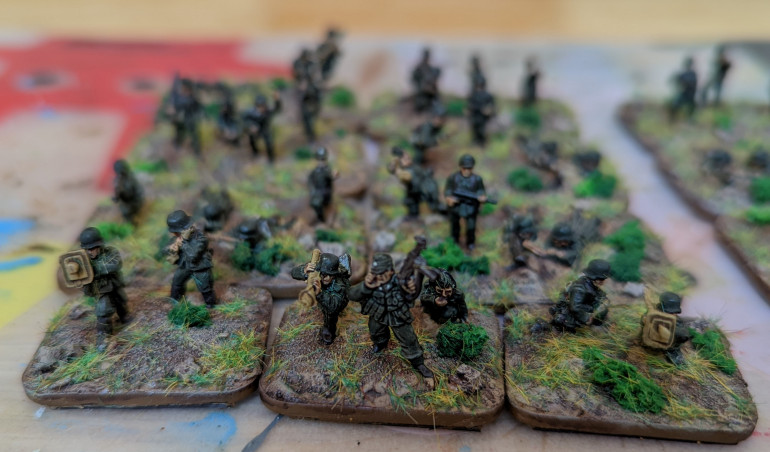
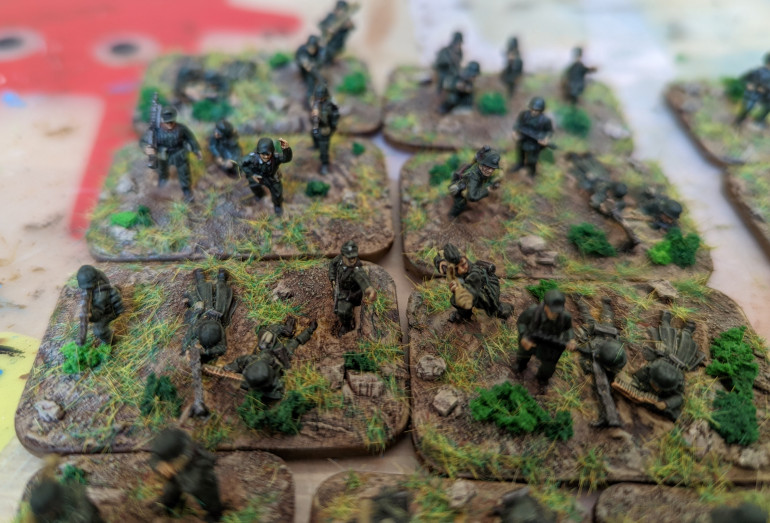
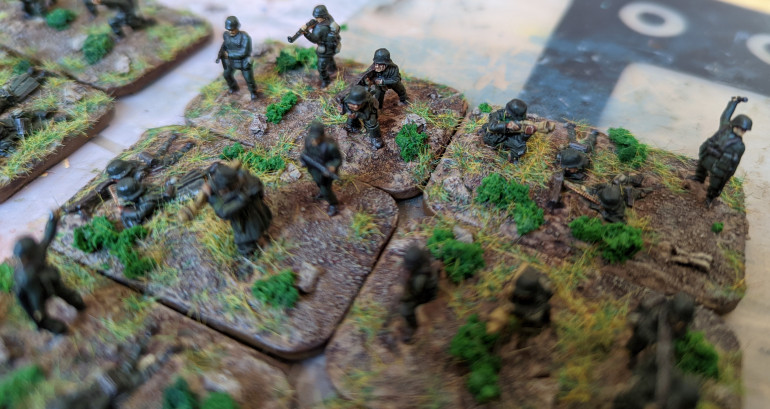
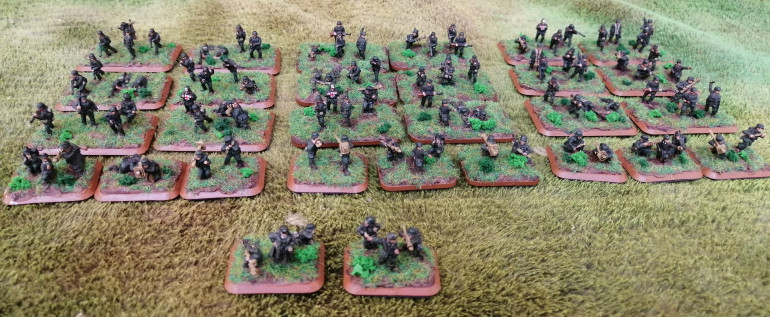
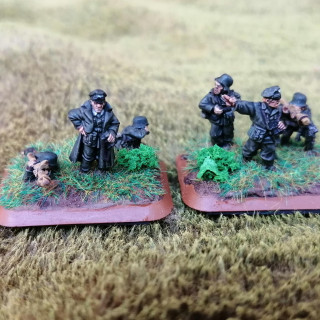
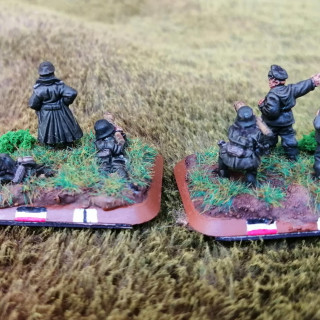
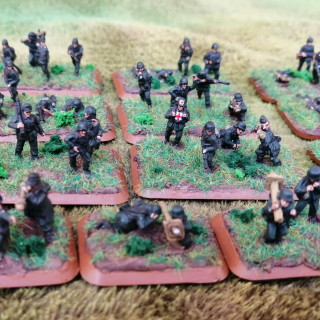
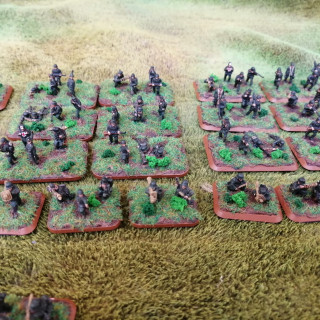
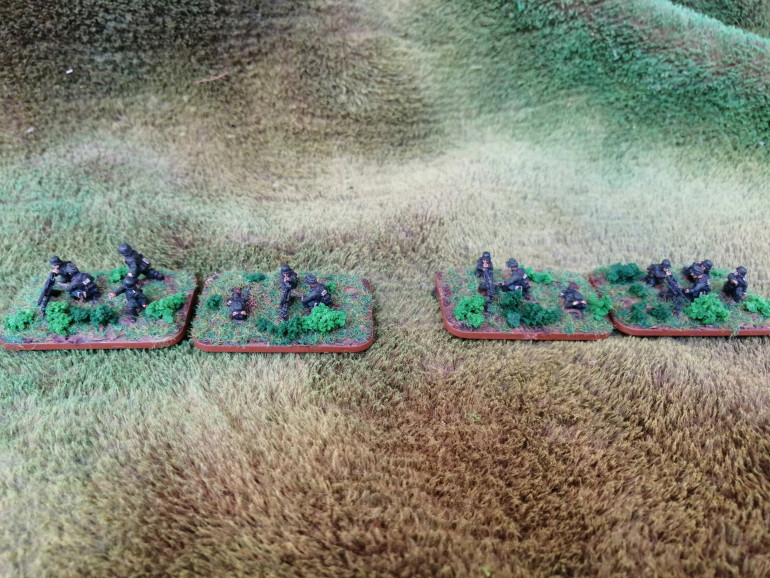
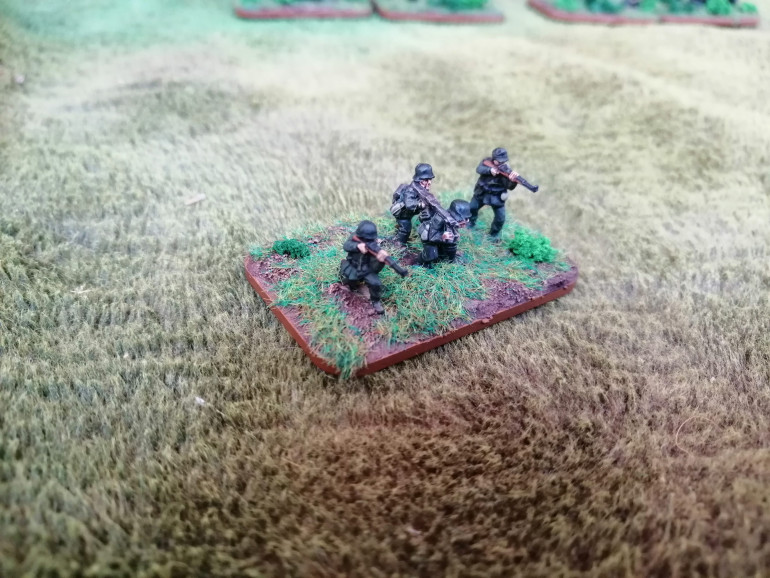
Finally managed to get around to finishing my 3 platoons of German PanzerGrenadiers. This lot are different to the previous 3 platoons of Grenadiers in that every team has an MG! More fire power! Have to admit that production line painting this many figures got a little tiresome towards the end but they are done now.
Like the last lost, I have a mix of plastic figures and metal PanzerSchrecks, Panzerfausts and MG teams. Gives a good blend. Unlike the last lot, I’ve based these with a more arid look. This is in line with the rest of my German force which is based around the forces deployed at Monte Cassino and Northern Italy.
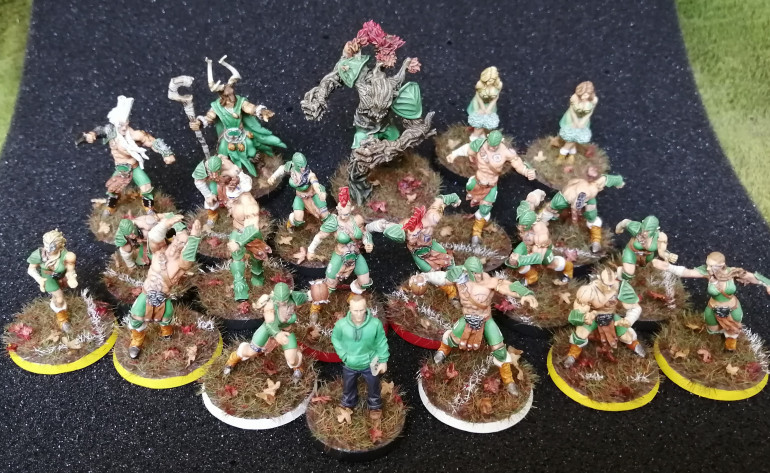
Rounding out the Wood Elf team
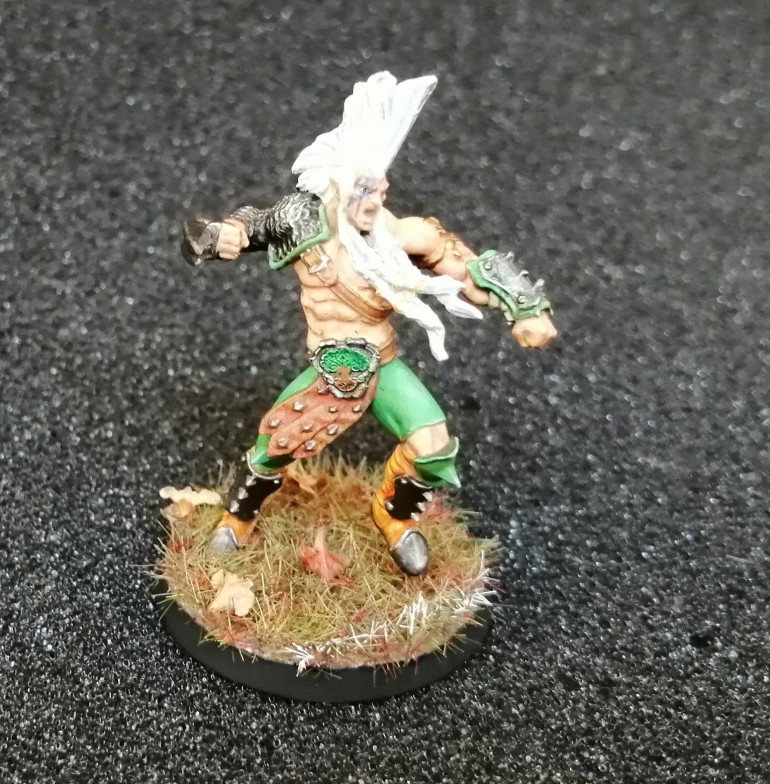
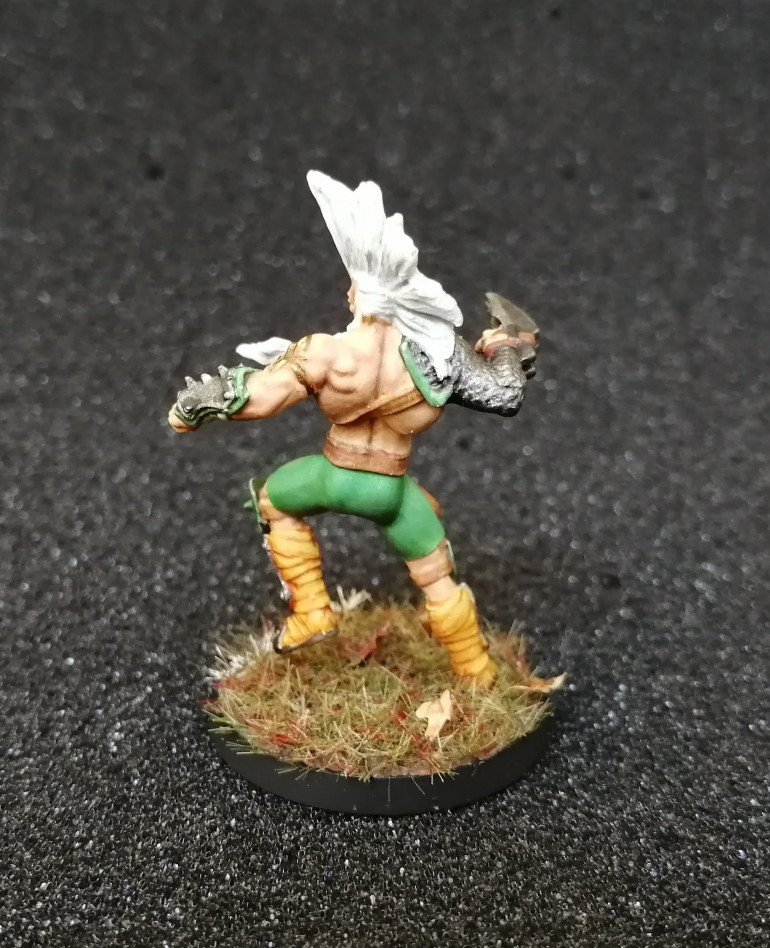
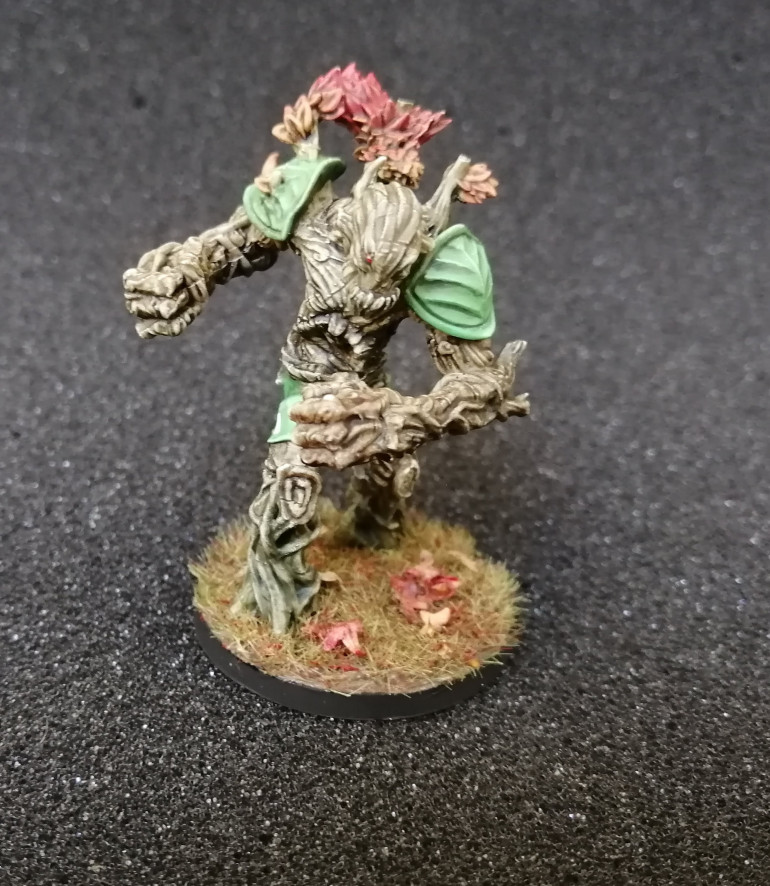
I also painted up a star player, in case my offensive line needs a helping hand.
And here’s the whole team, with the coaching staff, lining up for the pre-season calendar shoot.
Yet More Blood Bowl
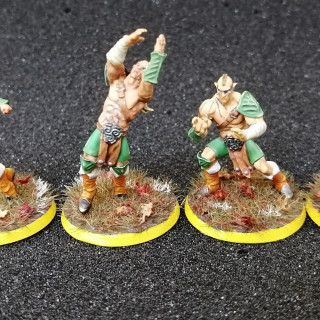
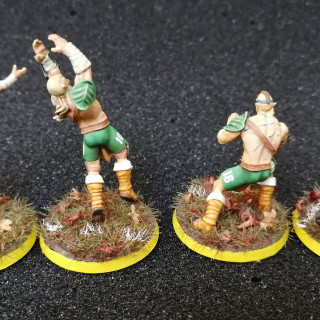
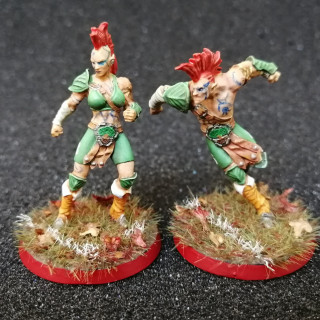
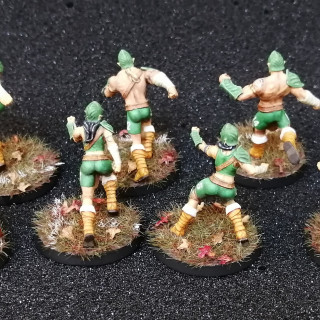
Got yet more Wood Elf Figures finished up
The wide receivers
Wardancers
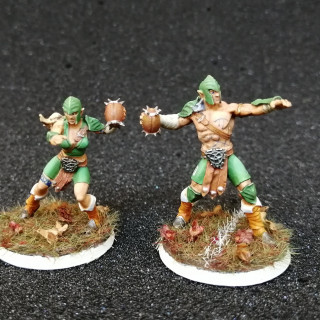
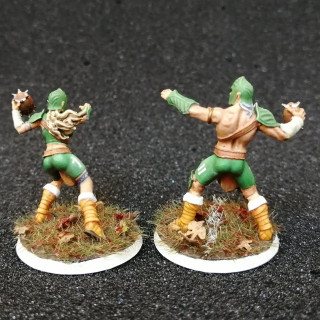
Throwers
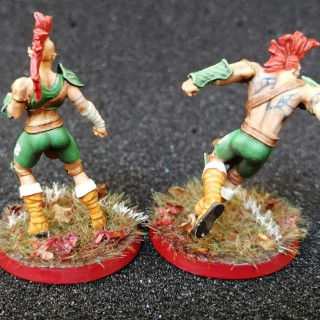
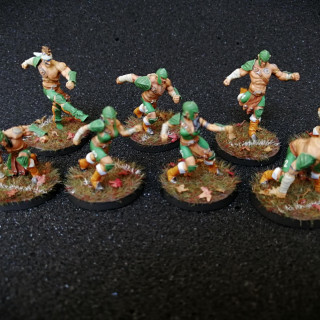
The linemen and women
On a Blood Bowl Roll
With a completed Ork team, I now need someone for them to play against. I backed the Willy Miniatures’ Kickstarter for a wood elf team some time ago and started to paint them up, then got distracted. So time to finish these off.
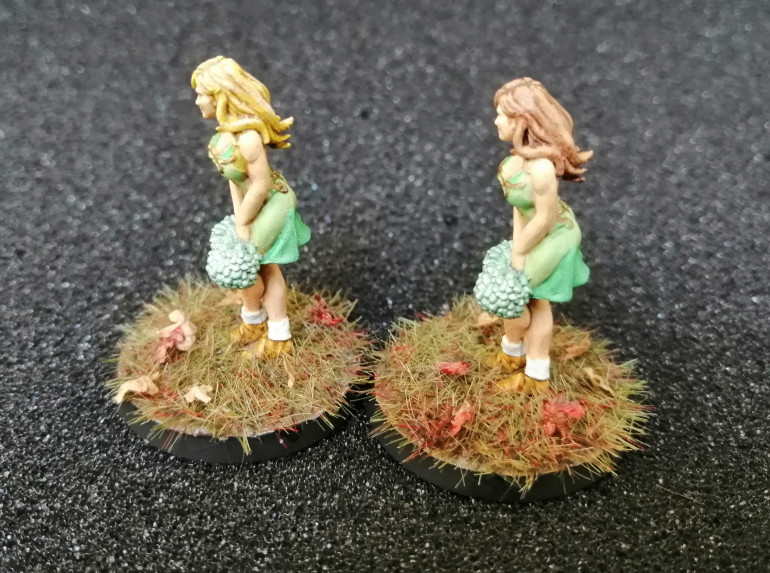
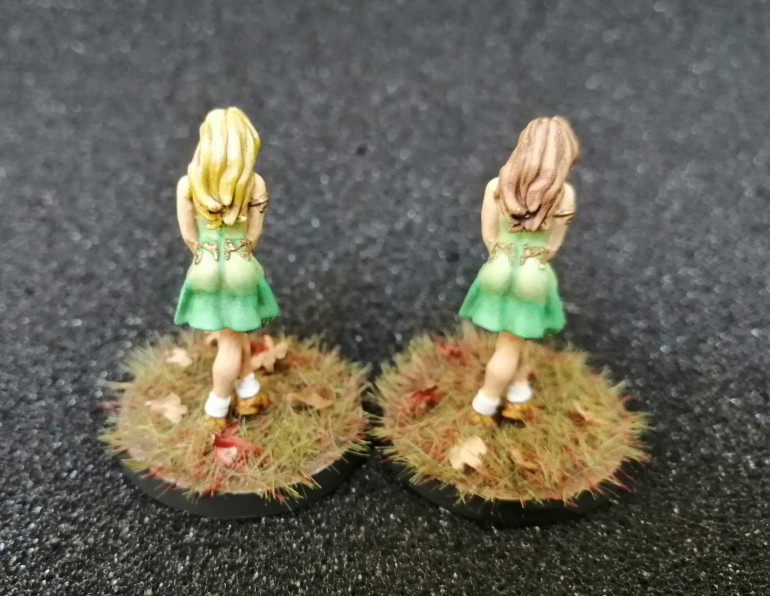
I cracked on with the back room staff first. And yes, I realise that green isn’t the most original colour for a wood elf team but as I’m the one that will be looking at them, I went for something that I wanted to see on the pitch!
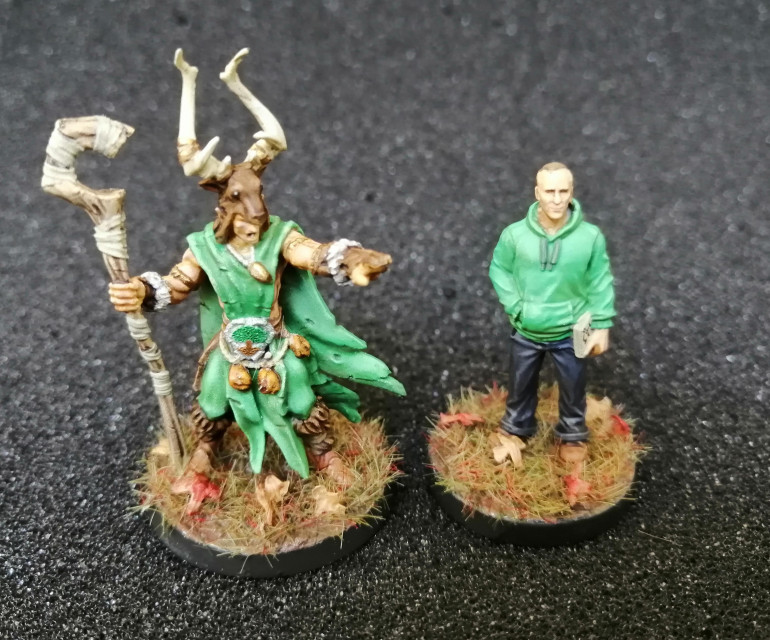
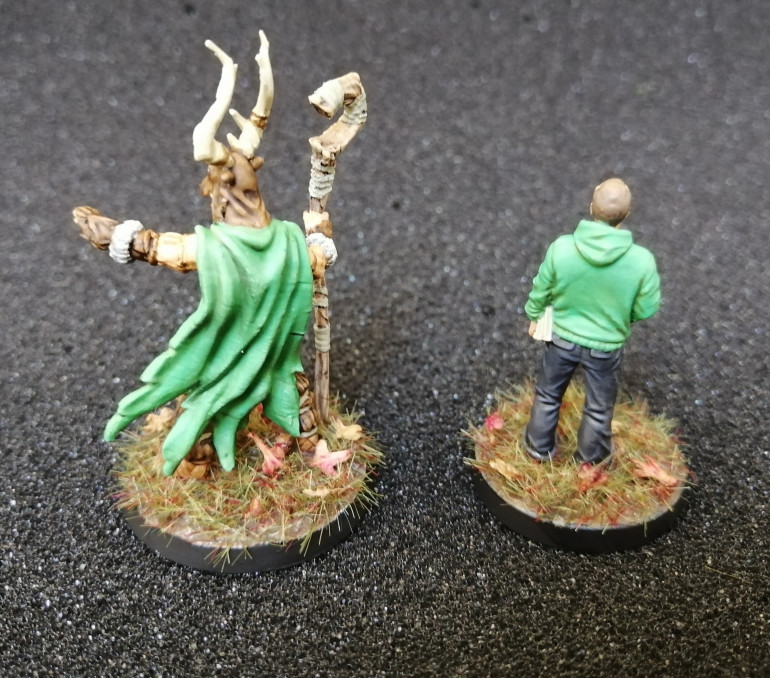
Here’s my Mel miniature from his kick starter, repurposed as my team manager alongside the team apothecary (for we all know that wood elf teams are fragile!)
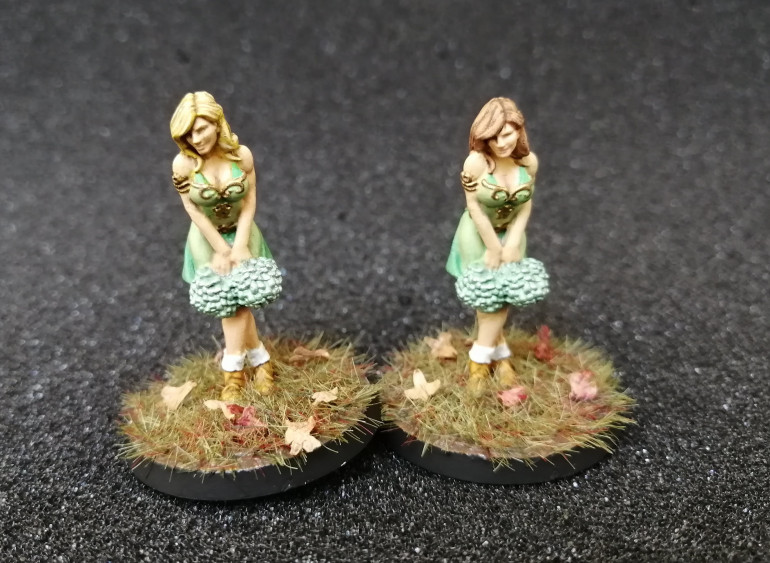
I saw a tutorial on YouTube on how to paint transparent (or translucent) clothing, which I thought would be a good challenge for the cheerleaders. So here’s my first attempt at ‘see through’ clothing.
More Blood Bowl
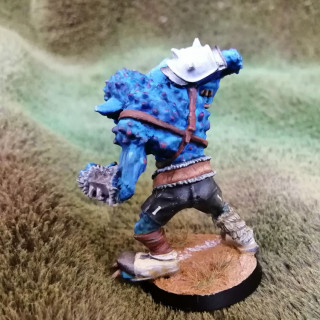
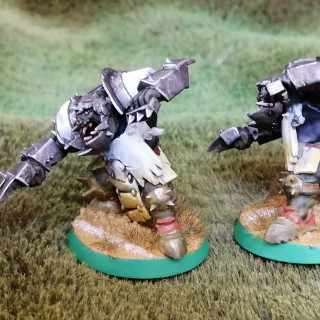
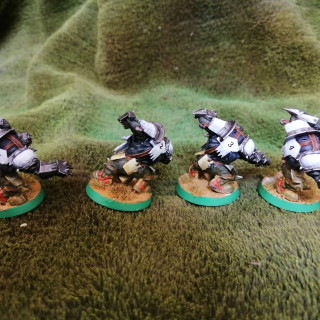
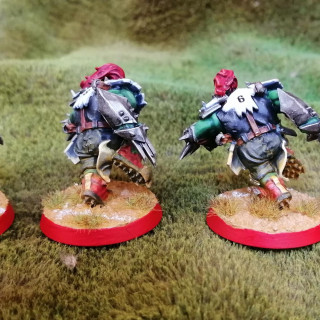
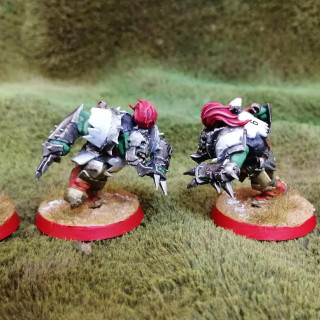
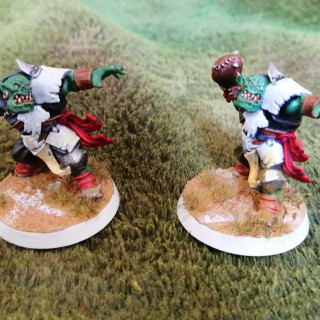
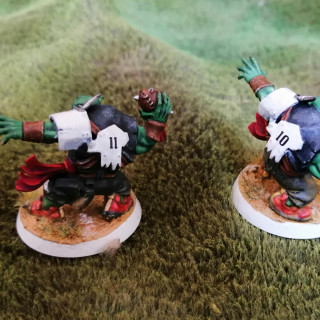
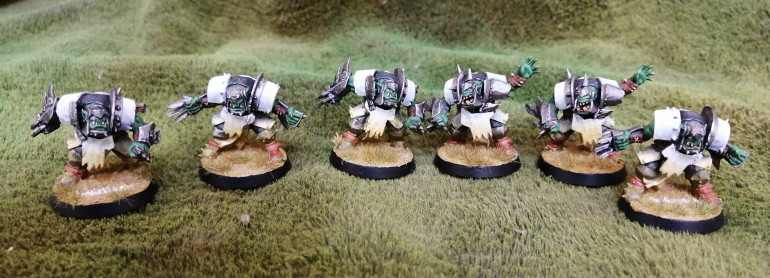
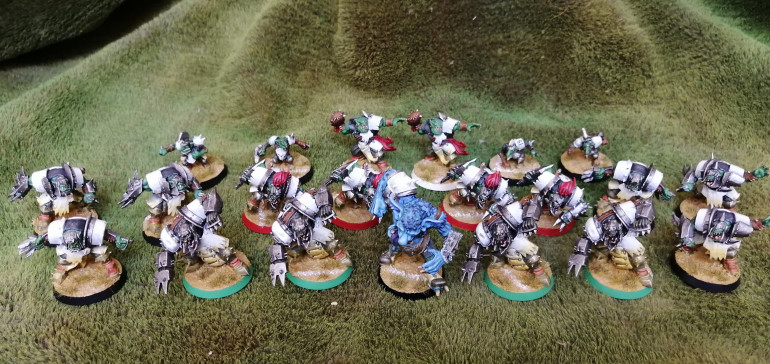
Having finished the BB counters, I thought it high time to return to my part painted BB Ork team and actually finish them. I’ve always liked the Raiders as my gridiron team so went for a similar colour scheme with black, white and silver. Here’s my starting line up with,
The bigfella
The black orc heavy hitters
The blitzers
Throwers
Lineman
and the cannon fodder
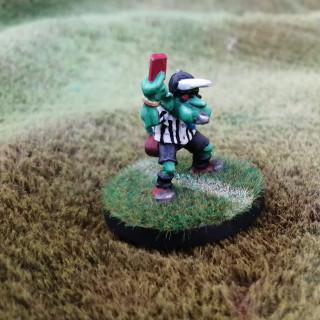
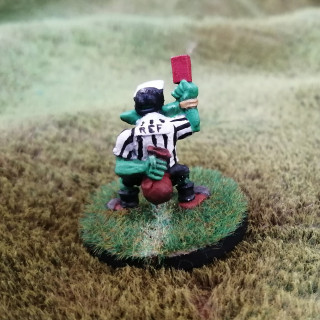
I also painted up a ref as well, just so I have someone to blame when I lose.
Blood Bowl Counters
I’ve spent quite a few hours with the Panzer Grenadiers painting german field grey, german camo, dark green, black-brown and many other drab colours. All very correct for late war German Heer uniforms, but drab none the less.
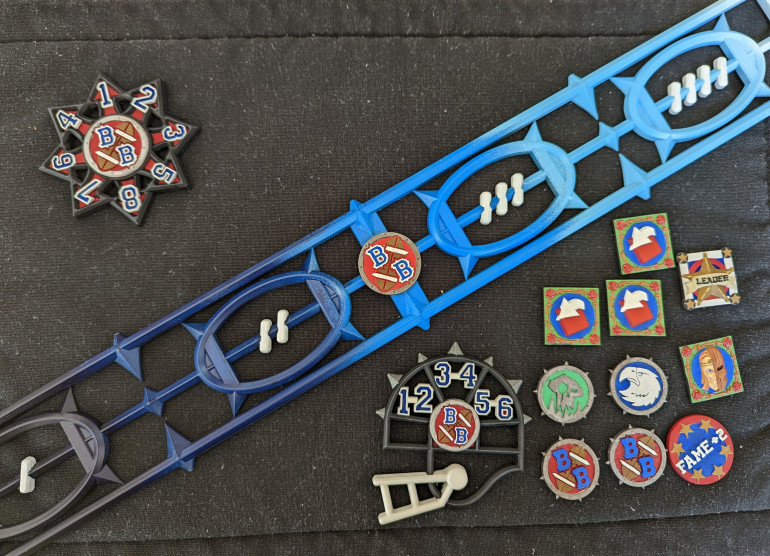
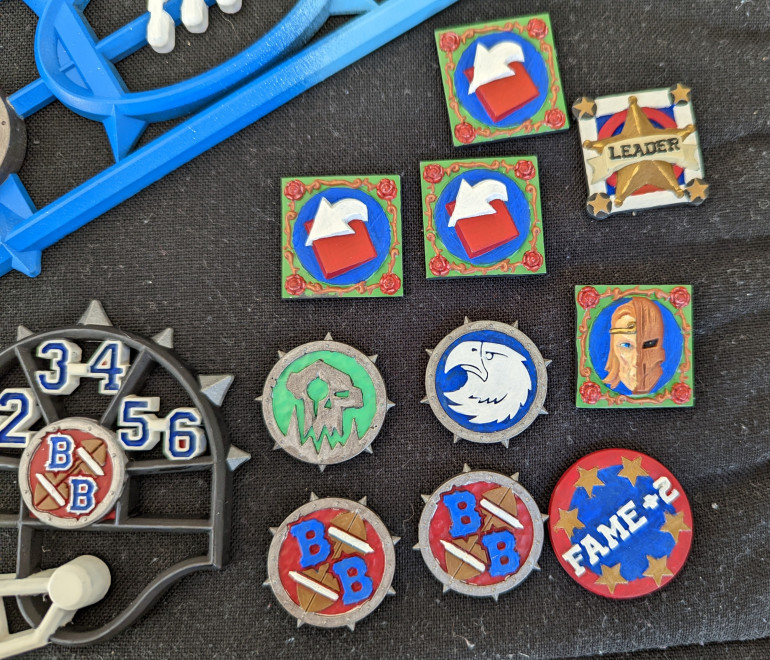
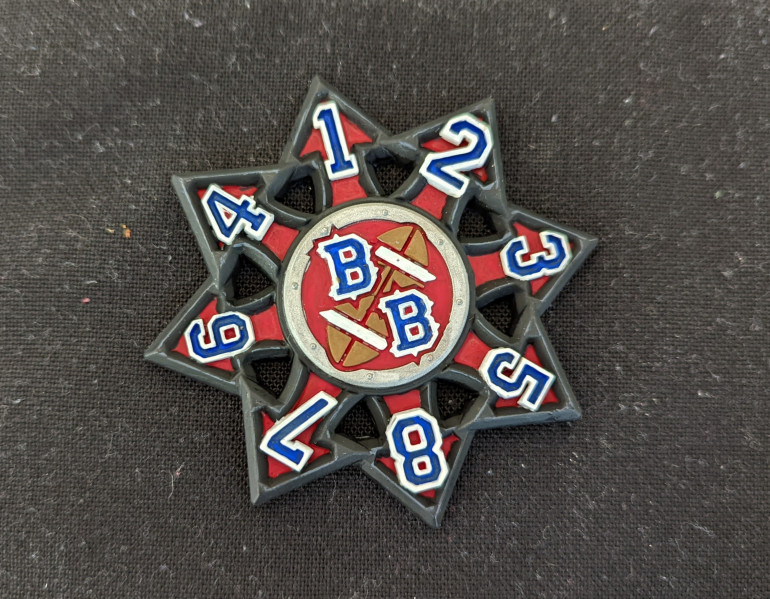
Time for a quick palate cleanser. I’ve had my Blood Bowl set knocking around for some time and I’ve mostly painted the miniatures but not bothered with the counters. Time to rectify this! These were painted quickly and didn’t require a lot of shading and highlighting. And the lovely blues and reds certainly made a difference during the painting session!
So nothing technical, amazing or clever, just a bit less grey plastic in my pile of shame.
Panzergrenadiers
Just finished these fellas.
With the changes to Flames of War in 4th edition, items like panzerfausts and panzerschrecks have different basing and numbers. My old panzergrenadiers weren’t quite WYSIWYG. While I’m sure that most players wouldn’t care, I decided it was time to upgrade my Panzergrenadier company. This particular company is made up of Rifle/MG platoons. I’m working on a separate company that’s made up of MG teams.
Most of the models are a mixture of the plastic Battlefront or PSC models but to get a good mix of the panzerfausts and panzerschrecks, I went to Skytrex and picked up some of the metal miniatures they do. While I was there I also picked up some of their MG teams to give some more variation.
This lot will join my 26th Panzer Division in their defence of Italy.
A couple of dwarves
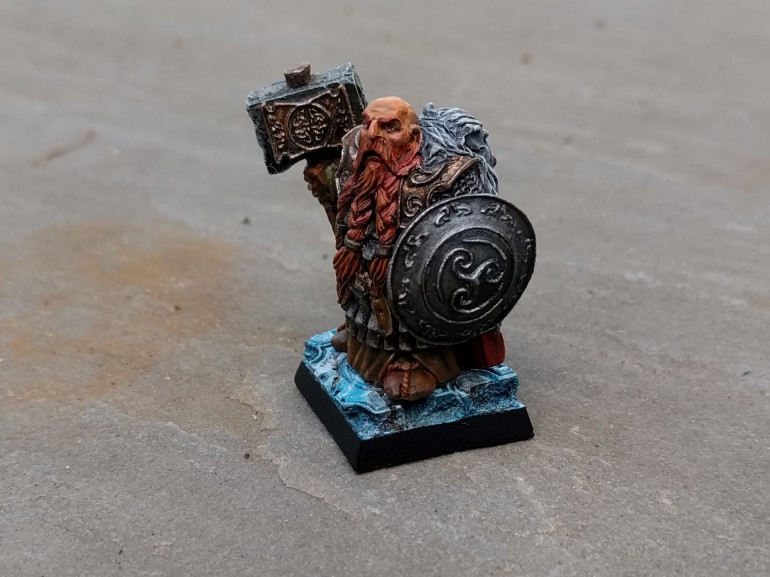
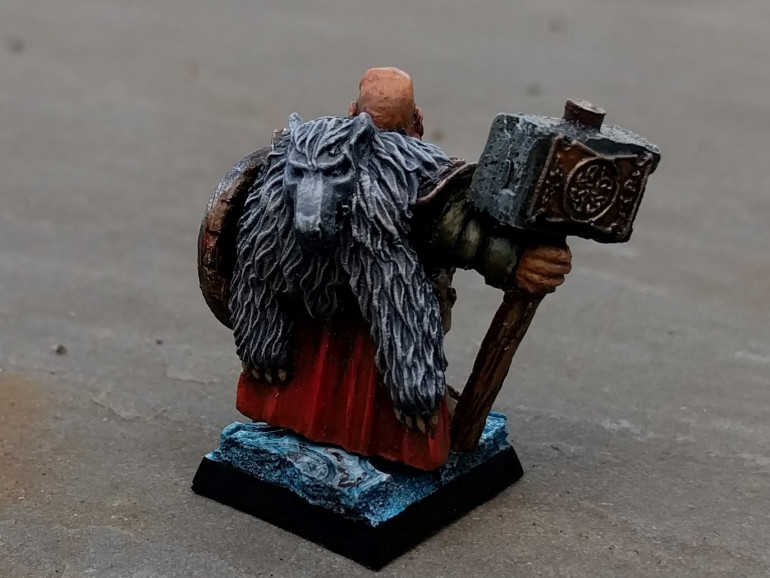
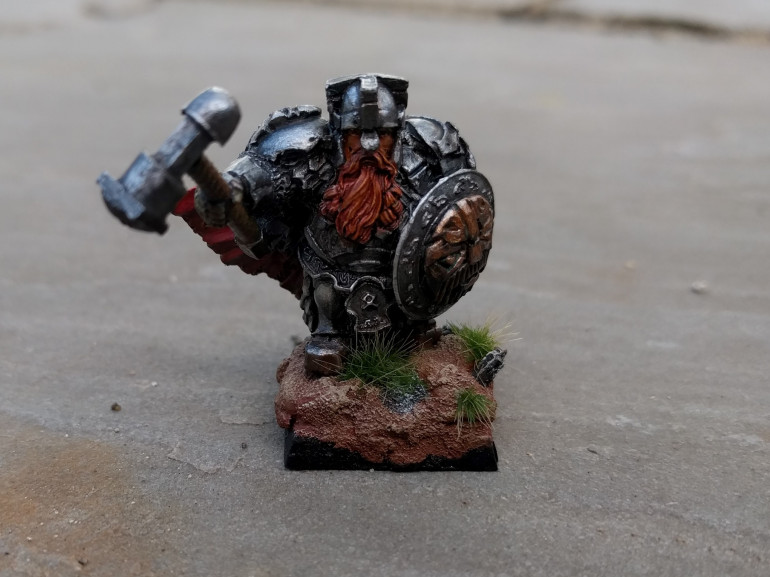
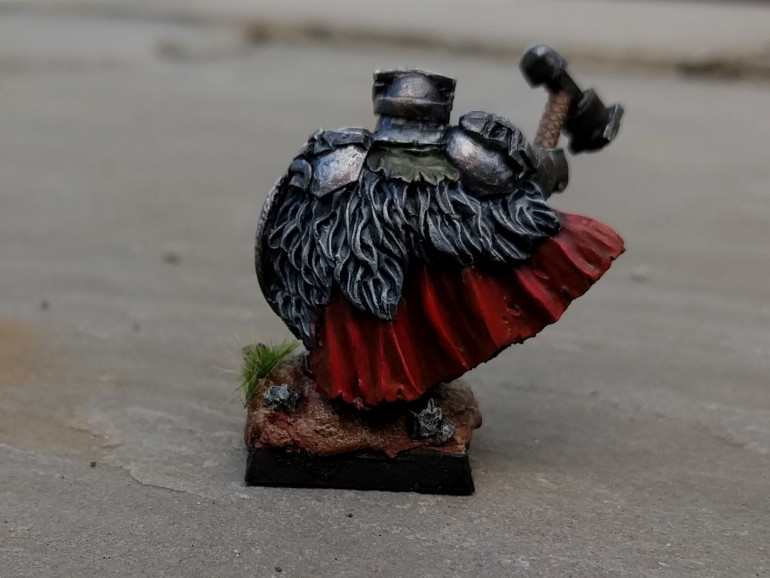
Here’s a couple of stout, bearded folk that I painted up as characters for use in (correctly, I might add) a role playing game. What’s the point of collecting miniatures if you aren’t going to to use them in games? And RPGs are games after all!


