Making my first diorama
Recommendations: 189
About the Project
I've never made a Diorama, I thought that I would give it a go.
Related Game: Rangers Of Shadow Deep
Related Company: Fenris Games
Related Genre: Fantasy
This Project is Active
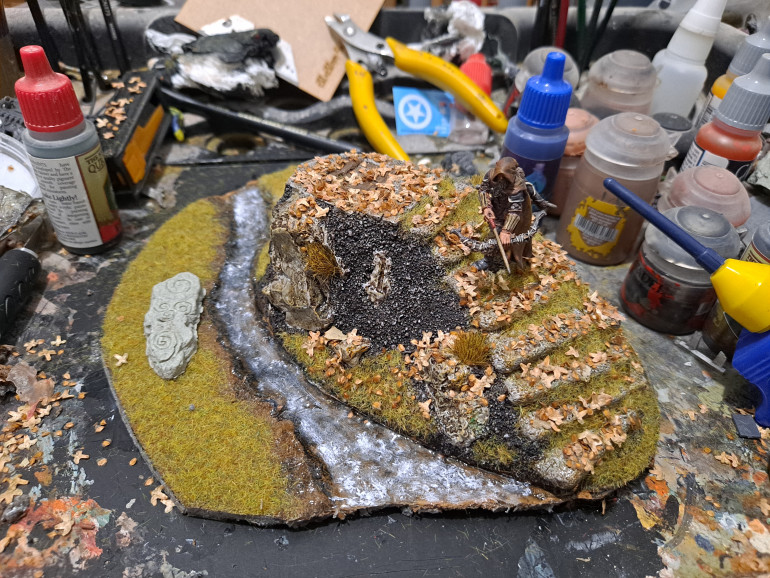
Finishing touches
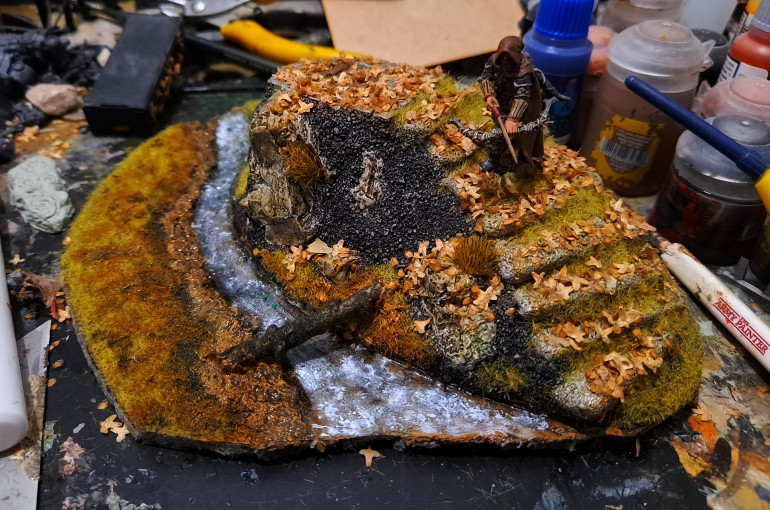
Next I added so grass to the forest floor.
This was just some basic battlefield Dead grass glued on with some PVA.
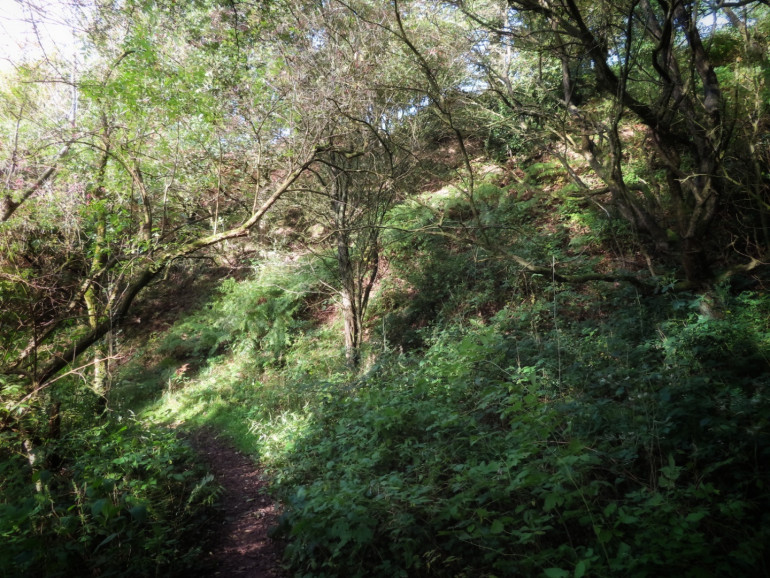
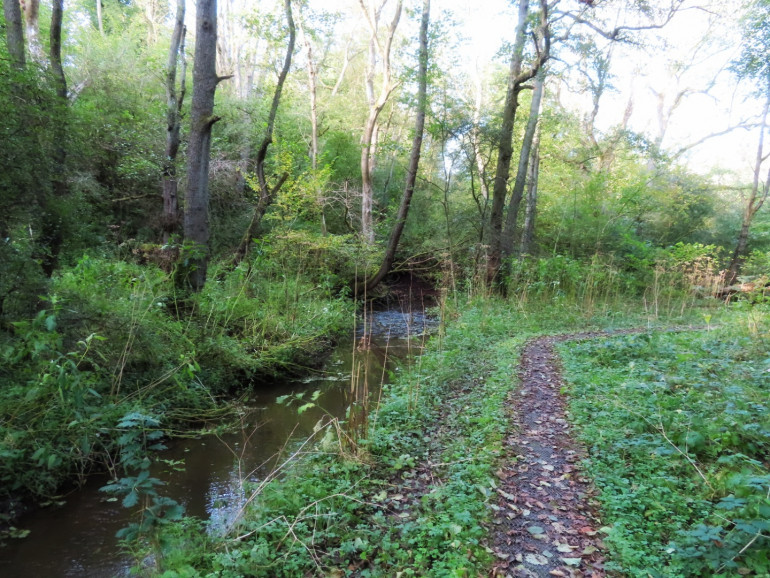
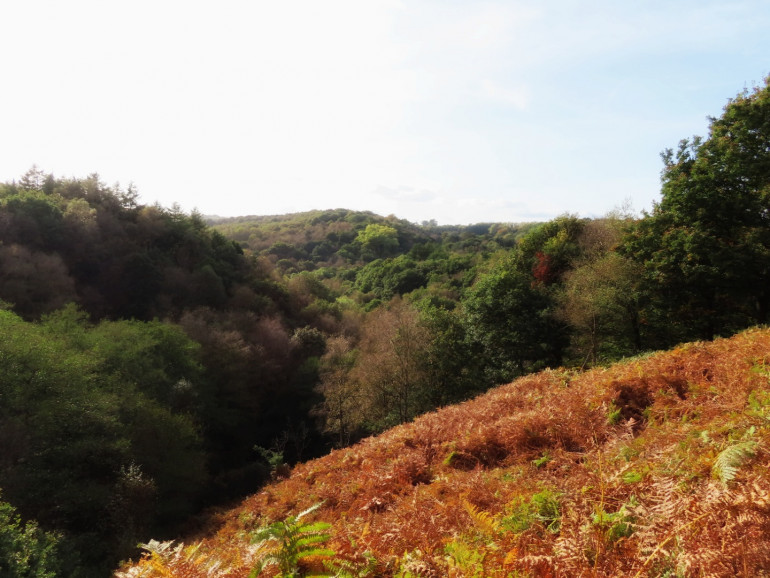
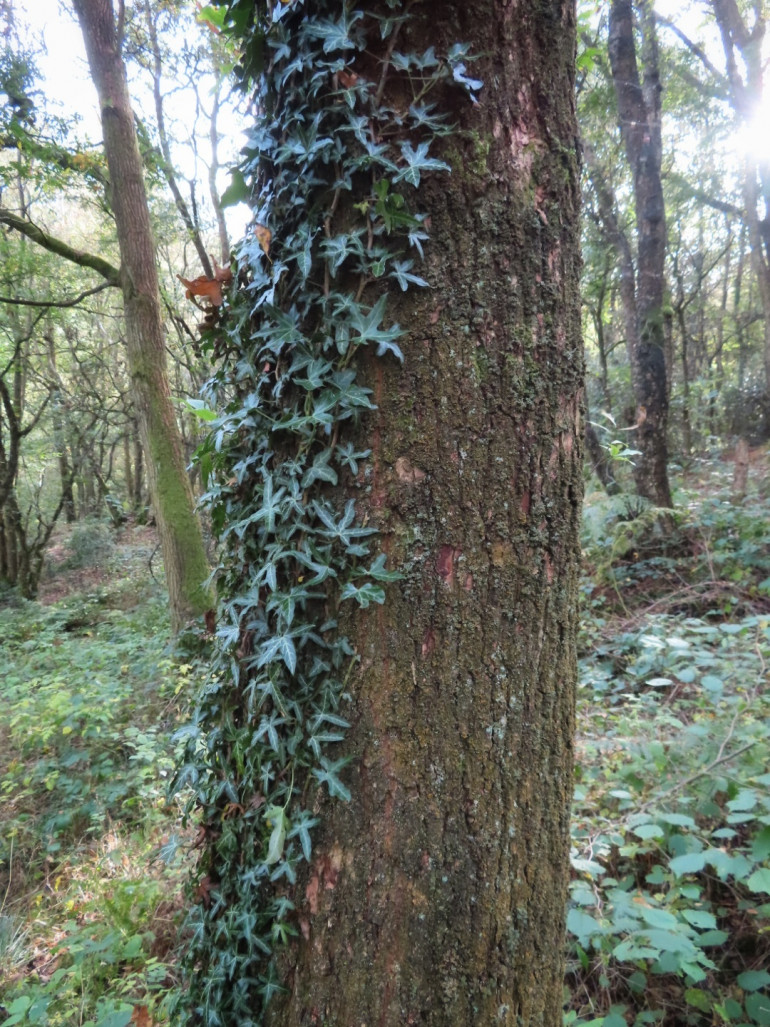
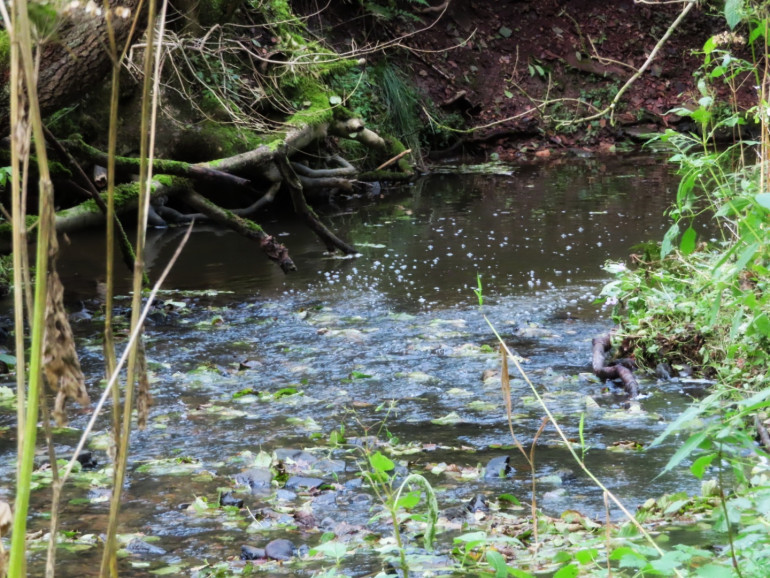
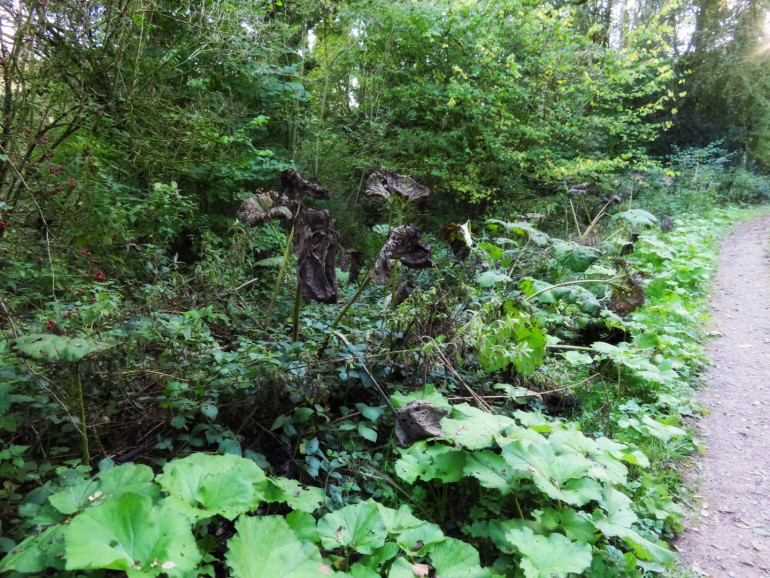
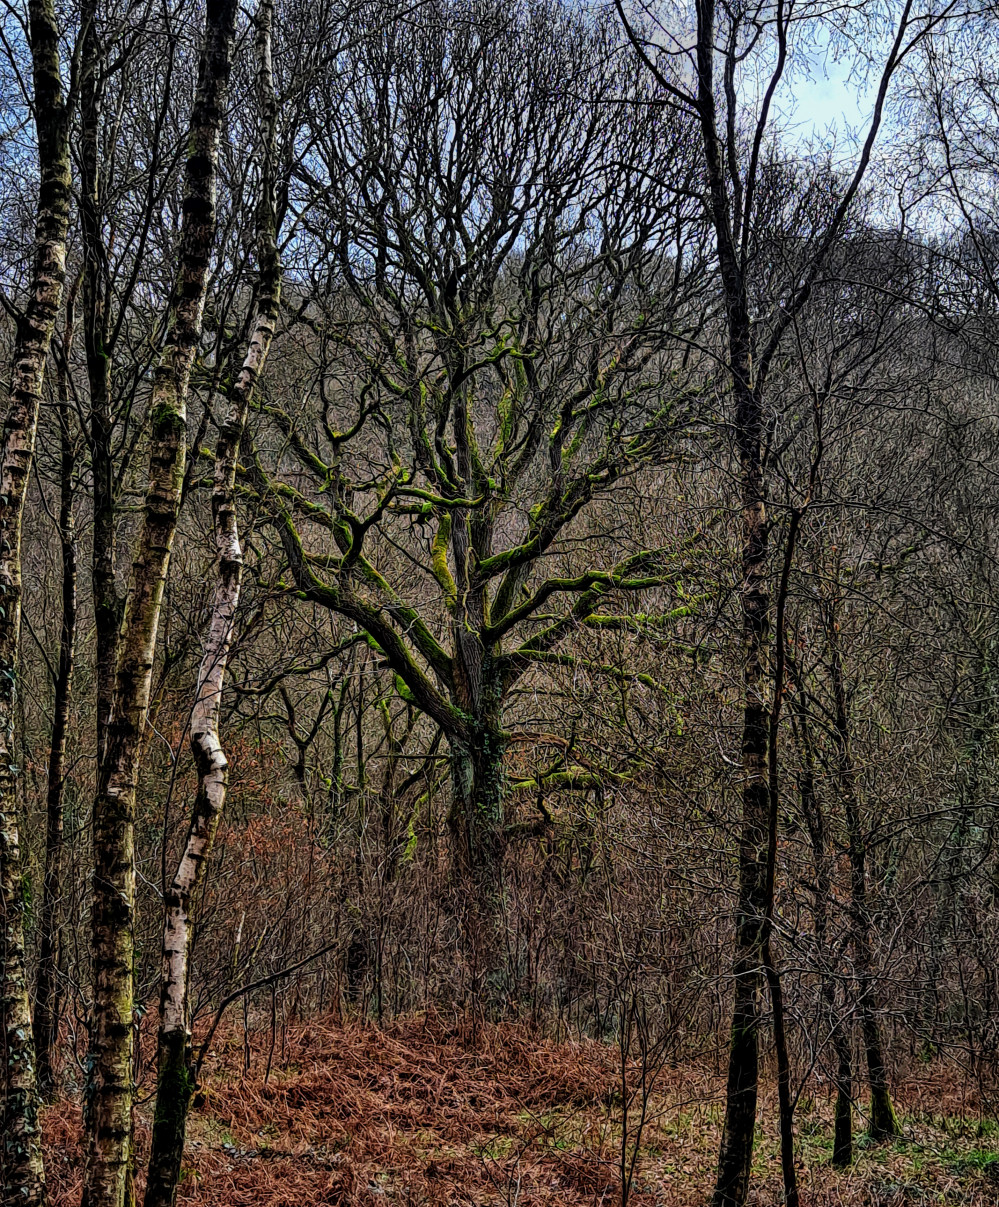
Then I referred to a few of my Autumn reference pictures.
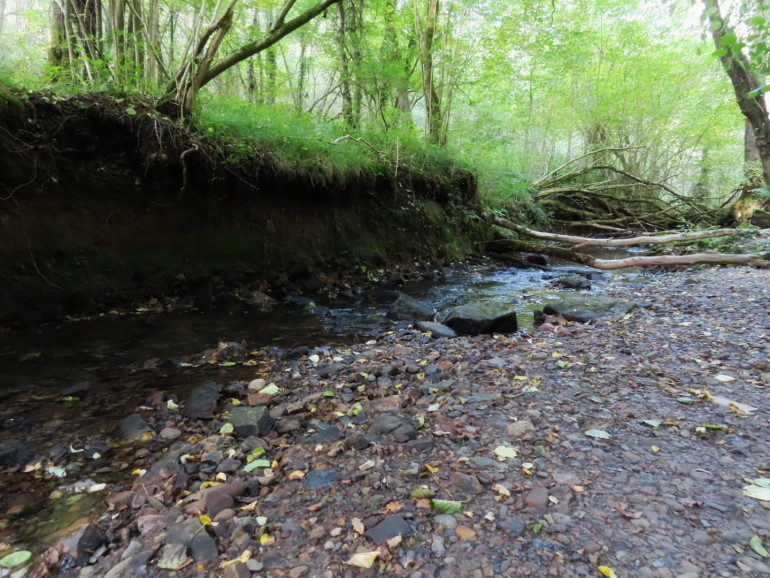
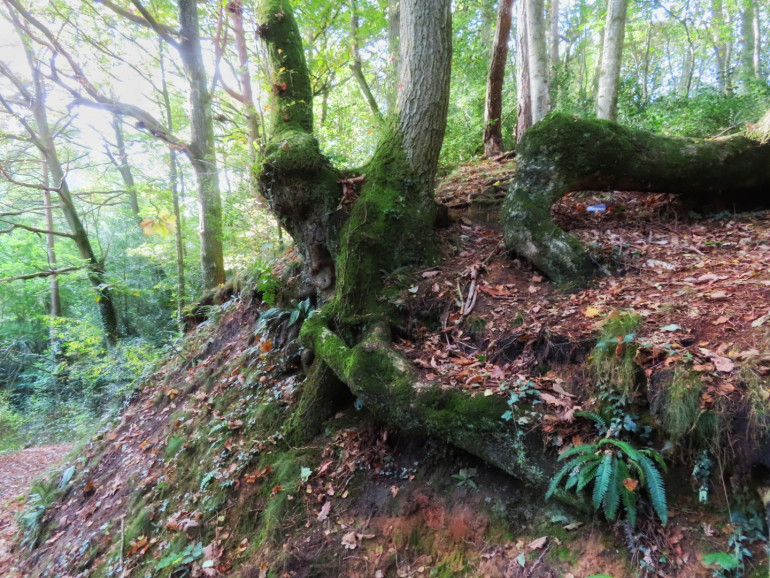
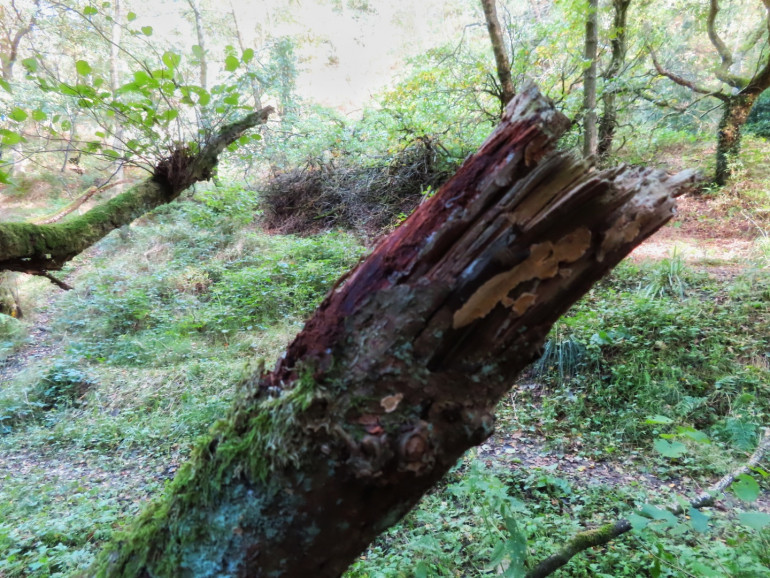
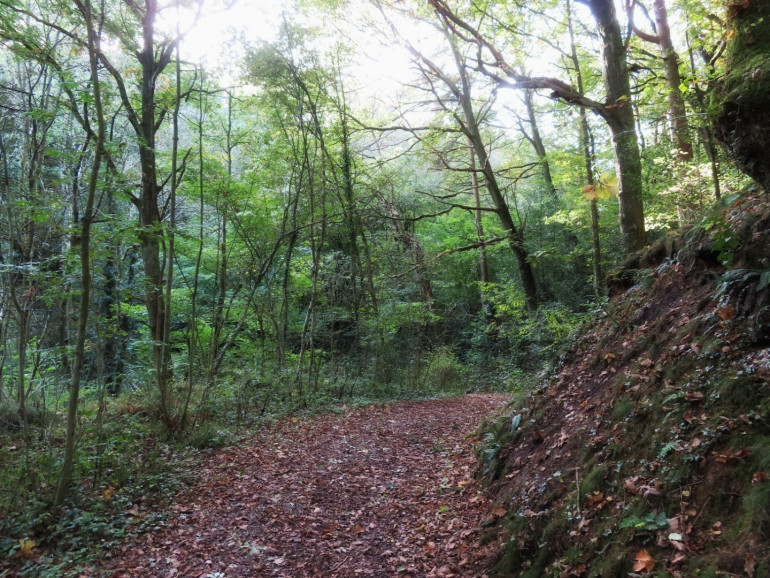
- The forest floor is not nearly as green as I portrayed it.
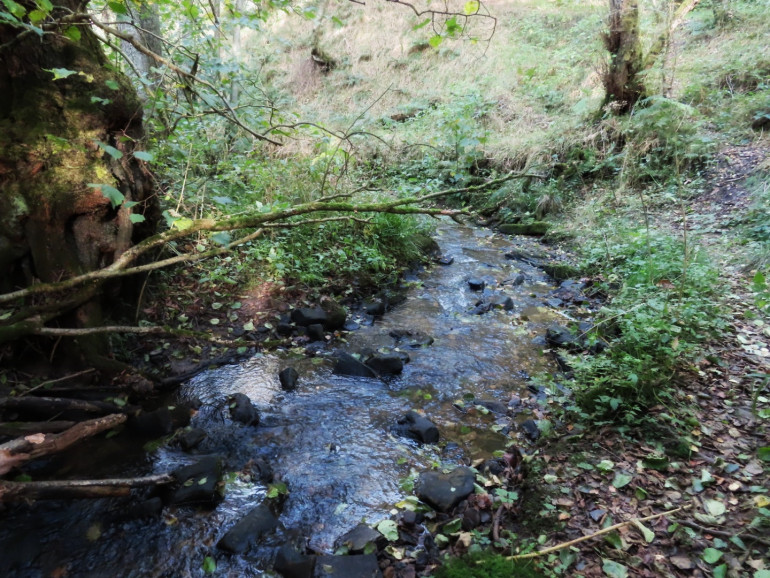
- The Riverside can be quite muddy.
- There are a lot of fallen trees and branches.
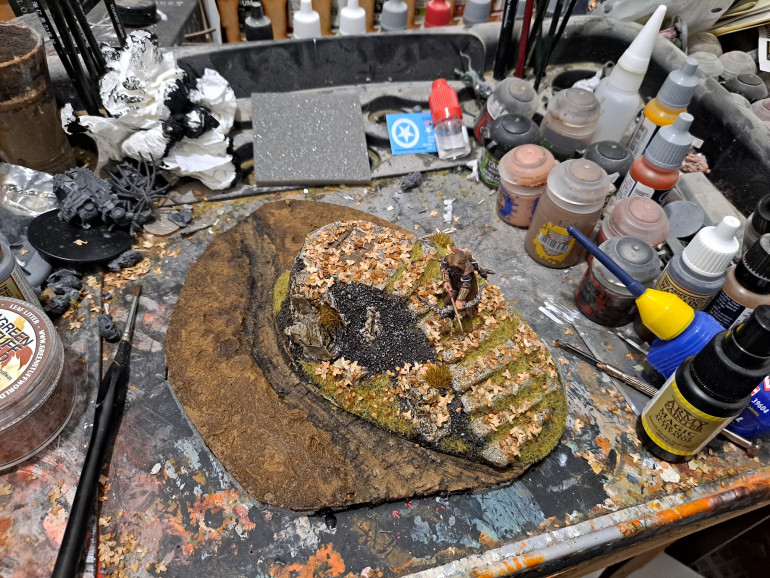
So, I set about muddying up the side of the stream.
I used some more Valejo earth texture and some Valejo black vehicle wash for this.
I dappled a little earth texture on the grass to give it a more brown look, also applying some wash to small patches to make things look a little less uniform.
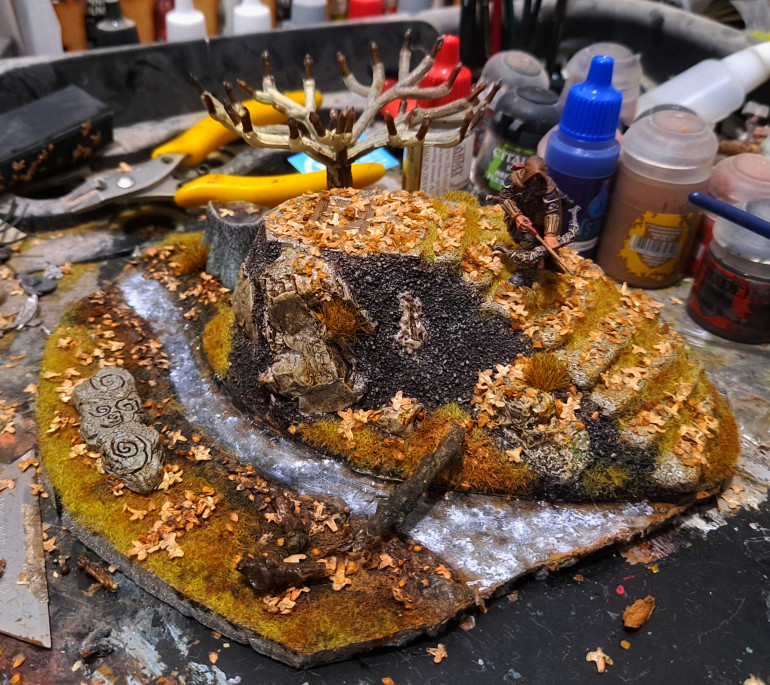
I collected a number of small Oak tree twigs on my adventures and I used these as fallen trees and branches.
Firstly I dipped them in some strong tone varnish.
After waiting to dry I added a little green wash and dry brushed some light green to them.
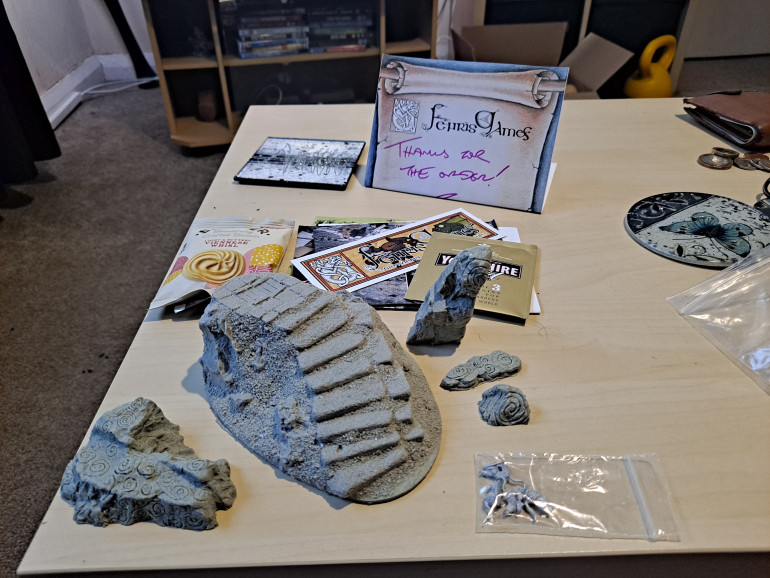
With my delivery from Fenris I received a few wirly runed stones.
I added one of these to the scene with a bit of random blood splatter atop.
The stone was simply primed in grey, washed with a strong tone, drybrushed green and dappled with a little Blood for the blood god technical.
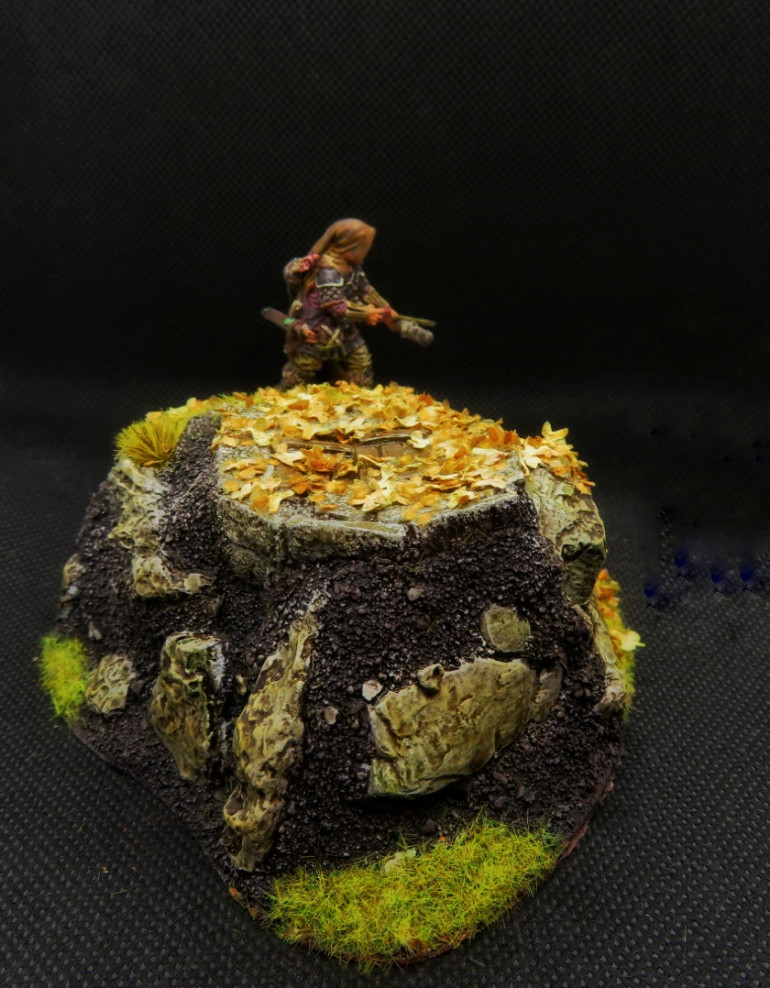
That was about it really.
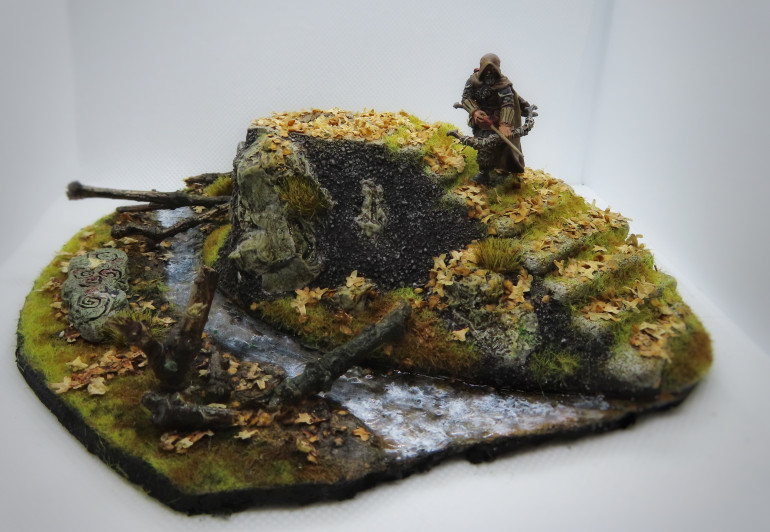
I’ve really enjoyed this project and will definitely be making a Diorama again soon.
The final picture was taken in a lightbox with my “proper camera” so it may look a little different to my WiP shots.
Liquid flows
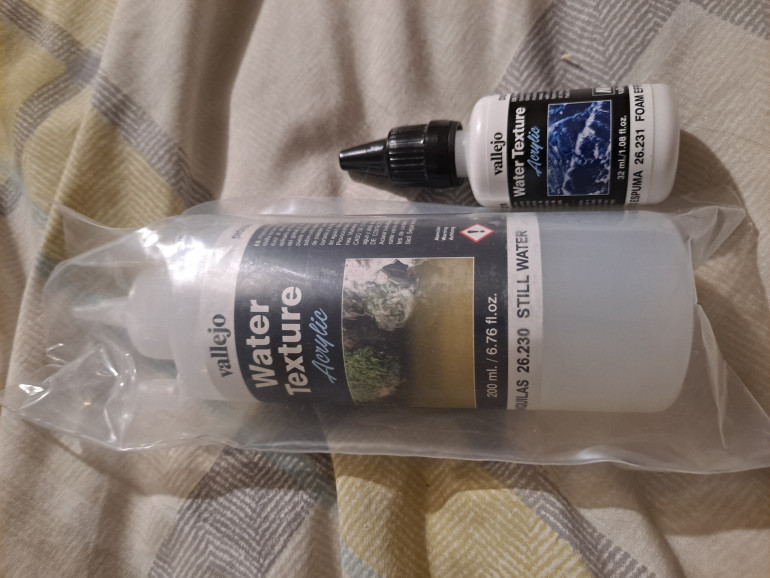
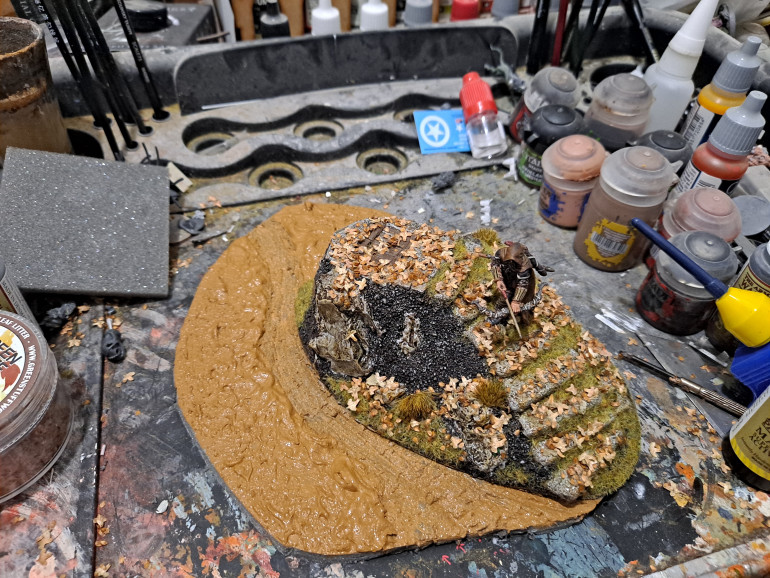
I added the Valejo water effect resin to the river chanel and left it to dry…. This was a mistake as it flowed.
I don’t know how i was expecting liquid not to flow but hey ho.
So I attempted the above again but damming both ends of the stream.
This worked better and the resin worked as it should.
A few hours into the drying time I manipulated the resin a little.
Bigger waves over the deeper parts and smaller, more numerous waves over the shallow parts.
I finished the river chanel by dry brushing some wave effects on.
I used the specific product for this, by Valejo but I wonder if I could have got the same effect with just plain white paint.
A base of operations
So expanding on the centrepiece I needed a bit of a base.
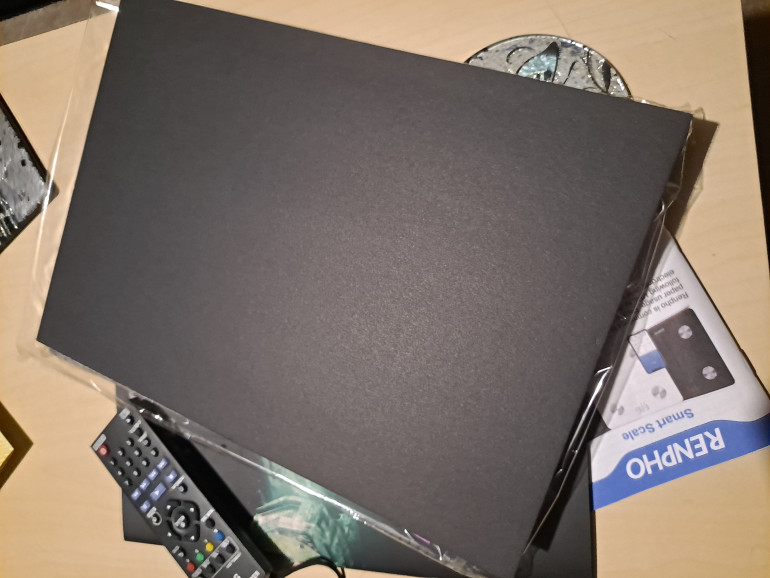
I bought a pack of 5 black A4 foamboards from ther range at a bargain price of £4.
To get the paper off these was a bit of a pain and I eventually dipped in warm water and picked off.
I did try and remove by heating with a hail dryer which worked to an extent until the hair dry was confiscated from me due to a burning smell.
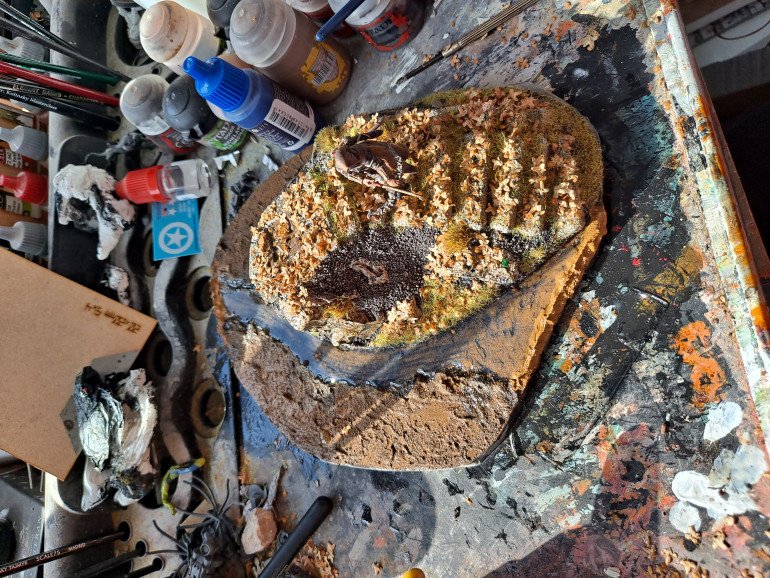
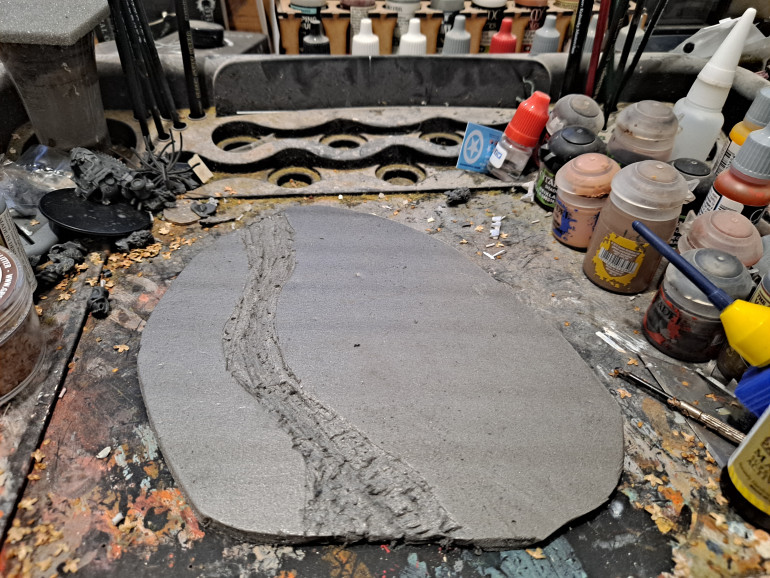
After removing the paper I carved it into a nice shape with a hobby knife and made a little channel for a stream using a multitool.
I was careful to cut the chanel top to bottom to show the flow of the stream.
The whole base I then covered in Valejo earth texture and a black vehicle wash.
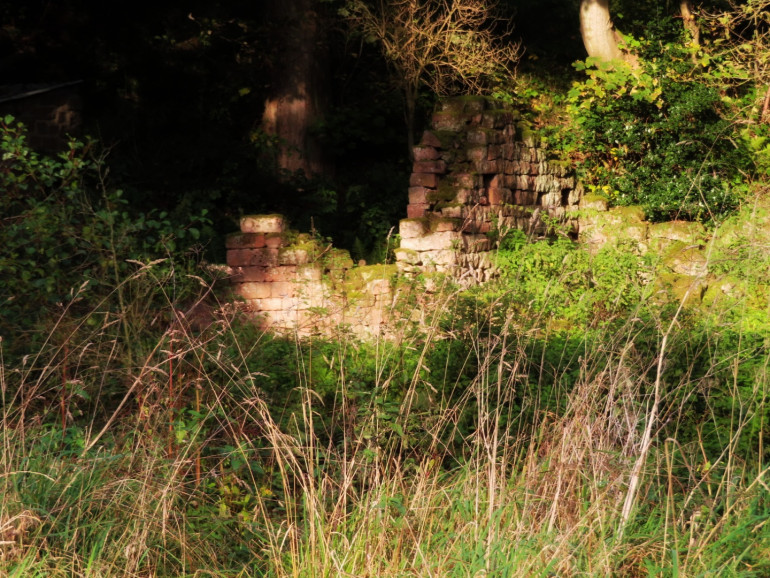
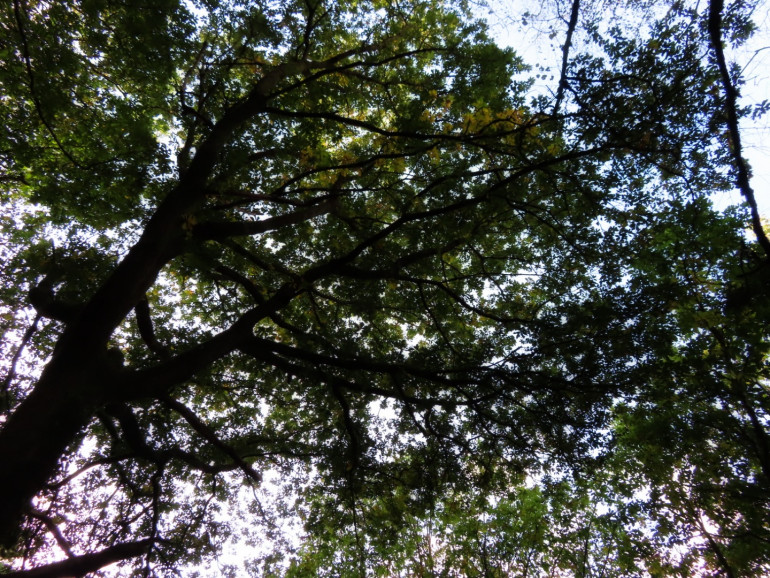
Some autumnal reference pics
I went out wandering the other day and thought that it would be a good opportunity to take some autumnal reference pics.
The Centrepiece
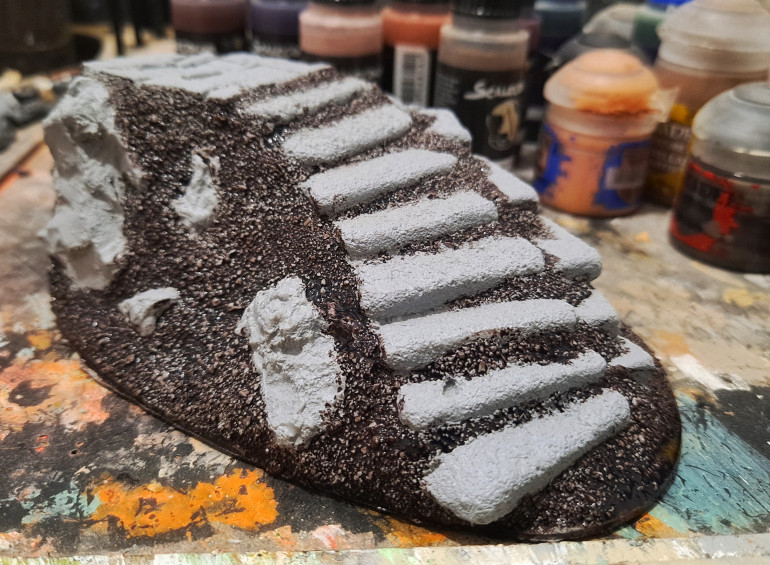
Next up is the lovely stairs from Fenris games.
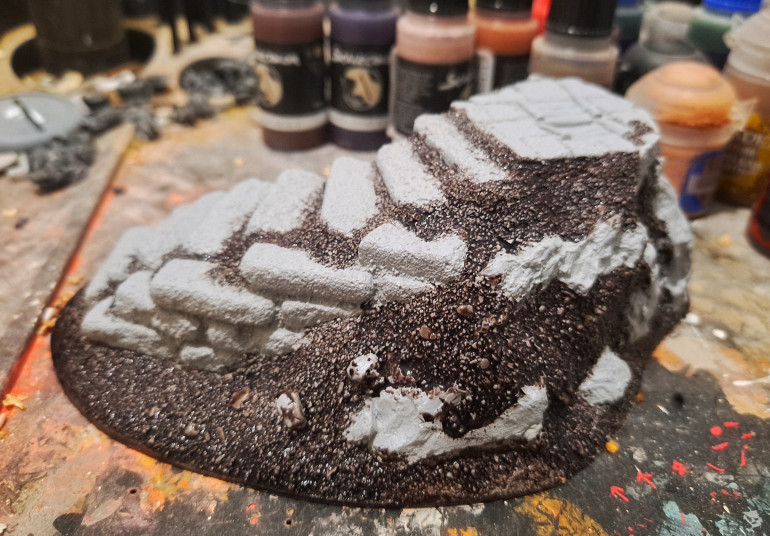
- I primed in grey
- The earth I painted with instant paints werewolf brown.
- The steps and rocks were done in Stonewall grey.
Next up
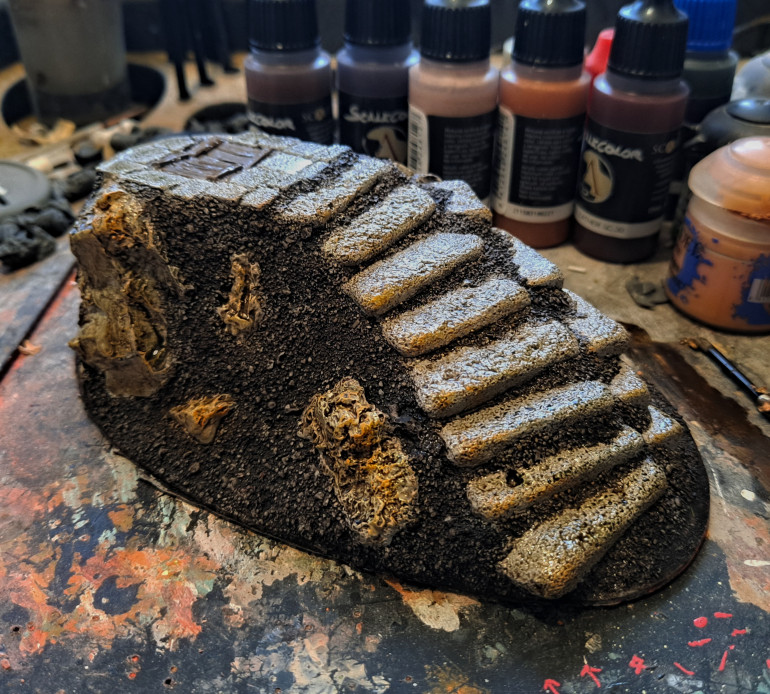
- I added a strong tone wash to the rocks and steps.
- Next I added a small amount of green wash to the steps.
- I drybrushed a bit of orange to the edge of the steps and and raised areas of the rocks to give a sort of autumn sun effect.
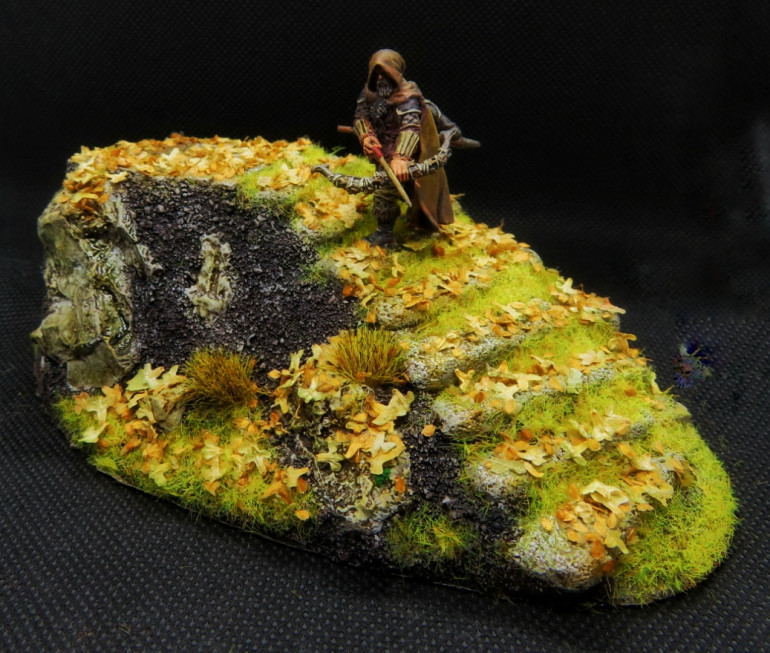
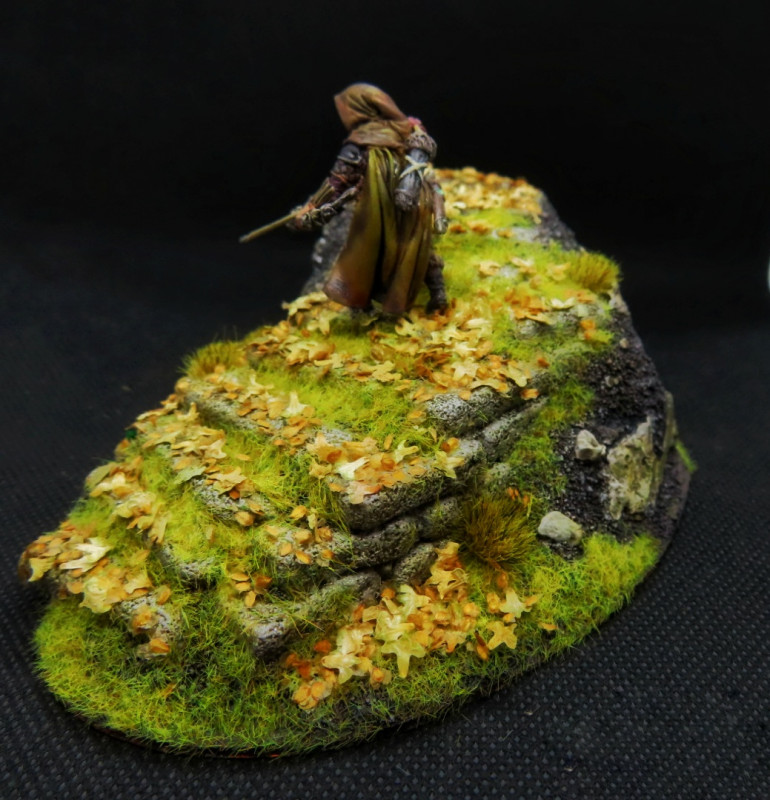
Next up, some grass.
- PVA glue applied to some of the flatter areas and parts of the steps.
- Glass liberally sprinkled on.
- Tufts added to crevasses where I thought they may grow.
- Leaves added to various areas where I thought they might gather.
- Prepared Ranger added to appropriate step.
Painting the mini
I thought I would start by painting the mini as I need something to enter into a competition this month.
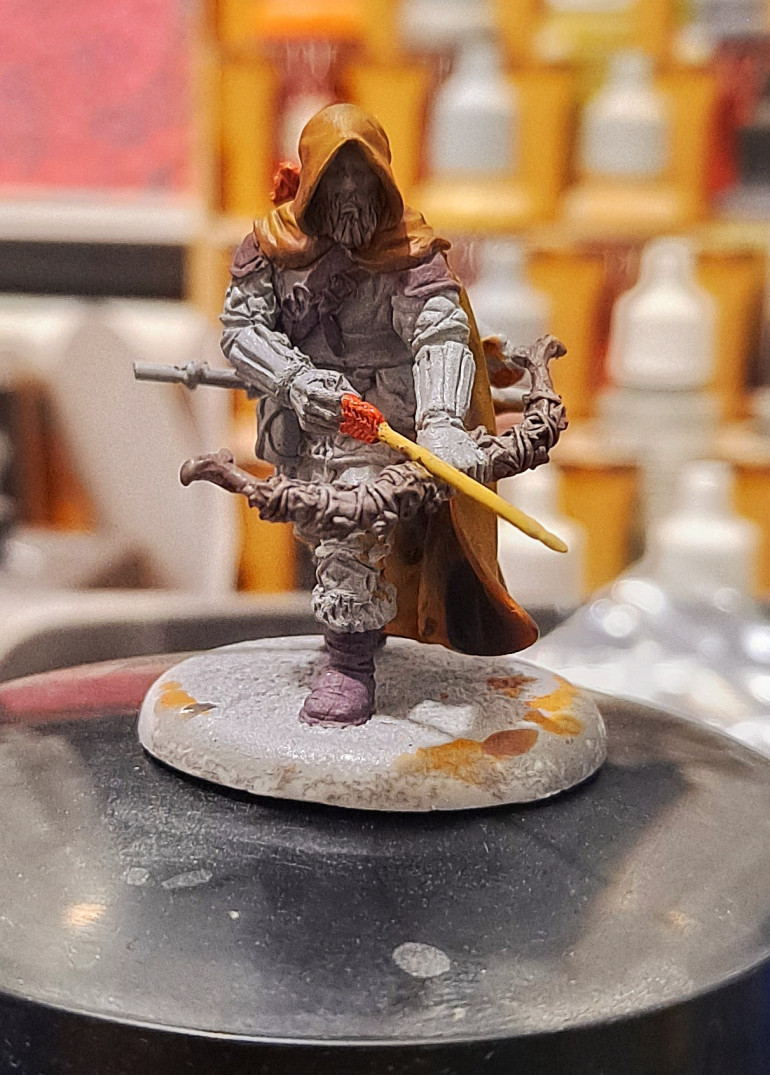
I primed with a dark grey followed by a dusting of light grey.
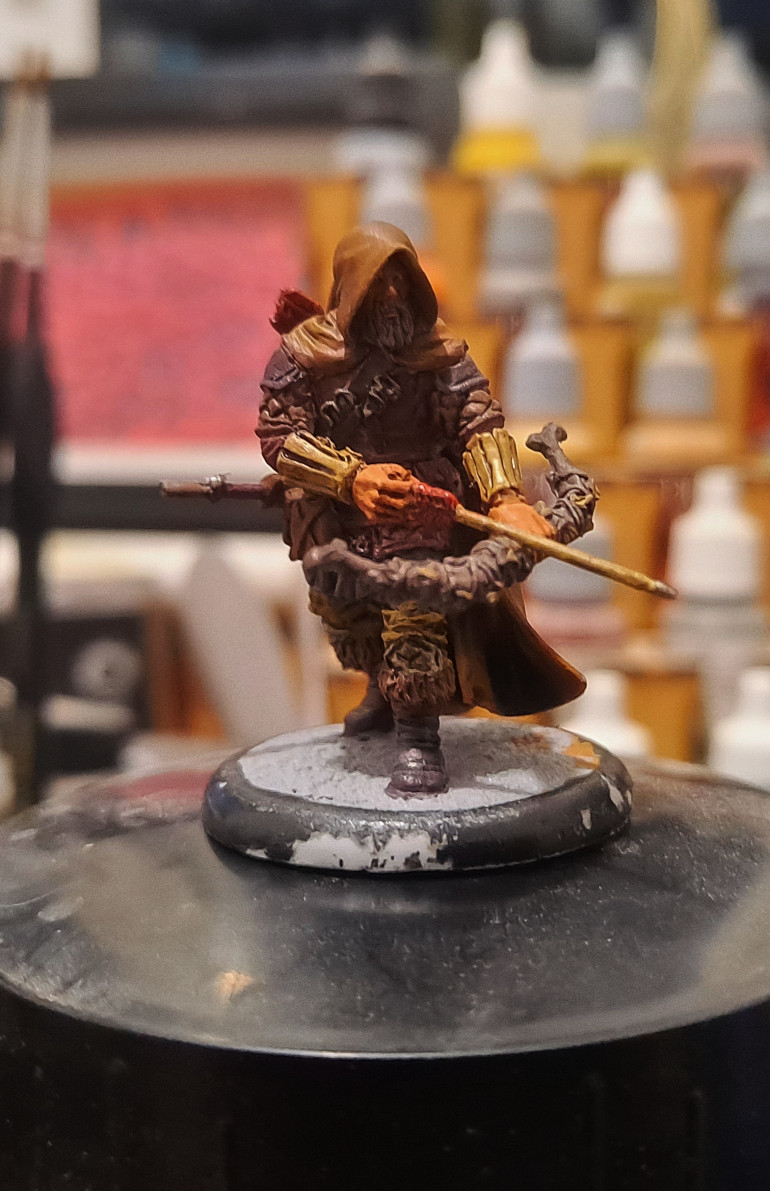
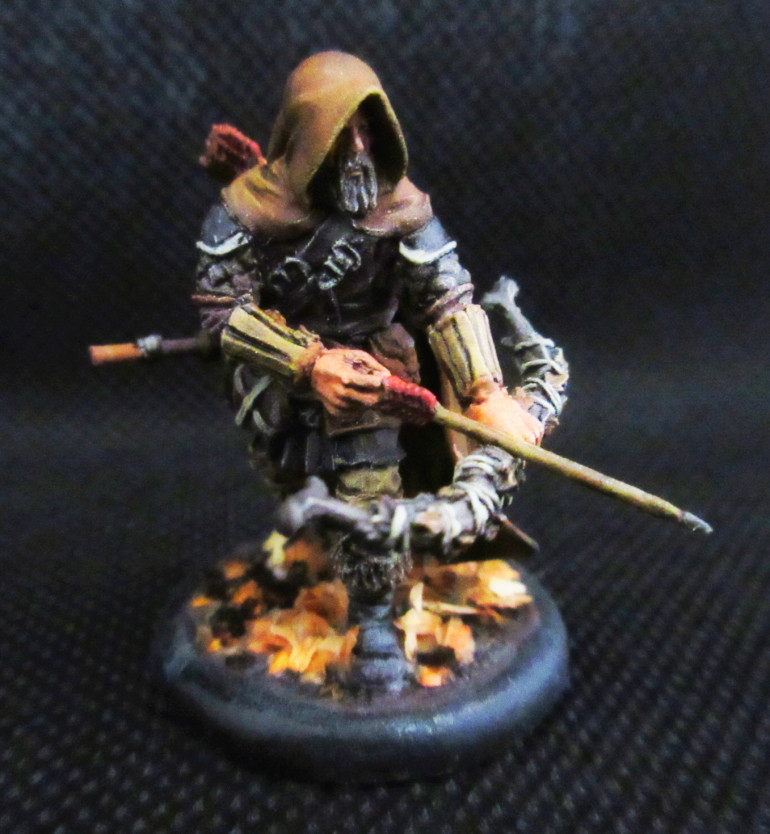
Around the front of the miniature I have used a selection of Scale 75 woods and leathers which came in a lovely set that I can throughly recommend.
The skin is Citadel Bugmans glow, Cadian tone and Flesh shade followed by a drybrush of Valejo Bonewhite on the knuckles and other raised areas.
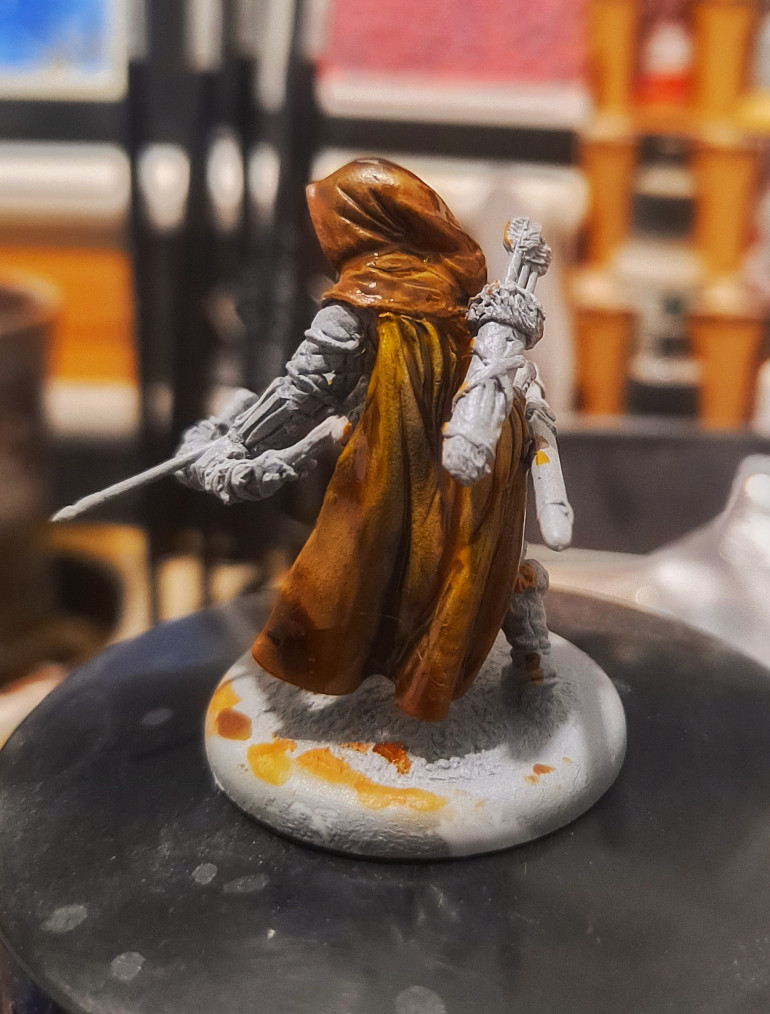
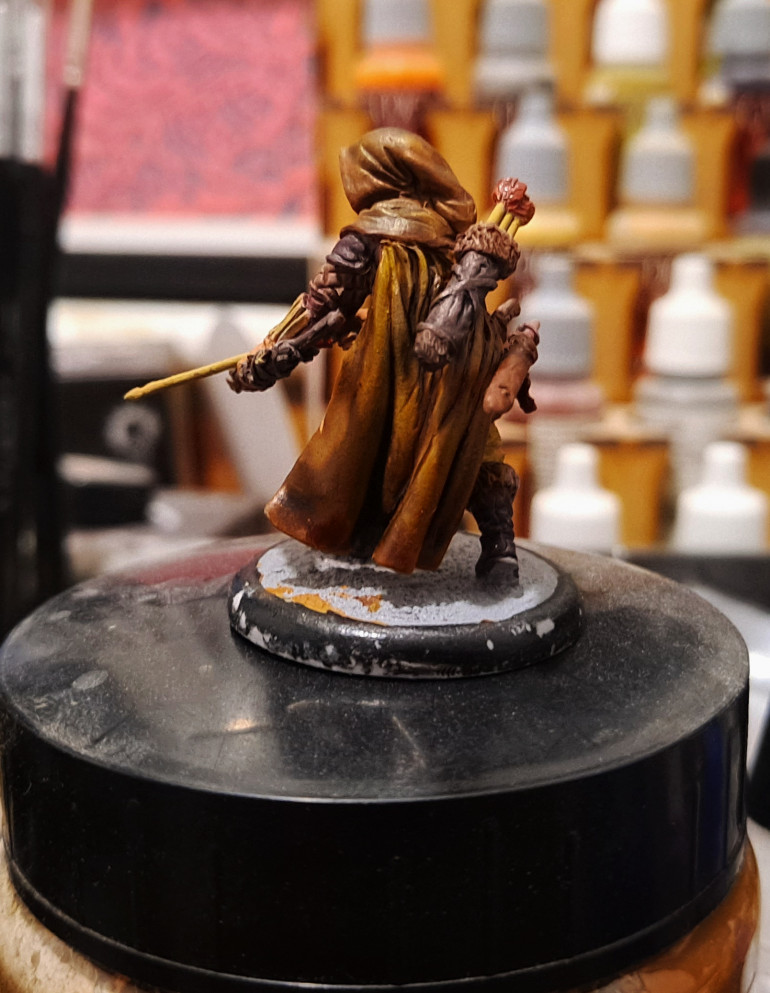
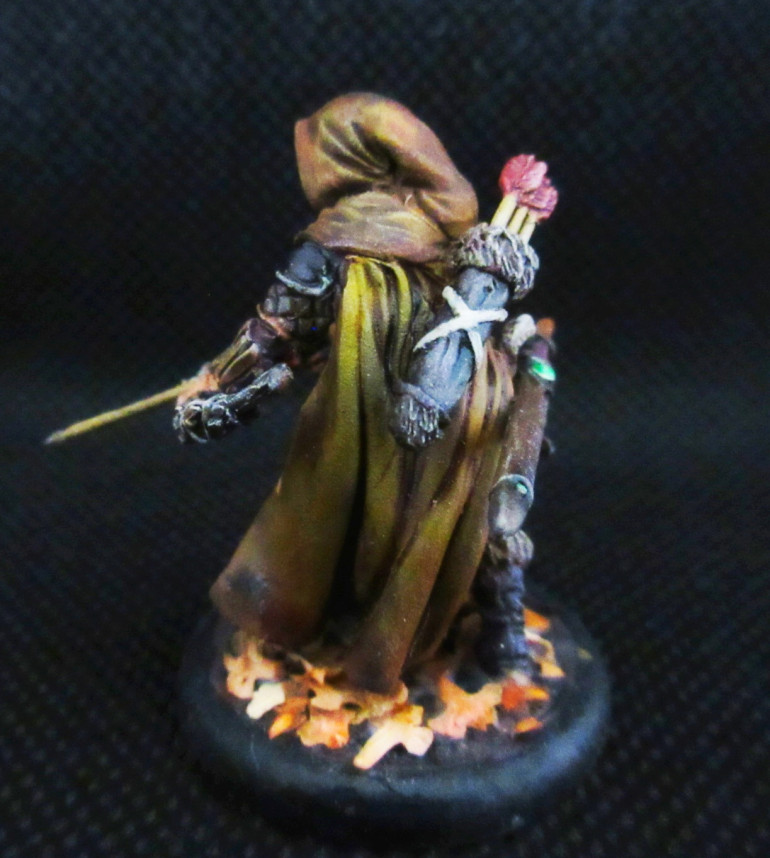
The back of the mini is where I had my fun.
Using a wet pallet I mixed numerous yellows, oranges and browns together to create the Autumnal theme on the cloak and hood.
I wanted the hood to look separate from the cloak so this has a more Brown hue to it.
Paints used were mainly from the Scale 75 instant range and again the woods and leather set.
Below are some wip pics and the finished mini.
Setting the scene
I’m thinking of an autumn scene amongst some ruins in a forest. I love forests in Autumn! I picked up a great mini to base the scene around.
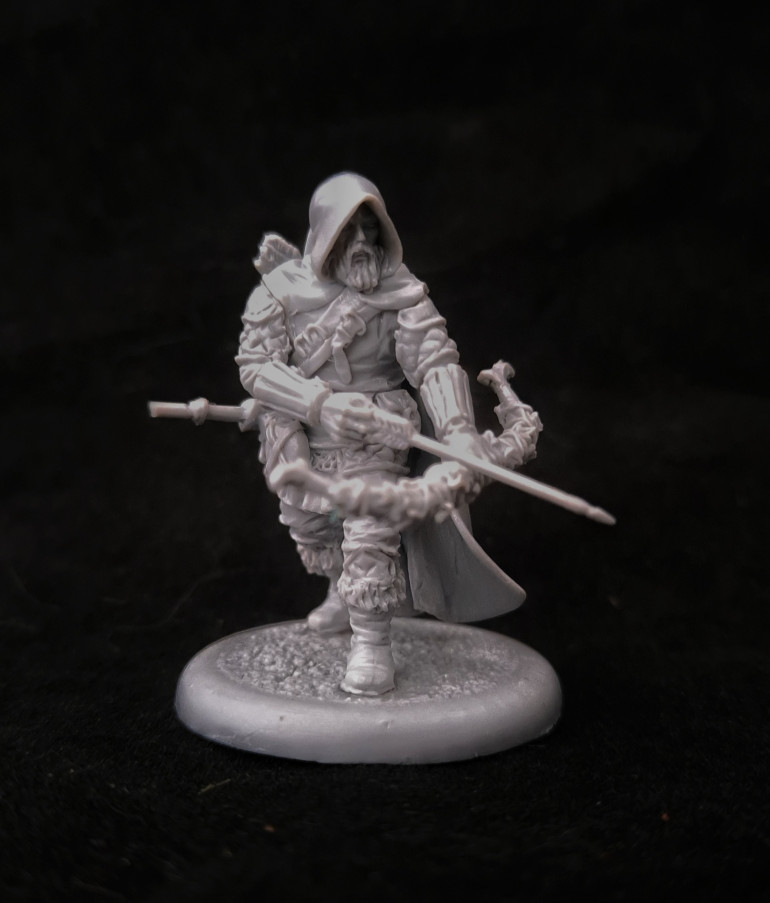
The chap above is from Zolotoy Dub / Artel W.
This can be built one of 2 ways, as I have built him, with a bow and the option to build with a sword and shield.
The mini came in quite a few parts but was easy enough to put together.
The quality of the sculpt is fantastic with some very intricate details.
I’ve been meaning to order from Fenris games for a while now and thought the above would be perfect for my scene.
Ancient standing stones and that stairway are just what I was looking for.
The Resin is nice quality and I’m looking forward to working on it.
Ideas are now starting to form in my head.


