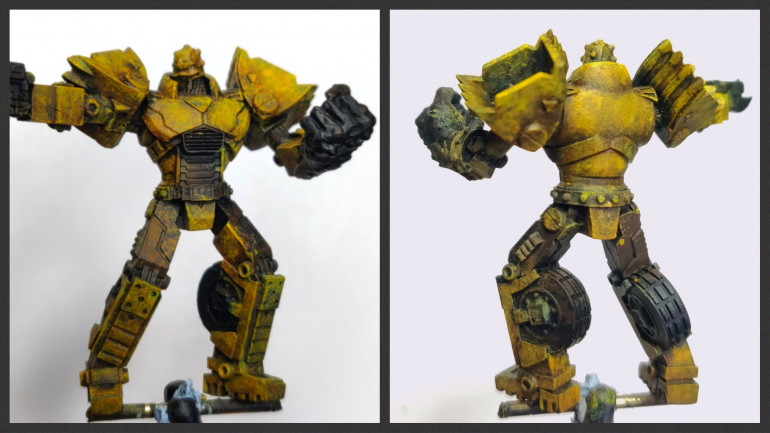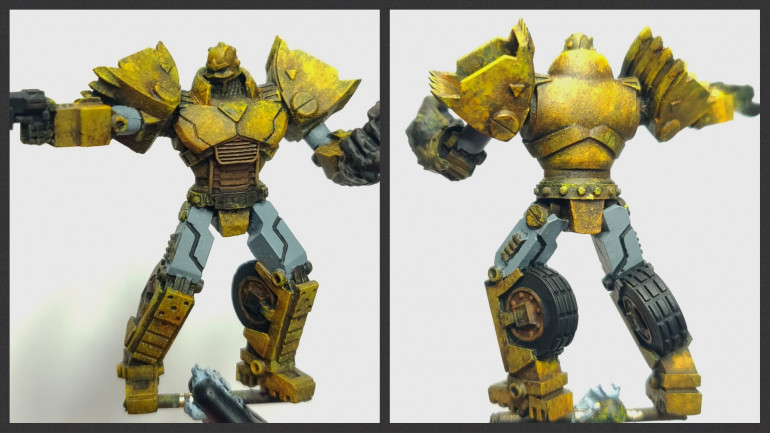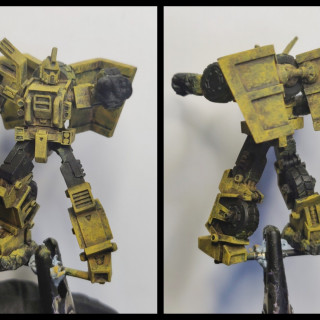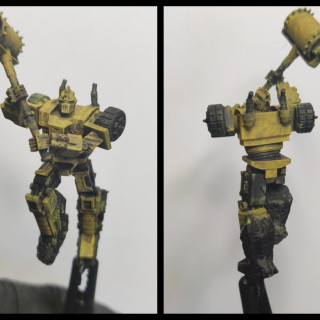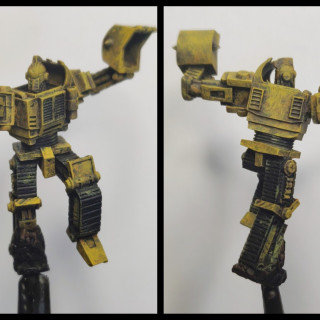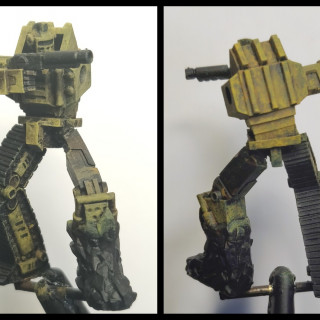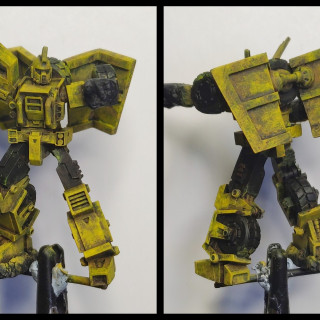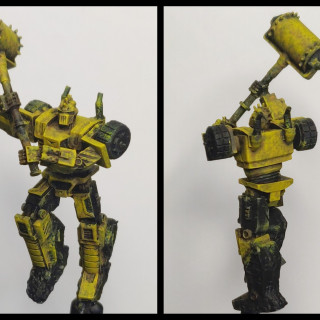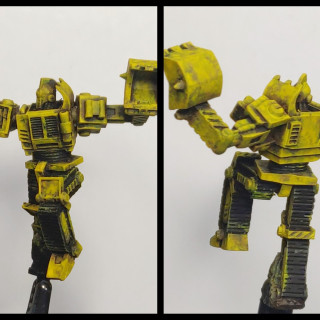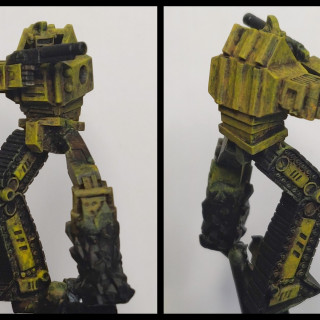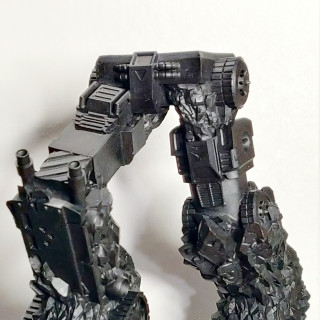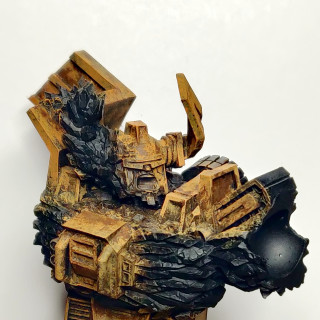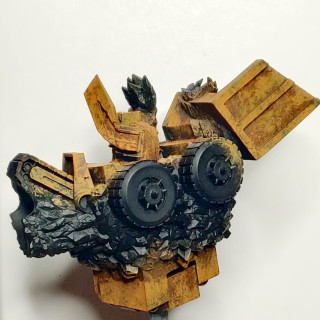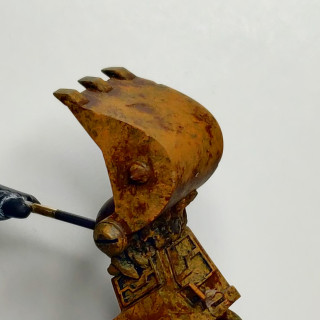
Bot War – Cult of the Destroyer
Recommendations: 235
About the Project
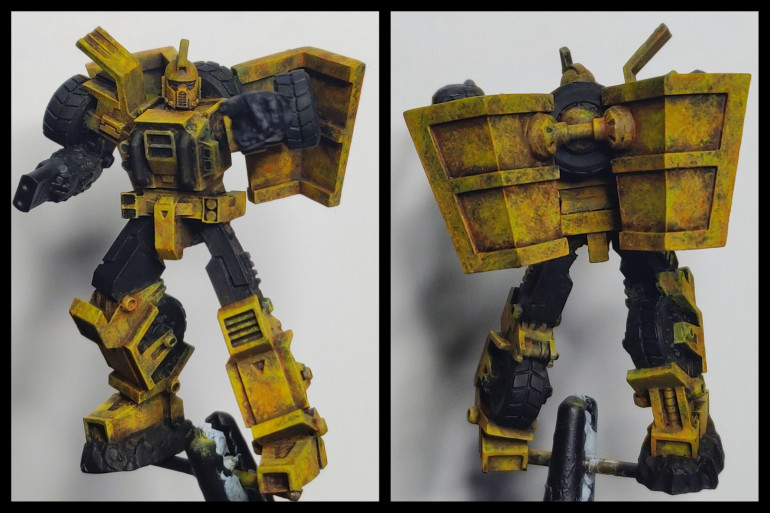
Painting project to get some of the latest releases from Traders Galaxy for Bot War into the Salute 2021 painting competition cabinets. This project is all about the Deceiver's Cult of the Destroyer. I will be painting up 5 bots that make the new version of the Builders, and their combined form Destroyer, Avatar of the god of rock and stone! Disclaimer PLEASE NOTE I am in no way sponsored or affiliated with Bot War or Traders Galaxy, I am just a fan of the game, the miniatures, and universe Anthony has created, its the miniatures range I have always wanted so I’m happy to share my enjoyment of them where I can and hopefully see this game grow and grow.
Related Game: Bot War
Related Company: Traders Galaxy
Related Genre: Science Fiction
This Project is Completed
A new cult....but not that cult, this is a Bot cult!
Welcome to another Bot War painting project!
This one is not for an online painting challenge, no, this one is for an in person actual painting competition.
Do I expect to win?
No
Do I want to see my finished models in a cabinet surrounded by other awesome miniatures, and see other people looking at them and commenting about them?
Oh yes!
So, this mini project will capture the key milestones I make along my journey to get these entries complete, it won’t be a daily update like my other projects, but it will hopefully be updated regularly over the next 8 weeks to chart my progress.
Target confirmed...... Salute 2021
After last year’s postponement, the South London Warlords Salute show is back, and will be held on Saturday 13th November 2021 at the ExCel centre in London UK, and there will be an actual “in-person” painting competition.
My goal is to get some Bot War entries into the cabinets, not to win, just to hopefully look cool and perhaps stand out against the other entries.
So what categories am I entering?
5. Science Fiction Wargames unit
6. Science Fiction Creature or Vehicle
What miniatures will I be entering?
Well, if you’ve seen any of my previous projects you may have guessed, it will be a unit of bots backed up by a titan class…. This time it will be the recently released Cult of the Destroyer for the Deceivers faction, including the big bot himself, Destroyer.
Disclaimer
PLEASE NOTE
I am in no way sponsored or affiliated with Bot War or Traders Galaxy, I am just a fan of the game, the miniatures, and universe Anthony has created, its the miniatures range I have always wanted so I’m happy to share my enjoyment of them where I can and hopefully see this game grow and grow.
Cult of the Destroyer
Background
What is Bot War?
A good place to start would be this great interview with the creator and owner of Traders Galaxy, followed by a look at their website where you can browse the range and read all about the different factions, the universe, and how to play the game!
Then for some shameless self promotion, you can check out my own previous OnTableTop project blogs:
The Cult of the Destroyer
So the bots that I will be painting for this project are the 5 Builders from the Deceiver faction.
Each of these Bots is it’s own character and has its own individual rules. If taken together though they unlock an ability to combine and summon forth the power of Destroyer.
I’ve included some background lore for the Builders below to help set the seen. This text was copied from the Bot War Facebook group which is an amazing community of Bot War enthusiasts covering news, concept art, shopping deals, Battle reports, painting/modelling discussions, and community challenges.
Reposted from the Bot War Miniature Game Facebook group
https://www.facebook.com/groups/312126222670983
When the Deceiver prison was broken open, the hundreds of bodiless entities burst forth into the atmosphere. There, they began to pollute the very minds of humanity. Some, like those named after the negative emotions, forcefully invaded the mind, casting a dreadful melancholy over the population. Others were more benign. And still others, like that of wrath, could even have been argued to be beneficial during the war with the Atlanticans.
The builders have not kept the original Deceiver names they had when they exited the prison. When these 5 Deceivers entered the ether, they out of all the others, encountered an even greater entity waiting for them. This entity was old. A primordial being of immense power. This latched onto the 5 Deceivers and rewrote some of their code, replacing it with his code. This code permeated through their entire being, meshing with their code to make one.
When the builders finally were downloaded and placed into bodies that were constructed from their code, the bodies looked remarkably different to the other Deceivers.
The builders remain Deceivers, however their first loyalty is not to Galaxy. The builders worship Destroyer and each builder has a small piece of destroyers code within them. If Galaxy knows this then he does not seem to care.
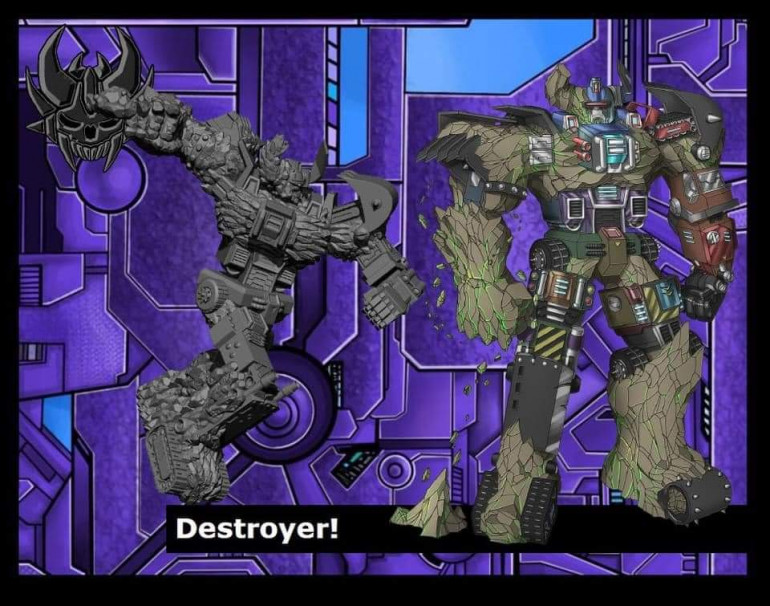
If the builders can summon enough energy, they can combine into a form powerful enough to house more of Destroyers code for a short time. This form is terrible to behold. An avatar of the god of earth.
There are 5 Deceivers that house a tiny part of the Destroyer code. This code seems to shield them from the Infester curse, something that the Tyrants would be very interested to learn.
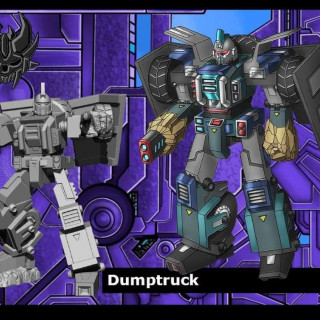
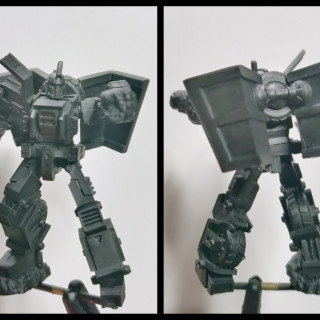
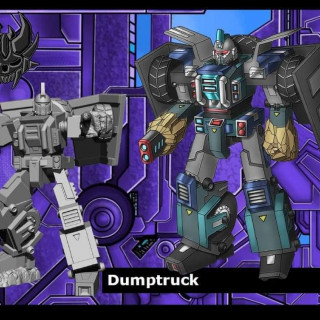
Dumptruck forms the core of the Destroyer avatar. Strong and tough, Dumptruck bares many scars and dints from many battles.
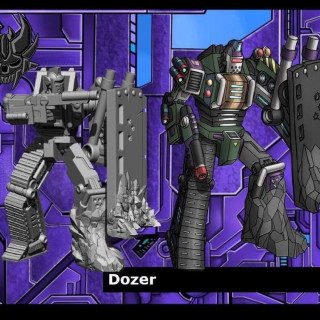
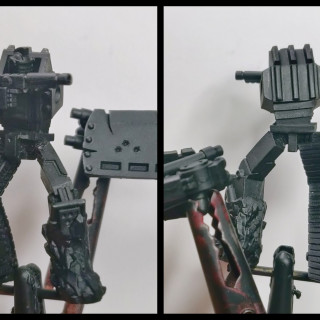
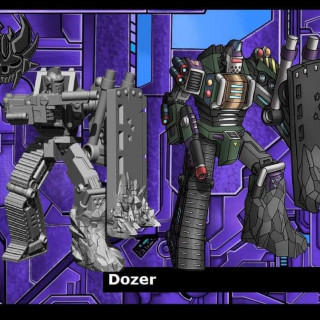
Dozer is the most capable warrior of all the builders and often takes the point in many of the heaviest firefights. His heavy armour and shield absorbing fire as he advances with blaster firing.
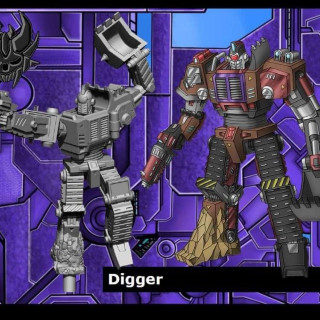
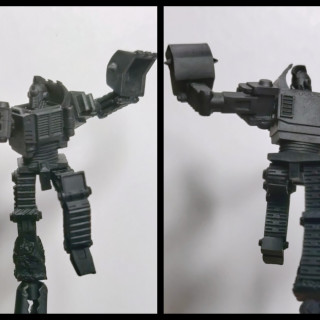
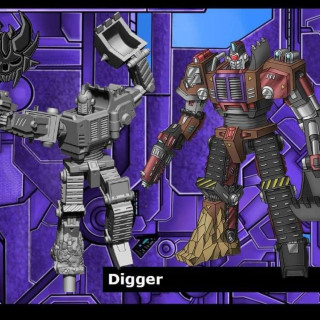
Digger is a religious zealot in the darkest of ways. Often calling on the foul Destroyer when charging headlong into battle. His crushing claw is capable of snapping smaller Bots in two.
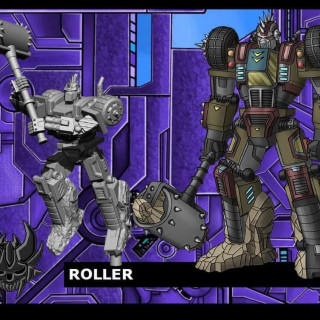
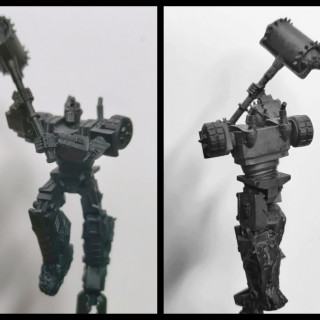
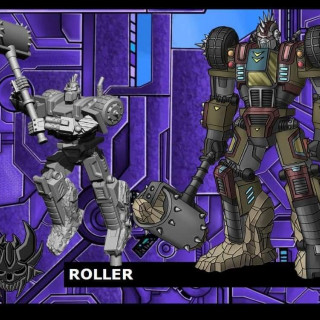
Roller likes to crush and smash. He especially likes to smash Valiants with his large spiked club. What Roller lacks in size or intelligence he makes up for in sheer weight of impact.
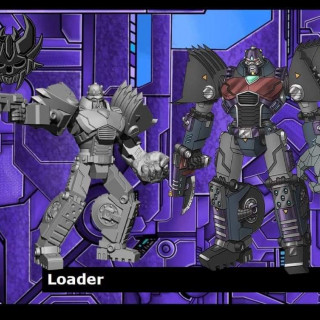
While the Destroyer code virus had made all of the builders less stable than most Deceivers, Loader seems to have been the least affected. Overall, Loader is the weakest of the builders, however he can also become the right arm of Destroyer, so in that sense he is the most stable and the most favoured.
Yellow, my nemesis..... we meet again
The plan
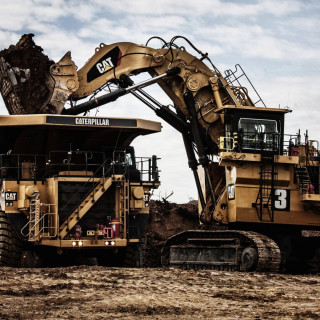
So the theme of the bots are creation, construction, earth, rock, stone, and powerful. Instantly my mind thinks of that well known warm yellow construction company and heavy plant vehicles. Yellow and black are just synonymous with that type of machine.
Yellow and black also being hazardous, as seen on insects and other reptiles/animals.
It would mean that I have to once again tackle yellow paint, joy, but at least this time it should look worn and weathered as opposed to shiny and new.
Research
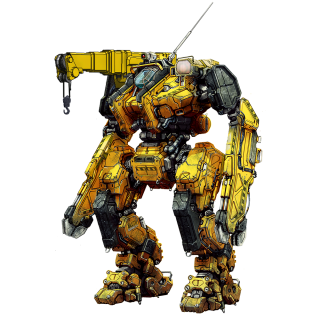
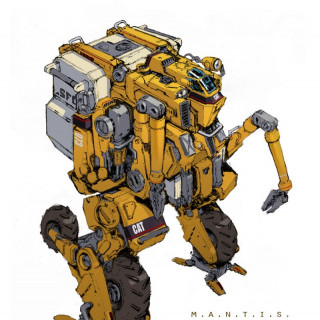
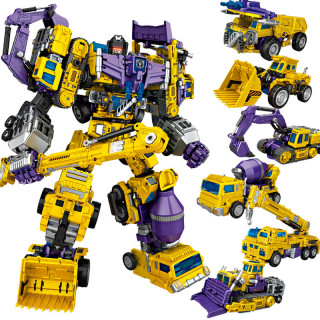
It didn’t take me long to then plan out a colour scheme using these colours that I could use through the bots. I also couldn’t ignore some some classic civilian mecha tropes that use these schemes, as well as a certain toy line.
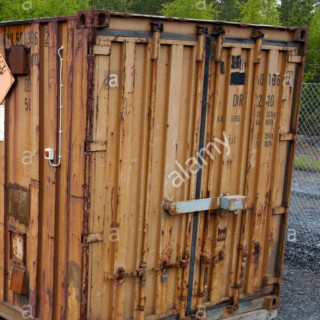
The following images are reference only, and are not my own, just results from Google to help visualise the scheme in my head .
Test piece
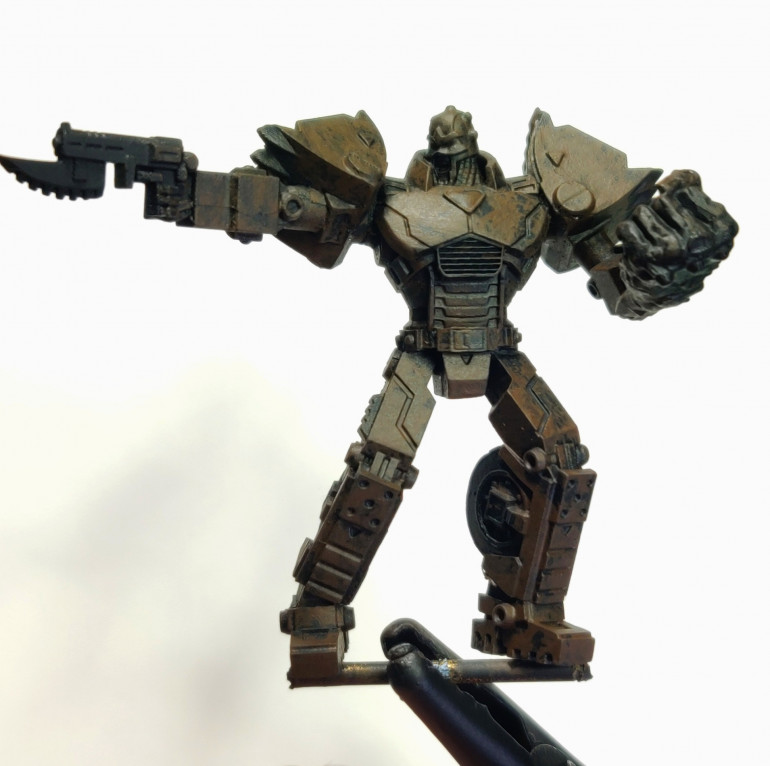
Unfortunately one of the pieces I received for Destroyer got banged up in transit, but with impeccable customer service a replacement part was shipped to me, meaning I had a spare bit that I could use to practice my scheme on.
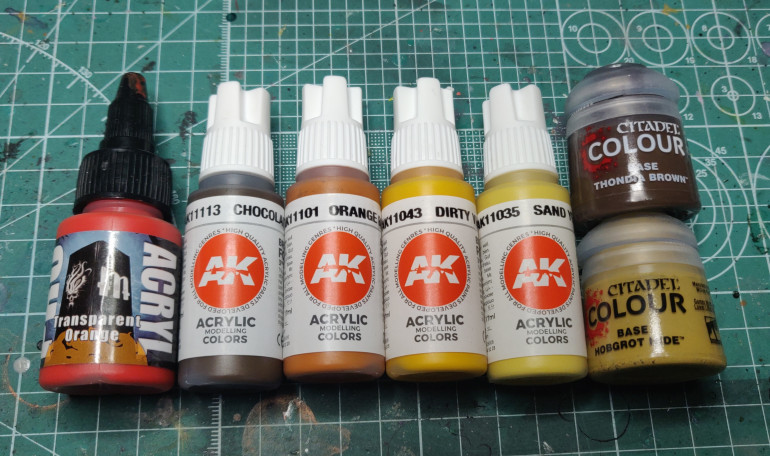
Looking through my paint collection, I pulled the following which I hoped would give me decent coverage (as yellow is notoriously bad for it), create depth and warmth, and also work well as glazes. At this point I’m not worried about a matte or satin finish, its only a test piece and final pieces will be matte varnished at the end.
Chosen paints:
Monument Pro Acryl:
- Transparent Orange
AK Interactive 3rd Gen:
- AK11113 Chocolate
- AK11101 Orange Brown
- AK11043 Dirty Yellow
- AK11035 Sand Yellow
Games Workshop Citadel Colour:
- Thondia Brown
- Hobgrot Hide
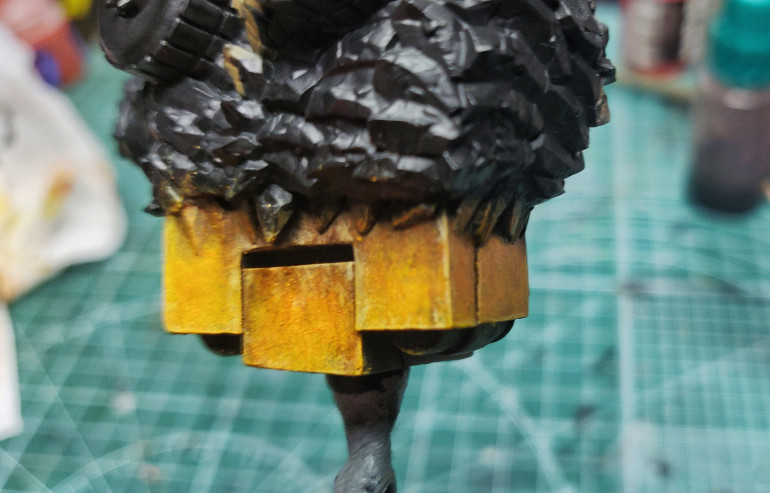
Working over a Badger Stynelrez Black primer, I used the Citadel Thondia Brown as a basecoat for all parts I wanted to be yellow. Over this I stippled AK Orange Brown roughly so that there wasn’t an even coating and it started to build texture. Next was a stipple of AK dirty yellow and citadel Hobgrot Hide.
It wasn’t a formulaic process by any means, I went back and forth through the colours to create saturation and randomisation.
I then applied a very very thin glaze of the Transparent Orange from edge to recess. I also went back in with AK chocolate brown to add shadow and streaks.
The edges were picked out in sandy yellow again for a lighter highlight. And a small glaze work in a little from the edge back to the edge to create a lighter gradient.
After this I blocked in some basic rock colours (which is the same as my other projects and will be the same as the bases these will stand on) and some black & grey elements to see how they look next to the yellow.
Overall I’m happy with the test.
I think it works, and is something I can paint that won’t get boring. By making it look dirty and weathered I can get away without having to focus on a clean flat yellow. No doubt this scheme will evolve, but I’ve got a starting point and that’s the main thing for now!
Getting this project underway....... Loader
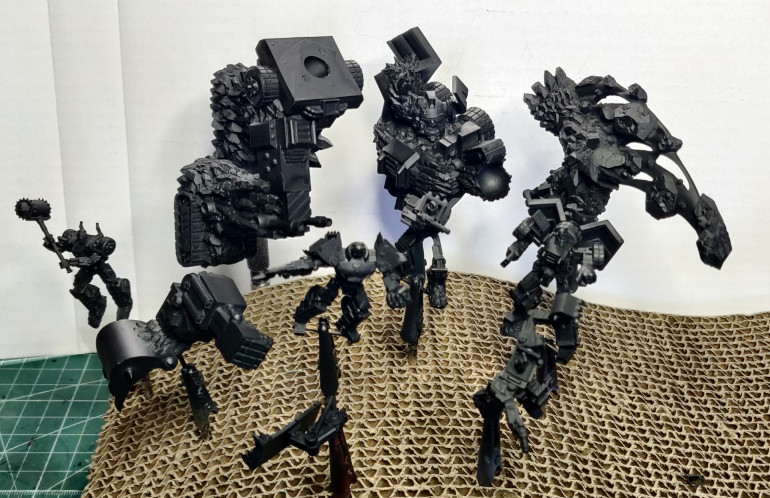
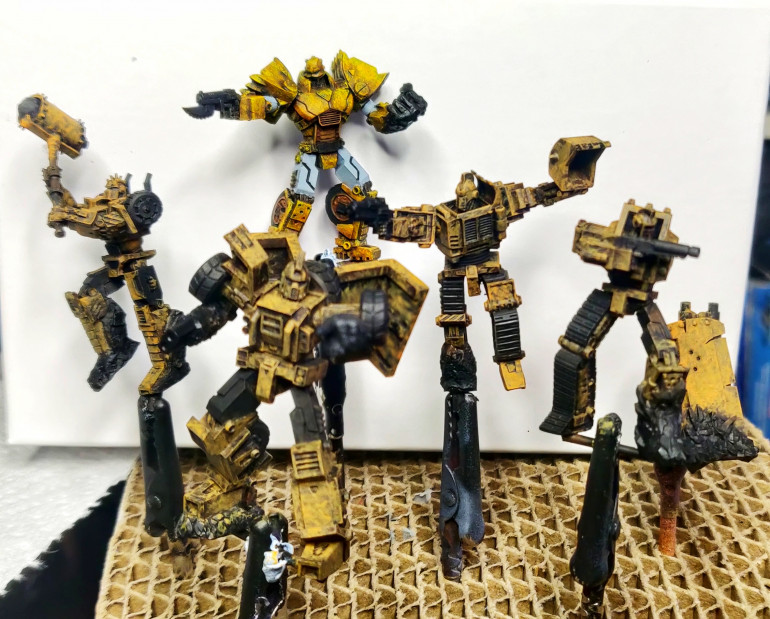
With my test scheme worked out, I set about priming all of the bots with Badger Stynelrez black. Most bots were fully built, but a couple were made into sub-assemblies to make it easier to get to those hard to reach places, or in the case of Destroyer make it more manageable to paint.
These bots either had a pin attached (paperclip) or had a peg I could clip a crocodile clip onto to make it easier to prime. I like these Croc-clip sticks as I can then poke them into my honeycomb cat scratcher (my cat has her own one) to dry. I also find it easier to maneuver them when priming as you can get the airbrush into all the recesses below the model with the minimal amount of interference from a holder.
Once primed I picked out my first Bot. Loader
I really liked his pose with the exposed armour plates, as it means I can work on getting a good basecoat and learn the scheme without arms or weapons getting in the way.
In the above photo you can see I applied a roughly applied coat of citadel Thondia Brown over the black primer. I wasn’t worried about full coverage as I want the layers to be built up rough and random.
The below gallery shows the next series of stages. First I go over the brown with AK Interactive orange-brown, stippled to ensure that some of the brown layer underneath remains in the recesses.
Next I went over the orange with scale75 sahara yellow to start to build a yellow layer, focusing on the highest and most prominent areas as a highlight.
To increase the vibrancy I then used a bit of torn sponge to apply AK dirty yellow. This really boosted the yellow, and the sponge created randomness to let the previous layers still show in places.
With an initial work up complete, I went back in with a small glaze of AK interactive Chocolate around elated details, in recesses, and int he buckets on either shoulder. This is the starting point of adding dirt build up and helps to increase the contrast between the different elements.
I then went in with a very thin glaze of Pro-acryl Transparent Orange to almost simulate rust but to also harmonise and add warmth to the yellow which was looking a bit desaturated. When applying glazes its worth remembering that the pigment will be strongest at the point it pools, which will usually be the last contact point if the brush and the mini. With this in mind i dragged the glaze into the recesses and shadow areas, as well as the the lower parts of the armour to create a very subtle gradient.
To help visualise the final look I blocked in some other elements like the thigh joints, and the tyres.
I also used a mix of the AK orange-brown with citadel Thondia Brown to create a rusty colour that I used to paint in some details like the waist grills and tyre hubs.
The thigh joints and under armour was painted with Vallejo extra opaque heavy blue grey. This is my standard under armour blocking in colour for Bot War minis and features on almost every bot I have. For me if the Bot is in an “Alt Mode” then these joints will be consealed and will look differently to the weather outer armour. 5his will get highlighted up and shaded, but it’s just blocked in for now.
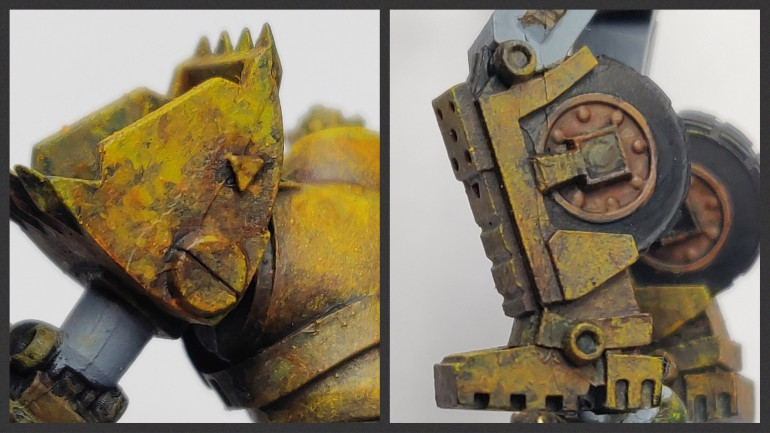
Today’s session comes to an end with more stippling and blotchy glazing of all colours. This creates more texture and randomness which really adds to the weathered paint look of a well used machine.
Below are some closeups of some details that I think really shown the weathered paint look. There’s plenty more to still paint in Loader but I’m really happy with my progress.
Four more get dirty....
After a week away from the painting table I managed to get back to the Bots this weekend to make some headway.
Firstly on Saturday I was able to get the remaining 4 Bots (Dumptruck, Digger, Roller, Dozer) up to Stage 3 of my workup, so that on Sunday I could then spend more time dirtying the yellow up and going through the weathering motions with the aim to have the yellow armour at the same point as Loader’s by the end of Sunday.
1st stage was to roughly apply Citadel Thondia Brown over the armour plates.
2nd stage was to then use AK Interactive Orange-brown to elevate the brown base coat.
3rd stage was using Scale75 Sahara yellow to begin adding the underlying yellow tones.
The rough painting and stippling method I use for these layers is very hard-wearing on the brushes so I use old synthetics to do this. It helps if the bristles are slightly splayed as this helps with the randomness and blotchy effect.
With all the bots at the Sahara Yellow stage I set about brightening the armour with AK Interactive Dirty Yellow. This was applied in the same way as Loader by using a tiny piece of blister pack sponge, roughly torn, and then pinched between a small crocodile clip stick.
Using the sponge dipped in the yellow, wiping off any excess so that it’s not too heavily covered in paint, I dabbed this over the highlight areas, in the centre of armour panels, and over raised edges. The torn sponge creates randomness which helps the underlying colours still show through and represents faded of chopped paint, from yellow down through orange, to brown, then black at the very bottom of the paint pile.
My favourite part of this scheme is using the Pro-Acryl Transparent Orange to really boost the vibrancy of the yellow.
Transparent paints are heavily pigmented so I really thin them down to create a glaze, a little of the paint goes a very long way. The glaze helps to both harmonise the yellow>orange>brown layers where the underlying paint is visible, but it also helps to collect in crevices and around rivets to give a rusty effect.
To help emphasise the rusty buildup I dab some of the glaze into recess areas I want it in, then go back and use an even more thinned bit of the glaze to draw the buildup around the area. Leaving the initial glaze in place for a few seconds helps to stain that area and give it the blotchy effect I want. I also just randomly dabbed some of the glaze into areas to add contrast and interest.
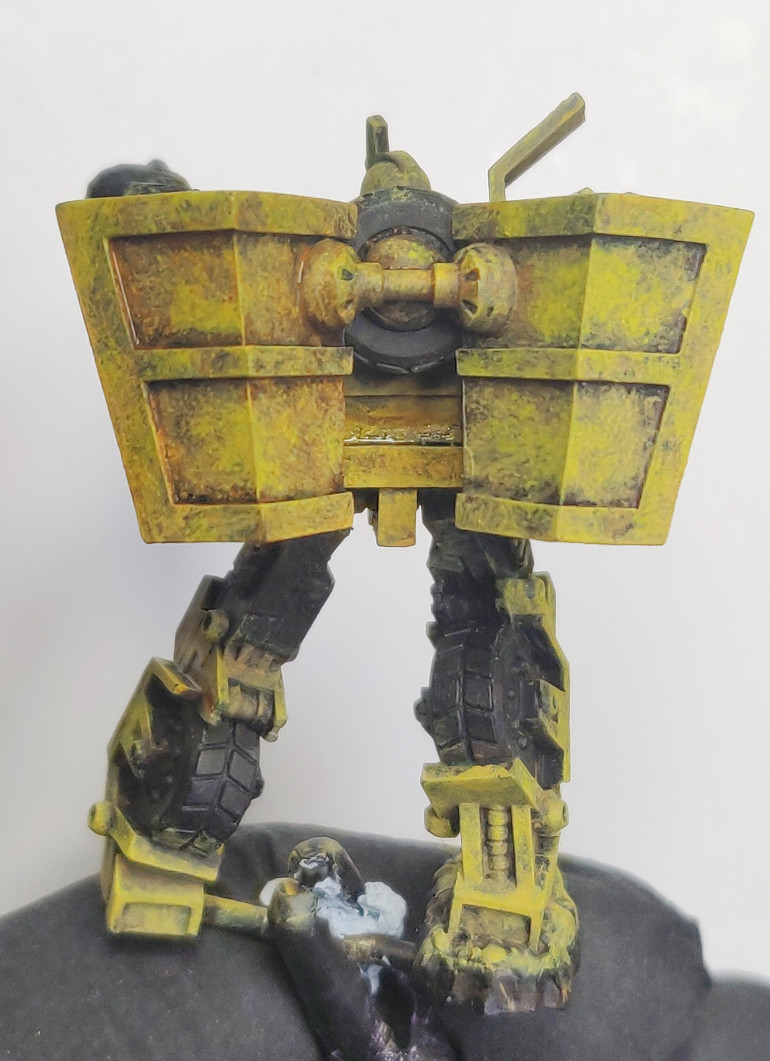 You can see the impact the Pro-acryl Transparent Orange has on the back of Dumptruck where it has been applied to the left panels but not yet on the right
 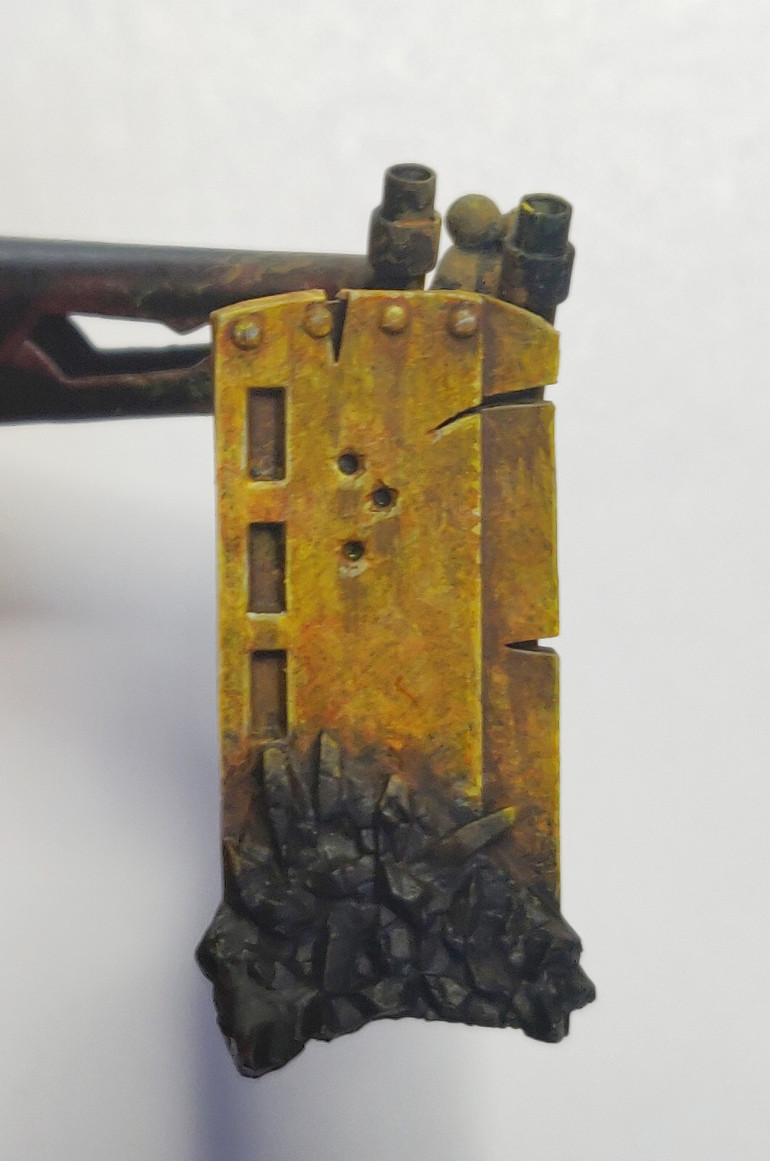 Dozer's shield with some additional edge highlights, and some AK Interactive Chocolate used to create grimey steaks and dirt areas
With the orange applied, I started to go back into recess areas with AK Interactive Chocolate, Citadel Thondia Brown, and Scale75 Sahara Yellow to reviver any parts I’d missed or I’d made too dark or too bright. This is where I really add up the layers as I work backwards and forwards through my workup until I’m happy with where I am.
And with that my weekend is over, the yellow is mostly done, I have edge highlights to apply and work in, then I will be able to start on the under armour joints and details.
Destroyer rises
With the builder bots nearing completion they have have come a long way since the last update, its time to make a start on the big boy, Destroyer.
The reason for not showing the builders yet is because they need to be harmonised, the yellow hues brought into alignment to give a cohesive look. This will be done at the same time with Destroyer so that they all match, after all he is their combined form so needs to look like he has been made up of the individual bots.
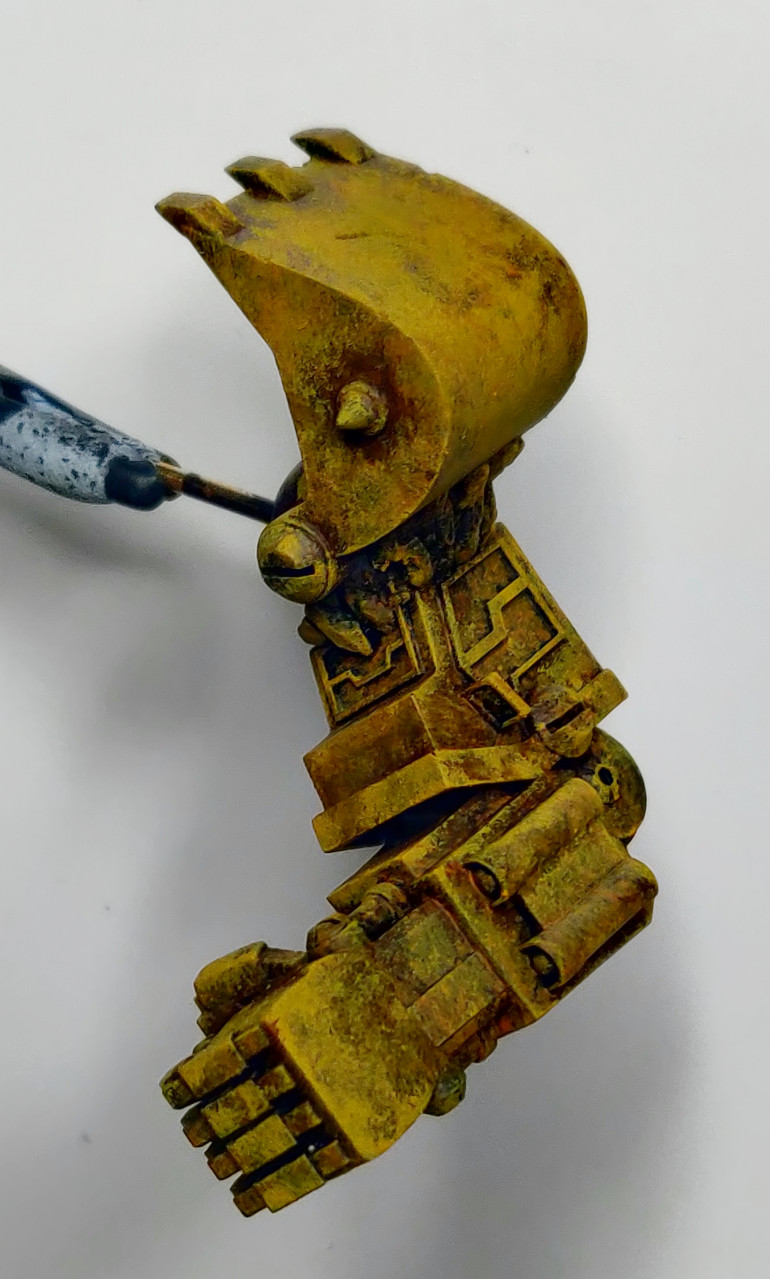
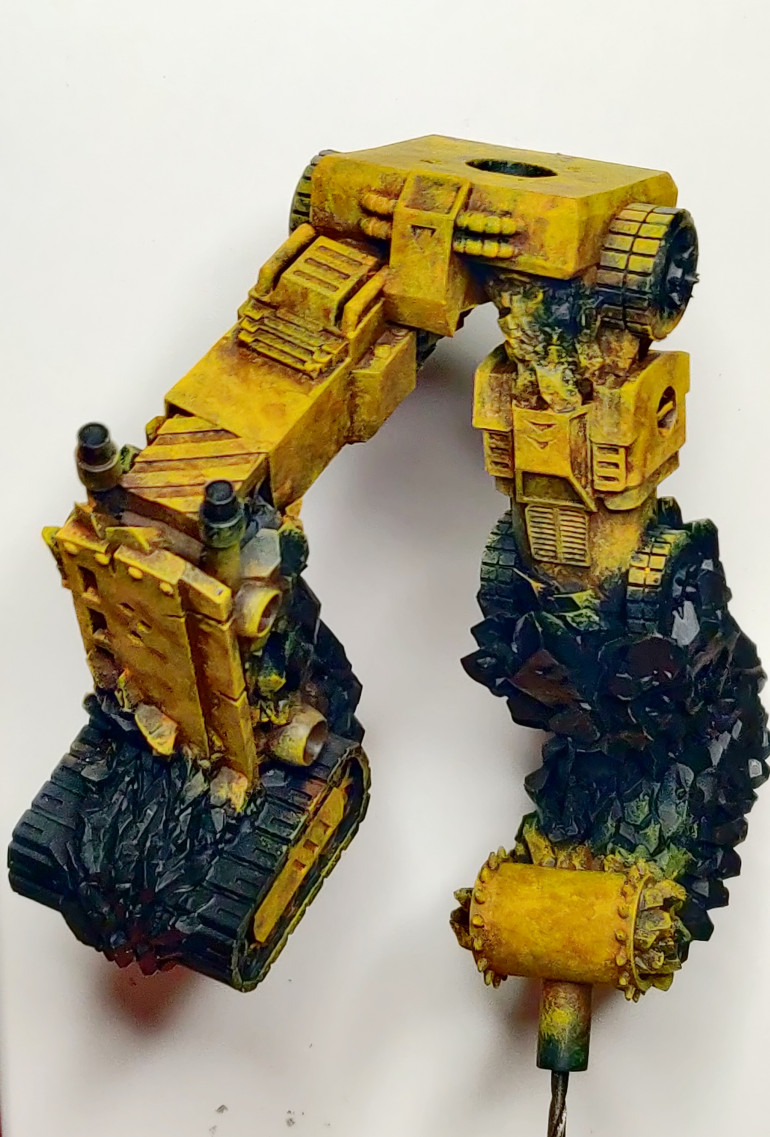
As Destroyer is huge, he really is, I struggled to photograph some of the individual pieces he comes it, it was easiest for me to begin his paint job as sub assemblies. Once I have gotten most of the basecoats down I will fully assemble him so that I can then get the shadows and highlights into the correct places.
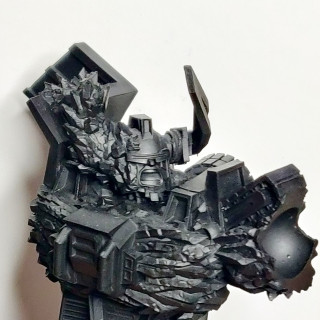
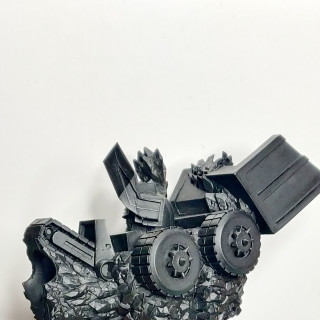
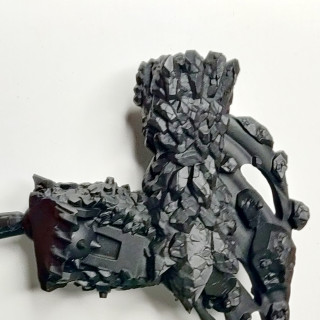
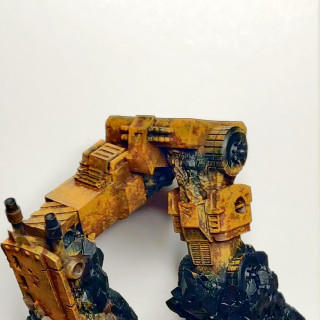
The sub assemblies comprise of the main torso and head (the same as my test piece), left and right arms, and then the lower body. These had bits of paperclip drilled into them to help give me something to hold onto whilst painting and for drying.
The parts were first given an airbrush coat of Badger Stynelrez Black which was allowed to dry thoroughly. As a self-leveling primer it settles really nicely into crevices and hard to reach places so you can be sure to get a good even coat.
With the primer dry I started the Same yellow workup as before:
- Citadel Thondia Brown
- AK Interactive Orange-brown
These were roughly applied over the primer to show the black in the shadows and provide interest where the different colours overlap.
This workup is not too formulaic, it’s more of a random approach, working up the layers of Orange-brown over the Thondia Brown to deliver more saturation in parts or to show shadow. If i thought I went too heavy with the Orange-brown I would go back in with a stipple of Thondia to show aged metal and grime build up as you can see in the photos above and below.
This gives a good solid foundation for me to then start to apply the yellows which I’ll be working on next.
Basing part 1
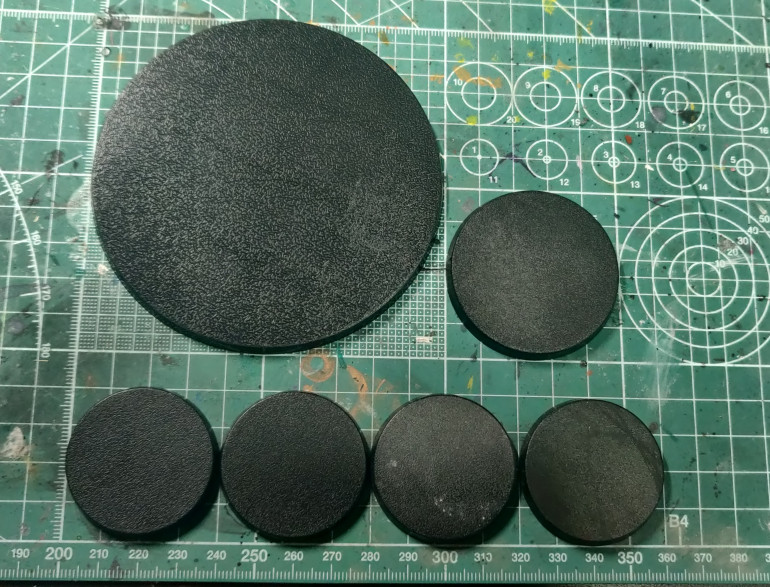
As I enter the later stage of the project its time to make a start on the bases for the bots and big guy. Most of the builder come on 40mm bases, with the “squad leader” Dumptruck running on a 50mm. Destroyer has a large 100mm base which should be sufficient to help stop him from toppling over.
100mm Destroyer
50mm Dumptruck
40mm Roller, Digger, Dozer, Loader
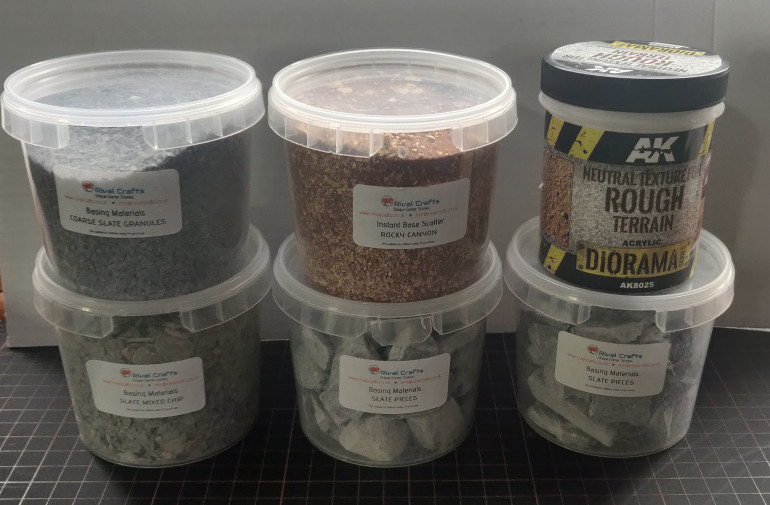
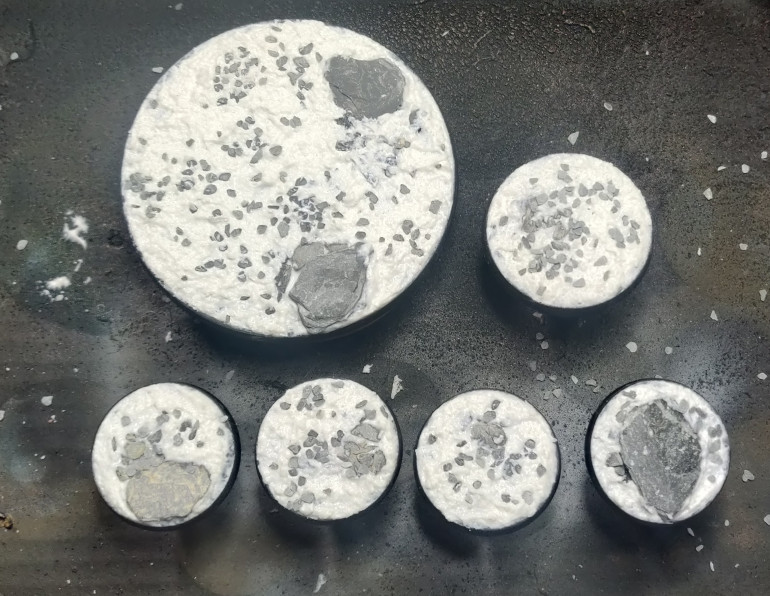
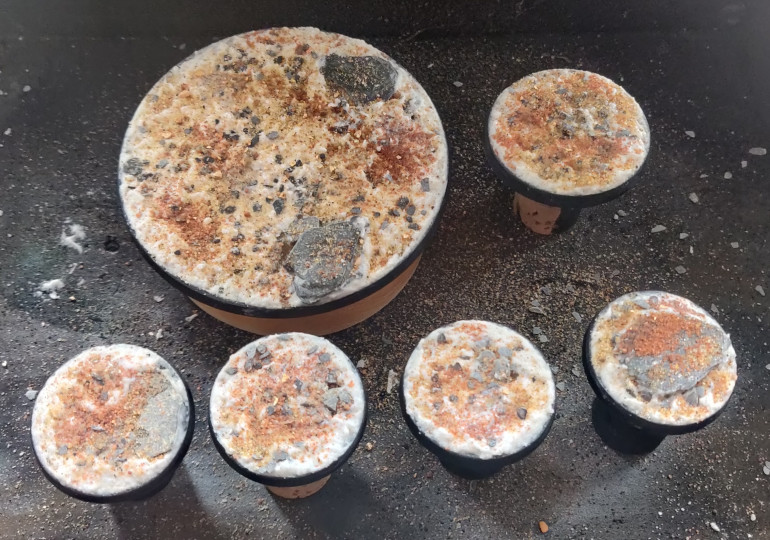
To keep these bots online with the rest of my collection I’ll be using my tried and tested basing technique which involves using a foundation of AK Interactive Diorama Rough Terrain, to which I add bits of slate, gravel and sand. All of the tubs in the below shot were from Rival Crafts based in the UK, I really like the tub of rocky terrain which has varying sizes of sand and grit, as well as gold foam pieces that make nice rocks for this scale.
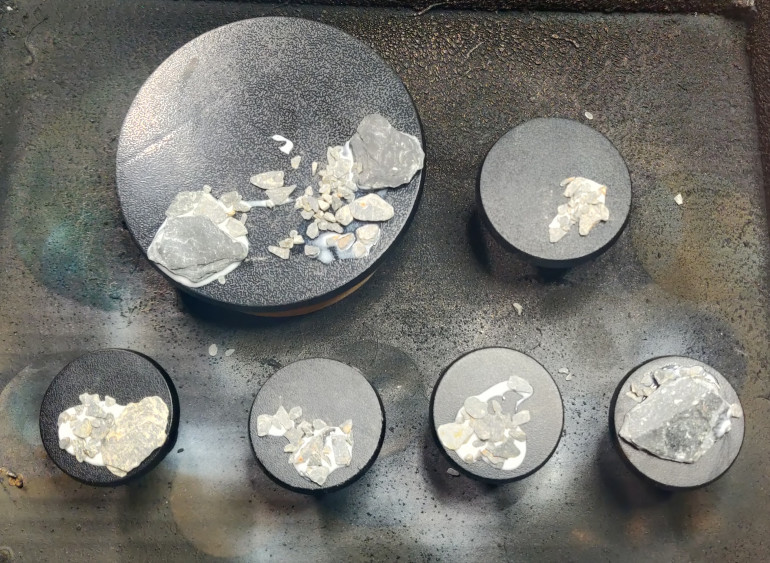
After cleaning any rough bits or flash from the plain black bases I use extra strong pva (not watered down craft pva) to stick down some large pieces of slate and a scattering of smaller pieces to some of the bases. There’s no logic to the placement, just trying to get some randomness but naturally looking formations.
Once the slate has mostly dried and is fixed in place I use a spatula to thickly spread the AK Interactive rough terrain paste over the whole bases and around the slate, making sure some of the slate is covered and others bits are poking out. This adds to the natural look and shows that the slate isn’t just placed on top of the ground.
This can take a while to cure and there will be some shrinkage in the paste, so after an hour or so I add in some more to any weird looking gaps around the edges. It’s worth also going around the rim of the bases with a clean finger to rub away any paste that overspilled, we want the rim to be extremely clean and smooth so it looks nice when painted, it will be a light brown colour by the end so will show any imperfections quite obviously.
With the rough terrain paste drying I lightly apply patches of watered down PVA and sprinkle over sand and the Rocky Canyon scatter mix from Rival Craft. Like seasoning meat for a BBQ it’s best to sprinkle from high up as this allows the grains to fall randomly and not clump up in too close an area.
After another hour or two with things starting to set hard, I give all the bases a blast with an Army Painter anti-shine varnish rattle can. This really helps solidify everything and give the slate a decent layer for the primer I’ll be applying to adhere to.
And that’s it for part 1. These will fully cure overnight ready for painting tomorrow.
Destroyer progress
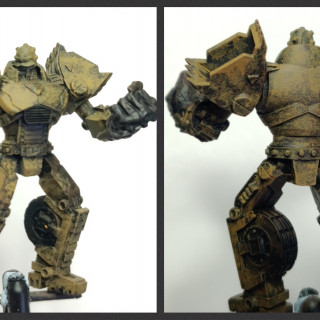
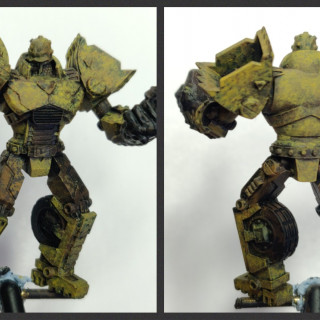
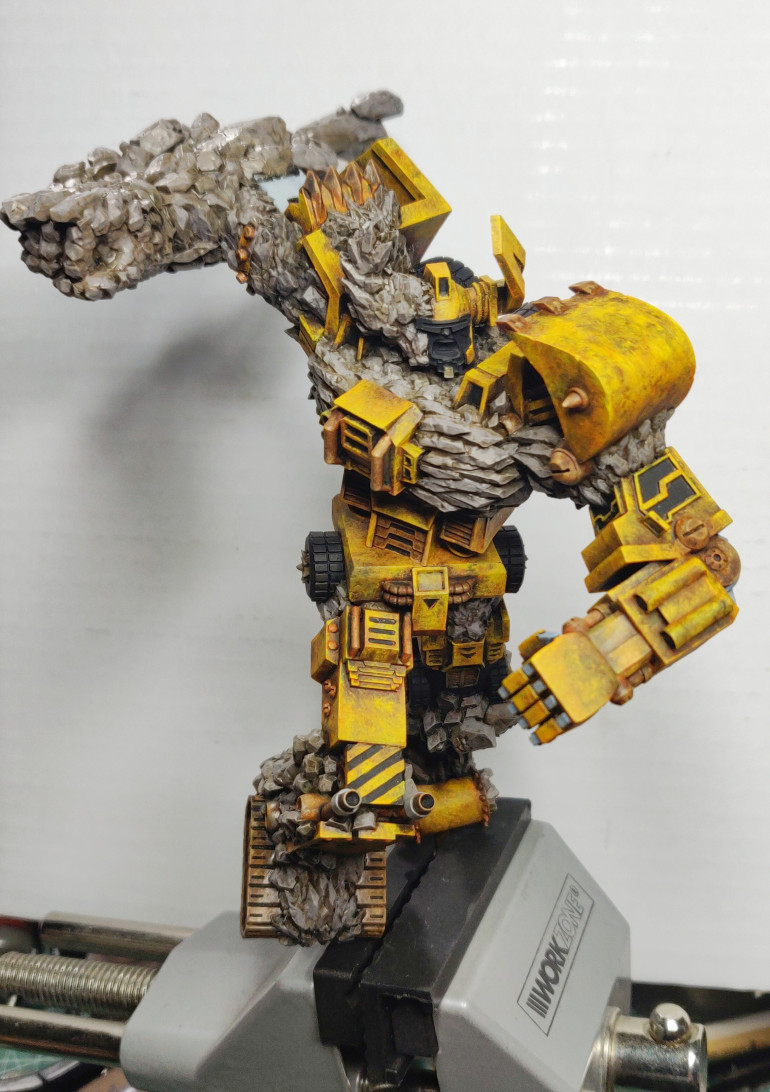
Plenty of progress has been made on Destroyer over the weekend, sadly not many photos were taken, I got in the zone and before I knew it I was quite far ahead.
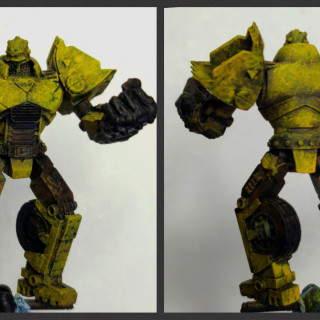
So what follows are a selection of what photos I have, and the current stage I’ve gotten to, enjoy
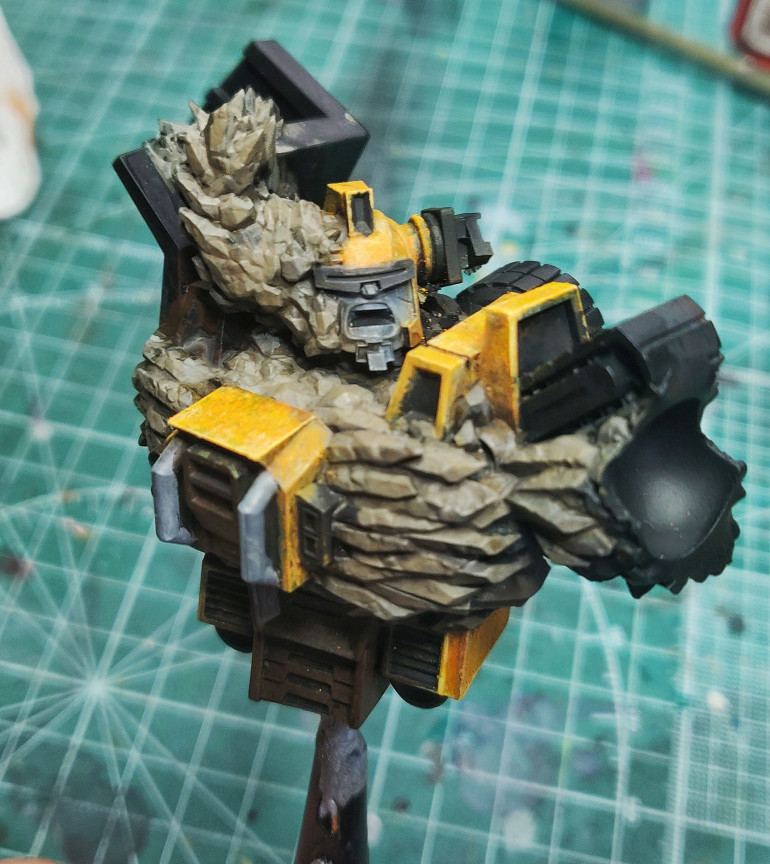
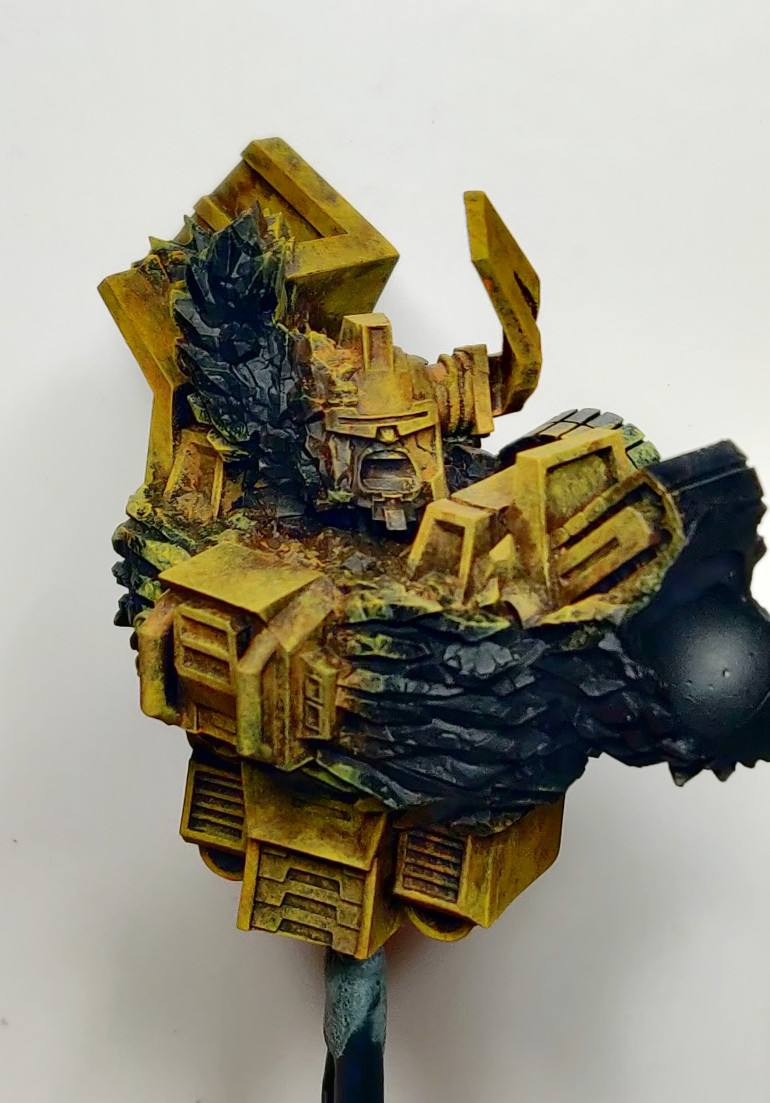
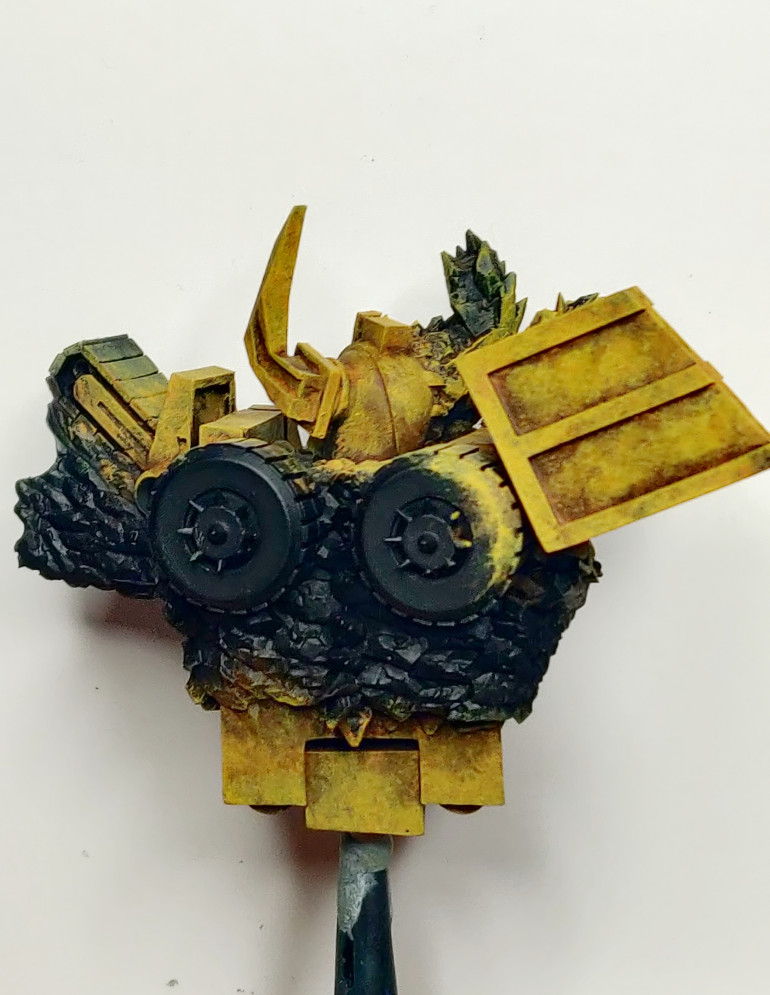
So as you can see I saturated the yellow using AK-Interactive Dirty Yellow and then pushed interest with Pro Acryl Transparent Orange.
After this I just cracked on and this is where I’m at.


