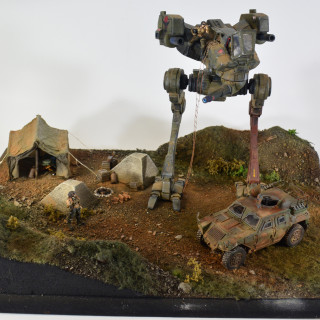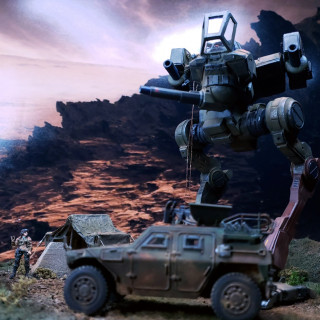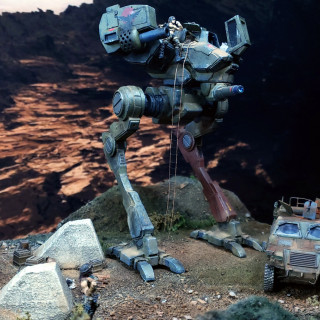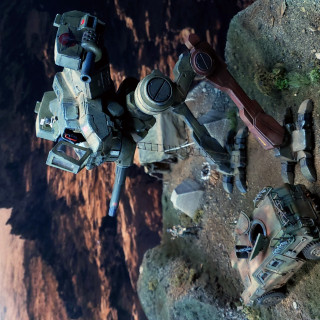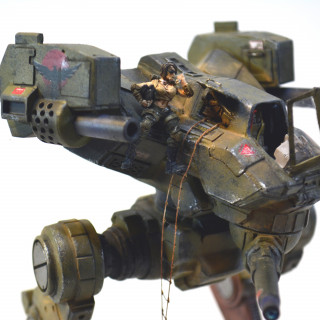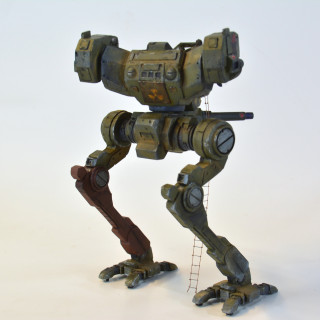
Battletech Mercenary Locust in 1/60
Recommendations: 174
About the Project
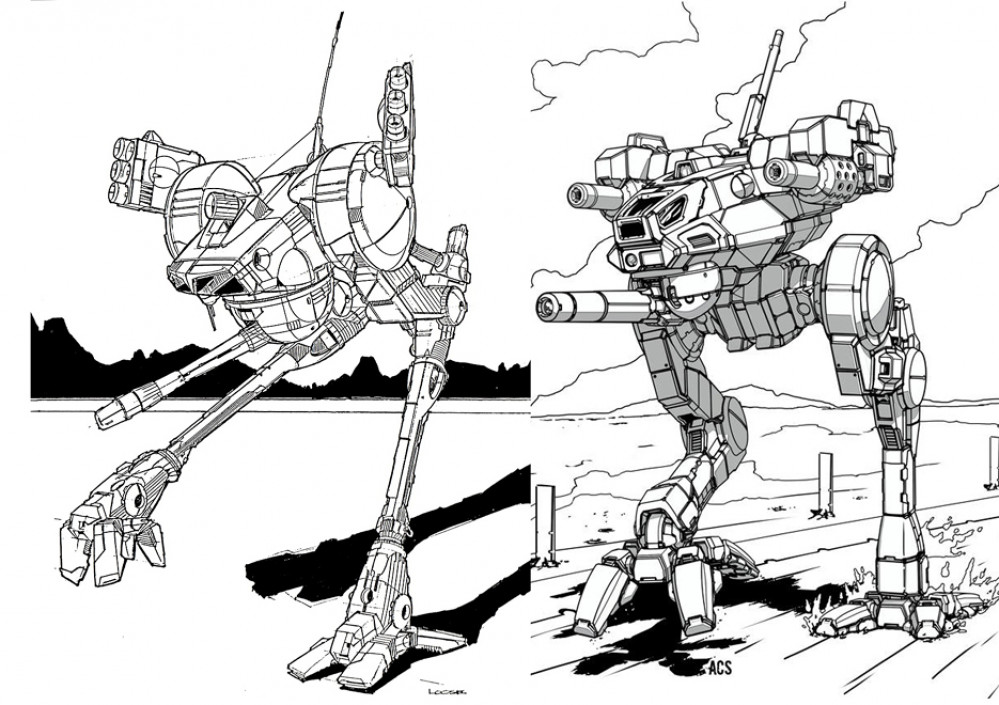
Way back "in the day" I'd seen a BattleTech custom build that stuck in my head for Decades. I've finally obtained a 1/60 Locust that I finally have the techniques, resources and materials to build a Diorama of a Pirate group running their lone Locust. 'Mechs are why I liked the Imperial Knights for 40K. Now that BattleTech is resurging.. I can actually get back to sharing the fun hobby.
Related Game: Battletech
Related Genre: Science Fiction
This Project is Active
Bringing it all together.
Having the idea in my head from the start really helped bring it together in the end. It conveys the sense I was after and it was a good learning experience.
The goal was to make even a 20-ton Locust look bad-ar$ed and it worked for my eye. A fAtlas might be dismissive of one, but from the perspective of troops on the ground, a BattleMech is still a BattleMech.
I have another ‘Mech on the horizon, and I’ll spend more time documenting the “how” of doing things, specifically the terrain and customization of the ‘Mech.
Of note – there are rules for 28mm BattleTech out in the universe. It’s more of a “garage floor” kind of game rather than table top, but I’ve seen them at Cons – and I’m not sayin’ that it’d make an awesome last day of a BootCamp, but I’m thinkin’ it’d make an awesome last day of a boot camp. 🙂
Diorama base.
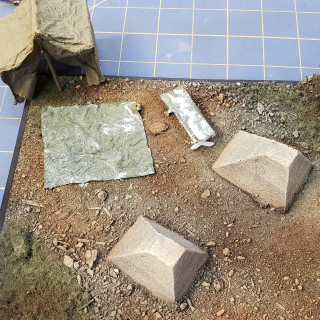
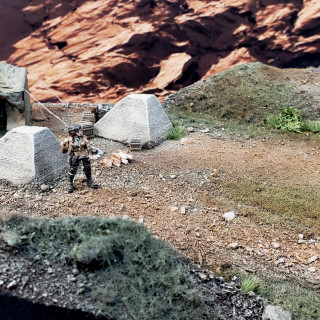
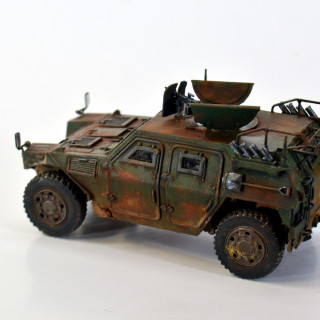
With the Locust done, the last thing to do was make the base. In this, I cheated a little. I scarfed a pre-made base off of Etsy, and from there I updated the colors and added some extra details. I wanted a “field camp” look, so I scratched in a tent and firepit, and also added a support vehicle. The vehicle is a model of a Japan Ground Self Defense Force Light Armored Vehicle that fit in well for the MechTech to use as a supply vehicle.
The pilot is another one of the Raging Heroes Junkyard figures. They just fit the whole Mechwarrior look. Once I got all these finished, all that was left was putting it all together.
Final details and finishing the Locust
With the weathering done, then it was on to the final details for the Locust.
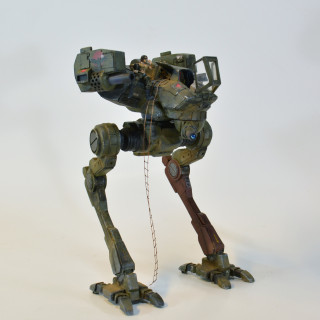
I needed to scratch make a rope ladder, and I just used the same techniques that ship builders do for ratlines. I made a quick jig, and with a couple thicknesses of thread and pva glue at the joins, boom, there’s a rope ladder.
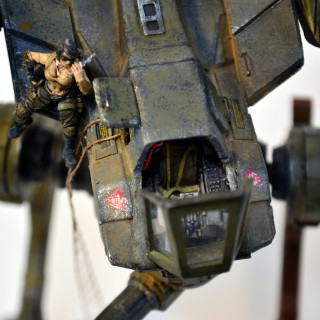
The MechTech is a Raging Heroes Junkyard Girl model. I looped her left leg through the rope ladder to give her something to perch with, and there’s also some small grab handles across the torso in locations that make sense. The stowage bin has a couple of bolt action backpacks and a trenching tool, just because they looked about right.
Lastly, I cut some pieces of lexan (that’s overhead-projector-sheets for you folk of an age) to make the glass for the cockpit canopy.
With all that done, one more pass with sand pigments and the Locust Mech is done. On to finishing the Diorama.
Assembly and painting
Once the torso was done and all the custom build completed, it was time to turn to painting. What’s in my head is a small Periphery Merc band, working to make their way on some back-water planet just trying to survive. Even though the Locust is the smallest of the ‘Mechs, it’s still a ‘Mech and I wanted to give it a bad-ar$e look. The Emblem is straight out of Mechwarrior.
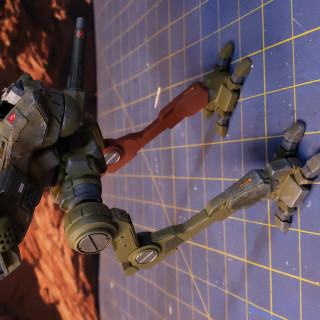
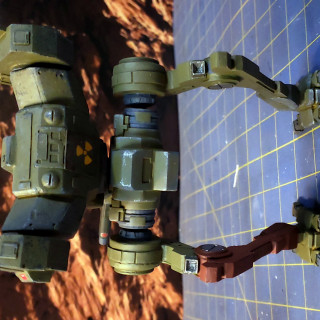
I chose to give it an overall green paintjob with an obviously replaced or re-plated leg. Once It got the base color, I beat the heck out of it. BattleMechs have been around for centuries, so I wanted the paint job to reflect that abuse.
Once the base colors were laid down and the custom-printed transfers were on, I went and used Armor modeling techniques to give it the worn look. I started with sponge chipping with multiple colors, and then a bit of brush chipping. Then I went in with the artist oil weathering techniques. I really love how they work – and the levels of color work we can get with it really gets the look I was after.
I also intentionally heat-stressed the paint colors on the Nuclear Reactor hatch, with the idea to give it the same kind of look that ww2 tanks have on their exhausts.
Building the Cockpit.
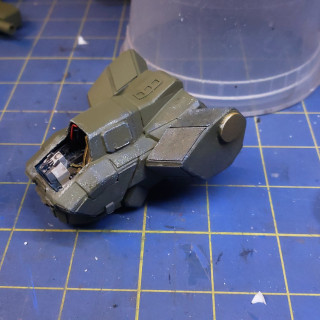
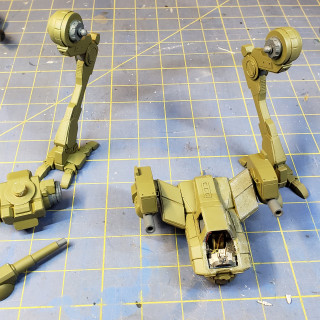
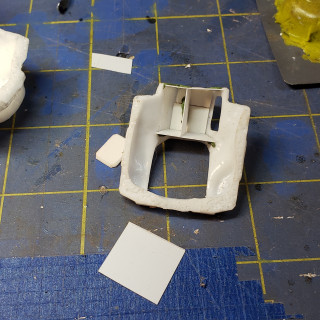
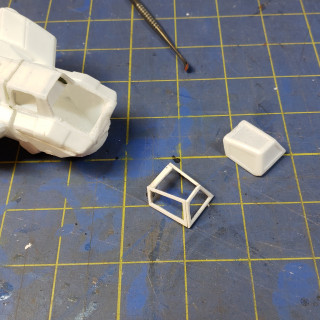
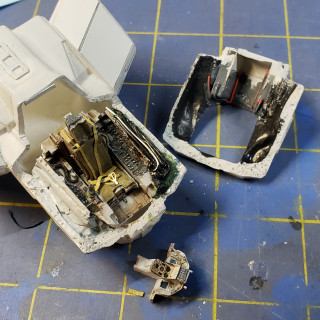
The kit I got was a resin cast (not printed) of a hybrid version of the Locust and took off with it. First thing I needed to do was hollow out the torso and scratch build the cockpit and torso storage. I had a couple of Raging Heroes minis that I had been holding for just this sort of a dio.
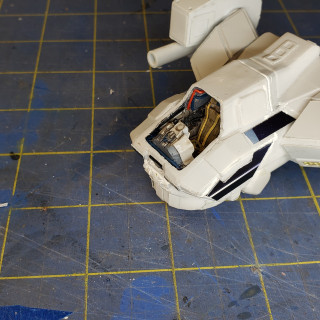
I took a 1/48 F-16 cockpit and then scratched in the pieces I needed. Once that was all done – we buttoned up the torso and laid fresh armor plating over the gaps. I also had to scratch build the cockpit framework. That’s one of the advantages of the new design which makes it easier to custom work.
Then on to painting.


