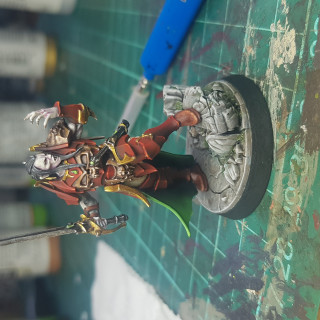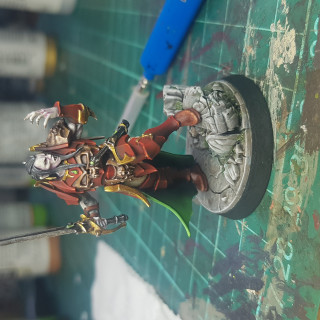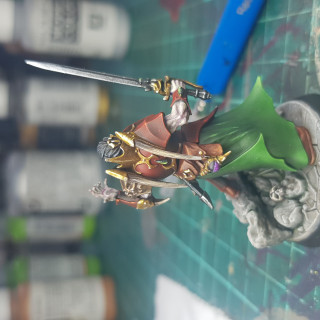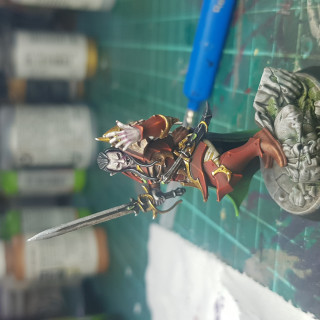
Minions of the Von Carsteins.
Recommendations: 144
About the Project
With all the excitement over Vampires from GW this year I decided to start a Vampire Count's army in preparation for the return of the old world.
Related Game: Warhammer Fantasy Battles
Related Company: Games Workshop
Related Genre: Fantasy
This Project is Active
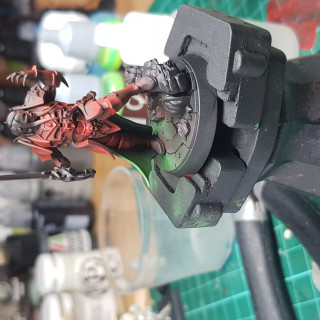
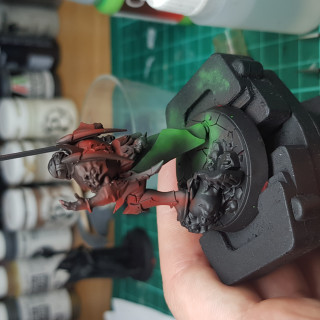
Pieter von Carstein
A Vampire Counts Army needs a Vampire Count to lead it. Bring in the new Crimson Court Box for Warhammer Underworlds Direchasm.
By Sigmar these are such amazing models! I like them so much I will forgive their silly-shaped bases.
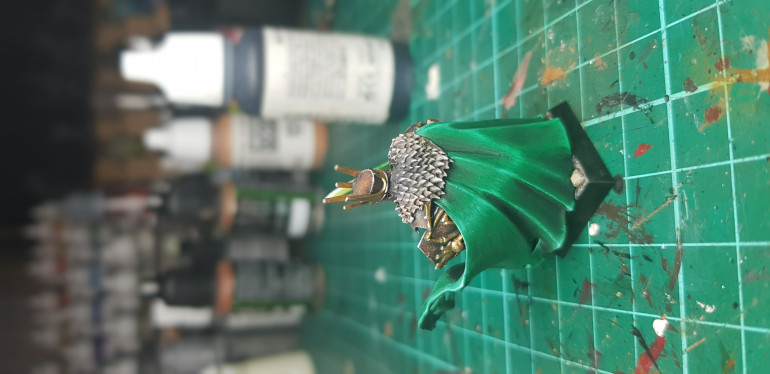
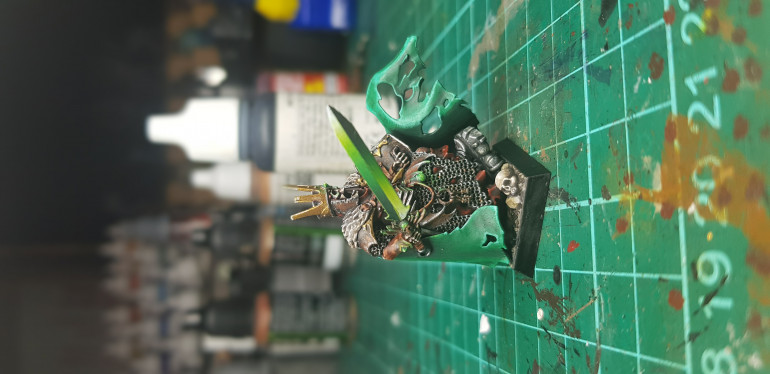
Anywho….meet the general of my army, PIETER VON CARSTEIN.
When playing the Vampire counts on Total war I’ve always enjoyed how the randomly generated lords are commonly given the Von Carstein name. Much like any true Grognard of the Old World, I also love reading the fluff in the Army books. Pieter von Carstien was featured in one of the little short stories that I found on the page describing the Grave guard. I imagine him to be sired by Vlad or Isabella von Carstein.
This short story also gives me a name to my Wight King, who I will now call ASTERON, ‘Long dead king of the Dolgars’.
I painted the main volumes of Pieter with my airbrush.
The deep red Armour was started with a dark mix of warmer reds. I mixed GW Maphiston Red with Vallejo Hull Red and Vallejo Black and layered down an even base coat to the armour panels.
I then highlighted/layered the Armour with GW Miphiston Red and Vallejo Hull Red.
Each layer is applied whilst attempting to cover less than the last, concentrating towards the centre of the previously covered areas and trying to mimic how the light would be coming from above by mainly shooting the airbrush downwards on the model.
Another point would be that the mixtures include airbrush thinner and flow improver. I’d say this is essential when dealing with thicker paints like the GW layers when using an airbrush with the tiniest of needles. Any video by Angel Giraldez on youtube will show the consistency of paint that should be mixed before building the paint up in small bursts. I’m clearly no Angel, but I’m pretty chuffed with the results I’ve achieved by trying to copy his ‘basics’…which are by no means basic. F*ck!!!! Airbrushing can be stressful.
The next layer is pure GW Mephiston red.
The Armour was then finished by edge highlighting with a regular brush. The first edge highlight was GW Evil Sun Scarlet.
The last Edge highlight was picking out the spiker bits of his armour with GW Troll Slayer Orange.
Using a reasonably spent brush, I then used MIG Liquid mask to cover the armour areas around the cape/skirt.
Once the mask was dry i used a mixture of Vallejo Flat Green and Vallejo Black to lay a base coat to the cape through the airbrush. I then layered some Vallejo Flat green onto the extremities of the cape being sure to leave a decent amount of the base coat visible towards his waste.
I then added some Vallejo game colour-Escorpena green to the Flat green to the mixture and layered over the previous coverage leaving a similar gradient between layers as I did to the base.
I didn’t like the results where his cape folded over at the back so i then used the liquid mask again to cover the cape area that was not ‘folded over’. I then repeated the above airbrushing steps to clean up the fold.
I then peeled the mask away using some fine tweezers…..this bit is possibly the most satisfying thing to do in our hobby.
Once the mask was completely cleared I applied an edge highlight of Vallejo Game Colour – Escorpena Green to the cape. I finished this by applying Vallejo game colour – livery green to the points/ extremities of the cape.
Black Knights
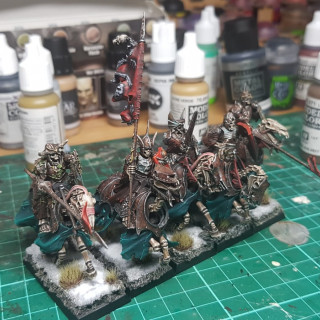
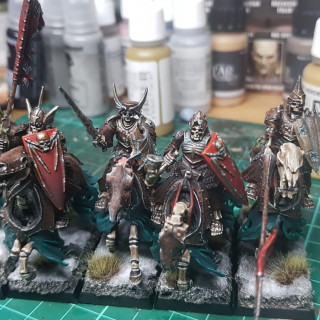
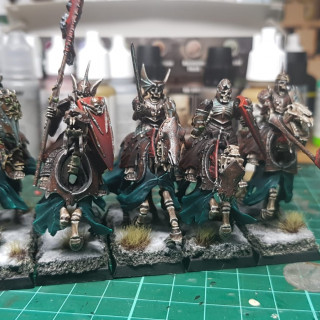
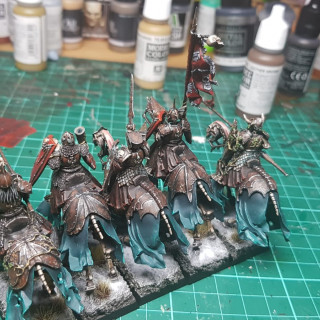
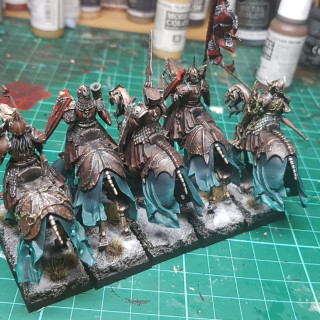
Next up are the Black Knights.
These are the second unit to fall out of the start collecting box.
Note: I don’t really like the big beasty from the end times that comes from this box. However, I am also working on an adjacent project to convert this miniature to my liking, and use the other characters in the box to supplement this army directly. I may release this around the time I publish this project for the masses to see.
Apologies for the crap photos, they are a bit blurry because they were shrunken files for social media distribution.
These are competed using the armour techniques from the Wight King and the red cloth colour scheme from the skeletons.
I think the only new addition worth mentioning here are the horse coats on the skeletal steeds. These were airbrushed using a progression of Vallejo- Emerald Green, mixed with Vallejo Black and White to go from the deepest colour up to the brightest edge highlight( the latter highlights were applied with a regular brush).
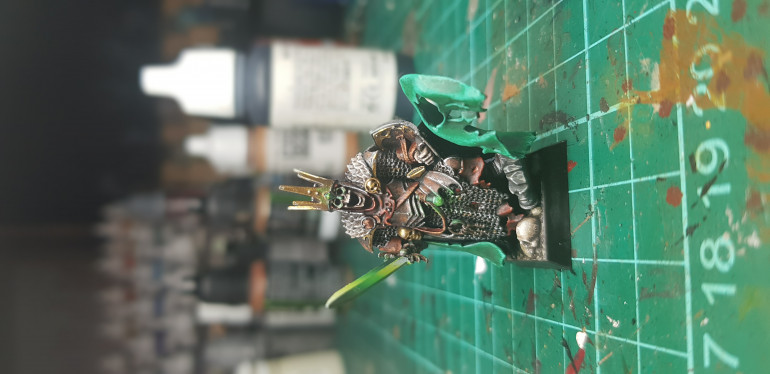
Much like the green cloak of the Wight King against the green cutting board, these are again washed out by my choice of background, so apologies again for my lazy photography skills that are proving to be somewhat lacking.
The Wight King
What does a horde of skeletons need? A skeleton with a spikey crown to lead them….
I’ve always thought the Wight king model was awesome….
I thought I’d practice a few techniques to make him a bit more flash.
It’s probably worth starting by explaining the shift in stance on rusted armor when compared with the skeletons. Where I wanted the skeletons to look more like they had dug themselves out of the dirt( despite their immaculately clean red cloths, flags, and banners), I wanted the Wight king to look like his armor had rusted in the open (stale and damp) air of a tomb or barrow.
The scheme is as follows:
Basecoat: Vallejo Metal Colour- Gunmetal Grey
Wash: GW-nuln oil.
Stippled layer: Vallejo – Hull Red -Stipple and stab each steel panel covering most of the panel. Make the stippling most intense towards the center of the ‘panels’ allowing more of the dark metallic color to show towards the edges.
Stippled Highlight: Vallejo – Orange Brown – Lightly stipple this towards the centre of the ‘panel’ spaces where the previous step is most dense.
Edge Highlight: Vallejo Metal Colour – Aluminium.
I feel the best example of this working is on the top of the King’s kettle helmet that the crown sits on top of. For a real-life example, just search ‘rusted sheet metal’ on google images.
The cloak was the next feature I stretched my painting skills on.
The colour used is Vallejo deep green. It is darkened and brightened using Vallejo Black and White.
I started with an attempt at wet blending. Although there were some initially successful results I got fed up with pulling it back and forward and started layering and highlighting the raised areas with a more scratchy brushstroke technique that was not only much quicker, I thought it looked much more like a fabric of some description.
I can’t really remember how I achieved the dirty fir around his shoulders but i think I sloshed on some layers of grey (pretty unceremoniously) making it darker closer to the centre (mixed with black and white). I then washed on some GW- Agrax earth shade and then picked out the tips of the fur with a lighter shade of grey on my wet palette.
The last thing I wanted to try was the weird ‘Warp Stone Shard’ looking Tomb Blade.
I followed a highly recommendable YouTuber’s video using a ‘Hot Green’ colour scheme.
https://www.youtube.com/watch?v=r7me7OB3XP0
I could be wrong, but think I used a mixture of the following:
Vallejo-Black
Vallejo-Deep green
Vallejo-Light green
Vallejo-Deep green
Vallejo-Lime green
Vallejo-Yellow green
Vallejo-White
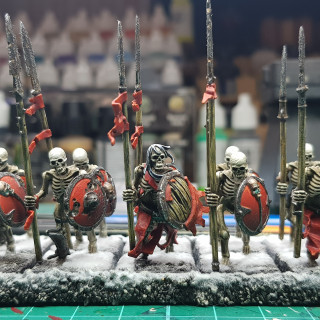
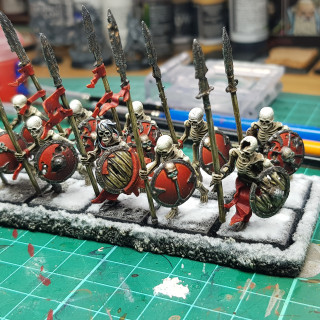
The skeletal Horde
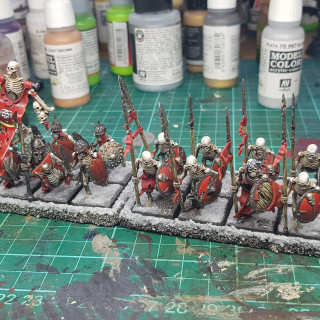
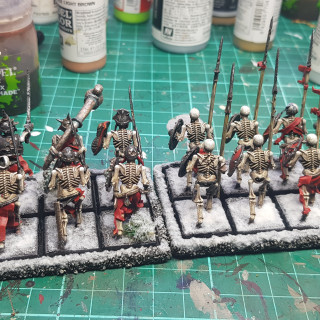
I thought i’d start with a core unit. I had two boxes of skelebobs. One from the Skeleton Horde ‘start collecting’ box and an additional ‘death rattle’ box.
I couldn’t decide if I wanted them to be a unit of spears or swordsmen, so I decided to do 10 of both.
This meant that I could align my aesthetic preferences by taking all the none-armored components to make the spearmen and the armored components to make the swords men.
These skeletons were then superseded by the new skeletons around the time I was painting them, so I ebay’d a couple of extra boxes to later fill the units out.
They are based up with some Greenstuff world square bases as they should be.
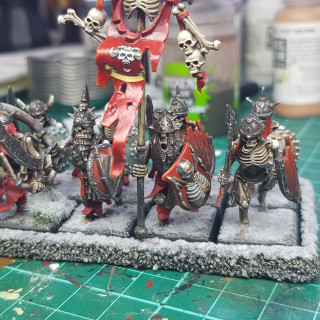
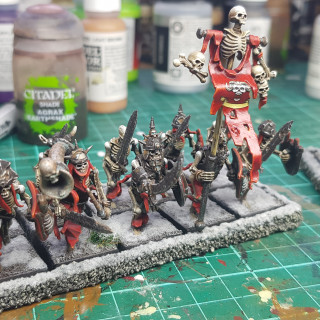
The emblem on the swordsmen banner is also a GSW addition.
It’s quite noticeable in these photos that I didn’t dust the static snow/grass ‘ off enough.
The banner is also annoyingly shiny/satin-finished because I painted the matt varnish on with an old brush. This should be fixable by spraying the matt varnish through an airbrush later on.
I also need to add a word to the banner to finish the emblem.
I’ll probably attend to this when I finish the regiments.
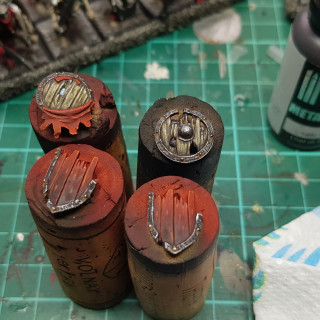
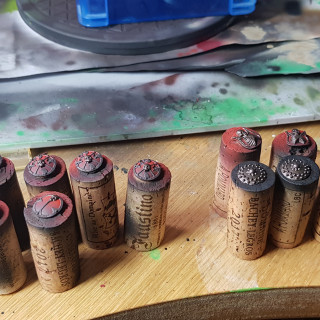
I was particularly happy with the shields so here are a few up-close snaps whilst they were still on their paint handles. They are also quite useful in showing the paint scheme with the exception of the bone and brass.
The paint scheme is as follows:
Bone:
Base coat: Vallejo German C. Black Brown
Highlight: P3 Beast hide – 45-degree angle from above with an airbrush.
Highlight: P3 Jack Bone -from directly above with an airbrush.
Wash: GW Agrax earth shade
Dry brush: P3 Jack Bone – all over
Dry brush: P3 Menoth White Highlight – Biased to the upper surfaces
Dry brush: Vallejo white – top of the skull and the shoulders.
Cloth and shields:
Base Coat: Vallejo Black and GW Khorne Red -Airbrush for smoothness.
First highlight/layer: GW Khorne Red- Airbrush from above and/or build upon the raised areas.
Highlight: GW Mephiston Red- highlight/ develop on the previous step.
Edge Highlight : GW EvilSunz scarlet
Edge Highlight: Trollslayer orange. Picking out Points etc.
Exposed Timber:
Base coat: Vallejo German C. Black Brown
Layer: Vallejo -Green Brown
Layer: Vallejo- Green Ochre
Highlight: Vallejo – Silver Grey
Final Touch: GW Agrax Earthshade – Dab this in-between individual slats of the shields.
The shields were easy because the grain was modeled, but the spears were a little more challenging.
I started with dabbing a few knots along each spear and then built the grain and highlights waving around them.
Rusted/dirty metal:
Base Coat: Vallejo Metal Colour- Gun Metal Grey
Dirty/Rusty effect: GW Technical Paint- Typhus Corrosion
Re-establish the metal: Vallejo Metal Colour- Gun Metal Grey- Make scratchy brush strokes across the main bodies/ central areas of larger armour panels. I scratched inwards from the outer rim/edges of the shields and blades. leave as much of the dirty layer as looks right and leave the grittiest deposits un-touched.
Edge Highlight: Vallejo Metal Colour- Aluminium. This is done lightly allowing for a bit of a ‘dry brush effect’ where it runs over the gritty texture. pick out all the bolts/rivets/ spikes etc.
Extra rust: Vallejo Orange Brown- water this down and dab it under the bolts where it looks like rusty water as spread the corrosion. Also, dab this in any corroded holes. ( Note. It might be worth scratching a few edge highlights back on from the last step….or even do this before the edge highlighting) .
Bronze/ brass:
Base Coat: Green Stuff World -Dark Bronze
Layer: Green Stuff World -Gladius Bronze – Stipple this on, but cover most of the base coat.
Warning: I find these paints quite thick and quick drying. They are perfect for this stippling action, but the drying time is something to be aware of as it becomes a race against ‘clagging’. Add a bit of water for good flow if applying normal brush strokes, the pigment content is pretty good so it shouldn’t thin out too much.
Edge Highlight: Green Stuff World – Tin Metal Grey
Patina: GW Technical Nihilakh oxide- Be frugal! I often find this too intense,


