Frostgrave: Post Covid Gaming
Recommendations: 323
About the Project
I'm aiming to paint up everything I have for Frostgrave. Once we can start meeting people indoors again, a few friends and I are going to dip back into the gaming side of the hobby with second edition so it seems like an excellent time to spruce up and finish off.
Related Game: Frostgrave
Related Genre: Fantasy
This Project is Active
The Bestiary Painted - Batch 4
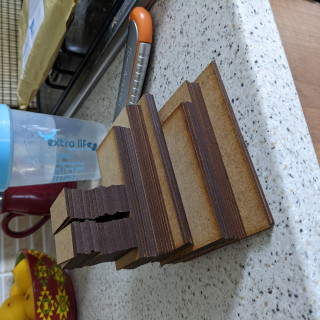
A rescheduled RPG session meant I missed the UHH live this week so just caught up with it today. Let’s start out this post answering what was asked. All the bricks in the buildings shown in the first post were cut by hand because I don’t own a hot wire cutter and I likely never will. They were made from foam flooring tiles (EVA foam) so they cut very easily with scissors or a Stanley knife. Easily but not very quickly. I made them with what I had on hand at the start of the first lockdown so I had terrain for some solo gaming. I was never a big fan of them and as this project has gone on, switching to the MDF kits was worth the two months of budget.
Now onto what I came here for:
Living Statues
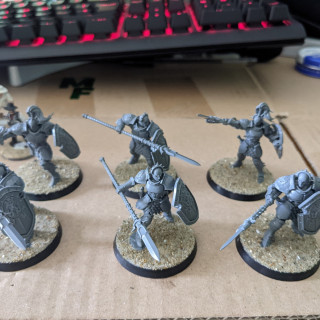
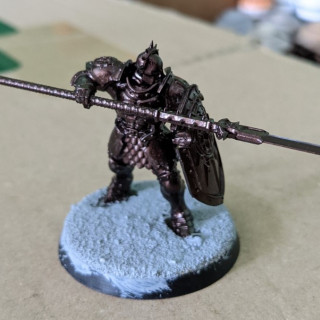
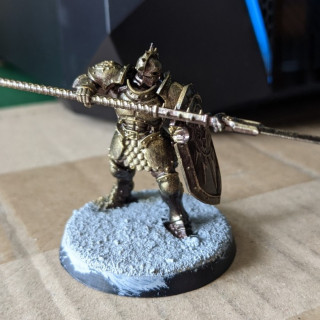
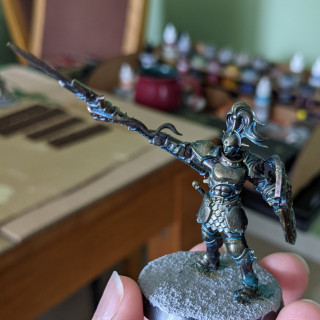
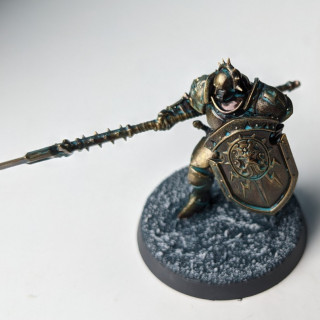
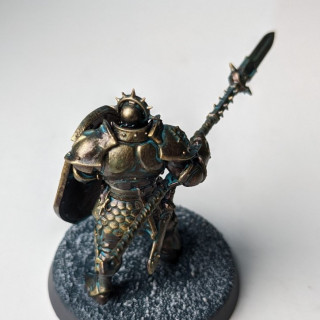
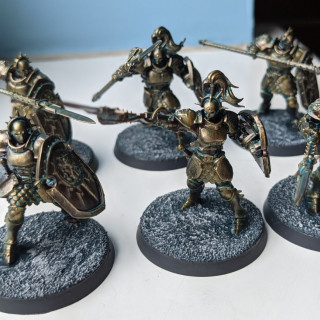
Needed for one of the scenarios in the core rulebook, five statues that can come to life. Five is just awkward so I went for six. Not an original plan but I made some of the new Stormcast picked up on the cheap and they look pretty good.
Base colour Warplock Bronze
Drybrush Retributor Gold
Wash with very watered down Vallejo Blue Green
Drybrushed back up with Retributor
Based to match the rest of the Frostgrave minis but I’m still not sure I won’t change that later to look like they are on tiered pedestals.
The Terrain - Part 2
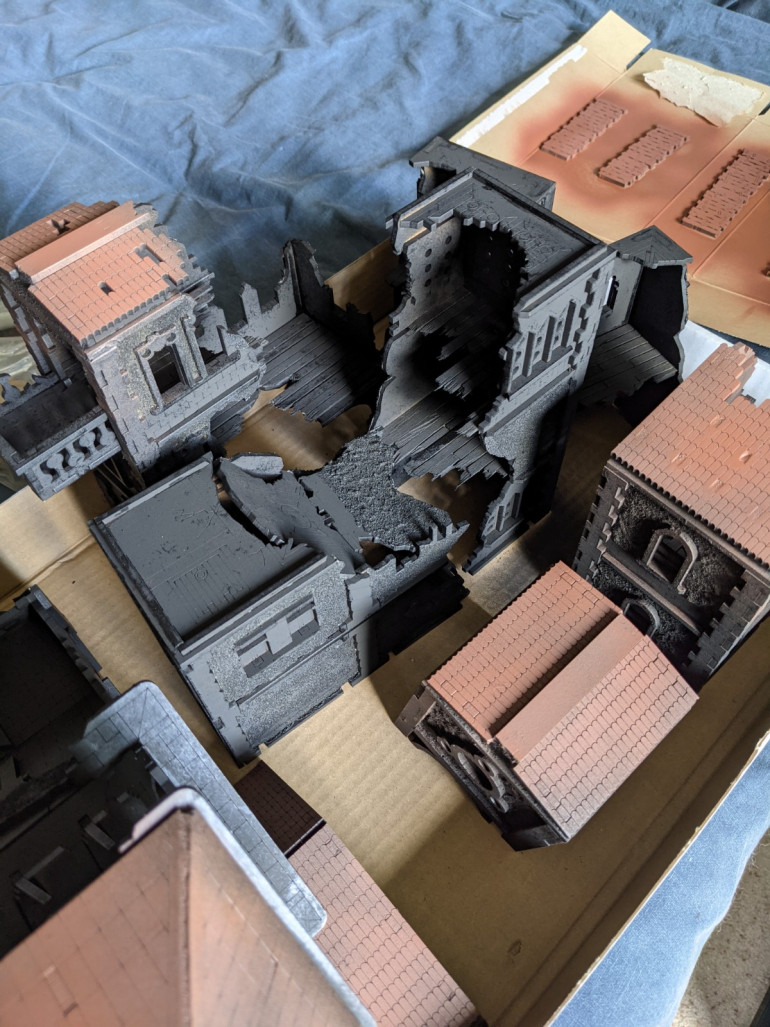
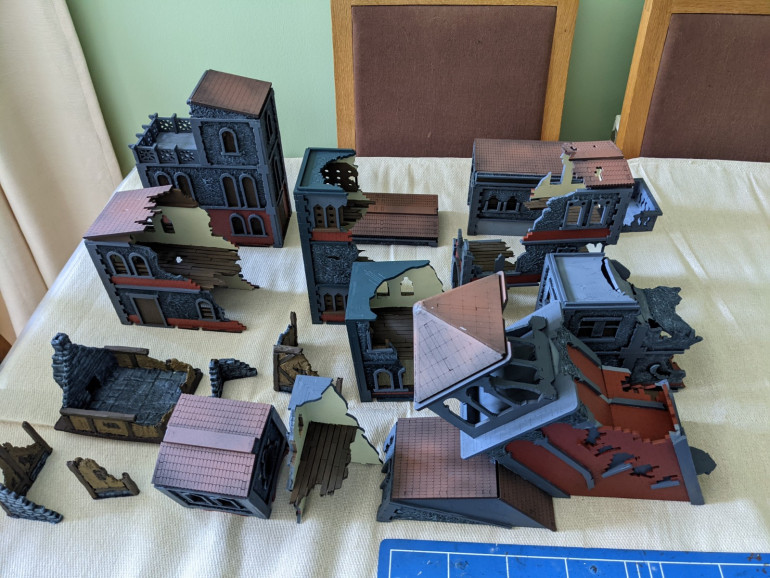
After all the work on building and texturing, I had them all primed in black and a bit of a dusting of fur brown over the rooftops. Then I chucked them in a box and ignored them until three weeks ago. Now we’re getting ready to play and I don’t want our first games in 18 months to be with unpainted terrain or minis.
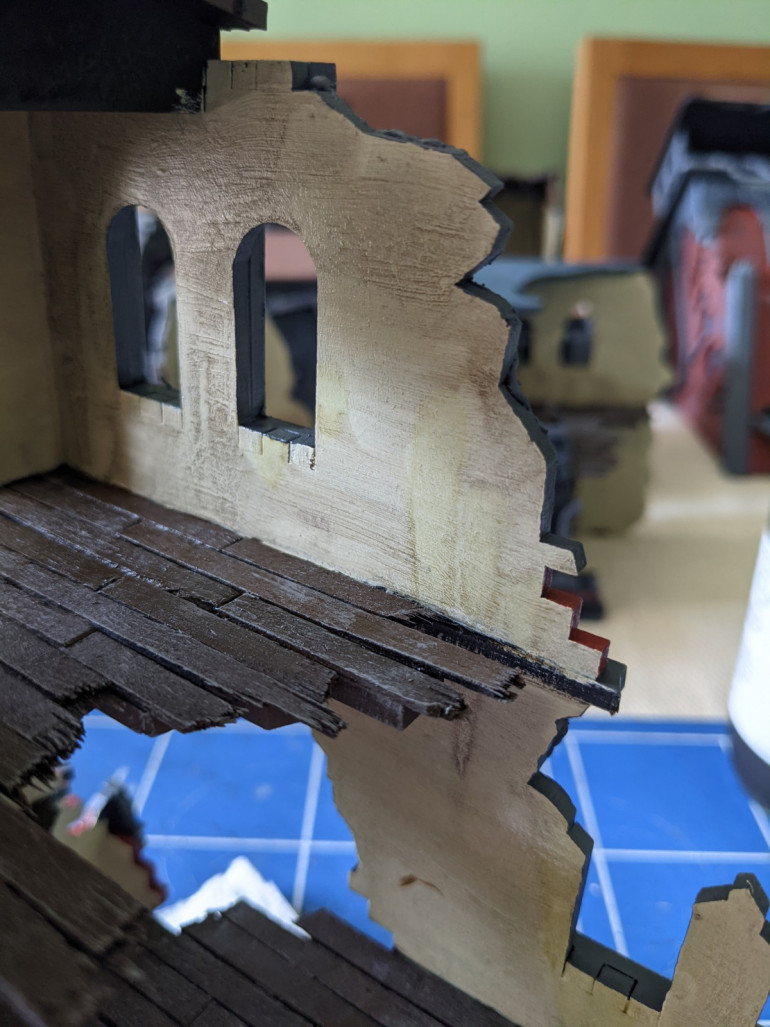
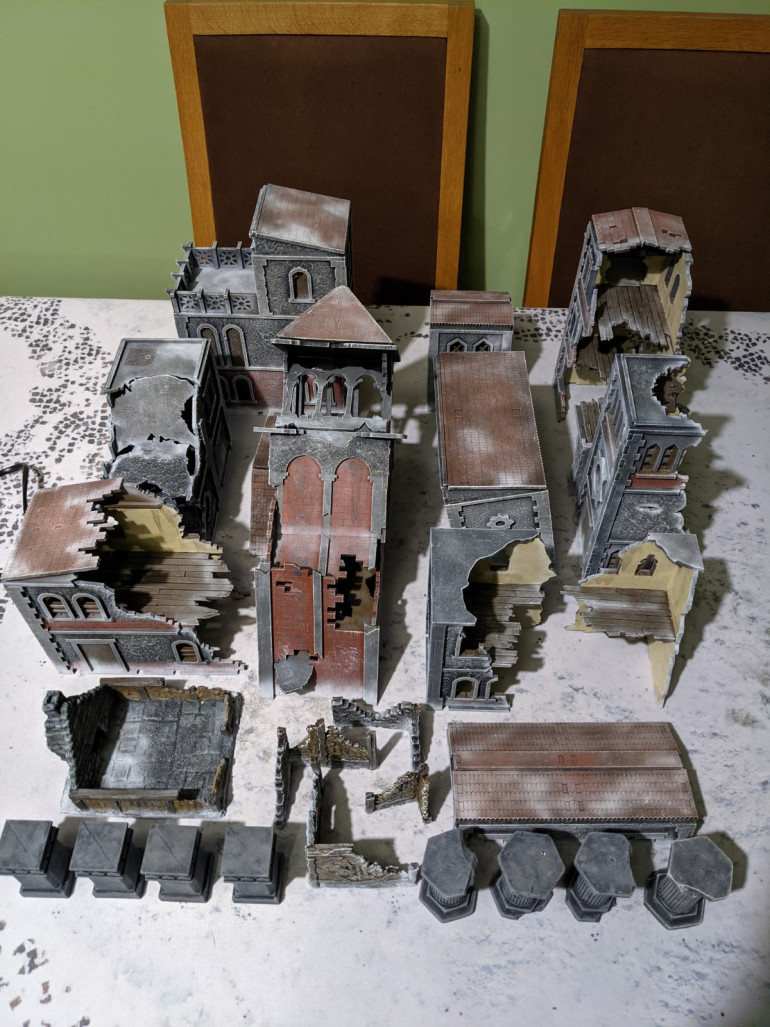
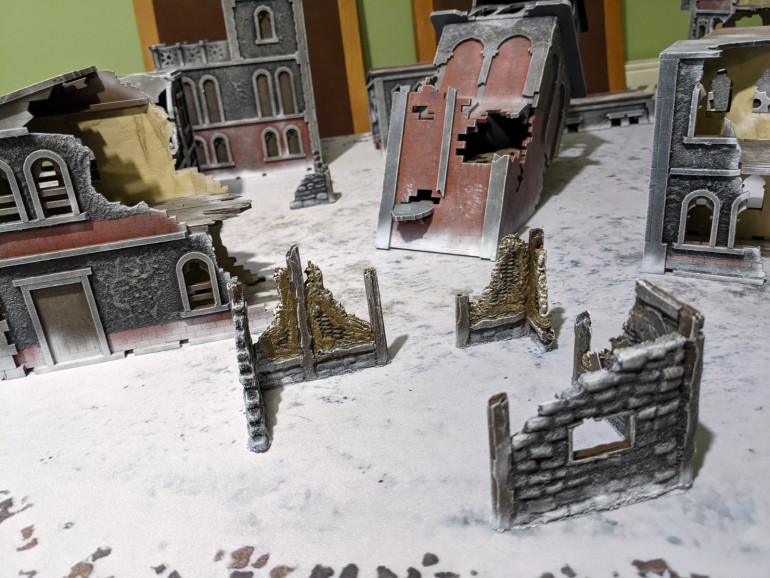
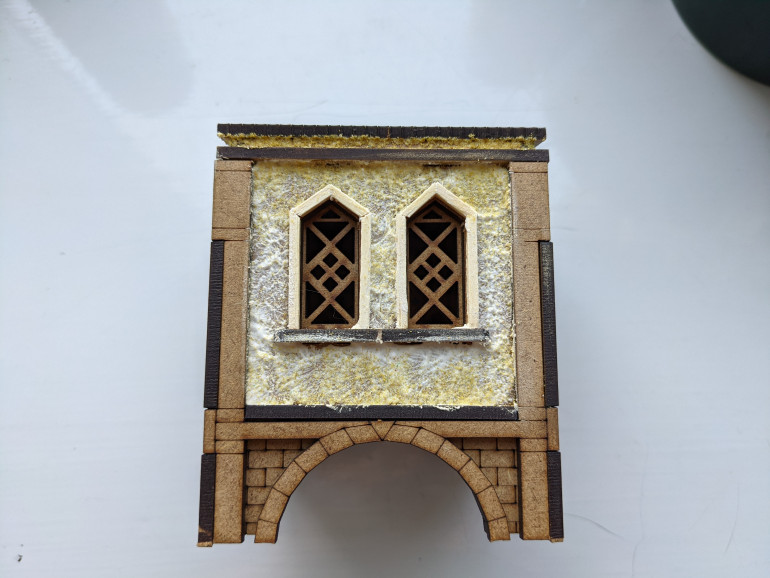
Wanted to keep the colour schemes with a little more interest in them. Using hobby craft acrylic paints, I mixed up a mid-grey, a dark grey, a dark blue/grey then a brick colour to break up the grey. Washed with a black/brown mix and then some light grey and white drybrushing. On the interior walls I put down some ivory but I kept it thick so it textured the walls for washes later.
Went in later with the cheap airbrush and blasted some white through it to frost things up and I’m pretty happy with how it all looks. Still got some extra kits to make up but there’s enough for the first few games.
The Terrain - Part 1
I had all these plans about using what I had and then seeing it all on the table I decided I wasn’t going to be happy with it. I wanted Felstad to have a slightly different look than the usual generic medieval stone walls. I also needed it to be cheap.
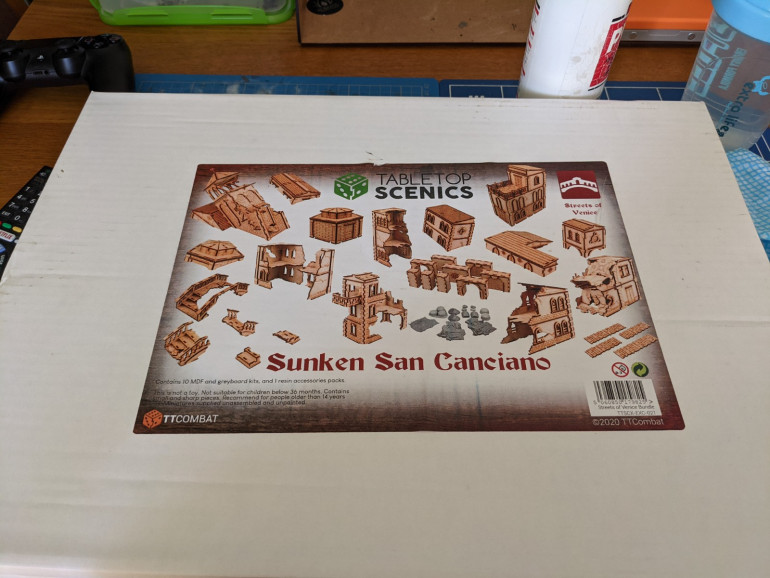
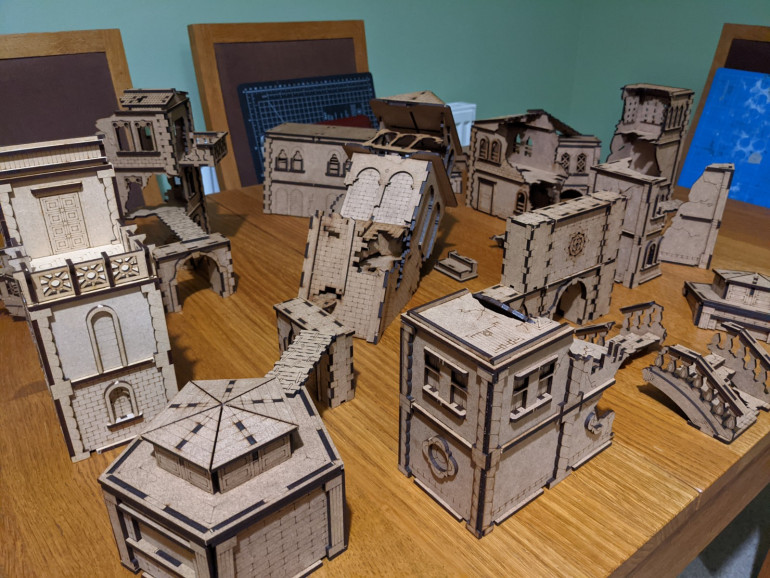
One of my favourite places in the world is Italy and so having a ruined frozen Venice seemed like a nice little twist. TT Combat do a range to go with Carnevale and had this box of kits thrown together as Sunken San Canciano. Mine will just be sunk in snow. 12 MDF kits and some resin scatter for £60.
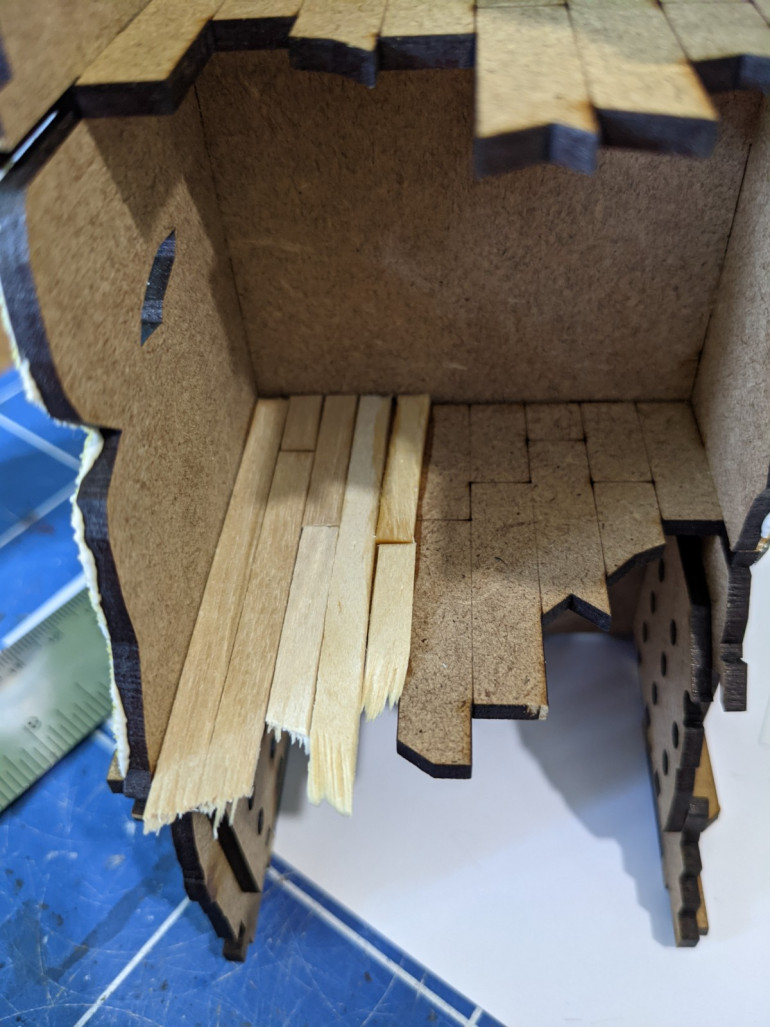
Cheap MDF kits do usually need some extra work on them to make them look better. All the work in this post was done over a week or so back in June.
The Bestiary Painted - Batch 3
Got some Gerry photos for this post. All a little blurry and not entirely covering what it meant to be in them.
Very happy with the speed of getting through these. In three weeks I’ve manage to paint 48 minis and built a table’s worth of terrain (more on that in a future post). Only three left.
From North Star
The second half of the constructs box and a snow toad.
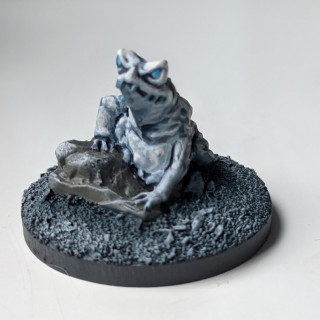
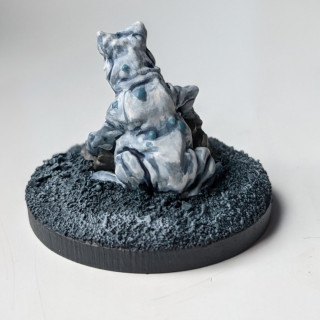
Toad was primed black, base colour was a mid tone blue and then multiple thin coats of Pallid Wych Flesh. I wanted him to have a very definite blue tone to him so he got a blue tone wash and more Pallid. The warts/lumpy bits are just a wee blue grey that I mixed up. I wanted them to stand out but not shout at you.
The little construct was just a mix of what was on my wet pallette. Very cute little mini but getting into that too-small-to-bother-with-details size
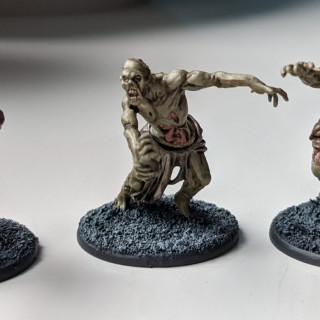
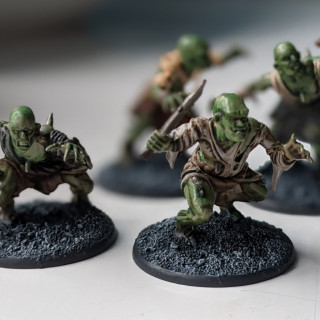
Undead from Mantic
Zombles and ghouls. I’ll be honest, I was halfway through painting them before I remembered they weren’t all just the same thing. Rather than re-paint all the flesh, I just used different washes. I need to go back over the ghoul flesh with a highlight but I was out of decent light.
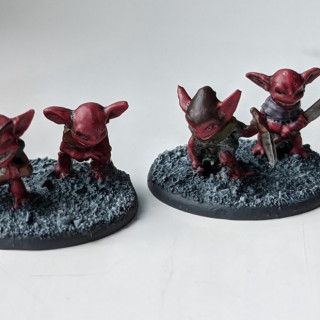
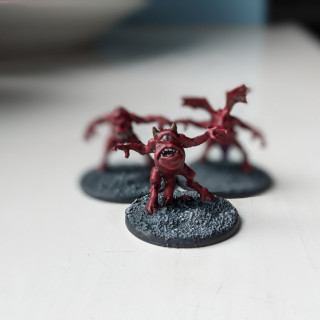
From Reaper
A mix of miniatures to make up my imps collection, Hordlings and Gremlins. I also had a thing called babu or something but it is an awful mini and I hate it so it’s not in any photos. Was going to go along similar lines as the snow toad but I decided that given they are so small, I’d go with red imps.
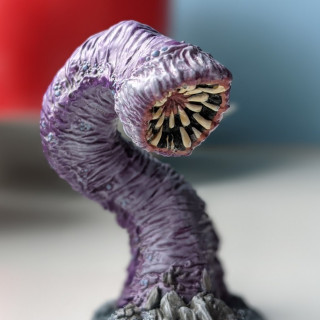
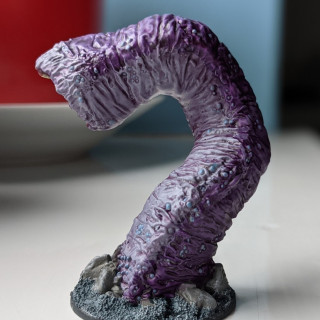
Last up was the Great Worm. This was a chance to start playing around with a skin tone scheme for an upcoming project. It was a fun mini to paint and I spent a whole evening on it instead of the six/seven a night that I have been working on.
You might see some some bubbles on these minis – for some reason the brush on matte varnish I use didn’t like these Reaper minis. Normally I wouldn’t even bother with varnishing minis but the North Star ones are all metal and had chipped a couple of times already. Now I have well protected metals and a bubbly worm.
As I finished up these, I got a nice delivery from Warbases. Bases for two of the next three projects. I’m telling myself that I have to work on the terrain before I start on anything else.
That’s what I’m telling myself.
The Bestiary Painted - Batch 2
These were all done over a couple of days. Again going for making sure there is some colour on each of them. The bases are as before; main colour is Coal Black (P3), dry brush Administratum Grey (Citadel) and [sparingly] Pallid Wych Flesh (Citadel)
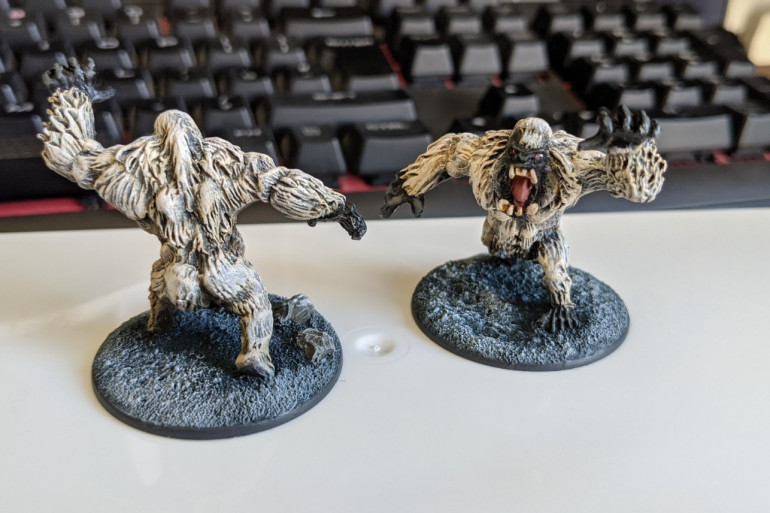
(Yellow) Snow Gorillas by North Star
It had to be done. I have no regrets. I looked for reference photos – that polar bear is yellow!
Primed black because again, polar bears.
Then I didn’t want the white tones to be too cold so I started by drybrushing on Rhakarth Flesh then Pallid Wych Flesh (both Citadel). Wash with sepia but rubbing it down with a bit of paper towel to keep it light. Then a final pass of Marrow White (P3)
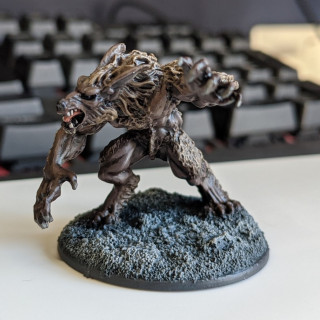
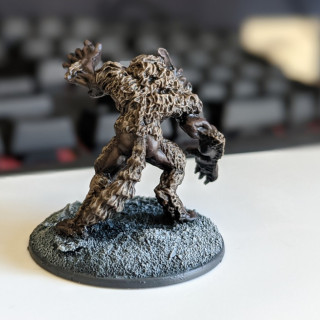
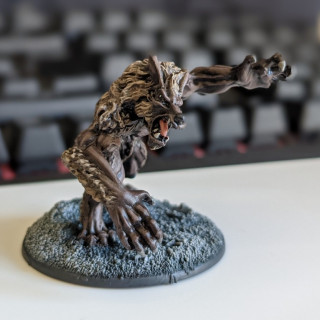
Werewolf by Reaper
They might not be the best quality miniatures but they are a dream to drybrush. Primed black then layers of drybrush Charred Brown (Vallejo), Steel Legion Drab (Citadel) over the fur parts. Muscle highlighting was just Charred Brown with some off-white paint to lighten the hue (I don’t remember exactly which one).
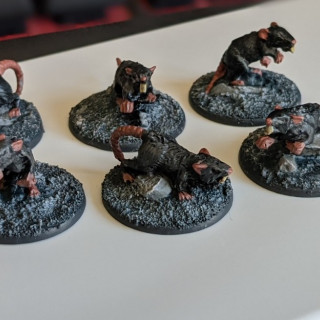
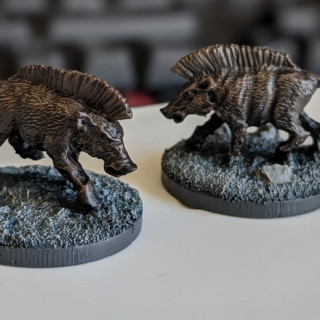
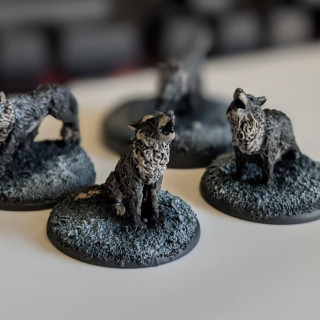
Wolves, Rats and Boars by North Star
More of the official minis for Frostgrave. Not going to lie, I did these last week and I have no memory of what colours I used but they were done in a couple of hours watching Blackjack Legacy’s Monday stream. Again, just largely drybrushing. It’s been quite freeing not really caring about making them my usual standard.
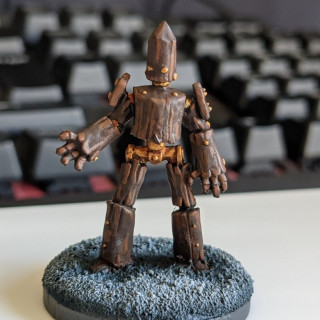
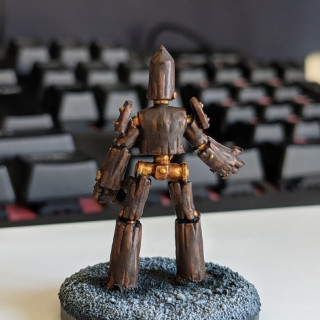
Also did one half of the constructs box. The colours here were thinking about this thing having been made by a wizard trying to show off so going for much warmer colours.
With that, this batch was done. Finally caught up to what I am painting this week
The Bestiary Painted - Skeletons
I may have mentioned (often) that I don’t enjoy painting terrain so after working on and off on Morr for a week, I took last week to paint some of the monsters.
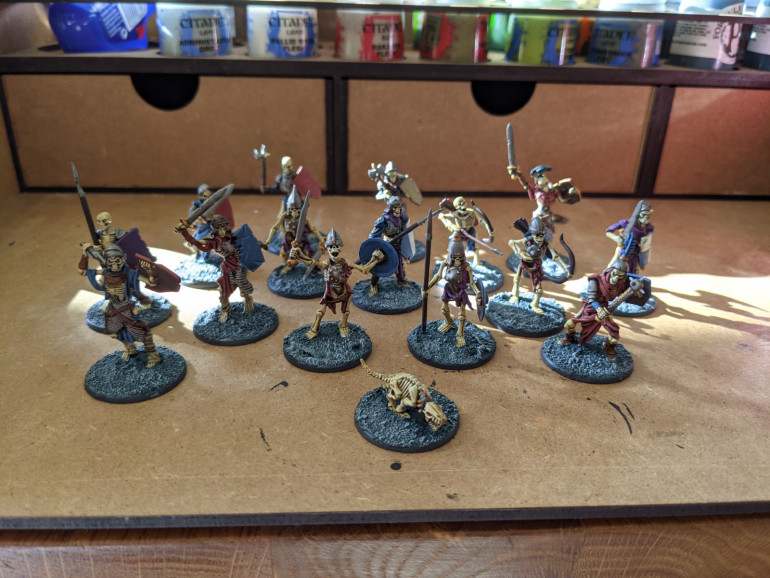
There’s a lot of twos and threes of things but I wanted a nice batch to sit and work on so I lined up all the skelebobs (including one skeledog). They are a mix of Mantic and the fantastic Oathmark kit. Honestly, if I ever buy… sorry, when I buy more skeletons, I’ll buy the Oathmark ones. Fun to put together, nice mix of parts and they look so much like Harryhausen creations it makes me smile to look at them.
"If you cannot get rid of the family skeleton, you may as well make it dance" (George Bernard Shaw)
Primed with Wraithbone (Citadel, Contrast primer spray)
Bones: Skeleton Horde (Citadel, Contrast range)
Linen wraps: Khaki (Vallejo)
Leather straps: Mournfang Brown (Citadel)
Weapons: Gun Metal (Army Painter), Retributor Gold (Citadel) and Charred Brown (Vallejo)
Then we come to the running theme of this project. I don’t want dull, monotone terrain or enemies. I want some colour. So I picked out three and just made sure each skeleton had one or two or each on them.
Prussian Blue, Royal Purple and Cavalry Brown (all Vallejo)
Basing is done to match the colours of the terrain (see last post). Main colour is Coal Black (P3), dry brush Administratum Grey (Citadel) and [sparingly] Pallid Wych Flesh (Citadel)
Gardens of Morr
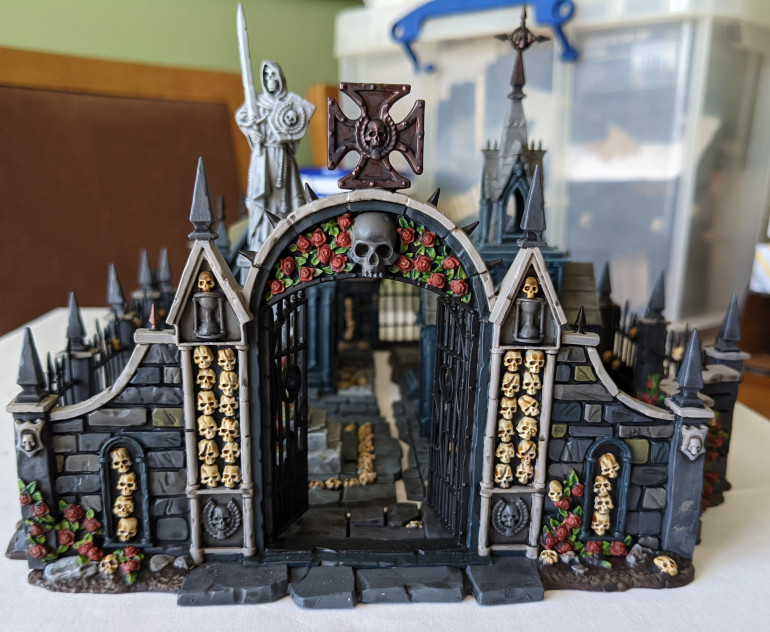
I decided to start with a piece of terrain because it would let me settle on colours. I hate looking at most of the terrain you see online in tutorials and it’s just all grey.
Felstad was a wonderous city built by the most powerful mages ever to have existed. Plain grey? I don’t think so. This idea will come back to change this project completely in a few posts…
"All true stories begin and end in a graveyard" (The Shadow of the Wind)
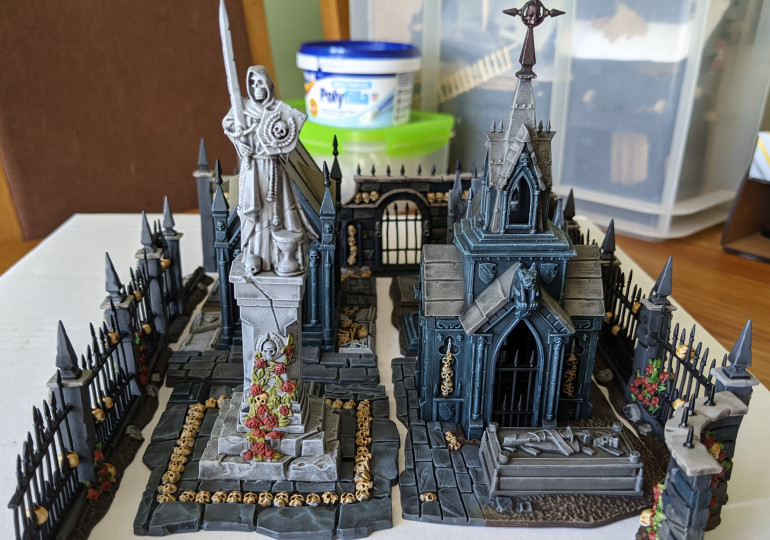
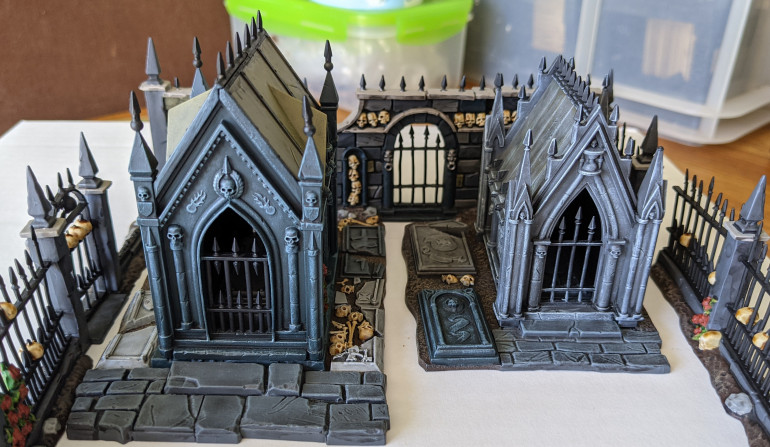
I’ve had this kit since I bought it second hand quite some time ago. After taking it out the packaging there was a little damage and a few bits I wouldn’t have glued on without painting but overall it is in good nick.
Now my first mistake here was not just re-priming the whole thing. I’m a cheapskate and the primer layer was in good condition. The statue has been zenithal highlighted but everything else was a solid black.There’s a lot of skulls though. A lot of skulls that I didn’t want to be stone but actual skulls. The biggest rods are the ones we make for our own backs.
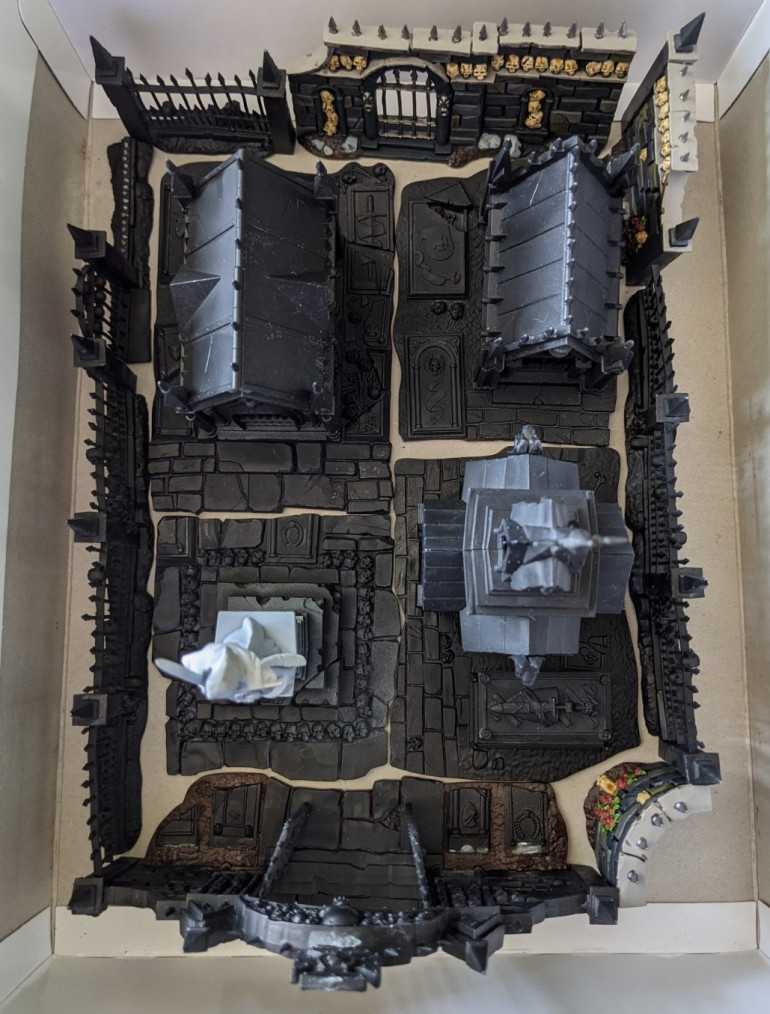 I forgot to take a starting photo but this one was after some test pieces. Doesn't look like much terrain does it?
For the terrain builders out there, I also committed the cardinal sin of using my hobby paints.
I know.
I know.
I picked colours that I either don’t use other places or have more than one pot of and don’t remember buying. And that wasn’t black. I have 5 pots of black. I know not how.
Overall, I’m happy with how it turned out as a terrain piece and as a test for the colours for my Felstad. It was time consuming for sure but I’d rather take more time and be happy to look at it for the next twenty years.
Colours used:
Stonework: Coal Black (P3), Greatcoat grey (P3), Death World Forest (Citadel), Stormvermin Fur (Citadel), Rhakarth Flesh (Citadel). Highlights were done by mixing in a little Stormvermin or Pallid Wych Flesh (Citadel) to the base colours
Skulls: several coats of Pallid Wych Flesh and then Contrast Skeleton Horde (Citadel).
Flowers: a green from Citadel, I forget which one and and Cavalry Brown (Vallejo). Why are there green roses in a frozen city? Buggered if I know but it adds in more colour
Ground: Charred Brown (Vallejo) and dry brushed with Steel Legion Drab (Citadel)
Wash throughout was a black wash made from some of the oodles of black paint.
The Bestiary
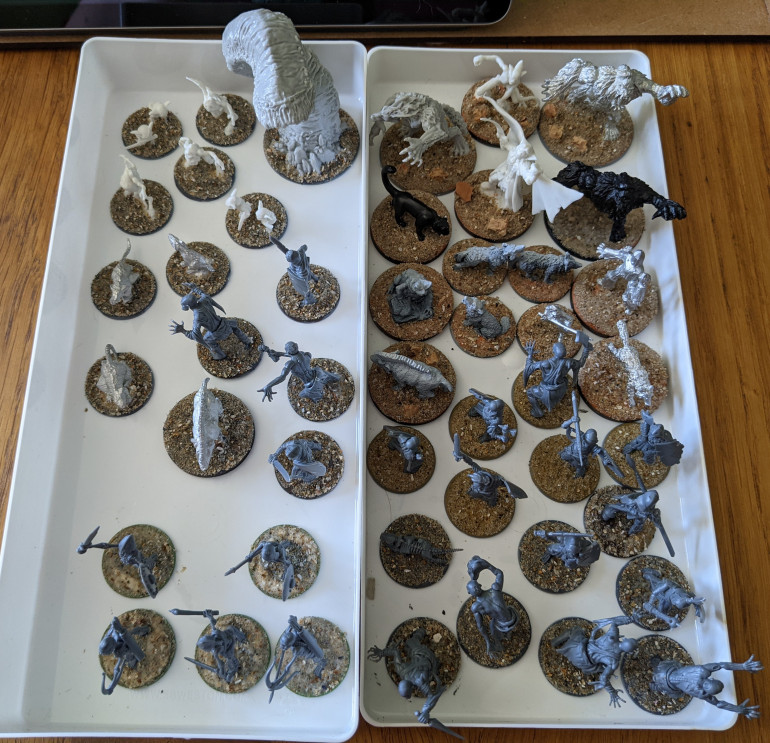
Frostgrave is a game that usually requires some sort of monster for each scenario to act as an extra foil for the opposing players. There’s also a random wandering monster table though using it is technically an optional rule. Second edition’s core book comes with twice the number of scenarios and while there is nothing wrong with a proxy here or there, I’d really like to get as many as possible painted and available for use. Time to raid the unpainted pile of plastic.
I have a fair number of the monsters already – some still in packaging and some glued onto plain bases. Only a few are actually painted. I’ve told myself that if I get everything painted, then I can justify buying anything else I need.
I spent an afternoon this week cleaning everyone up, sticking them on bases, using Milliput as needed and then putting some bird sand down for texture. If I was really going for it, I’d have picked up a roller or carved some cobblestones or something.
Don’t let perfect be the enemy of done.
I’ll batch prime them all with Wraithbone and then the fun begins…
Goals, aims, targets, whatever
Preamble
A little later than I’d intended but here we go, the project for SCC 2021.
Frostgrave is one of my favourite games of the last few years and I spent a lot of time last year playing through all the solo stuff I could find (and making some up). I even started a conversion of the world and the adventures to run with 5th Edition D&D to try and pull more people into the world.
Recently we’ve had some very honest discussions about social wariness in a post-Covid Scotland amongst my gamer friends. The idea of going back to playing at clubs or in venues with a bunch of strangers just isn’t doing it for any of us so we’ve decided that, for the first while at least, we’ll stick to a small campaign in each other’s flats. With second edition out, it’s a great time to try and bring in some new players.
What needs done - Terrain
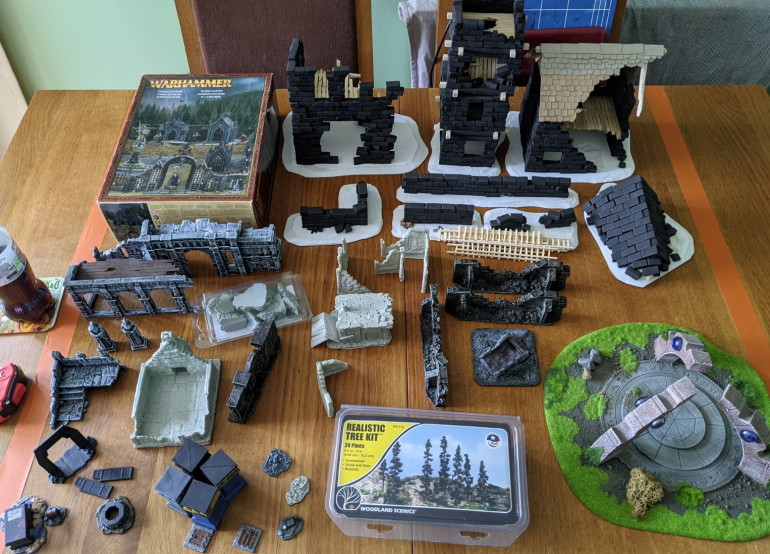
Since being stuck at home, I’ve largely been playing with unpainted terrain and proxying a lot of the monsters for the various encounters. Having to show things to other people is the prompt to get it all painted up.
Here’s what I’m working on:
As you can see, it is a mix of plastic kits, some old resin pieces and some poorly scratch built stuff thrown together last year from a foam floor tile and foamcore I had around the house.
The first aim is to get the plastic kits painted up. I hate painting terrain so I’ll mix in painting the minis to break the monotony. More on the minis next post


