Balins Tomb: Save yourself £50+
Recommendations: 31
About the Project
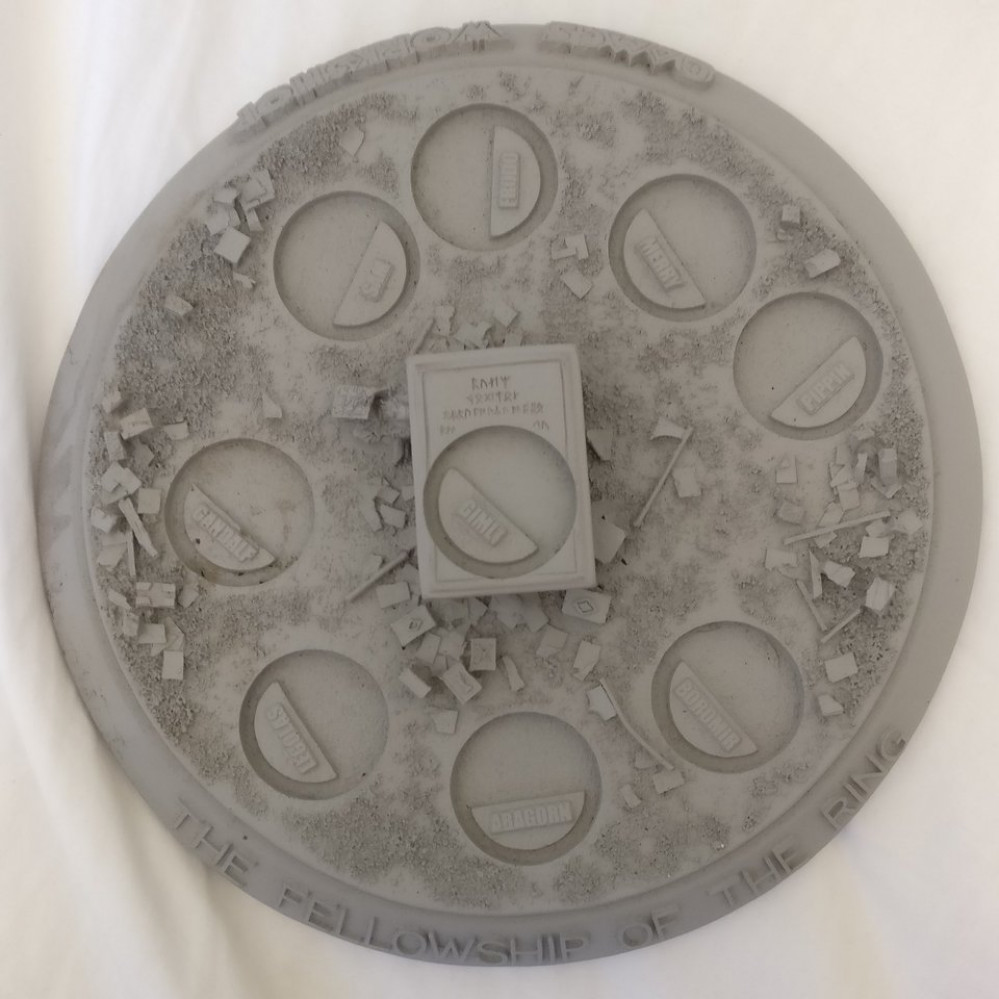
I was gifted the Fellowship of the Ring set by my amazing wife for Valentine's Day. After waiting about 20 years to get my hands on a full set, I thought; they really need a base to show them off. An epic moment, a coming together of these heroes, a show of strength and skill, Balins Tomb is what they need. Immediately a search showed that it would cost at least £50 not including postage to get hold of one. So that's out and it's time to crack out the cack pile and get to building.
Related Game: Middle-Earth Strategy Battle Game
Related Company: Games Workshop
Related Genre: Fantasy
Related Contest: Spring Clean Hobby Challenge (Old)
This Project is Active
Add some extra details!
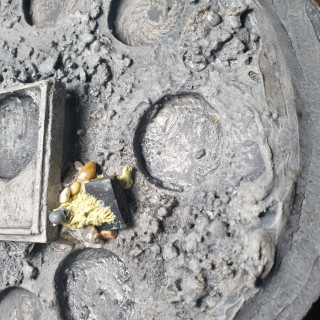
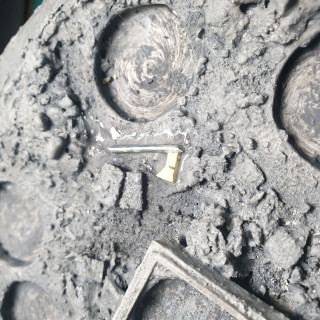
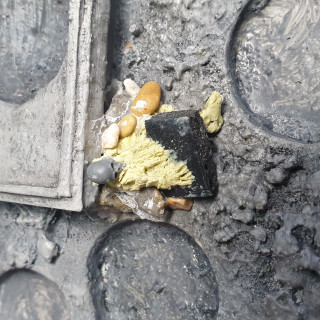
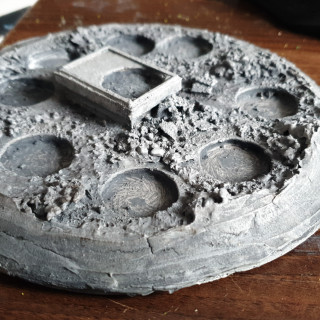
I made the corpse of Ori and fallen axe from some milliput and garden wire.
Make a very basic armature from garden wire. Flesh it out with some milliput. Stick this into the base and add in a foam core book for him hold. I used one of the smallest skulls from a citadel box. If you can source a small 28mm skeleton go for it. I didn’t have one so I made this.
I also added some more of the smaller pebbles to add more fallen rubble around the corpse of Ori.
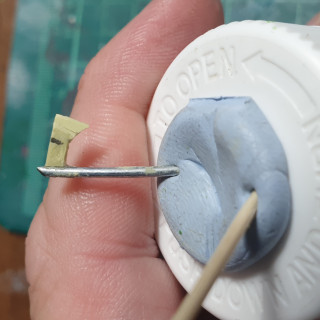
The axe again it milliput rolled flat and allowed to dry. Cut it into an axe head shape and glue it to another piece of garden wire.
Coat the corpse in a mix of 50/50 water and PVA to seal it and I added CA(super) glue to hold everything fast. Also use some CA glue to fix the axe in place.
Cut out the base and add some depth.
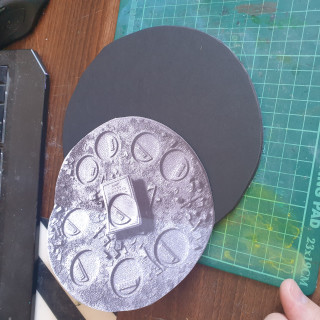
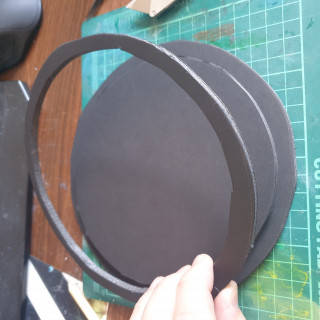
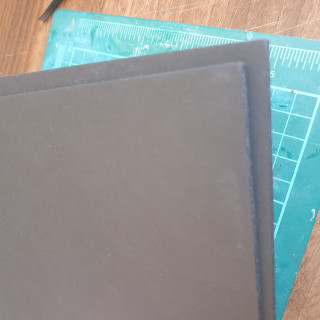
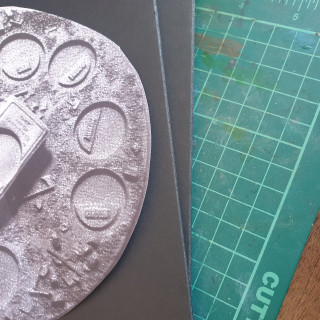
Cut out two equal sized discs of foam core 1cm larger than the top of the diorama. Then cut one of them down to the correct size using your printed layout as a guide.
Stick these two pieces together using good old PVA.
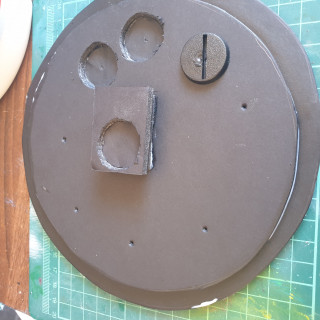
I also made the tomb out of two pieces cut into rectangles one again slightly smaller than the other. Place them in the centre I found cutting the tomb away from the template allows you to place it in the right spot.
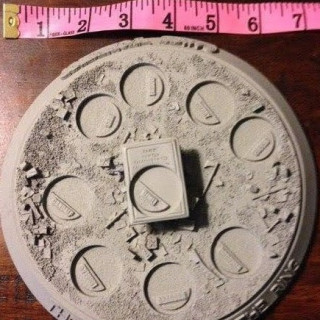
Again using the template as a guide to draw out the placement of the cut outs for each of the nine minis. Punch a hole with a pencil for each of the centres and cut them out carefully. (This can and should be done prior to gluing for ease but I did it afterwards and it worked out fine just be careful to not cut through both layers) Add a little extra detail to the top of the tomb using thinly sliced toothpicks or wooden stirrers.
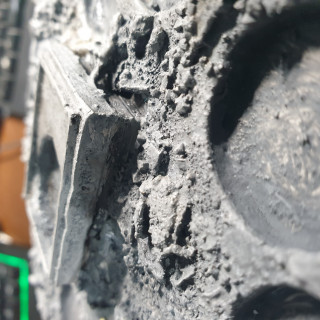
After this step it’s onto layering some texture. I used smal pebbles from an old fish tank, chopped up foam core roughed up in a tub filled with sharp stones, some course basing mix and grout mixed with PVA and cheap acrylic craft paint.
Layer the mix around the edge to add a sloped edge to the plinth.
Use your cheap acrylic paint to mix up a base coat for the rocks. I’ve found mixing in some extra PVA seals the edges of the foam core allowing you to spray paint it as a base coat without melting exposed foam.
The final image is of the stage after painting and base coating.
Template and choosing materials
Finding the right start....
If watching hundreds of hours of model making video’s and builds by Adam Savage among others has taught me anything sauce material is invaluable for any build.
I knew I’d need a good bit of reference to get a start on this one. I found plenty of images painted or with minis and that fabulous. However working out the exact sizes through measuring the mini for scale and working it from there seem like a bit of a task.
So after a quick search through Google I found what I needed a clear image of the actual plinth and layout with some kind of ruler for scale.
Then I needed to scale and print that image correctly. I used the hpSmart app on my phone to cut and resize the image. If you have any WiFi enabled hp printer I believe it will work for you. (I’d imagine you can do the same through other printer apps) Also if you prefer use Photoshop or SketchUp to resize the image to the scale provided.
After this it’s a matter choosing the materials for this build. I’ve been out of terrain building for sometime and only recently got back to it. So I didn’t have the usual XPS foam I’ve seen so many builders use. What I did have was a pack of A4 foam core, fortunately A4 works perfectly for this, I’d had from making Christmas decorations with the kids. So a couple of sheets of that and a paper pattern is my start.


