Skaven Painting Challenge
Recommendations: 276
About the Project
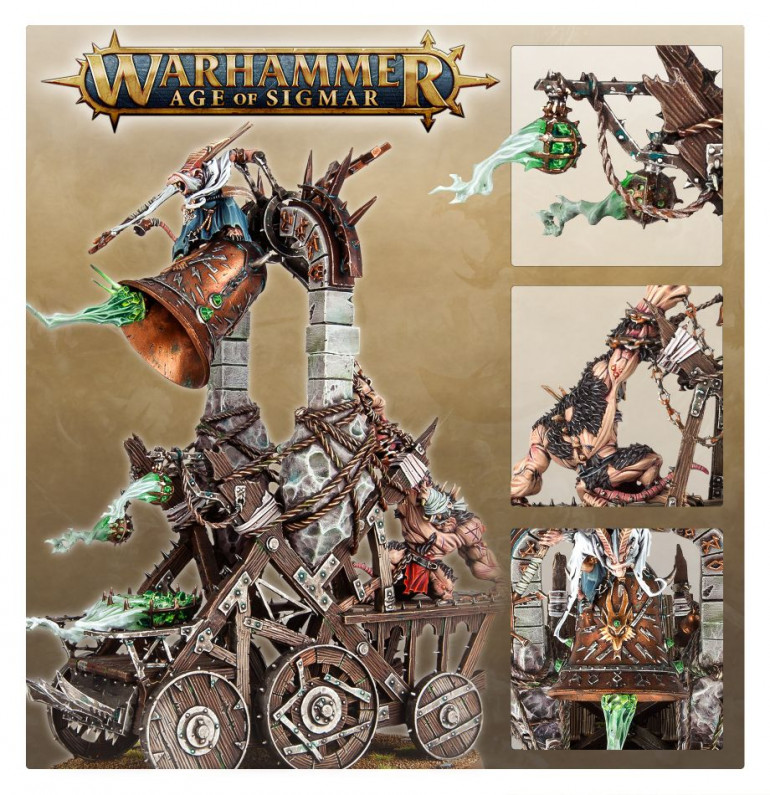
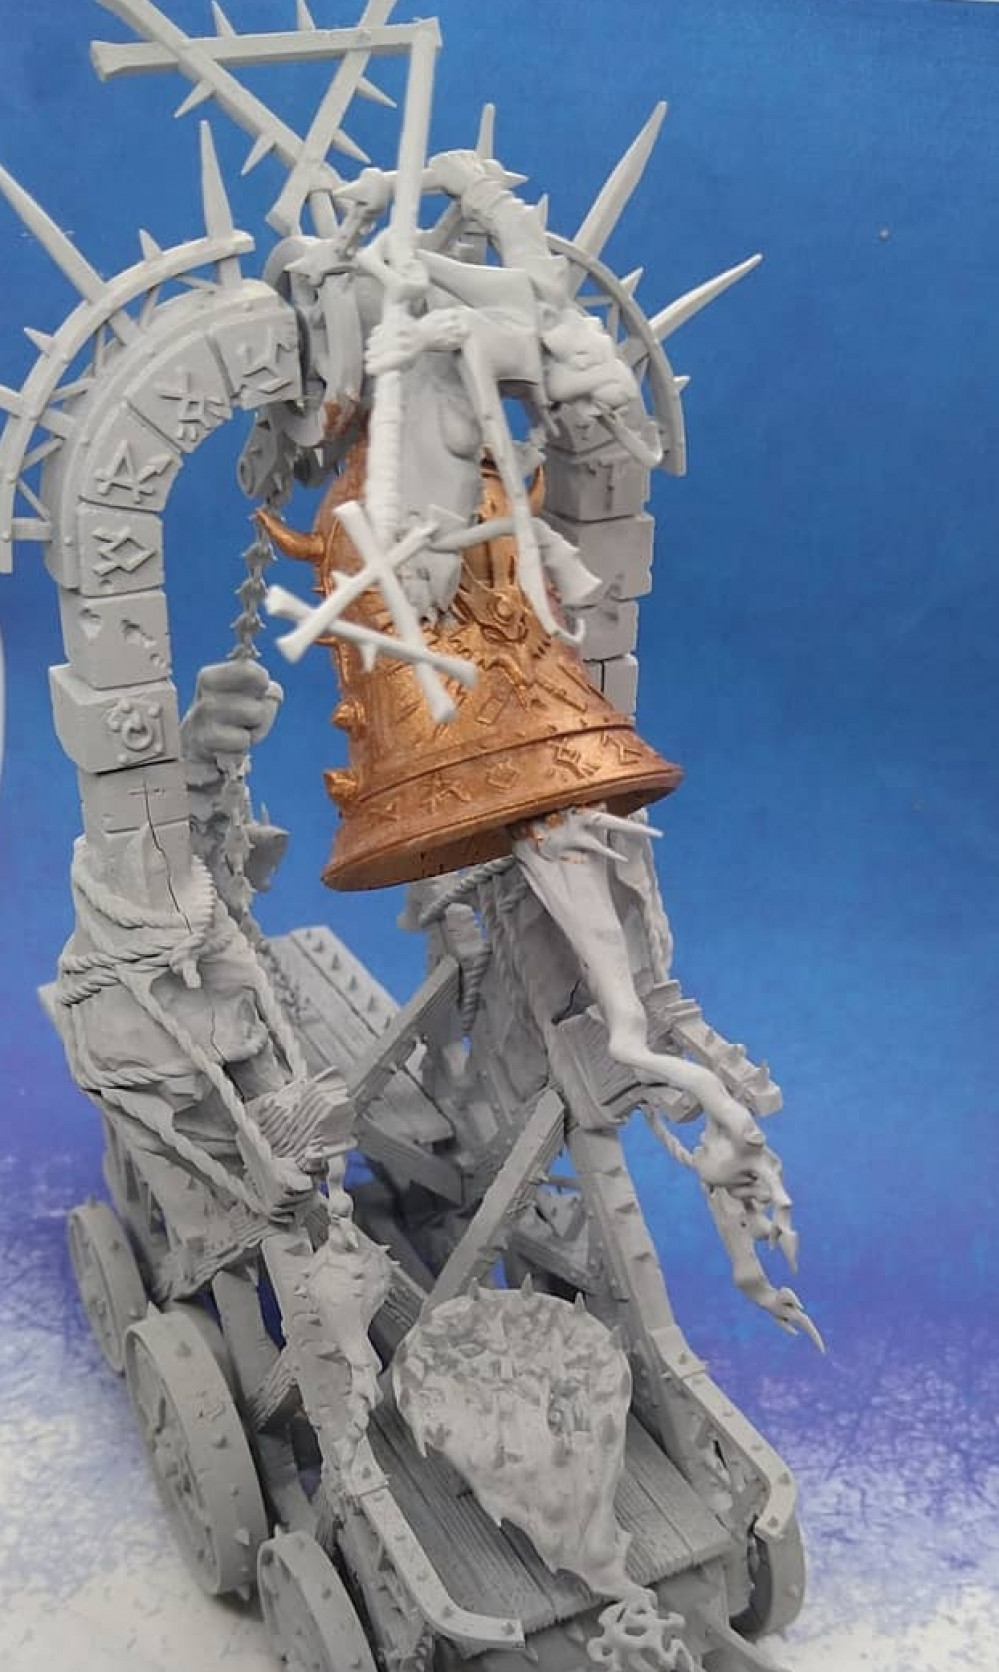
@lasshammer on Instagram is setting a challenge for her followers. To paint a magic or machine related mini for entry by the end on March 2021. We were set the magic or machine decision by random generation online and I got magic. (#lasschallenges #teammagiclass) My entry is from a workmate who had a baby and wasn't going to find time to paint this Skaven Screaming Bell. He had built it and primed it and handed it over. That was almost a year ago. I painted a few dwarves he gave me and handed those back, but this is the biggest "miniature" I have ever painted and it was off-putting as a challenge. This Instagram painting challenge gives me the excuse I need to finally commit to it. I think this meets the brief of "magic" because it has a skaven shaman on it, a floating masonry-set doom bell and something potion related bubbling in a pot. My only brief from my friend was to try and be colorful. Hopefully it will come out OK.
Related Game: Warhammer Age of Sigmar
Related Company: Games Workshop
Related Genre: Fantasy
This Project is Completed
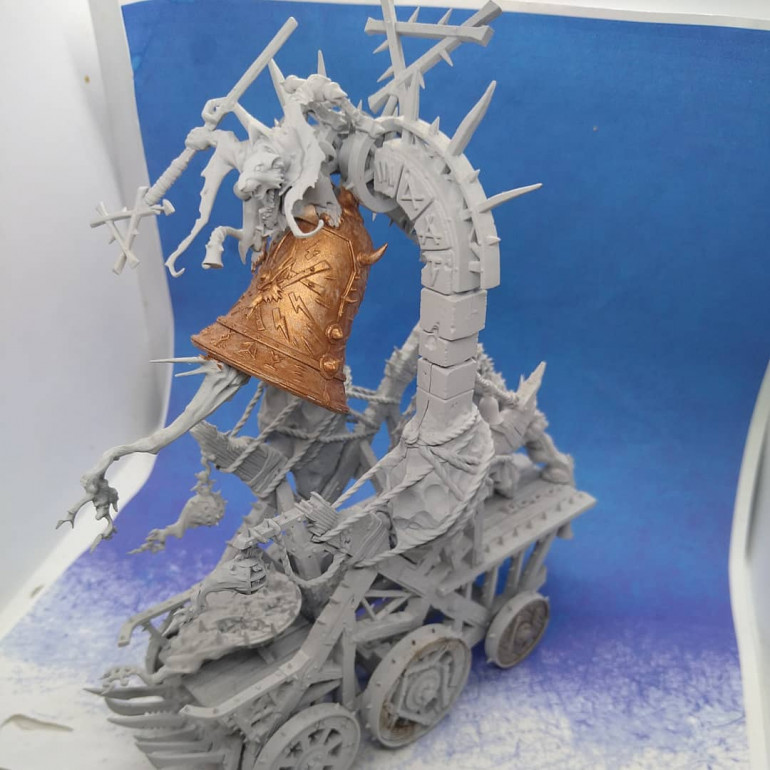
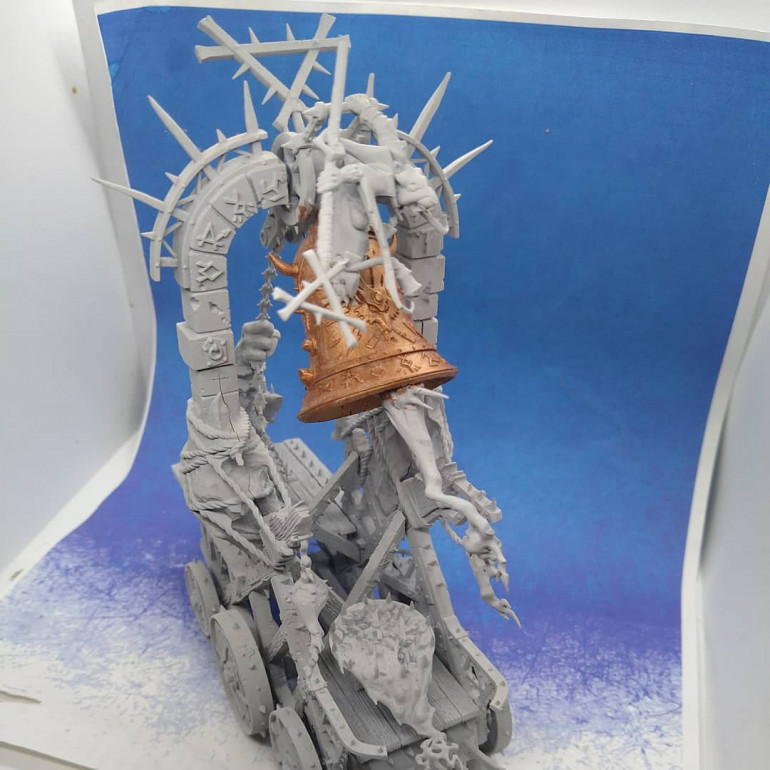
First Steps - Gappage
I had already splashed some Army Painter Weapons Bronze on the bell months ago when I had poured too much paint one time. Beyond that I wasn’t sure where to start.
My first move was to assess the build.
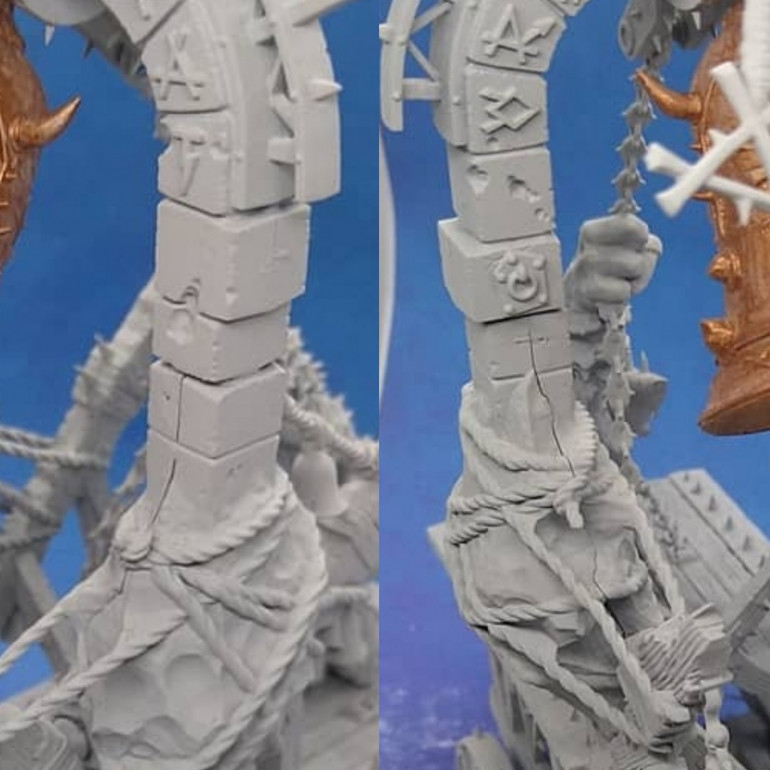
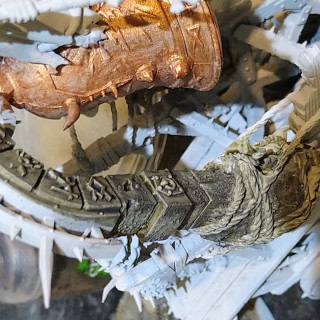
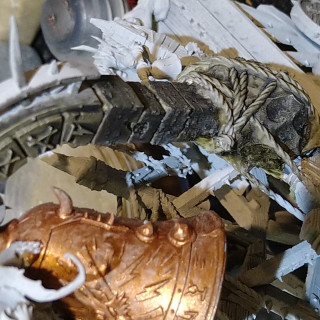
I found some big gaps in quite an important part of the model.
I had some gaps in the build and decided not to go down the greenstuff route.
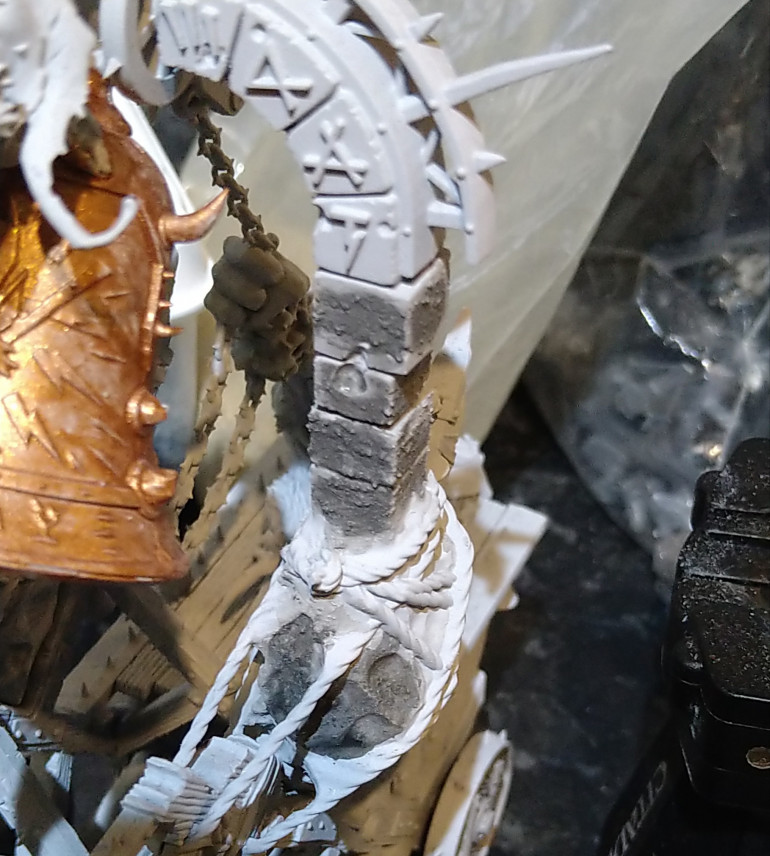
I got some PVA, plaster, sand and black and green paint mix together and painted it on. It should cover the cracks and leave a nice rough rock texture.
A uniform colour over the whole area and some dry brushing should tie it all back together well.
First Steps - The Base
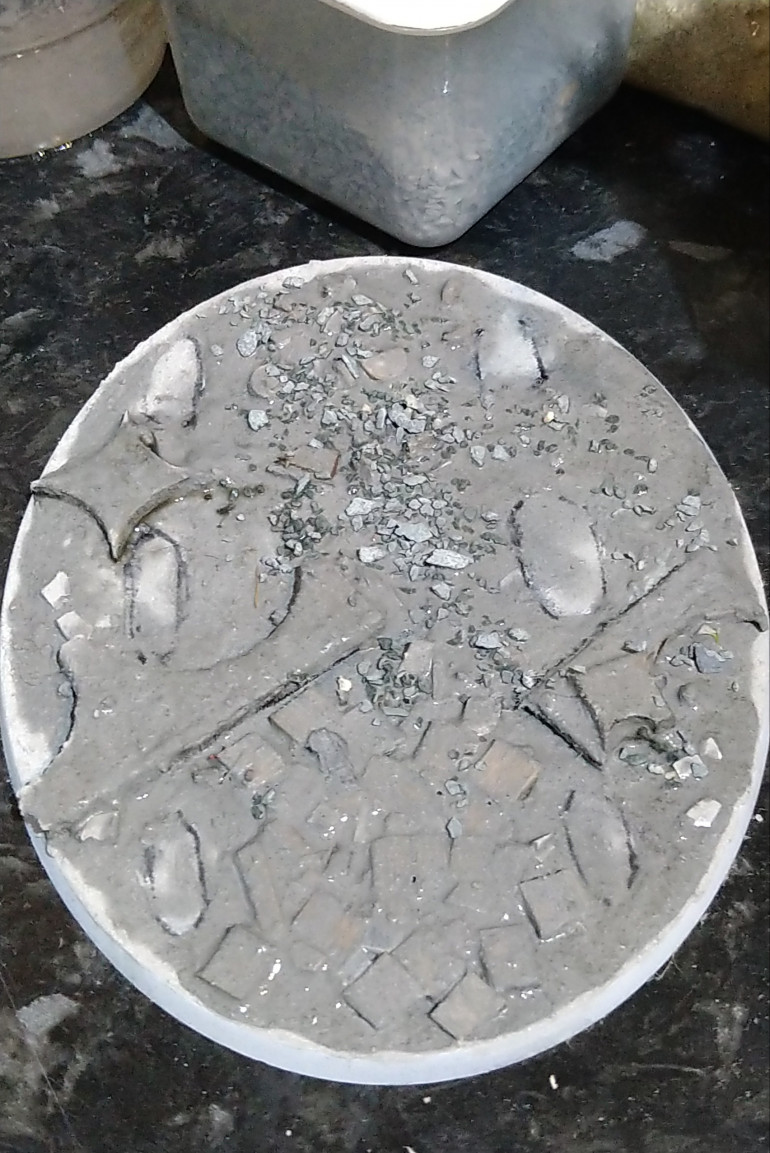
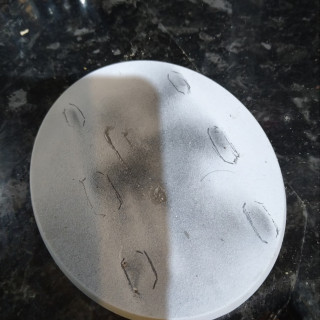
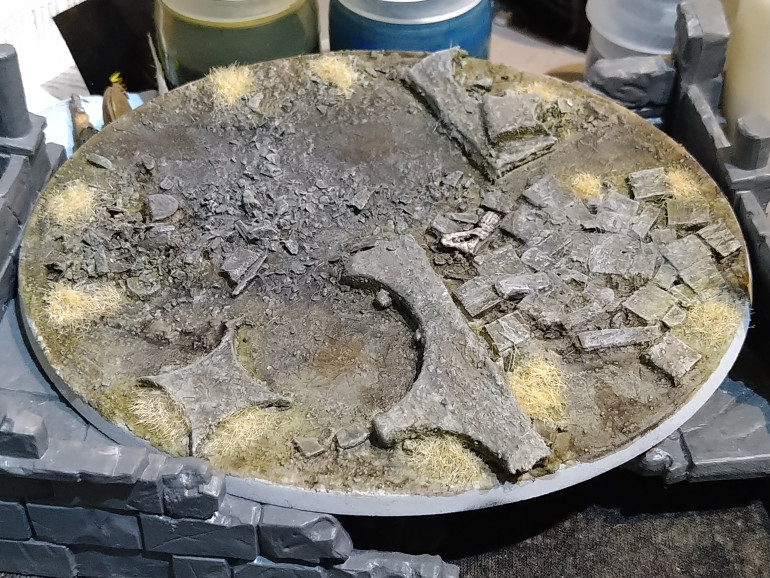
I made enough of my paint, sand and plaster mix, so that I could make the ruins I planned on the base. I used some ‘sprue’ from MDF terrain kits that look like arches, plus flint stones and coffee stirrers cut into squares as slabs. I made some marks on the base to keep the debris out of for the wheels to sit neatly down later.
Using the PVA and paint mix means that it is less likely to chip and if it does flake it’s less likely to leave any nasty white marks from any knocks later on. (Thank you Gerry for that tip)
The actual edges of the base, where people will see the basing efforts, is not that big of an area. The wheels obstruct the view of anything done underneath so don’t need to focus too much attention under there. I will add some winter grass, maybe some discarded weapons, or something else of interest at the edges to try and gain some marks once it’s up for judgement.
The Colour Scheme.
The original studio paint job is impressive. I have seen other nice paint jobs and this makes it even more daunting a challenge.
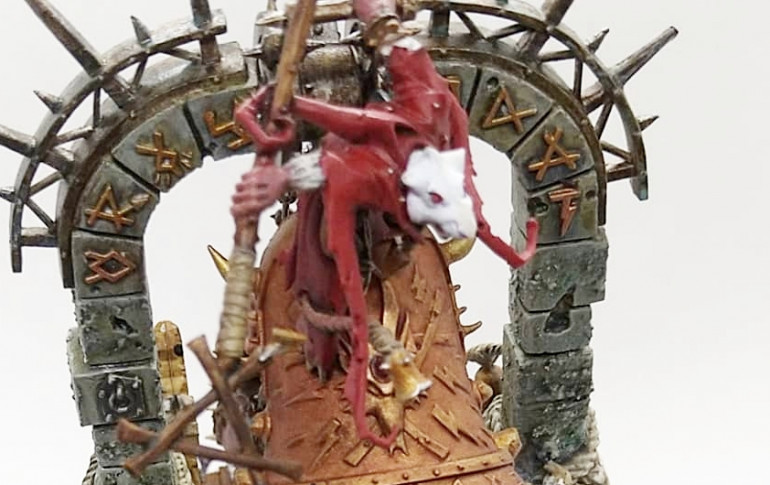
Though it looks great in the pics I don’t think I want to do the green stonework under the ropes at the bottom of the arch. I think I want to do something with the runes. Maybe have the tone of the gold change from less bold at the bottom, to super poppy and bright just above the bell.
I think for the magic elements (the potion and the clanger) that I will fade from a green blue, to a pale blue, to white as a blend. Something similar to how I did some Nighthaunts.
To get the colour into the paint job I think I might add some skaven shields somewhere and do some freehand designs. Unsure on that yet.
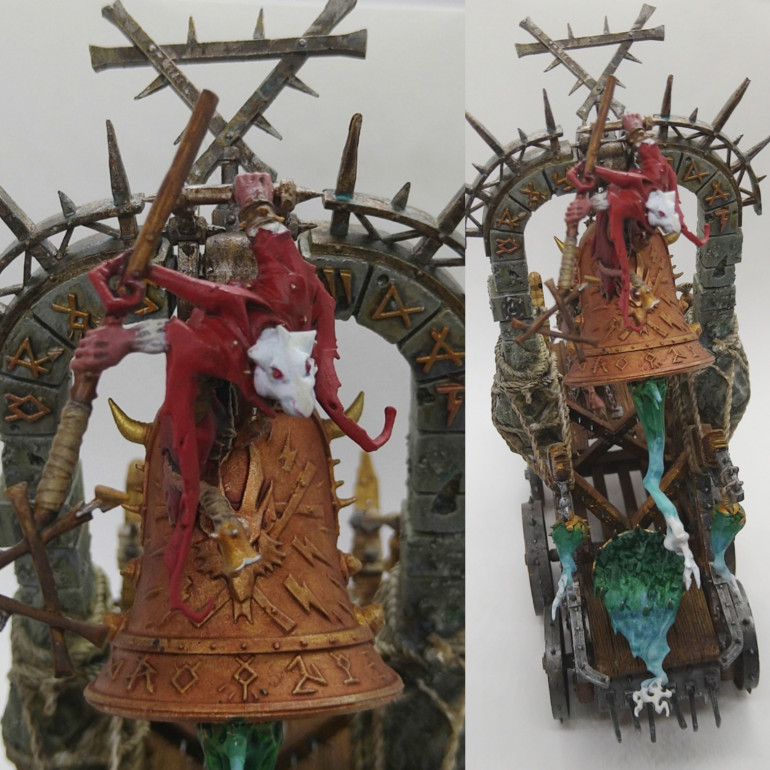
The Shaman is an opportunity to go for some bold colours on his robes. I might go for reds and some freehand symbols on the cloak.
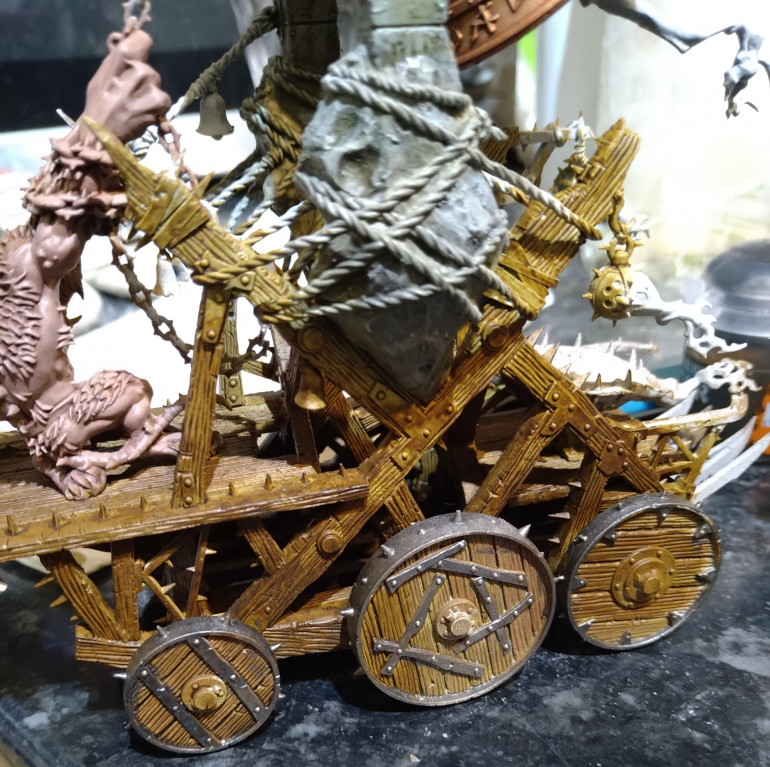
For the wood I think I can make each plank a slightly different tone of brown and use the great texture provided to get a good effect.
The big rat on the back seems a fairly easy prospect but we’ll see.
Basing and masonry
Not a lot of progress on the model apart from some Athonian Camoshade on the masonry. The base on the other hand is going great guns. Variety of washes and dry brush colours with the winter grass is looking pretty good.
Wood is not good
I am glad to be given the opportunity to paint a big expensive model like this, but sadly as my friend bought it assembled already from eBay some shortcuts and easier painting options weren’t open to me.
I don’t usually enjoy a lot of building, but being given the opportunity to prime it brown and the opportunity to paint it as subassemblies would have made the task a lot easier.
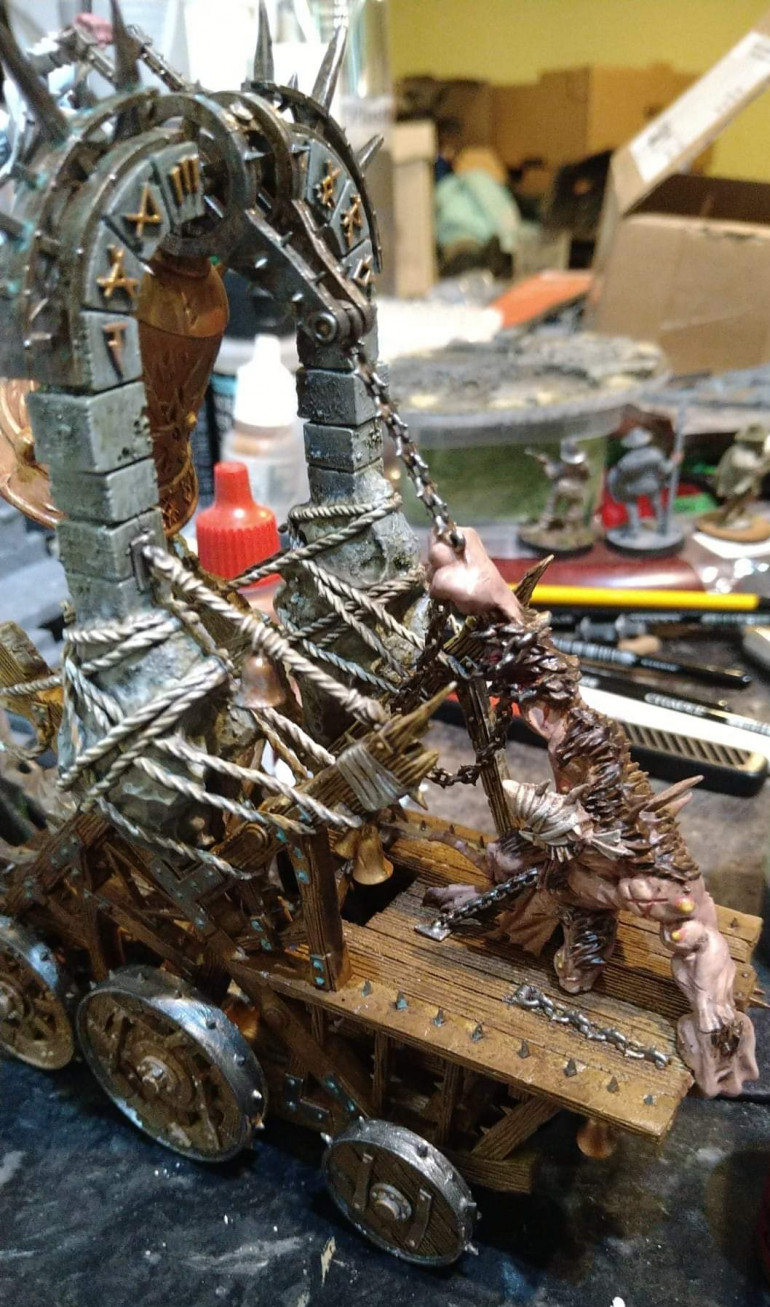
I was able to mask off the stone work and use some rattle can Army Painter Leather Brown from the bottom, but was fairly cautious not to flood any detail or to test my masking skills.
I used aggaros dunes over all the wood areas, just to lose all the white base coat and hopefully have the contrast shading effect to pool where I might miss with additional paints and washes later.
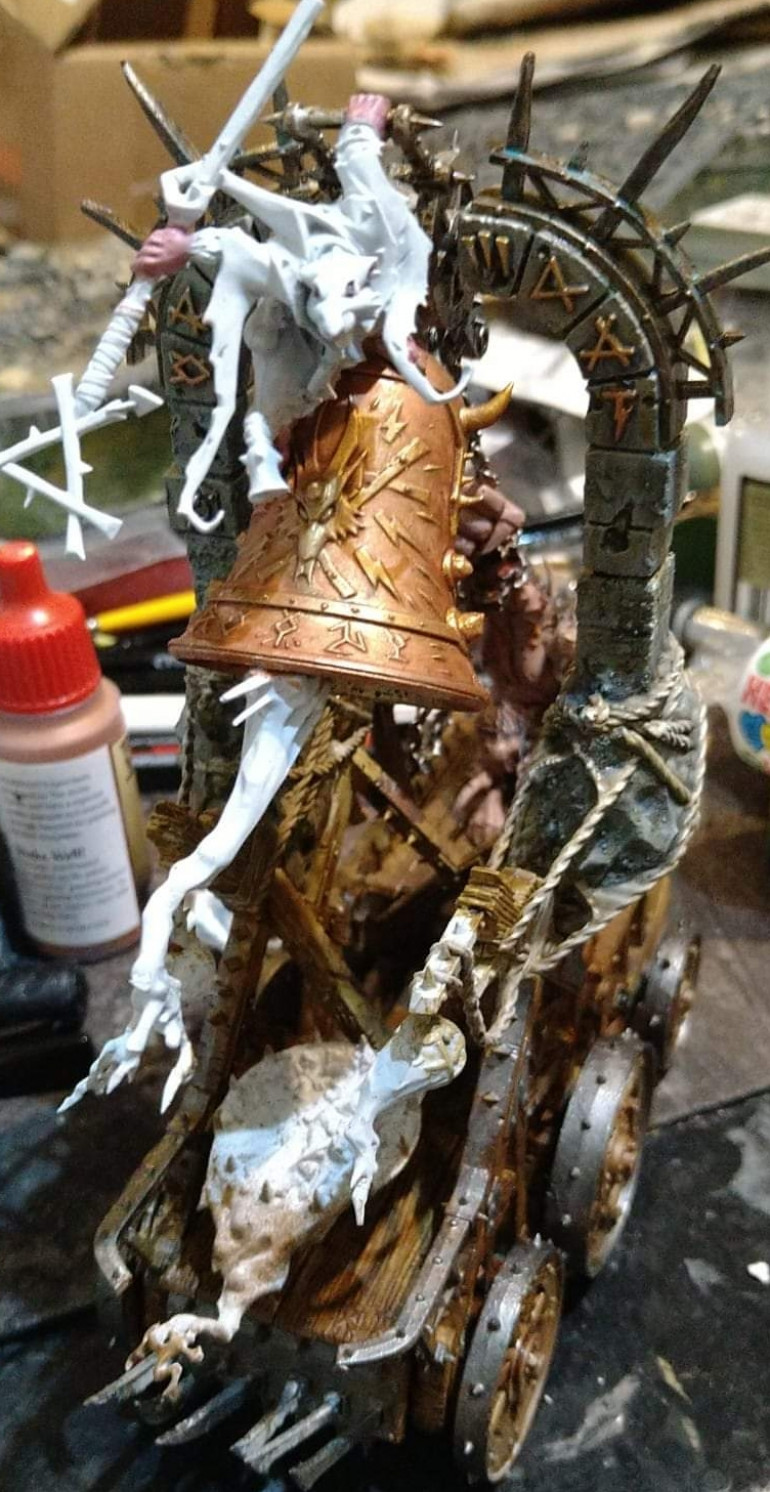
I have decided that the shamen will be an albino and think the cloak will be Red and I will freehand the symbol of the brand on the big rat’s chest on the cloak somewhere.
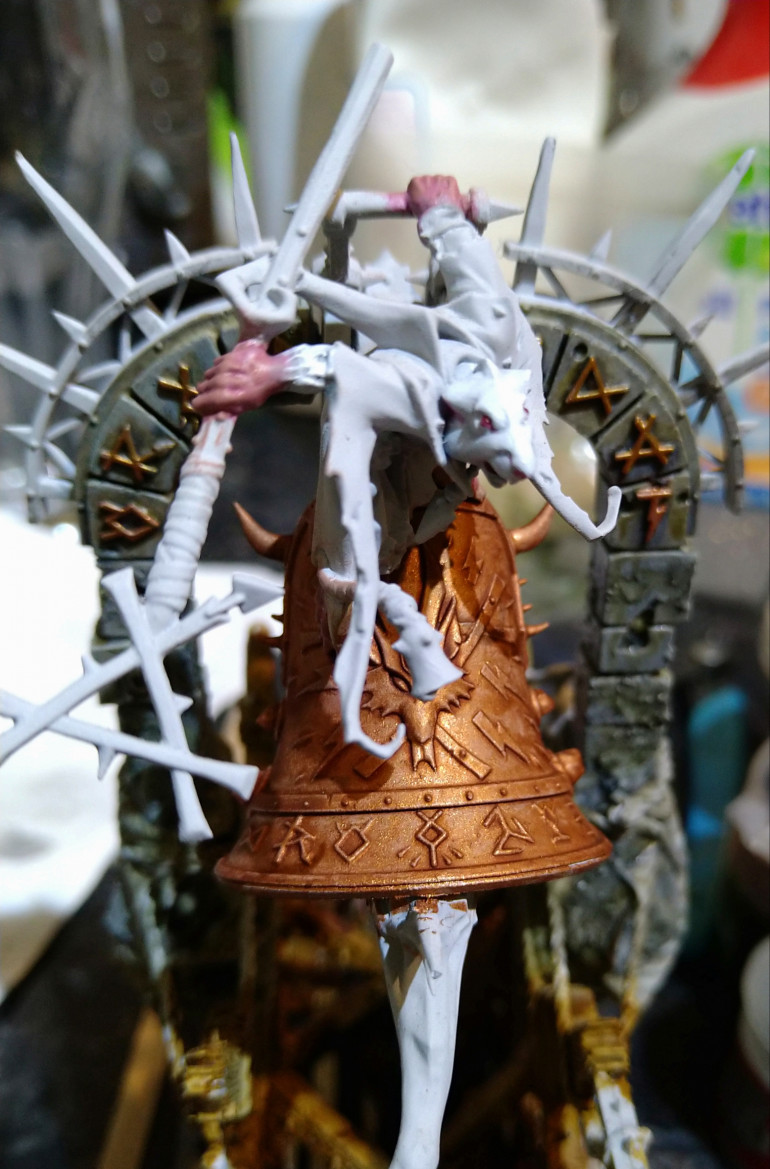
I tried a fade on the runes above the bell. Going from Army Painter Weapons Bronze at the bottom to a Retributor Gold at the top. It came out fairly subtle but like the effect.
I highlighted some of the stone with a mix of Deathguard Green and Celestra Grey. It came out a bit too bright, so I went back with a little Athonian Camoshade in selective areas.
Bell tower blitz
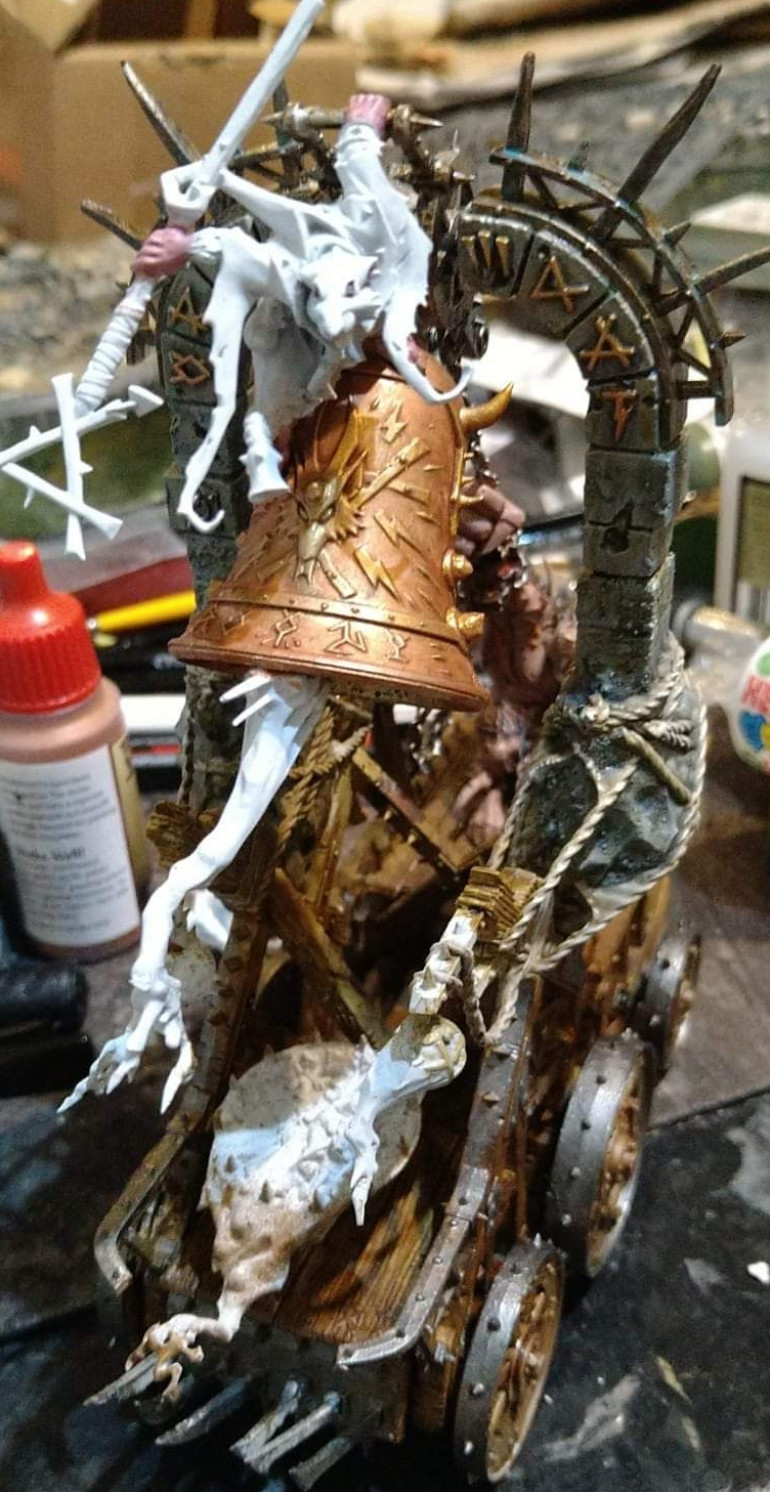
Progress report… Getting there.
Sorry report continues after this musical interlude…
?The big blind rat at the back said everyone attack and it turned into a bell tower blitz.
The robes will be next as he preaches out his hex as it turned into a bell tower blitz.
Bell tower blitz…?
Any way… I devoted some time to the ropes…
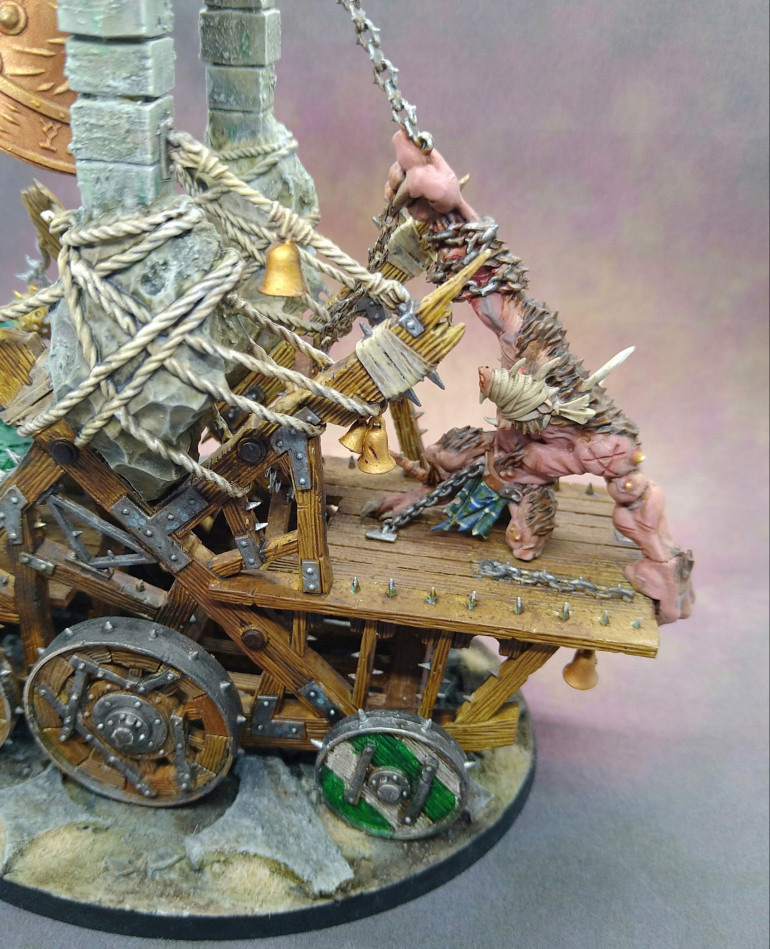
Zandri Dust base, followed by Agrax Earthshade wash, then Morghast Bone to highlight and Wraithbone to extreme highlight. Might tone it down to finish with some Army Painter soft tone wash.
The metal work on the bell assembly itself and the spikes above all had a bas of Runefang Steel hit with Cryptek Armourshade Gloss. Then a patchy dry brush of Leadbelcher followed by dabs of Nihilakh Oxide for a hint at verdigris.
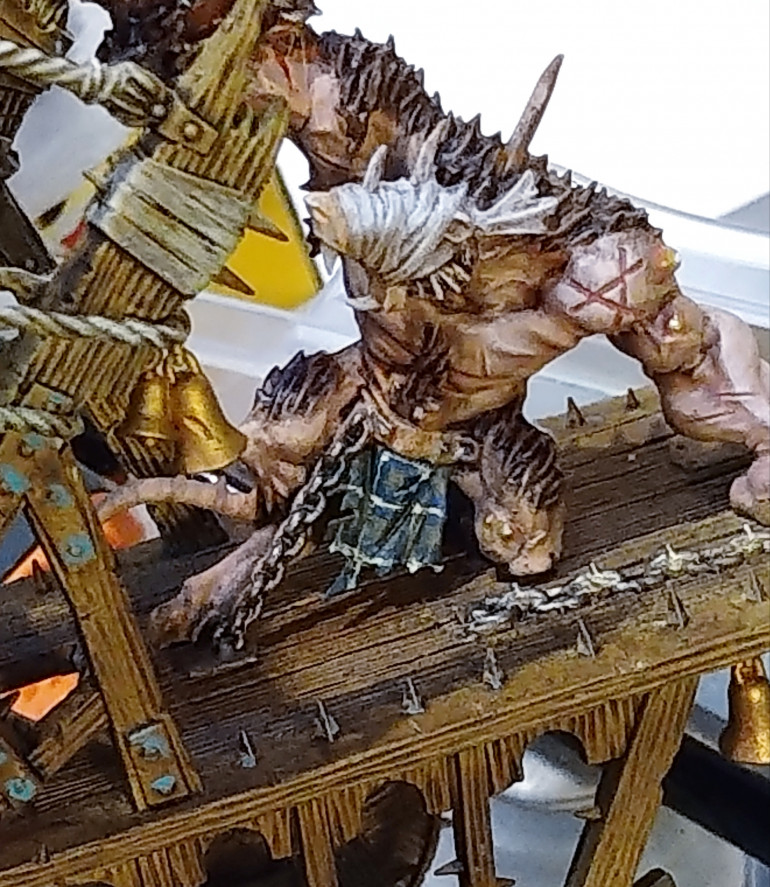
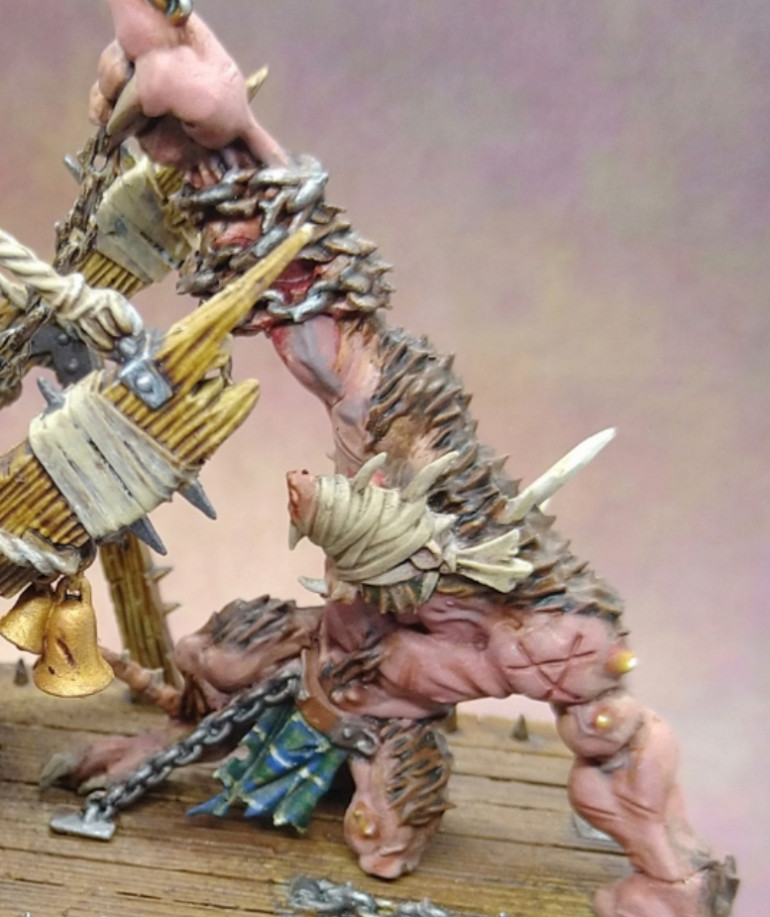
And the obligatory tartan...
Still refining it but got the urge to add an approximation of my own family tartan.
Was inspired by the efforts being shared at “Tartan painting on miniatures support group” on Facebook.
https://www.facebook.com/groups/1215511288627761/?ref=share
I used Macragge Blue and Deathguard Green and a wash of Athonian Camoshade, followed by the white lines in Wraithbone. I am hoping that I can add a thin dark blue cross in the Deathguard Green areas to push the complexity and look more like a tartan than just a check pattern.
Nearly done... Then sabotage!
I finally got the red cloak and the colour on the magic potion and the burners hanging.
Then it was dropped.
No one is taking ownership.
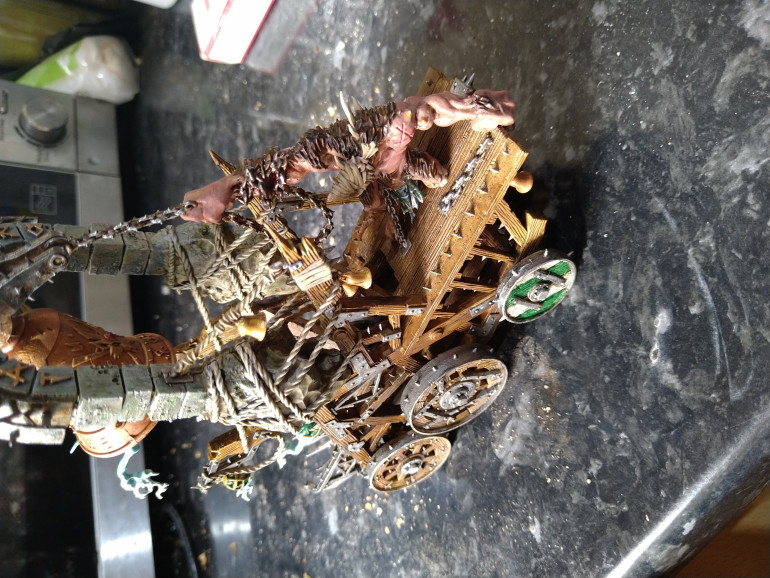
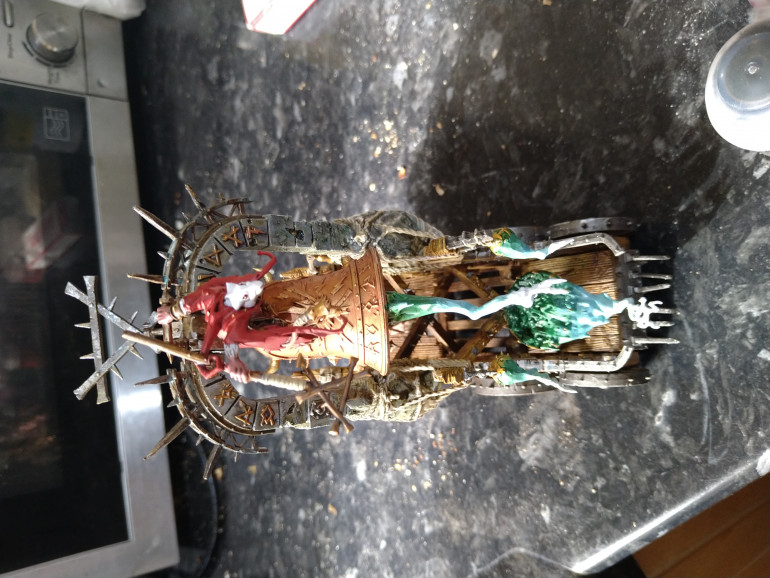
When I attended to it on the 30th a wheel was so close to falling off that I had to take it off and reglue it. The staff was very wobbly so I secured it with some superglue. The triangular post above the bell had snapped off along with one of the spikes on the metal work next to the bell. The spike was lost and I improvised a spike from a plastic toothpick end, never used (just for hobbying).
The repairs really cut into the time I hoped I would be adding to the finished touches of my entry.
Final paint job
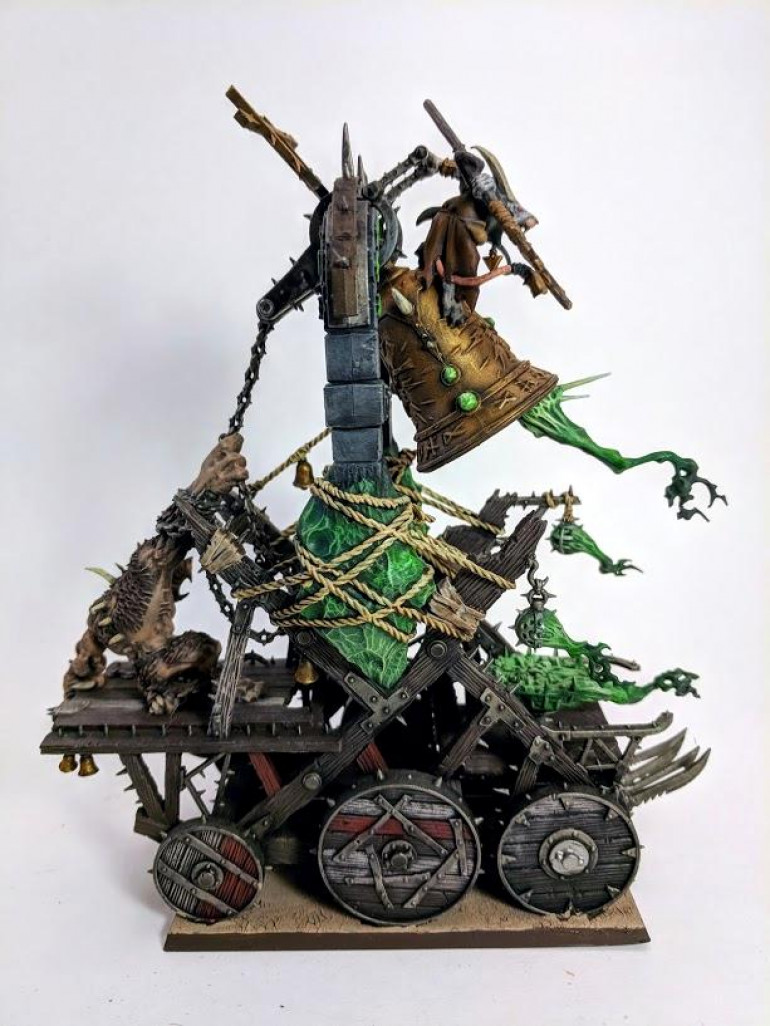
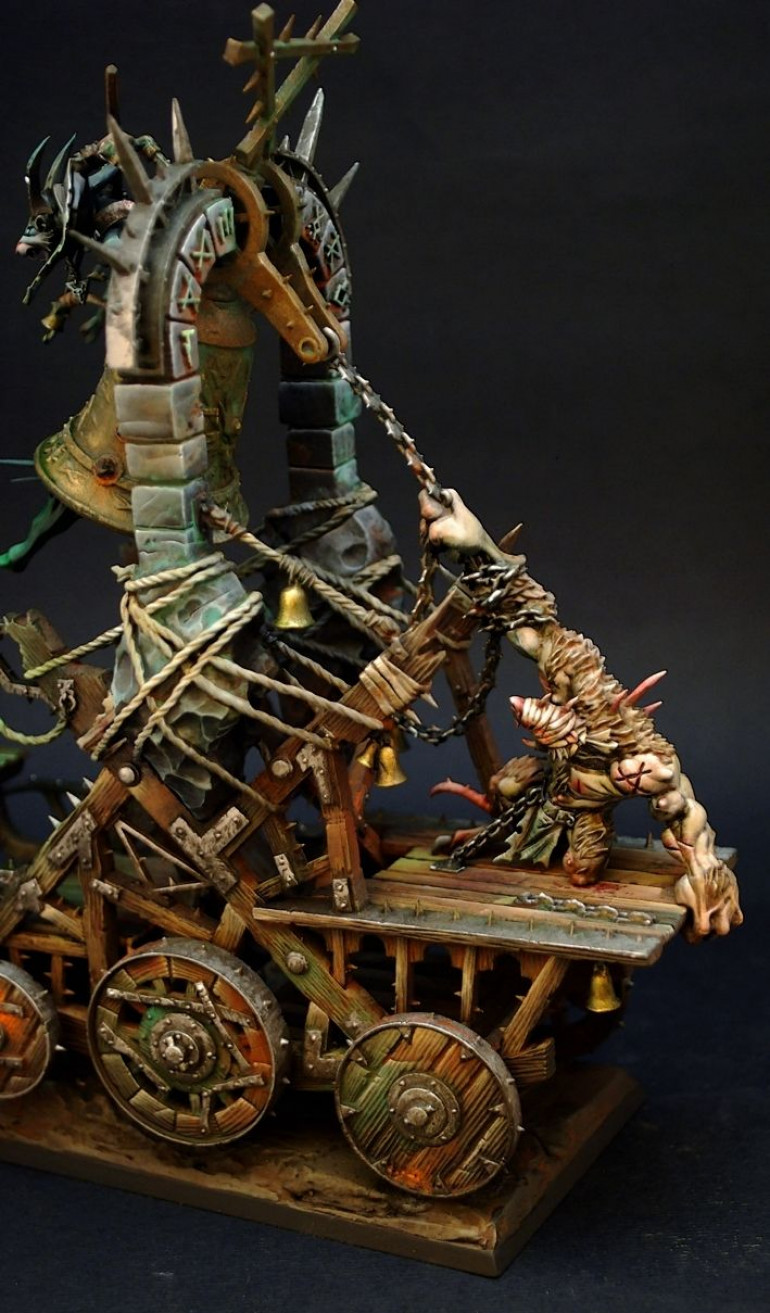
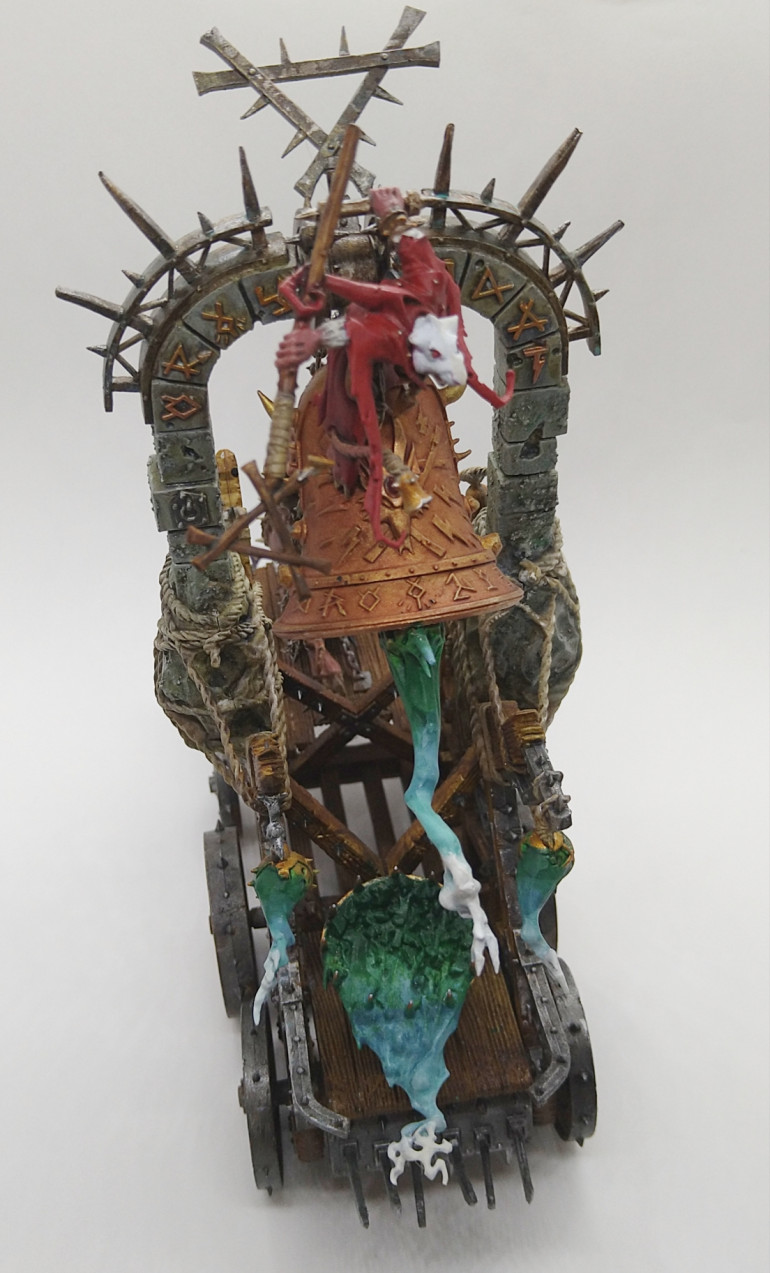
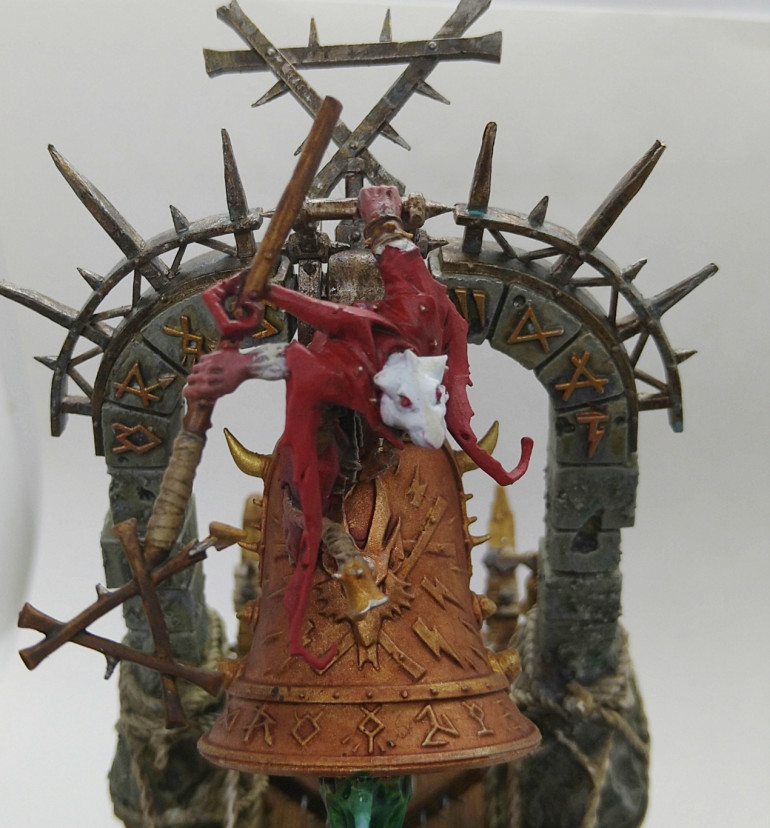
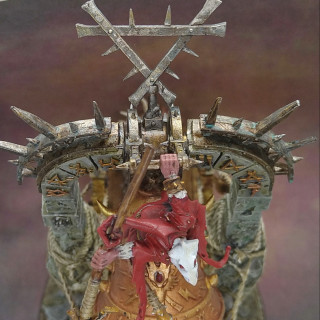
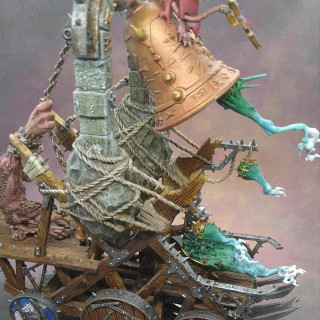
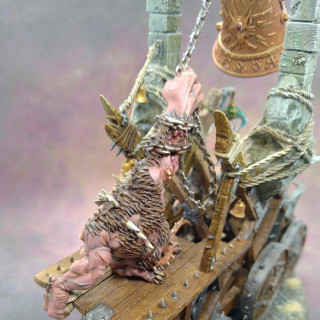
These are the final entry pics.
I will try to detail out my paint choices and techniques later, but for now this was a good as I could make it in the month.
I took a lot of gaps in painting it, found the amount of component details that needed to painted off-putting and challenging from the outset and this isn’t even as fussy as some of the GW big models out there.
This model taught me a ton of lessons and time again I know I could perhaps do a better job; certainly the next big model I face won’t be as daunting.
The paint job
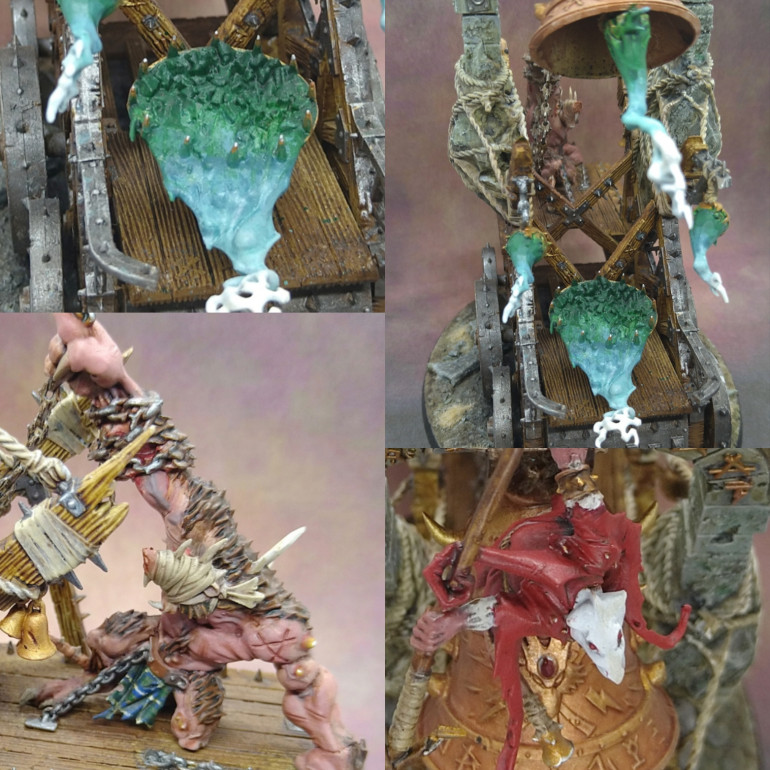
The magical smoke from the potion, bell and burners was all the same paint process. I laid down four colours in my wet pallette. On this occasion the white primer was helpful as a base colour.
Ork Flesh Contact, Nighthaunt Gloom, Apothecary White Contrast and Nihilakh Oxide.
I wasn’t careful around the metal of the potion and burners as I wanted the deep green to offer a glow or over pouring or smoke and knew I would be back with gold and bronze later.
I laid down rough percentages of the colours as they came from the pot and then used the mixes I made on the pallette to blend them into one another. I had to work fast but enjoyed the task. I have been told that there are several mediums out there that would have extended the drying time to make the blending easier, but the painting chosen were all glaze type thin Contrast colours already and I managed to get the task completed without it. I have never used that technique so decided not to try anything too radical on a challenge piece.
At the end I used thin coats of Army Painter Bright White at the end to complete the blend to white at the end.
For the other colours it will be hard to list them off because it feels like I used my whole paint collection. Certainly a lot of my Contrast paints for the wood to try and make it look as varied and natural as I could.
The cloak was the Flesh Tearers Red Contrast with highlight of Mephiston Red with I think a dash of Trollslayer Orange mixed in with the red as a high area highlight at the end.
The grey metals were a Leadbelcher base. I adder Nihilakh Oxide sparingly and hit the bolts and a lot of edges with Runefang Steel. I felt the blue of the Nihilakh Oxide would be a nice cold contrast against the warm browns of the wood.
I used crackle paint on the back wheels. I wanted it to look like old cracked paint, but I didn’t lay it on thick enough. It still laid down a nice foundation for my blue and green Contrast paints for some extra colour on the model. As part of the brief this seemed important to add more colour and shows that some wood has been repurposed to make this contraption. As an after thought it also ties in with the green and blue of the smoke effects at the front too.
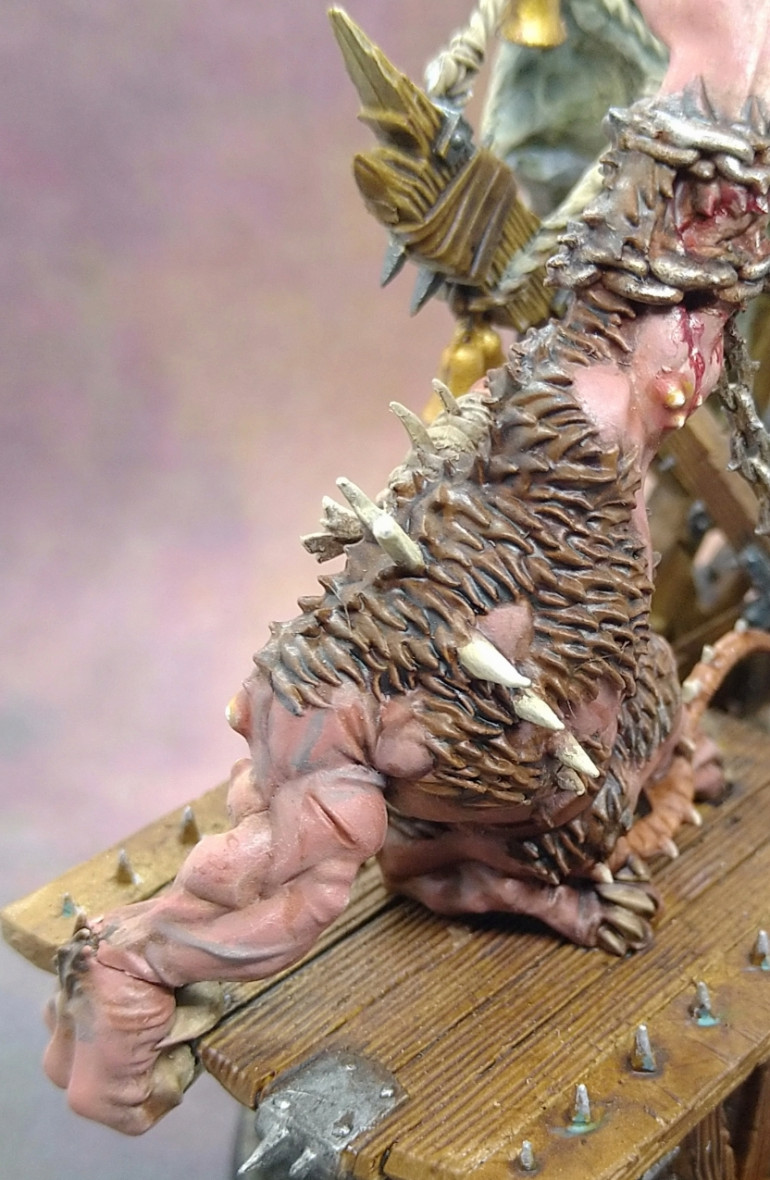
The big blind rat at the back was enjoyable to paint.
Started with a Bugman Glow base with Army Painter Barbarian Flesh mix as a highlight. There was at least one Reikland Fleshshade wash and highlight back up again. The veins looked fine highlighted with Barbarian Flesh, but in the end they got a highlight of a Nighthaunt and Bugman Glow mix to make them look more like veins.
The fur started out as Wyldwood Brown Contrast but his dried very glossy. Some gloss would make if look greasy, but the gloss at the time looked wrong. I went over it with Agrax Earthshade and this knocked the gloss back a touch and there was a final highlight of a mix of Mornfang Brown and Wyldwood Brown.
The spines on the back were a Morghast Bone base with a Wraithbone edge highlight.
The tail got an extra wash with Darkoath Flesh that stood it apart nicely from the flesh.
New home found
The model was bought built and primed on eBay in early 2020 by it’s owner, given to me to paint for him in May 2020 approx and sat in my house in danger of destruction by bad house keeping chaos and a mad Labradoodle and somehow survived. Not only survived but ended up being entered into a competition. The model has now been returned to the owner and he seemed very happy with the end result which made my day.
The only sad bit was not getting the quality of photos I wanted to really sell the paint job and give it a chance of winning the competition I entered it for. It was just too big for the photo booth that I owned, but I did manage to get some nice shots with the nice red background.
Thanks for all the likes and comments. Much appreciated as always. I will maybe chuck in an extra comment if I get a nice honorary mention when they give out some prizes on the lasshammer Instagram account. Happy Hobbying.


