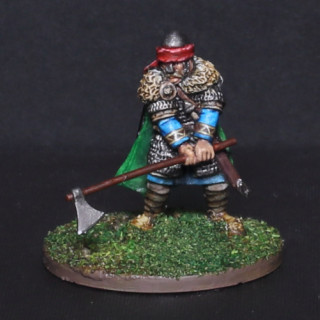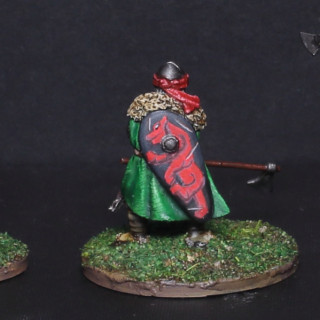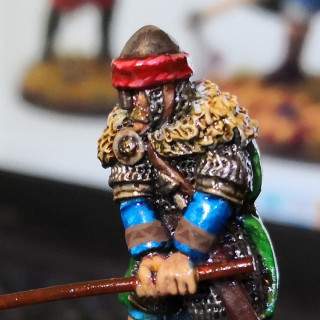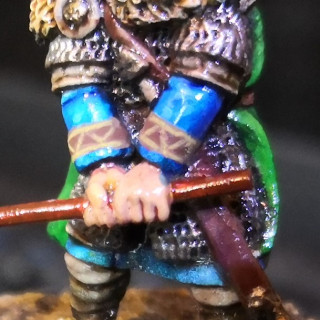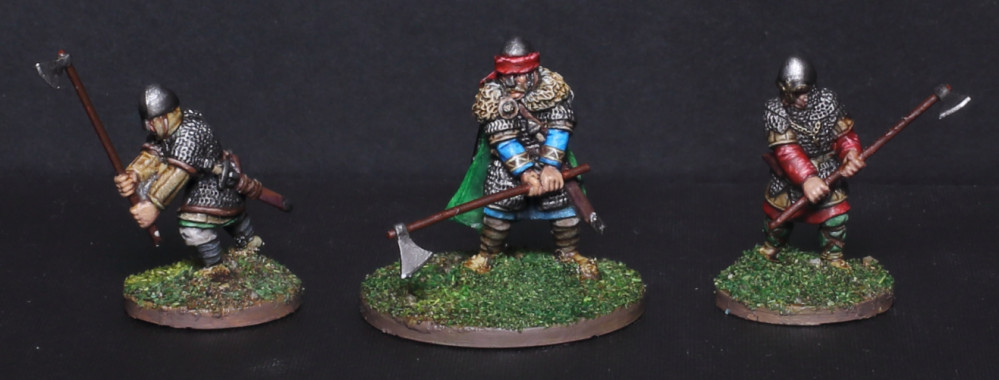
Anglo Danes for SAGA
Recommendations: 397
About the Project
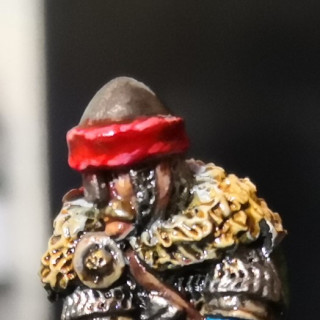
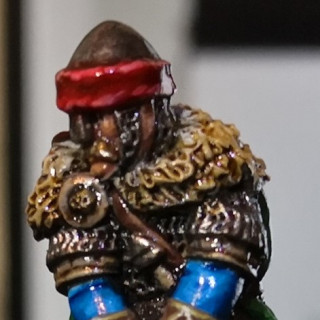
SAGA has started to gain some traction in my local gaming group. So I'm starting out building an Anglo Dane force and and some terrain.
Related Game: SAGA
Related Company: Studio Tomahawk
Related Genre: Fantasy
This Project is On Hold
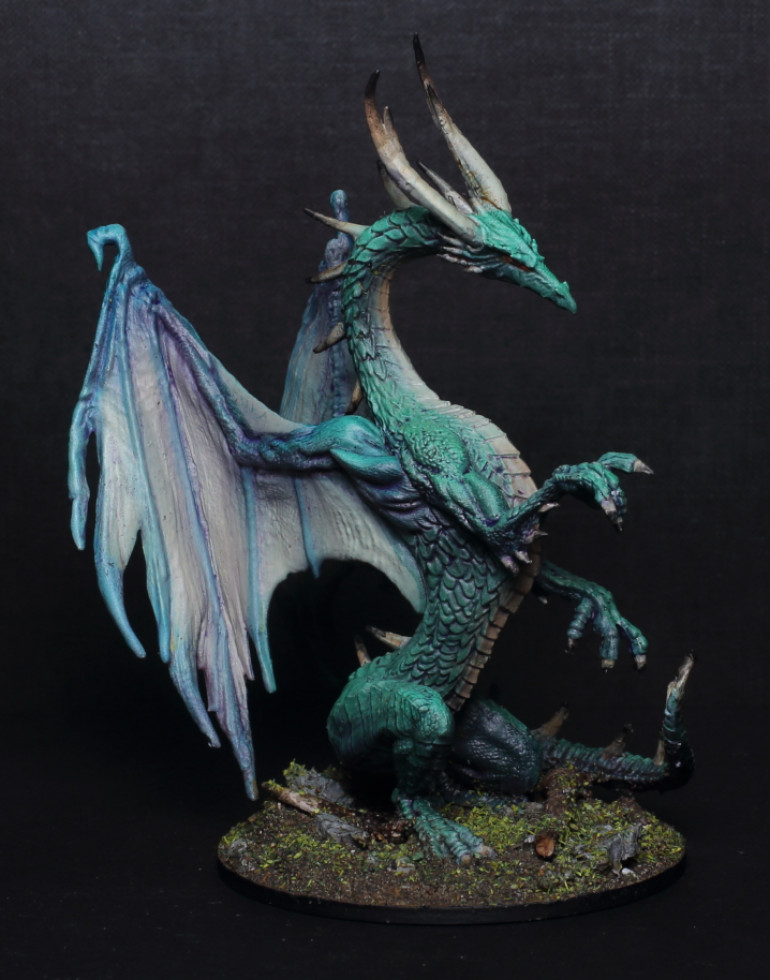
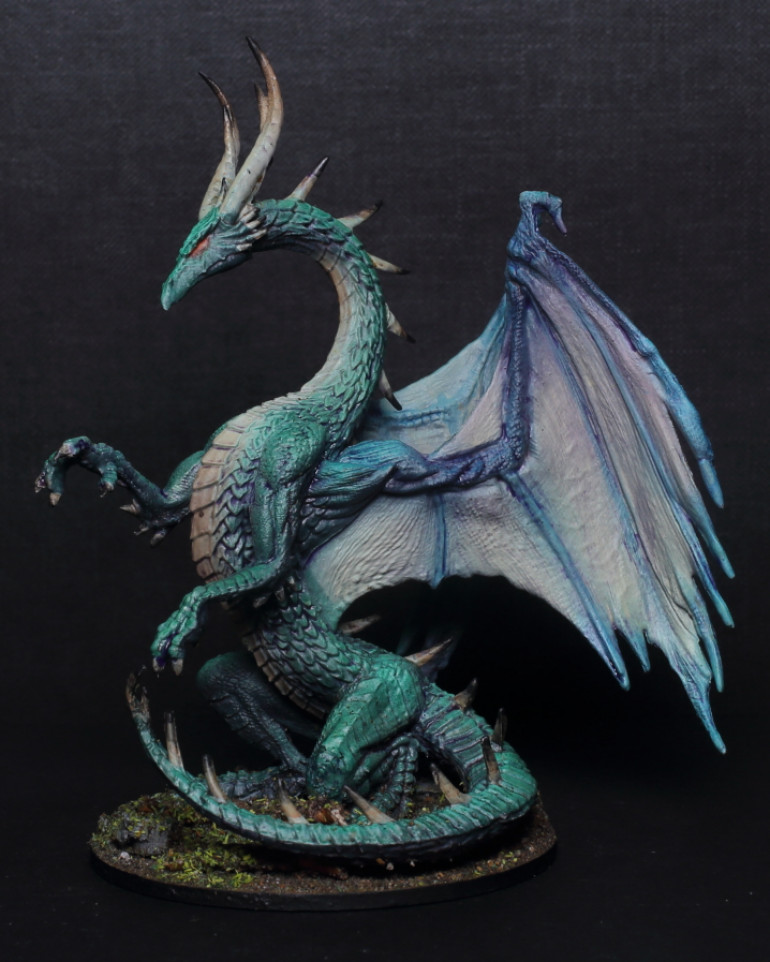
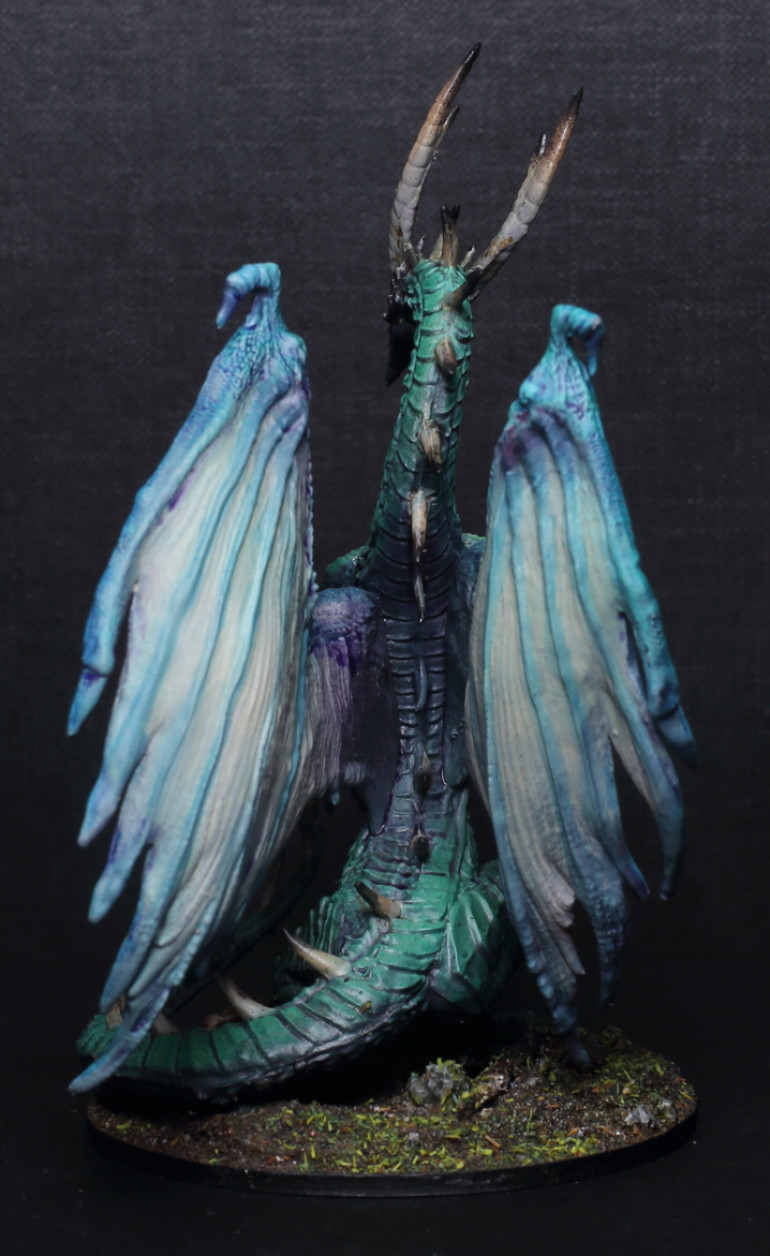
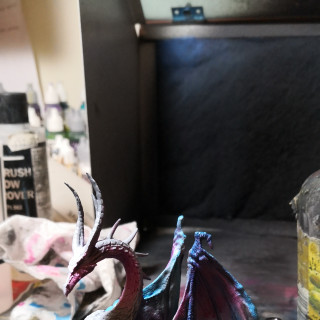
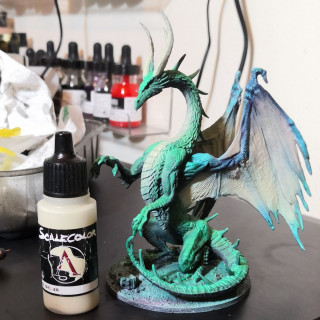
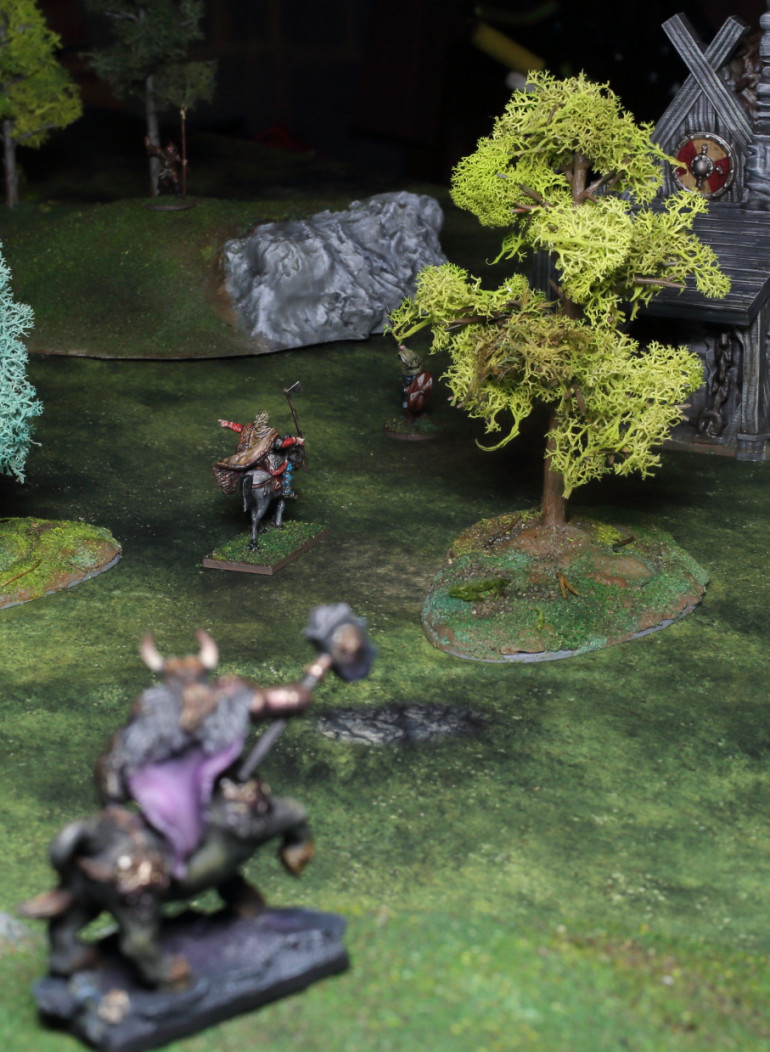
The Dragon is Complete
It’s done! I’m pleased with how quickly I’ve turned this around and I’m very happy with the result. I’ll have to start planning around this army a bit more. Still not quite sure how I’ll pad out other parts of the force but I’m pushing through what I need for my evil dwarves so hopefully I’ll be back to this project pretty soon. Back on hold for now though.
The Dragon's Base
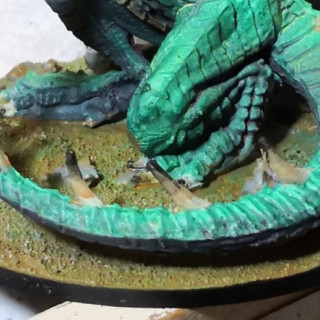
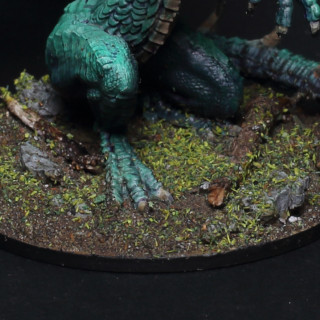
My Anglo Danes have a grassy flocked look to their bases. It’s quick and I like it. I wanted to put a little more effort in on the dragon and started by trying oil washes over a brown coloured earth. The result was crap.
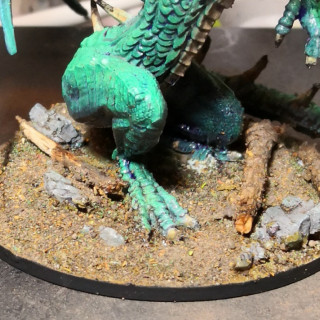
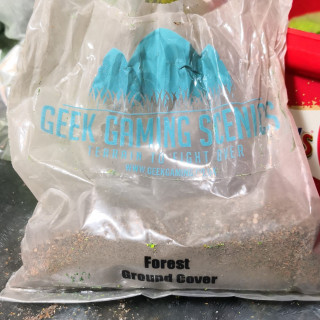
I changed tack and glued some twigs that looked branch-sized on. Then I gave it a liberal sprinkling of Lukes APS premade Forest Groudcover. I guess you know you’re lost to the hobby when you’re buying bags of soil. But I think it looks great and I’d buy it again.
After that I flocked it and I’m pleased with the result. Though a mushroom might help.
Painting the Dragon
Given the army this dragon would go with was a Dark Ages force I was put in mind of the old story of the Red Welsh Dragon fighting the invading White Dragon. But the more I’ve looked at this force the more it’s felt like it’s inspired by natural, woodland themes. So I went with green.
For all my love of this miniature I need it done pretty quickly. I’m in a hobby golf shame league and my score is abysmal (thank you Star Wars Legion). So I’m working to pump out the minis.
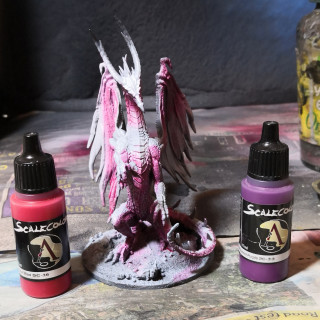
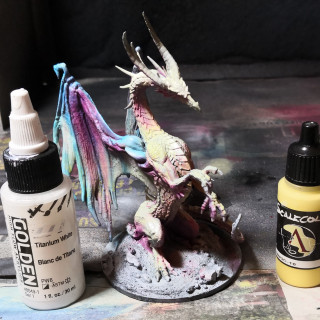
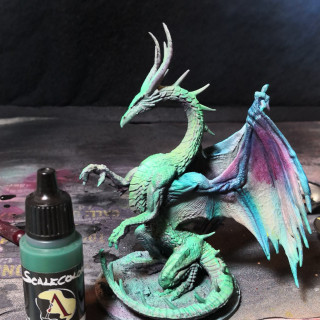
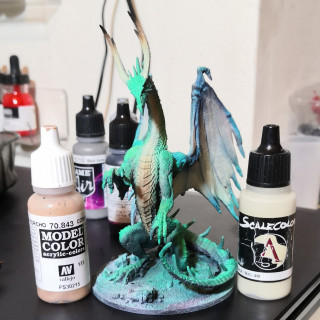
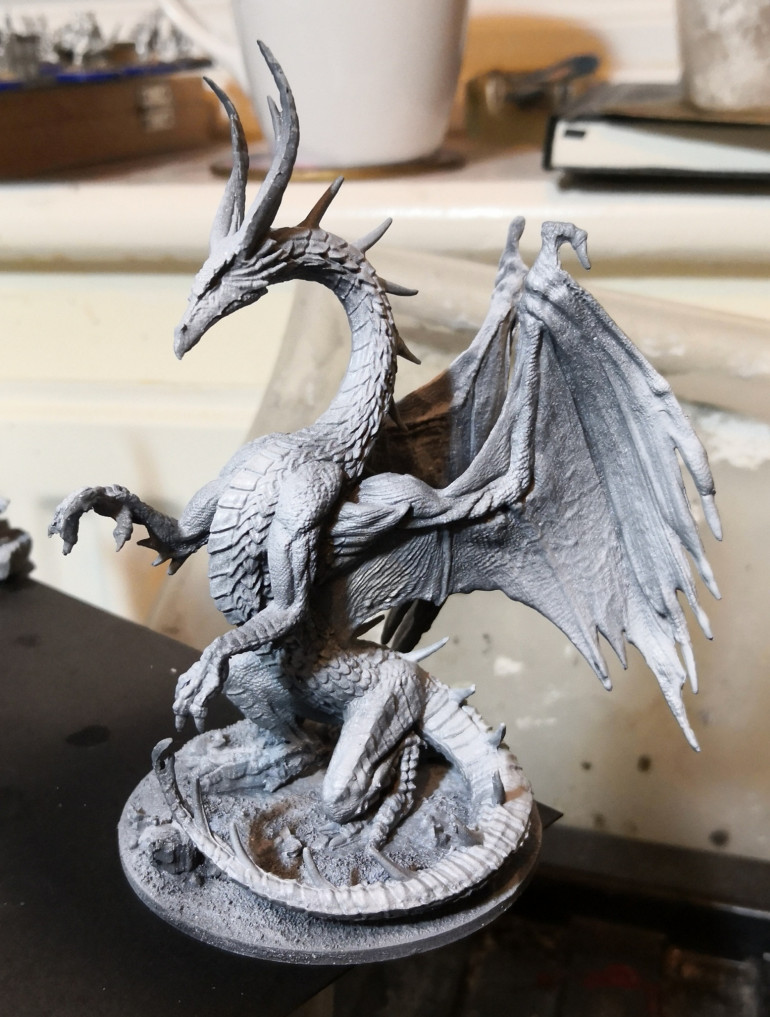
I decided I’d try and undercoat with the airbrush to add tones and shadows and then go over with the main colour. I used:
- Gradients of ScaleColour SC-36 red and SC-33 purple for shadow.
- SC-54 Navi Blue for the wing armatures.
- SC-10 yellow and Golden Titanium White for highlights.
- I went over the shades on the body with SC-41 green.
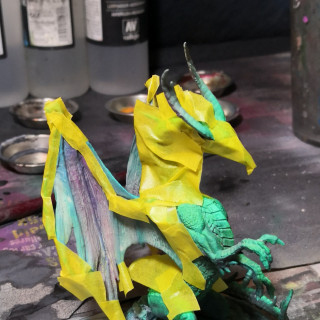
- I masked around the wing membranes and eventually used SC-25. I struggled to gt this right and think it went on a little heavily.
- I also used SC-25 on the front chest and horns.
- I used Vallejo Model Colour 70.843 to add tones to the chest and horns.
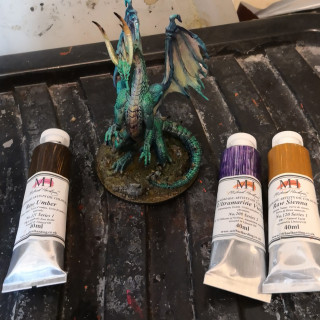
- I finished with oil washes of Michael Harding Ultramarine Violet for the scales and Raw Sienna + Raw Umber for the base.
Finally Found A Dragon
I’ve been running ideas for converting this army to a SAGA AoM force. I’ve got a rough idea of where I’m going but I had decided I wanted a dragon. There’s a dragon in Beowulf and that’s the only excuse I need.
However I’ve been struggling to find something decent and not too expensive. Honestly I’d given up. Dragons seem to be very large and overposed. I was prepared to compromise on a wyvern or something similar. But still, nothing was grabbing me. The wyvern at Otherworld miniatures was the favourite. But I find that if a miniature really appeals to me I’ll just buy it and I hadn’t pulled the trigger.
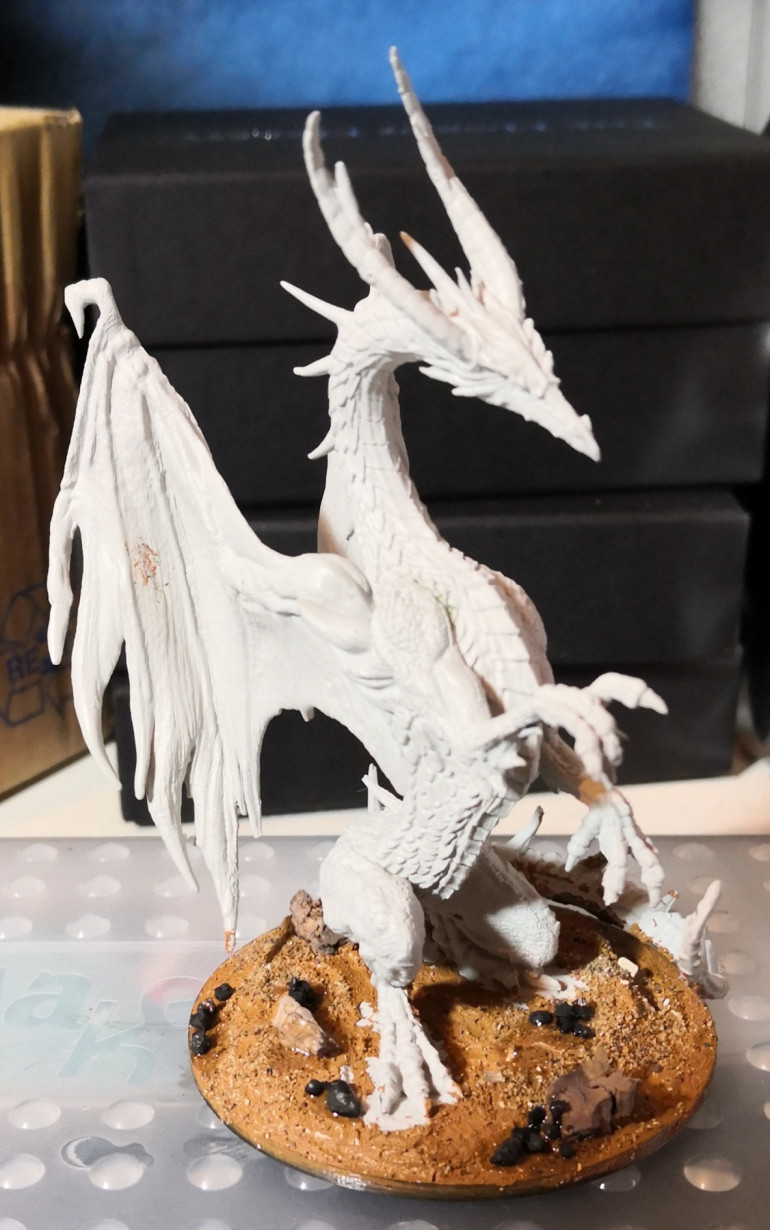
Then browsing through my local hobby shop I came across the Blue Dragon miniature for Pathfinder. Bingo! And pretty cheap as well.
Got it based and preshaded pretty quickly. I love the feeling of inspiration I get when I love a mini.
Regarding the Anglo Dane Realm with Envious Eyes
After getting a force together for SAGA Age of Vikings a thought gently settled in my mind and took root.
Hey, this force is not that far off an Age of Magic army.
I’m already working on another force for Age of Magic – Evil Dwarves – but I’ve enjoyed running theme ideas for this force. Reading around the legends from back then we’ve got warriors who could take on the form of a fearsome animal, dragons, Grendel and even large versions of normal creatures like bears and wolves.
In Age of Magic there’s a faction – The Lords of the Wild – that has warriors that transform into creatures and even a version of the Wild Hunt! They sound made for each other.
Not quite. This faction appears bow heavy and my force is not. Maybe I’m being too literal. We’ll see.
For now this project is halted while I work on my evil dwarves. I’m still figuring out the minis I want for this force. Then I’ll be back.
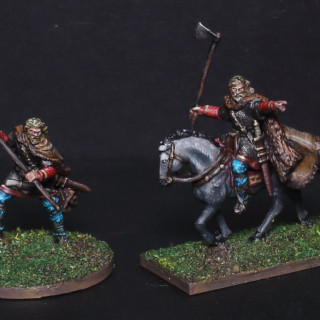
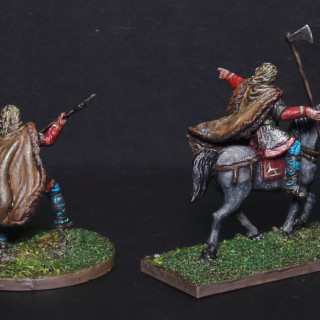
Cnut on Horseback and on Foot
Gripping Beasts other warlord for the Anglo Danes is Cnut and I love this sculpt. How did the same company produce this guy and the levy? He should really be on the banner but Harold fits that space so nicely with his retinue.
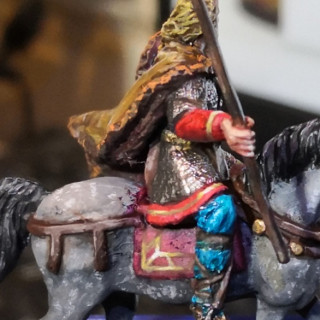
He’s been painted and based in the same way as the Warriors and Huscarls. I worked on some gold edging to his clothing and the cloth under his saddle. I was very happy with the patterning near the saddle.
I haven’t painted horses much but I fancied going for a dappled grey. I don’t think I committed to really get the dappled effect right but otherwise I think it came out well enough. Time wasn’t on my side.
Harold Godwinson and Retinue
As much as I wasn’t keen on Gripping Beast’s sculpts for the levy I was quite taken by their Anglo Dane warlords and bought both. In this section we have Harold Godwinson and a couple of Huscarls.
One slight downside was Harold had a kite shield cast onto his back. Instead of fighting it I just went with it and painted a bear. Being metal miniatures I used 3d printed bases with magnet holes.
I also tried to add a little more detail on Harold’s sleeves. Something to make him appear a little more important. It was really just putting down a dark brown base and higlighting a pattern up with yellows to white.
Victrix Warlord and Characters
The Victrix packs I mentioned in the Warriors and Huscarls sections came with a few character pieces and a Warlord with retinue.
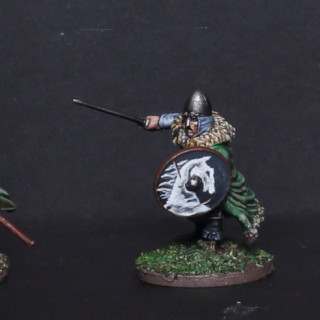
The painting and basing process was the same as for the other figures. For the warlord I wanted to try something a bit trickier for his shield and went for a horse. I’m pleased with how it came out.


![Make Your Own Star Wars: Legion Heroes! Rebel Agent & Officer Set Review [7 Days Early Access]](https://images.beastsofwar.com/2025/12/unboxing-atomic-mass-games-star-wars-legion-rebel-alliance-agent-_-officer-coverimage-225-127.jpg)


