Painting models with oil paints
Recommendations: 200
About the Project
I just thought I'd give it a go, just to see.
Related Genre: Game Aid
This Project is Active
Time to get this finished
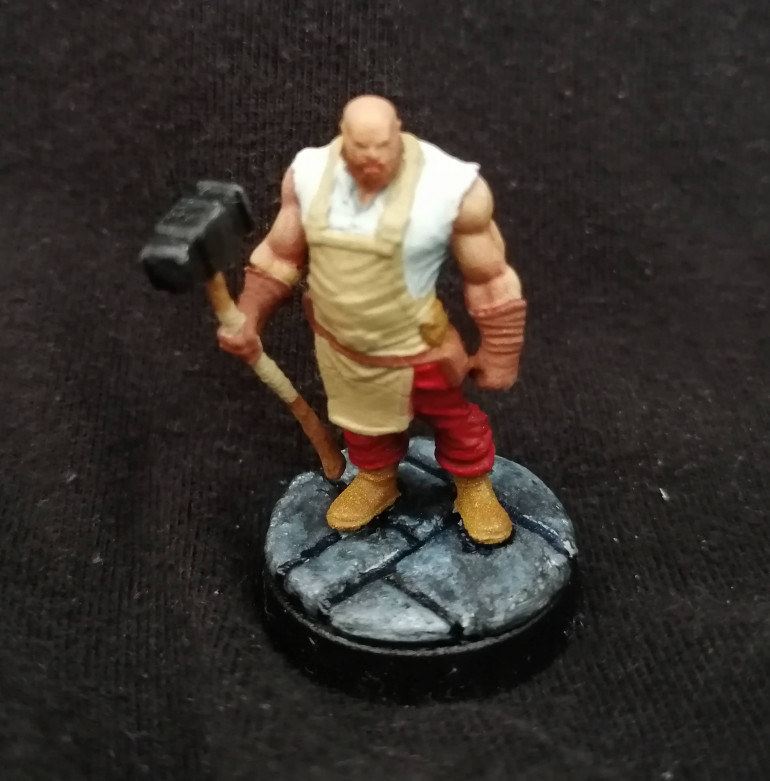
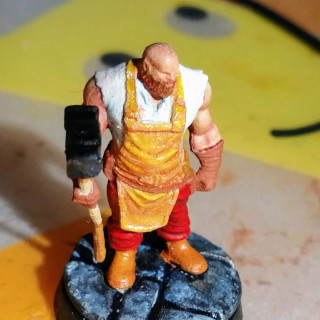
I started this experiment with oil paints some time ago now but, for one reason or another, it’s taken this long to paint a single miniature.
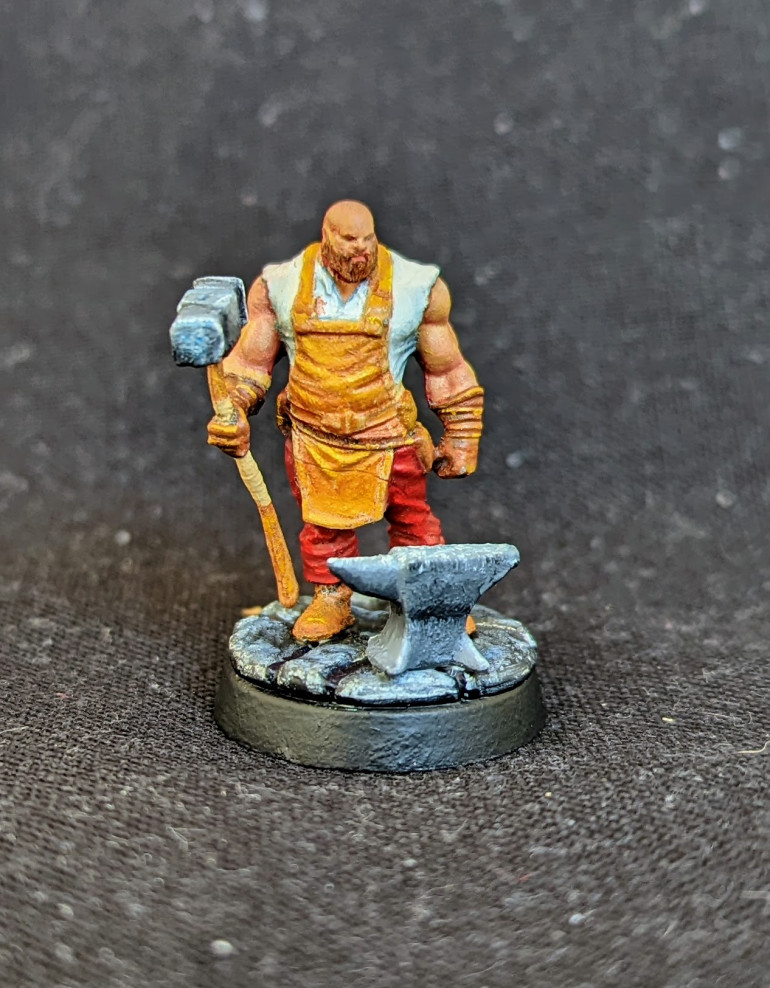
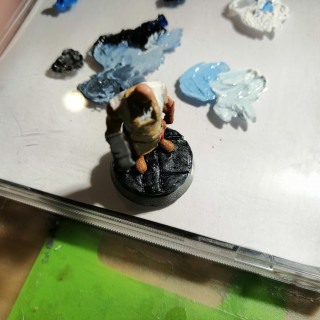
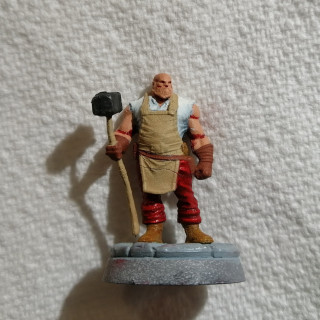
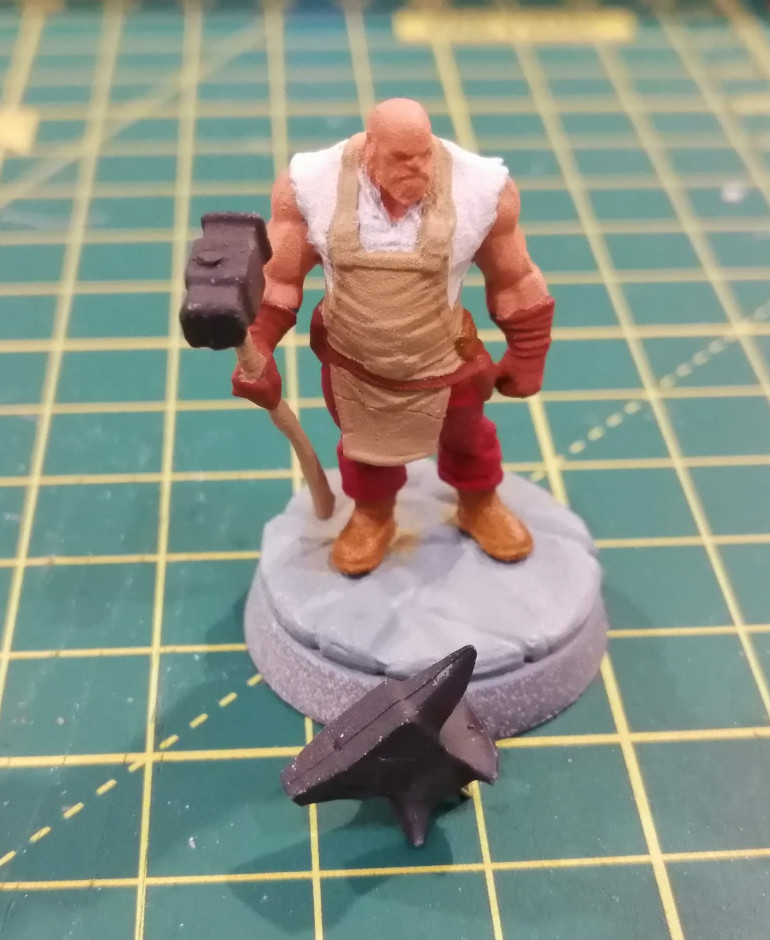
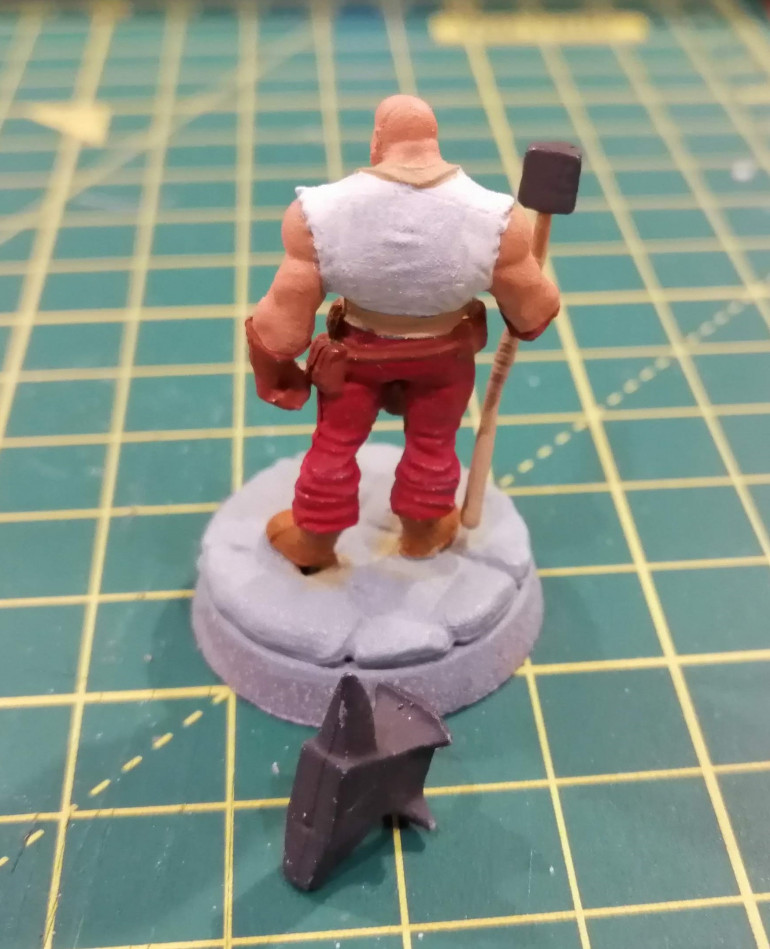
The last step is to work on the anvil and hammer. This step I’ve been putting off as I have no experience of painting non metallic metal. There is a silver oil in the set that I bought, but I’m determined to not use it (at least this time).
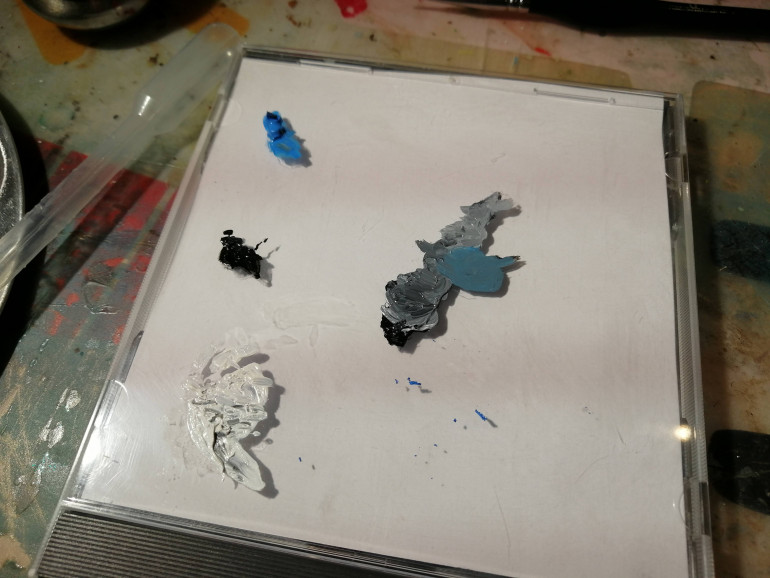
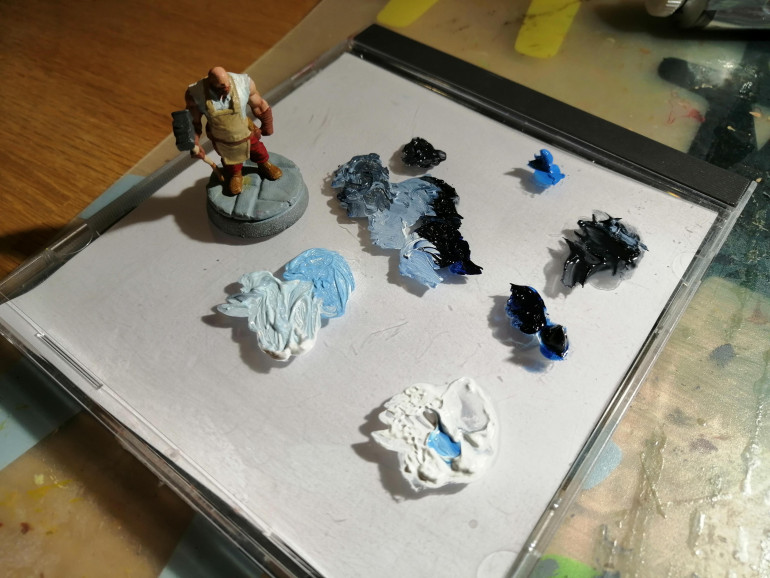
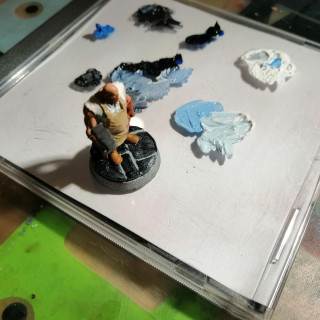
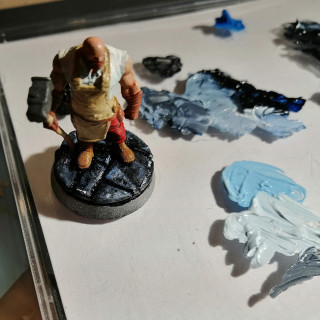
I’ll start by mixing up some black, white and blue to give some various shades of grey. My thinking is the blue will help both with a steel look and also the sky reflection for the particularly shiny parts.
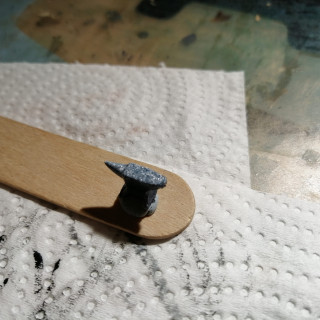
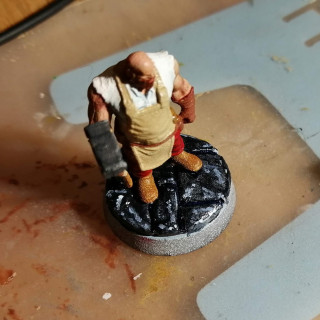
For the lower part of the anvil, I’ve tried giving it a grey and then a darker grey in the shadows. I’ve added some lighter grey to the feet and then tried blending this together. Seemed to work OK.
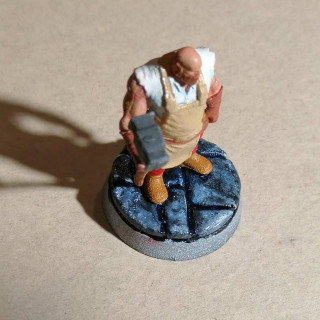
For the hammer face and the top of the anvil, I’m thinking that this would be the part that takes a pounding so will try stippling the oil paint on, to see how that looks. This was just a mix of the various shades of grey with some blue in places. White on the edges just to try to give the illusion of sharp reflection.
Time to let the oil paint dry.
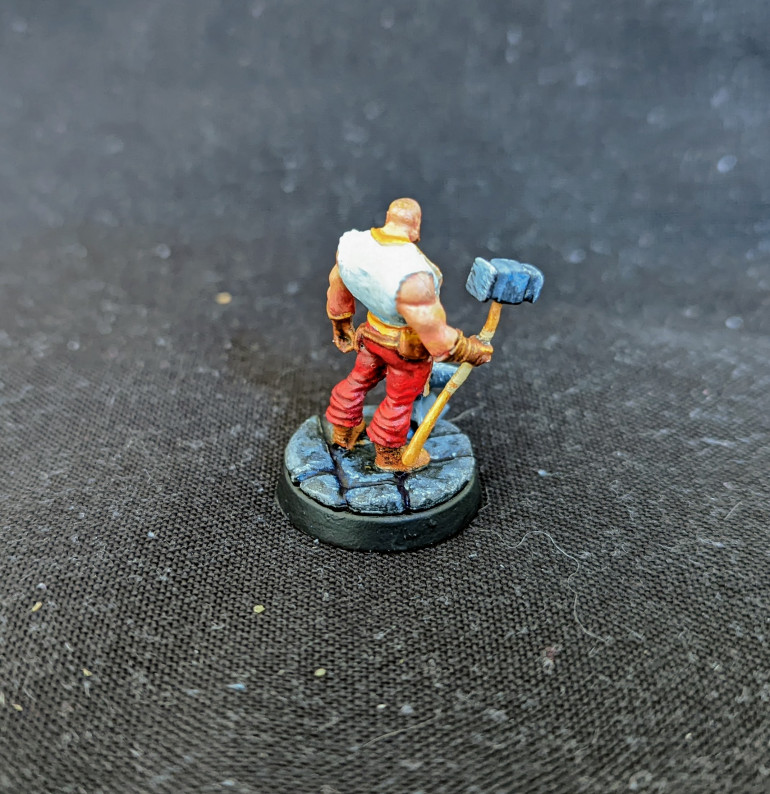
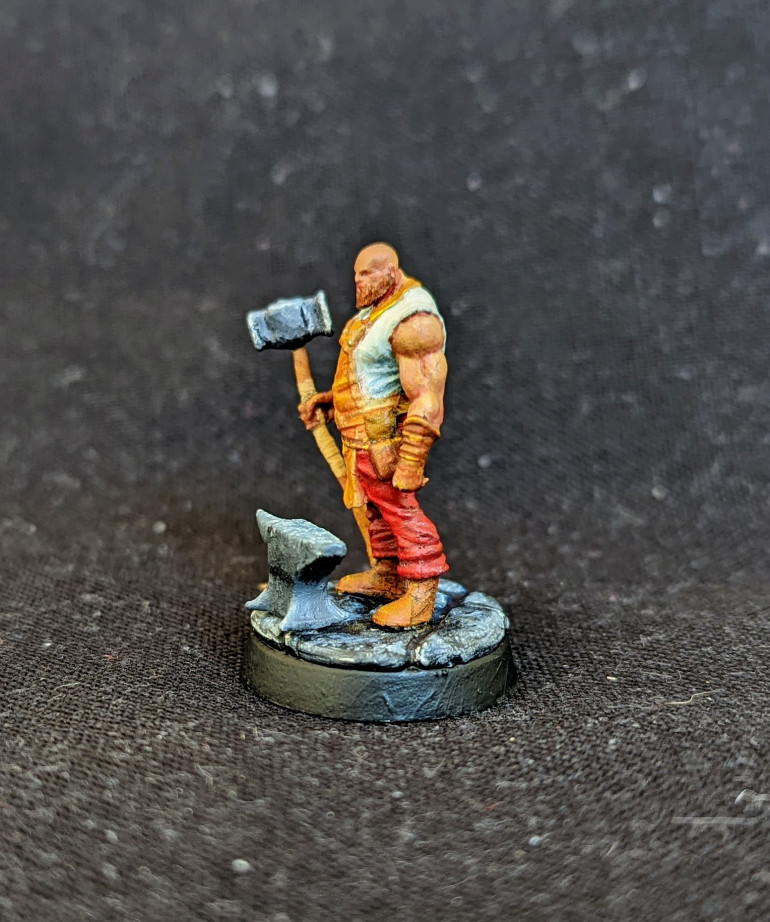
Once it had, I’ve given it a coat of varnish which, unfortunately, left a couple of very small bubbles. You can’t see them with the naked eye (at least not my eyes) but looking at the photos, they are there. 🙁
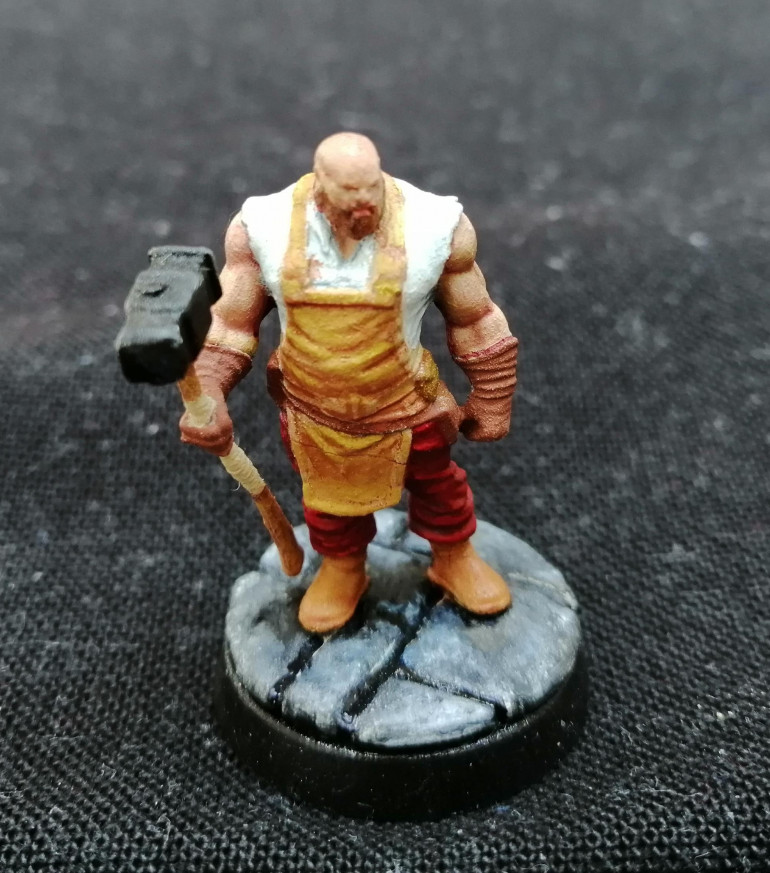
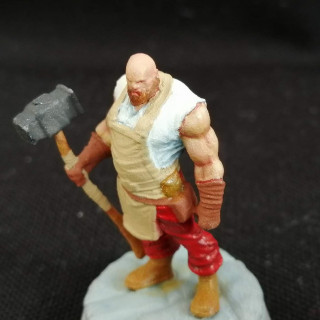
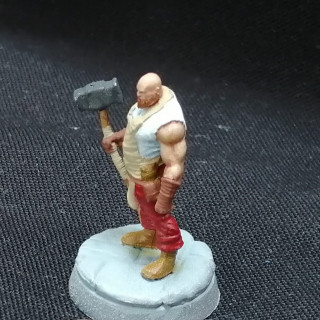
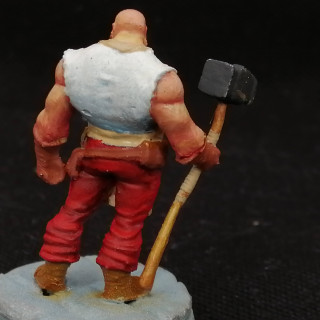
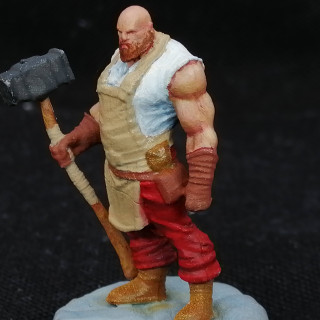
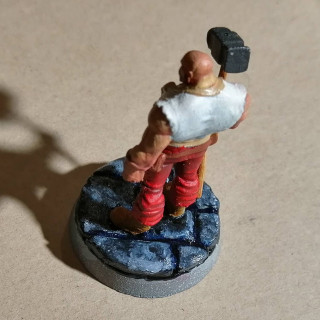
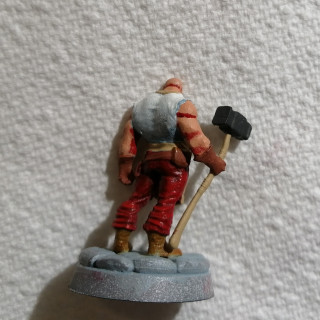
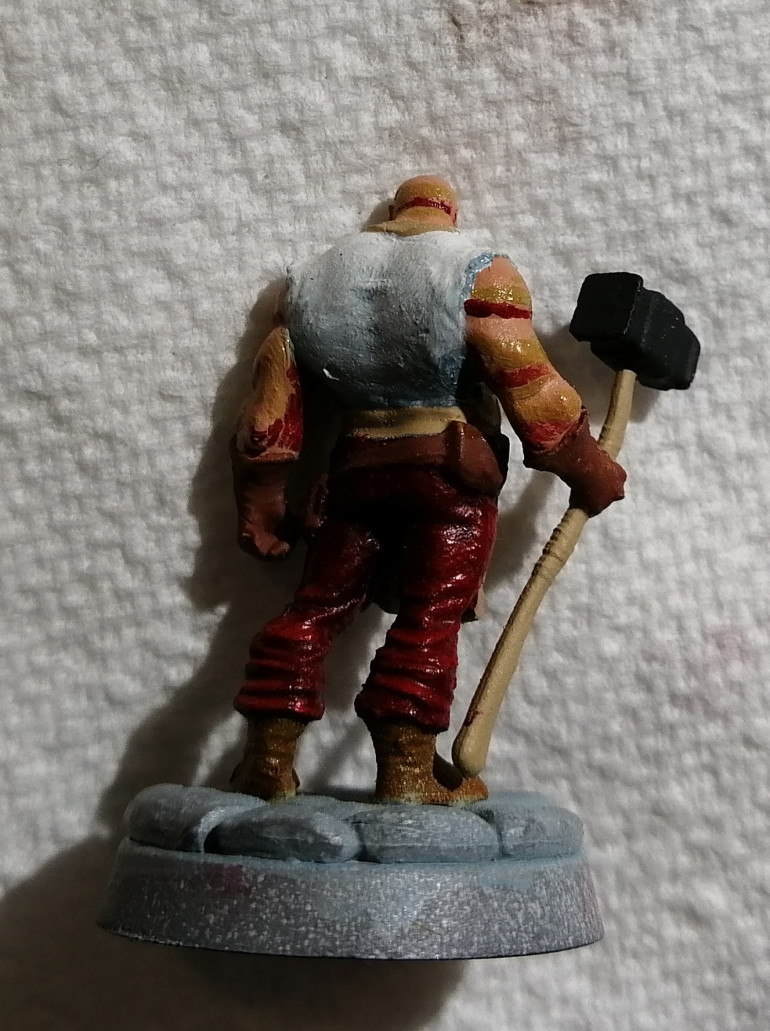
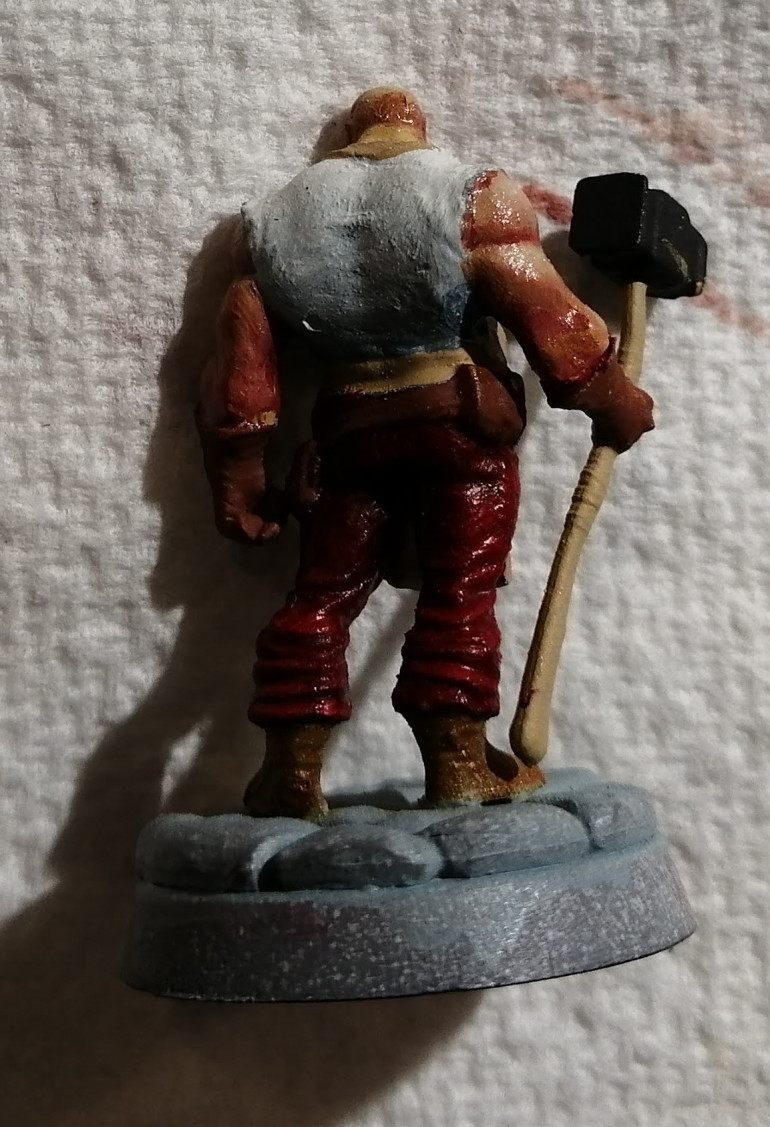
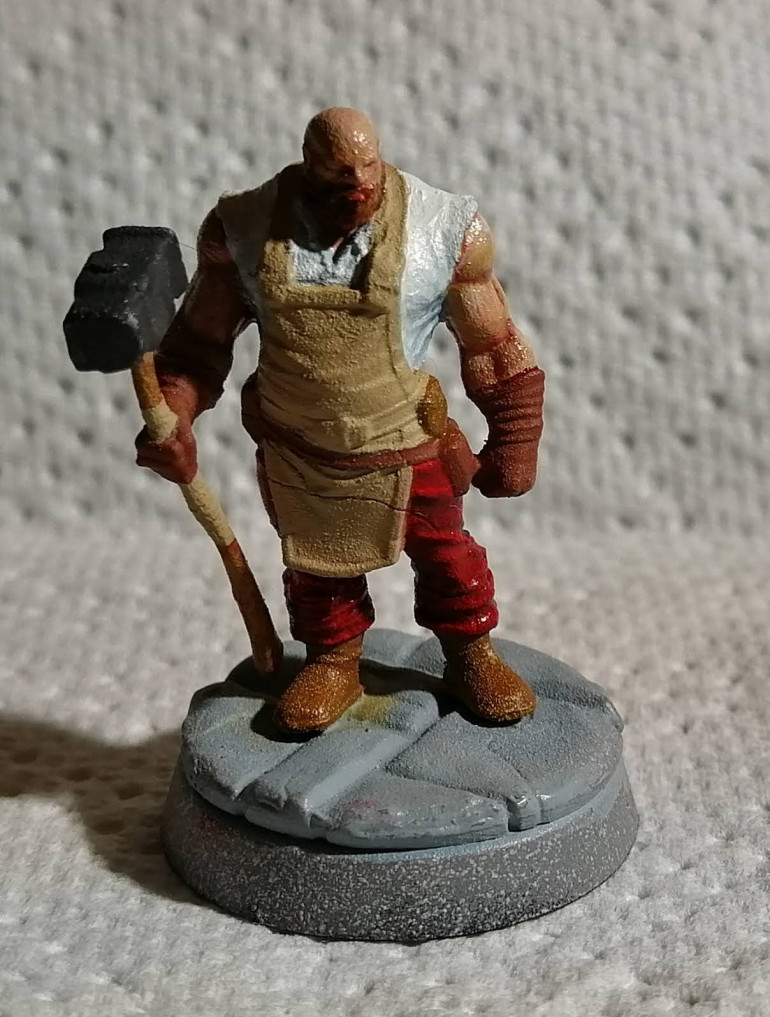
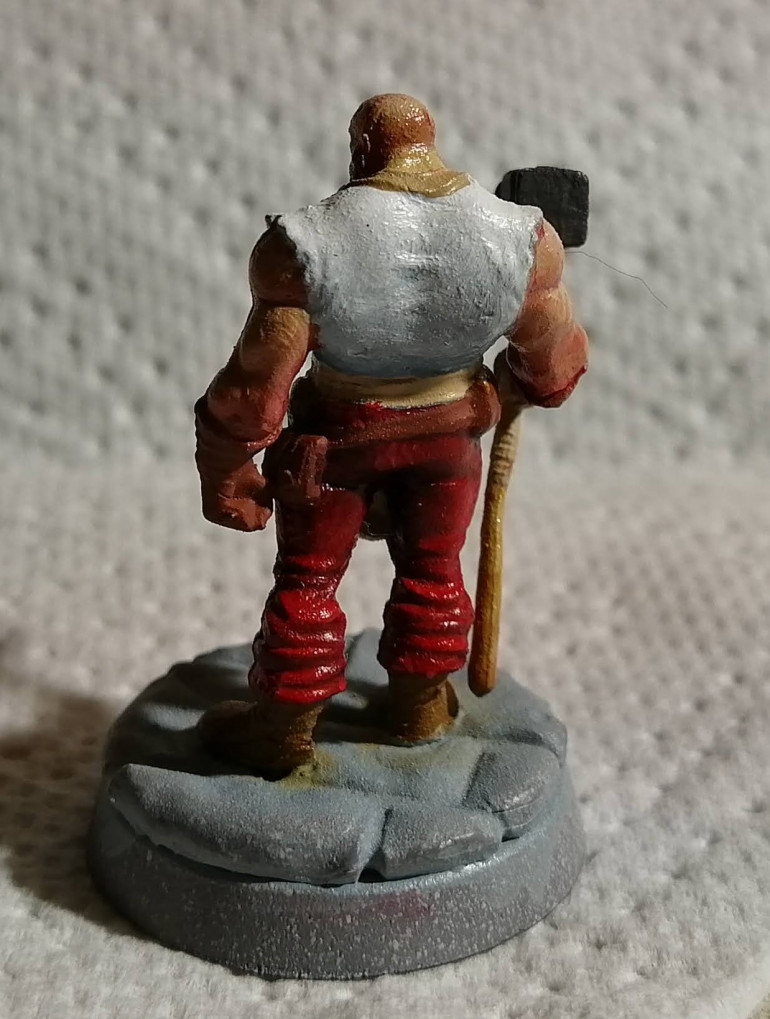
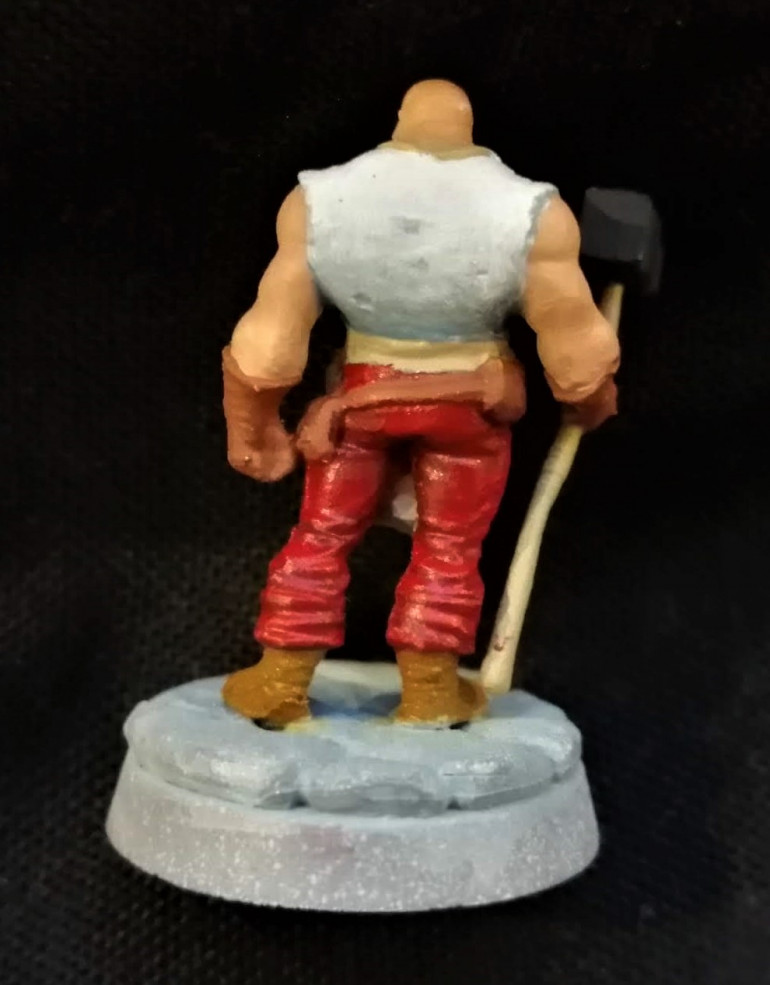
This has been an interesting start to my oil paints experiment and one that I will certainly be continuing. I’ve been really pleased how easy it was to get smooth transitions on the larger areas, such as the apron and, in particular, the white shirt. I’m also very pleased with the metal work.
Having to mix the skin colour up myself and apply it was daunting. I’m reasonably happy with the result, at least the shading around the muscles, but this will take a lot more work to get right.
The trousers require a bit more pop. I found shading and blending around the folds in the cloth quite challenging. Something I also noticed when I tried the leather work, particularly on the gloves and belt. It looks very clumsy here and I really struggled to get the blend correct.
I’ve got my eye on a mostly painted model where I have used acrylics but now want to test out how oil washes might work. I’ll take a look at that soon.
Dry stone and painting the apron
It’s been a while since I updated this project – about enough time for the oil paint on the cobbles to dry! In hindsight, I’ve probably gone a little heavy on the black in the recesses but overall, this was a quick and easy way of getting pretty good results. Here’s the result:
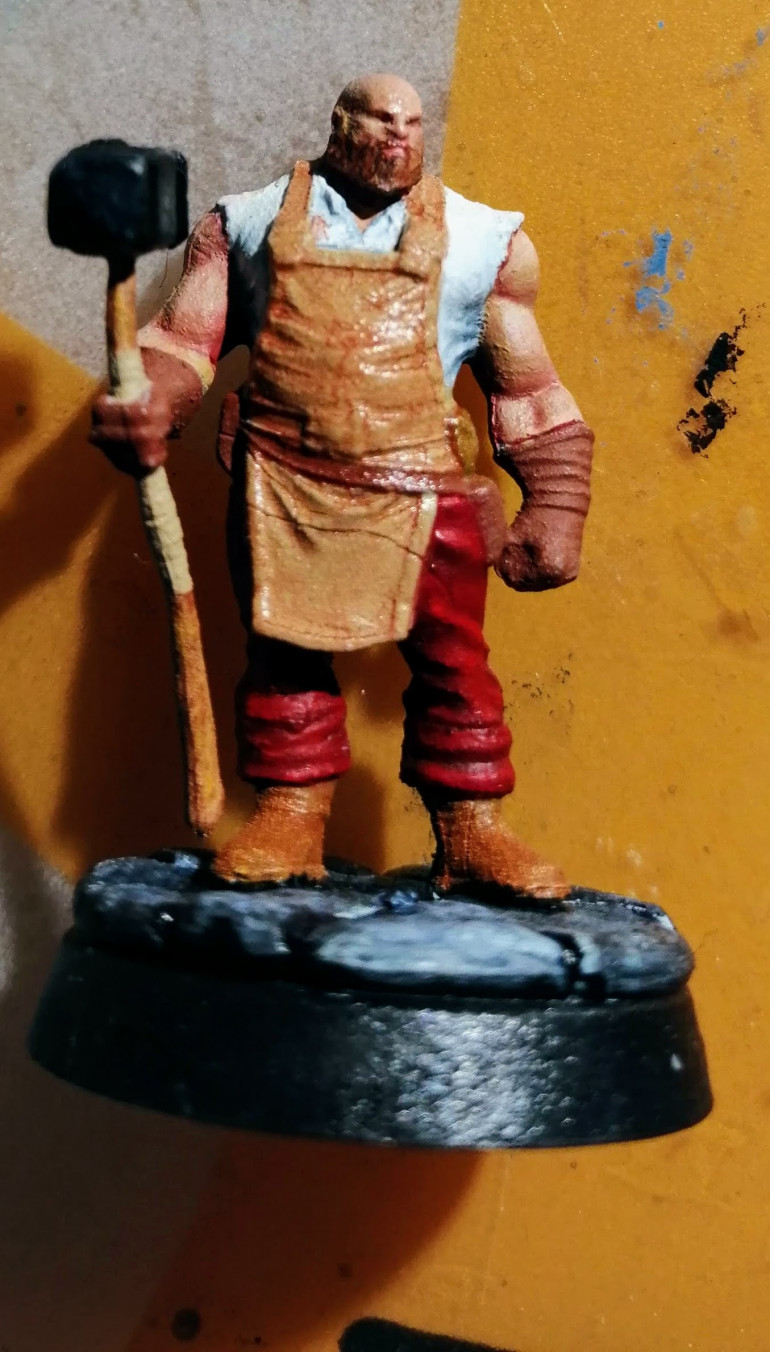
Now to look at the apron. Watching the training videos linked earlier in this project, once approach is to apply a wash first, gently wipe some of it away and then apply some highlight colours. In this way, the ‘wash’ leaves some oil across the whole surface which allows for later layers to be blended in. The wash also helps define the shadows.
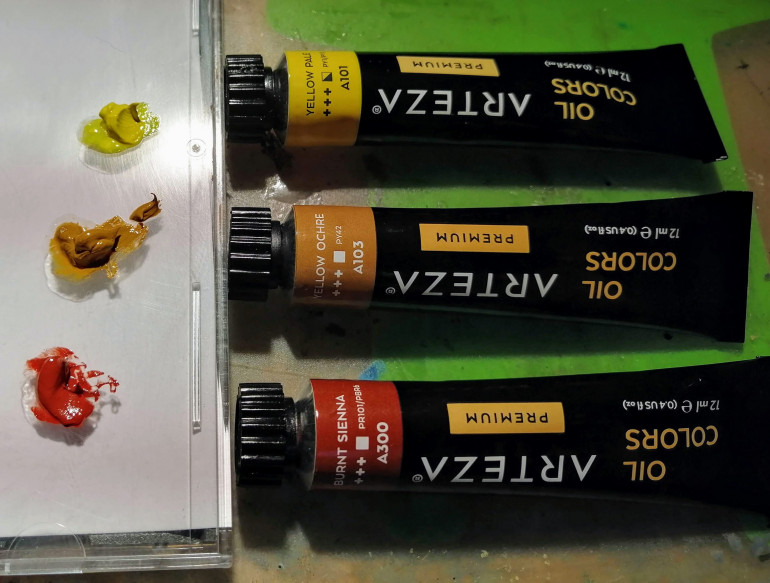
These are the colours that I will be using.
For the wash, I’ve thinned down the burnt sienna using an artist’s oil thinner and applied this across the apron. It has been left for 30 minutes and I’ve then gently wiped away the excess with a paper towel.
Now to apply the highlights. Here I’ve used a mix of Yellow Ochre and Yellow. This has been applied to the higher layers before being blended in.
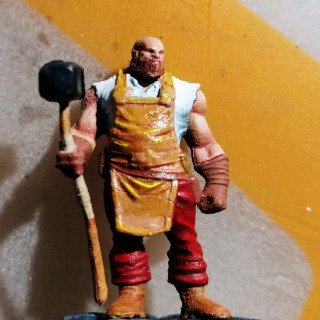
And then leave for a day or two to dry. Here’s the result, which looks fine,
Skin and Stone
The skin paint has dried now and I’m quite pleased with the results. In some places the skin is a little to ochre for my liking, but you really have to be looking for it. The blending has come out well and the muscle definition in the arms looks good. The face could perhaps do with some additional tone and shade to it but I found this hard to work with, especially given the very small area.
Once again, I’m struggling with the photo’s so here’s a range of shots all showing the same thing 🙂
Next up, I’m going to have a crack at the stone base. The videos that I’ve linked into the project below don’t provide any guidance on how to paint stone, so I’m on my own. My thinking here is white, black, grey and a dark prussian blue to add a colder tone. I can then mix these up to the various shades.
My basic approach was to apply a grey over the stones, then a prussian blue/black mix into the recesses between the stones. I’ve then blended the edges to allow for a smoother transition.
From there, I’ve spotted various shades of blue and light grey onto the tops of the stone and gently blended these in, trying not to go too heavily into stones that have recesses.
I spent about 5 minutes gently blending the colours in, adding where I thought it needed more. I’ve gone fairly thick with the paint on the stones as I’m thinking that this will help add texture – we’ll see if that works. Below is the point where I was happy with things and I’ve now left this to dry – this might take a while given how much paint is on the model.
Painting white
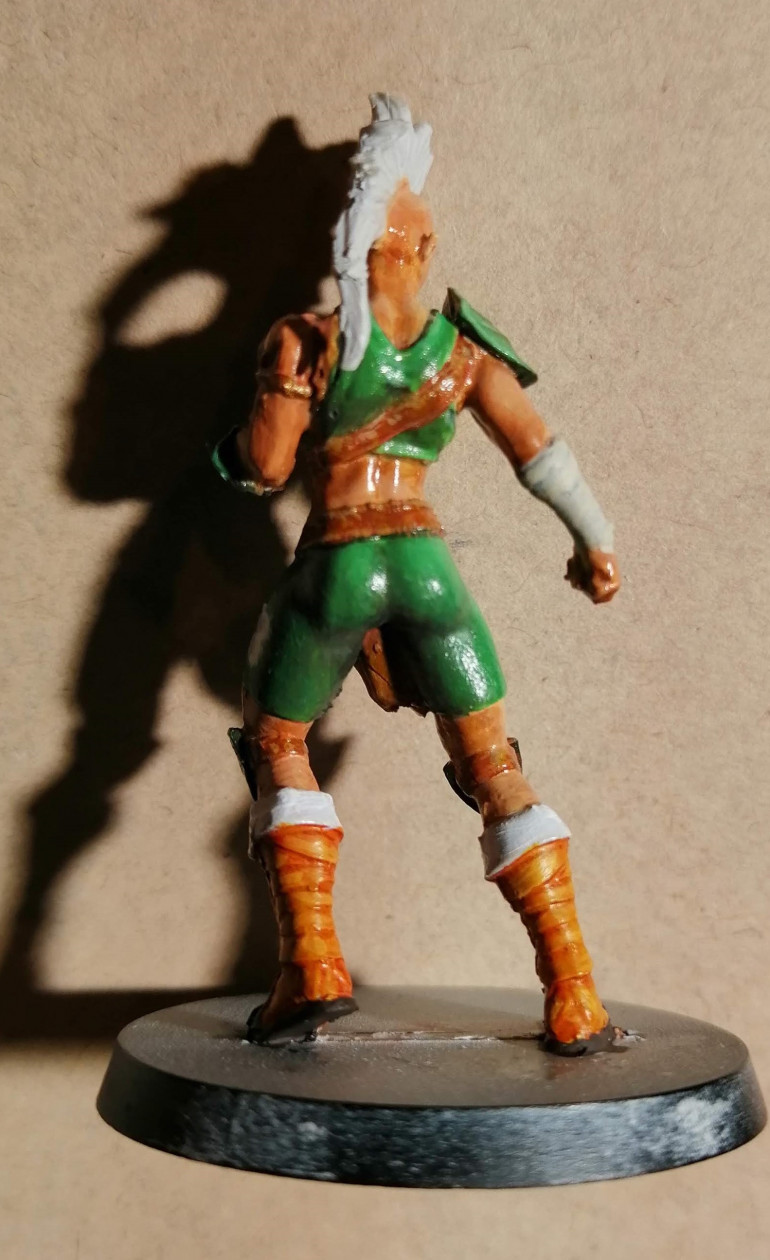
As an aside, as I’ve progressed with this experiment, I’ve now come across my new favourite method for getting brilliant white. Given the level of pigment in oil paints, it covers very well in one coat, unlike acrylics that seem to require more coats than I can count to. Here’s an example of the coverage on the tops of the boots of these other models that I am working on.
Painting Skin
Firstly, having inspected the model closer, I don’t think that the lumpy paint in the last update was entirely due to the oil. Other parts of the model have it as well which leads me to think that this was from the highlight I sprayed over as a first step. But, I still need to consider the thickness of the oils so will attempt to thin them more this time around.
For the skin, I’ll aim for a caucasian tone. I’m usually pretty poor at painting skin and usually have to rely on the correct tones coming from the bottles. This isn’t an option with the oil paints that I have, so I’ll actually have to mix the paint to achieve the correct tone. This is very daunting and not something I’ve ever really tried before. I actually have no real idea what paints to use to get close so I went back to YouTube. Fortunately, the video I posted at the start of this project provides some ideas, so I’ve tried to copy that.
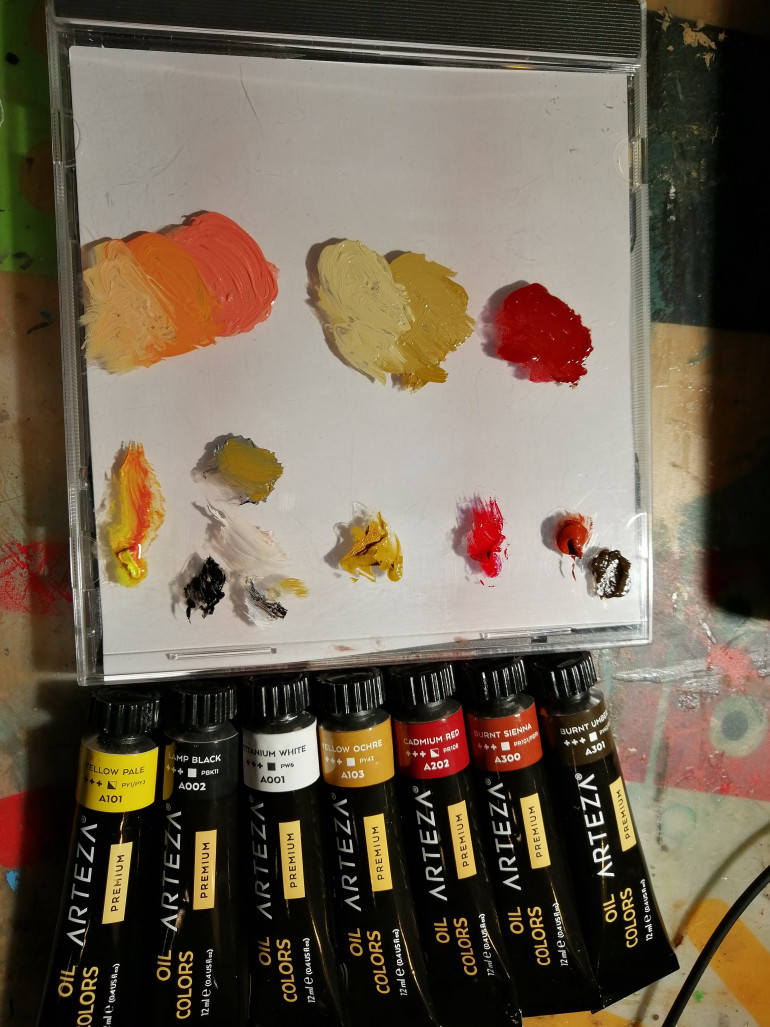
The paints used
Pale Yellow
Lamp Black and White – I need a grey and I don’t have one so needed to mix this up separately
Yellow ochre
Cadmium red
Burnt sienna
Burnt Umber
I’ve then mixed up a series of tones as you can see in the picture below.
I’m going to start by adding the red into the areas where I want the shadow. This will provide the shadow but also hopefully give the skin a reddish hue and provide some life and vibrancy. The below pictures show what I’m talking about. I’ll admit to this looking quite alarming.
I’ve then added some of the ochre tone around the flatter areas and a lighter tone on the raised areas.
Now to get blending. Using a dry brush and some tissue to remove any excess paint, I began gently mixing the paint together and pushing the colours so that they followed the flow of the model. I realised I needed a darker tone for the shadow and so introduced some sienna into some places. Below is about half way through the blending process
Overall, the blending took perhaps 10 to 15 minutes. I was really please with how the paint worked together and I definitely got a thinner mix this time. I’m also liking the amount of time I have to work with the paint and being able to add paint when and where I need it throughout the process.
The model needs to dry but here’s how it looks.
Letting the paint dry
It took a number of days for the oil paint to dry fully, particularly the red paint. I was expecting a longer drying time but not quite as long but this is not too much of an issue for me as I’m hardly a prolific painter.
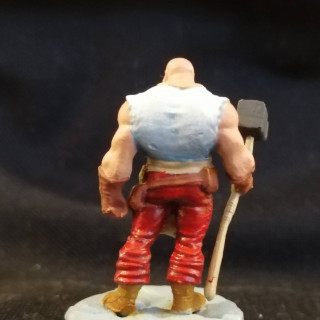
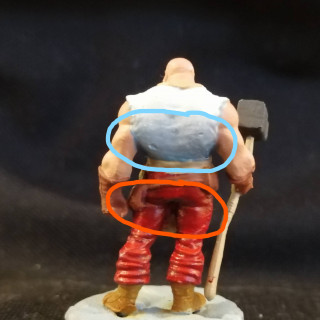
Inspecting the miniature, I prefer the results of the white shirt where there is a brilliant white on the upper shoulders gradually fading to a grey where there would be shadows. The red isn’t quite as brilliant and I think that I did not go dark enough with the shadow to make the upper areas stand out.
The two pictures below show the miniature and areas where I feel the blending worked particularly well.
Unfortunately, my photography skills, coupled with the shiny oil paint, isn’t quite providing the same view that I’m seeing with my naked eyes. I’ll look into this and try and improve to get better pictures.
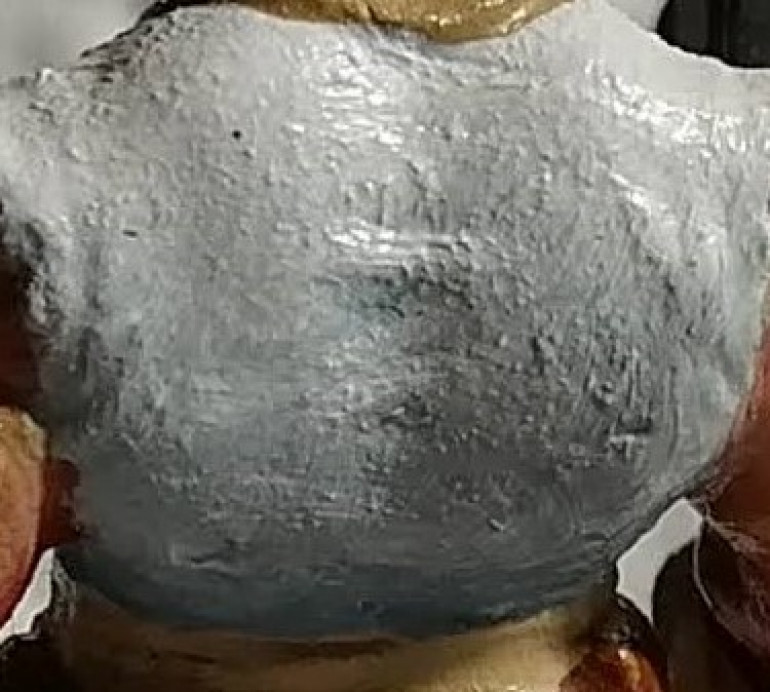
Looking at the miniature very closely, I can seen that the paint is not flat and has a lumpy consistency to it. This is particularly apparent around the shirt on the back of the model.
I can think of two reasons for this. Either the zenithal highlight I applied first has speckled the model and caused this effect or I need to dilute the oil paint a little more and ensure that I apply a thinner coat. It’s also possible that the pigment in the paint is ‘clumping’ but the paints I bought were reasonably decent so I don’t think that this is the problem.
Next step will be to paint the skin. I’ll take on board the lumpy paint and try to thin the paints further before applying.
I also see that this project appeared on the Unofficial Hobby Hangout and there was mention of another youtube channel where oil painting is given an introduction. In case anyone is interested, I think that this is the video and also well worth a watch as an introduction.
First attempt at using oils
To start, I’m going to try two large areas, the trousers and the shirt. The trousers will be red and the shirt white. I’m particularly interested in how I get on with the shirt as I generally find painting white difficult, so it will be interesting to see how easy this is with oil paints.
I also need to remember that blending oils is different with a different brush stroke. I’ll also need to keep remembering to remove the oil paint from the brush while blending.
Oh, and very importantly, do not lick the brush! I do lick my brush while painting to keep a point but when using oils and white spirit, this is not advisable….
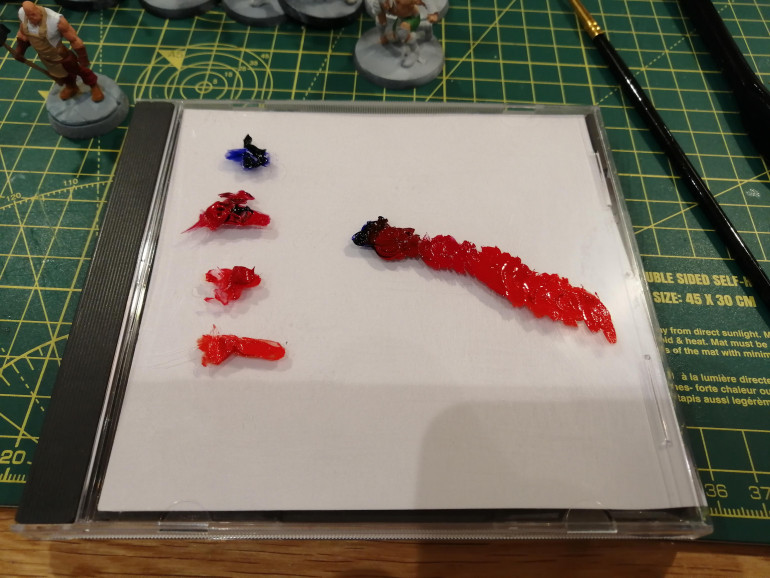
First up, let’s get the palette ready. Red is hard to highlight, so I will try to focus on the shadows. I’ve therefore selected Vermillion Red, Scarlet Red and Cadmium Red. And Prussian Blue for the deeper shadows. I usually shade red with purple but Prussian blue is the closest of the oils in the set I have.
I’ve then mixed the colours together to create a palette to use
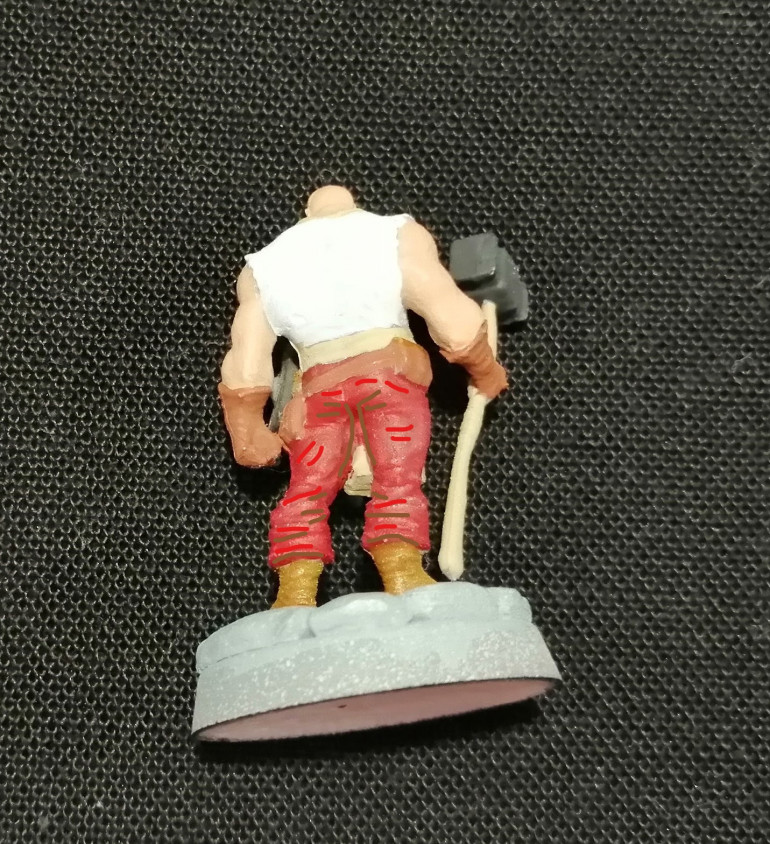
I aim to try to copy the video linked in an earlier post and place the lightest colour on the areas highest and then lines of the darker colour in the shadows. I can then use the intermediate colours to move from one to the other.
The below diagram shows where I planned to put the paint.
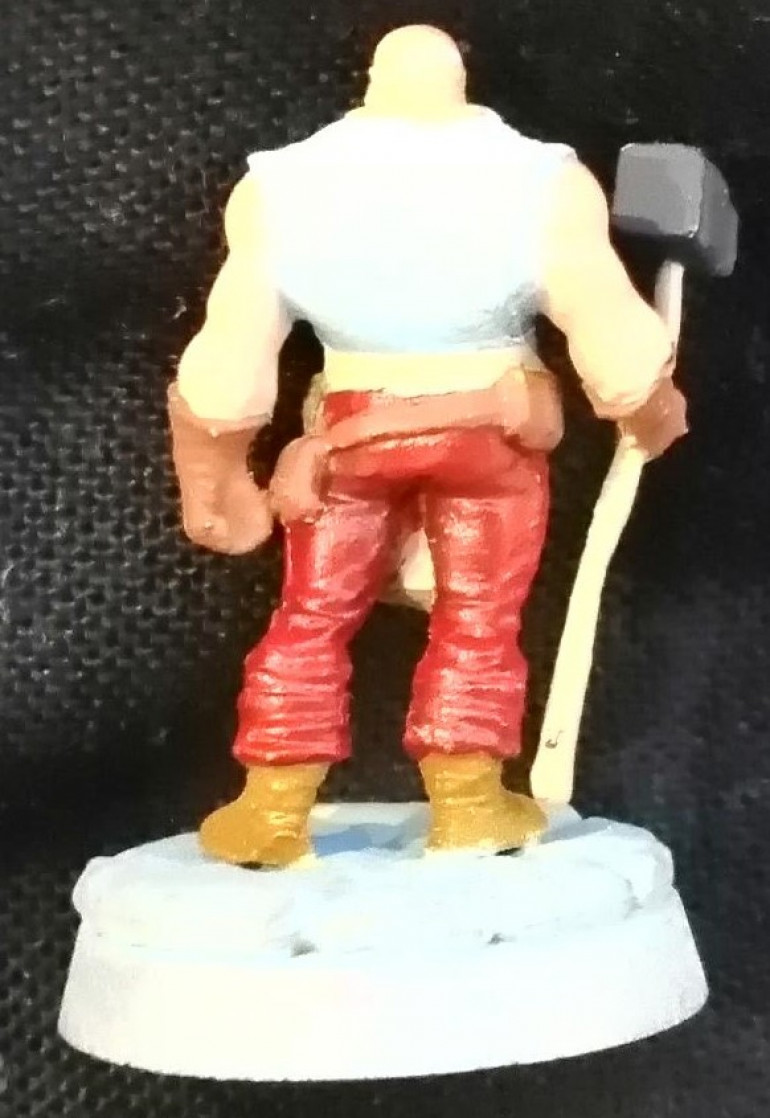
Blending was difficult. This was a new way to work the brush and I’m not sure that I got it right. I also used the synthetic brush for blending when perhaps the softer brush would have been better. Below are the results, although the red paint is very reflective and I’ve struggled to get a good picture. It does appear more shaded then these pictures suggest.
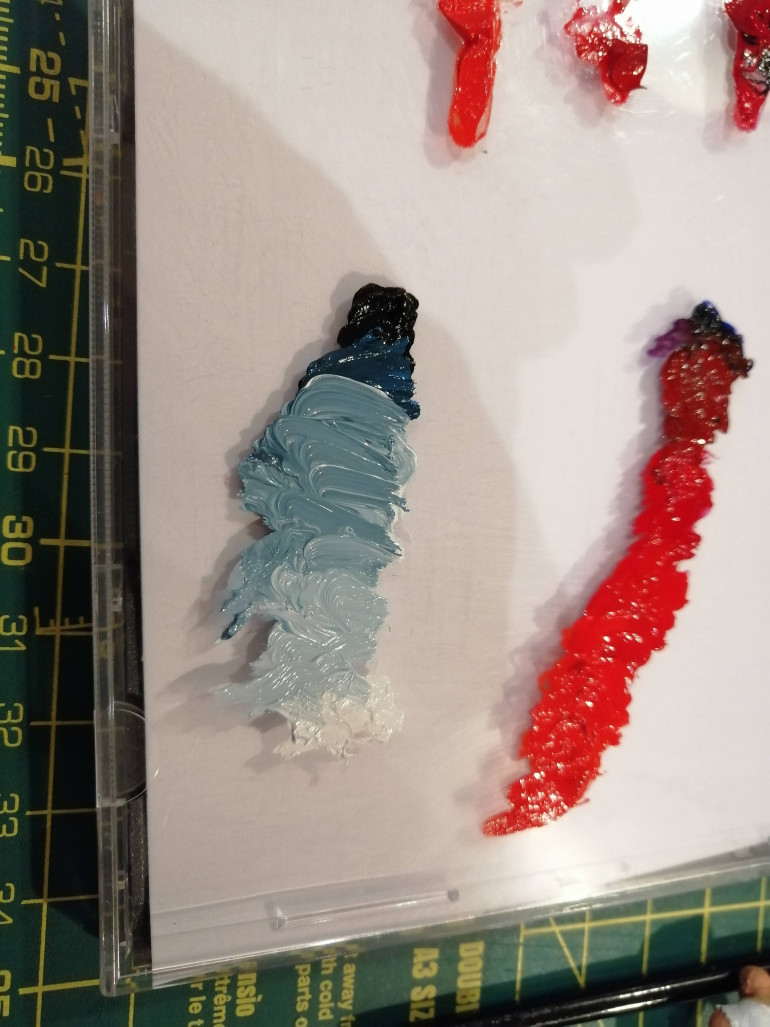
On to the white. The oil set that I bought comes with Titanium White and I also selected a Sky Blue and Black to mix up a grey and cold, blue tones. My palette is below.
The shirt is flatter and I found that this made blending easier than the folded cloth of the trousers. I used the same approach here with lines of colour put down, getting darker into the shadows before blending these together.
I found the consistency of the oil paint a little thick for this, so used some thinner to try to reduce this. I don’t think I took it far enough and some of the paint appears a little ‘lumpy’. Perhaps good for textured surfaces but we’ll see how this dries out. You can see the results below
So far, I’m happier with the white than the red. I can see the colour change from bright white to a grey and this looks more natural than I’ve managed with acrylic paints. I’m still not sure about the red.
I’ve also noticed that photographing this is a lot harder. The paint is wet and highly reflective, which isn’t easy but I probably need to look into better, probably more natural, lighting conditions to get some good pictures.
I now need to wait for this paint to dry before starting the next part. This will take several days and is the main downside of oil paints. While there are drying mediums that you can add to speed this up, I didn’t want to complicate things and will just wait for the paint to dry naturally.
Step One
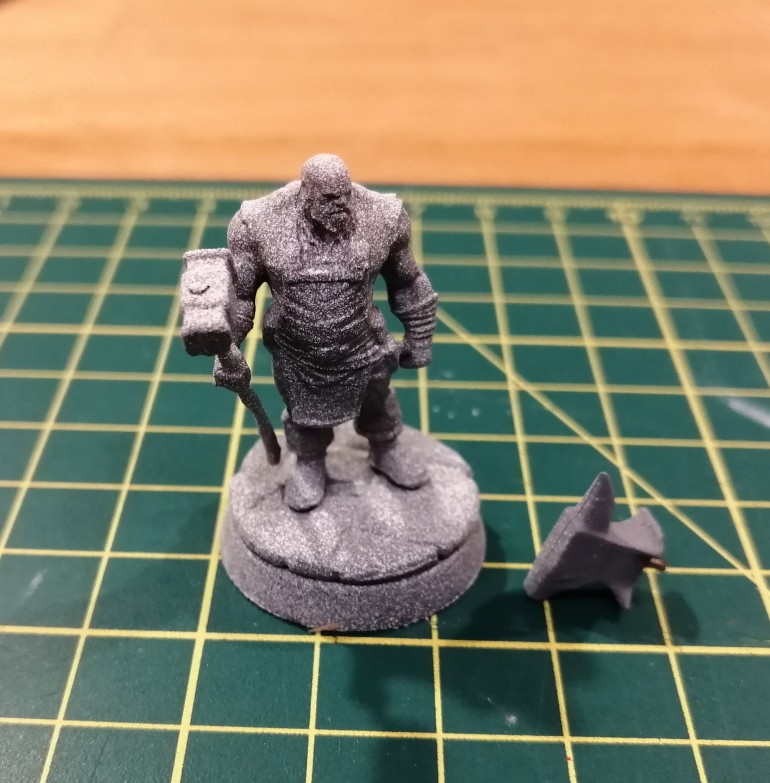
Firstly, meet the victim for this experiment. This lovely metal miniature is from Black Hallows and was given free as part of a kickstarter that I backed (I forget which one). This particular chap is apparently called Odibrand Winterrock and he’s the town blacksmith. He’s scaled for 28mm.
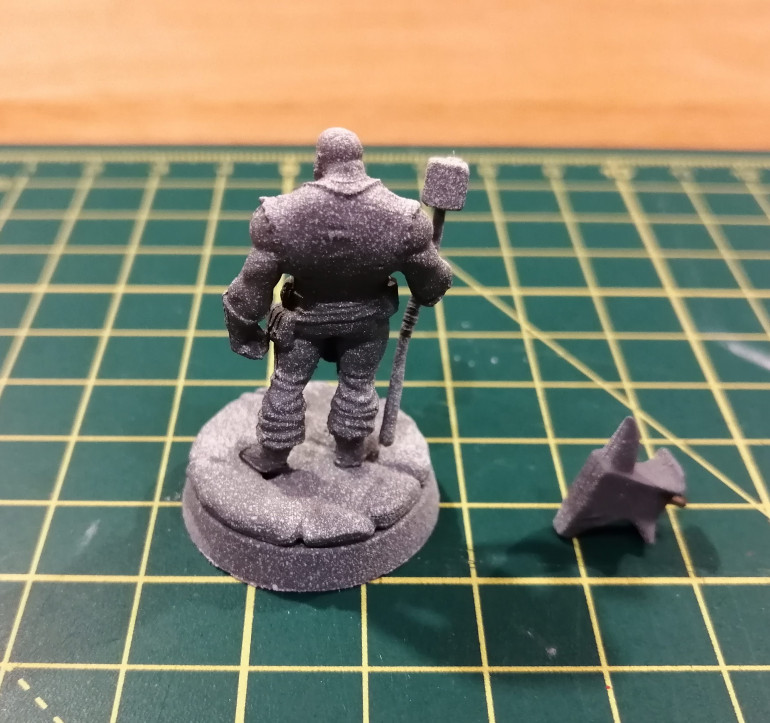
Odibrand was not a single cast miniature and required the base gluing to the cobblestones (which are metal) and his hand holding the hammer gluing to his arm. I’ve pinned the feet into the base and also put a pin into the anvil ready to be mounted once it is painted up.
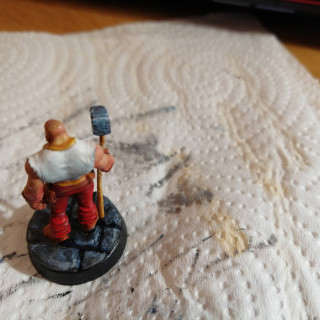
As you can see from the images above, I’ve managed to prime the model and then splatter a zenithal highlight over him. Not my finest work with the airbrush. You’ll also notice that I’ve not bothered too much with the clean up and there are a few mould lines.
I’ll start by painting the base colours with acrylic paint as per the video I linked in. This is to provide a guide as to where to apply my oil colours.
I’m more interested in seeing how different colours work and blend on the model rather than trying to come up with a nice looking colour scheme. Hence the red trousers and my least favourite colour, a white shirt.
I’ll start with painting the trousers and see how I get on with that.
Gathering the tools
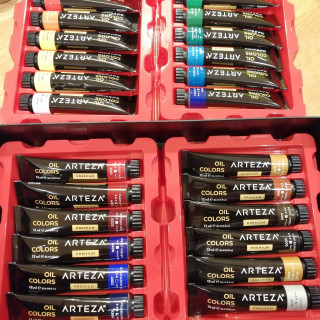
I’m going to need some supplies before I start. First up, some oil paint. After some research, apparently oil paints have different qualities with ‘artist’ being better quality than ‘student’. Makes sense. There are a lot of different brands but Arteza seemed to be fairly well regarded without being too expensive.
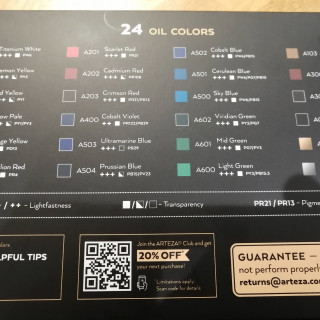
Amazon was able to supply 24 Arteza tubes of oil paint covering the colour spectrum. And all for around £25, which, given that I’ve just paid £21 for a Scale 75 paint set containing 8 paints, seems good value.
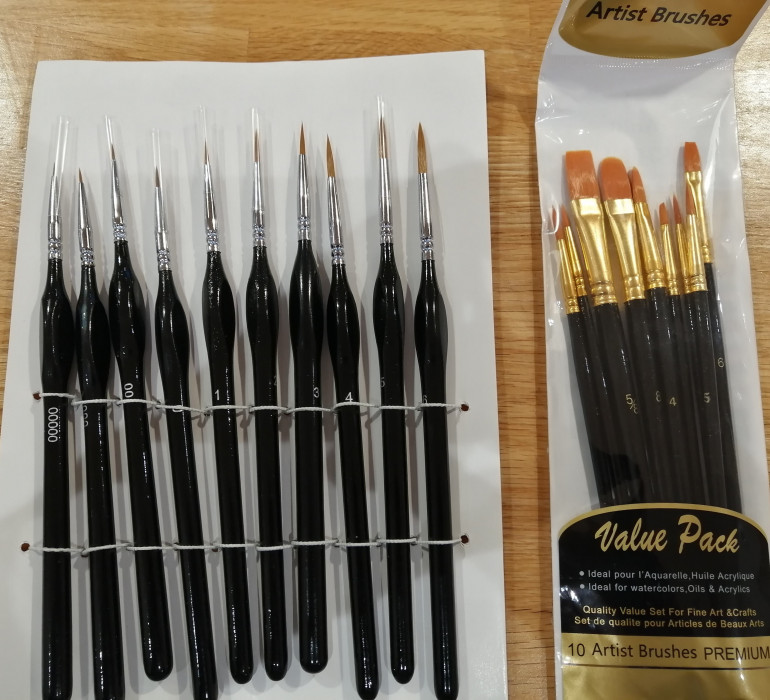
I’m not using my good sable brushes on this experiment, especially as I’ll be using mineral spirit to clean the brush. So, Amazon again to the rescue with a cheap set of ‘sable’ brushes (probably made from horse hair rather than sable) and a set of synthetic brushes for clean up. For the sable brushes, I’ve gone for some fine detail brushes for application. The synthetic brushes will be for blending and I’ve opted for a selection of different types to help with that – specifically a couple which are flat rather than rounded.
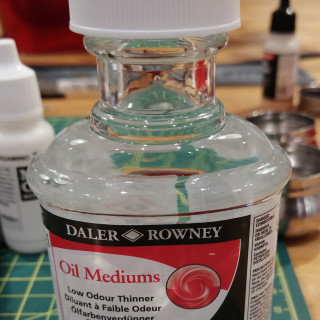
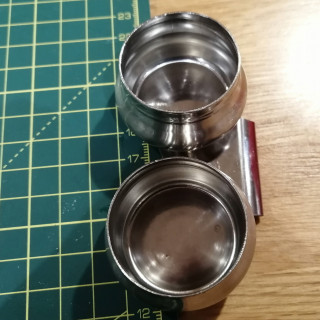
Finally I will need some thinner and something to put this in. I could use any glass or plastic object but I feel a metal ‘artists’ pot will get me in the mood better.
I’ll also need a palette. In this case, I’m going to use an old CD case with some white paper inside so that I can clearly see the colours.
And with that, I’m ready to go.


