Man cave exploits
Recommendations: 206
About the Project
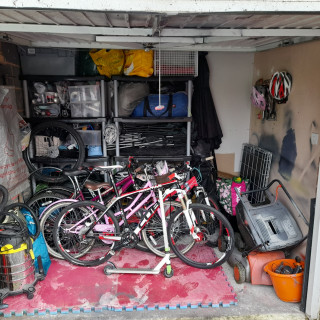
Inspired by Warren's new gaming, display, bar and workspace, which he has been showing off on XLBS, I decided I needed to upgrade and improve my.....well....not so nice display and workspace!!! So I set about splitting my garage into two spaces, one for storage of bikes and the usual rubbish and the other for my gaming needs. Now....I'm no builder nor DIY expert but....a few you tube videos later, I was ready to take on the project!!!!
Related Genre: Game Aid
This Project is Active
Finishing touches 2
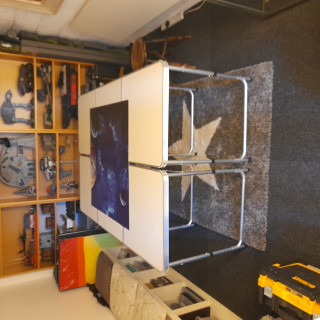
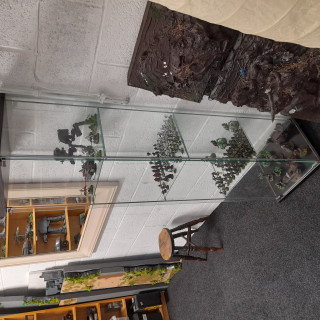
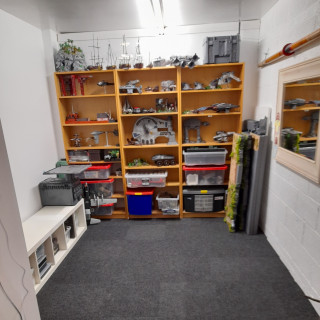
And finally to add the fold away gaming tables (Ebay picnic tables) and an Ikea glass cabinet to house some of my favourite armies….Love this space and cannot wait for lockdown to end to have friends come over to play a few games.
Finishing touches
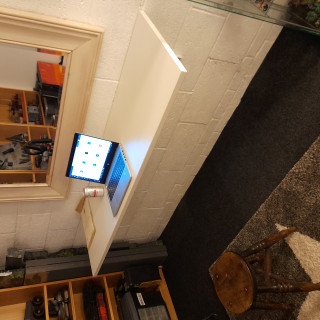
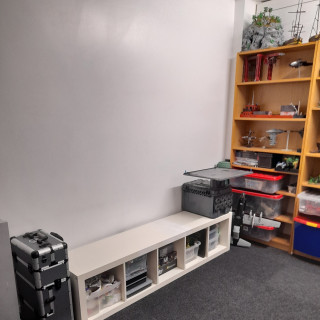
I also wanted a hobby space to paint and build if needed but knew a desk or table would take up valuable game table space. A little bit of research later I found these foldable brackets from B&Q and used the top of my old desk to attach to it and it was perfect to pull up and push down when not in use.
Day 4 - carpet
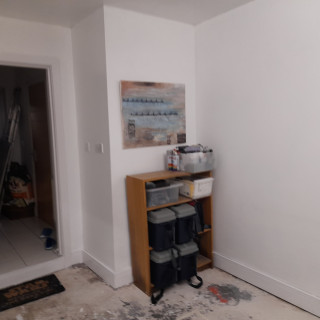
The final step was to add carpet to help make the space feel warmer. This was much easier than I thought. I bought simple carpet tiles and fitted them with an adhesive glue. I had few cuts to make and it was if I created the space perfectly for the size of carpet tiles!!!! More luck than judgement.
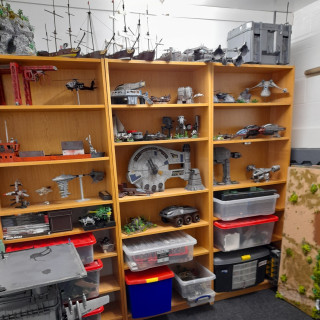
Models and terrain all placed back on the shelves and voila….games room complete.
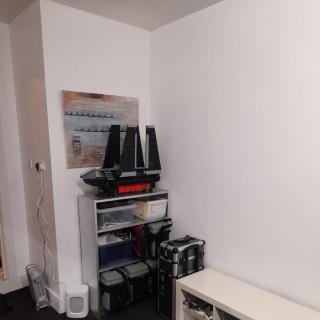
Now just waiting on a fold away 6 x 4 gaming table and I am thinking of getting a large printed mural for the empty wall then I think I can call this done.
So a daunting prospect to convert this cluttered, dusty and cold garage into a games room and storage space for bikes etc. was not as daunting as I expected.
So if you have a space like this don’t be afraid to have a go and try to convert it into a games space for you and your family.
Thanks to Warren for the inspiration.
Day 3 - Painting
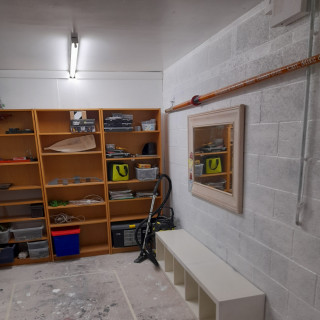
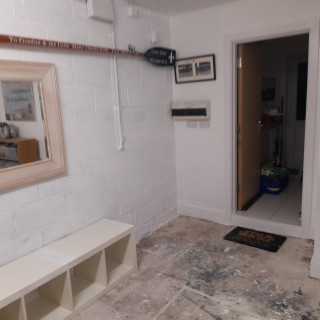
With most of the walls already plastered it was easy to paint the space and I went for a simple white emulsion.
I decided to keep the brick wall as a feature…..truth is I did not want the hassle of covering it up!!!!
It brightened the space immediately.
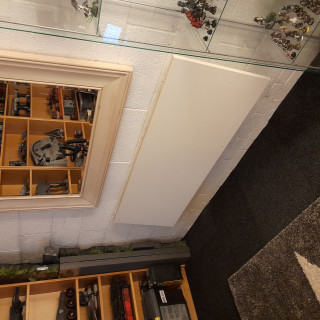
A large mirror that we had lying around also helps make the space feel bigger.
Day 2 - Building the Wall!!!
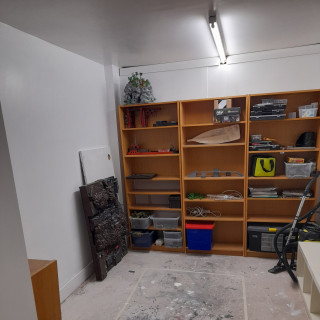
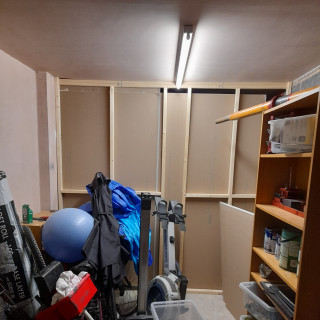
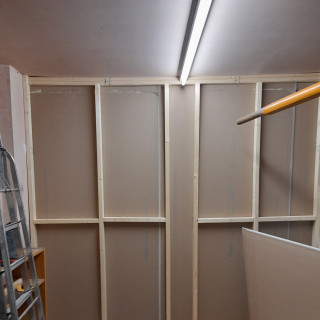
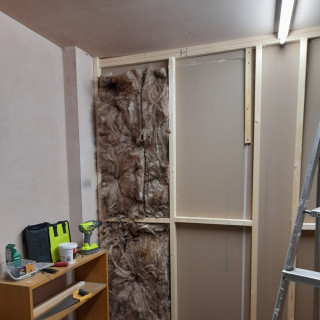
Building the stud wall was easier than I expected….some 2 x 2 wood battons fixed to the floor, ceiling and walls went up smoother than I expected….although the walls and ceiling were not straight but we manged to get it up within an hour or so.
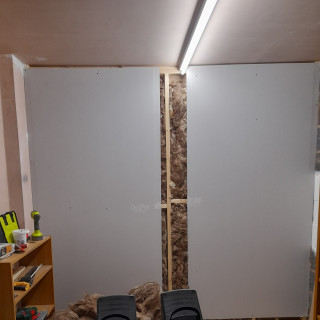
Next was the plasterboard……hmmm more difficult than I thought. Not only did I order too much of the stuff but also the wrong size and boy was it heavy and difficult to manoeuvre around a tight space……some choice words may have been used!!!!!
Some insulation placed between the pasterboard was needed to make the gaming space more snug and warm(ish).
Day 1 - The clear out!!!
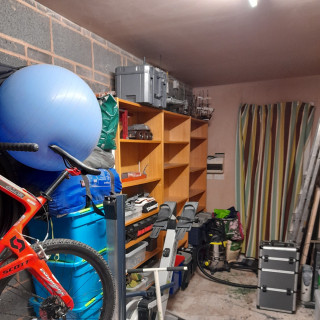
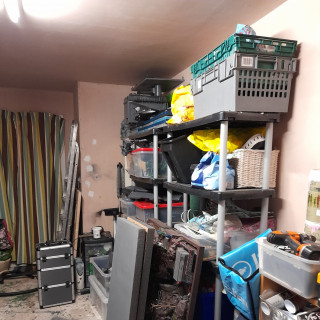
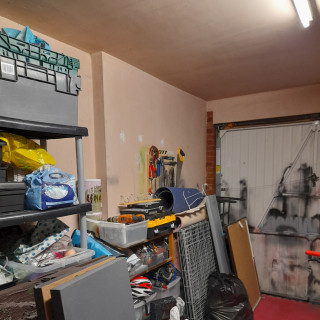
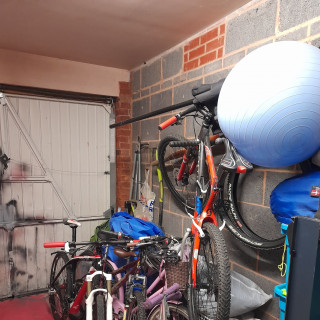
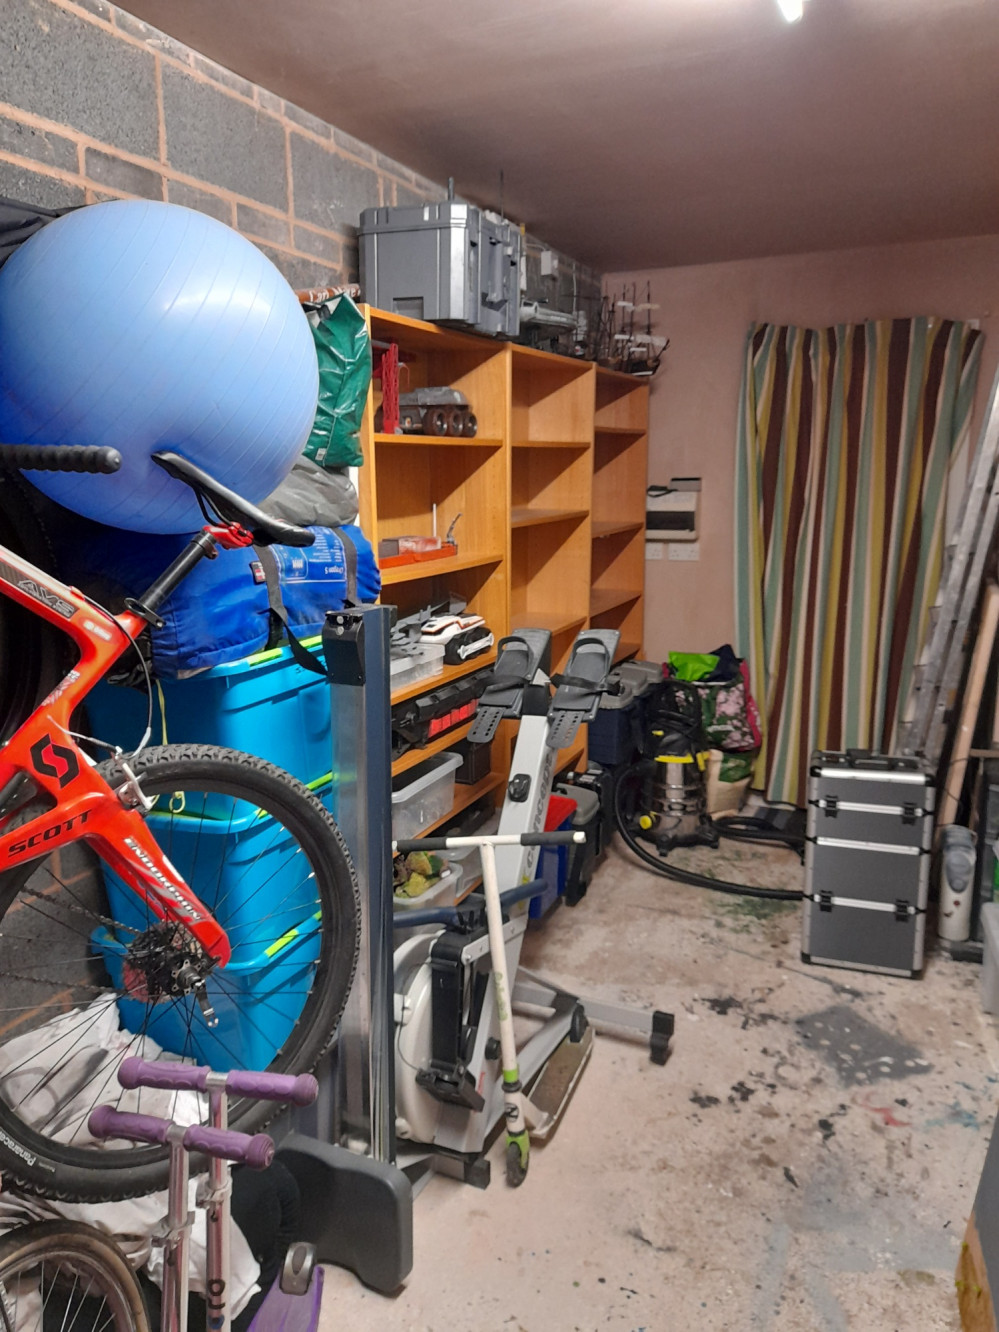
Day 1 was the dreaded clear out. I needed to make space to begin the process of building the stud wall. So all models and game related materials were boxed away and put into a safe space so the works could begin. As you can see…..the garage was a mess.


